60 Small Guest Bathroom Remodel Ideas

This post may contain affiliate links: full affiliate disclosure.
A small guest bathroom has to work for someone who has never used it before. The sink should be easy to reach and the towels easy to find.
Start with the room you have. A half bath needs clear standing room, while a full guest bath also needs a safe way to enter and exit the shower.
These 60 ideas cover quick refreshes, fixture swaps, and bigger layout changes. Compare what each one takes and measure the spots that could hold up your project.
Changes You Can Make Without Moving Fixtures
Start here when the bathroom layout works and the dated parts are easy to identify. These ideas keep the project focused on visible improvements.
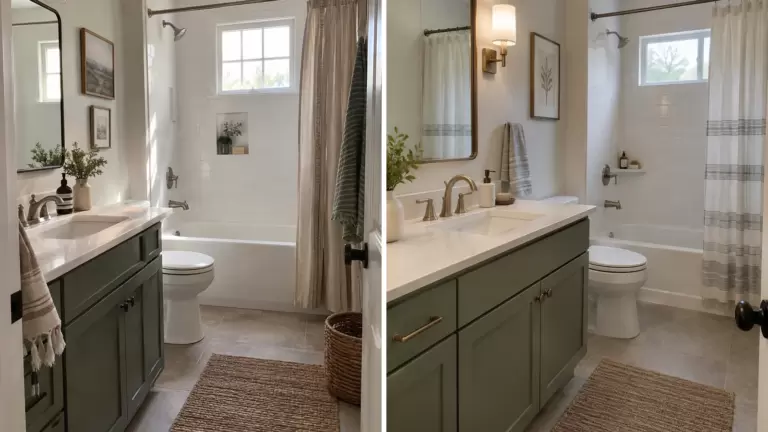
1. Paint the Existing Vanity
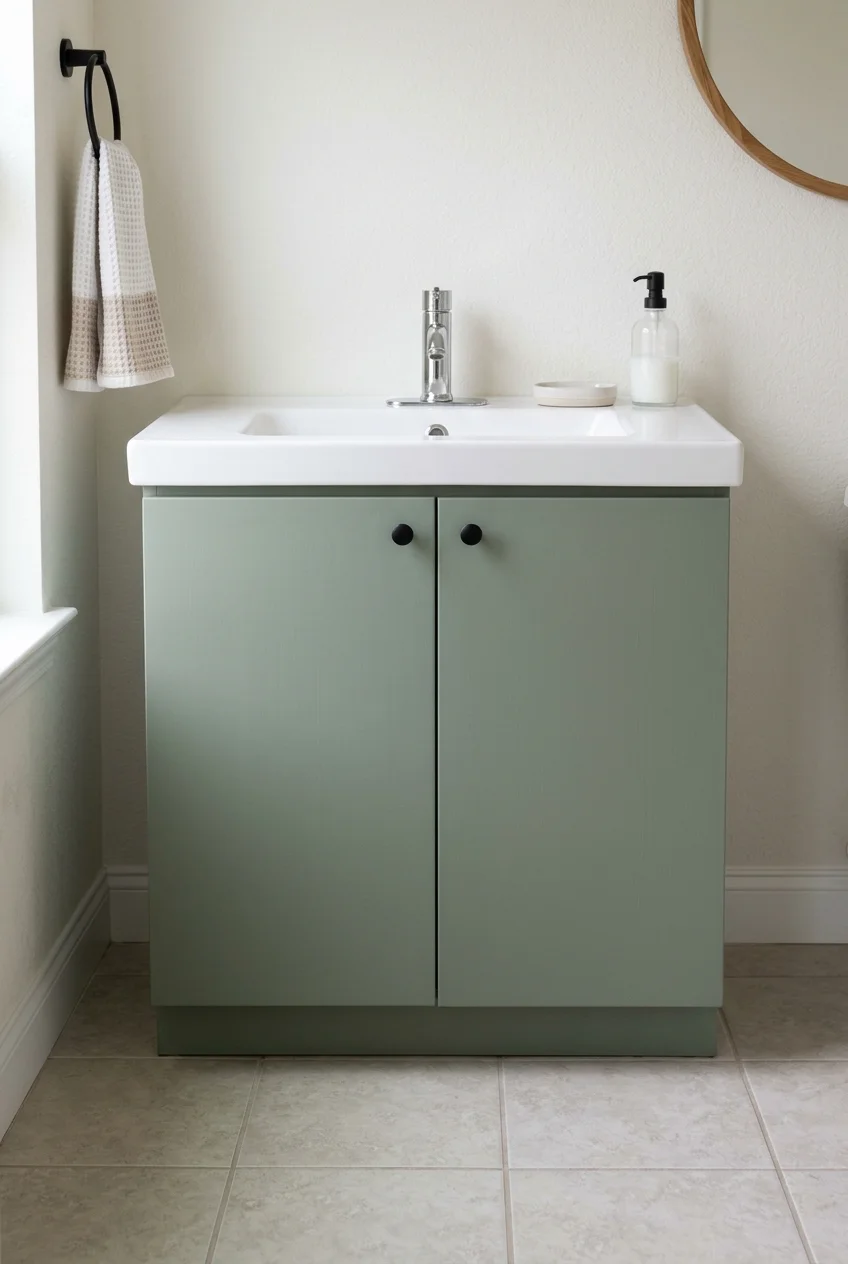
Paint the existing cabinet when its box is sturdy and the doors close squarely. Check the edges around the sink and floor for swollen material before buying supplies.
Remove the doors and hardware, then follow the coating manufacturer’s prep and cure instructions. A cabinet finish that feels dry may still need time before everyday use.
If the hinges work smoothly, reuse them. Refreshing the visible surfaces and putting the doors back in their original positions keeps the project manageable.
2. Keep the Cabinet and Replace the Sink Top
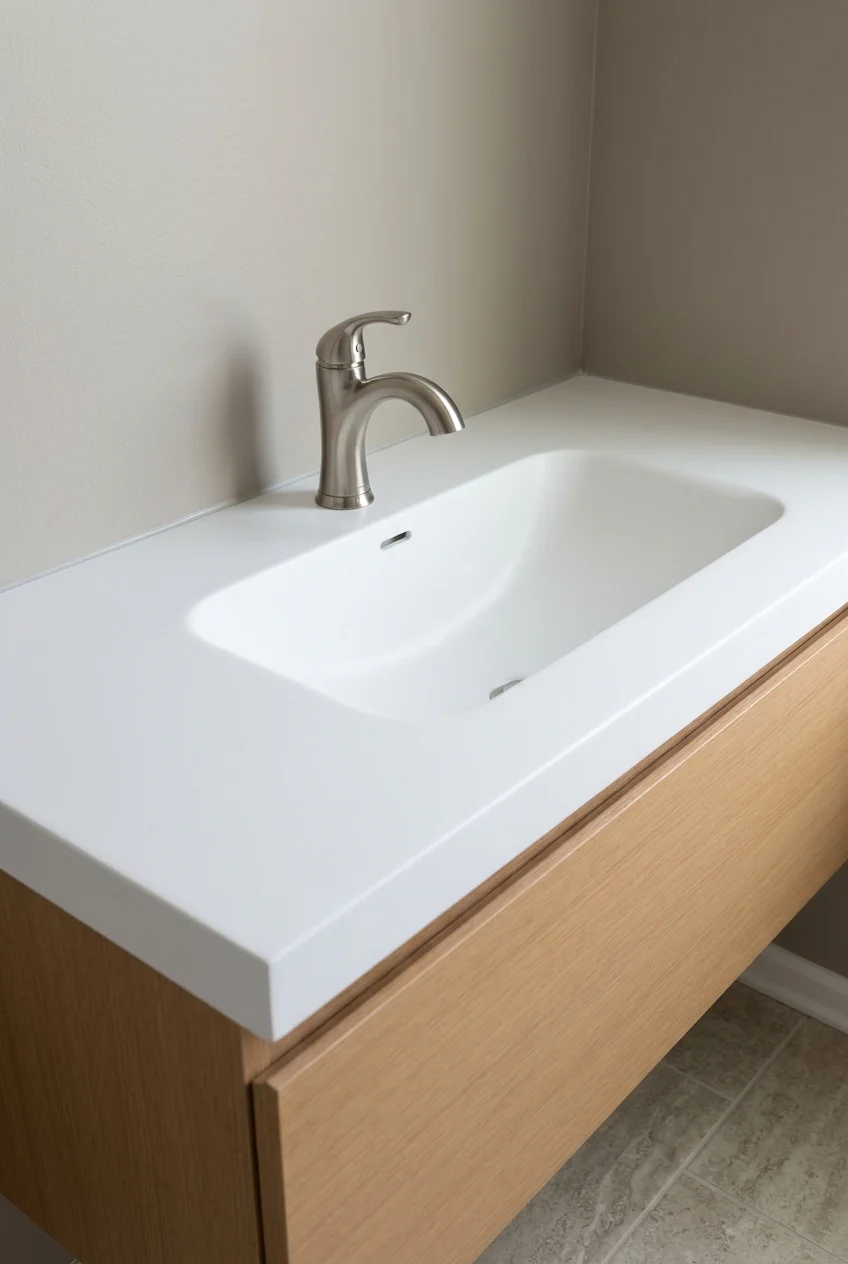
A one-piece sink top gives a sound vanity a fresh work surface and removes the seam between the basin and counter. Start with the cabinet’s actual outside measurements.
Check the new basin position against the drain and supply lines. A deeper bowl or shifted drain can consume the space an existing drawer needs to close.
Measure the wall at the front and back of the cabinet if the vanity sits in an alcove. A tight fit can disappear when walls taper.
If stock dimensions are close, ask the installer how they would finish gaps or out-of-square corners. Include the planned backsplash when checking height below a mirror.
3. Match a New Faucet to the Holes You Have
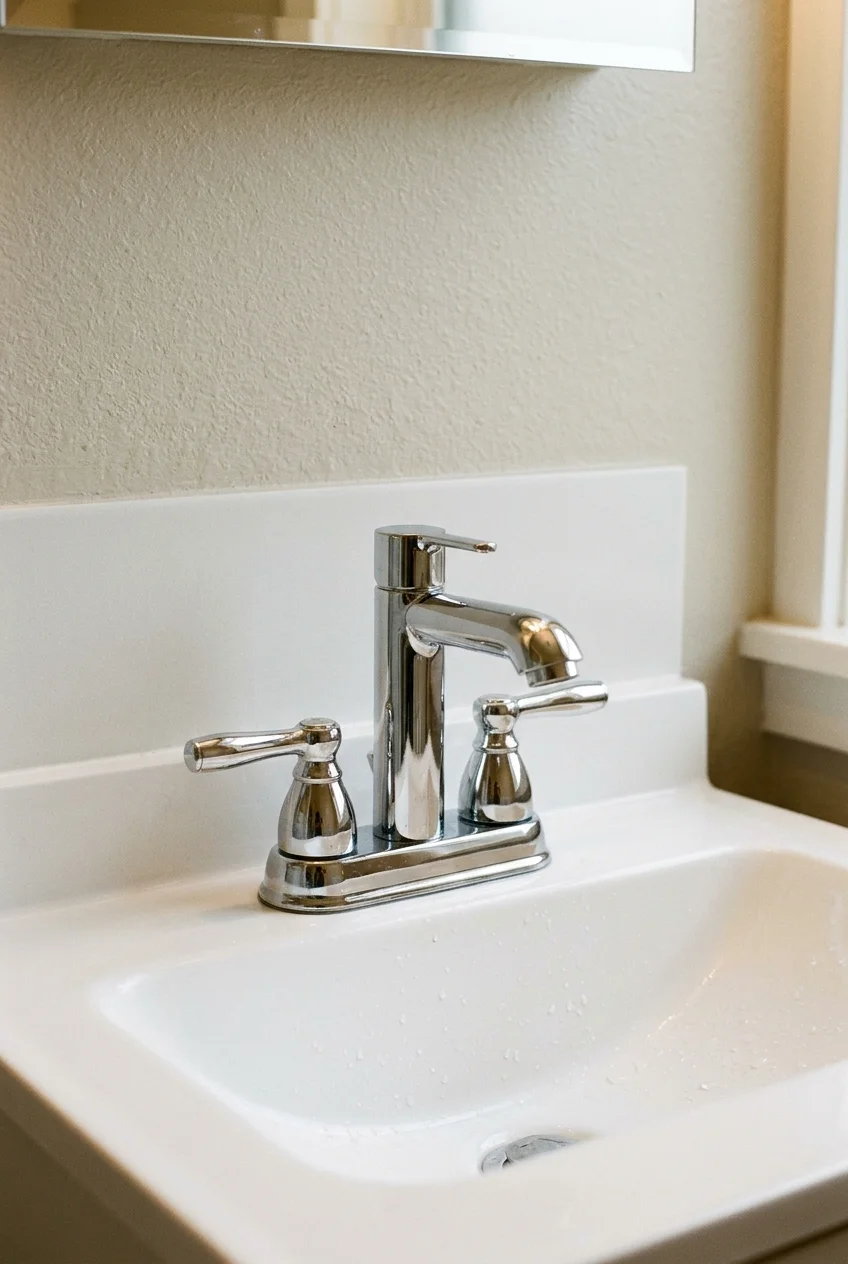
Choose a replacement faucet that fits the existing deck holes. Count them from beneath the sink if a wide base plate hides the original drill pattern.
Measure the spacing center to center and read the faucet’s installation sheet. A compatible deck plate can cover unused holes when converting some sinks to single-hole fittings.
Check spout reach against the bowl and handle swing against the backsplash. The water should land comfortably inside the basin while the controls remain easy to use.
4. Add a Frame to a Sound Builder Mirror
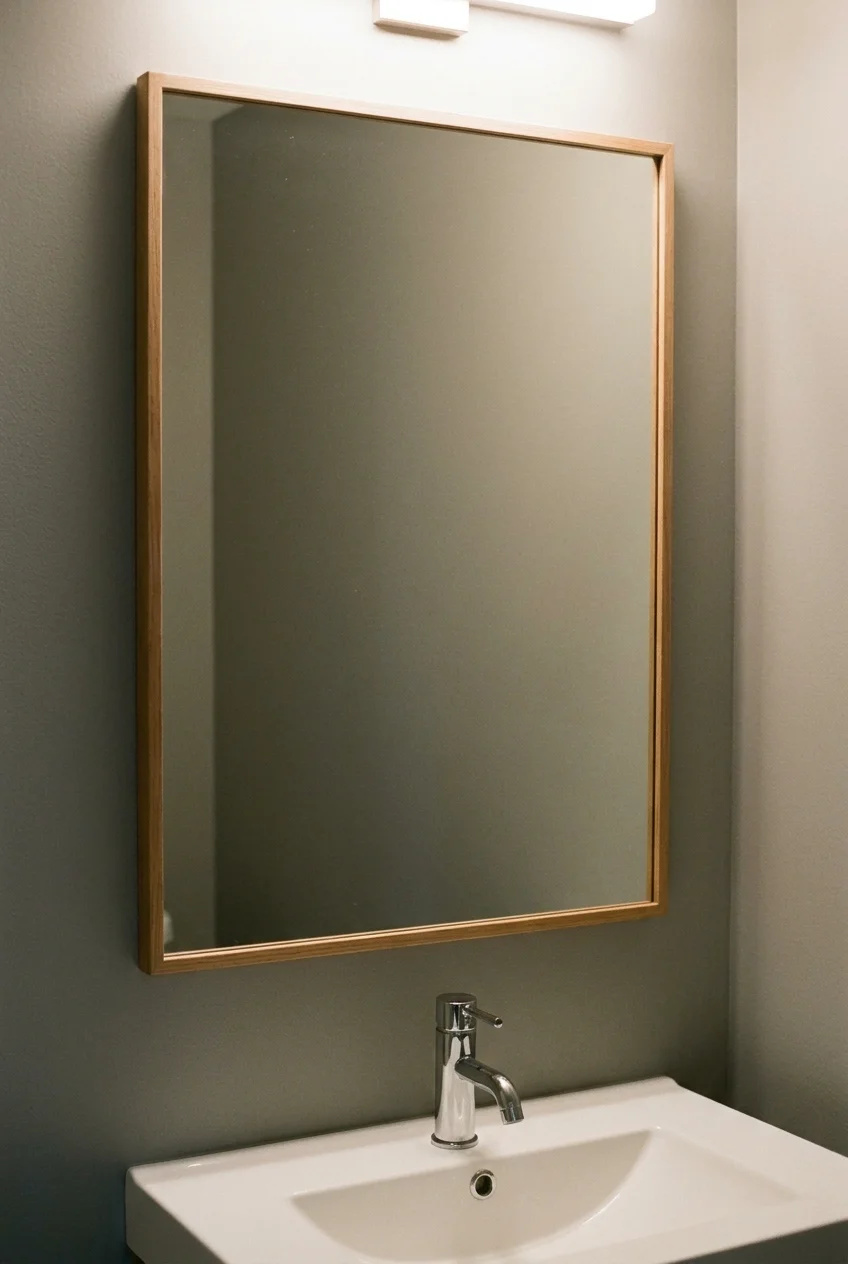
Frame a plain mirror when the glass and mounting are in good condition. Measure the gap between its bottom edge and the faucet or backsplash before choosing trim.
Match the frame system to the mirror’s clips and follow the manufacturer’s attachment instructions. A narrow profile leaves more visible glass on a small vanity wall.
5. Replace the Pulls Using Existing Screw Holes
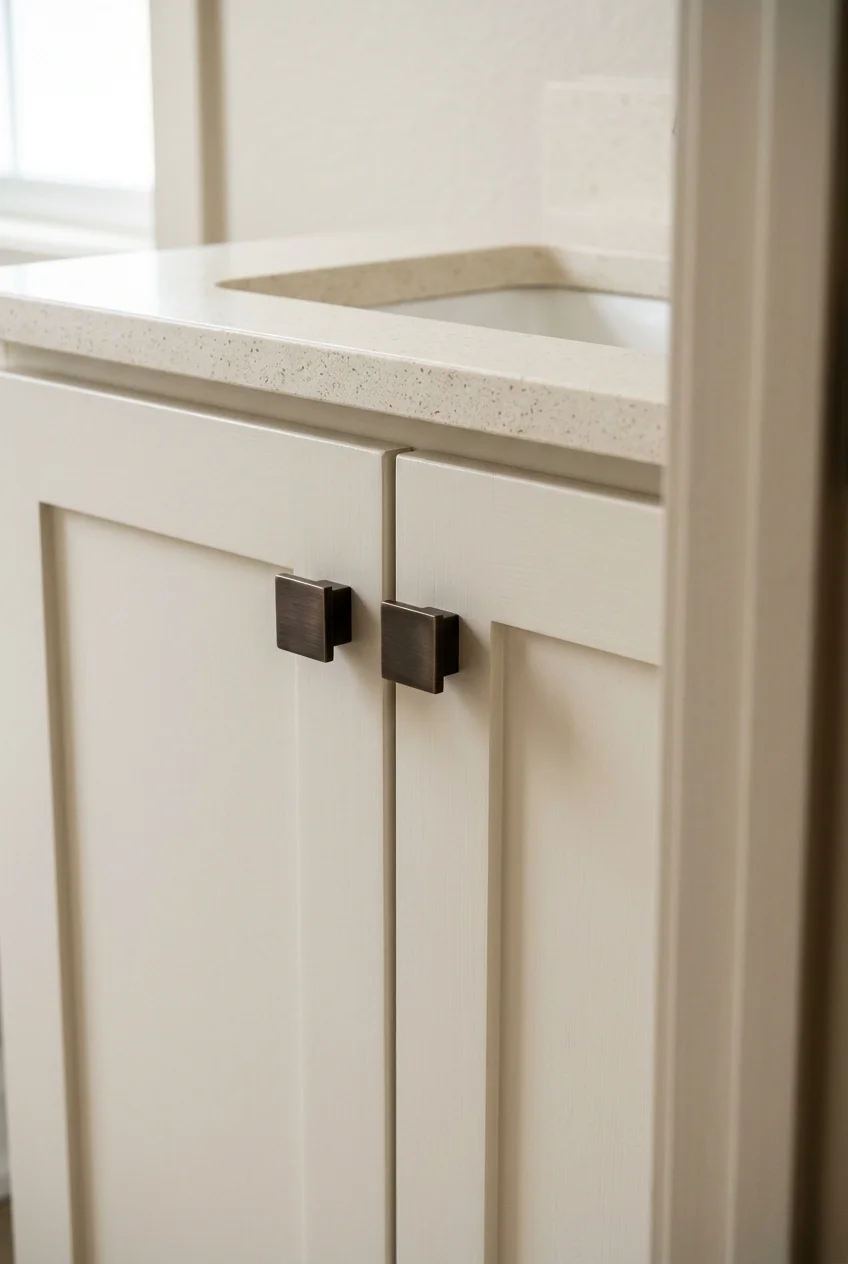
A pull with the same screw spacing can make a cabinet easier to open without filling and redrilling its fronts. Measure between the screw centers inside each door.
Choose a handle you can grip with damp fingers. In a narrow bath, keep the projection small enough that it clears the entry door and nearby drawers.
6. Give a Tight Sink Wall a Short Backsplash
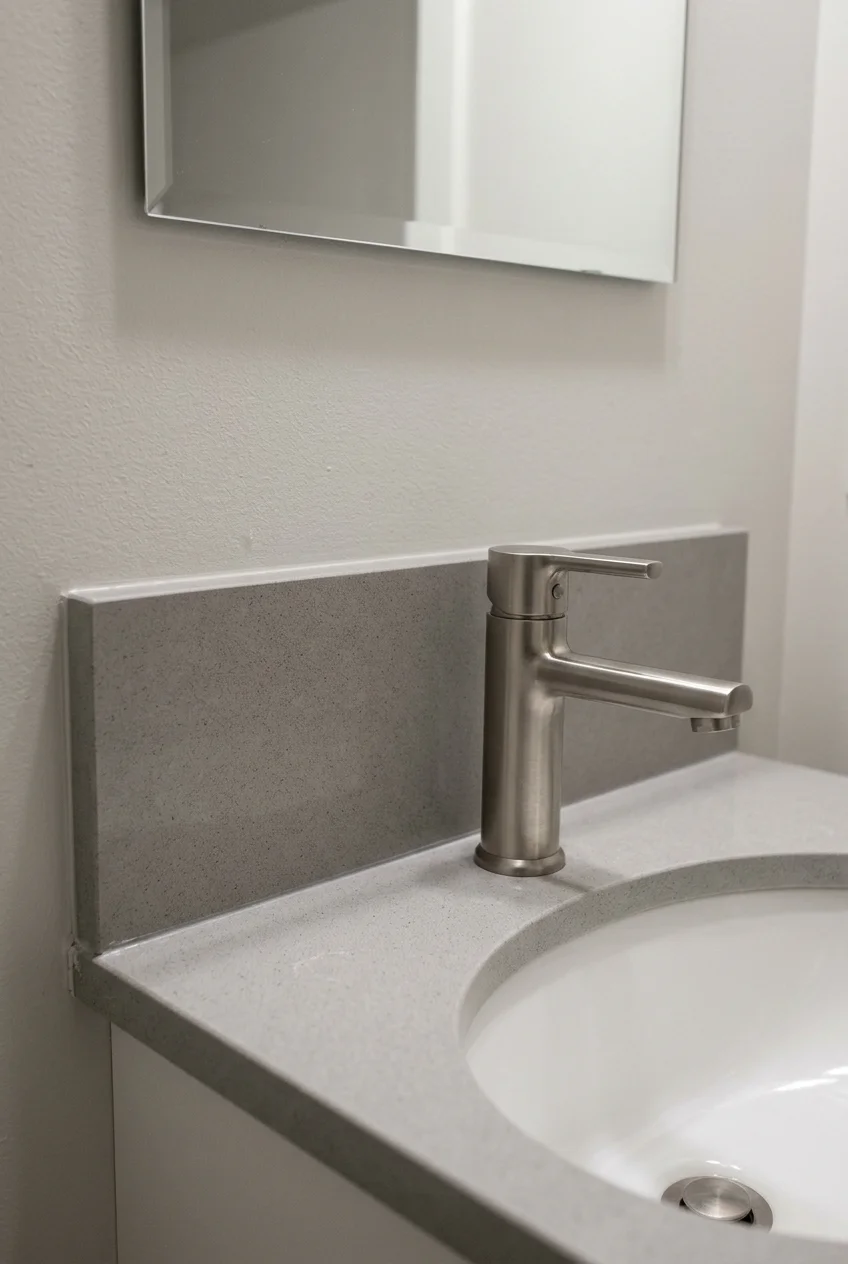
A short backsplash protects the wall where water collects behind the faucet. Use the top manufacturer’s matching piece or choose a compatible tile assembly with an intentional edge detail.
Check the faucet handle in its fully open position before setting the backsplash thickness. Include a side splash if an adjoining painted wall routinely catches water.
If the top has a raised rear lip already, test how much wall actually gets wet. You may need to refresh the joint alone.
7. Repaint the Walls With a Bathroom-Rated Finish
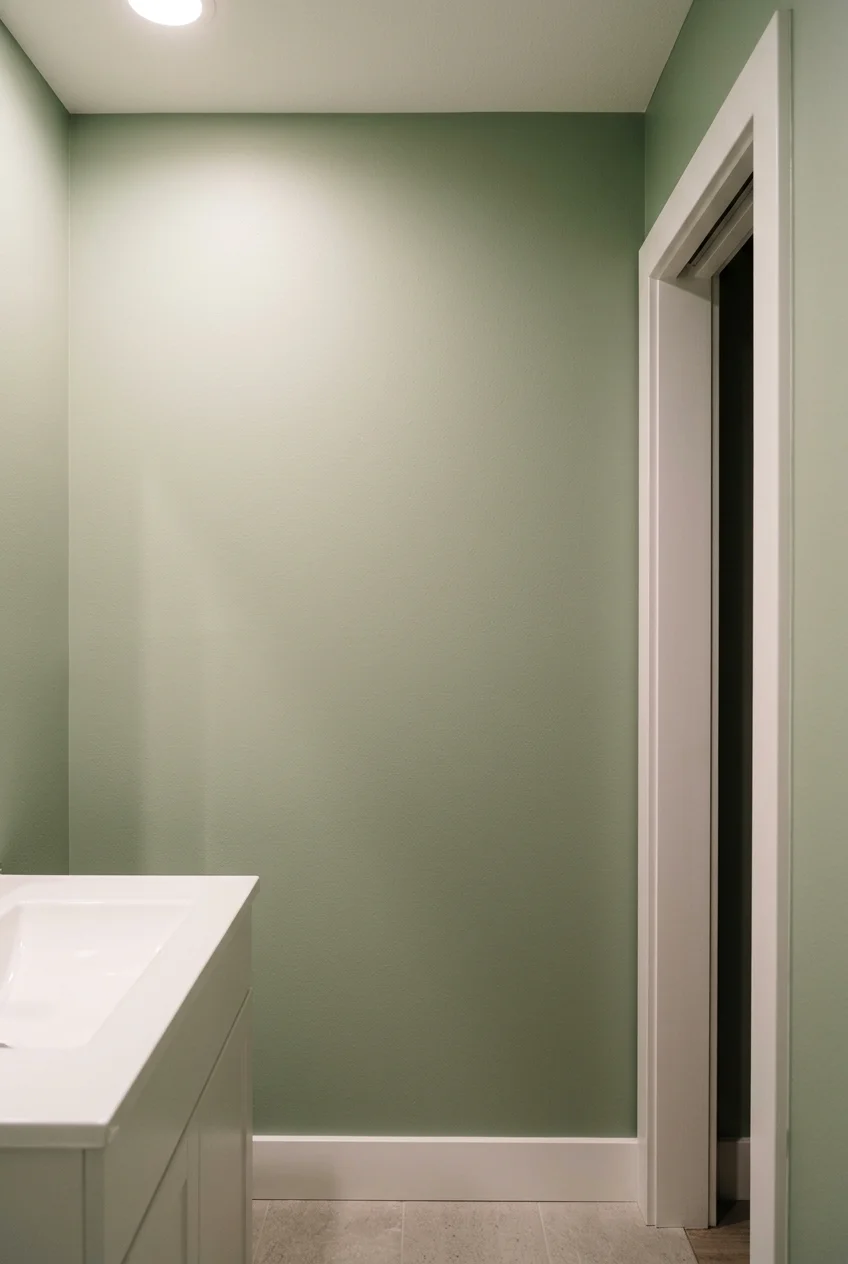
Repaint the whole room when the surfaces are sound and the existing finishes feel disconnected. Bring a sample next to the vanity and floor under the bathroom lights.
Choose a coating rated for the room’s moisture and cleaning needs. Resolve leaks, lingering dampness, or peeling caused by a ventilation problem before painting over the surface.
8. Replace the Shower Curtain With a Plain Washable Set
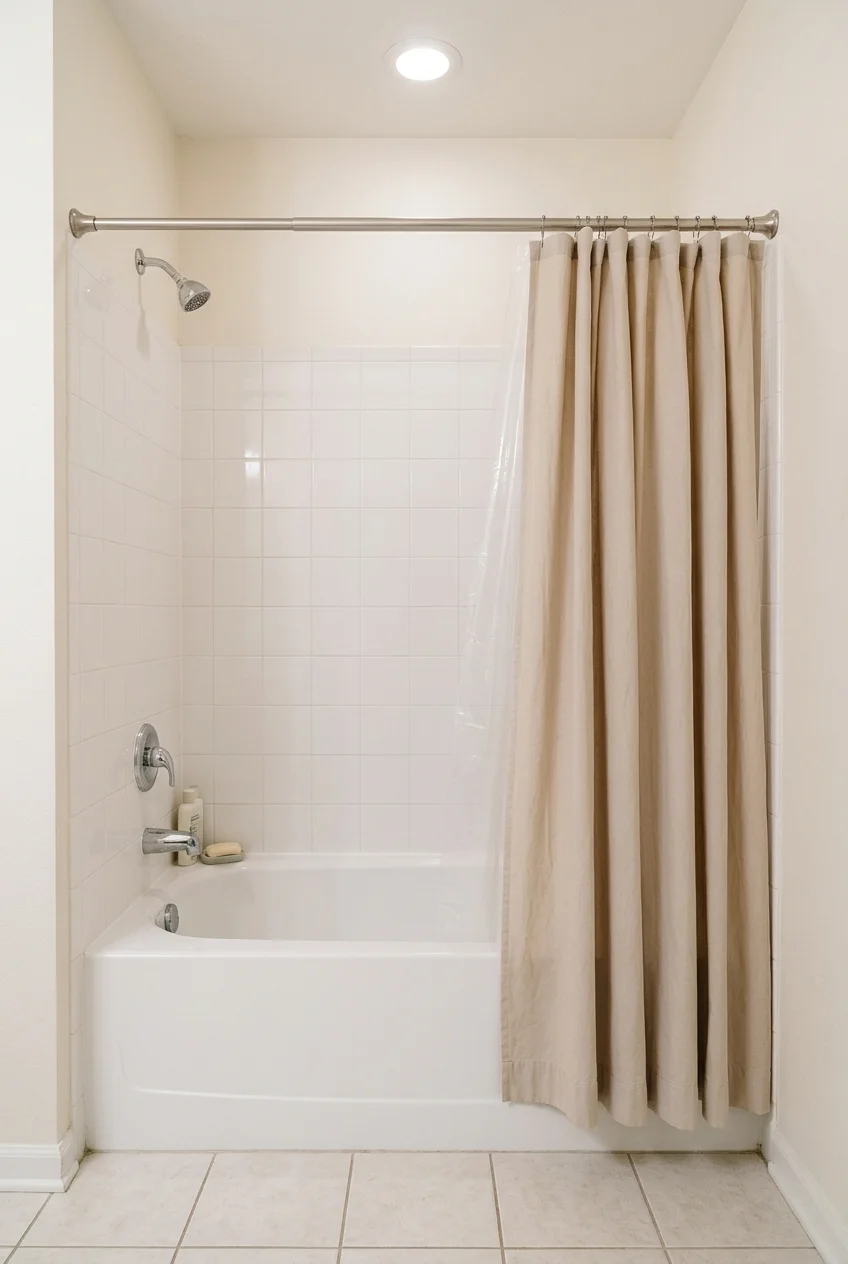
A washable curtain and separate liner can freshen a sound tub surround in a single afternoon. Measure the rod span and drop before choosing either piece.
Hang the liner so its lower edge sits inside the tub during showers. Leave the outer curtain clear of the floor and keep its folds easy to slide aside.
Make the Floor Plan Work Harder
Measure the room from finished walls and include every door swing. Mark fixture footprints on the floor before deciding where to gain a few inches.
9. Trade Vanity Depth for a Wider Walkway
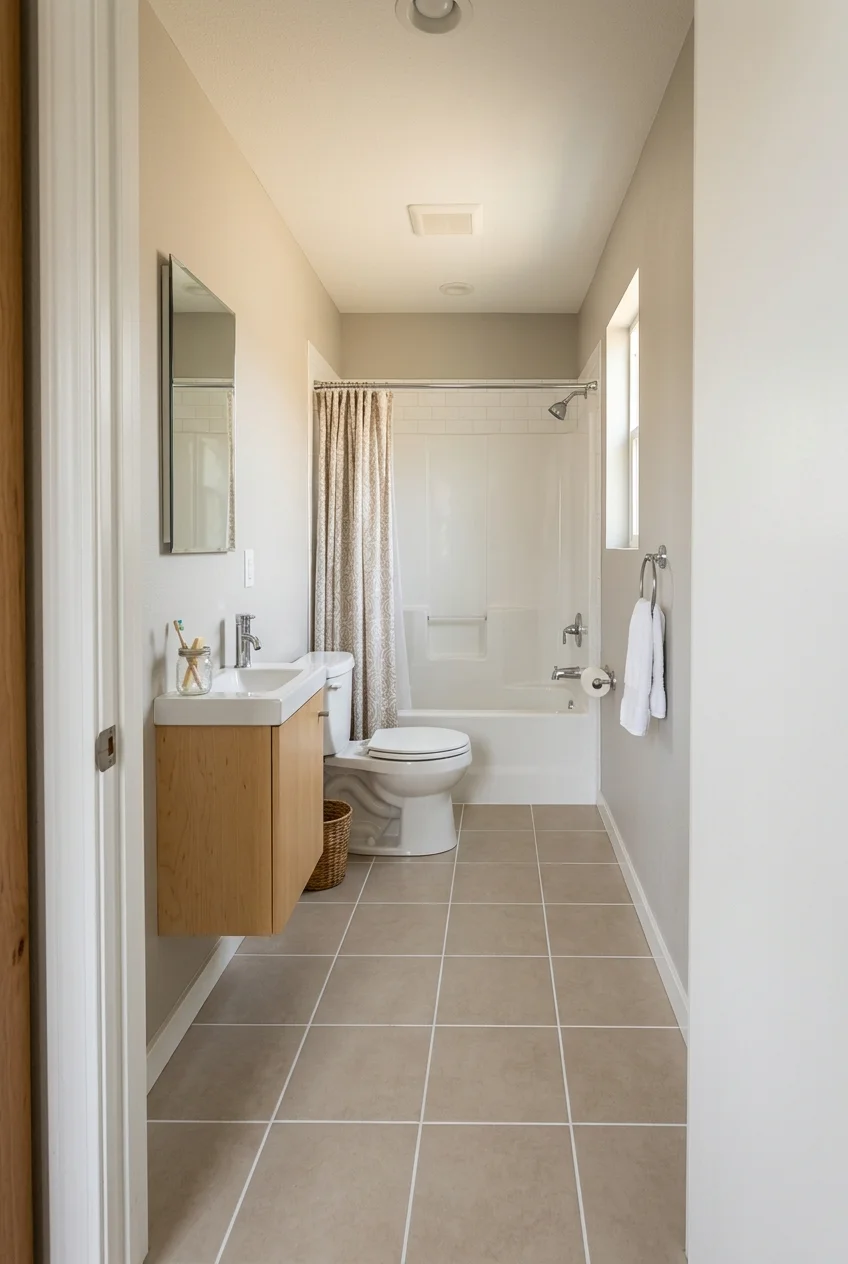
A shallow vanity can free up the main path when the cabinet is directly across from the entry or tub. Check the countertop projection along with the cabinet depth.
Use painter’s tape to mark the new front edge and the proposed cabinet door swing. Open the entry door and check where you would stand to wash your hands.
Test the basin on the specification drawing. Some shallow sinks have little room behind the faucet or beside the bowl, which matters for everyday handwashing and cleanup.
If the vanity will hold guest supplies, measure the usable cabinet interior with the trap in place. A slim cabinet may work best with towels stored elsewhere.
- Compare overall depth including the countertop lip and any handles.
- Measure faucet reach over the bowl and handle clearance at the wall.
- Check cabinet openings with the room door in its normal position.
Practical tip If a vanity is tight against a side wall, include room for the hinge and pull before you commit to its full advertised width.
10. Put a Corner Sink in a Tiny Powder Room
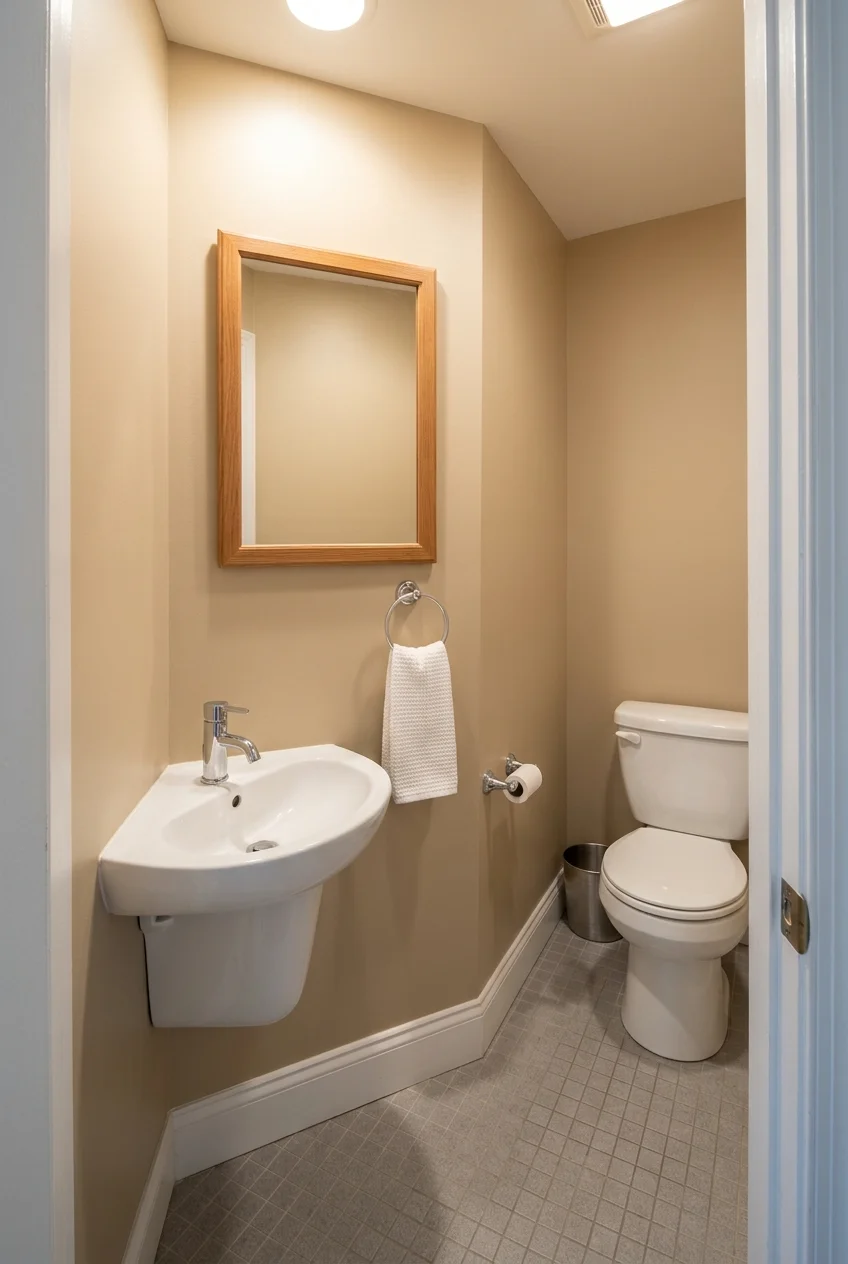
A corner sink can use a triangle of space that an ordinary vanity would block. It works best when the corner gives guests a comfortable place to stand.
Mock up its widest points along both walls. Open the entry door, approach the sink, and make sure elbows and knees can clear the nearby toilet.
Confirm how the unit mounts and where the supply and drain lines will sit. Ask a plumber to price any changes before ordering an offset fixture.
A compact cabinet version can hide the trap. A wall-mounted unit leaves the floor clear, though you may need a separate spot for spare supplies.
11. Use a Shorter Toilet Where the Door Swings
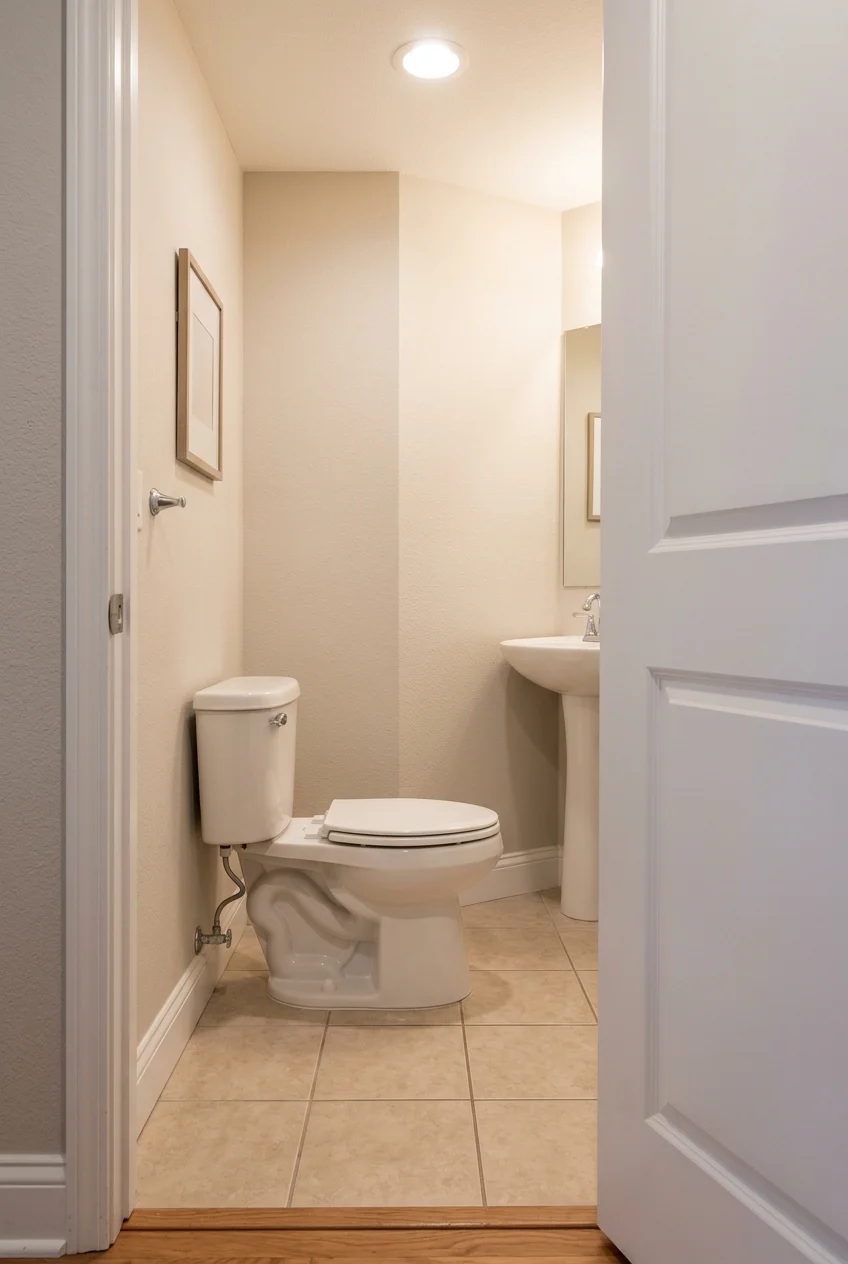
A shorter toilet can ease a doorway pinch point without moving the drain. Compare actual wall-to-front projections for round-front and compact elongated options that fit the existing rough-in.
Measure from the finished wall, excluding the baseboard, to the center of the floor outlet, usually indicated by the closet bolts on an installed floor-mount model.
Tape the candidate outline in place, then swing the door through its full path. Check side and front clearances with your installer against local requirements.
A different bowl shape may change seated comfort. Compare seat height and bowl length alongside projection, especially when the guest bath is used by relatives with different needs.
12. Recover Floor Area With a Wall-Hung Toilet
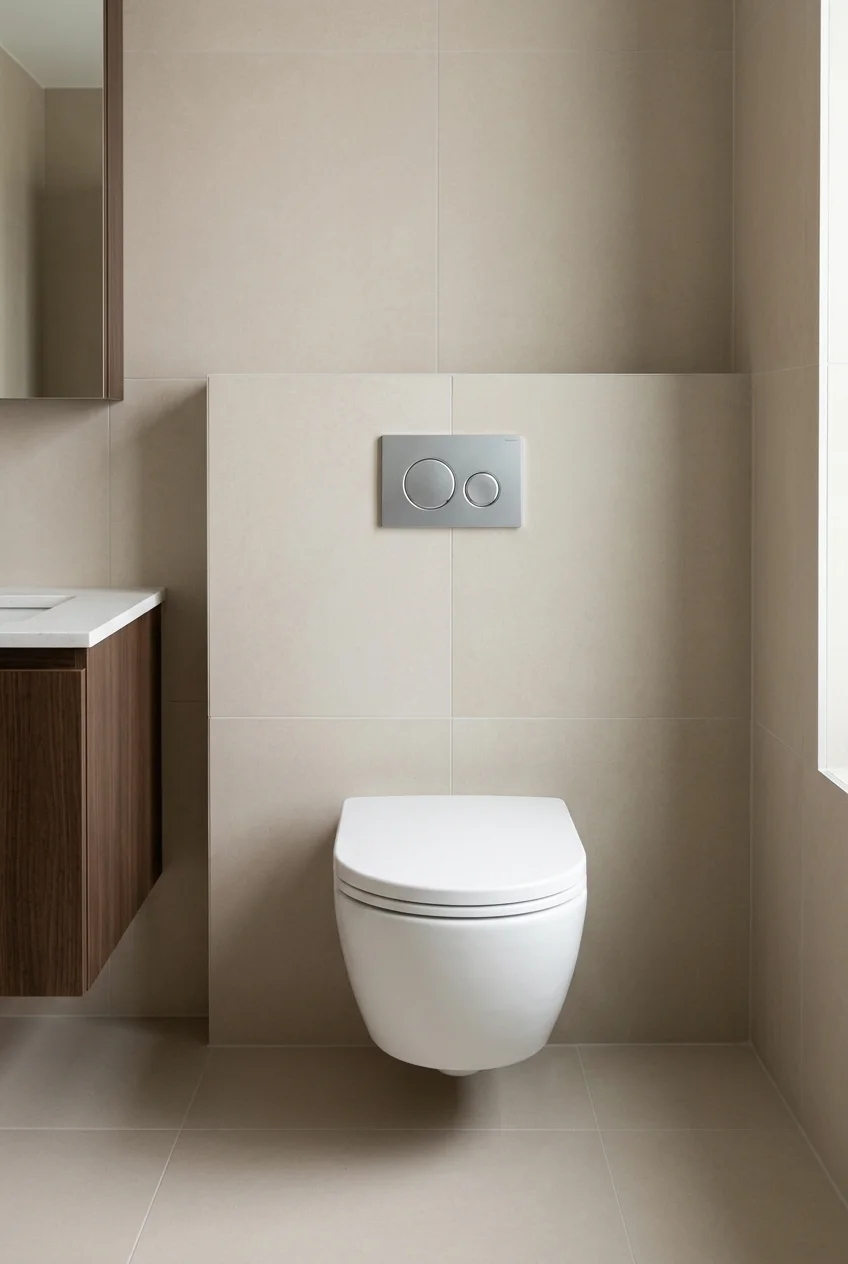
A wall-hung toilet frees the floor beneath the bowl and can shorten the toilet’s usable projection into a small bath. Its carrier takes space inside or behind a wall.
Compare the finished depth of the entire wall assembly plus the bowl with a compact floor-mount model. A new chase can use the floor area you hoped to gain.
Have the installer check the wall structure, drain route, supply, carrier compatibility, and service access through the flush plate. Confirm how the installation affects adjacent rooms.
Choose the mounted height with the people who will use the bathroom in mind. Set that dimension early so the carrier can be positioned before the wall closes.
Ask for a drawing with the finished wall and bowl projection marked. Use it to check seat clearances with the vanity and door in their final positions.
Practical tip Before the wall closes, take photos of the carrier and keep them with the model information so a future repair starts with the right parts.
13. Put the Sink and Toilet Along One Wall
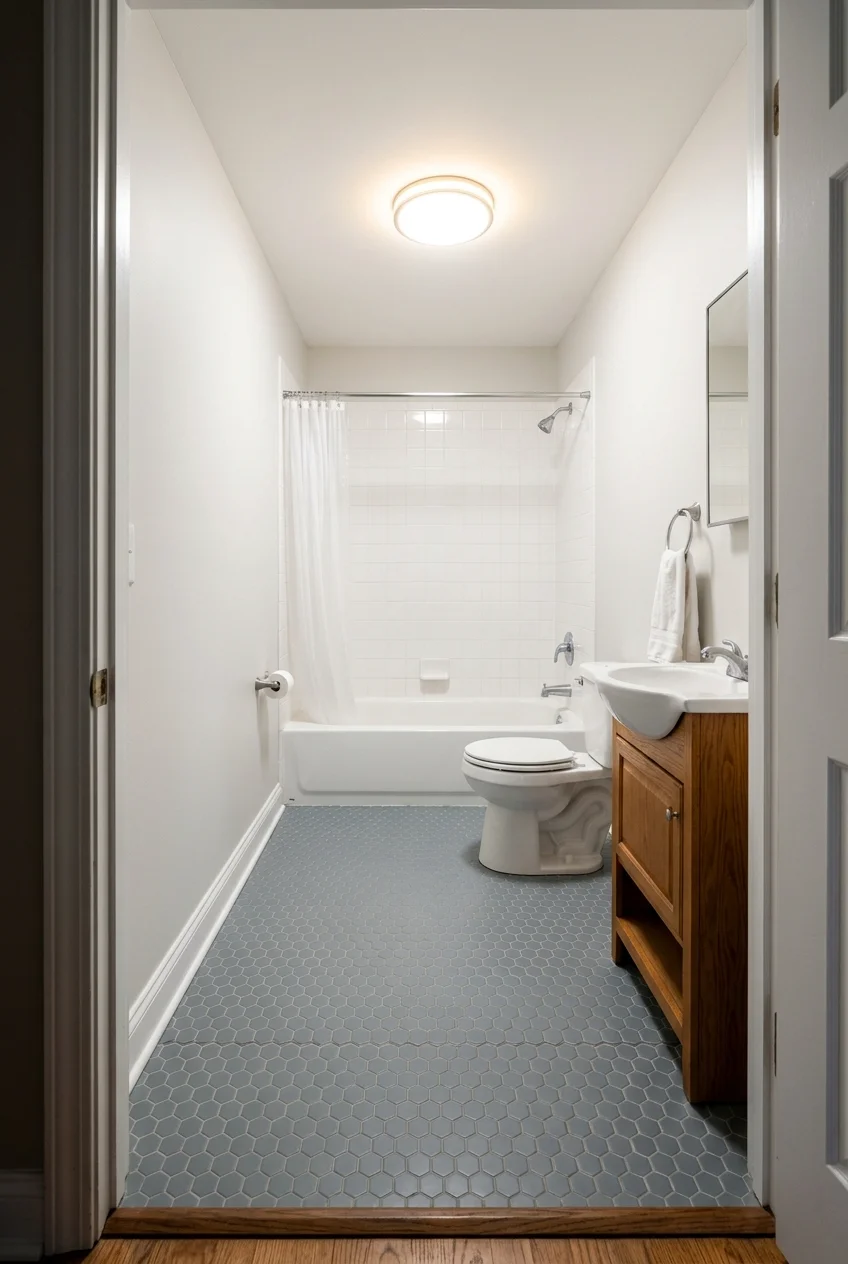
Set the sink and toilet on one side of a rectangular guest bath when their locations let the opposite side stay open. The resulting aisle reads clearly from the door.
Start with the existing waste lines and vent routing. Ask your plumber which locations can stay and which would require opening the floor or a finished wall.
Keep the sink near the entry if it can sit clear of the door. Guests can step up to wash their hands without passing the toilet.
For a full bath, let the tub or shower span the far end if the measurements work. Reserve room to reach its controls and step out onto dry flooring.
Compare the plan against keeping the existing locations. A smaller fixture replacement may solve a single pinch point without requiring the plumbing changes of a new layout.
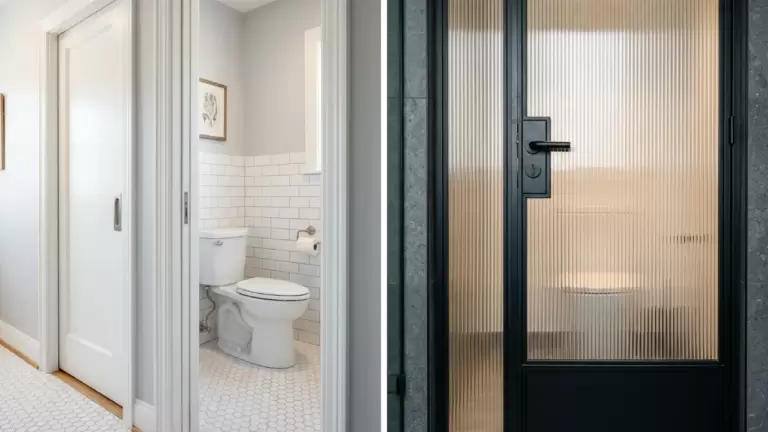
14. Swap a Swing Door for a Pocket Door
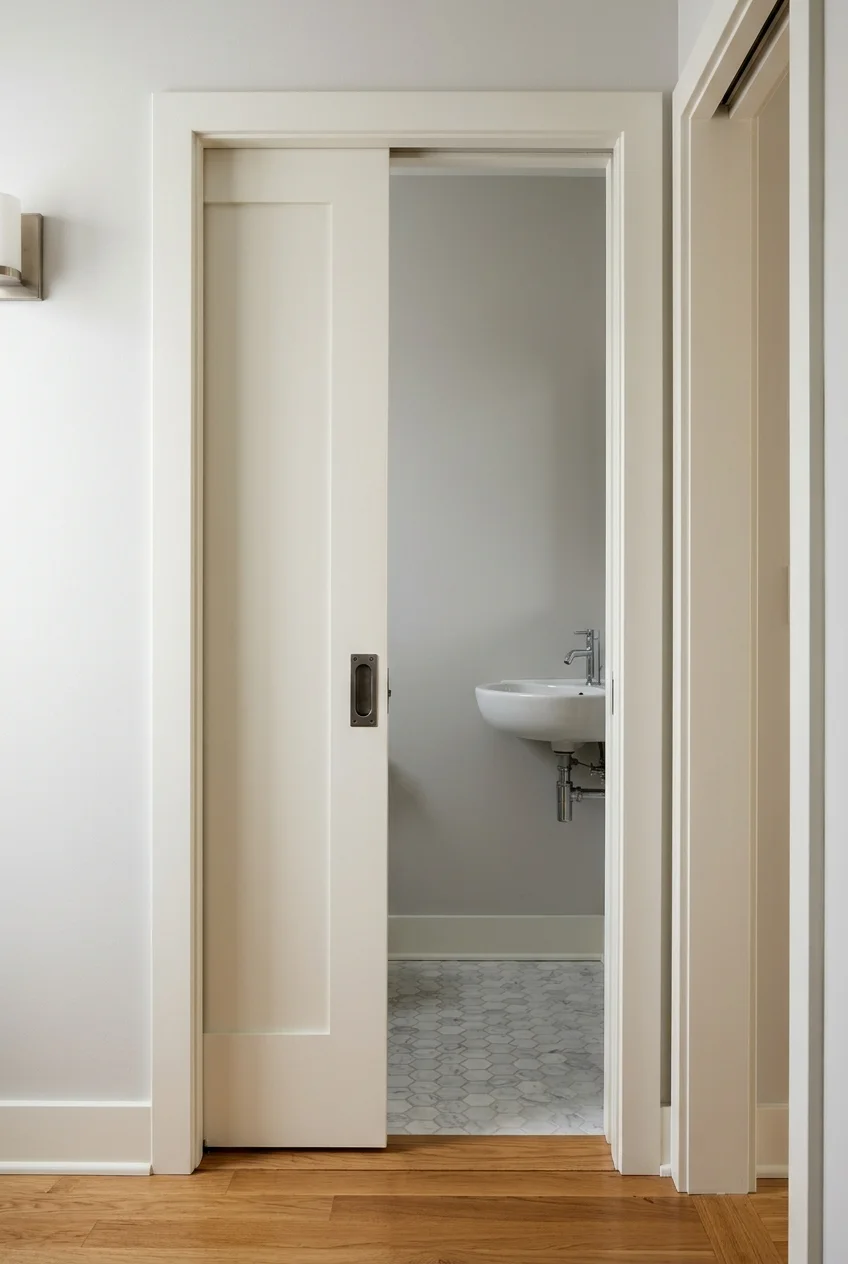
A pocket door can recover the entry corner when a swinging slab blocks the sink or vanity. The open door slides into a dedicated wall cavity.
Have a contractor check the proposed pocket wall for pipes, wiring, framing, and mounting needs on both sides. A toilet vent or switch can change the project scope.
Specify a privacy latch that closes securely and can be released from outside in an emergency. Try the pull in person if someone needs an easy grip.
Budget for finish work on both faces of the wall. Compare that scope with a professionally assessed swing-direction change if a pocket cavity would be difficult to create.
15. Slip a Quarter-Round Shower Into a Corner
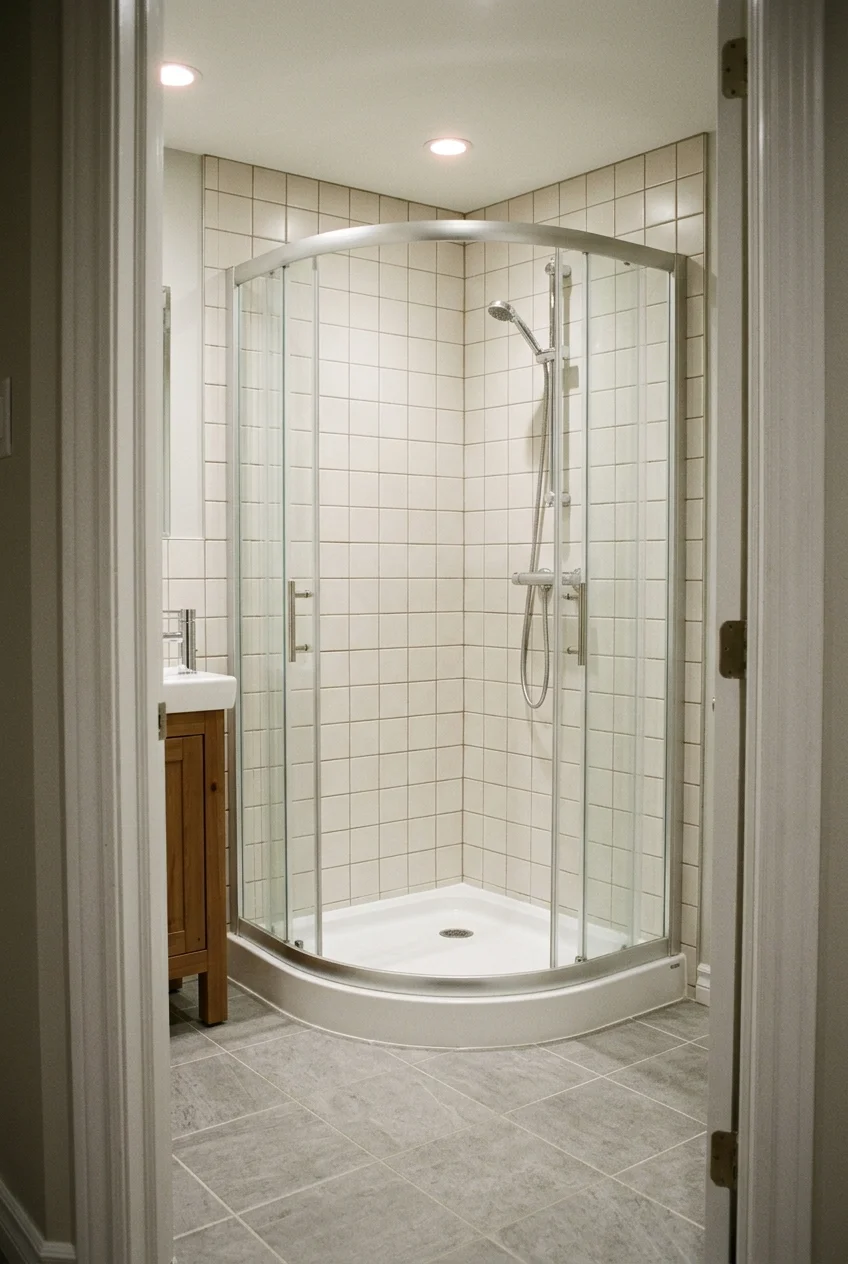
A quarter-round shower can take the edge off a crowded corner. Its curved front is helpful when a square corner enclosure would jut into the main route.
Compare the inside standing area and clear entry width along with the external footprint. A curve that helps the aisle can also reduce elbow room at the entrance.
Order a base and enclosure designed to fit together. Check the drain position, required finished wall dimensions, and level tolerances before rough plumbing and flooring are finalized.
Make room to open or slide the door from outside, then walk through the taped layout with the sink and toilet locations marked. Check where the bath mat will land.
16. Rework an Oversized Linen Closet Into Bathroom Floor Area
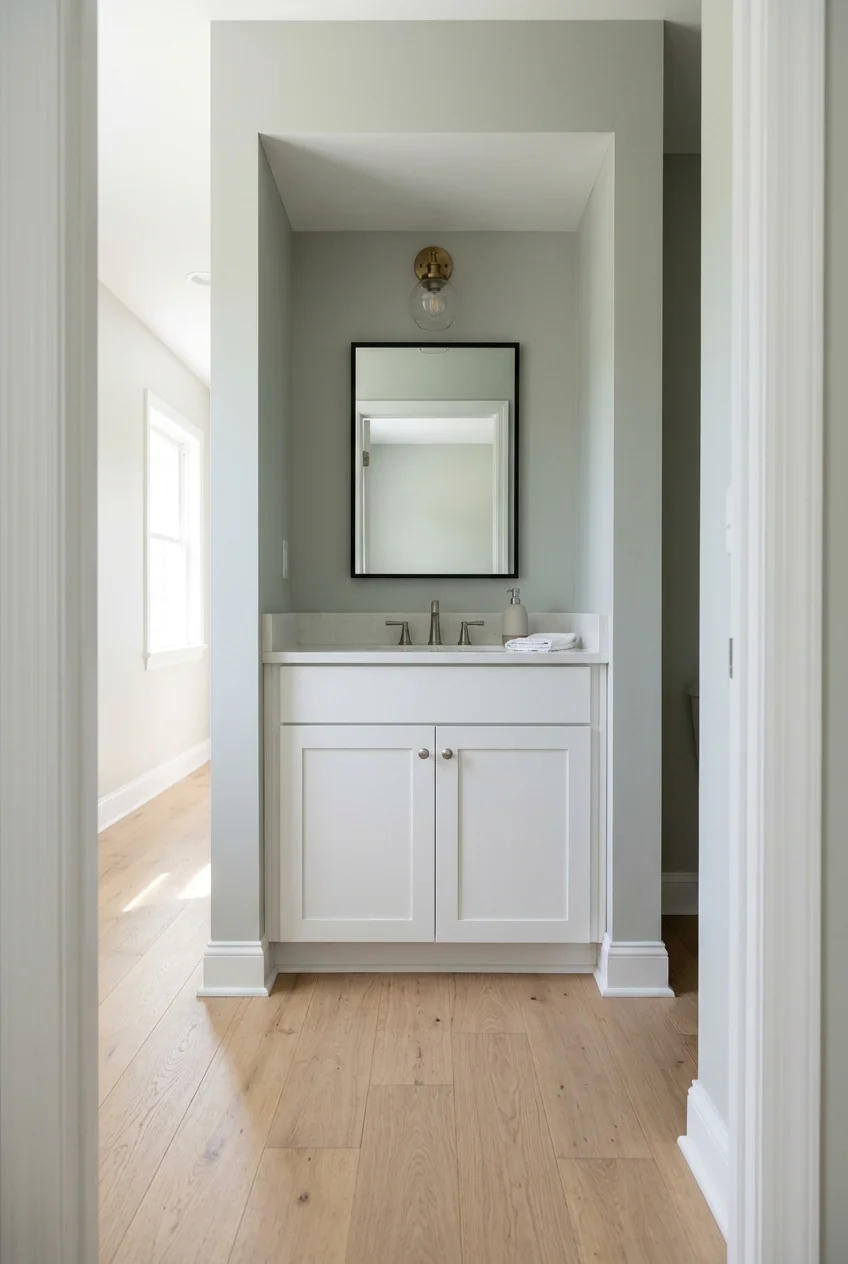
Absorbing part of a hall linen closet can widen a cramped guest bathroom near the sink or shower. Start by deciding which bottleneck the added space would actually solve.
Measure the potential gain after the new wall thickness and finishes. A small recess might make room for a wider vanity even when a full width addition is impractical.
Have a contractor evaluate whether the dividing wall contains structure, ducts, or plumbing. Confirm permit needs and determine which repairs the adjoining hallway will need.
Before removing shelves, assign fresh towels and bulk supplies a new home. Keep frequently used guest linens close enough to replace between visits without crowding the remodeled room.
Ask for a price with the expanded footprint and another with the current walls kept. Compare the actual clearance gain with the cost of patching two finished spaces.
Remodel the Tub or Shower for Overnight Guests
Decide how guests will bathe before shopping for finishes. The room’s only bathtub and a spare shower used occasionally solve different problems.
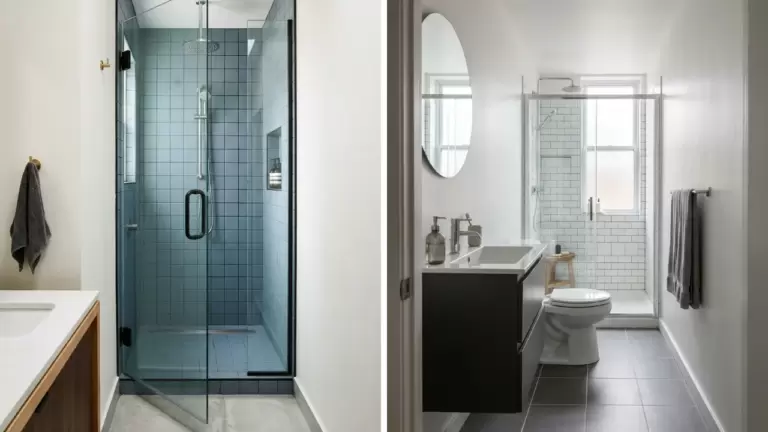
Compare these very small bathroom layouts with showers if the entry and the vanity share one cramped corner or the current door uses too much floor space.
17. Replace an Alcove Tub in the Same Footprint
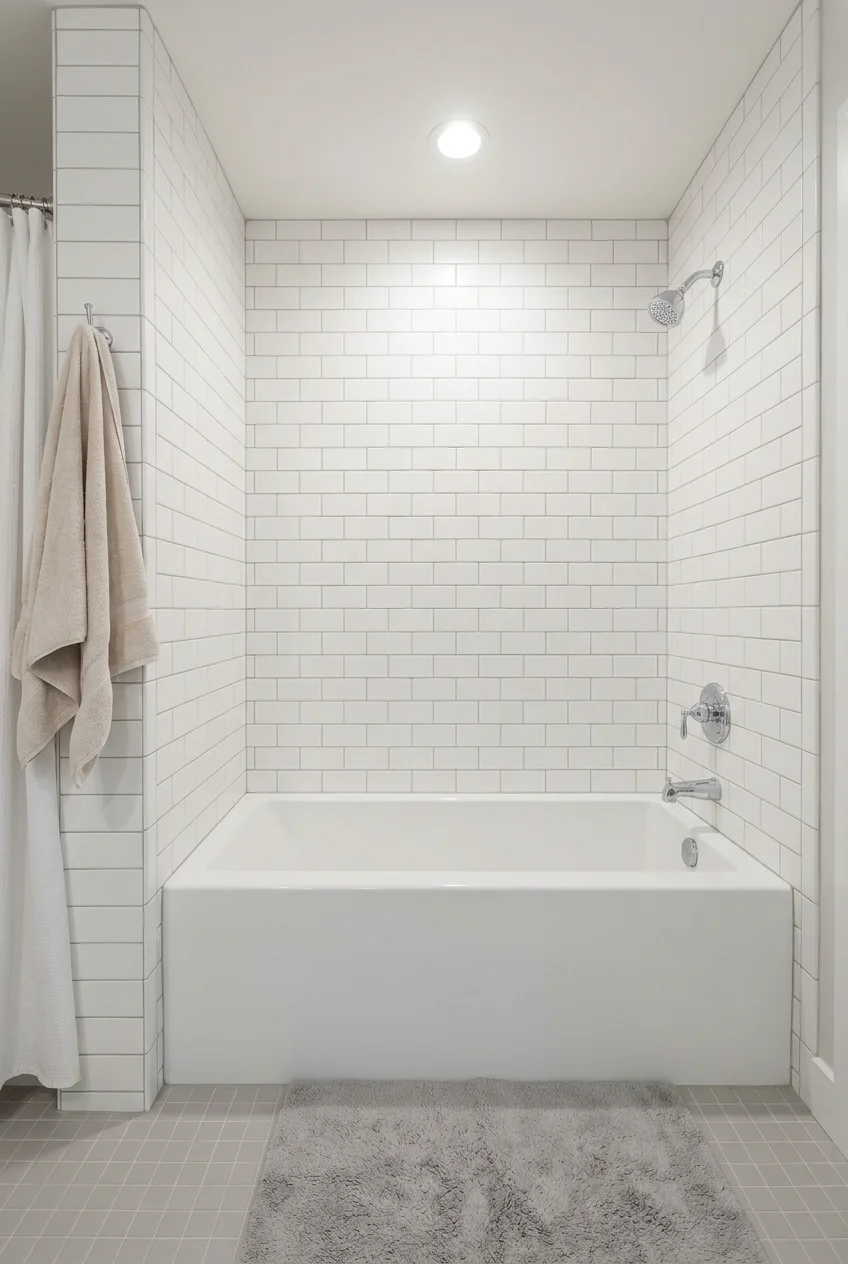
Keep an alcove tub when it is the only place in the house that works for baths. A new unit can refresh the room while retaining the overall layout.
Measure between the walls, check the finished opening and rough dimensions required, and verify the drain side from the manufacturer’s drawing before you order anything.
A deeper model can raise the step over the apron. Compare entry height and usable bathing depth when guests may include children or anyone with limited mobility.
Have the installer check the floor, access for waste connections, and how the surround will meet the tub flange. A same-footprint replacement can still require wall work.
18. Convert a Tub Alcove Into a Shower
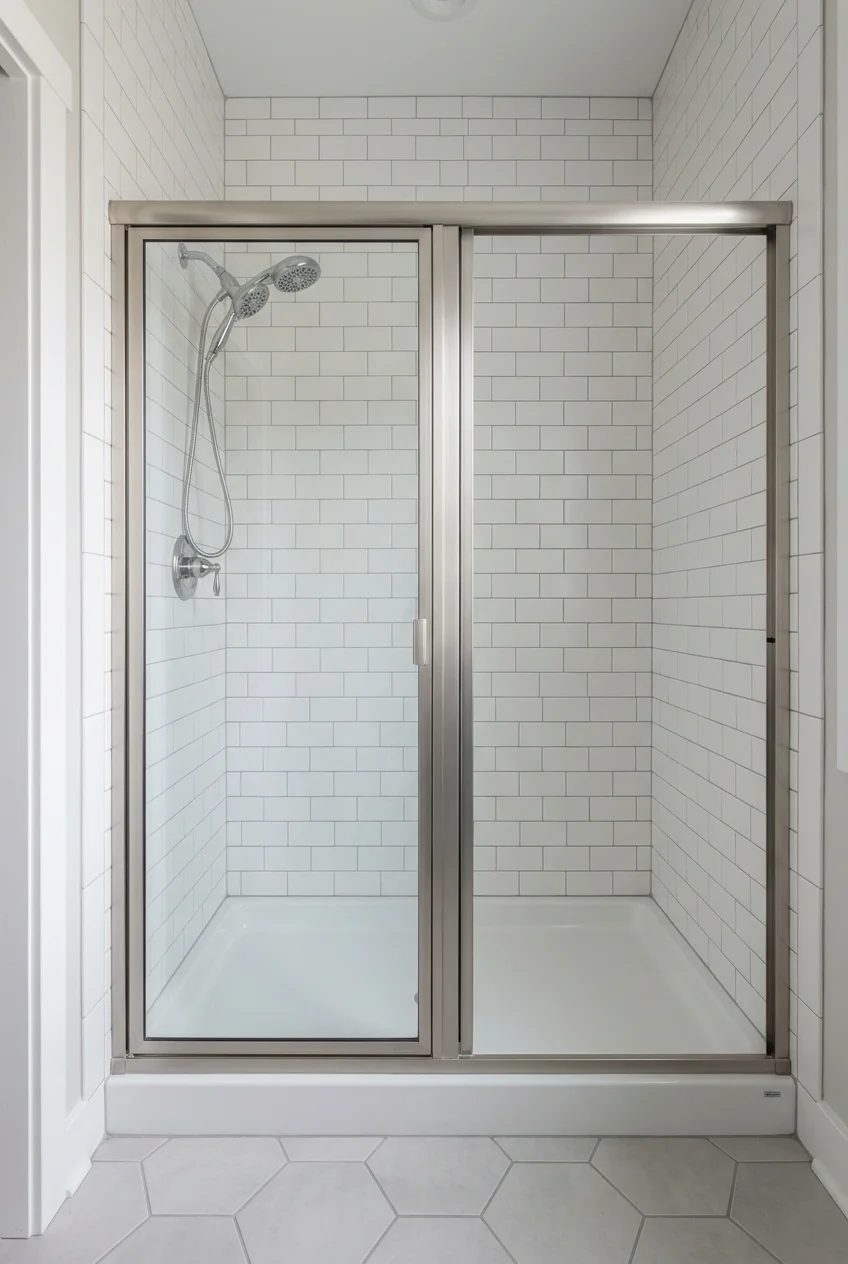
A tub-to-shower conversion makes sense when overnight guests mostly shower and you have another workable tub if the household needs one. Start with the actual alcove opening.
Ask the installer to compare premade bases and a custom pan using the finished dimensions. Confirm drain position, access beneath the floor, and where the waterproofing will terminate.
Set entry width and the door type before ordering fixtures. Tape the enclosure line and open the bathroom door to make sure the two openings can coexist.
Put the valve near the entry side if the plumbing and layout allow it. Test the reach so a guest can start the water before stepping under spray.
Ask the contractor to explain the waterproofing system and the required inspection or test before it is covered. Confirm who is responsible for fixing any leaks discovered.
Keep space outside the shower for a flat mat and a reachable towel. A new shower can work beautifully while its exit remains awkward to use.
These shower remodel ideas show more combinations of bases, wall treatments, and enclosures to compare once you have measured the alcove and mapped the entry.
- Confirm the base dimensions, drain position, and required plumbing work.
- Set the opening, door travel, and control location on the floor plan.
- Agree on waterproofing and testing before the finish materials go in.
19. Use a Sliding Door Where a Hinge Would Hit
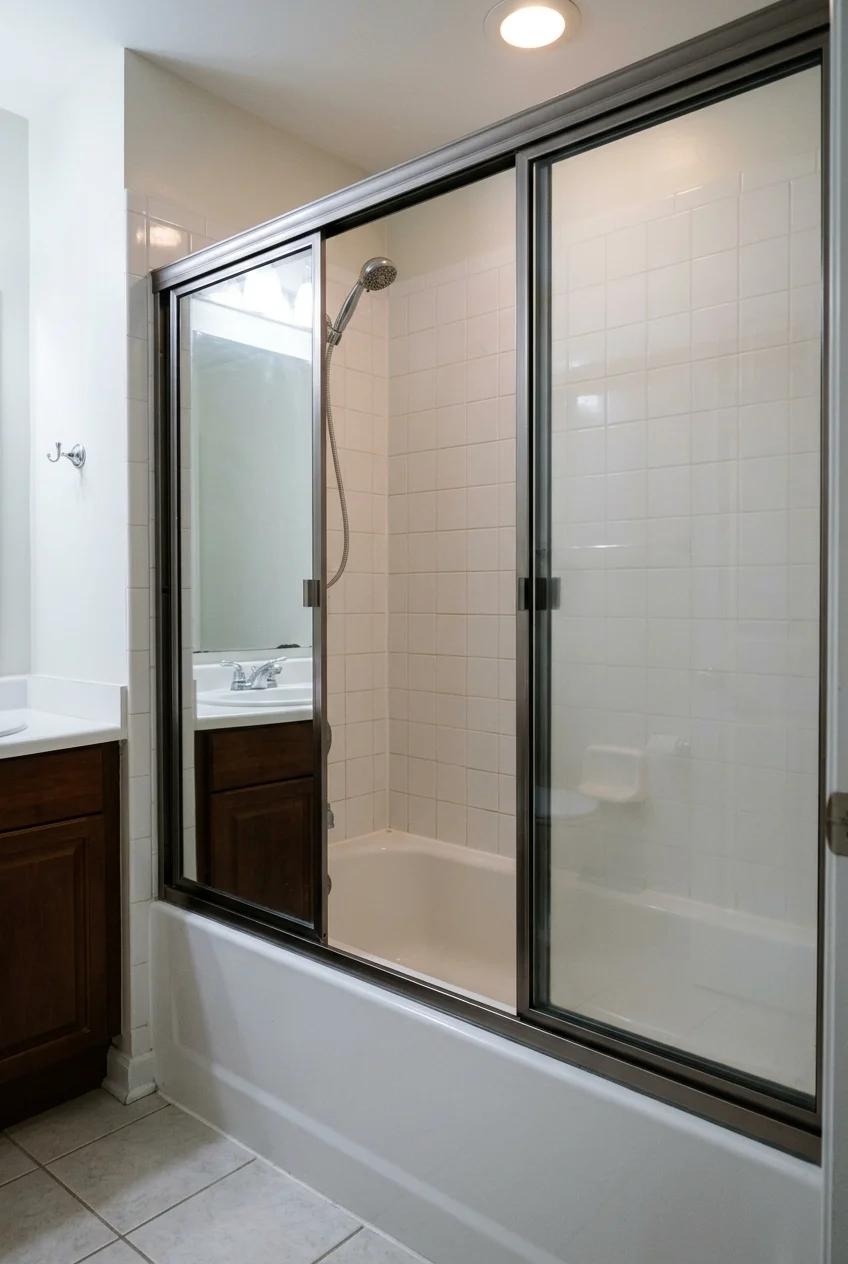
Choose a bypass shower door when a swinging panel would cross the vanity or toilet area. Compare the clear opening with both panels in their installed position.
A wider framed unit can still have a narrow entry. Try a display model or mark the opening with tape to check how it feels for your guests.
Look at how the track drains and whether you can reach its corners for cleaning. Confirm mounting dimensions and overlap with the enclosure manufacturer’s installation sheet.
20. Create a Low-Threshold Shower Entry
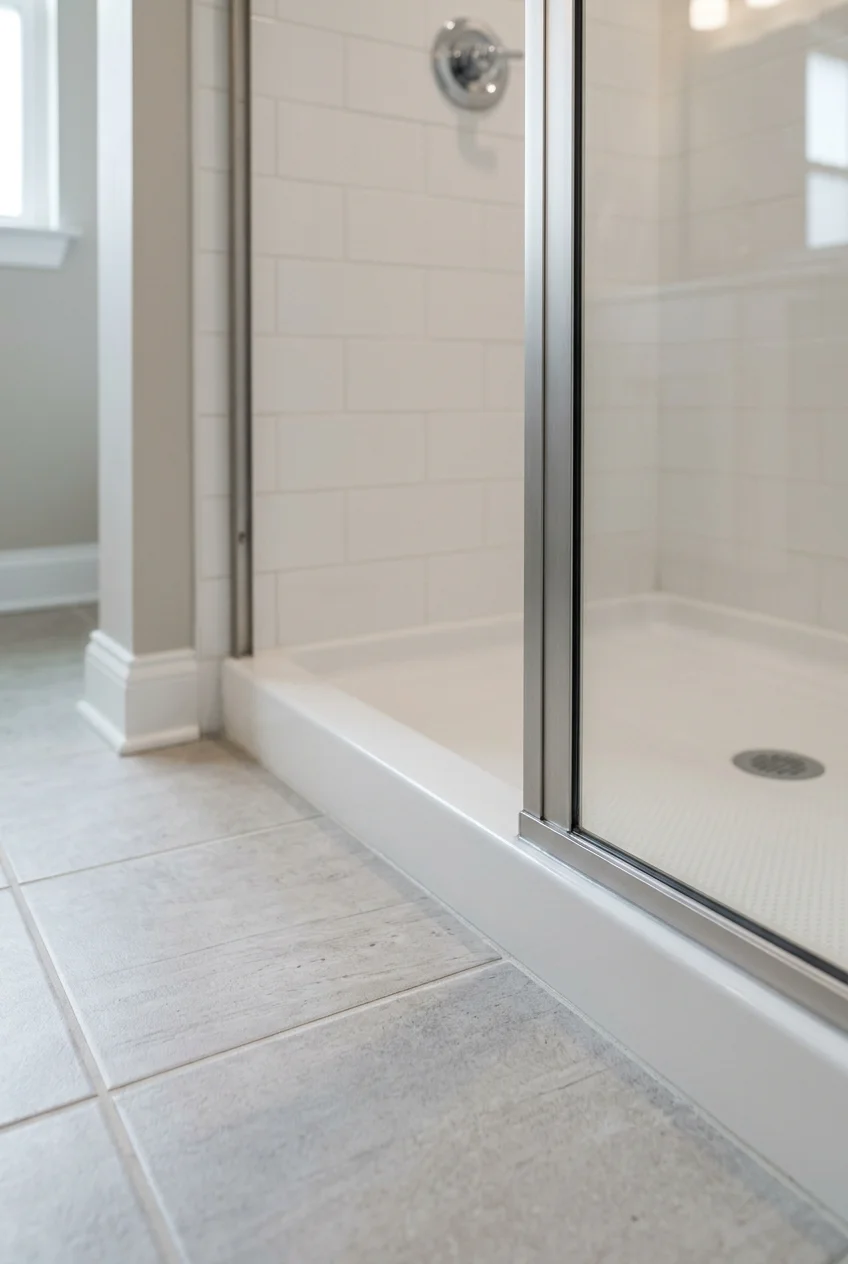
A low-threshold base reduces the step into a guest shower. Compare its installed entry height and edge shape with how each guest is likely to approach it.
Ask how the base will meet surrounding flooring and where water will go if it reaches the opening. Set the showerhead direction and enclosure design together.
A truly flush entry can require changes to the floor structure or finished floor height. Confirm that option before demolition if you want the contractor to price it.
Check the clear opening and space outside it, especially if a guest may use a mobility aid. A low threshold is one part of that plan.
Coordinate blocking for grab bars and the control location before the wall closes. Ask the installer to confirm the layout against the needs of the specific users.
21. Give the Shower Walls a Direct-to-Stud Panel Surround
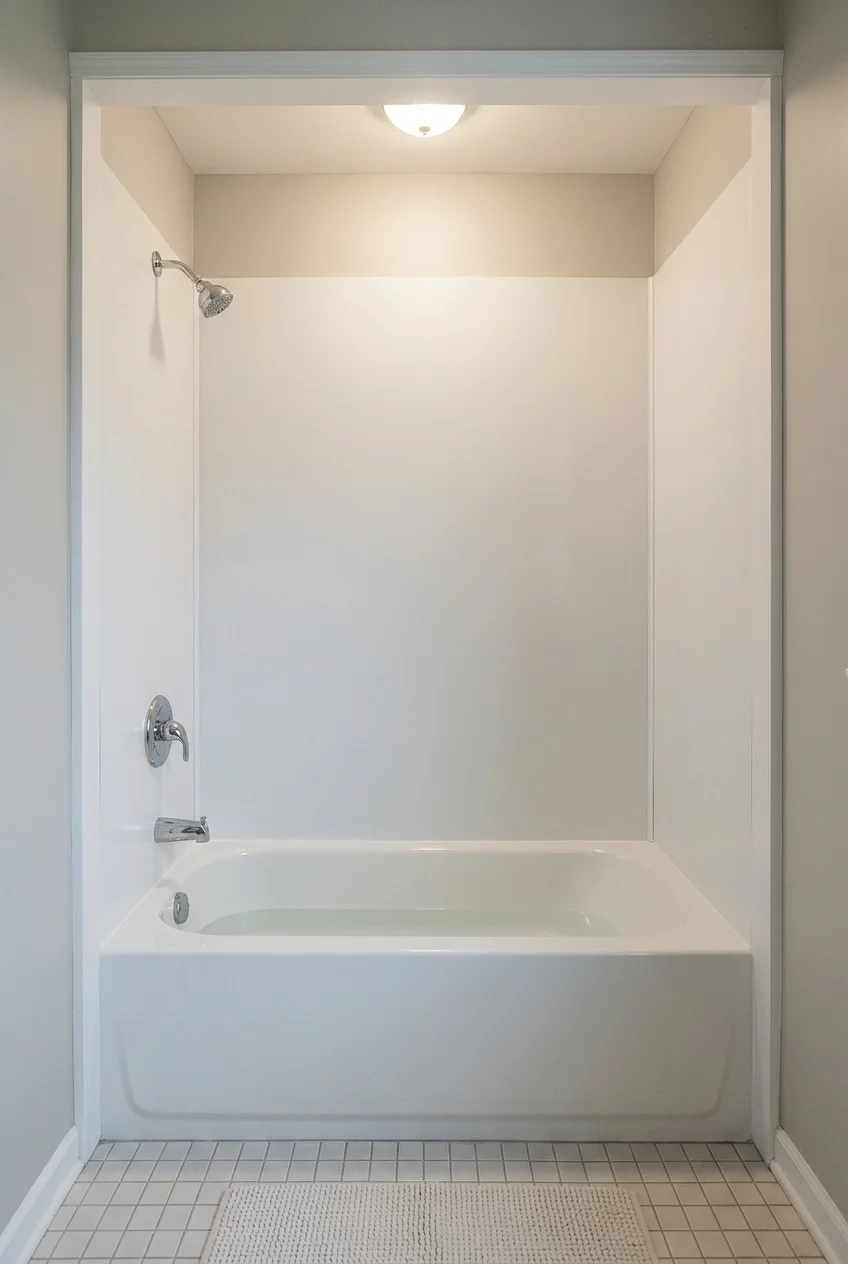
A compatible direct-to-stud surround gives a stripped alcove a finished surface with fewer tile joints to clean. Pick it together with the base or tub.
Check that the panels pass through stairs and doors before delivery. Compare the required stud opening and valve locations with the installation drawing while the walls are still accessible.
Use the manufacturer’s approved sealing and fastening instructions. Ask about reinforcement if you plan to install a grab bar, since the panels alone may provide inadequate support.
22. Place a Shower Shelf Inside the Stud Bay
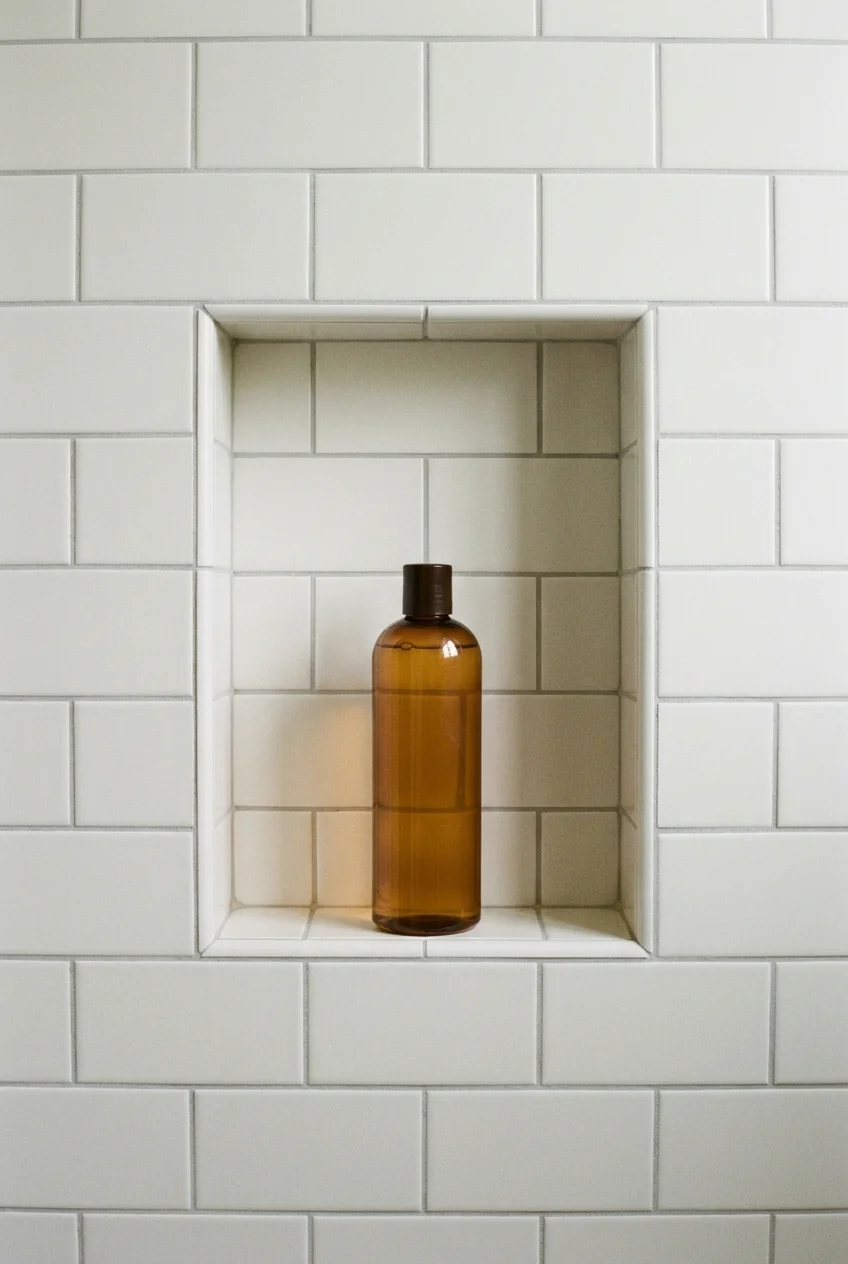
A recessed niche keeps bottles off the tub edge and out of elbow space. Map its height against the tallest bottles you want guests to use.
Ask the installer to locate framing, pipes, and wiring before choosing a bay. An interior wall with space for the chosen assembly can simplify the layout.
Confirm how the niche ties into the shower waterproofing system and how the sill will drain. Align visible edges with the tile layout before cutting anything.
If the wall is crowded or already finished, a compatible surface-mounted shelf may be easier. Position it outside the path of elbows and away from direct spray where practical.
23. Add an Adjustable Handheld Showerhead
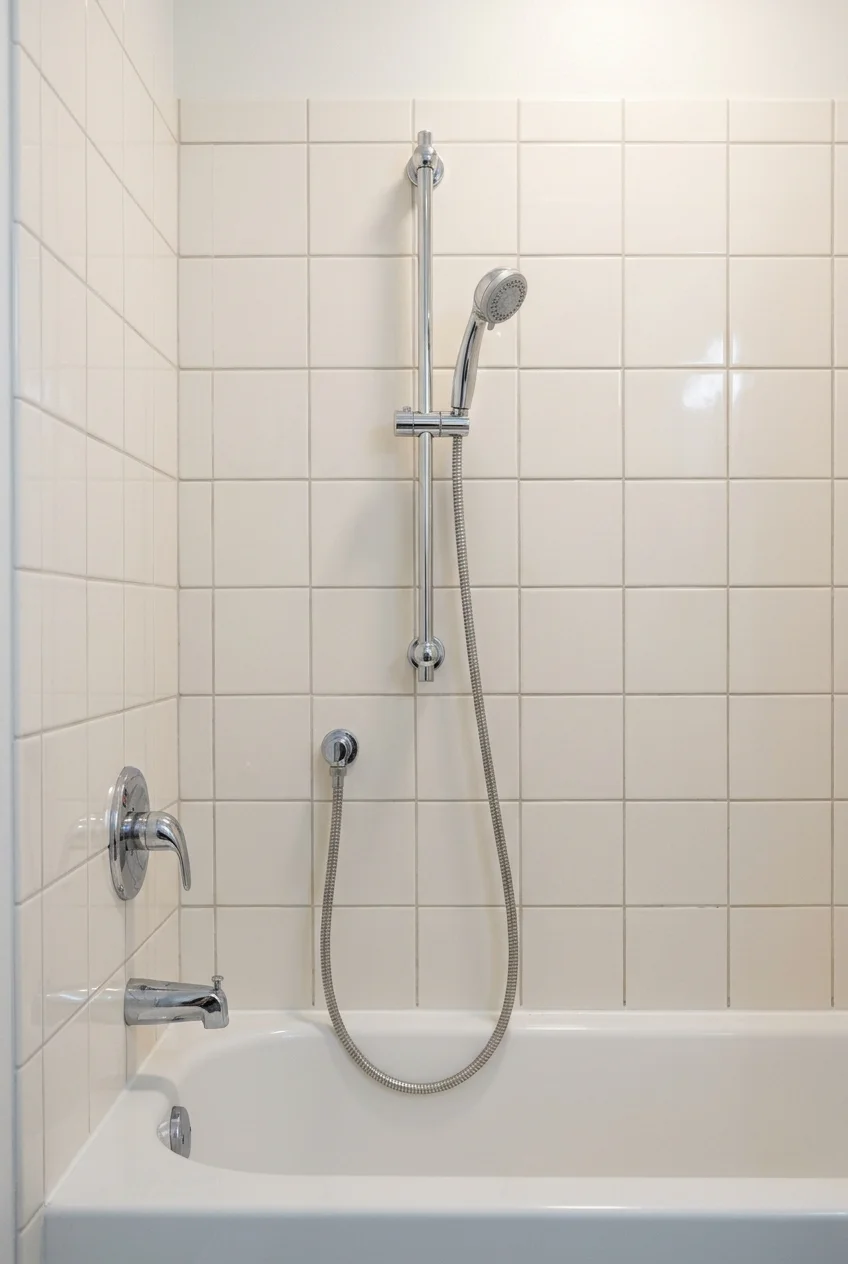
An adjustable handheld showerhead gives overnight guests a more comfortable reach and helps when rinsing the tub. Pick a head they can remove and replace easily.
Confirm whether the wall bar needs new anchors and whether the hose can hang without touching the tub floor. Have the installer plan its placement before drilling.
Keep a separate grab bar if someone needs support. A showerhead slide bar should be treated as a fixture holder unless its manufacturer specifically rates it for support.
24. Install a Grab Bar Where Guests Step In
Image pending: No image is attached to this draft for idea 24 (image-24).
Place a properly rated grab bar where a guest needs to steady themselves entering the tub or shower. Plan its position with the user before work begins.
Ask the installer which structural support and fasteners the listed bar requires. For existing tile, have them verify the substrate and seal penetrations using the approved system details.
Check the bar position with the curtain or door open and the controls reachable. Guests should be able to step through the opening without an awkward reach.
If the walls are open but needs may change, ask the contractor where to add backing and document its location. Keep the drawings with the bathroom records.
25. Specify Shower Floor Tile for the Actual Pan
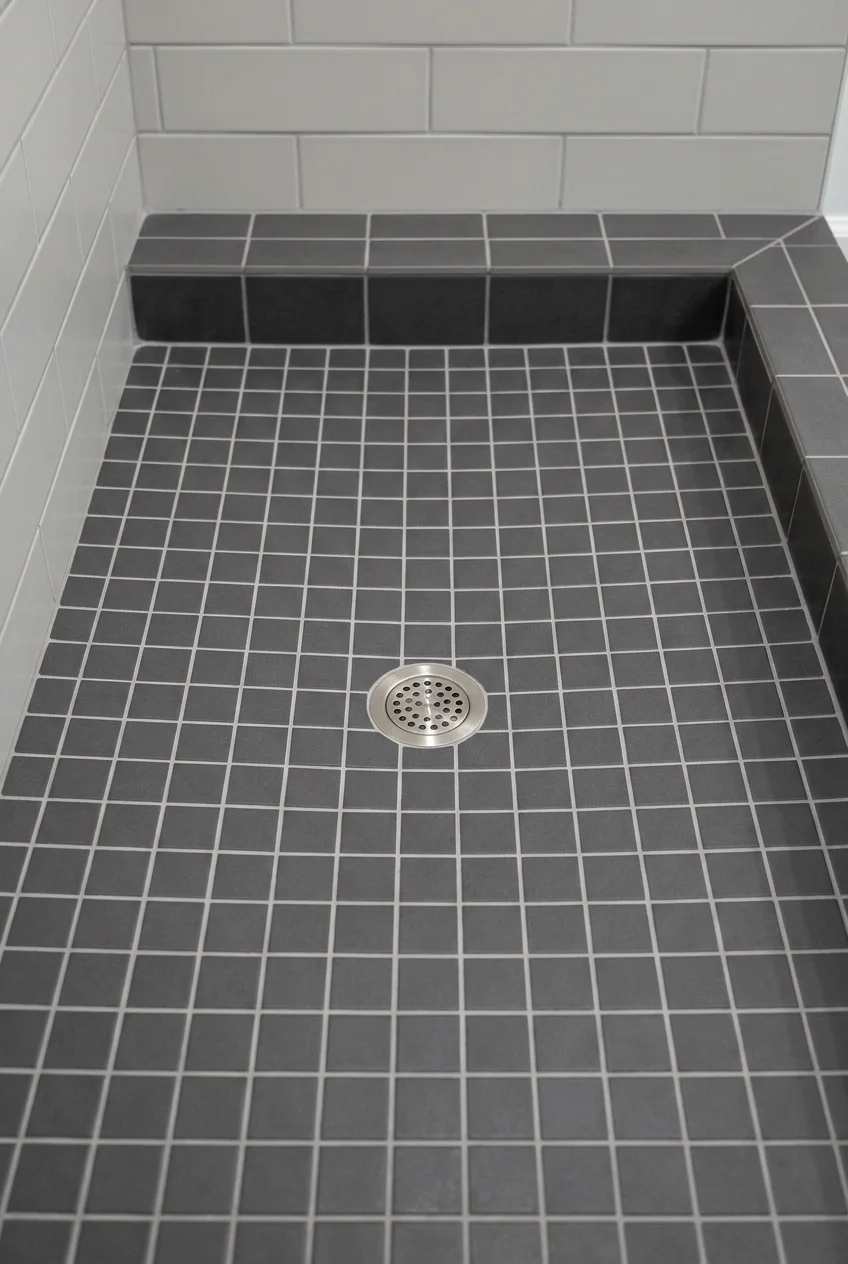
Choose floor tile approved by its manufacturer for the shower application you are building. A tile suitable for a level bathroom floor may have different shower limitations.
Ask the installer to check how the tile will follow the slope and meet the drain. Small tiles often conform more readily to a pan that slopes inward.
Review the tile, grout, and required cleaning together. Feel a sample underfoot and check the recommended use before selecting a textured surface from a catalog photo.
Preview tile cuts at the drain and the entry before installation. A centered pattern can shift if drain positioning or shower walls dictate where full pieces can start.
Build Storage Into the Vanity Wall
Use the sink area for things guests can find quickly. Let the room’s plumbing, wall depth, and traffic decide which storage is worth building.
26. Float the Vanity Above the Floor
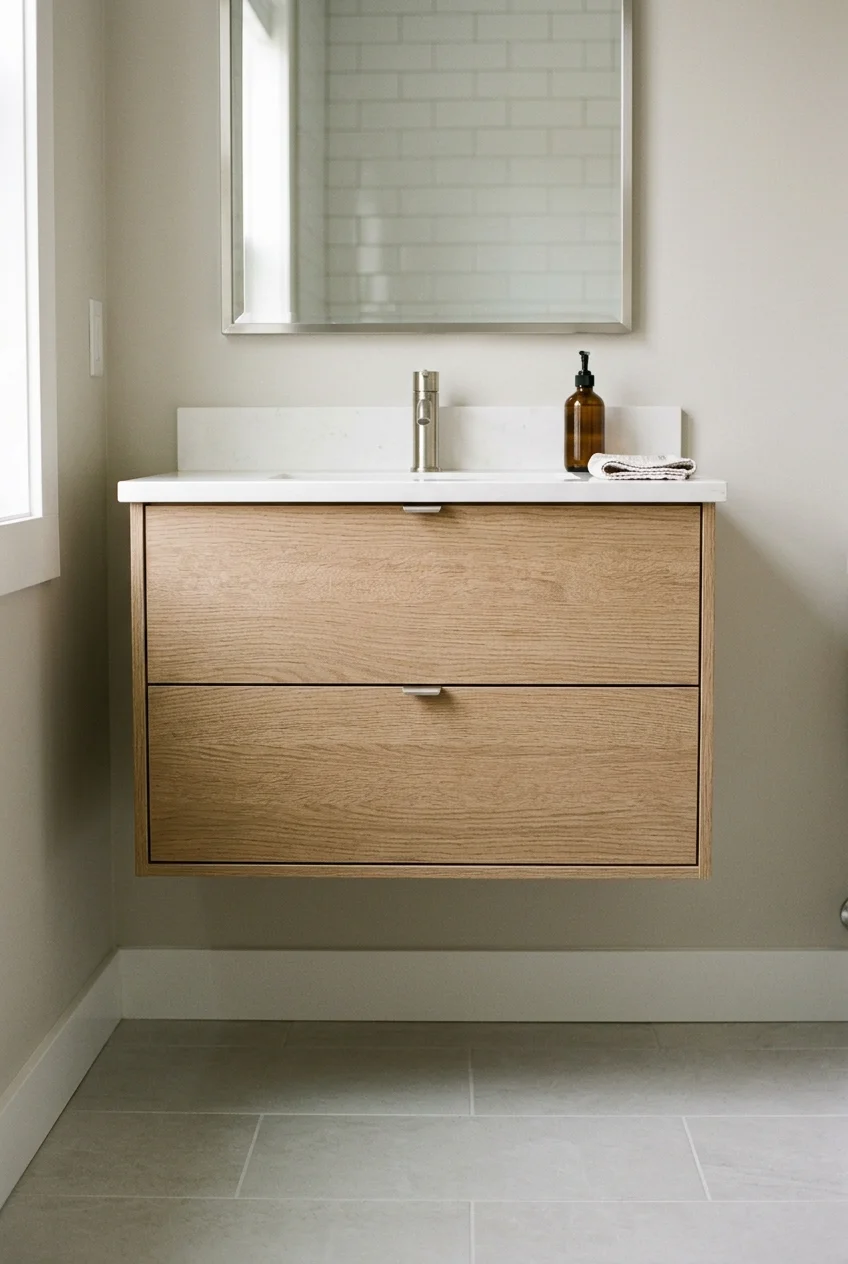
A floating vanity makes continuous flooring visible and leaves room underneath for cleaning. Choose a model with enough cabinet storage for the items you want off the counter.
Confirm the wall support and drain height before ordering. Drawers need room around the trap, and exposed supply lines below the cabinet can undermine a tidy installation.
Check the finished basin height, including the top. If the cabinet is raised too high just to show more floor, handwashing can become uncomfortable for shorter guests.
Compare more bathroom vanity designs if you need a cabinet that trades some shelf space for a wider basin or additional standing room.
27. Gain Standing Space With a Wall-Mounted Basin
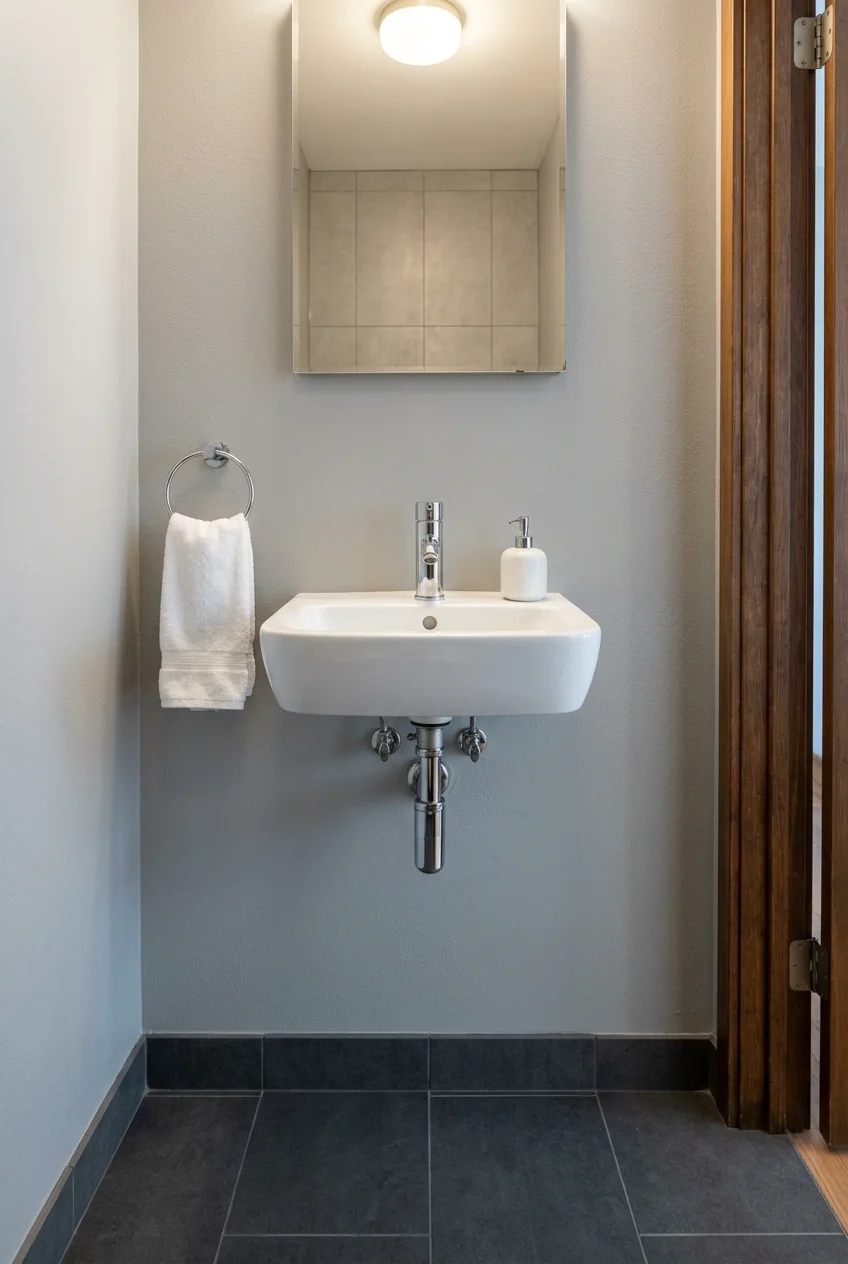
A wall-mounted basin can keep a very small half bath usable when a cabinet would crowd the entry. Pick a bowl deep enough to catch everyday handwashing splashes.
Plan where the soap and hand towel will go without using the basin rim. A small deck or nearby wall-mounted holder can keep the sink free.
Have the installer confirm wall support, trap placement, and mounting height. Check that the exposed components sit close enough to the wall to leave a comfortable approach.
28. Offset the Basin to Create One Useful Counter
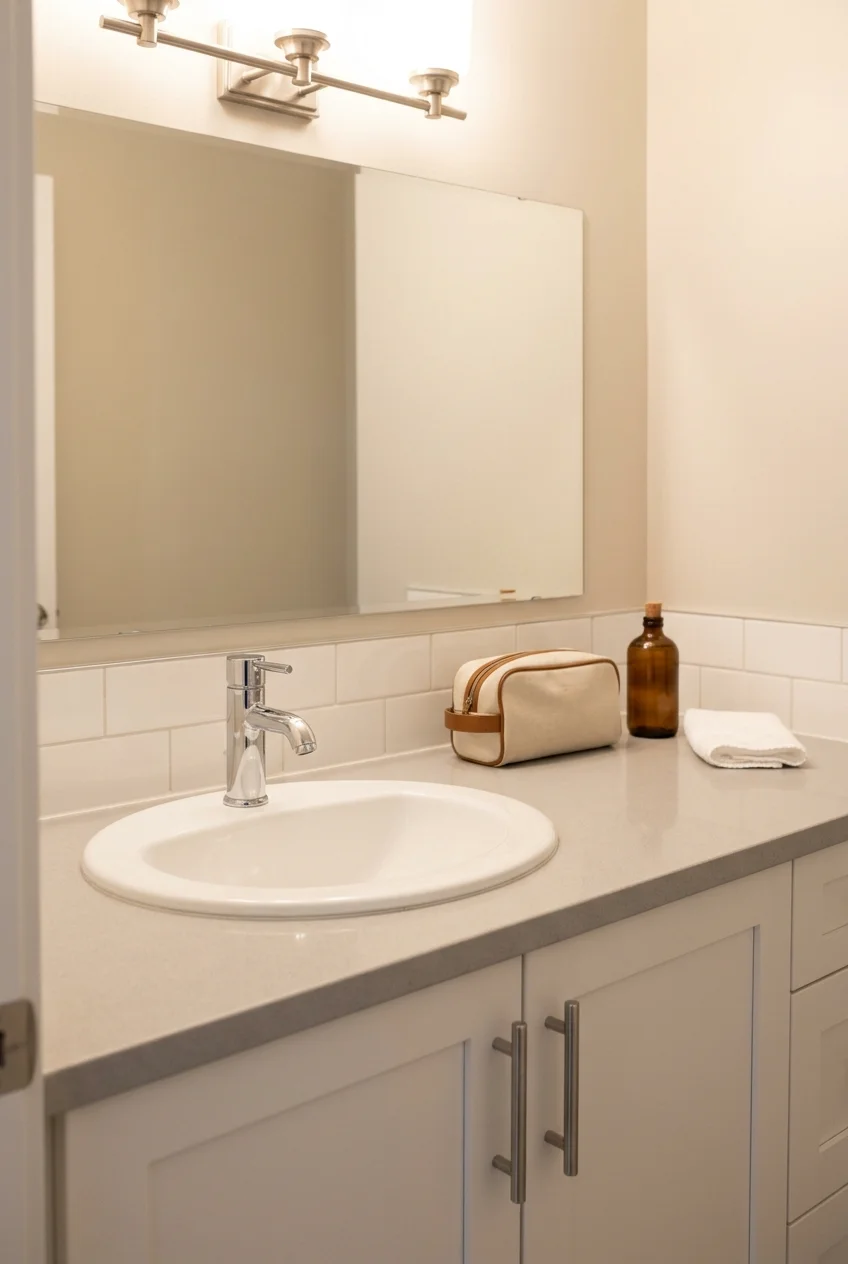
An offset basin creates one wide counter zone instead of two narrow strips. Put that usable surface on the side a guest can comfortably reach from the doorway.
Measure the clear landing with the sink and faucet drawn to scale. Check how much space a soap dispenser and a toiletry bag actually need side by side.
Recheck the drain location against the cabinet interior. If you plan to keep drawers below the landing, order a cabinet designed for the direction of the offset.
29. Specify Drawers That Fit Around the Drain
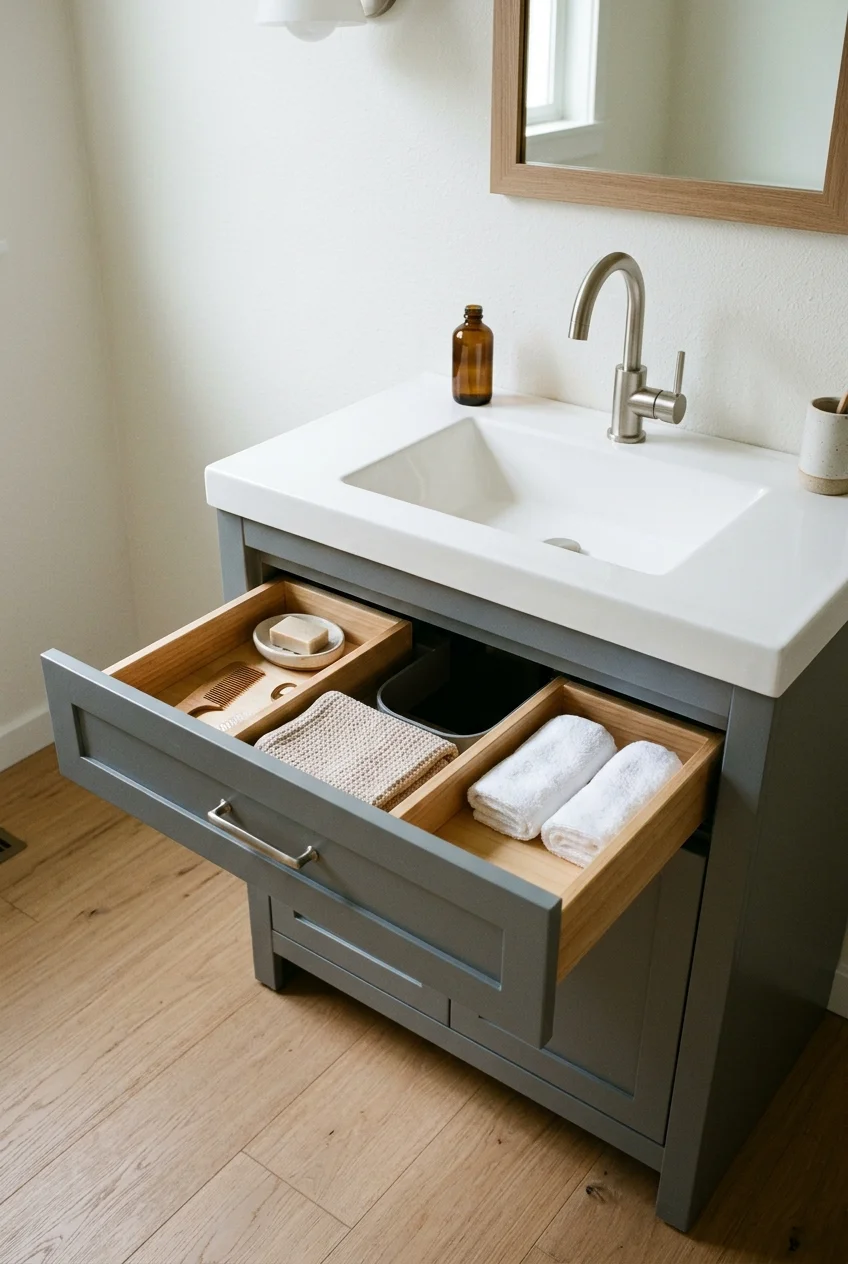
Drawers shaped around the trap let guests reach supplies from above. Compare the usable interior, since a wide drawer front can hide a much smaller tray.
Measure your towels and spare toiletries against each compartment. Put items guests need first in the upper drawer and reserve the lower one for heavier items.
Ask that the plumbing stay serviceable once drawers are installed. A drawer that can be removed with ordinary access makes it easier to reach the shutoffs later.
30. Add a Recessed Medicine Cabinet for Guest Toiletries
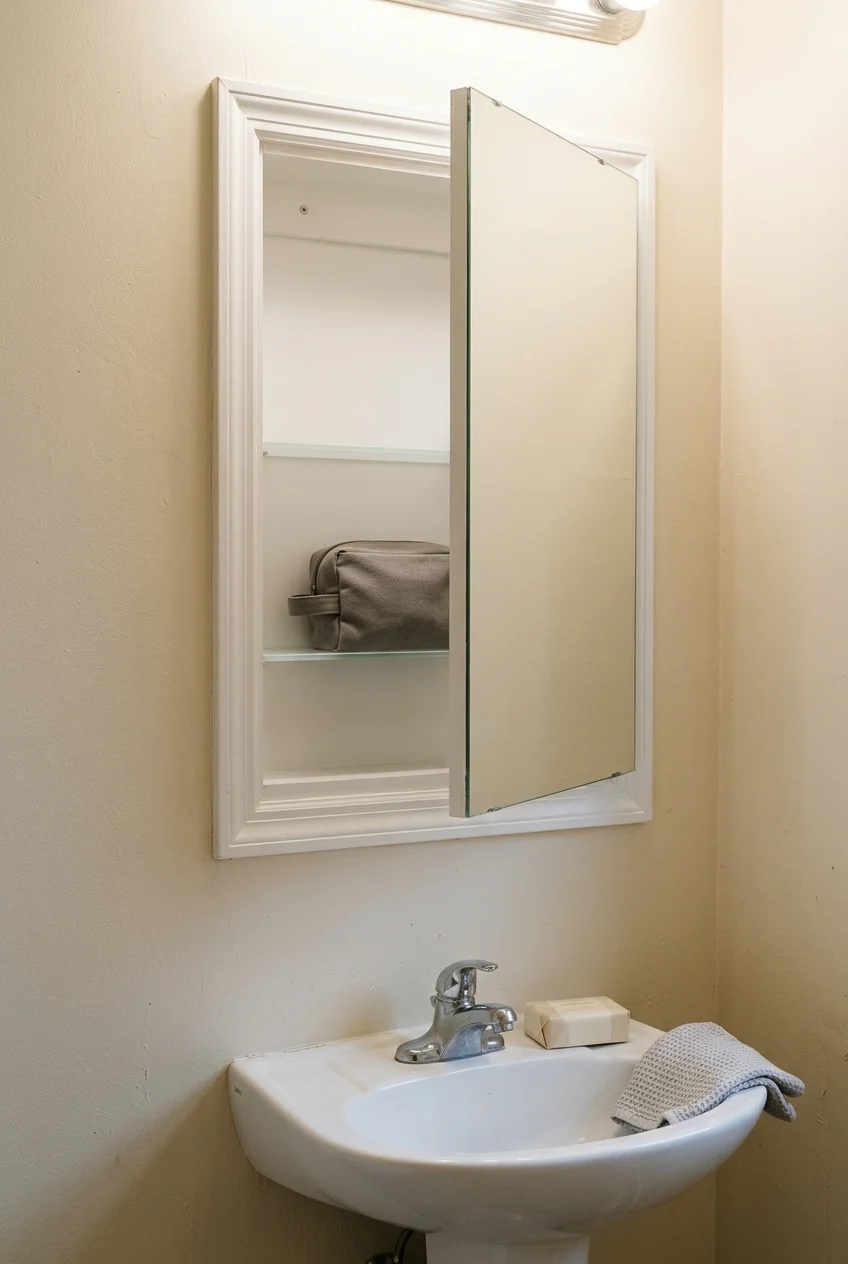
A recessed mirrored cabinet hides small guest toiletries without pushing a storage box over the sink. Confirm that its shelves fit tall items such as a toothbrush cup.
Have the installer check for wiring, vent pipes, and framing in the intended bay. Adjust the cabinet position or choose a surface-mount model if the wall is crowded.
Check the mirror door swing against light fixtures and nearby walls. When the door is open, guests should still be able to stand comfortably at the sink.
31. Fit a Narrow Closed Cabinet Beside the Sink
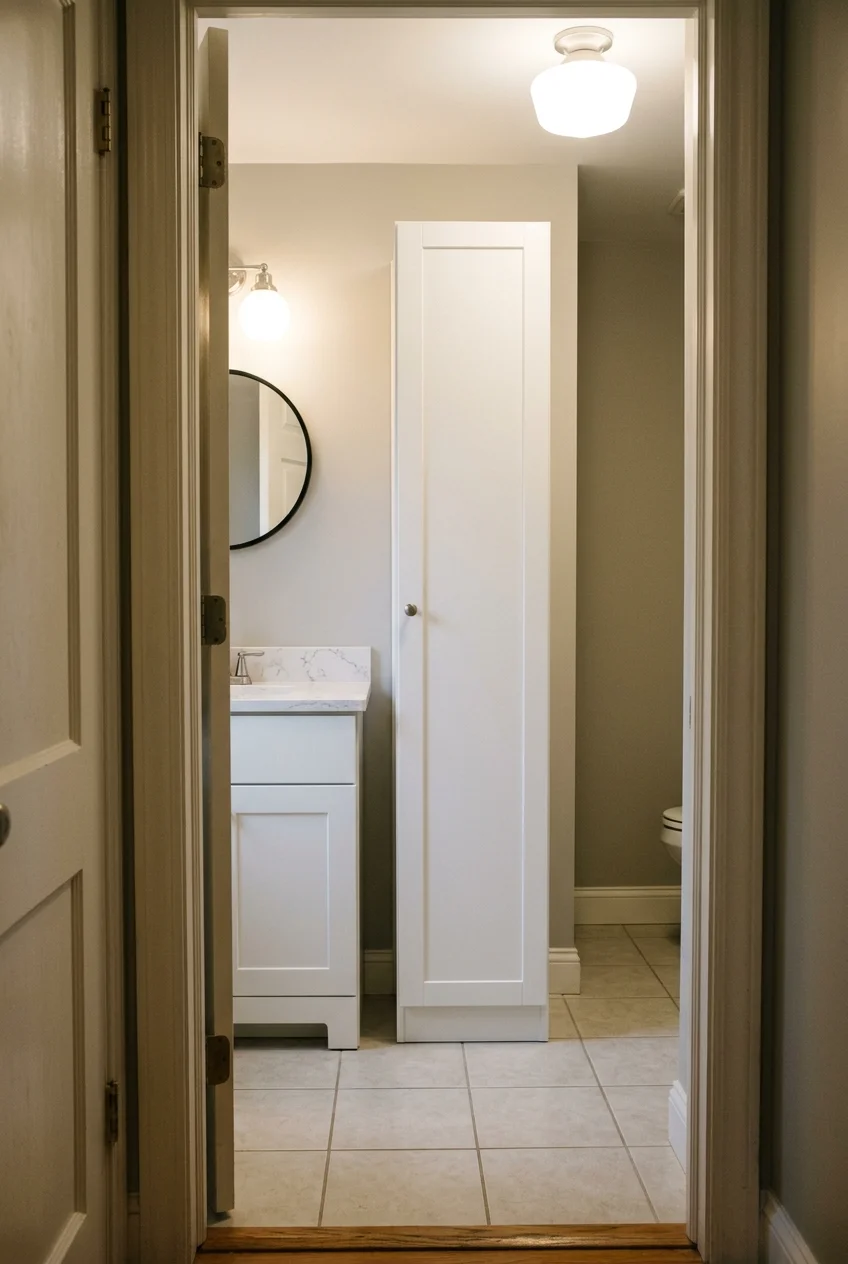
A narrow vertical cabinet can hold stacked hand towels when adding width to the vanity would crowd the room. Compare the full cabinet depth including pulls.
Mark the door swing and keep the bottom shelves clear of damp flooring. Follow the manufacturer’s wall anchoring instructions, especially if the unit is tall and freestanding.
Choose shelf spacing by folding one towel the way you usually fold it. A deeper cabinet is useful only if it leaves comfortable standing room at the sink.
32. Use a Small Open Towel Cubby Below the Counter
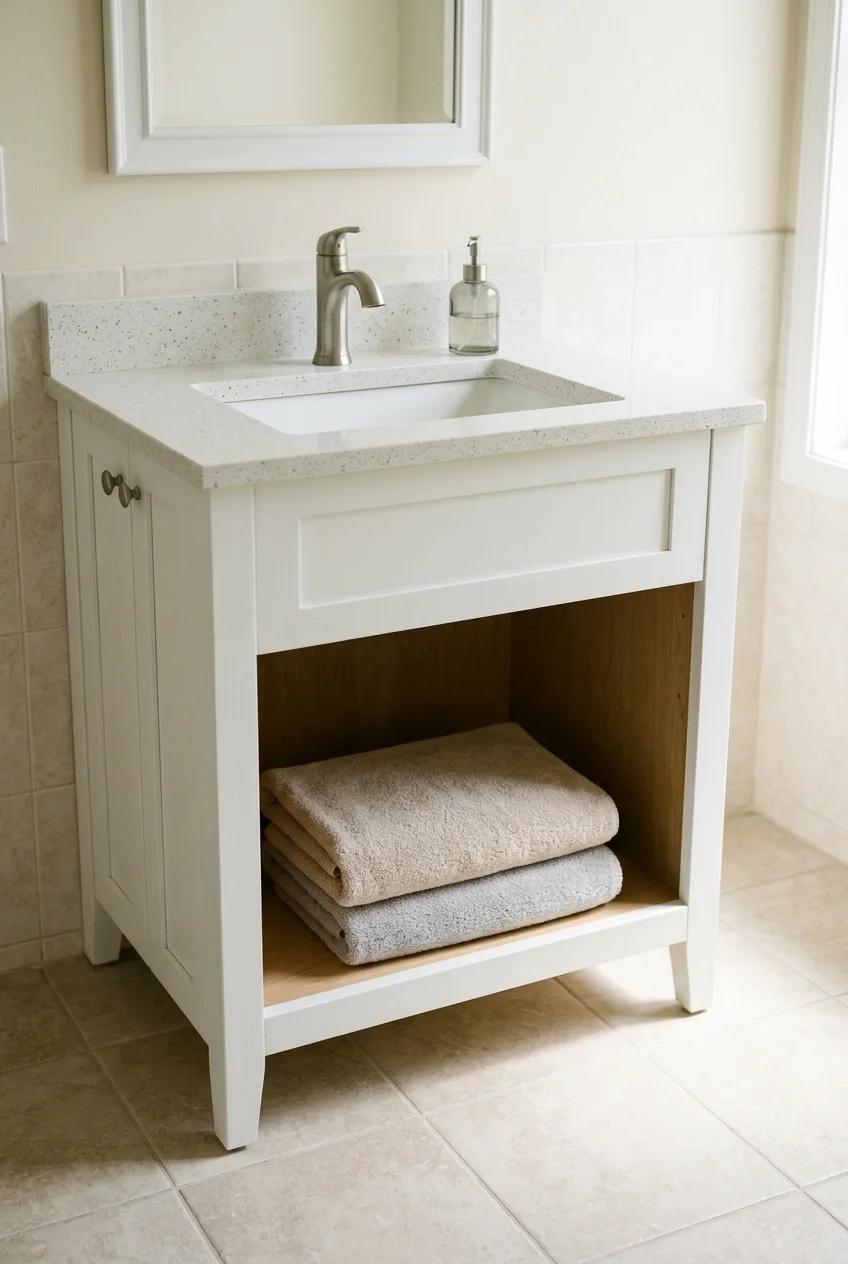
An open cubby tells guests where fresh towels belong without asking them to open cabinets. Size it to one folded stack and put it outside the heaviest splash zone.
Choose a wipeable shelf and leave enough space above the stack to lift a towel out. Keep extra linens in closed storage until they are needed.
33. Add One Slim Tray Inside a Vanity Door
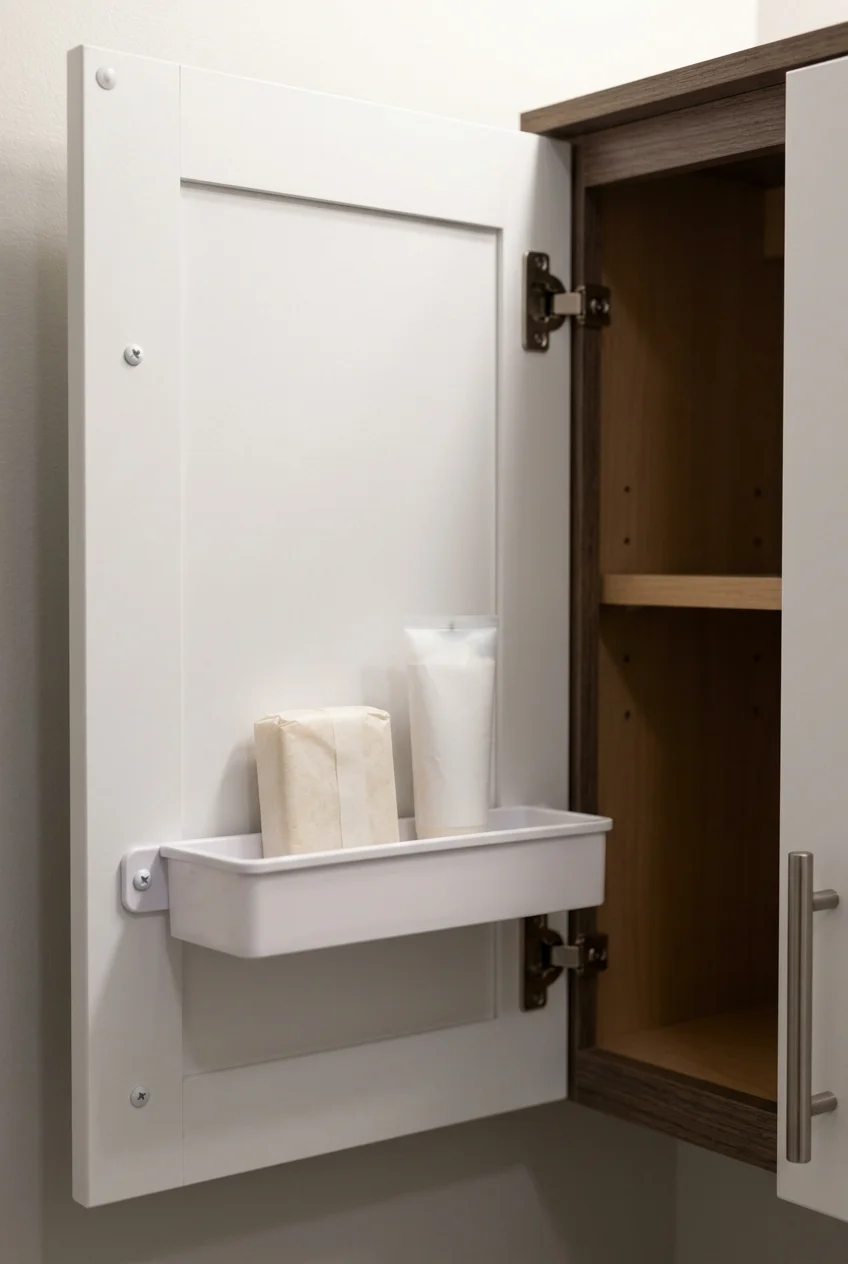
A slim door-mounted tray can keep unopened guest essentials easy to spot. Use it for lightweight items that fit comfortably inside the cabinet’s existing footprint.
Close the door slowly with the tray temporarily positioned. Check its path past the trap, shelves, and shutoff valves before installing it with the recommended hardware.
Choose Finishes That Earn Their Space
Small rooms give you a close look at every edge and joint. Use samples and simple layouts to make the finishes easier to live with.
Browse these small bathroom renovation ideas for more ways to plan around existing layouts, especially when replacing the floor reveals other changes worth pricing together.
34. Tile Only the Sink Wall to Chair-Rail Height
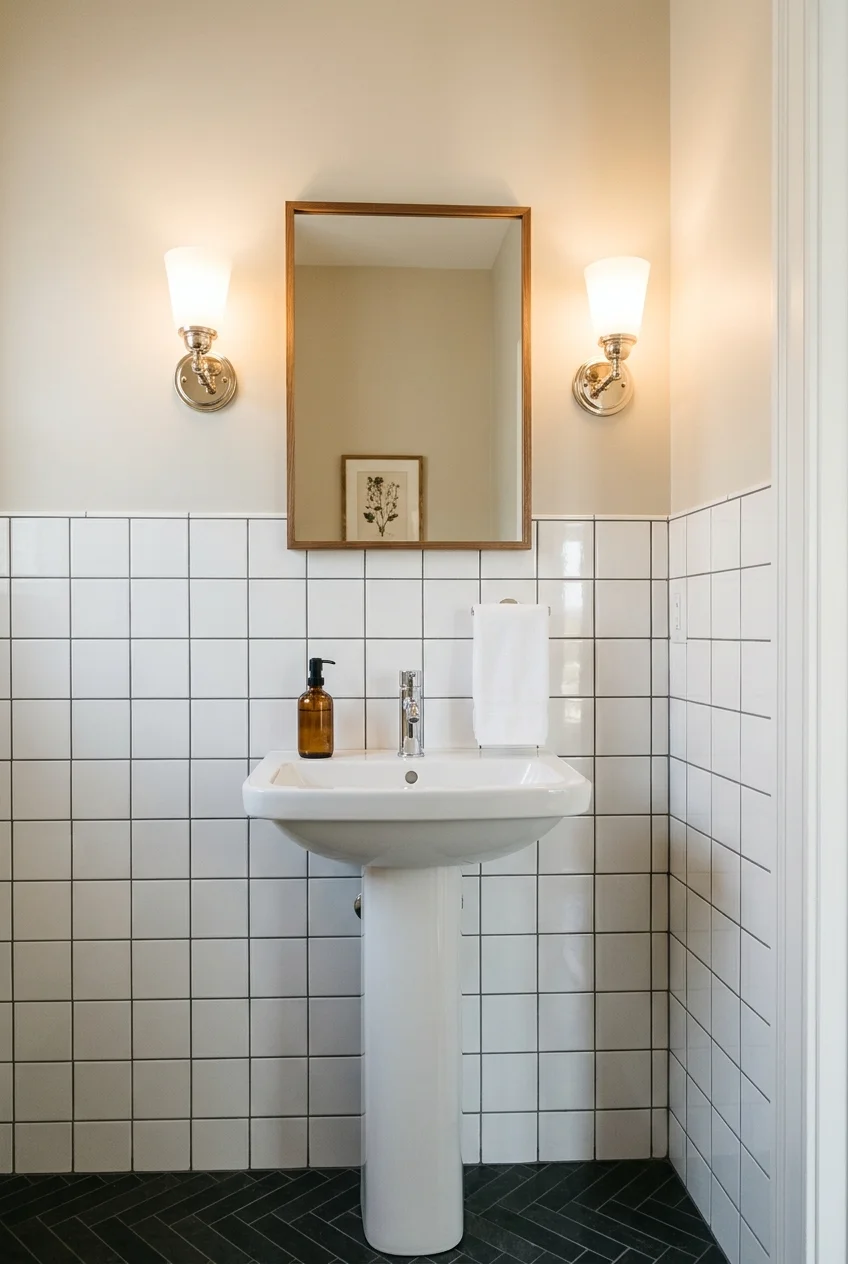
A partial tile wall adds a wipeable surface behind the sink while giving a small powder room a clear stopping point. Let the tile end at an inside corner.
Set the top line in relation to the mirror and switch plates. Choosing the height from an actual tile layout can avoid skinny cuts along the top.
Specify a compatible cap or edge trim before installation. Use the paint above it to connect the tiled wall with the rest of the room.
35. Run Vertical Tile Up the Shower Back Wall
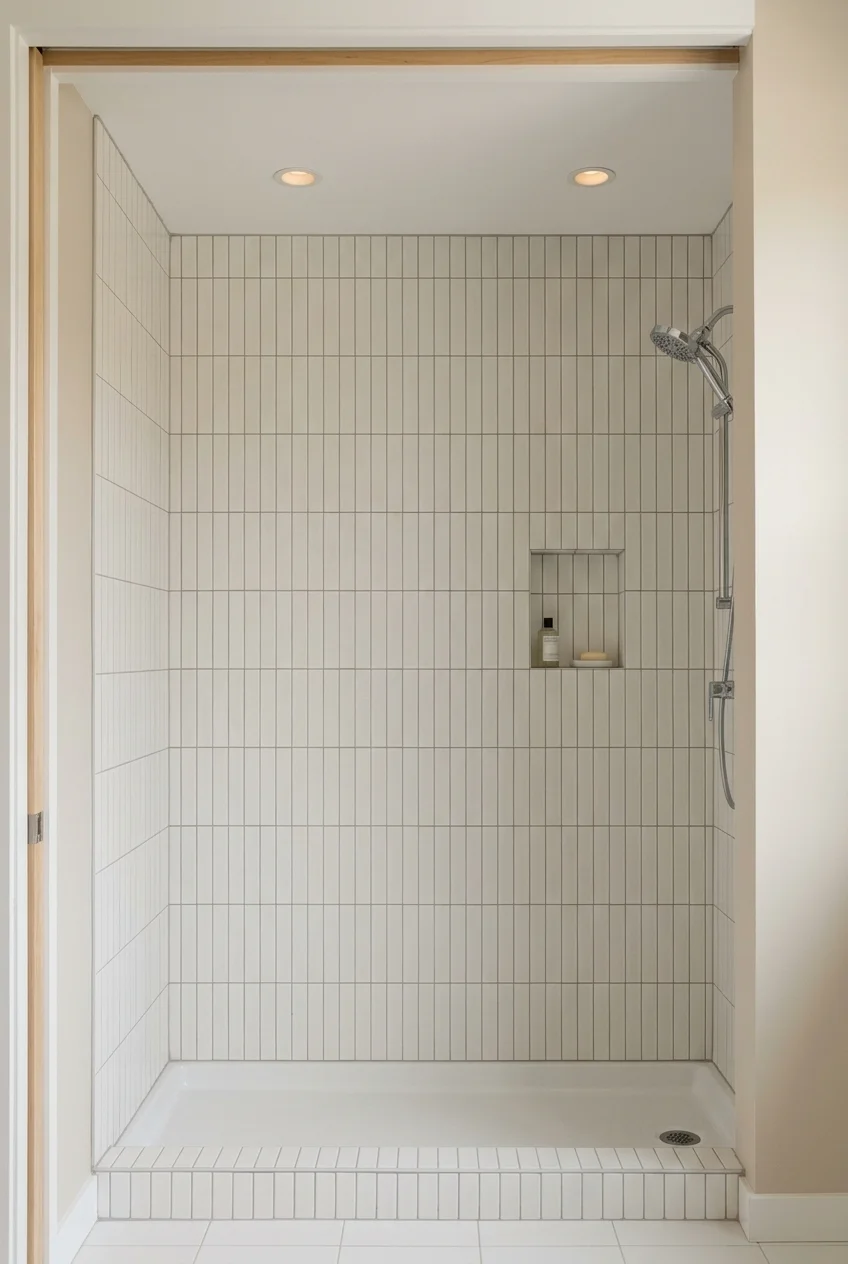
Vertical tile can draw the eye up a low shower wall without changing the footprint. Use a simple straight stack if you want the lines to read clearly.
Dry lay the layout before installation and check where the top and bottom cuts will land. Align a centered or full tile with the main sightline.
Resolve trim at the outside edge and the ceiling transition early. Keep the adjacent surfaces quieter if the narrow tile joints already give the wall enough detail.
36. Set a Sheet Floor With Few Seams
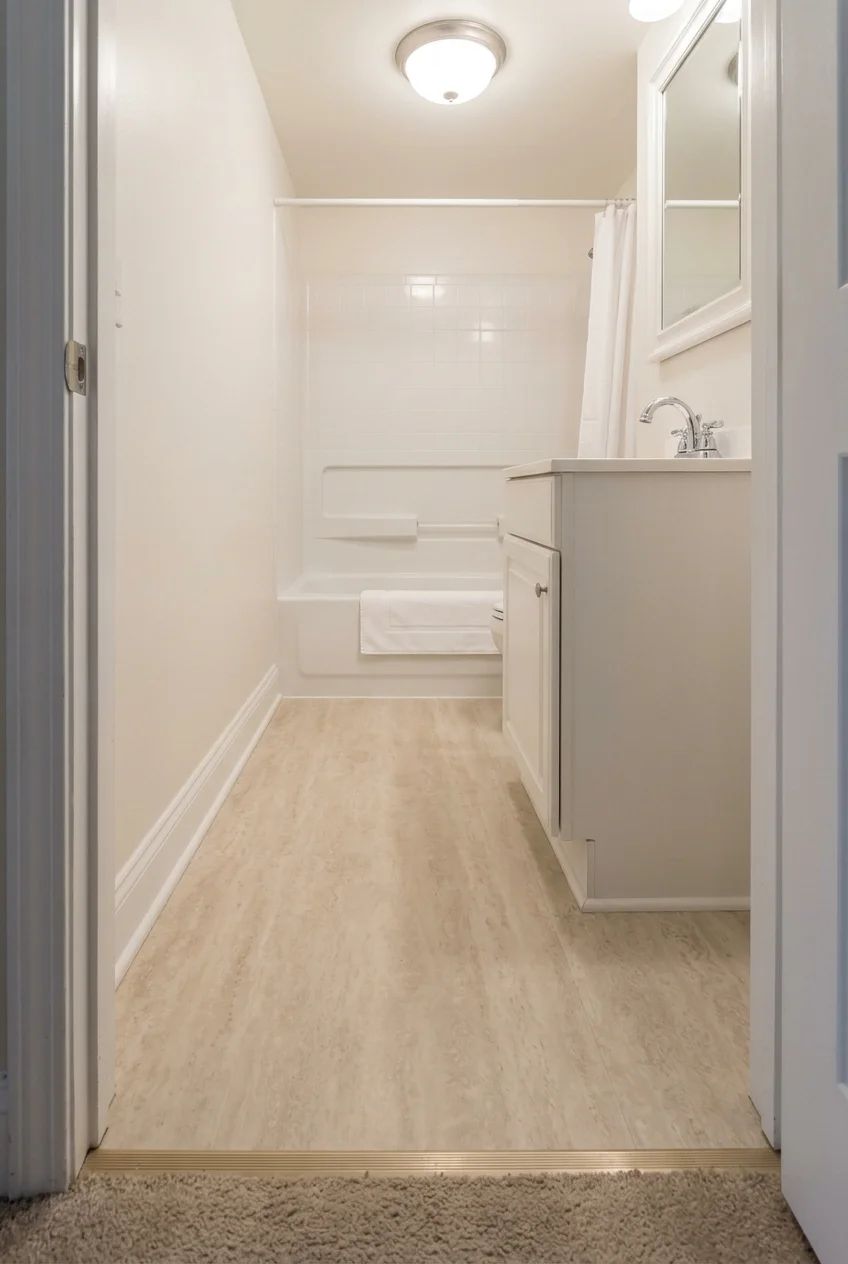
Sheet vinyl can suit a small guest bath when you want a continuous floor with minimal joints. Choose a product explicitly approved for the room and substrate.
Measure around the toilet and vanity and ask where seams would land. Plan the tub edge, doorway transition, and fixture penetrations with the installer before cutting.
Confirm which material will be removed and how flat the subfloor must be. Patching or leveling can affect the final height at the threshold.
37. Lay Larger Tile Outside the Shower
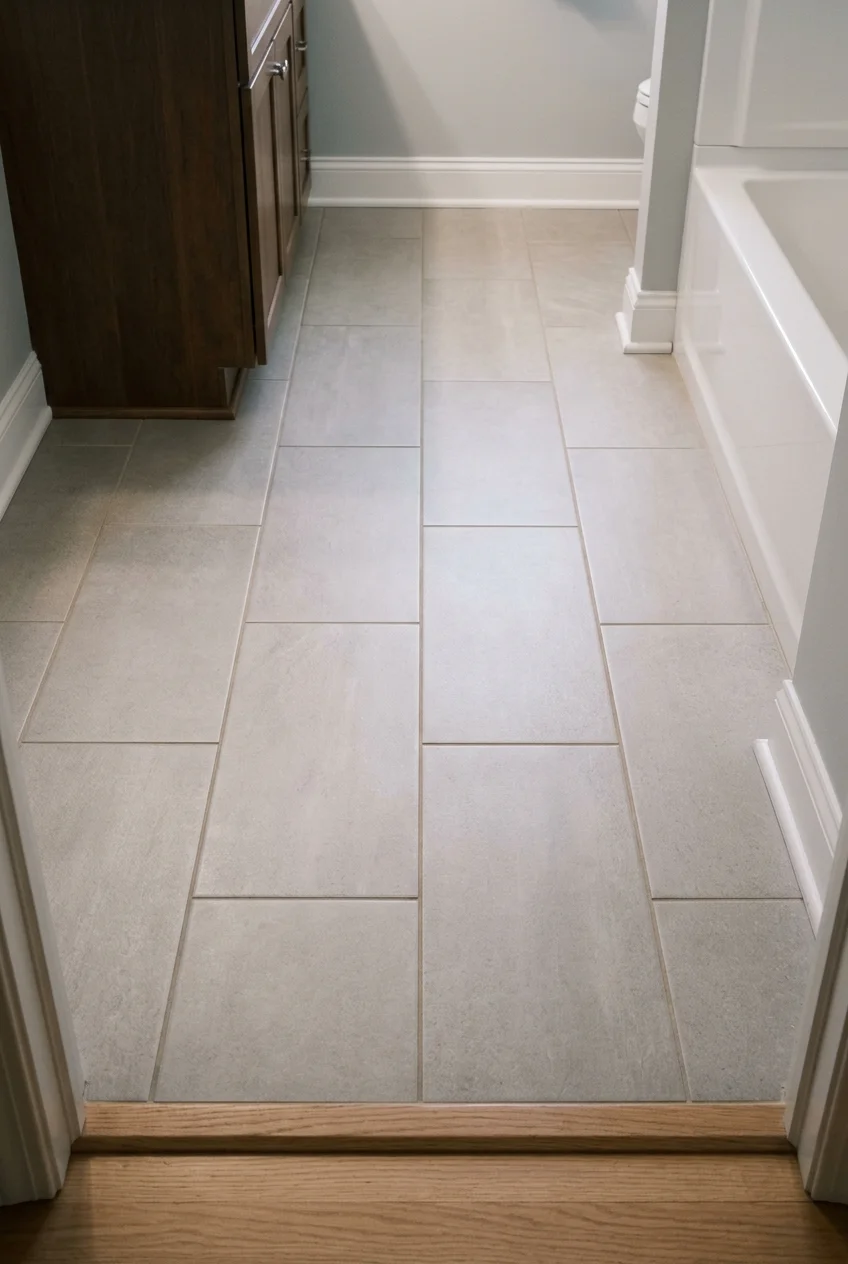
Larger floor tiles can reduce the number of visible grout lines in a modest bath. Check the resulting layout around the doorway, toilet, and vanity first.
Ask the installer to check substrate flatness and the tile’s recommended use. A large format that suits the dry side can be hard to fit around a shower drain.
Center the grid where it gives the doorway the cleanest cuts. Protect the threshold height and reserve a clean place for the transition to the hall floor.
38. Make the Hallway Threshold Easier to Cross
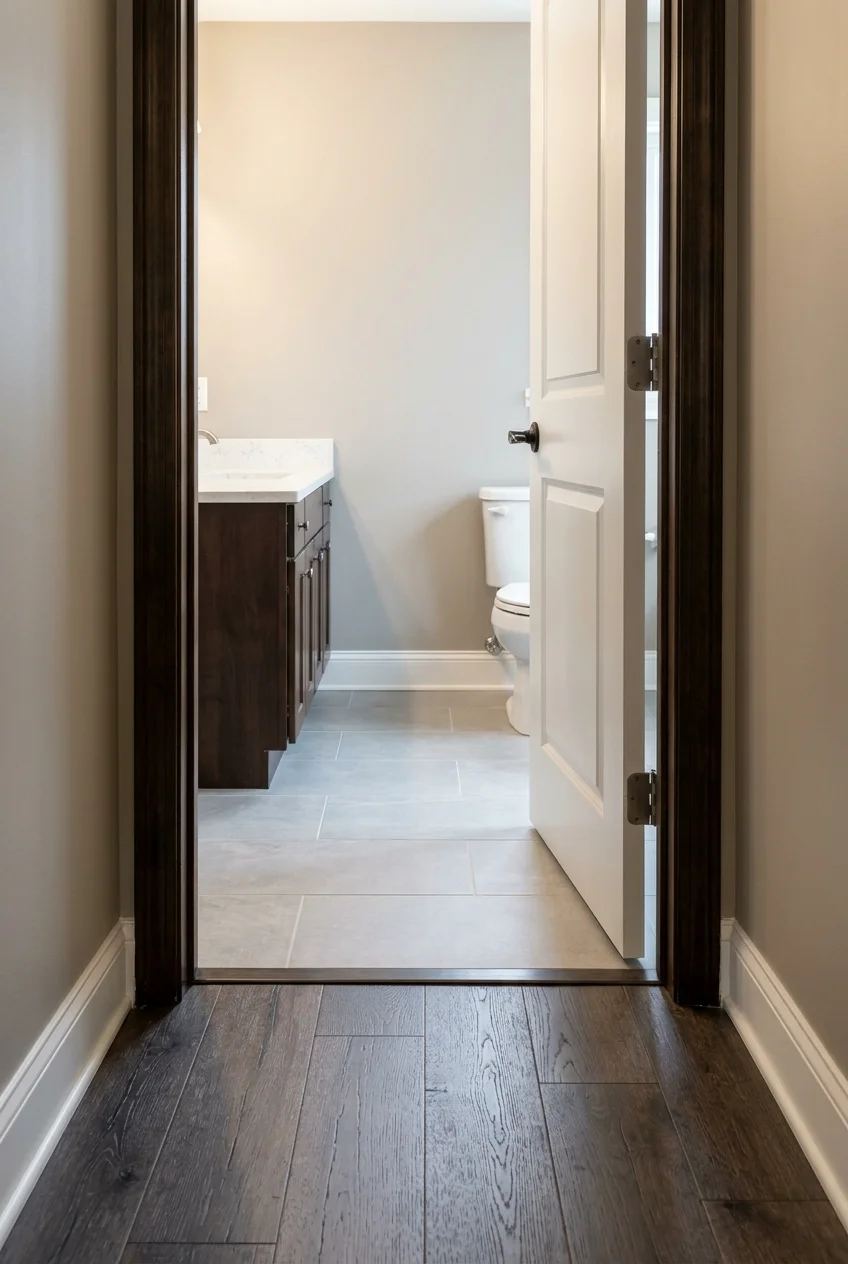
A smooth doorway transition makes a guest bath easier to enter. Bring the two floor samples together before demolition so the installer can plan the finished heights.
Ask which materials must come out and how underlayment changes the elevation. Aim for a flush transition when the structure and selected flooring allow it.
Where a height change is unavoidable, ask about a beveled transition that fits the actual edge. Check the door bottom and swing after both sides are finished.
39. Use Removable Wallpaper on One Dry Powder-Room Wall
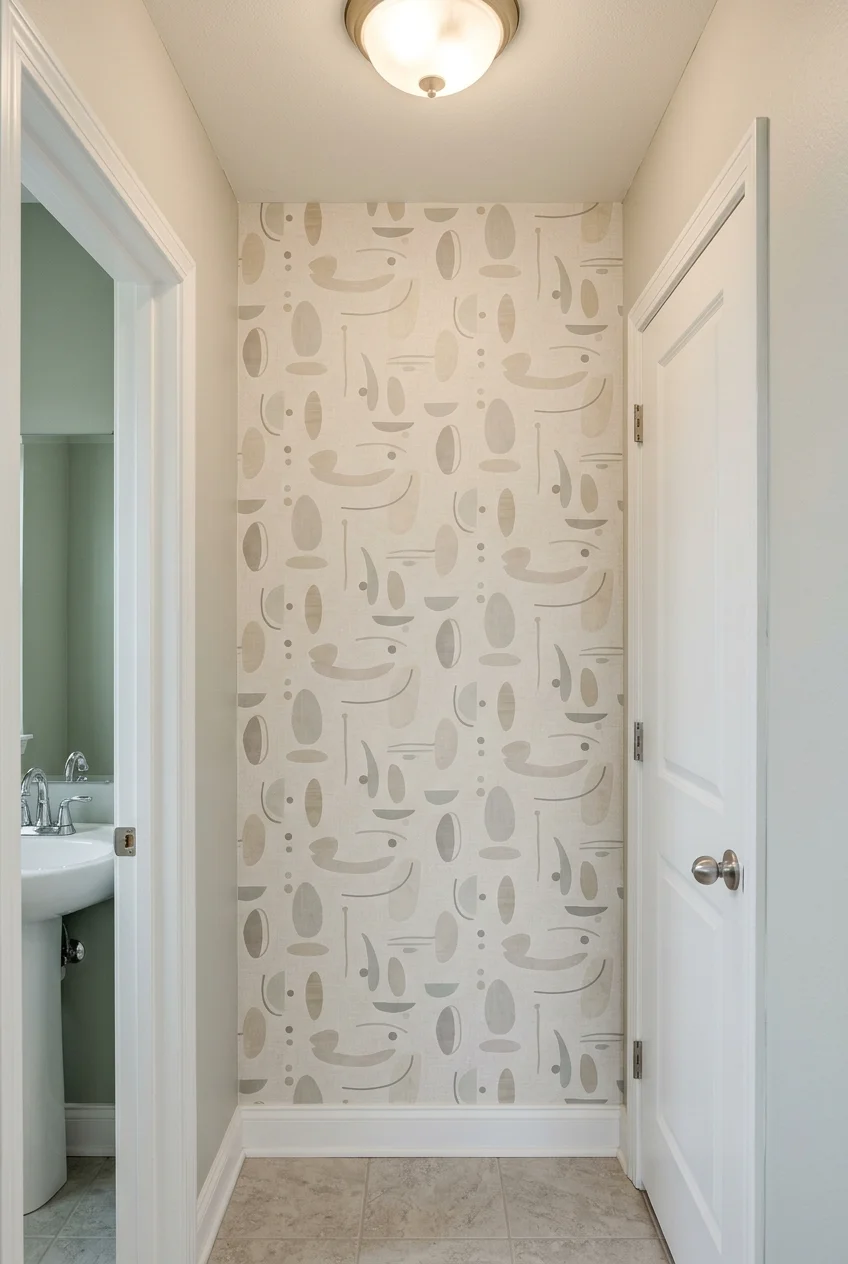
Removable wallpaper can give a dry powder-room wall a new look with landlord permission. Choose a product approved for the surface and test a small hidden patch.
Use a simple repeat and take the layout to an inside corner or casing. Leave the area behind a frequently splashed sink in an easier-to-wipe finish.
Check the removal instructions and keep a little leftover material. A small replacement piece can help if a seam lifts or the edge is damaged.
40. Add a Wipeable Lower Wall in a High-Traffic Half Bath
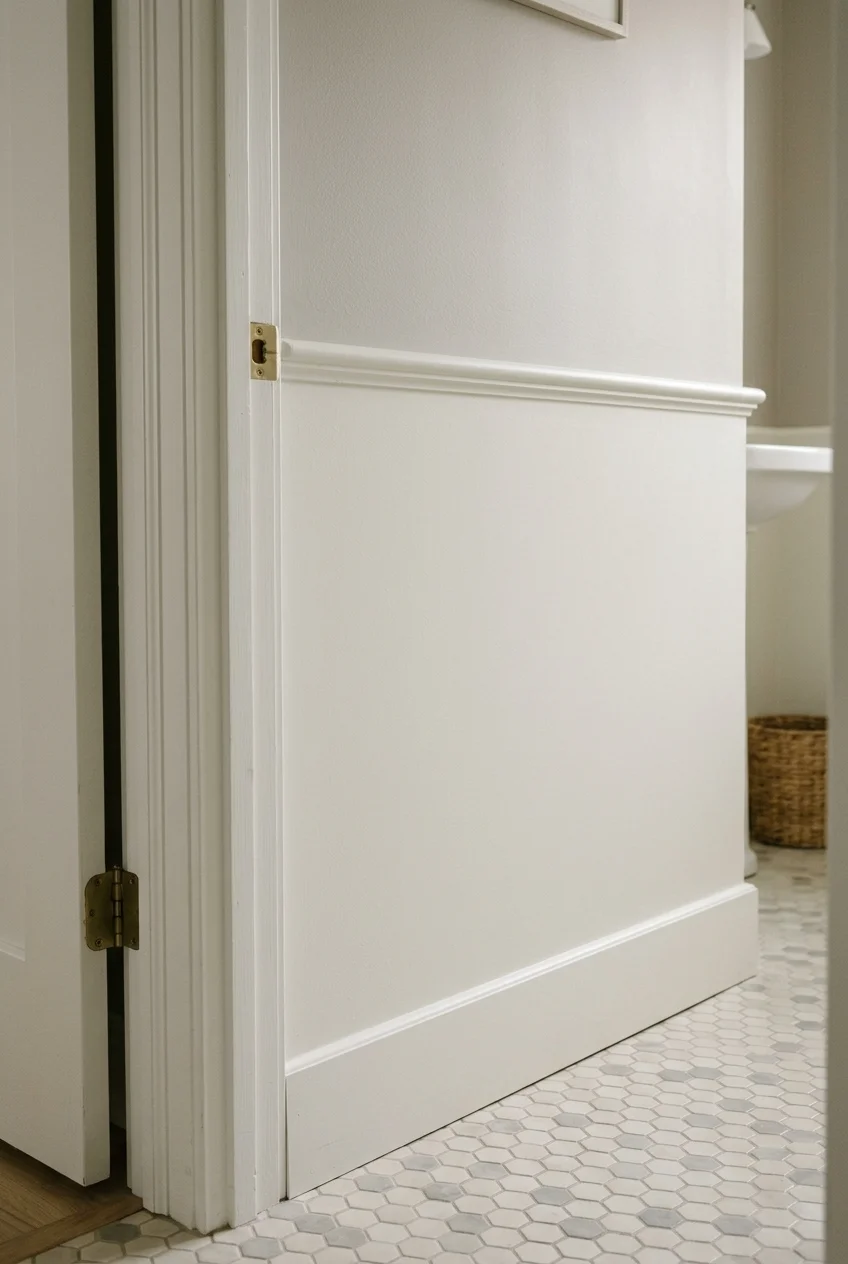
A paintable lower wall panel can protect the area where bags and shoes brush past. Use material rated for the room and keep it outside the shower.
Take the top line to a corner and coordinate it with switch plates and door trim. Simple flat panels leave an easy surface to wipe after gatherings.
41. Replace a Floor-Mounted Vanity Toe Kick That Traps Dirt
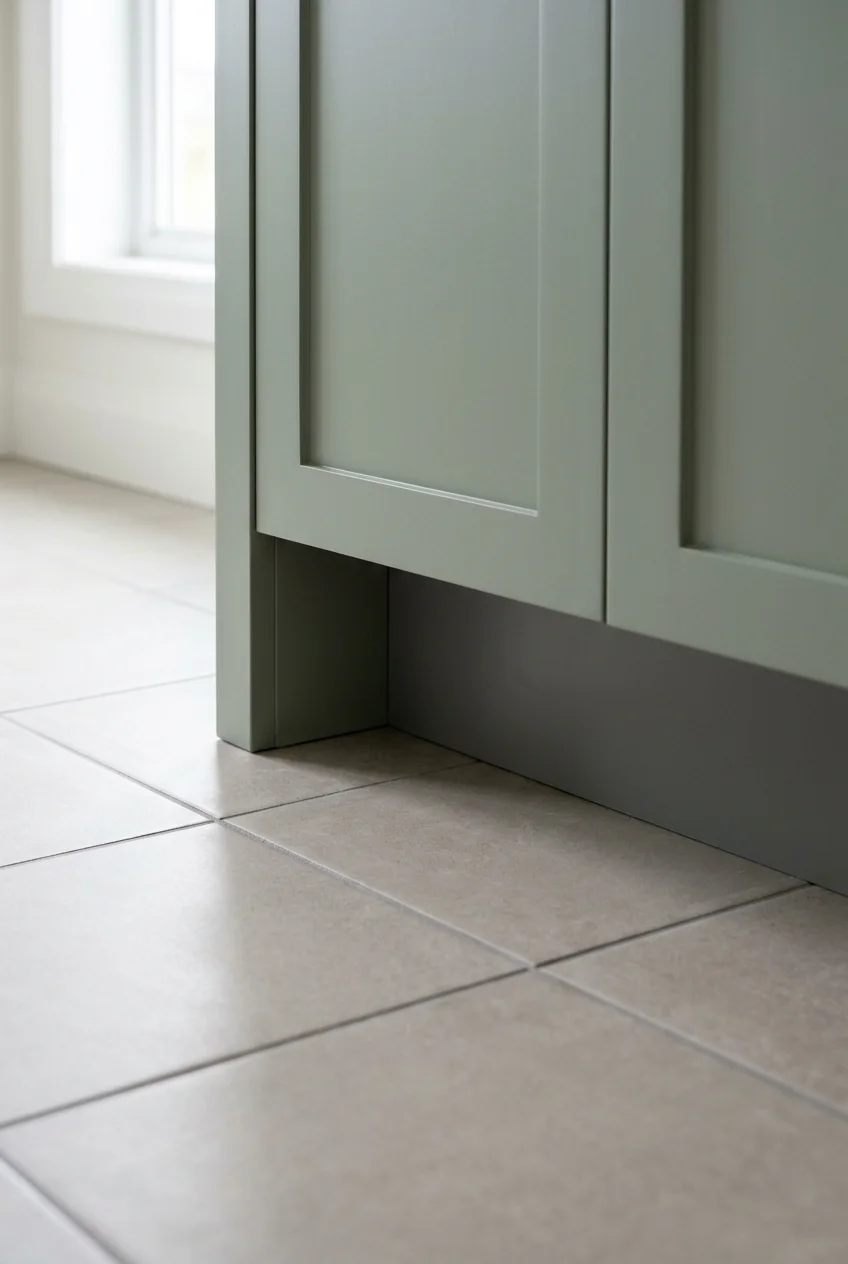
A removable toe-kick cover can close a dust-catching gap beneath a sound floor-mounted vanity. Inspect the floor and cabinet base for moisture before covering the area.
Measure the recess at both ends and account for an uneven floor. Use a manufacturer-compatible part or have a cabinet installer fit a cleanable, finished cover.
42. Use a One-Piece Shower Curb Cap
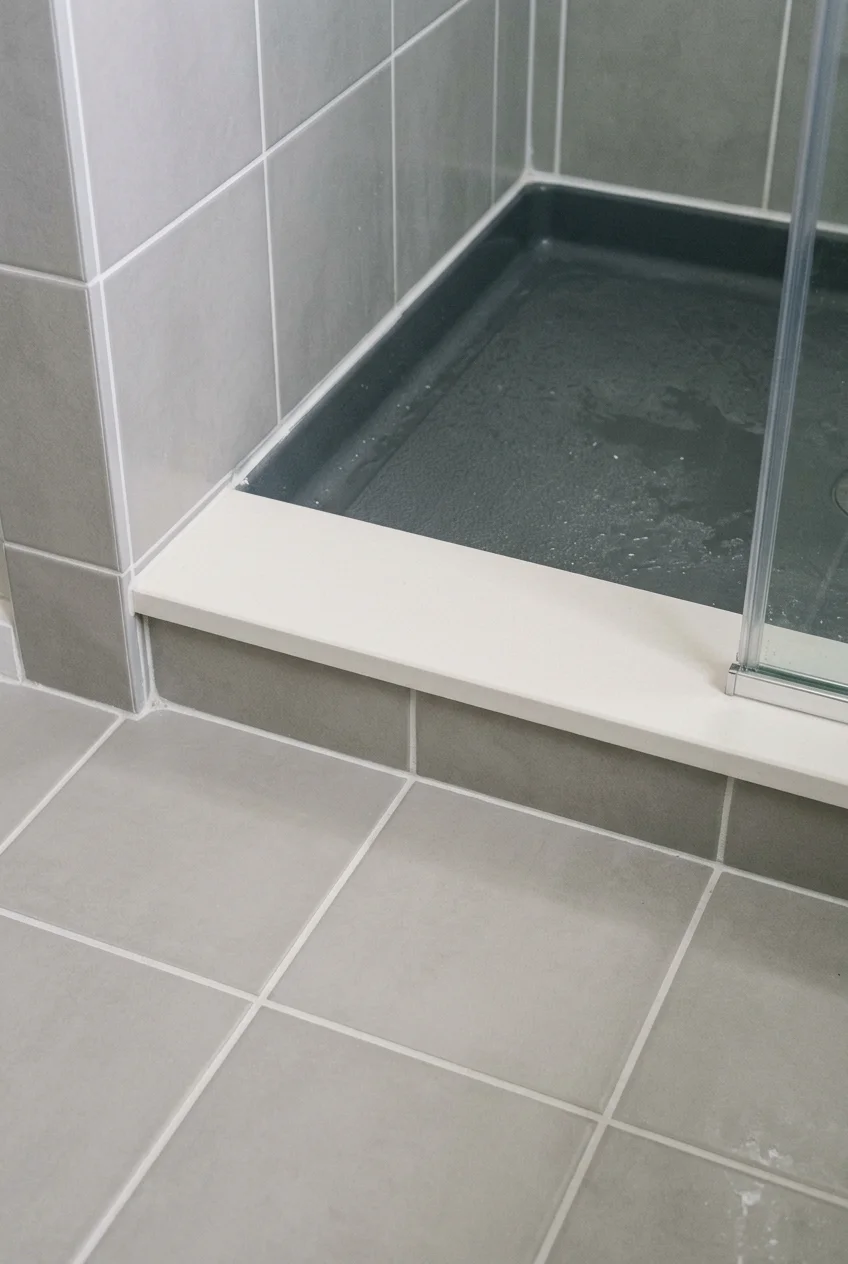
A single compatible curb cap can replace several exposed grout joints along a tiled shower entry. Plan it with the drain, waterproofing assembly, and door installation.
Confirm the cap’s finish and required inward slope with the installer. Discuss the enclosure attachment before the work starts so it preserves the waterproofing beneath the cap.
Check how the front edge will meet the dry-side floor and nearby wall tile. Ask to see the edge profile before the installer cuts the piece.
Improve Lighting, Airflow, and Everyday Hardware
Dark corners, lingering humidity, and awkward controls can make a finished bathroom frustrating. Pick upgrades that fix problems guests will encounter on their first visit.
43. Light Both Sides of the Vanity Mirror
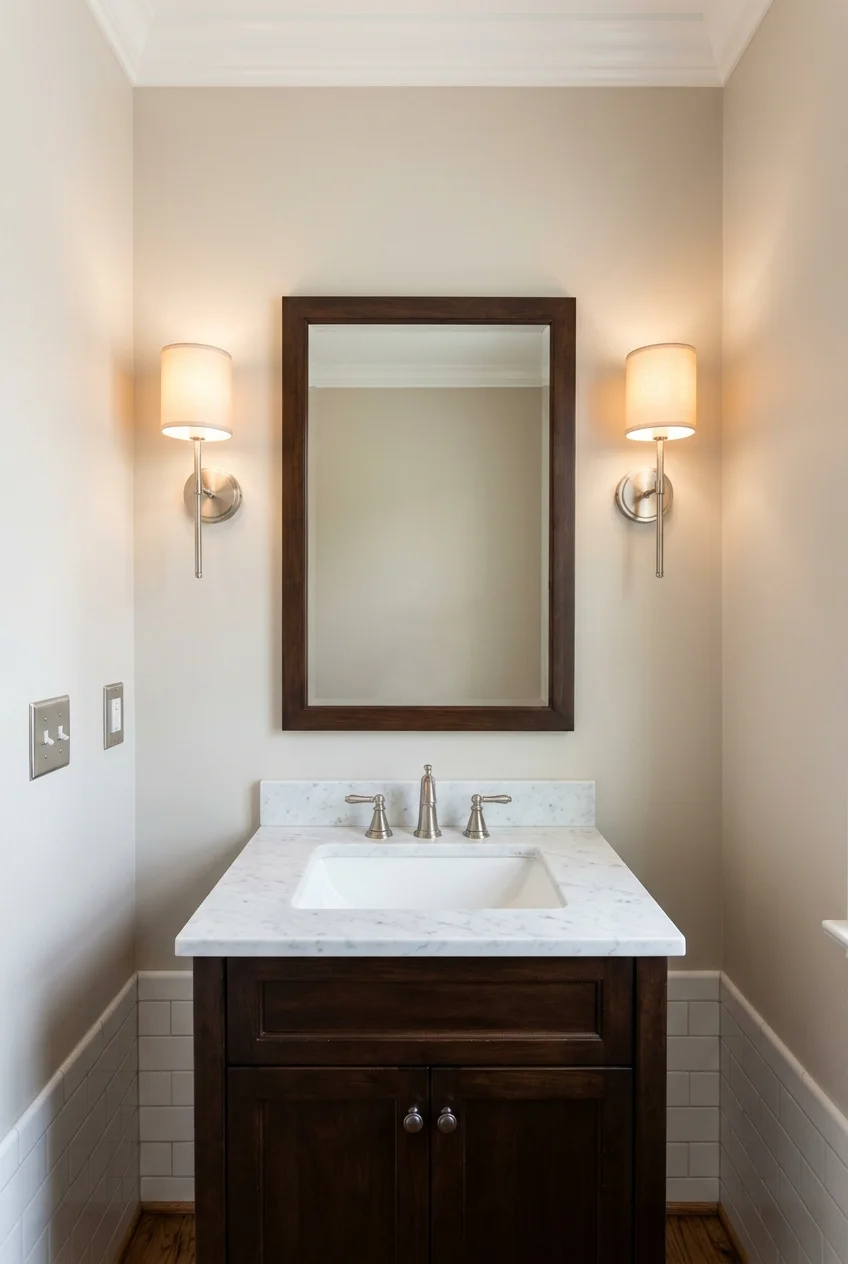
Two side sconces can bring light to the face from both directions. Check available wall width together with the mirror, medicine cabinet opening, and any adjacent corner.
Hold paper templates at the proposed spots and stand at the sink. Compare how the placement works for users of different heights before setting electrical boxes.
Have an electrician confirm mounting and any location ratings required. Use matching diffusers to keep the light comfortable when someone looks directly toward the mirror.
44. Replace an Exposed-Bulb Strip With a Diffused Light Bar
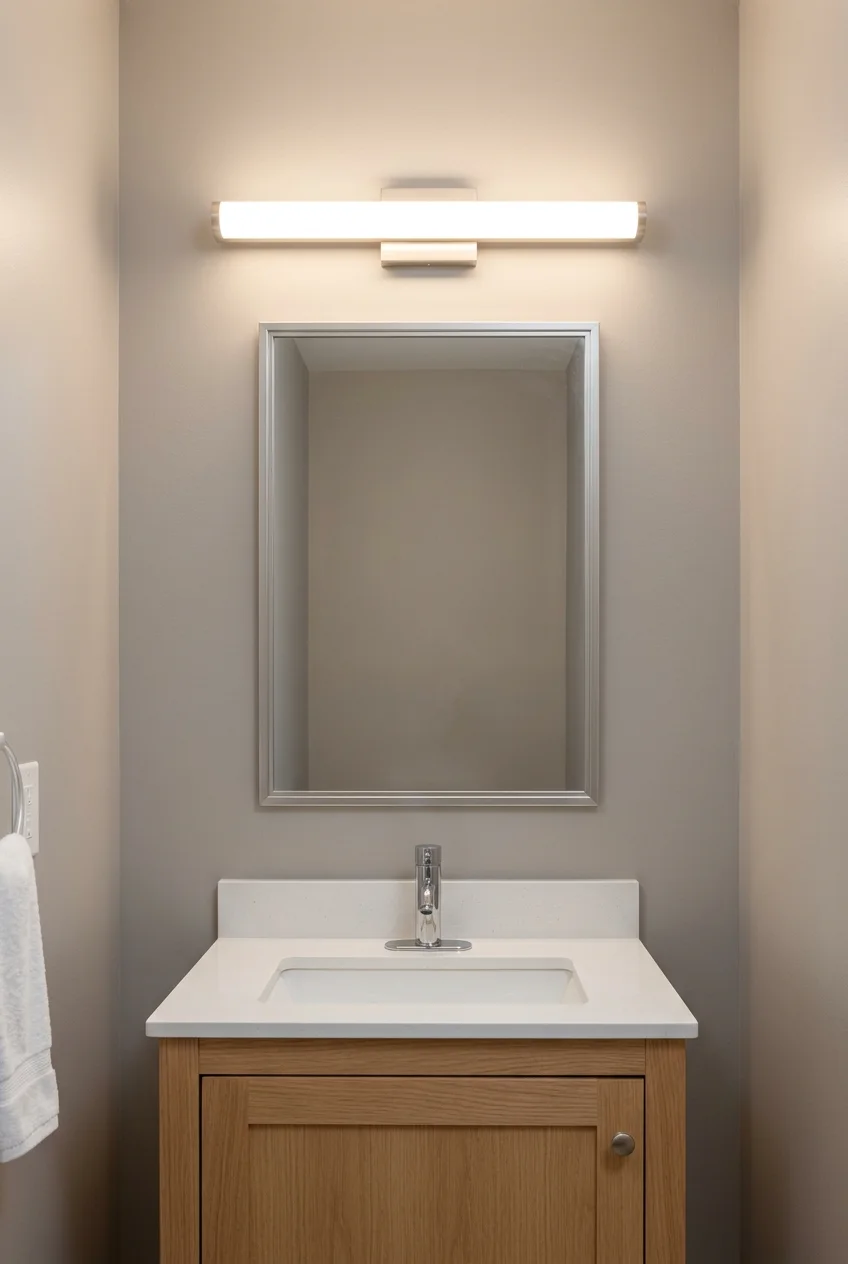
A diffused light bar can soften a harsh vanity fixture while using the existing location. Check whether its mounting plate will cover the old box and paint outline.
Center it on the sink and mirror if the electrical location permits. Make room to open the medicine cabinet and remove the diffuser for cleaning when needed.
45. Add a Separate Low-Light Setting for Night Use
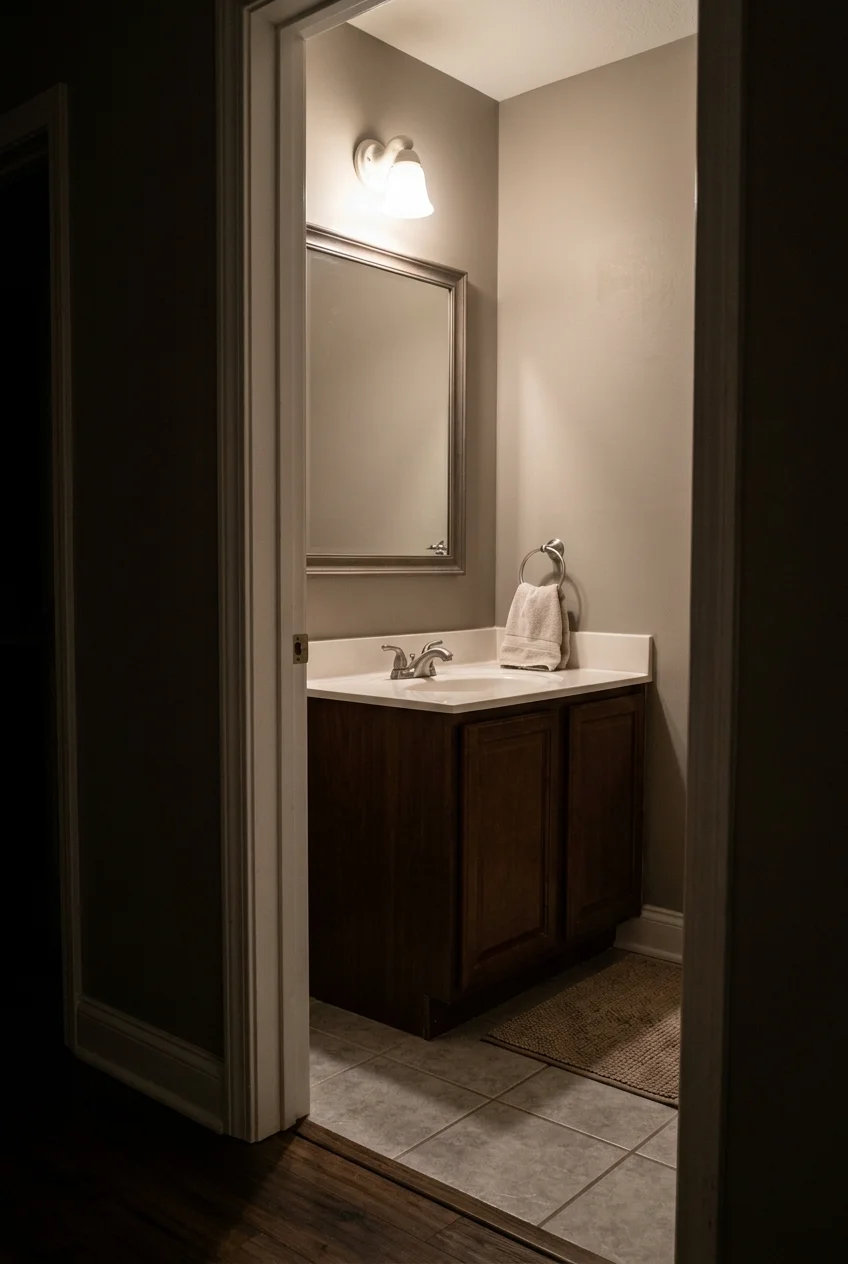
A separate low light helps overnight guests find the bathroom without turning on the brightest fixture. Choose a compatible dimmable fixture or one with a dedicated low mode.
Check the dimmer and lamp combination with the manufacturer. Ask the electrician to test the lowest setting for flicker and to keep the controls simple at the entry.
Make sure the dim setting still lights the route from the doorway to the toilet. Try it with the hall light off and the bathroom door partly open.
46. Replace the Exhaust Fan and Verify the Duct Route
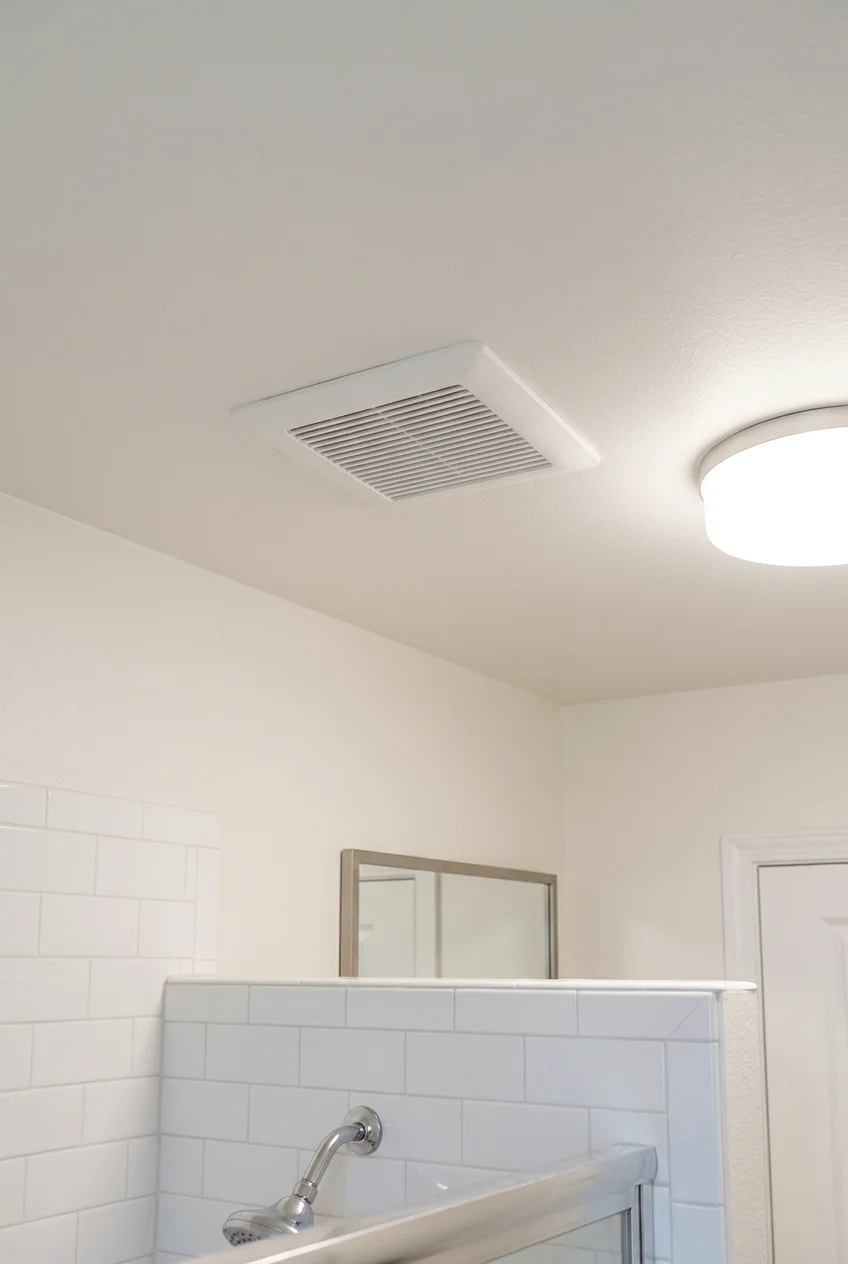
A new fan can help clear moisture after showers when the fan and duct are both suited to the room. Ask the contractor to inspect the existing route.
Confirm that the fan exhausts outdoors and review duct sizing, turns, and termination with the installer. Check local requirements and the manufacturer’s installation directions for the location.
Compare published sound ratings at the relevant airflow, then ask how airflow will be checked after installation. A quiet motor alone gives you little information about the duct.
47. Give the Bath Fan a Run-On Timer
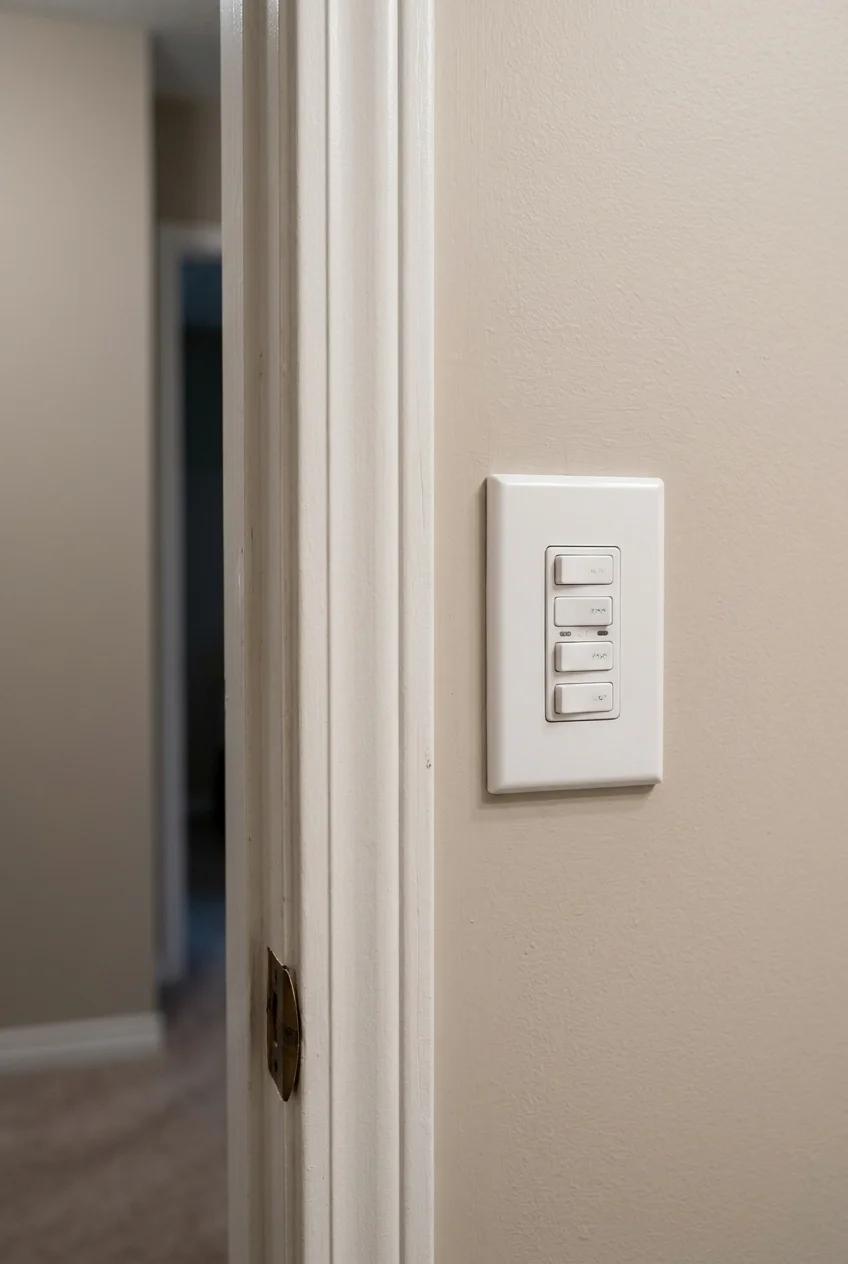
A run-on timer lets the exhaust fan continue after guests leave. It makes the control useful to visitors who may forget to return and turn a fan off.
Ask an electrician to confirm the timer is compatible with the fan and wiring. Choose a simple control with an obvious off setting and usable time increments.
48. Upgrade Privacy With a Simple Emergency-Release Latch
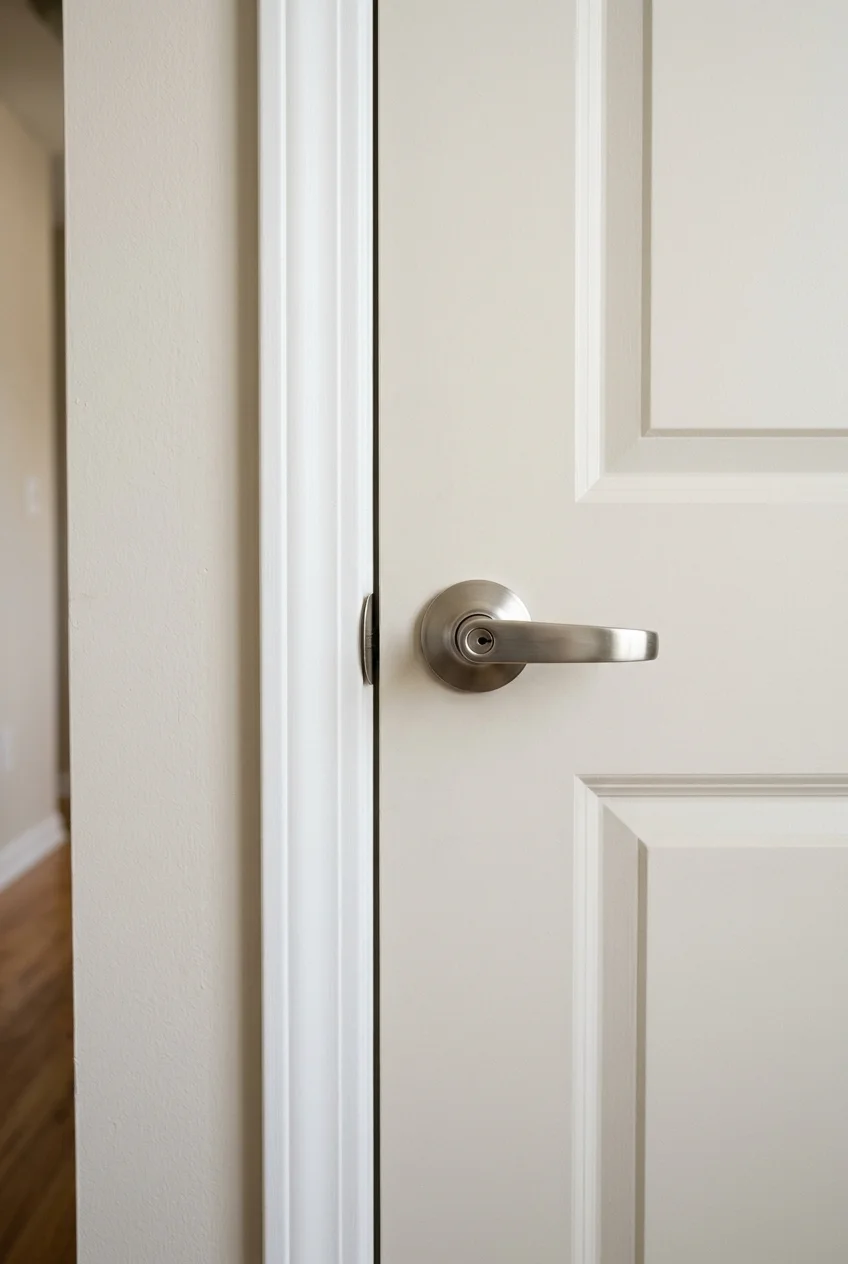
A privacy latch that locks from inside and releases from outside is useful when children or older relatives visit. Pick hardware with a straightforward lever or knob.
Check door thickness, backset, handing if applicable, and the existing strike position. Test that the door closes and locks smoothly from inside before making guests the first users.
49. Move the Hand Towel to the Side Guests Reach First
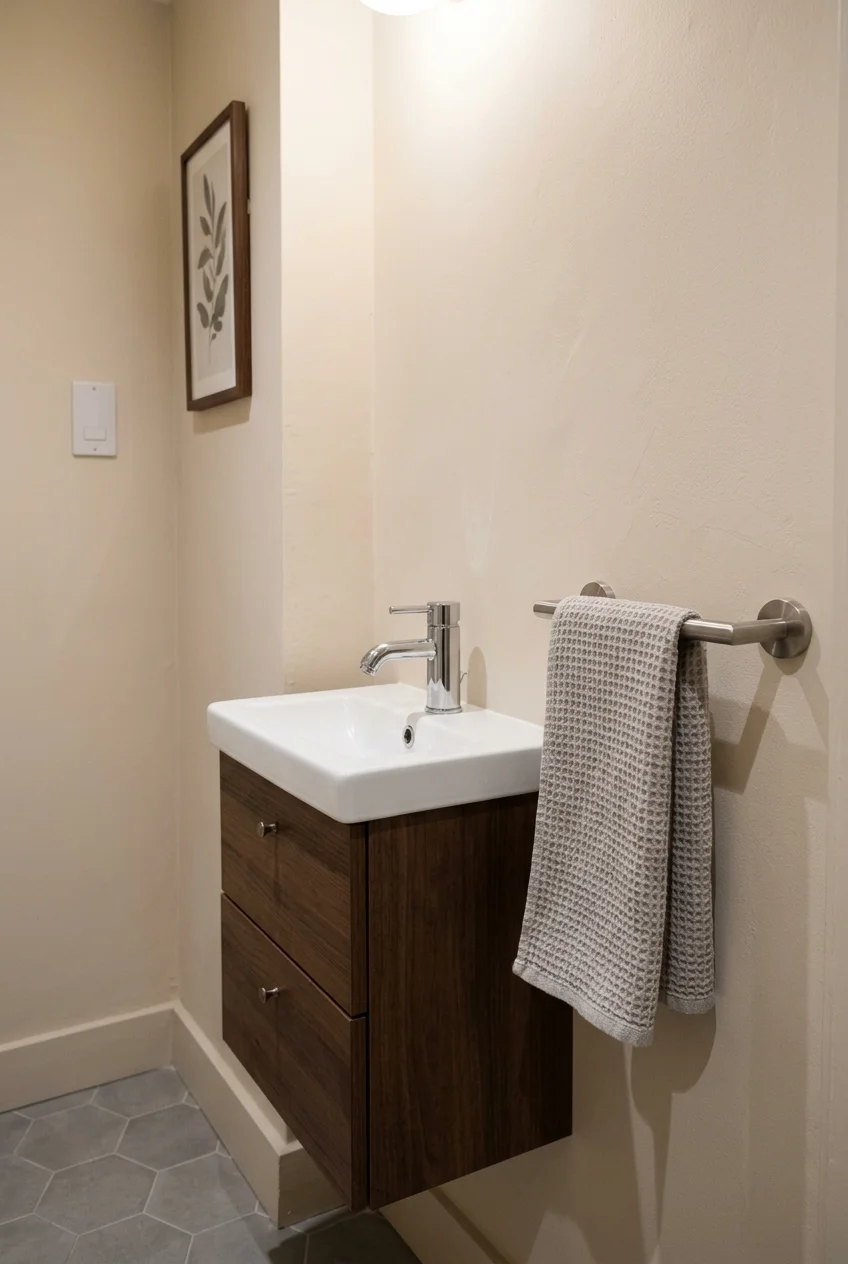
Put one hand towel close to the guest’s free hand when they turn from the sink. That location keeps drips from trailing across the entry and counter.
Test the position with the towel hanging and the entry open. Keep the fabric clear of the floor, the faucet controls, and the swing of nearby drawers.
50. Frost the Lower Part of a Dry-Zone Window
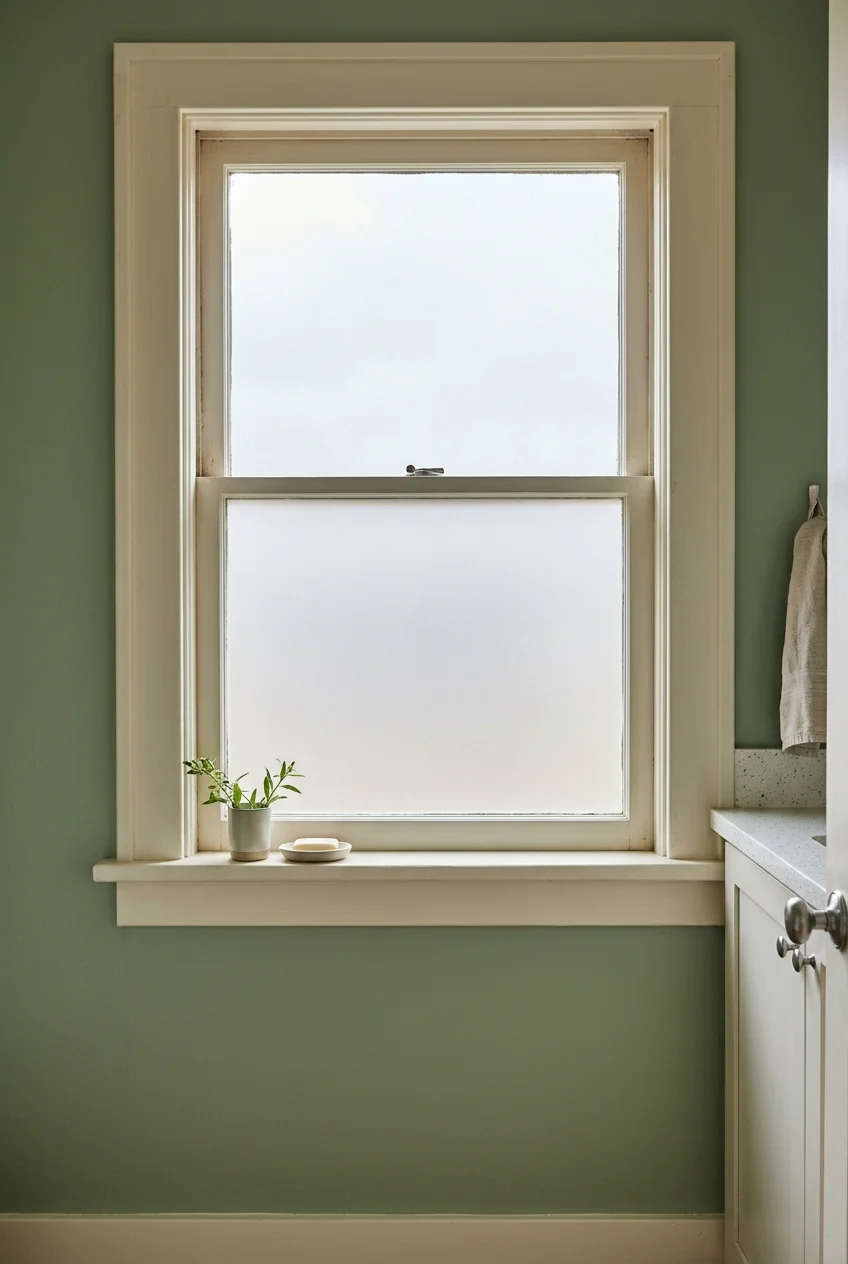
A translucent film on a dry-zone window can add privacy while keeping some daylight. Check glass compatibility and compare the film’s appearance from outdoors after dark.
Start with the actual sightline from neighboring windows or the walkway. Cover enough glass for privacy, leaving the upper portion clear only if the sightline allows it.
Make the Finished Bathroom Easy for Guests to Use
Walk through the room as a visitor would. Check where to put a bag, find a towel, and reach supplies without opening every cabinet.
As an Amazon Associate I earn from qualifying purchases. Measure the spot where any linked accessory will go, including room to refill or empty it.
51. Mount Two Hooks for Clothes Outside the Splash Zone
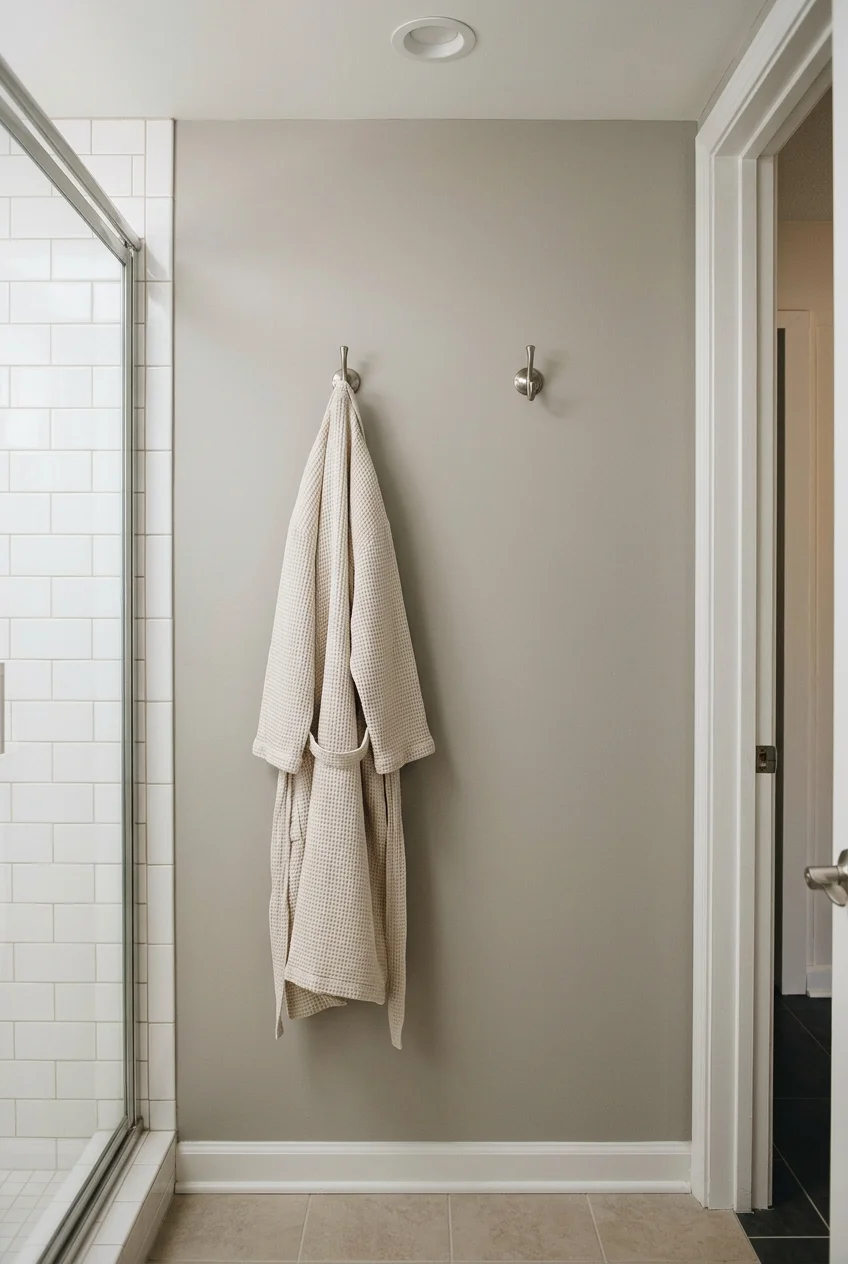
Two well-spaced hooks give a guest a place to hang clean clothes and a robe. Put them on a dry wall where fabric can hang freely.
Measure with the longest garment you expect to hang. Keep both hooks out of the door swing and use mounting hardware suited to the wall and expected load.
52. Give Bath Towels a Full-Width Drying Bar
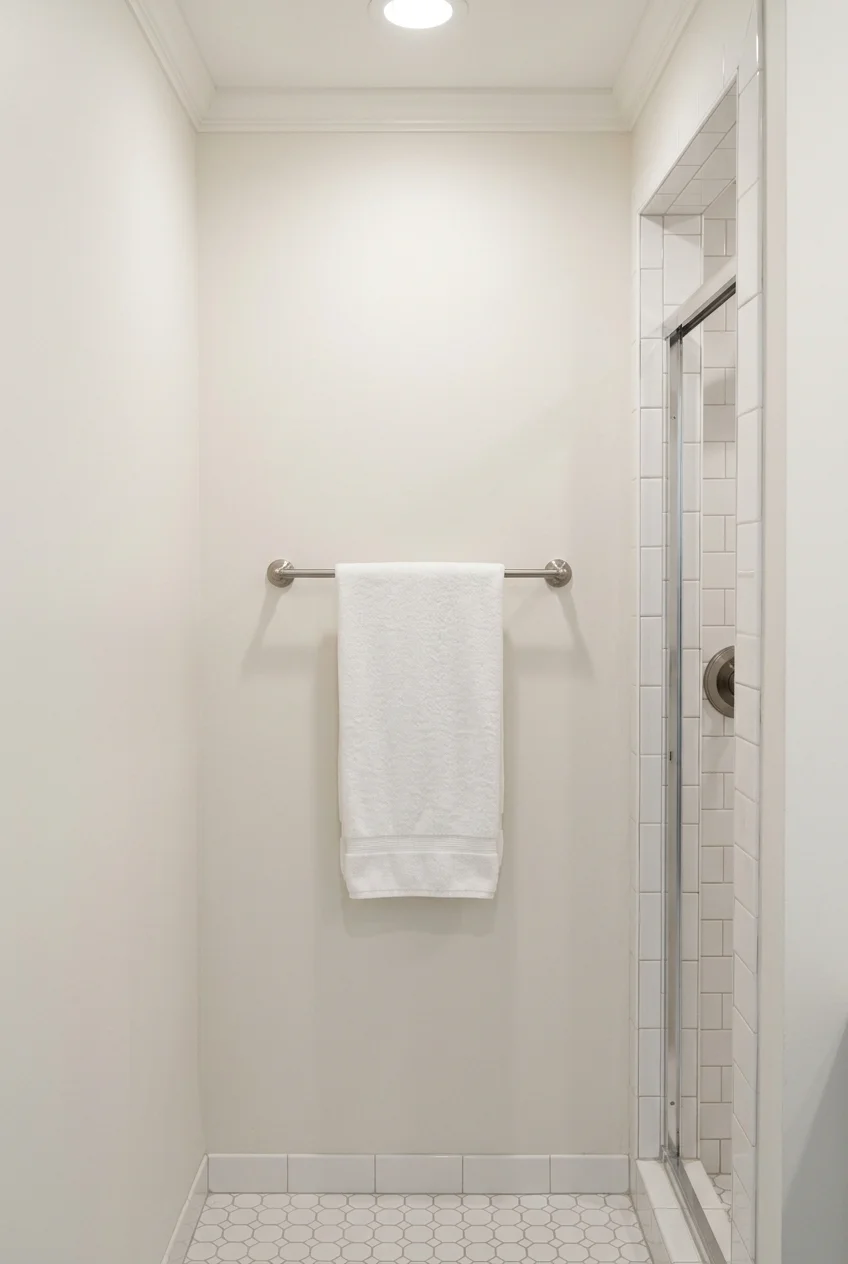
A single bar wide enough for an unfolded towel gives guests a useful place to hang damp linens. Fit the bar to the towel you actually provide.
Install it within reach of the shower exit on a dry wall. Leave enough space below and in front that the hanging towel will clear nearby fixtures.
53. Put a Fold-Down Seat in a Shower With Room to Use It
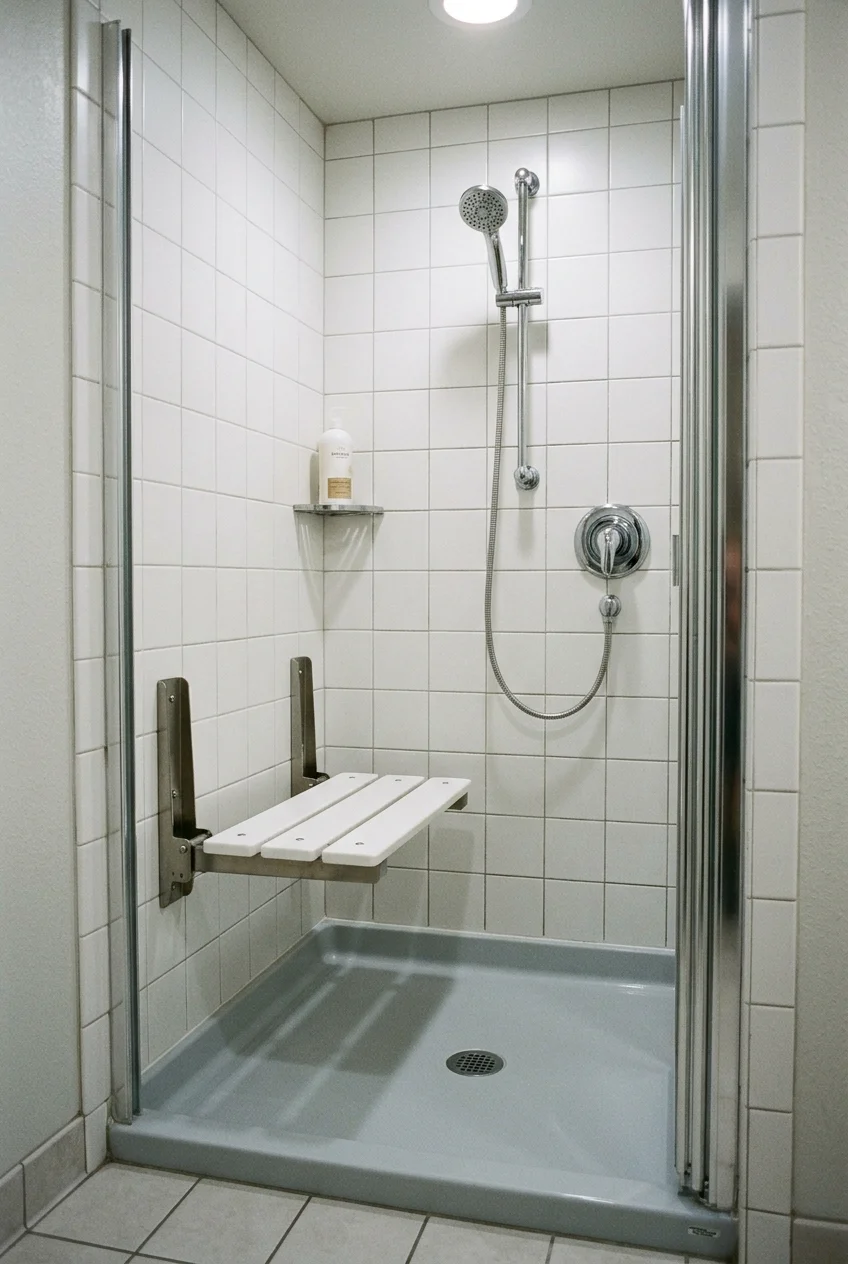
A fold-down shower seat can free standing room when raised and offer a resting spot when lowered. Mark both positions on the plan before choosing its size.
Have an installer verify the seat rating, wall backing, fasteners, and waterproofing at the mounts. Plan the support before walls close so the seat has the specified backing.
Check how a seated guest reaches the controls and handheld shower. Make sure the seat leaves room for the door, feet, and the intended way in and out.
A fold-down seat can still crowd a very narrow shower. Ask the contractor to model the layout with the seat deployed before committing to the enclosure.
Check the seat surface and attachment details for cleaning access. Ask the installer to show you how it folds and how to check that it locks when required.
54. Make Spare Toilet Paper Easy to Find
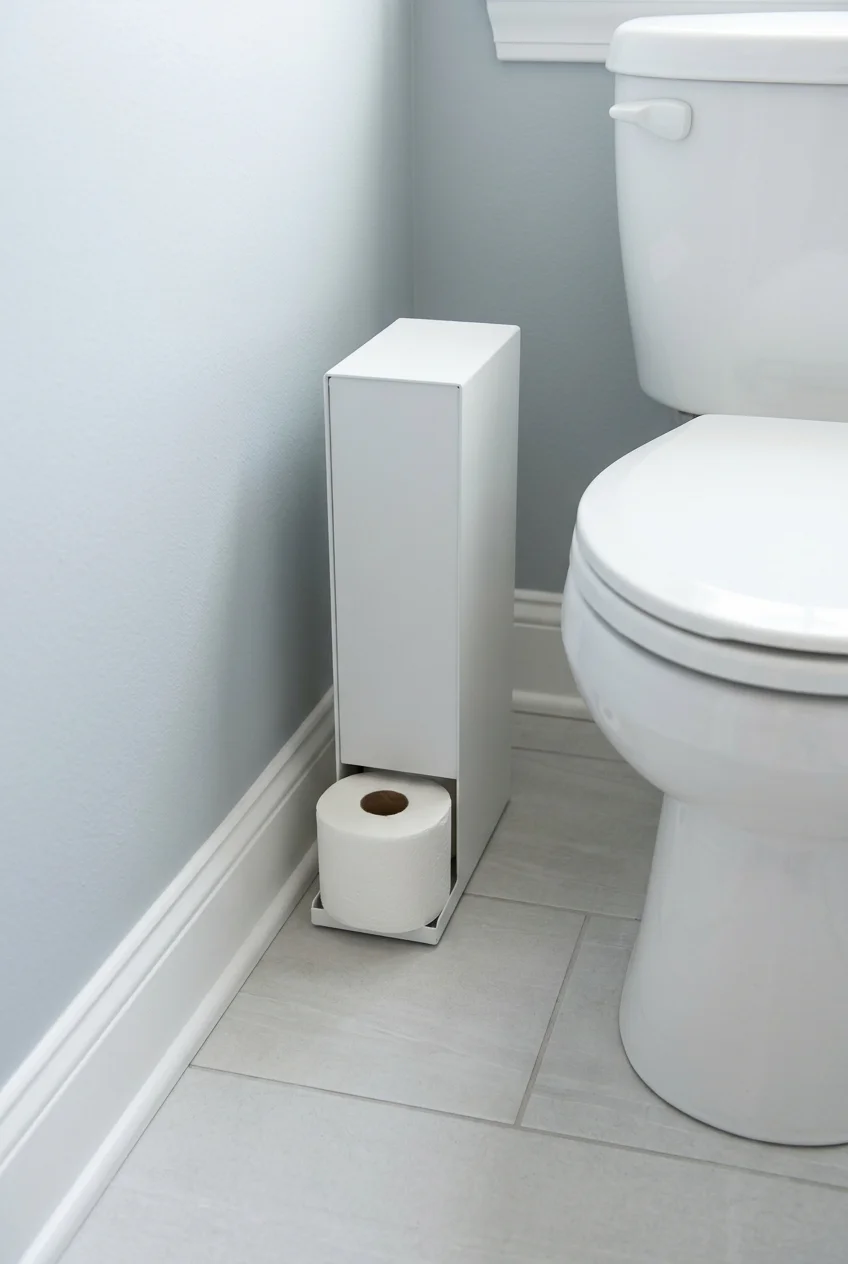
Keep spare rolls in a narrow covered holder within easy reach of the toilet. Locate it where it clears knees and can be opened without moving another fixture.
A slim Yamazaki toilet paper stocker works for rolls up to roughly five inches across. Check your roll diameter and confirm room to lift the top.
55. Give a Lidded Bin a Spot Outside the Walkway
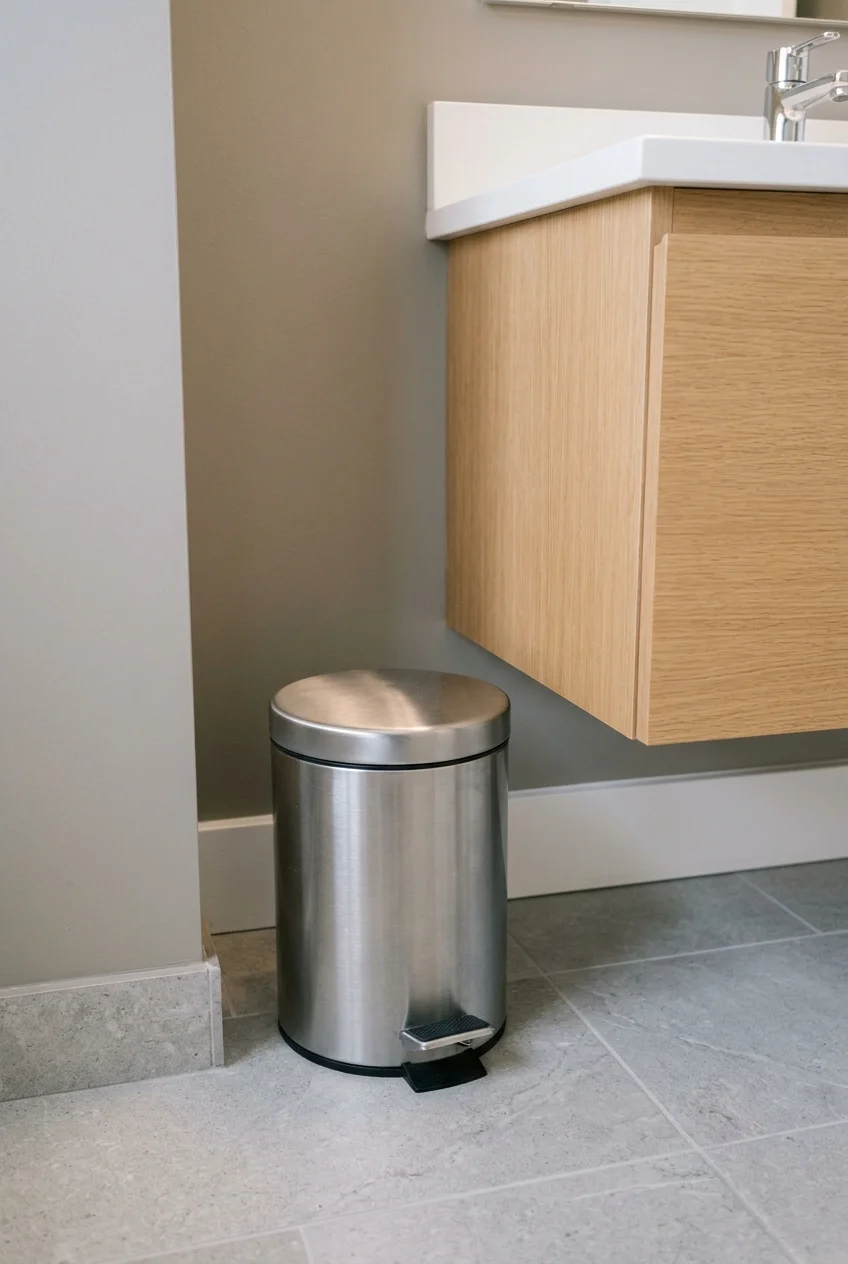
A lidded step bin belongs where the lid can open fully and the foot pedal faces the standing area. Keep it outside the path of the door.
The simplehuman 4.5-liter round step can has a removable inner bucket. Check the footprint and opened-lid height if the bin will sit under a counter.
56. Fold Down a Landing for a Guest’s Wash Bag
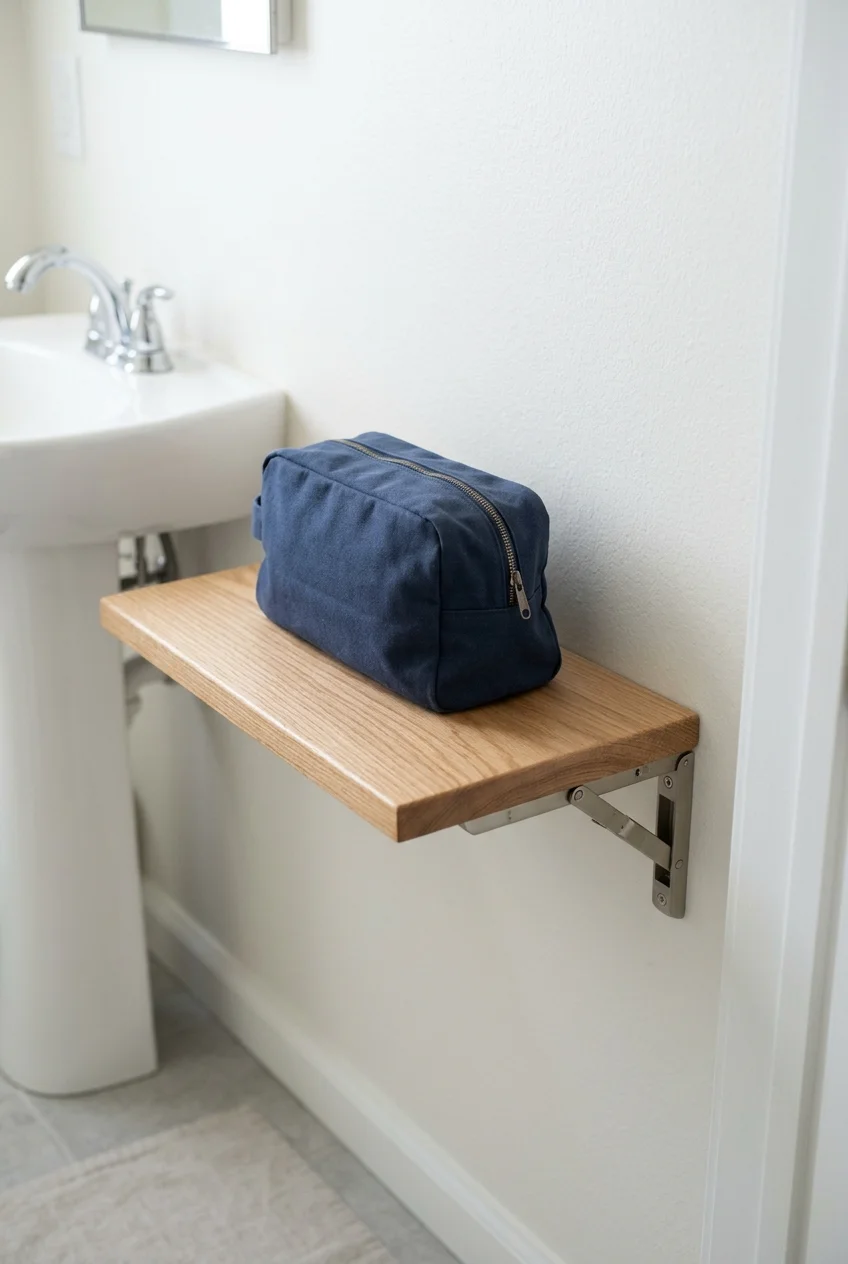
A small fold-down shelf gives overnight visitors a place to open a wash bag when the vanity has almost no counter. Put it on a dry wall.
Check the hardware’s rating and anchor requirements. Locate it so the shelf can be opened without clipping the door or taking away standing room at the sink.
Test the depth with the largest bag you expect it to hold. A shallow ledge suits small everyday items and leaves more clearance when it is open.
57. Give a Small Step Stool Its Own Parking Space
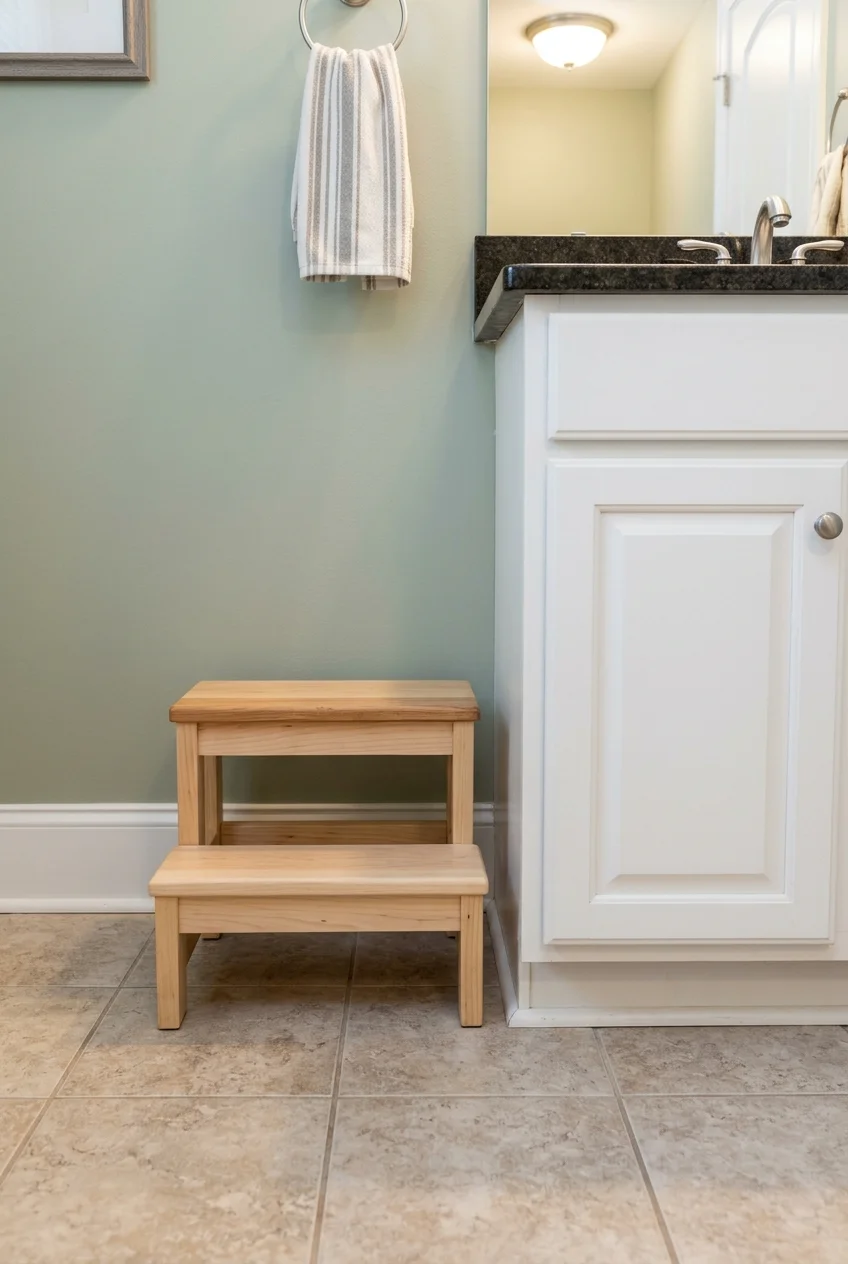
A tuck-away step stool helps shorter visitors reach the sink in a family guest bath. Pick a stable model that sits flat on the finished floor.
Park it in a dry niche or beside the vanity where it clears doors and knees. Keep the center of the room open when the stool is stored.
58. Fit a Low-Profile Mat to the Dry Exit Area
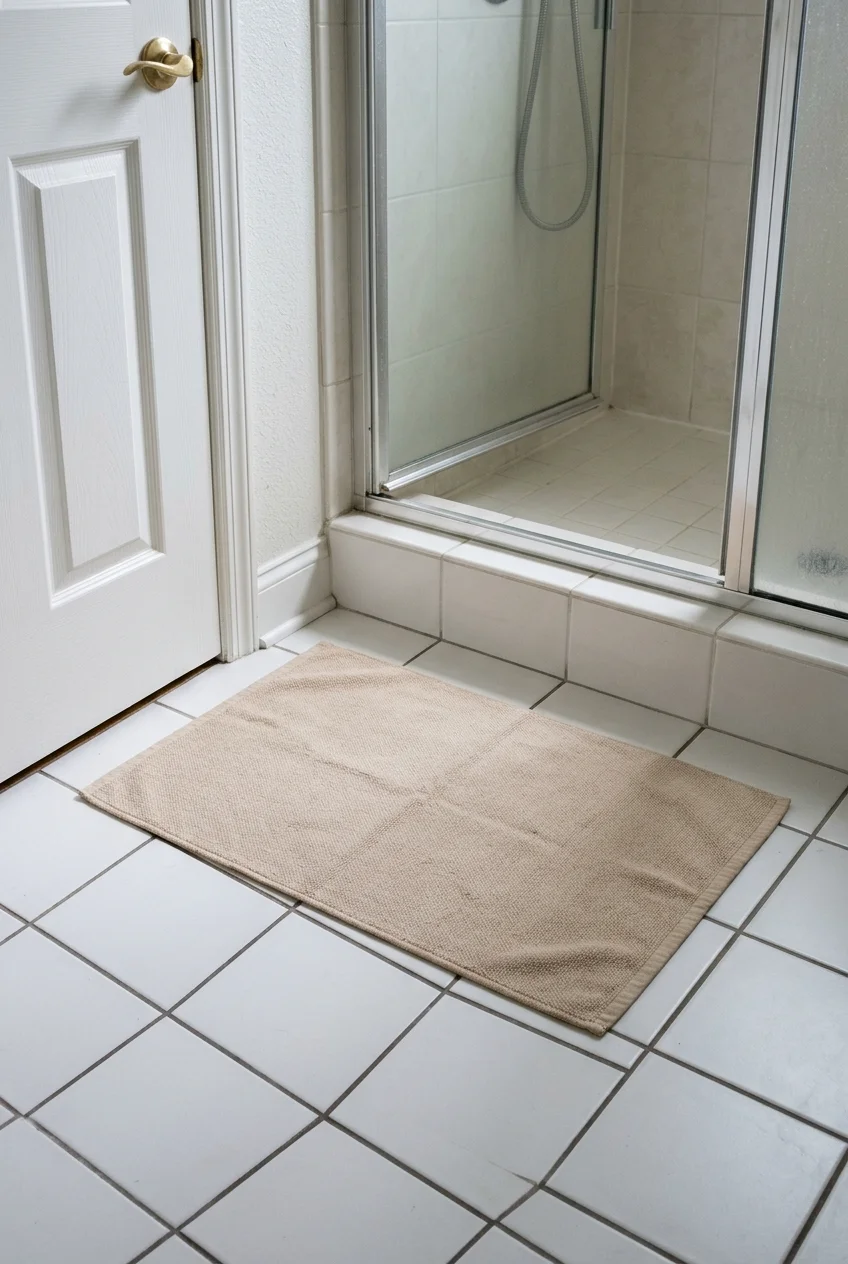
A low-profile bath mat can catch drips where guests step out without bunching at the door. Measure the dry floor rather than buying by the tub width.
Open the room and shower doors with the mat in its proposed position. Choose a washable mat with backing appropriate for the floor and keep the edges flat.
59. Add a Vented Hamper for Used Guest Linens
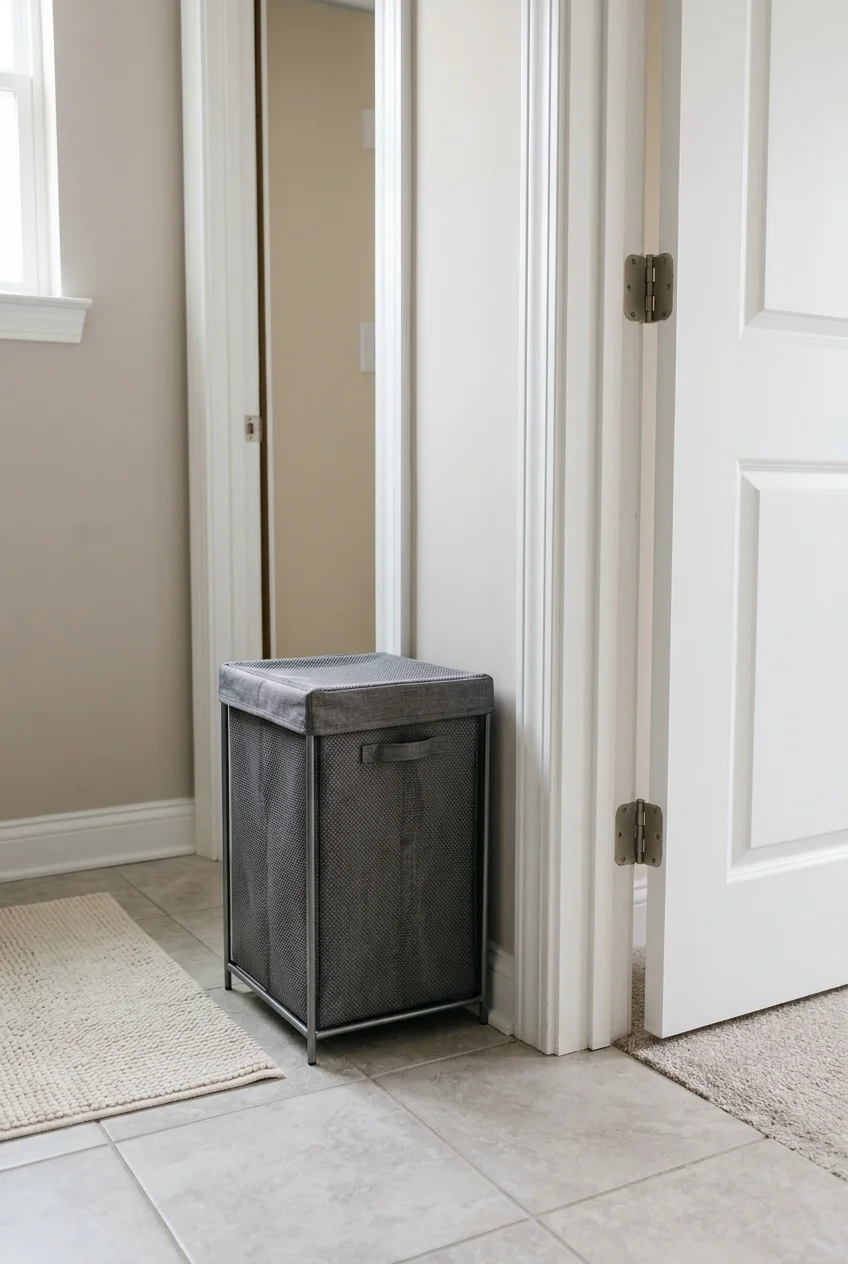
Set a small vented hamper near the exit if overnight visitors need an obvious place to leave used towels. Give the lid or opening room to work.
Check that the hamper can be lifted or emptied without tipping it into the narrow aisle. Launder damp used towels promptly or hang them to dry first.
60. Set the Mirror for Seated and Standing Guests
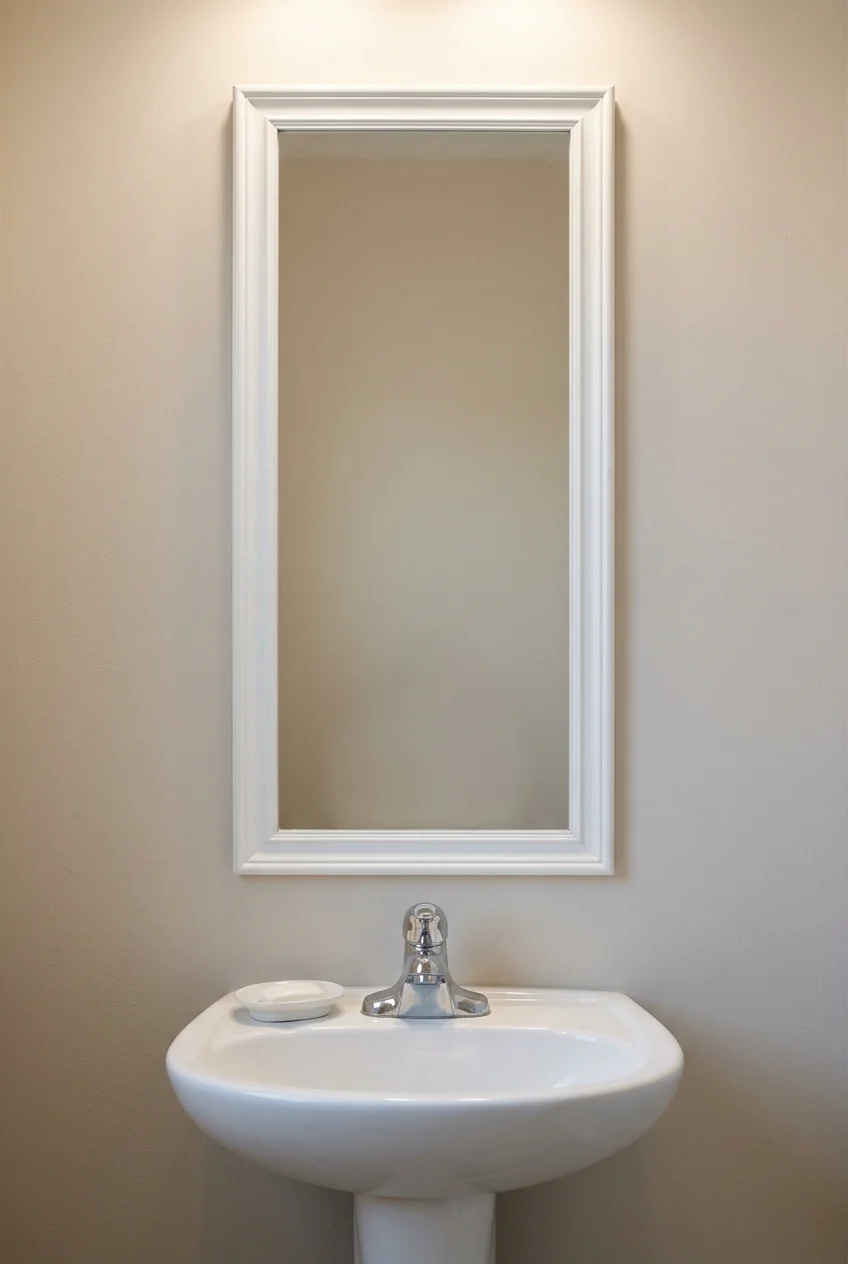
A taller, narrow mirror with a lower bottom edge lets guests use the same mirror at different heights. Mock up the reflective area with paper before buying.
Check the view from a seated position and while standing upright. Keep the bottom clear of the faucet and any backsplash, and check the top against the light fixture.
If the faucet blocks a useful lower view, consider an adjacent wall with a clear approach. Use the mounting hardware specified for the weight and wall surface.
Frequently Asked Questions
What should I measure before shopping for a small guest bathroom?
Sketch finished wall lengths, the ceiling height, and the entry location first. Mark the open door, fixture edges, and the spots where the room feels tight.
Compare the sketch with the actual installation drawings before ordering. Include the top, handles, baseboards, and door swings in any estimate of the space you will gain.
Does a guest bathroom need a bathtub?
Choose a tub when visiting children need baths or it is the household’s only useful bathtub. A shower may serve the room better when your guests primarily shower.
If you plan to remove a tub, price the drain, pan, enclosure, and wall work as one project. Also decide where guests will dry off.
Which upgrades are realistic for renters?
Start with changes you can remove when you move, such as a new shower curtain and a fitted mat. Keep the original parts together for easy reinstallation.
Ask your landlord before painting, applying film, changing hardware, or mounting accessories. Permanent work on plumbing, wiring, or finishes belongs in a written agreement.