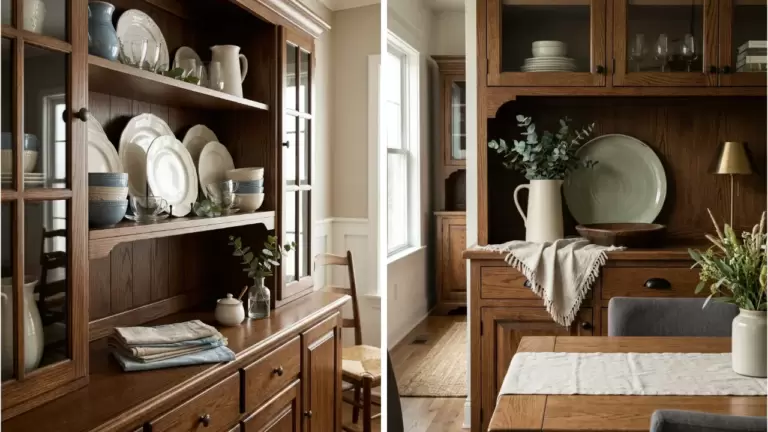
50 Bathroom Vanity Design Ideas

This post may contain affiliate links: full affiliate disclosure.
A bathroom vanity works as a small plumbing station, storage cabinet, grooming surface, and lighting zone. Its width matters, yet depth, finished height, sink position, drawer geometry, mirror alignment, and service access decide whether the room feels comfortable after installation.
This planning guide organizes 50 decisions in the order homeowners and designers can resolve them. Use the measurements as starting points, verify every fixture specification, and have qualified trades confirm local plumbing, electrical, accessibility, and fastening requirements before work begins.
Set the Vanity Envelope Before Choosing a Style
Start with the room, users, and circulation. A measured envelope prevents a beautiful cabinet from blocking doors, narrowing the aisle, or forcing an expensive rough-in change.
1. Draw the Room Before Shopping
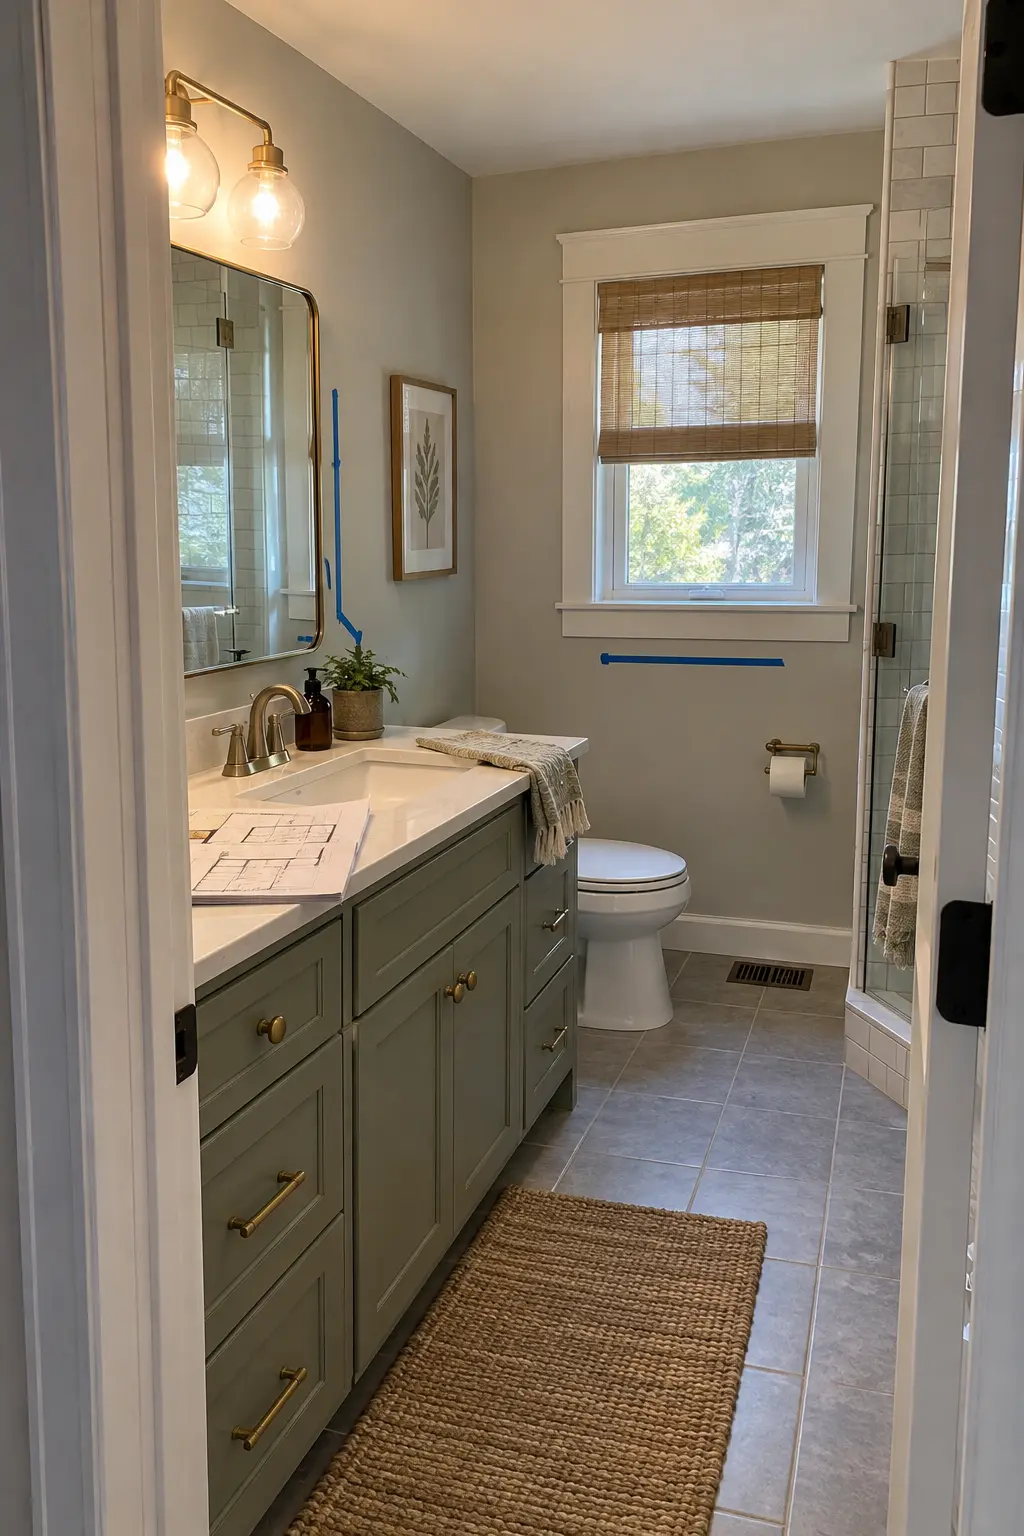
Record finished wall lengths, door swings, window trim, floor vents, baseboards, and the exact locations of water, drain, and electrical connections. Mark the toilet and shower clearances on the same drawing so the vanity is evaluated as part of the whole bathroom.
Measure at several heights because walls can bow and corners can drift out of square. Use the smallest reliable width for a fitted cabinet, then reserve filler or scribe space instead of assuming the opening is perfectly rectangular.
2. Mock Up Width and Depth at Full Scale
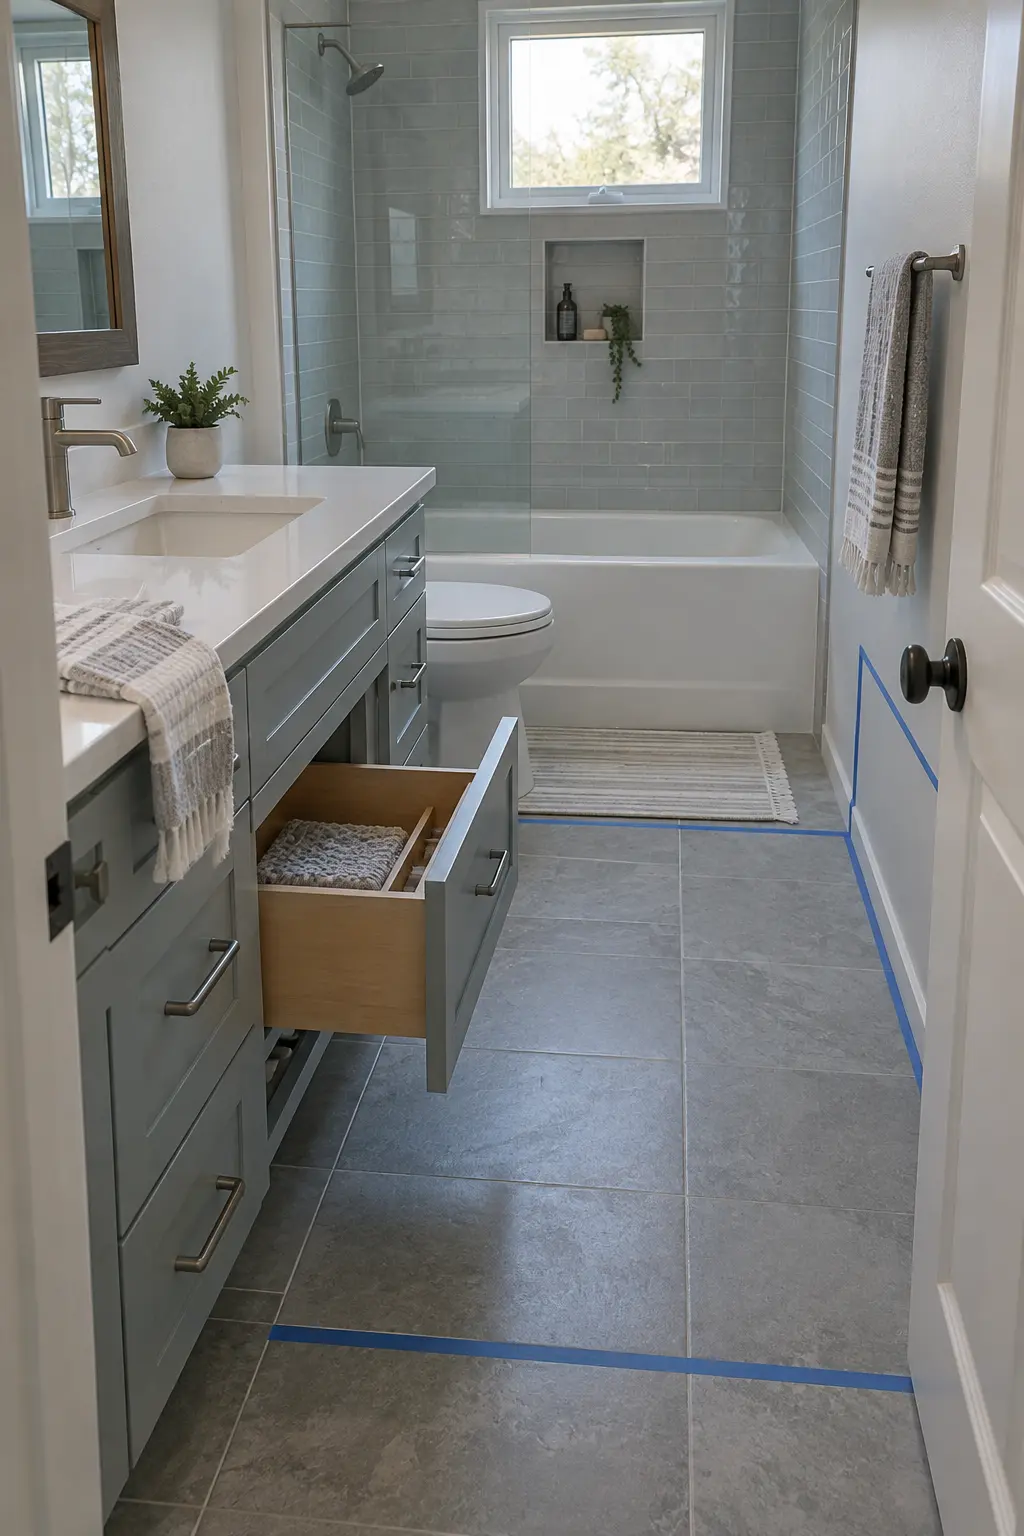
Tape the cabinet footprint on the floor and the counter outline on the wall. Add drawer and door projections with painter’s tape, then walk the route from the doorway to the toilet and shower while imagining another person at the sink.
A shallow cabinet can improve a tight aisle, although the basin and faucet still need comfortable front-to-back space. Review these small coastal bathroom ideas for examples of open sight lines in compact rooms.
3. Choose Width From Function, Not the Wall Alone
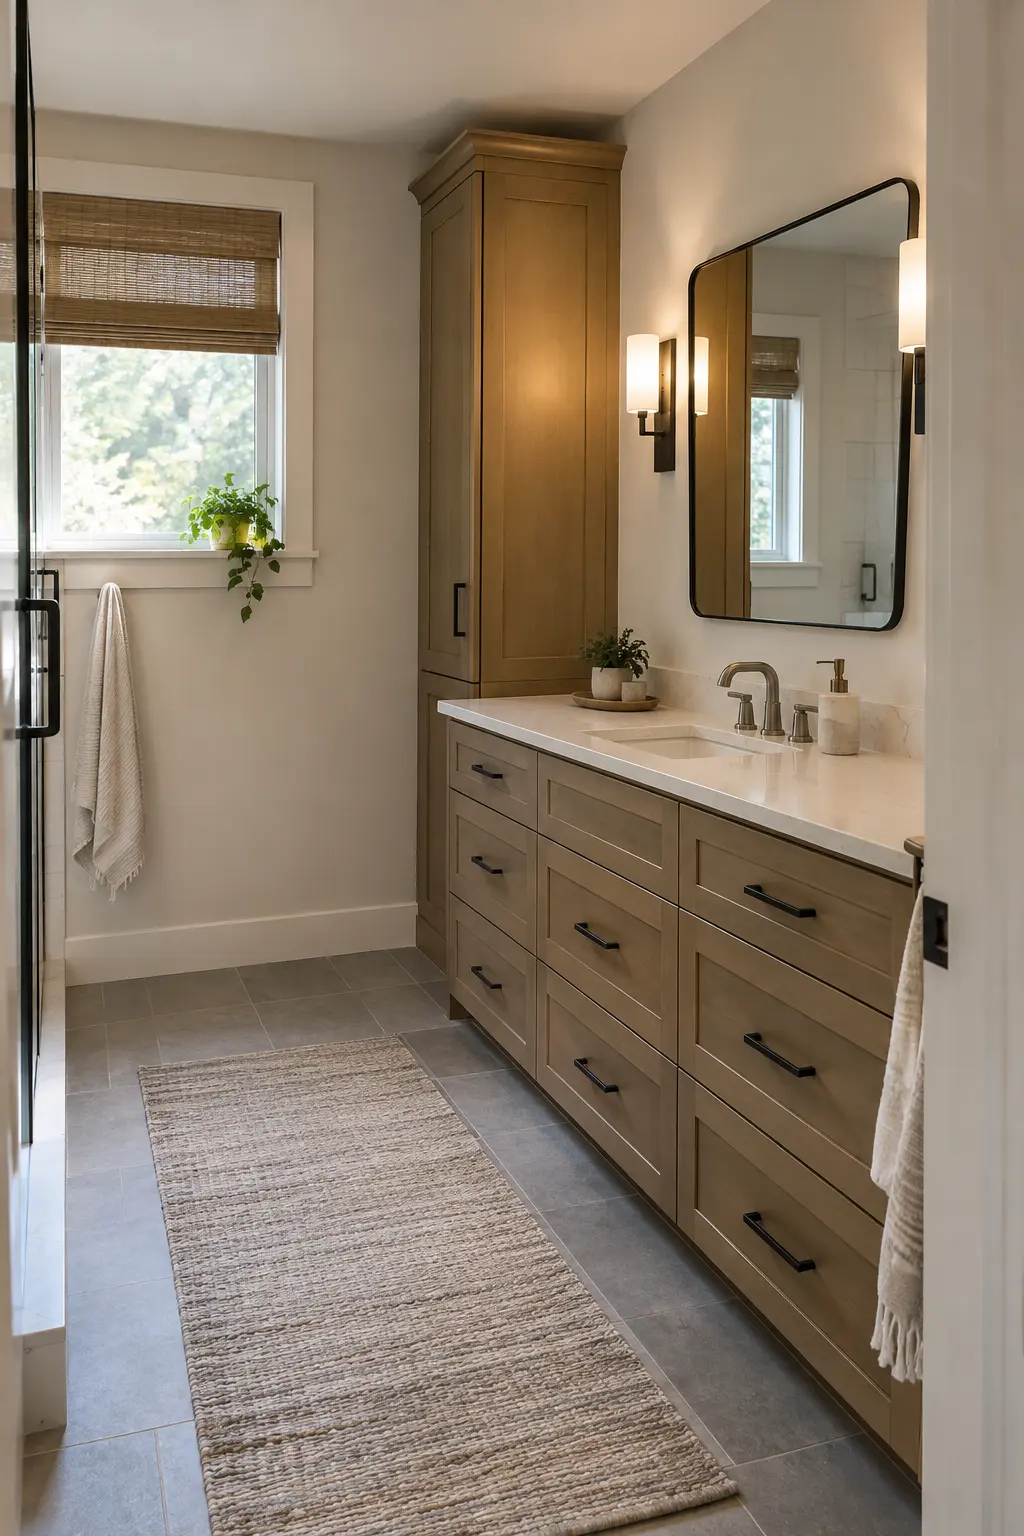
A narrow powder-room vanity may need only a basin and soap landing, while a primary vanity must support longer routines and more storage. Assign space to each activity before dividing the run into doors, drawers, and sink bays.
Stock cabinet widths can simplify cost and lead time, while a wall-to-wall design can recover awkward inches. Compare the usable interior dimensions, filler needs, and counter fabrication before assuming the widest cabinet creates the best result.
4. Protect the Working Aisle
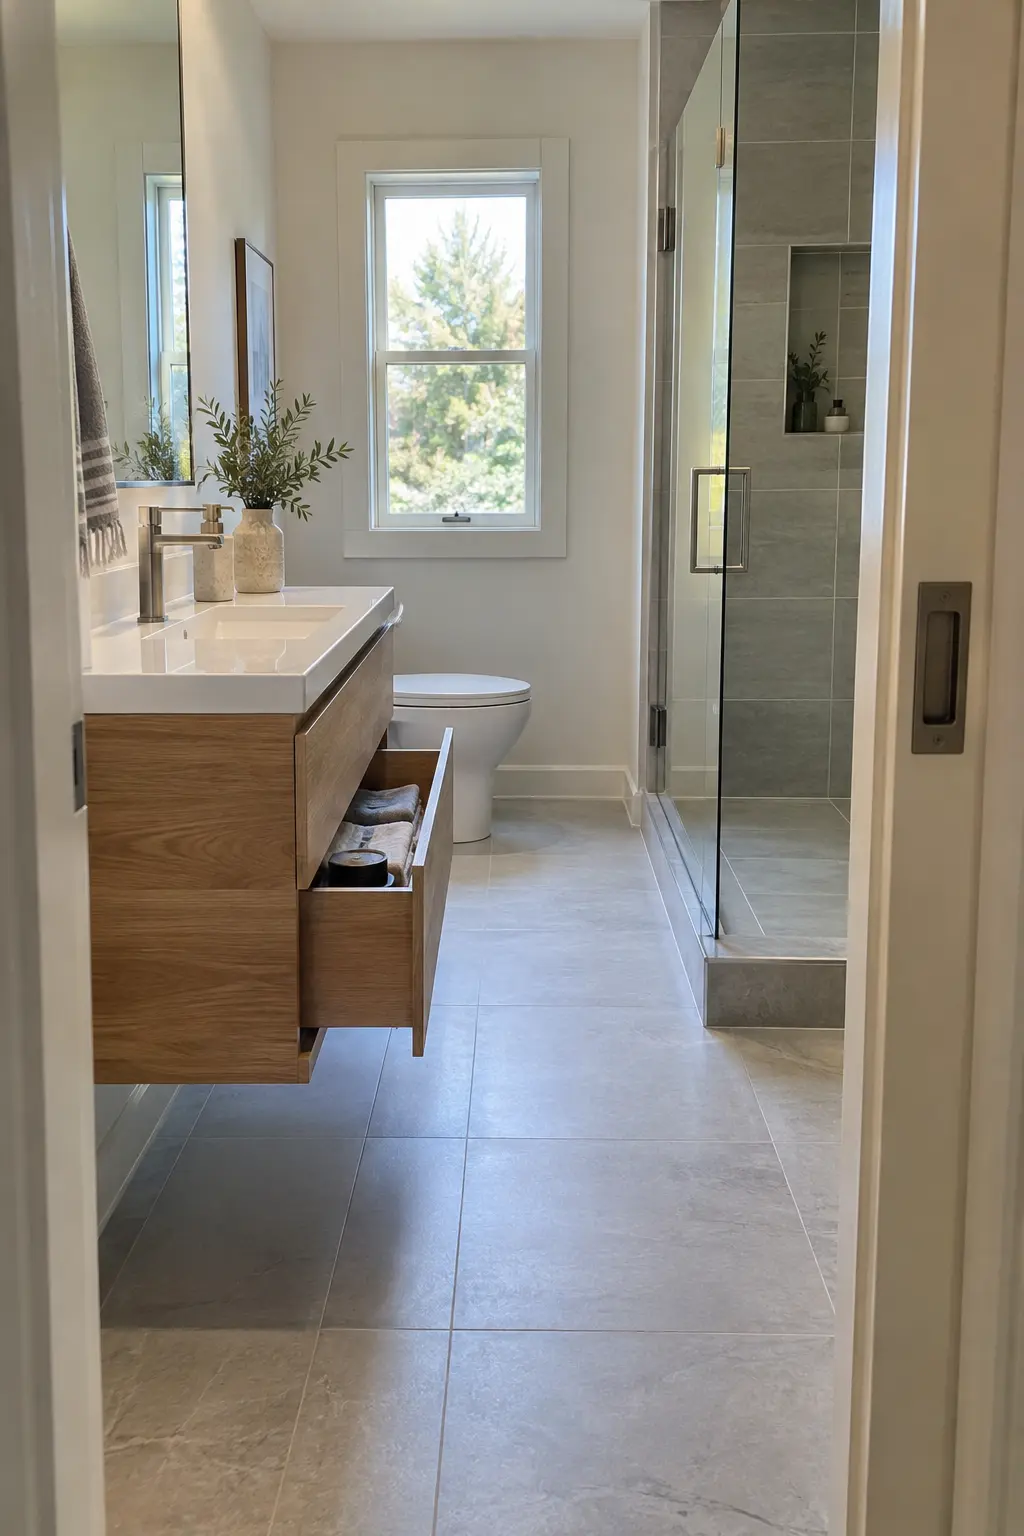
Measure from the counter edge, including its overhang, to the nearest wall or fixture. Test the aisle with the bathroom door, vanity drawers, shower door, and linen cabinet open because those moving parts often compete in small plans.
Where circulation is pinched, reduce cabinet depth, change a hinged door to a pocket or outward-swinging solution when appropriate, or shorten the vanity. Local codes and manufacturer instructions remain the final authority for required clearances.
5. Set Finished Counter Height for the Users
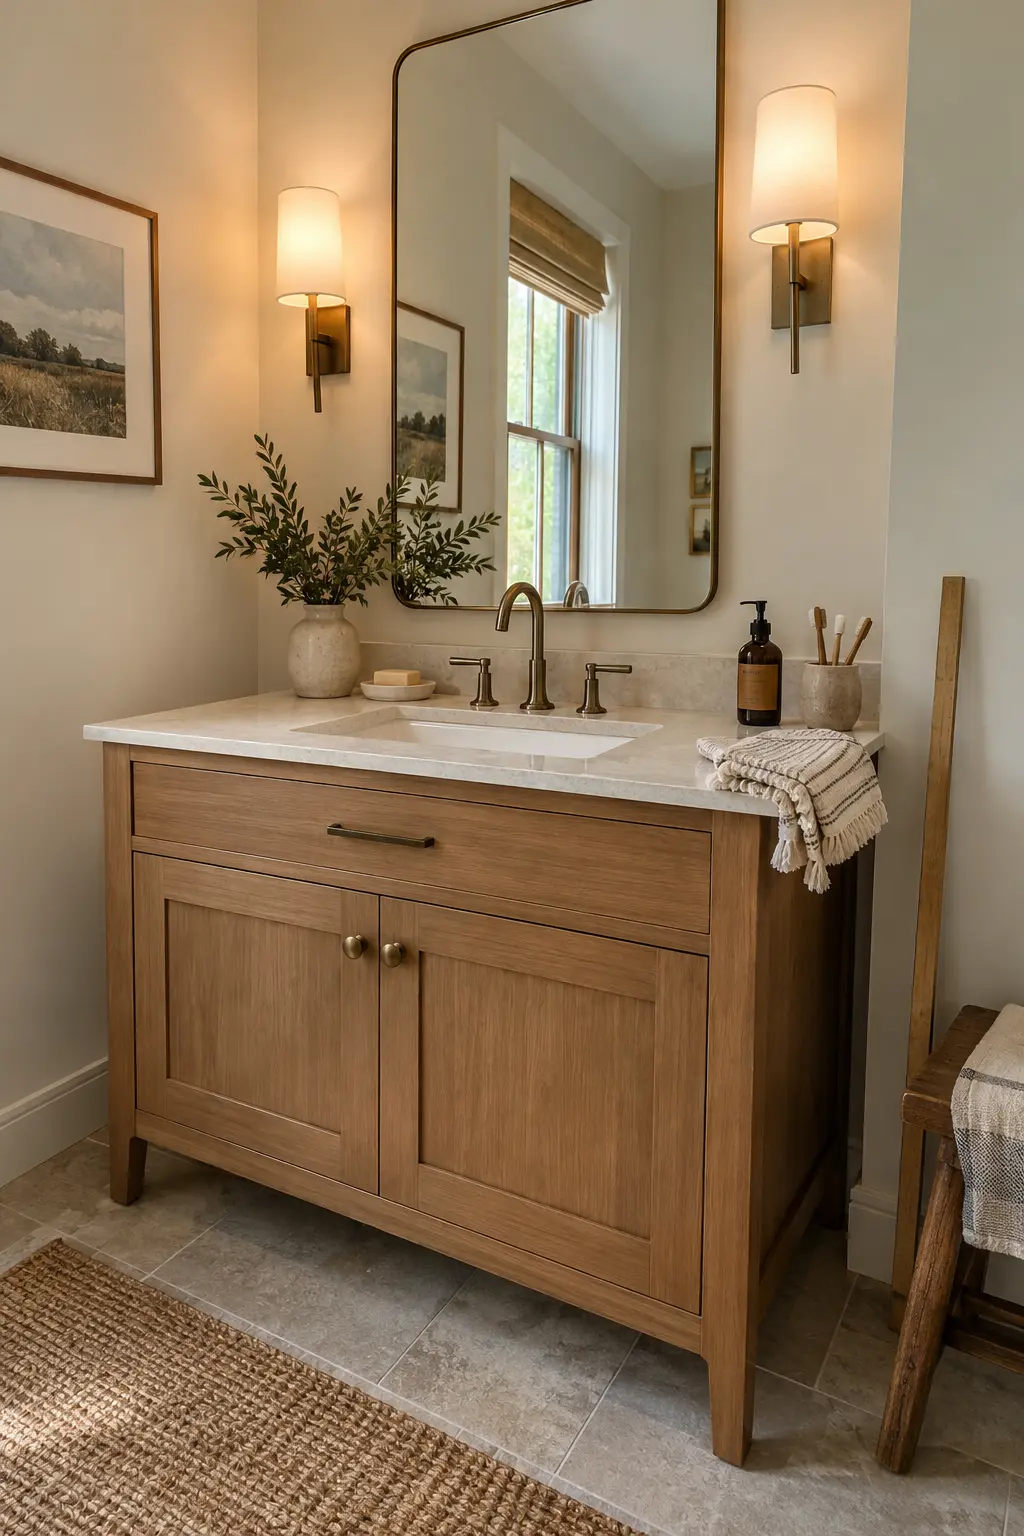
Common vanities are often sold around traditional or taller comfort-height formats, yet the right surface depends on user stature, sink type, and daily tasks. Mock up the counter edge and basin rim rather than selecting height from a catalog label.
A vessel sink raises the usable rim above the counter, so its cabinet usually needs a lower design. Confirm faucet reach, mirror position, outlet height, and backsplash alignment after the final sink and countertop thickness are known.
6. Decide Whether One Sink or Two Earns the Space
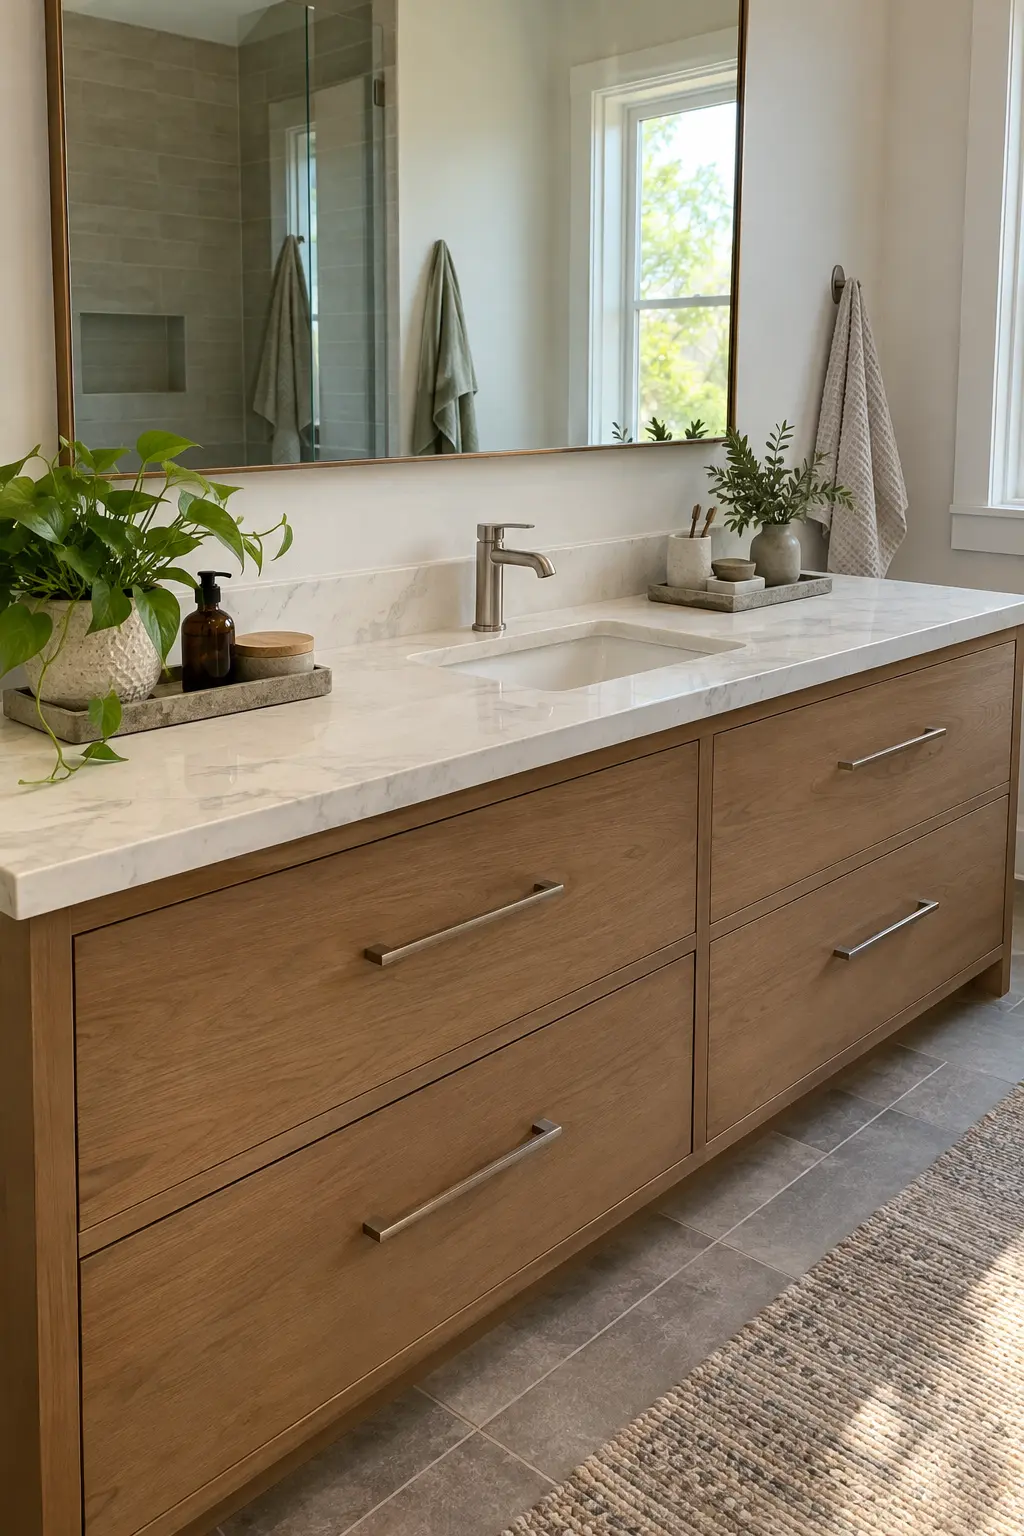
Two sinks help when people routinely use the vanity at the same time and the room can support two comfortable stations. A single sink can return wide drawers, uninterrupted counter area, and simpler plumbing in a smaller bathroom.
List the actual morning and evening overlaps, then compare them with the storage sacrificed by a second basin. The published two-person walk-in shower ideas can help coordinate other shared-use zones in a primary suite.
7. Place Sink Centers Before Dividing Cabinets
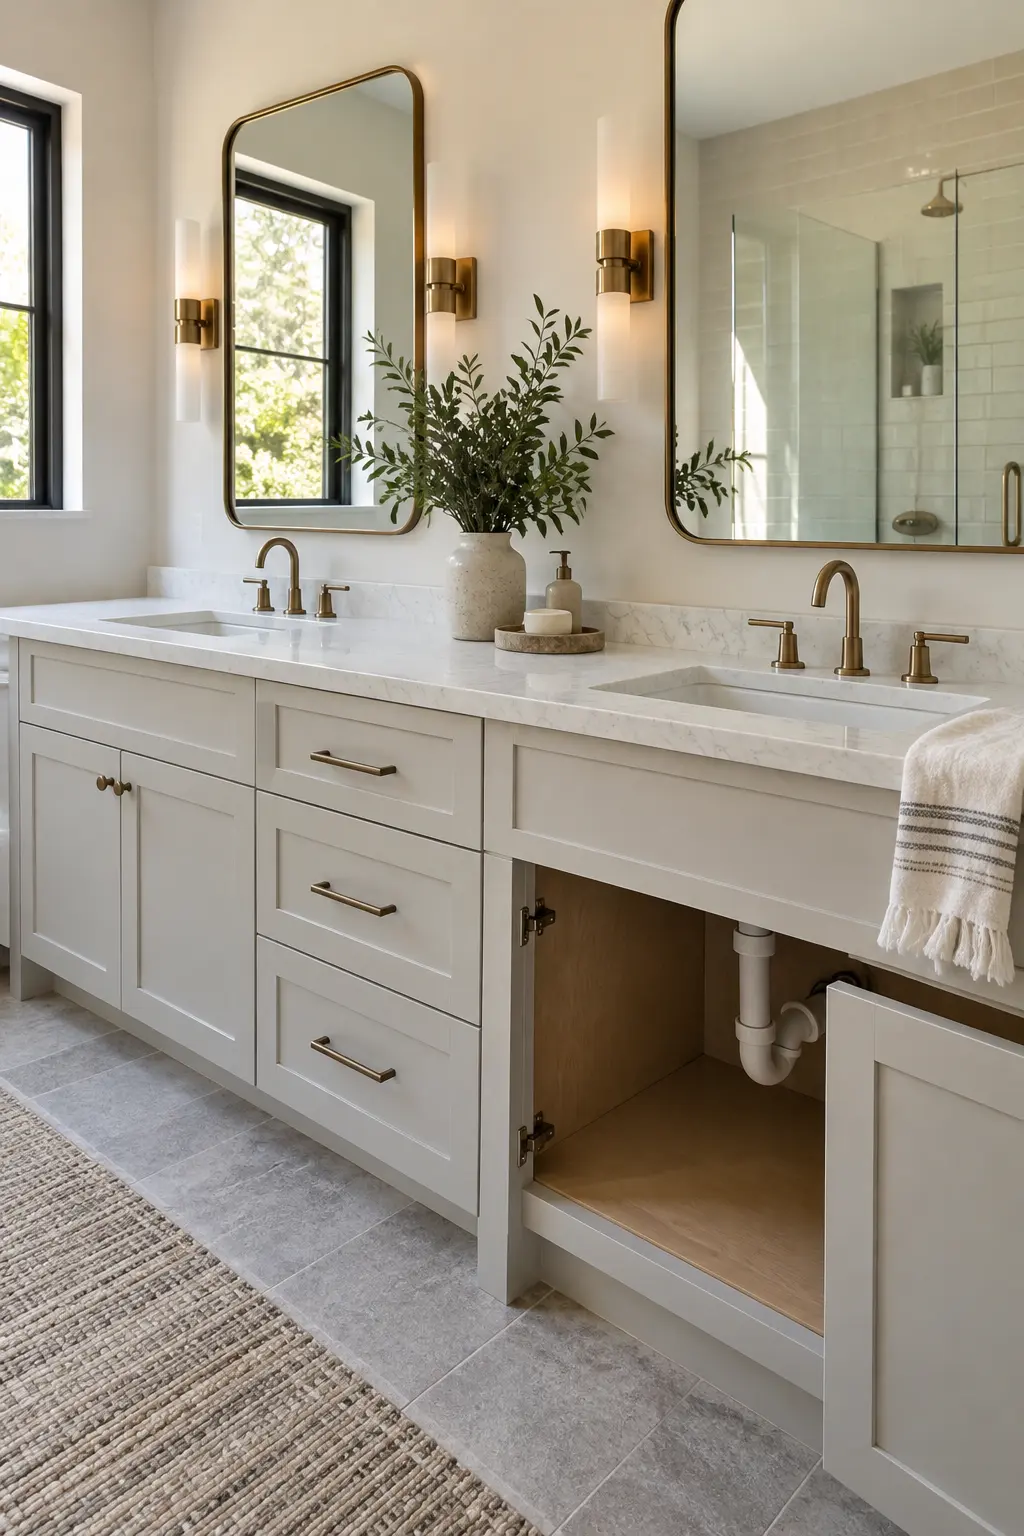
Start with the basin cutout, faucet clearance, and comfortable landing space at the sides. Align each sink with a cabinet bay that can contain its trap and supplies without cutting through the drawer stack intended for everyday storage.
For a double layout, verify elbow room and mirror alignment at both centers. Offset placement can preserve a generous central drawer bank when the overall run cannot support perfectly equal bays.
8. Use a Small-Bath Framework
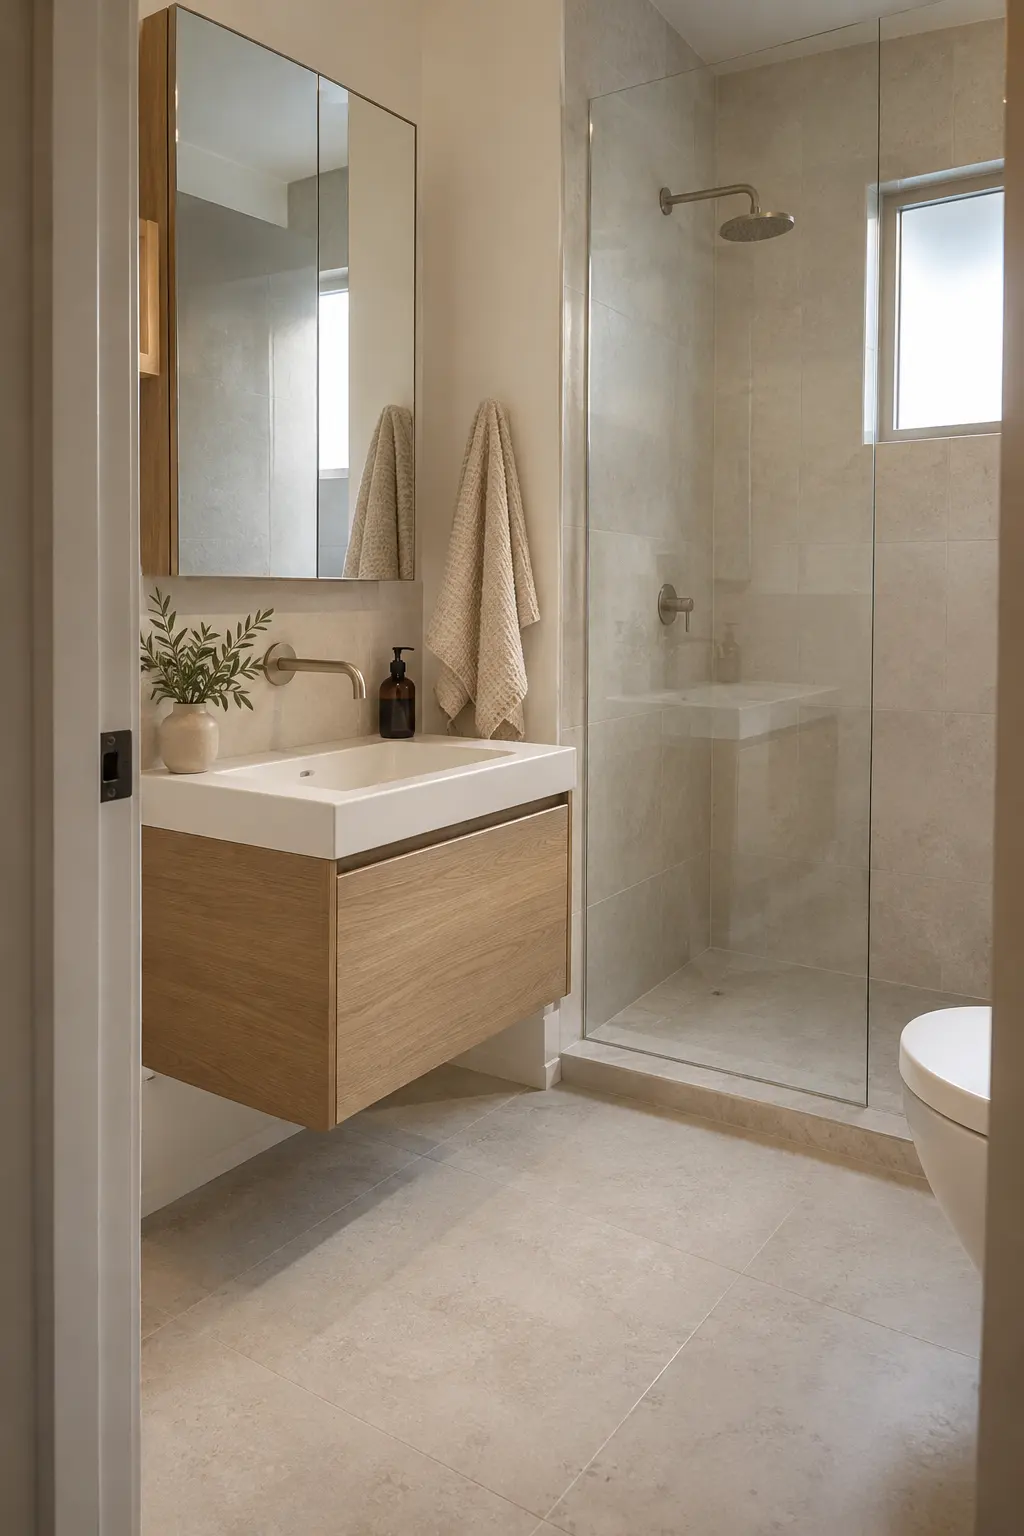
In a compact room, prioritize the clear path, one useful sink, and drawers that open fully. A shallow floating cabinet can expose more floor, while a wall-to-wall mirror can distribute light without adding physical depth.
Keep visual choices restrained after the functional envelope is fixed. The site’s small bathroom storage ideas offer additional ways to move backup items away from the counter.
9. Use a Standard-Bath Framework
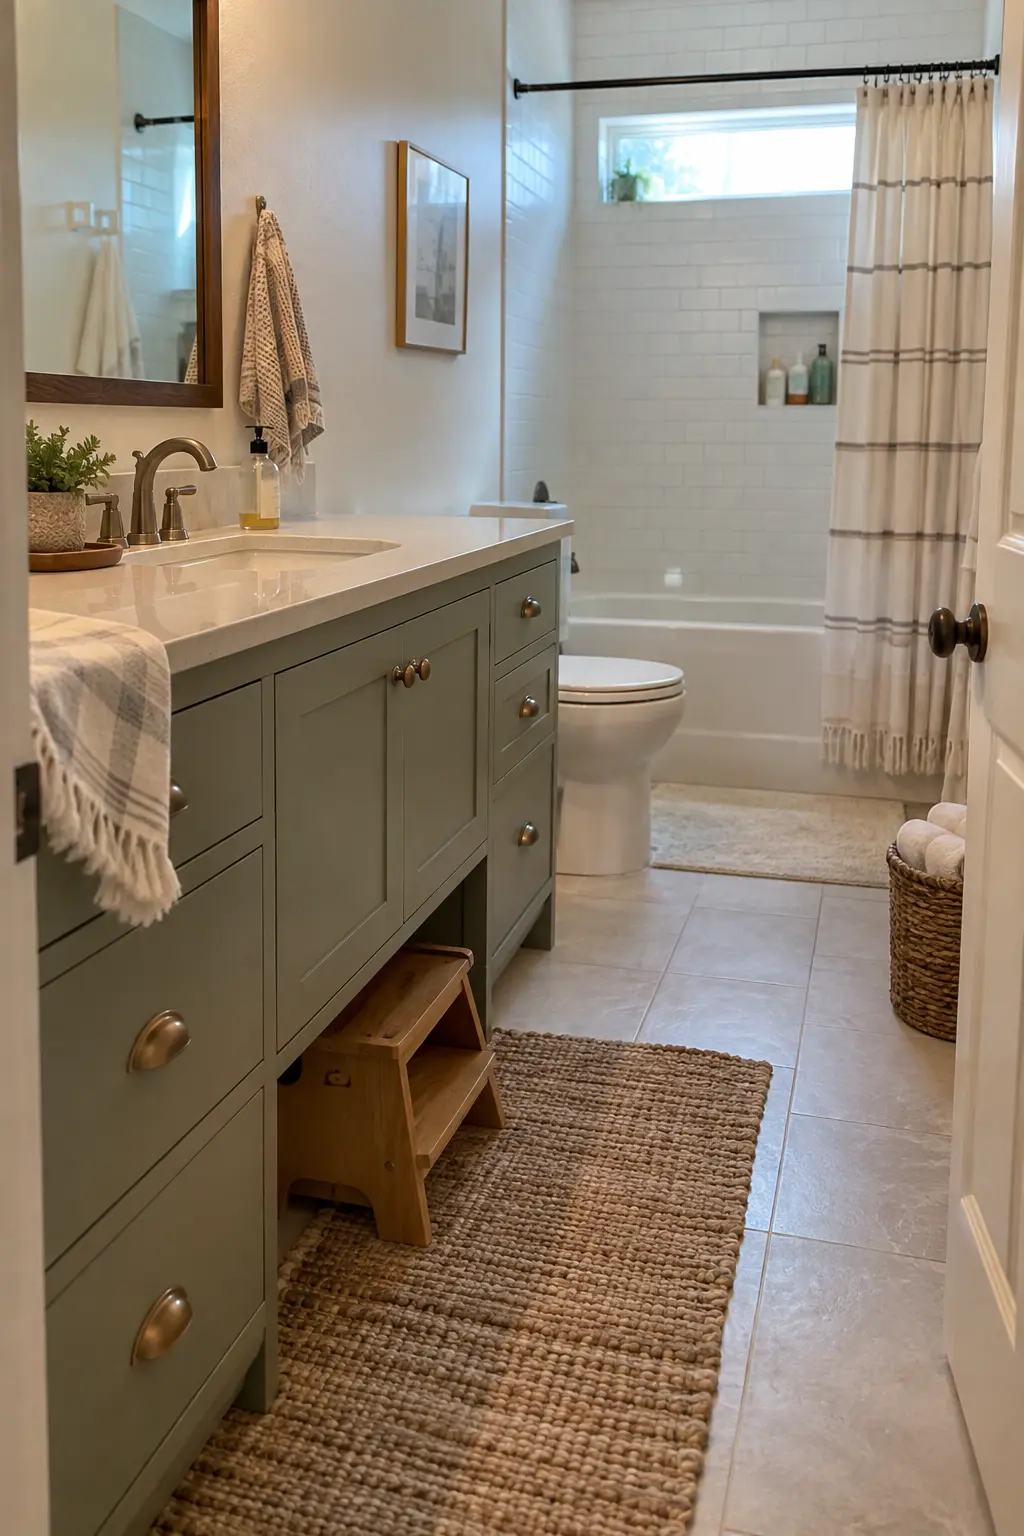
A typical hall or family bathroom benefits from balanced counter landing, closed storage, and surfaces that tolerate frequent wiping. Give the most accessible drawers to daily items and move bulk supplies into a linen cabinet when possible.
Plan for step stools, shared towels, and the person who cleans the room. Rounded projections, durable edge details, and hardware that is easy to grip usually matter more than adding another decorative compartment.
10. Use a Large-Primary-Bath Framework
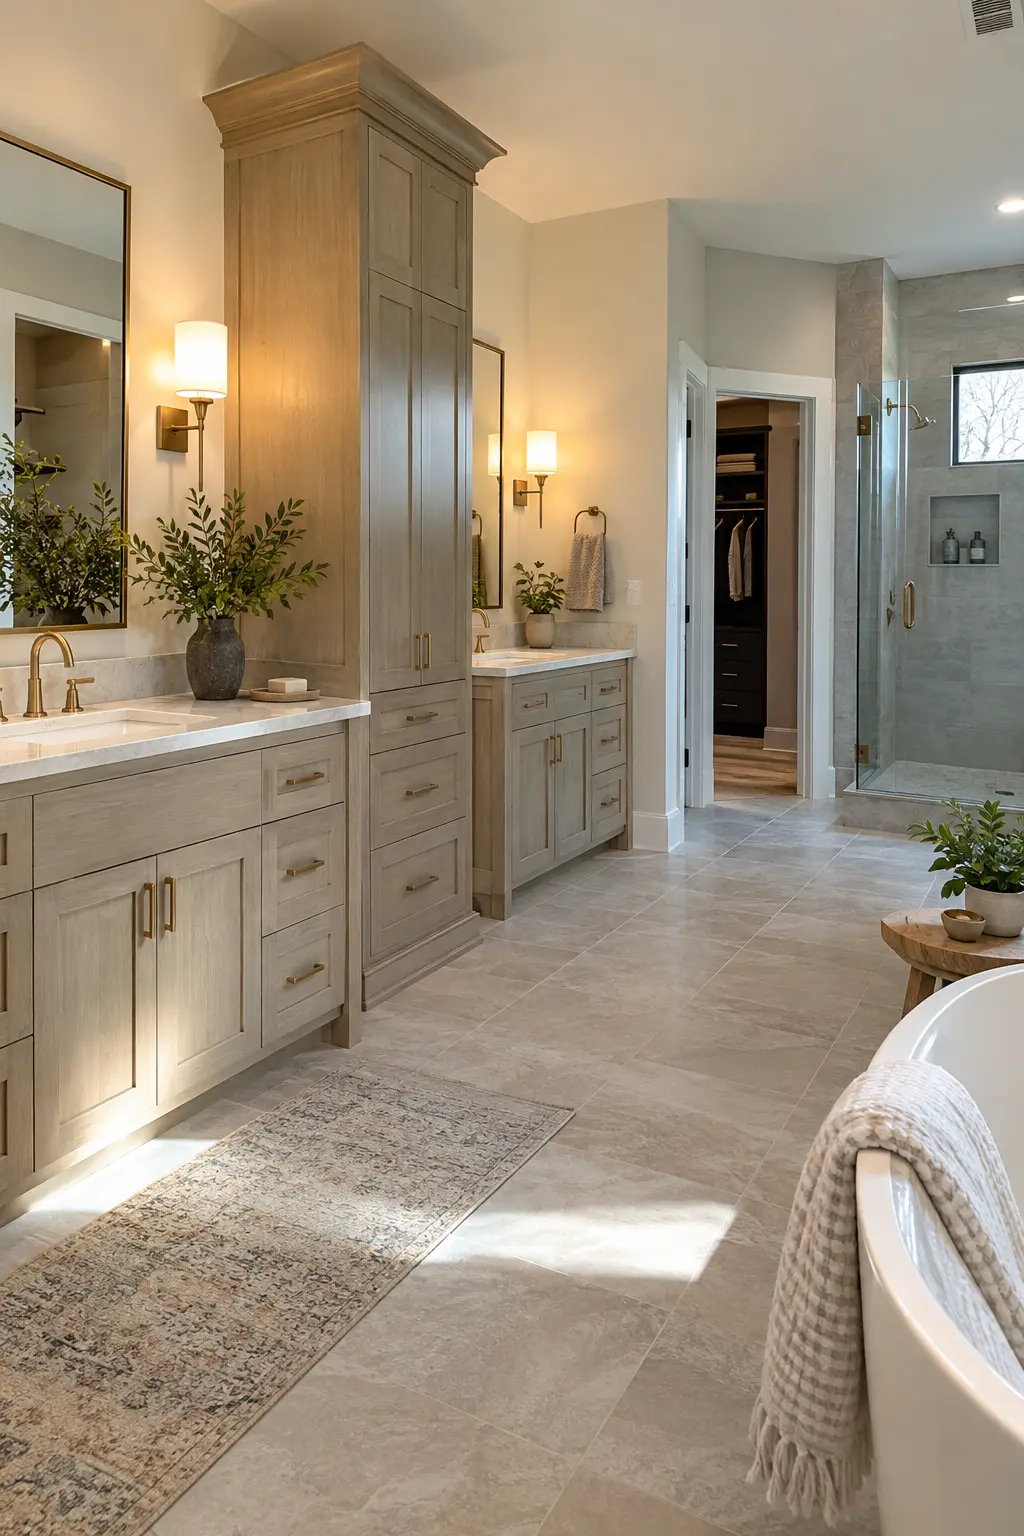
A long wall can support two separate stations, a central storage tower, or a seated grooming zone. Divide the composition by tasks so the cabinet run does not become an oversized rectangle with poorly organized interior space.
Preserve comfortable routes to the shower, toilet room, and closets. In a generous room, separate vanities may fit the architecture better than one continuous unit and can simplify individual storage routines.
Coordinate Cabinets, Storage, and Plumbing
The cabinet plan and plumbing plan must be developed together. Traps, shutoffs, and supply lines occupy the same volume that drawers, pull-outs, and waste bins need.
11. Select Floor-Mounted or Floating Construction Early
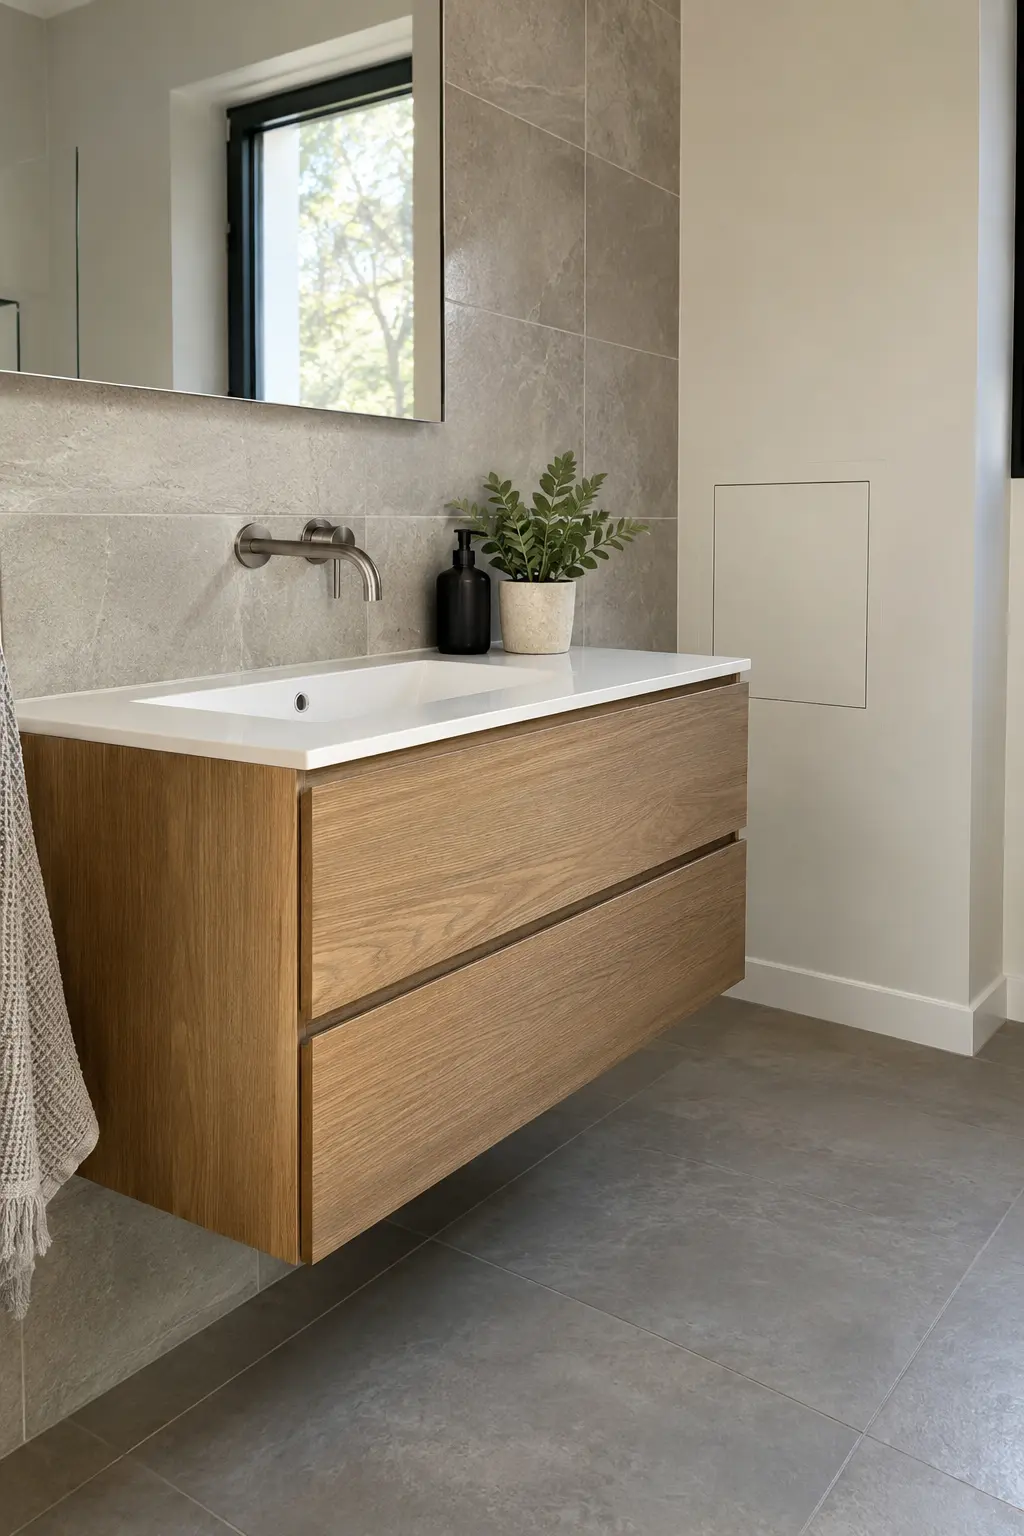
A floor-mounted vanity transfers loads conventionally and often provides more enclosed volume. A floating vanity exposes floor, can make a tight room feel lighter, and requires verified wall framing plus a fastening system rated for the cabinet, counter, sinks, and daily use.
Decide before rough framing and tile layout. Blocking, finished floor coverage, base trim, and plumbing heights change when the cabinet is lifted from the floor.
12. Give Daily Items Shallow Drawers
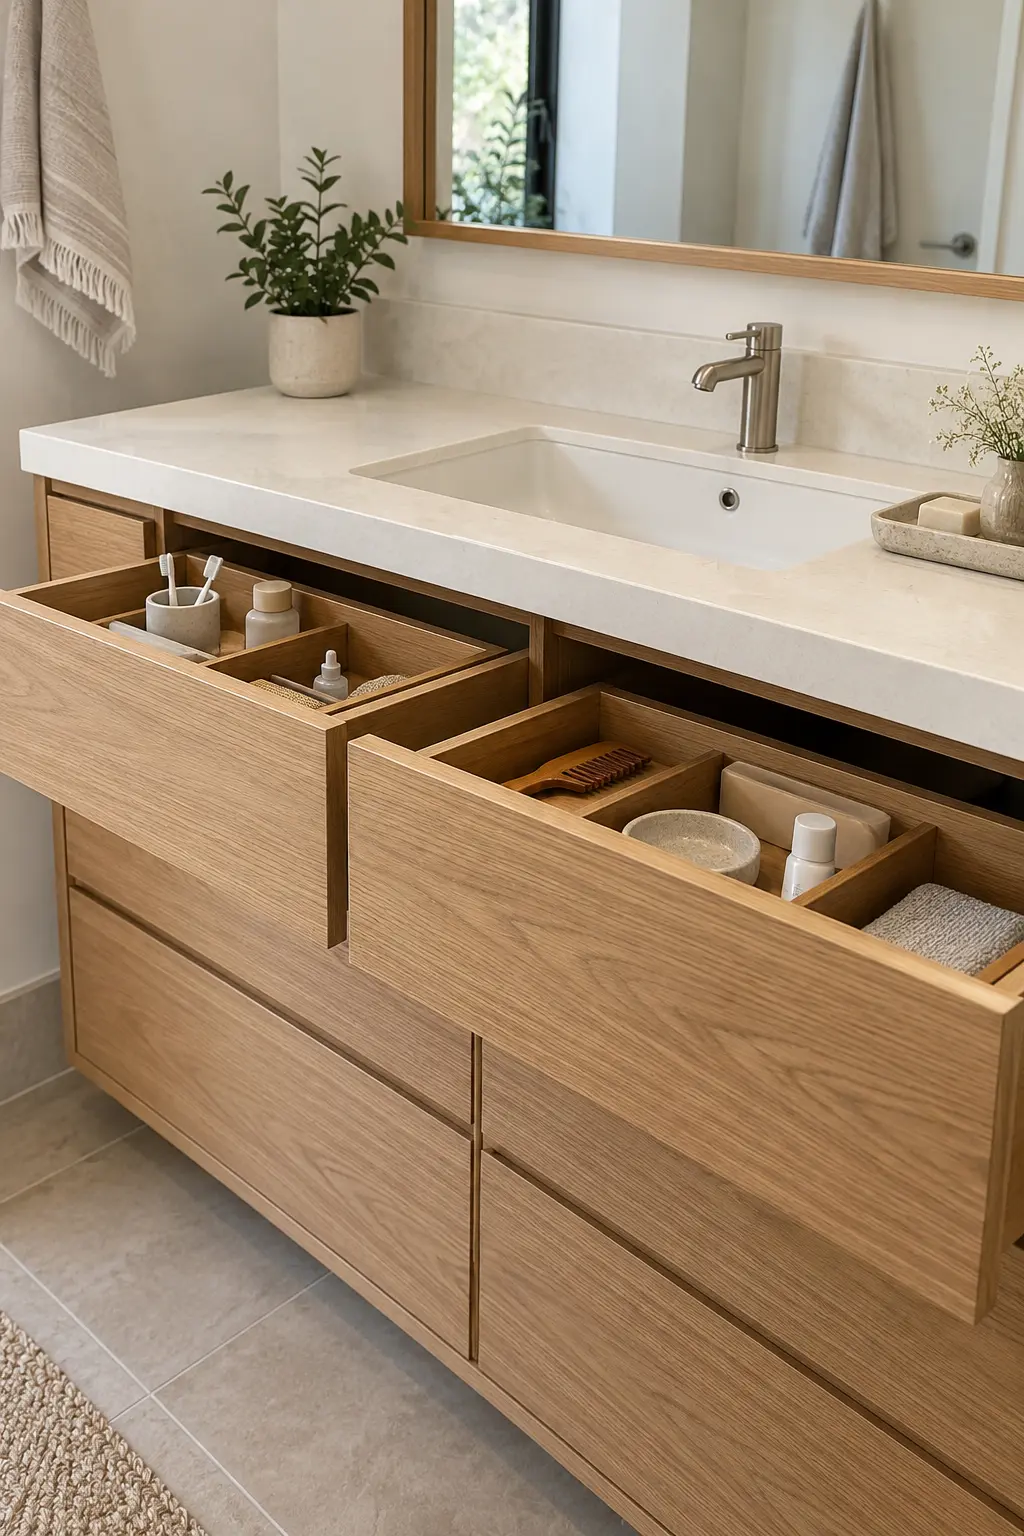
Shallow top drawers keep brushes, skincare, and grooming tools visible without stacking. Map each drawer box around the sink bowl and trap, then specify usable interior height instead of relying on the appearance of a tall front.
Removable dividers allow routines to change. Place the most frequently used drawer where it can open while someone stands at the adjacent sink, especially in a shared bathroom.
13. Design Under-Sink Storage Around the Trap
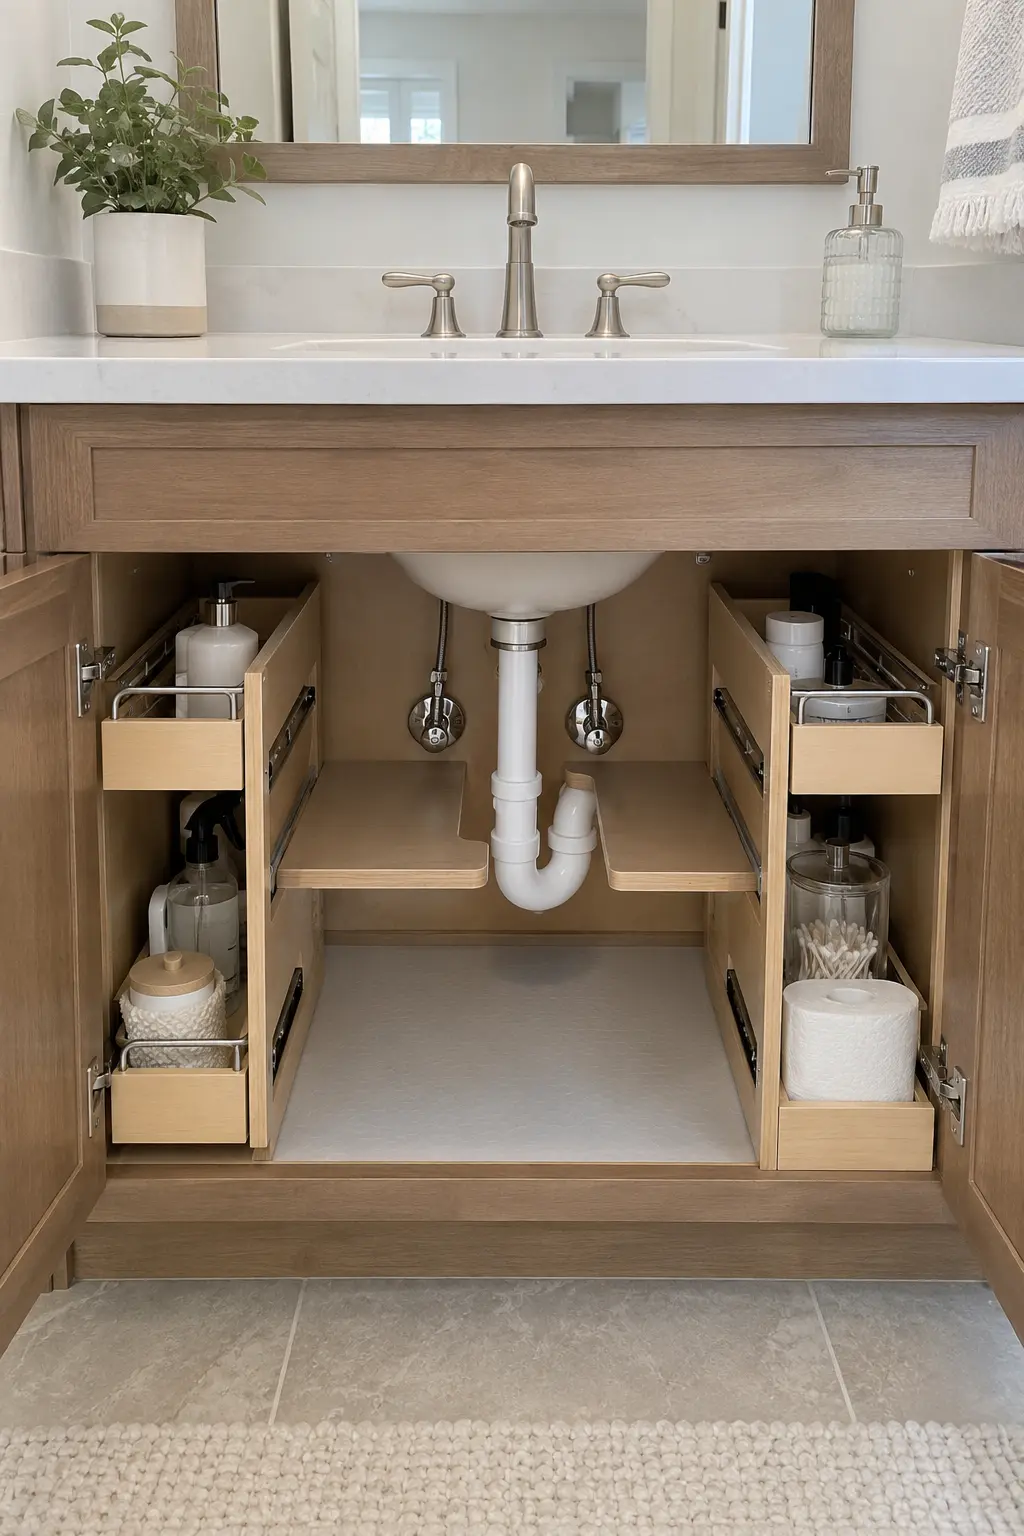
Measure the trap, tailpiece, shutoffs, and supply hoses before choosing pull-outs. U-shaped drawers, narrow side bins, or a split shelf can recover space while leaving joints visible for inspection and repairs.
Keep valves reachable without unloading the entire cabinet. A washable liner and a small leak alarm can make slow drips easier to detect before the cabinet base swells.
14. Protect One Continuous Drawer Bank
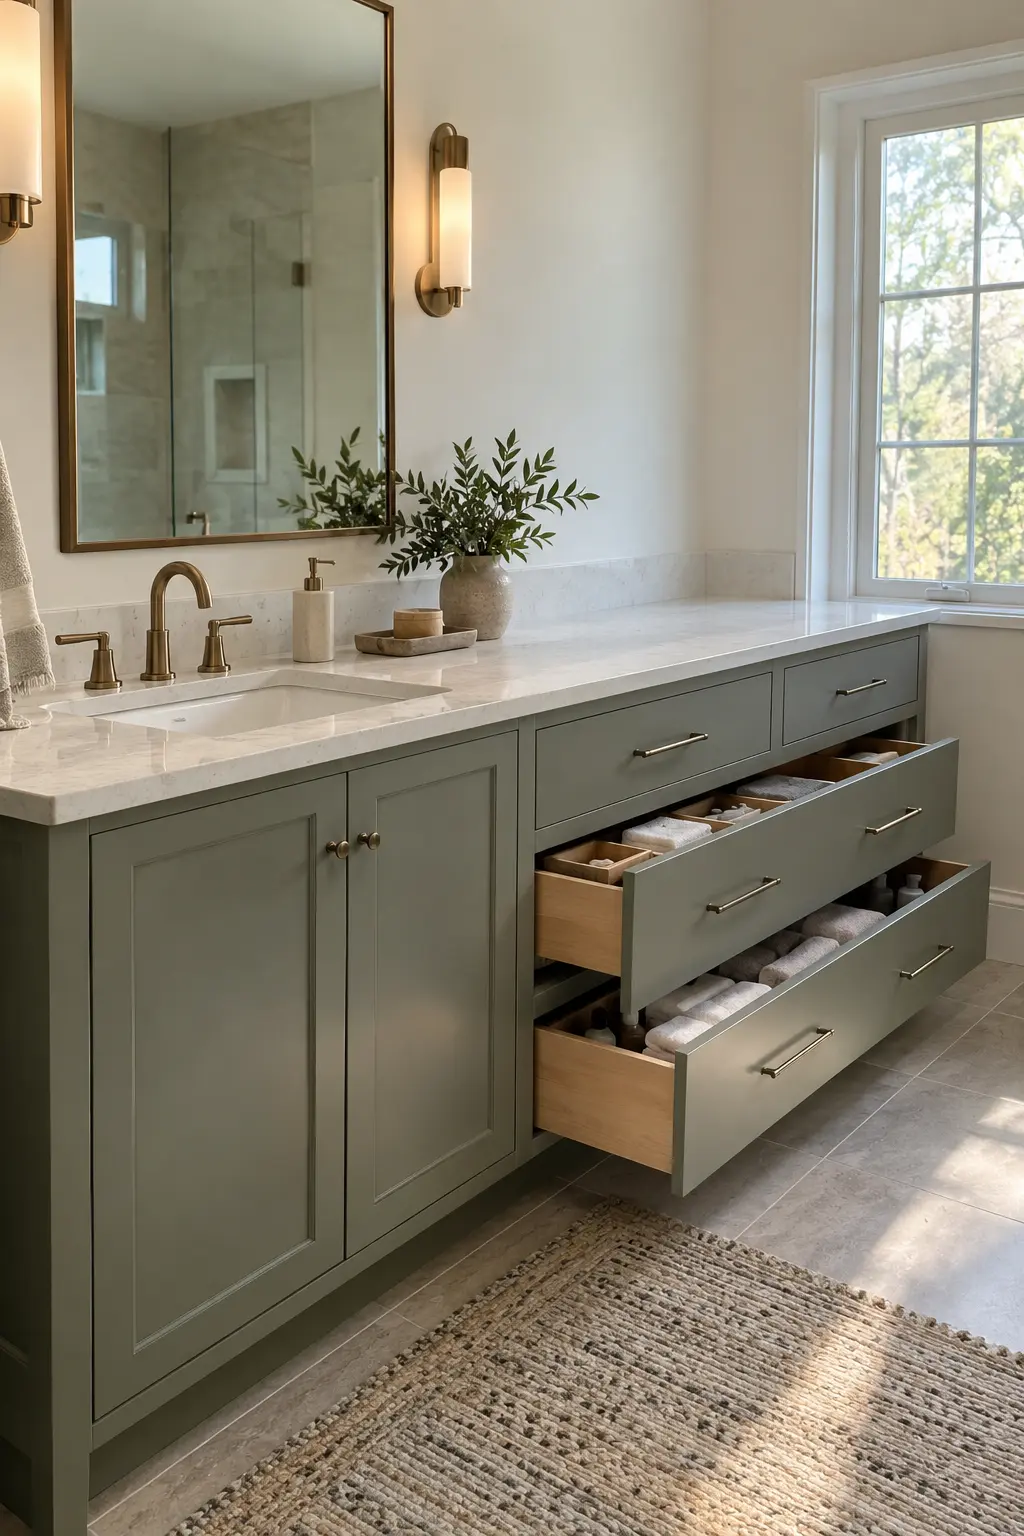
A wide drawer stack is often the most efficient storage in a vanity. Locate it beyond the sink cutout and plumbing envelope, then use the upper drawer for small tools and deeper drawers for towels or bottles.
If two sinks are planned, a central drawer bank can separate user zones. Confirm the cabinet partitions against the countertop template so each basin remains fully supported.
15. Keep Shutoff Valves Visible and Reachable
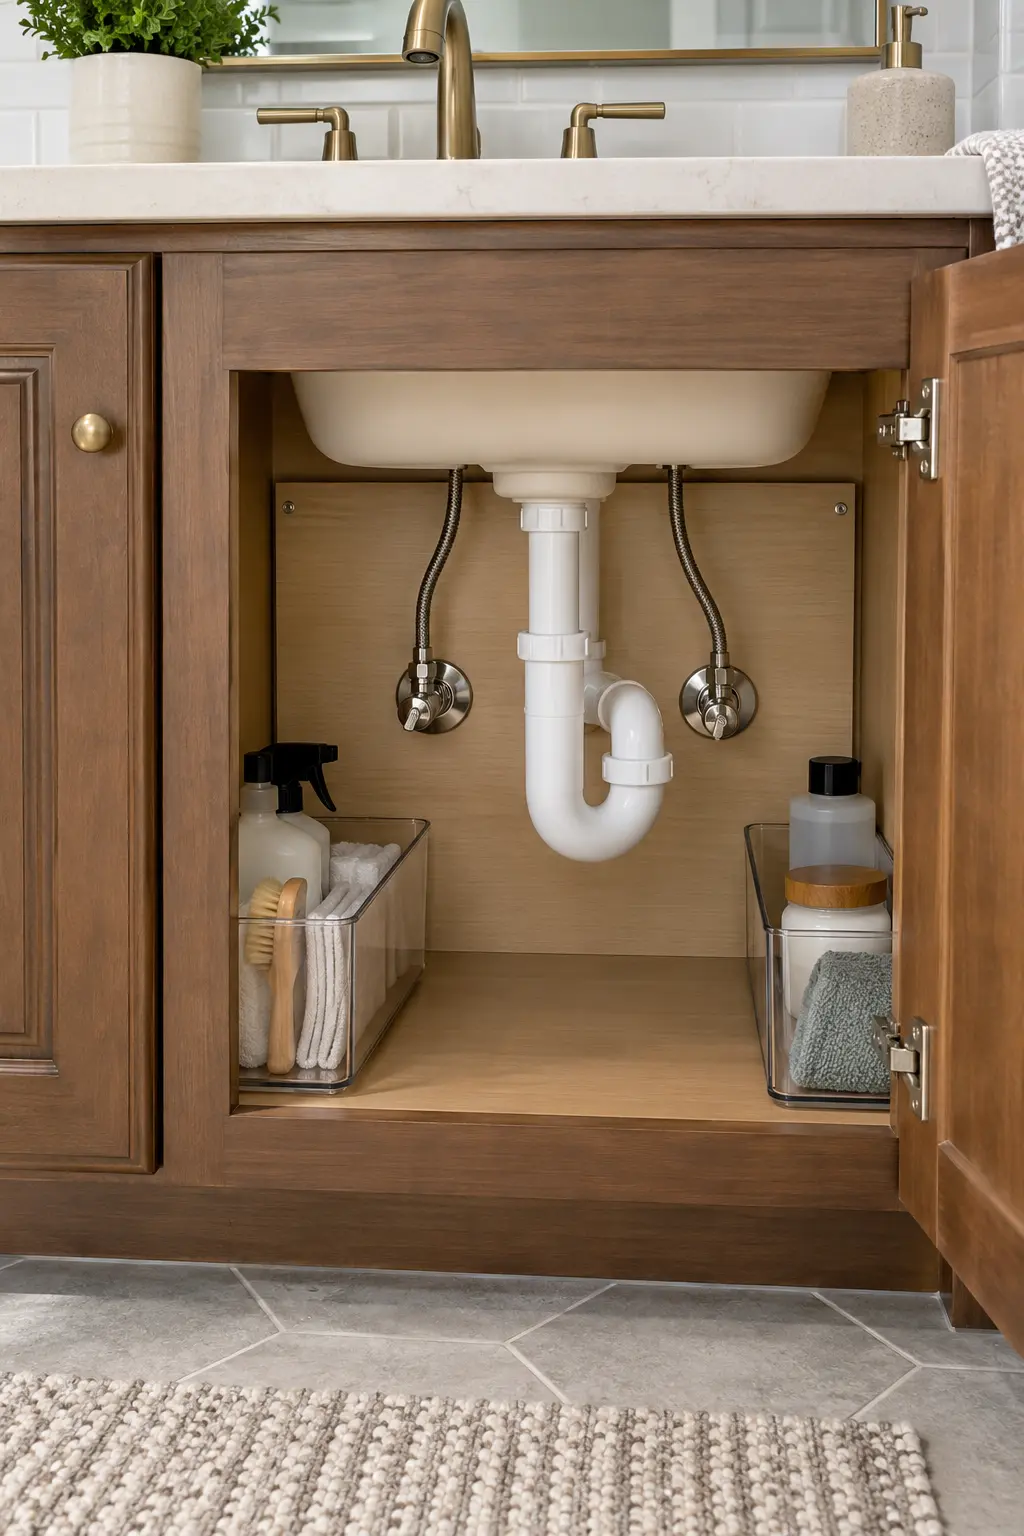
Place hot and cold shutoffs where a hand can operate them without removing fixed shelves or drawer hardware. Removable back panels can conceal rough walls while preserving access for a plumber.
Labeling is optional, although every household member should know how to stop water quickly. Photograph the open cabinet after installation to document valve and drain locations.
16. Coordinate Rough-In Heights With the Actual Cabinet
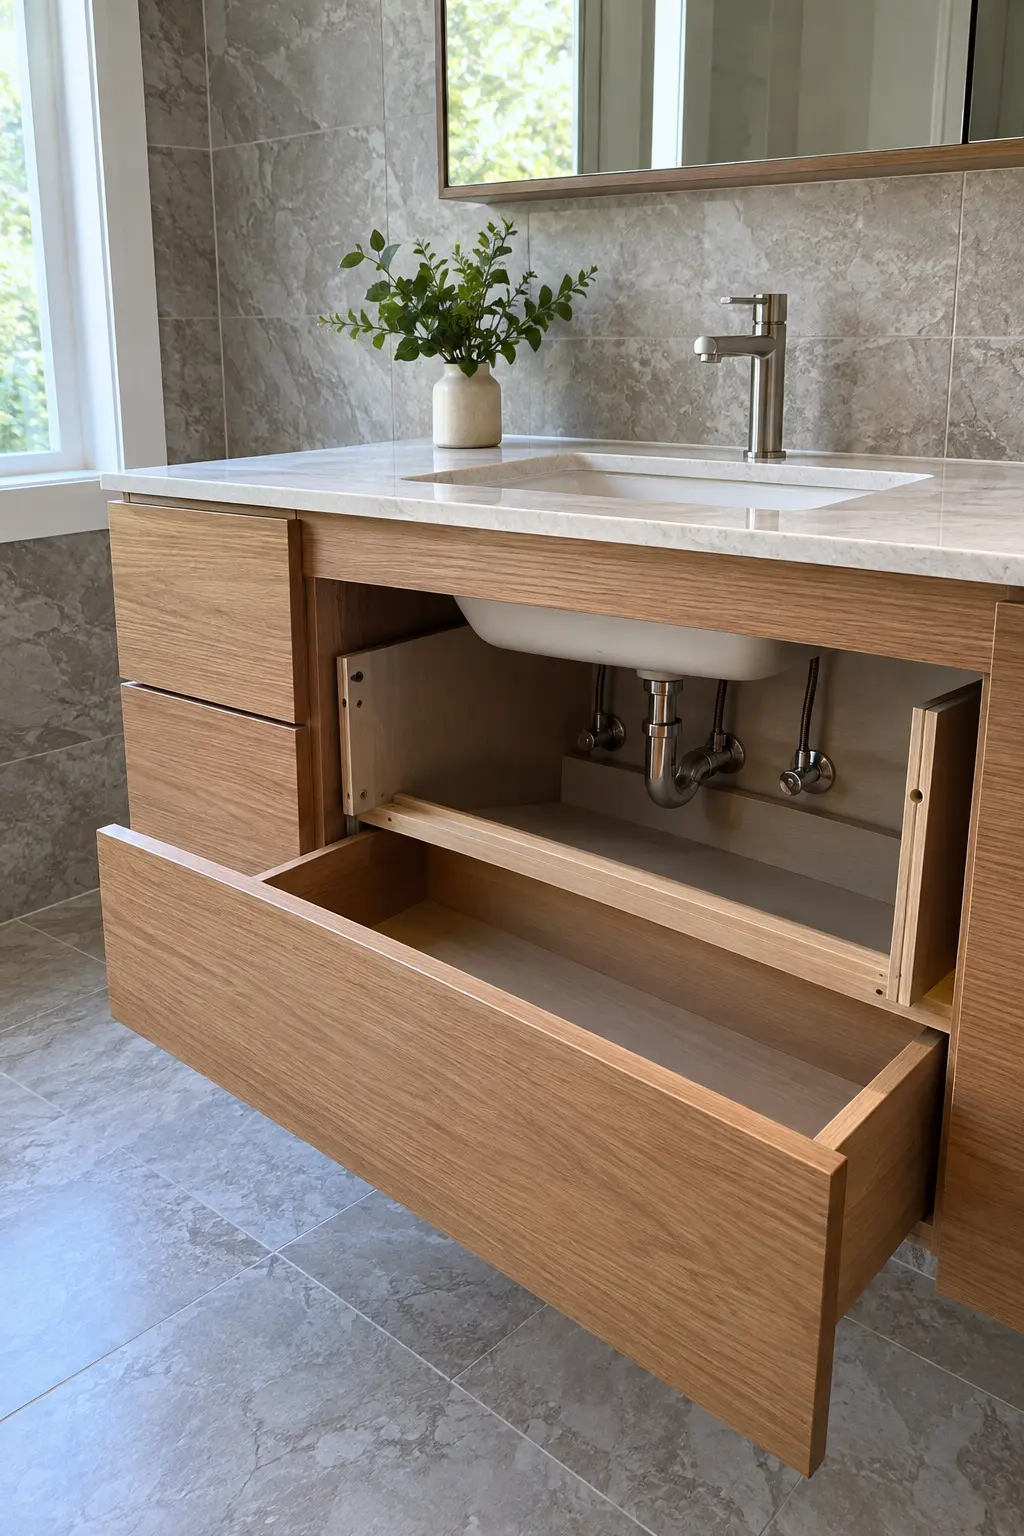
Generic rough-in assumptions can conflict with a floating vanity, deep sink, or full drawer system. Give the plumber the approved cabinet drawing, sink specification, countertop thickness, and finished mounting height before pipes are set.
Mark finished-floor elevation during construction. A change in tile buildup can move the cabinet relative to wall outlets, drains, mirrors, and backsplash seams.
17. Verify Drain and Vent Strategy Before Ordering
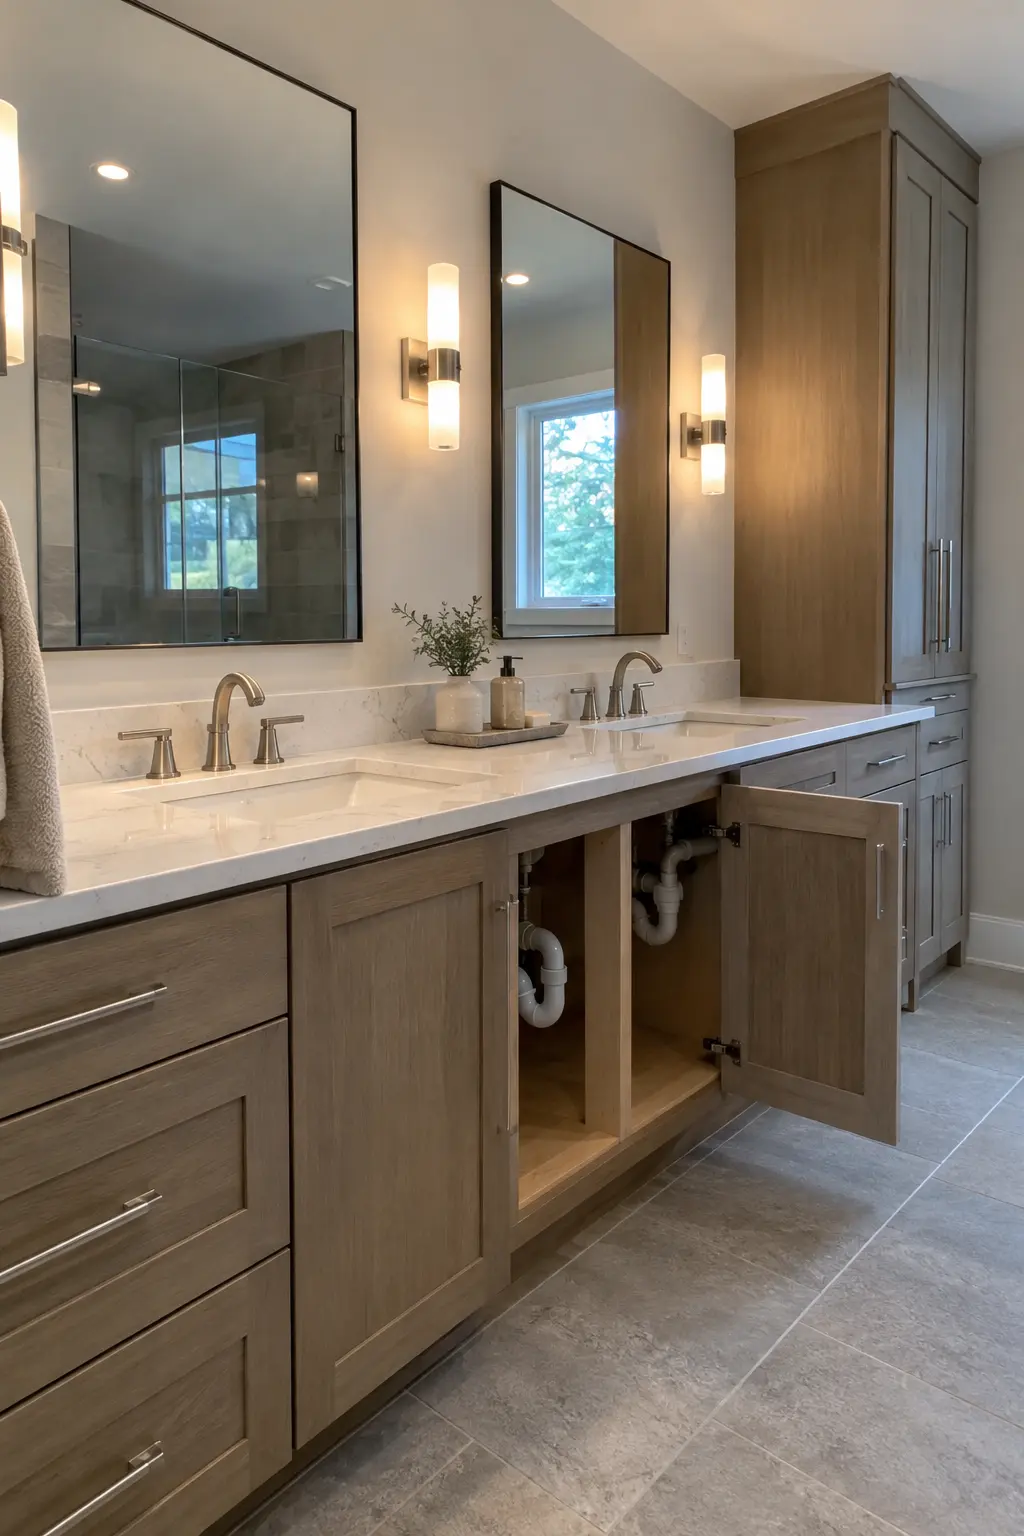
Moving a sink center may affect drain slope, venting, wall framing, and labor. Ask a licensed plumber to confirm the route before a custom cabinet or stone top becomes nonreturnable.
For two basins, the internal plumbing must fit the planned cabinet bays. Avoid framing assumptions that force a drain through the exact space reserved for drawers.
18. Plan Service Access for Wall-Mounted Faucets
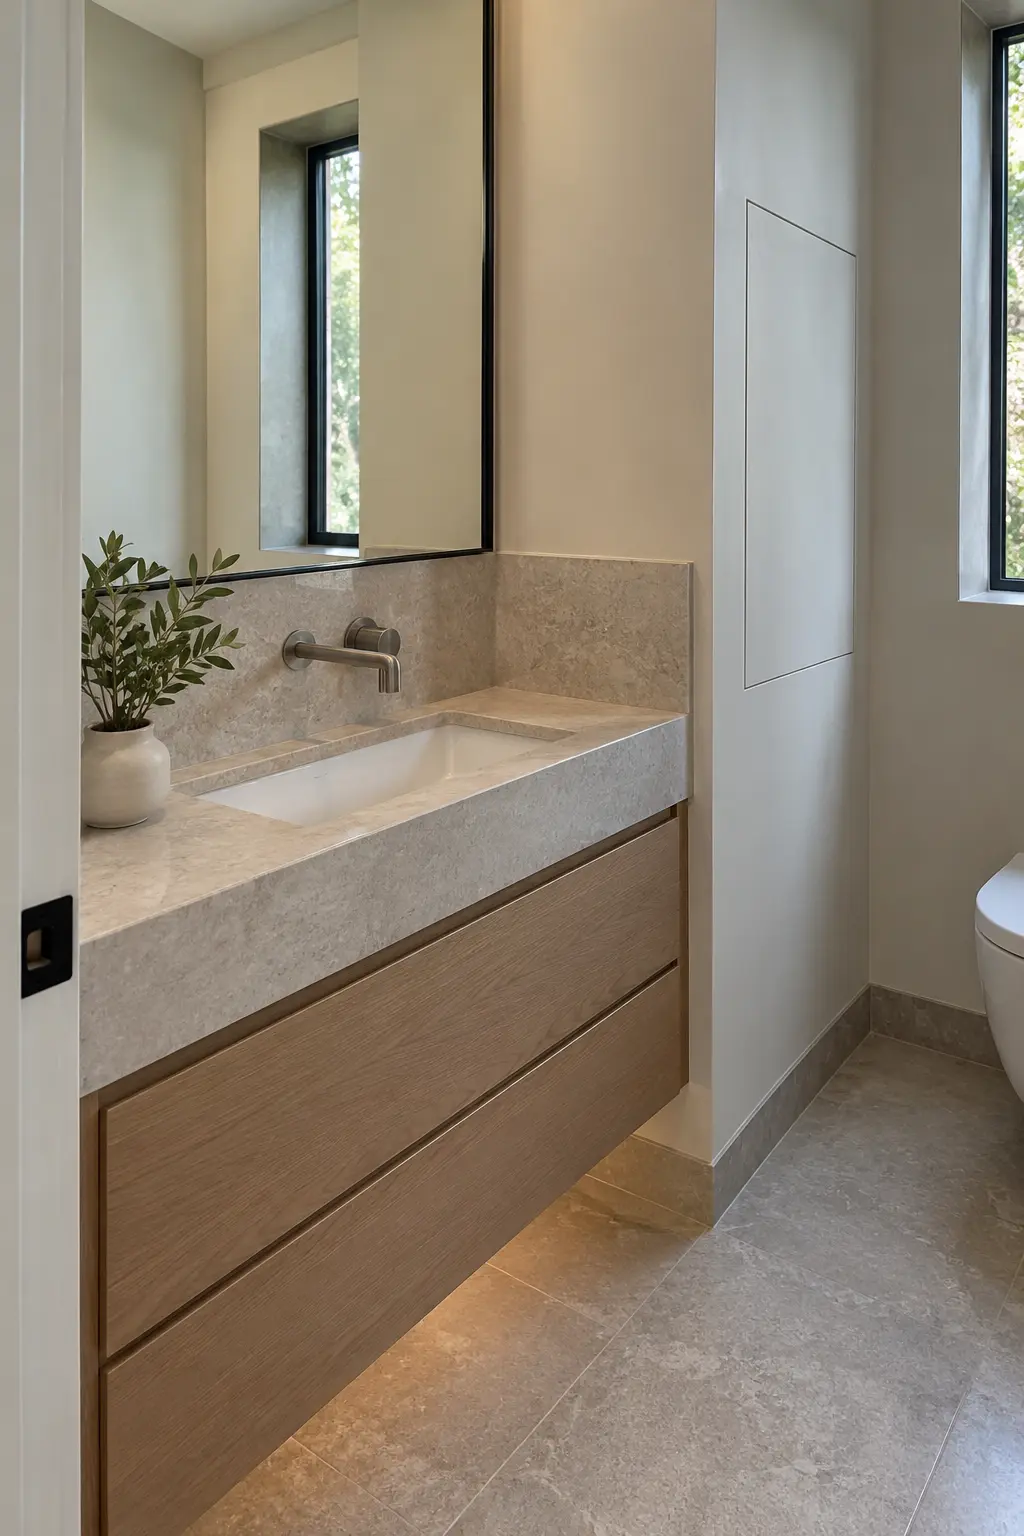
Wall-mounted faucets free counter space and can suit a shallow vanity, though the valve bodies need precise depth and future access. Coordinate framing, waterproof finishes, backsplash thickness, spout reach, and basin location as one assembly.
Set the outlet high enough to clear the sink rim and low enough to control splash. Use the manufacturer’s rough-in dimensions and have the installer test the valves before the wall closes.
19. Choose Hardware by Grip and Projection
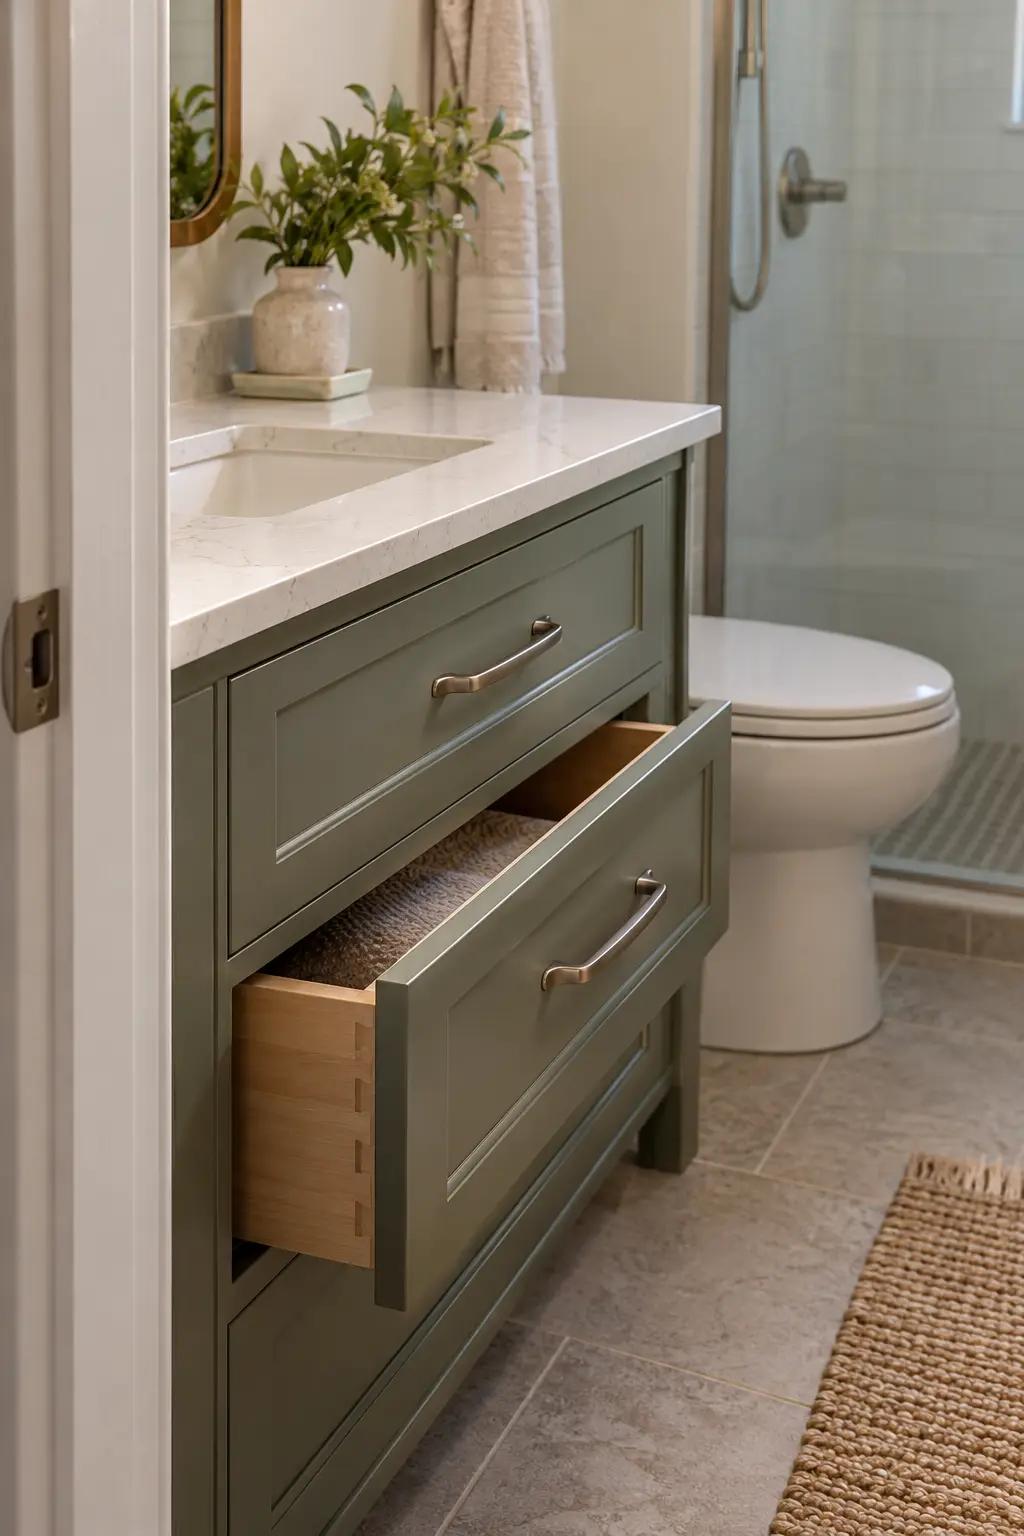
Pulls should open wet-handed drawers comfortably without extending so far that they catch clothing in a narrow aisle. Test a sample on the actual door thickness and confirm screws do not interfere with drawer inserts.
Consistent pull lengths simplify the elevation, while one larger handle can identify a hamper or tall pull-out. Knobs save width near tight corners but offer less gripping surface for some users.
20. Reserve a Safe Zone for Hot Tools
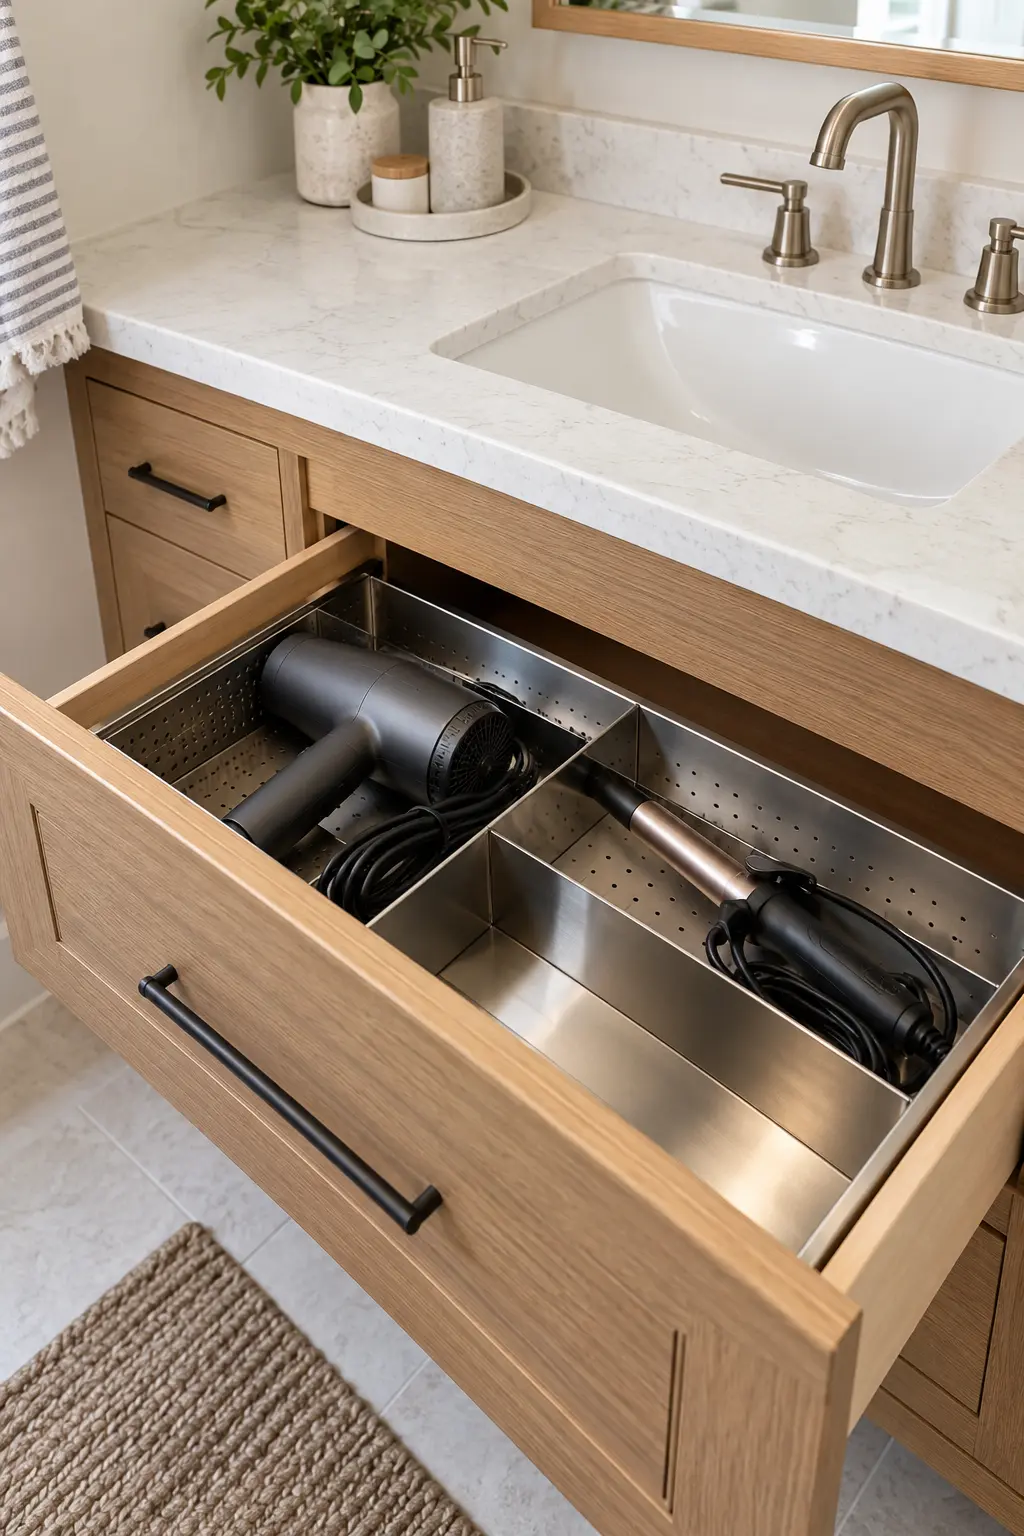
Hair tools need a heat-tolerant place to cool away from water and combustible clutter. A ventilated metal-lined drawer insert can work when it follows the product and cabinet manufacturer’s requirements.
Keep cords clear of drawer slides and plumbing. Bathroom receptacles and circuits must follow local electrical rules, so the outlet plan belongs with a qualified electrician.
Match the Countertop, Sink, and Faucet
Treat the counter, basin, faucet, and backsplash as one wet assembly. Their dimensions control splash, cleaning, edge strength, and the cabinet structure below.
21. Confirm Counter Overhangs and Edge Clearances
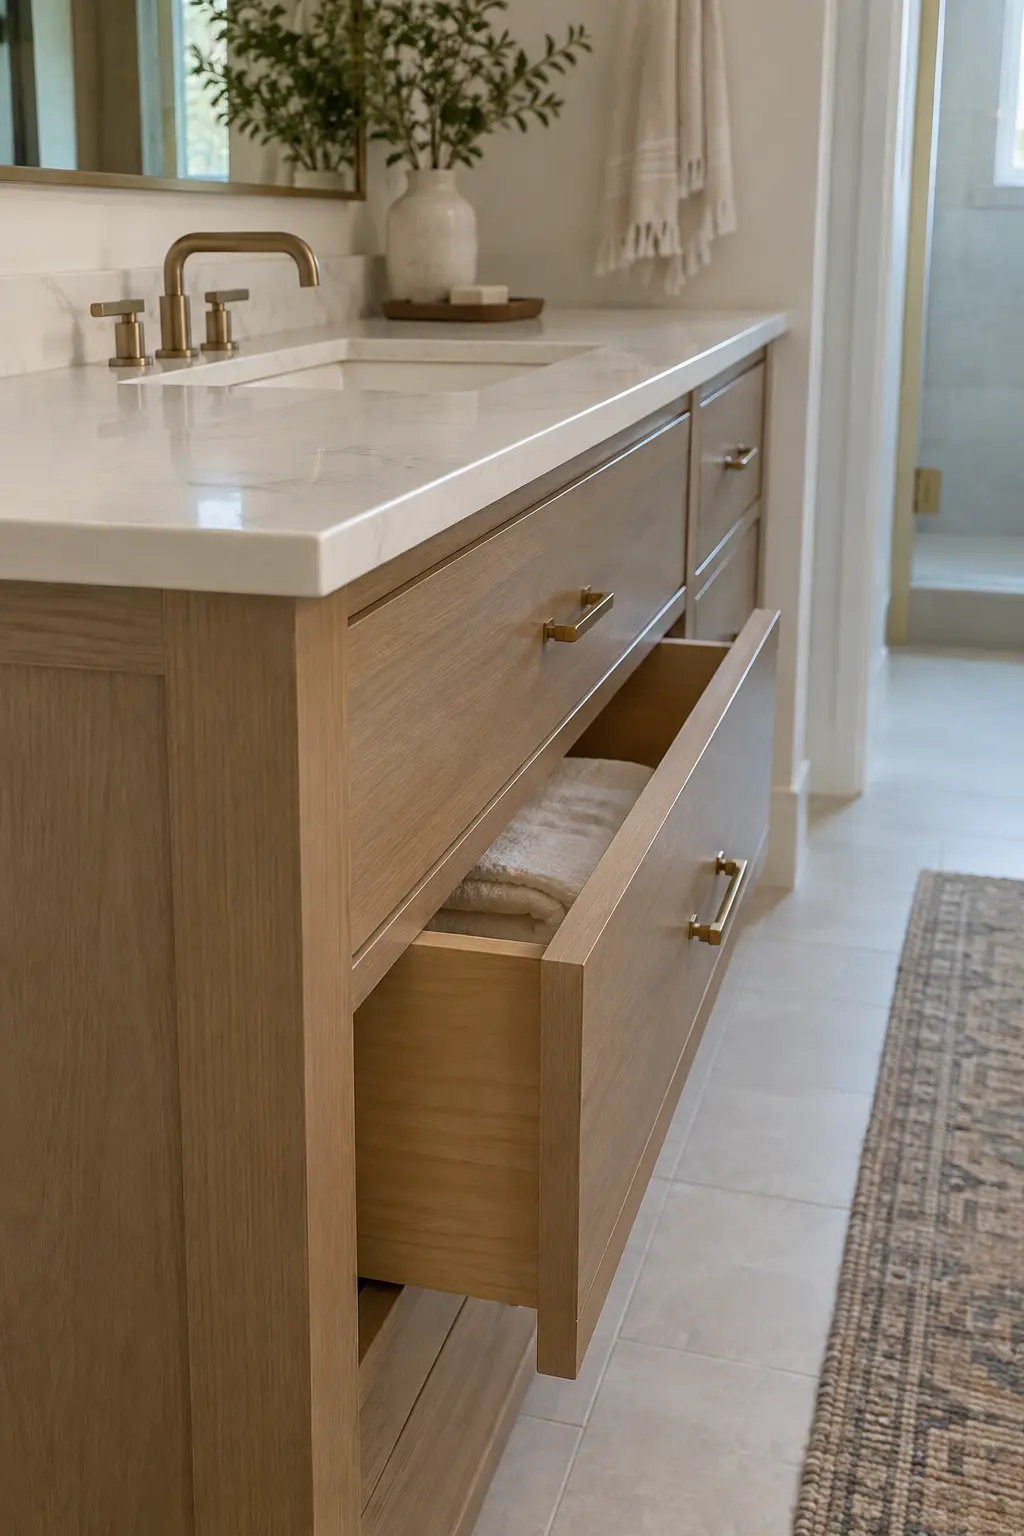
Specify the front and side overhangs on the cabinet drawing, including finished end panels and fillers. The edge should protect the cabinet face without projecting into a tight aisle or preventing drawers from opening.
Leave enough material around sink and faucet cutouts for fabrication strength. The countertop fabricator’s minimum clearances override a visual preference for tightly packed components.
22. Use an Undermount Sink for a Wipe-Clean Edge
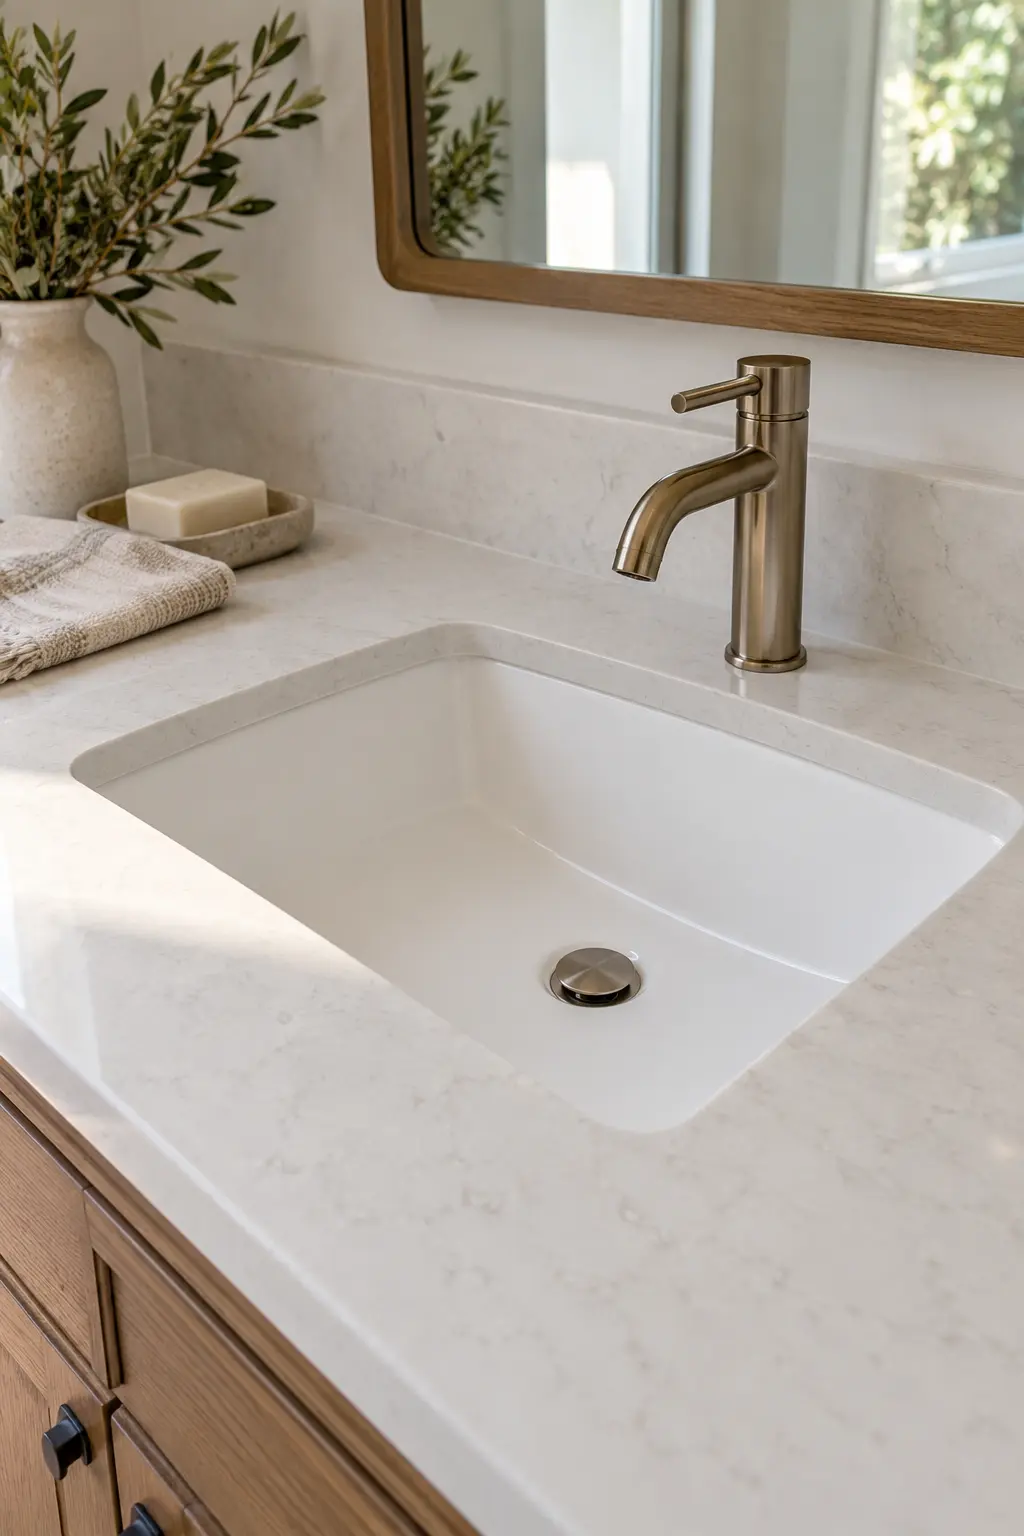
An undermount basin allows water and crumbs to be wiped directly from the counter. Confirm the reveal detail, adhesive and clip system, cabinet clearance, and the amount of solid material between the cutout and front edge.
Rounded interior corners are usually easier to maintain than sharp corners. Review actual bowl depth so the bottom does not collide with drawers, traps, or seated knee space.
23. Use an Integrated Sink for Fewer Joints
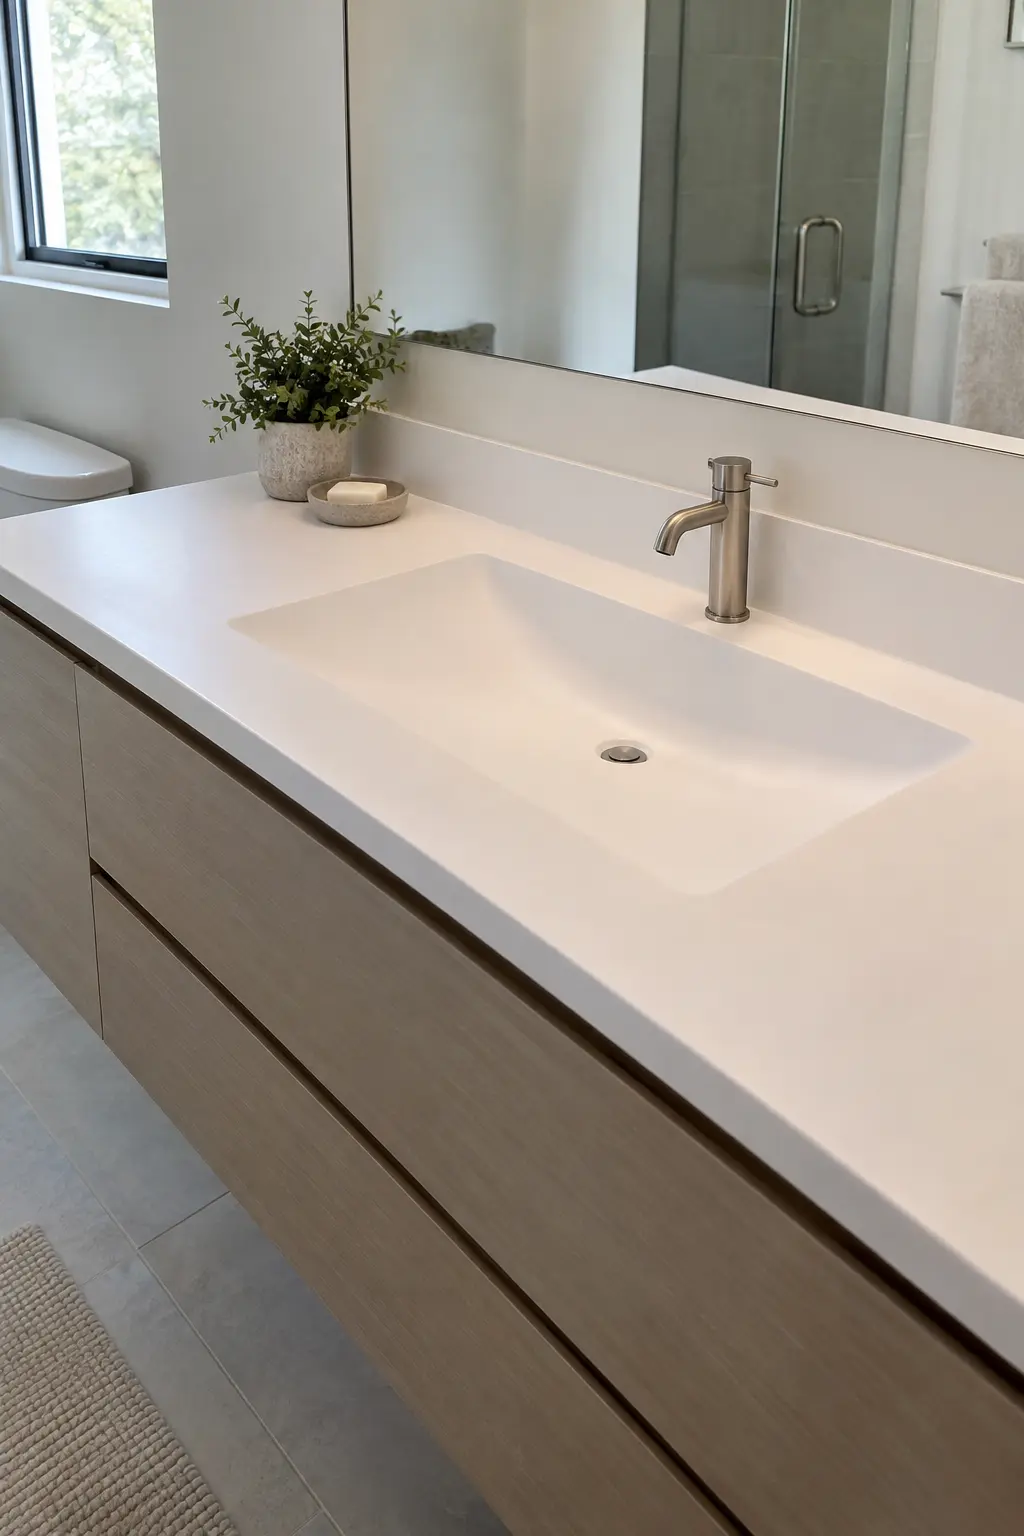
An integrated counter and basin reduces the seam at the sink rim and can simplify daily cleaning. Inspect the available bowl sizes, overflow, drain compatibility, and repair options before choosing the continuous look.
Long double-basin tops need careful support and handling. Confirm how the unit is transported, joined if necessary, fastened to the cabinet, and replaced if damaged.
24. Lower the Cabinet for a Vessel Sink
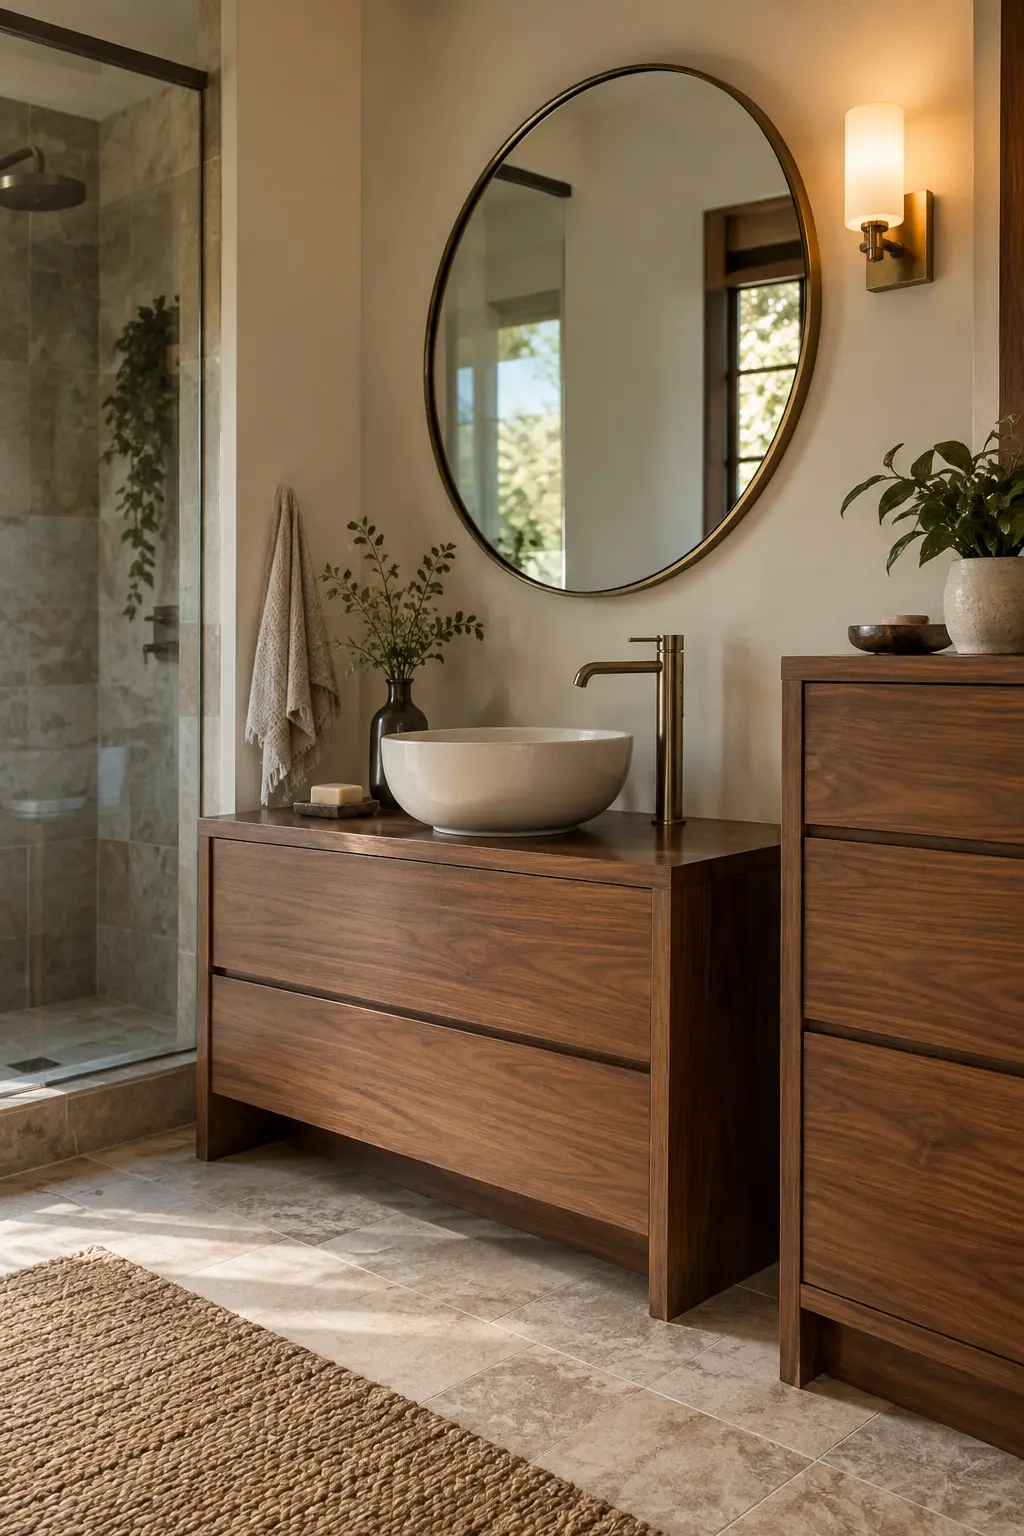
A vessel basin adds its full or partial height above the counter. Set the cabinet lower so the working rim feels comfortable, then coordinate faucet height and reach to keep the water stream near the drain.
Check splash behavior with the bowl shape and spout aeration. A tall faucet placed too far back can send water toward the user or leave a difficult cleaning strip behind the basin.
25. Match Faucet Reach to the Basin
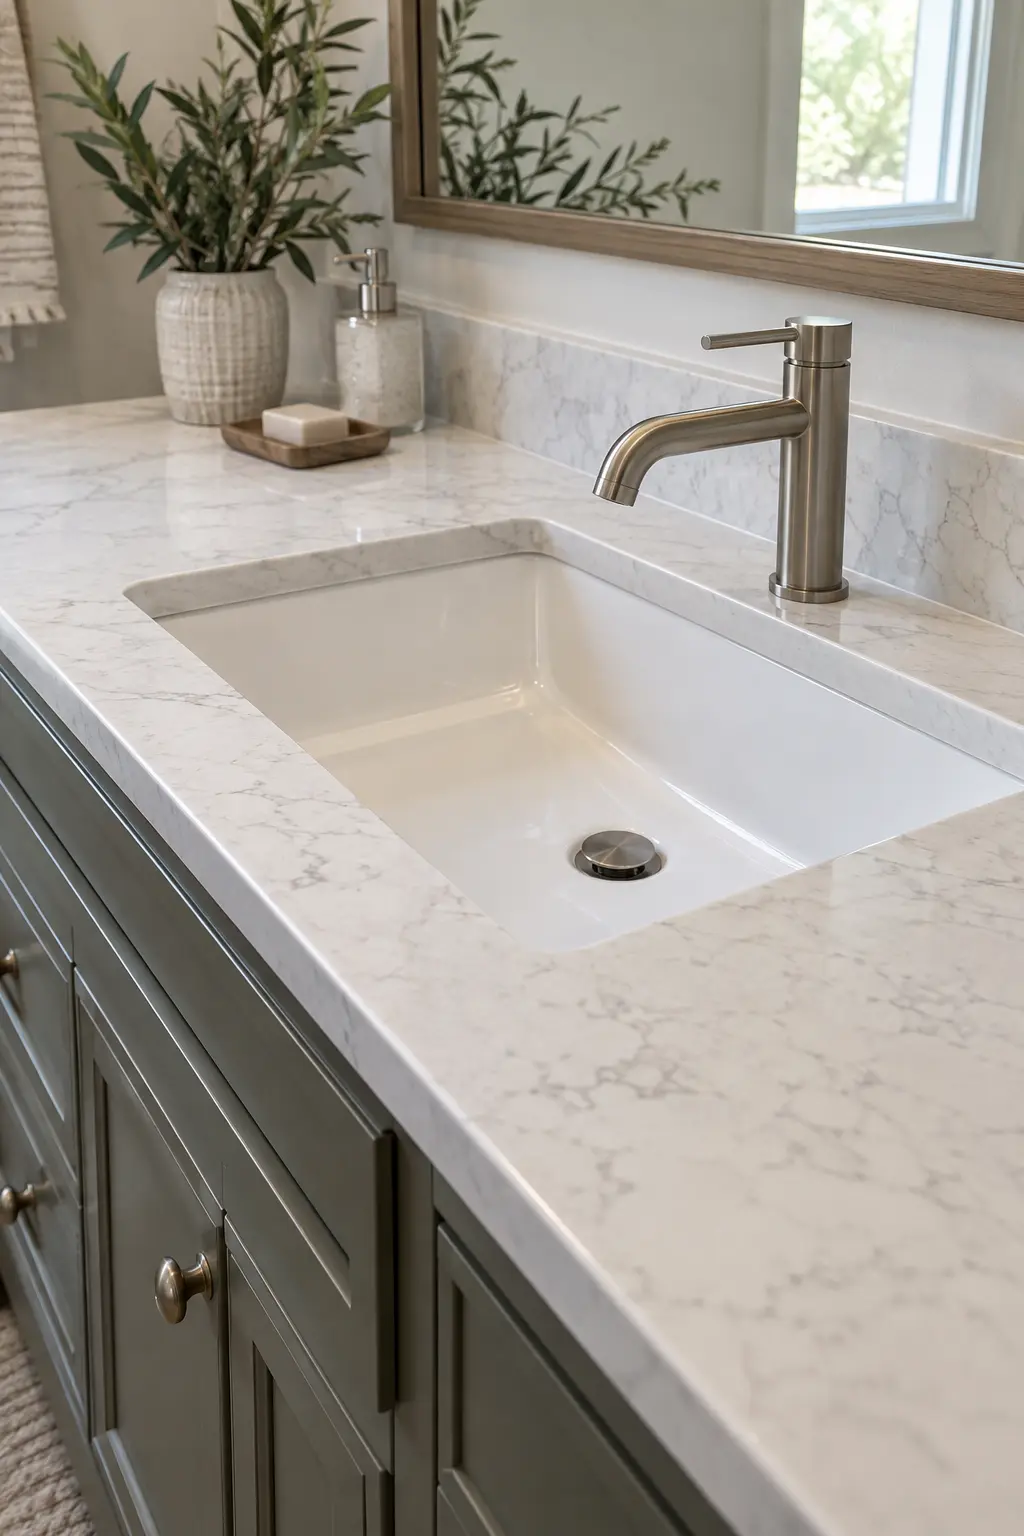
Use the manufacturer drawings to compare spout reach with the sink’s drain and inner bowl. The stream should land comfortably inside the basin without hitting a sloped wall that creates splash.
Widespread, single-hole, and wall-mounted configurations require different deck space and drilling. Finalize the faucet before the countertop template so hole locations are approved once.
26. Size the Backsplash for the Wet Zone
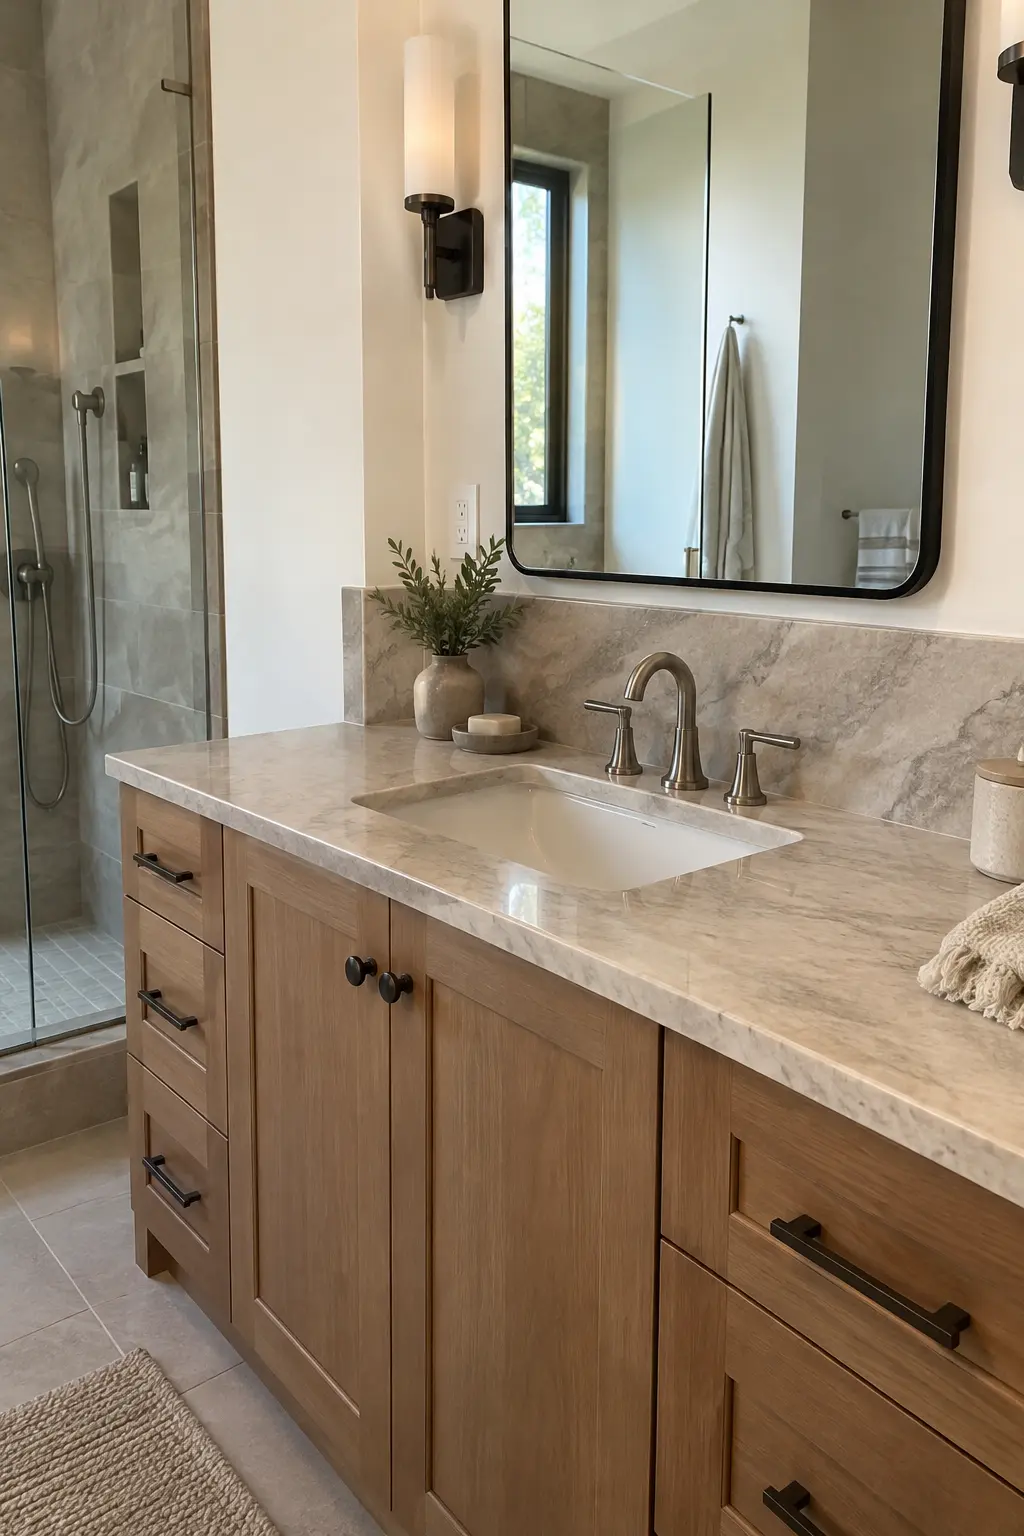
A short matching splash can protect the wall behind a deck-mounted faucet, while full-height slab or tile provides broader coverage. Decide the height before locating outlets, mirrors, medicine cabinets, and wall lights.
Seal changes of plane with the appropriate flexible joint rather than packing them with rigid grout. Review these shower tile ideas when coordinating the vanity wall with a nearby wet zone.
27. Choose Counter Material by Maintenance
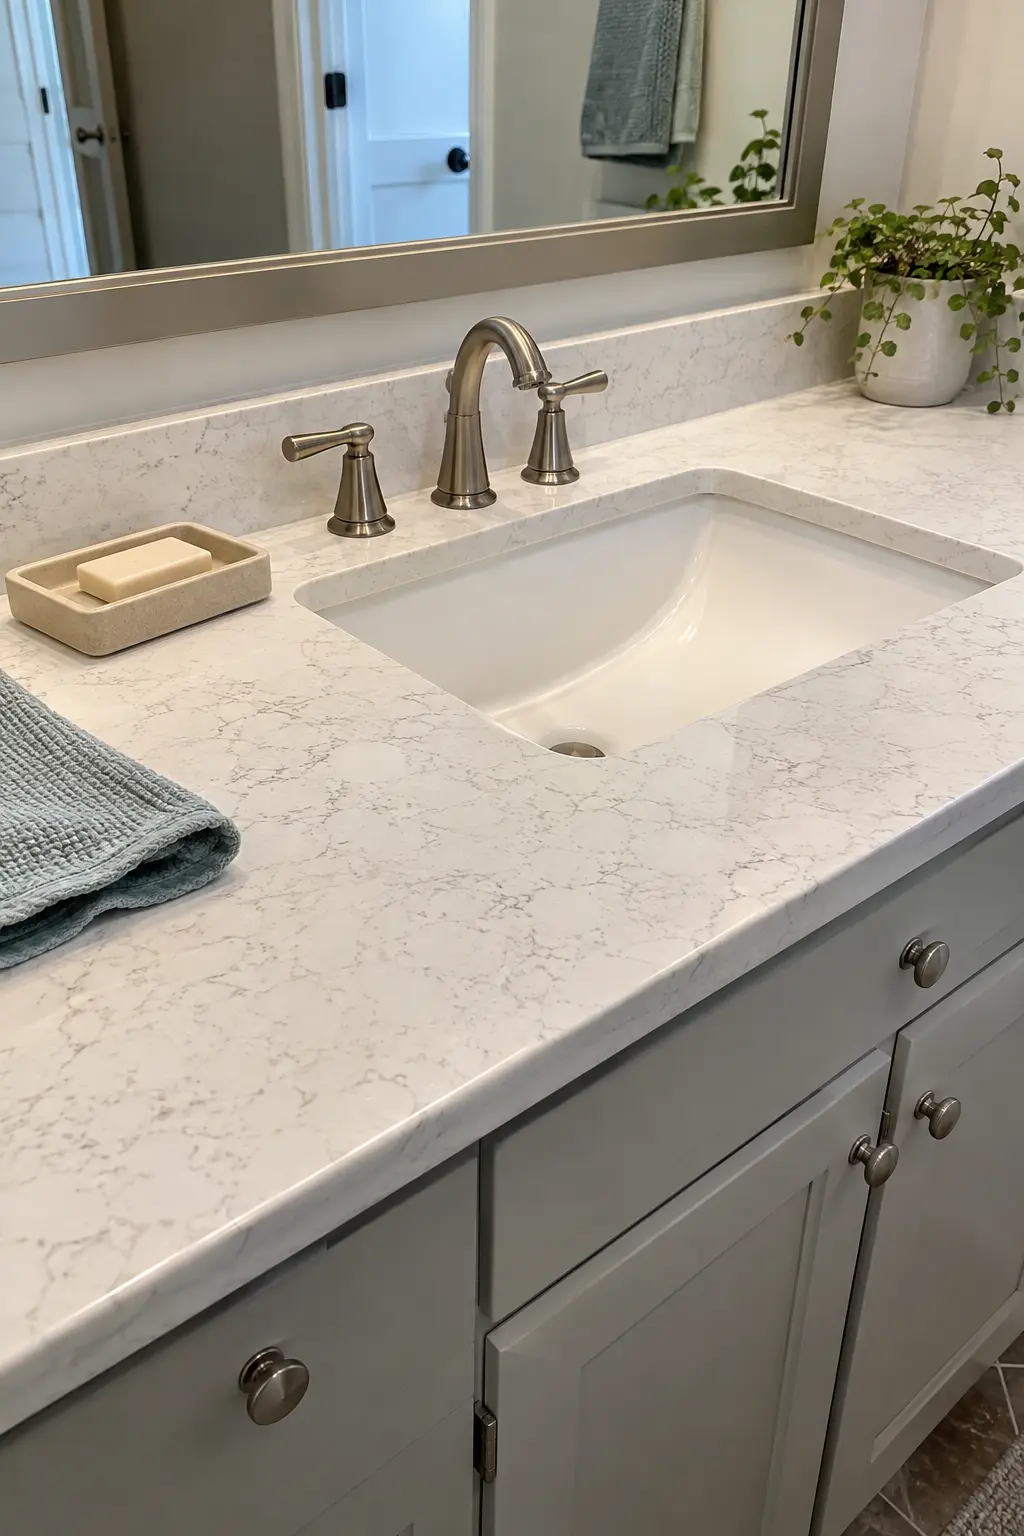
Quartz, solid surface, porcelain, and natural stone each differ in seam visibility, edge options, heat response, repairability, and care. Ask the fabricator for written cleaning guidance and realistic samples of the chosen finish.
Highly patterned surfaces can hide small marks while complicating seam placement. A quieter pattern makes faucet holes, sink edges, and backsplash joints easier to align visually.
28. Plan Natural Stone for Sealing and Patina
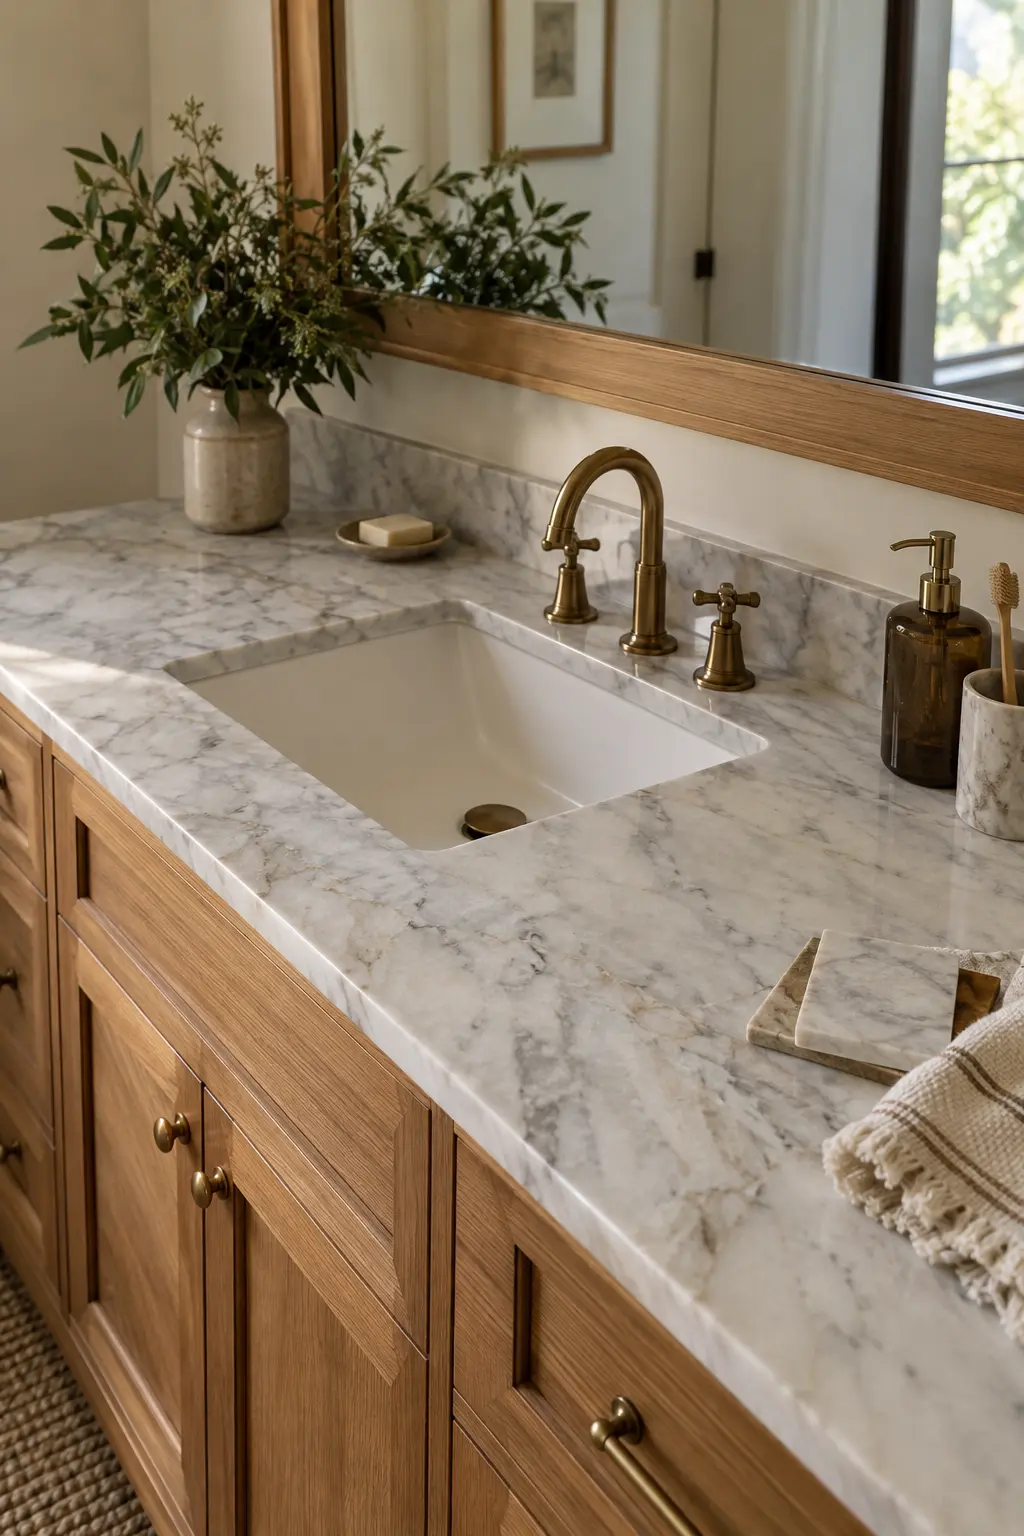
Marble, limestone, and other natural stones can etch, stain, or change with use depending on the material and finish. Confirm sealing expectations, approved cleaners, and whether visible patina suits the household.
Inspect the actual slab for fissures and color movement before templating. Place sink cutouts and seams away from weak areas under the fabricator’s guidance.
29. Specify Moisture-Resistant Cabinet Construction
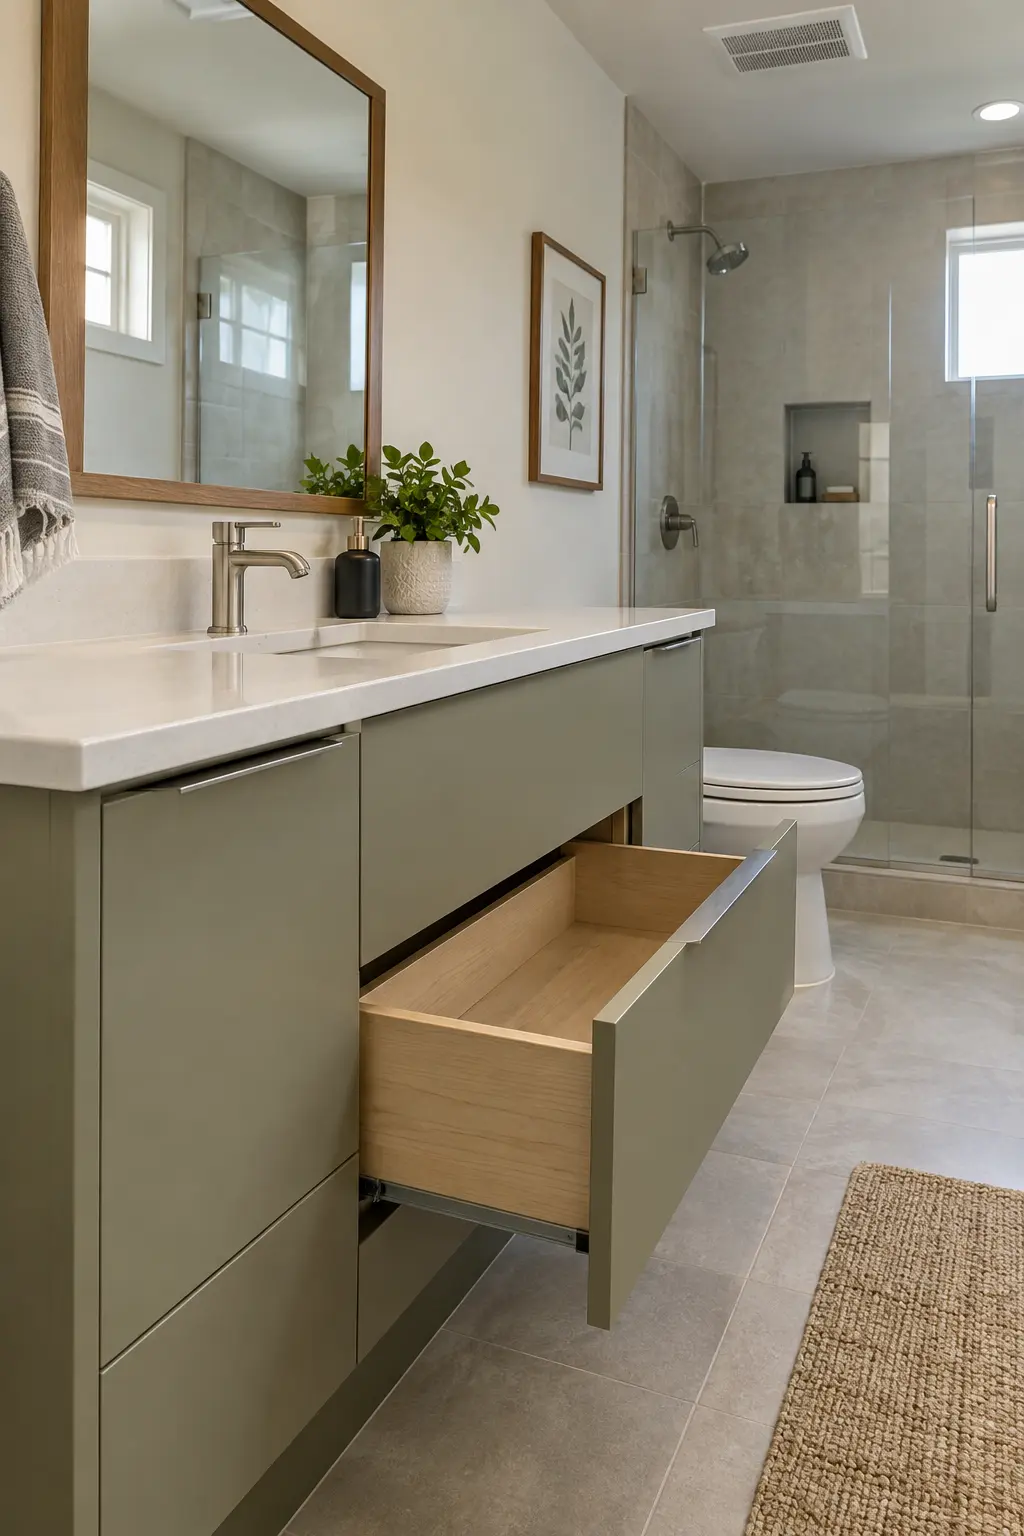
Bathroom cabinetry faces humidity, splashes, and occasional leaks. Ask what the box, drawer bottoms, edge banding, finish, and toe-kick are made from, then compare warranties and care requirements.
Seal field-cut edges and penetrations as directed by the manufacturer. Water-resistant materials still need prompt drying, working ventilation, and accessible plumbing.
30. Use Water-Efficient Faucets With Verified Performance
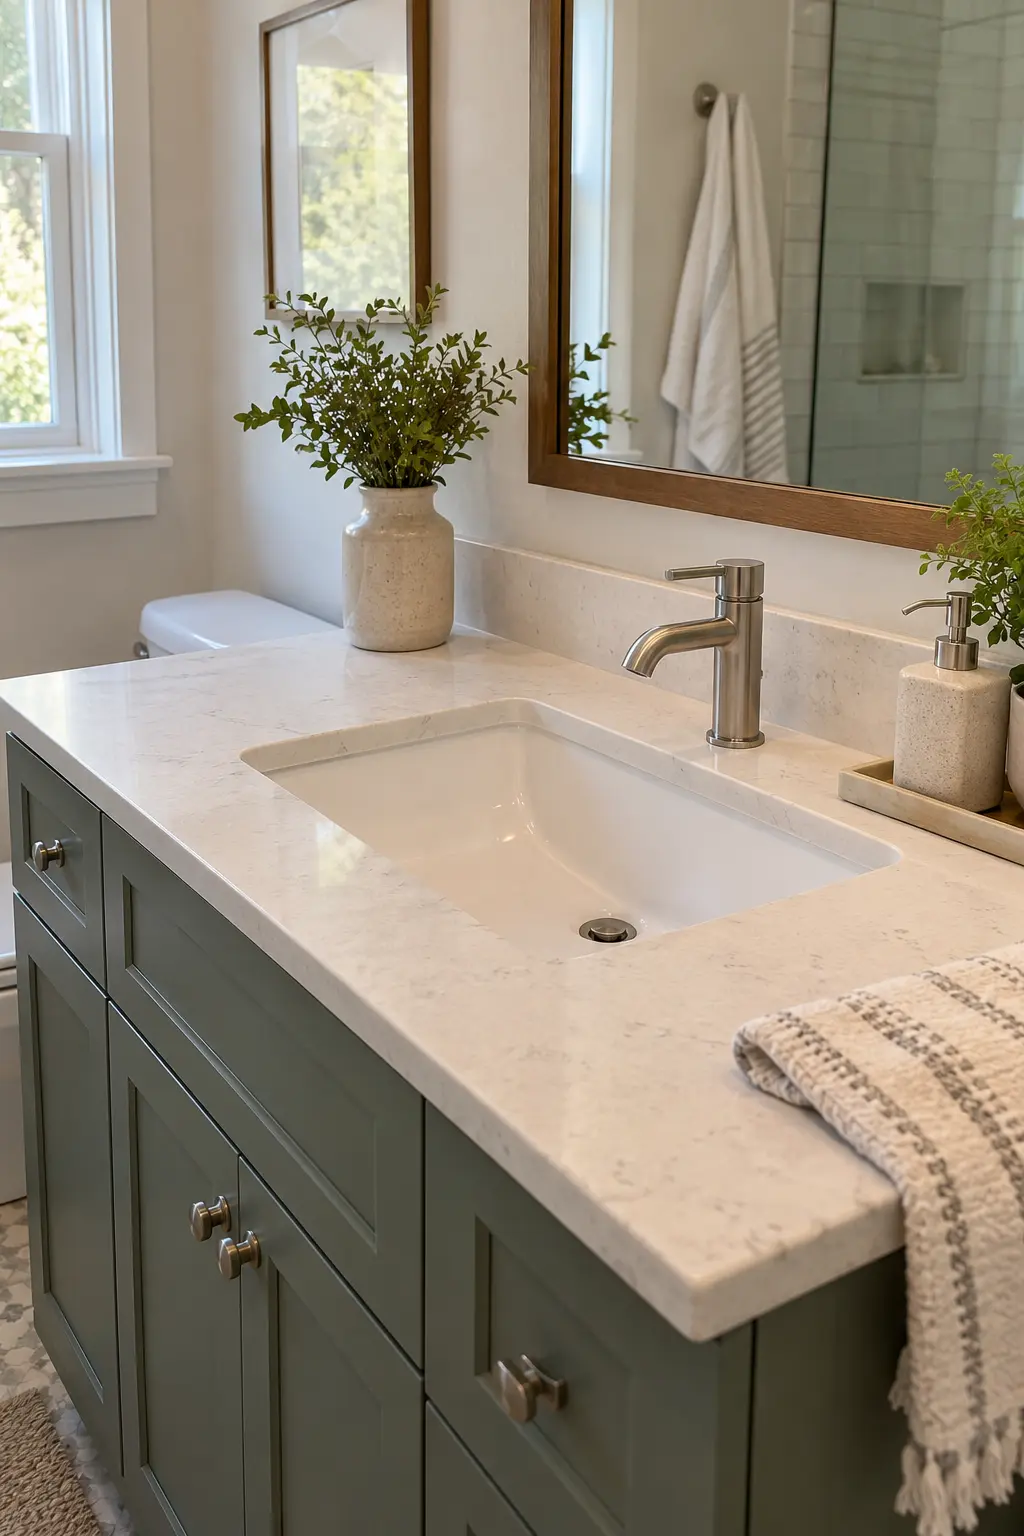
A WaterSense-labeled bathroom faucet is independently certified to meet efficiency and performance criteria. Confirm the current label in the EPA product search rather than relying on packaging language that only sounds efficient.
Check handle operation, reach, and flow feel with the basin. The same faucet may behave differently in a shallow bowl, at low household pressure, or with a restrictive stop setting.
Align Mirrors, Lighting, Power, and Accessibility
The wall above the counter is a coordinated elevation. Sink centers, user eye levels, lighting, outlets, studs, medicine cabinets, and backsplash joints must all fit before tile or wiring is finalized.
31. Choose One Mirror or Two From the Sink Layout
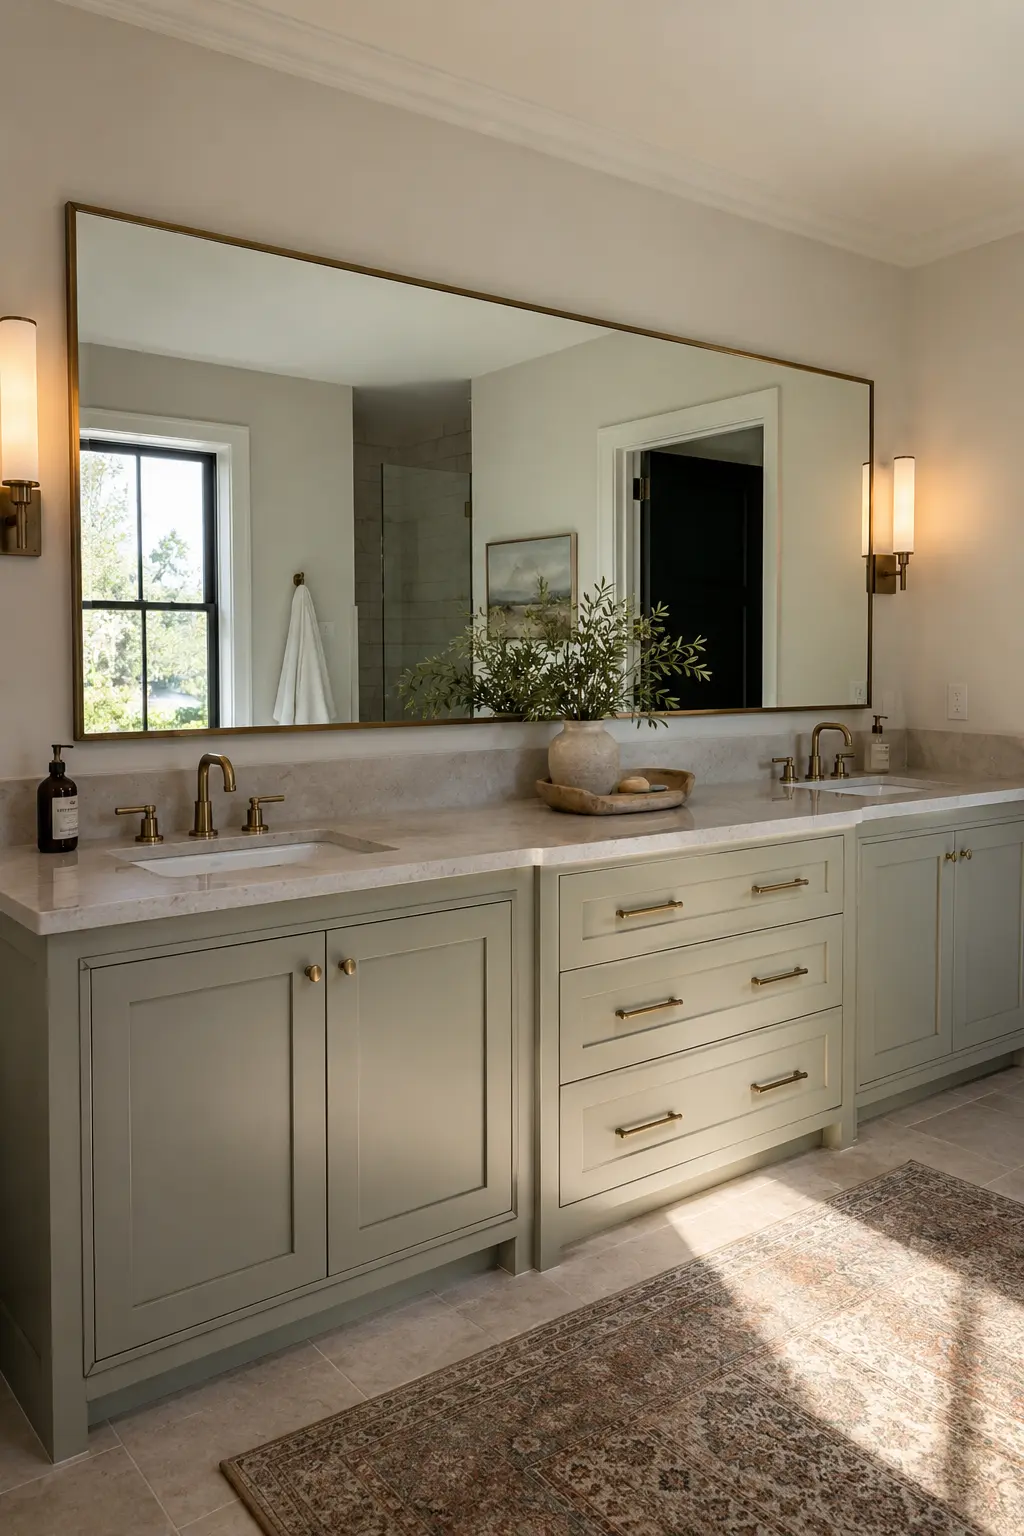
One wide mirror can unify an asymmetrical or compact vanity, while two mirrors give each sink a clear visual center. Draw both options at scale and leave intentional wall space around the edges.
A mirror should reflect the users and room light without forcing sconces into corners. Confirm the finished counter height and backsplash before setting its lower edge.
32. Size Mirrors to the People Using Them
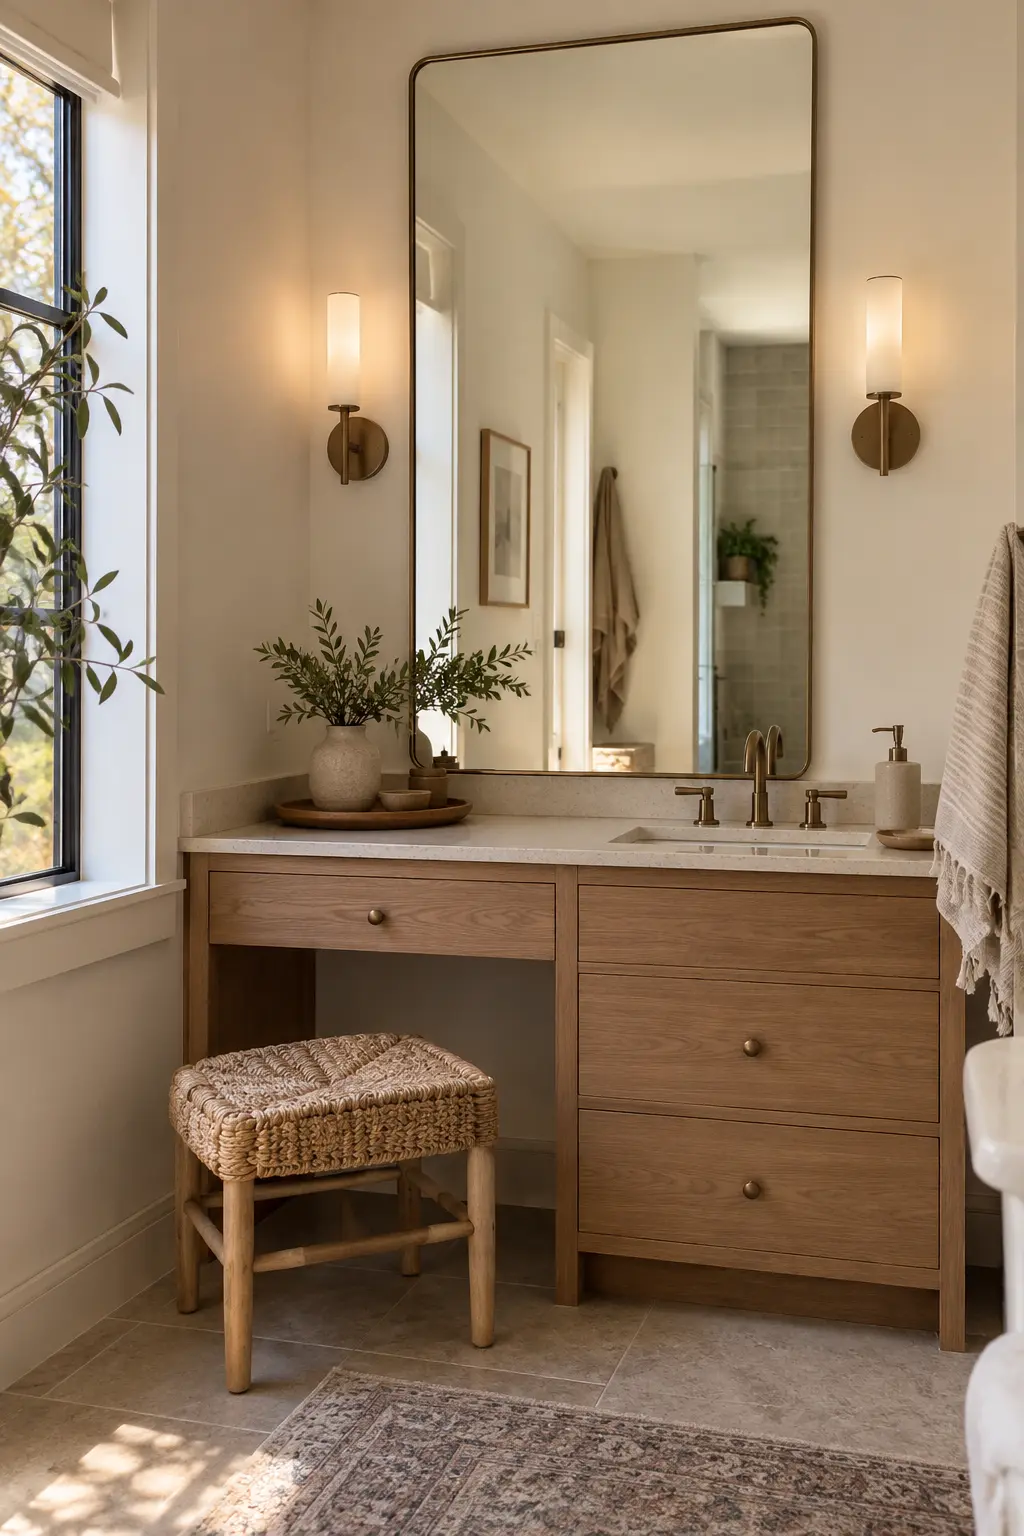
Use the standing and seated eye levels of the household to establish useful mirror coverage. A tall mirror often serves varied users better than a decorative shape with limited reflective area.
Check what the mirror reflects from the doorway and shower. Avoid placing its edge where it visually clips a faucet, outlet, or wall light.
33. Light Faces From the Sides When Space Allows
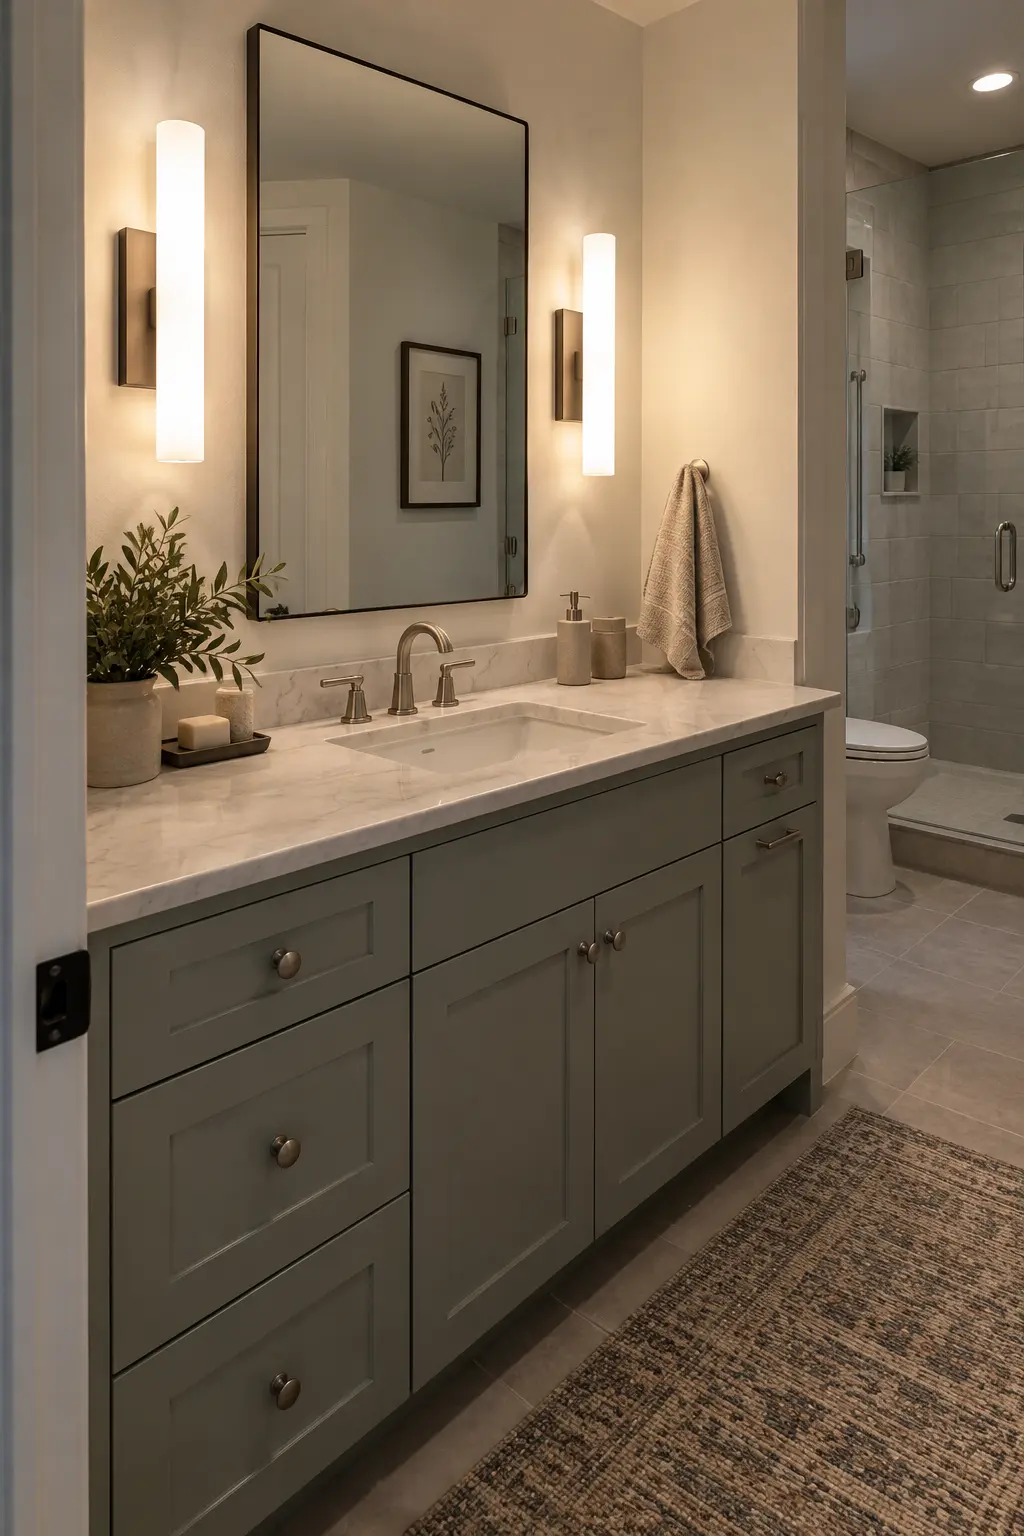
Vertical lights near both sides of a mirror can reduce strong shadows across the face. Their mounting heights should relate to the users, mirror dimensions, fixture rating, and the electrical rules for the location.
For two mirrors, repeat the logic at both stations or use a carefully sized shared arrangement. Compare options in these bathroom lighting ideas before rough wiring.
34. Add Ambient Light Beyond the Mirror
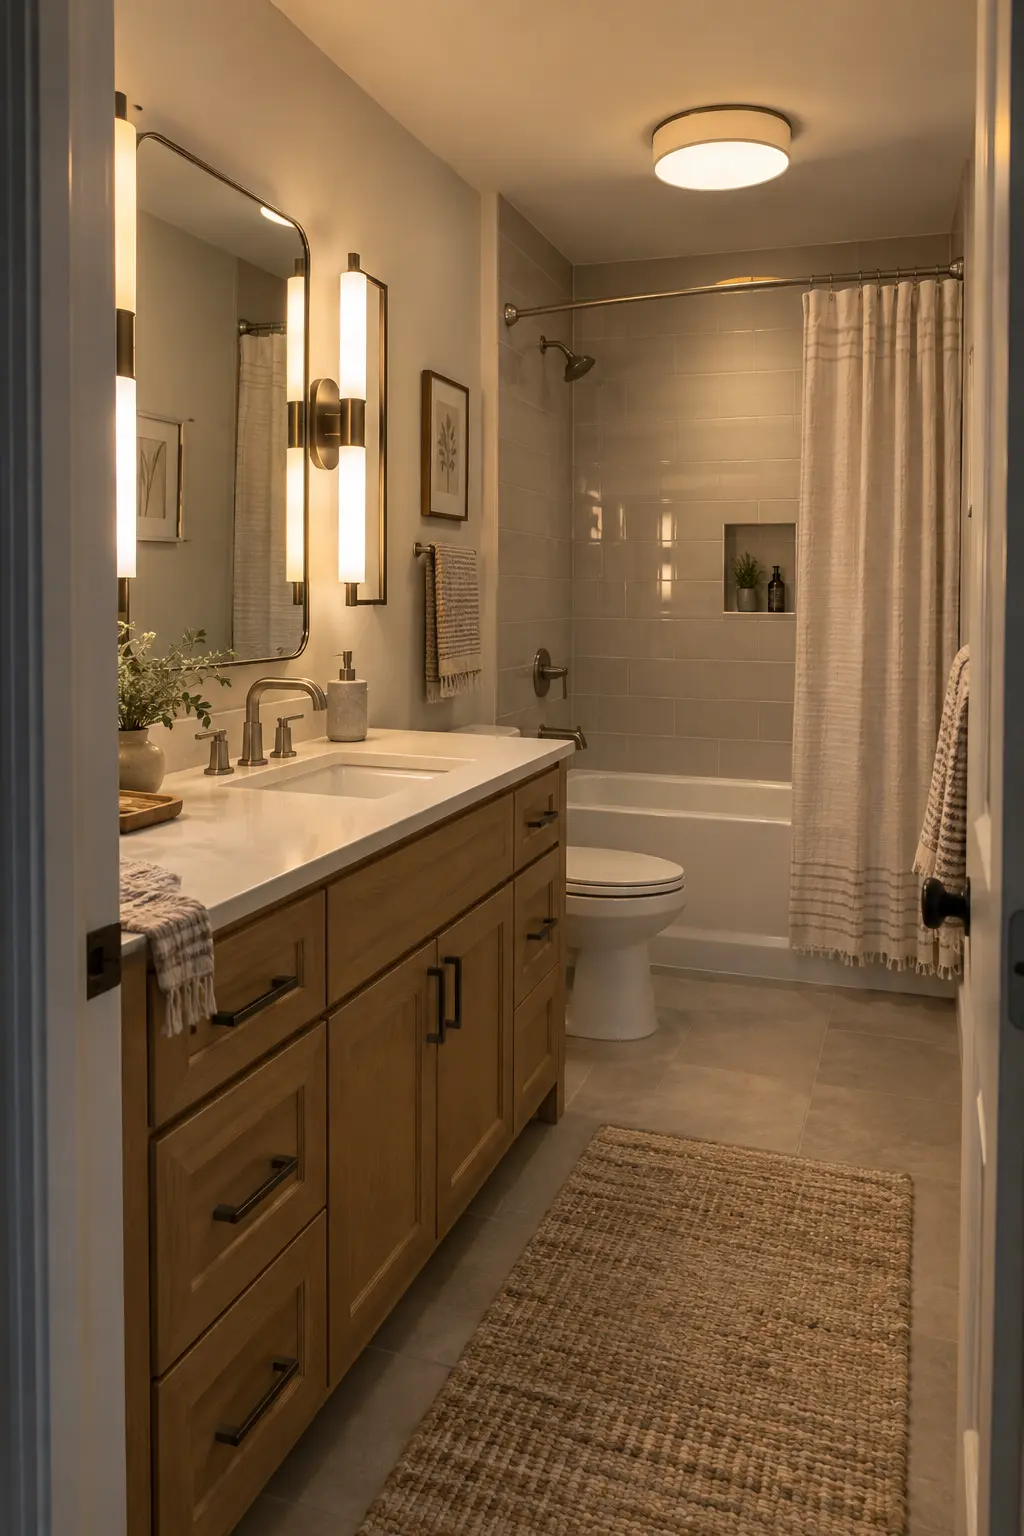
Vanity lighting handles grooming, while a ceiling fixture or other ambient source helps the whole room feel evenly lit. Separate switching or dimming can support bright morning tasks and softer evening use.
Choose lamps or integrated fixtures with compatible color appearance. Mixed color temperatures across the mirror and ceiling can distort finishes and skin tones.
35. Map Receptacles Around Real Appliance Cords
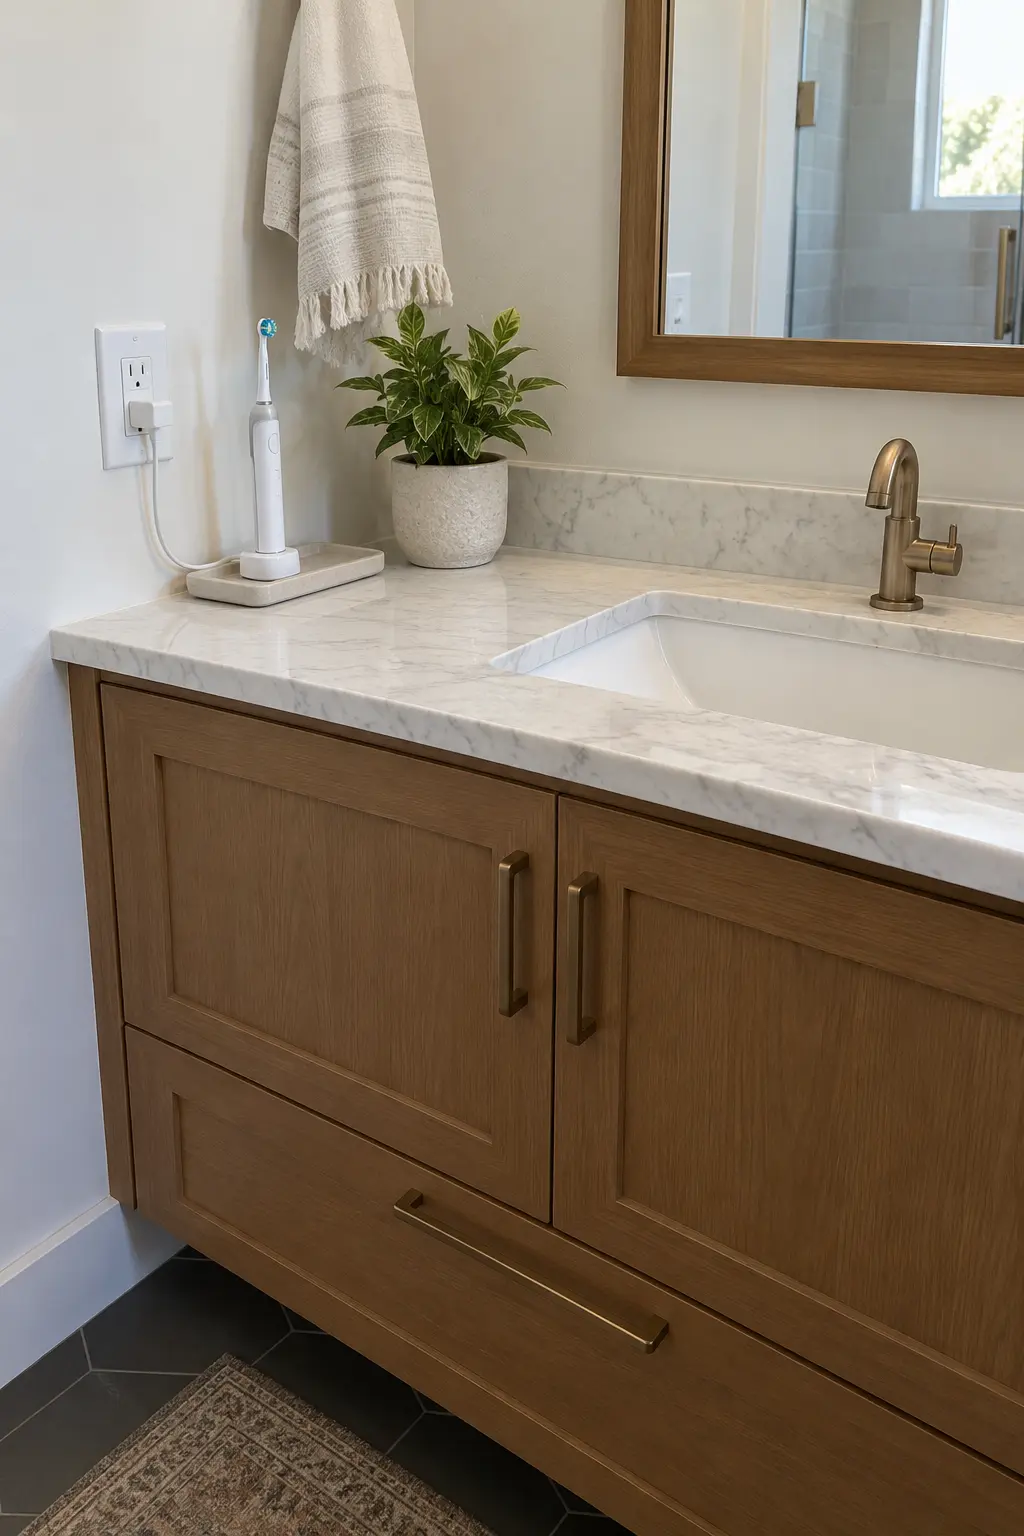
List toothbrush chargers, hair tools, shavers, and other devices, then locate receptacles where cords will not cross a sink or mirror. GFCI protection and bathroom circuit requirements must be confirmed by a qualified electrician under local rules.
Recessed outlets inside approved cabinets can reduce clutter when the cabinet and device instructions allow them. Keep every connection accessible and away from plumbing leaks.
36. Frame for Recessed Medicine Cabinets
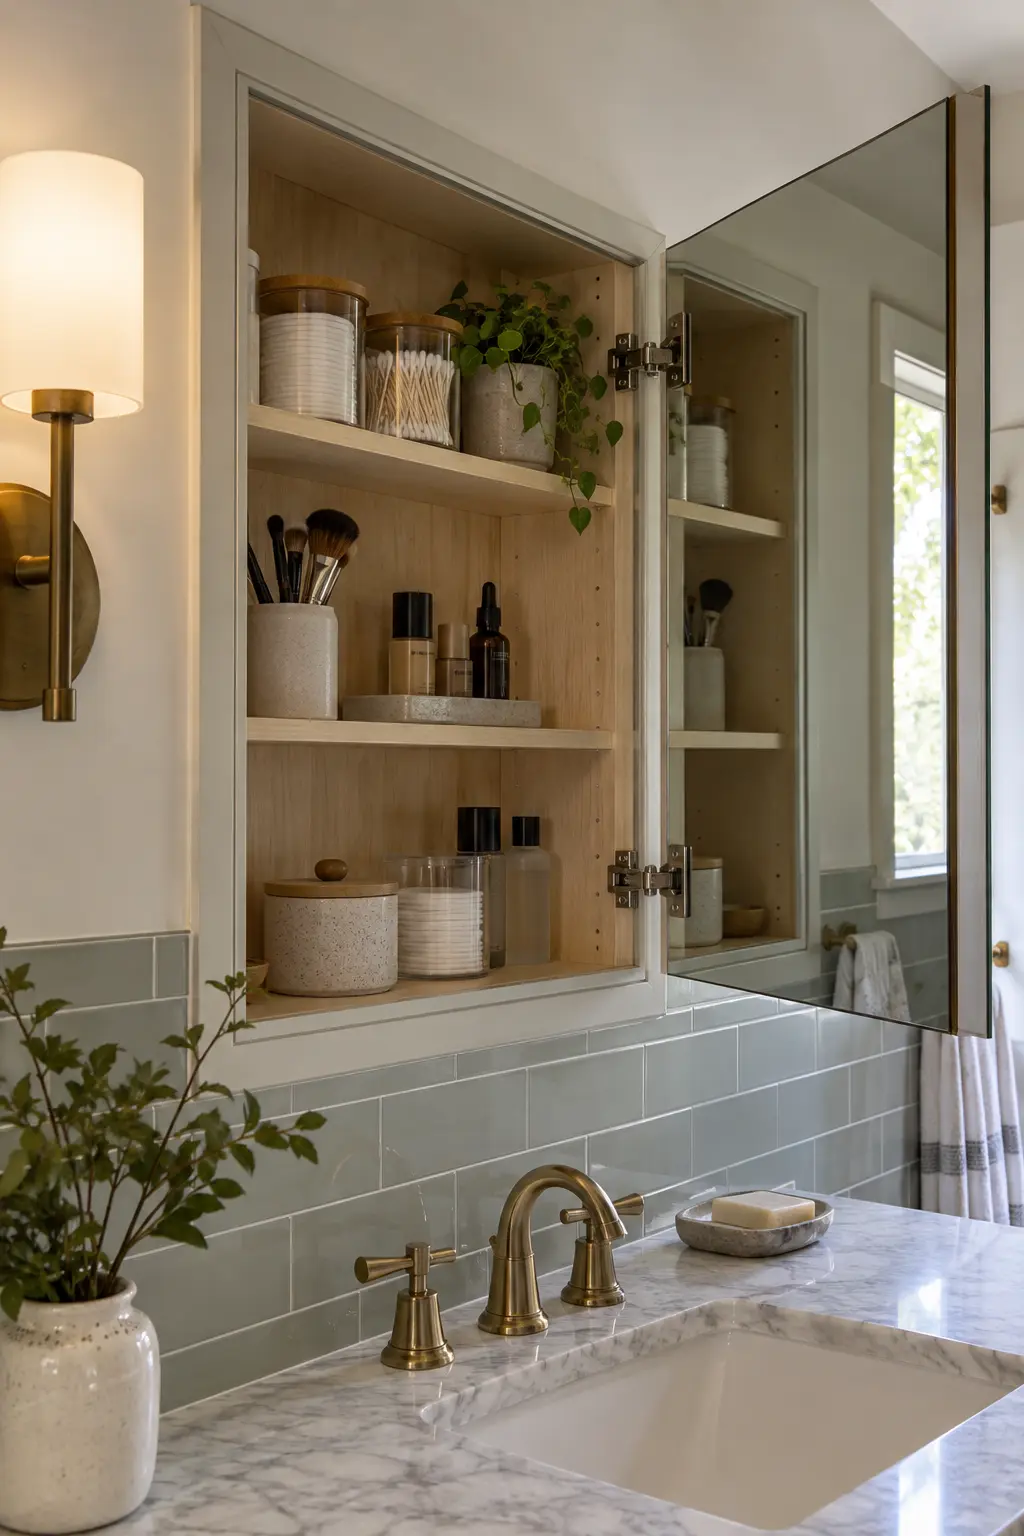
A recessed cabinet needs a clear wall cavity that respects studs, pipes, vents, and wiring. Select the exact unit before framing so its rough opening, door swing, and internal outlets can be coordinated.
Surface-mounted cabinets simplify some retrofits but project into the room. Check faucet clearance and sight lines from the side before choosing their depth.
37. Plan an Adaptable Vanity Height
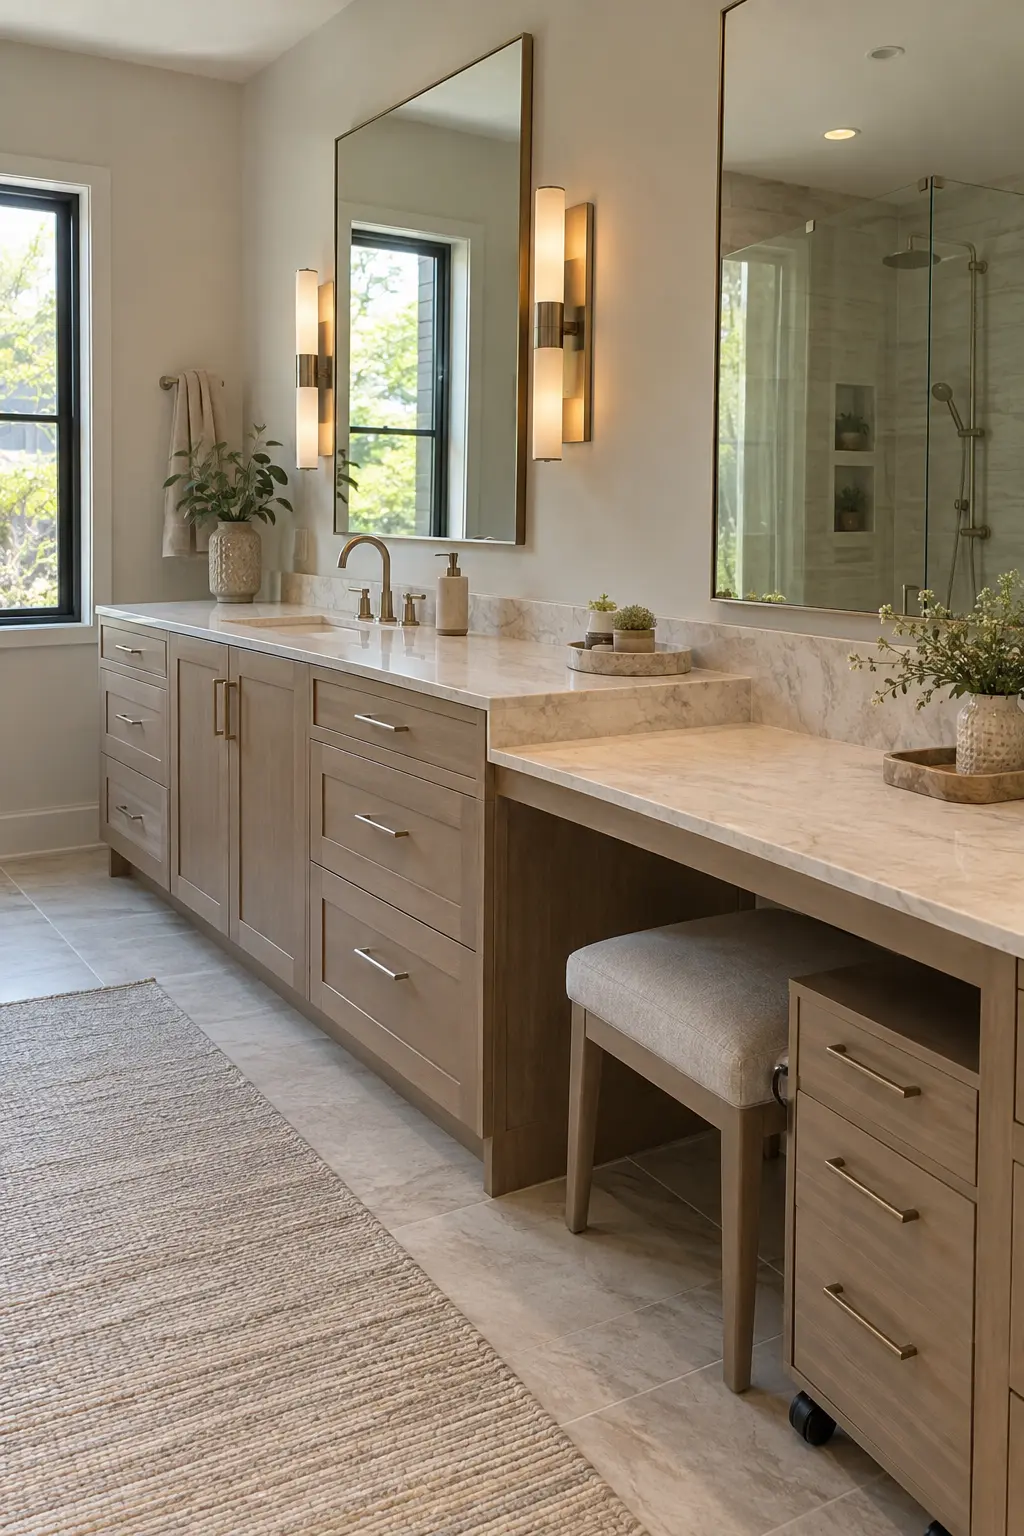
If long-term flexibility matters, consider a design with removable base storage or a separate lower station. Residential goals vary, so use actual users and future scenarios rather than applying one universal height.
For regulated accessible spaces, follow the applicable code and project professional. The U.S. Access Board standards can inform concepts such as forward approach and knee clearance, although private homes may follow different requirements.
38. Preserve Clear Floor and Knee Space Where Needed
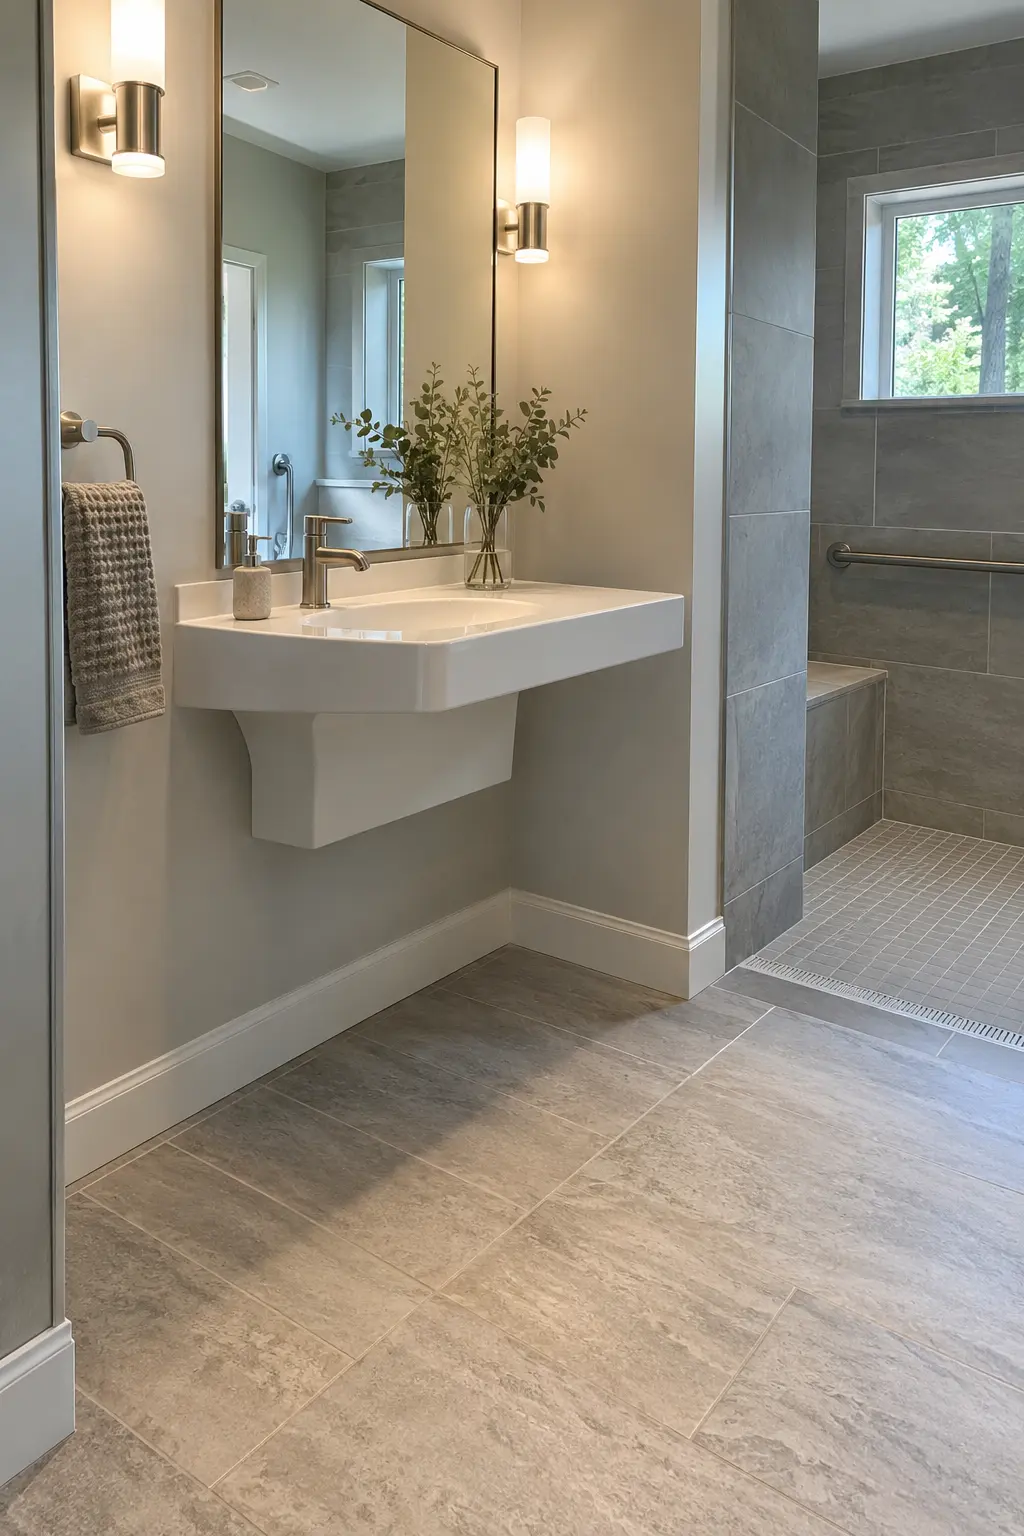
A seated approach requires room for the mobility device plus protected knee and toe space beneath the basin. Plumbing should be insulated or enclosed as required so hot or sharp components do not contact the user.
Cabinet doors alone do not create functional knee clearance. Verify the full section through counter, bowl, drain, apron, and finished floor with the relevant accessibility criteria.
39. Keep Essential Storage Within Reach
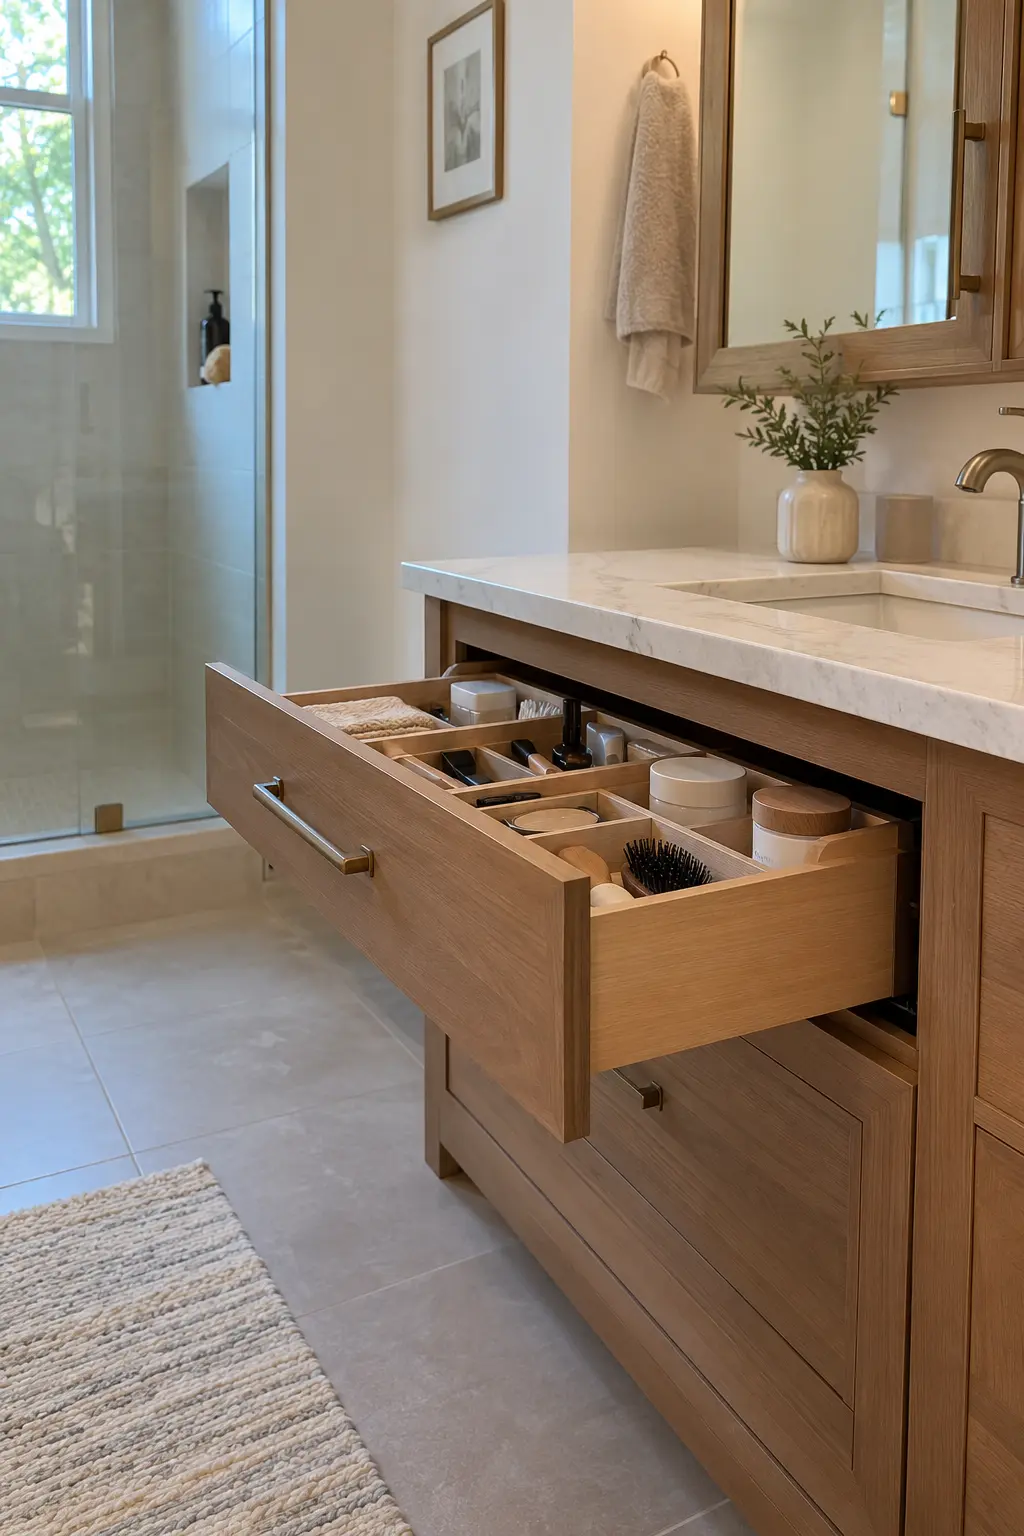
Place daily toiletries in drawers or shelves that can be reached without deep bending, stretching, or moving around an open door. Full-extension hardware improves visibility at the back of a drawer.
A pull-down or tall tower can serve some users, though hardware effort and maintenance matter. Test the motion with the person who will use it most.
40. Choose Controls and Pulls That Are Easy to Operate
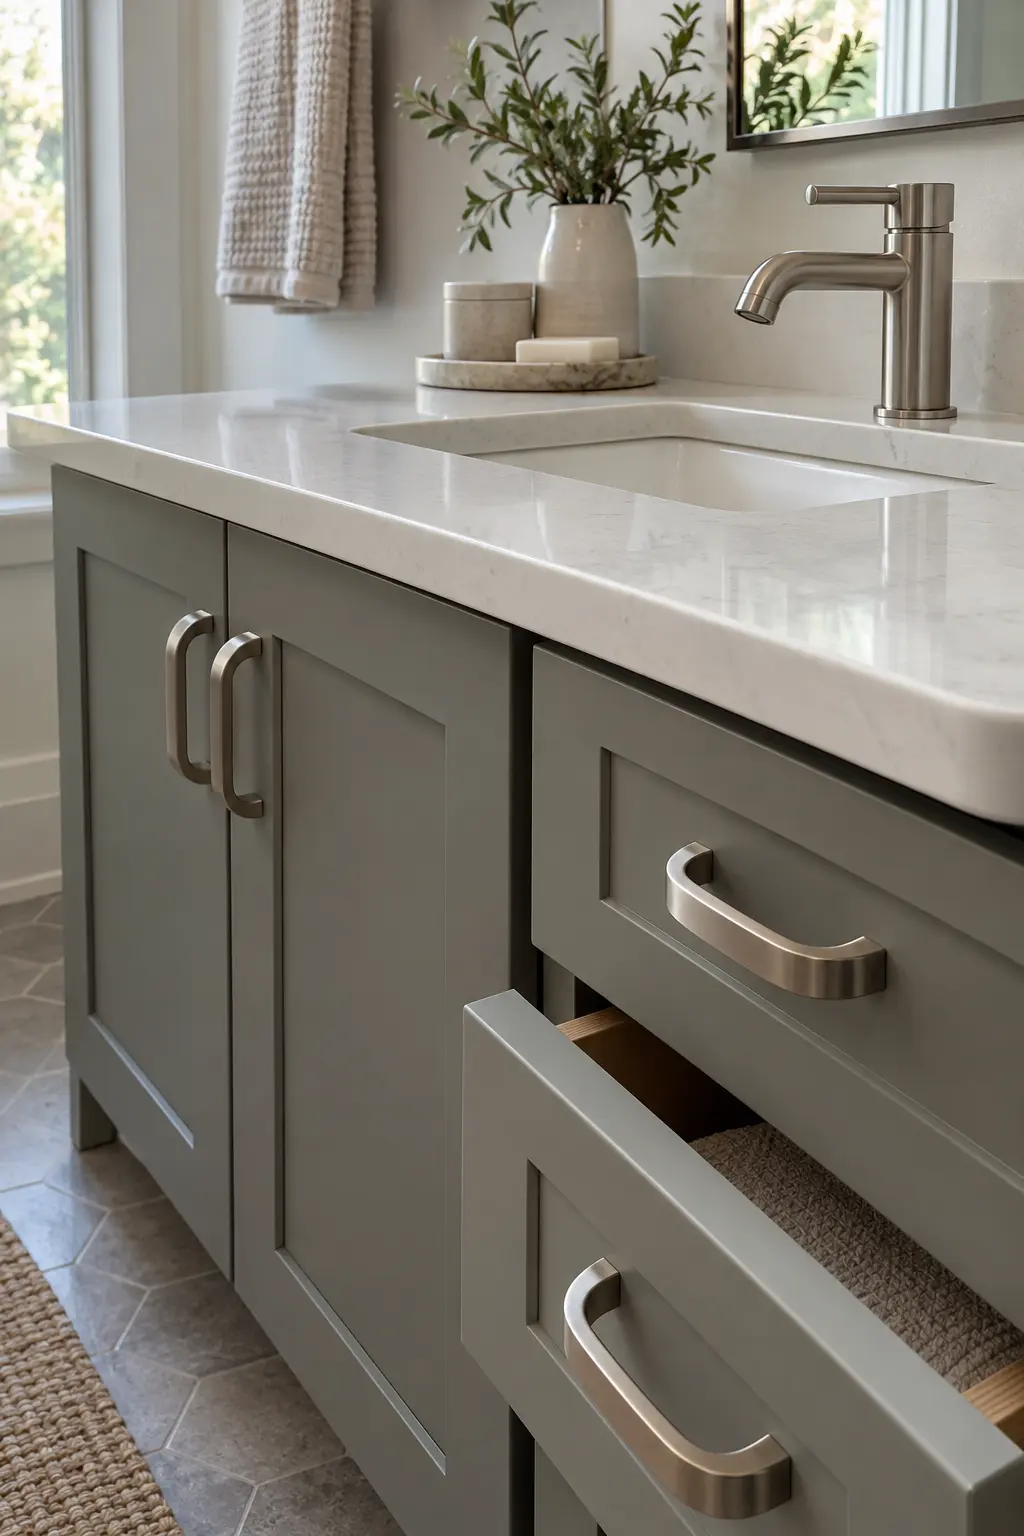
Lever faucet handles and generous cabinet pulls generally require less precise finger movement than small knobs. Check resistance, clearance, and whether wet hands can operate each control securely.
Keep frequently used controls away from sharp counter corners. If the vanity serves multiple needs, a simple consistent hardware pattern makes operation easier to learn.
Install, Commission, and Maintain the Vanity
Installation quality determines whether the design survives real use. Sequence the trades, protect access, test every connection, and leave the owner with a repeatable maintenance plan.
41. Use Family Storage That Changes With Age
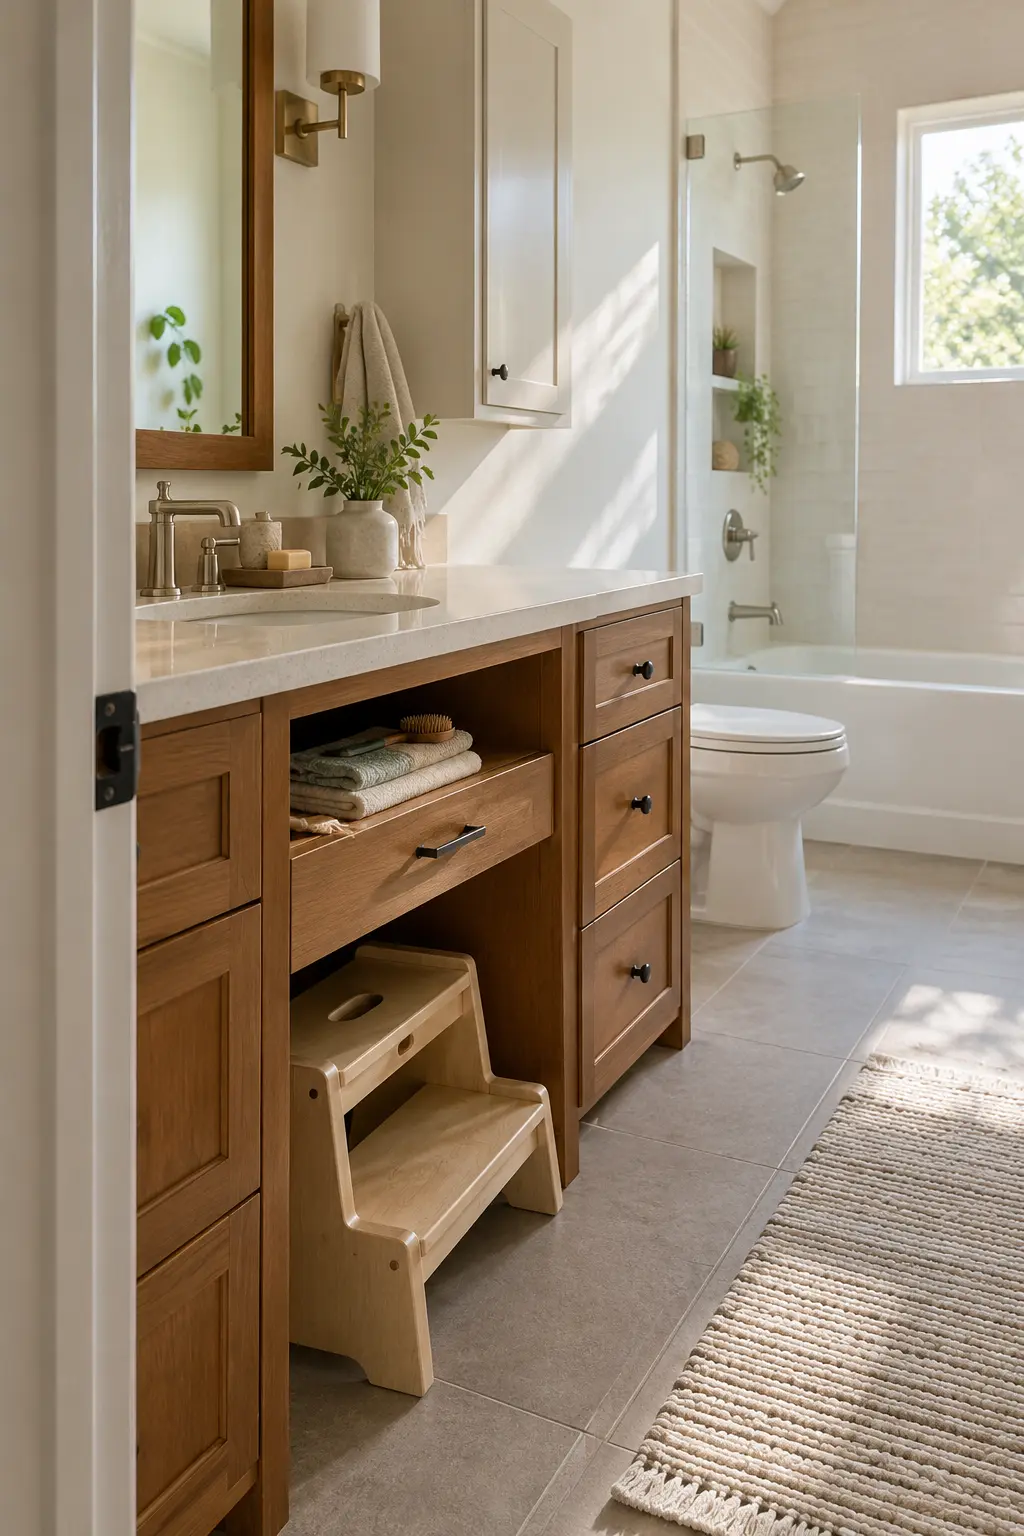
Tuck stable step stools into a planned bay rather than leaving them in the aisle. Give children reachable drawers for towels and brushes while keeping medicine, razors, and cleaning products in controlled storage.
As children grow, removable organizers can be reassigned without rebuilding the cabinet. Durable fronts and rounded projections simplify busy shared use.
42. Separate Everyday and Backup Storage
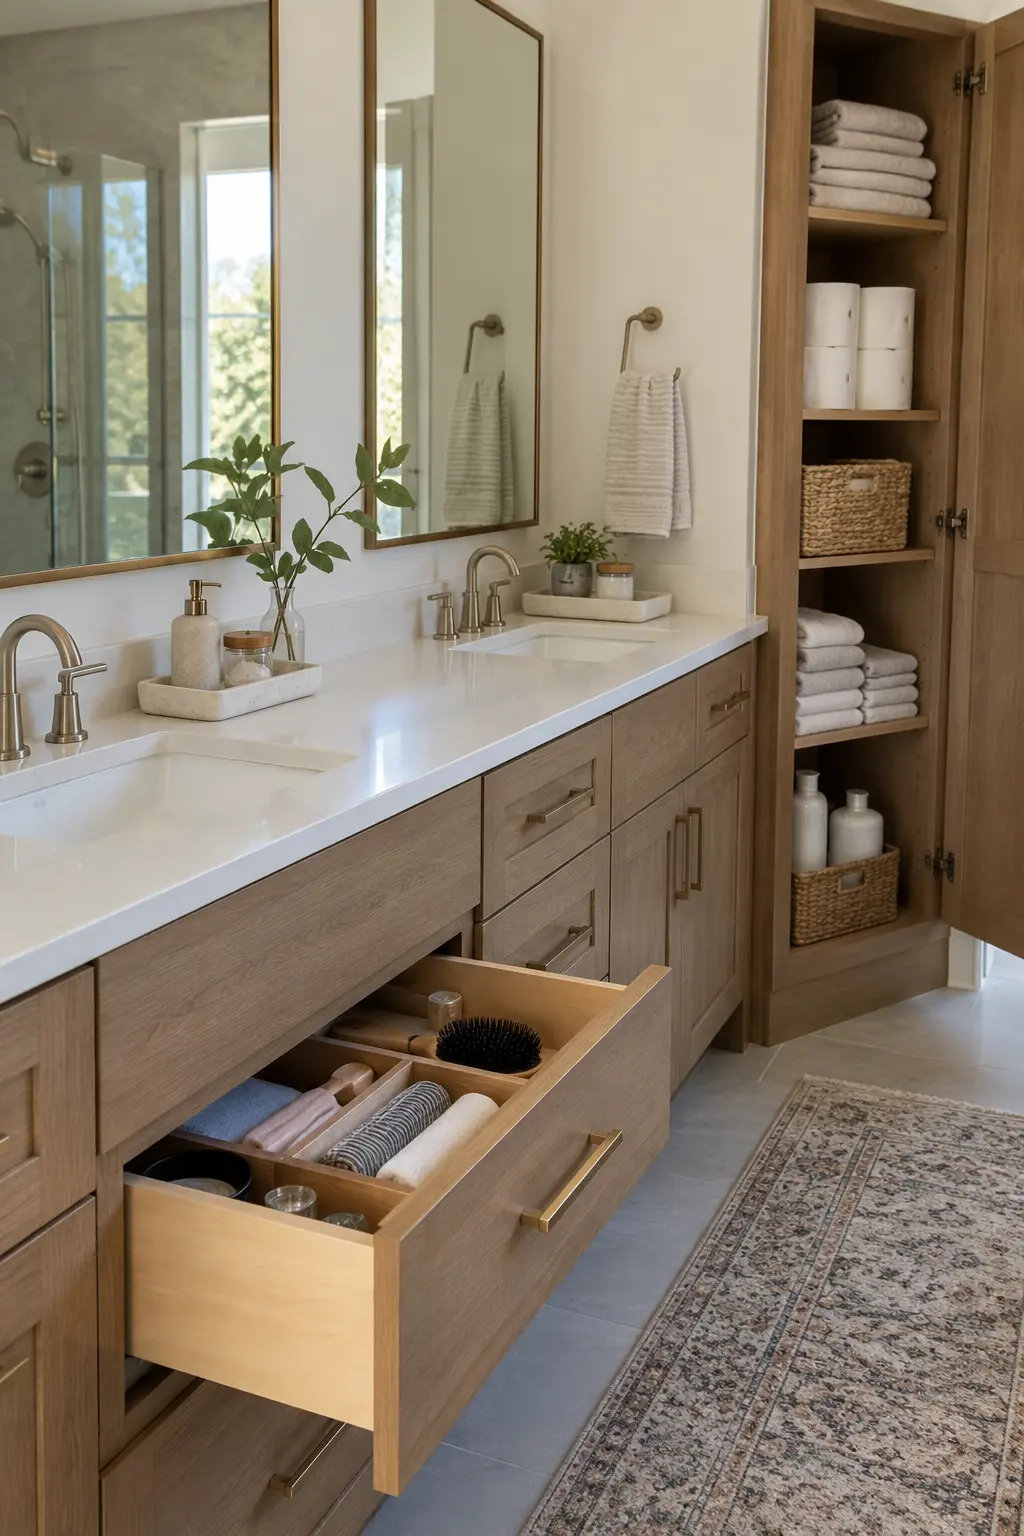
Keep daily items near the sink and move bulk packages to deeper drawers or a linen area. This reduces counter clutter and prevents rarely used supplies from blocking plumbing access.
One washable tray per user can define shared counter space. More organization approaches appear in the site’s farmhouse bathroom ideas, where practical storage can be separated from decorative display.
43. Coordinate the Vanity With Ventilation
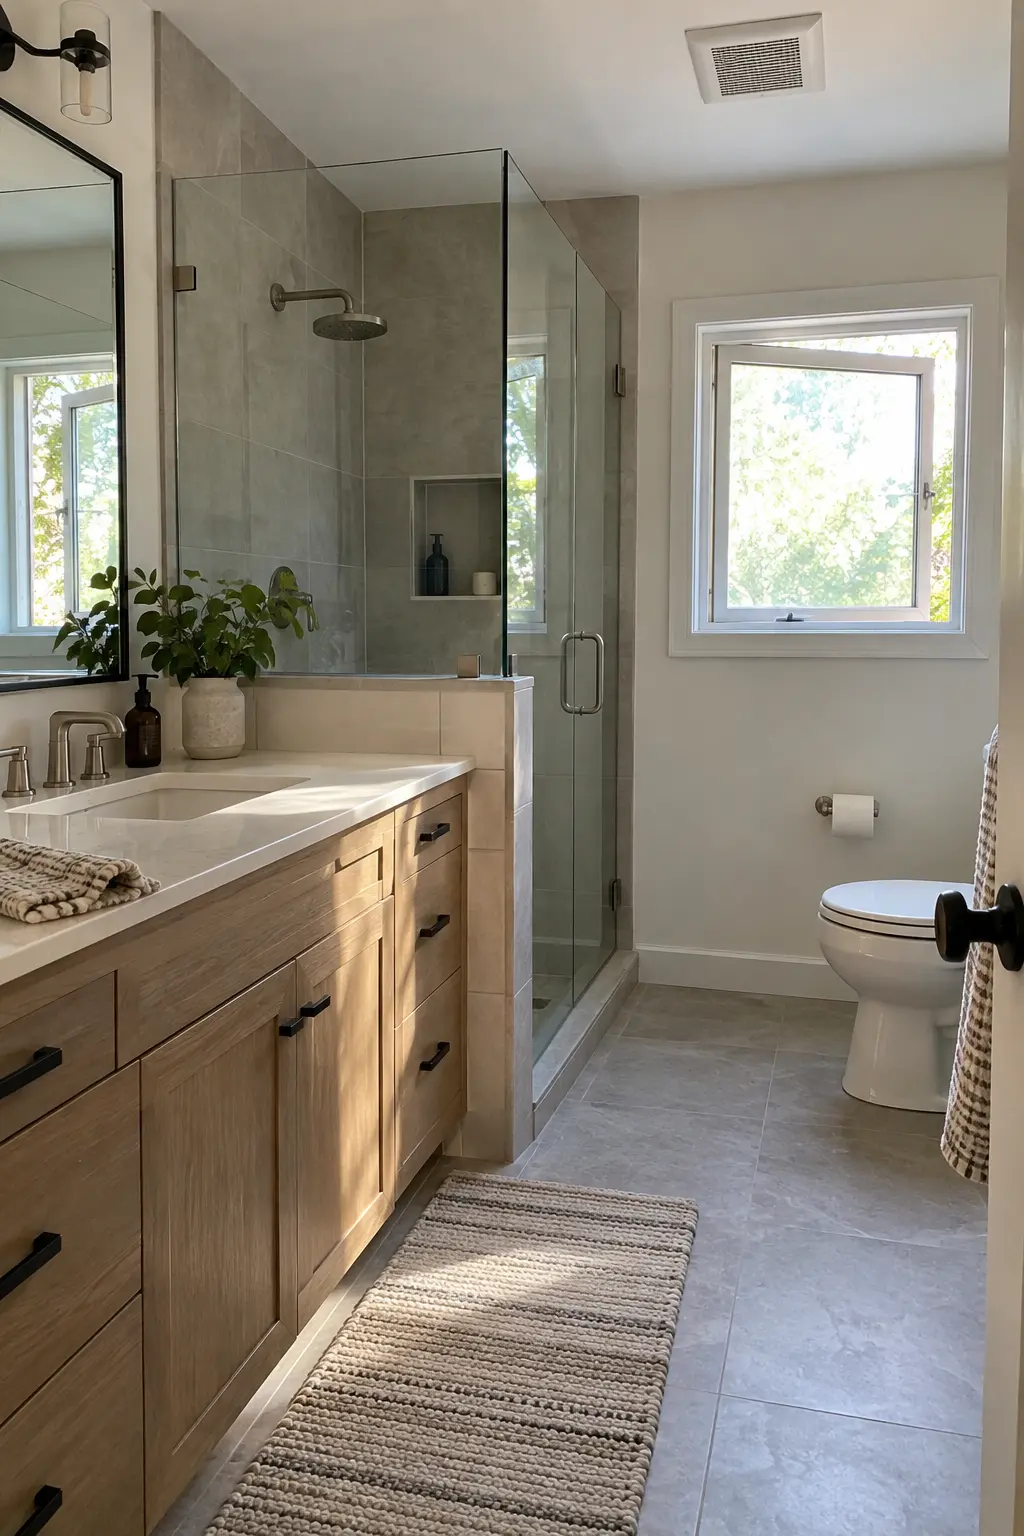
A vanity cabinet lasts longer when the room dries after bathing. Confirm the exhaust fan is correctly sized, ducted outdoors, and used long enough to clear lingering moisture according to local requirements and manufacturer guidance.
Leave air paths around freestanding or floating components where the design calls for them. Persistent condensation on mirrors or cabinet faces deserves investigation rather than another coat of finish.
44. Add Leak Visibility and Early Warning
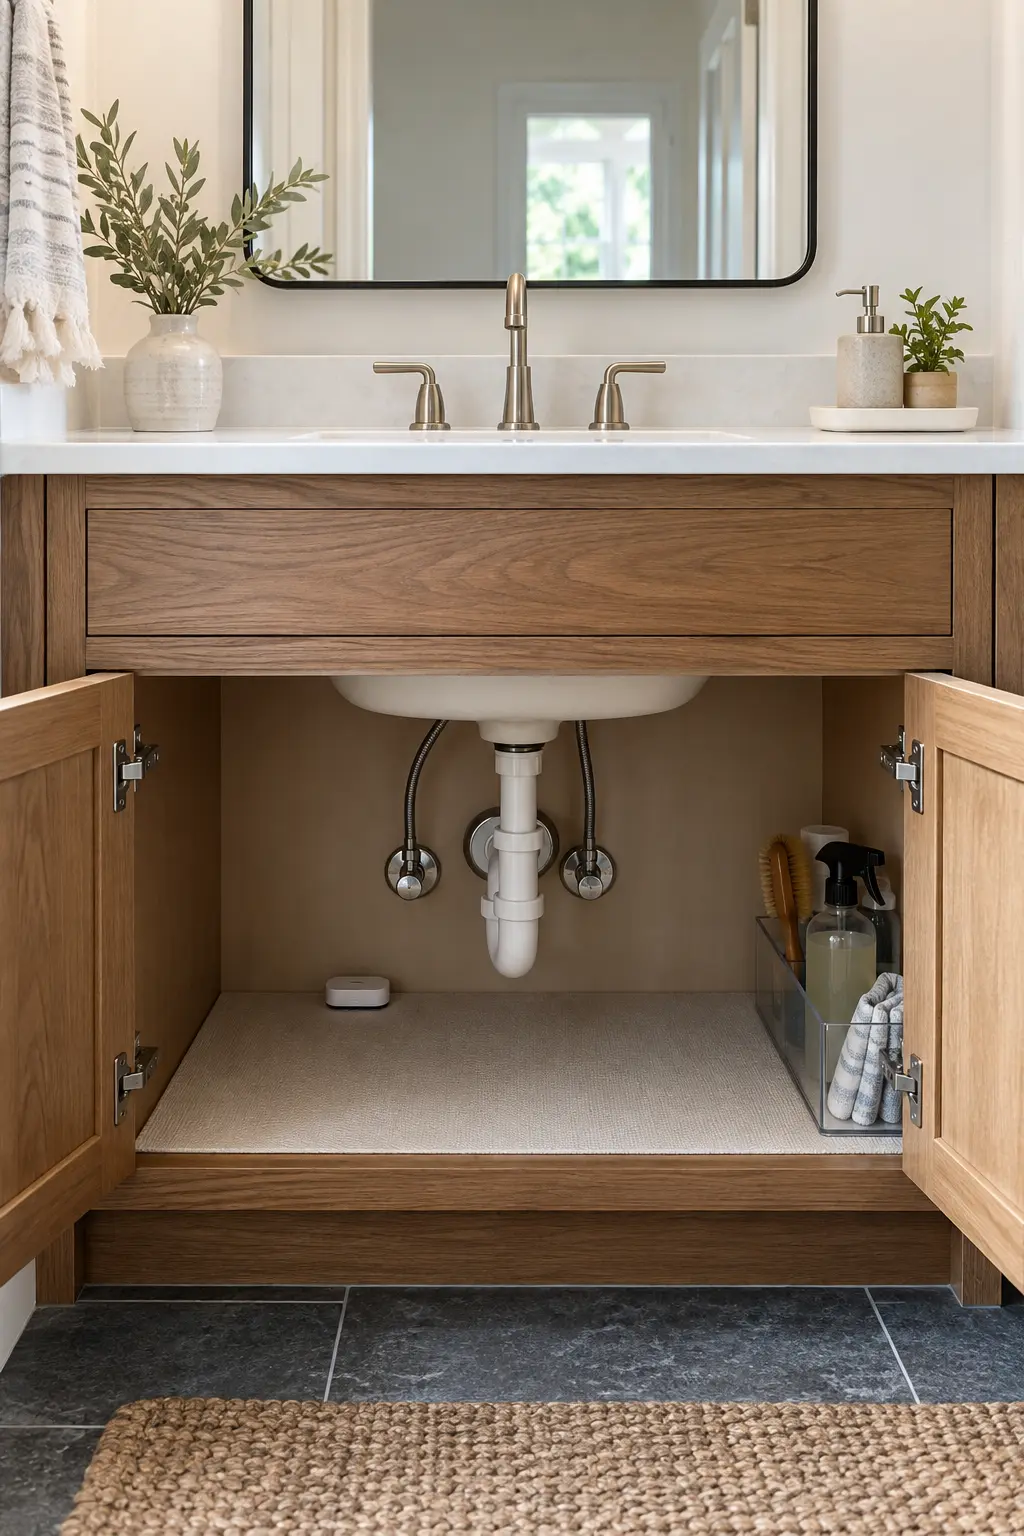
Use a light-colored washable cabinet liner so drips are easy to see, and keep the trap and shutoffs unobstructed. A battery leak detector can add warning beneath a frequently used sink.
The device supplements inspection and sound plumbing; it does not replace them. Test it on the manufacturer’s schedule and change batteries as directed.
Shop the Zircon Leak Alert water detectors on Amazon
45. Sequence Framing, Rough-Ins, and Finishes
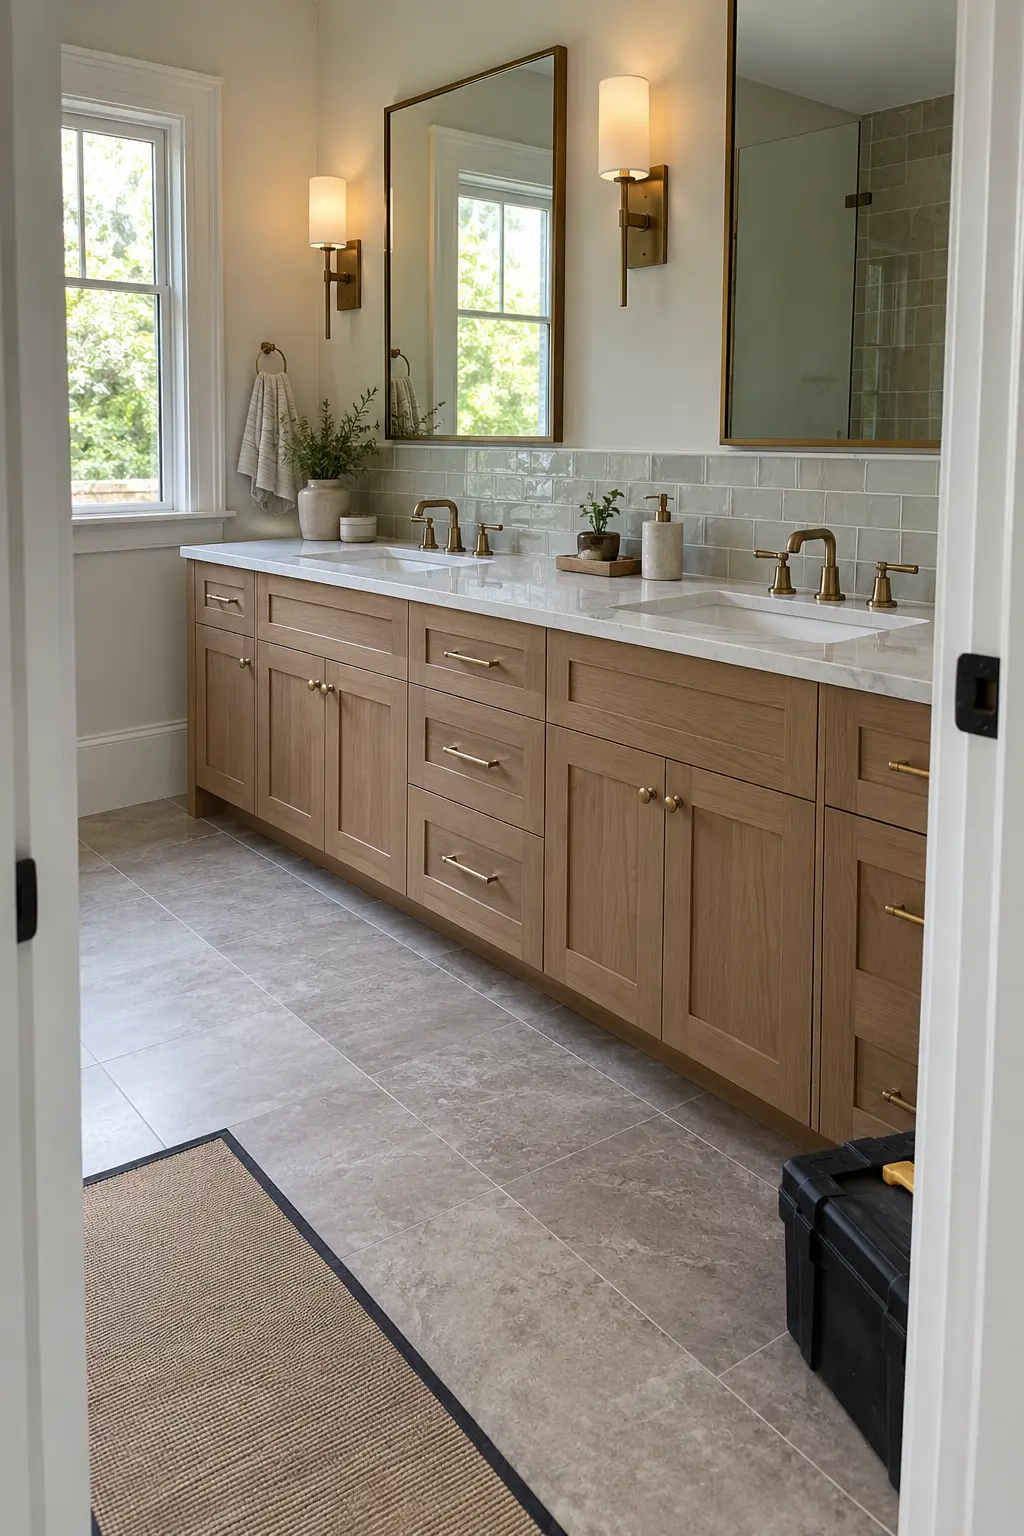
Finalize the vanity elevation before framing, plumbing, and electrical rough-ins. After inspections, complete wall and floor finishes, install the cabinet, template the counter, then connect sinks, faucets, mirrors, lights, and hardware in a controlled order.
Protect finished floors and cabinet faces while trades overlap. Confirm which installer owns each seal, cutout, fastening point, and final adjustment so small gaps do not fall between scopes.
46. Template the Counter From the Installed Cabinet
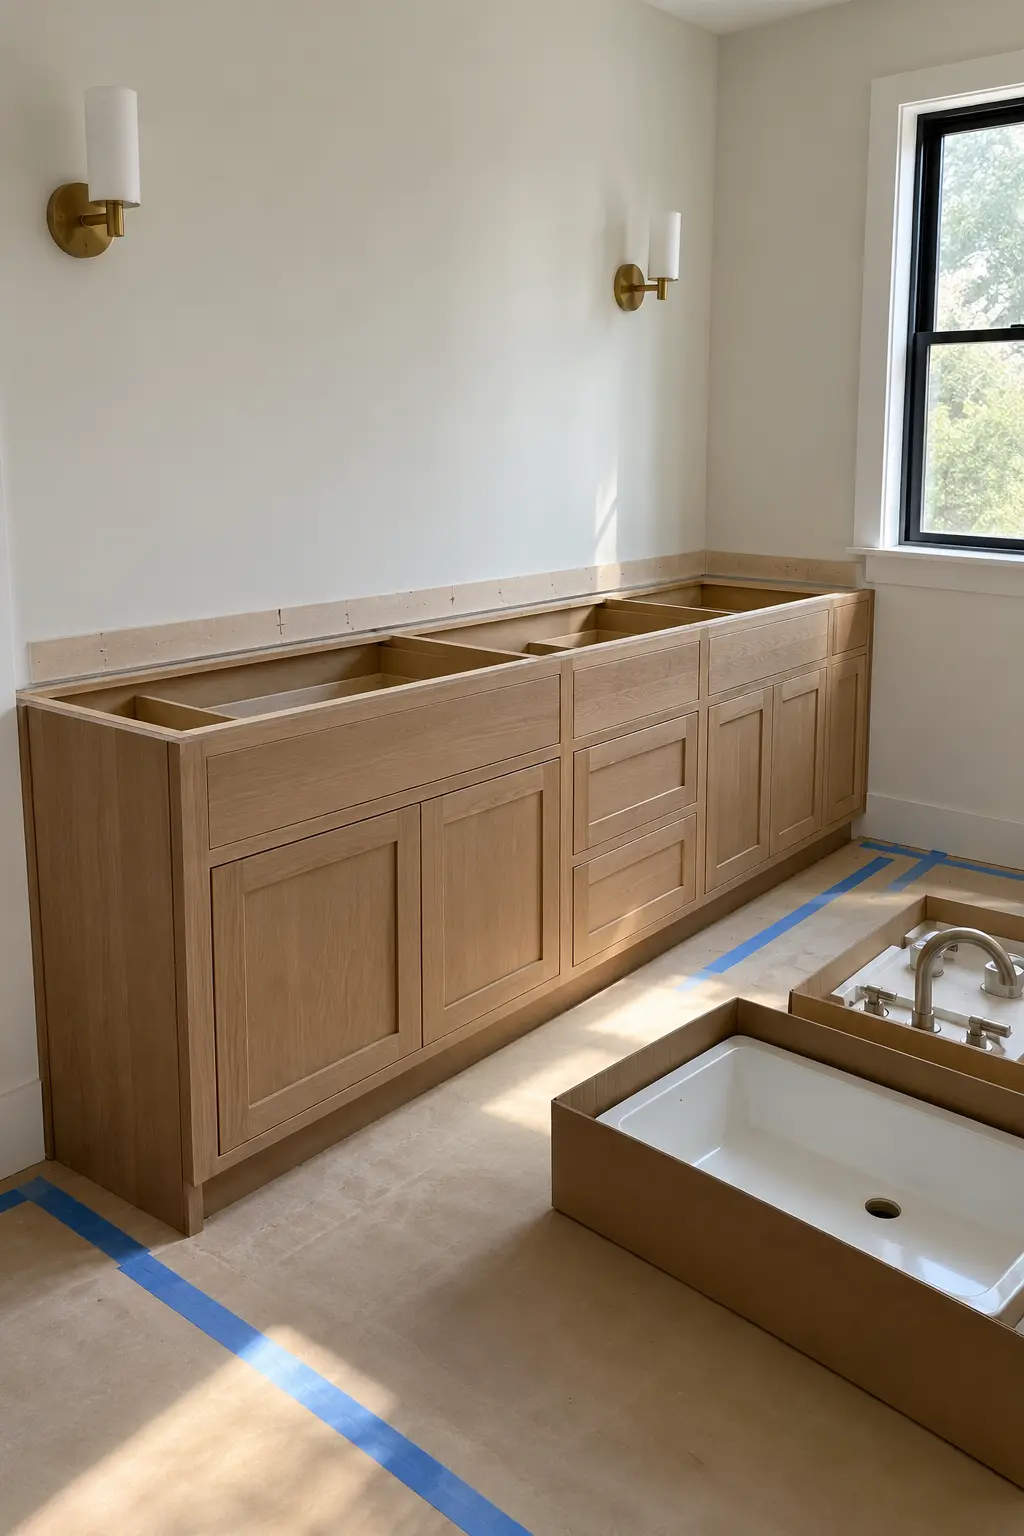
Stone and other fabricated tops should be templated after the cabinet is level, secured, and fitted to the walls. Provide the actual sinks, faucets, and accessory specifications at the template appointment.
Approve seam locations, edge profile, overhang, backsplash pieces, and hole centers in writing. Late fixture substitutions can invalidate the template.
47. Scribe Fillers and Protect Door Clearance
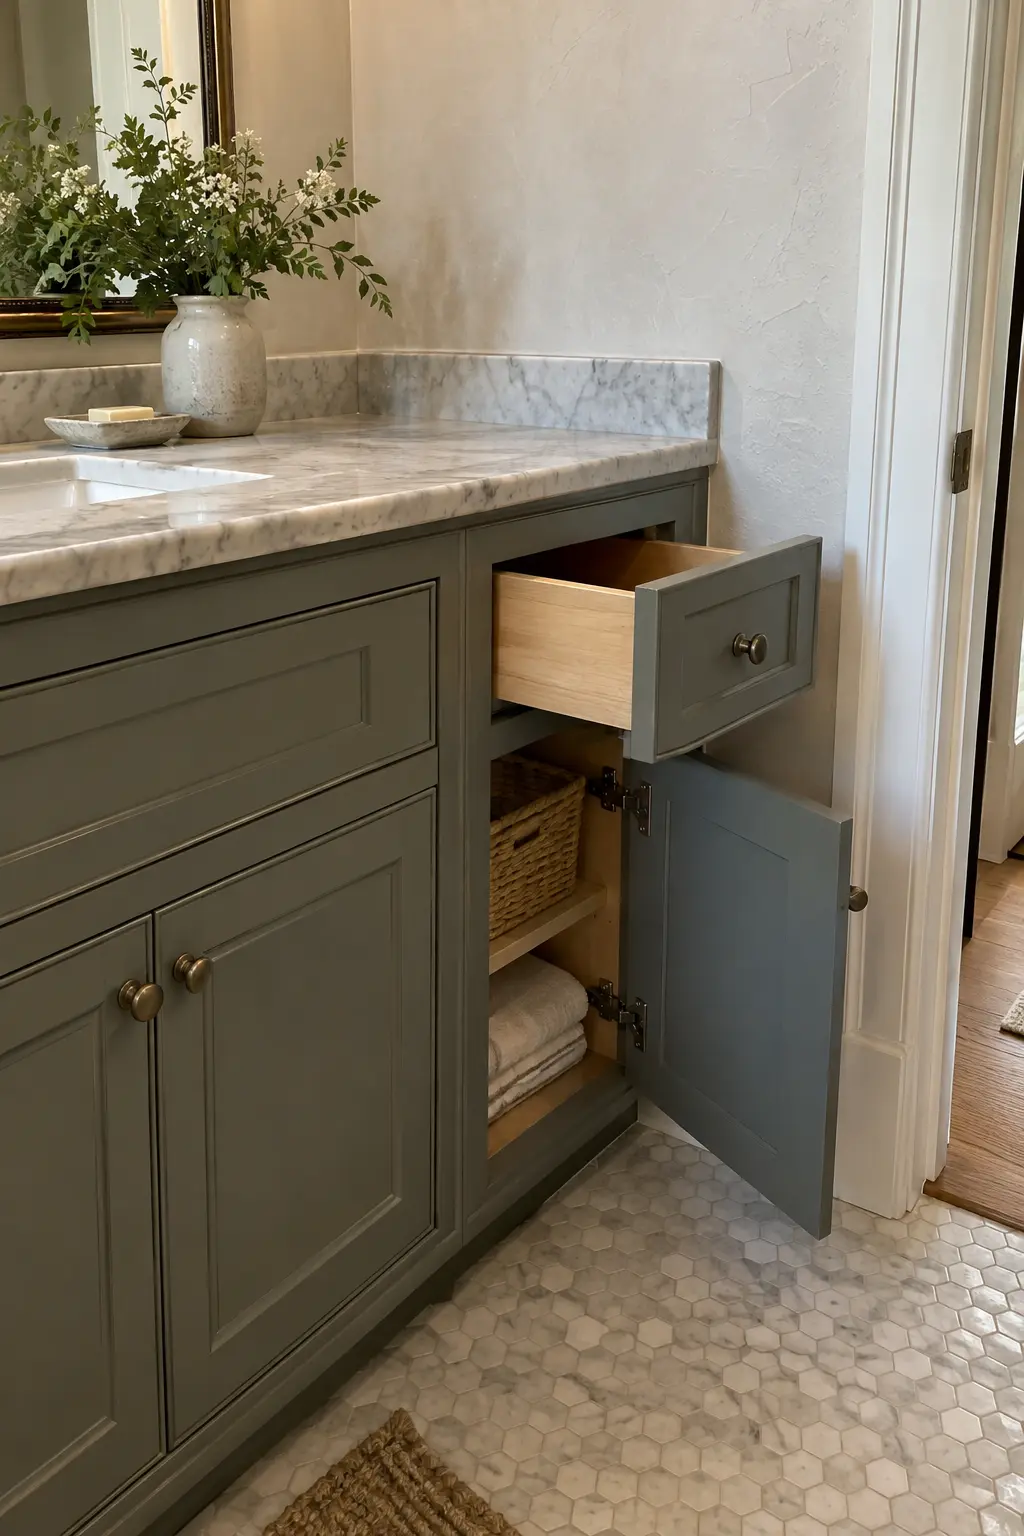
Wall-to-wall vanities need fillers or scribed panels to absorb uneven walls and keep doors from scraping casing. Plan these pieces in the cabinet width instead of trimming usable drawers at installation.
Open every door and drawer through its full motion before the counter arrives. Adjacent walls, towel bars, and door trim can all interfere with hardware.
48. Seal Every Wet Joint Deliberately
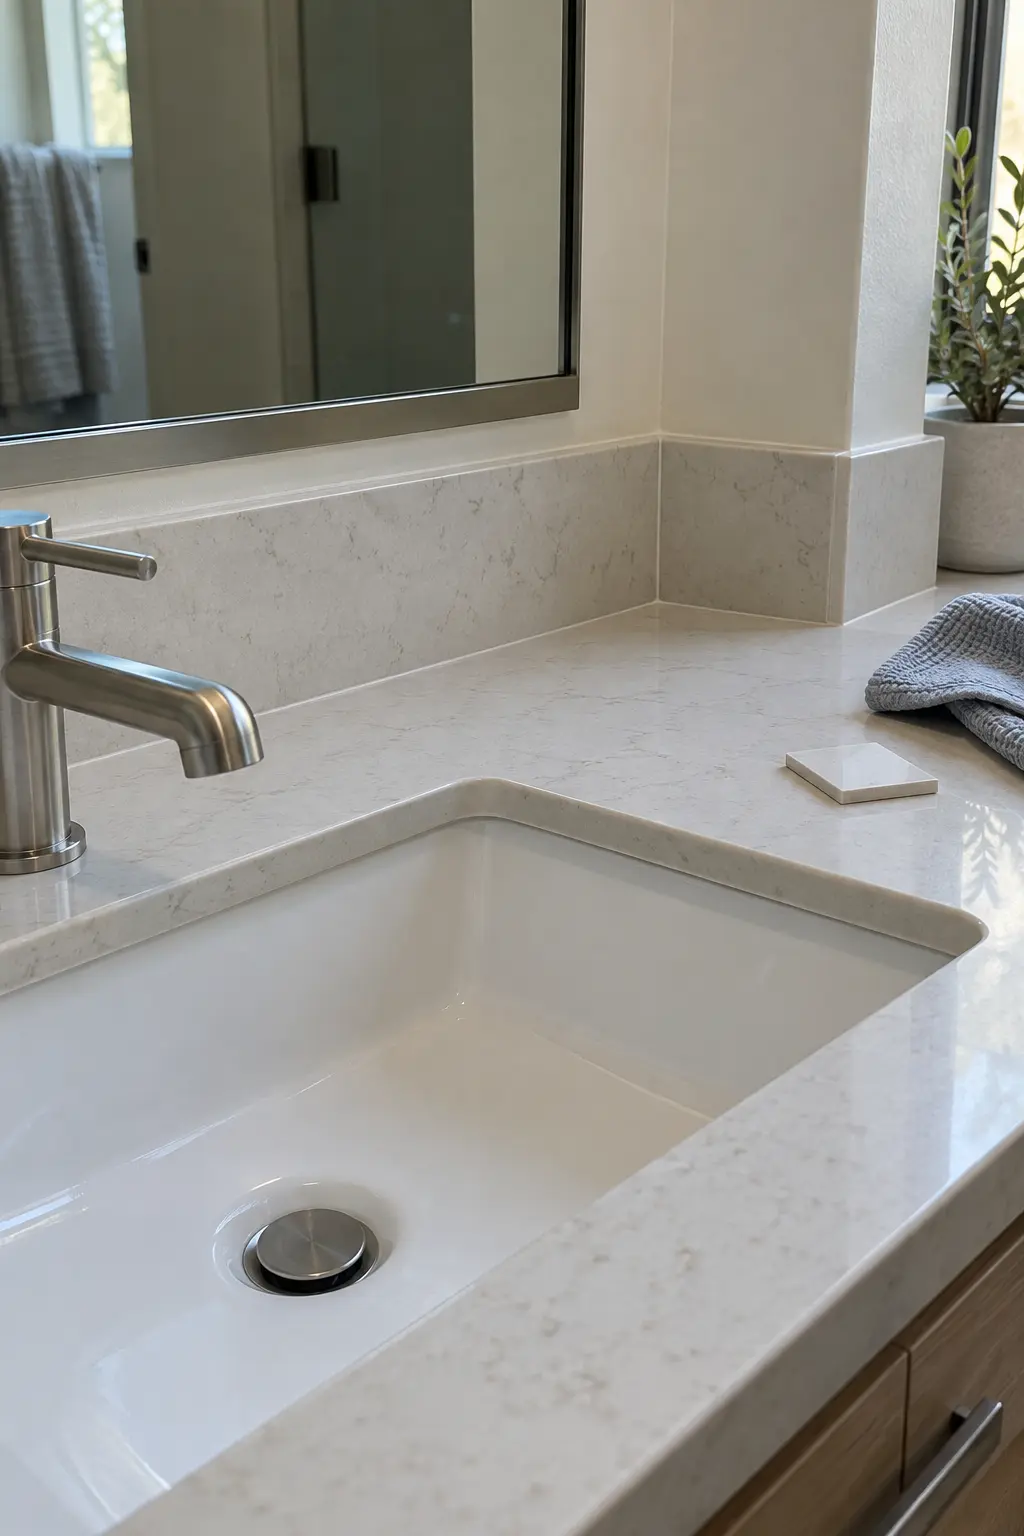
Use the specified sealant at sink rims, backsplash changes of plane, counter-to-wall joints, and plumbing penetrations. The joint must be clean, dry, and sized for the product rather than covered with an oversized cosmetic bead.
Record the sealant type and color for future repairs. Inspect the first signs of separation promptly because a small failed joint can direct water into the cabinet or wall.
49. Commission the Vanity Before Handover
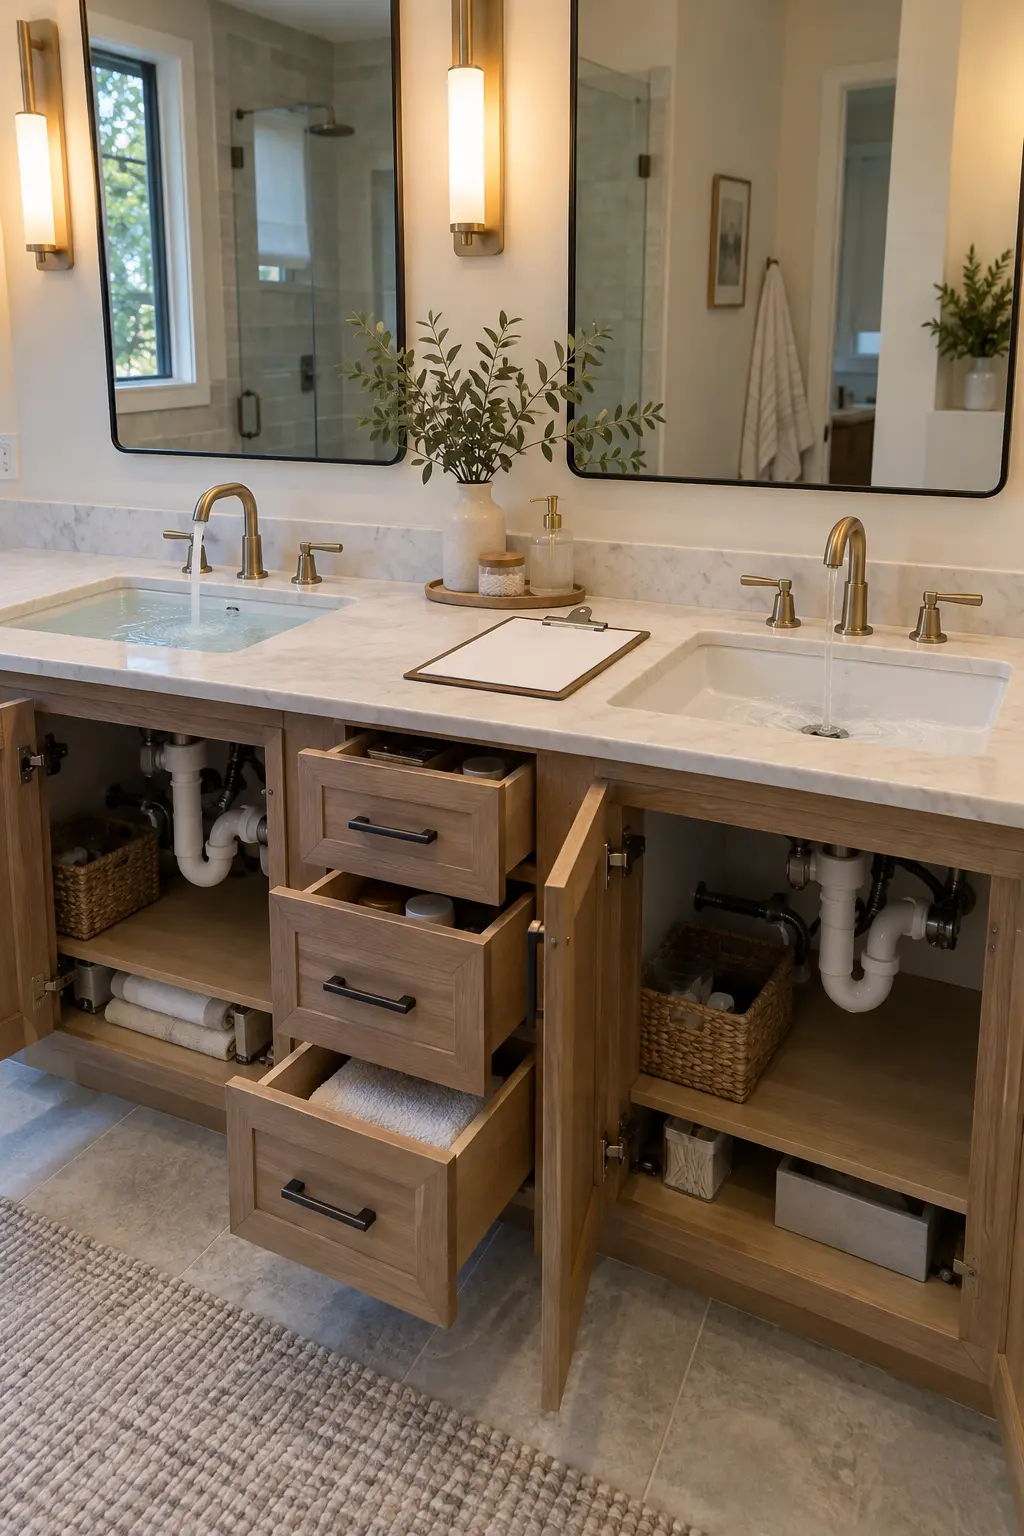
Run hot and cold water at each faucet, fill and drain every basin, and inspect supply, drain, overflow, and seal connections. Open all drawers and doors while the plumbing is operating to catch interference and vibration.
Test lights, switches, receptacles, dimmers, mirrors, and accessories with the appropriate professional. Add remaining adjustments to one punch list and close them before storing toiletries.
50. Create a Simple Maintenance Schedule
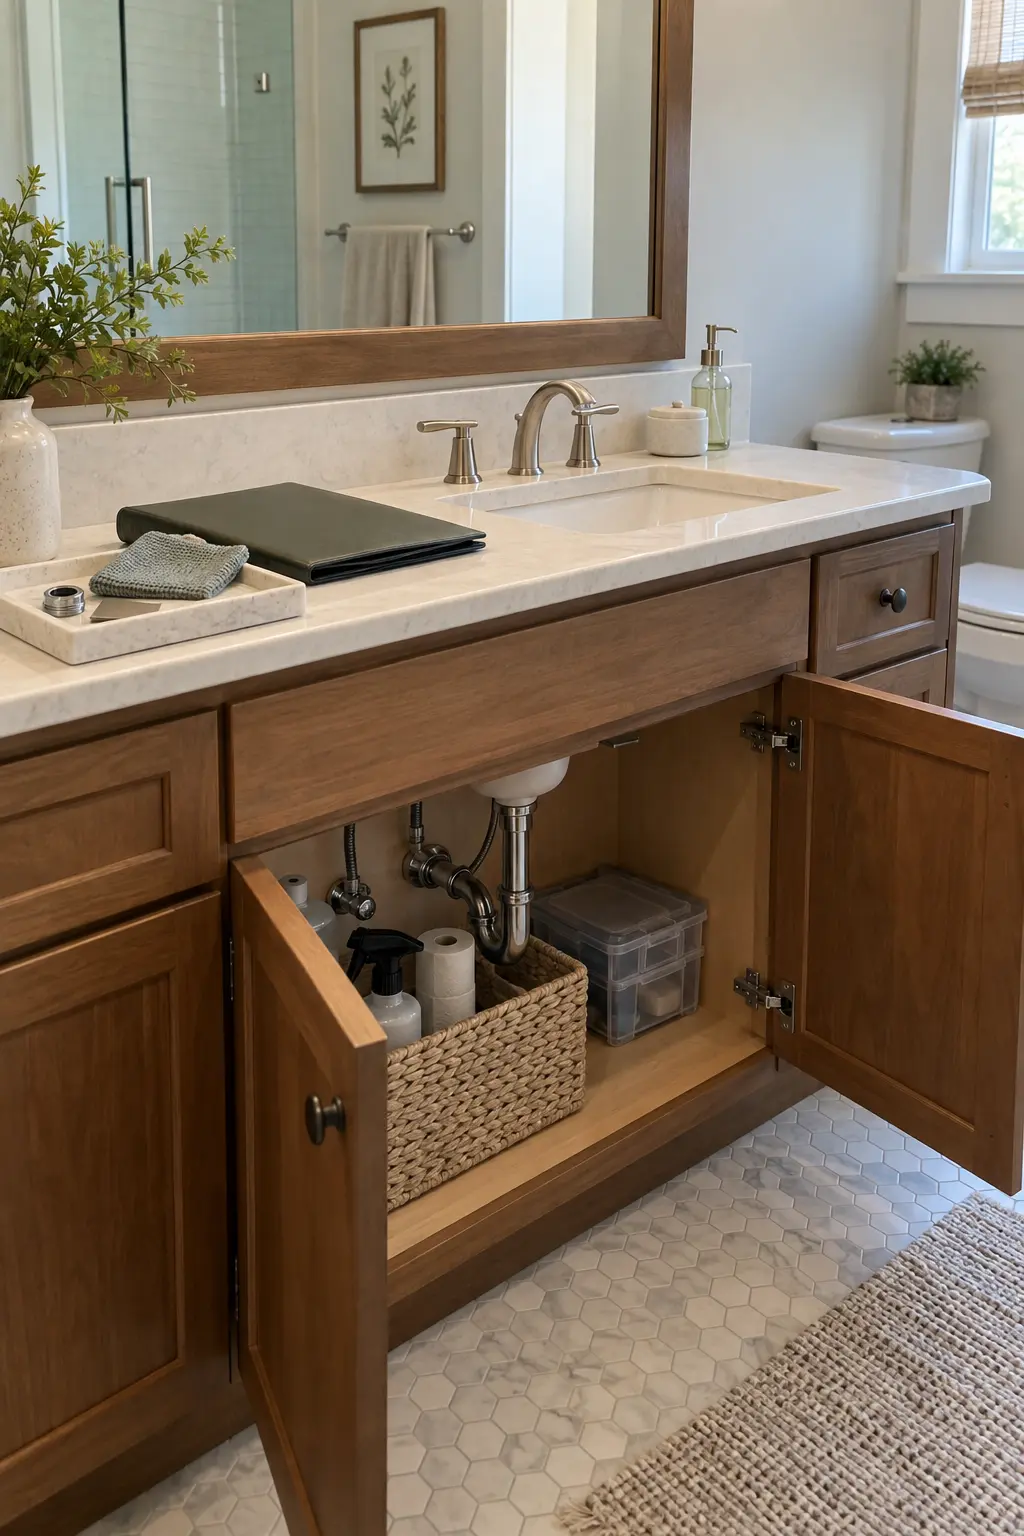
Wipe standing water, clean with approved products, inspect caulk and drains, and look beneath each sink on a regular schedule. Natural stone, wood finishes, hardware, and leak detectors may each require different intervals.
Keep product manuals, finish names, spare parts, and installation photographs together. A short record makes future repairs more accurate and helps the next owner understand the vanity assembly.
A Vanity Plan That Holds Up After Installation
The strongest bathroom vanity design begins with measured room constraints and moves through storage, plumbing, surfaces, lighting, and accessibility as one coordinated system. Resolve those relationships before ordering so each trade works from the same approved dimensions.
After installation, test every connection and keep service points accessible. A clear maintenance record protects the cabinet, counter, fixtures, and wall finishes long after the initial reveal.
Bathroom Vanity Design FAQs
How deep should a bathroom vanity be?
Many full-size vanities are around 21 inches deep, while shallower models serve tight rooms. Measure the finished aisle, basin, faucet reach, drawer projection, and door movement before selecting a depth.
What is a comfortable bathroom vanity height?
The usable height depends on the people, sink style, counter thickness, and whether seated access is needed. Mock up the sink rim and confirm applicable accessibility or local code requirements before installation.
When should a bathroom use a double vanity?
A double vanity earns its space when two people regularly use the room together and each station retains adequate counter, storage, plumbing, mirror, and circulation space. Otherwise, one generous sink may work better.
Should plumbing be moved to center a vanity sink?
Moving plumbing can affect drain slope, venting, framing, and cost. Compare the value of a new sink center with an offset cabinet design, then have a licensed plumber verify the proposed route.
What should be finalized before countertop templating?
The cabinet must be installed, level, secured, and fitted. The fabricator also needs the actual sink, faucet, accessory specifications, edge profile, overhang, backsplash, seam decisions, and approved hole locations.