55 Builder-Grade Bathroom Makeover Ideas

This post may contain affiliate links: full affiliate disclosure.
Builder-grade bathrooms are often usable but visually flat: one large mirror, a basic vanity, standard lighting, and little storage. A successful makeover improves those surfaces while protecting waterproofing, ventilation, plumbing access, and the fixtures that still work.
Research expanded to 94 candidates across cabinets, counters, mirrors, lighting, walls, wet zones, flooring, moisture control, storage, rentals, accessibility, sequencing, budgets, and maintenance. After semantic, practical, and visual deduplication, 55 remained strong enough to earn separate guidance and a distinct completed-scene image.
Decide what stays before shopping; every retained fixture changes the measurements, budget, and installation sequence.
Use dimensions here as prompts for planning. Verify the code adopted where you live, permit needs, manufacturer instructions, and site conditions before cutting walls, moving utilities, or changing a wet-area assembly.
Plan a Builder-Grade Bathroom Makeover That Holds Up
The smartest makeover starts by separating sound fixtures from worn finishes and hidden moisture problems. That keeps the budget focused on changes people can see and repairs the room actually needs.
1. Audit What Is Worth Keeping
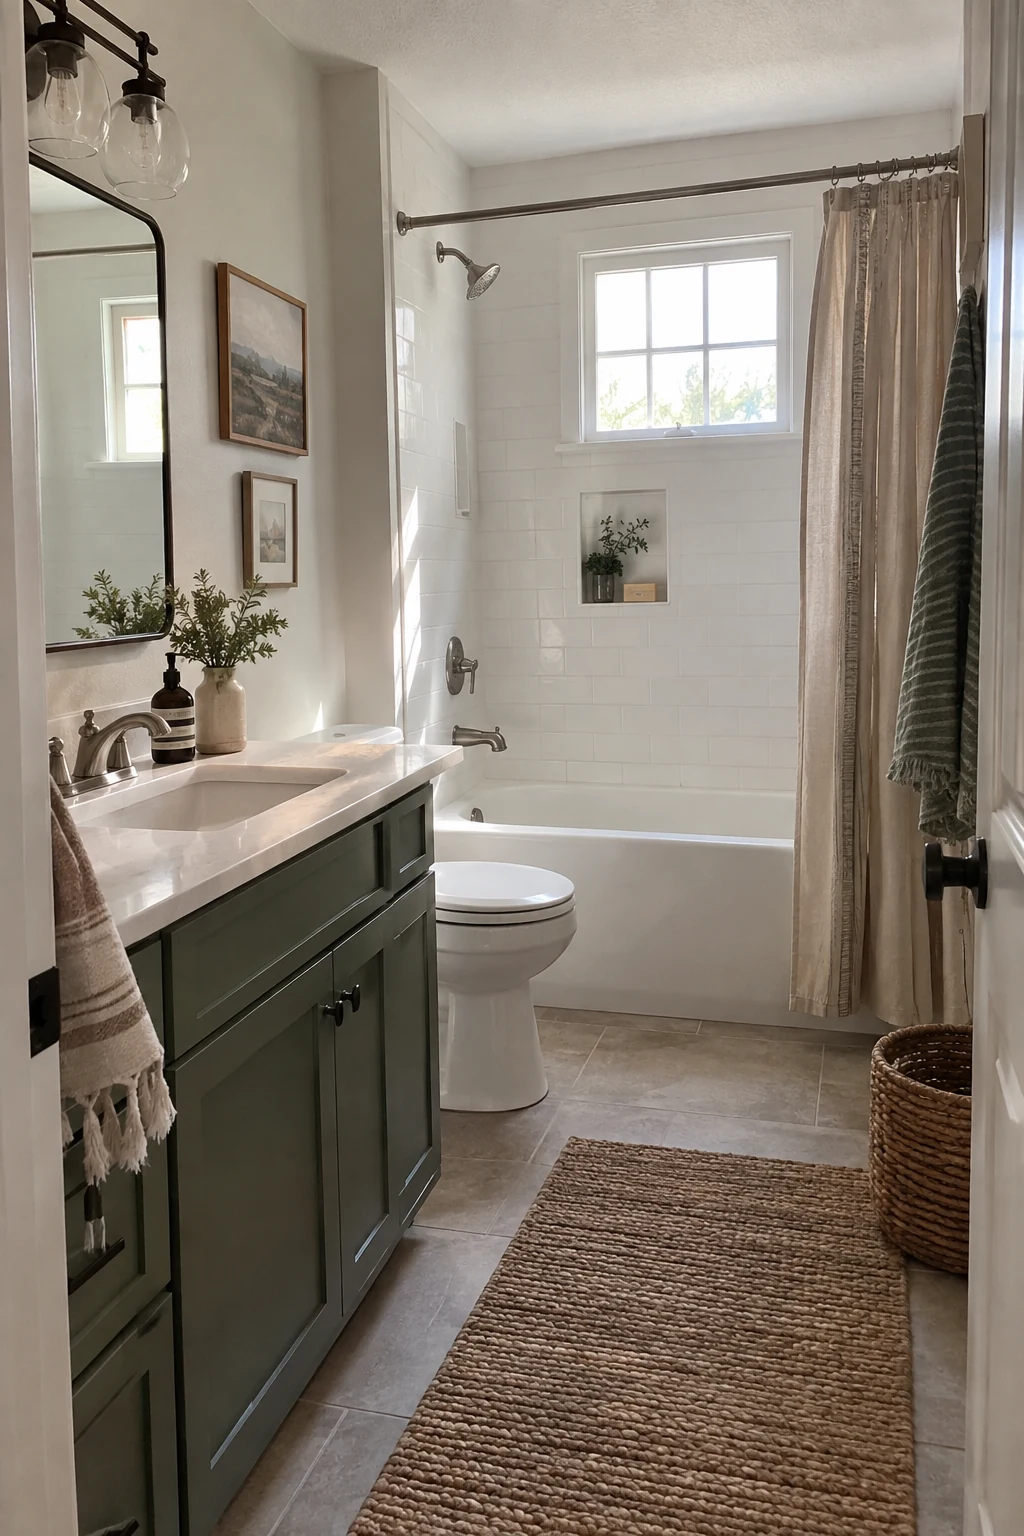
List what is merely plain, what is worn, and what is failing. A sound tub, toilet, cabinet box, or tile field can anchor the makeover while money goes to water damage, ventilation, lighting, and storage.
Check for soft flooring, swollen cabinet edges, loose tile, active leaks, rust, and recurring mildew before covering anything. Preserve a useful fixture only when its condition, color, size, and connections still serve the room.
Photograph model labels and measure every retained item. Those records help match trim kits, seats, valves, hinges, and replacement parts without guessing after the room is apart.
Keep a fixture because it is sound and useful, not simply because removal feels difficult.
2. Choose a Cosmetic, Midrange, or Full-Scope Budget
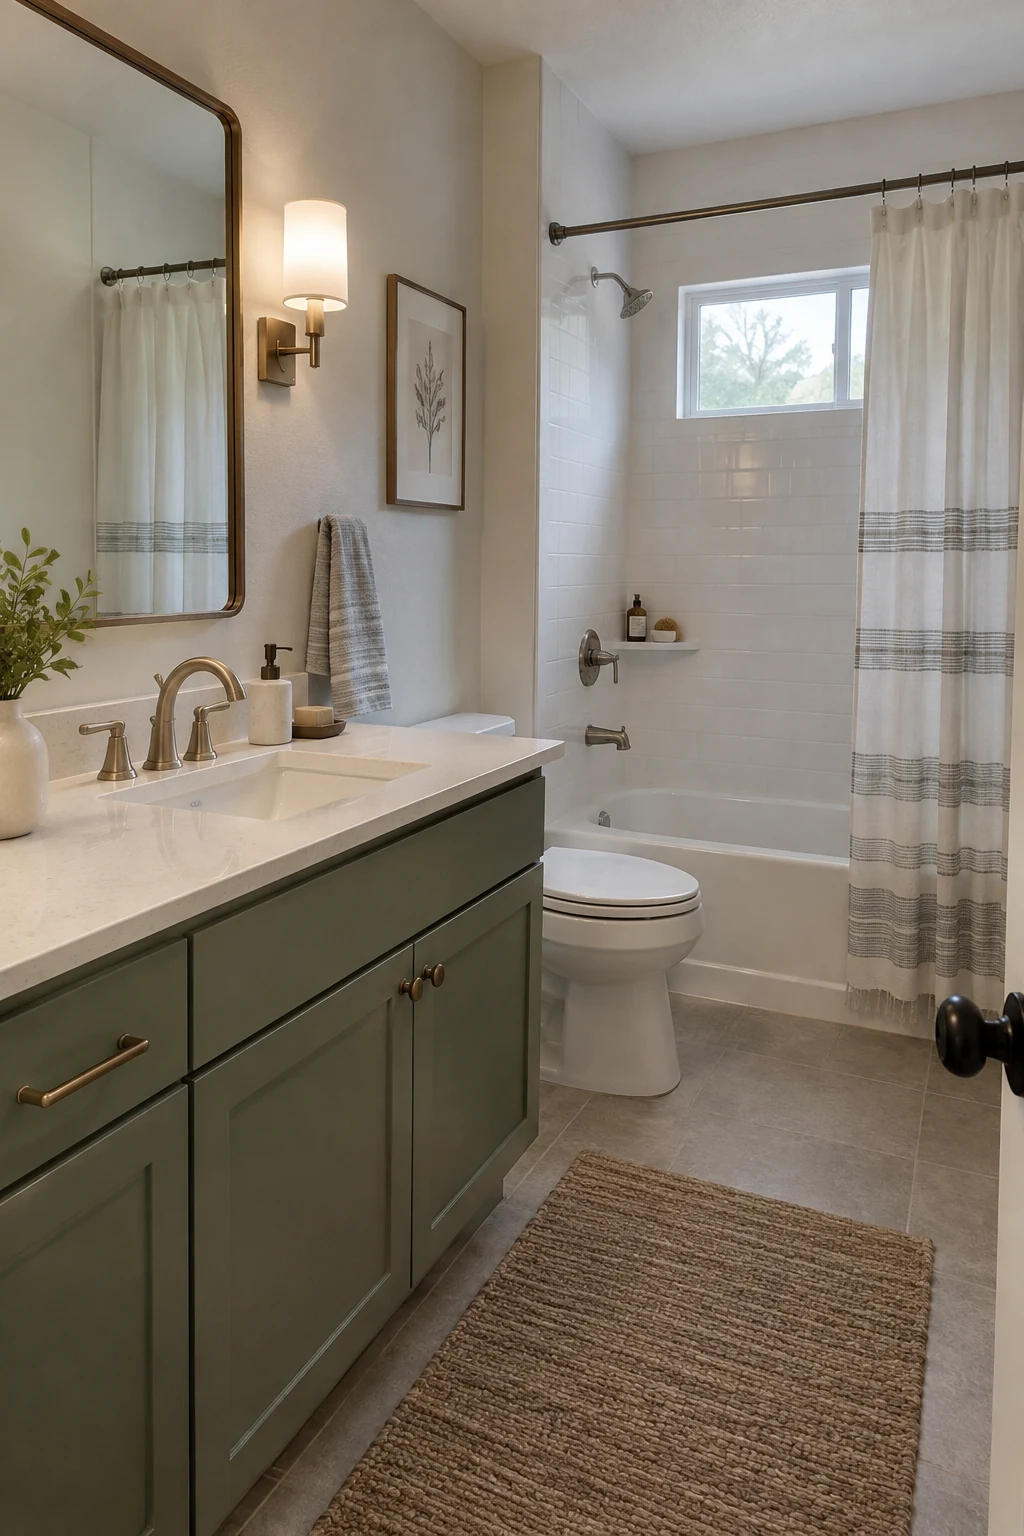
A cosmetic plan might cover paint, hardware, lighting, mirror, textiles, and fresh caulk. A midrange plan can add a counter, faucet, flooring, storage, or surround panels while keeping fixture locations.
- Cosmetic: preserve fixtures and change visible finishes
- Midrange: replace selected surfaces without moving plumbing
- Full scope: rebuild wet areas, utilities, or layout
A full-scope remodel belongs in a different budget once walls open, plumbing moves, wiring changes, or waterproofing is rebuilt. Price permits, disposal, trade labor, and repair contingencies before choosing decorative finishes.
3. Measure Doors, Drawers, and Standing Space
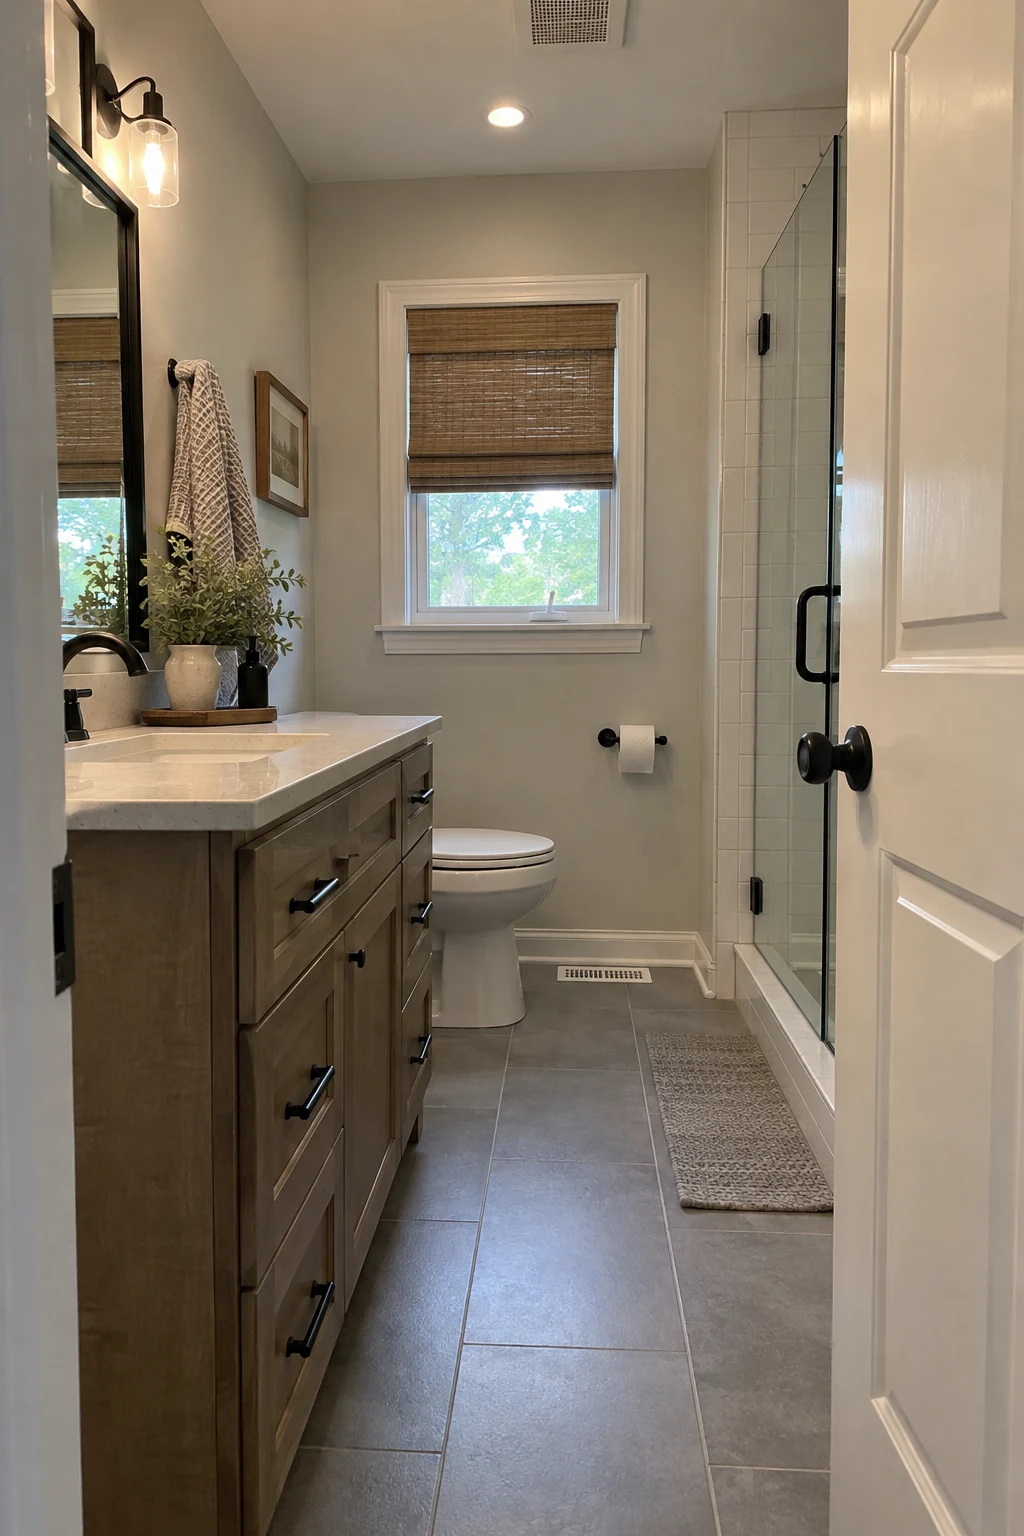
Measure finished walls, fixture projections, trim, and the full swing of every door and drawer. Tape proposed cabinet, mirror, and storage outlines in place so the room can be tested at normal standing height.
Treat dimensions as planning prompts. Verify adopted code, electrical zones, plumbing requirements, manufacturer clearances, and accessibility goals with the appropriate local authority or qualified trade before ordering products.
4. Sequence the Work From Hidden Repairs to Finish Details
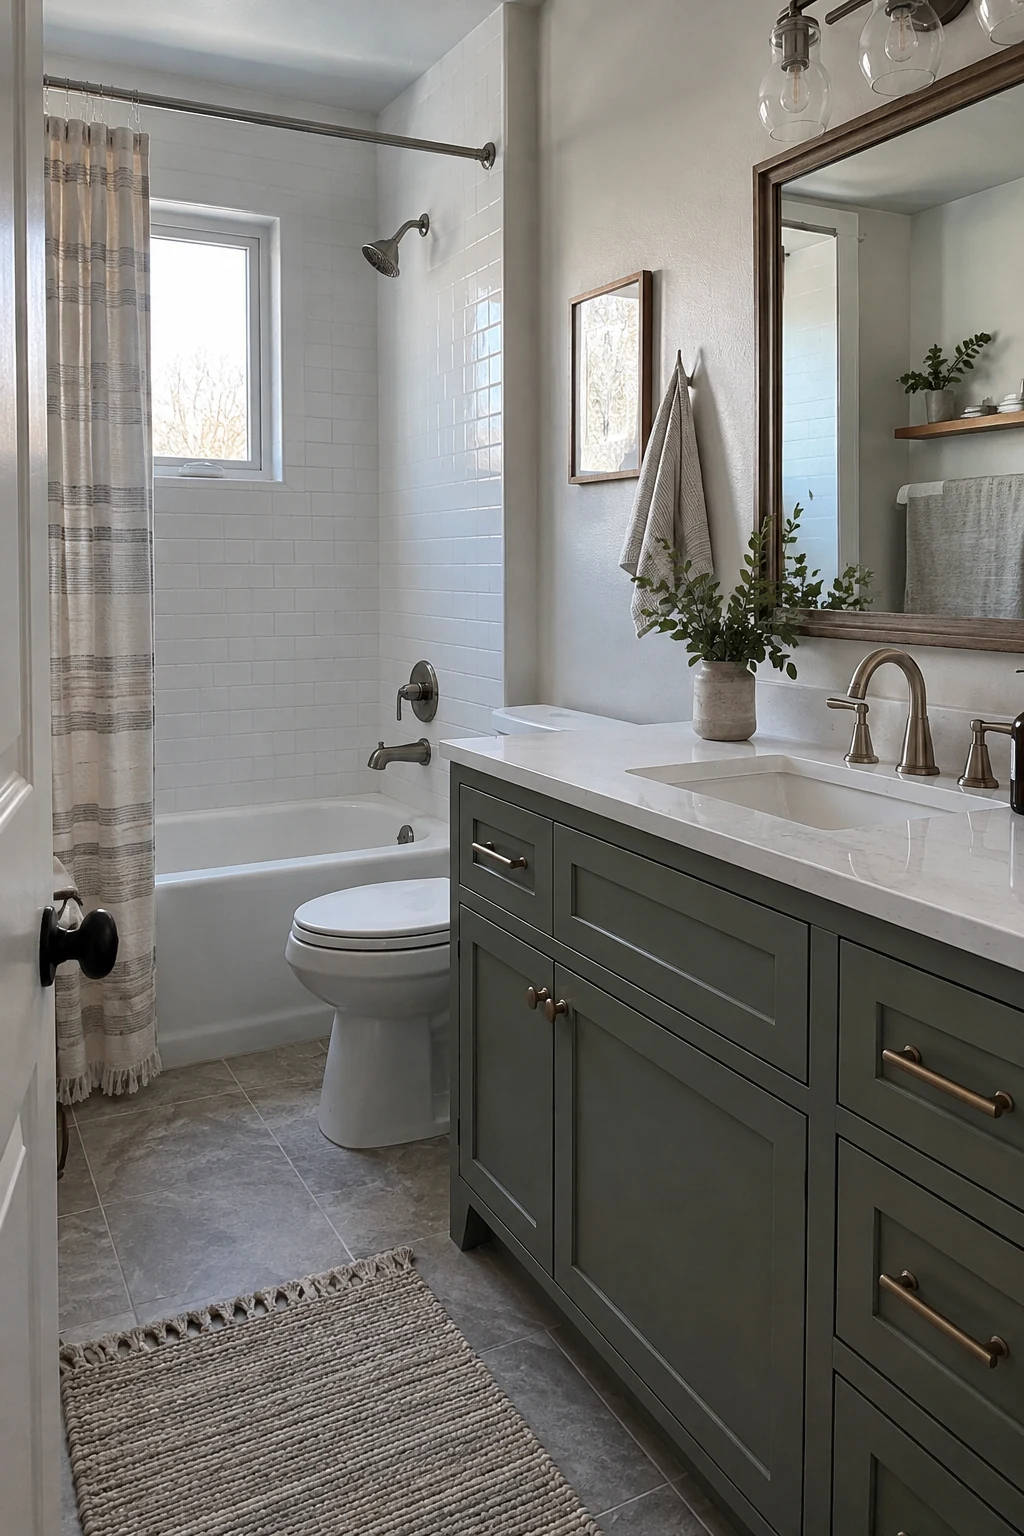
Resolve leaks, subfloor damage, ventilation, wiring, blocking, and wall repair first. Paint the ceiling and walls before installing mirrors and lights, then finish flooring, cabinetry, plumbing trim, hardware, and final sealant in a protected sequence.
Confirm product lead times before demolition. A missing valve, counter, shower door, or special-order light can leave the only bathroom unusable far longer than the hands-on work requires.
Protect every completed layer with clean drop cloths and edge guards. Photograph concealed plumbing, wiring, and blocking before the wall closes for future maintenance.
The best order prevents a later trade from drilling, splashing, or dragging tools across finished work.
5. Keep Plumbing in Place When the Layout Already Works
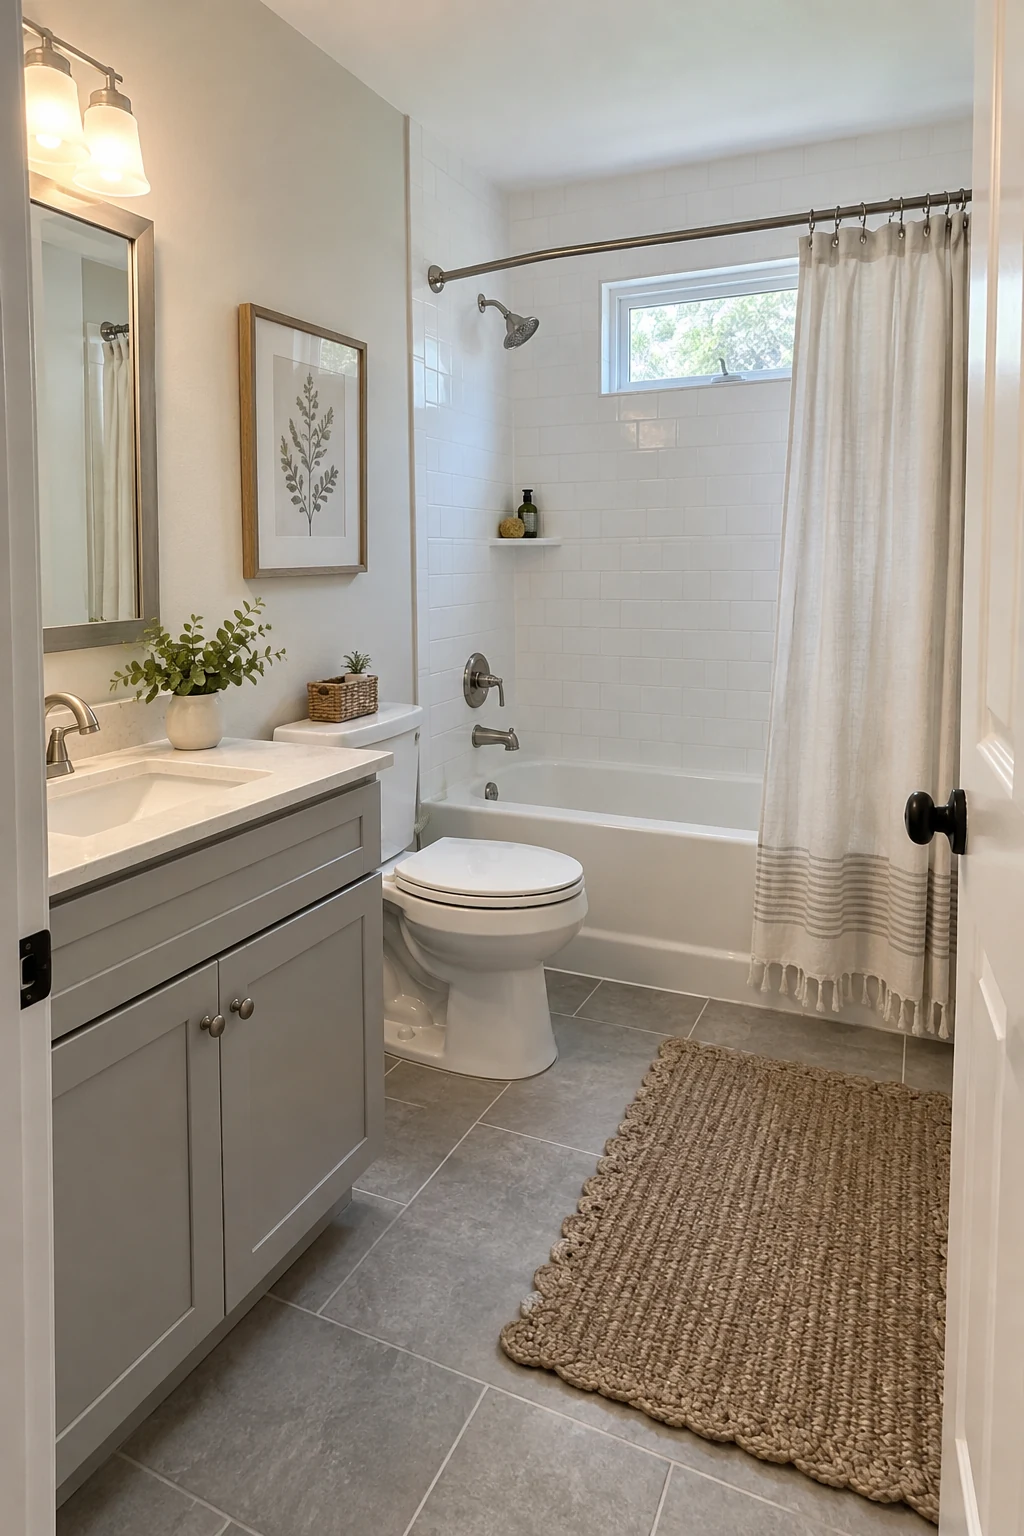
Keeping the sink, toilet, and tub or shower in workable locations usually protects the budget for better materials and hidden repairs. Ask a plumber to inspect shutoffs, drains, supply lines, and valve condition before reusing them.
Move plumbing when the existing arrangement creates a serious access, leakage, or daily-use problem. Compare that complete cost with targeted improvements before shifting a toilet or opening a slab for a minor visual gain.
Upgrade the Vanity Without Replacing Everything
A builder-grade vanity can often become the room's strongest feature because its box, doors, top, hardware, and storage can be evaluated separately.
6. Paint the Existing Vanity With a Durable System
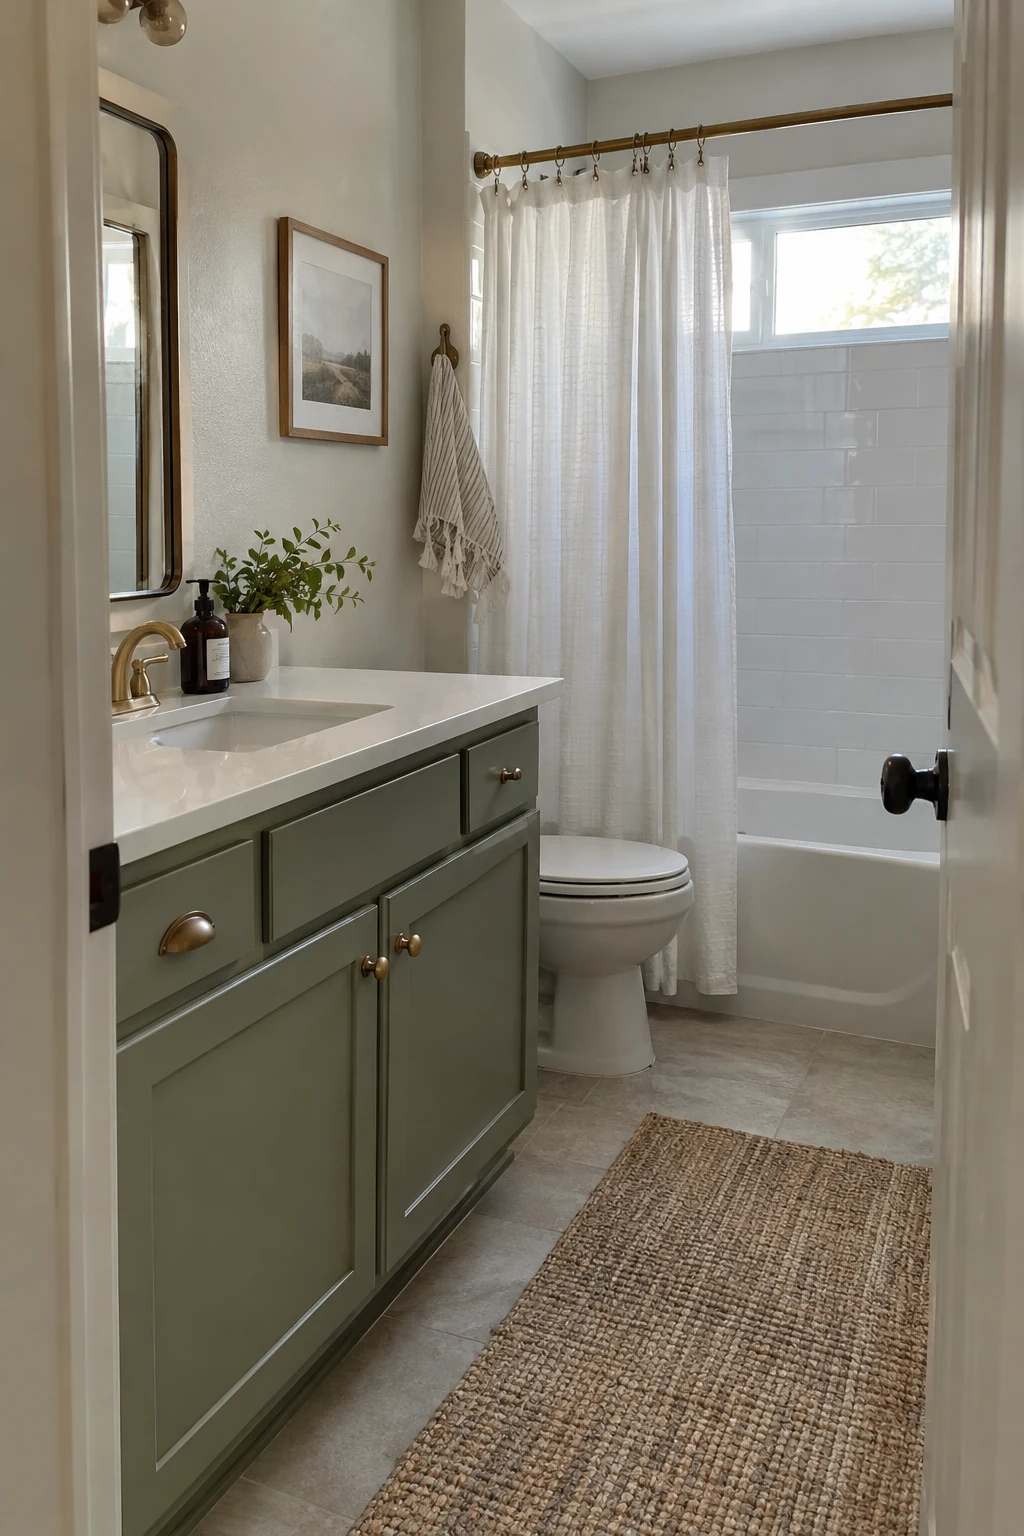
Remove doors and hardware, clean off cosmetics and residue, dull glossy surfaces, and repair damaged edges. Use primer and cabinet paint compatible with the existing wood, laminate, or thermofoil rather than relying on color alone.
- Degrease and label every door
- Prime for the actual substrate
- Allow full cure time before daily use
Let coats cure for the full product-specified time before reinstalling doors or setting toiletries on the counter. Seal vulnerable sink-side seams and keep standing water away from painted edges.
Choose a calm color that connects to the floor and wall finish. A slightly deeper vanity tone can ground standard white fixtures without making the small room feel busy.
7. Reface Flat Doors With New Shaker-Style Fronts
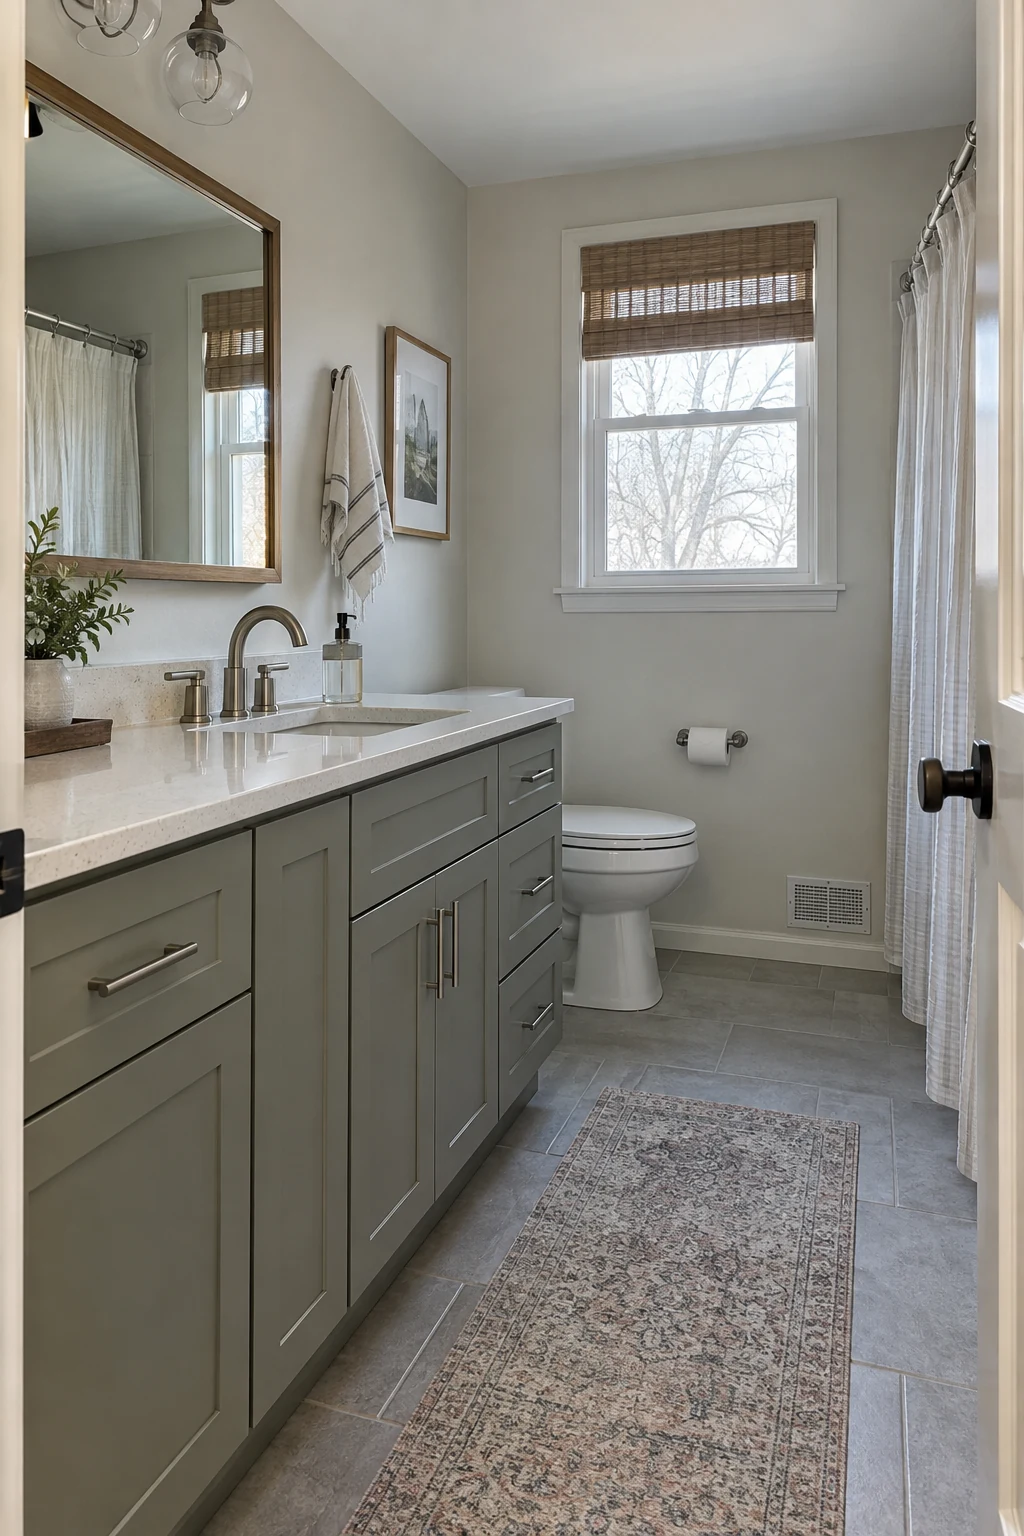
New doors and drawer fronts can correct a dated profile while keeping a square, dry cabinet box. Measure every opening and overlay separately; builder-grade boxes are not always perfectly uniform.
Order moisture-tolerant materials and prefinish all faces and edges. Replace tired hinges with compatible soft-close hardware only after confirming cup locations, overlay, and frame thickness.
8. Add Finished Side Panels and a Furniture Base
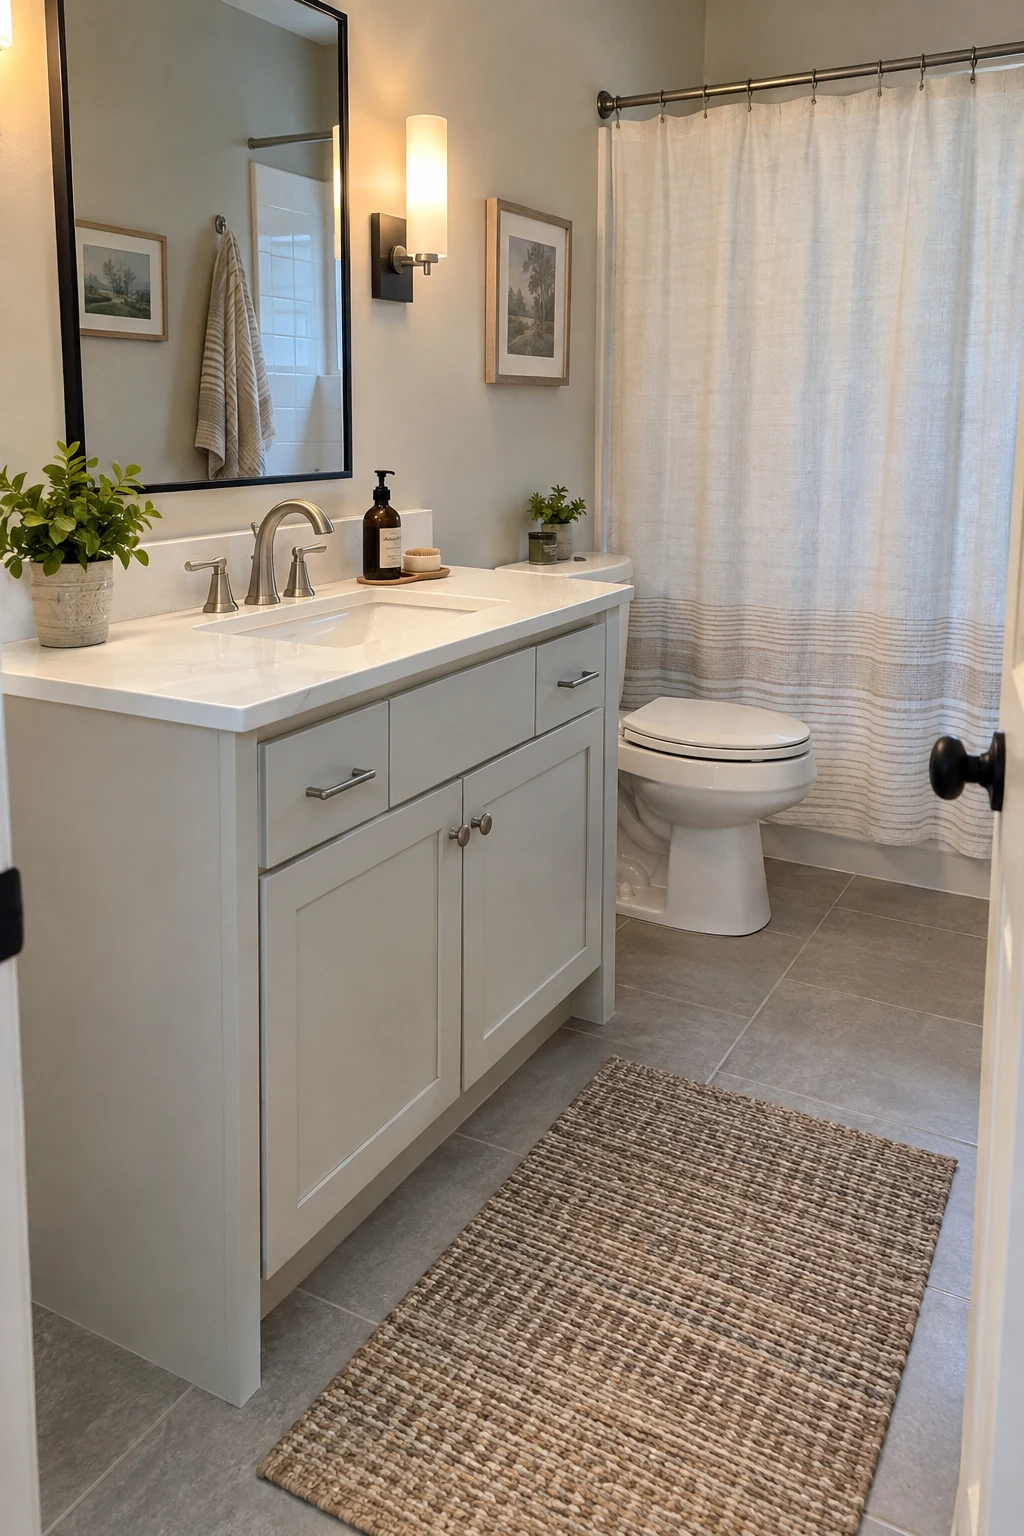
Thin end panels, a recessed plinth, or restrained furniture feet can make a basic box look intentional. Keep new trim clear of doors, heat registers, cleaning paths, and any toe-kick ventilation.
Seal the bottom edges before installation and leave plumbing access intact. Avoid ornate applied molding near the floor where splashes and dust make maintenance harder.
A few clean shadow lines usually look more custom than layers of decorative trim.
9. Replace Only the Counter When the Cabinet Is Sound
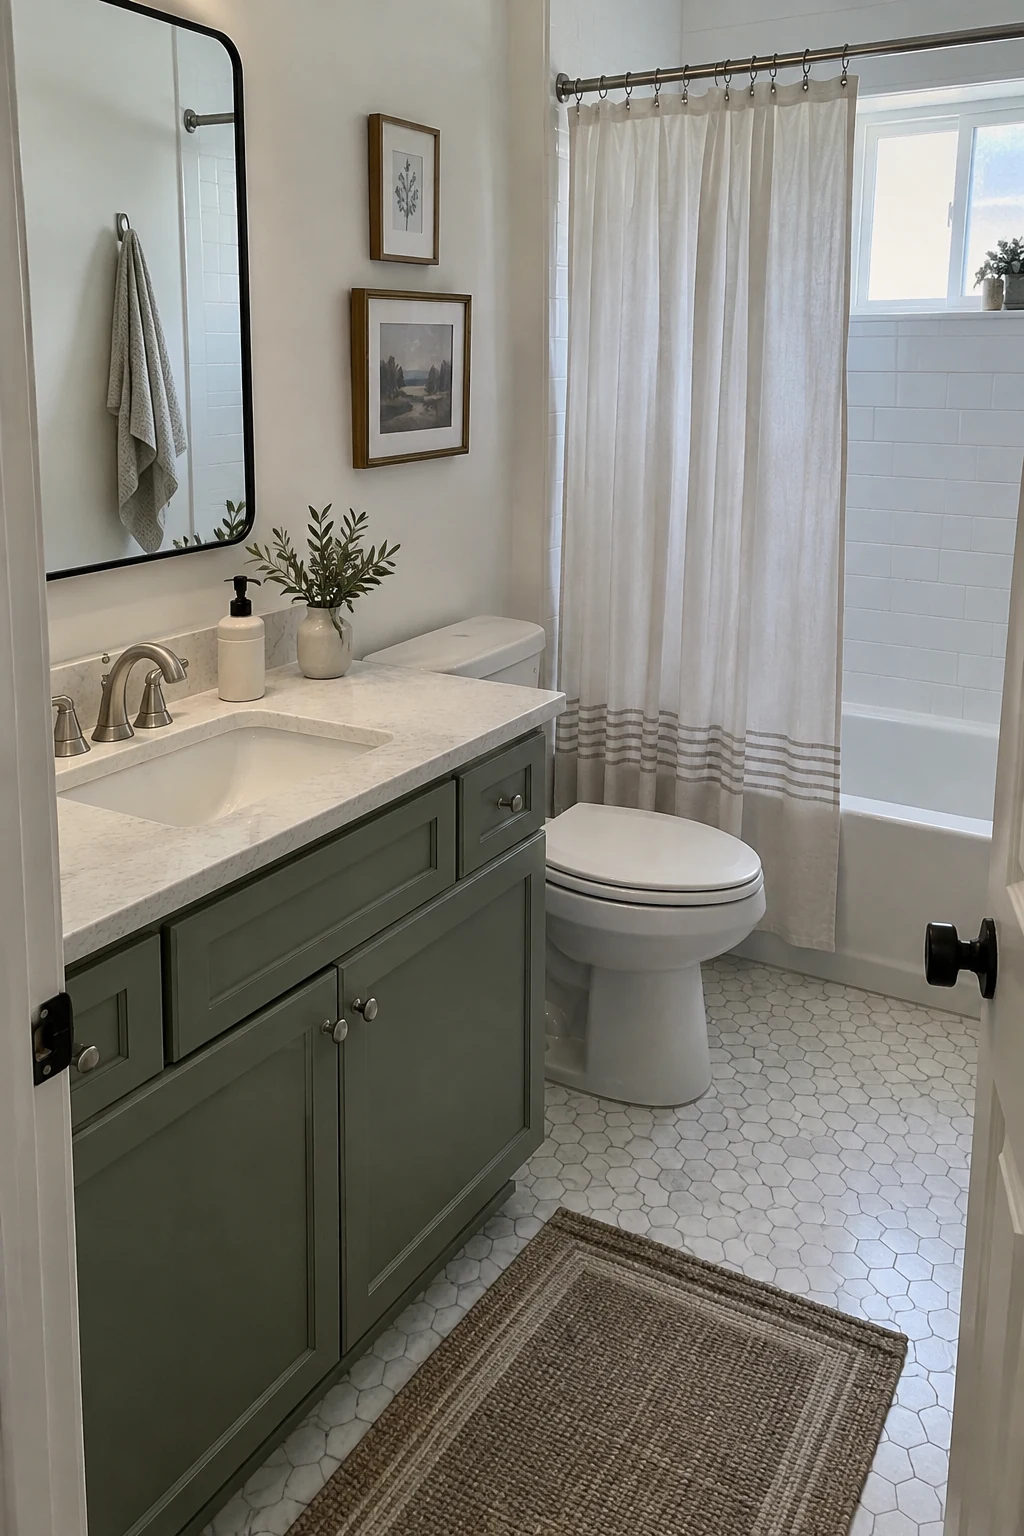
A new counter can remove a dated molded backsplash or damaged laminate while preserving the cabinet. Confirm the box is level, firmly attached, and able to support the selected top and sink.
- Check cabinet level and attachment
- Approve sink and faucet cutouts
- Plan side-splash and wall gaps
Template around out-of-square walls and decide how side splashes will meet trim. Coordinate faucet holes, sink reveal, drain position, and backsplash height before fabrication.
Compact quartz, solid surface, and quality laminate can all work when seams and exposed edges are detailed for moisture. Compare full installed cost rather than judging the sample alone.
10. Use an Integrated Sink Top for a Fast Reset
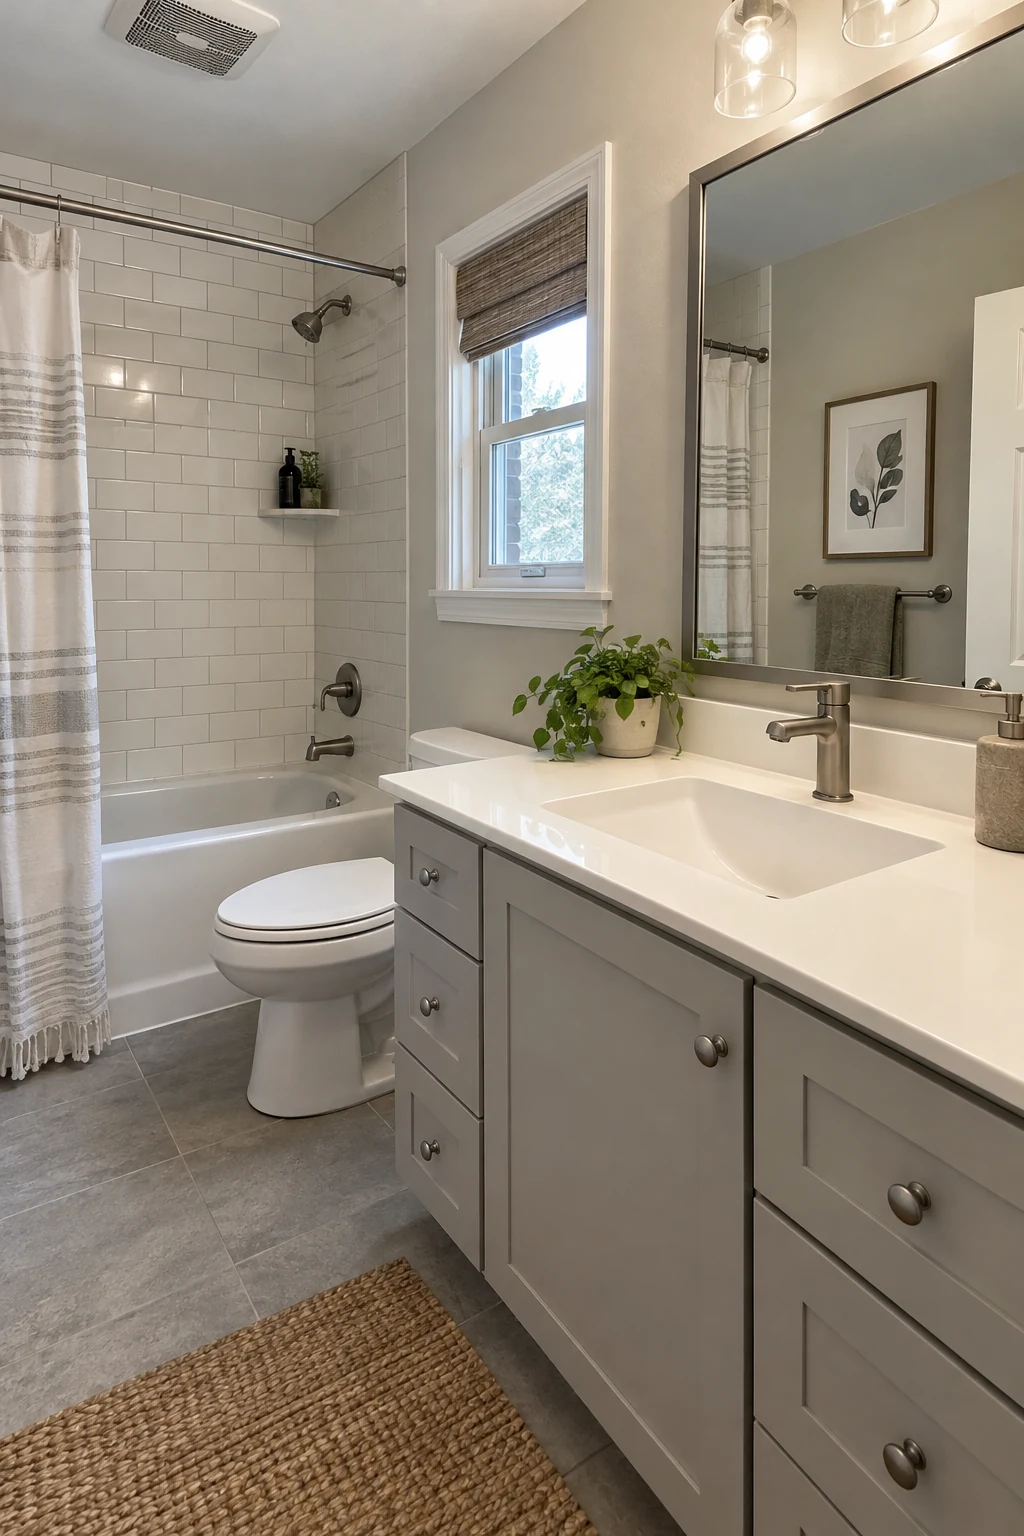
A one-piece cultured-marble, solid-surface, or vitreous top reduces seams and can simplify cleaning. Match the exact cabinet width, wall conditions, bowl clearance, drain location, and faucet configuration.
Dry-fit before applying adhesive or sealant. If plumbing must be cut, the shutoffs are unreliable, or the trap no longer aligns, bring in a plumber rather than forcing connections inside the cabinet.
Make Hardware, Faucets, and Storage Work Harder
Small touchpoints change how the vanity feels every day, but compatibility and accurate placement matter more than matching every metal finish.
11. Install New Pulls With Consistent Alignment
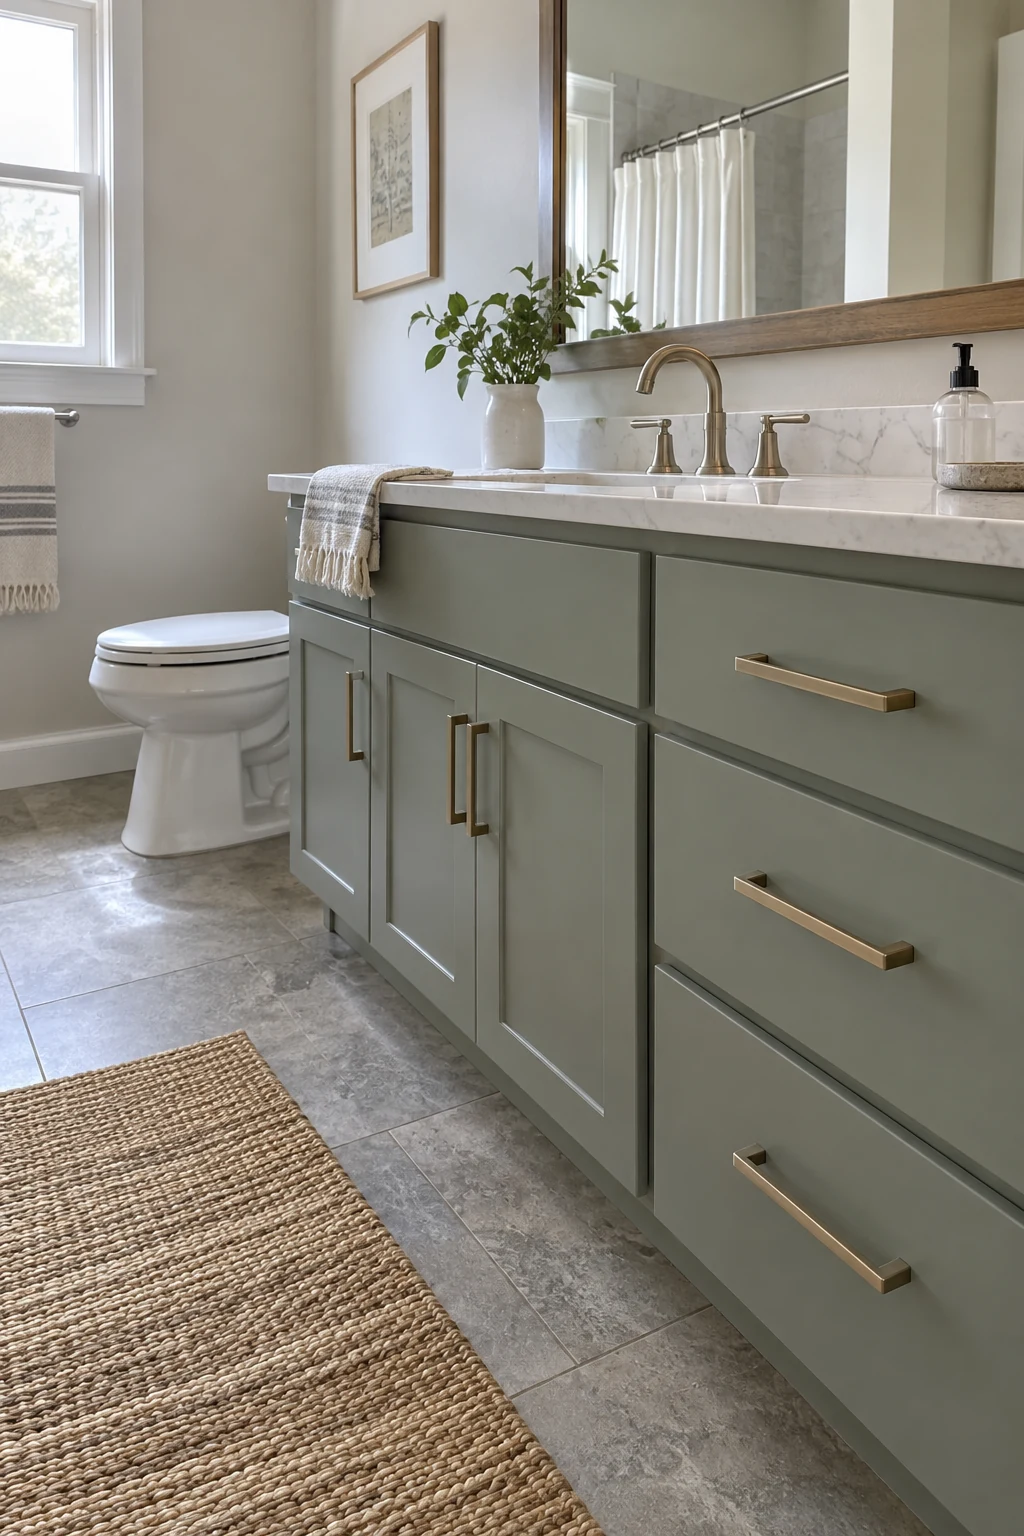
Reuse existing holes when the spacing suits the new hardware. For a different size, fill and finish old holes before drilling, then use a repeatable jig so every pull shares the same offset.
Choose a projection that is comfortable without catching clothing in a narrow aisle. Test one sample against door edges, drawer overlaps, and nearby trim before drilling the full set.
Tape the pull in place first and view it from the doorway as well as from the sink.
Shop the cabinet hardware jig on Amazon
12. Add a Short Backsplash Behind the Sink
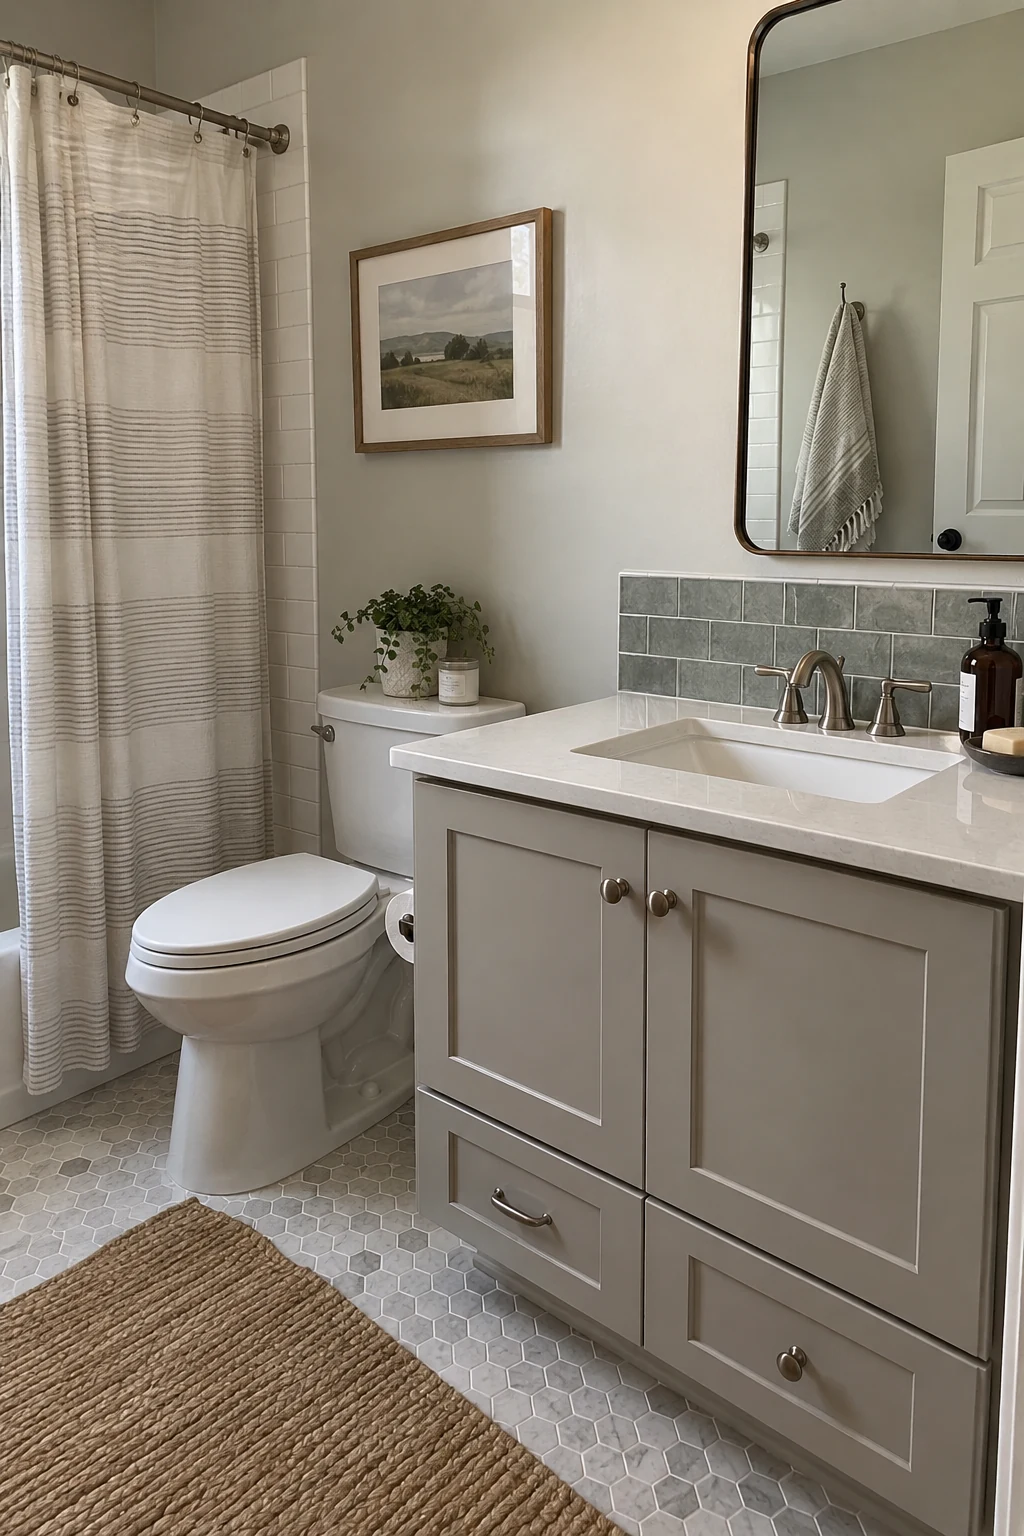
A short tile or matching counter backsplash protects the most active splash line without covering the whole wall. Set its height around the faucet, mirror, outlets, and side returns rather than using a random leftover strip.
- Center the layout on the sink
- Resolve outlet cuts before setting tile
- Use flexible sealant at changes of plane
Use materials and adhesive approved for the substrate, then seal changes of plane with the specified flexible sealant. Keep outlets and plumbing penetrations accessible and properly finished.
13. Swap the Faucet Without Forcing the Connections
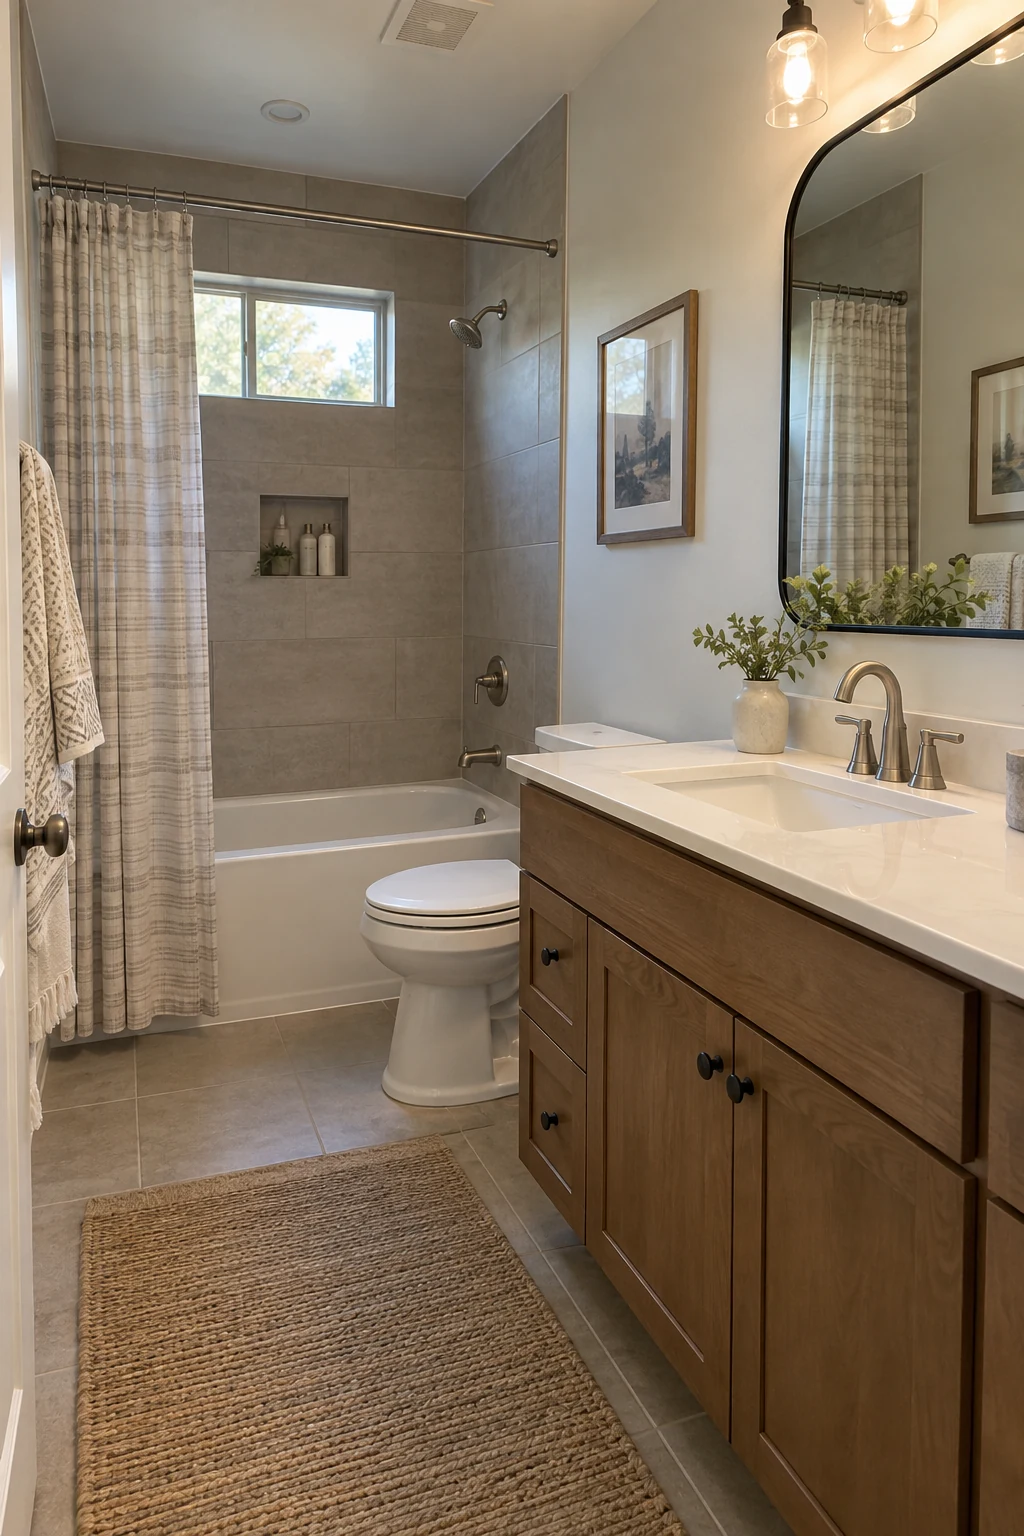
Match the new faucet to the existing hole count, spacing, sink thickness, drain assembly, and available space behind the basin. Check that the spout reaches the bowl without causing splash.
Replace questionable supply lines and shutoffs while access is easy. Stop if valves do not close fully, corrosion is advanced, or the drain must be reworked beyond a straightforward connection.
Finish changes can be mixed when undertones relate. Repeating one metal at the faucet and cabinet hardware is usually enough to make the update feel coordinated.
14. Convert the Vanity Cabinet to Pull-Out Storage
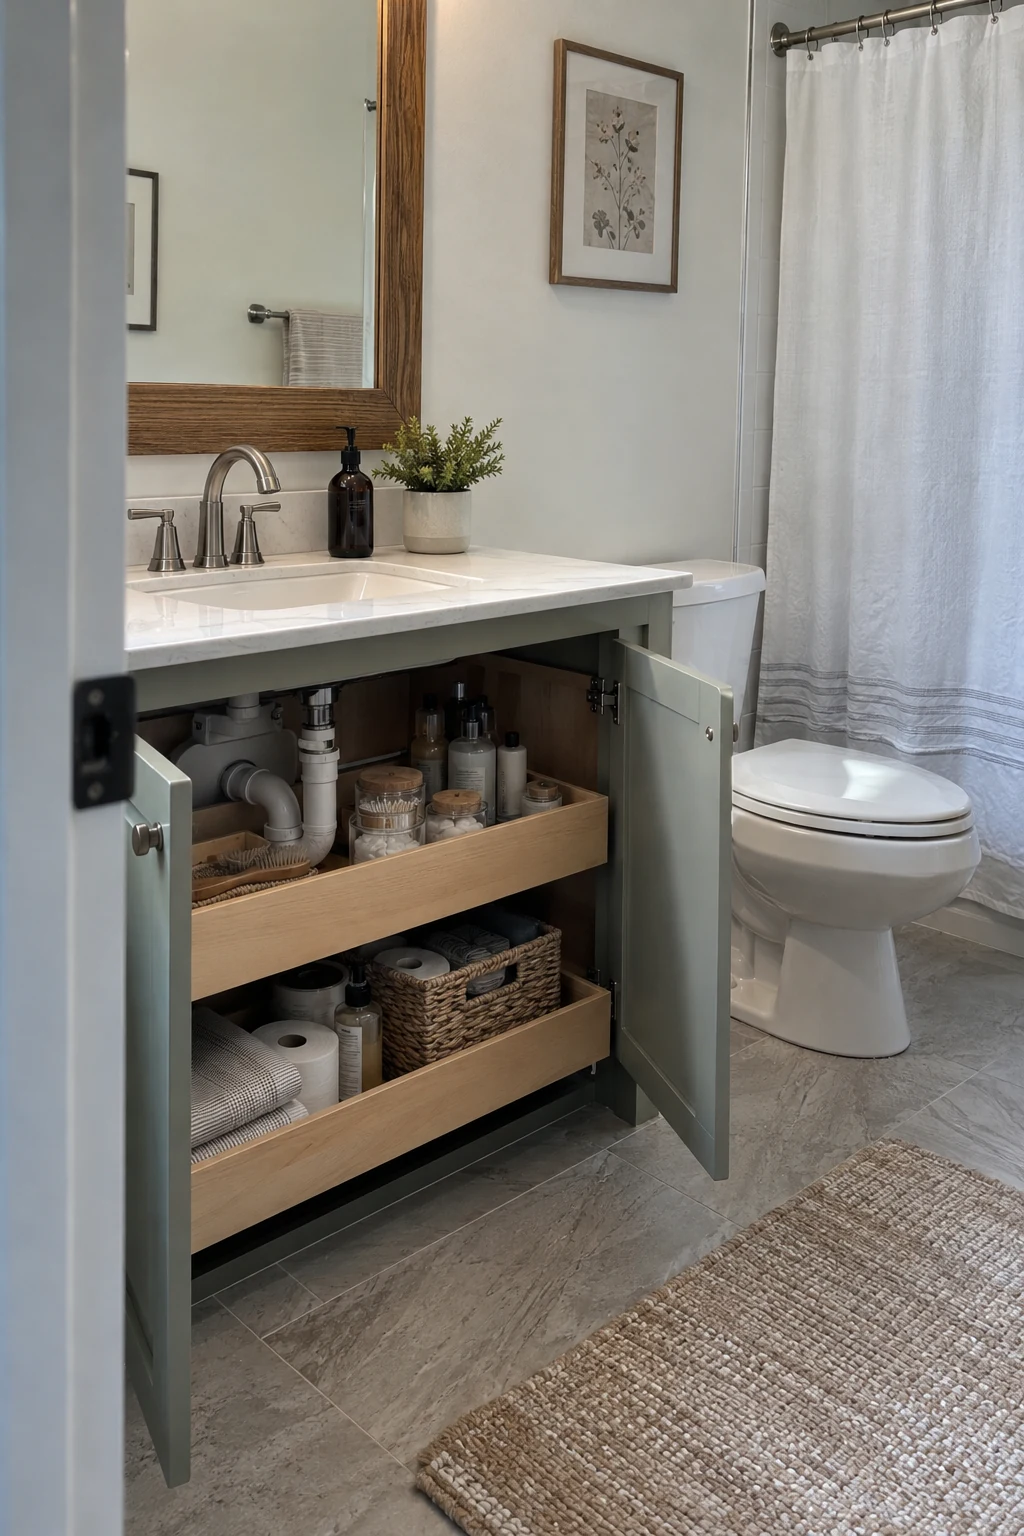
A fitted pull-out tray brings cleaning supplies and tall bottles forward instead of losing them behind the trap. Measure door opening, hinges, pipes, disposer-free drain parts, and shutoffs before choosing hardware.
Use washable bins and keep plumbing joints visible for leak checks. Avoid storing paper, medication, or moisture-sensitive backup products directly beneath connections.
Leave a clear inspection path to every valve and slip joint inside the vanity.
15. Organize Drawers Around the Daily Routine
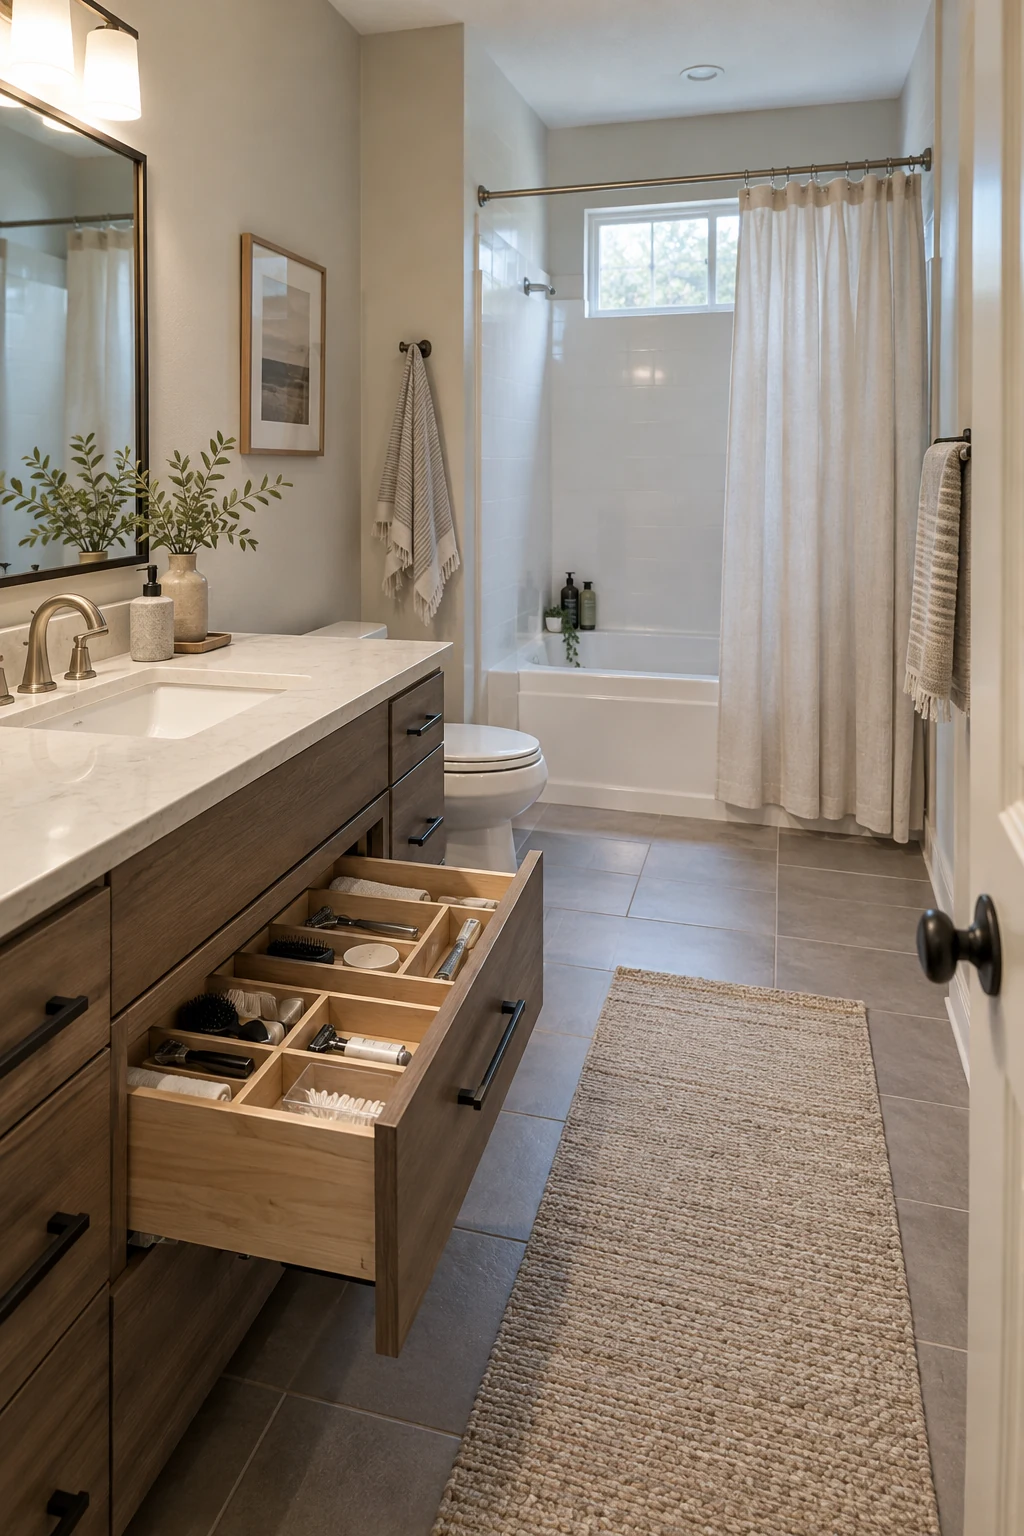
Divide drawers by routine instead of product category: morning, evening, hair, and backup supplies. Adjustable trays use odd spaces around plumbing cutouts better than one oversized organizer.
- Top drawer: daily essentials
- Deep drawer: upright bottles
- Separate bin: cooled hair tools
Keep hot tools unplugged and fully cool before storage. If an in-drawer outlet is considered, use a listed system and qualified electrical installation that complies with adopted requirements and the cabinet manufacturer's instructions.
Replace the Builder Mirror and Improve the Lighting
Mirror scale and lighting placement can make a standard vanity feel deliberate while improving grooming visibility and comfort.
16. Frame the Existing Plate-Glass Mirror
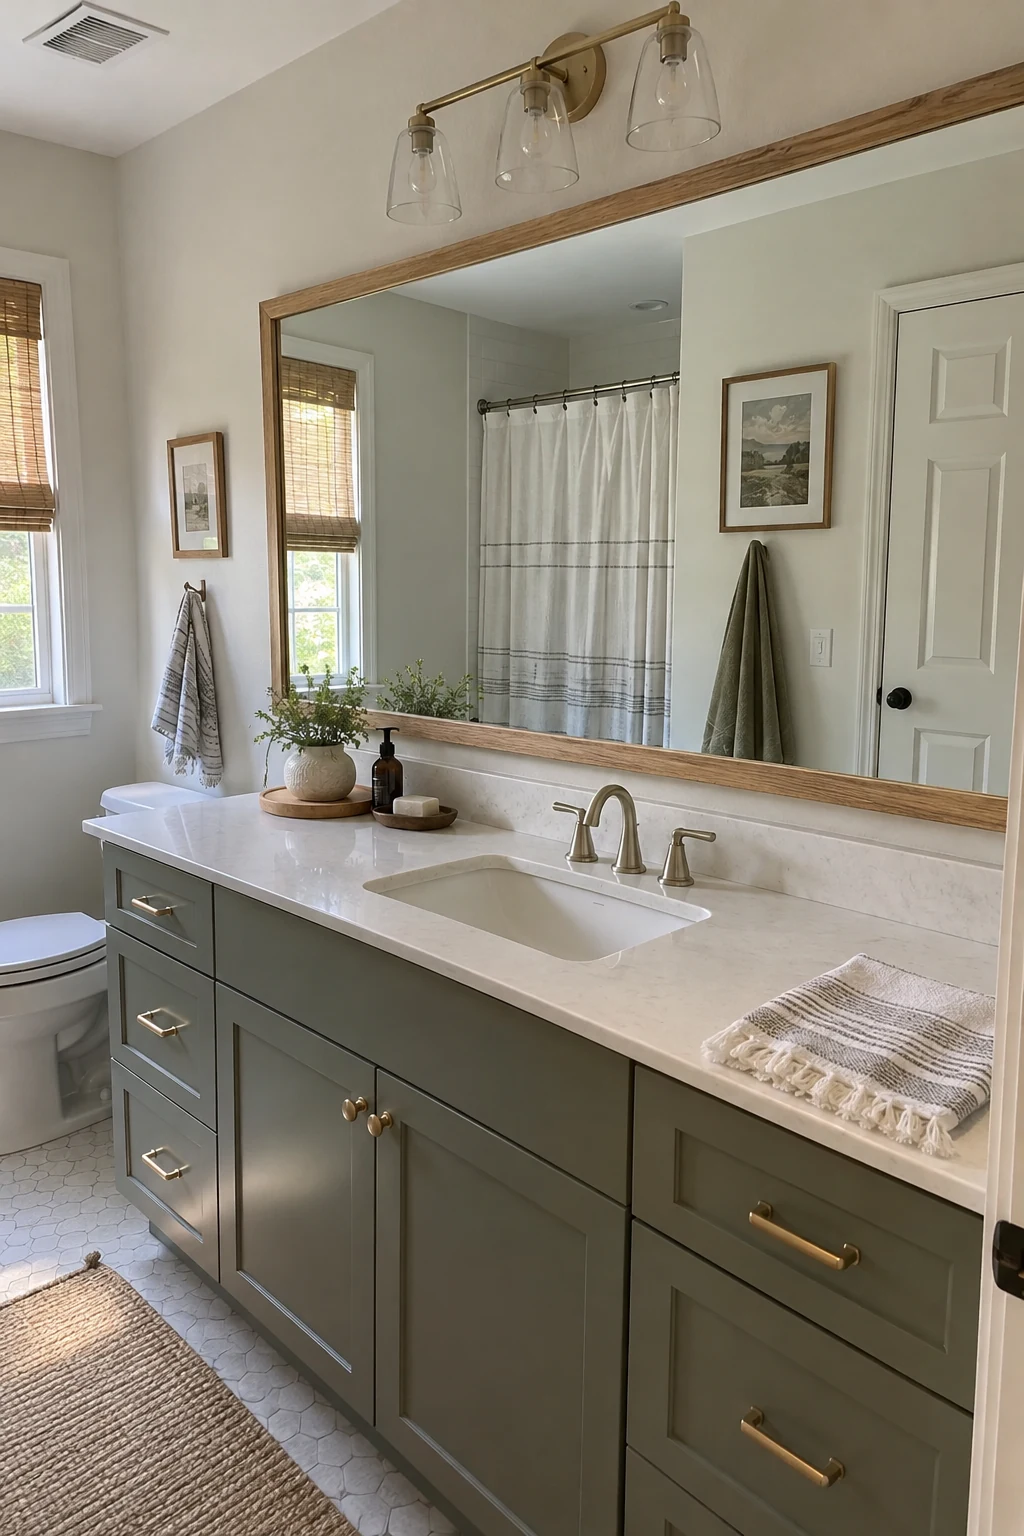
A slim frame can give a glued mirror a finished edge without removing heavy glass. Check that clips, outlets, backsplash, faucet height, and light clearance leave room for the profile.
Finish the back and cut edges that may appear in reflection. Use a mirror-compatible attachment method and keep adhesive or fasteners from damaging the silvered backing.
17. Replace One Huge Mirror With a Rounded Shape
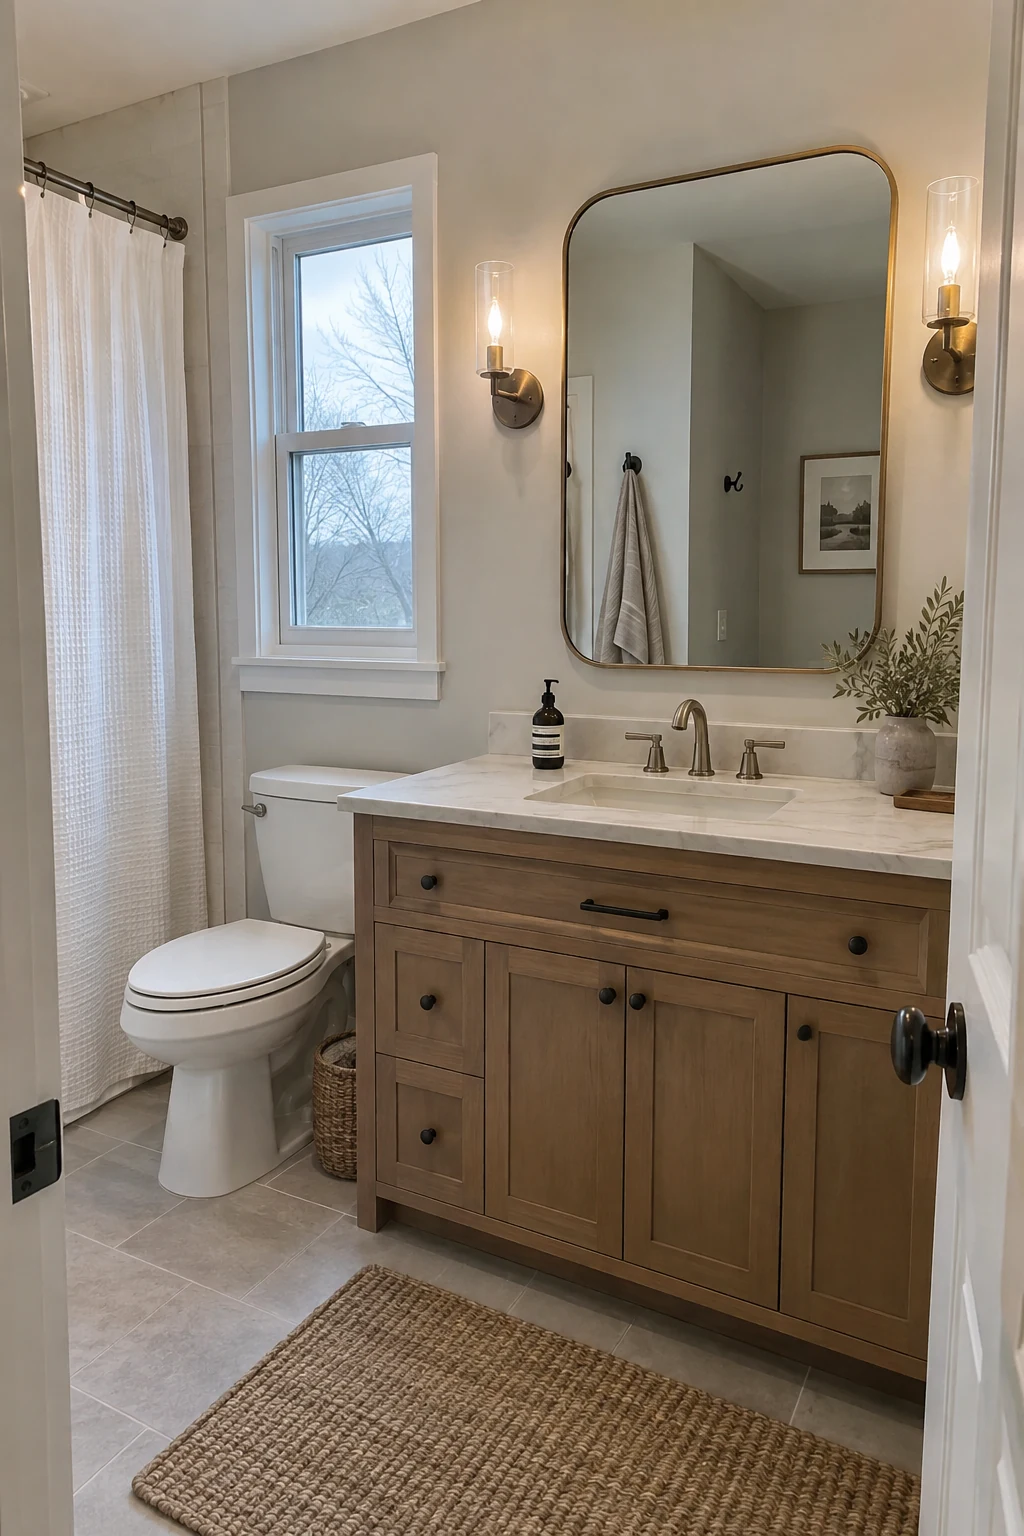
A rounded rectangle or oval softens the hard edges of a stock vanity and square tile. Size it to the cabinet and users, leaving intentional space for lighting rather than choosing a small decorative mirror.
Locate studs or use anchors rated for the mirror and wall construction. Confirm the hanging point, bottom edge, faucet clearance, and reflected view before drilling.
For a double vanity, one wide mirror can feel calm while two mirrors create individual zones. Base the choice on sink spacing and sconce positions.
Cut a paper template and tape it above the vanity before committing to the scale.
18. Recess a Medicine Cabinet Where the Wall Allows
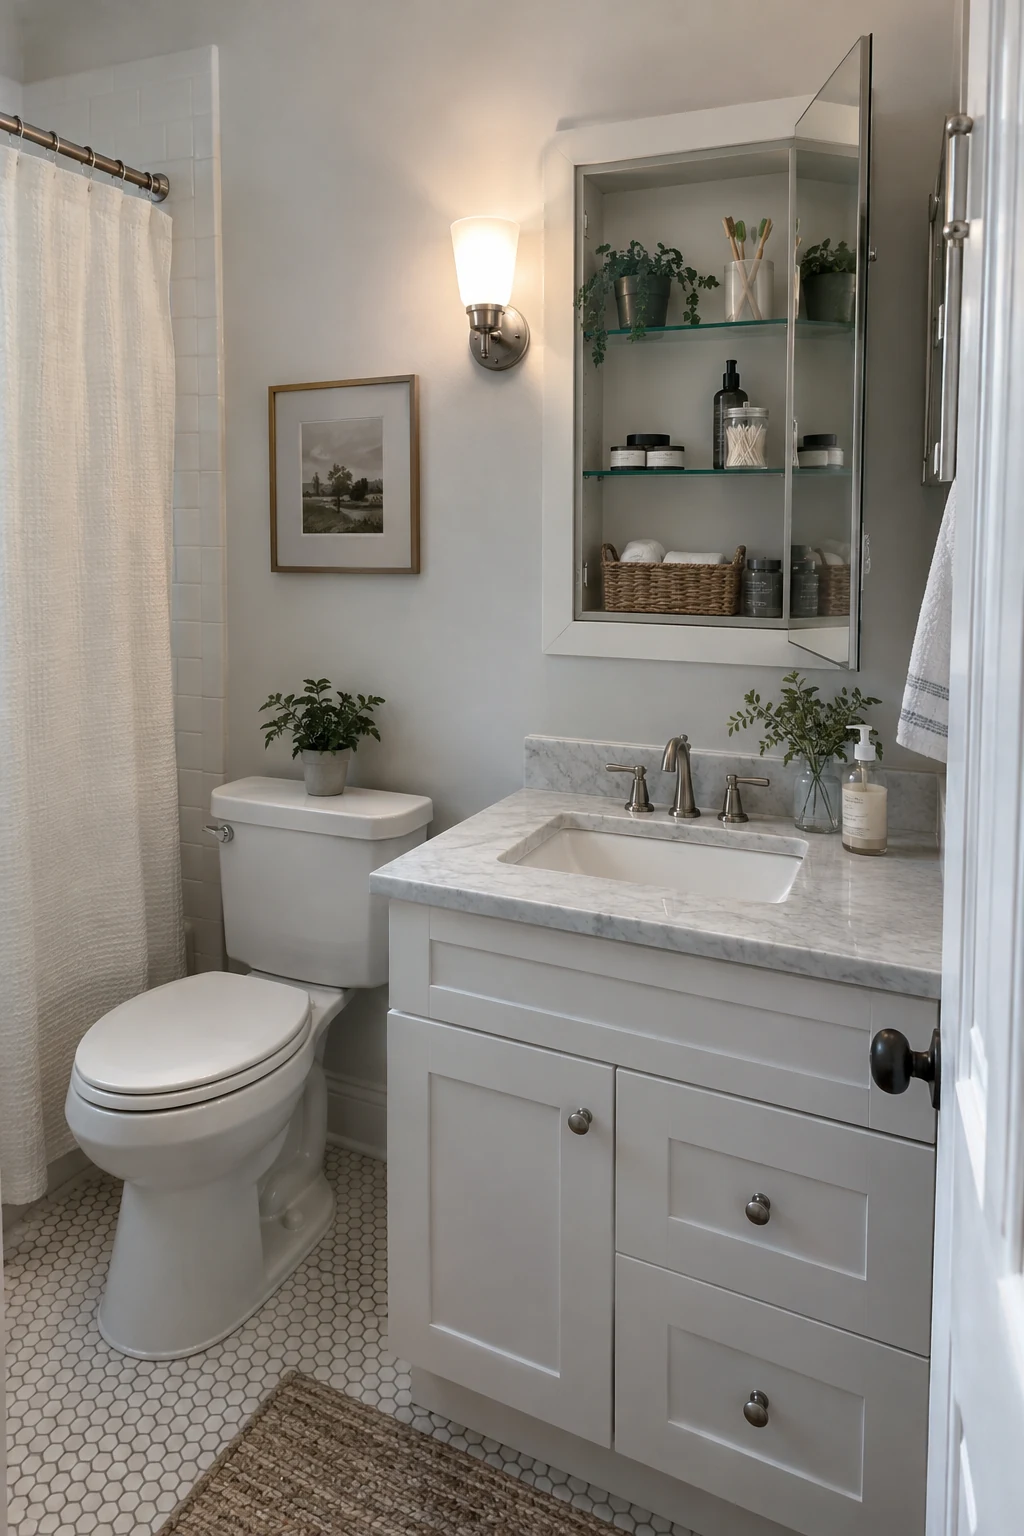
A recessed cabinet adds hidden storage with little projection into the room. Inspect for studs, plumbing vents, wiring, exterior-wall insulation, and fire or sound assemblies before cutting drywall.
- Scan the wall before cutting
- Confirm door swing against sconces
- Keep sensitive medicine in a suitable location
Choose interior shelves that fit medicine containers, skin care, and first-aid supplies while keeping unsafe items away from children. Store temperature- or humidity-sensitive medication according to its instructions, often outside the bathroom.
19. Place Sconces at the Sides of the Mirror
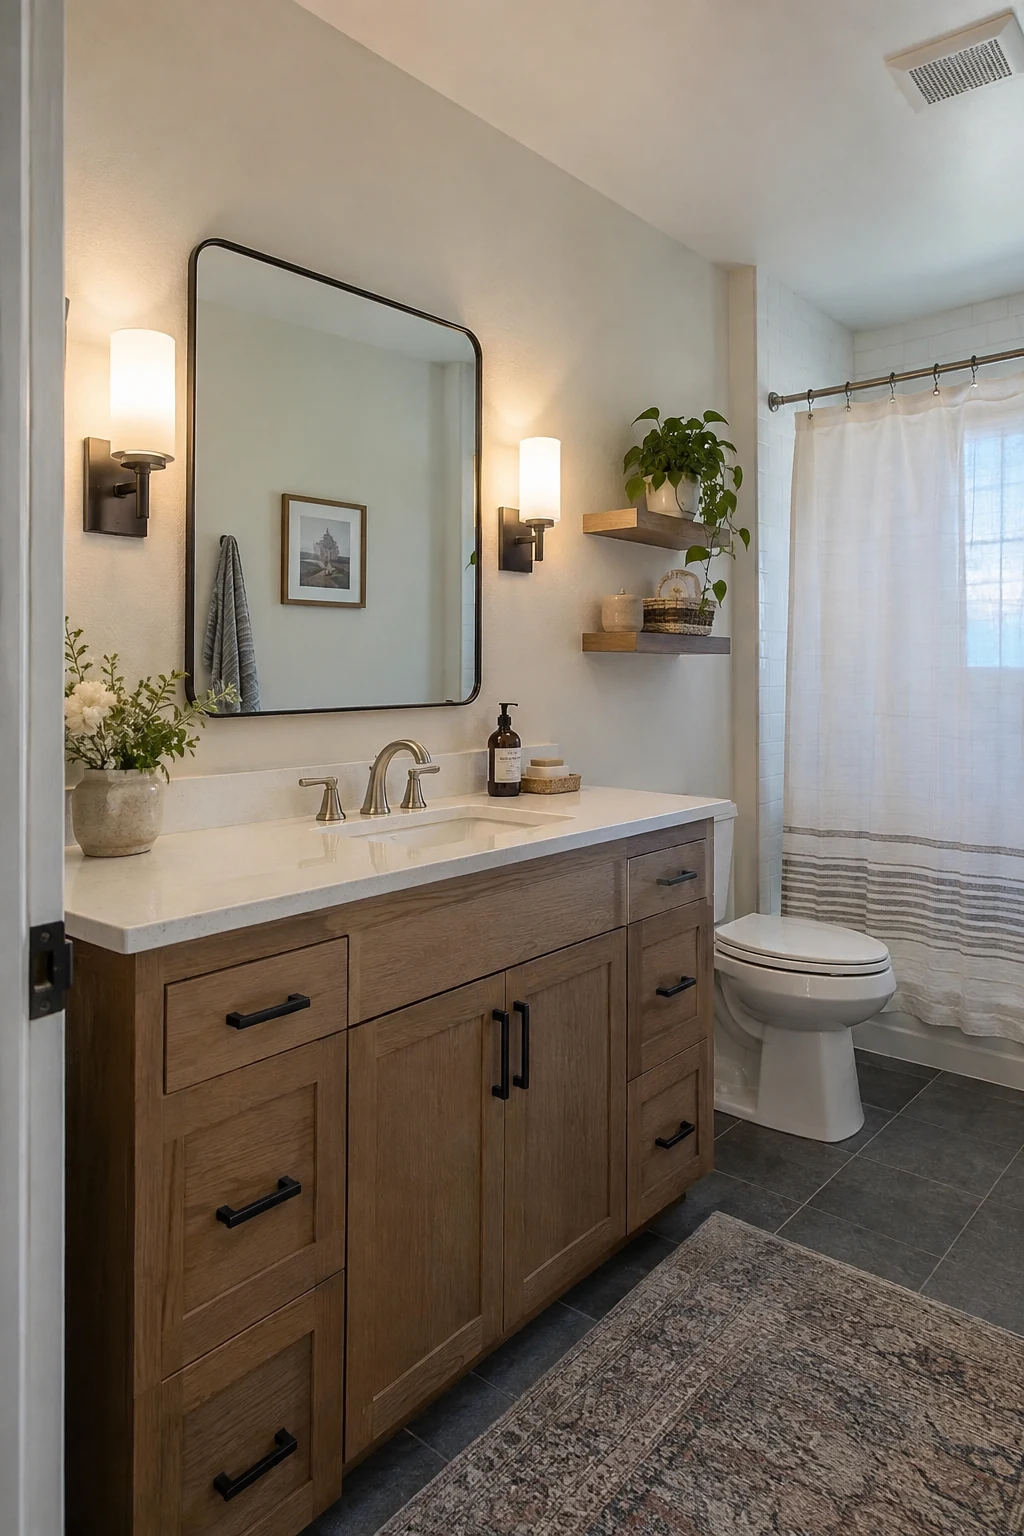
Side light reduces the strong facial shadows created by one ceiling fixture. Center fixtures around the user's face zone and mirror width while respecting the exact fixture, electrical, and wet-location requirements.
Open the wall only after confirming stud, wire, and box positions. A qualified electrician should handle new circuits, boxes, grounding, and protected locations where required.
Choose enclosed or easy-clean shades that tolerate bathroom humidity. Bulbs with consistent color and good color rendering keep skin, paint, and tile from shifting between fixtures.
20. Replace the Vanity Bar With a Scaled Fixture
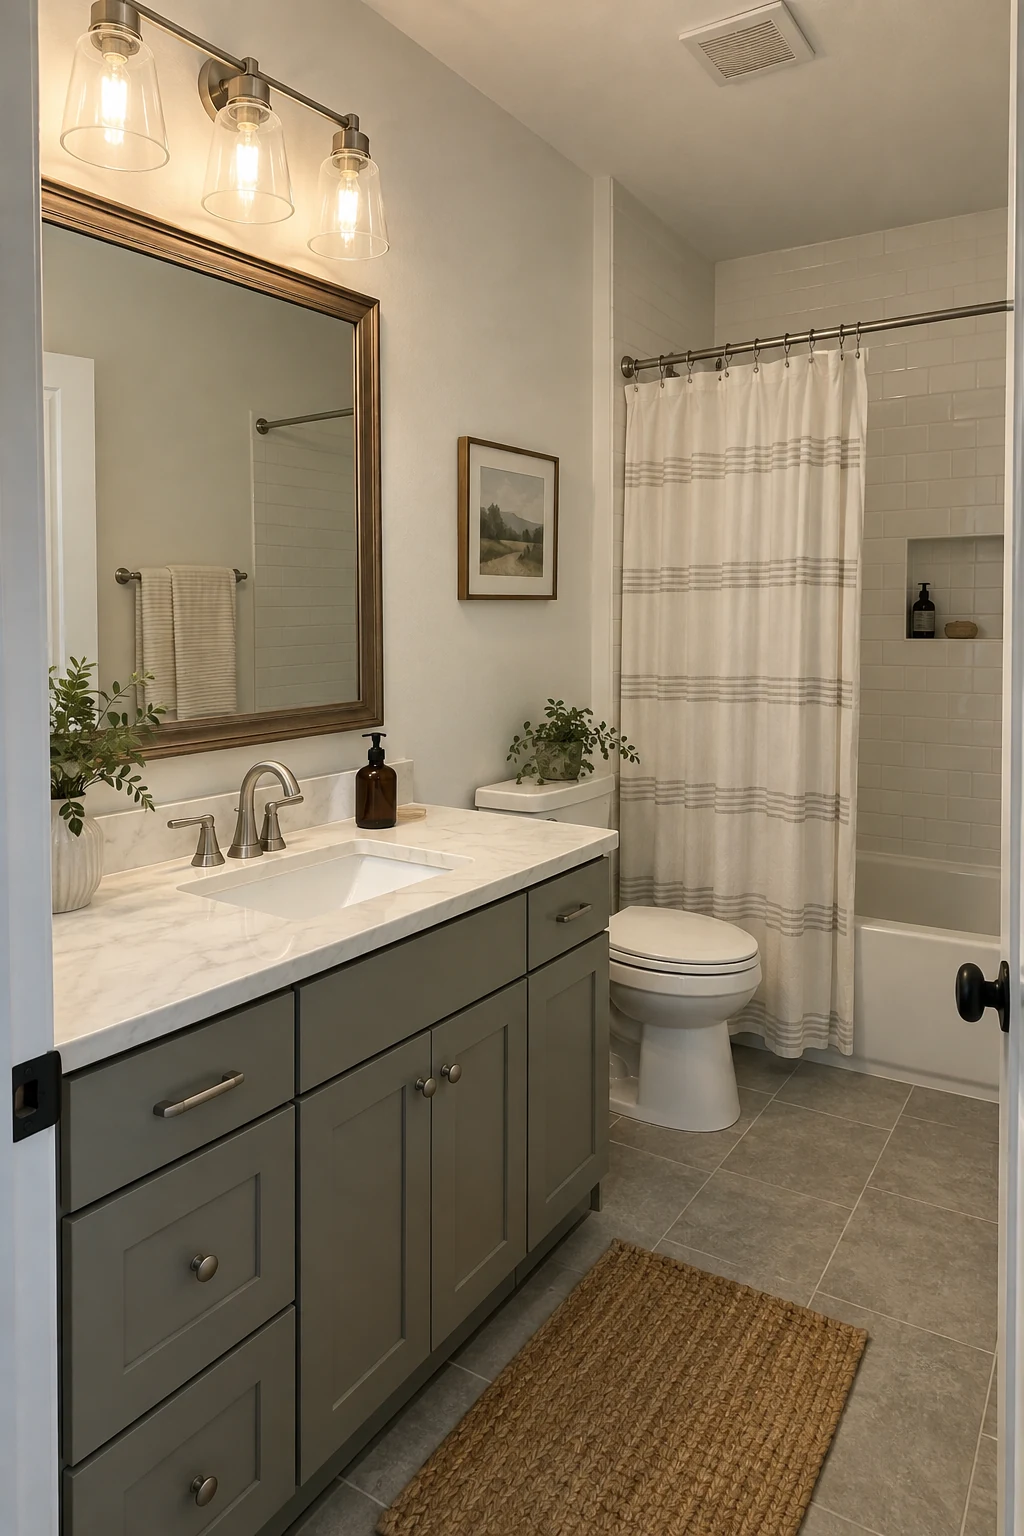
A shorter bar with well-spaced shades can look more intentional than a row of exposed bulbs. Relate its width to the mirror and sink, then confirm the backplate covers the existing box and wall marks.
Use a fixture listed for its bathroom location and keep lamp wattage within its rating. If the box is loose, wiring is brittle, or the new fixture is heavier, pause for an electrician and proper support.
Check the fixture with the mirror installed; catalog dimensions can feel very different on the wall.
Layer Paint, Paneling, and Wall Treatments
Wall treatments should suit the bathroom's ventilation and splash zones. A durable quiet background usually makes the fixture upgrades look more expensive.
21. Paint Walls and Ceiling for Bathroom Conditions
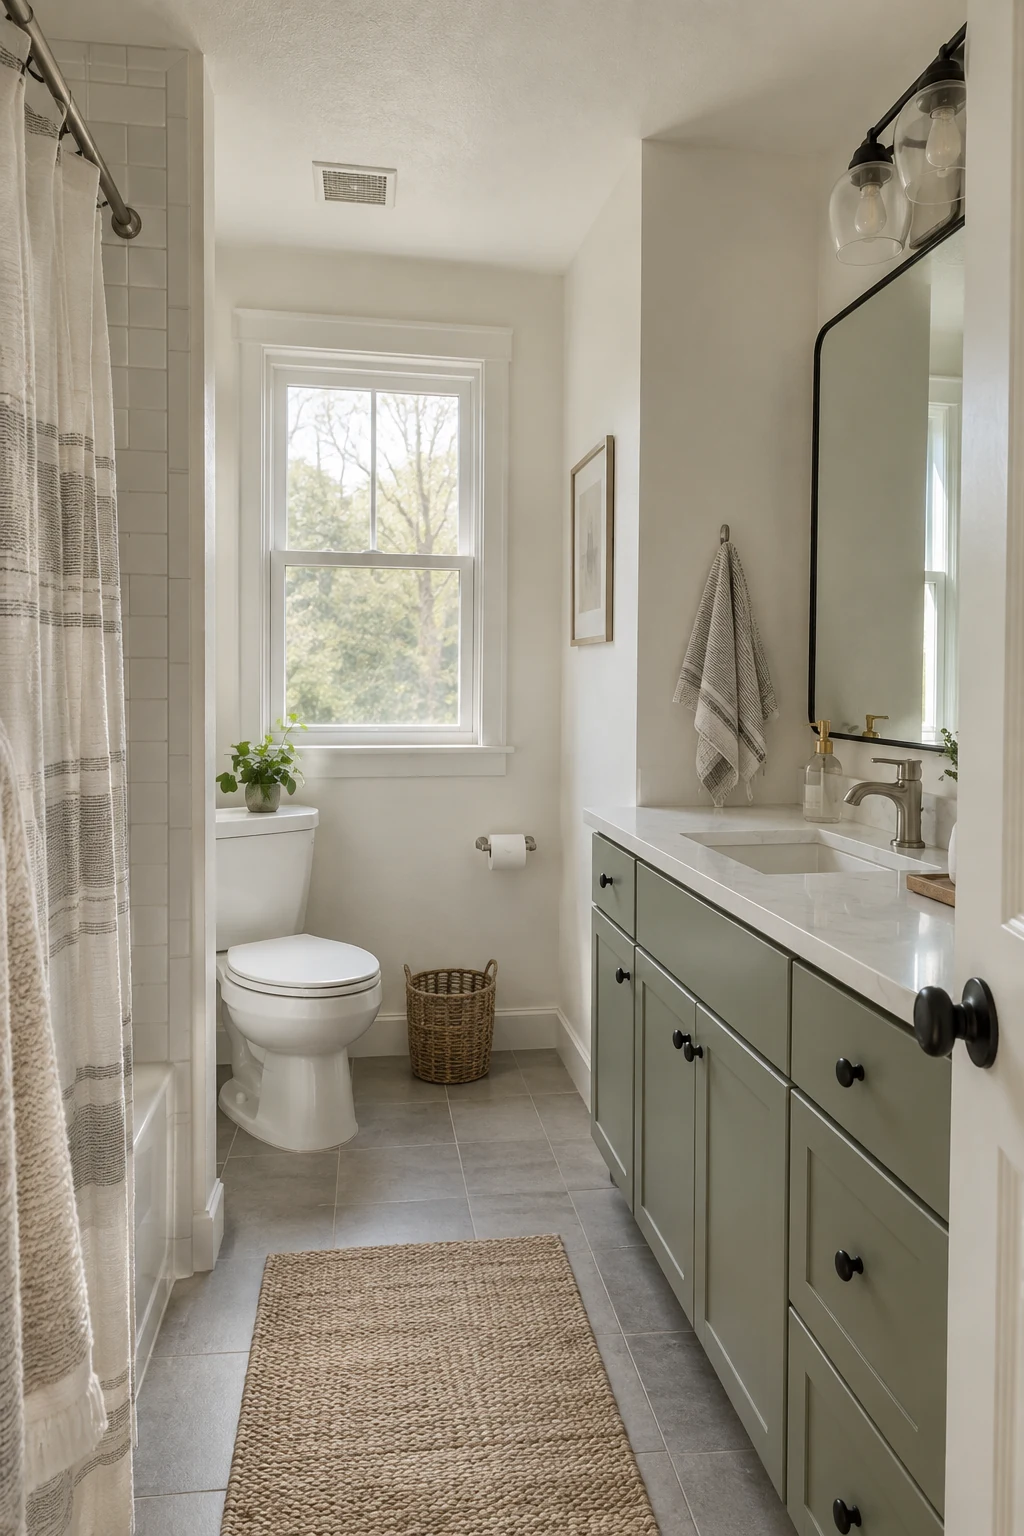
Repair stains only after the moisture source is fixed. Clean residue, patch with compatible materials, prime repairs and discoloration, then use a washable coating recommended for bathroom walls and ceilings.
- Fix the moisture source
- Prime stains and repairs
- Test color beside permanent finishes
Sheen alone does not solve humidity. Good surface preparation and an exhaust fan that reaches outdoors protect the finish better than applying glossy paint over recurring condensation.
Test color beside the tile, counter, and bulbs at different times of day. Builder white can look gray or yellow once the light and hard surfaces change.
22. Add Beadboard in the Dry Zone
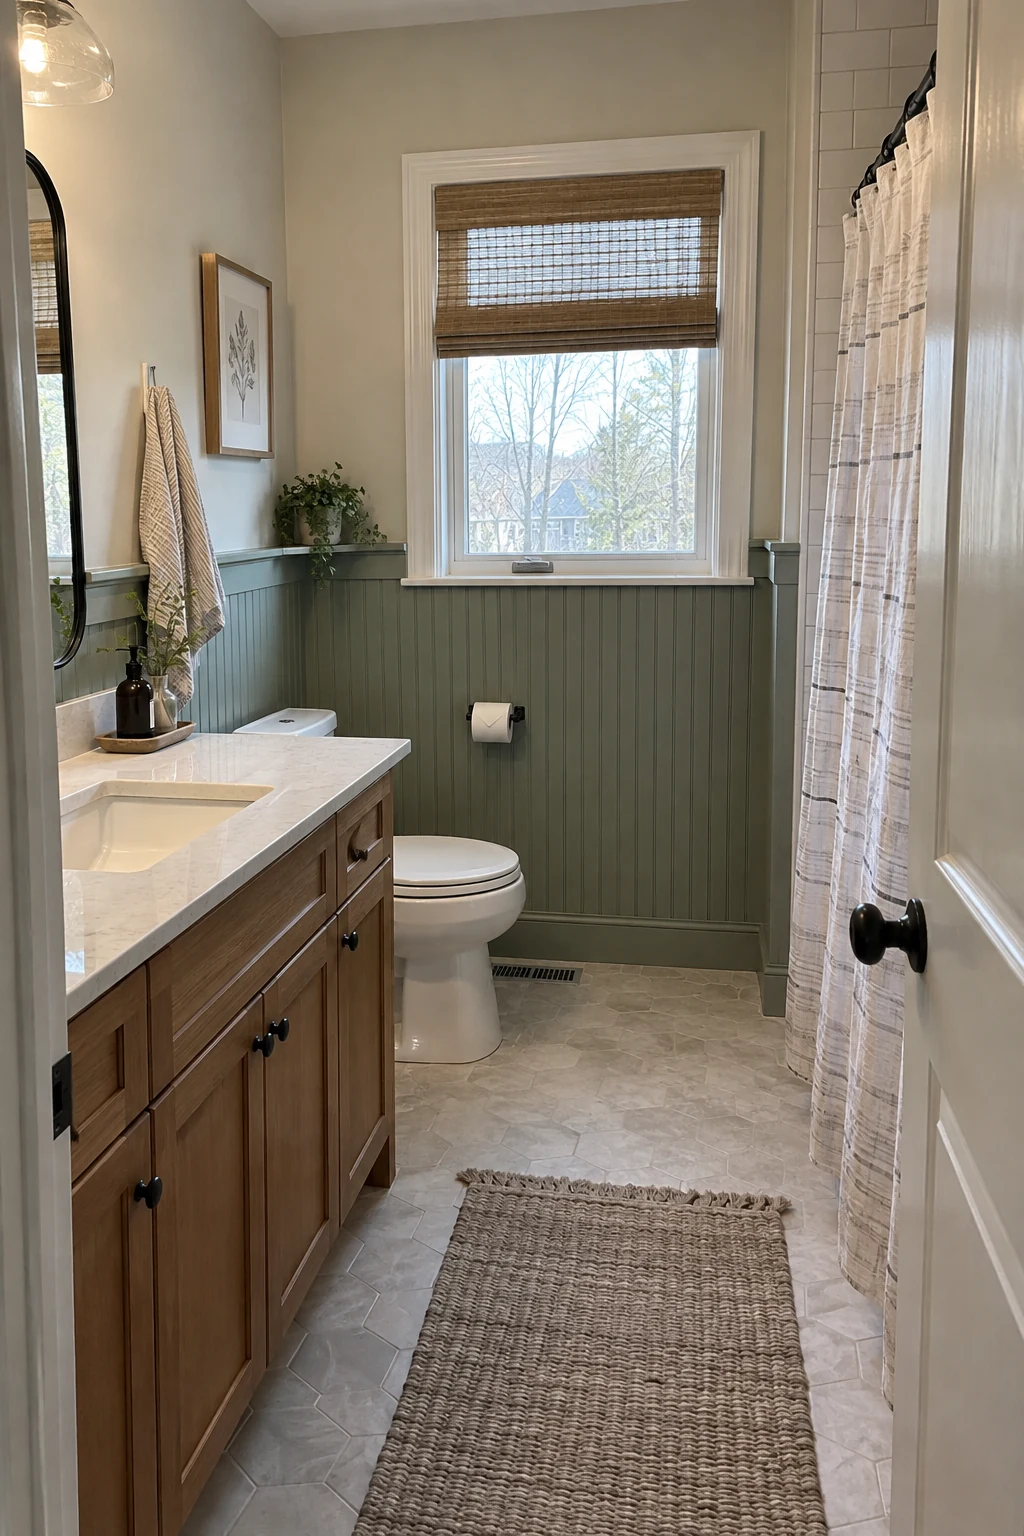
Beadboard can hide minor wall texture and add a tailored lower layer around the vanity or toilet. Review bathroom beadboard ideas while keeping standard wood-based panels out of direct wet zones.
Choose moisture-suitable material, seal cut edges, and leave clean access to shutoffs and removable trim. Coordinate the cap height with the mirror, outlets, towel hardware, and backsplash.
End the paneling deliberately at a corner or casing instead of leaving a narrow orphaned strip.
23. Use Wallpaper on a Ventilated Feature Wall
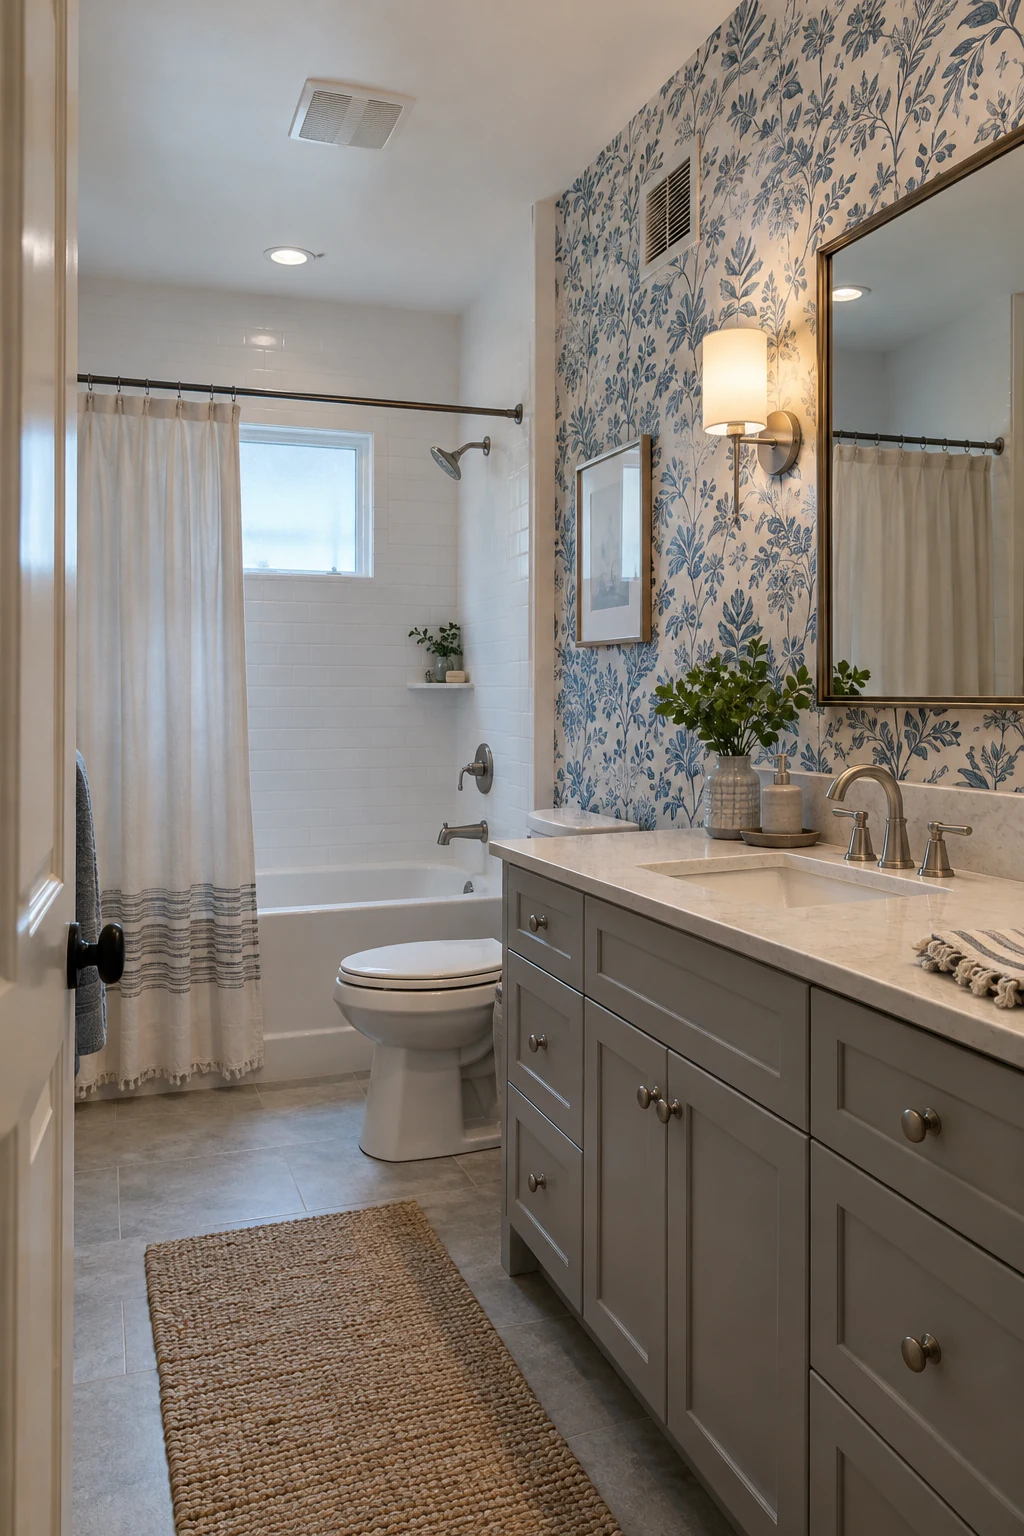
Wallpaper gives a plain room pattern without replacing tile or fixtures. Use it on a dry wall with reliable ventilation, a sound substrate, and enough distance from repeated splashes.
Order a sample and view a full repeat beside the mirror and cabinet. Prepare the wall to the paper manufacturer's instructions, and hire an installer for difficult corners, textured walls, or expensive material.
Keep the remaining finishes quiet so the room stays useful rather than themed. Bathroom wall decor ideas can help balance pattern with art and storage.
24. Create a Renter-Friendly Peel-and-Stick Accent
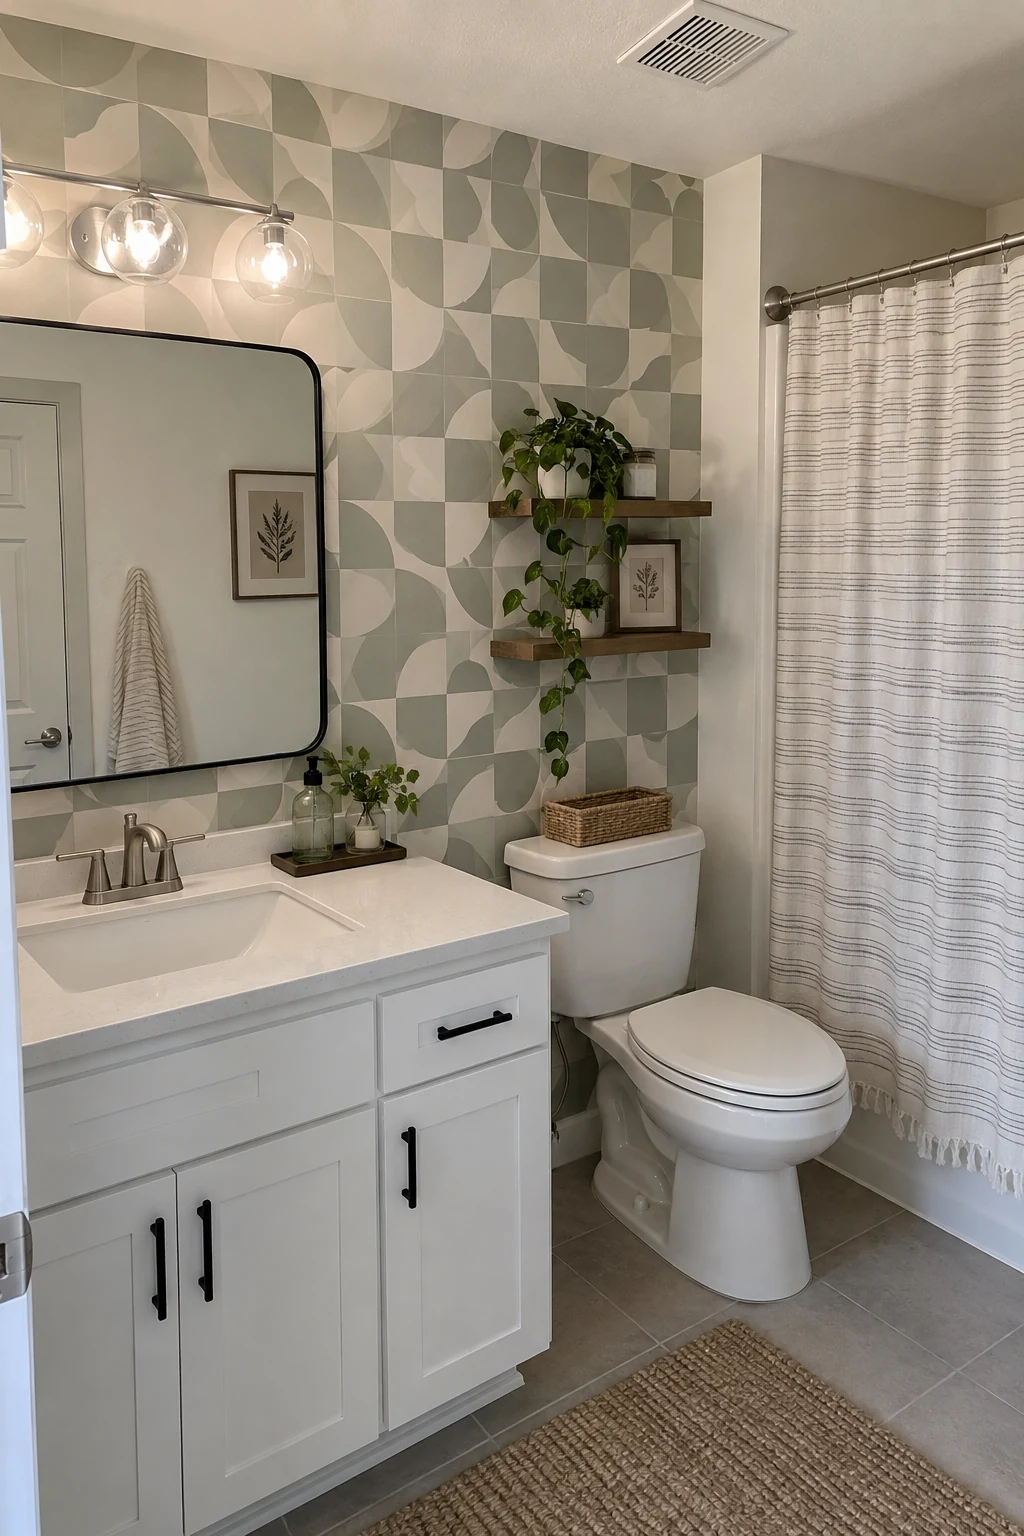
Removable wallpaper can add color in a rental without disturbing tile or plumbing. Test a sample in an inconspicuous dry area for adhesion, staining, texture telegraphing, and clean removal after the recommended test period.
- Read the lease first
- Test removal on the actual paint
- Keep all original parts labeled
Avoid shower walls, loose paint, damp drywall, and surfaces the lease excludes. Save every original knob, light shade, mirror, and fastener in a labeled box for move-out.
25. Tile the Vanity Wall as a Compact Focal Point
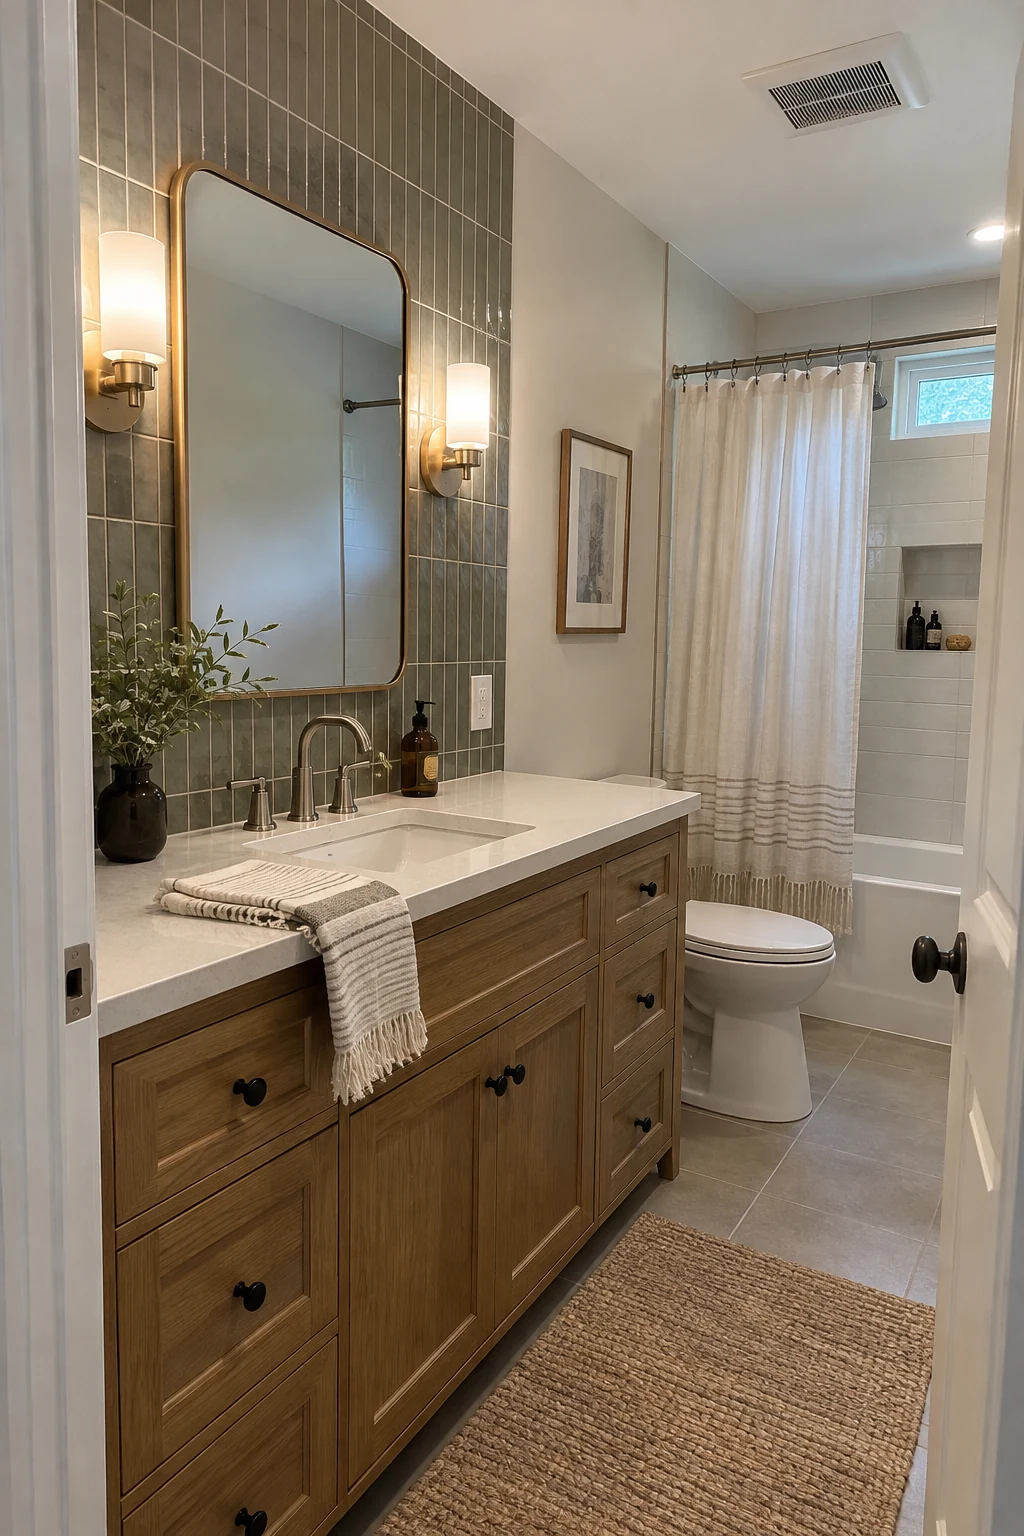
Tiling the vanity wall can create impact with fewer square feet than a full-room treatment. Lay out the centerline, edges, outlets, mirror, and sconces together so small cuts do not collect in visible corners.
Use substrate preparation, adhesive, grout, and sealant approved for the location and tile. Bring in a tile professional when walls are badly out of plane, electrical boxes need adjustment, or large-format material is involved.
Refresh the Tub and Shower Without Guesswork
Wet-zone updates succeed when waterproofing, valve compatibility, drainage, and cleanable joints are treated as construction details rather than decoration.
26. Hang the Shower Curtain Higher and Wider
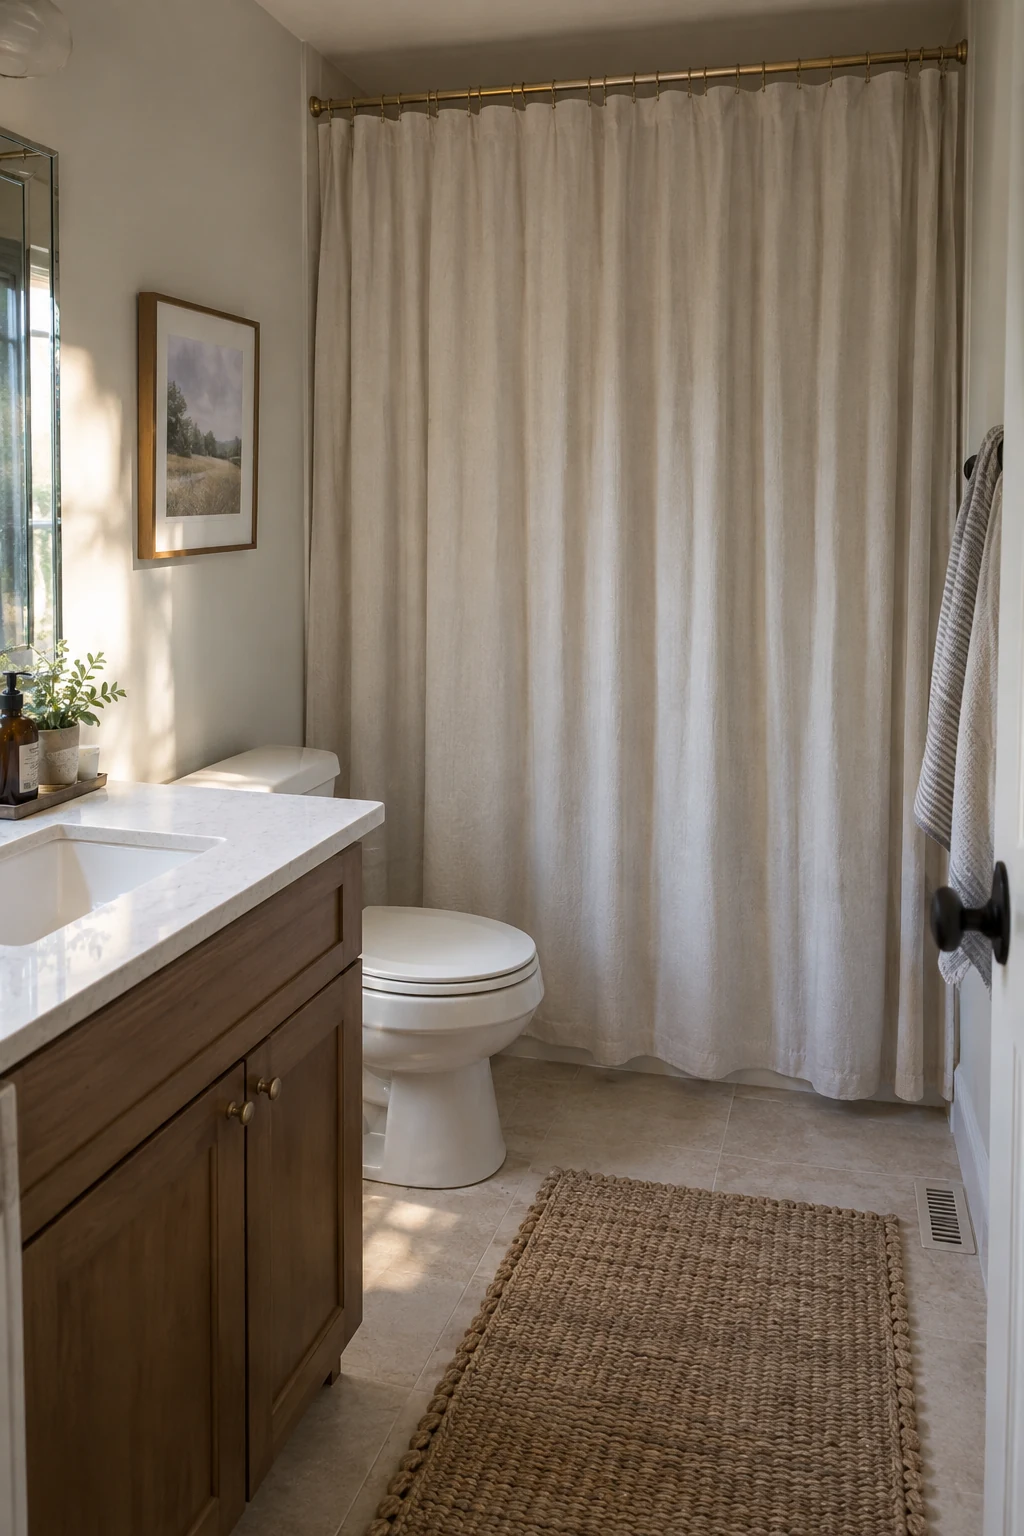
A higher rod can visually lift the ceiling, while a wider curtain closes with fuller folds and better splash coverage. Keep the liner inside the tub and choose a finished length that stays clear of the floor.
Locate the rod so fabric does not crowd the shower user or billow into the spray. Use anchors suited to the wall, or a well-fitted tension rod when drilling is restricted.
Measure from the planned rod to the tub rim before buying the curtain and liner.
27. Update the Shower Trim Only When the Valve Matches
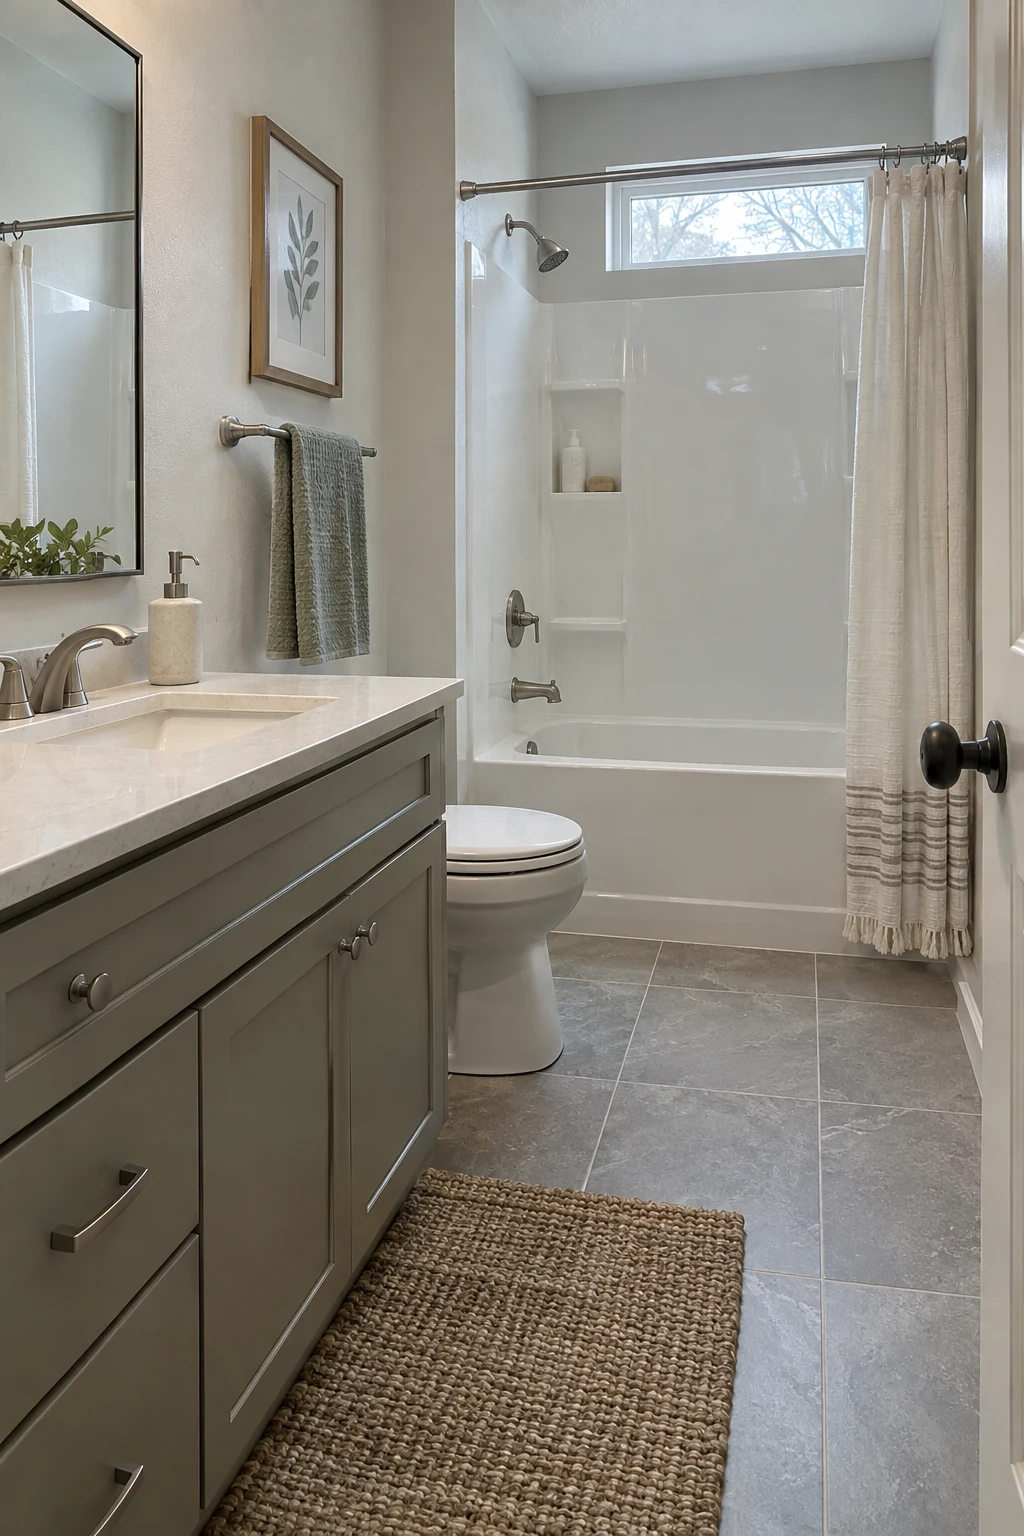
A new handle, plate, spout, and shower arm can refresh a sound surround without opening the wall. Identify the concealed valve brand, model, function, and cartridge before ordering a trim kit.
- Identify the concealed valve
- Confirm trim and cartridge compatibility
- Test every connection before closing access
Universal-looking parts are not universally compatible. If the valve leaks, lacks serviceable parts, or must change function, a plumber may need to open the wall and install an approved valve assembly.
Seal penetrations exactly as the product instructions require. Decorative caulk should never be used to hide a loose spout, misaligned escutcheon, or active leak.
28. Add a Handheld Shower for Flexible Use
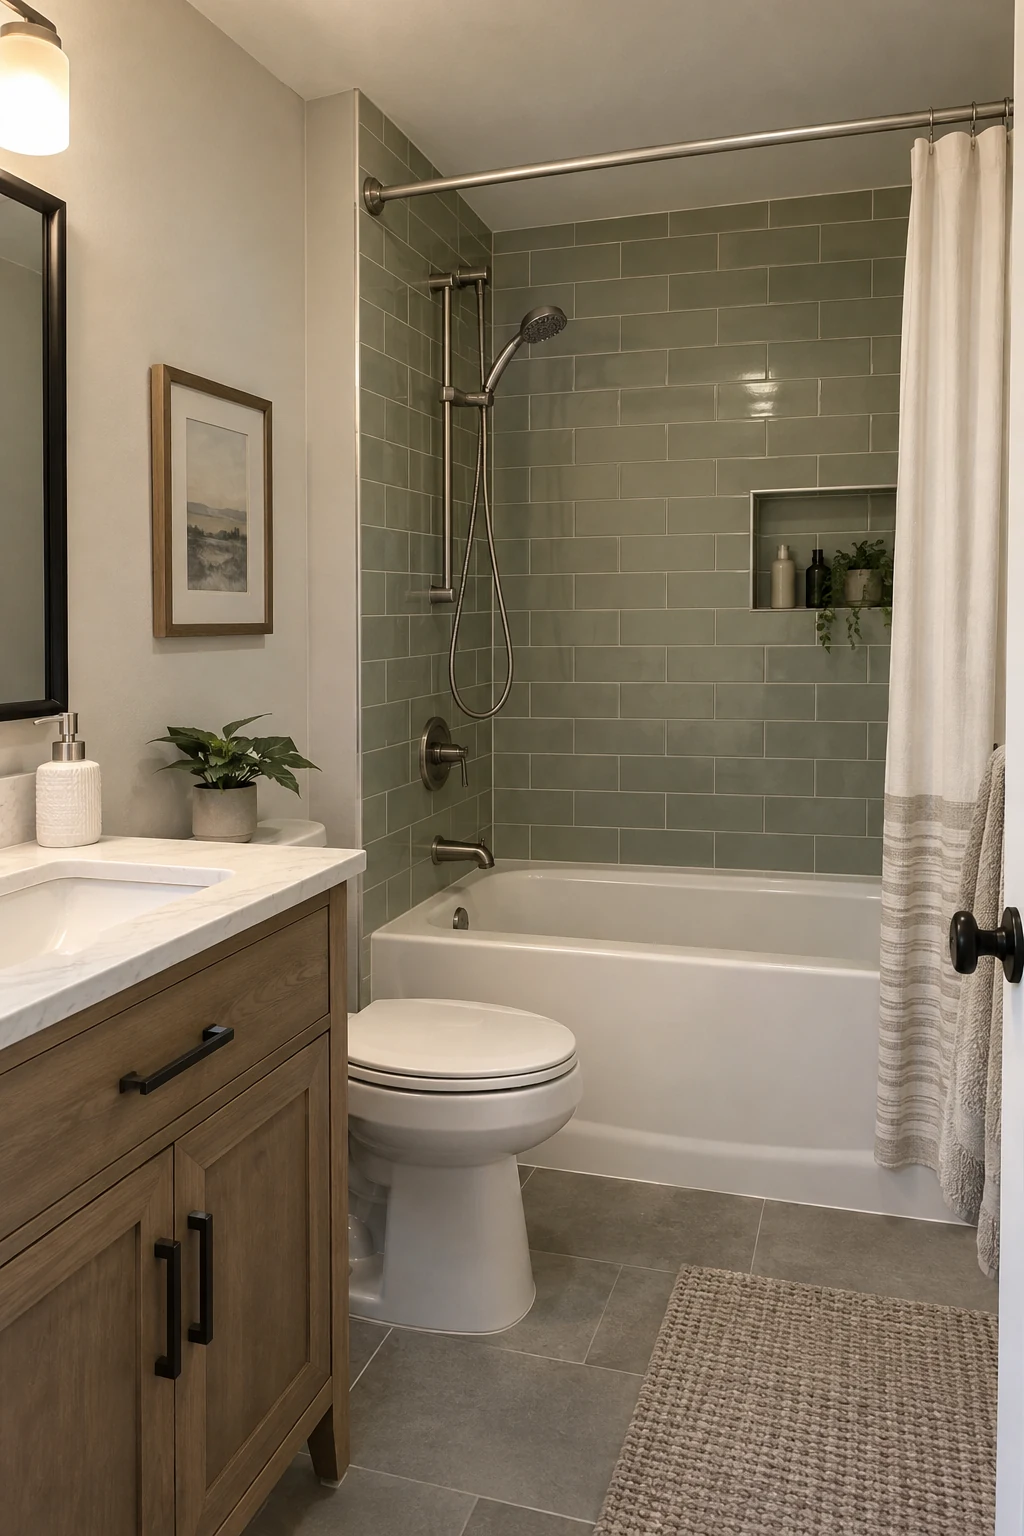
A handheld sprayer helps with rinsing walls, bathing children, washing pets, and seated use. Choose a listed system compatible with the existing arm or valve and position the hose so it does not create a trip or snag hazard.
For accessibility planning, coordinate reach, controls, grab bars, and a seat as one layout. Verify adopted requirements and product instructions instead of copying a generic mounting height.
29. Professionally Refinish a Sound but Dated Tub
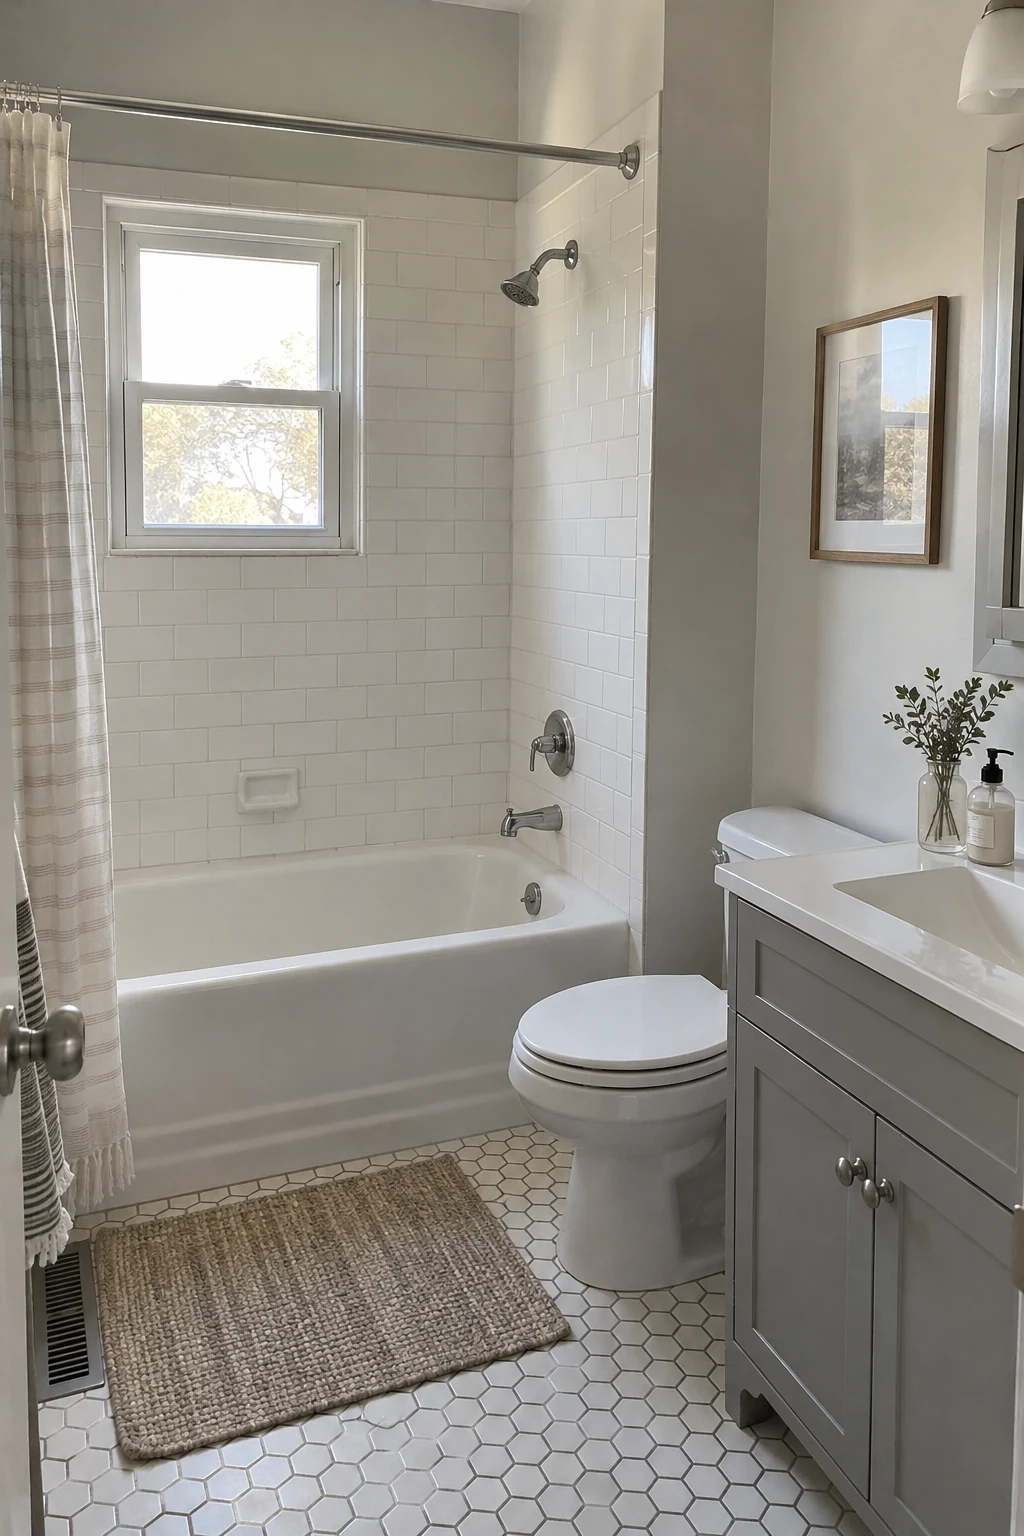
Professional refinishing can extend the life of a solid cast-iron or steel tub with a worn color or surface. It is a finish repair, not a cure for rust-through, movement, leaks, failed support, or damaged plumbing.
Ask about preparation, ventilation, cure time, warranty, cleaning limits, and slip treatment. DIY coatings often fail when the surface is contaminated or the bathroom returns to service too soon.
Keep abrasive cleaners, suction mats, and harsh chemicals away unless the refinisher approves them. Repair chips promptly so water does not work under the coating.
Refinish for surface condition and color; replace when the fixture or support has failed.
30. Replace a Failing Surround With Large Panels
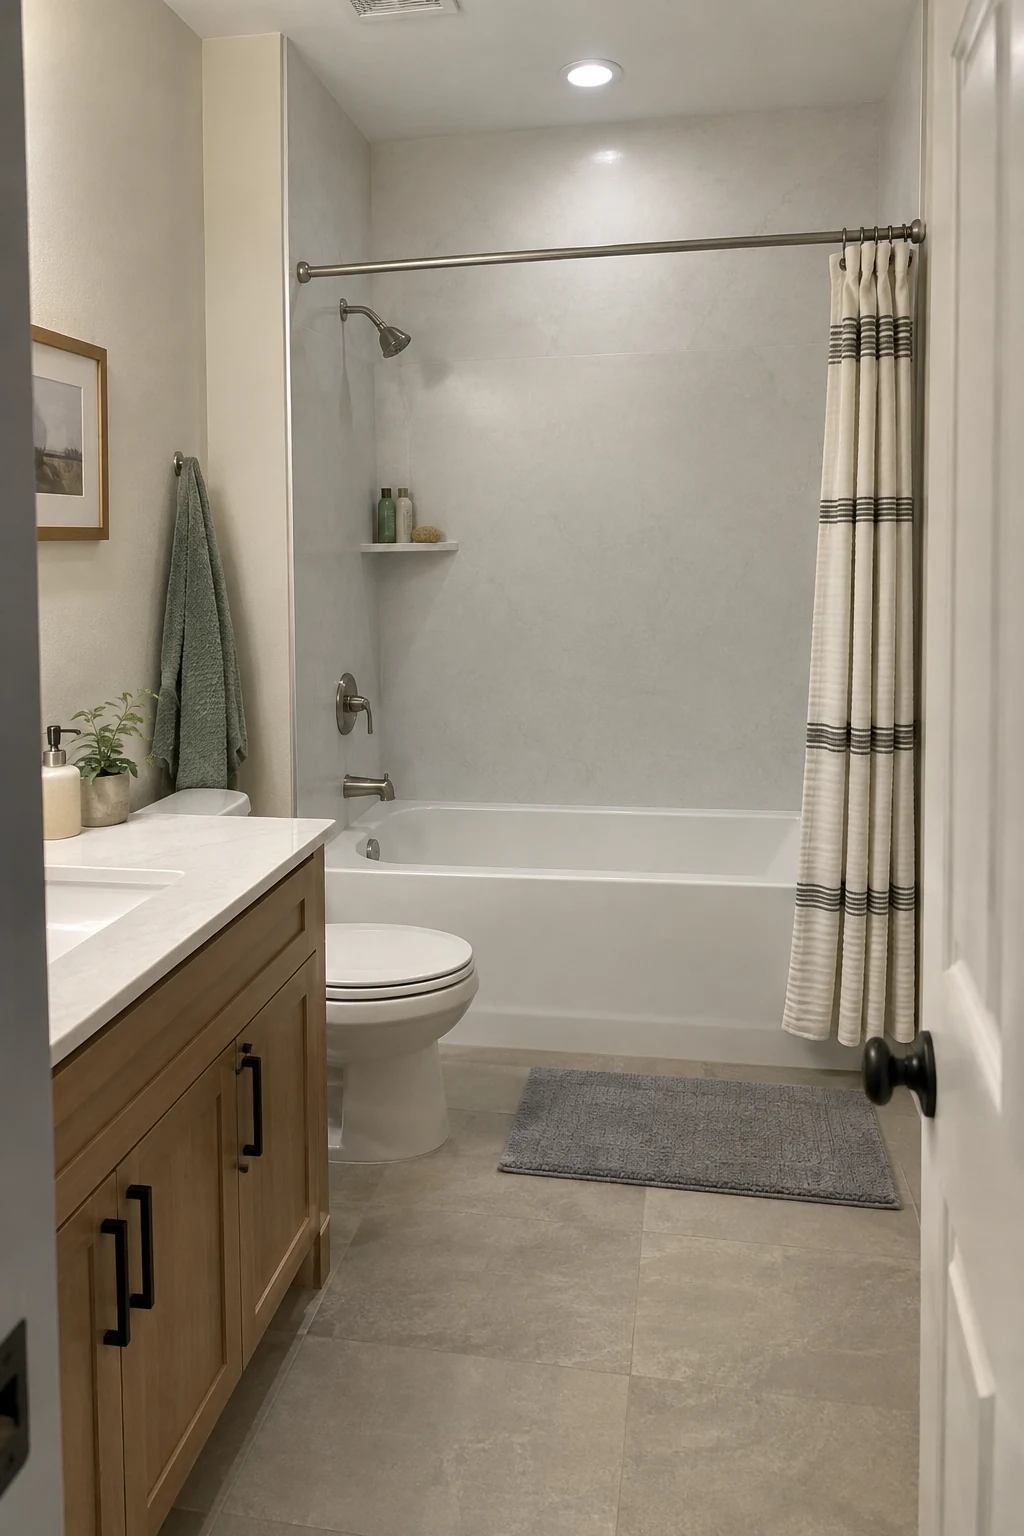
Large solid-surface or composite panels reduce grout joints and can give a plain alcove a quieter look. Remove compromised material and repair the substrate instead of trapping moisture behind a cover-up system.
- Repair the substrate first
- Template every penetration
- Use the complete panel and sealant system
Dry-fit around out-of-square corners, valve openings, tub flange, and window conditions. Follow the complete manufacturer system for backing, adhesive, trims, seams, and cure time.
Repair Tile, Grout, Caulk, and Wet-Zone Details
Fresh surfaces last longer when rigid grout joints and flexible movement joints are used in the right places and the substrate remains dry.
31. Retile the Surround With a Simple Layout
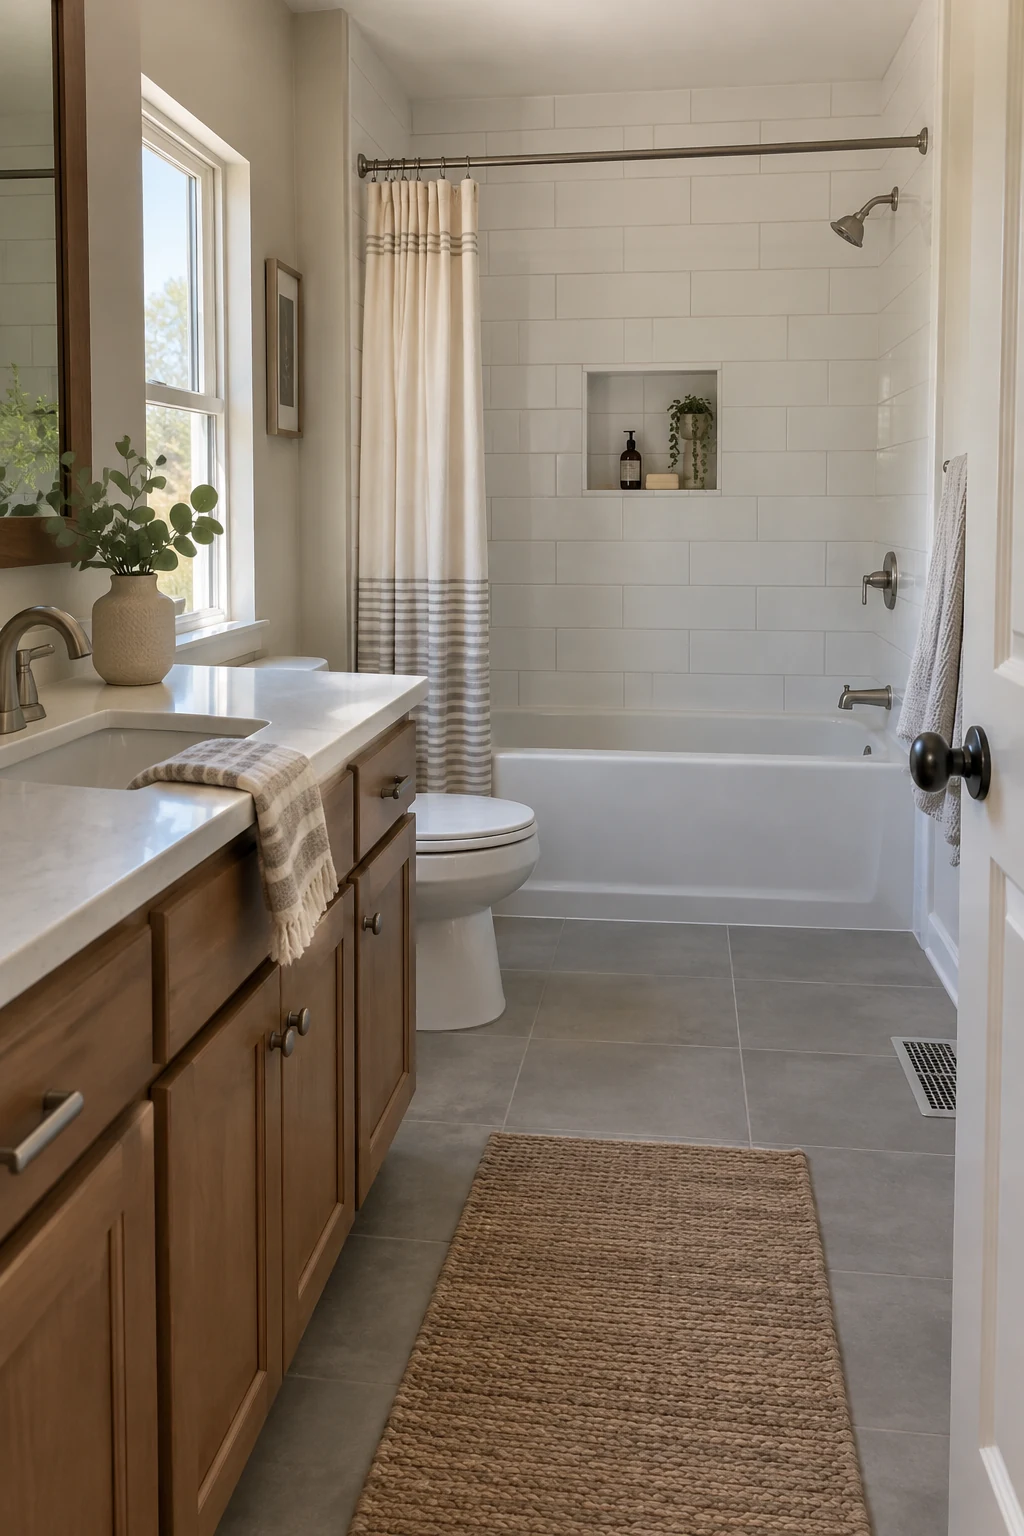
A simple field tile can look custom when the waterproofing, layout, and edges are resolved before setting begins. Start from actual wall dimensions and focal points, then avoid tiny cuts at corners, niches, and the tub lip.
Tile and grout are finish layers, not the waterproof assembly. Use a compatible backer and waterproofing system, then verify valve, flange, niche, and transition details before covering them.
Hire a qualified installer when walls require correction, the substrate is damaged, or waterproofing details are unfamiliar. The hidden assembly matters more than an elaborate pattern.
32. Build One Useful Niche or Ledge
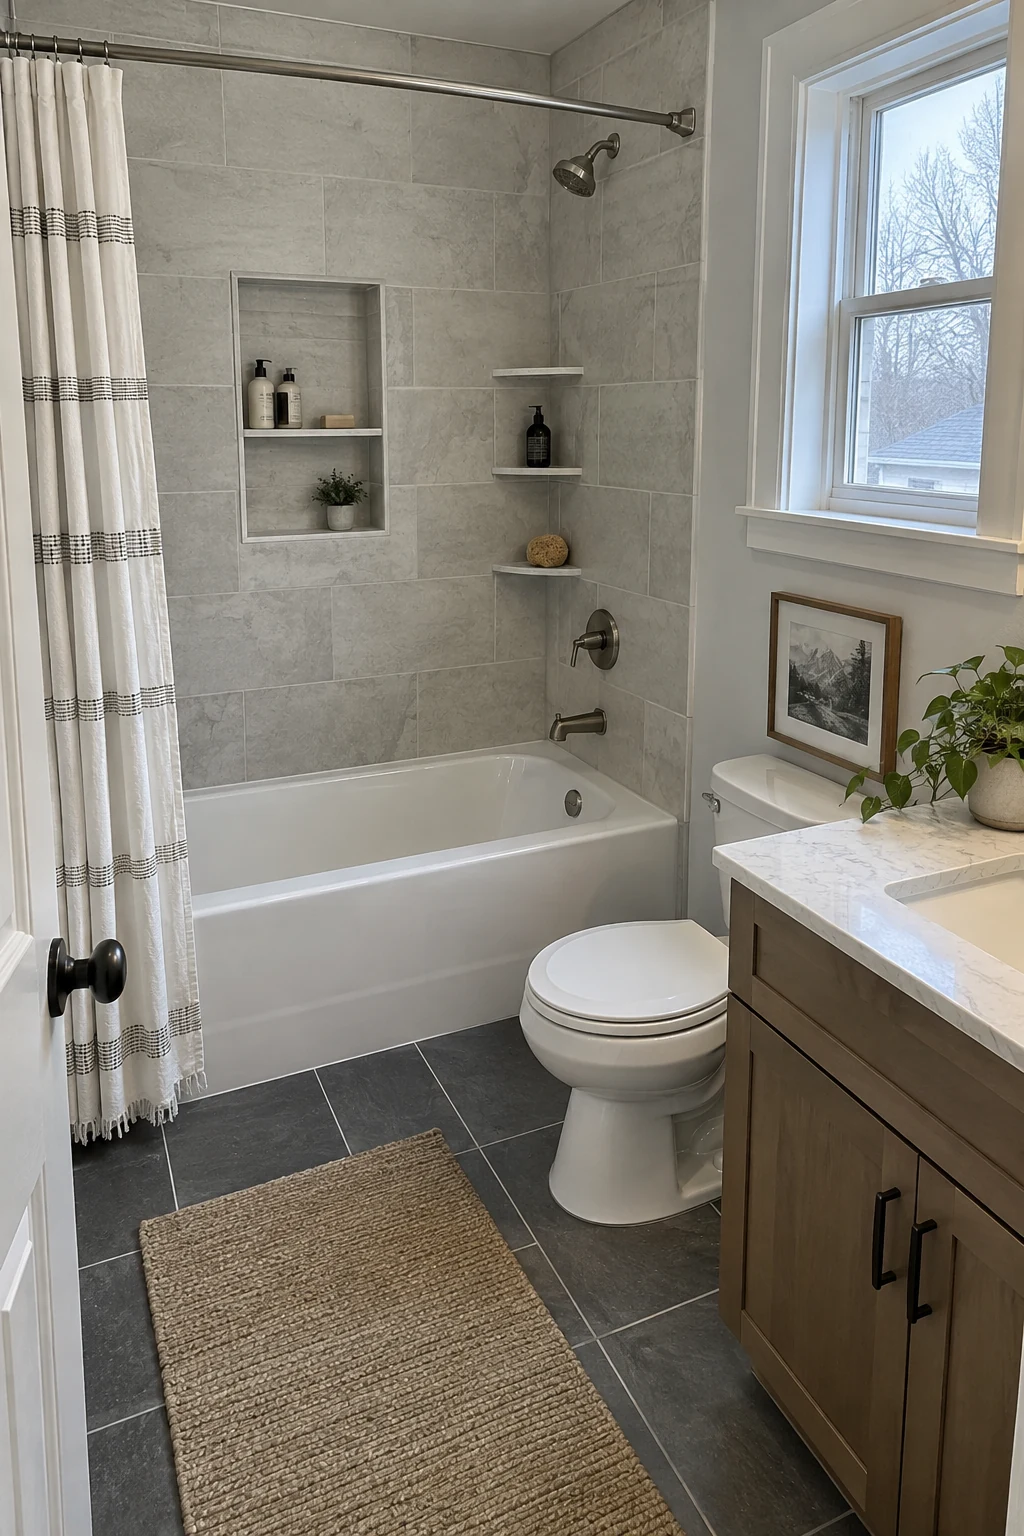
Measure the tallest pump bottle and the household's real product count before framing storage. One well-proportioned niche or ledge is easier to waterproof and clean than several decorative recesses.
Check the chosen wall for plumbing, wiring, insulation, and structure. Use solid shelves, slope horizontal surfaces toward the shower, and coordinate edges with the tile module.
If a recess is risky, install a surface shelf designed for wet use. Shower storage ideas offer alternatives that do not require opening the wall.
Storage should fit bottles first and tile joints second; resolve both before framing.
33. Deep-Clean and Repair Sound Grout
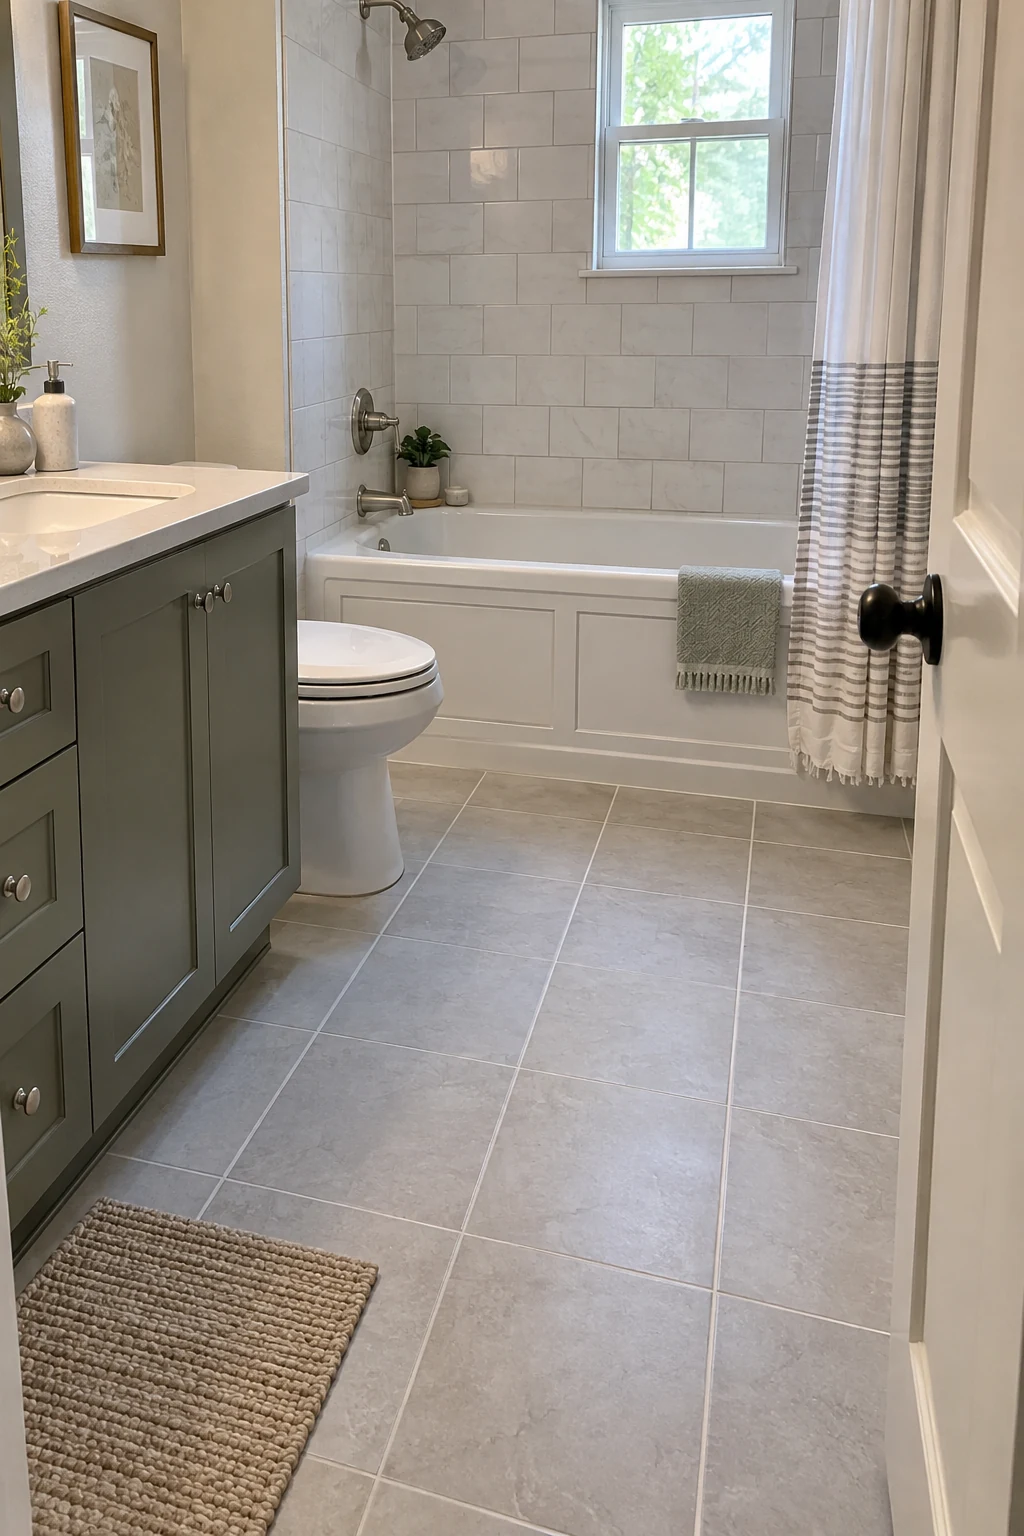
Start with the gentlest cleaner suitable for the tile and grout, then allow the area to dry fully. Replace loose or cracked grout only after checking for movement, moisture, or substrate failure.
- Clean and rinse thoroughly
- Diagnose cracks before filling
- Color only sound cured grout
A colorant can unify sound, porous grout after cleaning and repair, but it should not cover powdering joints or active cracks. Follow the product's preparation and curing instructions.
34. Replace Failed Caulk at Every Change of Plane
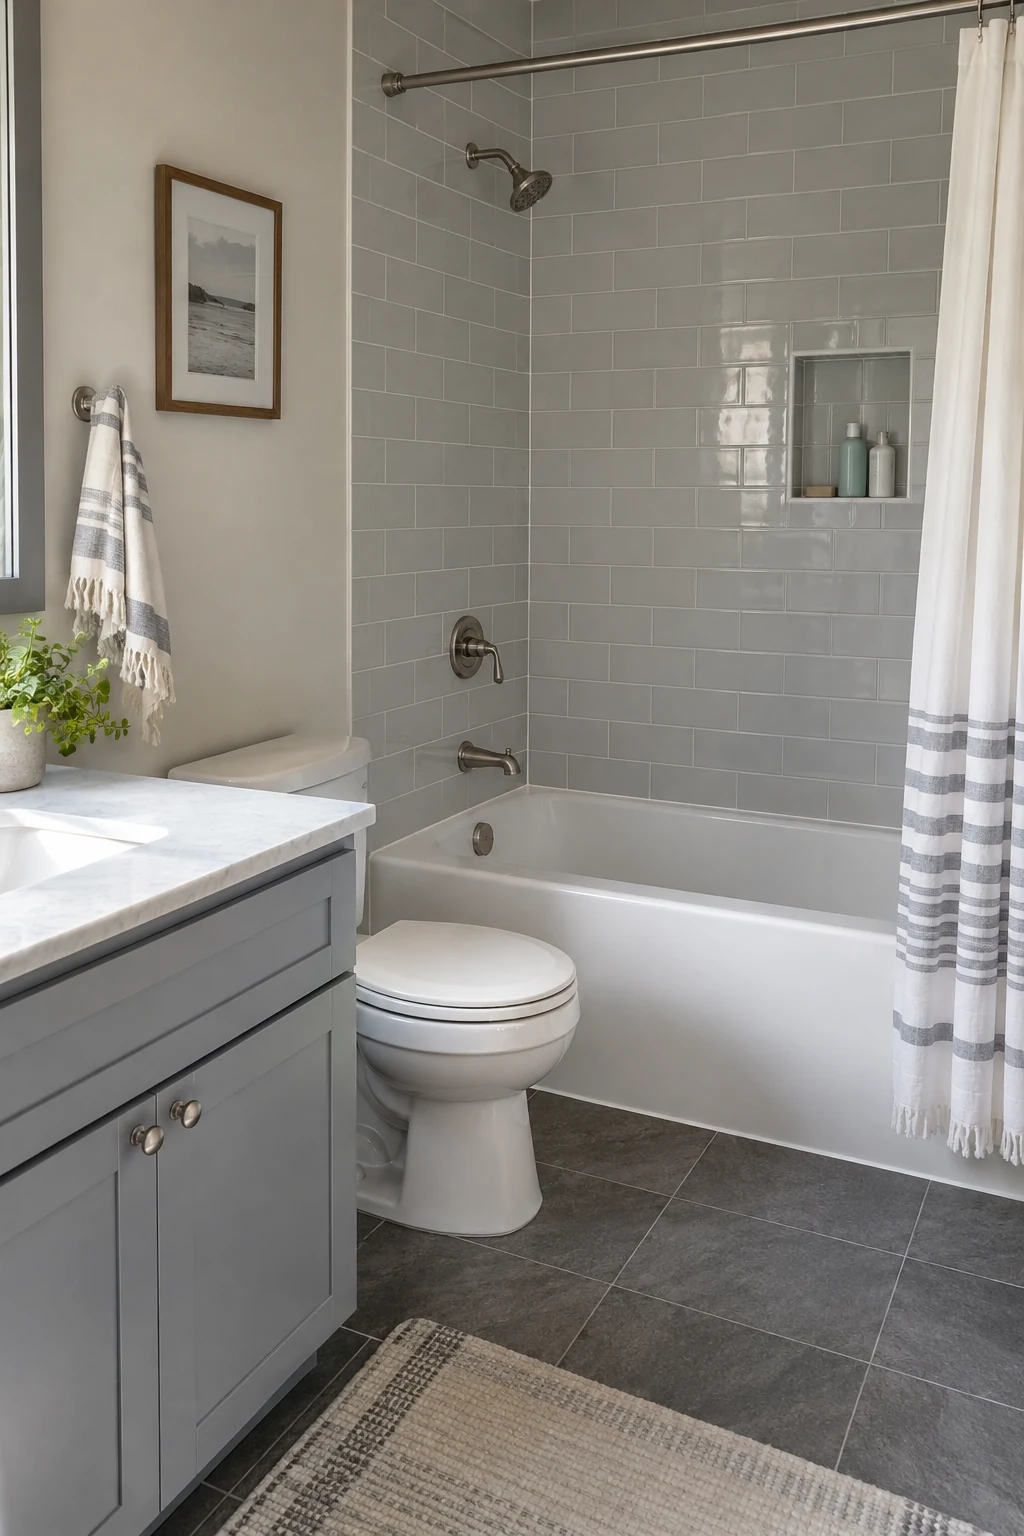
Cut out failed sealant without damaging the tub, tile, or waterproofing. Clean residue, treat the underlying moisture cause, and let the joint dry as directed before applying a compatible bathroom sealant.
Use flexible sealant where planes or materials move, including tub edges, inside corners, and counter-to-wall joints. Tool a modest bead and leave the area unused for the full cure time.
Recurring separation may signal movement, poor support, or the wrong joint design. Investigate that cause instead of adding a wider bead each season.
A clean joint begins with complete removal and a dry surface, not a new layer over old caulk.
35. Replace a Cloudy Door With Clear Sliding Glass
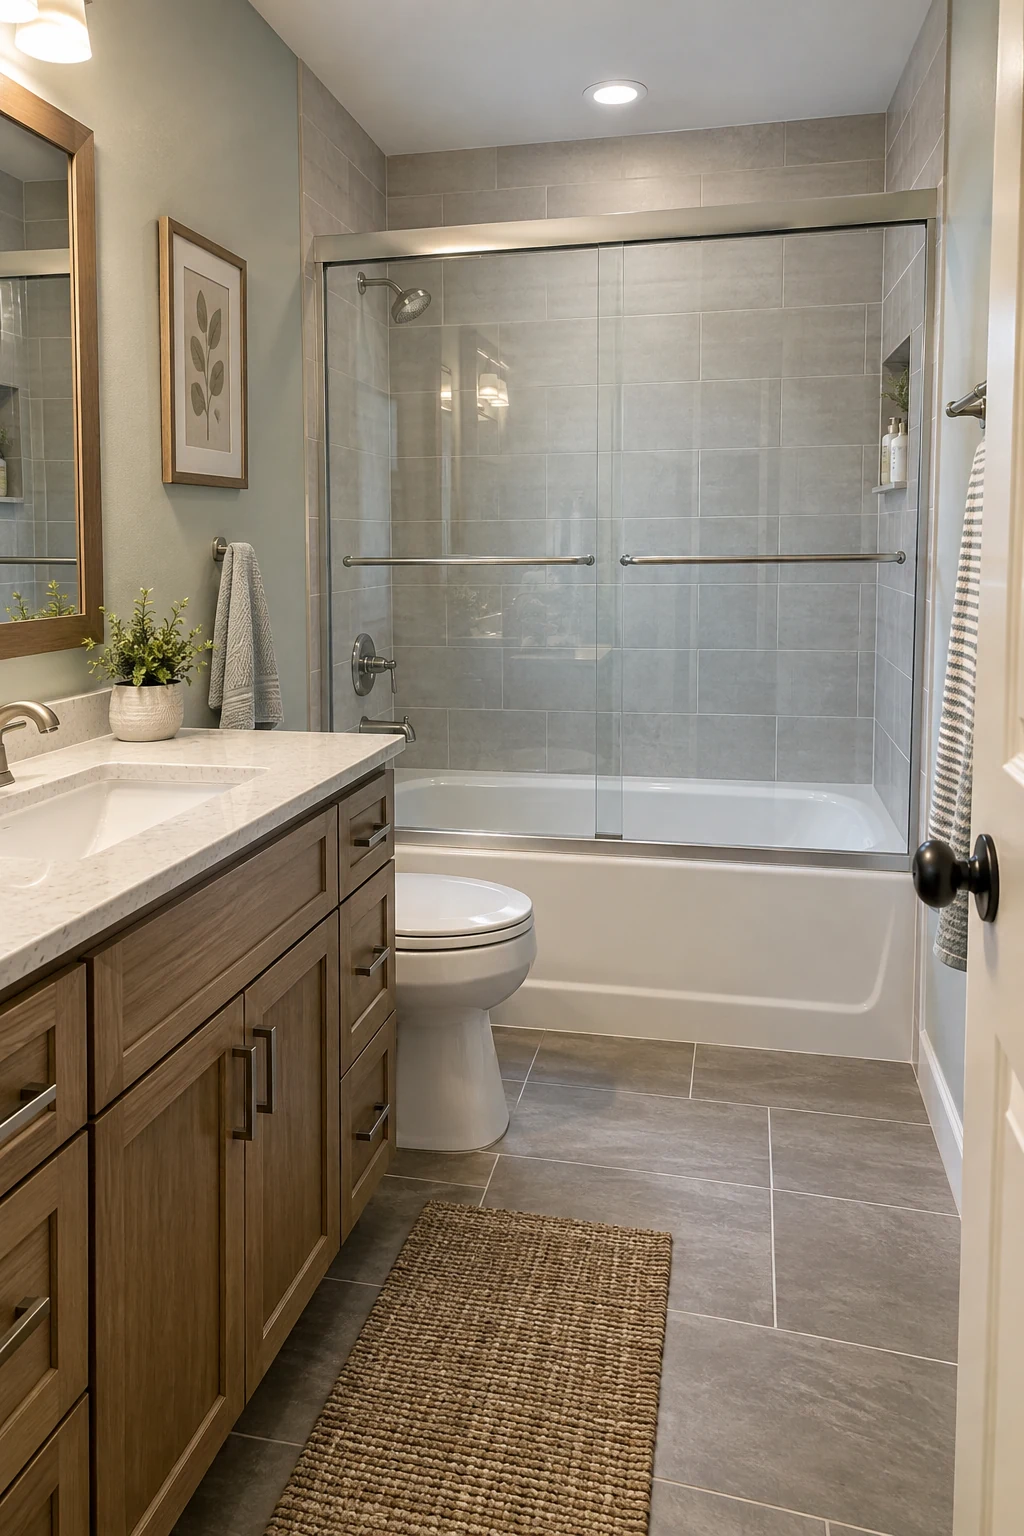
A clear bypass enclosure can open the view through a small room while controlling spray. Confirm tub-rim width, wall plumb, handle clearance, glass overlap, and cleaning access before ordering.
Tempered glass and anchoring need accurate installation. Use a qualified fabricator when walls are out of square, drilling approaches tile edges, or the manufacturer requires professional fitting.
Keep hard-water maintenance realistic. A curtain remains the lower-cost, easier-to-remove choice when ventilation, cleaning time, or rental rules make glass impractical.
Choose Flooring for Water, Traffic, and the Existing Subfloor
Flooring decisions begin with a flat, dry, stable substrate and safe transitions. Decorative pattern comes after moisture and movement are addressed.
36. Use One-Piece Sheet Vinyl for a Value Makeover
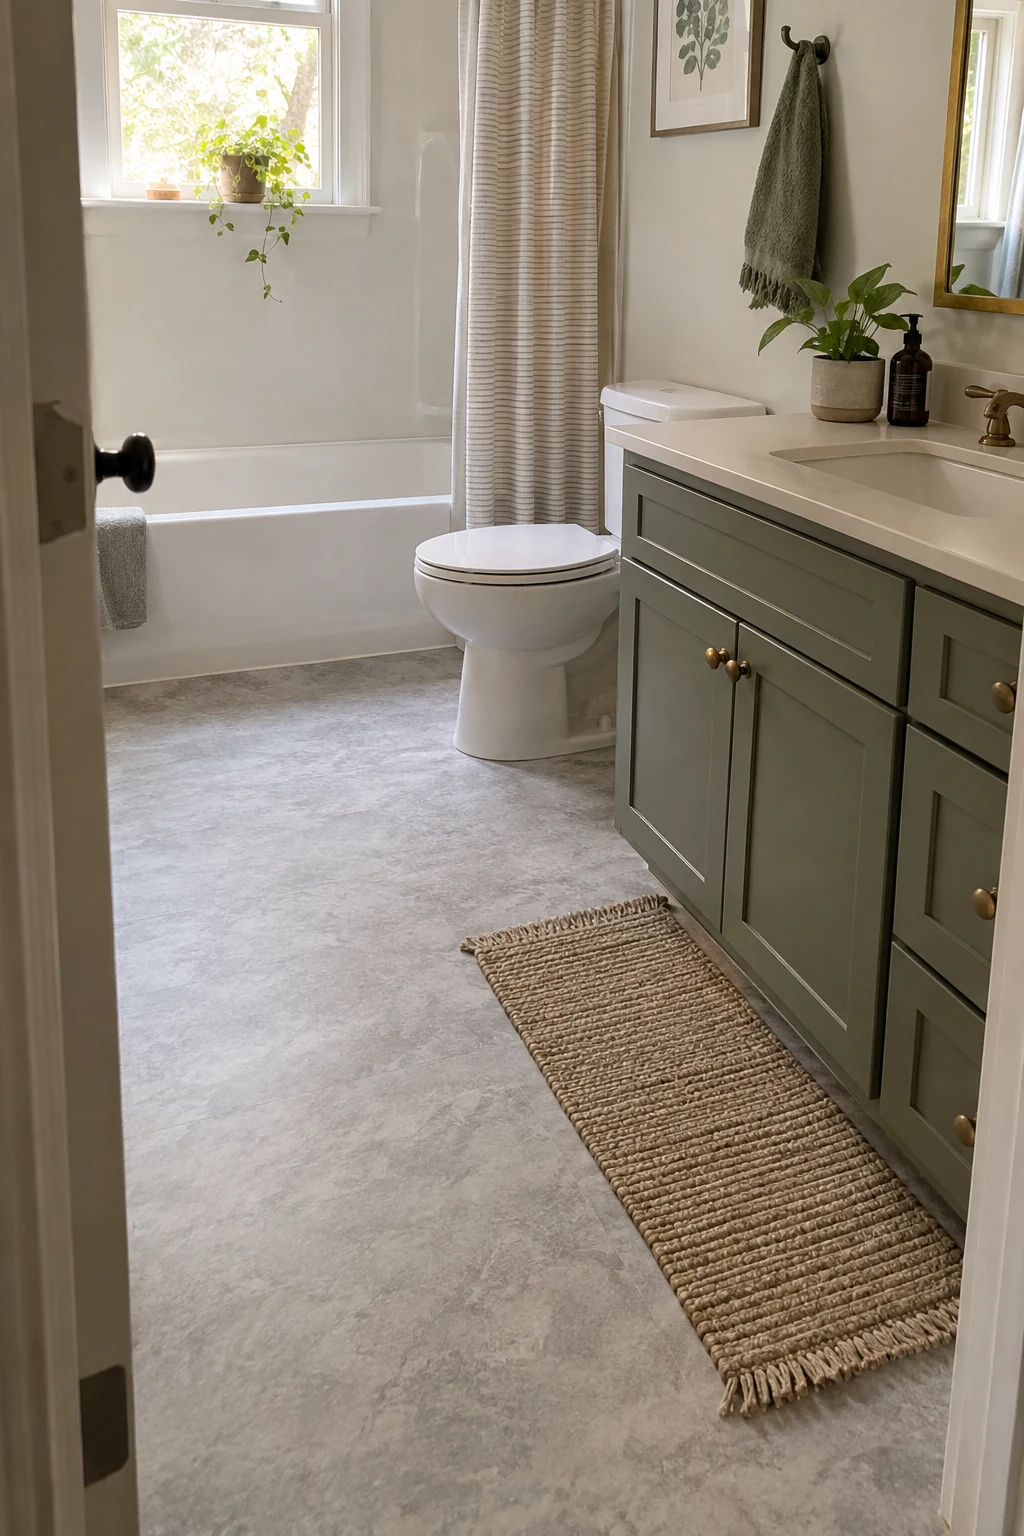
Sheet vinyl offers few seams, a comfortable feel, and broad pattern choices at a modest installed cost. A small bathroom may fit from one piece, but the toilet and edges still require careful templating.
- Repair the subfloor
- Template around the toilet flange
- Keep the doorway transition low and secure
Repair soft or uneven subfloor areas first and use the specified underlayment, adhesive, and seam treatment. Do not bridge active moisture or rot with a new resilient layer.
Choose a restrained scale and slip-aware surface, then compare samples under bathroom lighting. Oversized printed grout lines can reveal the room's out-of-square edges.
37. Install Bathroom-Rated Luxury Vinyl Plank Carefully
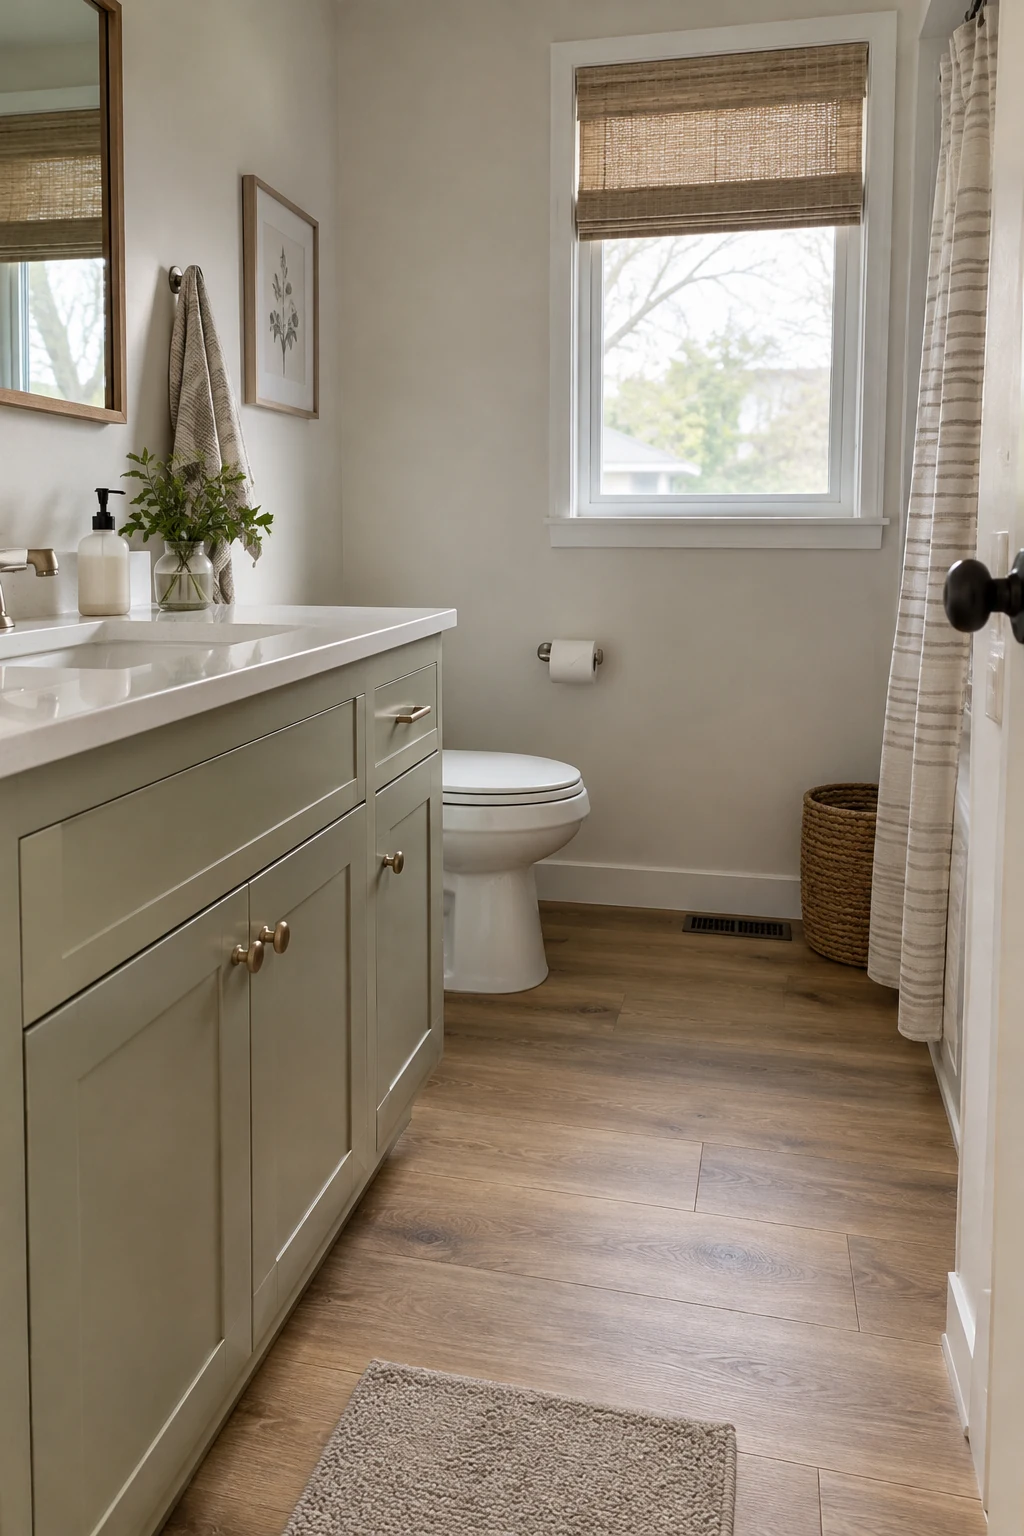
Water-resistant or waterproof plank can warm a plain bathroom outside the shower. Confirm the product permits bathroom installation and follow its rules for subfloor flatness, perimeter gaps, fixtures, transitions, and sealant.
Remove the toilet for a clean installation rather than cutting a loose ring around the base. Never trap a floating floor under fixed cabinetry if the manufacturer requires movement.
Wood-look plank is visually active, so keep wall pattern and vanity grain controlled. Bathroom flooring ideas can help compare quieter alternatives.
38. Lay Porcelain Tile on a Prepared Substrate
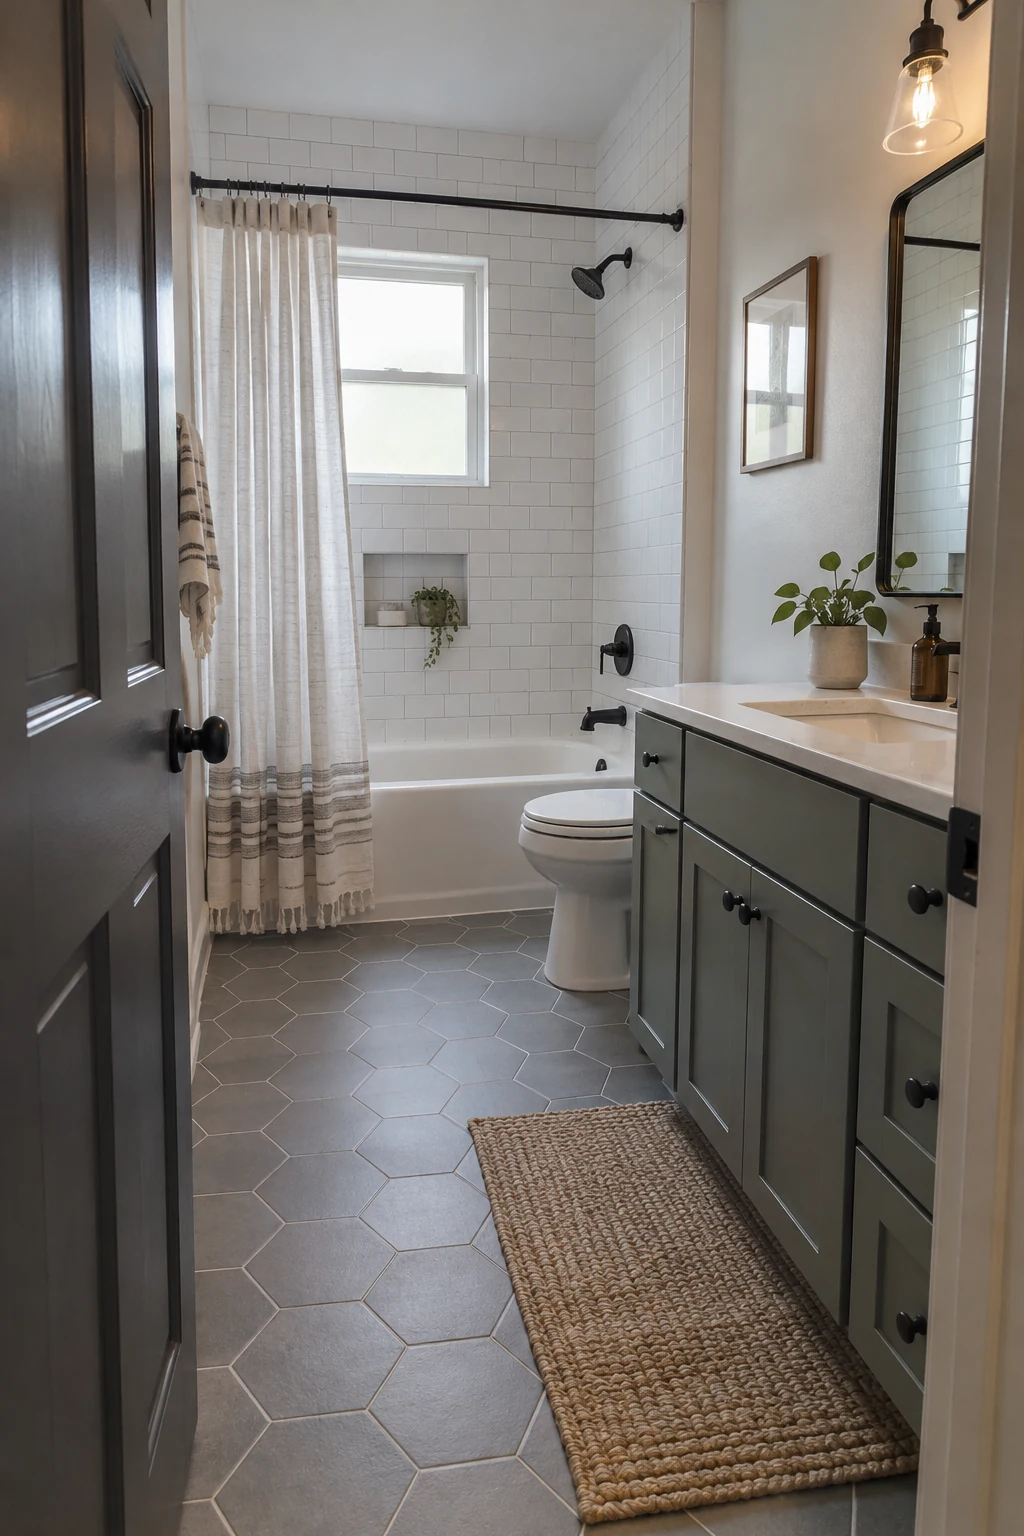
Porcelain tile handles bathroom traffic well when the structure and underlayment control movement. Inspect joists, subfloor thickness, flatness, cracks, and height transitions before selecting the tile assembly.
Choose a surface appropriate for wet feet and a grout color that can be maintained. Dry-lay key rows so cuts at the doorway, tub, vanity, and toilet do not become distracting slivers.
Tile installation becomes professional work when structure, membranes, heated systems, or complex transitions are involved. Verify the complete assembly rather than mixing products by habit.
A beautiful tile cannot compensate for a flexible, damp, or poorly prepared subfloor.
39. Add Electric Floor Warming During a Planned Rebuild
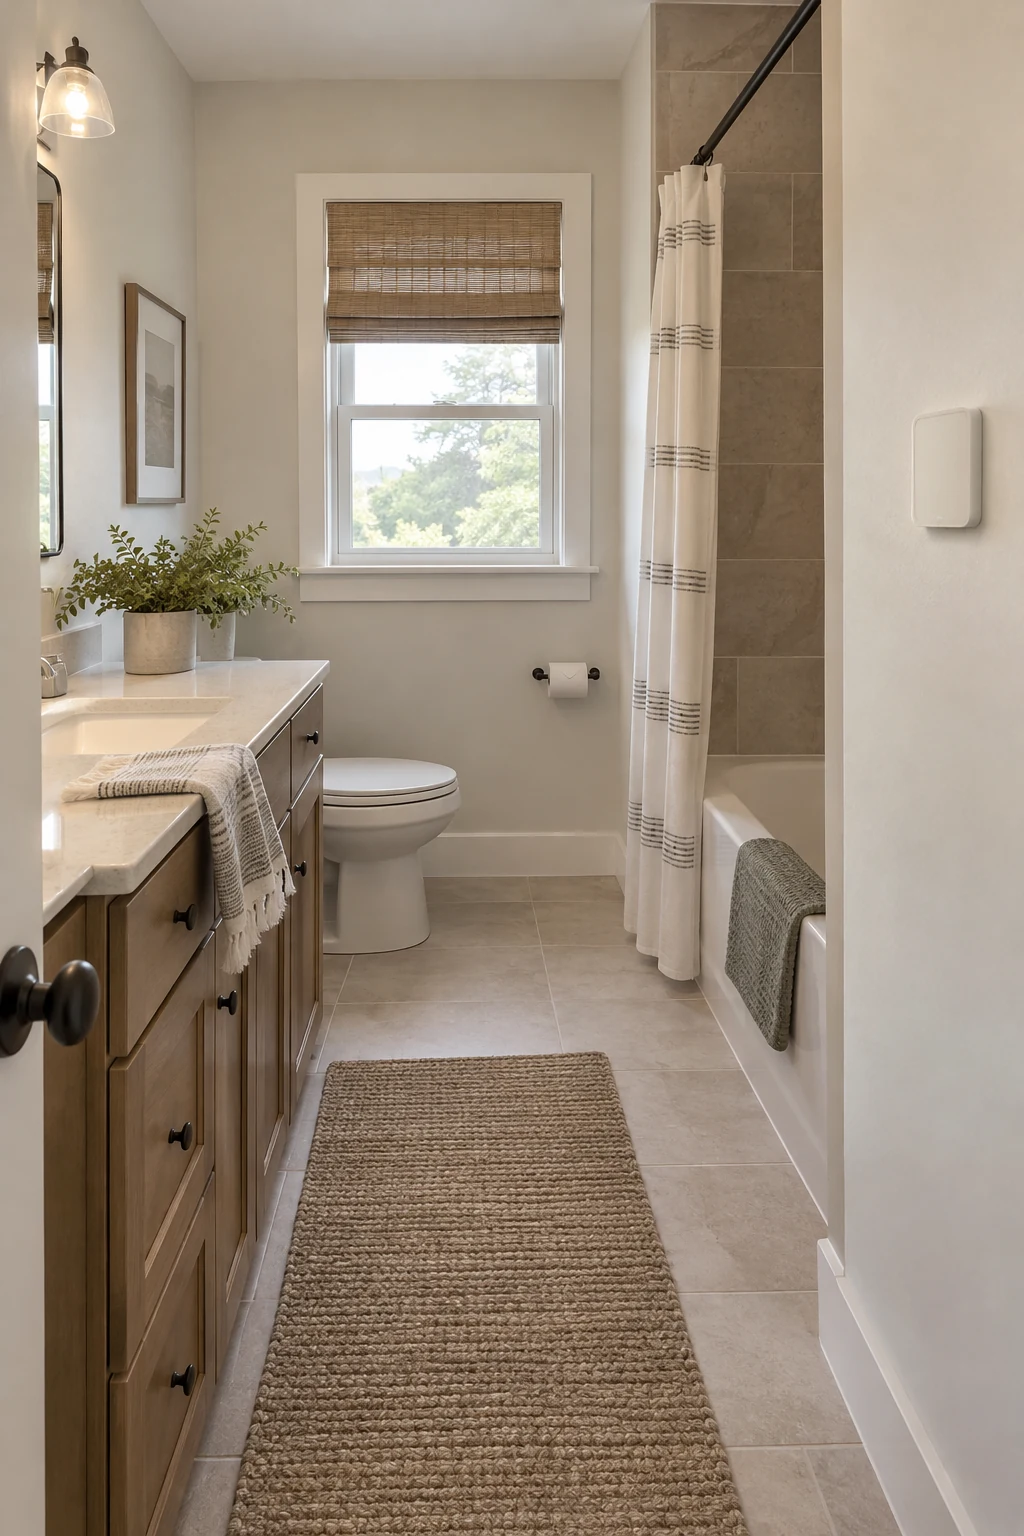
Electric warming can make a tile floor more comfortable when the floor is already being rebuilt. Confirm system coverage, sensor location, floor buildup, electrical load, controls, and permitted wet-area use before purchase.
- Confirm electrical capacity
- Test the system at required stages
- Save the cable map and readings
A qualified electrician and experienced tile installer should coordinate the dedicated protection, resistance testing, sensor, membrane, and tile layers. Photograph the cable layout before covering it.
This is a comfort upgrade, not a substitute for space heat or ventilation unless the design professional and product documentation say otherwise. Compare operating habits with simpler washable rugs first.
40. Finish the Threshold and Base Details Cleanly
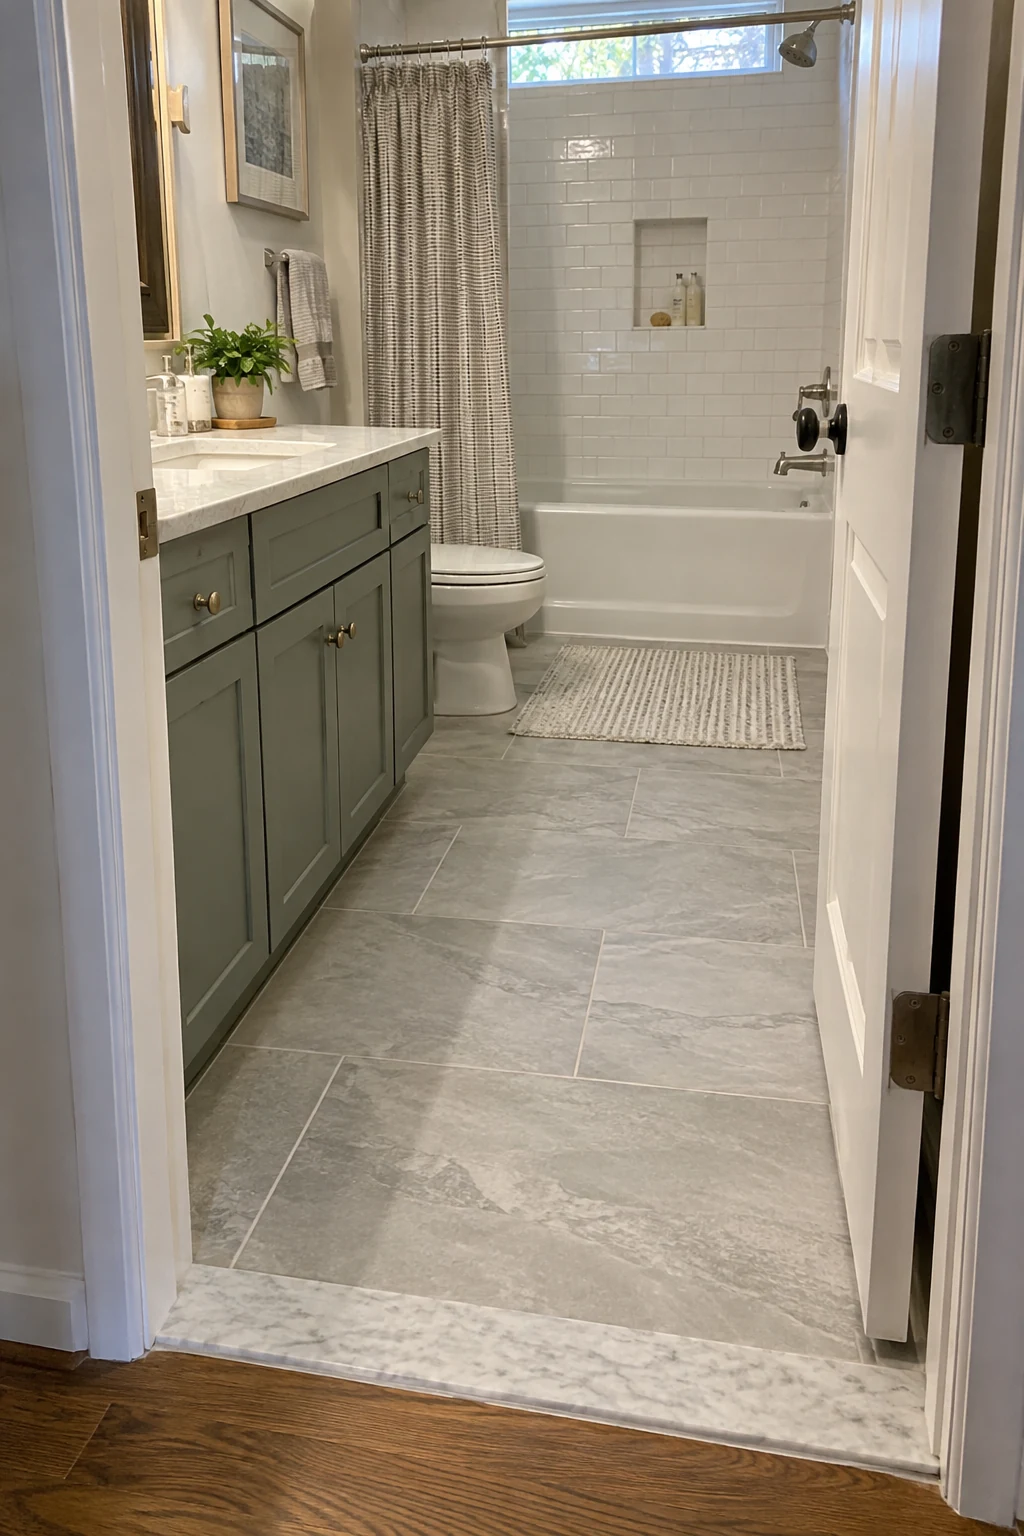
A low, secure threshold makes new flooring look intentional and reduces a trip point. Plan the finished bathroom height against the hall before adding underlayment, tile, or floating products.
Replace swollen fiberboard base with a moisture-suitable detail and seal exposed cut ends. Keep perimeter joints, tub edges, and toilet installation consistent with the flooring and fixture instructions.
Improve Ventilation, Moisture Control, and Safety
A makeover is only durable when steam leaves the house, leaks are repaired, and electrical work respects the room's wet conditions.
41. Replace a Noisy Fan With a Properly Ducted Model
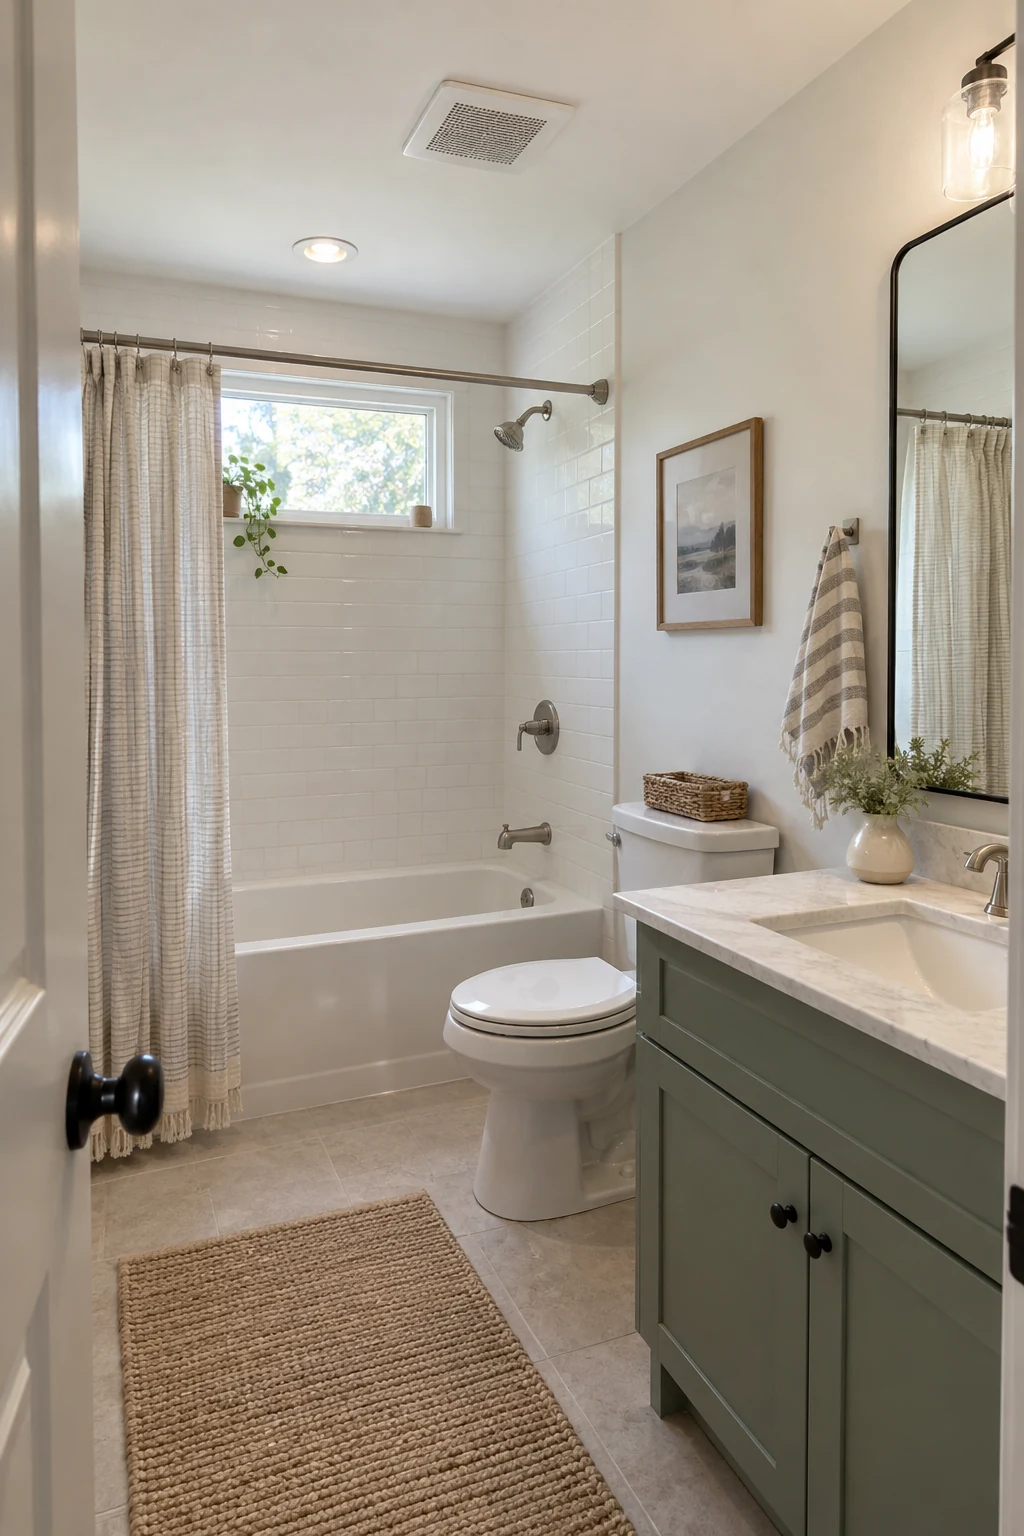
A quiet fan is more likely to be used, but airflow depends on the room, duct route, exterior termination, and installation. Confirm the existing fan actually exhausts outdoors rather than into an attic or wall cavity.
Have a qualified installer size the fan and inspect duct length, elbows, backdraft control, insulation, roof or wall cap, and electrical connection. A larger motor cannot fix a crushed or disconnected duct.
The EPA recommends bathroom exhaust to the outdoors for moisture control. Repair staining and peeling only after airflow and leaks are corrected.
A running fan is not proof that damp air reaches outdoors.
42. Use a Humidity Control or Countdown Timer
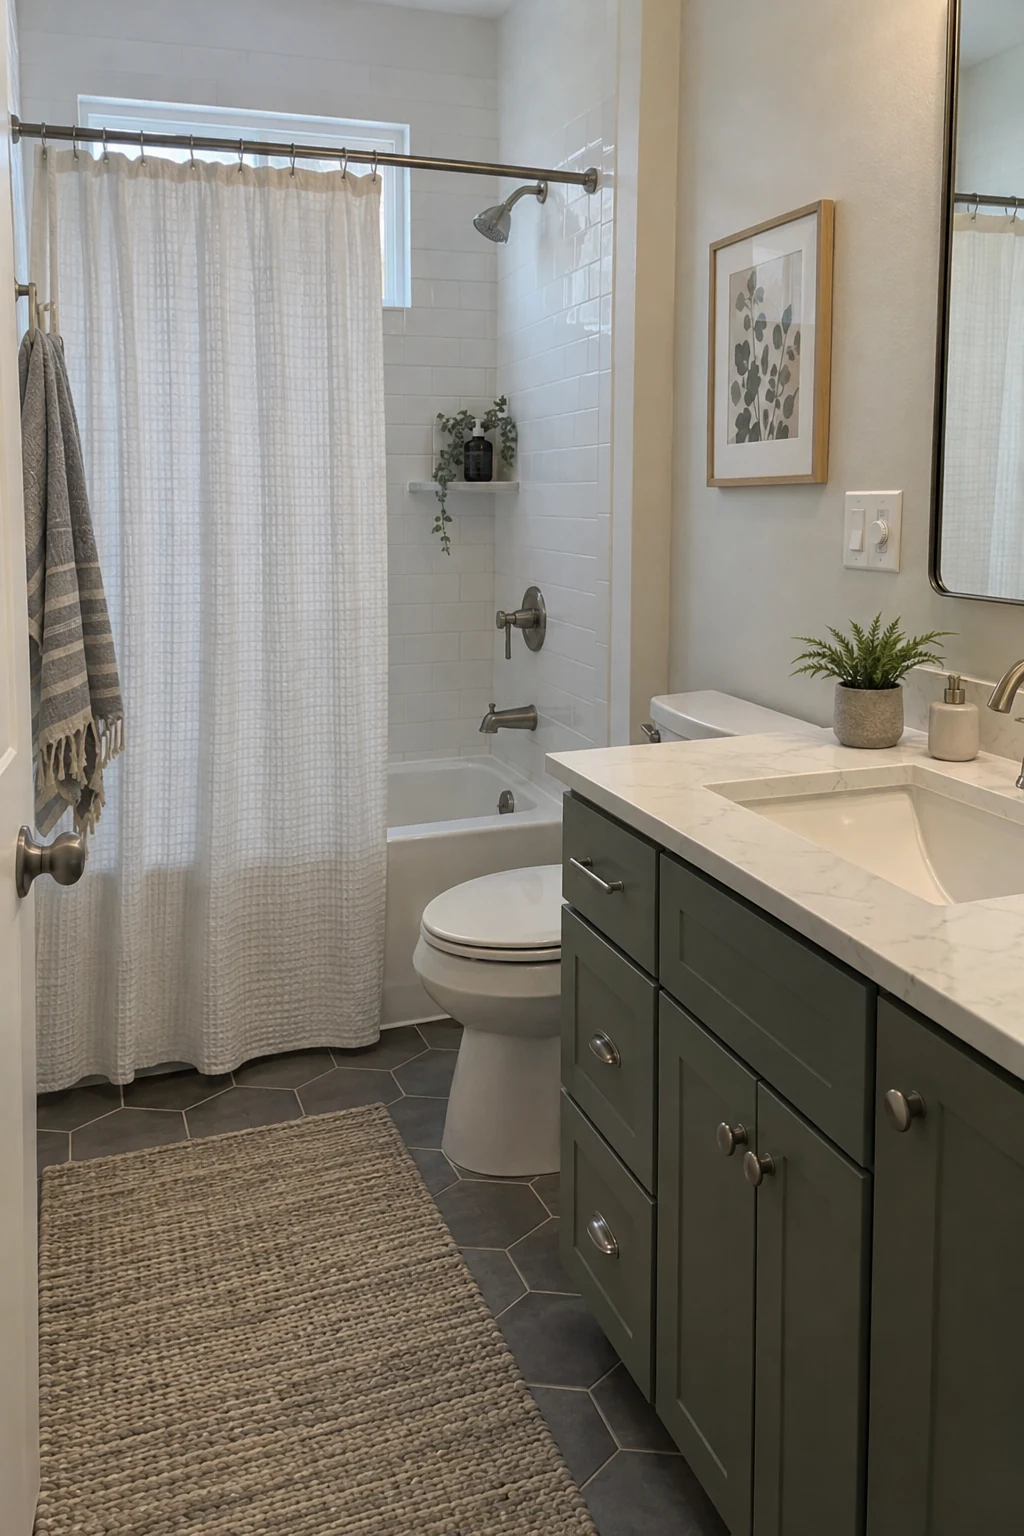
A humidity-sensing control or countdown timer can keep the fan running after bathing without relying on memory. Select a listed control compatible with the fan, motor load, wiring method, and household preferences.
- Confirm fan and control compatibility
- Set a practical run-on period
- Adjust sensitivity after real showers
Sensors need adjustment so normal climate changes do not trigger nuisance operation. New wiring, neutral requirements, protected circuits, and box fill should be handled by a qualified electrician under adopted rules.
43. Fix Leaks Before Installing New Finishes
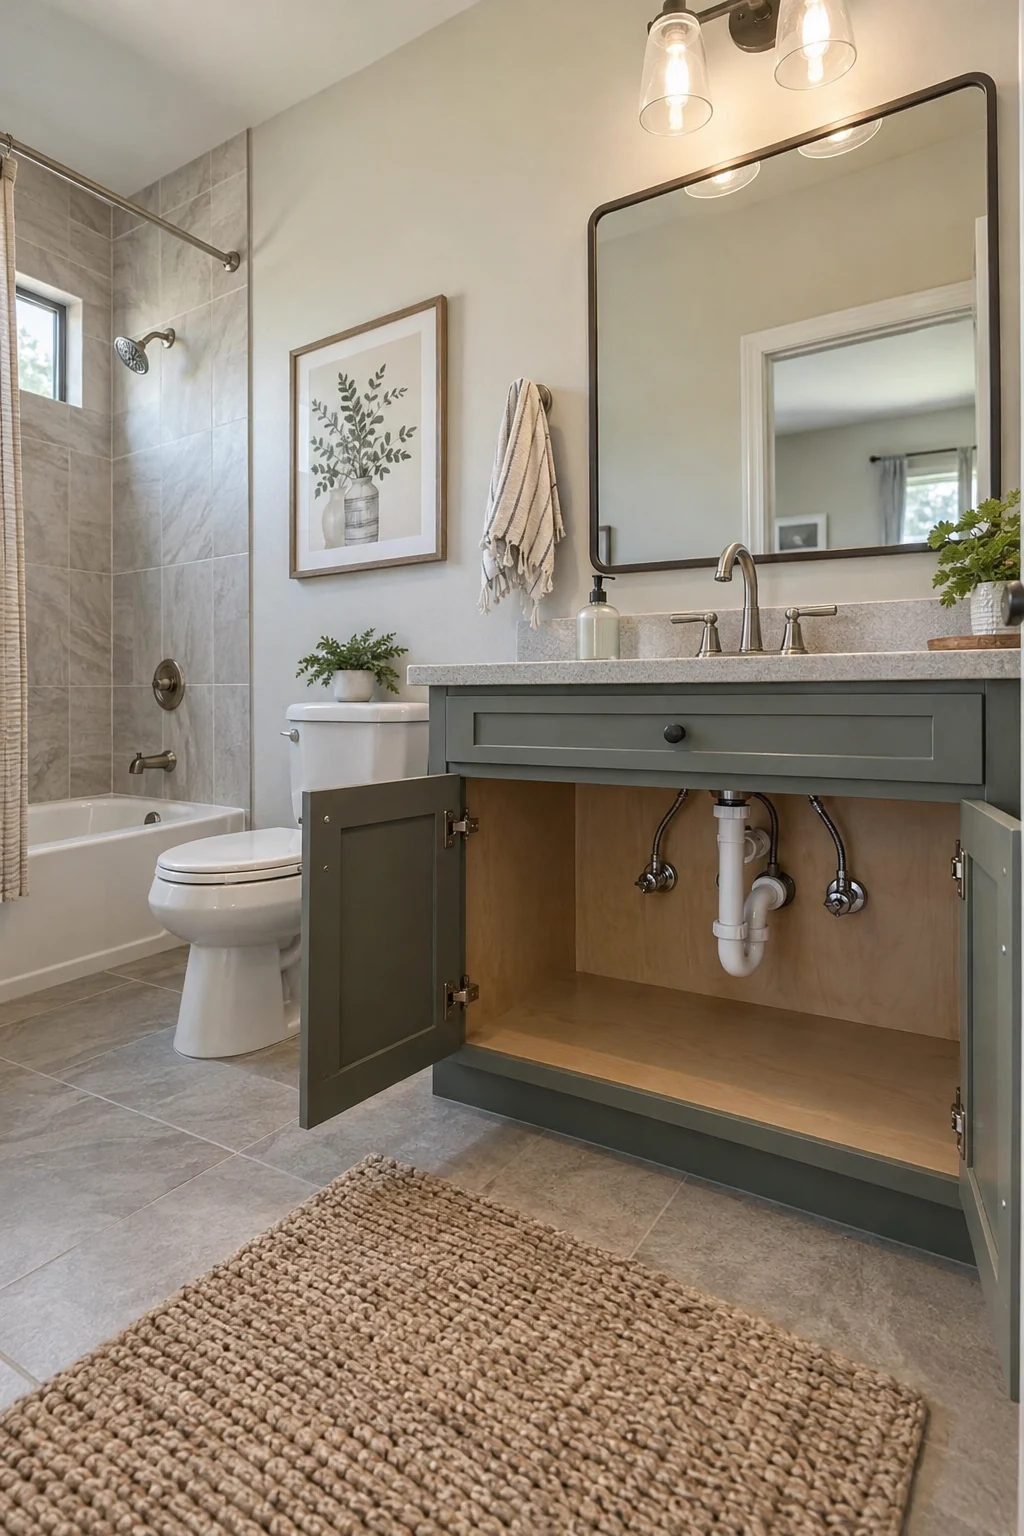
Inspect supply valves, faucet lines, traps, toilet seals, tub overflows, shower penetrations, and the floor around each fixture. Stains and swelling should be traced to a source before paint, panels, or flooring hide the evidence.
Replace damaged material only after the assembly is dry and the repair has been tested. Persistent odor, widespread mold, structural damage, or concealed leakage calls for qualified assessment rather than a cosmetic patch.
Add an easy-to-see removable tray or leak sensor under the vanity without blocking shutoffs. Check it during routine cleaning so a slow drip is caught early.
44. Keep New Electrical Features Out of Risky Locations
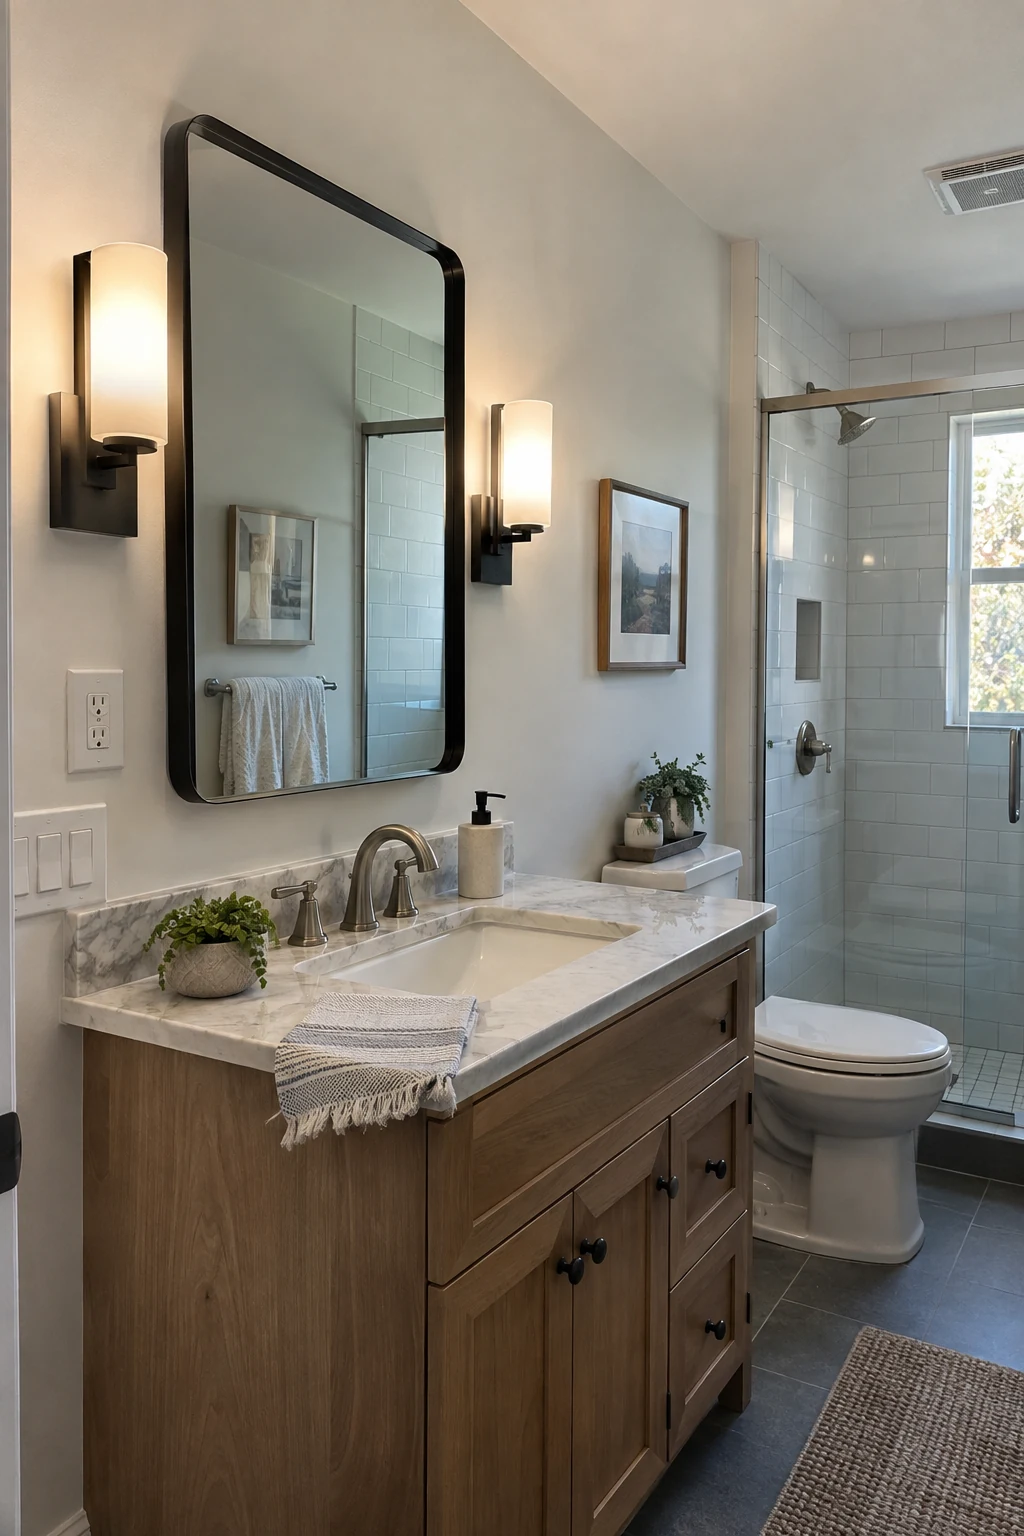
Do not choose outlet, switch, pendant, or heated-accessory locations from a styled photo. Wet and damp location rules, required protection, clearances, equipment listings, and adopted electrical code determine what is allowed.
Use a qualified electrician for added boxes, circuit changes, fans, heated floors, and hardwired mirrors. Confirm the wall can support the item and that service access remains possible after tile or paneling is installed.
Treat every measurement here as a design prompt and verify the rule adopted where you live.
45. Choose Slip-Aware Mats and Clear Walking Paths
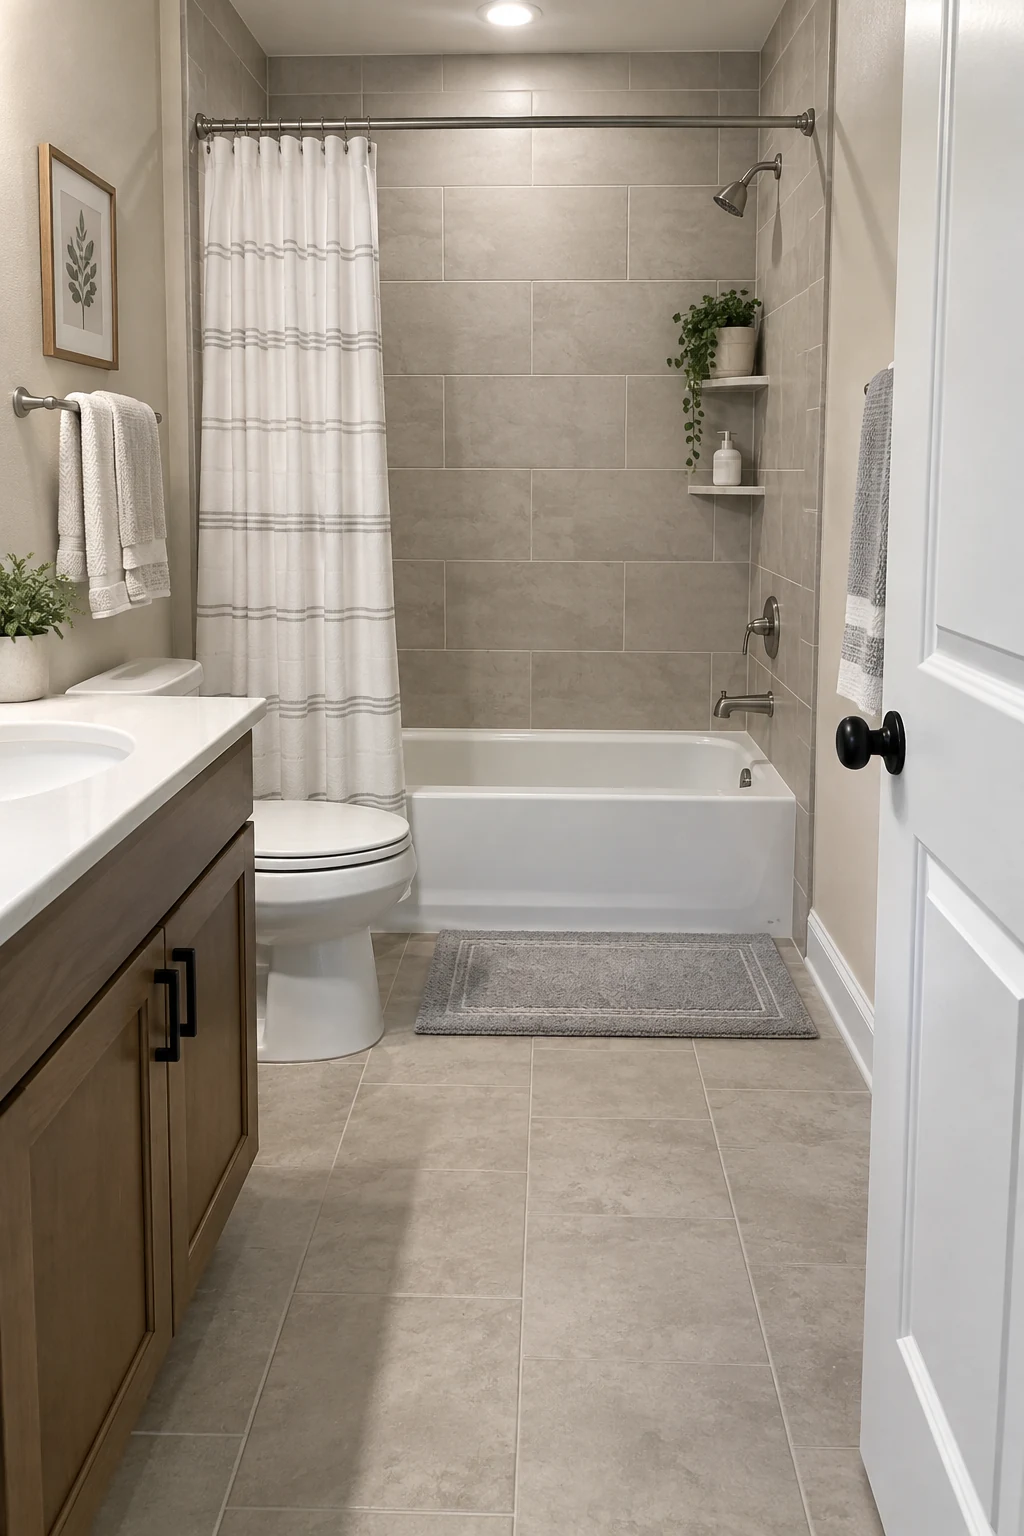
Use one washable, quick-drying mat with a backing suitable for the finished floor. Keep it flat, out of door swings, and away from floor registers or gaps that could curl its edges.
Maintain a clear route from the doorway to the toilet, sink, and bathing area. Store scales, hampers, cords, and backup supplies outside that path instead of relying on careful footwork.
Add Storage Without Crowding the Room
Builder-grade bathrooms often lack storage because the wall above the toilet, door back, and shallow vertical zones were left unused.
46. Mount a Shallow Cabinet Above the Toilet
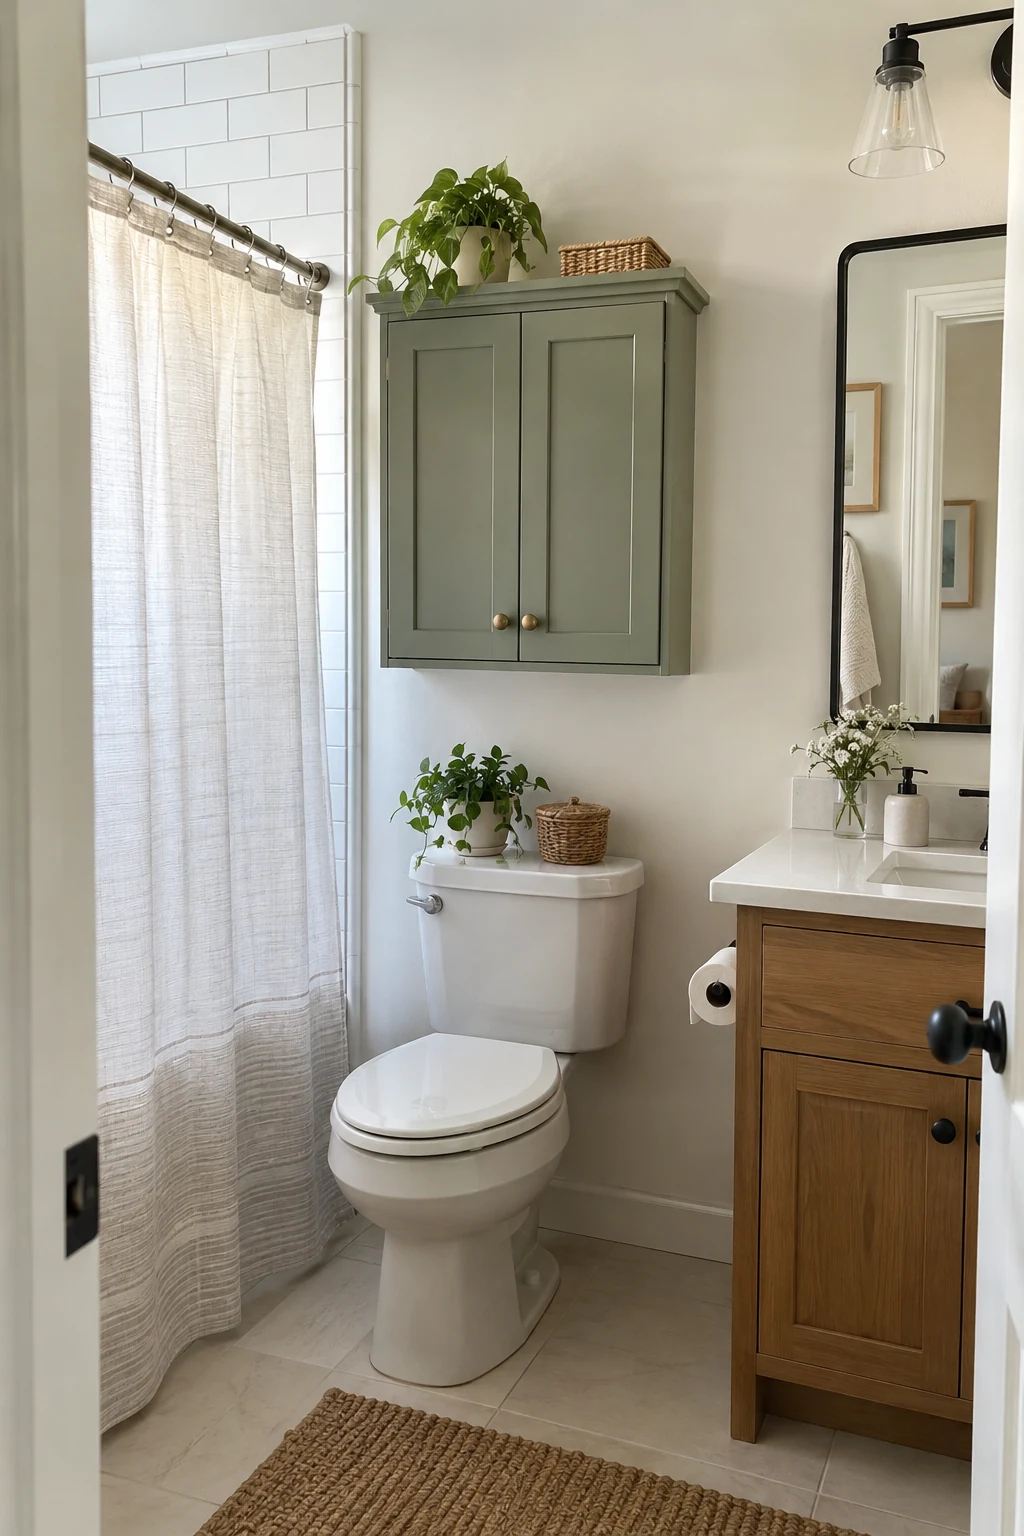
A shallow cabinet hides backup toiletries without projecting like a deep kitchen wall unit. Measure seated headroom, lid clearance, flush access, wall framing, and the reach needed for upper shelves.
- Check seated headroom
- Anchor into structure
- Keep heavy items on lower shelves
Anchor the cabinet to structure and use a depth that does not make the toilet feel enclosed. Over-the-toilet storage ideas can help compare closed and open options.
Store light, infrequently used supplies up high and keep heavy glass containers elsewhere. Leave enough space to clean the wall and service the toilet.
47. Use One Long Shelf Instead of Many Tiny Shelves
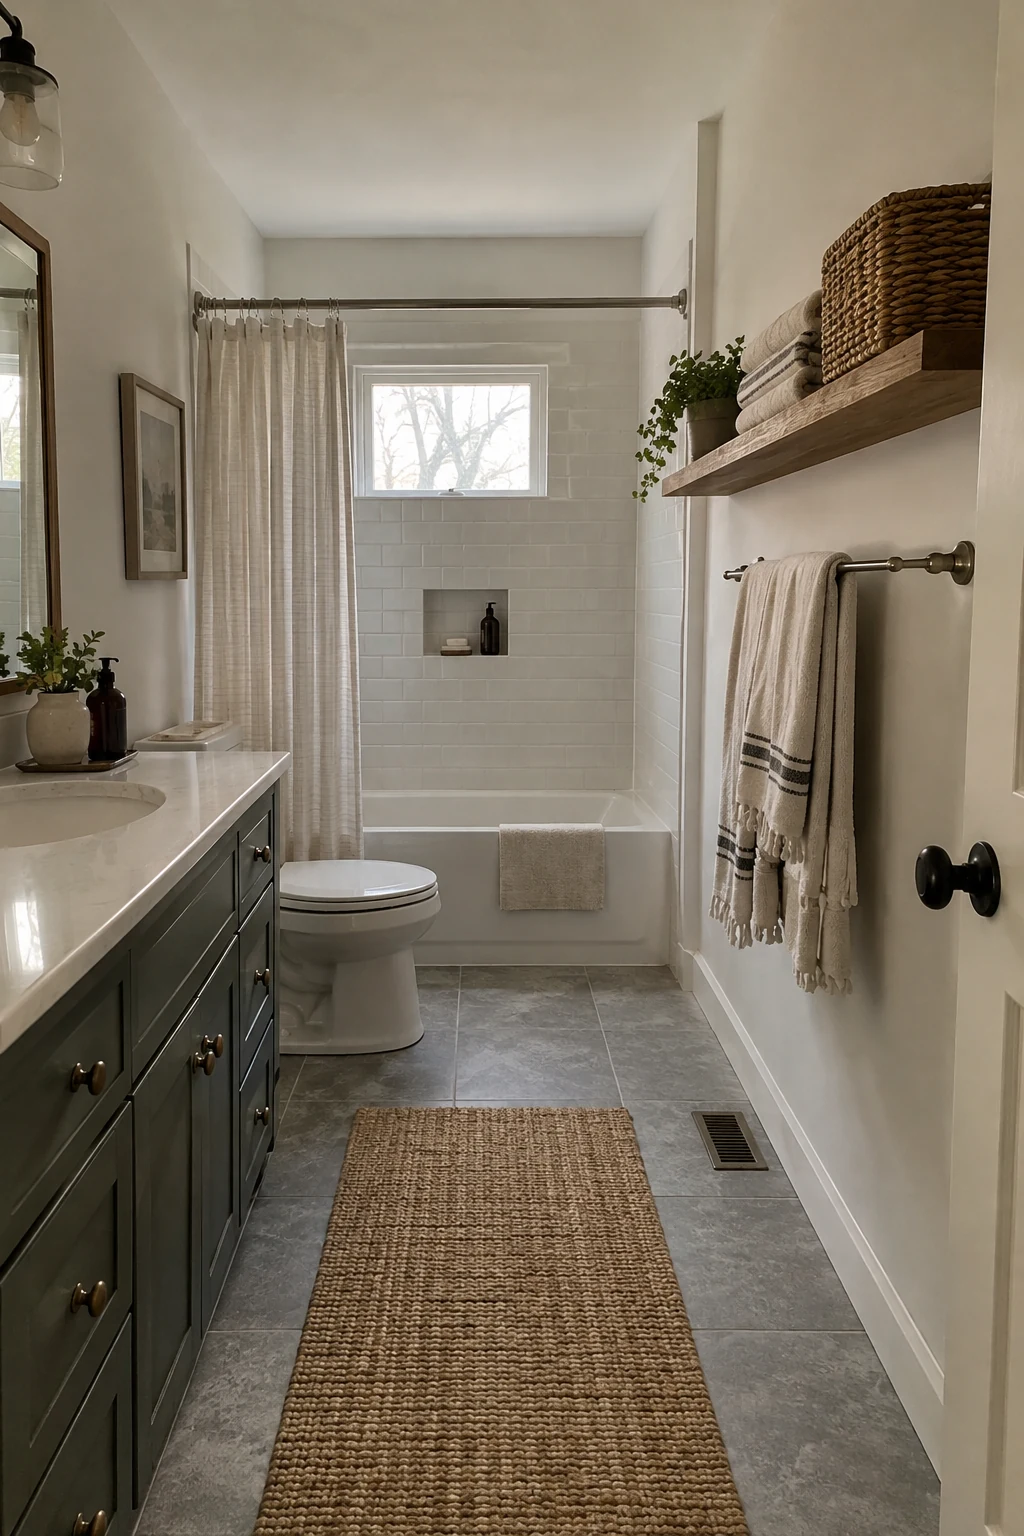
One properly scaled shelf can hold towels and a basket without creating a stack of visual clutter. Set its depth around the walkway, door swing, and users' shoulders rather than maximizing storage.
Use moisture-stable material, seal all faces, and anchor brackets for the expected load. Group small items inside one washable container so the shelf stays easy to wipe.
Open storage looks calm when the container count stays lower than the shelf capacity.
48. Add Hooks Where Towels Can Actually Dry
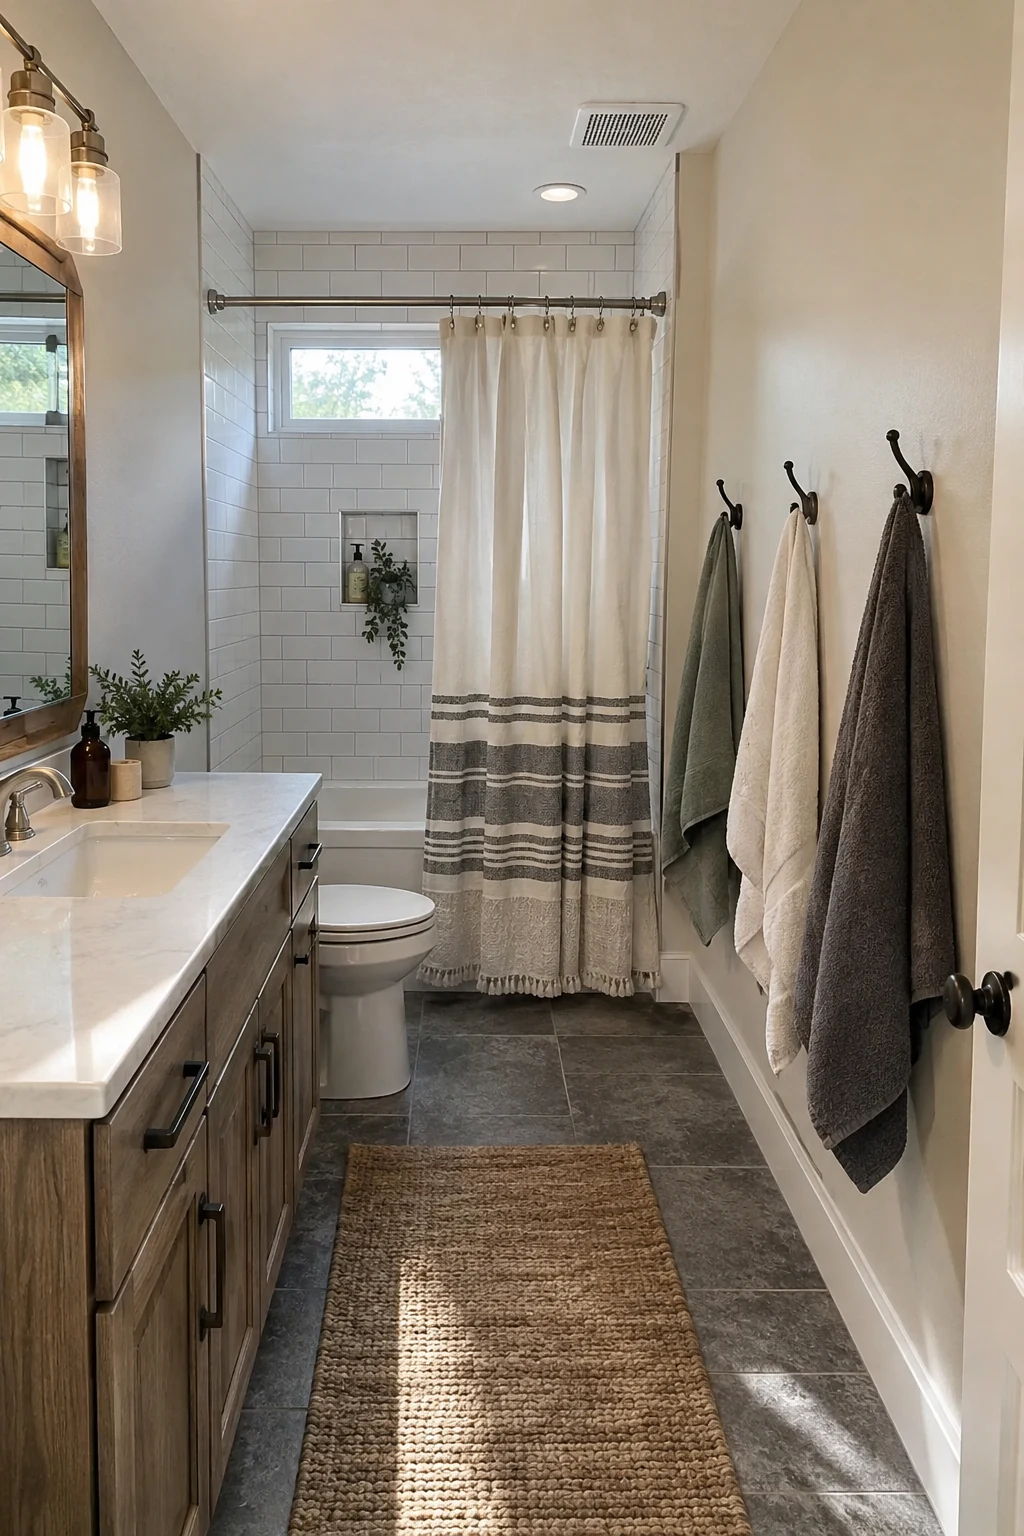
Hooks are easier for children and hurried adults than perfectly folded bars, but towels still need air around them. Space hooks so fabric does not remain bunched against the wall or overlap another damp towel.
Mount into blocking or appropriate anchors and keep hooks out of door swings and narrow shoulder zones. Add a separate small ring or hook beside the sink for the hand towel.
49. Use the Door Back for Lightweight Storage
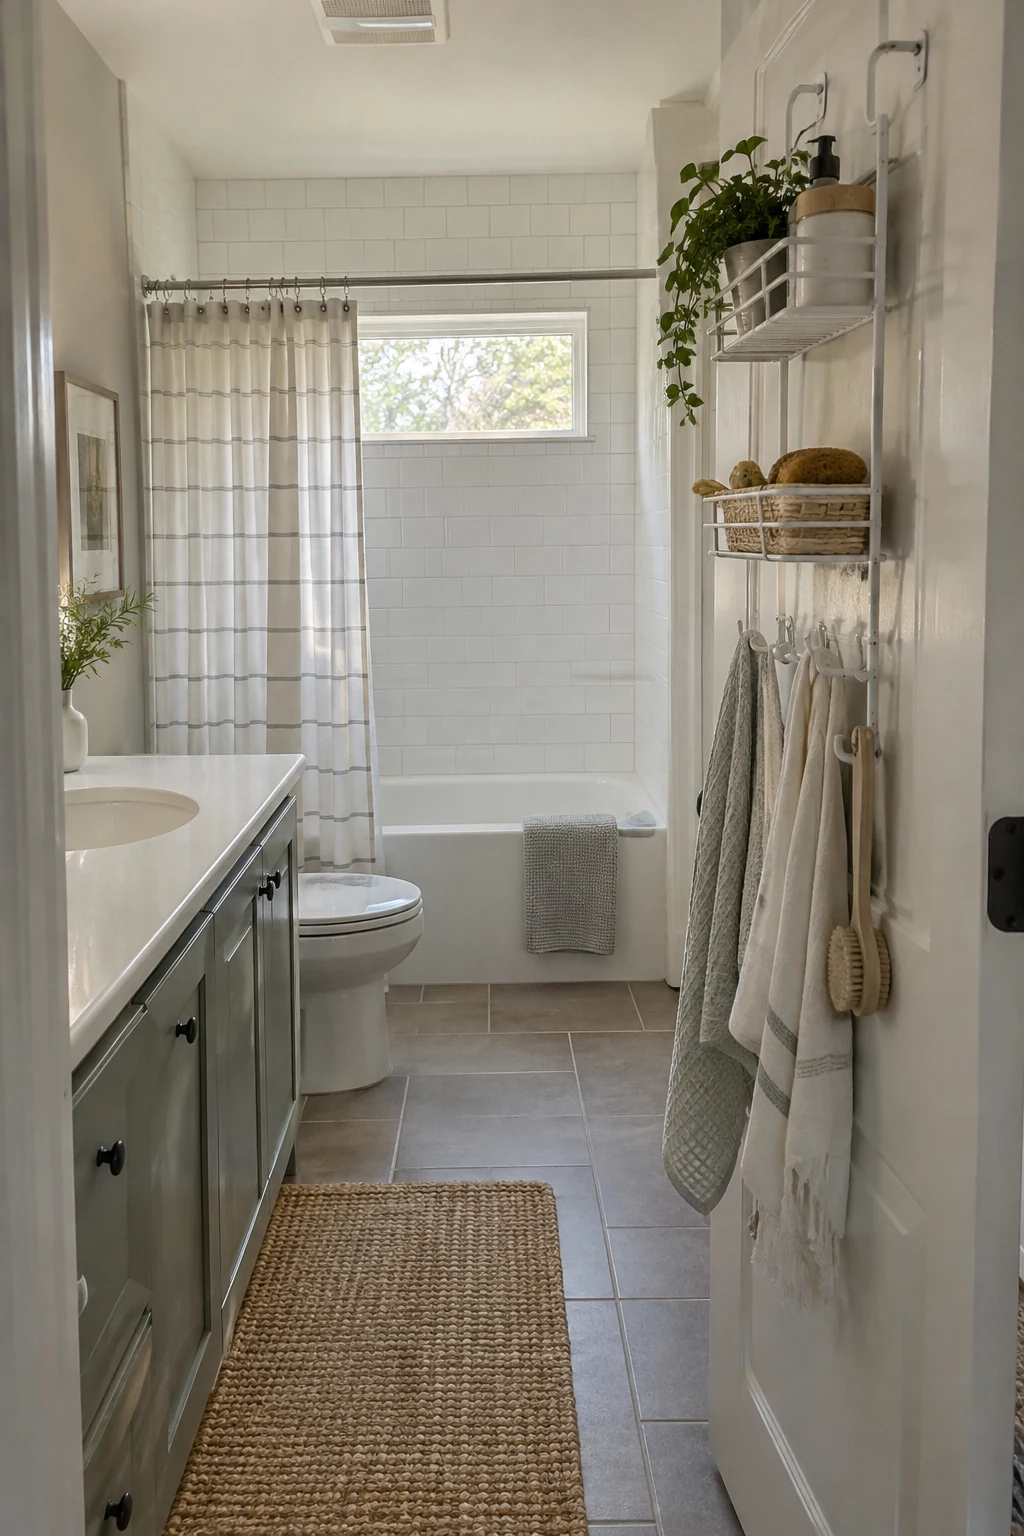
A slim over-door or mounted rack can hold hair tools when cool, spare washcloths, or lightweight toiletries. Confirm the door still opens fully and the organizer clears trim, hooks, and nearby fixtures.
- Store only lightweight items
- Keep hot tools cool and unplugged
- Check full door swing after loading
Protect the door finish and distribute weight evenly. For renters, choose padded hardware that removes cleanly and test it before loading bottles.
Small-space storage works best after editing duplicates. Review small-bathroom storage ideas before buying containers for items the household does not use.
50. Build a Narrow Linen Tower Into an Empty Gap
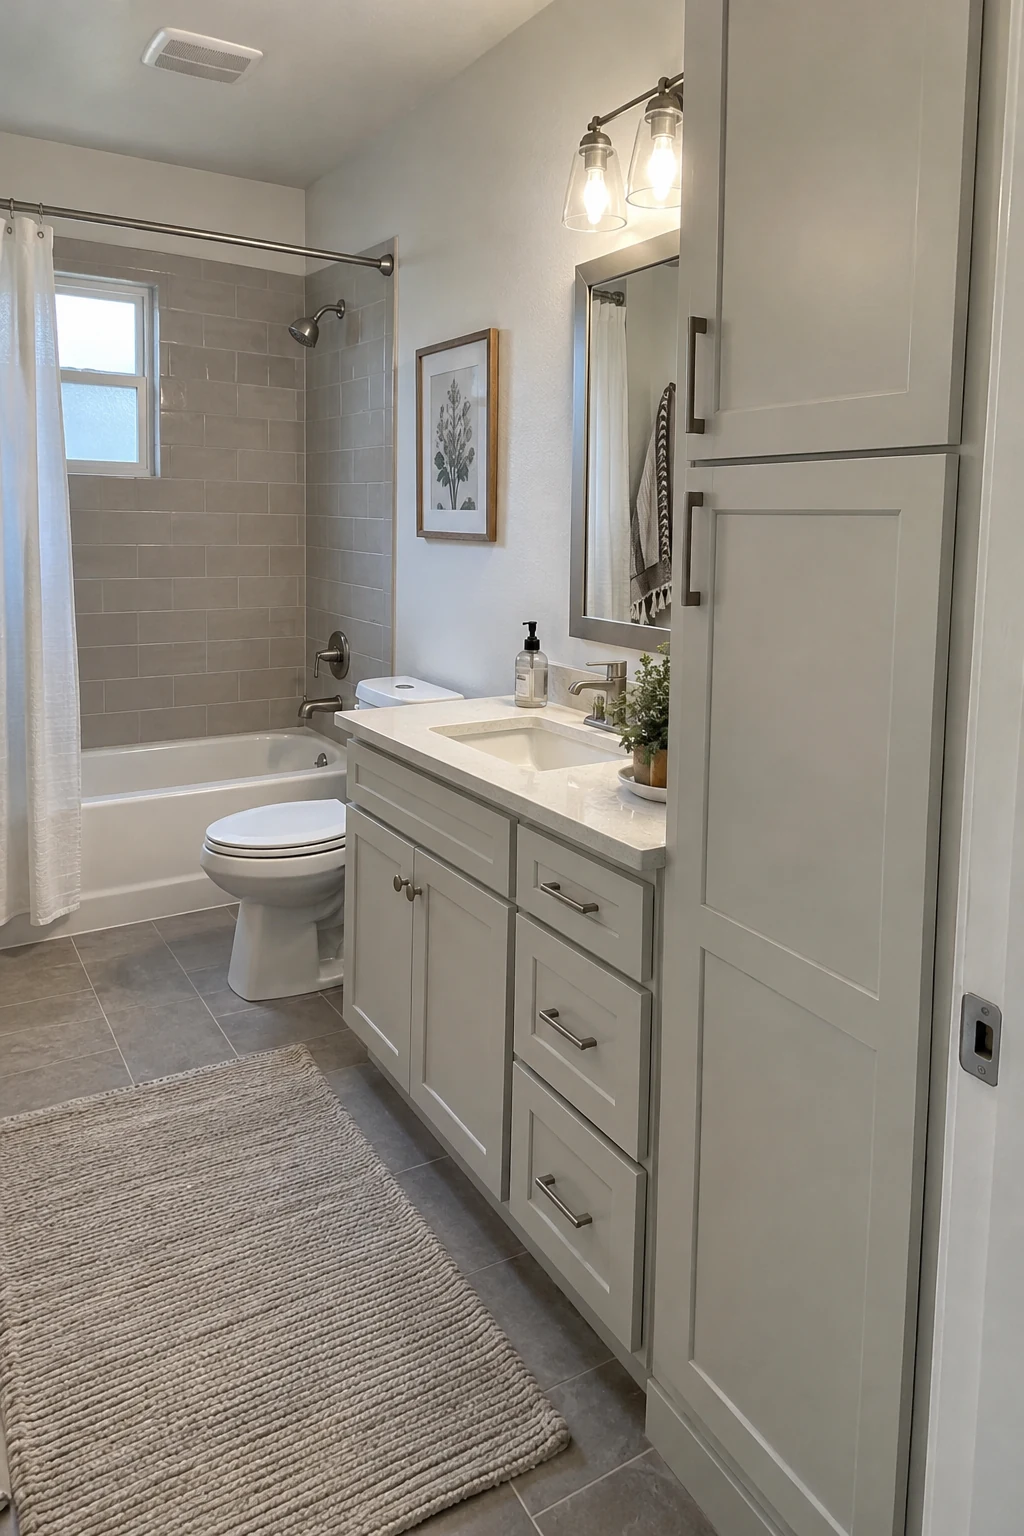
A narrow tower can turn an awkward gap into storage for towels and refills. Measure base trim, counter overhang, outlets, door casing, and the tower's full door or drawer movement.
Anchor tall furniture against tipping and keep its depth aligned with the vanity when possible. Use closed lower storage for visual calm and a single open niche only if it stays dry and easy to clean.
Plan for Renters, Accessibility, and Long-Term Maintenance
The final layer should match who uses the room, what the lease permits, and how much maintenance the household will realistically perform.
51. Make a Reversible Rental Upgrade Kit
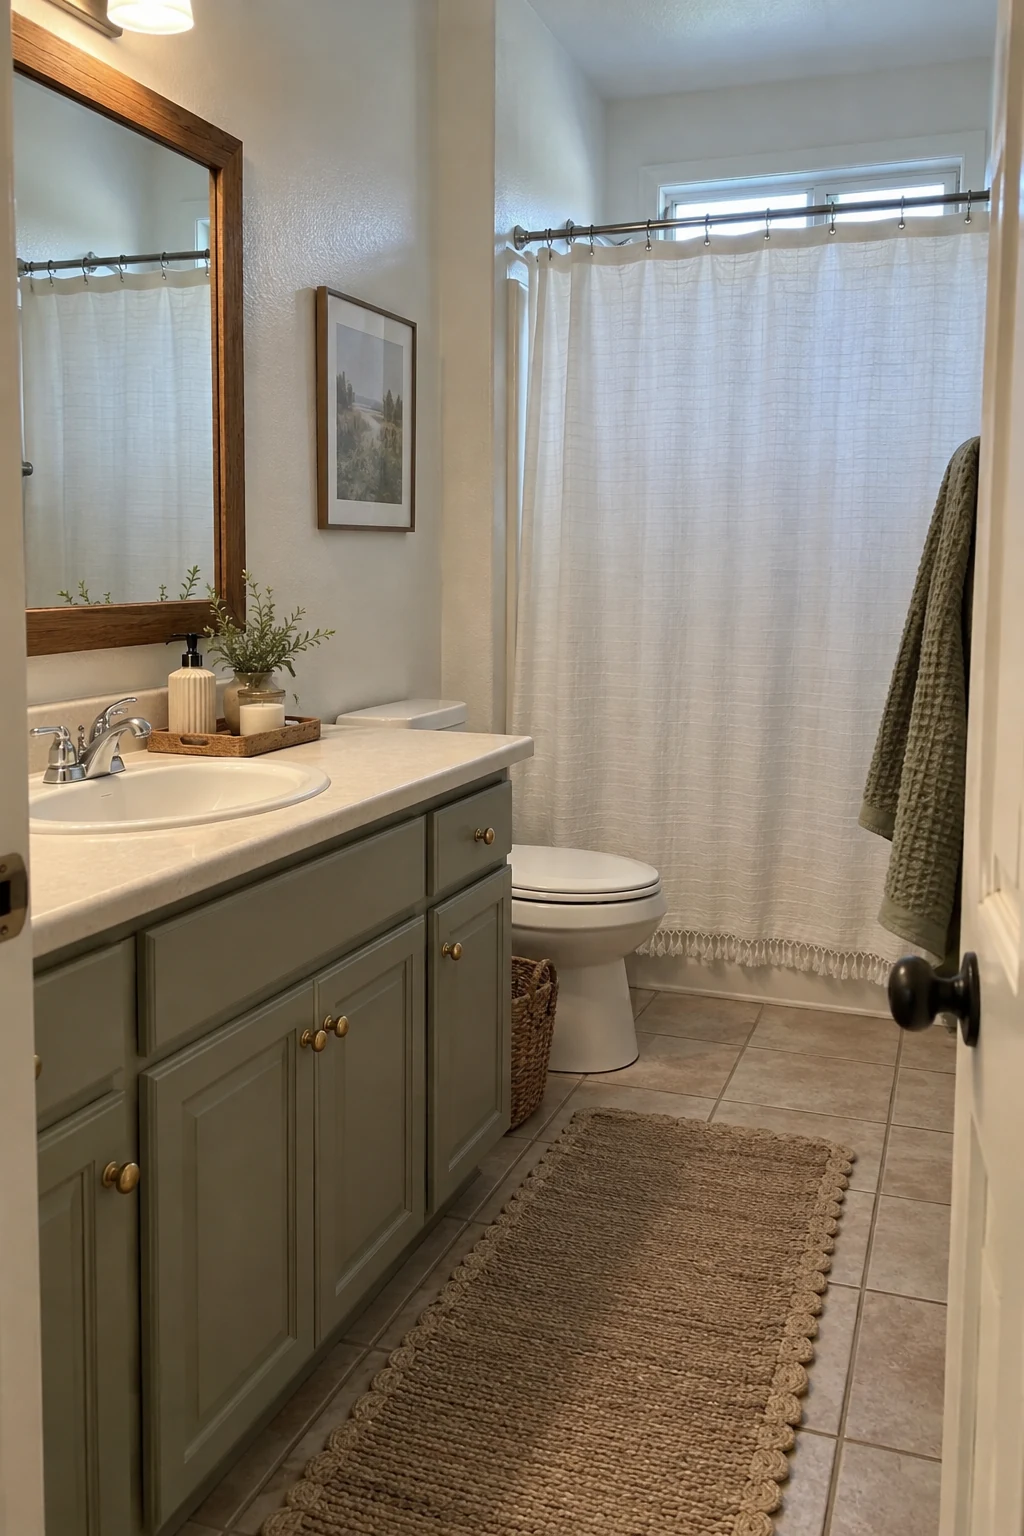
Group reversible changes into one plan: approved paint or removable wall treatment, swapped knobs, a tension curtain rod, plug-in-free lighting improvements, textiles, art, and contained counter storage.
Get written permission where the lease requires it, avoid altering plumbing or wiring, and keep original parts labeled by location. Photograph the room before work so restoration is straightforward.
Choose fewer coordinated changes rather than covering every surface. A new curtain, mirror treatment, hardware, and towel palette can shift the room without leaving adhesive across multiple finishes.
Reversible means the original surface and parts can return without hidden damage.
52. Add Wall Blocking Before Future Grab Bars
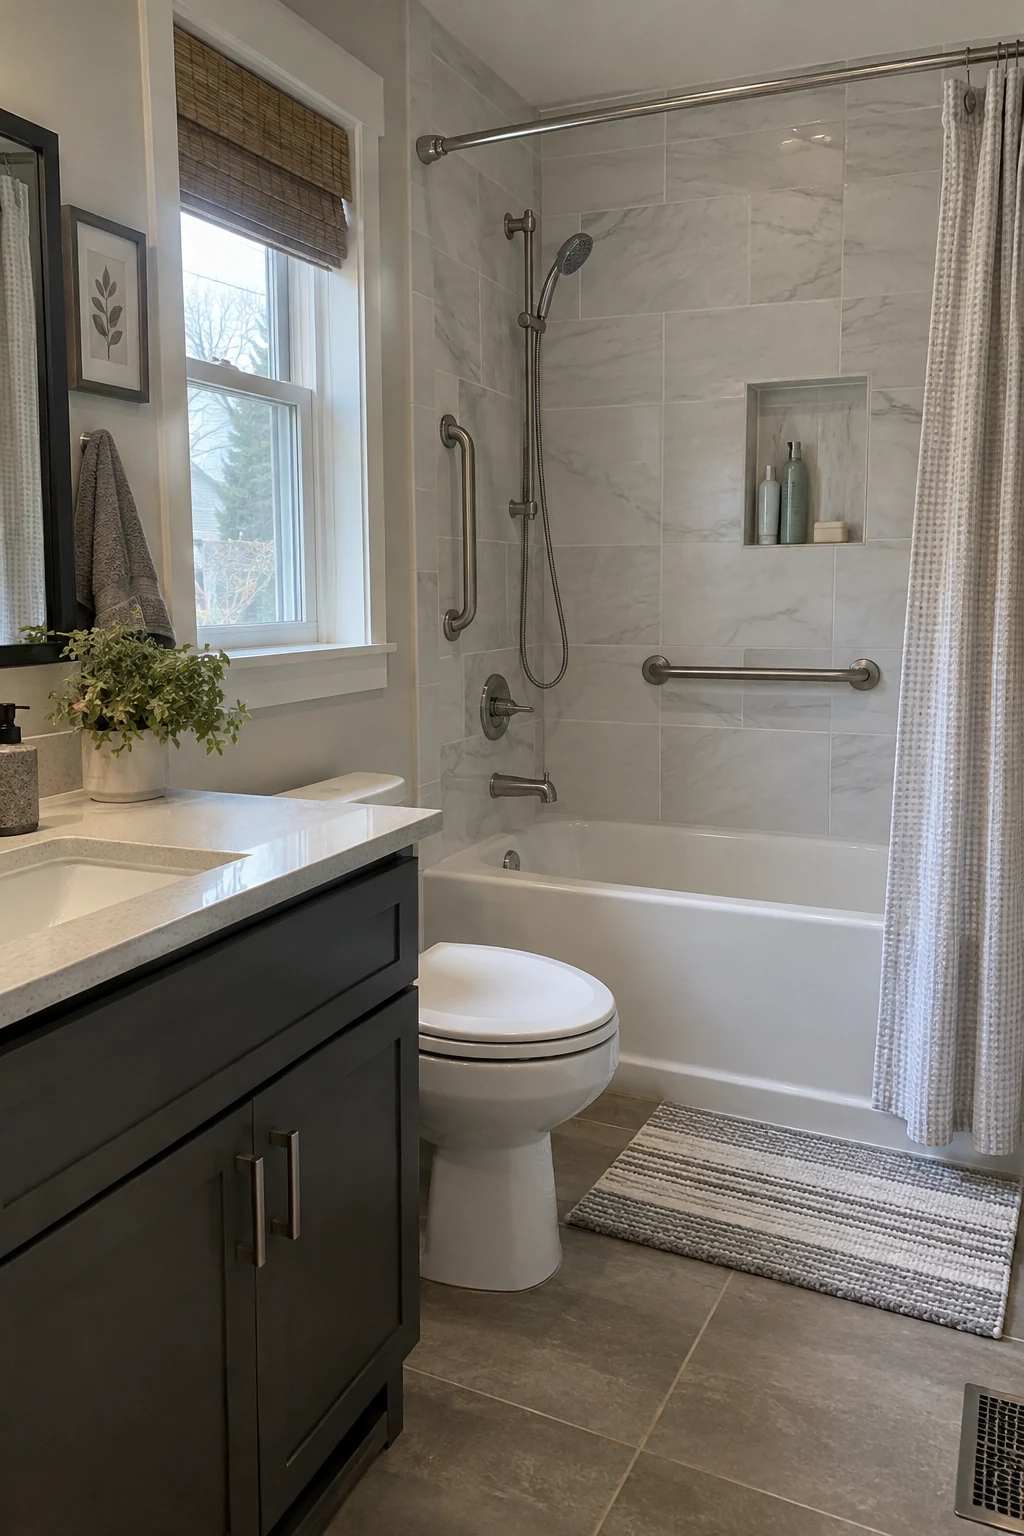
When walls are open, add documented structural support for future grab bars, a folding seat, and accessible accessories. Photograph and measure the blocking from fixed room landmarks before waterproofing and tile hide it.
- Plan bars, controls, and seat together
- Document concealed blocking
- Verify adopted rules and the user's reach
If bars are needed now, select listed hardware and professional anchoring for the actual wall construction. Do not substitute towel bars or suction accessories for structural support.
Use the U.S. Access Board bathing-room guidance as a planning reference, then verify the requirements and user-specific placement that apply to the home and project.
53. Use Lever Handles and Easy-Reach Controls
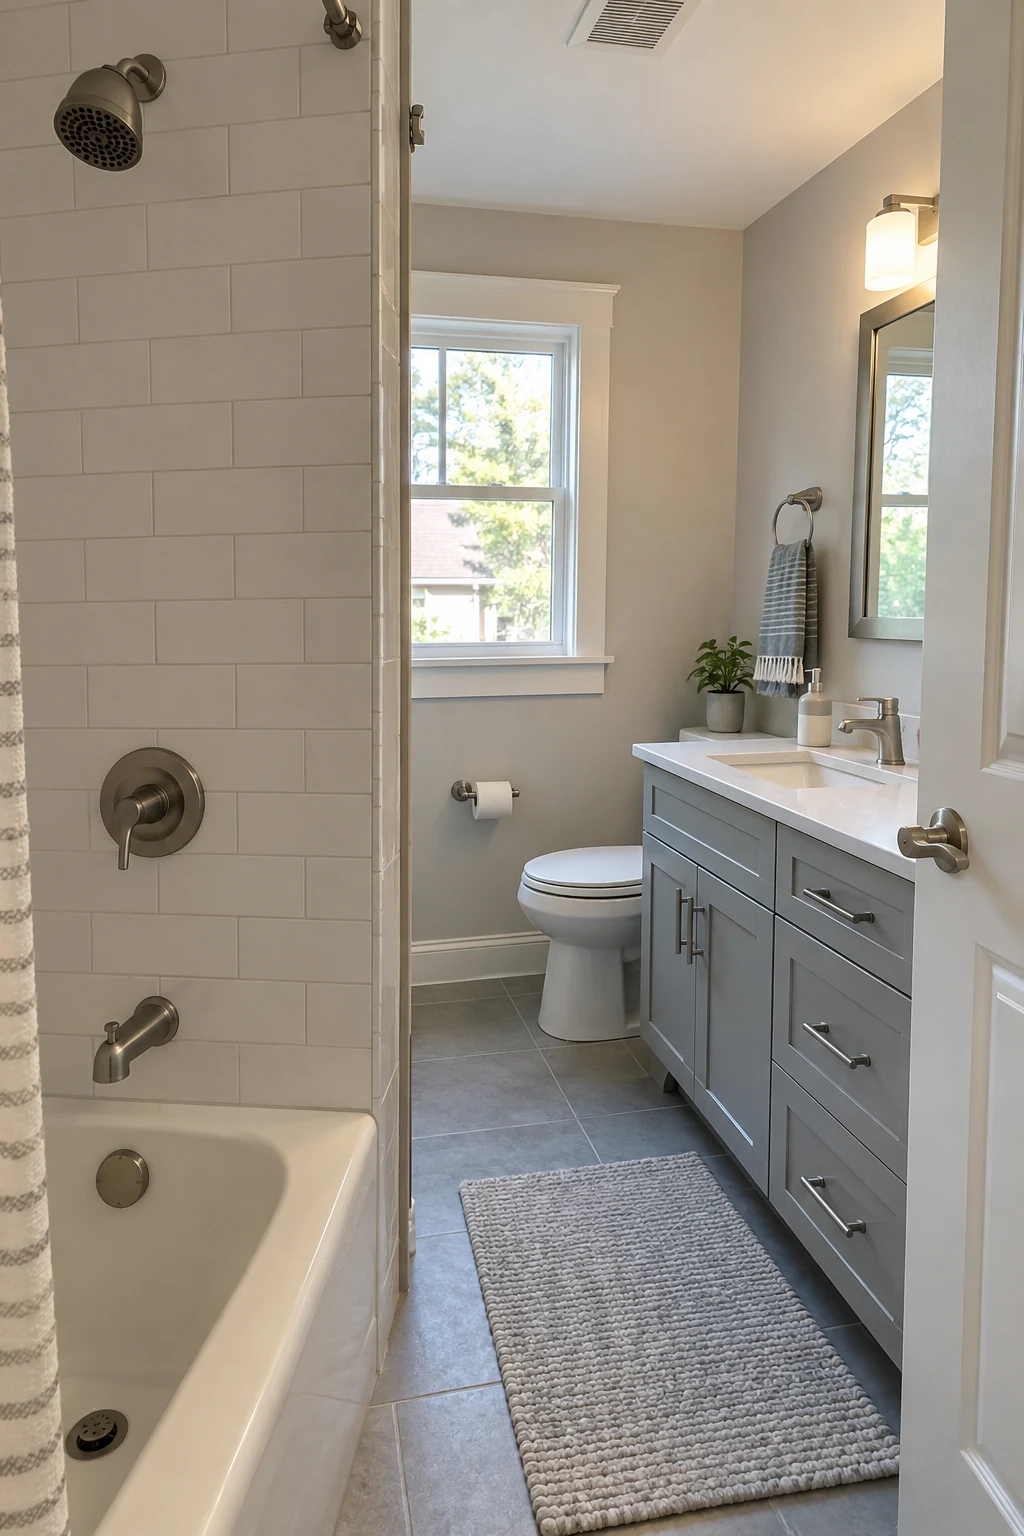
Lever handles can be easier to operate with wet hands or limited grip. Check that the faucet, door latch, cabinet pulls, and shower controls move smoothly without sharp edges or excessive force.
Position frequently used items within the user's comfortable reach and keep controls visible. Product operation, plumbing compatibility, and adopted accessibility requirements should guide selection and placement.
54. Plan a Low-Threshold or Curbless Shower as Major Work
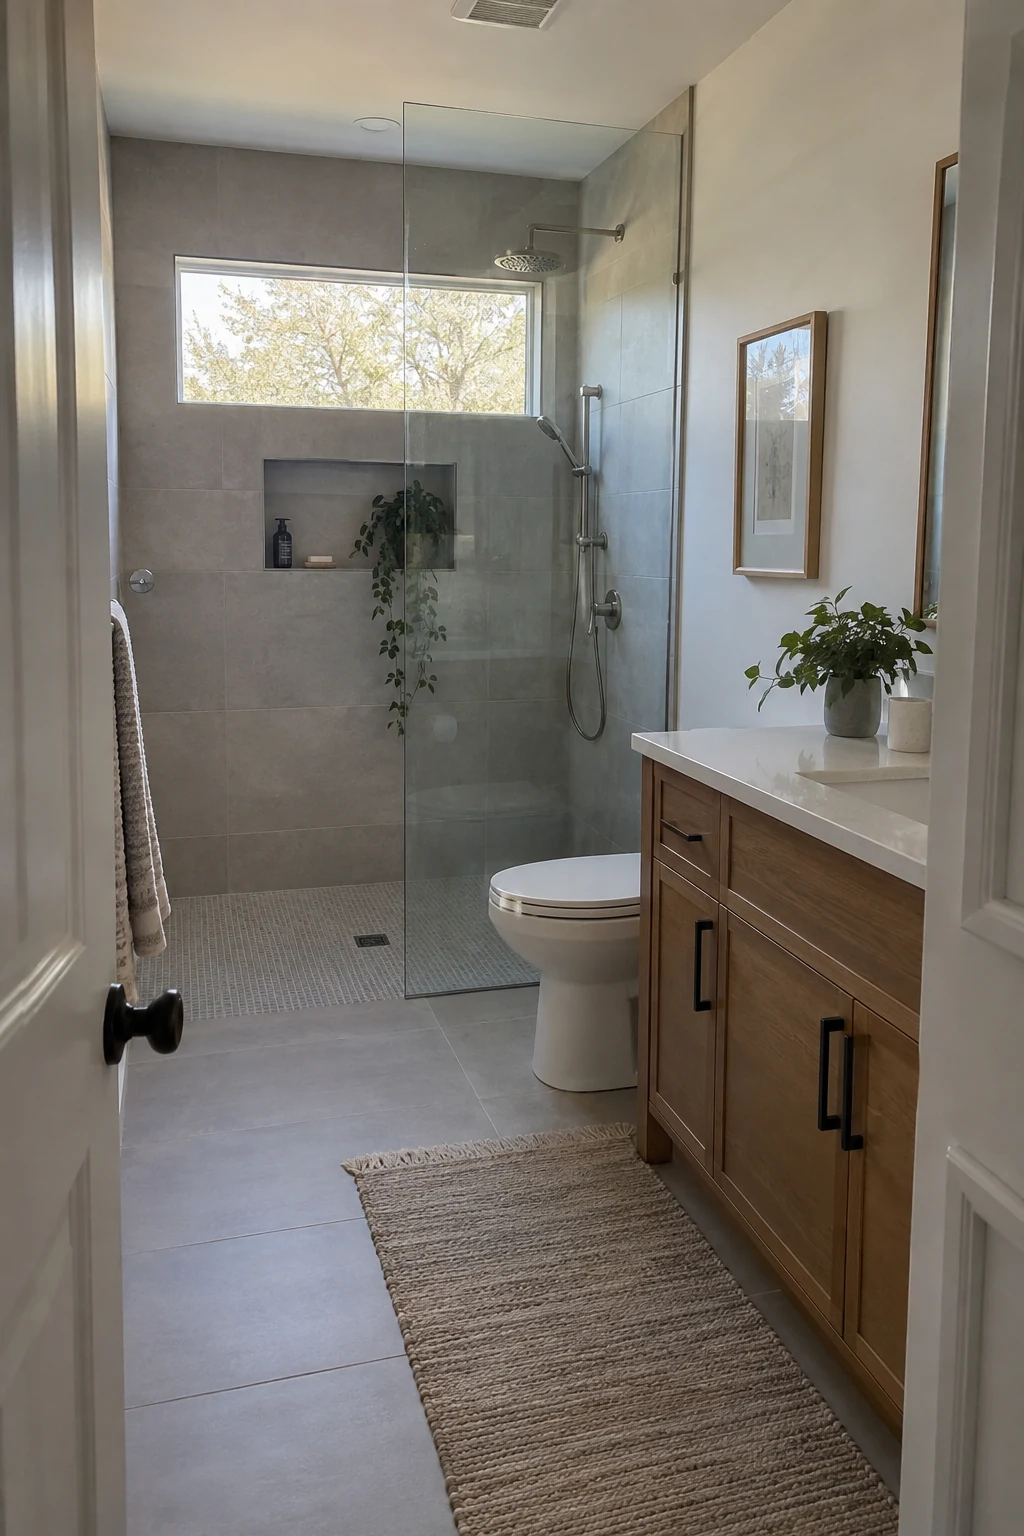
A low-threshold or curbless shower can reduce a trip point and improve long-term access. It requires coordinated floor structure, slope, drainage, waterproofing, glass, spray control, and transitions beyond the shower opening.
Review zero-entry shower ideas for layout inspiration, then have qualified professionals confirm what the existing structure can support.
Do not remove a curb as a cosmetic shortcut. The entire wet-area assembly and adjacent floor must manage water while preserving safe movement and serviceable plumbing.
Treat a curbless conversion as a drainage and waterproofing project first.
55. Create a Simple Maintenance File for the Finished Room
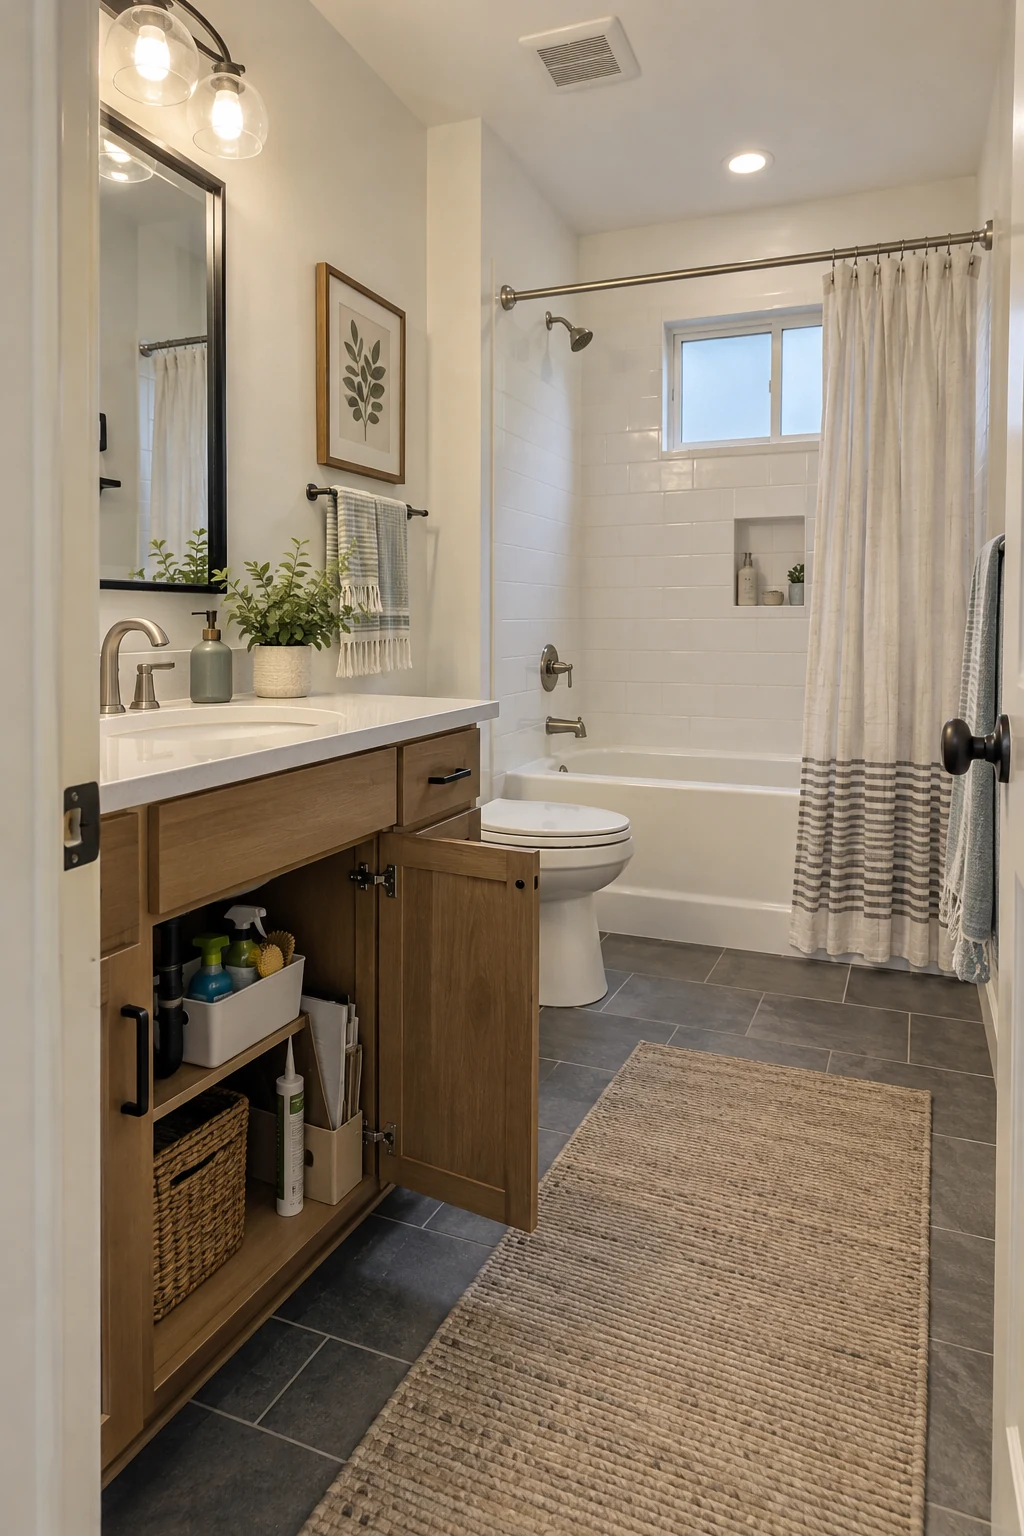
Save paint colors, grout and sealant names, tile lot information, fixture models, spare parts, receipts, warranties, and installer contacts in one digital or paper file. Include photographs of concealed work and shutoff locations.
- Save model numbers and finish names
- Photograph hidden work and shutoffs
- Schedule seasonal leak and sealant checks
Write a realistic routine for fan cleaning, caulk inspection, grout care, drain clearing, leak checks, and finish-safe products. Manufacturer instructions should decide which cleaners touch the tub, counter, flooring, glass, and hardware.
Keep a small supply of matching consumables without hoarding open chemicals in the humid room. Early attention to a failed joint or slow drip protects the makeover far better than another decorative purchase.
Build the Makeover Around What the Bathroom Needs
Start with moisture, ventilation, leaks, support, and safe utility work; then improve the vanity, mirror, lighting, walls, floor, and storage in a coordinated palette. Keeping sound fixtures can free enough budget for details that make the whole room feel considered.
Mock up sizes, confirm compatible products, protect finished layers, and document concealed work. A builder-grade bathroom feels custom when every visible change supports daily use and every hidden repair is allowed to do its job.