50 Very Small Bathroom With Shower Ideas

This post may contain affiliate links: full affiliate disclosure.
A very small bathroom can still hold a shower, toilet, useful sink, storage, and comfortable circulation. The winning plan is rarely the one with the most features; it is the one where every door, drain, and fixture has a believable place.
These 50 ideas move from layout and shower enclosures to waterproofing, ventilation, renter changes, accessibility, and maintenance. Use them to compare tradeoffs, then verify measurements and local requirements with qualified professionals before construction.
Draw the finished room to scale, including door swings, plumbing centers, and the shower opening. A few recovered inches can prevent collisions after tile and glass.
Make the Footprint Work Harder
Start with doors, fixture depth, and plumbing relationships. A successful tiny bathroom protects the circulation path before it chooses finishes.
1. Use a 36-Inch Corner Shower With Clear Glass
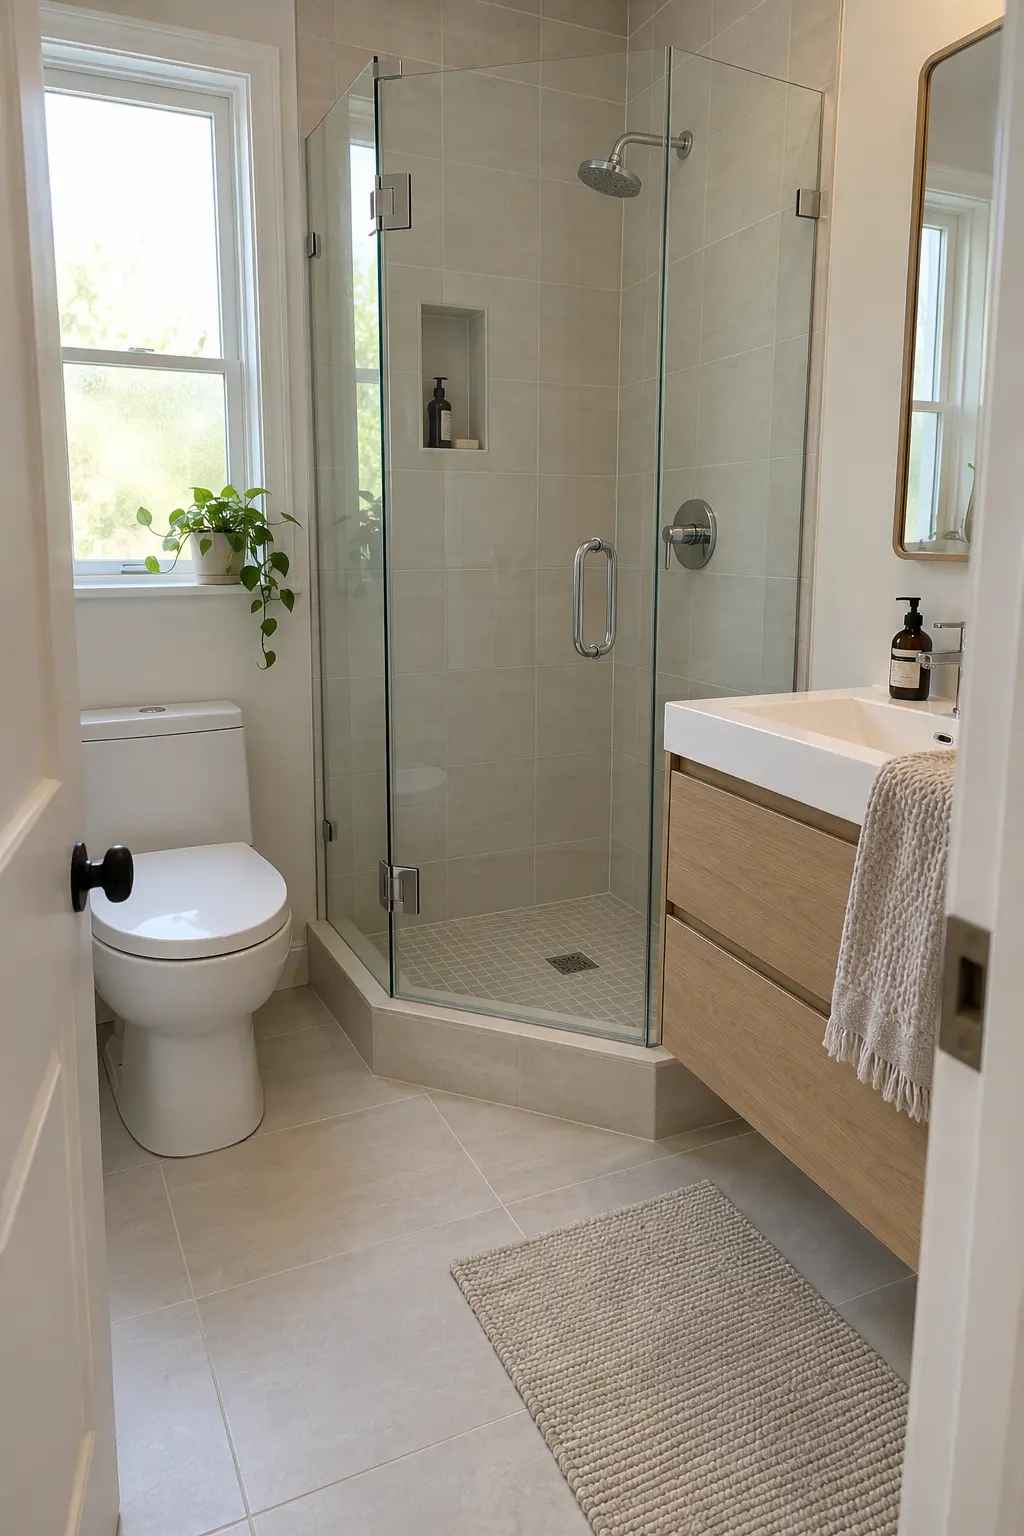
A corner shower preserves the center aisle and lets the toilet and vanity share the walls. Clear glass keeps the enclosure connected to the room, but the door needs a landing.
Tape the shower footprint and every door swing on the floor before ordering. Many jurisdictions use 30 inches by 30 inches and 900 square inches as a baseline, yet local plumbing and building rules can be stricter.
Keep controls reachable from the entry so cold water can run without stepping under the spray. A small mosaic floor adds grout-line traction and follows compound slopes more cleanly than oversized tile.
Mark the shower, toilet, vanity, entry door, and glass-door swing with painter’s tape before ordering anything.
2. Run the Shower Across the Short Back Wall
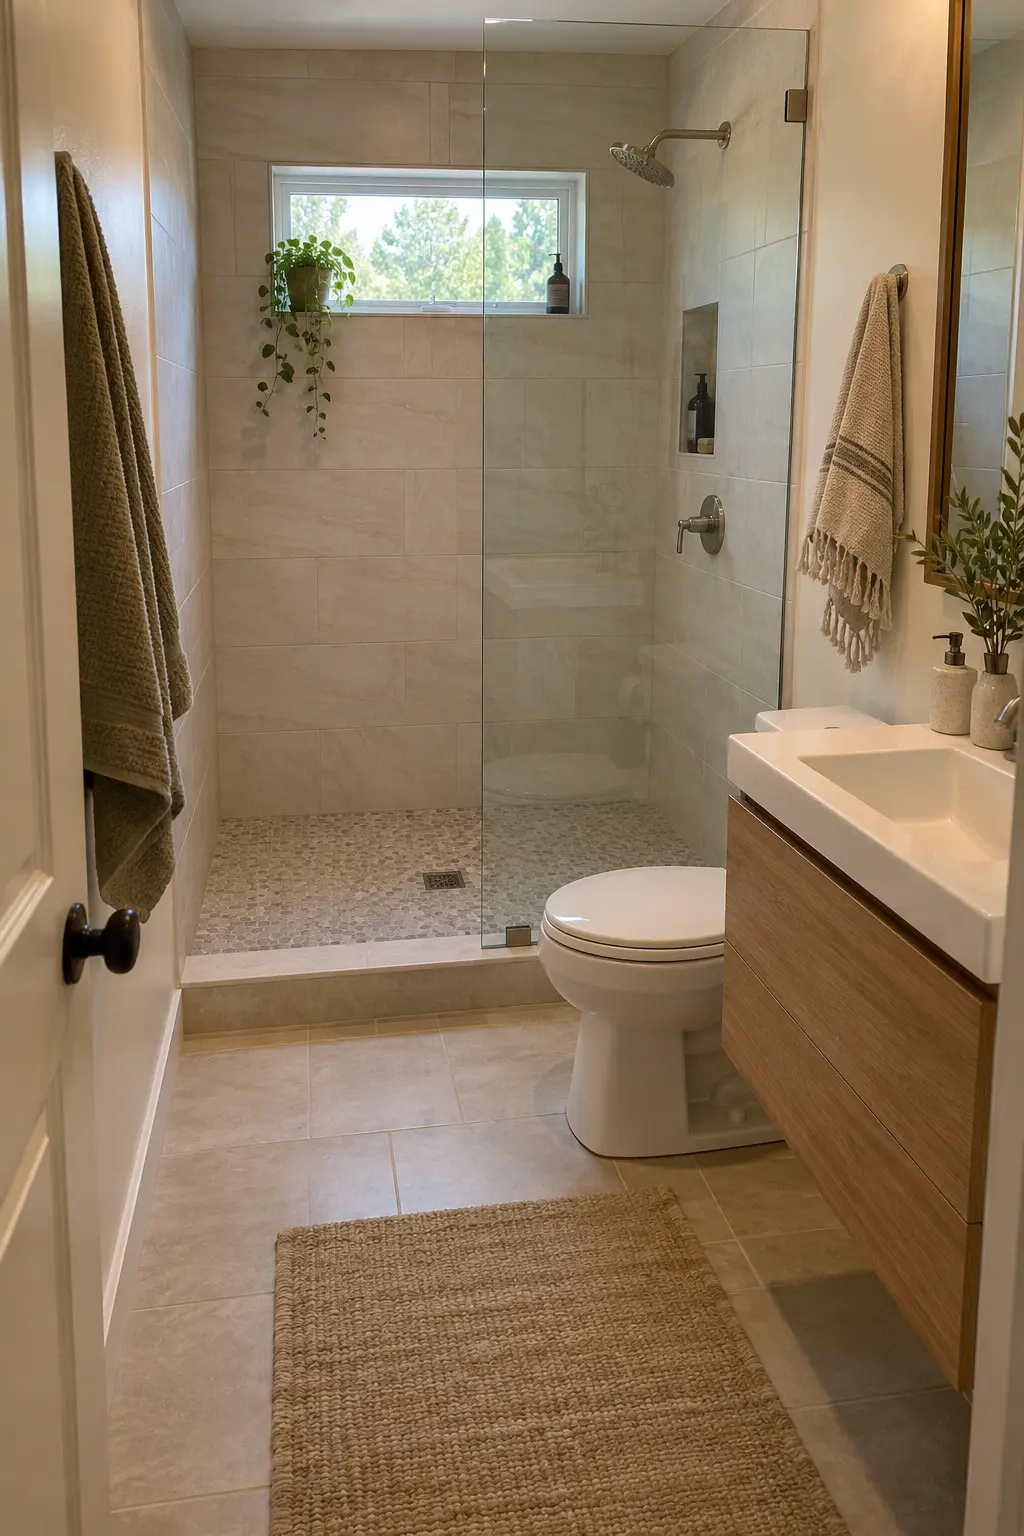
Placing the shower across the room’s short end turns an awkward rectangle into a clear wet zone. The vanity and toilet can then line one side without interrupting the path from the door.
Aim the showerhead away from the opening and use a fixed screen long enough to catch ordinary spray. An open panel is useful only when the remaining entrance still feels comfortable and the dry floor stays dry.
Continue one calm wall finish through the shower, then change to a smaller slip-resistant floor tile. The shift in scale handles drainage while keeping the room visually simple.
3. Choose a Top-Hung Sliding Shower Door
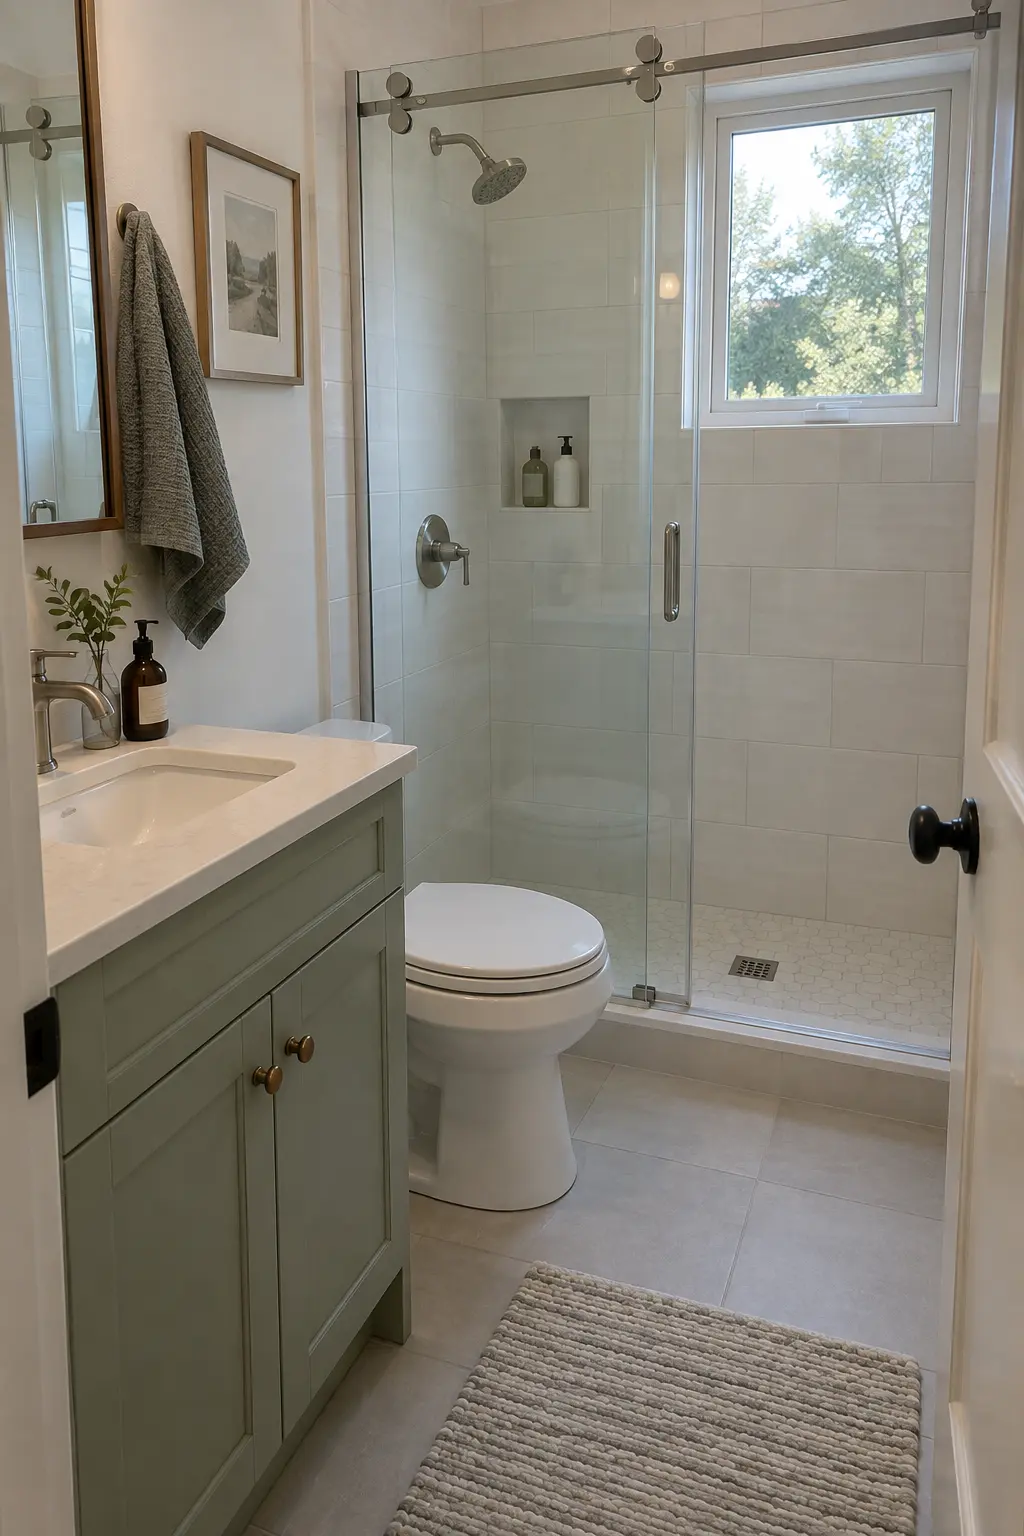
A sliding shower door removes the swing arc that often collides with a toilet, vanity, or entry door. Top-hung hardware also leaves the threshold easier to wipe than a bulky lower track.
Measure the actual walk-through opening, not only the enclosure width. Overlapping panels reduce usable entry space, so confirm the manufacturer’s opening dimension before framing or ordering glass.
Select tempered safety glass and hardware rated for the panel weight. Keep rollers and guides accessible for cleaning; a space-saving door is not helpful if its track becomes a permanent soap-scum trap.
4. Fit a Neo-Angle Shower Into the Corner
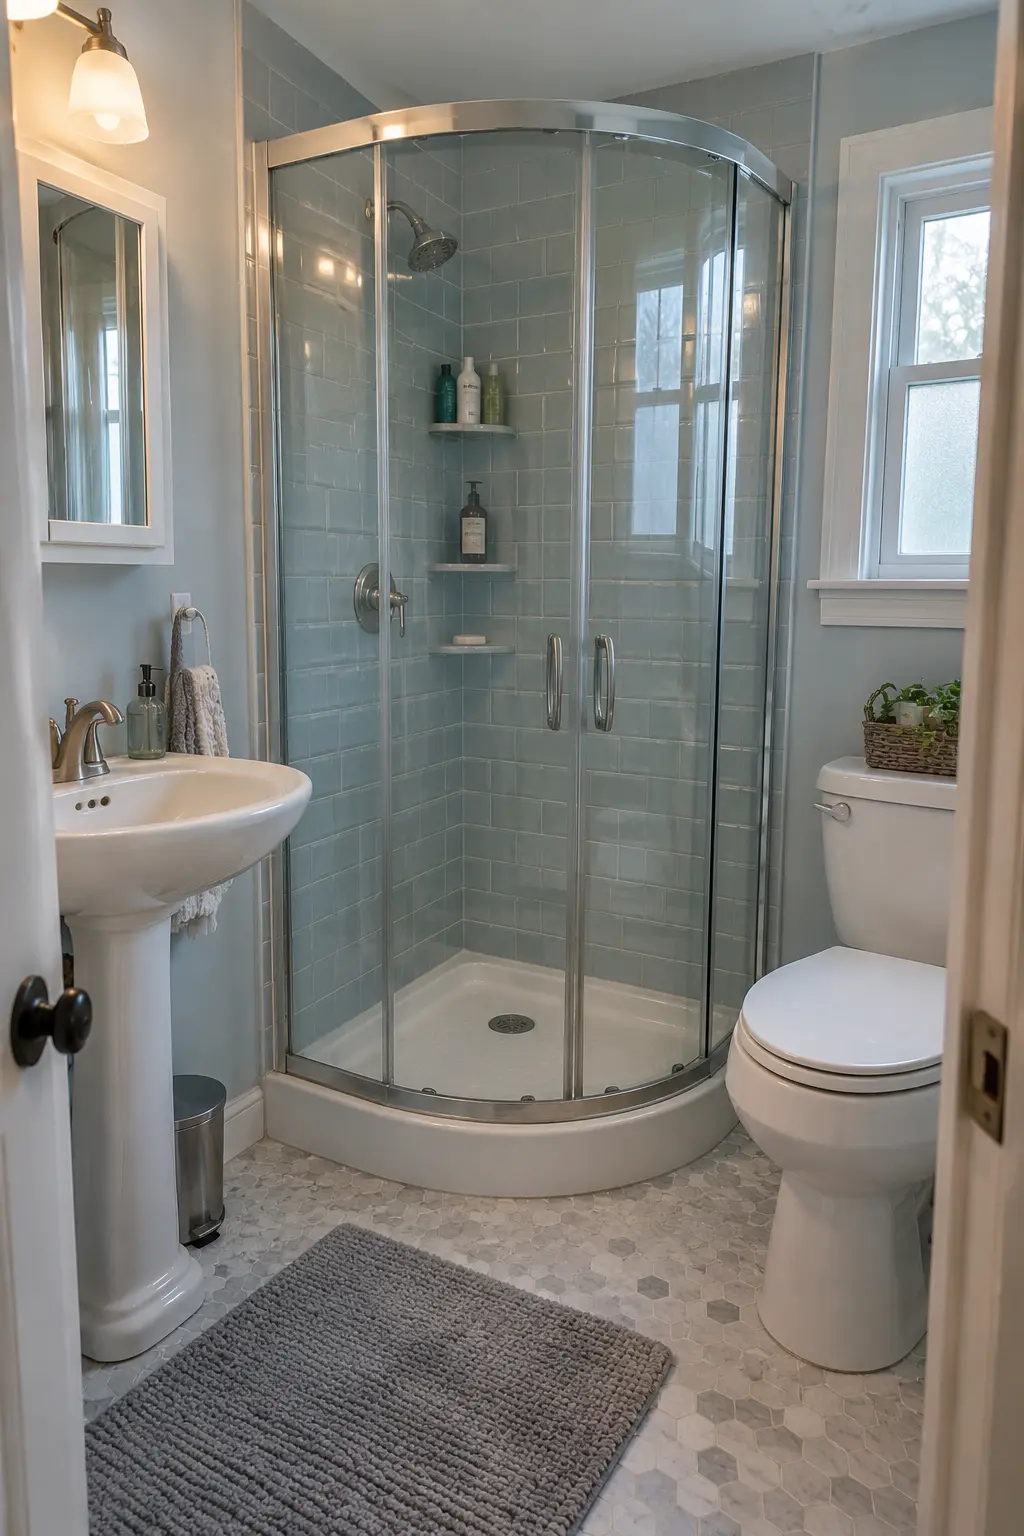
A neo-angle enclosure clips the projecting corner from a square shower and can open a few valuable inches beside the toilet. It works best when the door meets two fixed panels cleanly.
Check the diagonal entry against your shoulders and daily routine. The footprint may look generous on plan while the angled doorway feels tight, especially when a bath mat or wastebasket occupies the landing.
Use a purpose-made base or a carefully waterproofed tiled pan. Custom angles multiply joints, so insist on continuous membrane detailing and a flood test before finish tile is installed.
5. Use a Fabric Curtain When Every Inch Counts
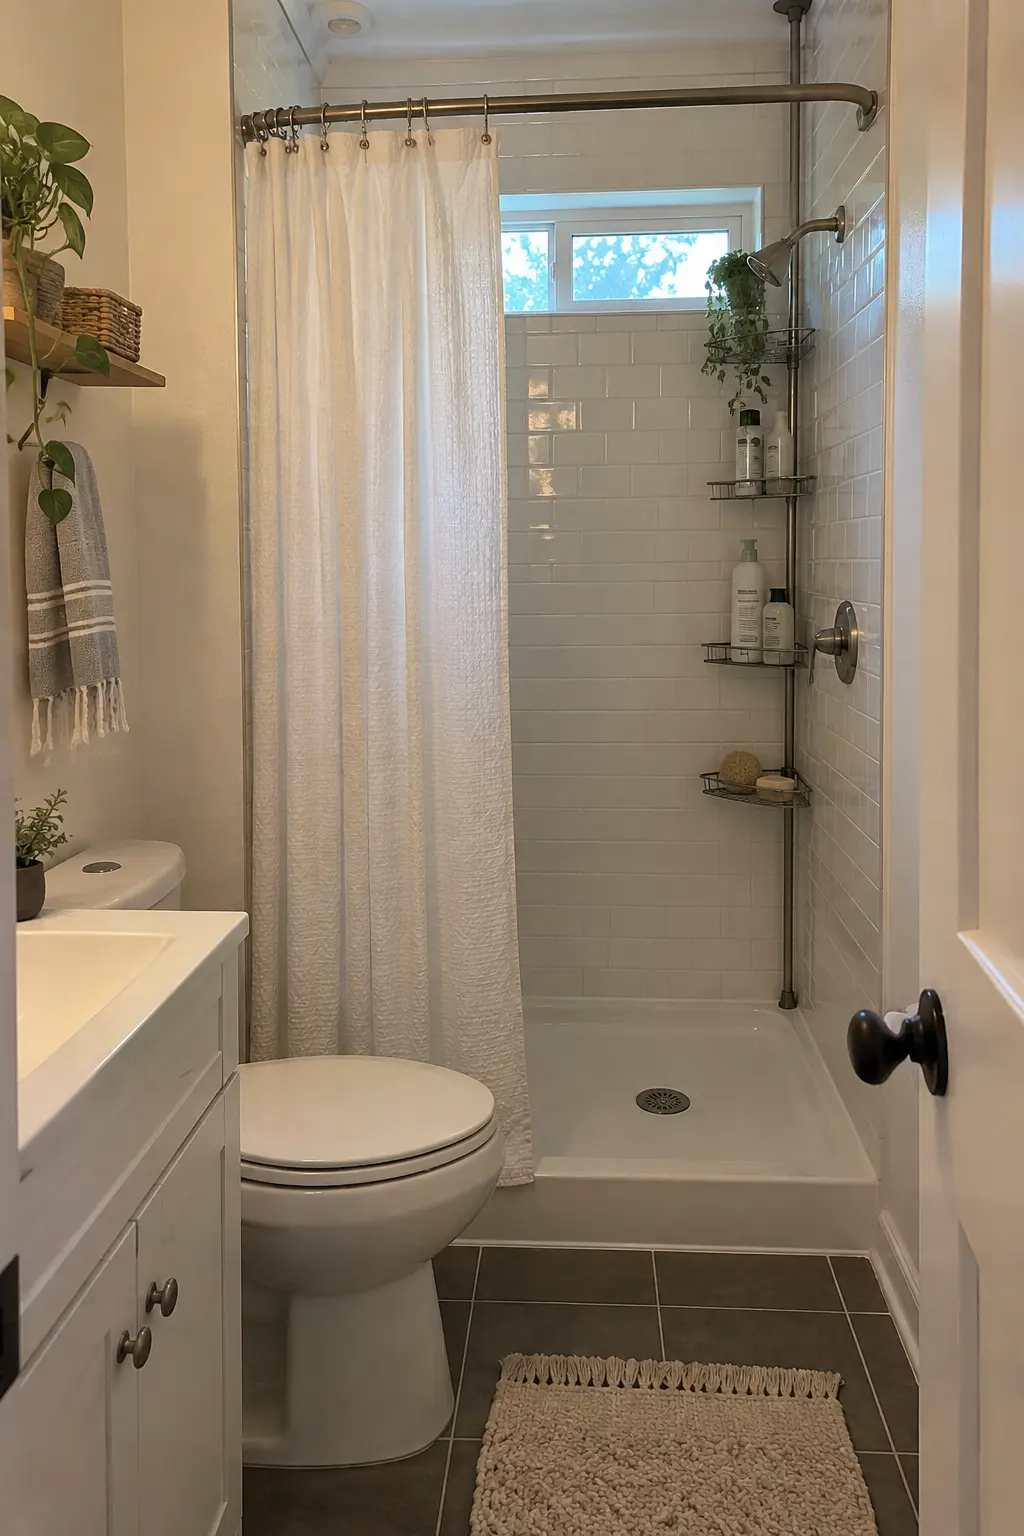
A curtain gives the entire shower opening back when it is pulled aside, making it practical for a tiny rental or budget renovation. A washable outer curtain still needs a separate waterproof liner inside the pan.
Mount the rod high enough to emphasize the ceiling but keep the liner overlapping the curb. For more styling directions, browse these small bathroom shower curtain ideas without sacrificing water control.
Choose quick-drying fabric and leave it spread after bathing. Bunched material holds moisture, while a fully extended liner dries faster and is easier to inspect for mildew.
6. Keep a 30-by-60 Alcove Footprint
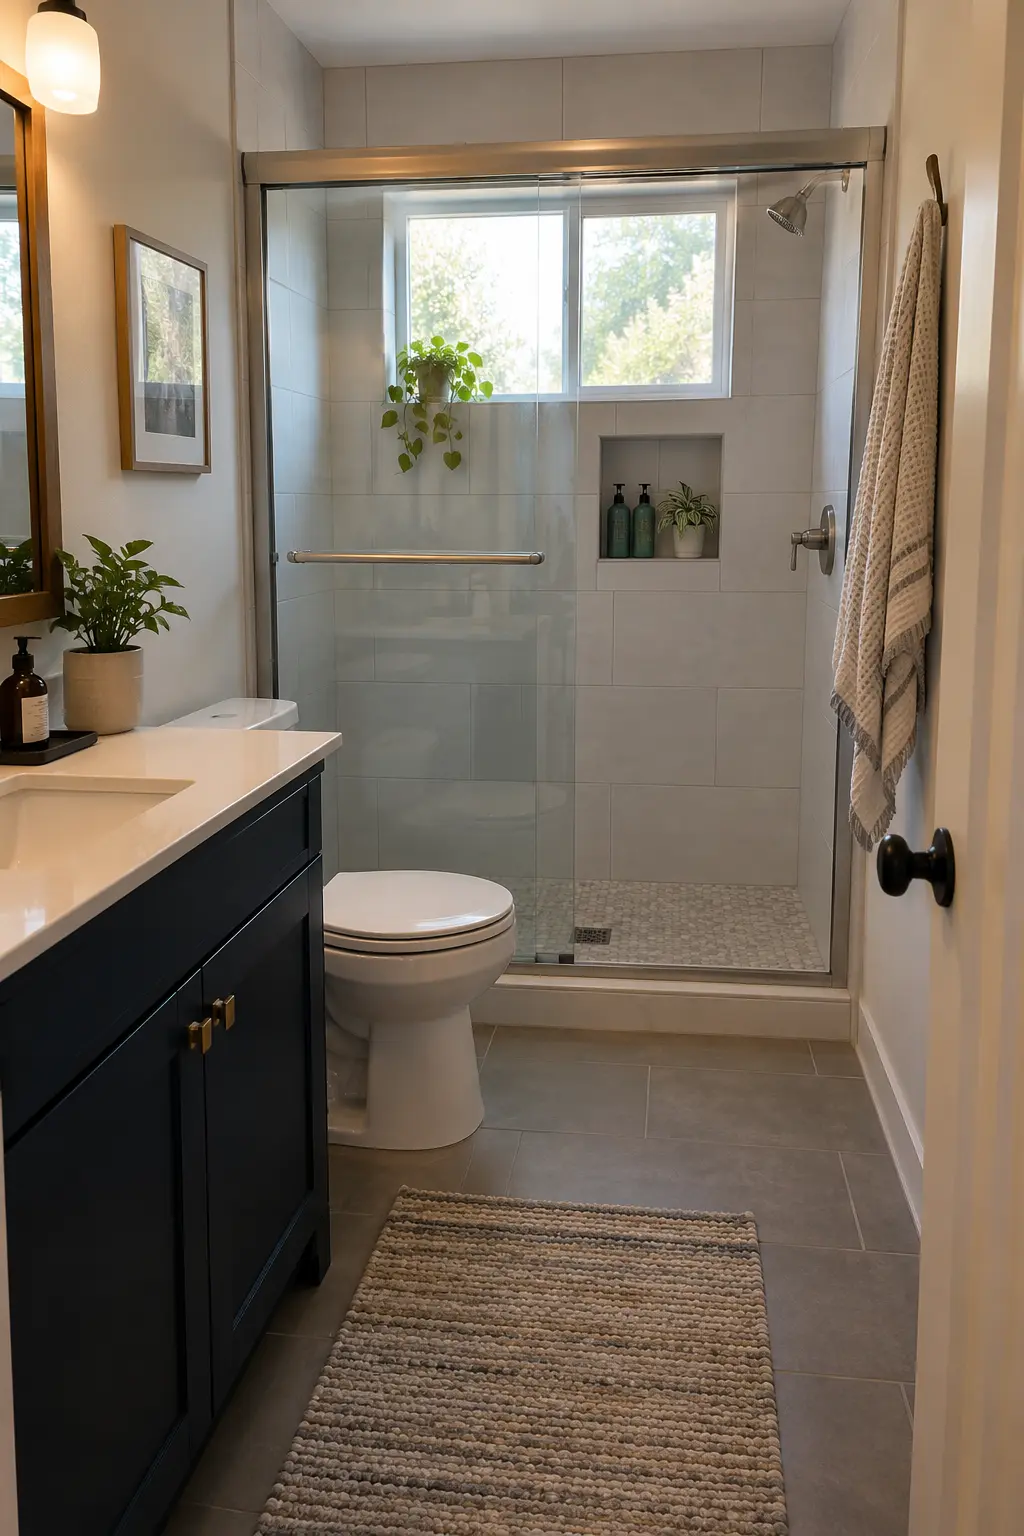
A 30-by-60-inch shower uses the familiar footprint of a standard tub alcove, which can simplify a tub-to-shower conversion. The long dimension gives more elbow room than a tiny square enclosure.
Keep the plumbing on the existing supply wall when it is sound, but do not assume the old drain, venting, or subfloor is ready. A licensed contractor should verify the system before the shower base is closed.
A low curb and sliding enclosure work well in this footprint. Order the door only after finished tile measurements are known; framed walls are rarely perfectly square.
- Verify the existing drain and vent before closing the floor.
- Template glass only after finished tile is complete.
- Keep the long shower wall free of unnecessary projections.
7. Design a True Micro Wet Room
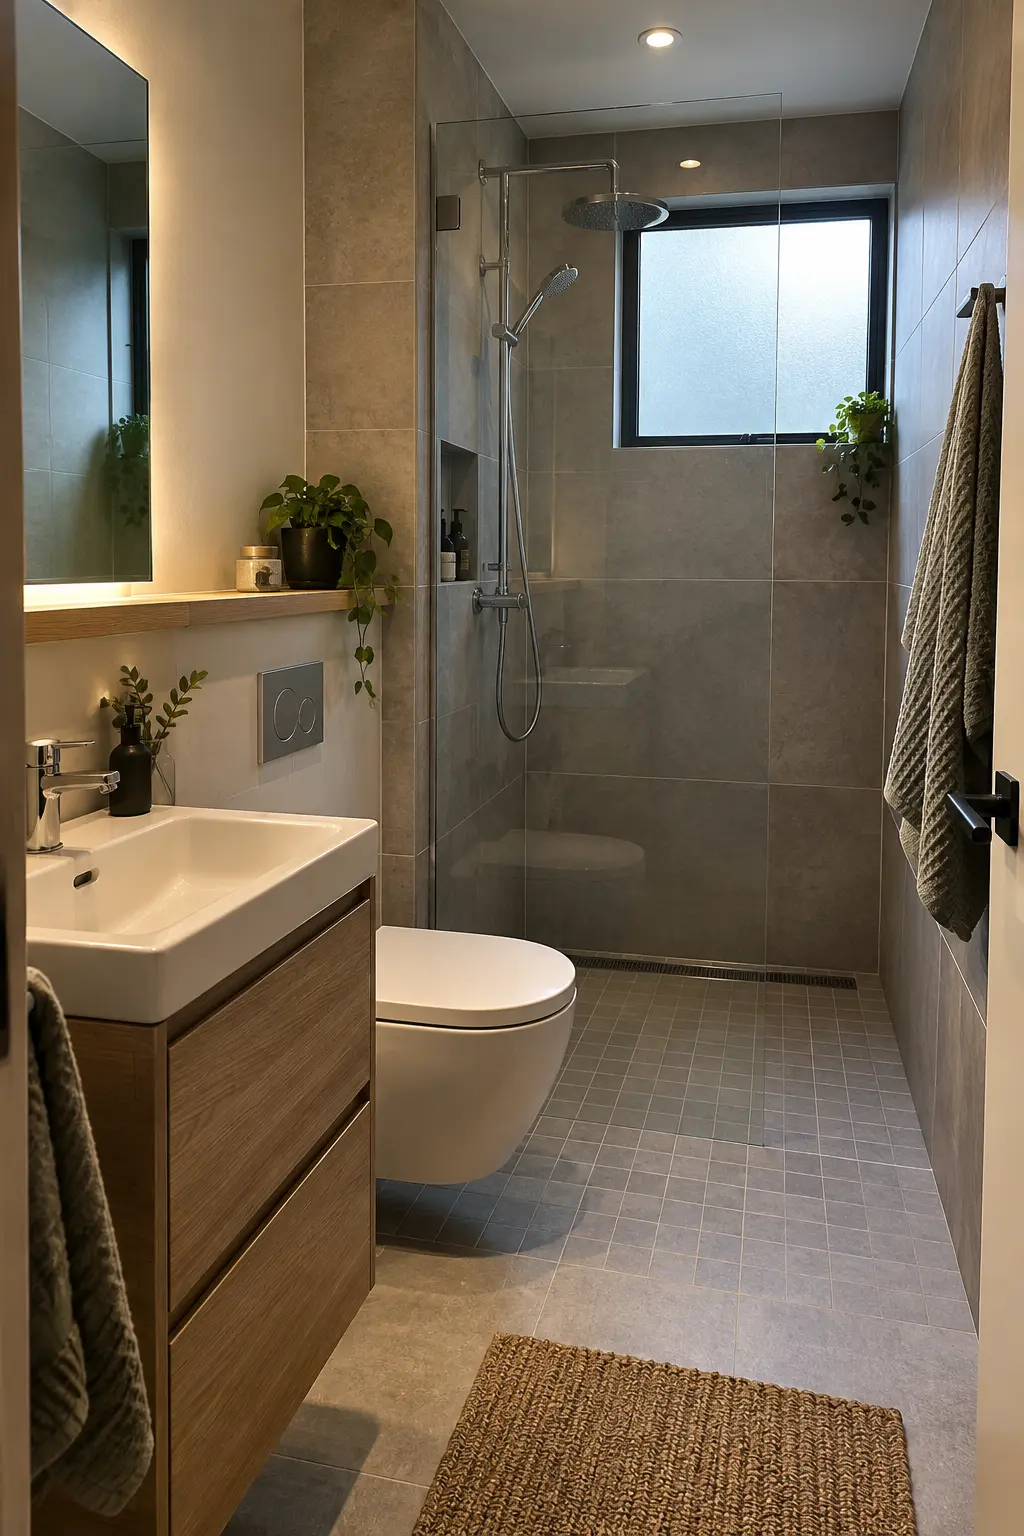
A wet room can remove a separate enclosure, but it is a waterproofing project rather than a decorating shortcut. The entire splash zone needs a continuous membrane, positive drainage, and carefully detailed penetrations.
Place the showerhead at the far end and use a fixed screen to protect the toilet paper, vanity, and doorway. The floor must slope without creating a ridge that catches toes or blocks a mobility aid.
Ask the installer to document the membrane and flood test before tile. Small rooms leave little margin for leaks, because water reaches cabinetry and wall framing quickly.
8. Replace the Swing Door With a Pocket Door
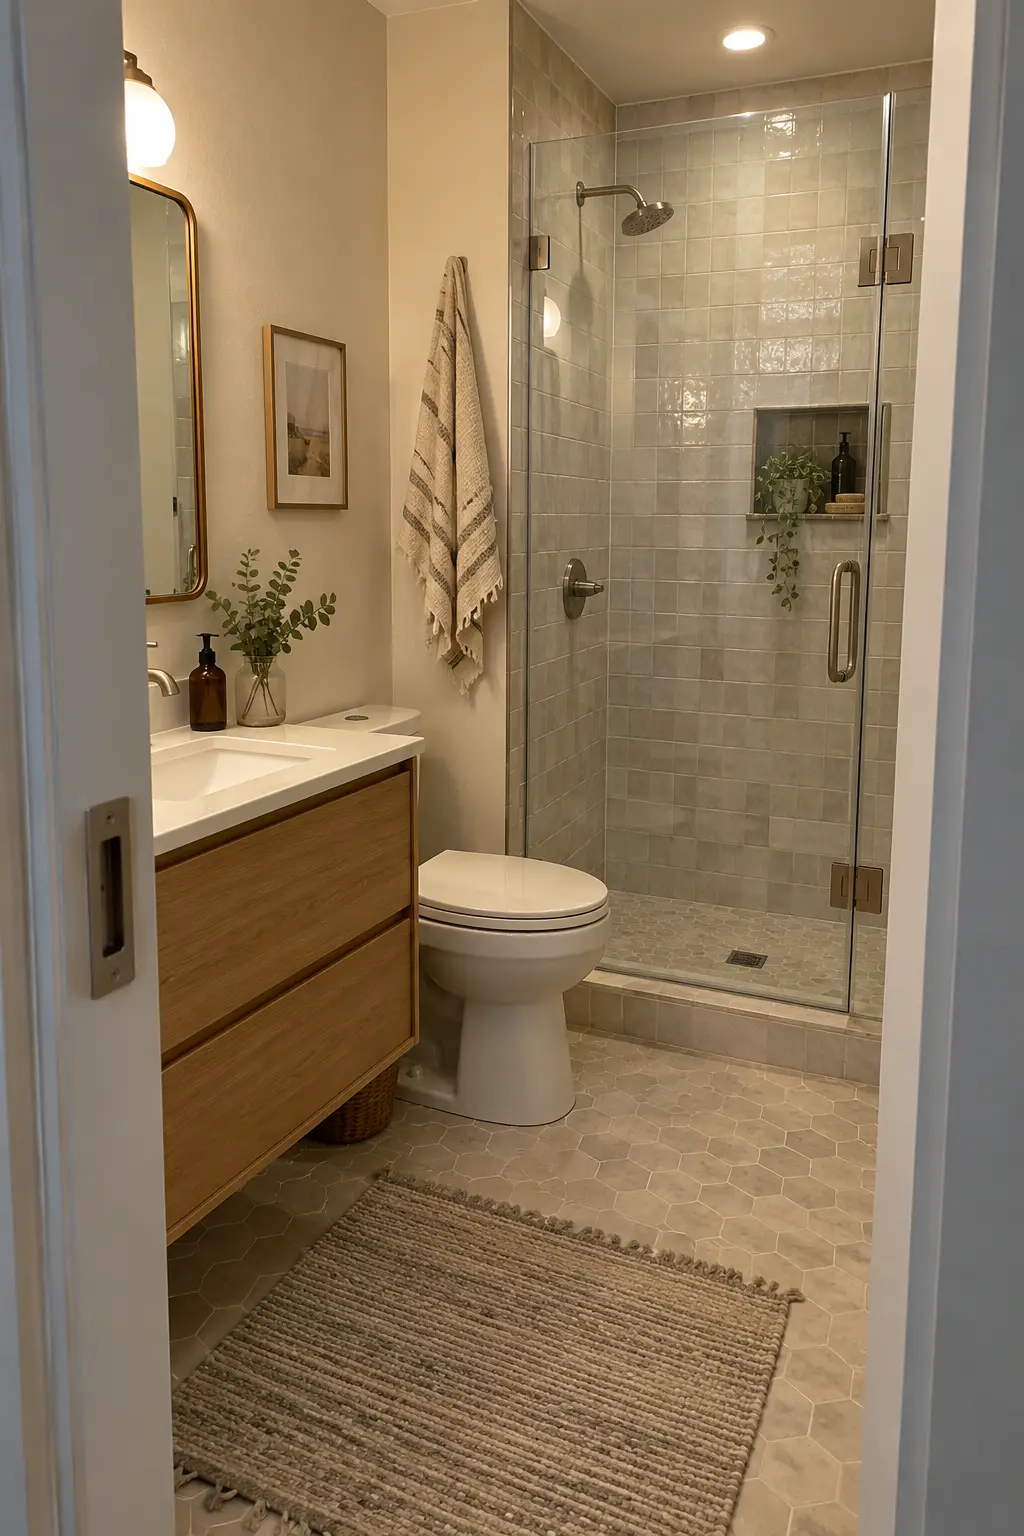
A pocket door frees the wall and floor area consumed by a conventional inward swing. That can make room for a wider shower entry or a shallow vanity without changing the bathroom footprint.
The pocket cavity cannot share space with pipes, wiring, or a recessed cabinet. Coordinate the door frame with the plumbing plan before demolition, and use appropriate blocking for nearby hooks or rails.
Choose privacy hardware that is easy to operate from both sides. Keep an emergency-release function and avoid a floor guide that creates a toe-catching projection in the doorway.
A pocket door needs a clear stud bay; confirm pipes, wires, and fastening zones before choosing this layout.
9. Let the Main Door Swing Outward
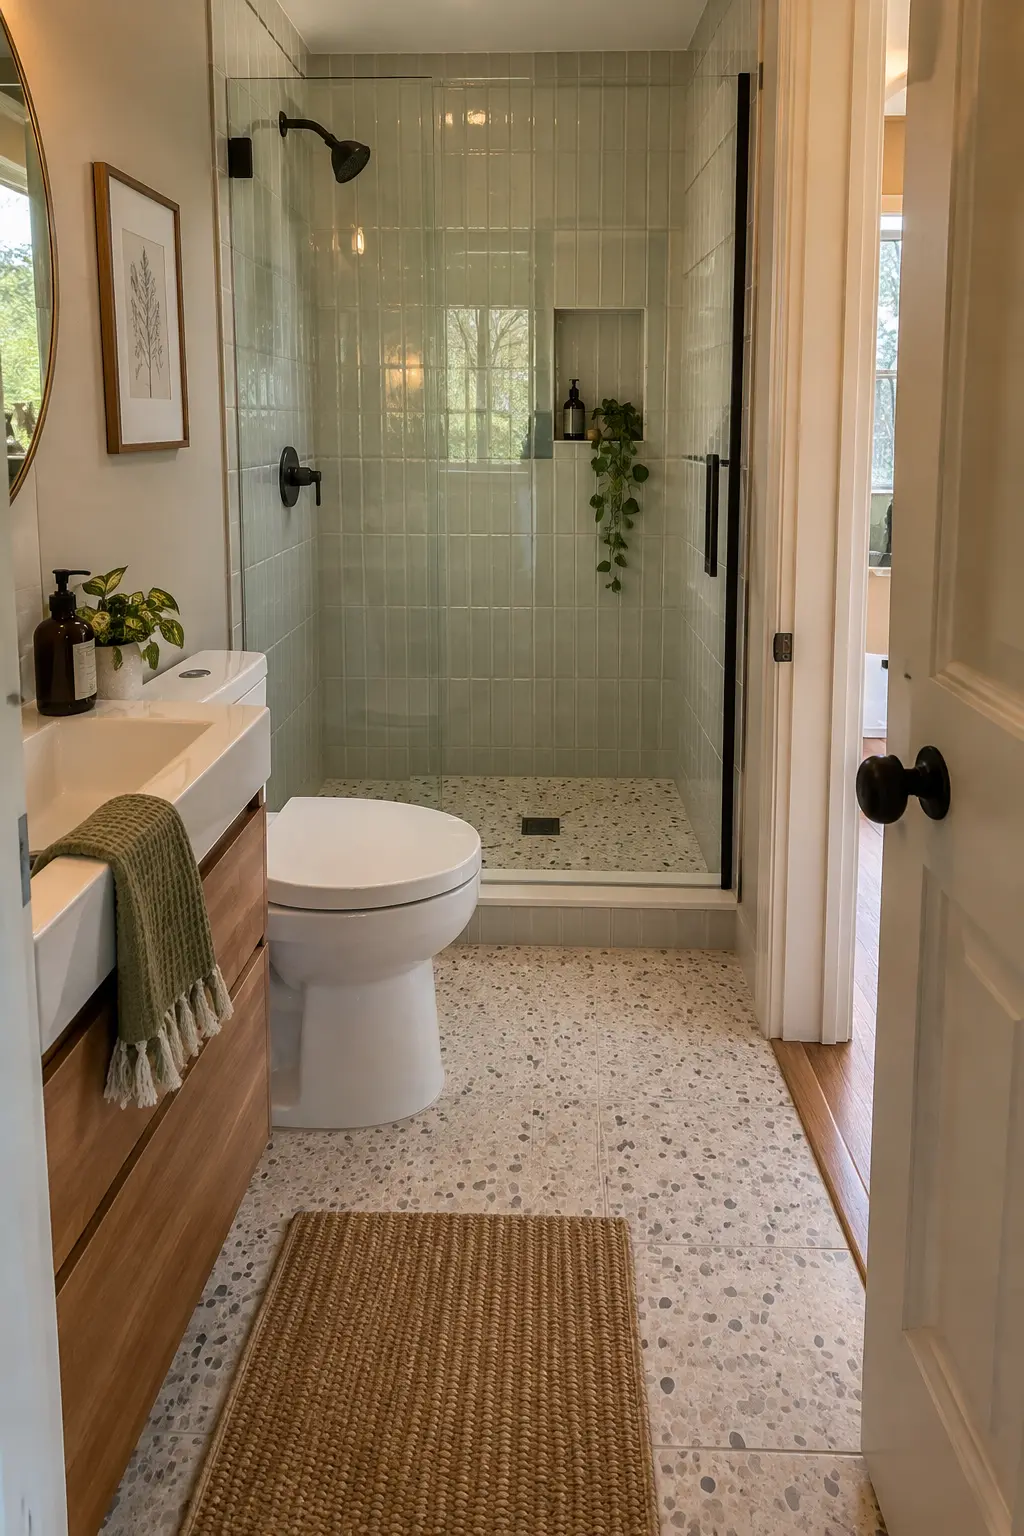
An outward-swinging entry door can clear a congested bathroom floor and reduce the chance of blocking someone who falls inside. It is especially useful when the toilet sits close to the doorway.
Confirm the hall side has a safe landing and that the open door will not strike another door, stair, or traffic path. Local rules and household egress needs should guide the final handing.
Use a door stop and durable privacy latch so the slab cannot hit the wall. This is a layout fix, not an excuse to shrink required fixture clearances.
10. Float the Toilet to Reveal More Floor
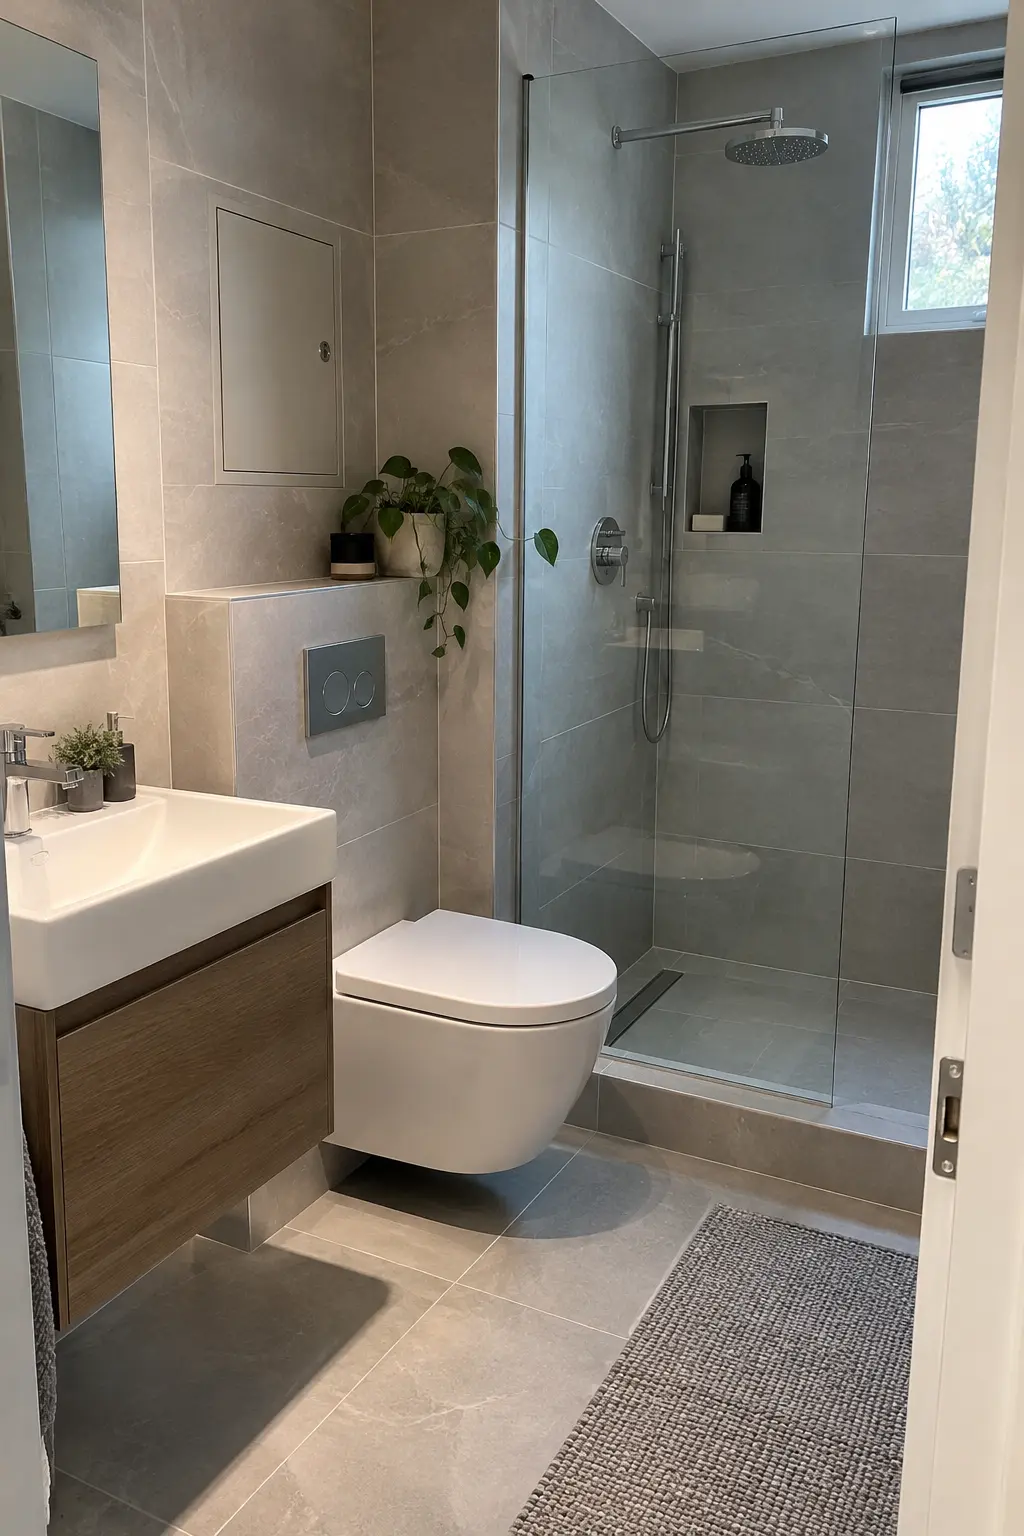
A wall-hung toilet exposes the floor beneath it, making a tiny bathroom feel less blocked. The bowl projection can also be adjusted within the carrier manufacturer’s approved range.
The concealed carrier needs structural support and a serviceable flush plate opening. Plan access before tiling, and never bury valves or connections that the manufacturer expects technicians to reach.
Cleaning becomes easier around the base, but the installation costs more than a conventional toilet. Spend for the layout benefit, not only for the streamlined look.
Choose Surfaces That Open the Room
Light, tile scale, glass, and privacy details can make the wet zone feel connected without ignoring traction or waterproofing.
11. Tuck a Corner Sink Beside the Door
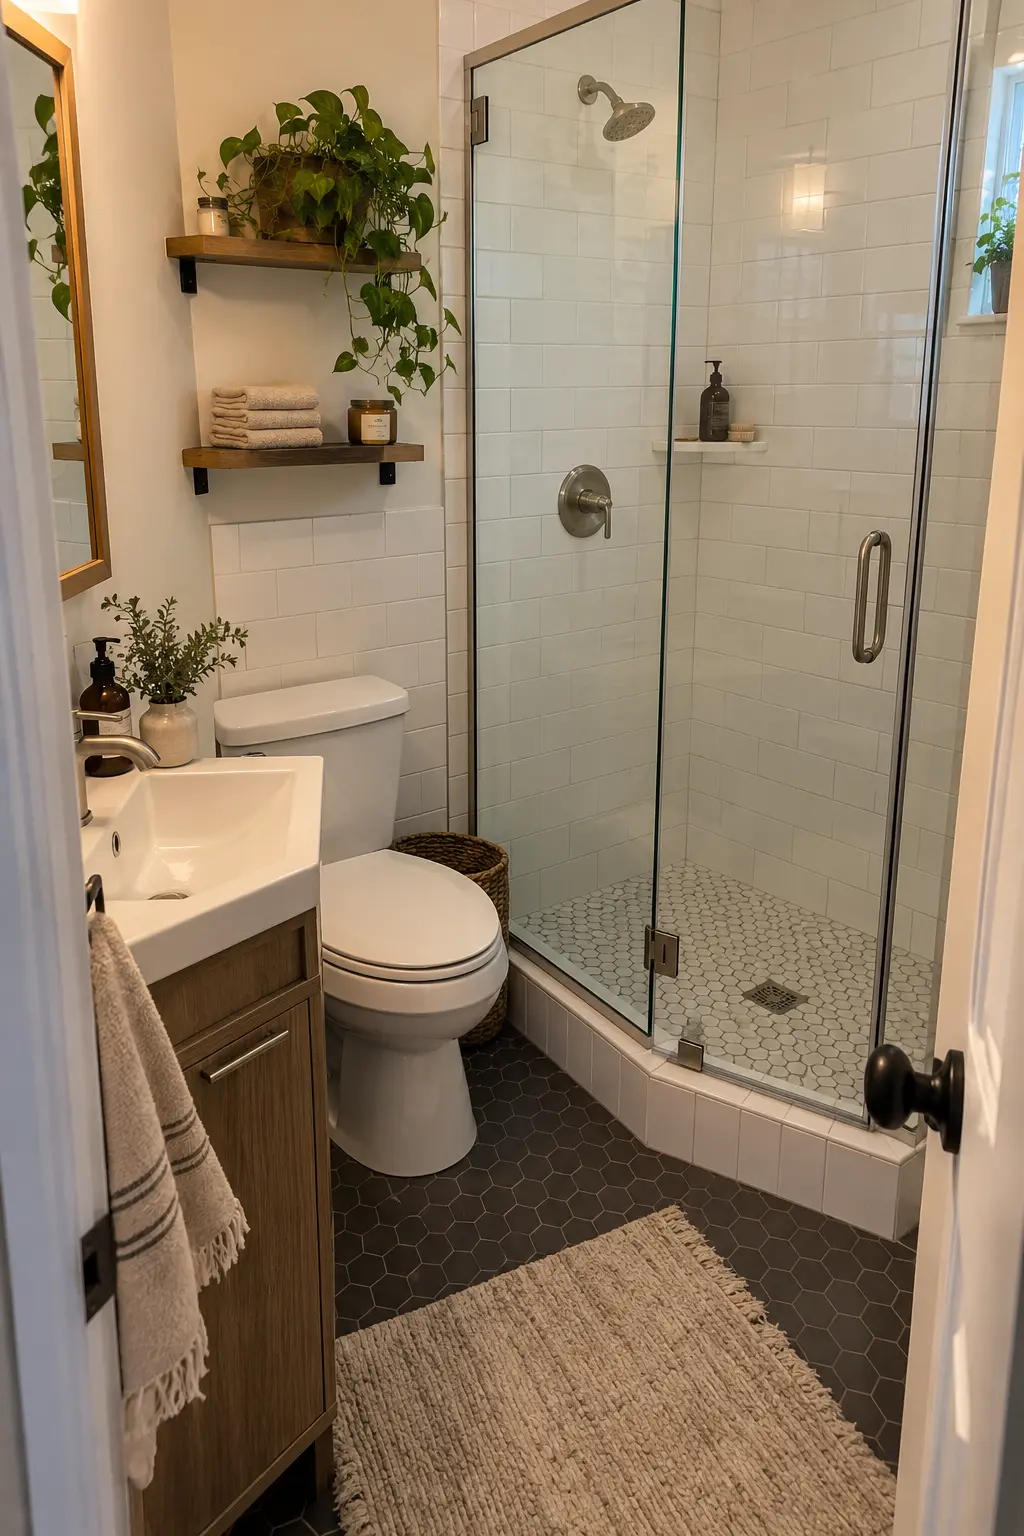
A corner basin can preserve the main aisle when a standard vanity would pinch the doorway. Choose a compact model with enough deck space for soap so the floor does not become the default storage zone.
Position the faucet and trap where knees and the door edge will not collide. Wall reinforcement matters even for a small basin, especially when users may lean on the rim.
Add a recessed cabinet or narrow shelf outside the splash path for daily items. Avoid stacking shelves directly over the basin where bottles can fall into the bowl.
12. Specify a 16-Inch-Deep Vanity
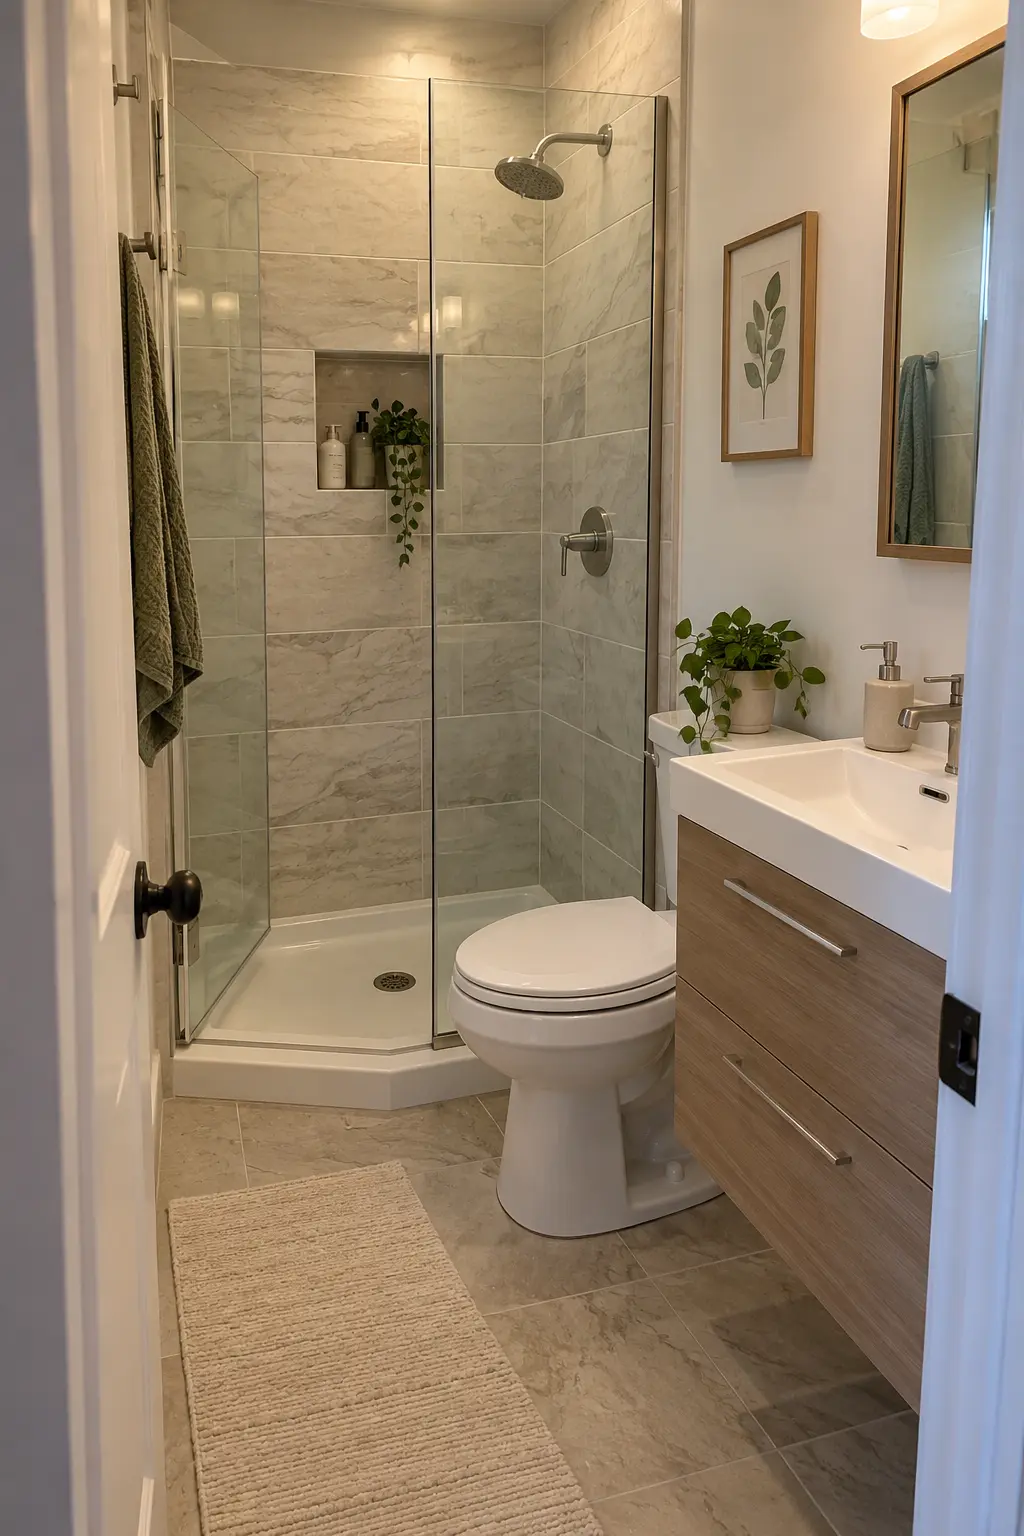
A shallow vanity can recover four to six inches of aisle compared with a standard-depth cabinet. In a very small bathroom, that difference changes how comfortably two doors or drawers can open.
Check basin depth, faucet reach, and trap position together. A tiny sink with a short spout may splash the wall, while a centered drain can consume the only useful drawer.
Use full-extension drawers with planned plumbing cutouts rather than one dark cabinet. Rounded front corners can soften a tight turn near the shower entry.
13. Choose a Floating Vanity With Real Storage
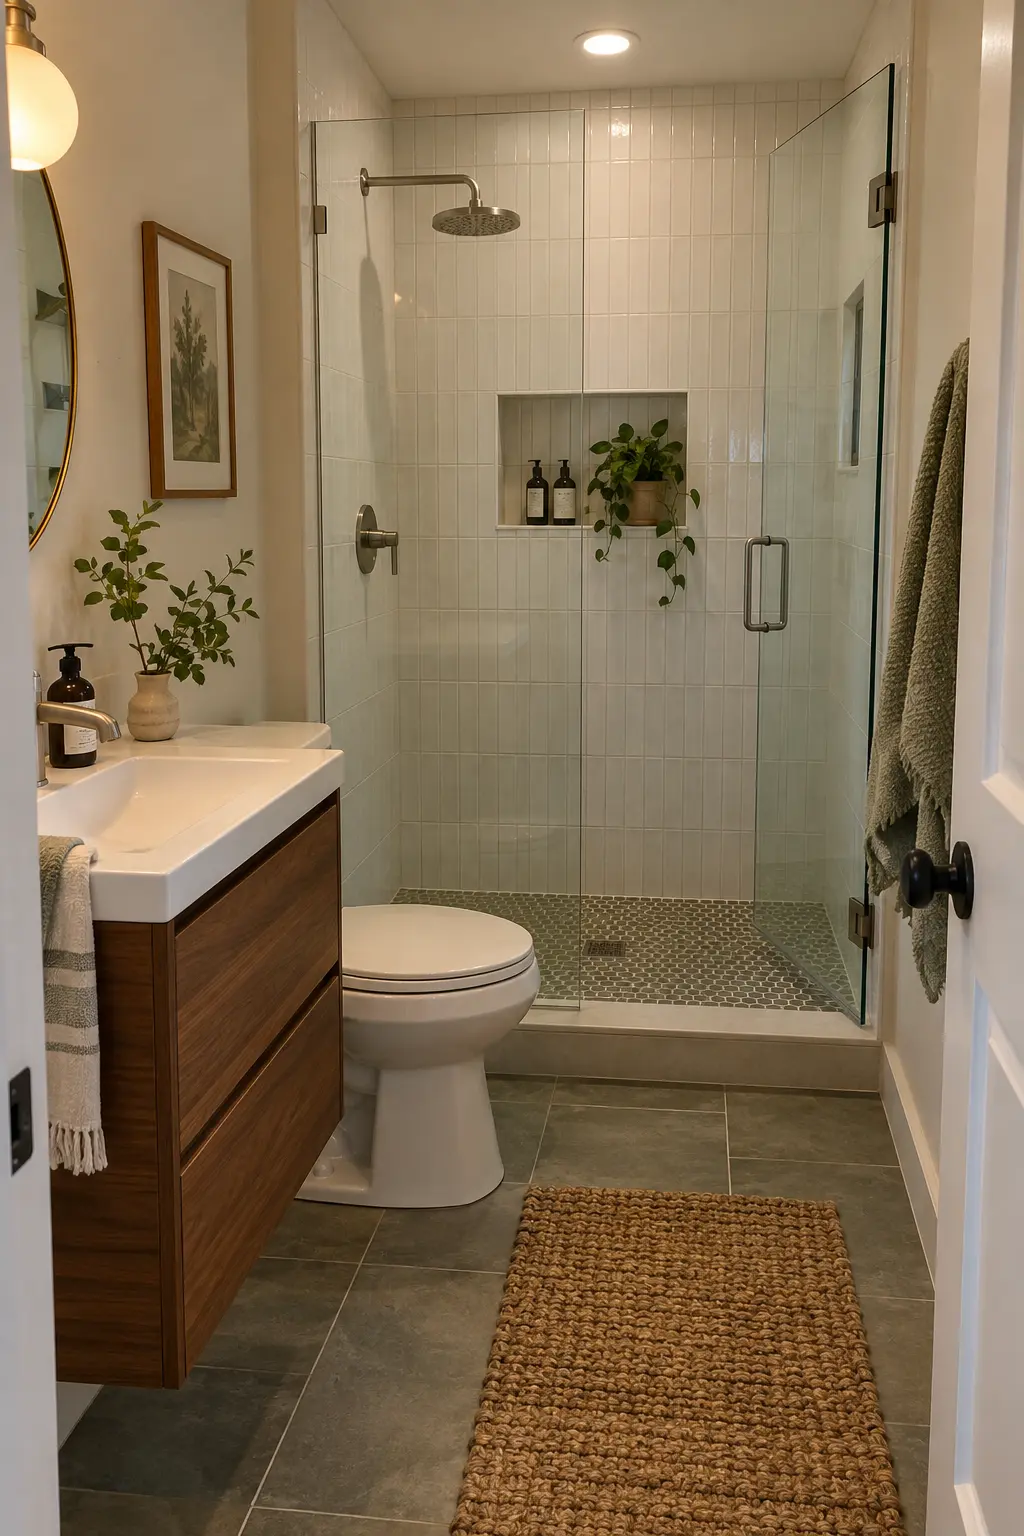
A floating vanity shows continuous floor below, which makes the room read wider and simplifies mopping. One deep drawer is often more useful than two decorative shallow ones.
Mount it into blocking, not tile alone, and protect the cabinet side nearest the shower. Even outside the wet zone, repeated spray can swell wood-based panels.
Keep the underside high enough for cleaning but not so high that the basin becomes uncomfortable. Test the finished counter height with the actual vessel or integrated sink.
14. Use a Pedestal Sink for a Lighter Footprint
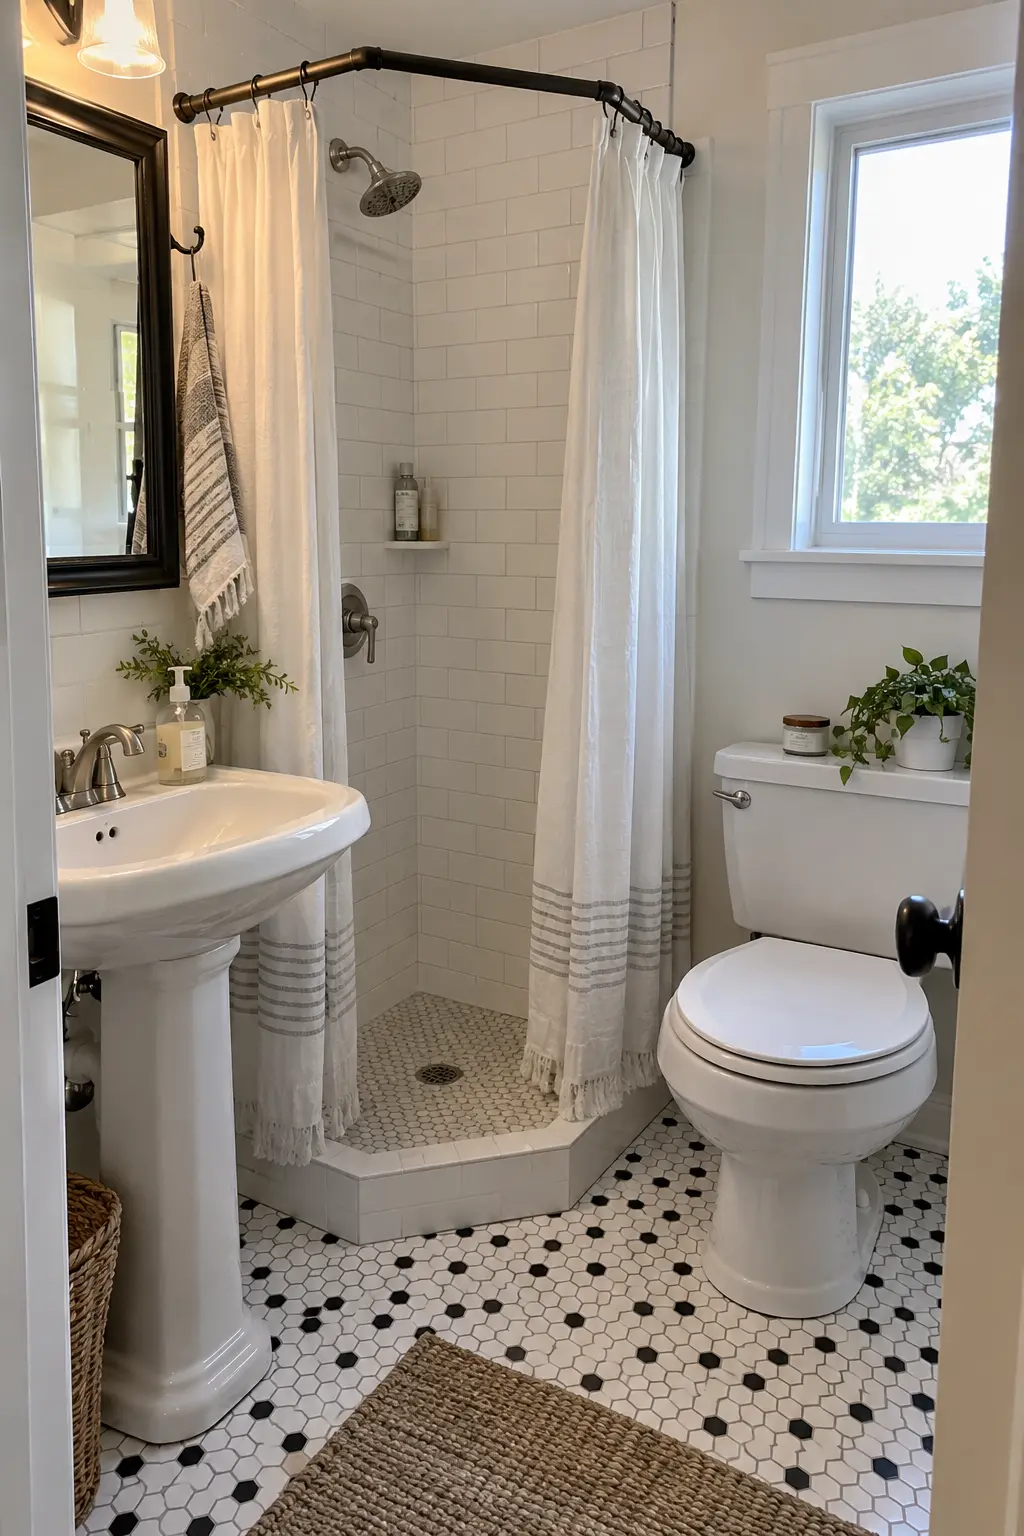
A pedestal sink keeps visual weight low and can fit where a cabinet feels bulky. It is useful in a guest bath when most supplies can live in a nearby linen closet.
Do not count the pedestal as storage or as guaranteed structural support. The basin still needs correct wall anchoring, and the supply lines and trap should be neatly planned.
Pair it with one recessed medicine cabinet and a small tray, not multiple floor baskets. The goal is to protect circulation, not replace a vanity with new clutter.
- Reserve recessed storage for daily products.
- Move bulk supplies to a linen closet.
- Keep the floor clear for easy cleaning.
15. Recess the Medicine Cabinet
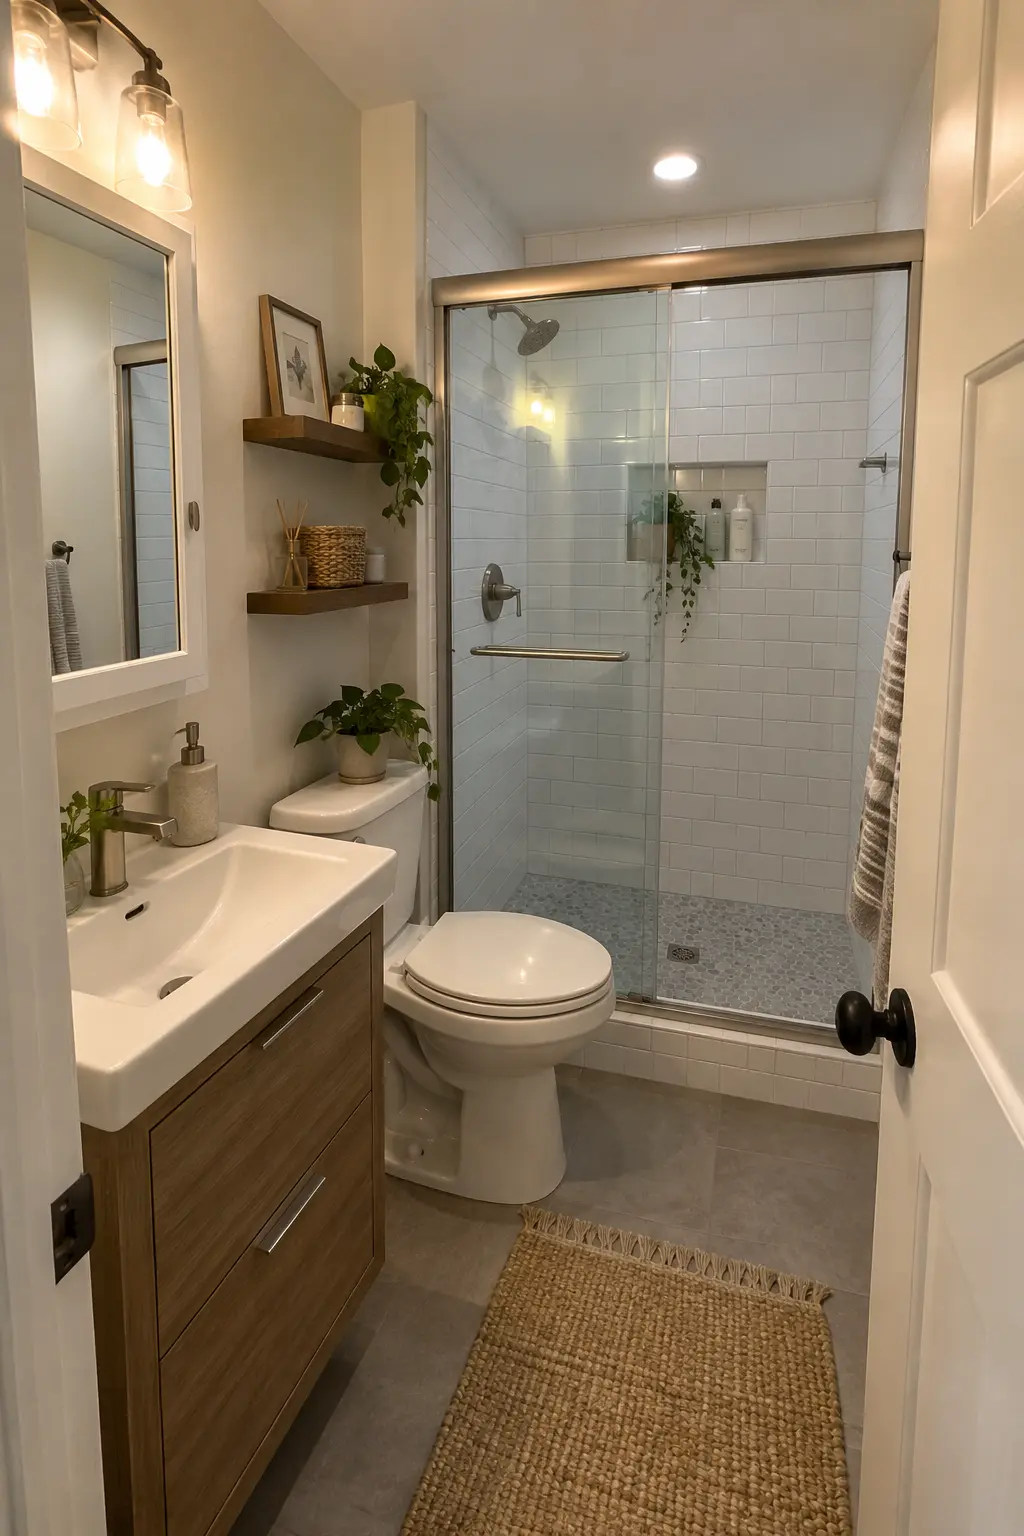
A recessed medicine cabinet stores daily products without projecting far over a shallow sink. Mirrored doors also bounce useful light through a narrow room.
Open the wall carefully: studs, vents, plumbing, and wiring can block the cavity. If recessing is not possible, choose a slim surface cabinet and verify it clears the faucet and light fixture.
Organize the cabinet by frequency, then move backups elsewhere. These small bathroom storage ideas offer more vertical options that do not crowd the shower entry.
16. Align the Toilet and Shower on One Wall
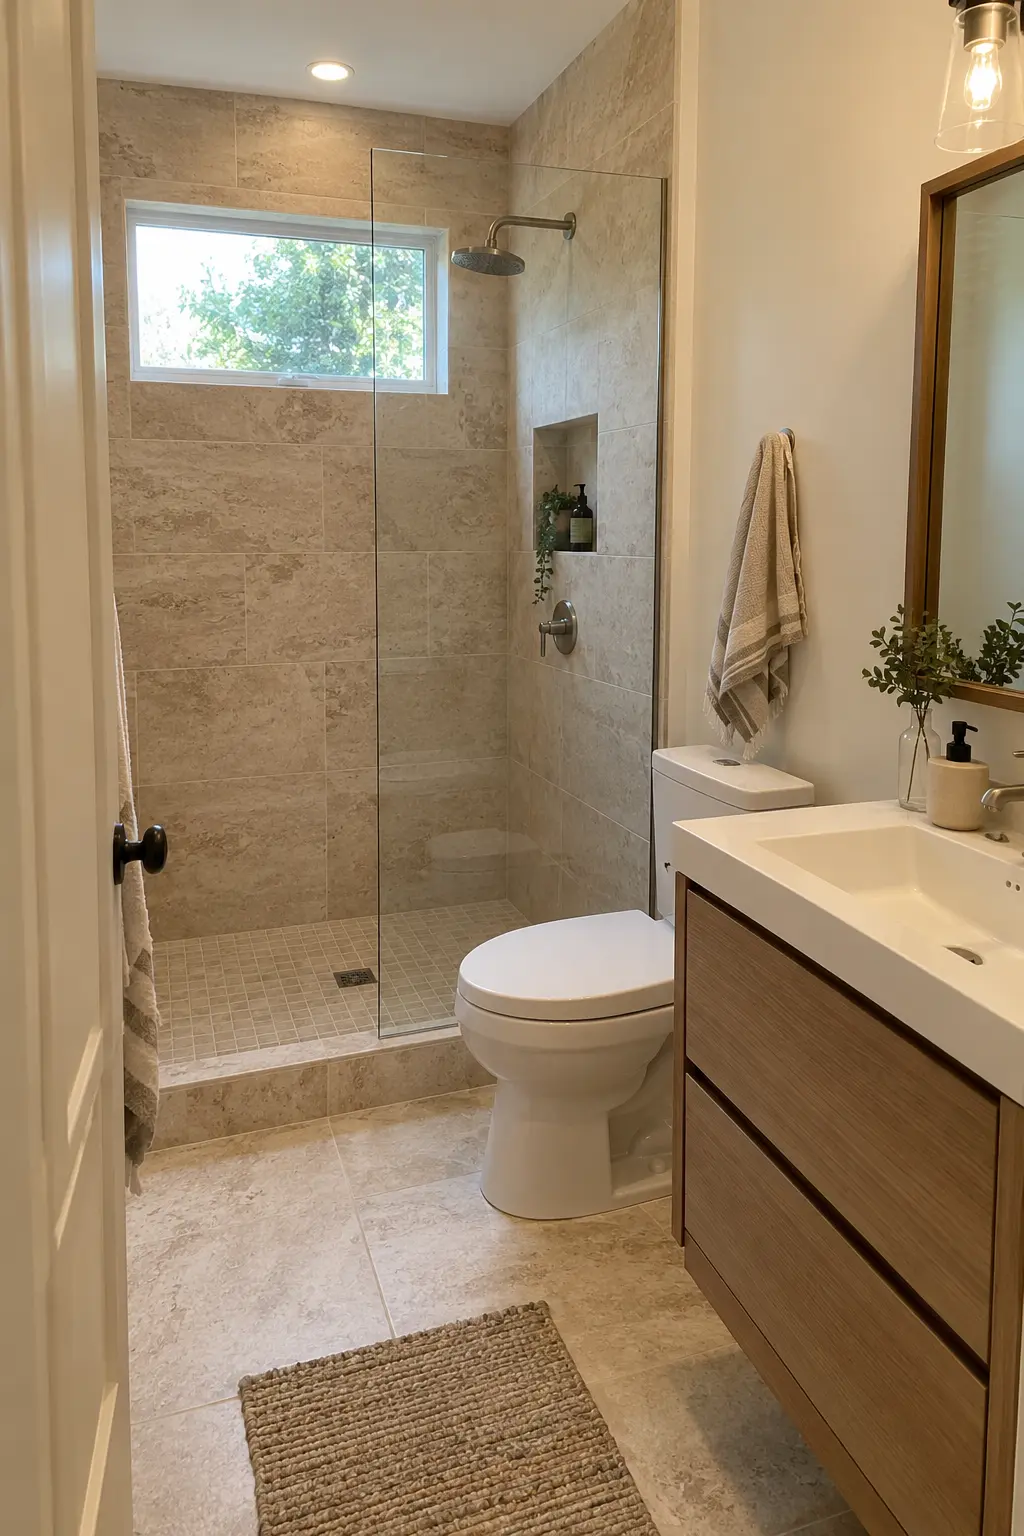
Putting major fixtures along one plumbing wall can shorten supply and drain runs. It also leaves the opposite side available for a shallow vanity or uninterrupted circulation.
Centerline and front clearances still matter; a neat visual line does not legalize a cramped toilet. Confirm local code and rough-in dimensions before selecting the bowl.
Use the same metal finish on visible controls, but keep service access independent. A coordinated wall should remain repairable without opening the entire shower.
17. Consolidate Plumbing Without Crowding Controls
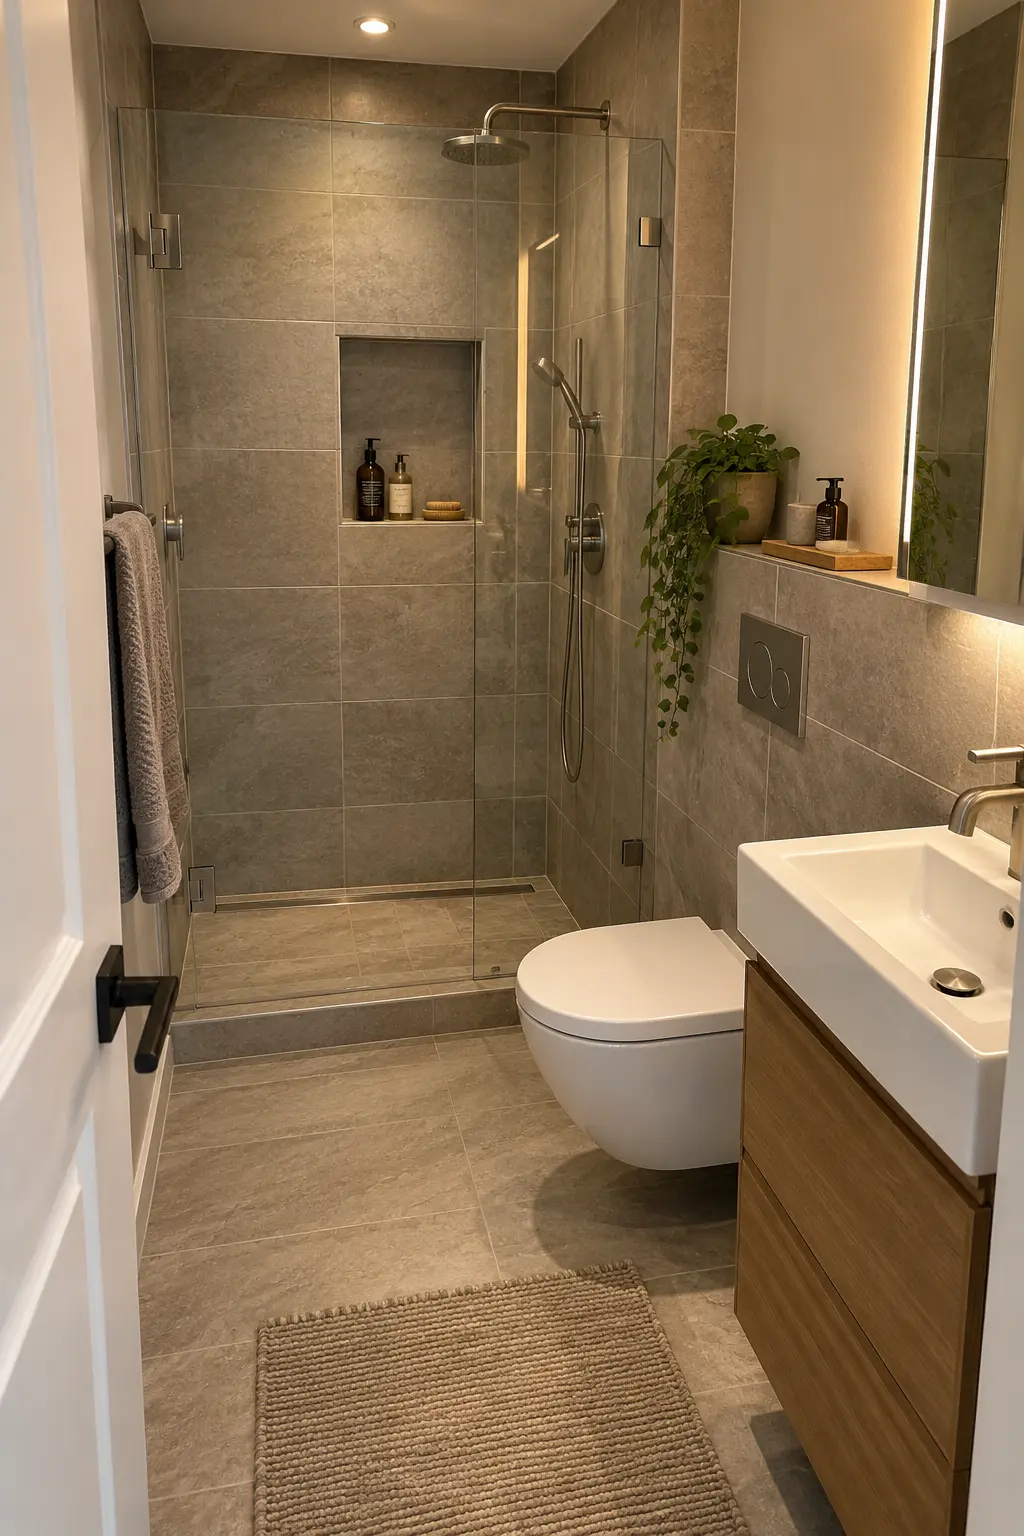
A one-wall plan can be efficient, yet every valve and fitting needs enough depth, separation, and access. Do not stack shower controls directly behind a vanity drawer just to save pipe.
Ask the plumber to map supply, waste, and vent routes before framing closes. Photograph blocking and pipe locations so future grab bars or cabinets do not puncture them.
Place shutoffs where they can be reached without removing the toilet. Good service planning is one of the least visible but most valuable small-room decisions.
18. Treat a Narrow Bathroom Like a Galley
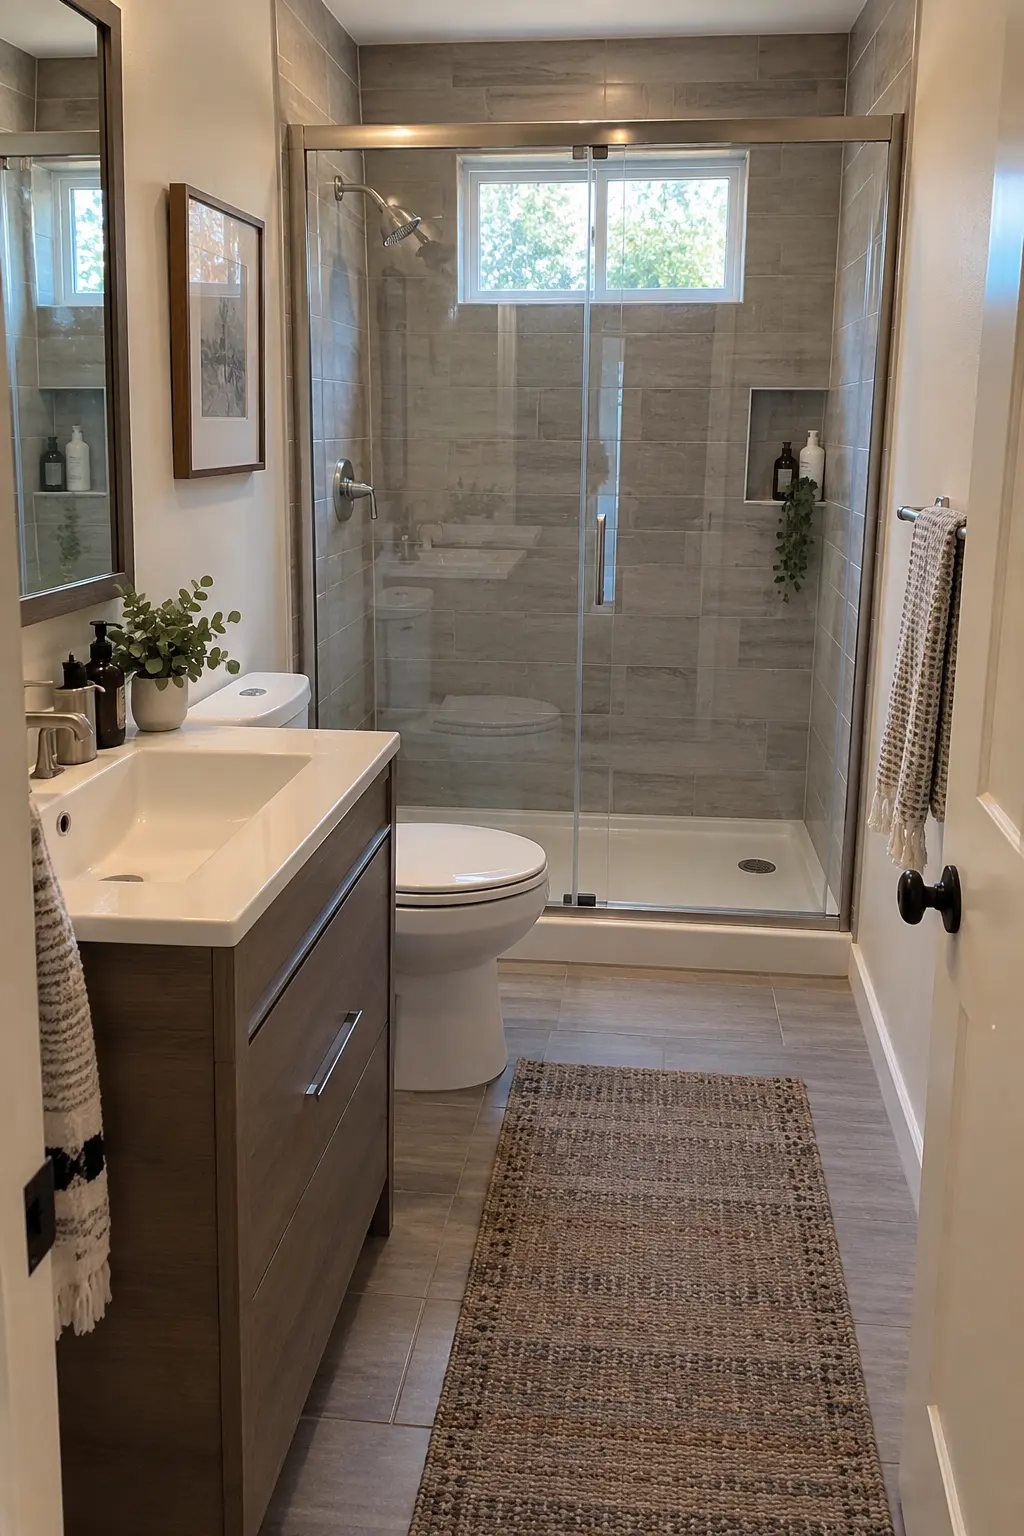
A shower across the far end creates a destination while keeping the near aisle simple. Use one slim fixture run rather than alternating projections from both sides.
Walk the taped layout carrying a laundry basket and opening every door or drawer. A plan that works only when everything is closed will frustrate daily use.
Keep the far shower bright so the room does not end in a dark wall. A fixed panel or slider usually protects the aisle better than a door that swings toward it.
Carry a hamper through the taped aisle and open every drawer to test the plan at real scale.
19. Aim the View Toward One Calm Feature
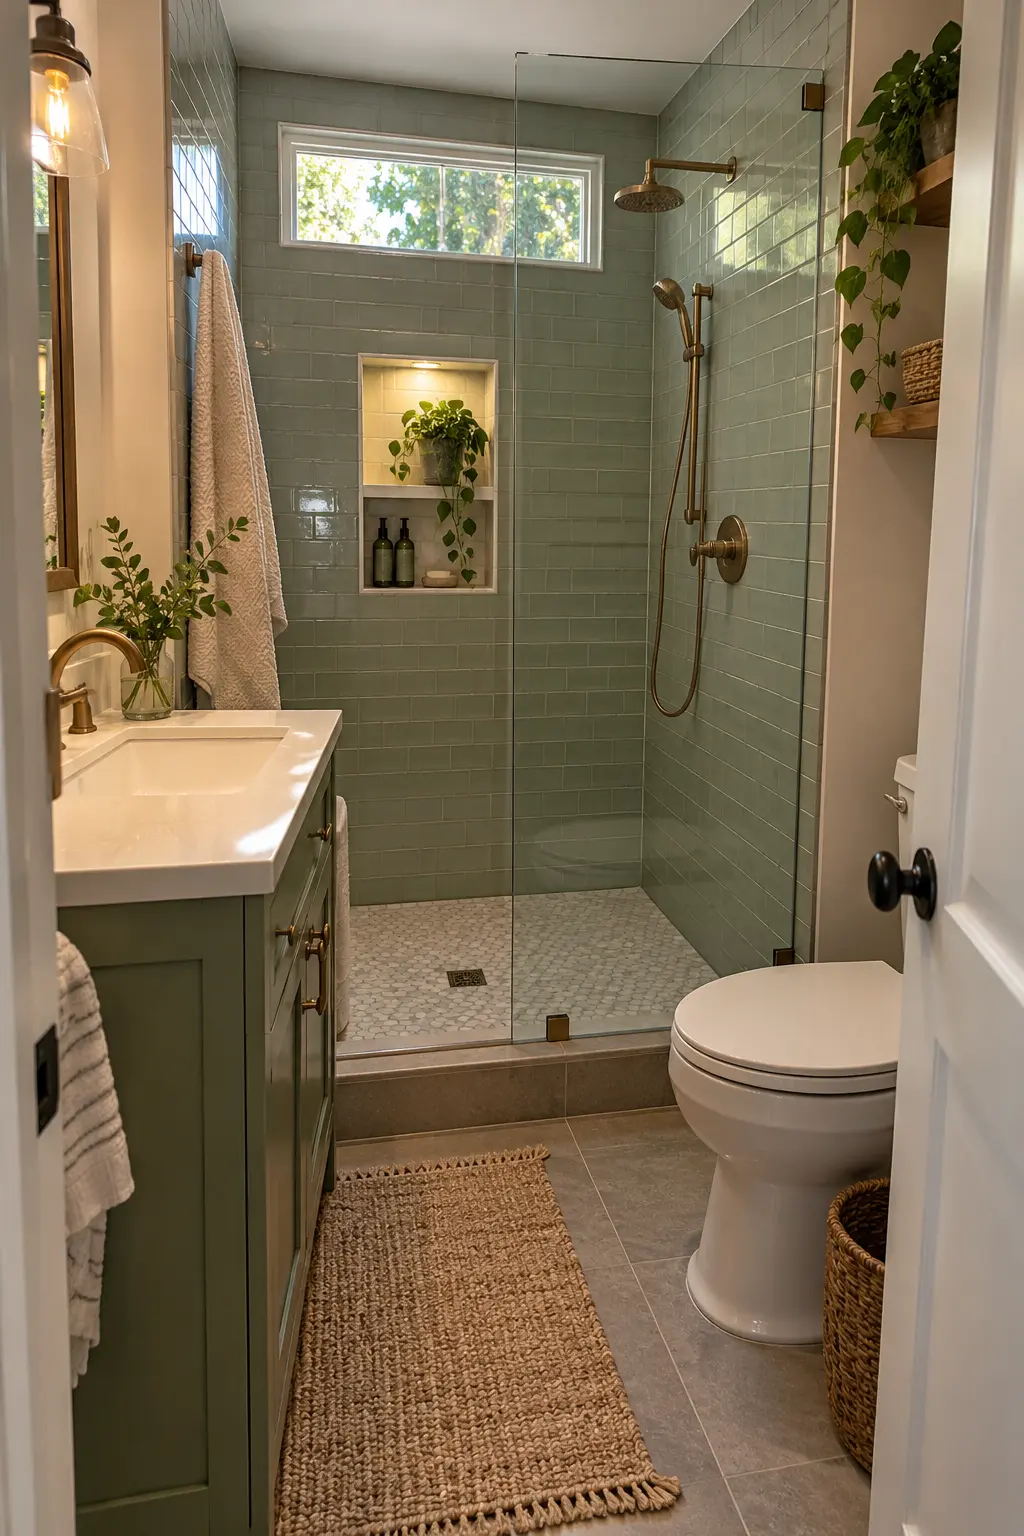
A diagonal sightline toward a tiled niche, window, or quiet shower wall can make the room feel deeper. Keep the toilet outside the immediate doorway view when the plumbing plan allows.
Use one focal material and repeat it once at the vanity. Too many accent tiles create visual stops that make a short room feel even smaller.
The visual axis must follow the functional aisle. Do not move a fixture merely to improve a photograph if the new position reduces usable clearance.
20. Add a High Frosted Window in the Shower
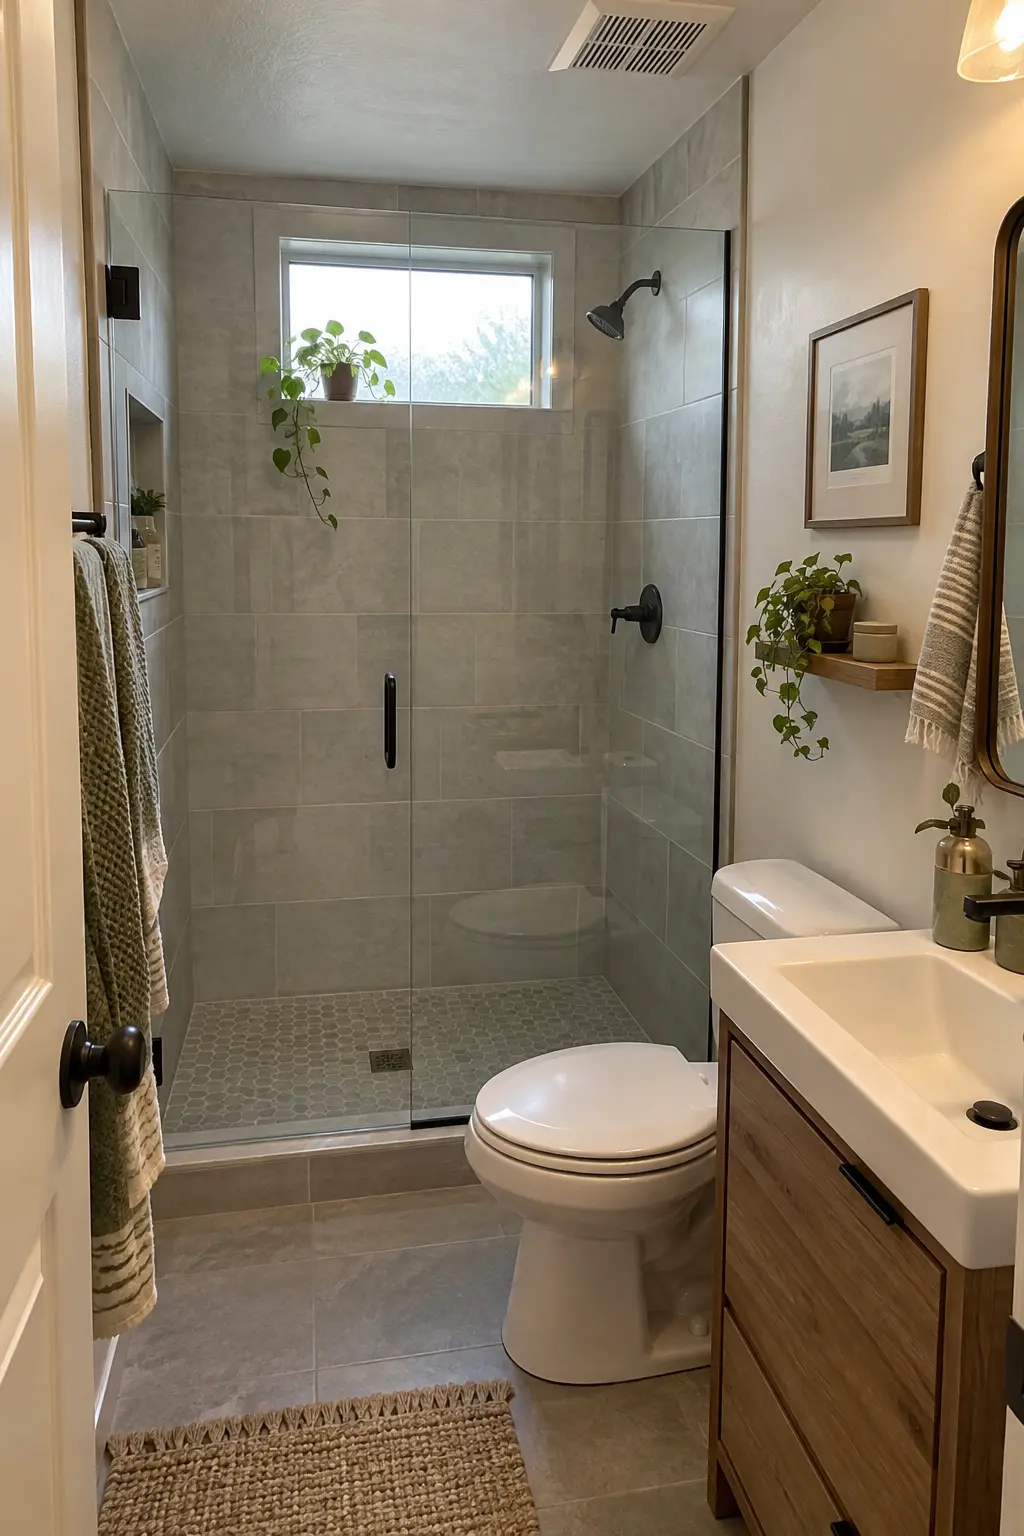
A high frosted window brings daylight into the wet zone while limiting direct views. The sill and frame must be made for repeated moisture, not simply coated with ordinary trim paint.
Slope the sill toward the shower and integrate the opening into the waterproofing membrane. Keep the window above the strongest spray whenever possible.
Use safety glazing where required and check exterior exposure. Privacy film can help, but it does not repair a leaking frame or an improperly flashed opening.
Control Water at Every Edge
The shower works only when its door, curb, drain, slope, and spray pattern cooperate. These ideas focus on containment and safe transitions.
21. Use a Skylight Only Where Headroom Works
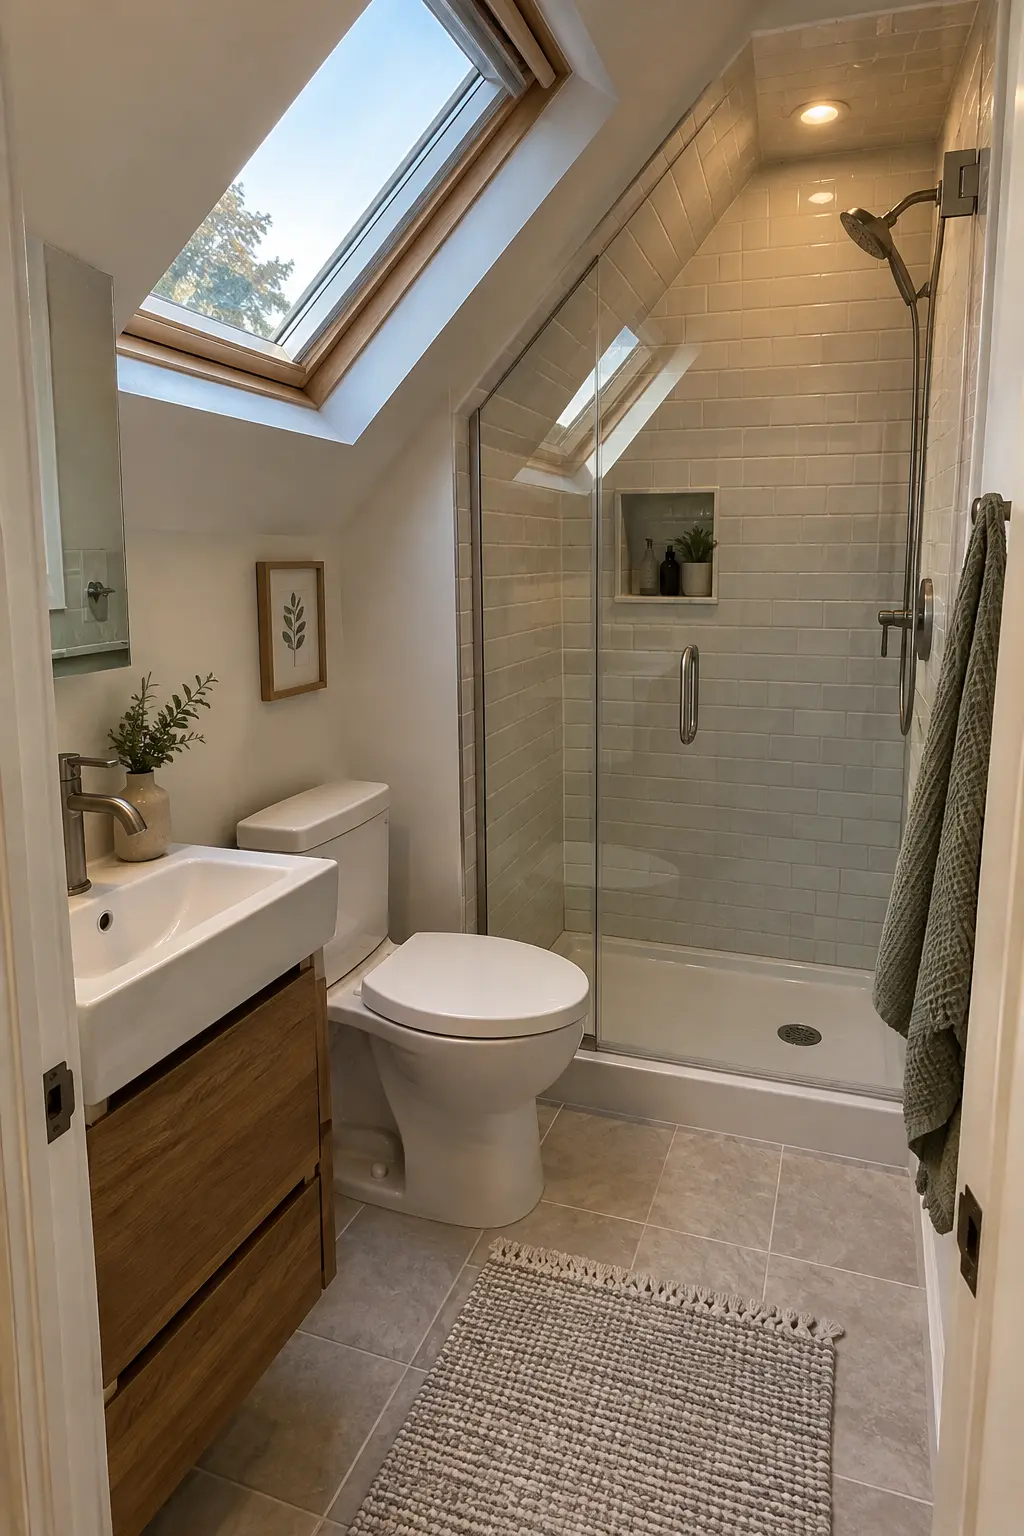
A skylight can brighten an attic bathroom without sacrificing wall space. Place the shower where the finished ceiling still provides safe standing height across the usable floor.
Coordinate the roof opening, insulation, vapor control, and flashing with qualified trades. Condensation and hidden roof leaks are more serious than a dim corner.
Add a wet-rated shower light for cloudy days and evenings. Daylight should support the room, not become its only reliable illumination.
22. Use Light Large-Format Tile on the Walls
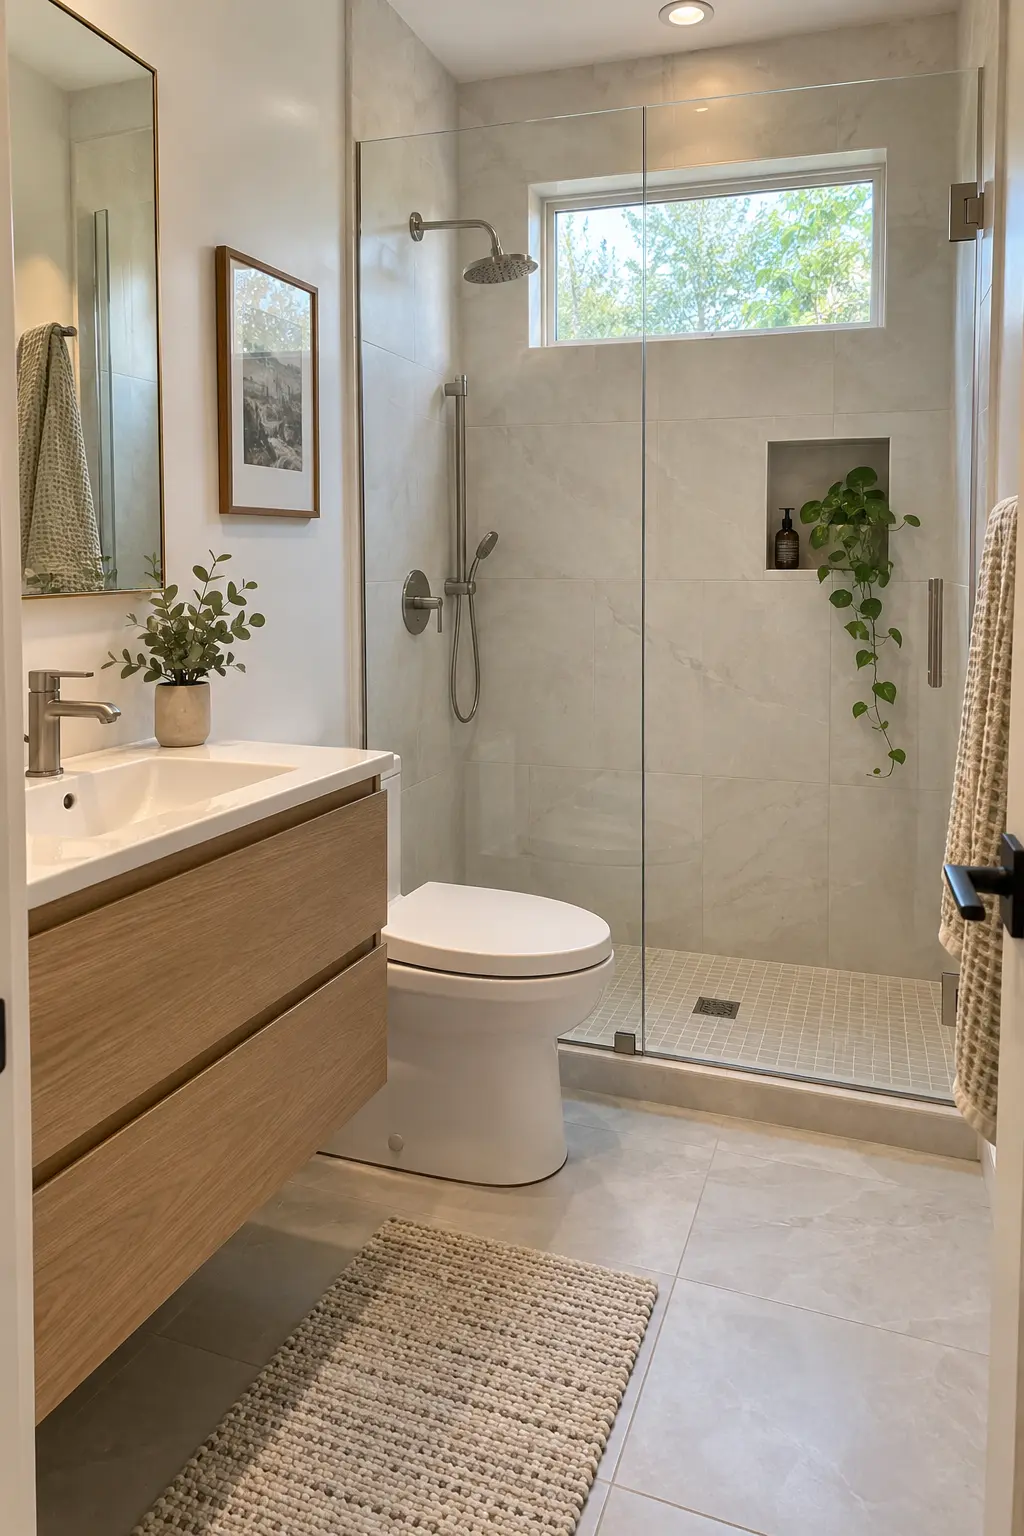
Large-format wall tile reduces grout lines and can make a tiny shower feel calmer. A warm white or pale stone tone reflects light without looking clinical.
Flat walls are essential because large tile will not bend around framing errors. Plan cuts around niches and valves before setting so thin slivers do not collect at the corners.
Keep large tile on walls unless the product and layout suit the shower slope. Small floor mosaics usually provide more traction and adapt better around a center drain.
23. Continue One Light Floor Color
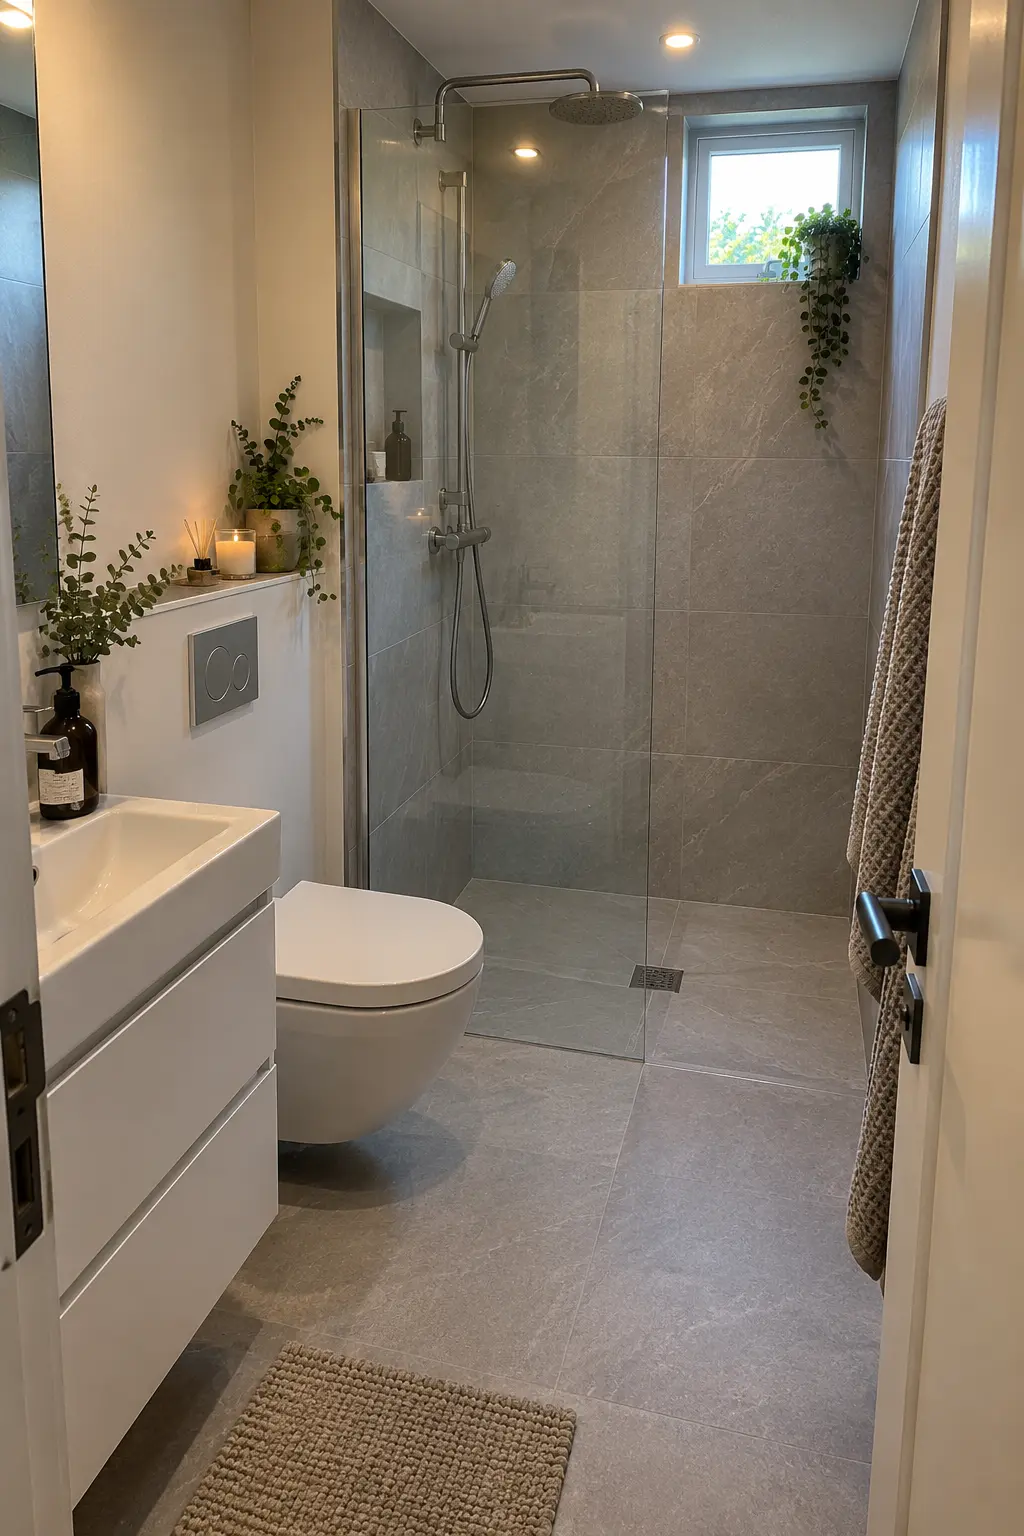
Using a similar floor color in the dry area and shower reduces visual breaks. The wet zone can still switch to a smaller tile size for grip and drainage.
A curbless look requires structural planning; tile color alone cannot create it. Verify joist depth, recess options, membrane transitions, and drain position before promising a flush floor.
Choose grout that is close to the tile but not so pale that every stain shows. Seal only products that require it and follow the manufacturer’s maintenance instructions.
24. Stack Shower Tile Vertically
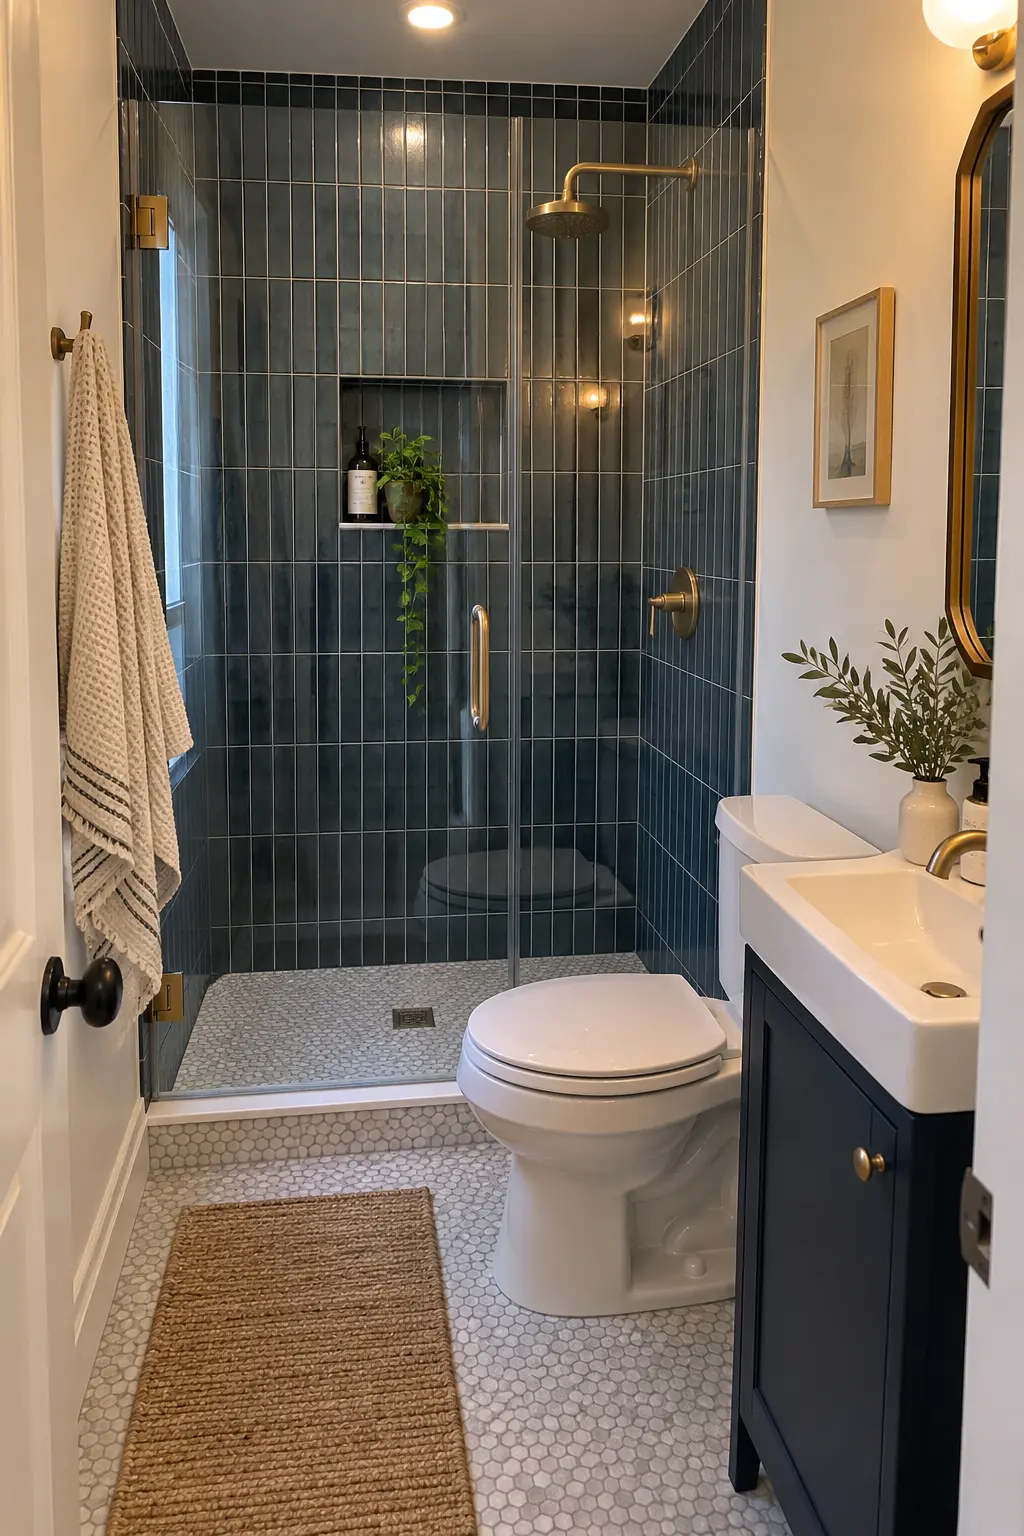
Vertical tile lines draw the eye upward and suit a narrow shower. A simple stacked layout feels deliberate without adding a busy pattern to every surface.
Center the layout on the most visible wall or plumbing feature, then check corner cuts. Explore these shower tile ideas for material combinations that still respect the small footprint.
Use flexible sealant at changes of plane rather than filling every corner with hard grout. Movement joints are functional details, even when the room is tiny.
- Center the vertical layout on the most visible wall.
- Avoid thin tile slivers at corners and niches.
- Use flexible sealant at changes of plane.
25. Ground Pale Walls With a Darker Grip Floor
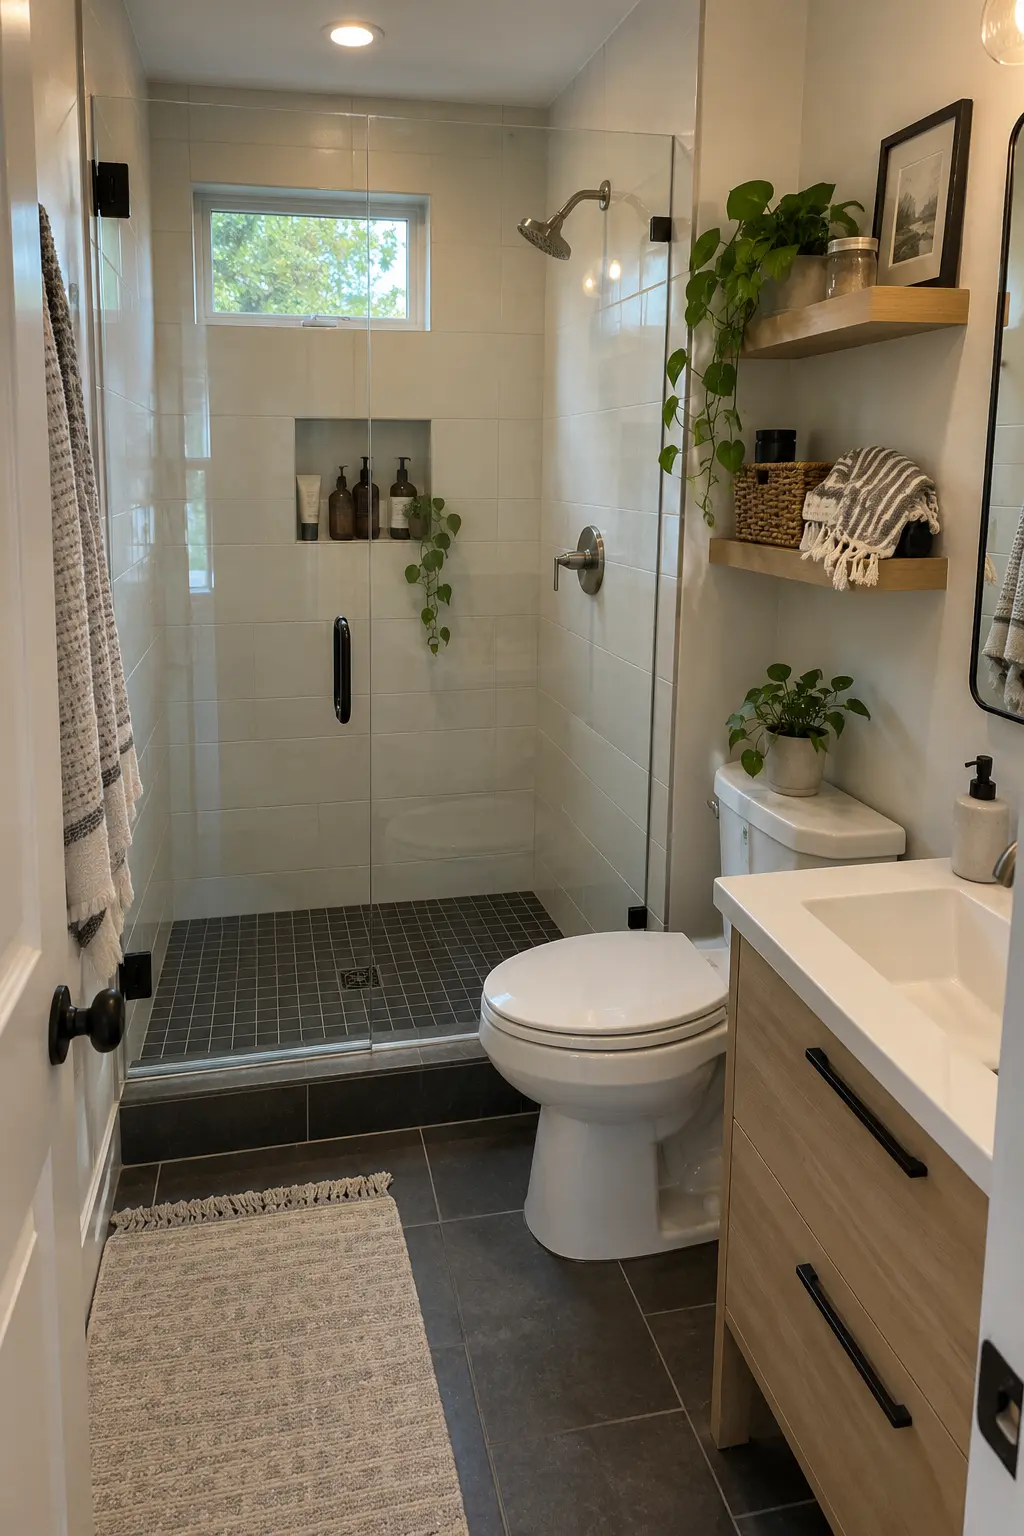
A charcoal or deep gray shower floor can hide minor discoloration while pale walls keep the room bright. Small matte tile adds useful grout lines underfoot.
Check wet-area slip ratings and view samples under bathroom lighting. Dark floors reveal soap residue and hard-water spots differently, so maintenance should shape the choice.
Repeat the dark tone in only one or two details, such as a frame or hook. Too many black outlines can chop a very small room into boxes.
26. Use One Frameless Fixed Glass Panel
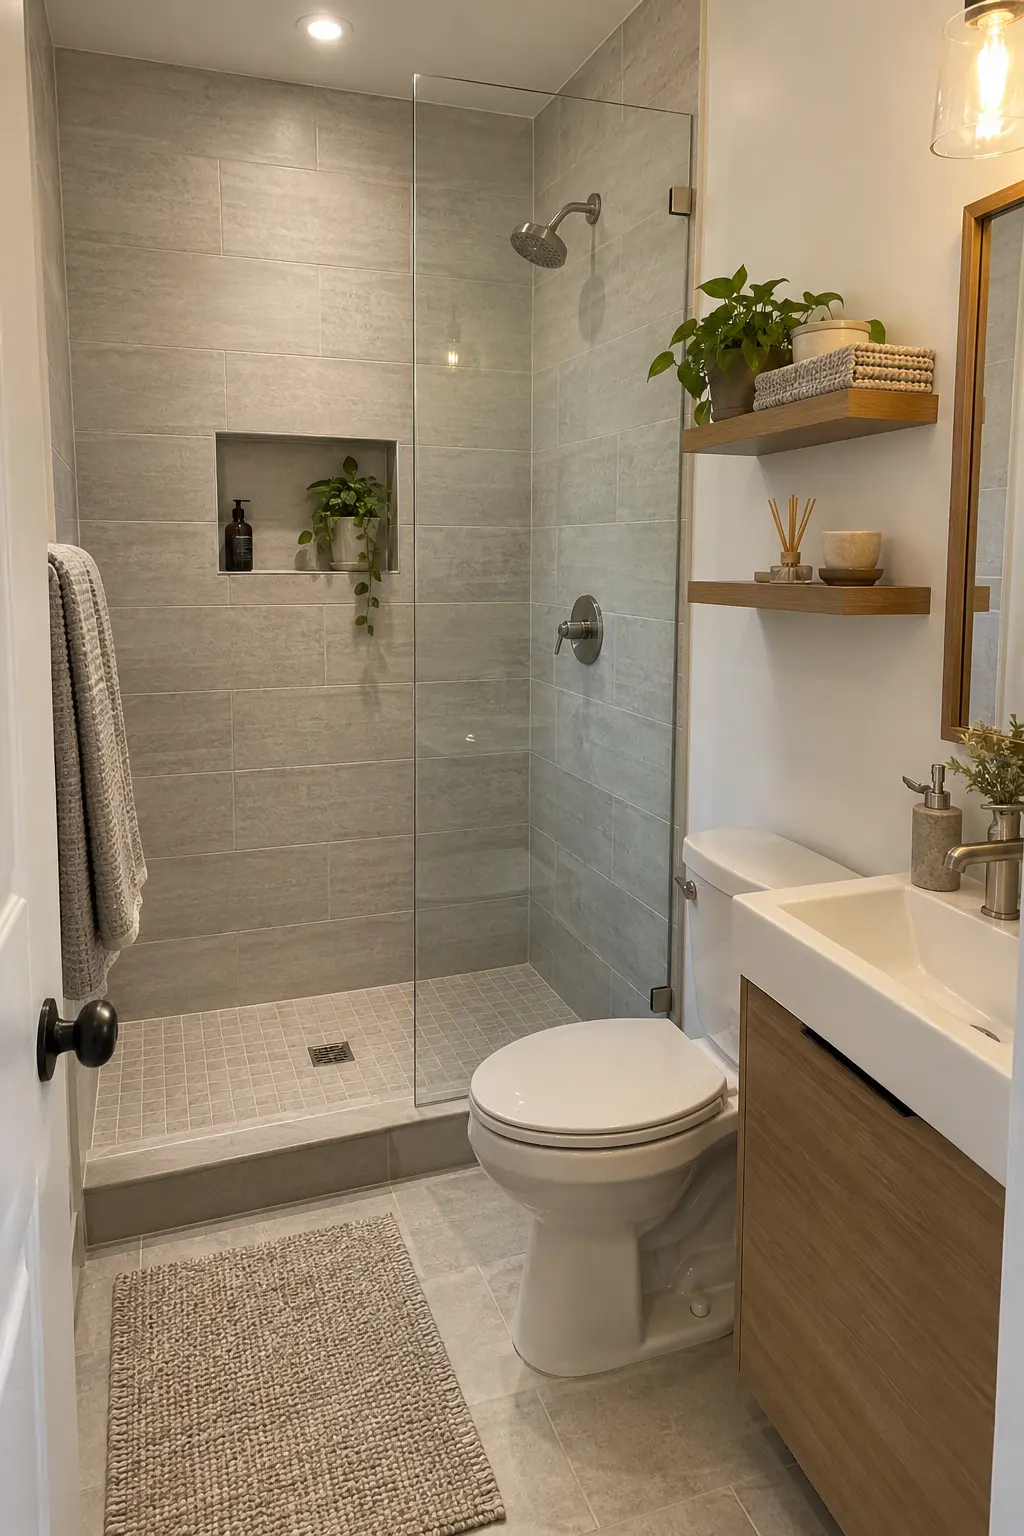
A single fixed panel removes hinges and overlapping doors, making the shower easier to see and clean. It works only when the panel is long enough for the spray pattern.
Mock up the panel edge with cardboard and run the shower before final glass templating if possible. Place the head far from the opening and angle it toward a waterproof wall.
Use tempered glass and approved clamps or channels. Custom glass should be measured after tile, because a few out-of-plumb millimeters can affect fit.
27. Choose Fluted Glass for Soft Privacy
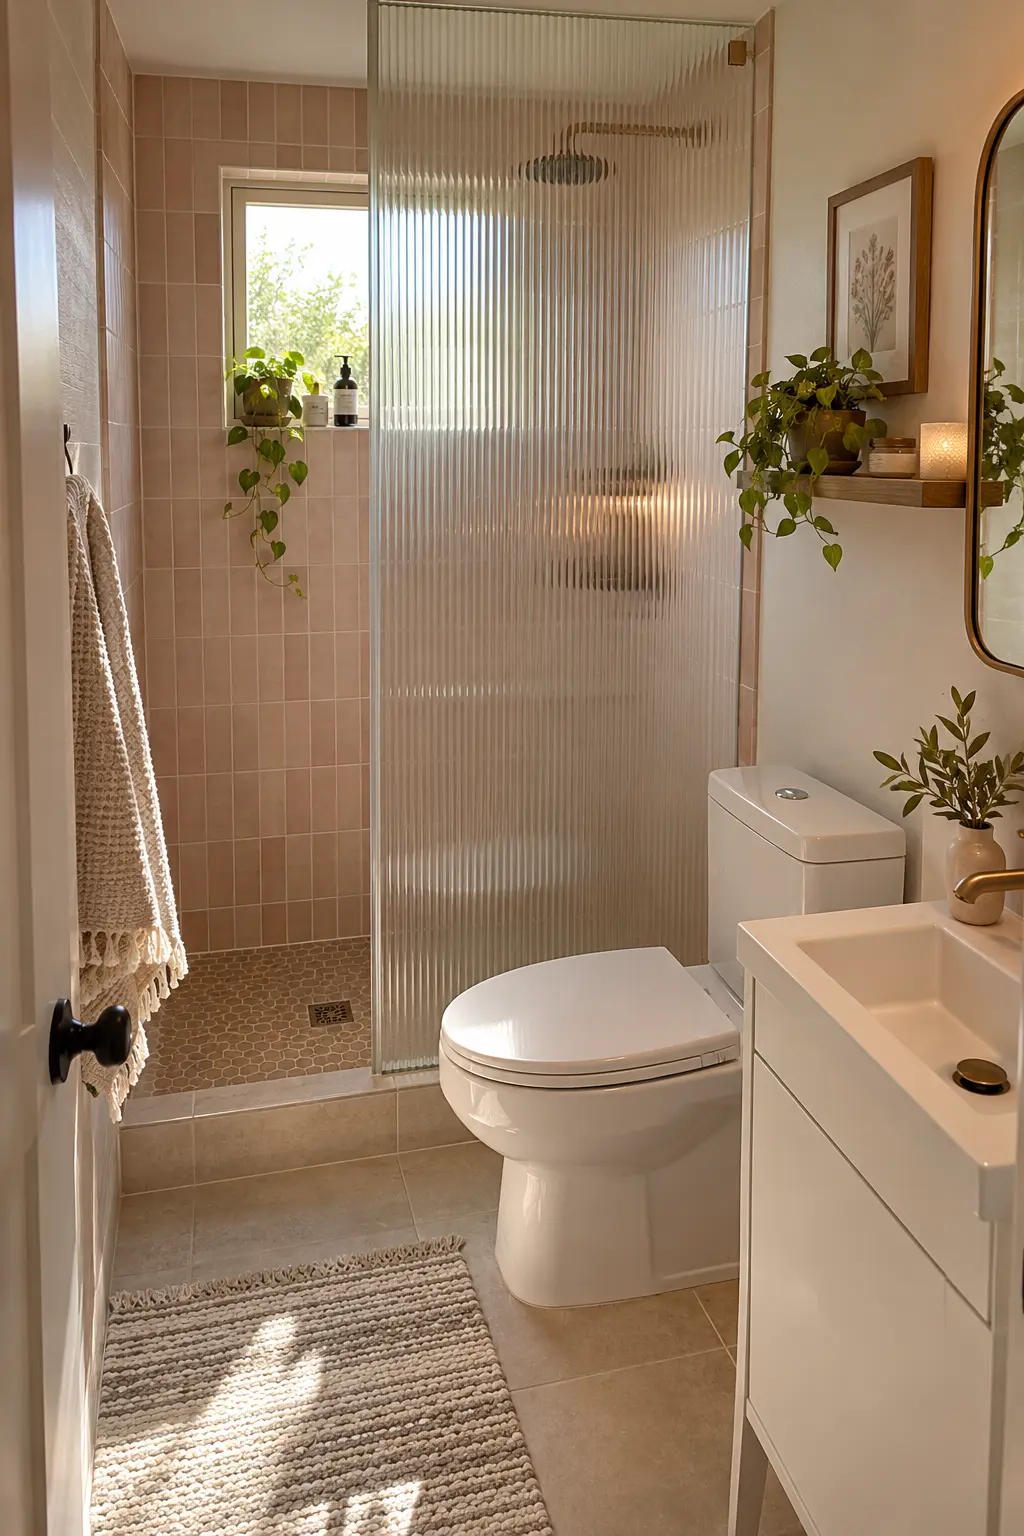
Fluted glass blurs the shower interior while still sharing light with the rest of the bathroom. It can also make water spots less obvious than perfectly clear glass.
Specify tempered safety glass and confirm which side carries the texture. A smoother wet-side surface is generally easier to squeegee and keep clean.
Keep the panel visually simple; heavy frames plus strong fluting can overpower a tiny room. One privacy layer is usually enough.
28. Top a Pony Wall With Glass
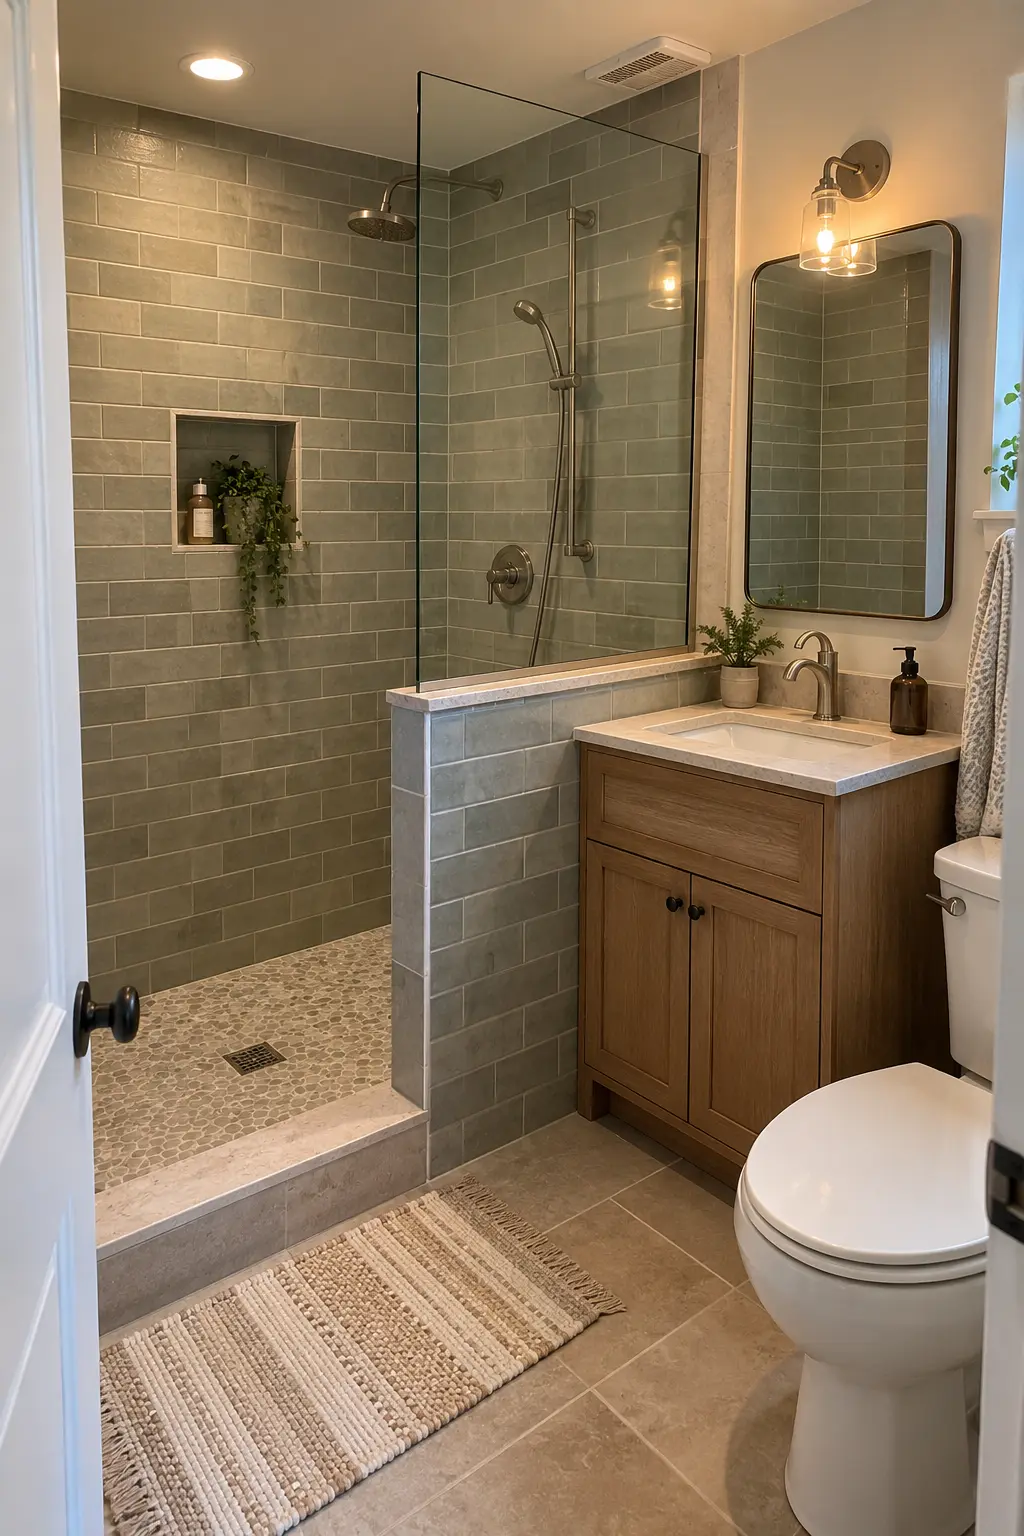
A tiled pony wall protects the vanity or toilet from spray, while a short glass panel above preserves light. The solid portion can also conceal plumbing or a niche.
Reinforce the wall so it cannot flex under the glass. Cap it with one solid piece sloped slightly toward the shower, and waterproof the top before the cap is set.
Leave enough space between the wall and nearby cabinetry for cleaning. A narrow unreachable gap becomes a moisture and dust trap.
Glass magnifies movement, so reinforce the wall and waterproof its sloped cap before templating.
29. Pair a Washable Curtain With a Waterproof Liner
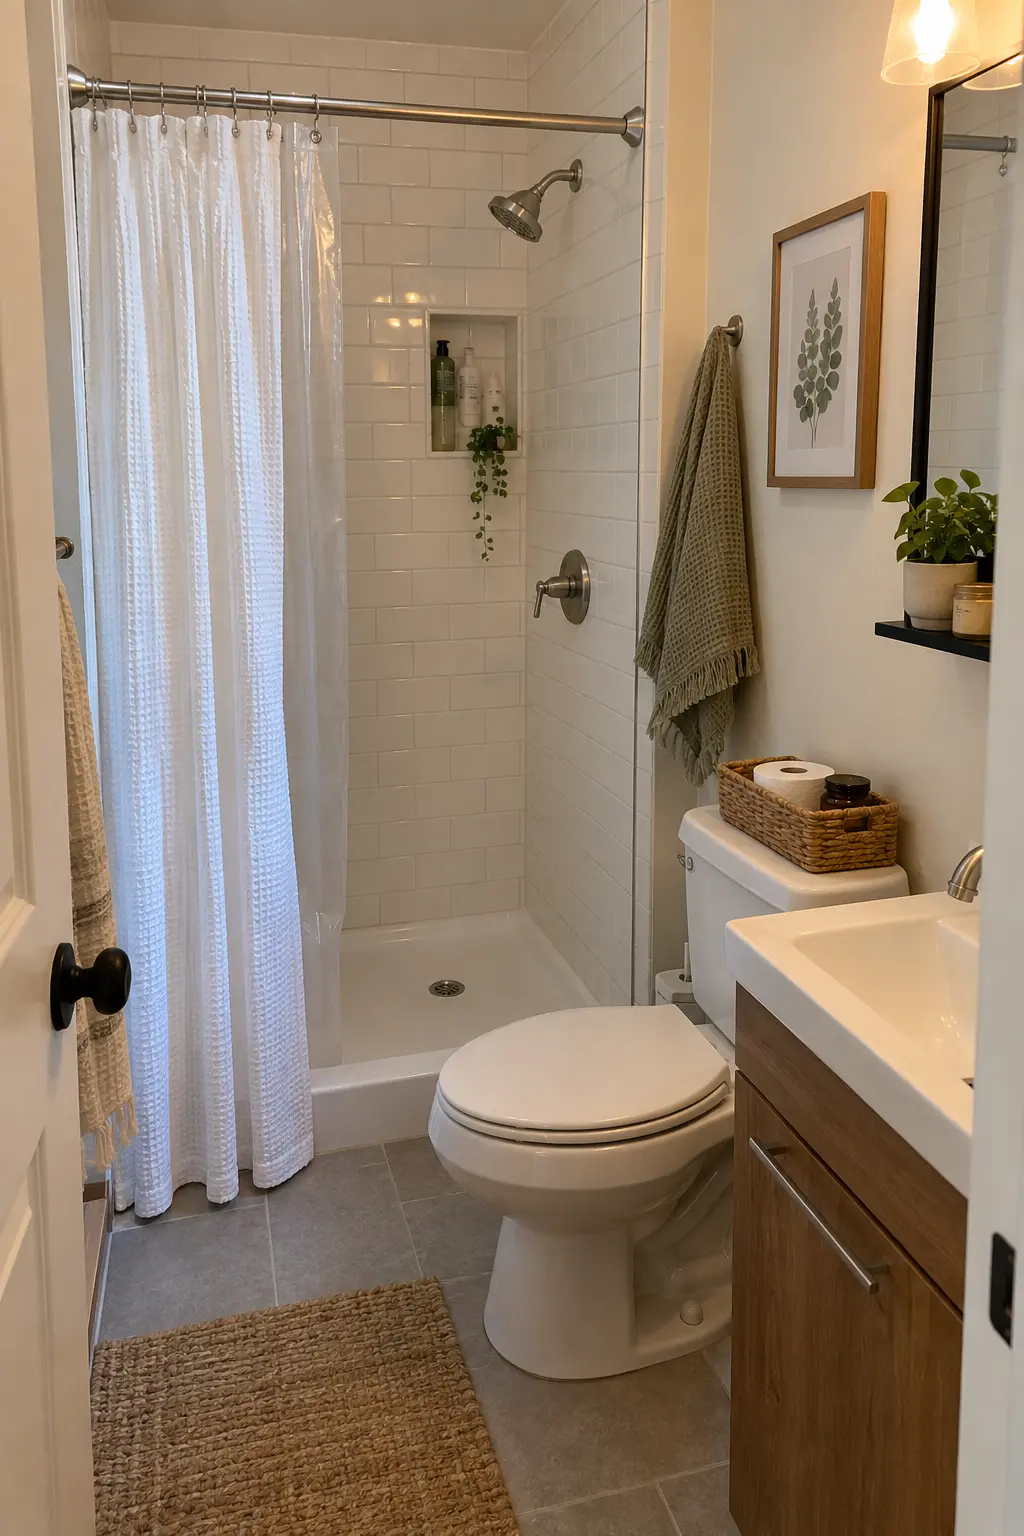
A decorative fabric curtain controls the view, while the liner does the water work. Keep both inside the shower boundary and choose weights or magnets suited to the base.
A curved rod can add elbow room, but it also projects into the bathroom. Test it against the toilet and door before assuming the extra interior width is free.
Wash and fully dry both layers on a regular schedule. A fresh curtain will not compensate for weak ventilation or water escaping at the ends.
30. Give a Hinged Door an Empty Landing Zone
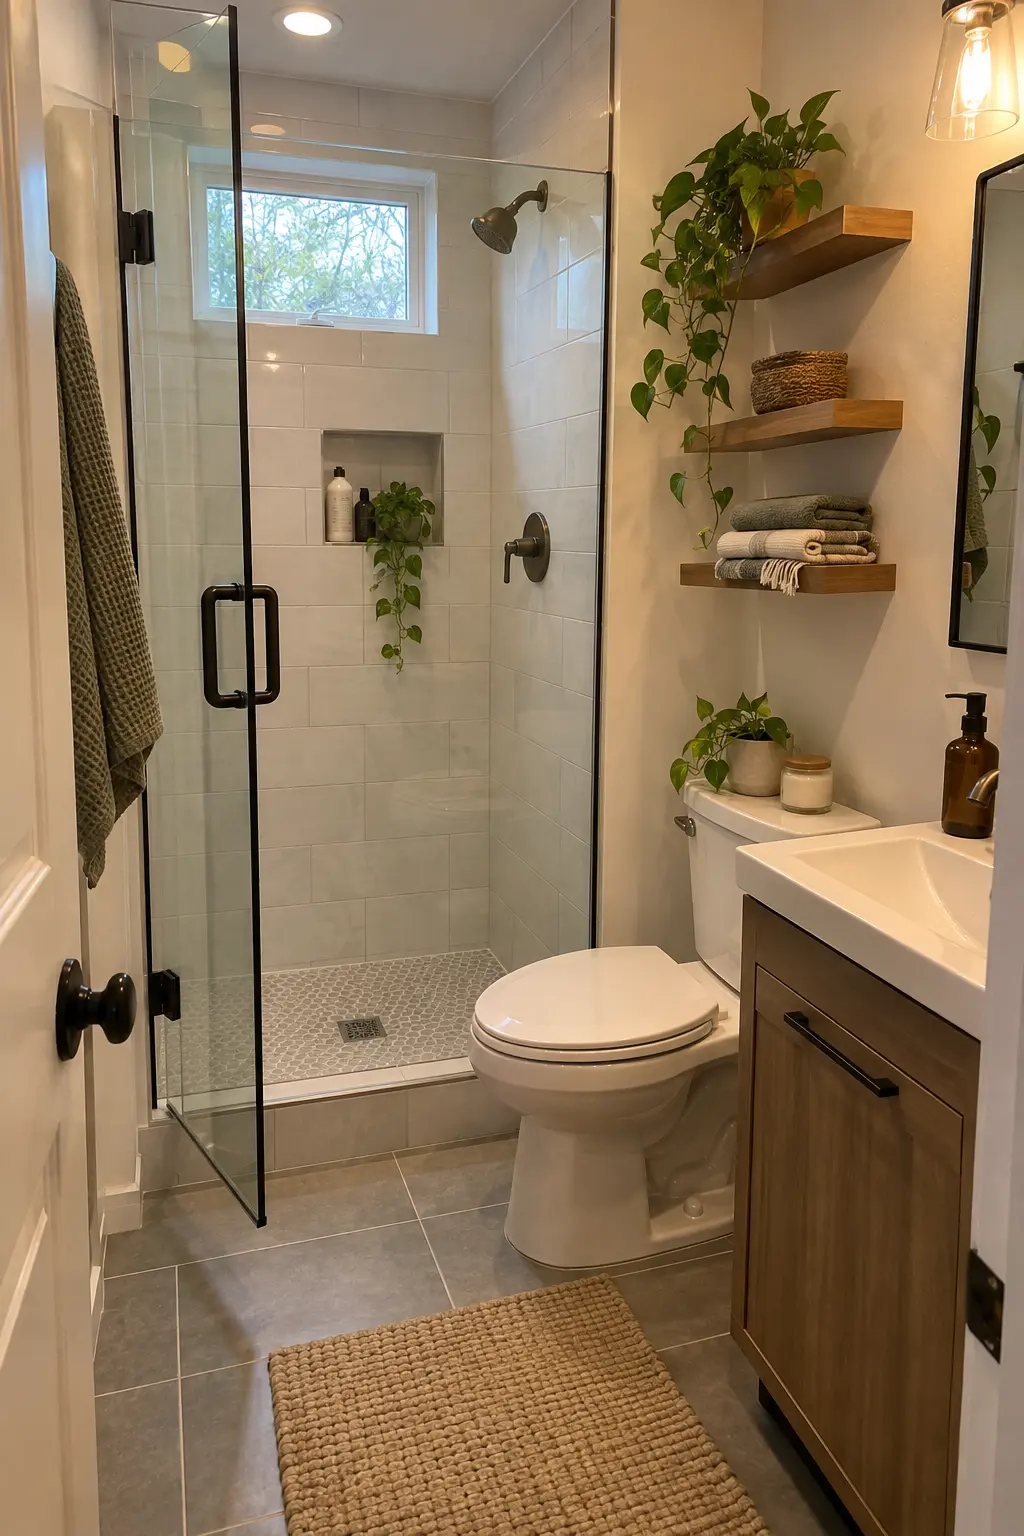
A hinged glass door can feel generous, but its full swing must land on clear floor. It should not strike the vanity, toilet, towel bar, or main entry door.
Confirm whether the chosen enclosure can swing outward for emergency access and cleaning. Follow manufacturer instructions and local requirements for safe operation.
Place a bath mat beyond the swing, not under it. The door should move freely without bunching fabric or forcing a user to step around a wet obstruction.
Build Storage, Light, and Ventilation Into the Walls
Use vertical and recessed space so daily products do not occupy the floor. Ventilation and lighting keep the small room comfortable and maintainable.
31. Use Sliding Bypass Doors in an Alcove
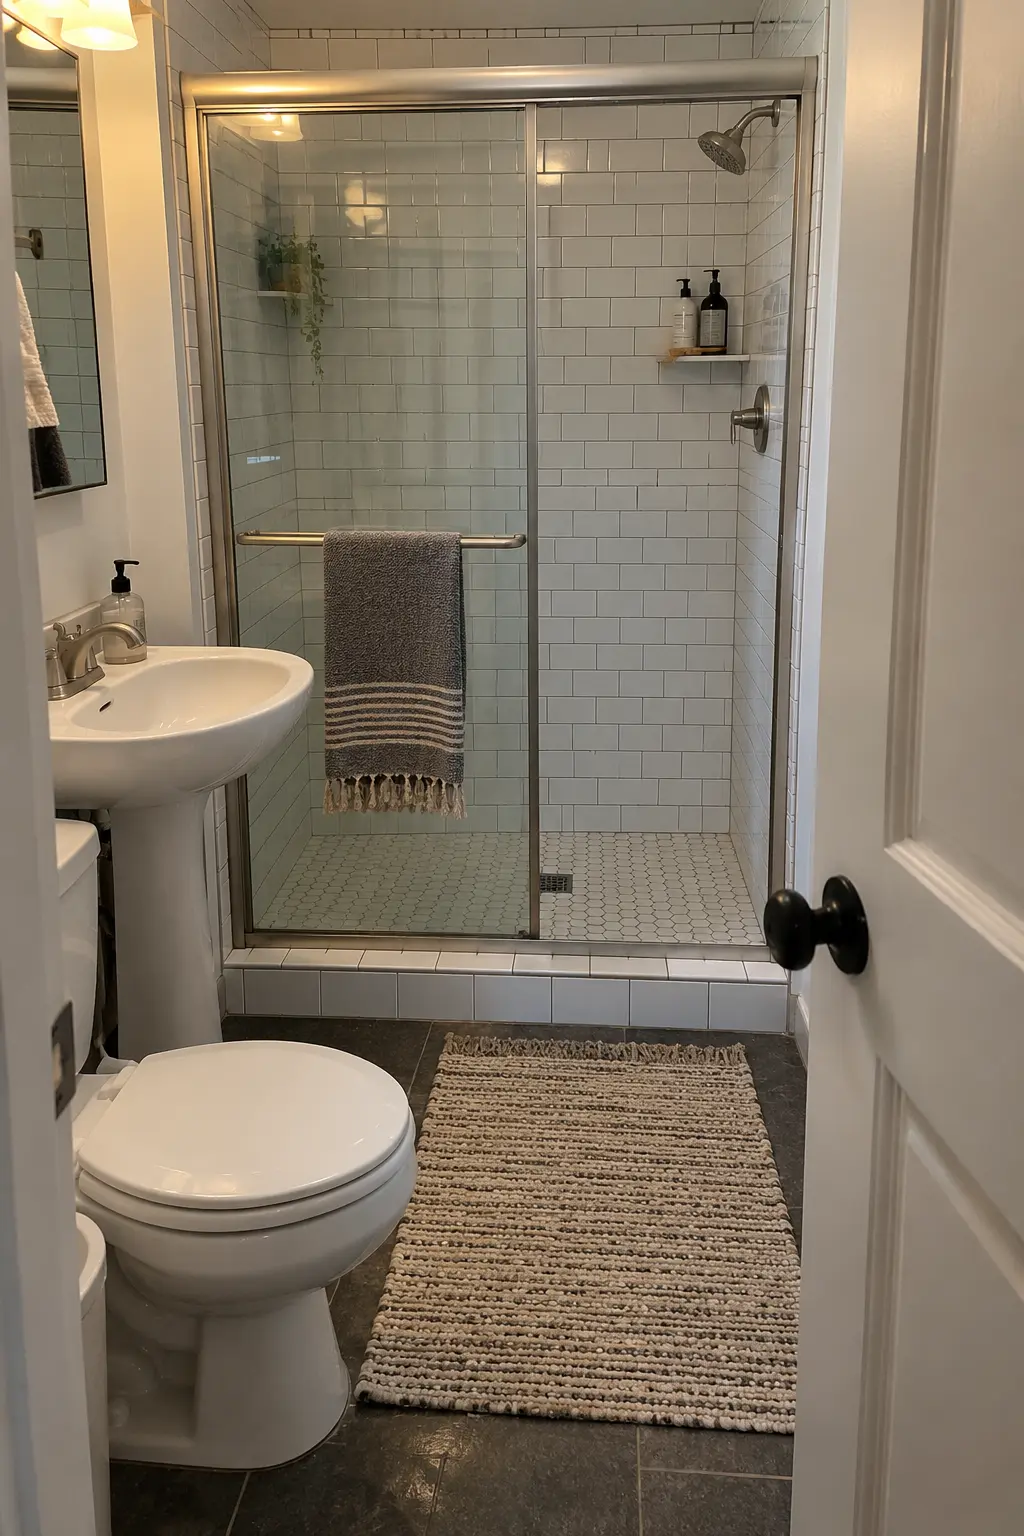
Bypass doors suit a narrow alcove because neither panel enters the room. They also allow access from either side when plumbing and storage are arranged thoughtfully.
Check the bottom guide, overlapping glass, and true entry width. A nominal five-foot enclosure may provide much less than half that width for walking through.
Choose tracks that can be reached with a brush and cloth. Daily drainage slots must remain open so the frame does not hold dirty water.
32. Open a Corner Shower From the Corner
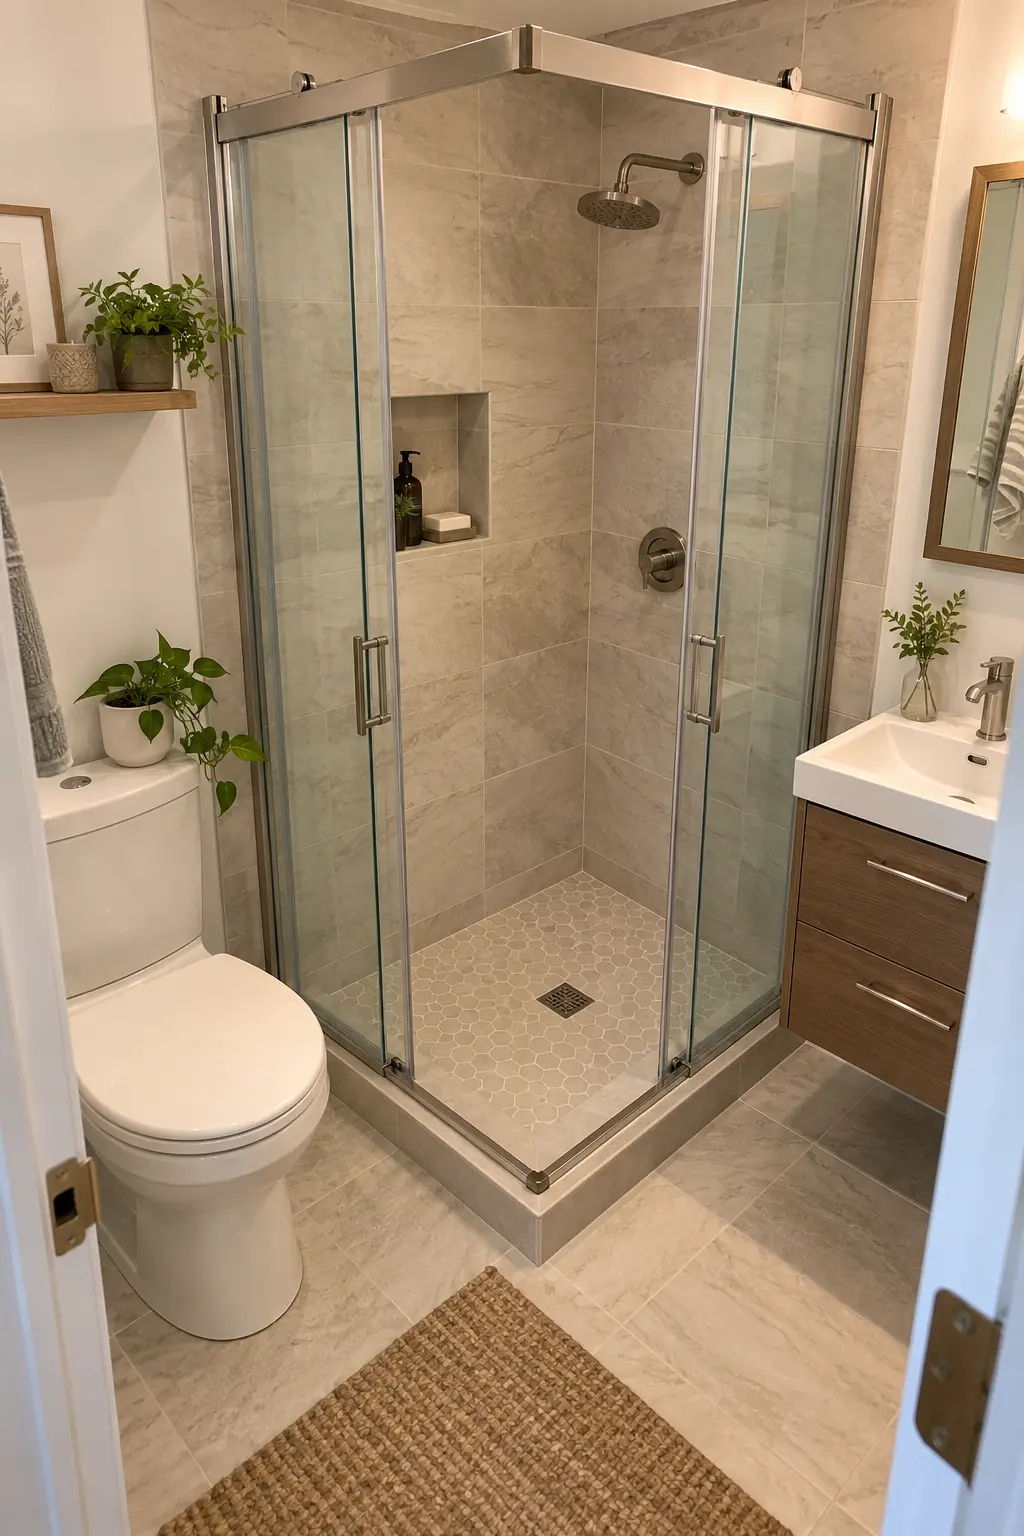
Two sliding panels that meet at a corner create an entry without a door swing. This can be useful when the toilet and vanity occupy the walls beside the enclosure.
Review the closing seals and lower guides, because the corner joint receives direct spray. A purpose-made system is safer than combining unrelated glass components.
Keep the threshold visible and well lit. A clipped corner saves space only when the step into the shower remains easy to see and cross.
33. Lower the Curb Without Losing Water Control
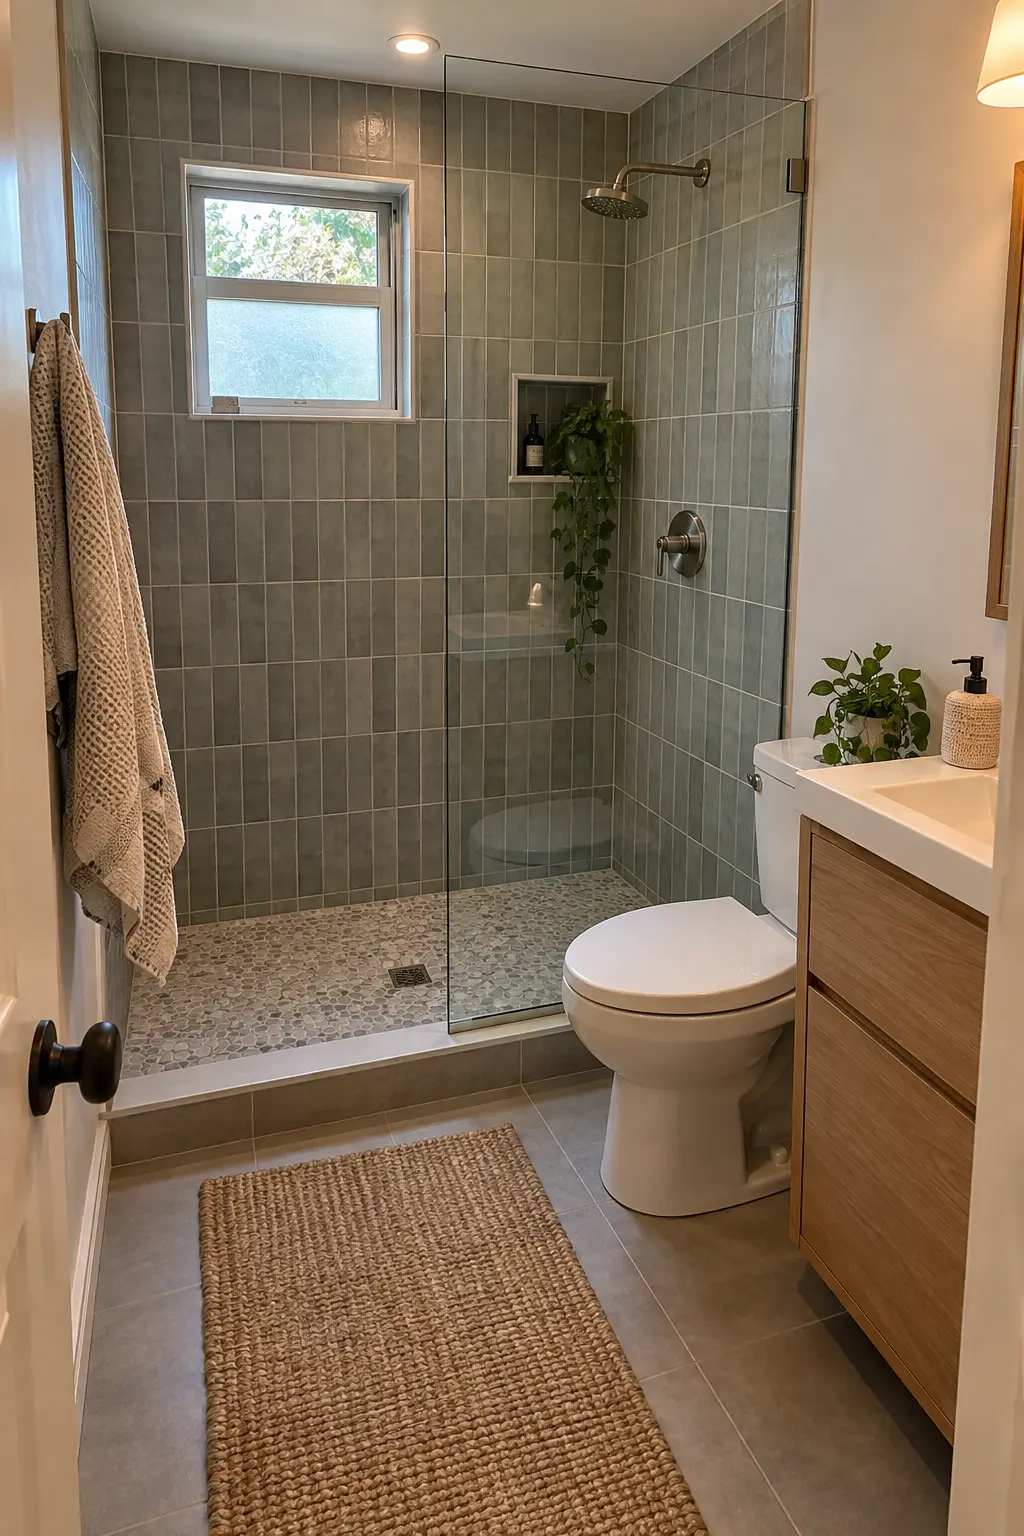
A low curb reduces the step into the shower and looks lighter than a tall threshold. It still needs enough height, slope, and enclosure coverage for the chosen spray pattern.
Do not shave down a standard curb after waterproofing. Build the assembly as a coordinated system and flood-test it before tile.
Use a contrasting edge only if visibility is a concern; otherwise match the floor for continuity. Keep the top free of bath products so it remains a safe transition.
34. Plan a Curbless Shower From the Structure Up
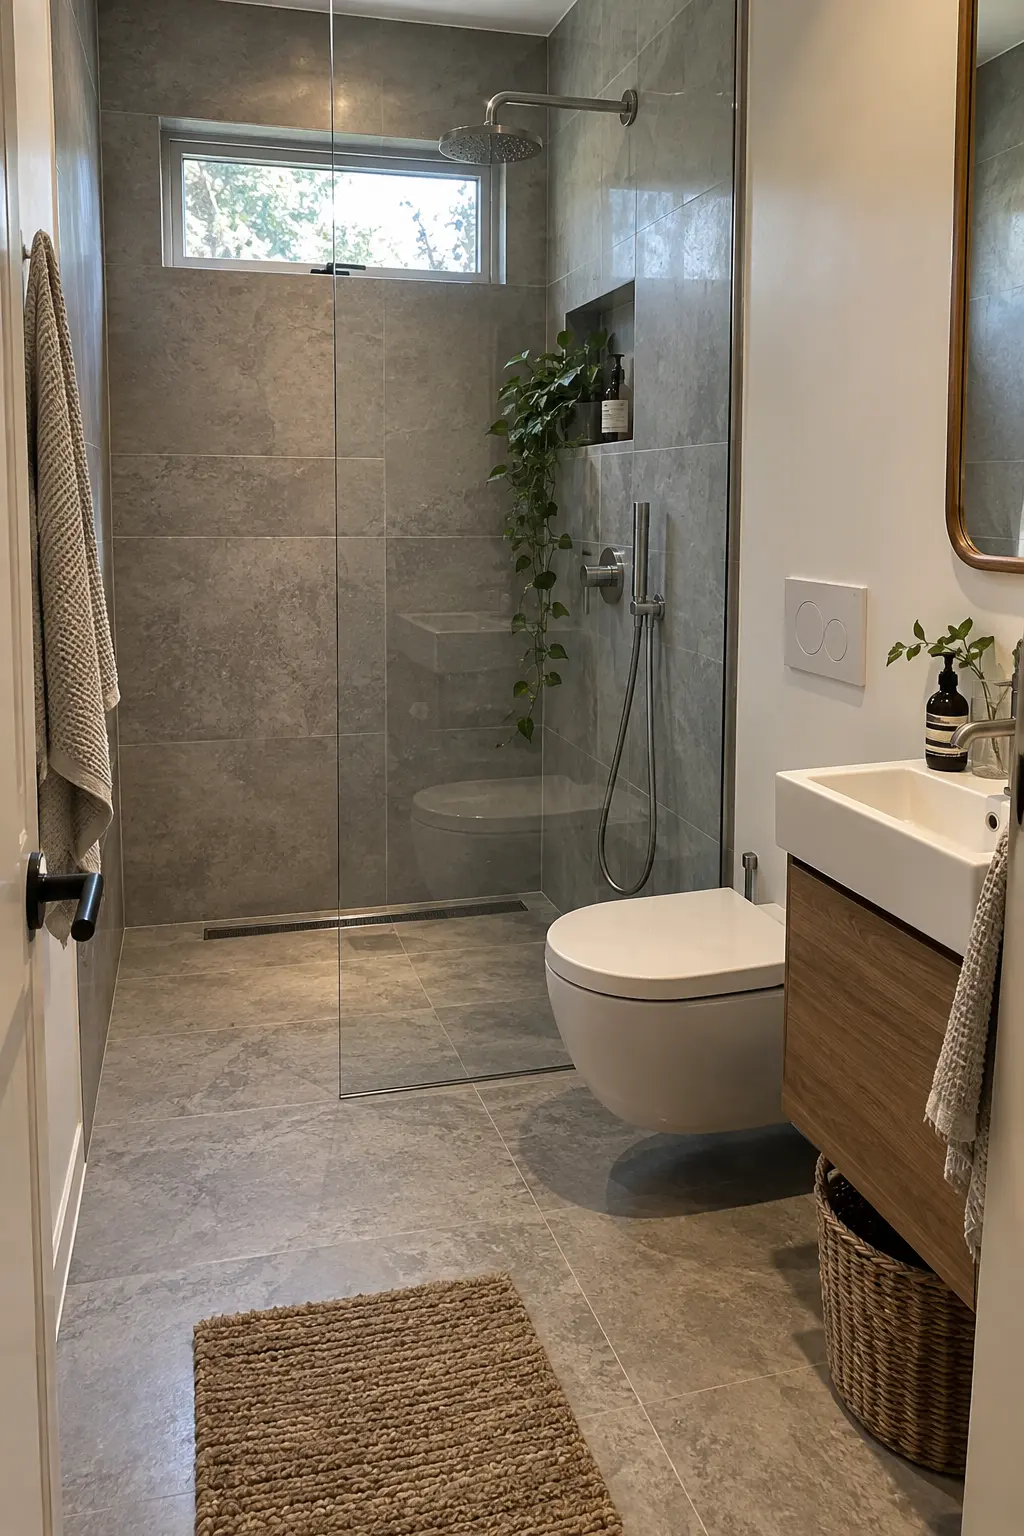
A curbless shower can improve access and visual flow, but the floor assembly must make room for slope. Retrofitting without structural review can create weak framing or a hump at the doorway.
Keep the toilet and vanity outside the primary spray path, and extend waterproofing beyond the obvious shower rectangle. Doorway transitions deserve special attention.
For accessibility goals, use qualified designers and current local requirements. Residential projects are not automatically governed by ADA standards, yet accessible principles can guide safer choices.
- Review joist depth before choosing a drain.
- Extend waterproofing into the transition zone.
- Keep fixtures out of the direct spray path.
35. Use a Linear Drain for a Single-Slope Floor
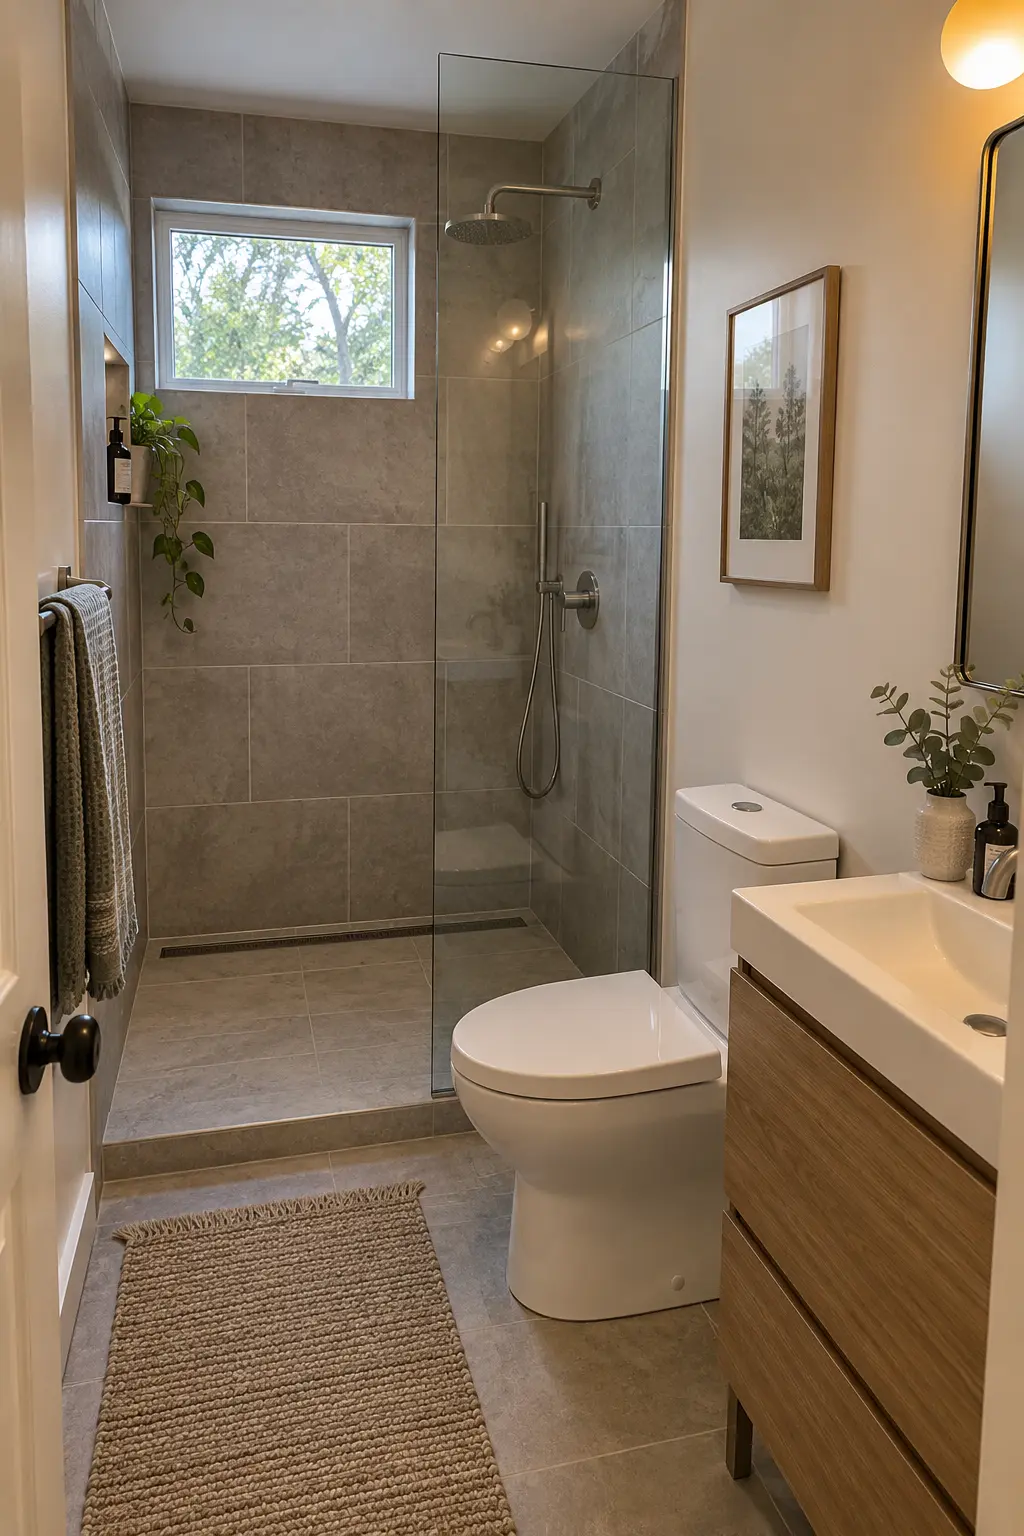
A linear drain can simplify the shower floor to one slope, which works well with larger-format floor tile. Place it where the waterproofing system and drain manufacturer specify.
The drain must remain accessible for hair removal and cleaning. A dramatic tile-in insert is not useful if the cover cannot be lifted without special tools.
Confirm the floor is actually pitched toward the drain across the full wet zone. The straight drain does not correct a flat or back-pitched substrate.
36. Use Small Mosaic Around a Center Drain
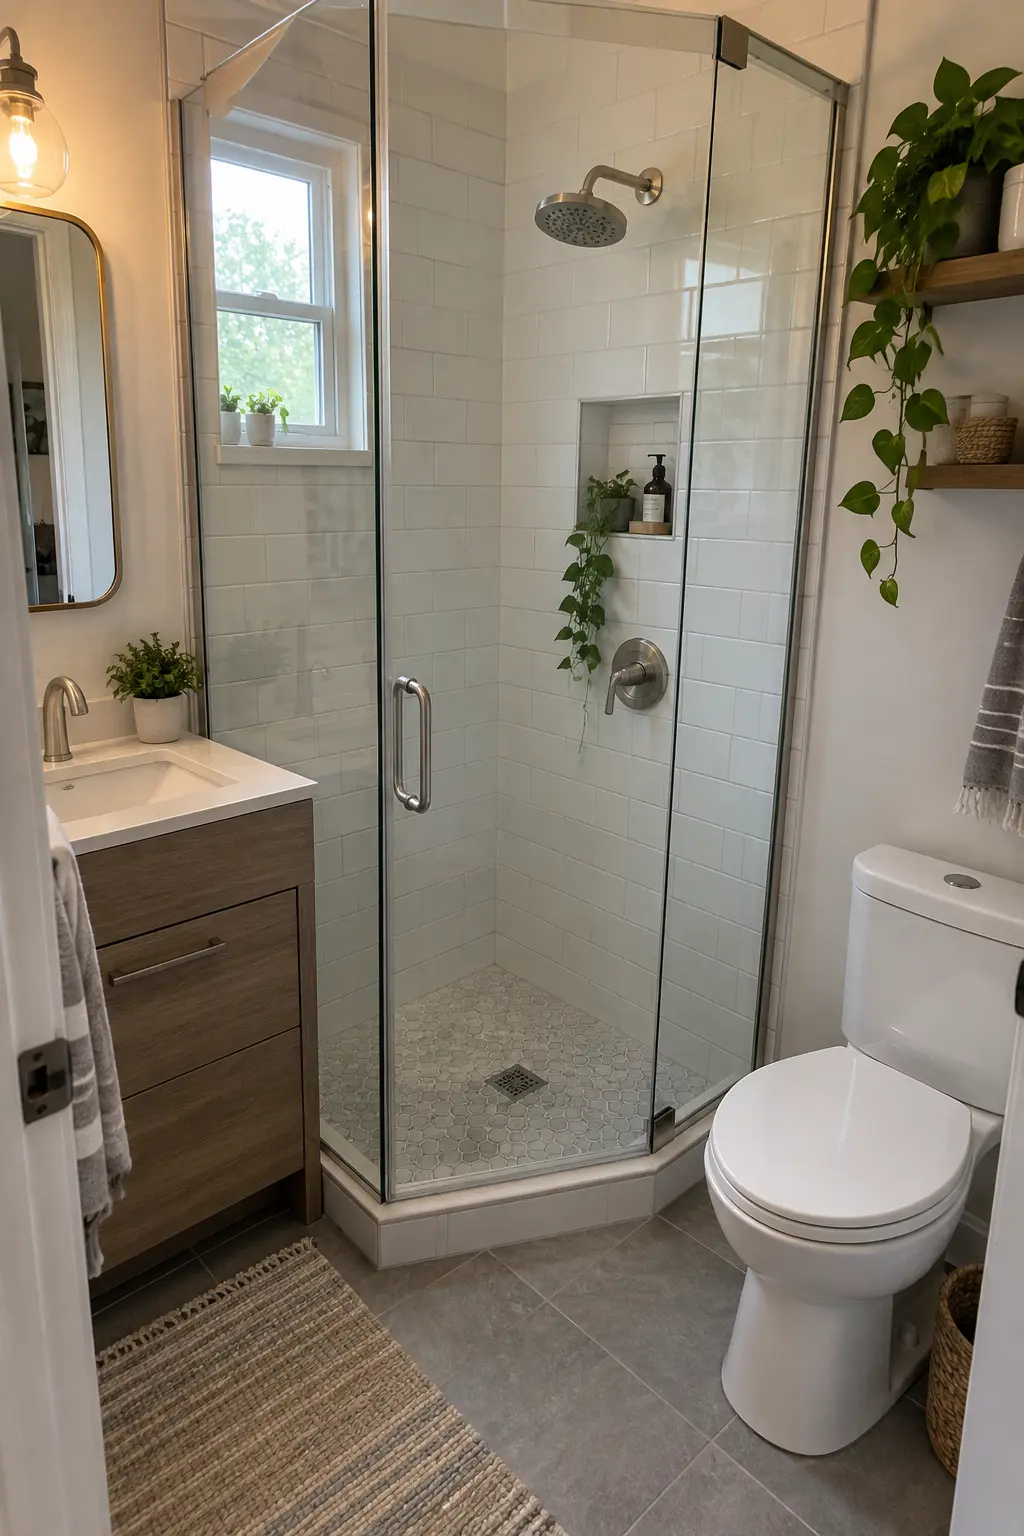
Small mosaic tile follows the four-way slope to a center drain without awkward lippage. More grout joints can also improve traction when a suitable matte tile is selected.
Dry-lay sheets around the drain so cuts look intentional. Stagger visible sheet seams and avoid tiny fragments that can loosen at the grate.
Match the drain finish to the main hardware or choose a simple stainless grate. Keep the strainer removable and clean it before slow drainage becomes standing water.
37. Install a Quiet, Properly Ducted Exhaust Fan
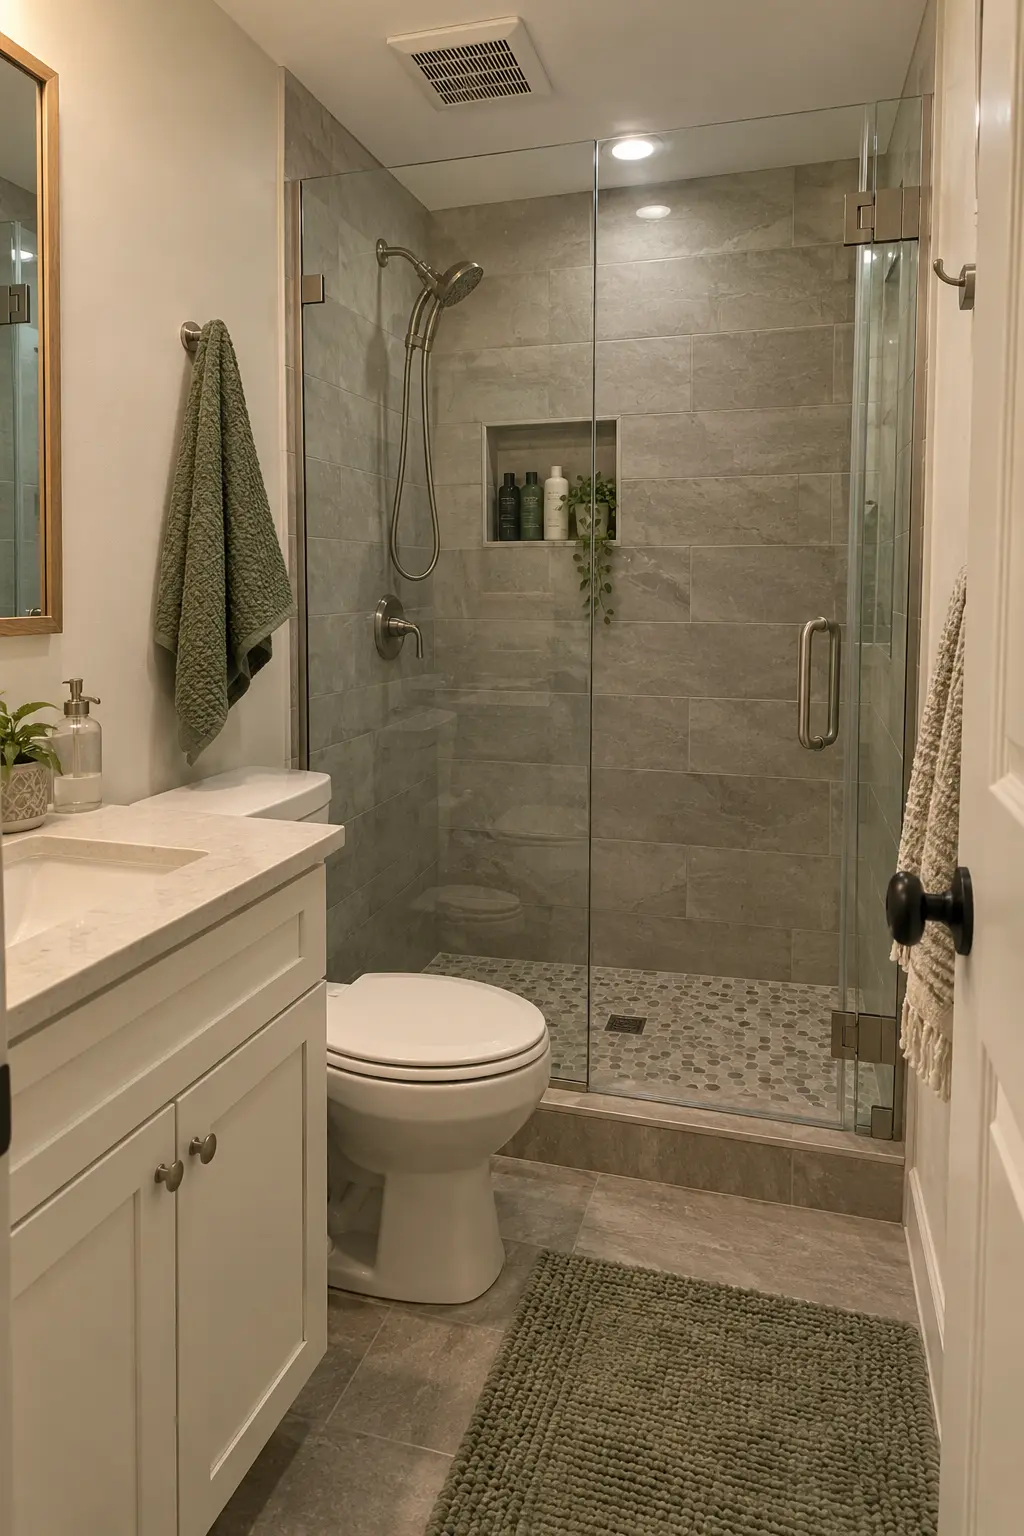
A tiny bathroom fills with moisture quickly, so ventilation is a building system, not an optional accessory. Size the fan for the room and local rules, then vent it outdoors rather than into an attic.
Use a timer or humidity control that encourages the fan to run after showers. Keep the grille outside direct spray unless the listed product and electrical plan allow another location.
Pair ventilation with finishes that tolerate moisture. These bathroom lighting ideas can help coordinate ceiling locations without crowding the fan.
A fan that dumps moisture into an attic only relocates the problem and can damage the building.
38. Layer Wet-Rated Light With Mirror Light
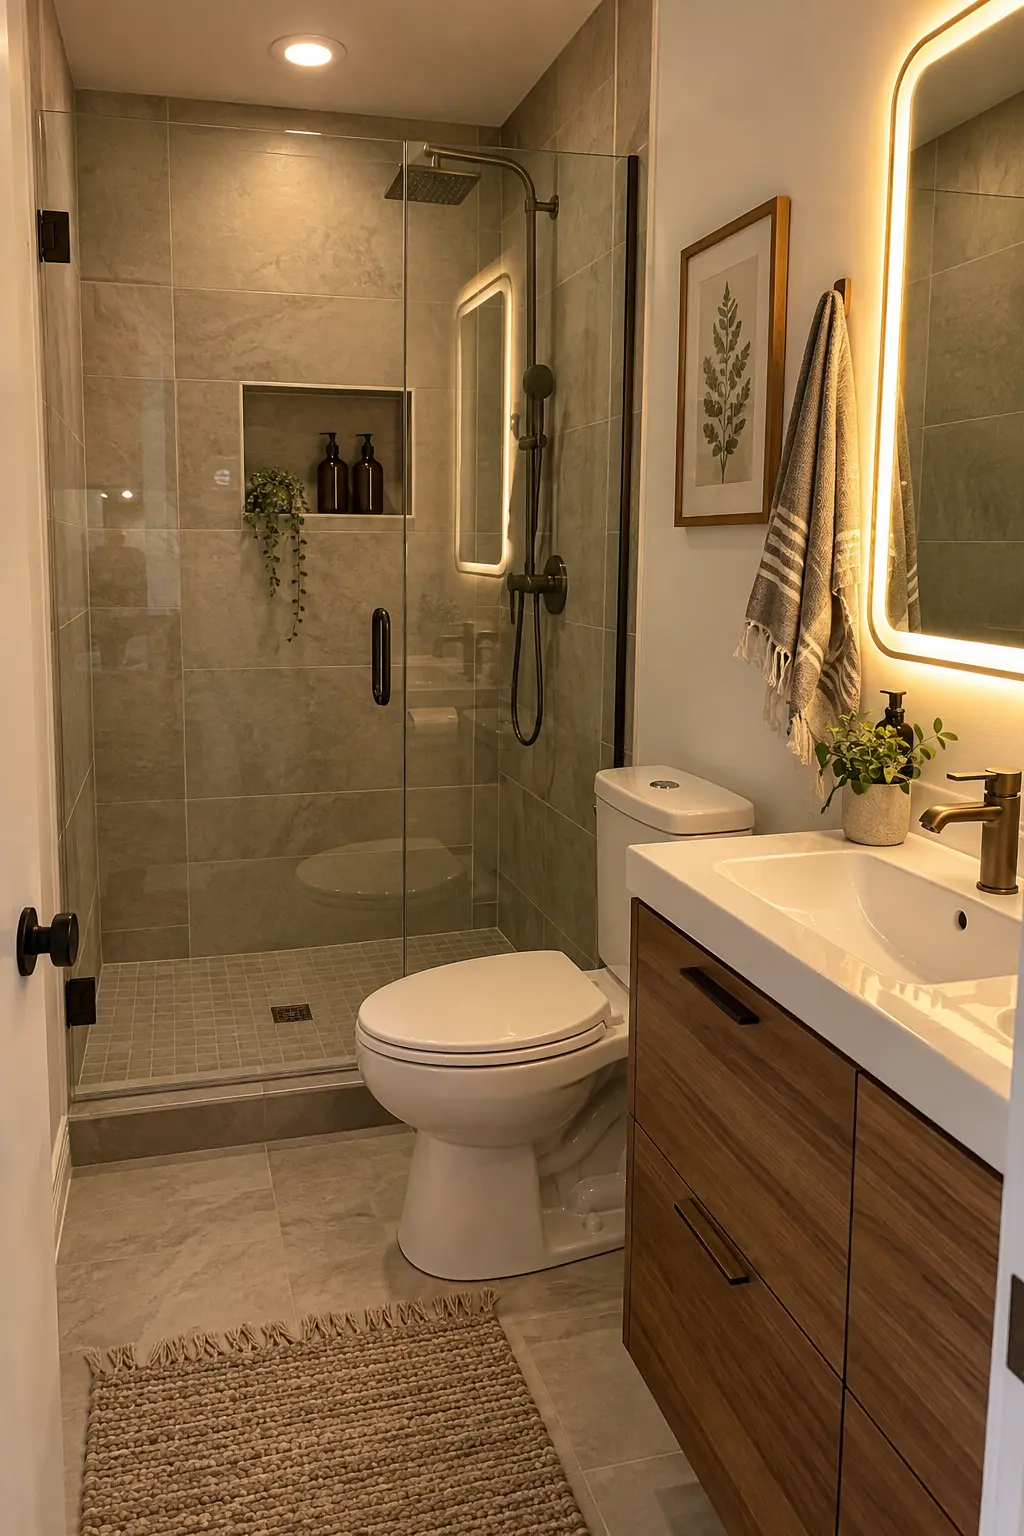
One ceiling fixture creates shadows in a narrow room. Combine general light, even mirror light, and a wet-location fixture over the shower where required.
Keep color temperature consistent so tile and skin tones do not shift from one side of the room to the other. Dimmers add flexibility, but switches and fixtures must suit bathroom electrical rules.
Do not place decorative pendants where they reduce headroom or enter restricted zones. An electrician should confirm ratings, protection, and clearances.
39. Recess One Shower Niche Between Studs
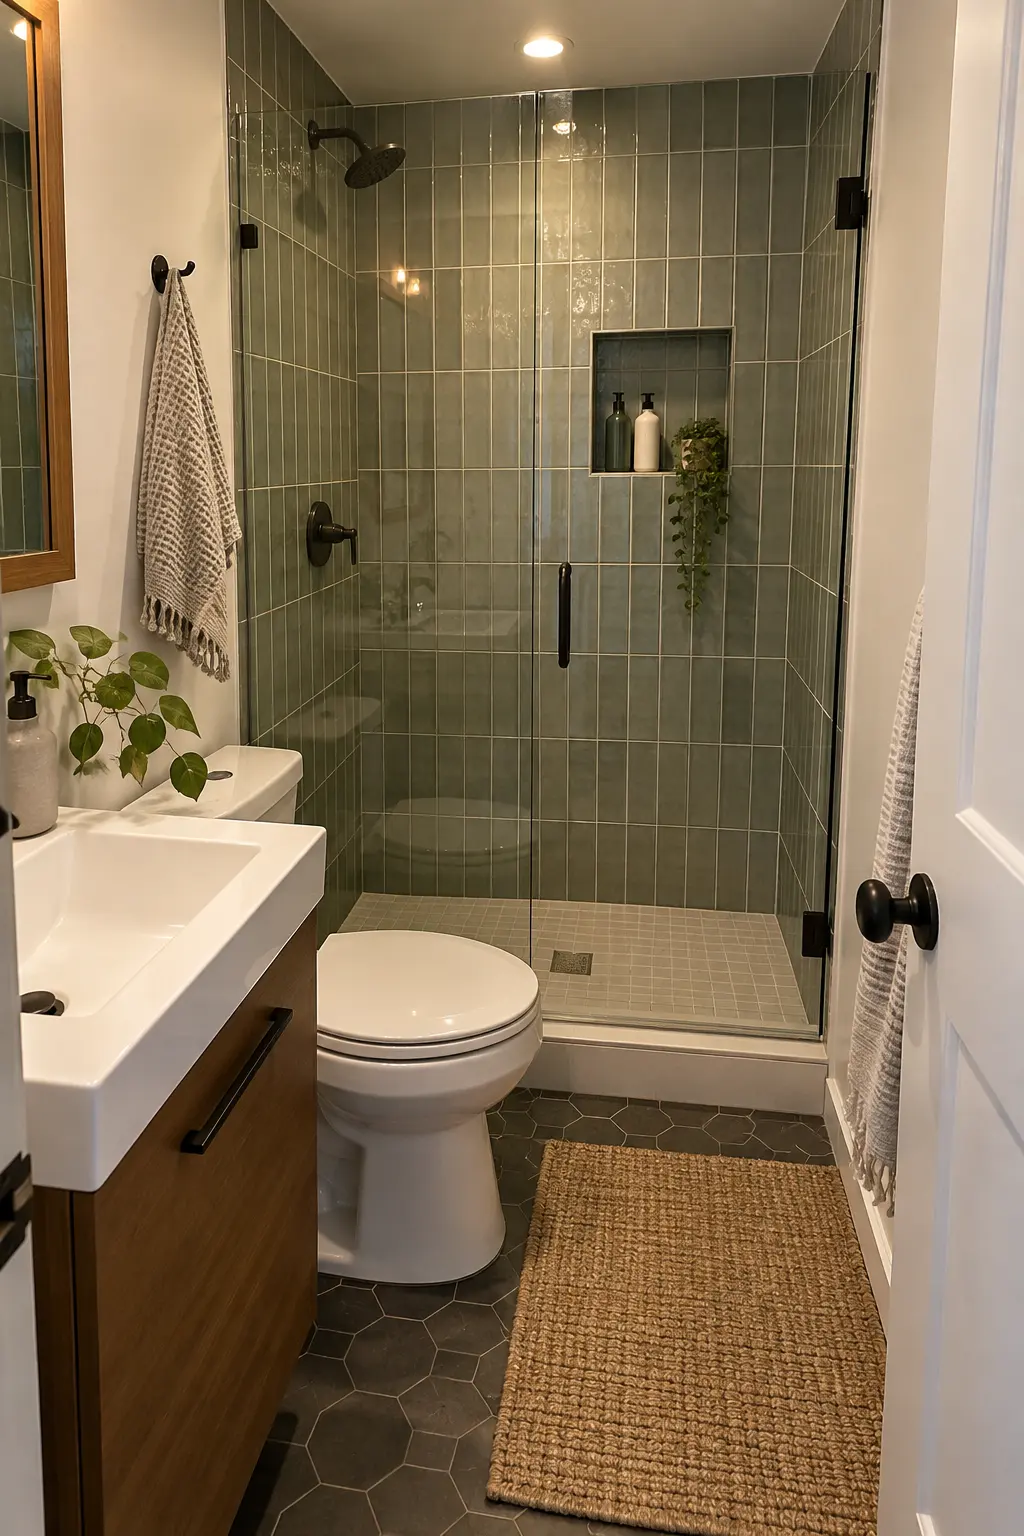
A recessed niche stores bottles without stealing elbow room. Place it where framing and pipes allow, and keep it away from the strongest spray when possible.
Waterproof the full box and slope the sill toward the shower. A perfectly level shelf can hold a persistent puddle behind every bottle.
Size the niche around real products, then limit the lineup. For more options, compare these shower storage ideas before framing the opening.
40. Build Small Sloped Corner Shelves
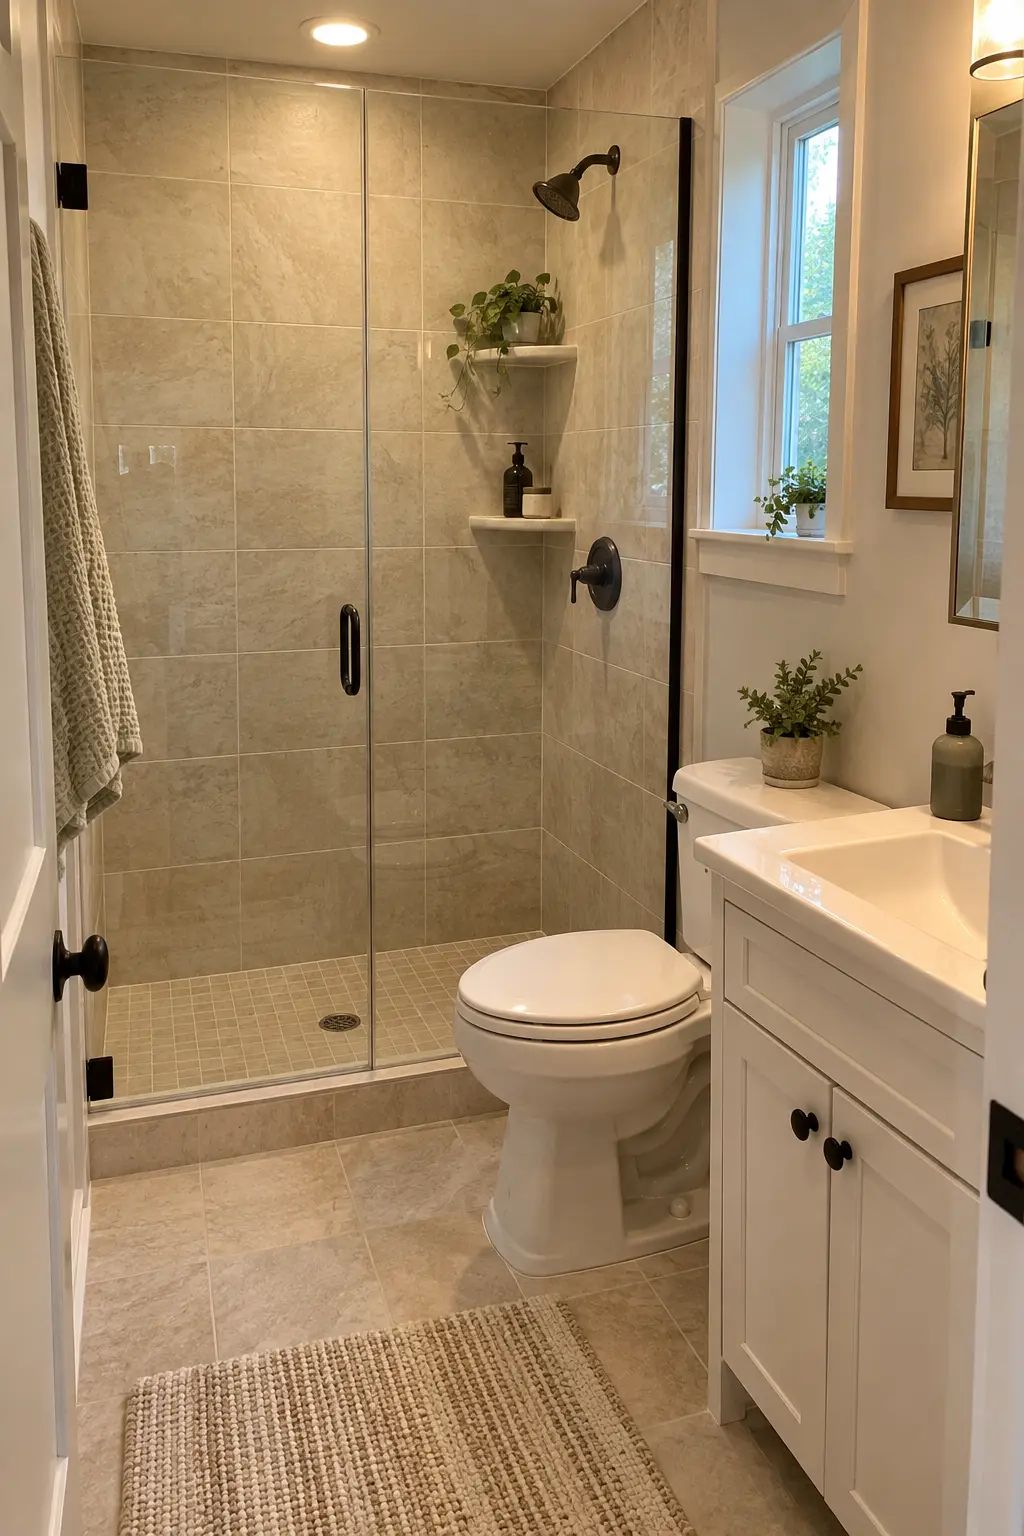
Two compact corner shelves can hold daily products without creating a large niche in an exterior or plumbing wall. Solid-surface triangles minimize grout on the shelf itself.
Set each shelf with a slight pitch toward the shower and rounded or eased front edges. Avoid placing it where shoulders repeatedly strike the corner.
Keep the lower shelf high enough to clean beneath it. A few well-placed surfaces work better than a tower of ledges filled with backups.
Plan for Safety, Rentals, Budgets, and Upkeep
Finish with changes that support real households: future mobility, renter limits, sensible spending, and cleaning routines that fit busy days.
41. Use the Back of the Door for Dry Towels
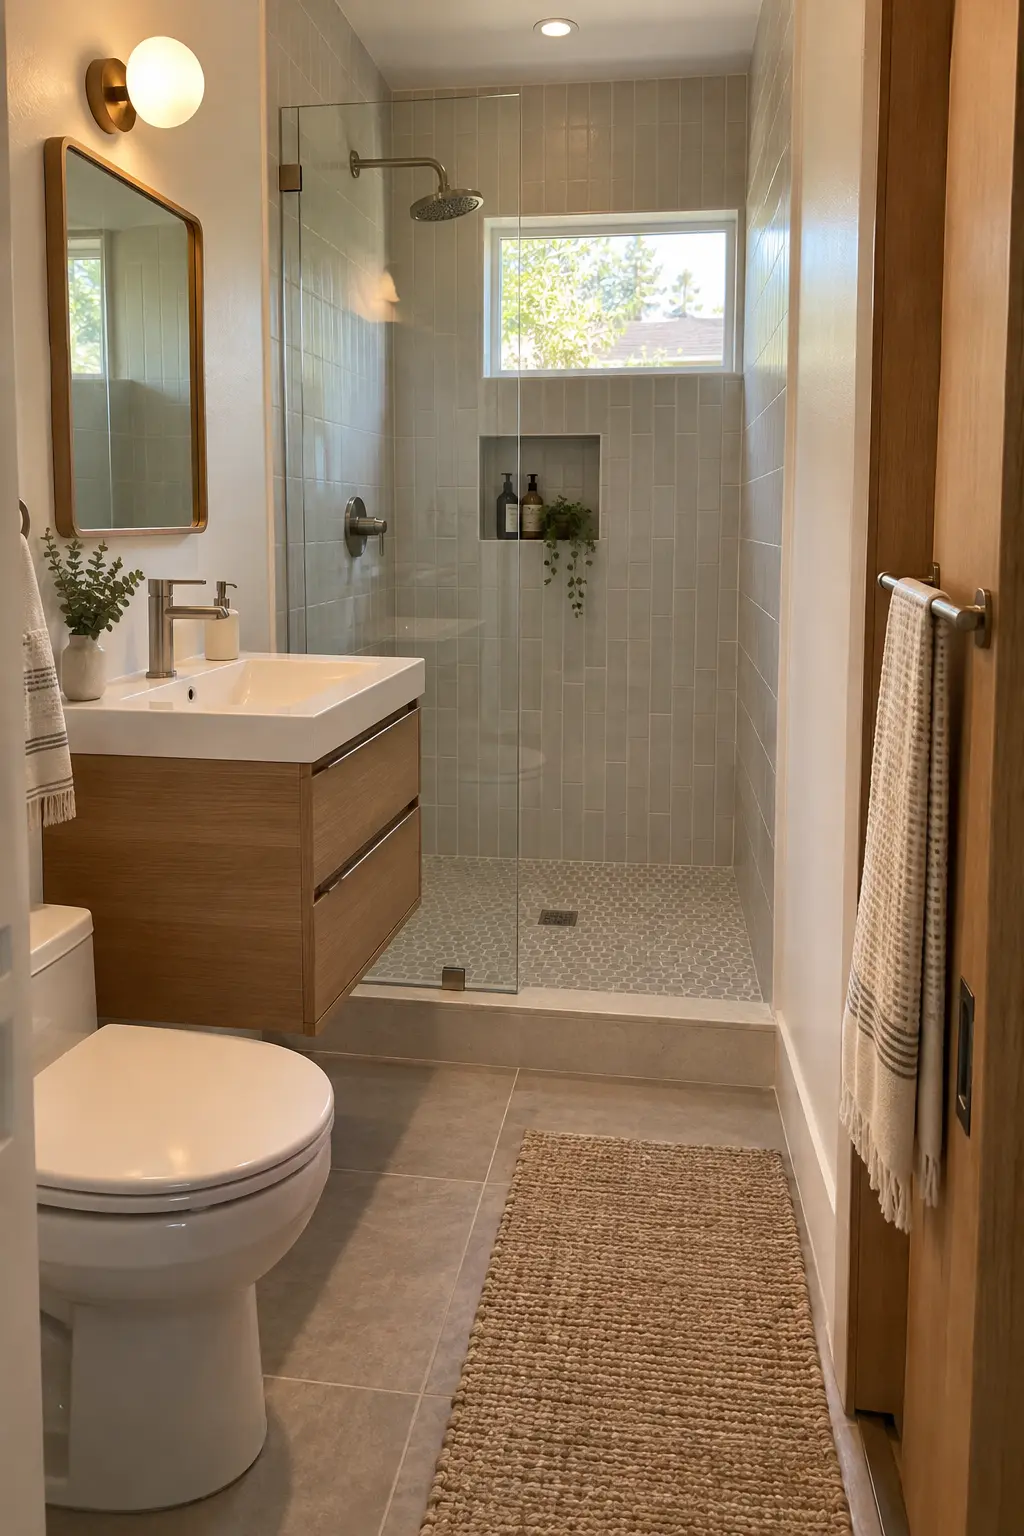
A shallow towel bar or hooks on the door can use an otherwise empty surface. Keep the hardware slim so it does not hit the wall, shower glass, or nearby cabinet.
Mount towels outside the direct splash zone and leave space for air to circulate. Damp fabric pressed against a door dries slowly and can mark the finish.
Use through-bolts or hardware suited to the door construction. Hollow-core panels cannot support every rack with ordinary screws.
42. Mount a Shallow Cabinet Over the Toilet
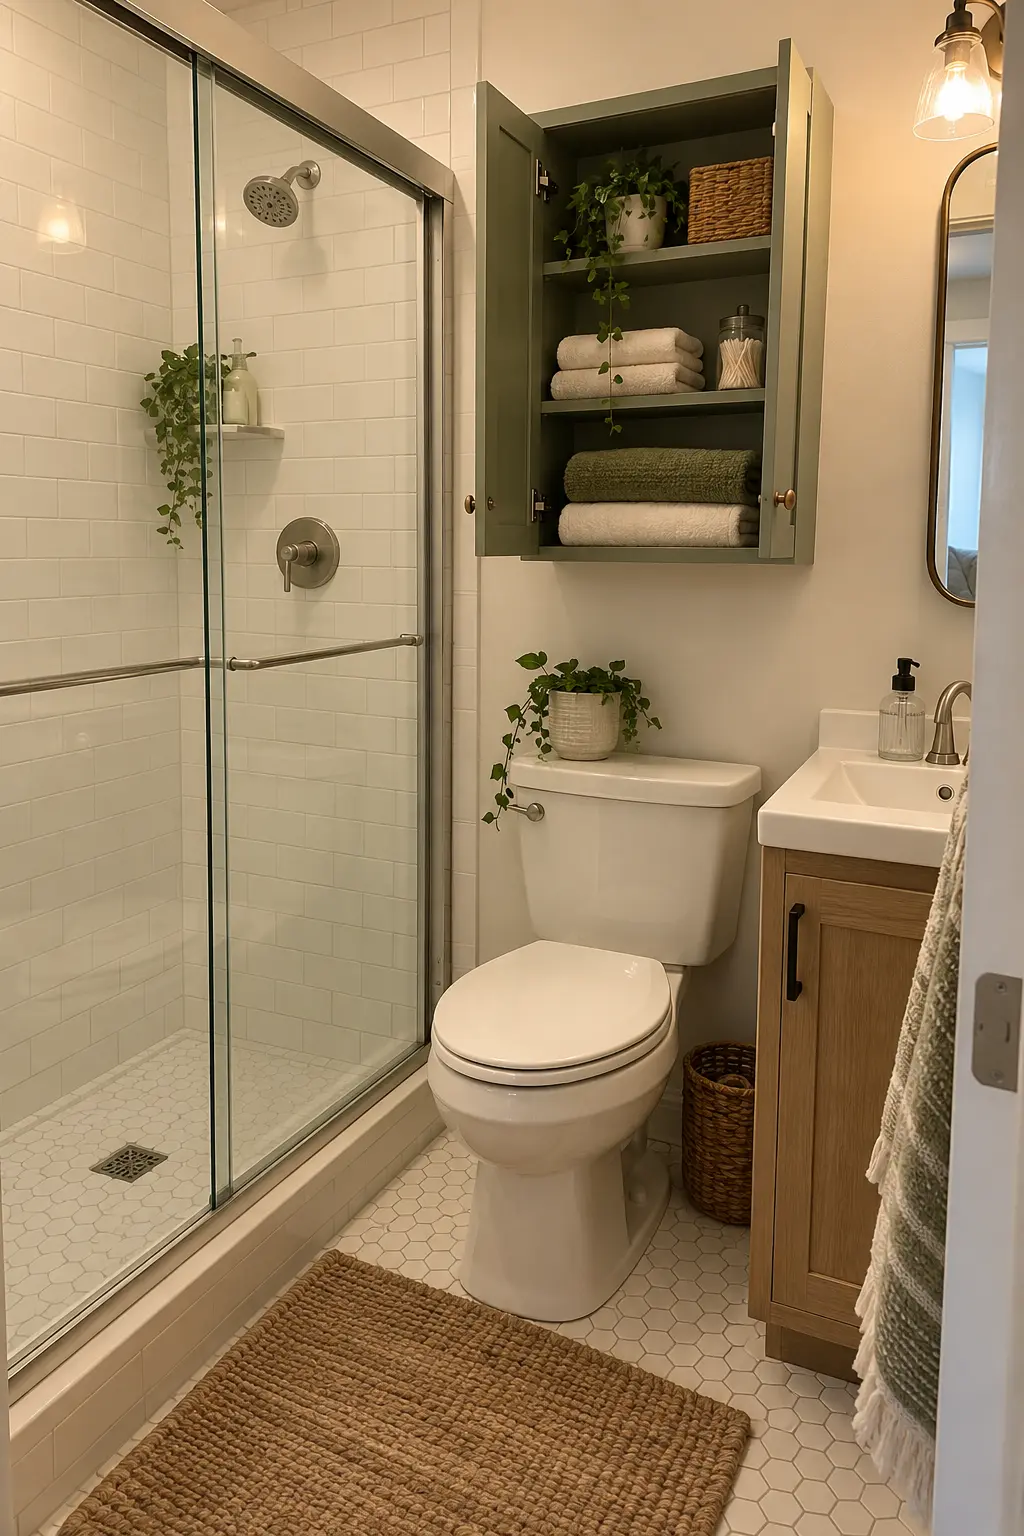
An over-toilet cabinet stores backups without taking floor space. Keep its depth modest so users do not bump their head and so the room still feels open.
Leave access to the toilet tank, supply, and shutoff. Cabinet doors should open without striking the shower glass or main door.
Store light items on upper shelves and everyday supplies lower. Closed storage calms visual clutter, but only when the cabinet is anchored securely.
- Keep tank and shutoff access open.
- Anchor the cabinet into structure.
- Limit depth to protect headroom.
43. Add One Narrow Shower Ledge
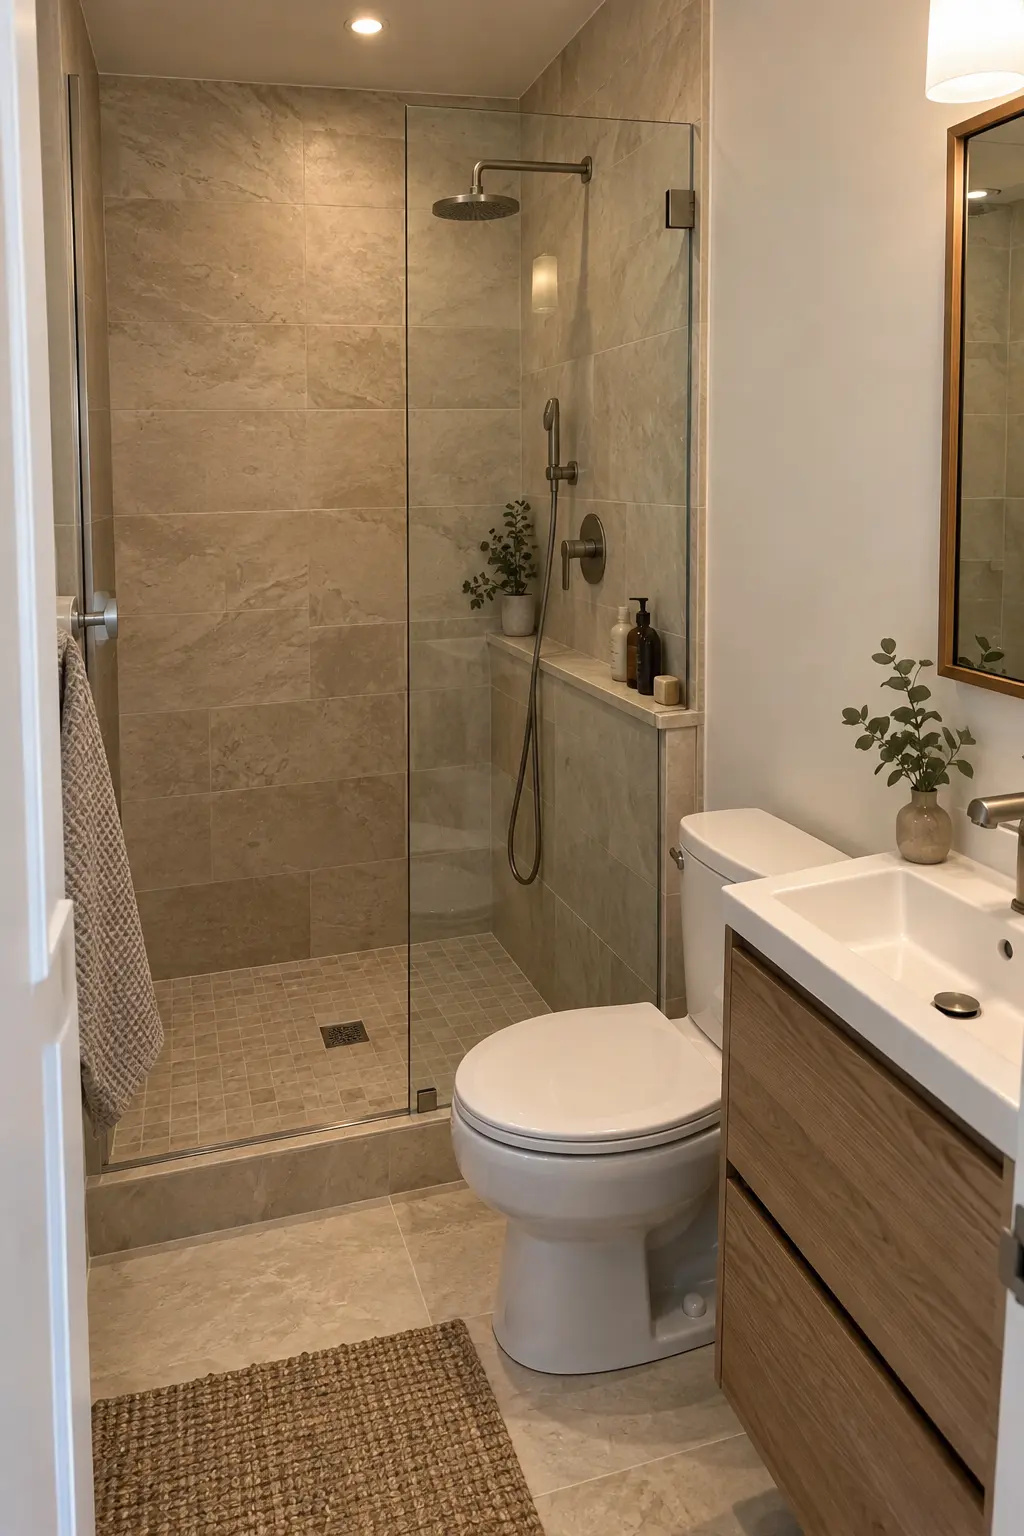
A slim ledge along the plumbing wall can hold bottles without cutting a niche into crowded framing. It works especially well with a slightly thickened service wall.
Waterproof behind and over the ledge, then slope the top toward the shower. Keep the projection shallow enough that it does not reduce the required interior space.
Run the ledge only where it is useful. Wrapping every wall creates more corners to clean and can make a tiny shower feel boxed in.
44. Cluster Robe Hooks in the Dry Zone
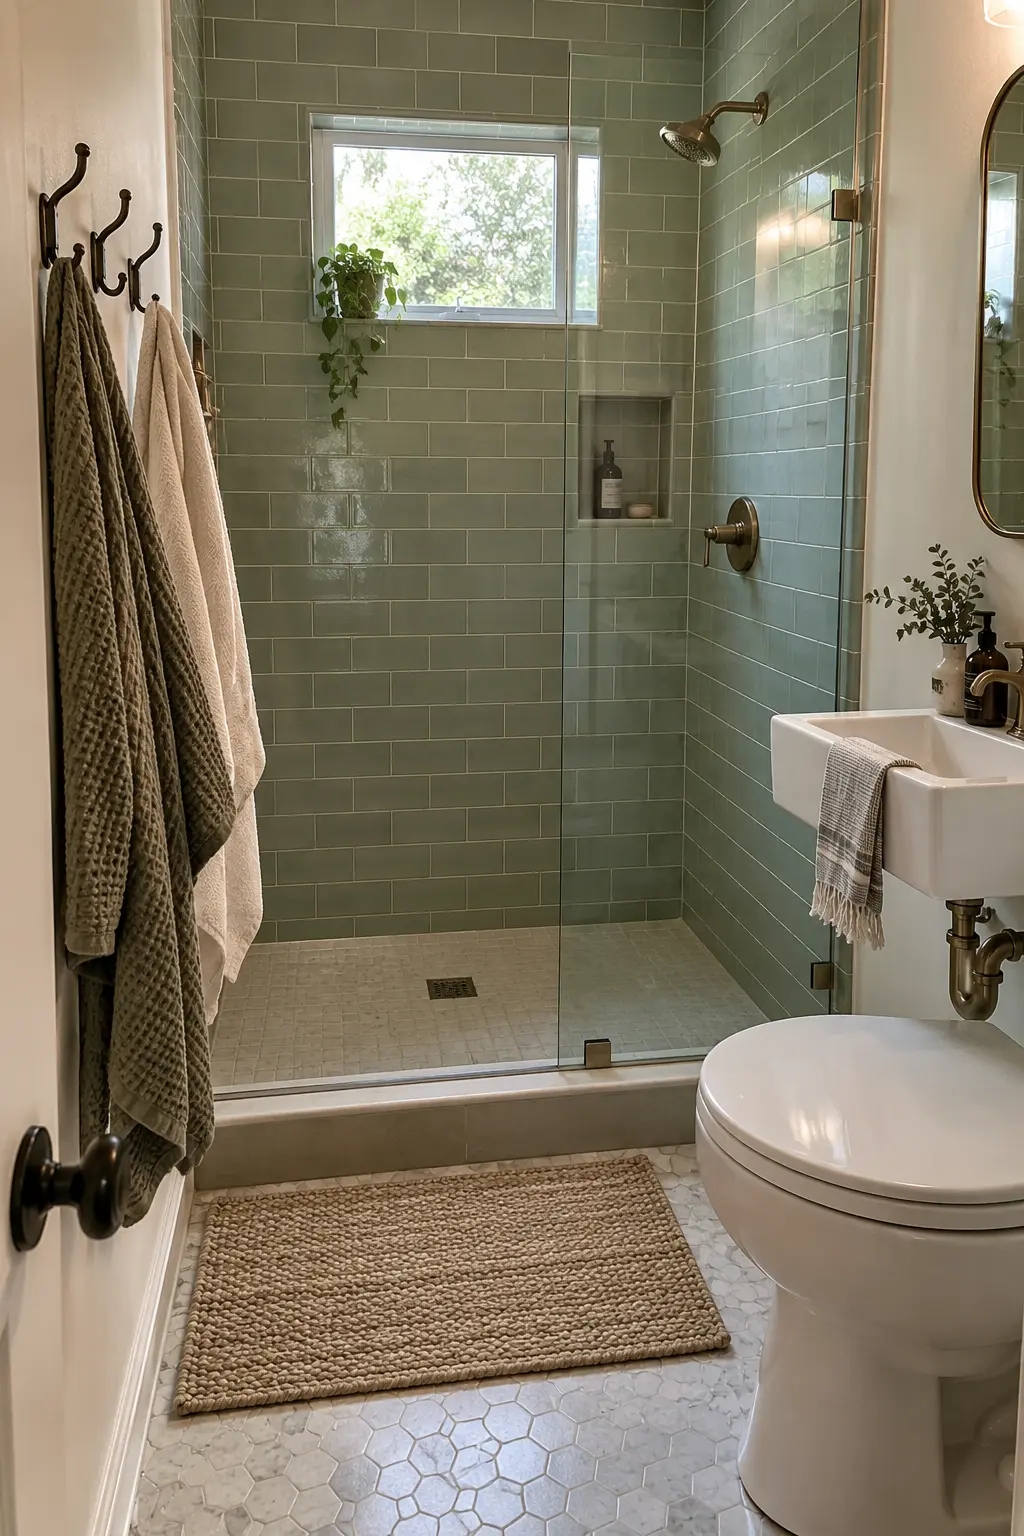
A row of hooks needs less uninterrupted wall width than a towel bar. Place it close to the shower exit but beyond the door swing and direct spray.
Give each towel enough separation to dry; five hooks packed into twelve inches only create a damp bundle. Waterproof removable hooks can suit renters when the surface and weight limit are compatible.
Use the same finish as the shower hardware or a quiet matching tone. Small fixtures look intentional when their positions follow a clear line.
45. Fold the Shower Seat Up After Use
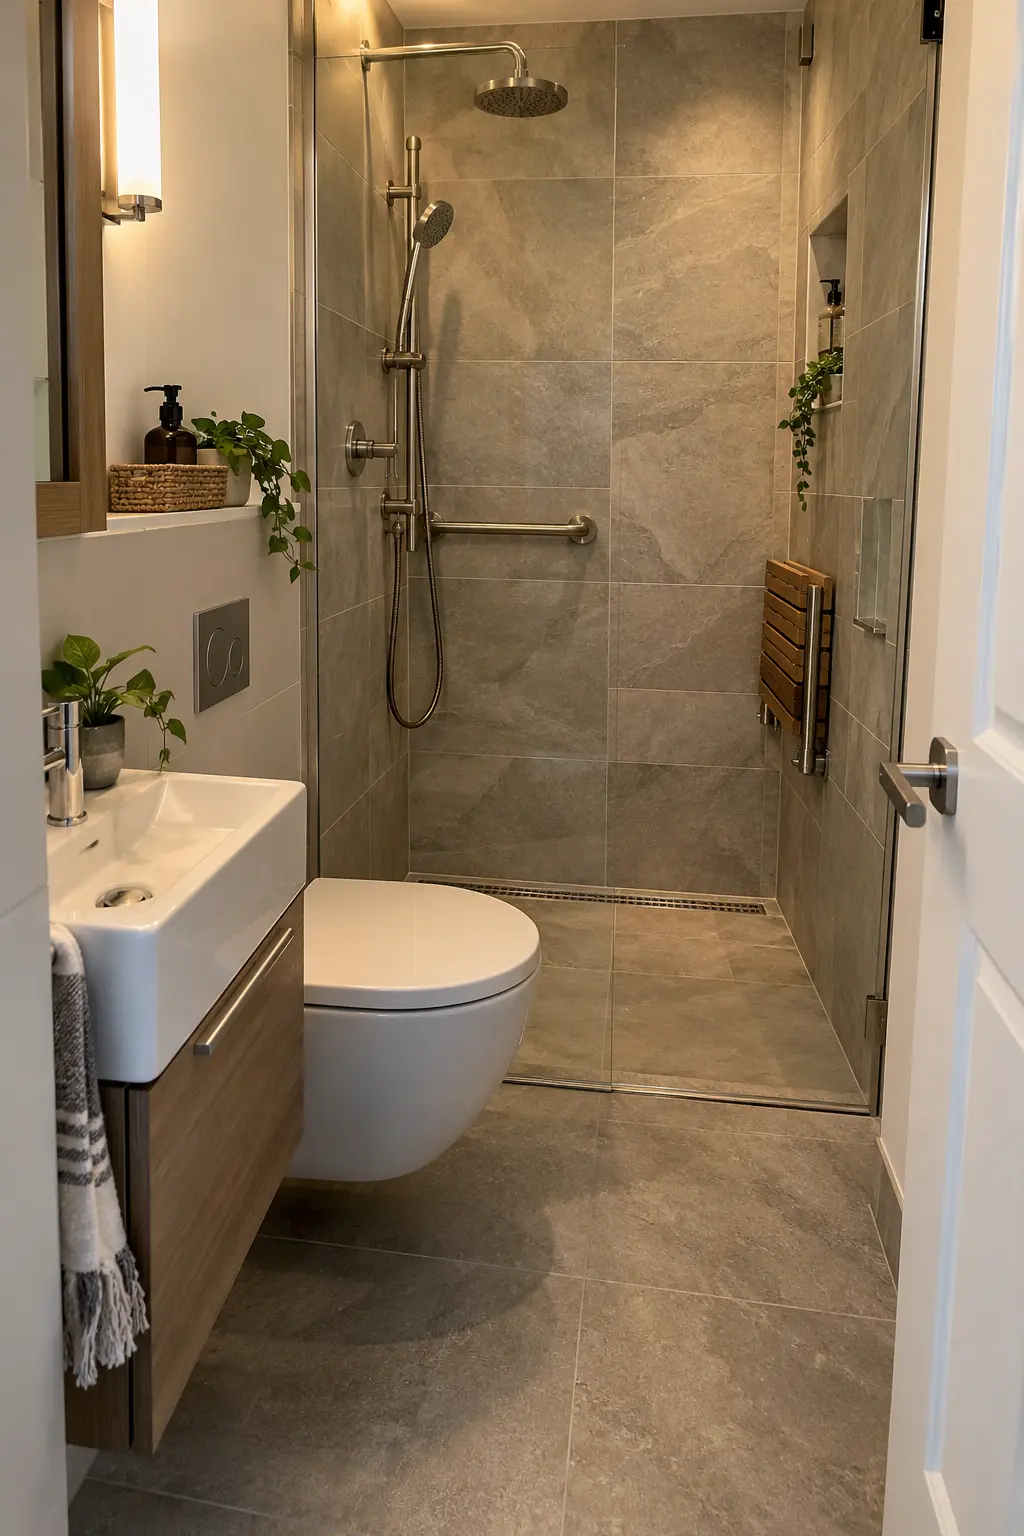
A fold-down seat can support shaving, fatigue, or future mobility needs while returning floor space after use. It must be a rated product fastened into planned structural blocking.
Position controls and a handheld spray within comfortable reach. Keep the folded seat clear of the door, grab bar, and cleaning path.
Professional installation is worth the cost because tile anchors alone are not structural support. Record the blocking location for future inspection or replacement.
Photograph reinforcement before waterproofing so future seat and grab-bar work is documented.
46. Add Reinforcement for a Real Grab Bar
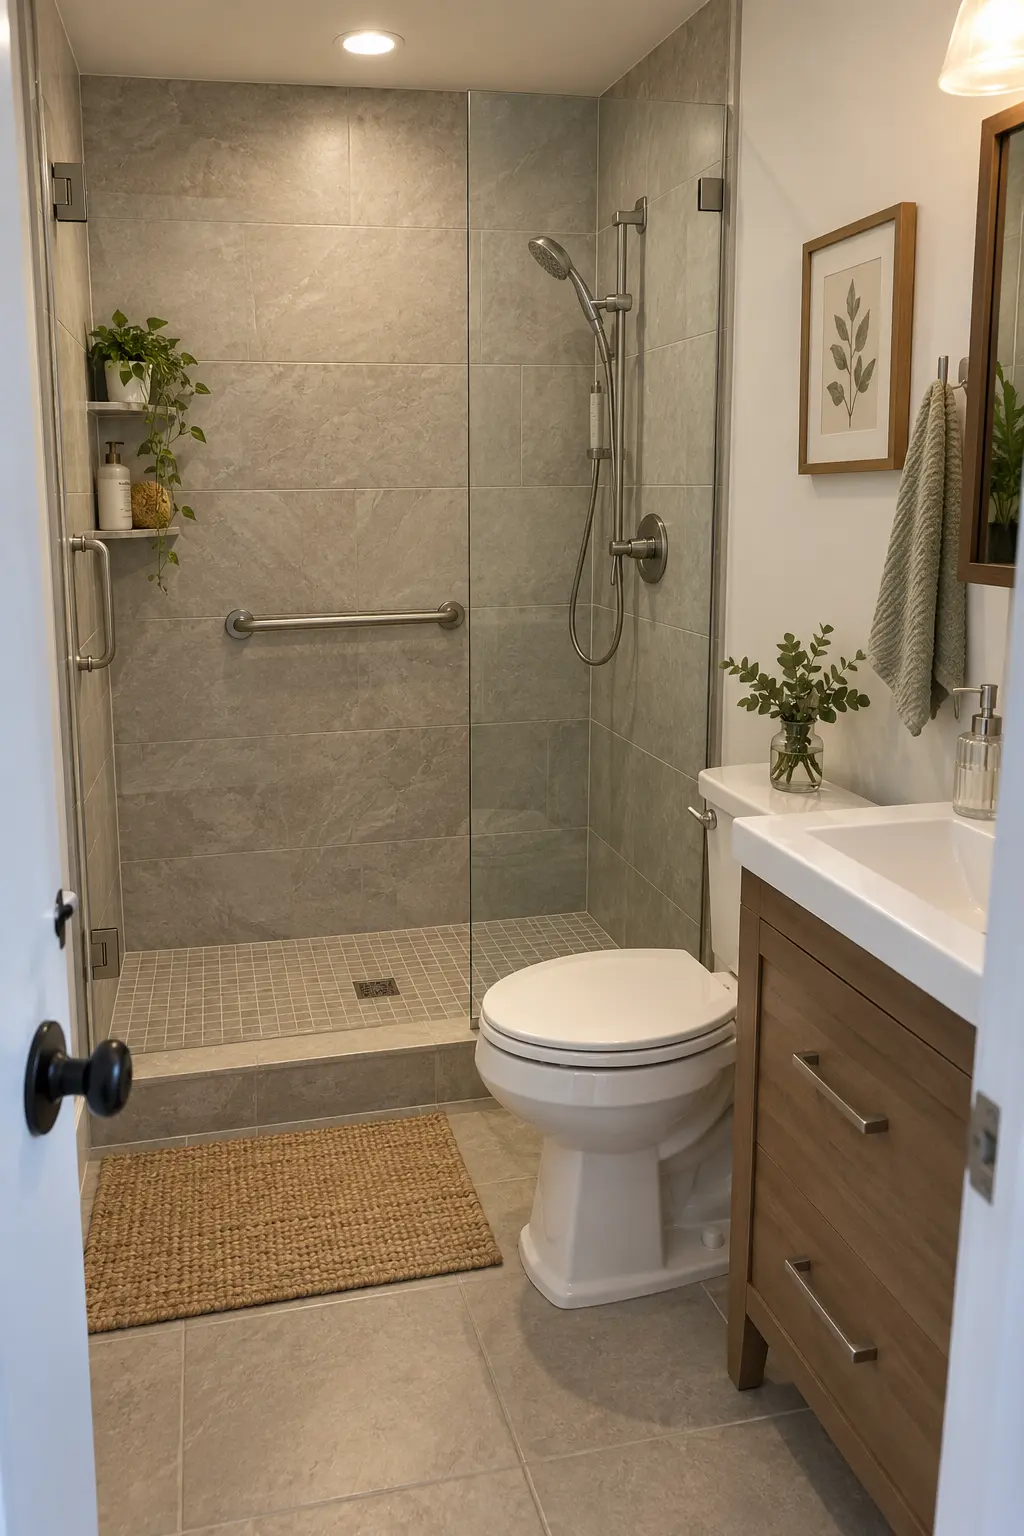
A correctly installed grab bar can look integrated with modern hardware. Plan blocking before waterproofing so the fasteners transfer load to structure rather than tile.
Choose the bar location for actual entry, standing, or seated use. A towel bar is never a substitute, even when it looks similarly sturdy.
Seal every penetration according to the waterproofing and bar manufacturer. If walls are already closed, use an approved retrofit system installed by someone who understands the assembly.
47. Place Handheld Controls Near the Entry
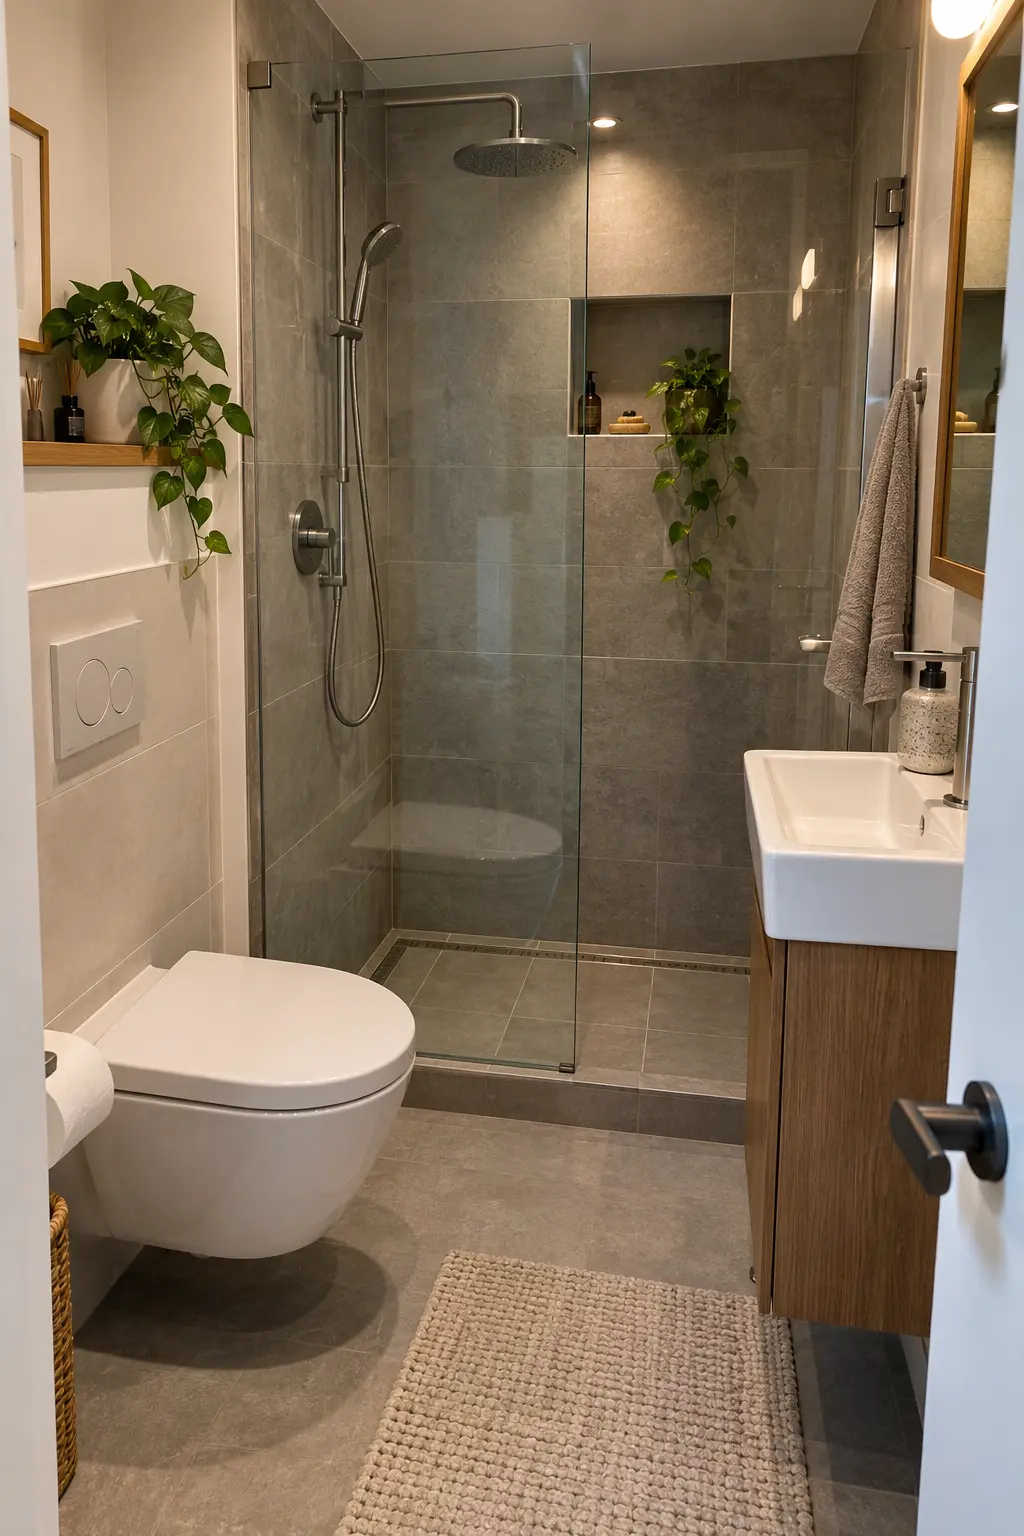
Entry-side controls let you start and adjust water without standing under a cold spray. A handheld shower on a slide bar also serves different heights and simplifies rinsing the enclosure.
Keep the hose from pooling on the floor or looping around the grab bar. Confirm the control remains reachable from the intended standing or seated position.
Use a pressure-balanced or thermostatic valve where appropriate and follow local anti-scald requirements. Accessible design depends on the full system, not one adjustable fitting.
48. Use a Tension Caddy in a Rental
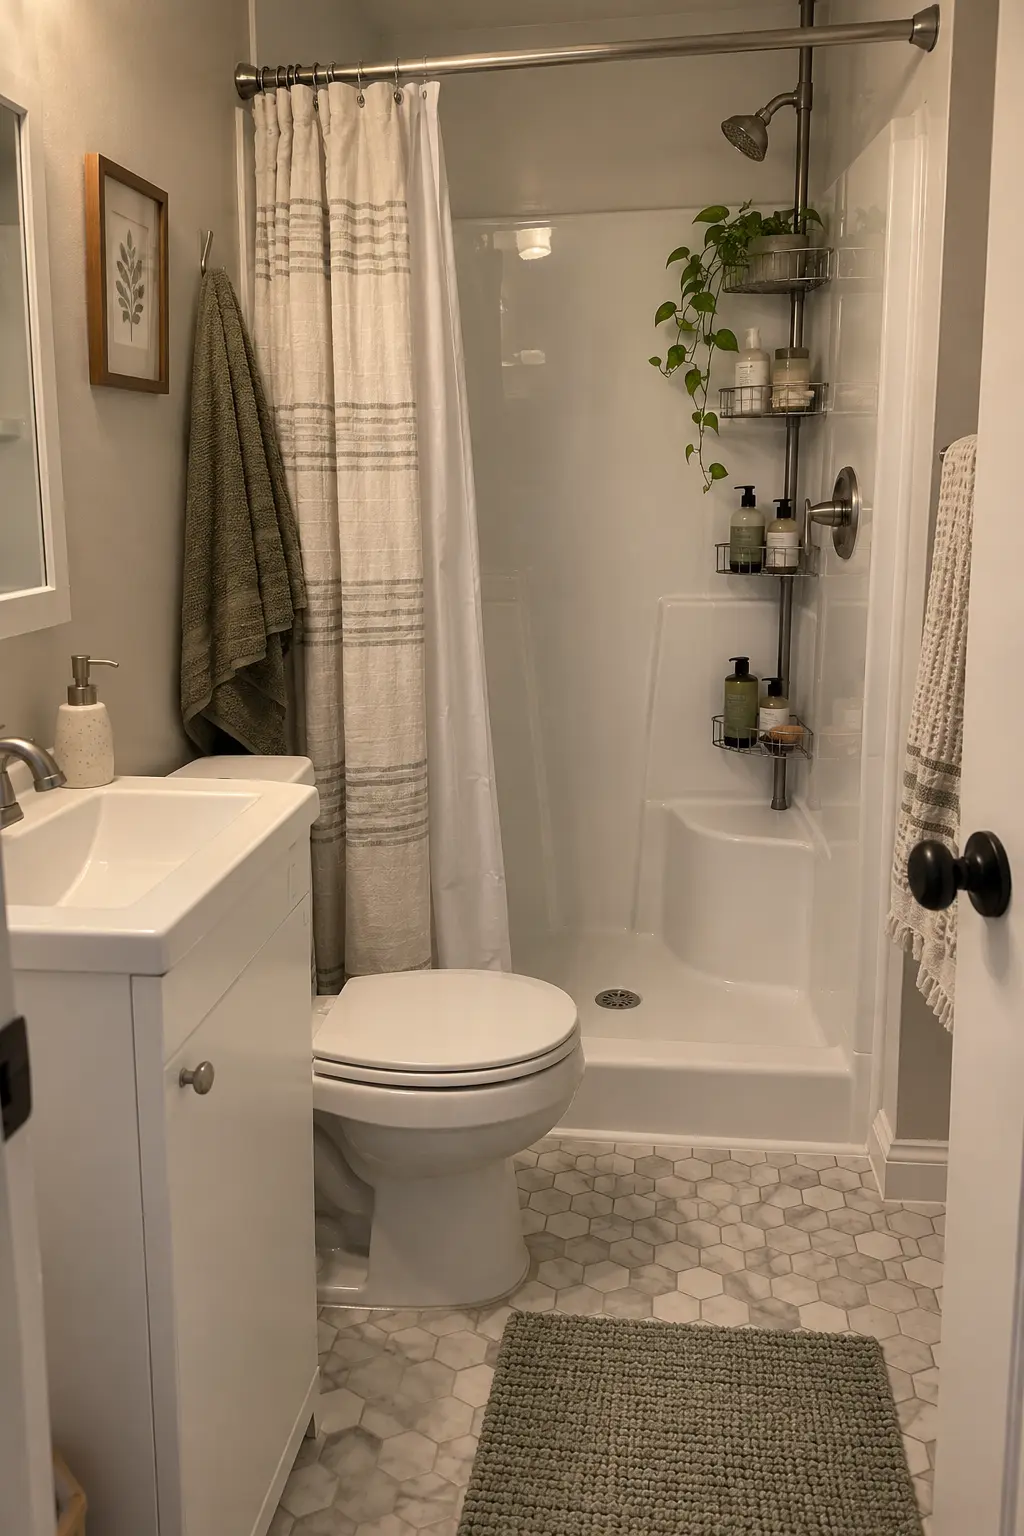
A tension-pole caddy adds vertical storage without drilling tile. Fit it into a true corner, level the shelves, and keep the heaviest bottles low.
Confirm the pole’s height range and surface requirements before buying. Recheck tension periodically, because a loose unit can fall across the shower floor.
Pair removable storage with suction hooks and a compact squeegee to keep daily items controlled. Choose only pieces that can dry fully and remove them before move-out without damaging finishes.
Shop the renter-friendly tension shower caddy on Amazon
49. Use a Quality Wall-Panel System on a Budget
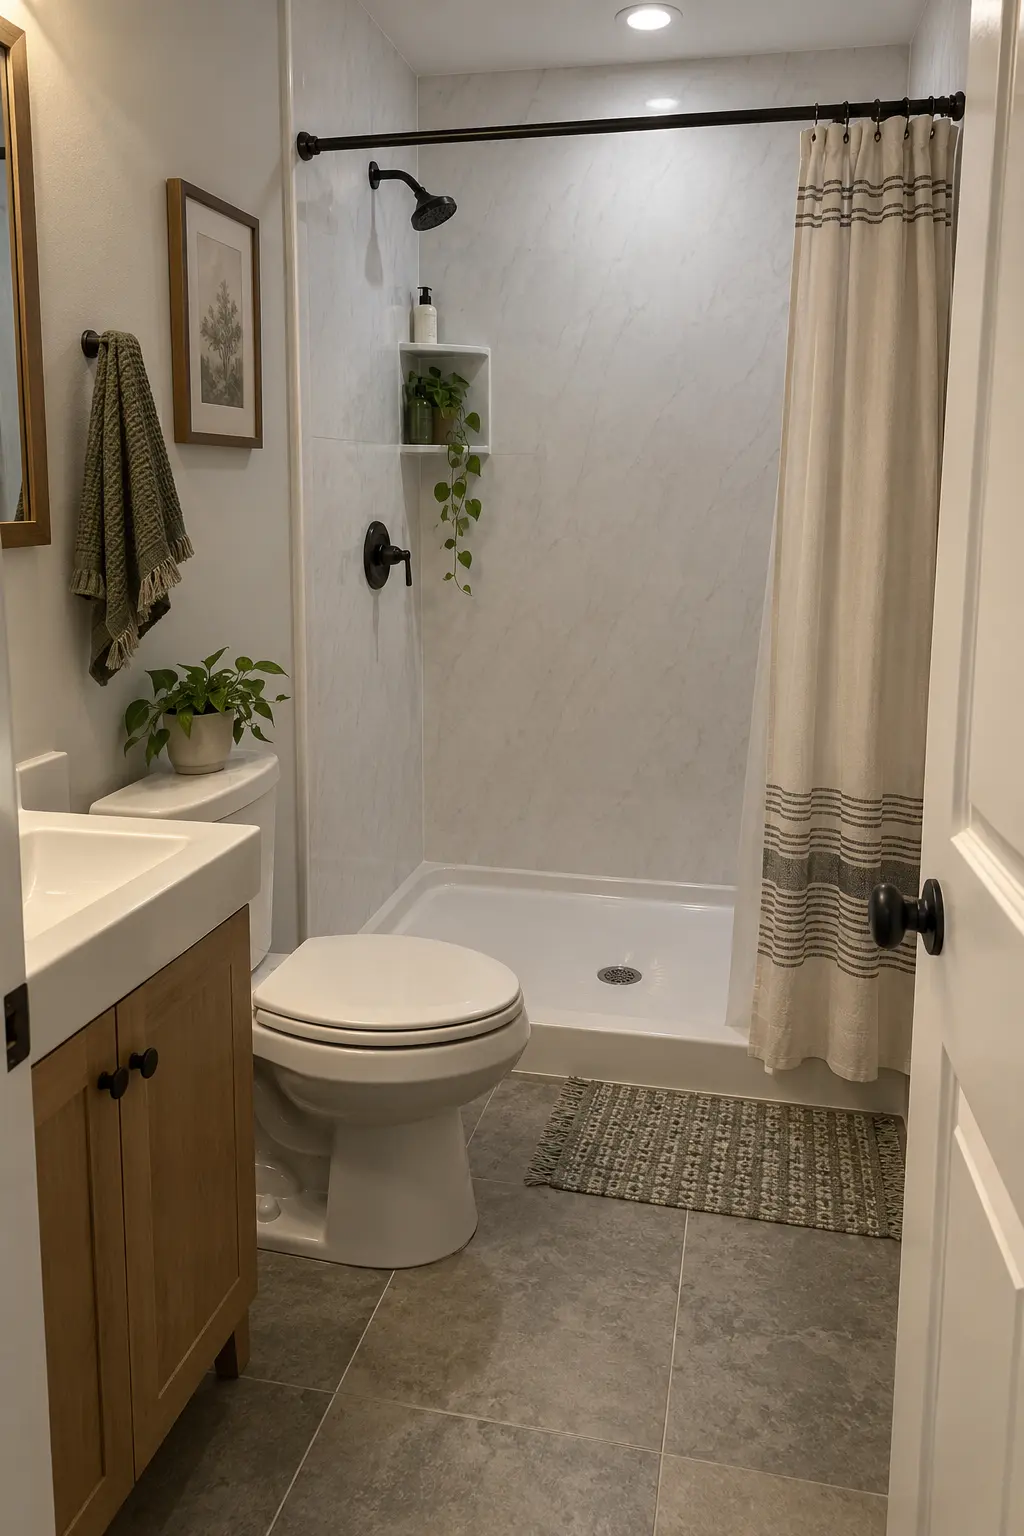
A coordinated shower wall-panel kit can reduce grout and installation time. Choose a system intended for wet areas, with compatible corners, trims, sealants, and a properly supported base.
Do not glue decorative wall sheets over hidden damage or failing tile. Open the area enough to correct leaks, soft substrate, and plumbing problems first.
Keep seams accessible for inspection and follow the exact cure schedule before using the shower. Budget materials still depend on careful substrate preparation.
50. Design for Five-Minute Daily Maintenance
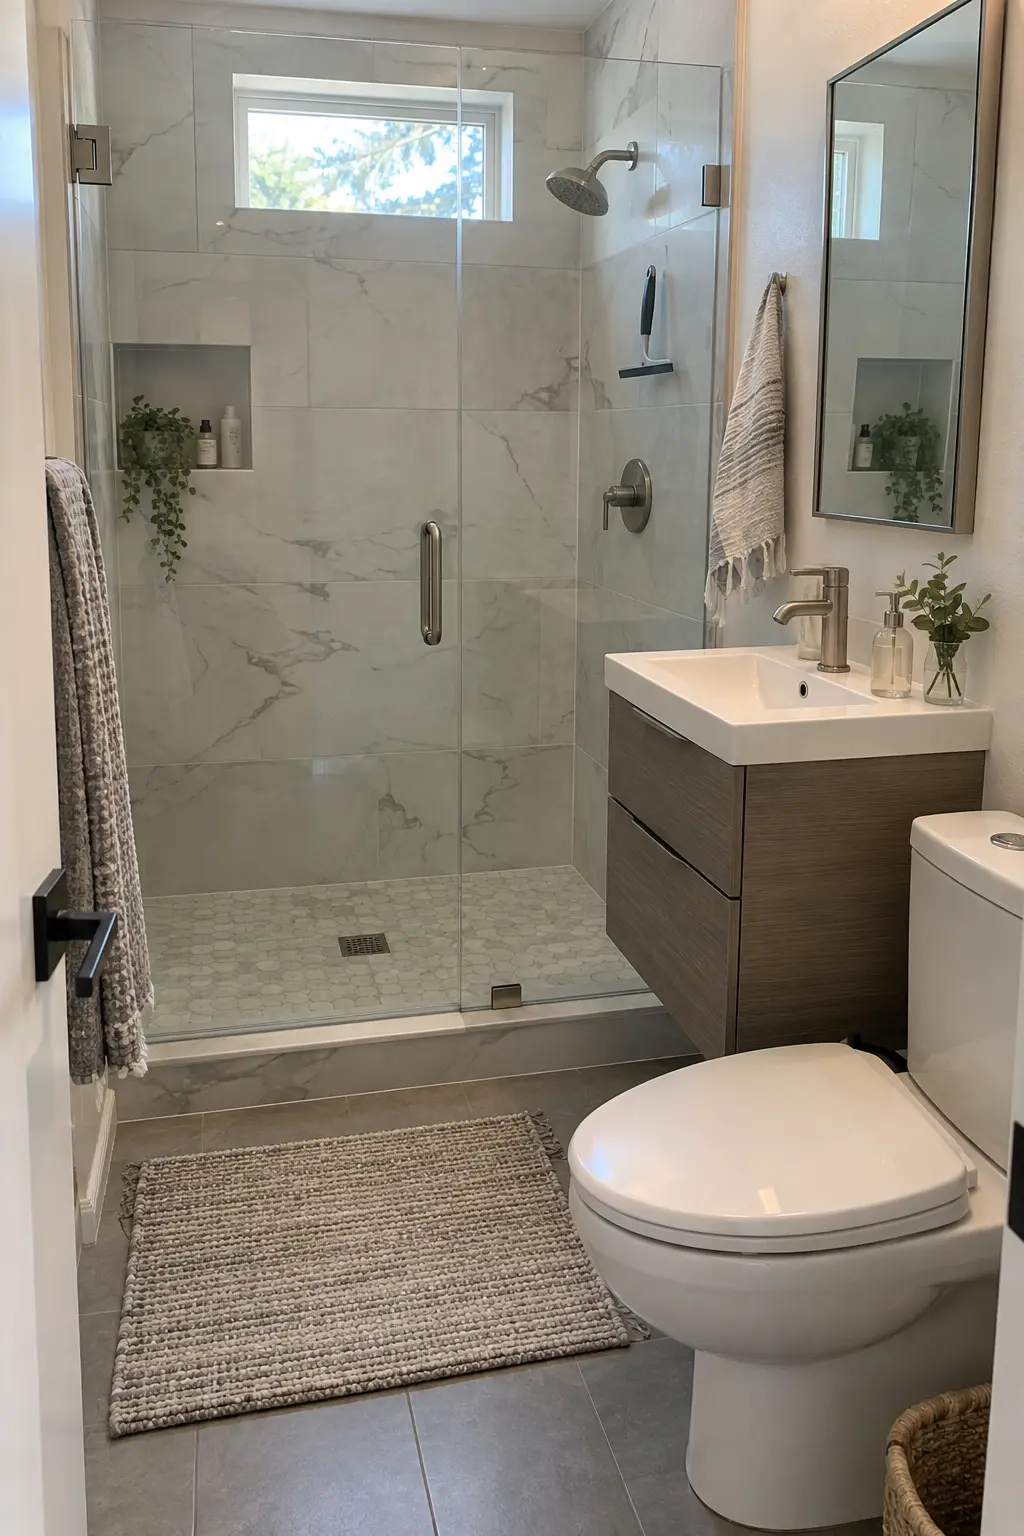
Simple wall planes, one niche, accessible drains, and minimal floor clutter make a tiny bathroom easier to maintain. Cleaning tools should have a discreet place to dry.
Squeegee glass after use, spread curtains to dry, and run the exhaust fan long enough to clear moisture. Small habits prevent hard-water film and mildew from dominating the room.
Choose replaceable seals, serviceable drains, and finishes approved for mild cleaners. The best compact shower stays functional because every surface can be reached without dismantling the room.
- Clear hair from the drain regularly.
- Dry glass or spread the curtain after use.
- Run the exhaust fan after every shower.
Build the Smallest Bathroom That Still Feels Good to Use
The best compact bathroom is not simply bright or stylish. It keeps water inside the wet zone, provides a clear path, allows every fixture to be serviced, and gives towels and toiletries a place to dry.
Shortlist three layouts, tape each one at full scale, and price the hidden work as carefully as the finishes. Waterproofing, ventilation, drainage, blocking, and safe glass are the details that let a very small bathroom keep working for years.