40 Shower Remodel Ideas for Real Bathrooms

This post may contain affiliate links: full affiliate disclosure.
A successful shower remodel starts with the room's limits: where water can be contained, how the door opens, what must stay dry, and how easily the shower can be cleaned and used. Tile color matters, but layout, waterproofing, ventilation, storage, and fixture placement decide whether the shower works every morning.
These shower remodel ideas cover compact alcoves, tub-to-shower conversions, walk-ins, practical finishes, storage, accessibility, and easier-maintenance details. Use them to define the experience you want, then confirm waterproofing, plumbing, electrical, ventilation, and code requirements with qualified local professionals before construction.
Shower Layout Ideas That Solve Real Space Problems
Choose the enclosure and footprint before falling in love with tile. A modest shower with comfortable movement and controlled spray is usually more useful than an oversized design squeezed into the wrong room.
1. Rebuild the Existing Alcove More Efficiently
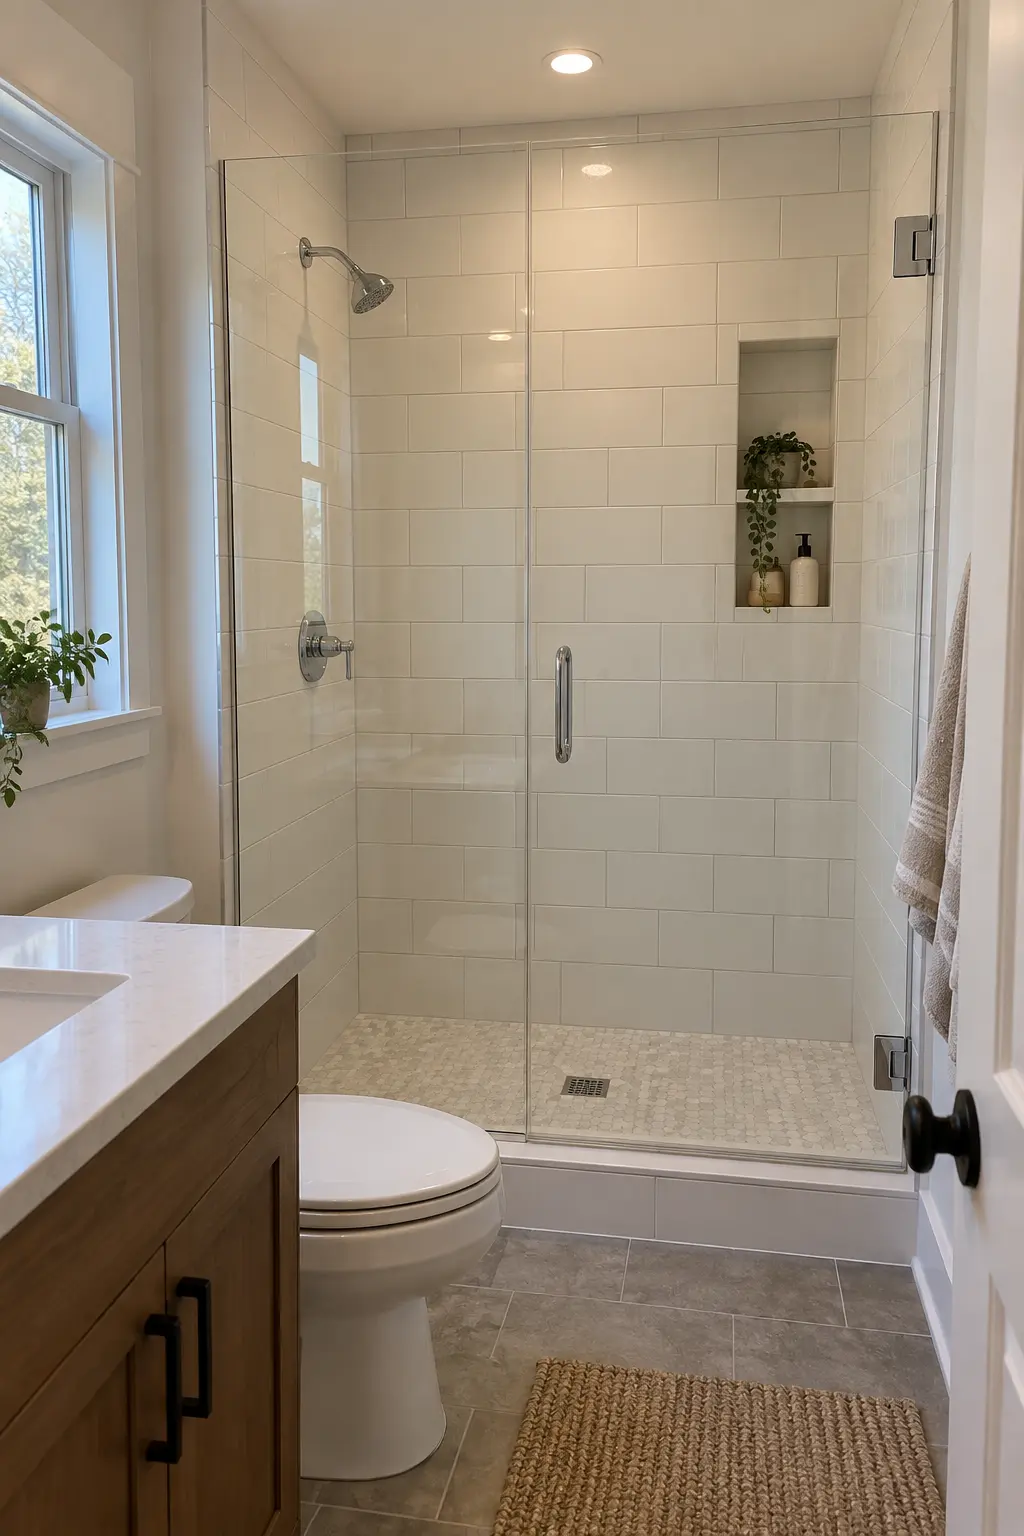
Keeping the shower in its current three-wall alcove can limit plumbing changes and preserve floor space. Improve the result with a better-positioned niche, brighter wall tile, a clear enclosure, and fixtures that do not crowd the entry.
This approach works well when the footprint is adequate and there is no concealed damage. The old surround still needs to come out far enough for the substrate and waterproofing to be evaluated properly.
2. Convert an Underused Tub to a Walk-In Shower
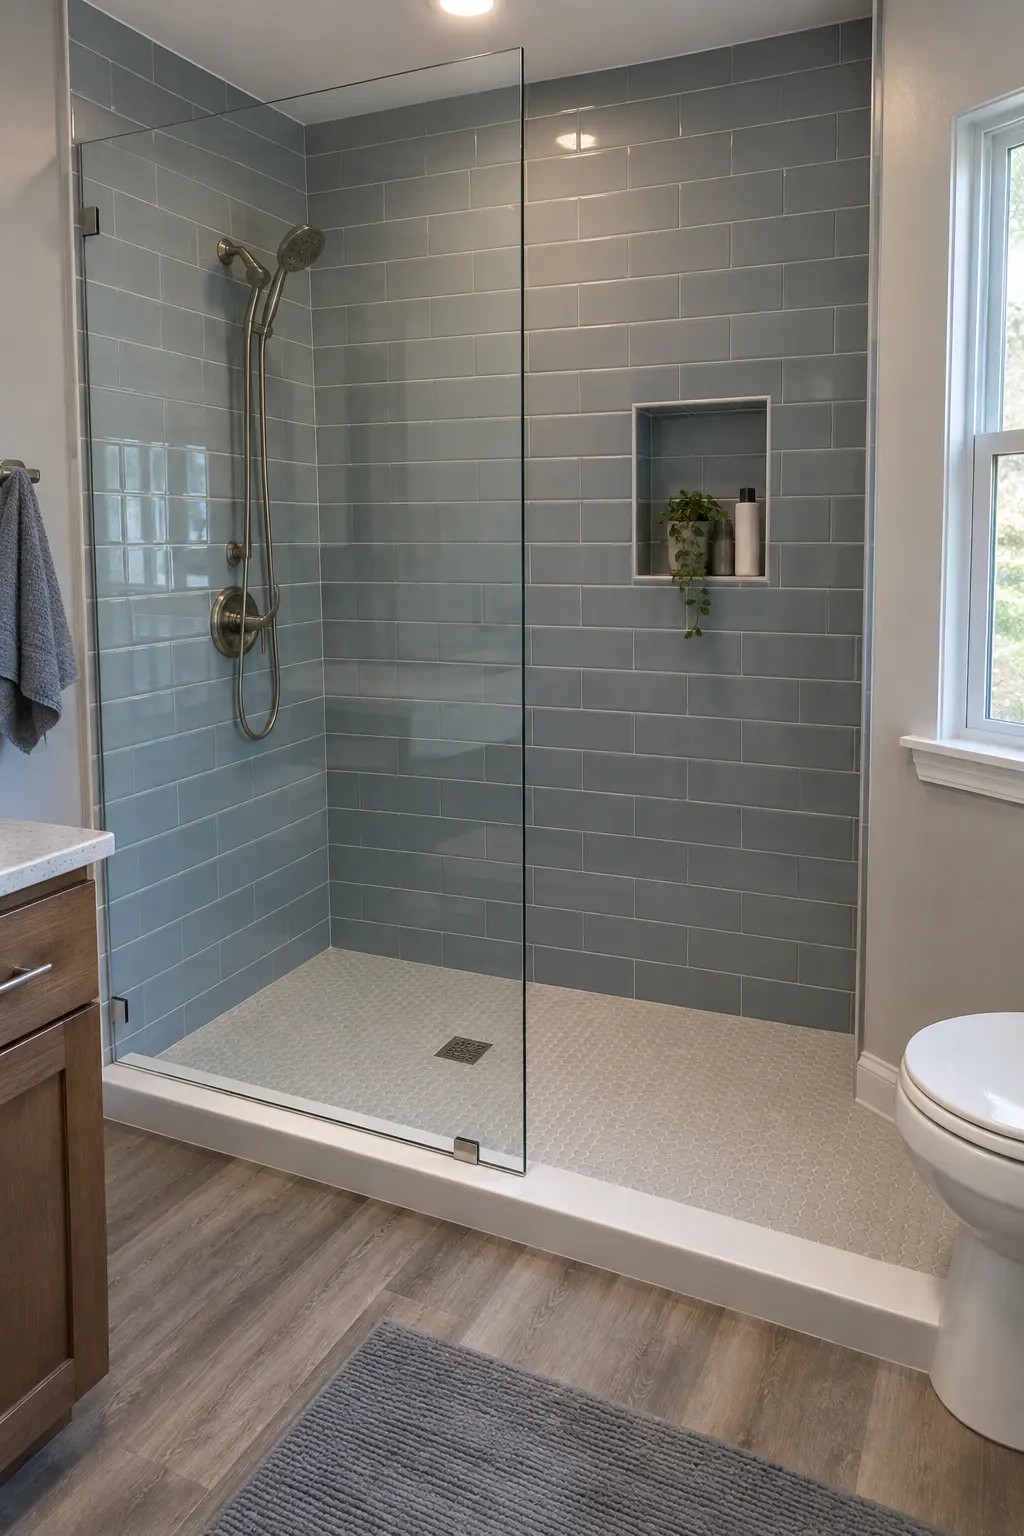
A tub-to-shower conversion can create easier entry and more standing room in a bathroom where no one uses the tub. A low threshold, handheld shower, and well-placed storage make the change practical rather than merely visual.
Before removing the home's only bathtub, consider future household needs and resale expectations in the local market.
3. Use a Corner Shower to Free the Main Walkway
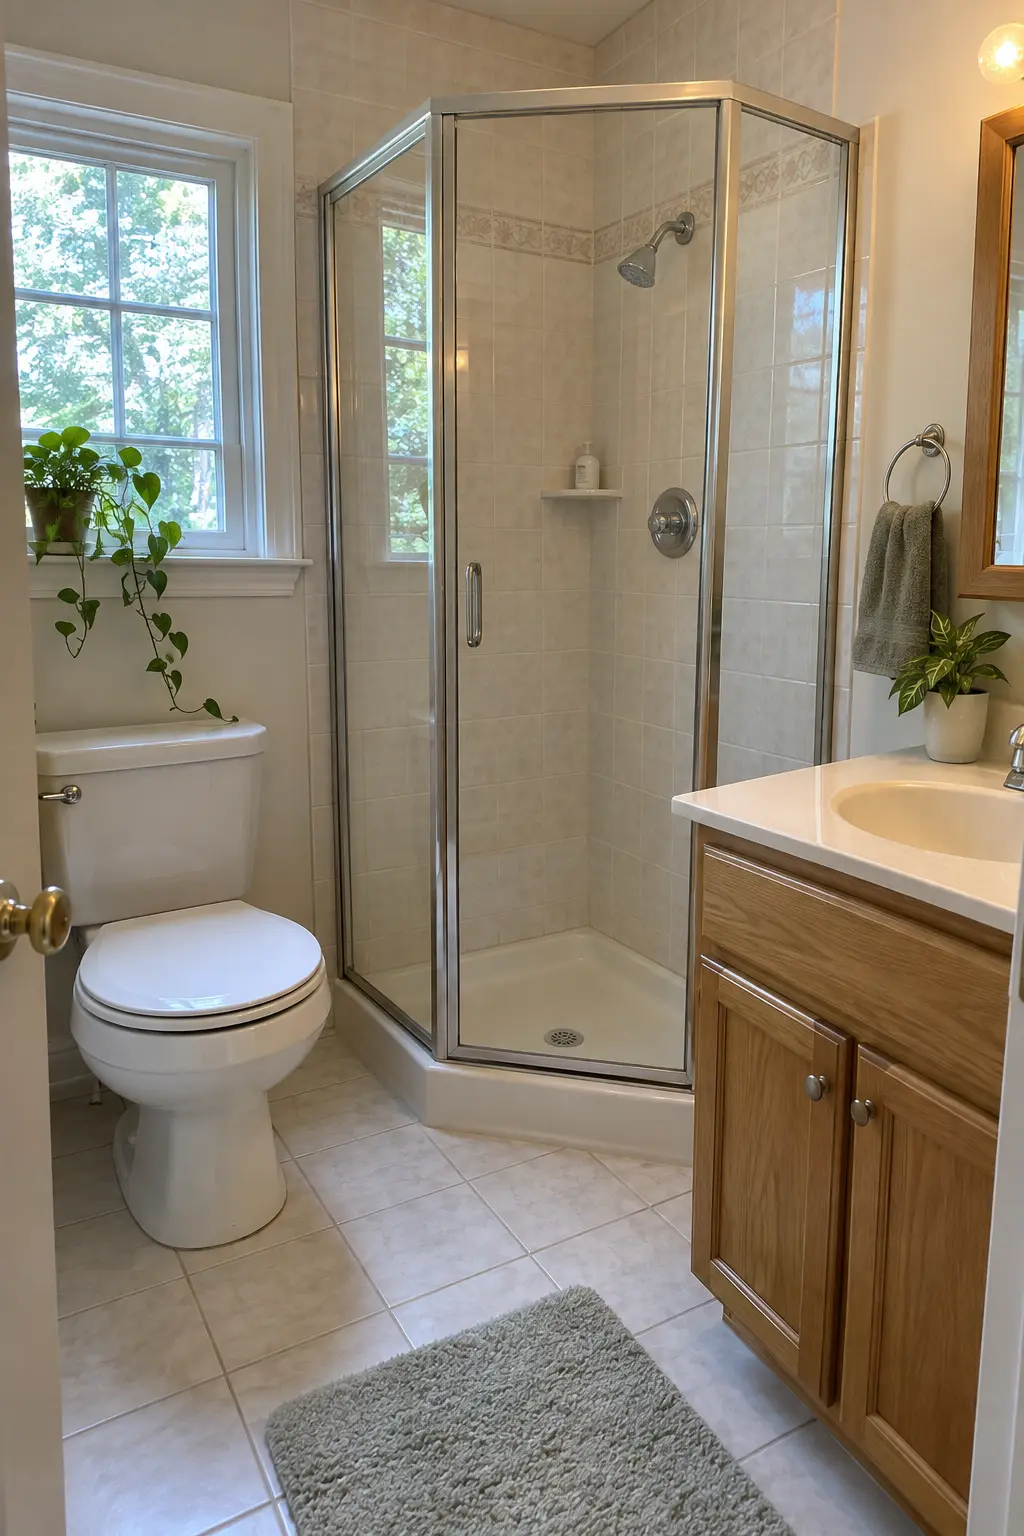
Tucking the enclosure into a corner can keep the route between the door, toilet, and vanity clear. Transparent glass reduces the visual interruption, while a simple interior keeps the small footprint from feeling busy.
Check the door swing against drawers, towel bars, and the bathroom entry. A technically fitting shower can still make the room awkward if two doors collide.
4. Choose a Sliding Door for a Tight Bathroom
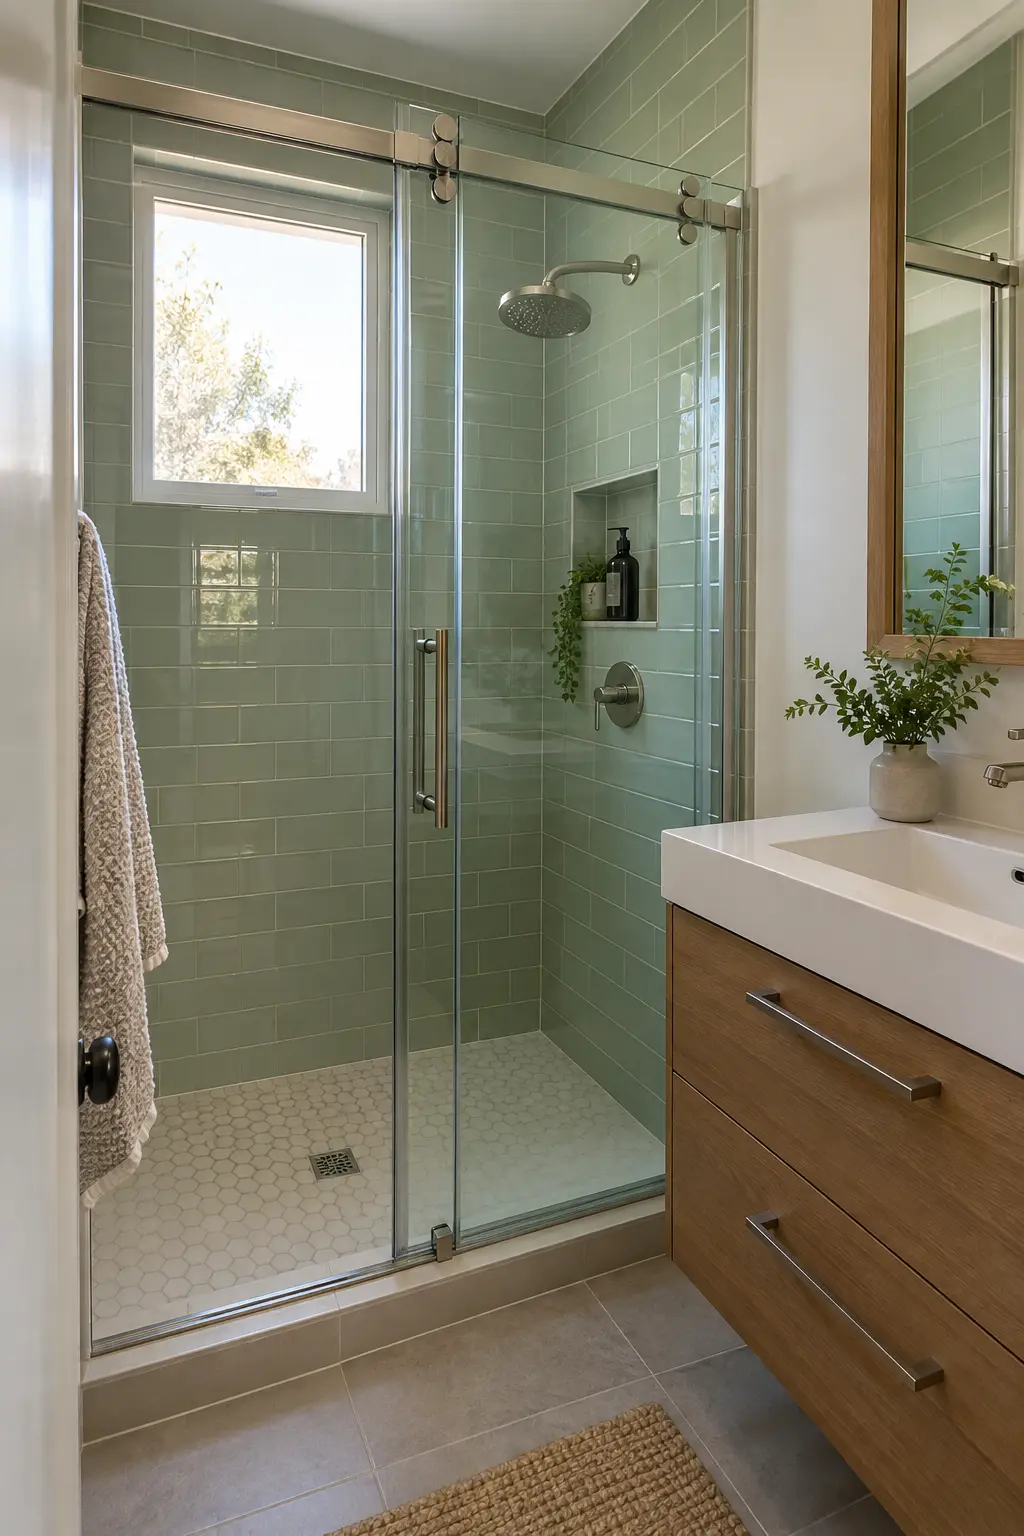
A sliding enclosure avoids the floor clearance needed by a hinged door. It can be a sensible choice beside a vanity or toilet, although the track and overlapping glass require regular cleaning.
Compare how wide the usable opening will be; some compact sliders save swing space but create a narrower entry.
5. Use One Fixed Panel in a Narrow Room
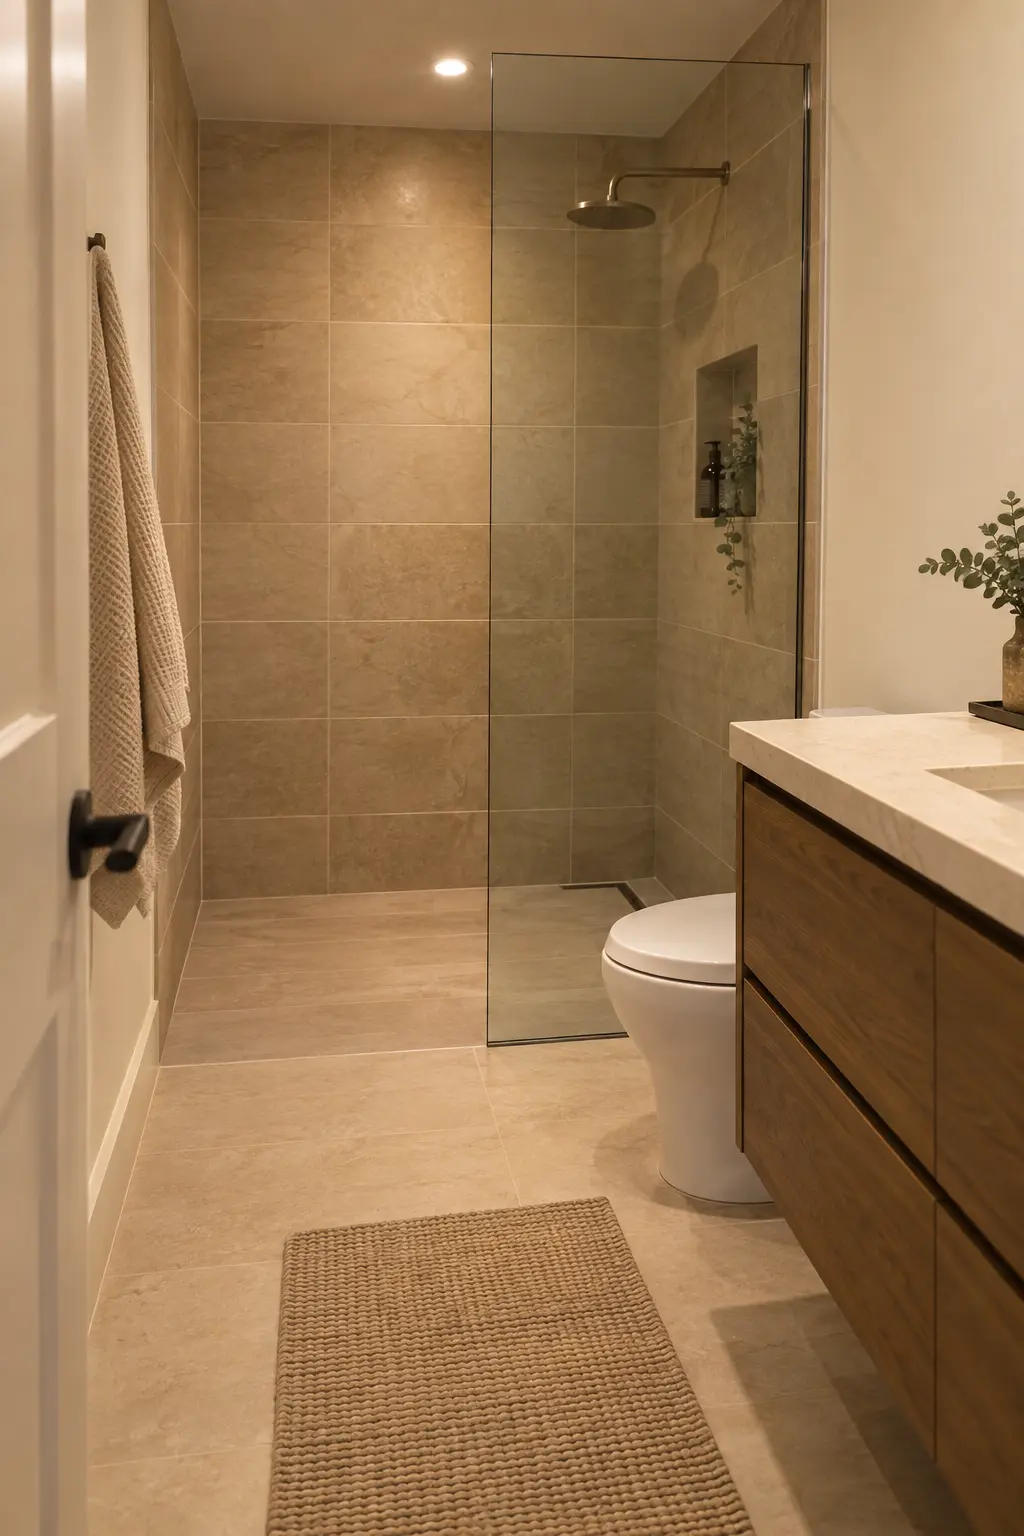
One fixed panel keeps sightlines open and removes door hardware, but it only works when the shower is long enough to control splash. Place the showerhead and controls so water is directed away from the opening.
Test the planned panel length and entry position on the floor before ordering glass. A beautiful open design is a poor trade if the bath mat is soaked after every shower.
6. Create a Wet-Room Zone, Not a Wet Entire Bathroom
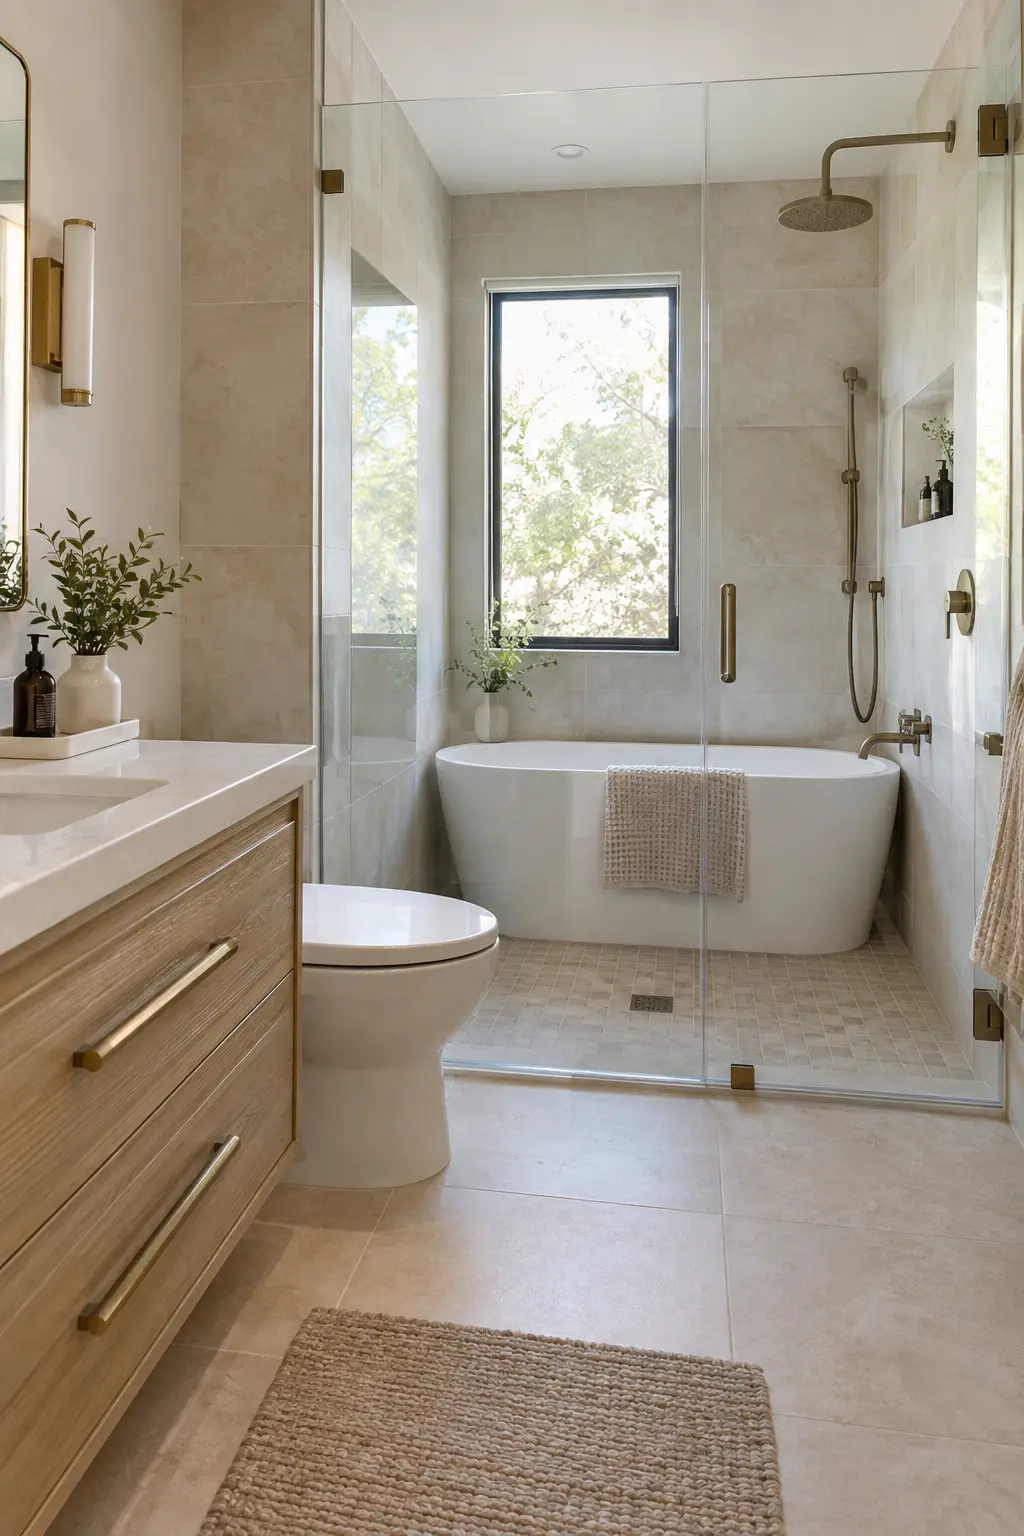
A glass partition can group a shower and tub inside one waterproofed zone while the vanity and toilet stay outside the main spray area. This gives an open feeling without assuming every object in the room can tolerate daily water.
Wet-room detailing, floor slope, drainage, and ventilation need to be planned as one system. Do not treat the visible tile as the waterproof layer.
7. Fit the Shower Beneath a Sloped Ceiling Carefully
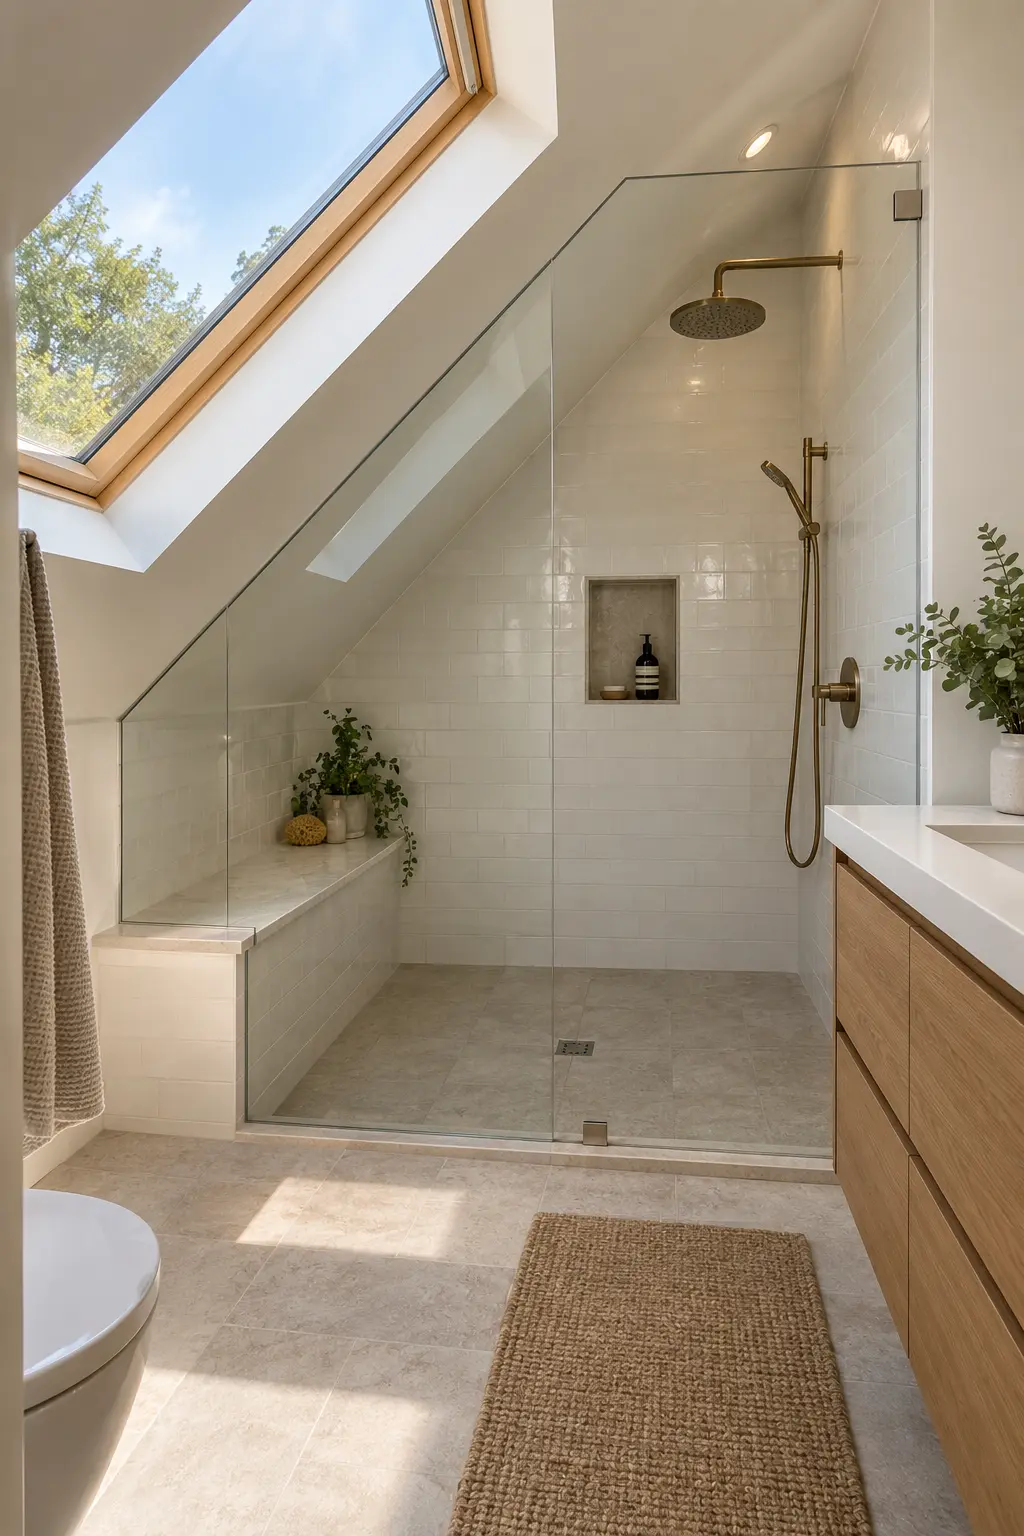
In an attic bath, reserve the full-height portion for standing and place a bench or storage where the ceiling drops. A custom glass panel can follow the roofline without forcing the user into the lowest area.
Confirm structure, ventilation, and headroom locally before committing to the layout.
8. Plan a Shared Shower with Two Clear Zones
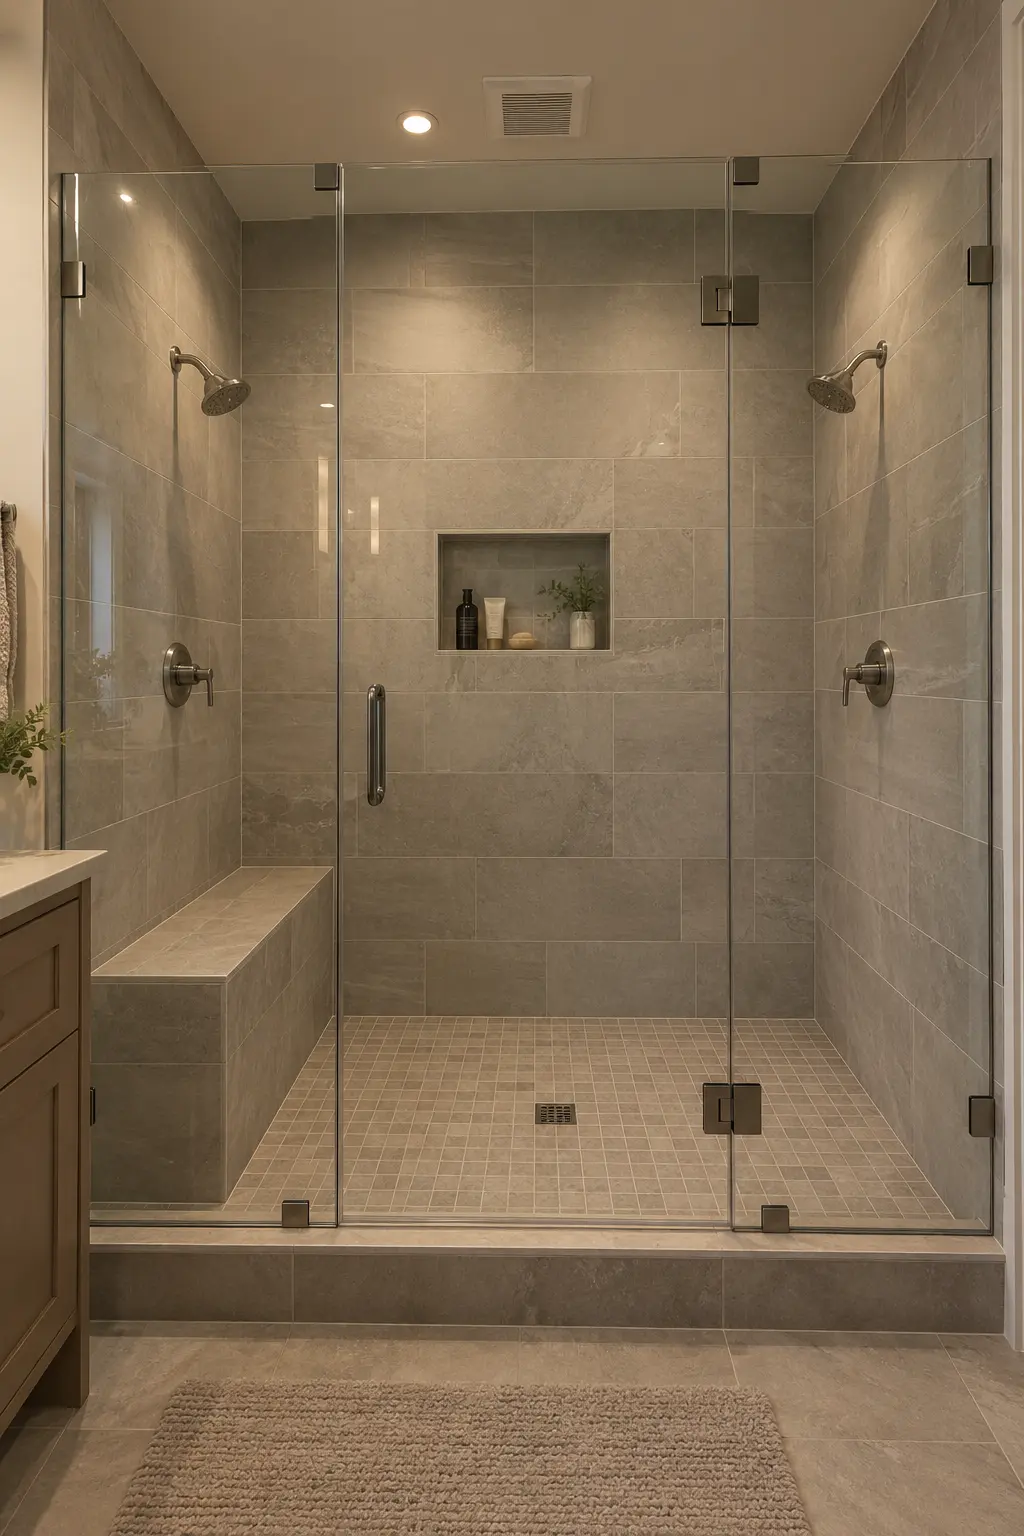
A shared shower works better when each user has reachable controls, storage, and a comfortable standing zone. The design does not need duplicate luxury features everywhere; a central entry and two practical fixture positions may be enough.
Larger enclosures can feel colder and place more demand on ventilation, so size the shower around actual use rather than the biggest footprint available.
Tile and Surface Ideas with Better Long-Term Value
Surface choices affect grip, grout maintenance, visual scale, and repairability. Confirm that every selected material and installation method is suitable for its exact wet-area location.
9. Use Large-Format Porcelain on the Walls
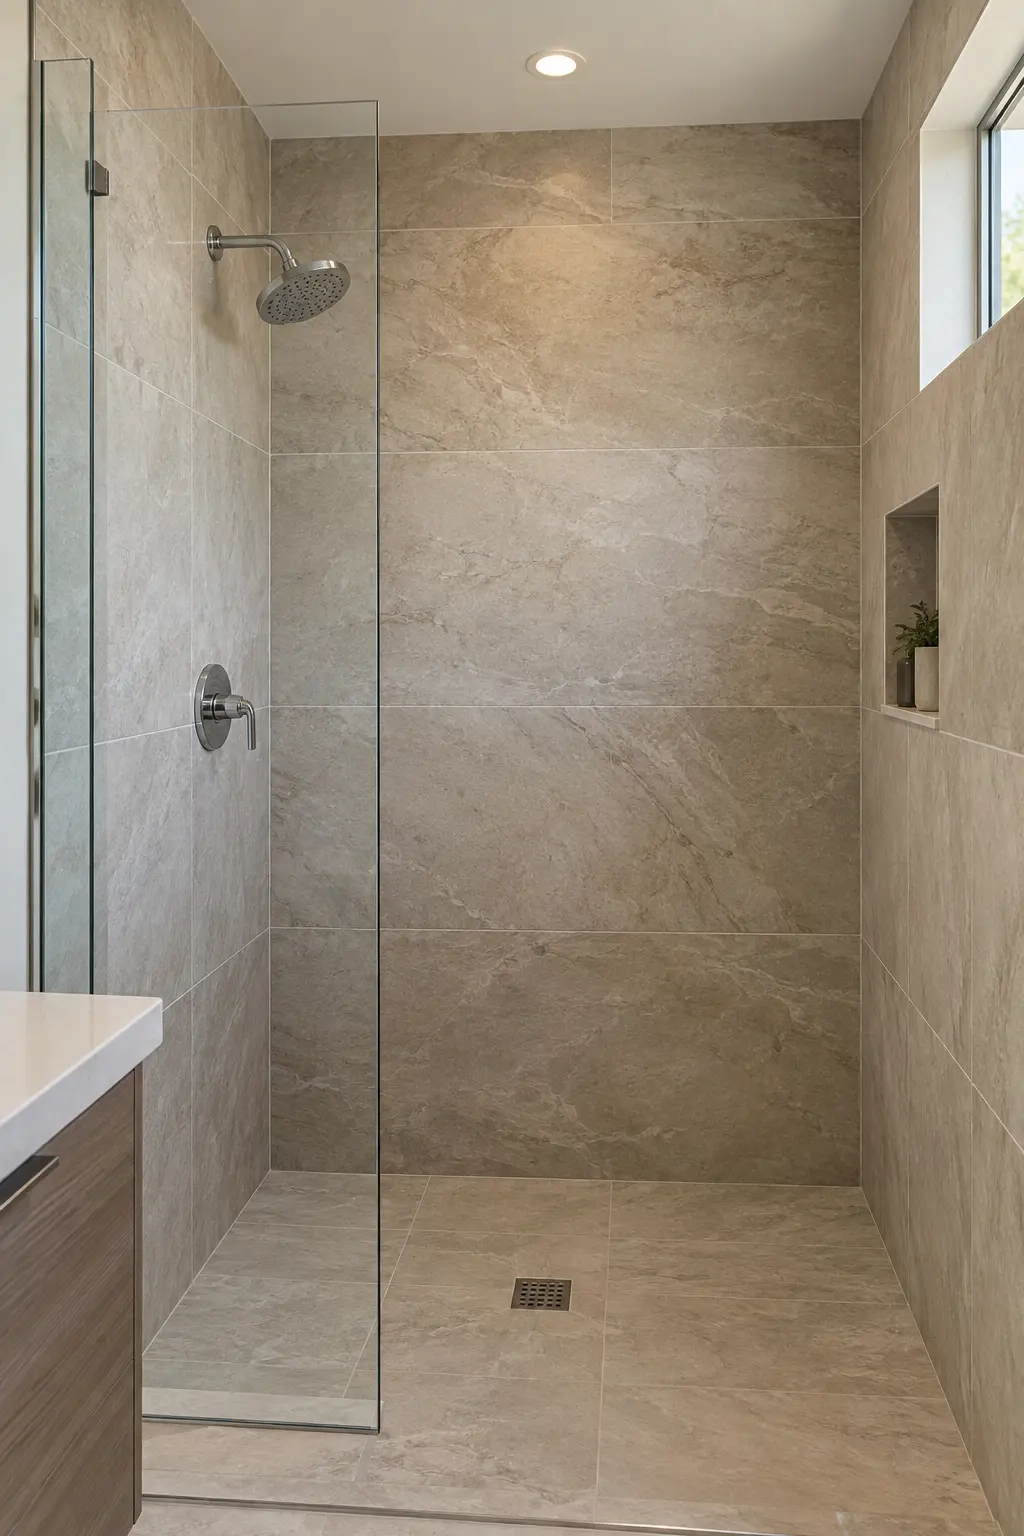
Large-format porcelain can reduce the number of grout lines and give a standard shower a quieter backdrop. It also demands a flat, well-prepared surface; oversized tile will not hide a wavy wall.
Keep the pattern restrained if the bathroom is small, and let cut placement be planned before installation begins.
10. Keep Smaller Tile on the Shower Floor
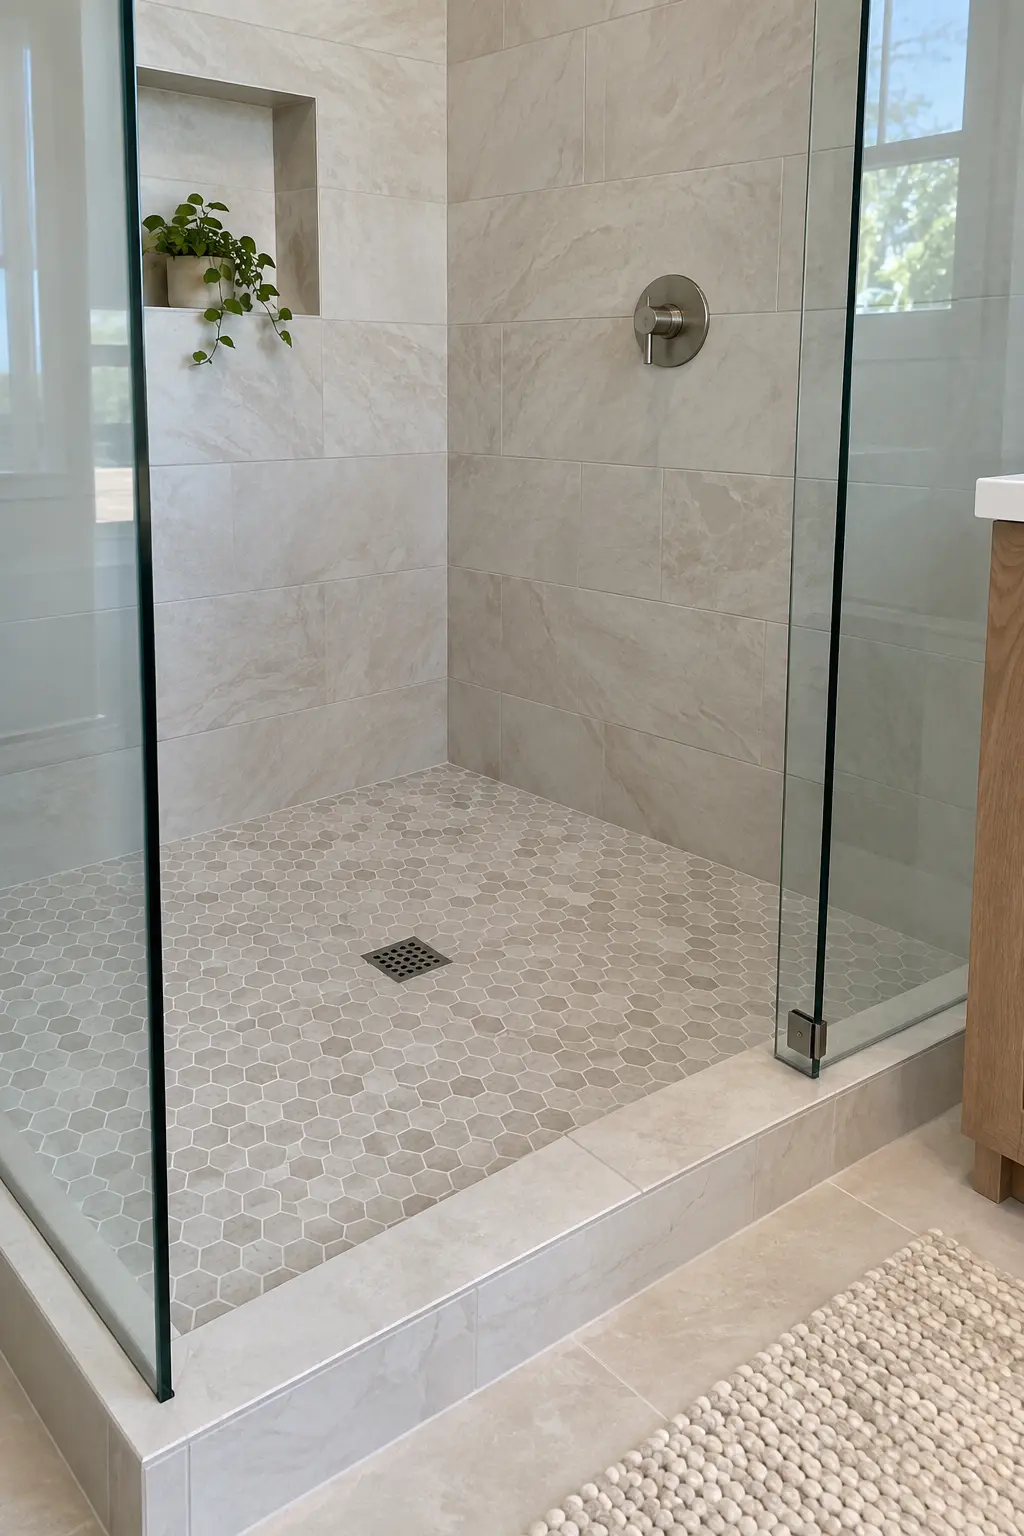
Small mosaic floor tile can follow the shower slope more easily than large pieces and introduces frequent grout joints underfoot. Pair it with calmer wall tile so the floor pattern has a clear role.
Slip resistance depends on the specific product and finish, not simply tile size. Review manufacturer suitability for shower floors.
11. Run Rectangular Tile Vertically
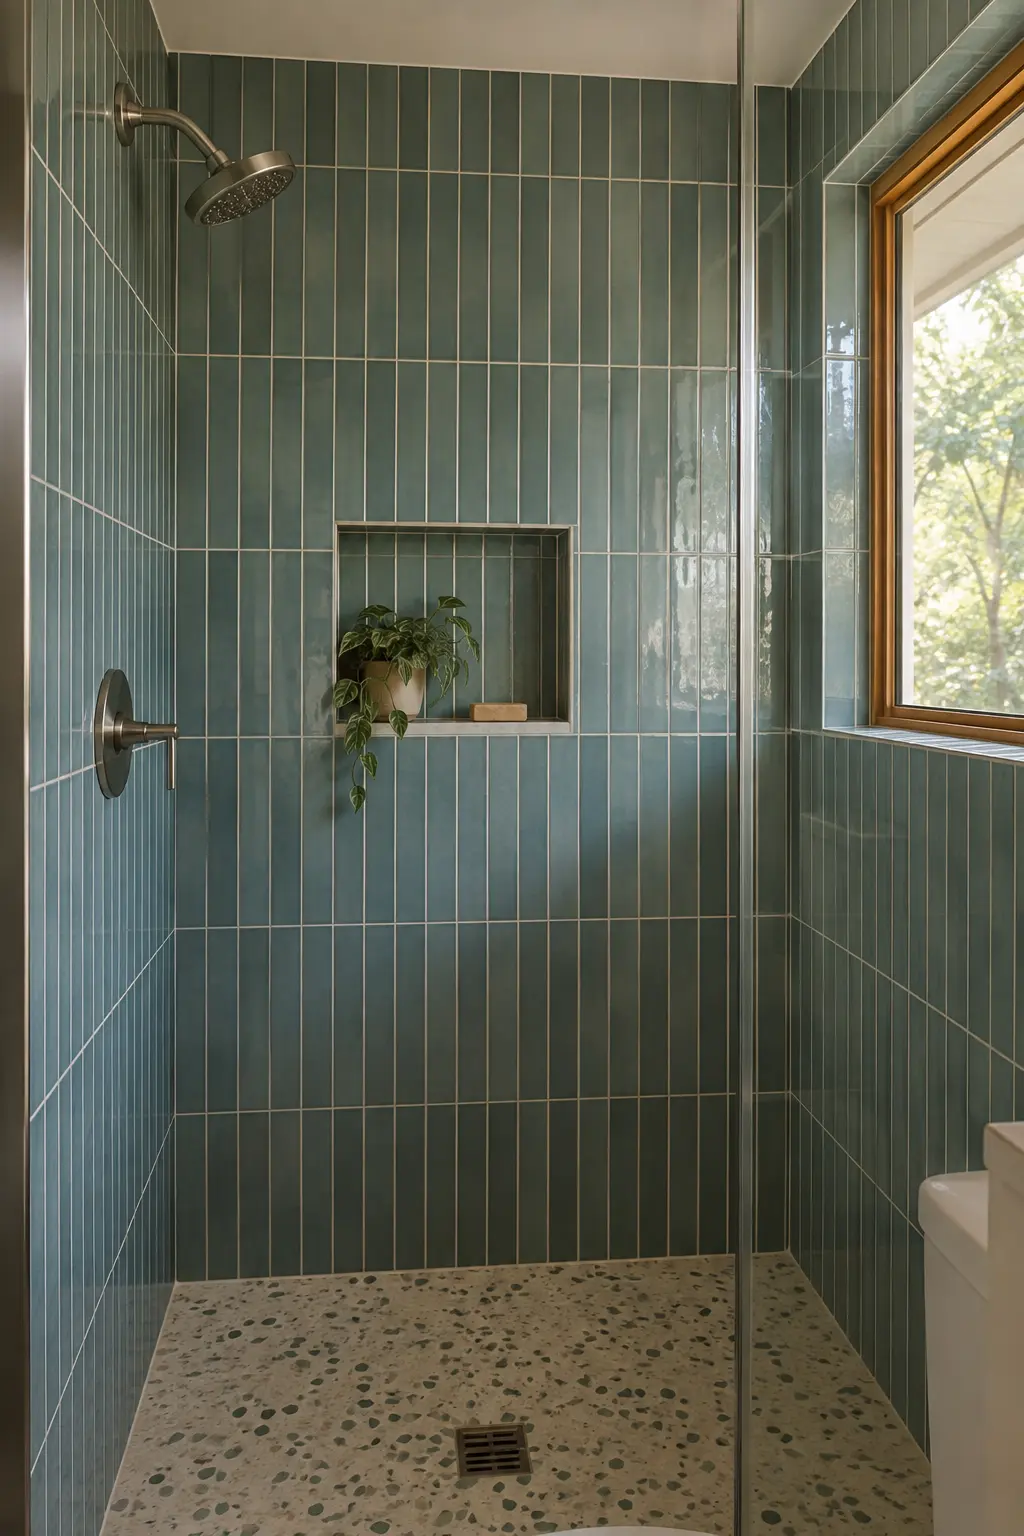
A vertical stack directs the eye upward and gives familiar rectangular tile a more tailored look. It is especially useful on one end wall or in a compact shower where a busy offset pattern would create many small cuts.
Lay out the rows around the niche and fixtures before setting tile; poorly placed slivers become more obvious in a strict grid.
12. Use Handmade-Look Tile on One Wall
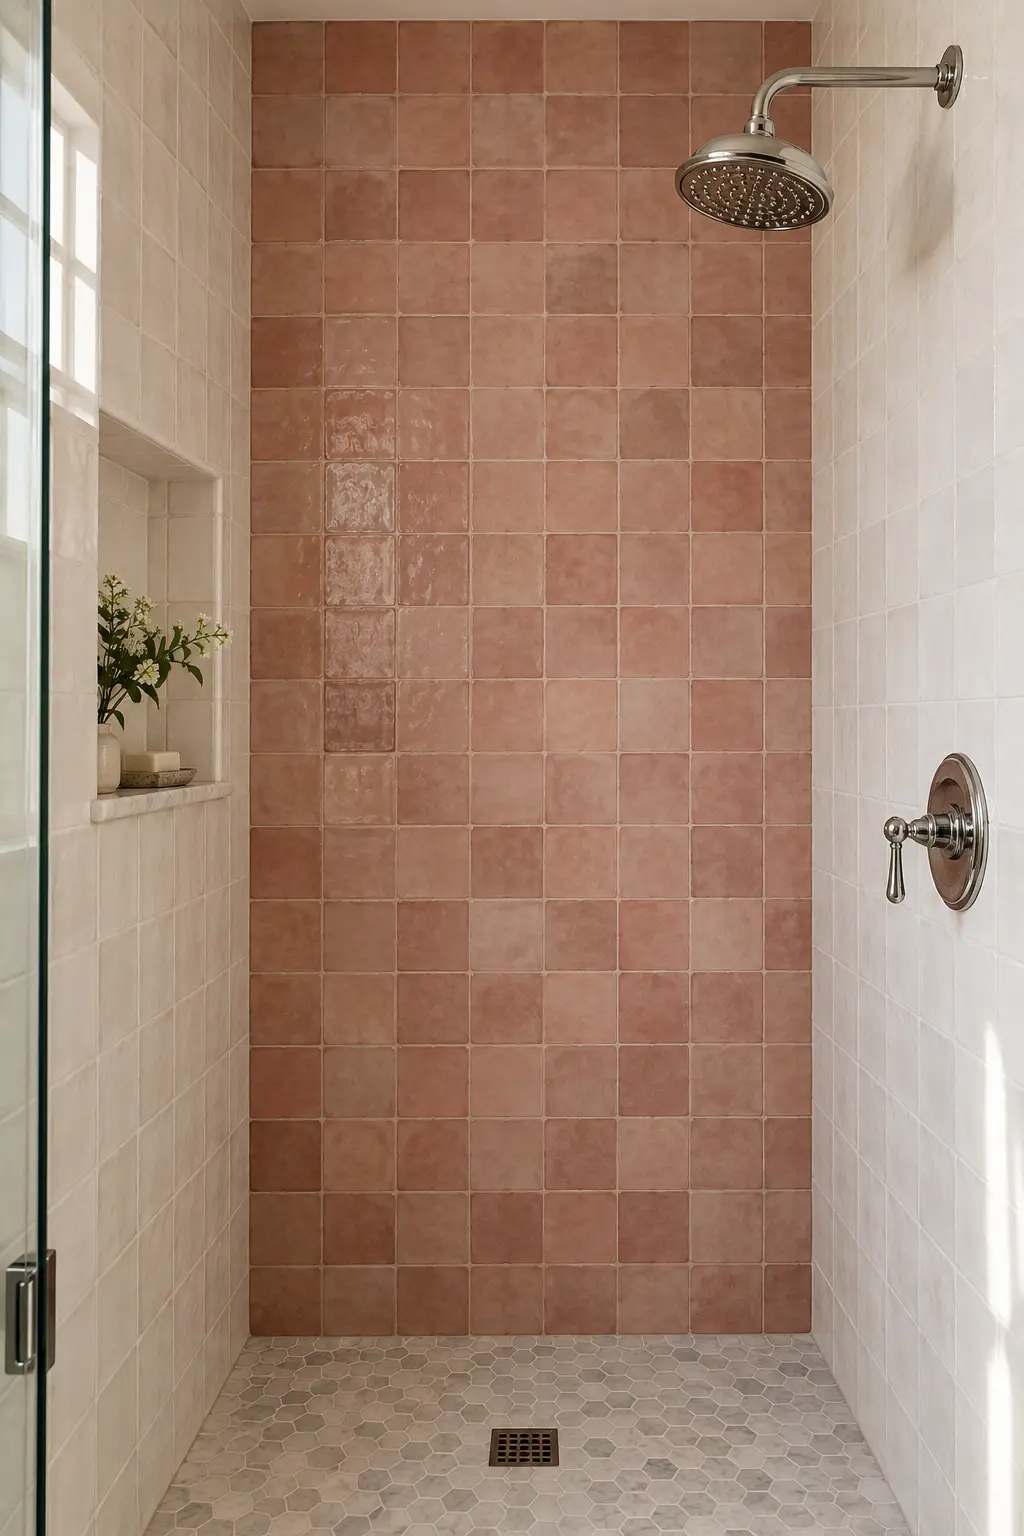
Softly irregular tile adds movement through color and reflective variation rather than a loud printed pattern. Limit it to the back wall or niche zone, then use a quieter companion tile elsewhere.
Expect visible variation. Review multiple pieces together instead of approving the look from one sample.
13. Choose Porcelain for a Natural-Stone Look
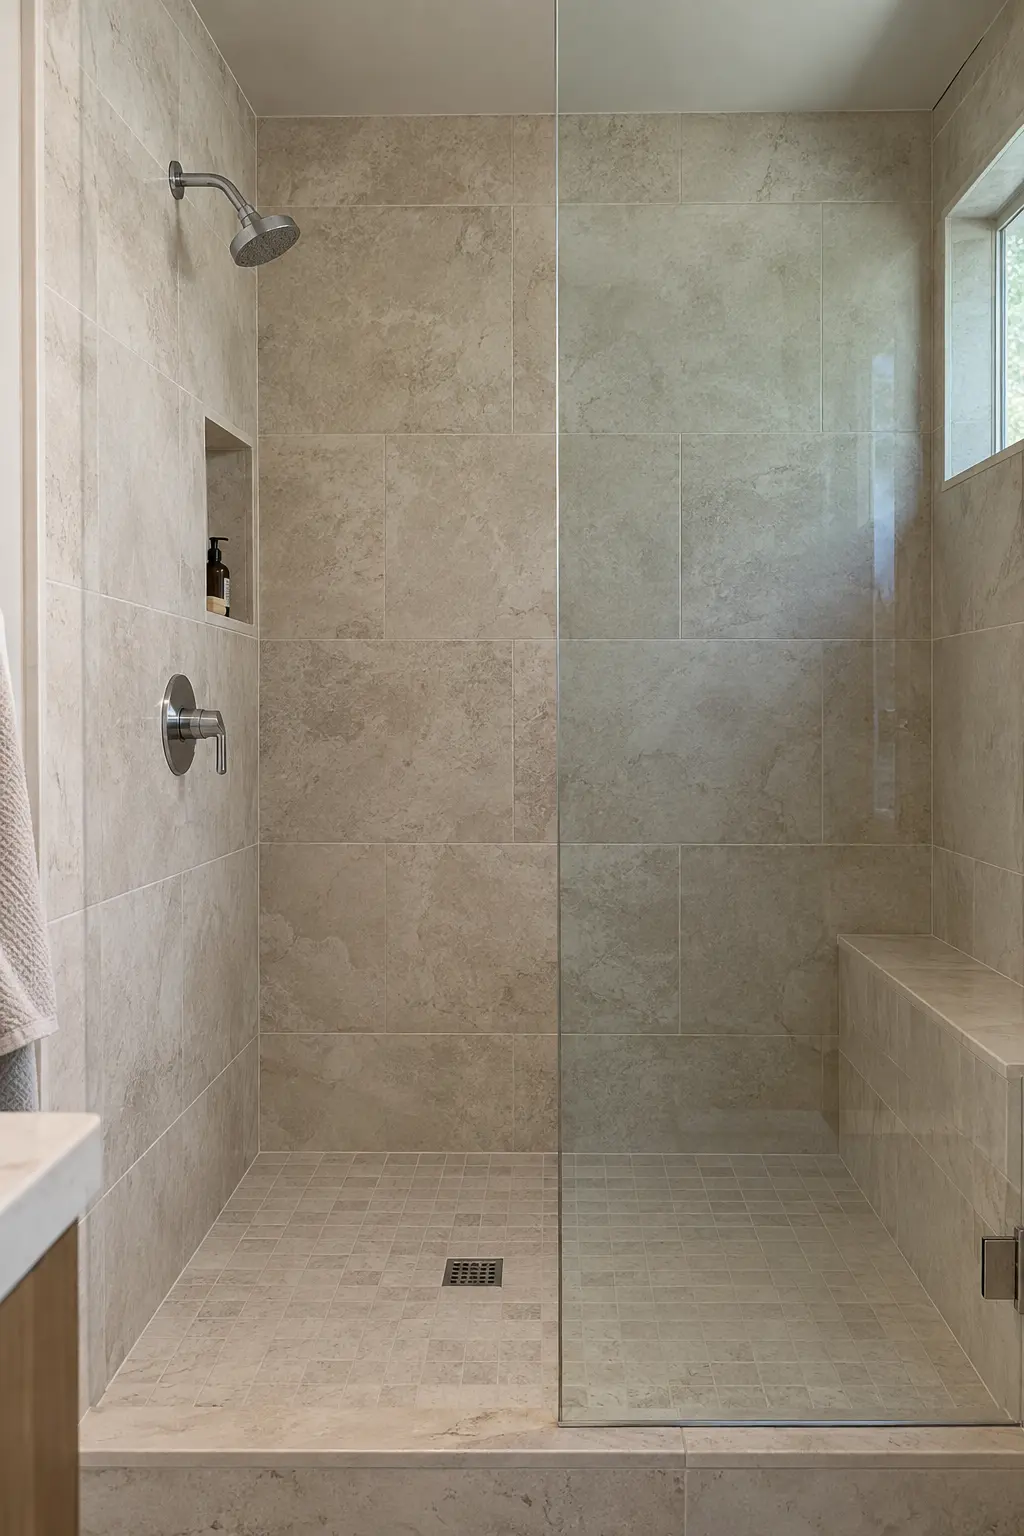
Stone-look porcelain can provide a warm, geological appearance with product-specific maintenance that may be simpler than some natural stones. Select a pattern scale that does not repeat obviously across a small wall.
Ask which coordinating pieces are available for edges, niches, curbs, and benches before finalizing the field tile.
14. Use Wall Panels to Reduce Grout Lines
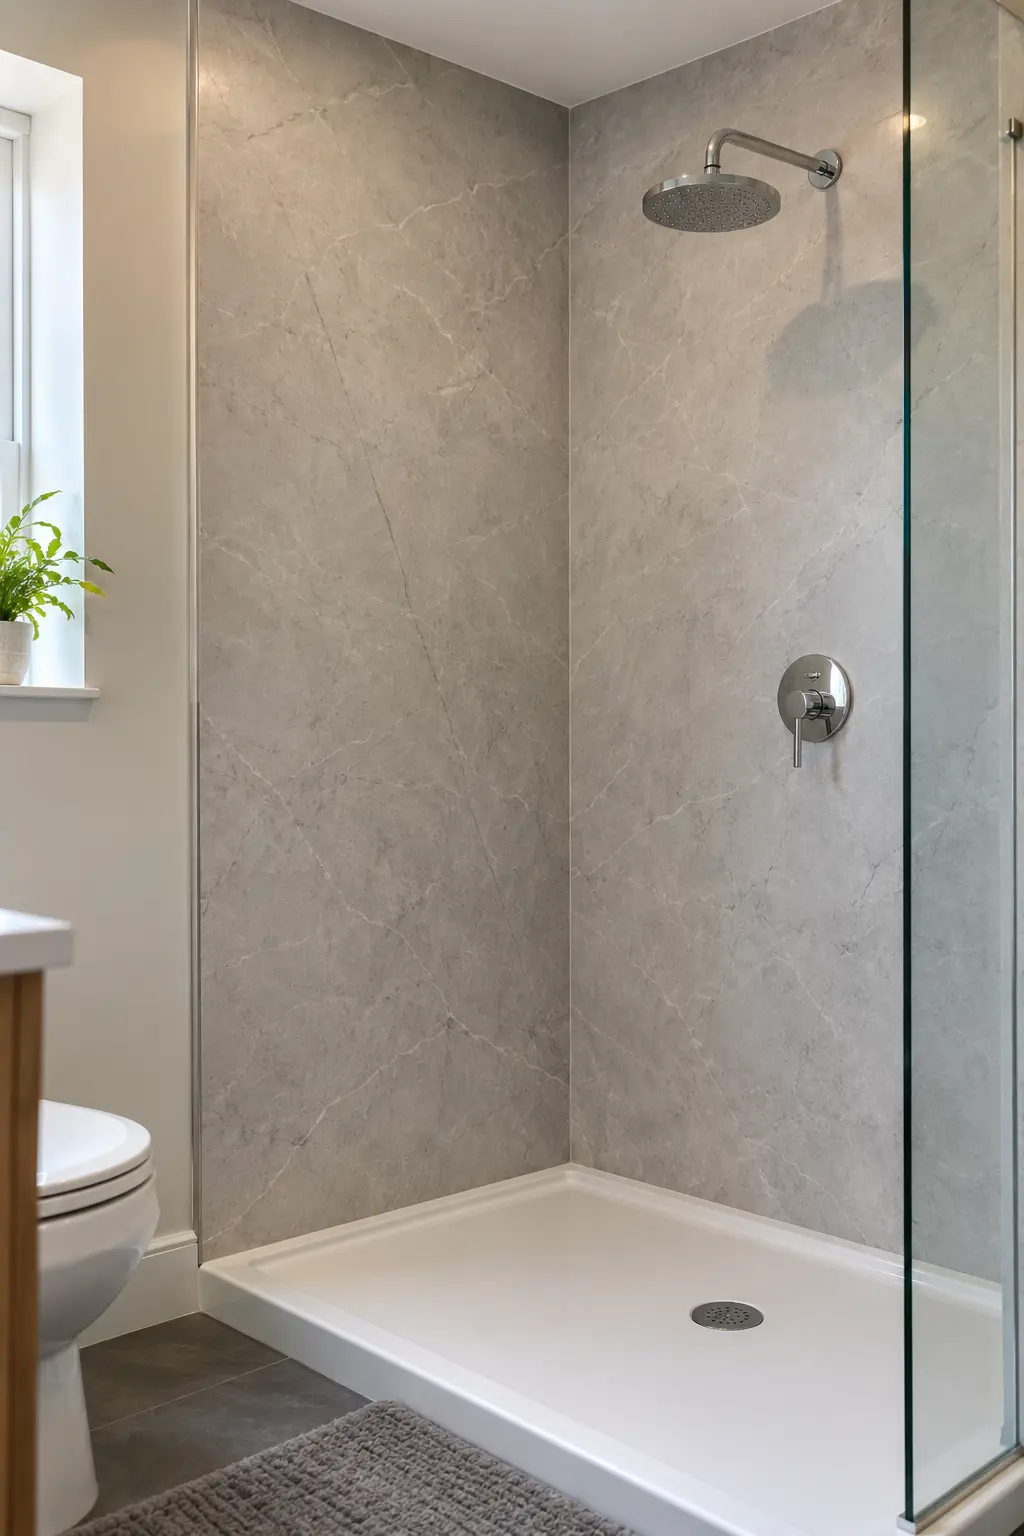
Solid or large-format shower panels reduce visible joints and can simplify routine cleaning. They suit contemporary bathrooms, but edge, corner, valve, and base transitions still require careful system-compatible detailing.
Choose a material specifically intended for the shower assembly rather than improvising with a decorative wall sheet.
15. Carry One Tile to the Ceiling
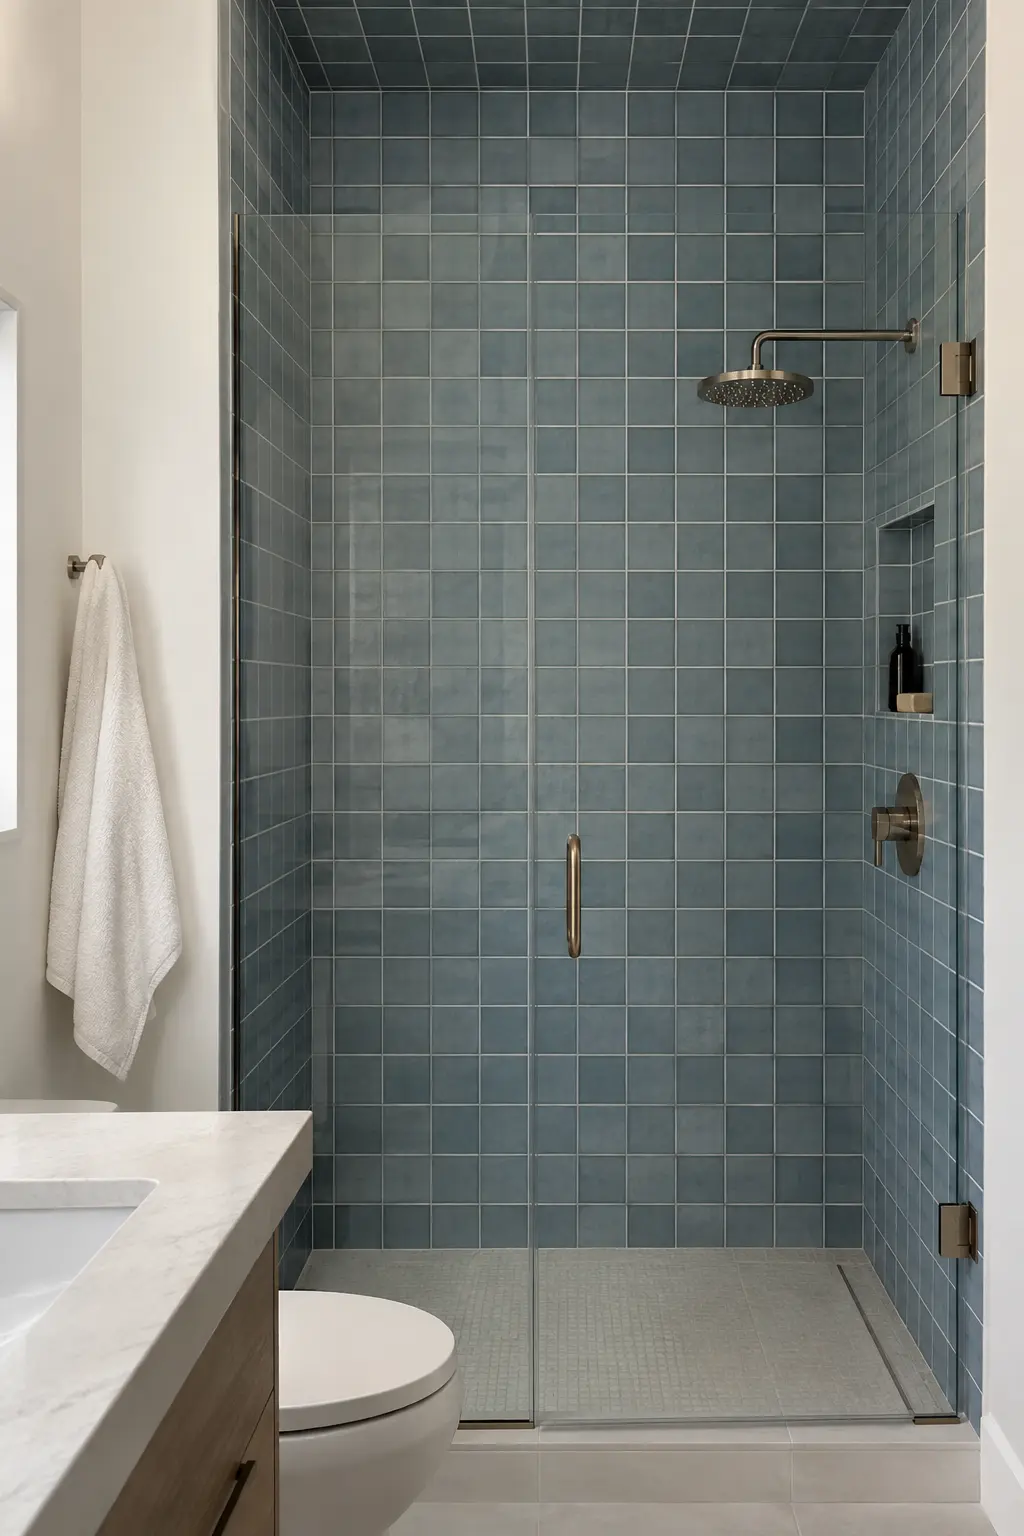
Taking one wall tile to the ceiling avoids an arbitrary stopping line and protects the upper area from repeated moisture. The uninterrupted surface can also make an ordinary ceiling feel taller.
If the ceiling itself is tiled, confirm that the substrate, bonding system, fixture locations, and ventilation plan support it.
16. Keep the Niche Tile Quiet
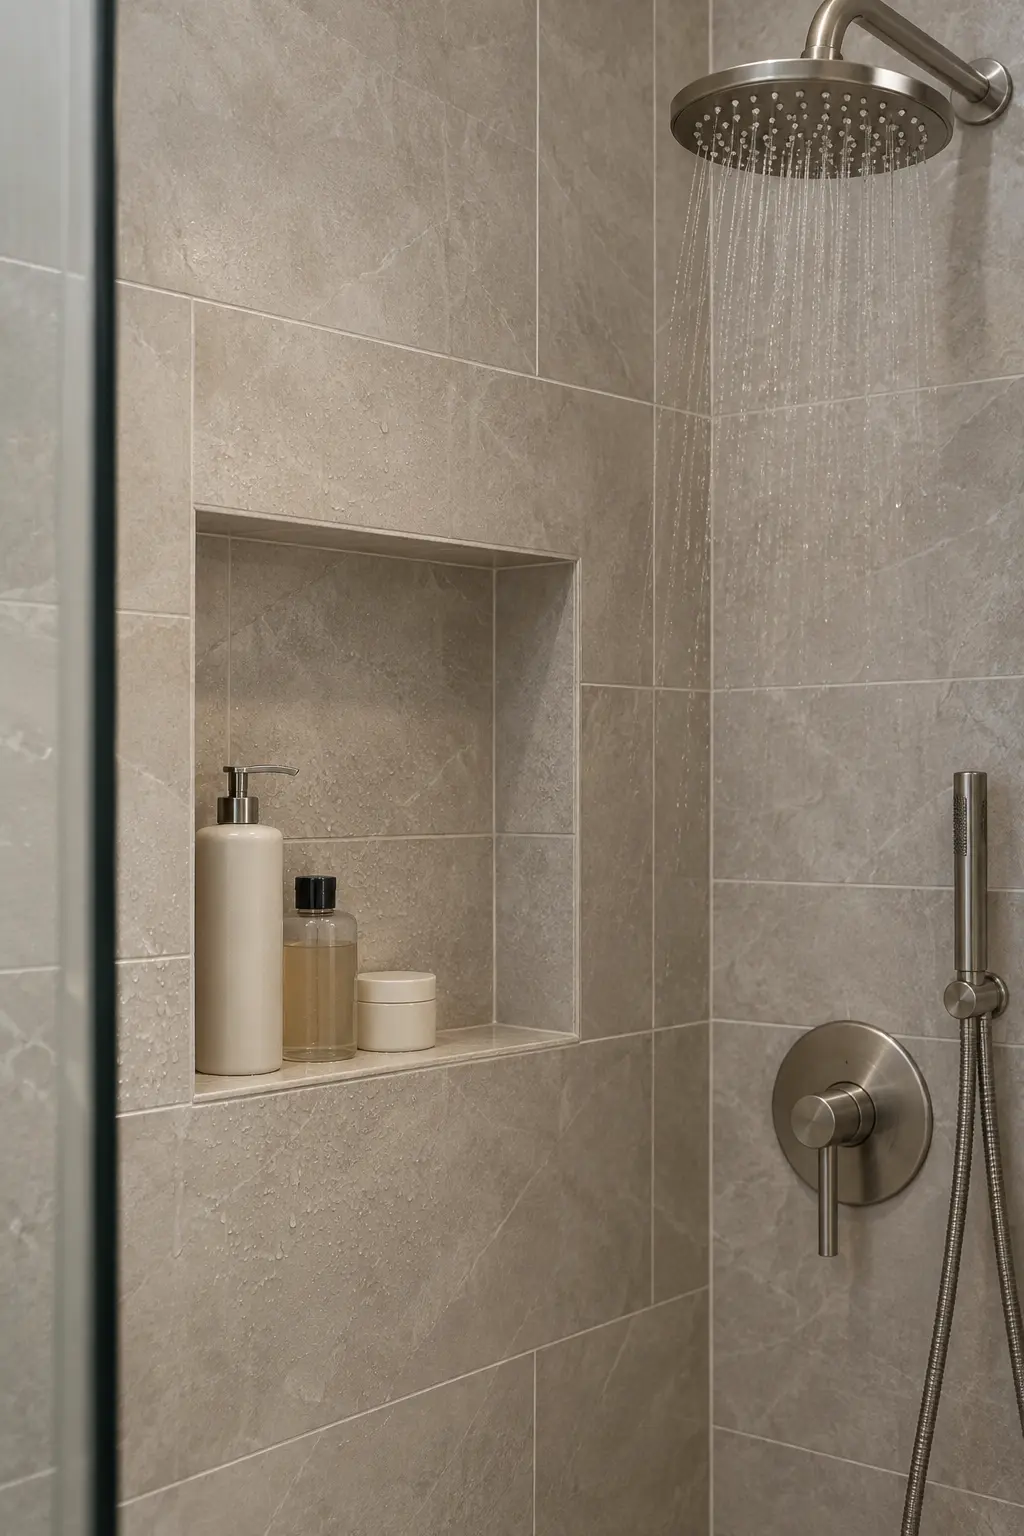
Matching the niche to the field tile lets shampoo storage recede instead of becoming the decorative centerpiece. Aligning grout joints through the niche makes the result look considered.
A niche is a penetration in the wet assembly, so its location and waterproofing matter more than an accent mosaic.
Glass, Doors, and Privacy Choices
The enclosure controls splash, access, cleaning, and how open the room feels. Choose it alongside the layout rather than as the final decorative purchase.
17. Use Frameless Glass for an Uninterrupted View
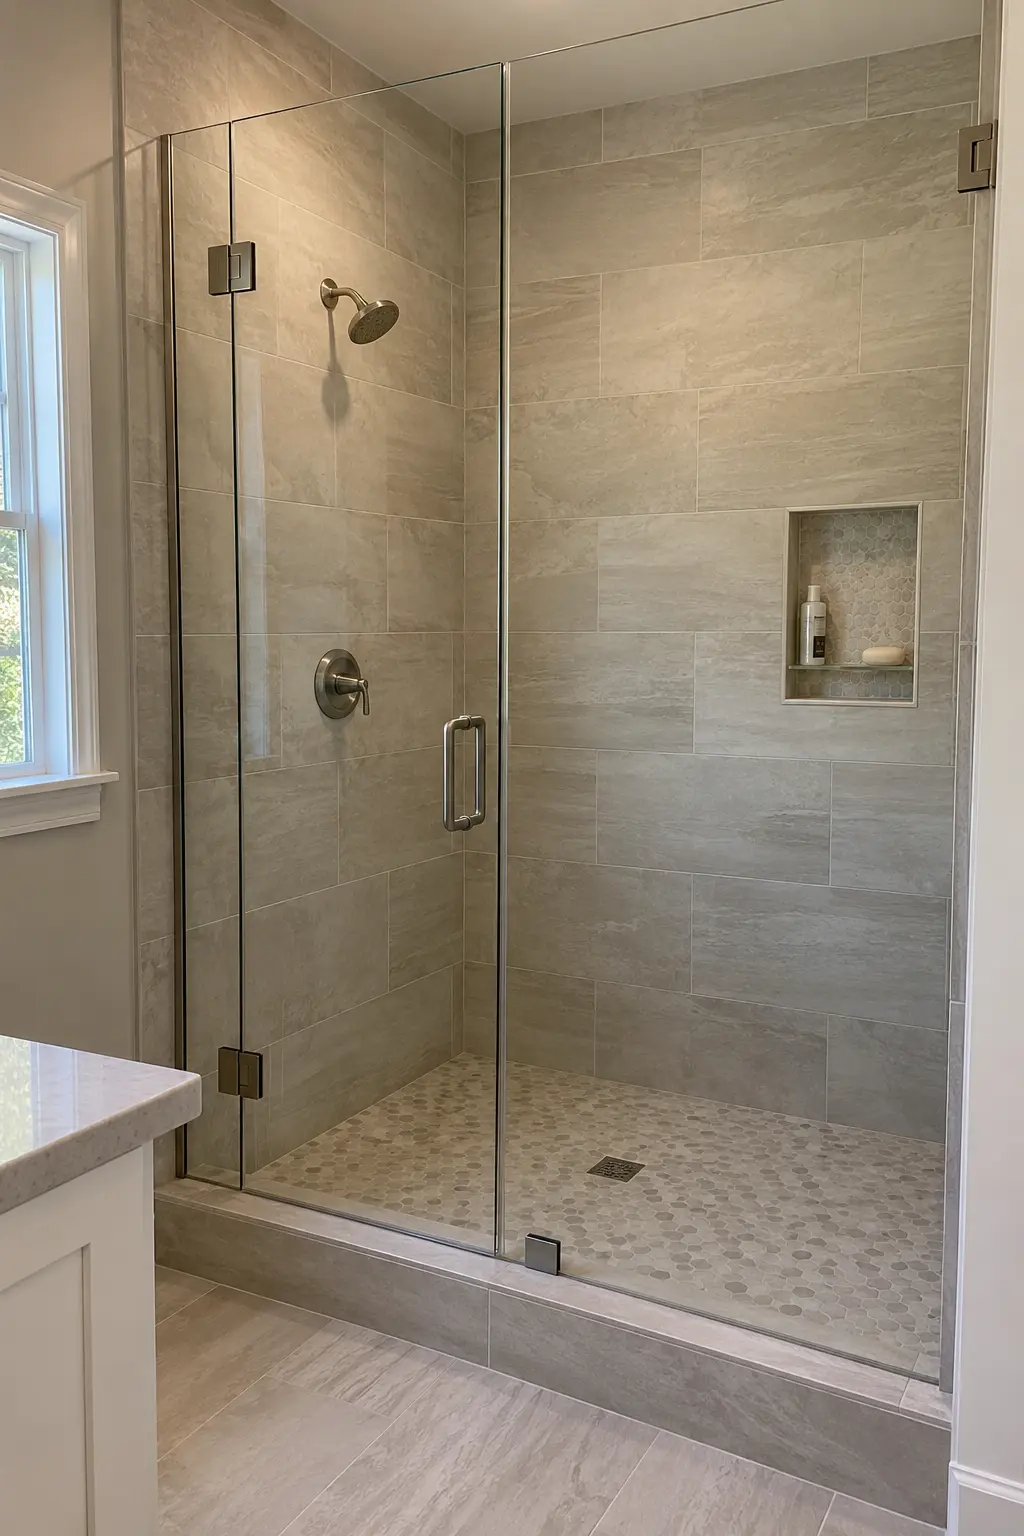
Frameless glass keeps tile visible and reduces heavy visual lines. It still needs substantial support, precise measurement, and suitable mounting conditions; minimal appearance does not mean minimal engineering.
Clear glass also reveals water spots and everything stored inside, so pair it with realistic cleaning habits and concealed storage.
18. Add a Slim Dark Frame for Definition
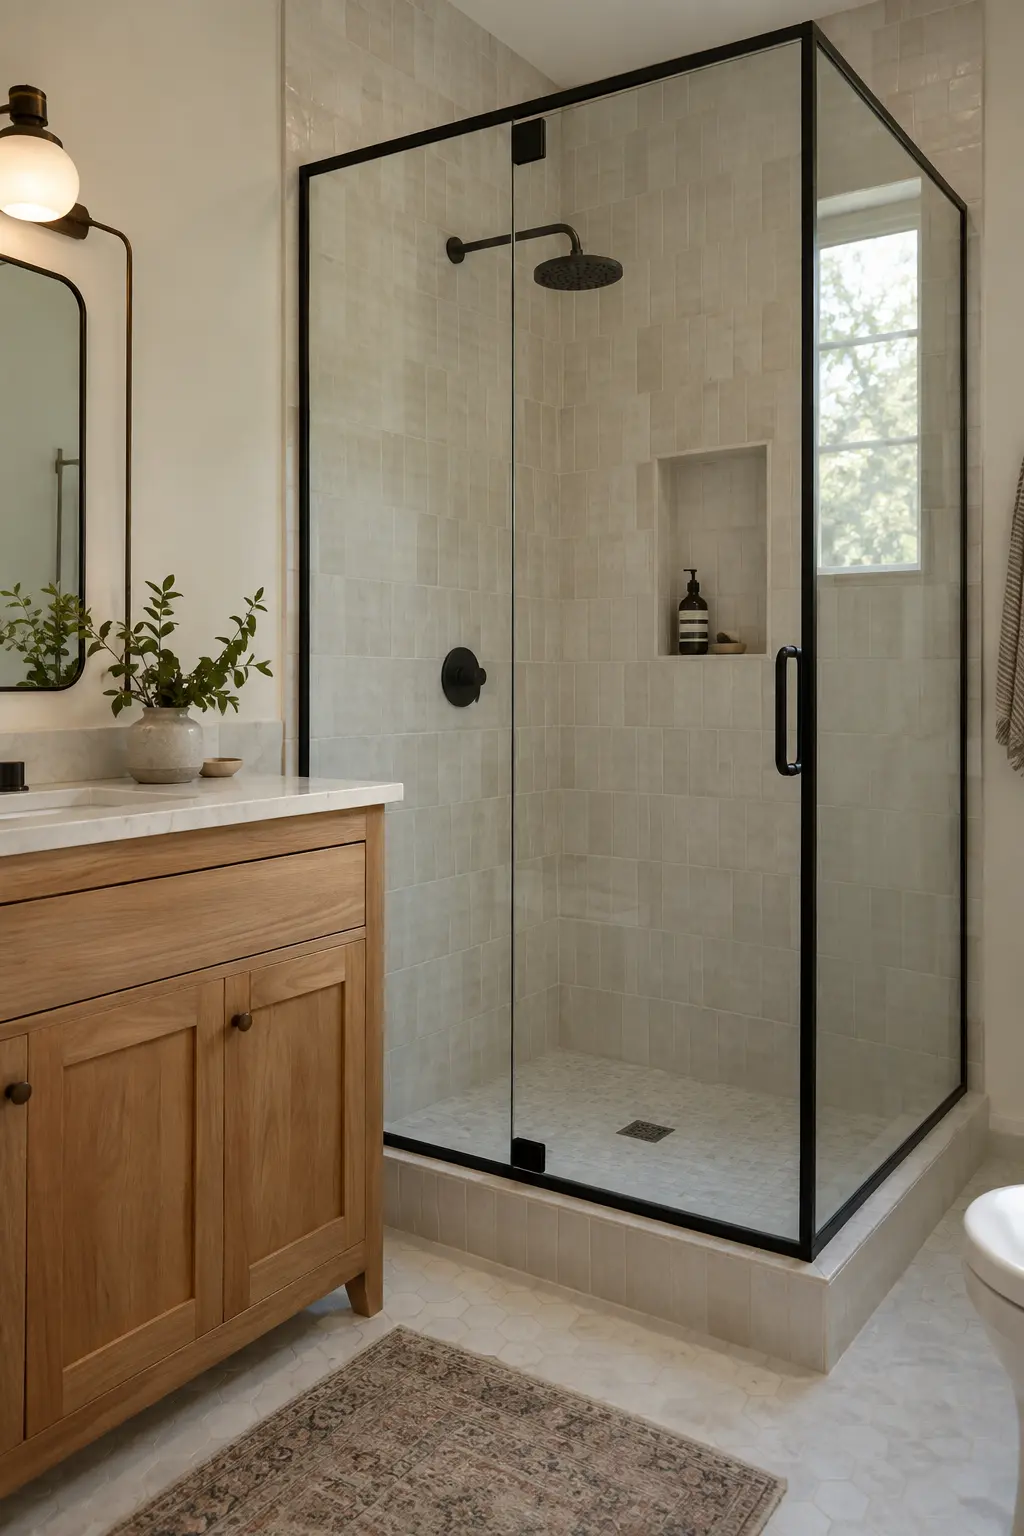
A narrow dark frame can outline a pale shower and connect with existing black fixtures or window trim. Use the finish in a few related places rather than turning every accessory into a matching black line.
More frame divisions mean more edges to wipe, so balance the grid effect against maintenance.
19. Choose Frosted Glass for a Shared Bathroom
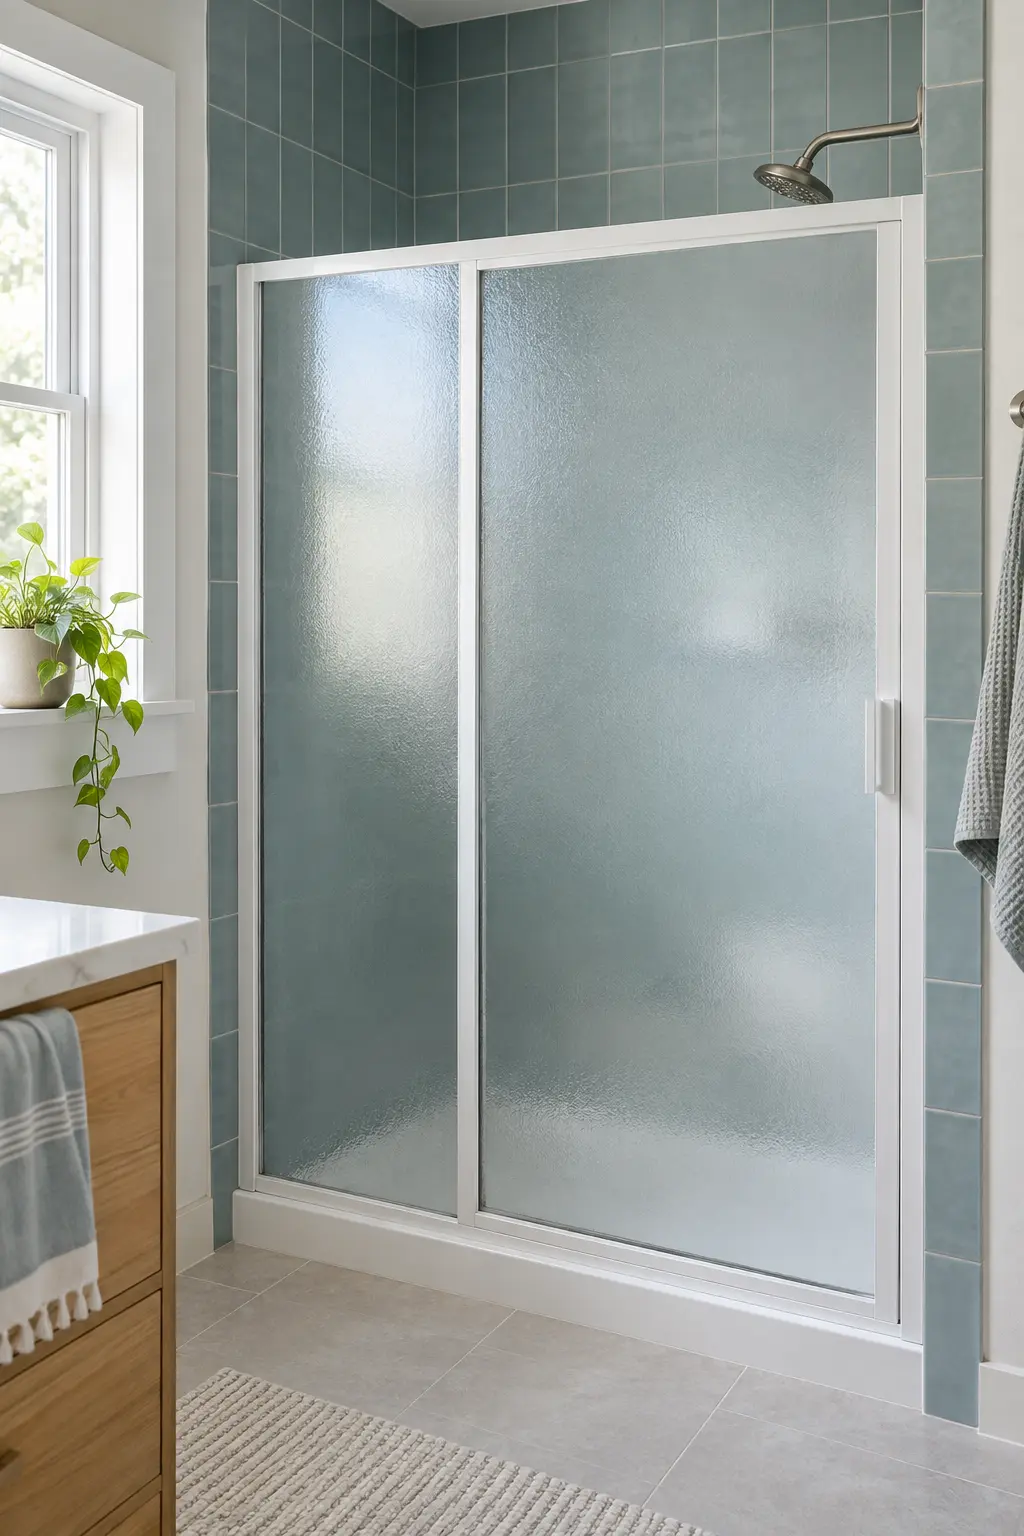
Frosted glass adds privacy in a hall or family bath while still transmitting light. A simple full panel usually feels calmer than a busy etched motif.
Compare samples when wet and dry; privacy levels and the visibility of water marks can change with texture.
20. Use Fluted Glass as a Partial Screen
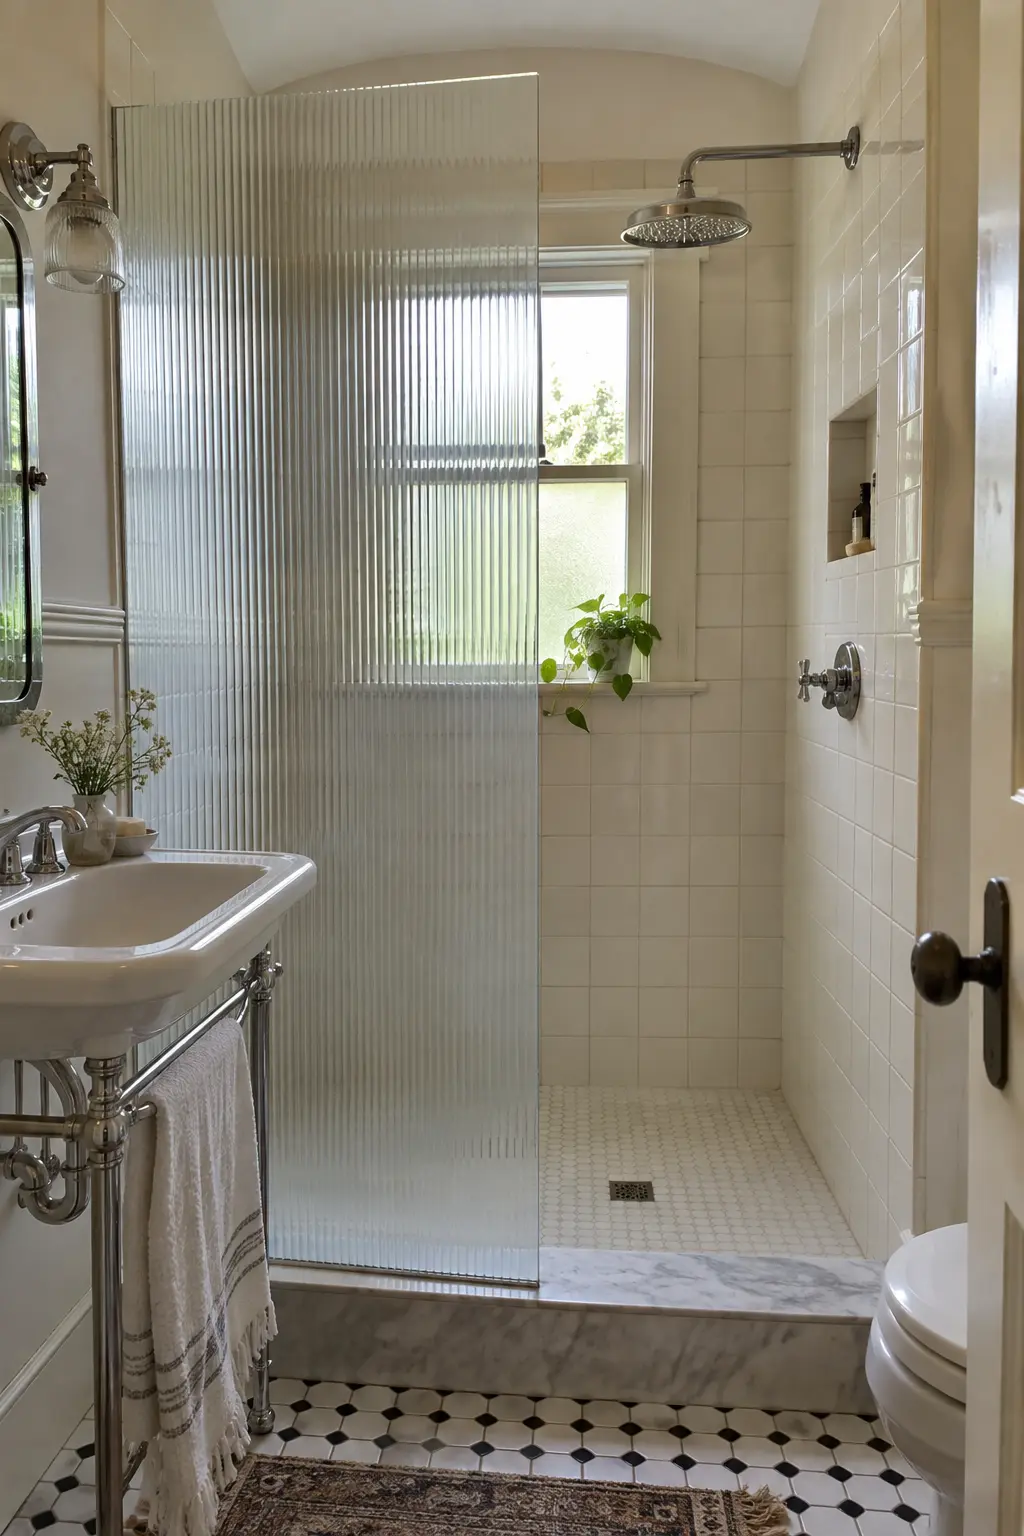
Fluted glass softens the view into the shower and brings texture to a vintage or collected bathroom. It works particularly well as a fixed partition where the patterned surface can remain visually simple.
Confirm which side is easiest to clean and orient the glass according to the manufacturer's guidance.
21. Keep a Curtain When Flexibility Matters
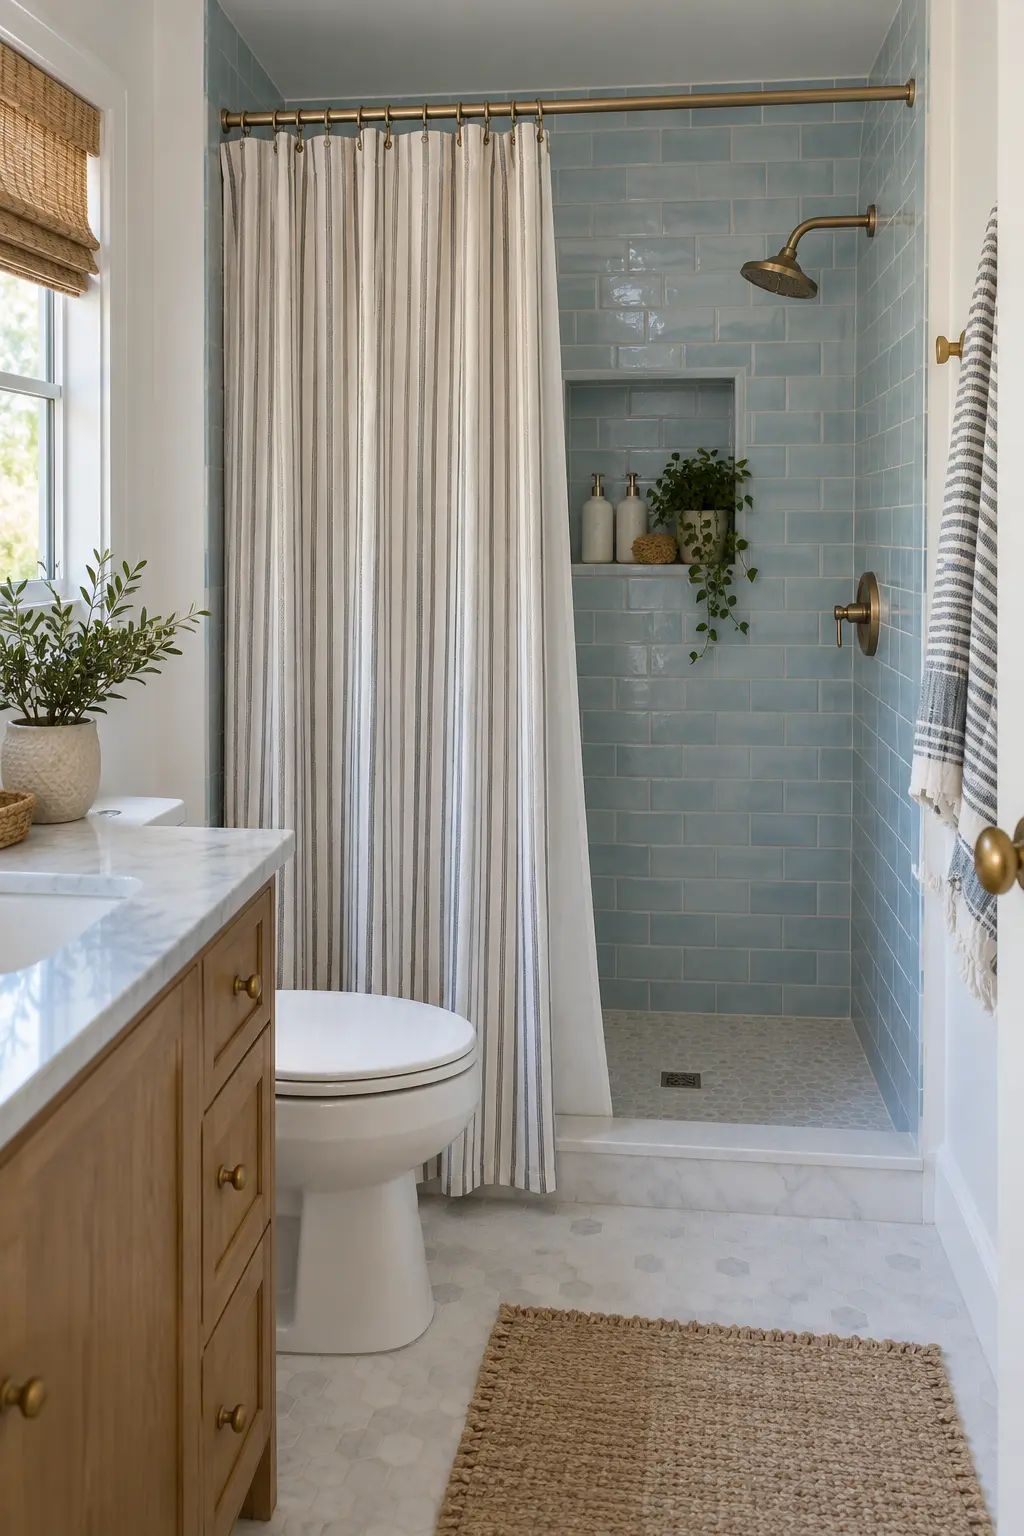
A curtain can provide a wider opening, simpler replacement, and more elbow room in a small tub-shower or alcove. It is not a lesser choice when a glass door would collide with fixtures or complicate bathing children.
Use a washable outer curtain and an appropriate liner, and keep the hem positioned so it can dry.
22. Place the Door Away from the Main Spray
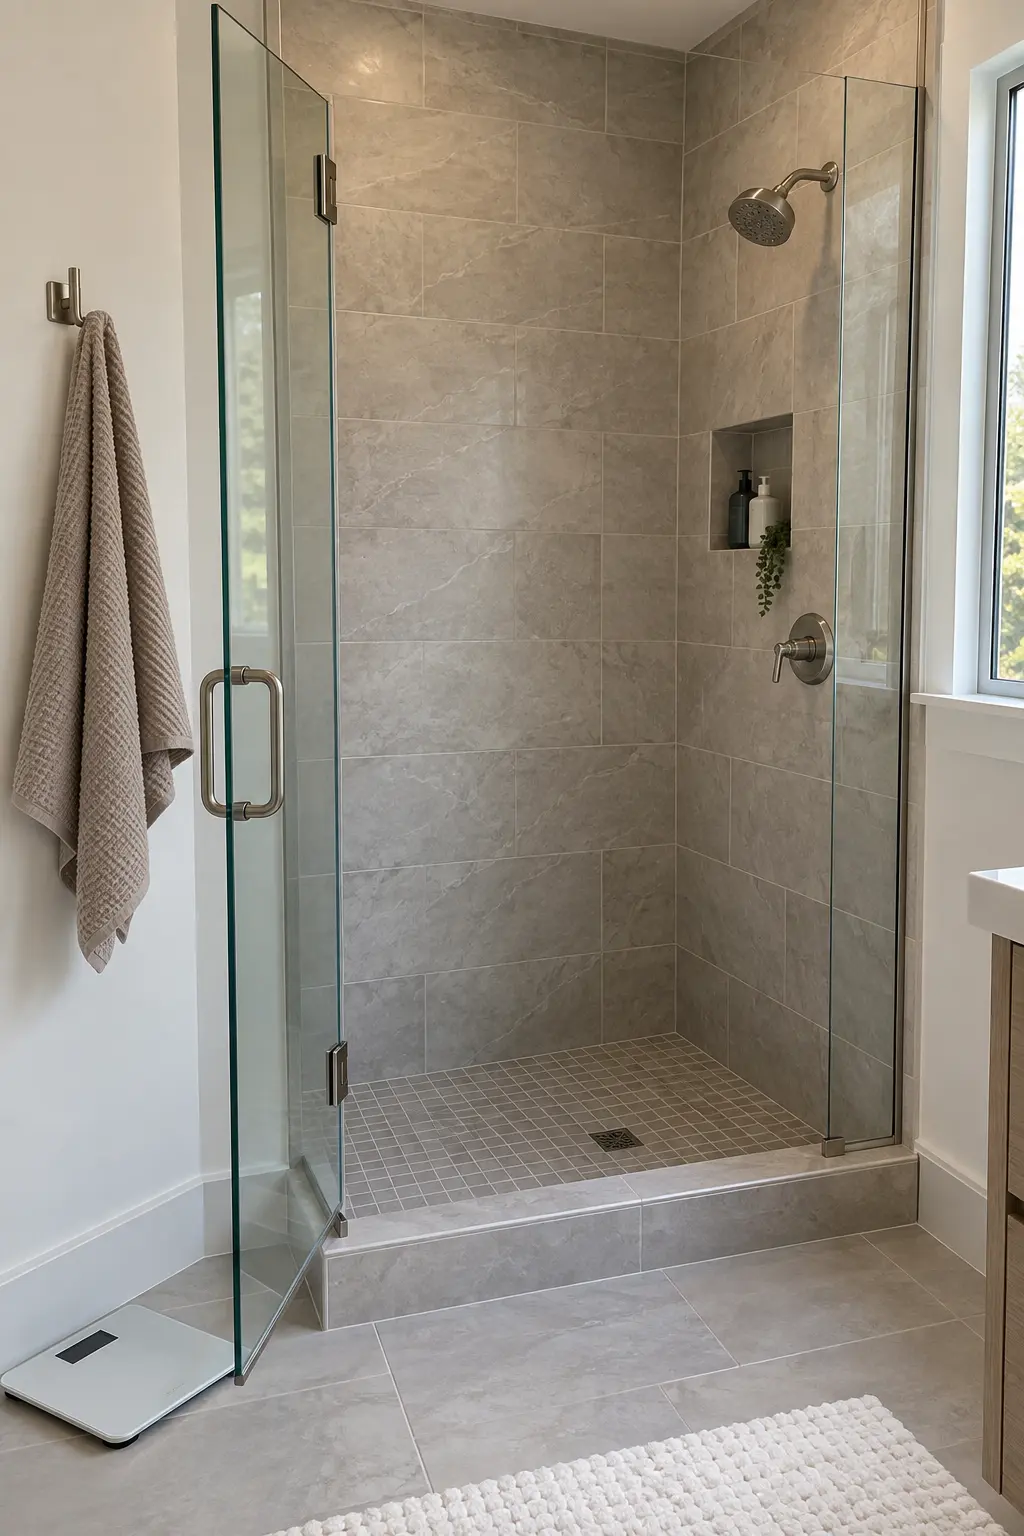
Locating the opening away from the showerhead reduces the chance of water escaping when someone enters or reaches for a towel. It can also keep the driest part of the enclosure near the bathroom walkway.
Coordinate door swing, hinges, controls, and towel placement on the plan before glass is measured.
23. Use a Half Wall to Anchor the Glass
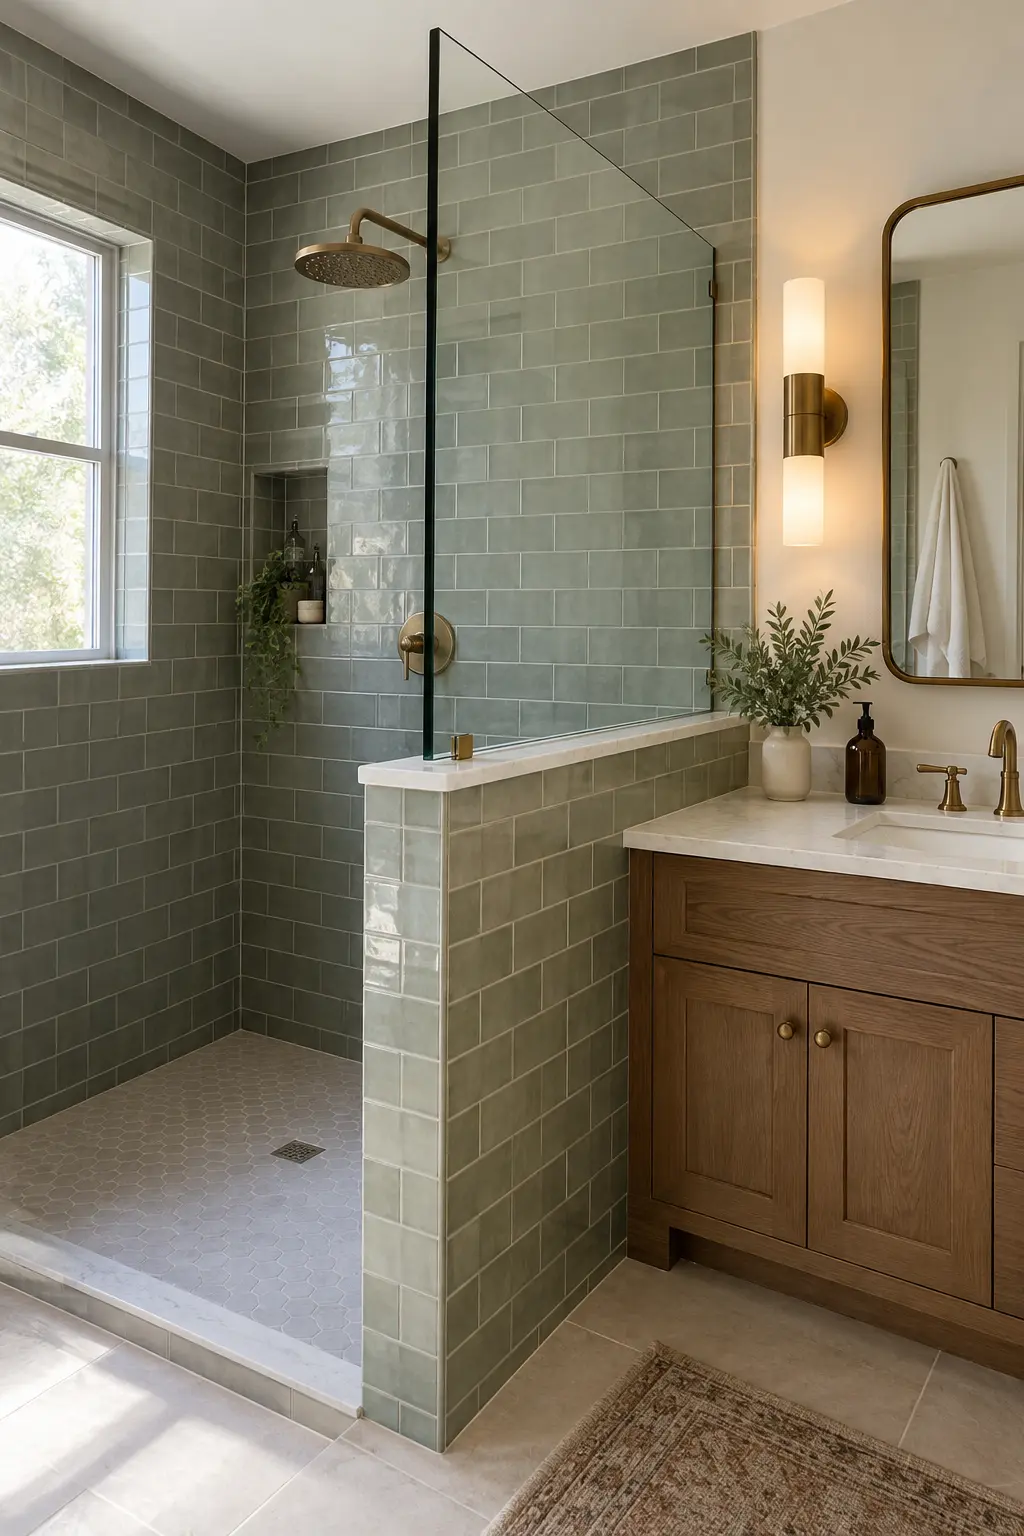
A tiled half wall can shield the vanity, create a plumbing chase, and give a glass panel a natural endpoint. Keep it low enough to share light while high enough to protect the neighboring surface from spray.
The top and all transitions need to be detailed as part of the waterproof assembly, not treated like ordinary painted millwork.
Storage, Comfort, and Accessibility Upgrades
The best upgrades reduce reaching, bending, clutter, or cold starts. Plan backing, plumbing, wiring, and waterproof penetrations before the walls close.
24. Place the Niche Away from Direct Spray
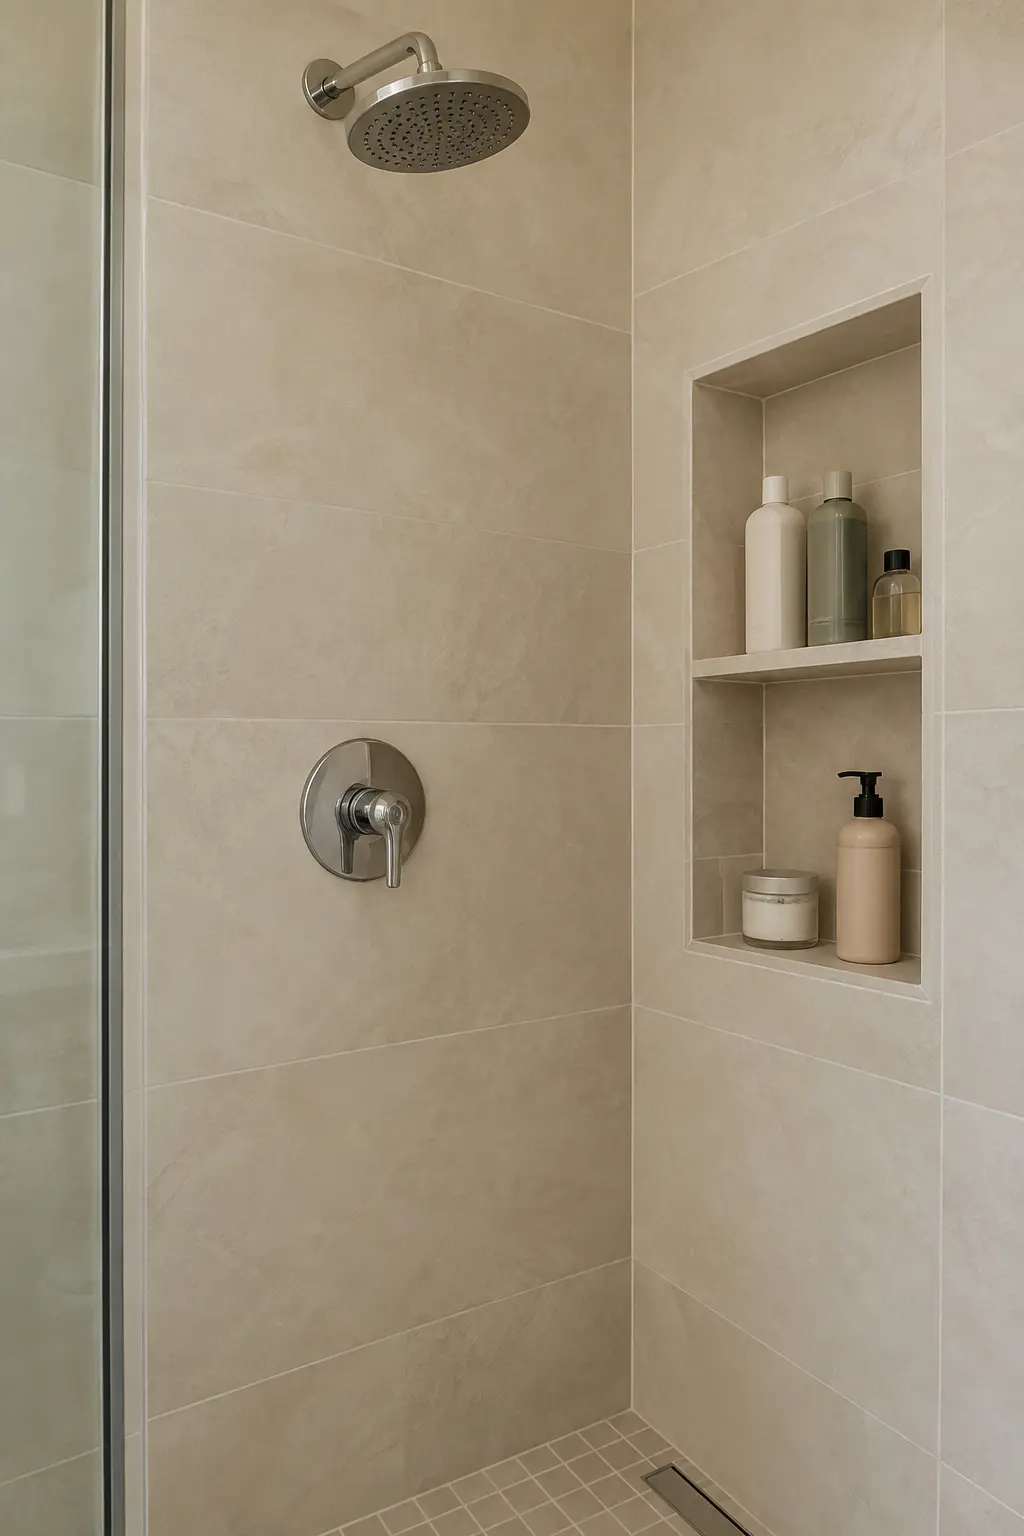
A side-wall niche keeps bottles reachable without making them the first thing visible through the door. Keeping it out of the strongest spray also reduces standing water on product containers.
Size the niche around the products actually used, then coordinate it with framing and tile layout.
25. Use a Long Ledge Instead of a Deep Niche
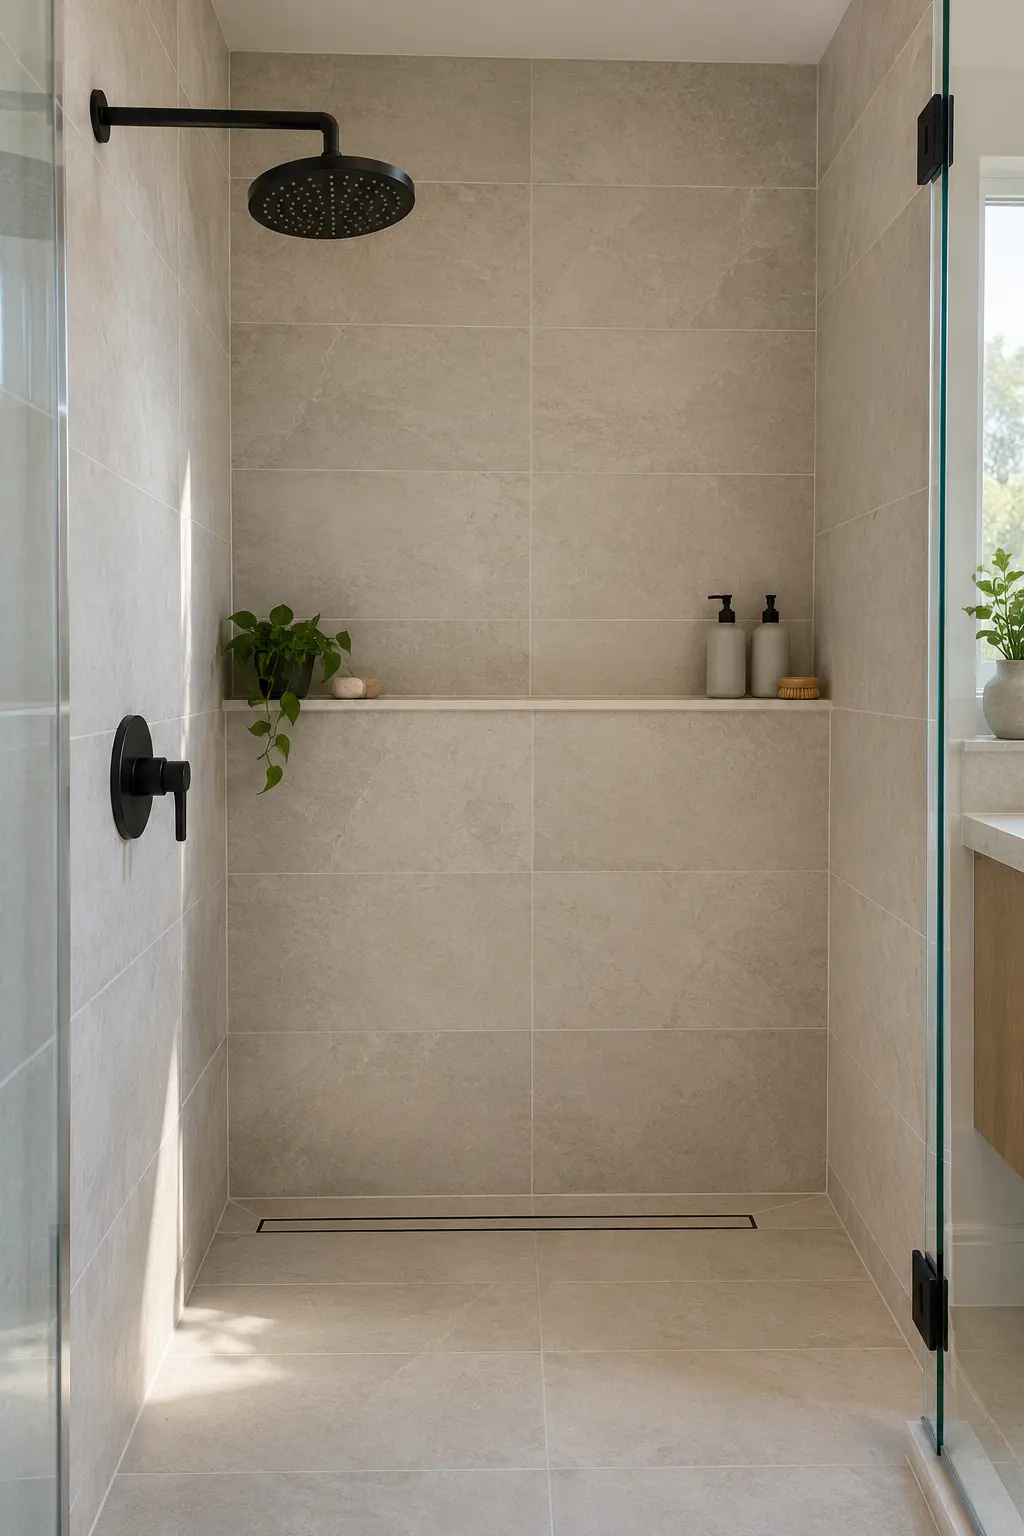
A shallow ledge can span a wall and hold several bottles without interrupting the field tile with a deep box. It is useful when framing, plumbing, or an exterior wall makes a recessed niche undesirable.
The ledge still needs slope and waterproof detailing so water does not collect at the wall.
26. Build a Bench That Serves More Than One Purpose
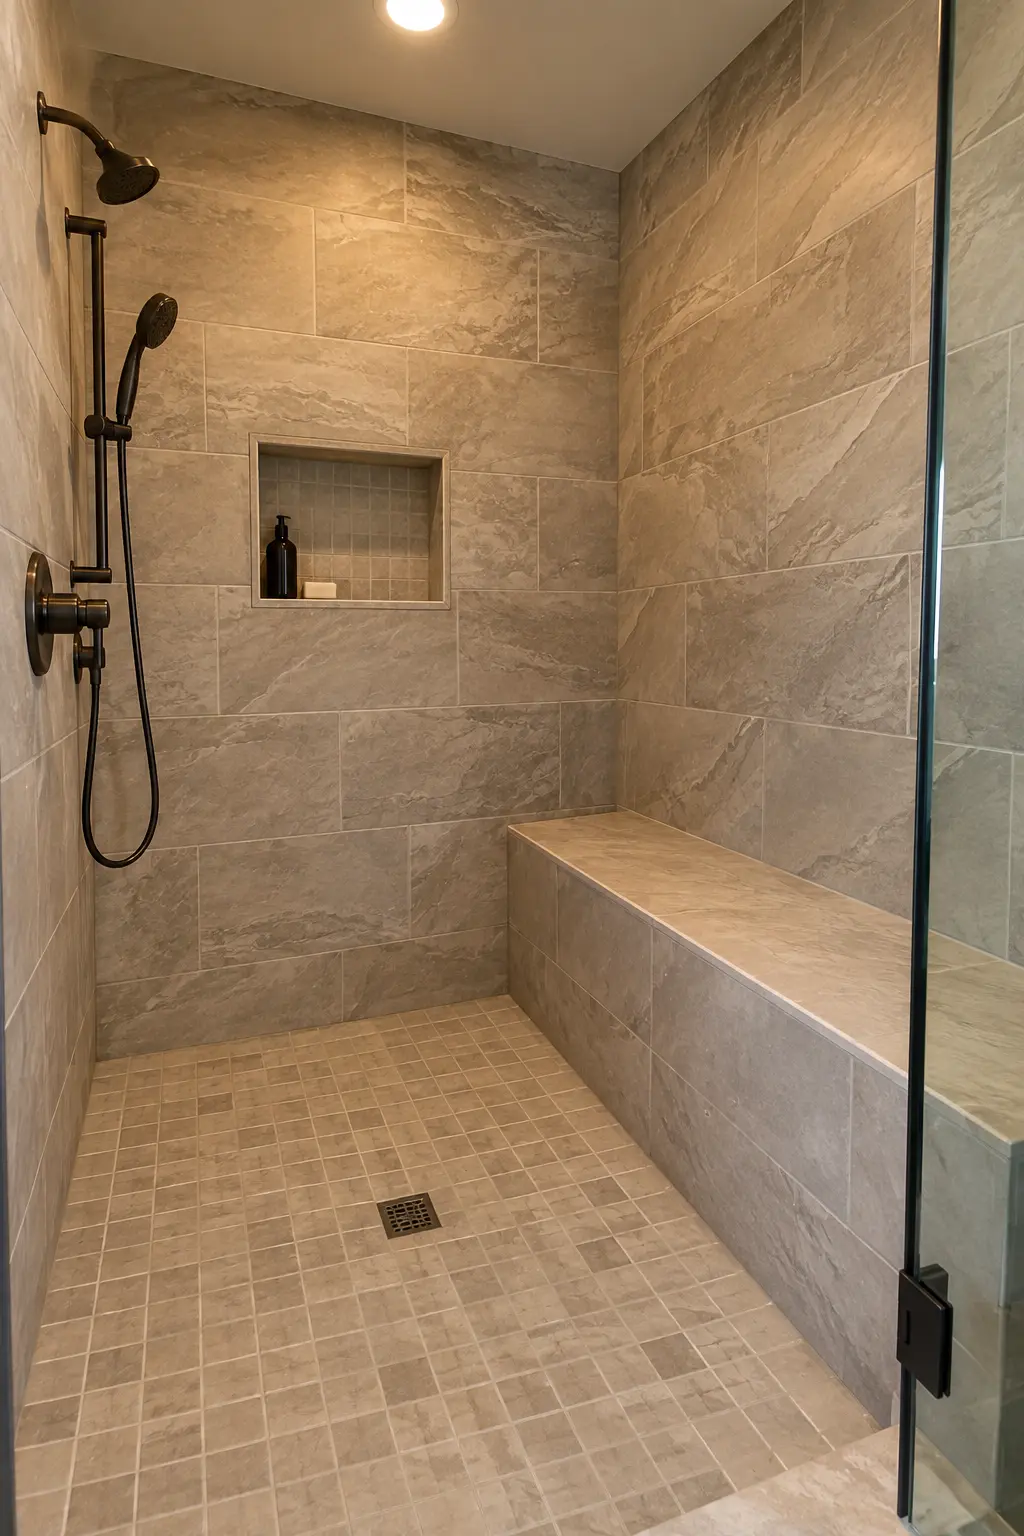
A bench can support seated showering, leg shaving, or temporary storage. Place it where a handheld spray can reach and where it does not block the main standing zone.
The structure, top slope, edges, and waterproofing should be resolved before tile selection drives the dimensions.
27. Add a Small Corner Seat in a Compact Shower
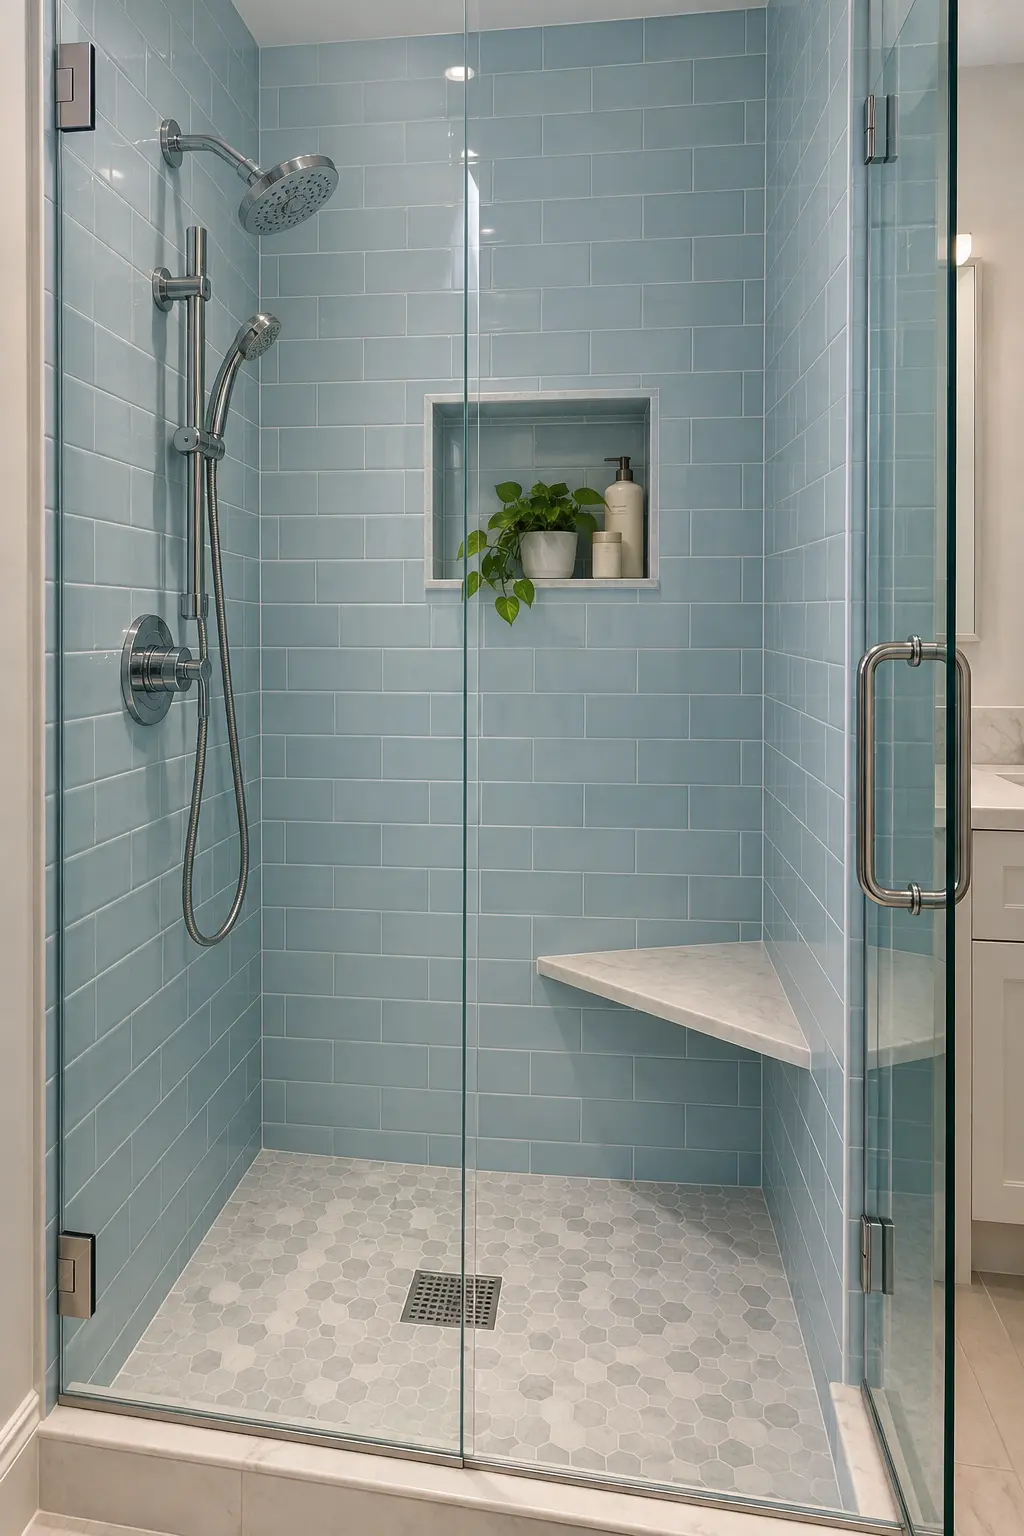
A compact corner seat offers a perch without consuming the full width of a narrow shower. It should be sized and supported for its intended use, not treated as a decorative shelf.
Leave enough clear floor area for comfortable turning and cleaning around it.
28. Plan Attractive Grab-Bar Locations Early
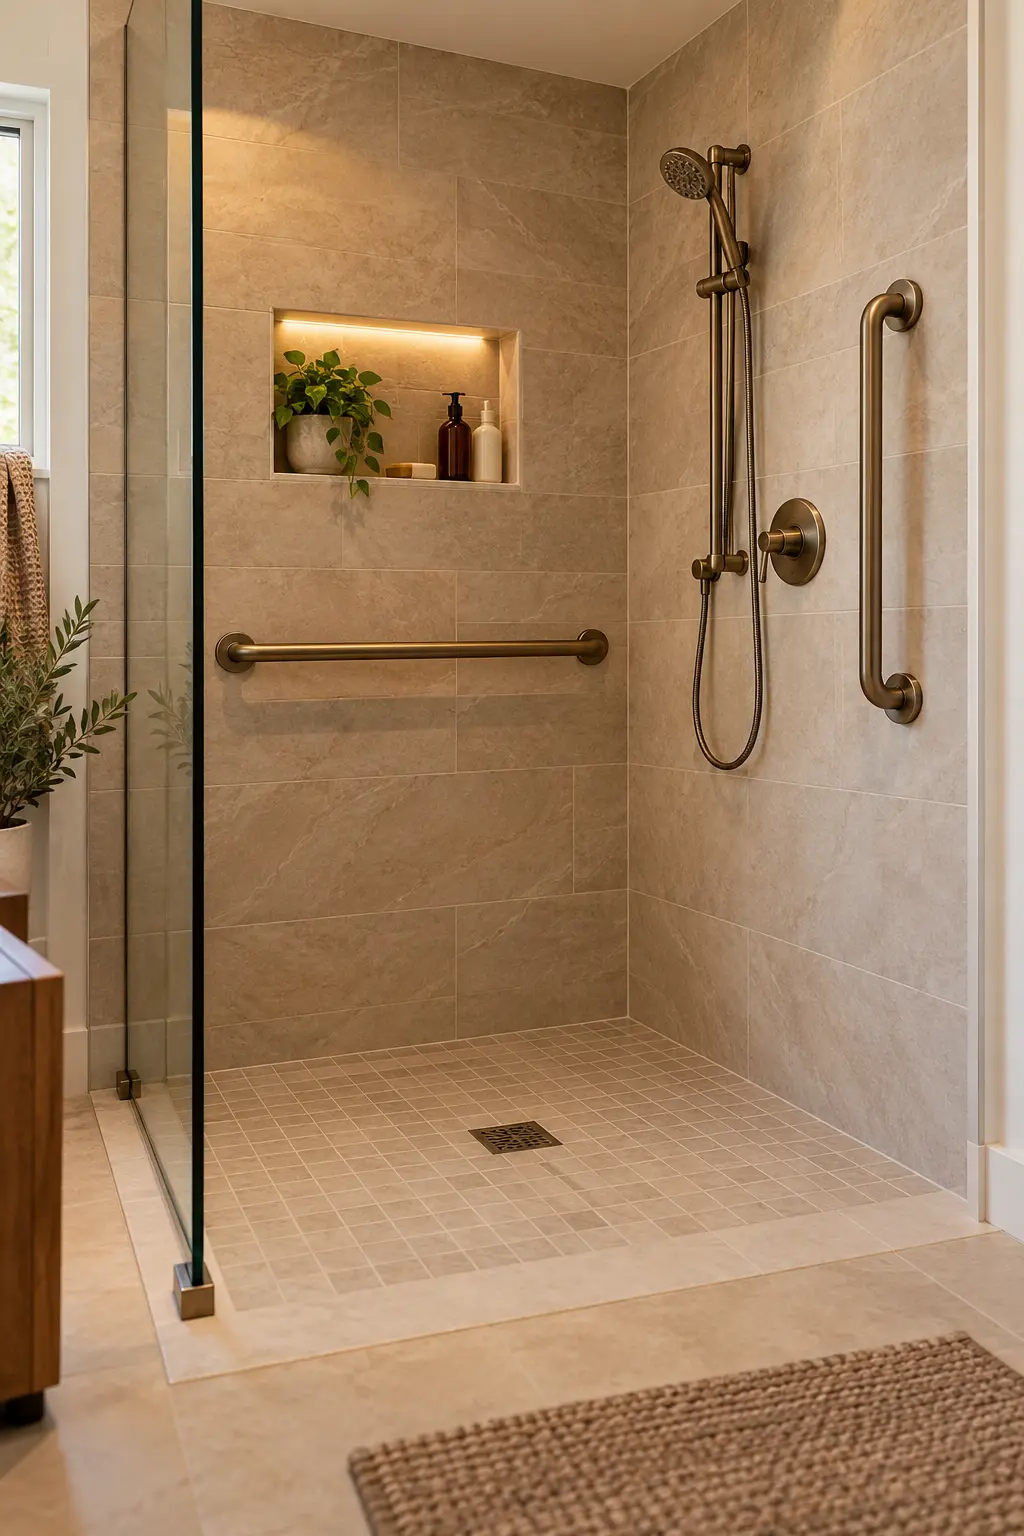
Blocking for future or immediate grab bars is easiest before walls close. When placement is planned with the tile grid and fixture finish, support rails can look integrated rather than added after a fall or mobility change.
Use products and installation methods intended for structural support; a towel bar is not a substitute.
29. Add a Handheld Shower on an Adjustable Rail
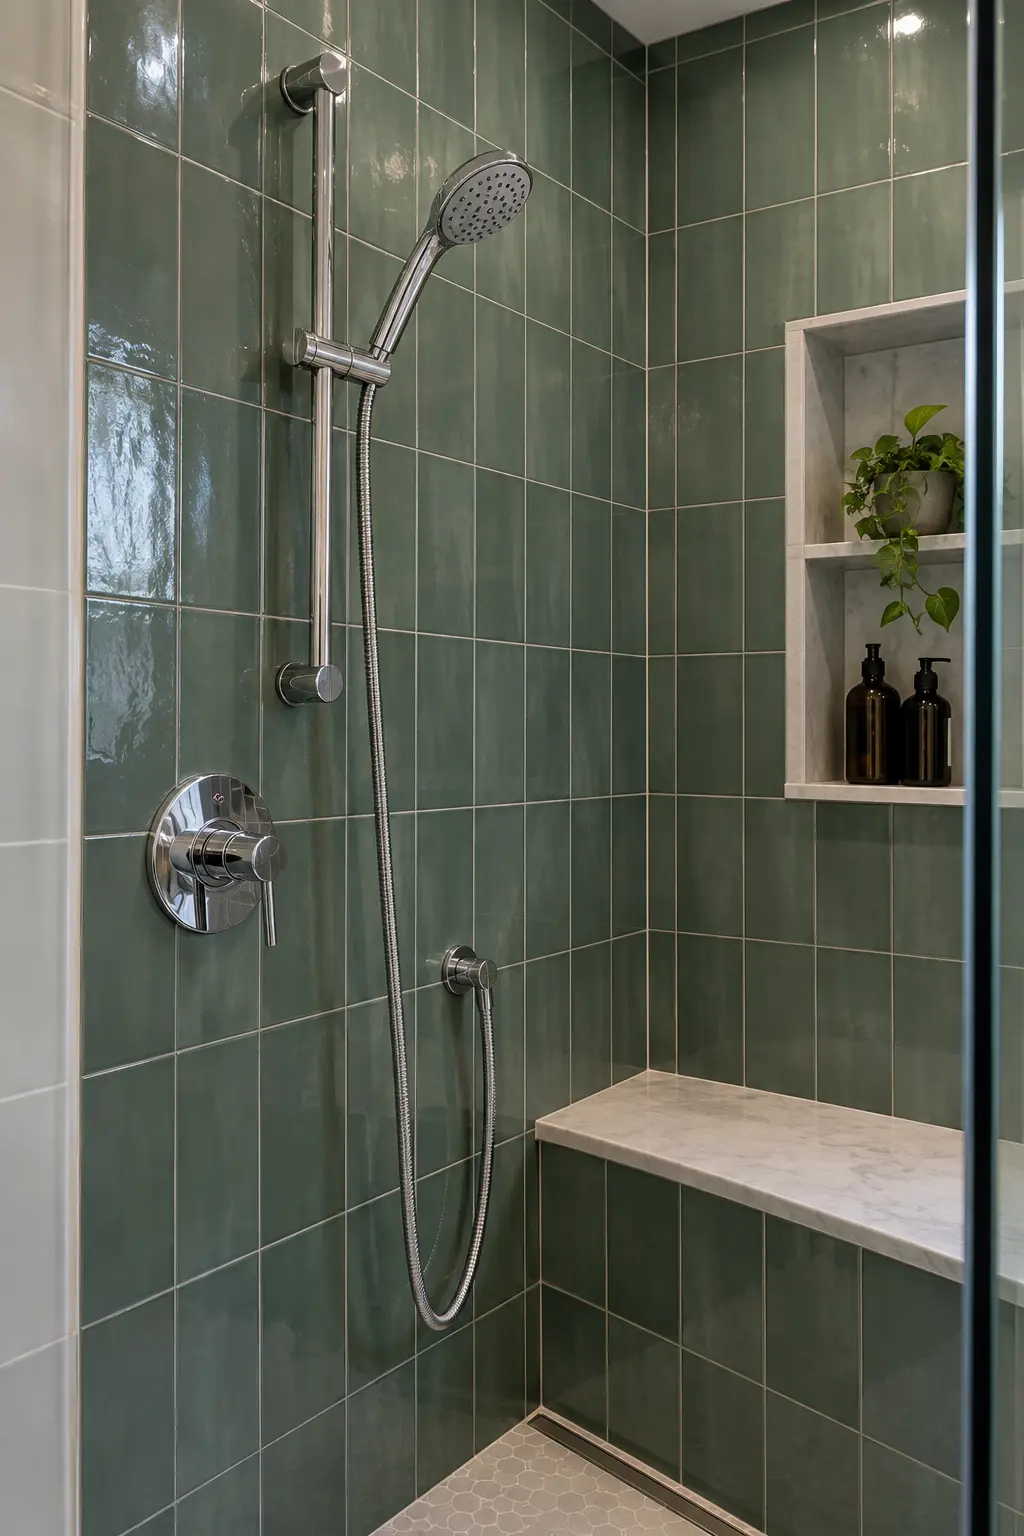
A handheld spray helps with seated use, children, pets, rinsing walls, and cleaning the enclosure. An adjustable rail serves people of different heights without adding multiple fixed outlets.
Make sure the hose reaches the bench and corners without lying where it becomes a trip or snag hazard.
30. Put Controls Where You Can Reach Them Before Entering
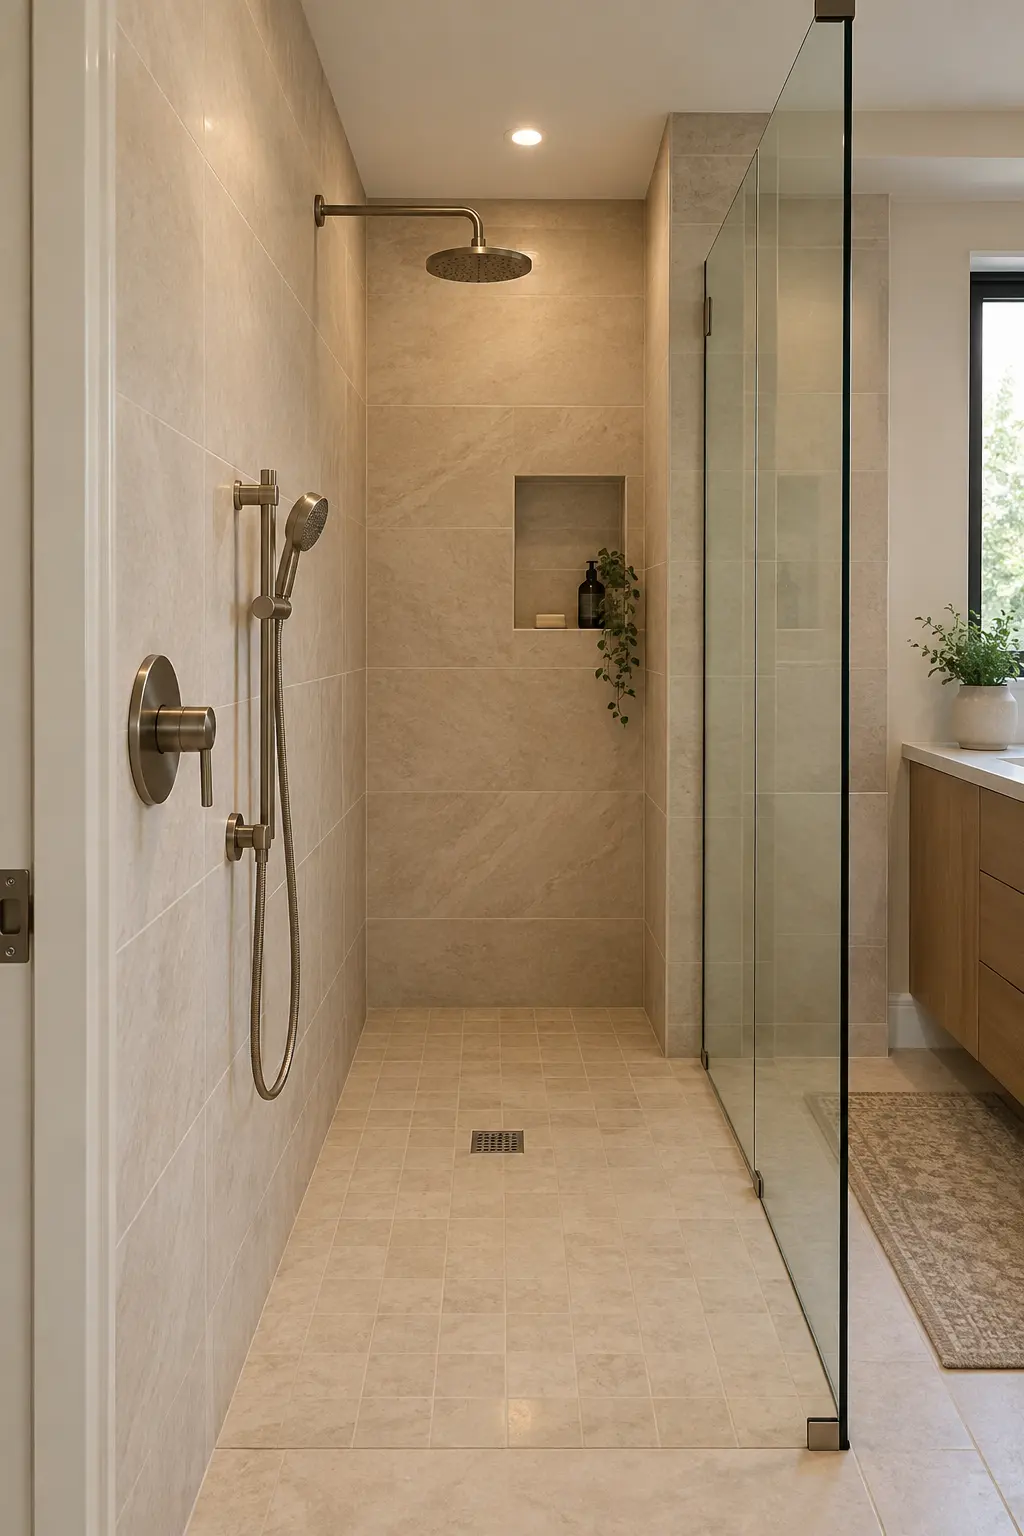
Controls near the opening let the user start and adjust water without standing directly under a cold spray. This small layout decision often matters more in daily use than adding another decorative fixture.
The valve, showerhead, framing, and plumbing route need to be coordinated before rough-in.
31. Use a Low Threshold for Easier Entry
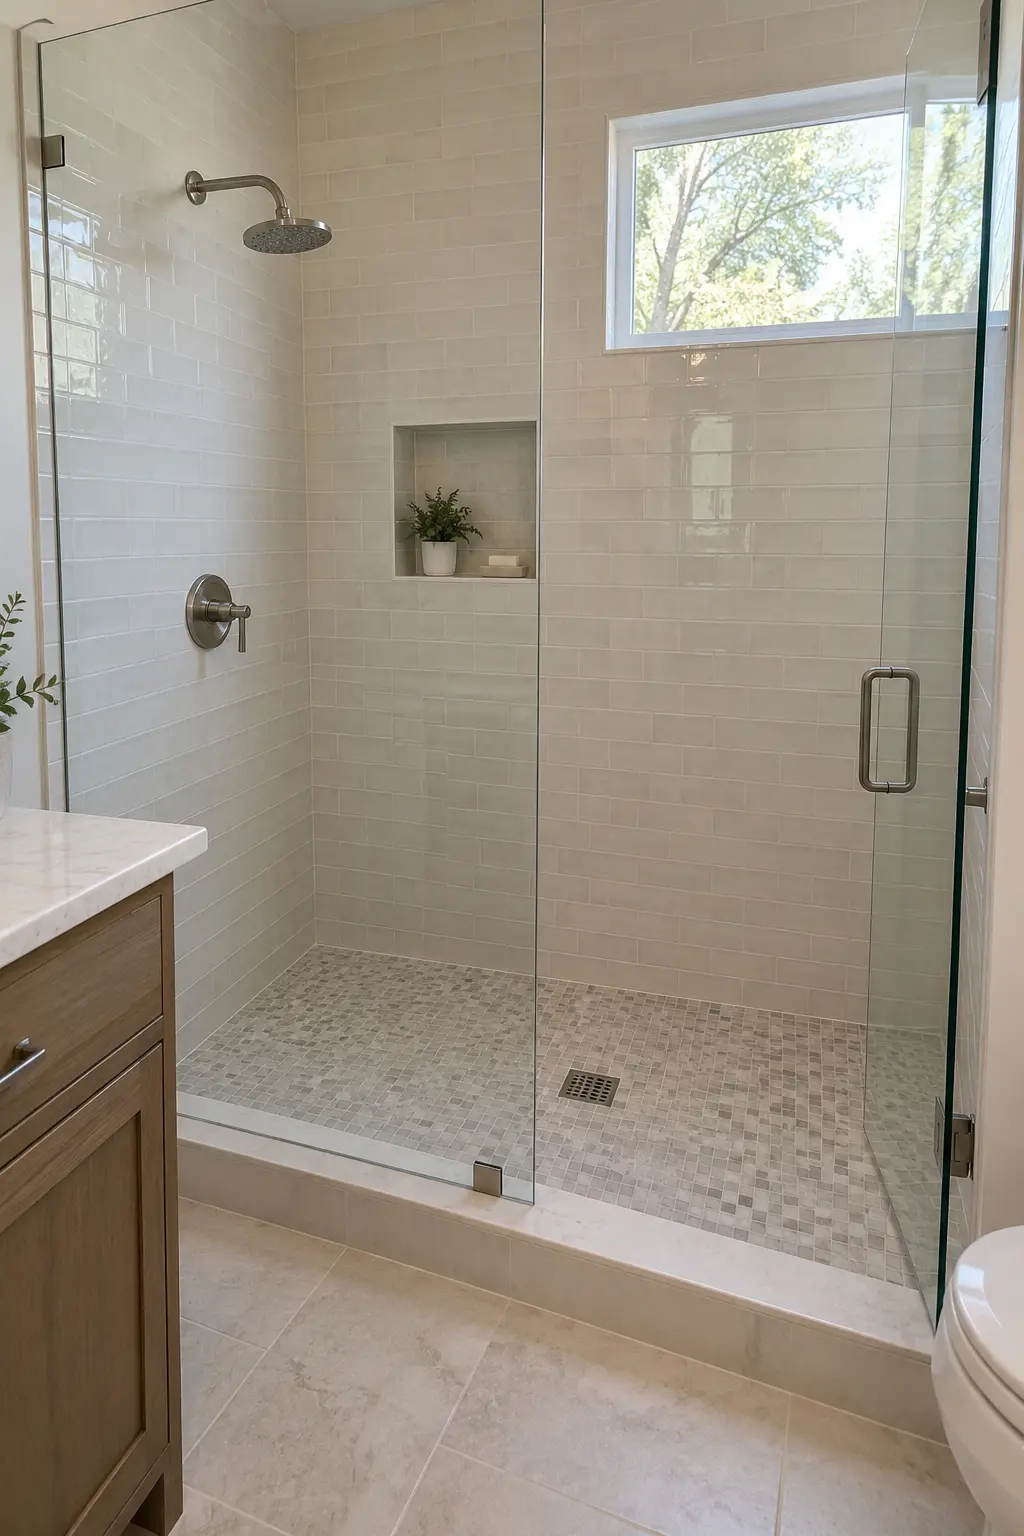
A low threshold reduces the step while still providing a defined transition. It can be a practical middle ground when a fully curbless assembly is not feasible.
Floor structure, slope, drain position, waterproofing, and local requirements determine how low the entry can safely be.
32. Plan a Truly Curbless Shower as a System
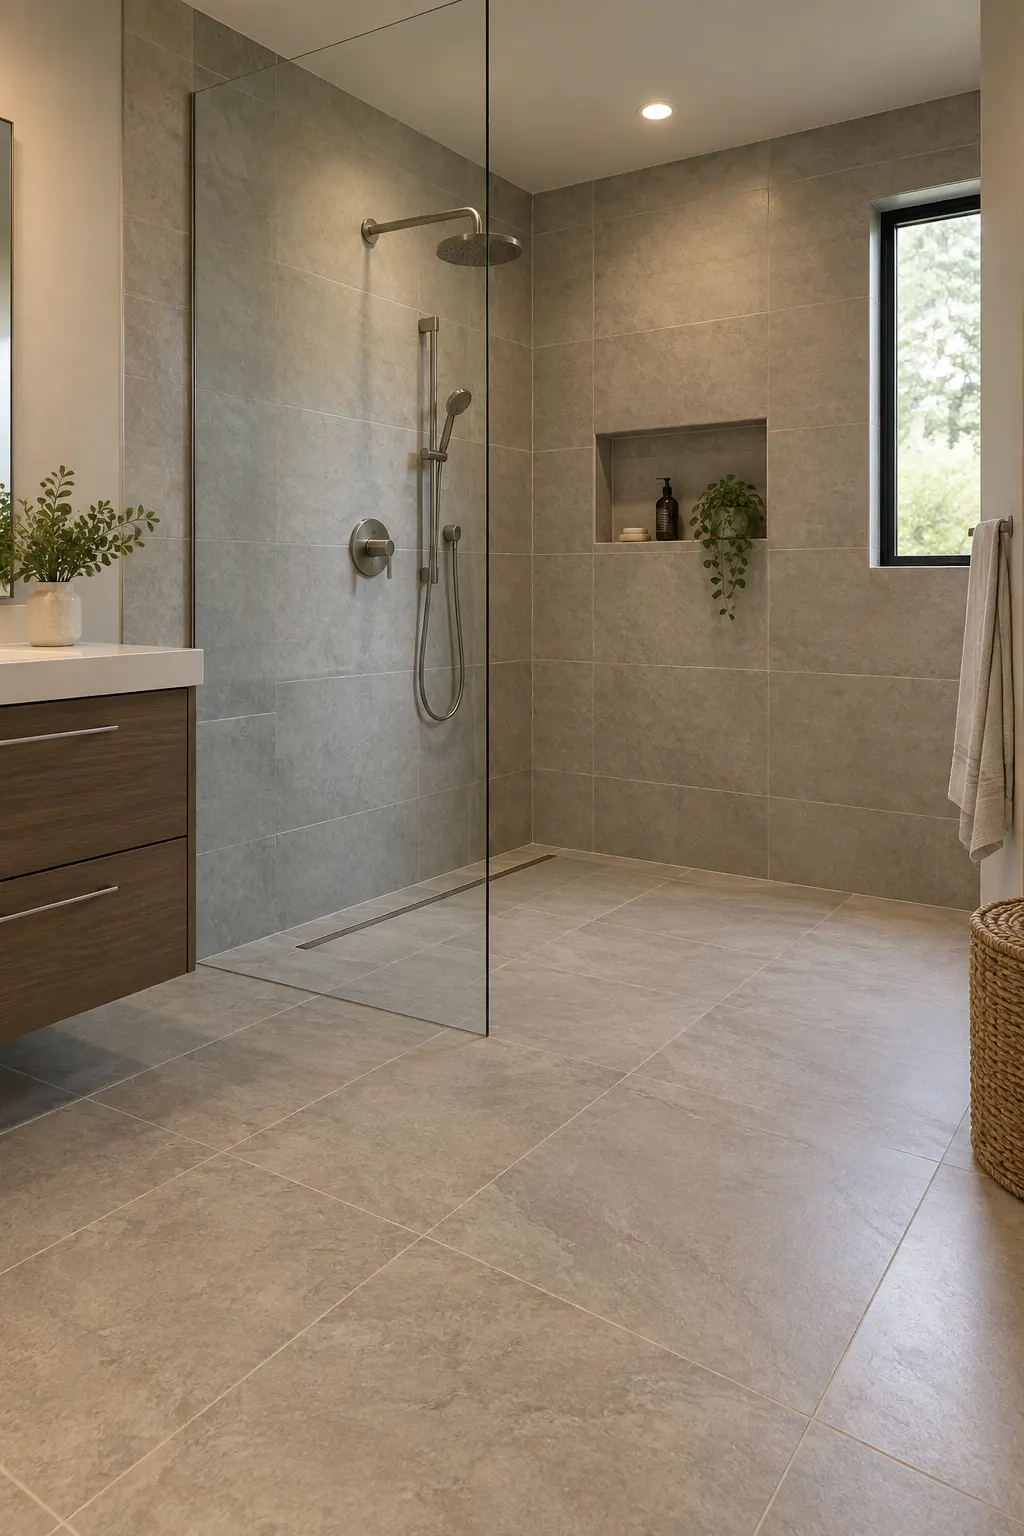
A curbless shower can improve access and visual continuity, but it depends on coordinated floor recess, slope, drainage, waterproofing, and splash control. It should be designed from the framing stage, not achieved by simply omitting a curb.
Confirm the complete assembly with the contractor and local authority before demolition.
33. Add Wet-Location Lighting Where the Shower Needs It
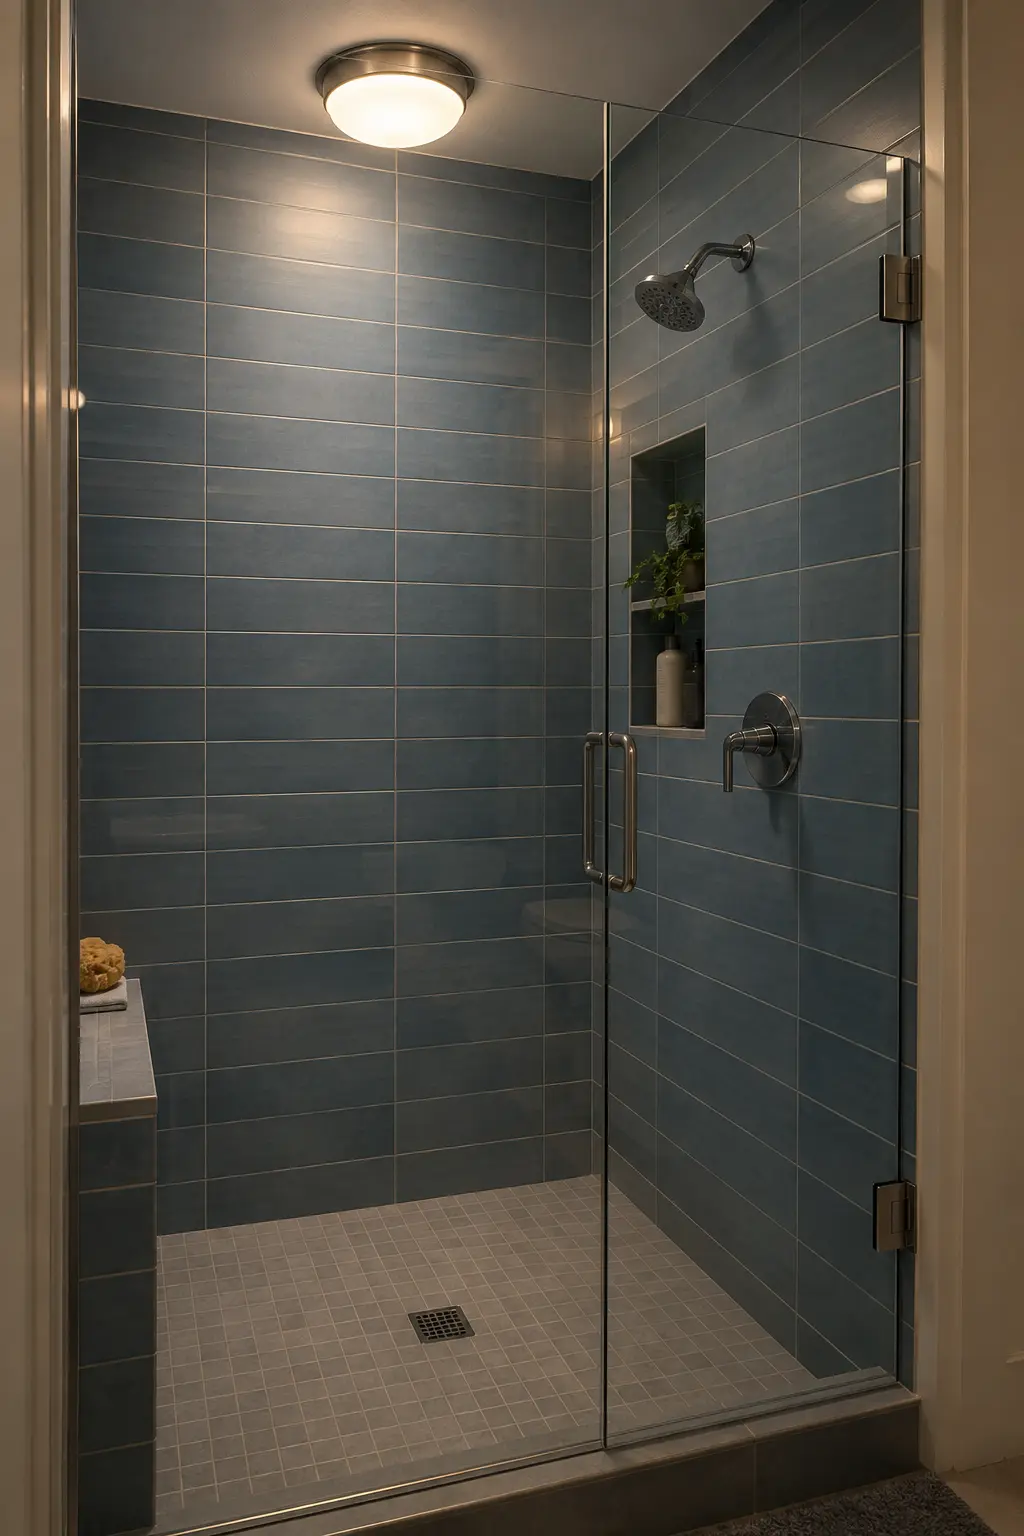
A dedicated light can make an enclosed shower safer to navigate and easier to clean, especially when a curtain or deep wall blocks the room's main fixture. Use lighting specifically rated for the location and follow electrical requirements.
Choose comfortable illumination rather than a harsh spotlight aimed directly at the user's face.
Fixtures and Details That Make Cleaning Easier
Finish the design by reducing unnecessary seams, unreachable corners, and fussy combinations. The shower should still look good when it is holding real bottles and being cleaned on a normal schedule.
34. Use Chrome for a Durable, Easy-to-Match Finish
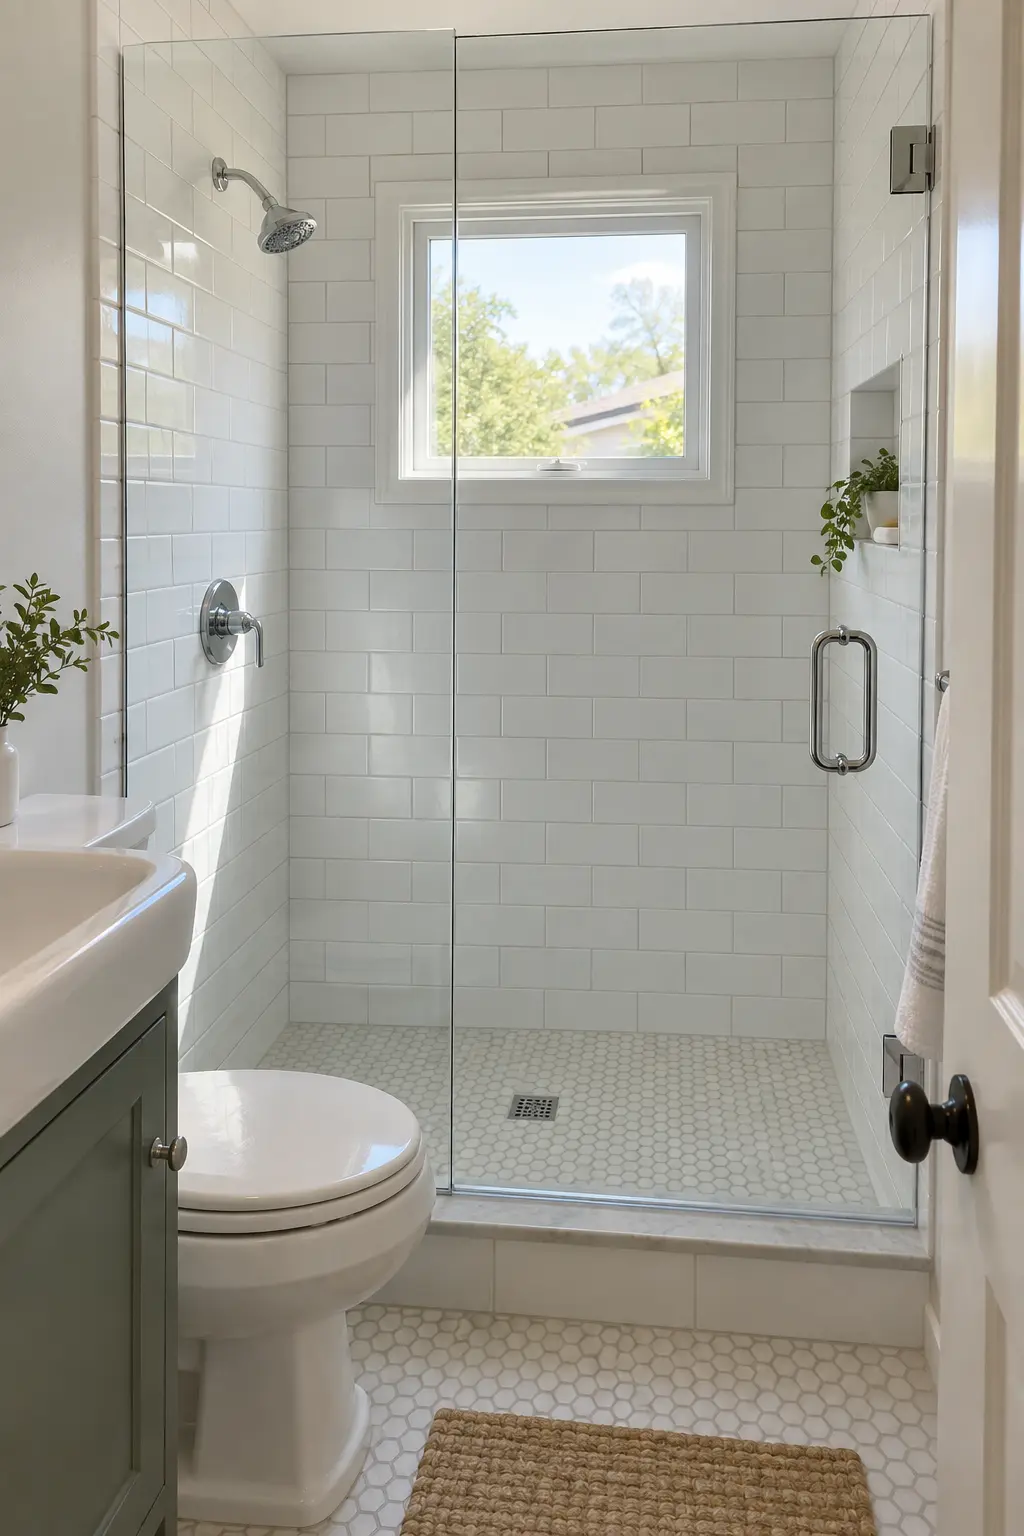
Chrome works across modern and traditional rooms and is easy to coordinate when fixtures come from different product lines. Its reflective surface can brighten a small shower, though water spots remain visible.
Repeat it on the main functional pieces and let the tile provide the personality.
35. Choose One Warm Metal and Keep It Restrained
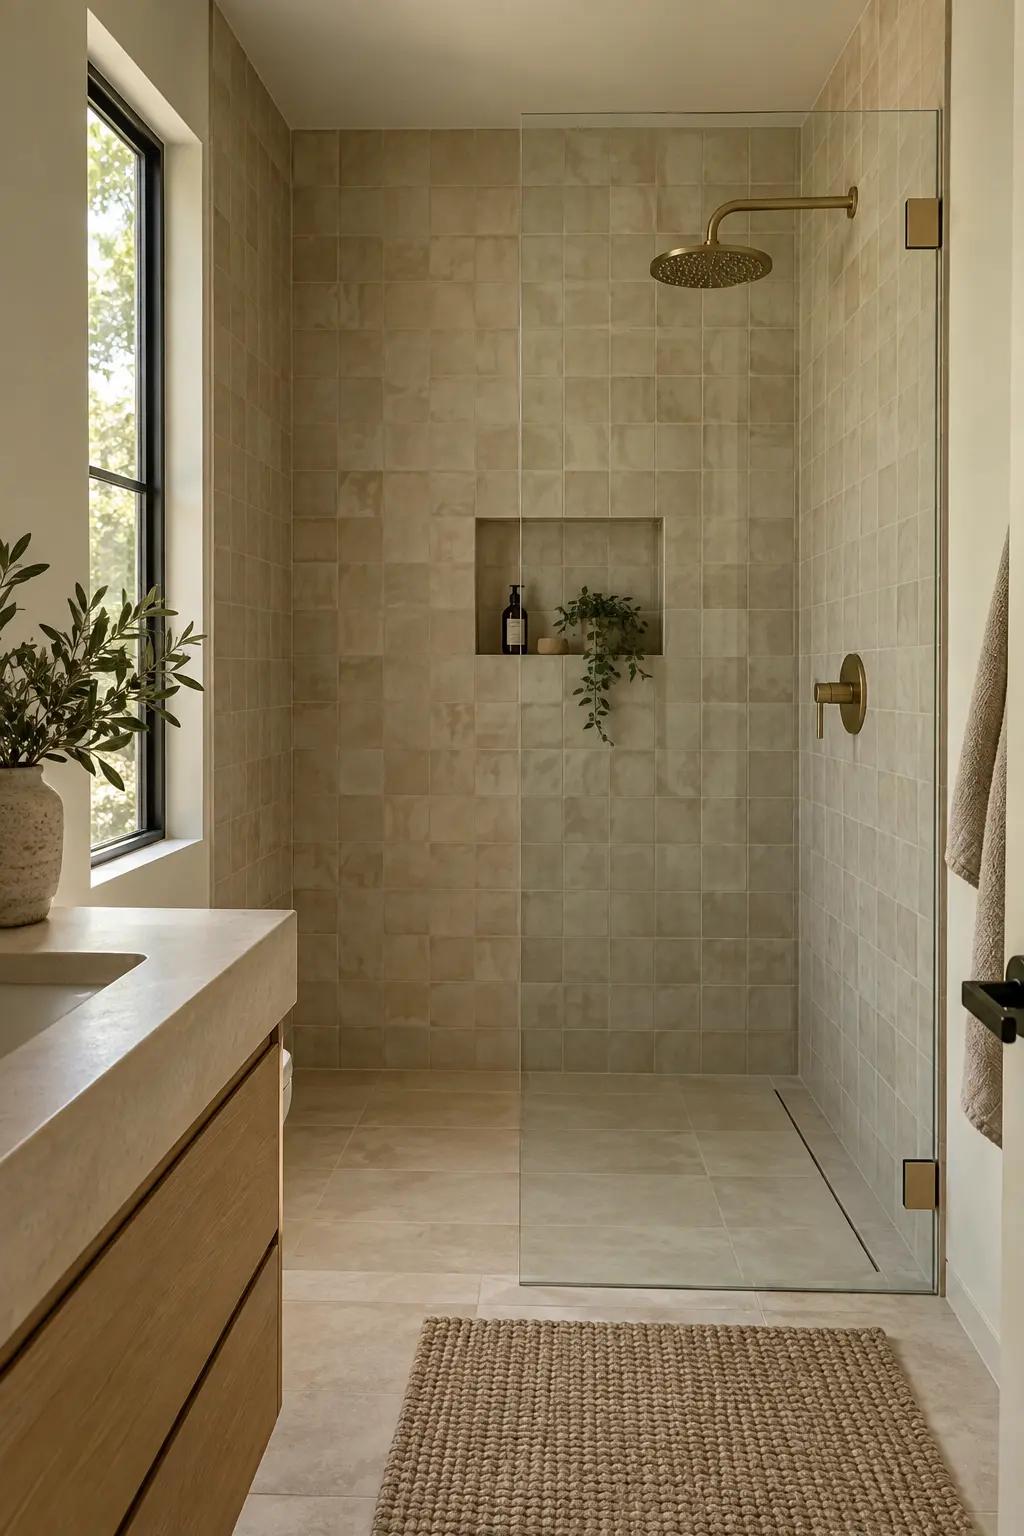
Brushed brass or bronze can soften pale tile, but the finish is strongest when limited to the showerhead, controls, door hardware, and perhaps one nearby accessory. Too many competing warm-metal tones make a compact bath feel pieced together.
Review actual finish samples; names such as brass, gold, and bronze vary widely by manufacturer.
36. Select a Water-Efficient Showerhead That Still Fits the Routine
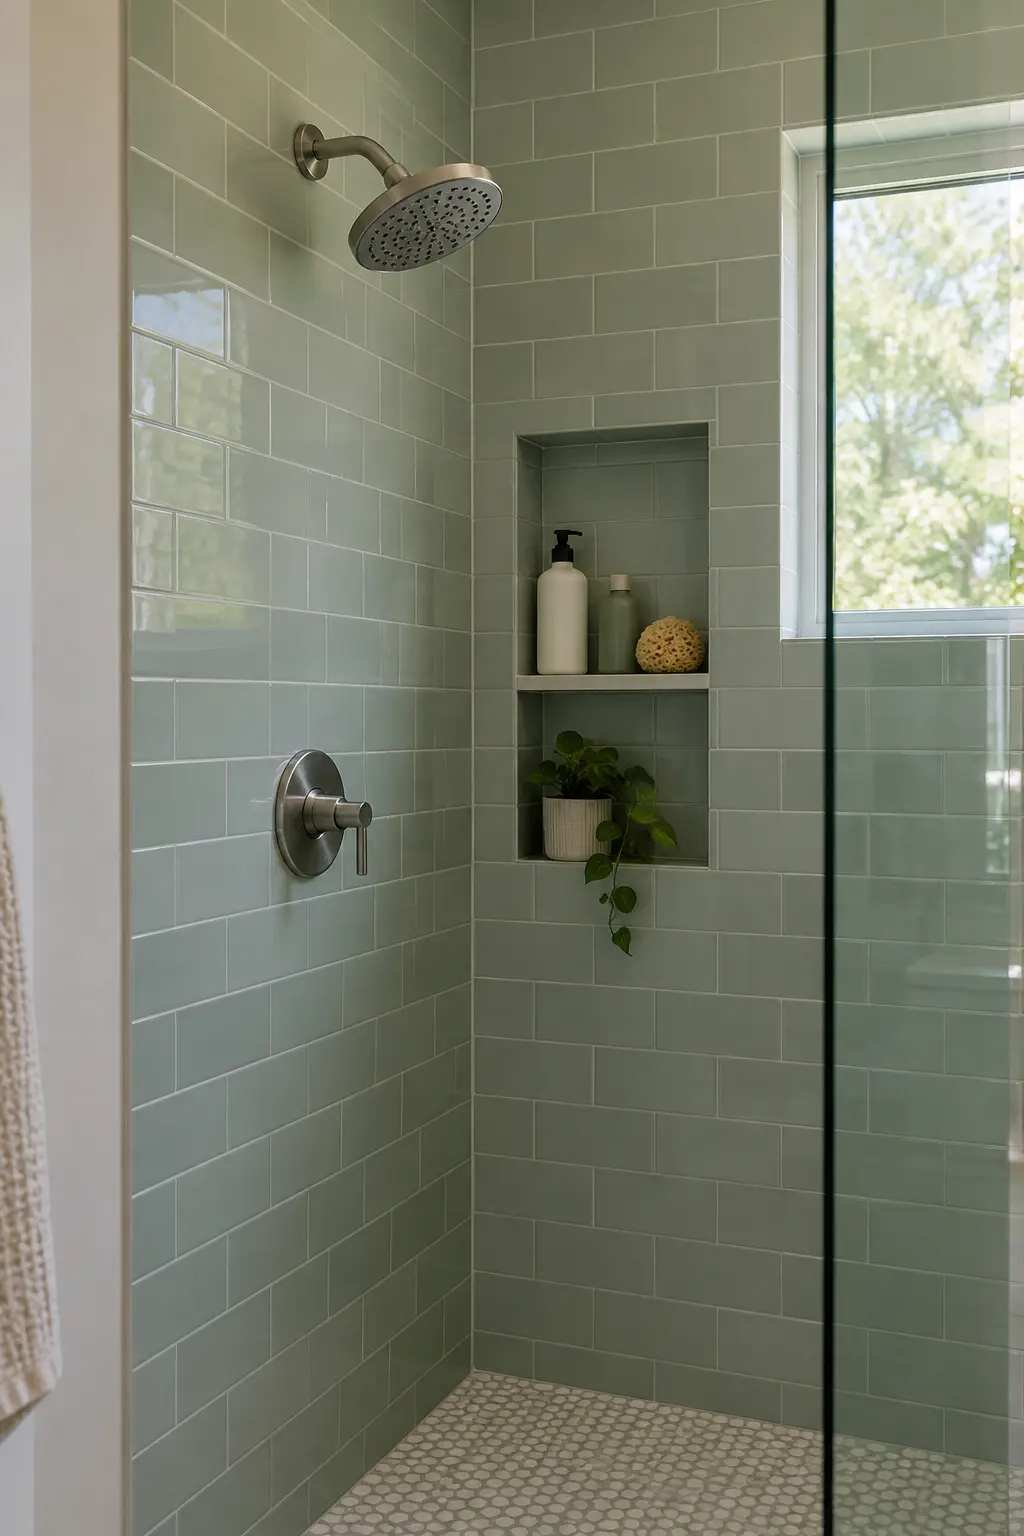
A water-efficient showerhead can reduce water use without adding visual clutter. Compare spray settings, pressure needs, cleaning instructions, and recognized efficiency labeling rather than judging by head size alone.
One well-chosen fixture is often more useful than several outlets that complicate plumbing and controls.
37. Keep the Drain Accessible for Cleaning
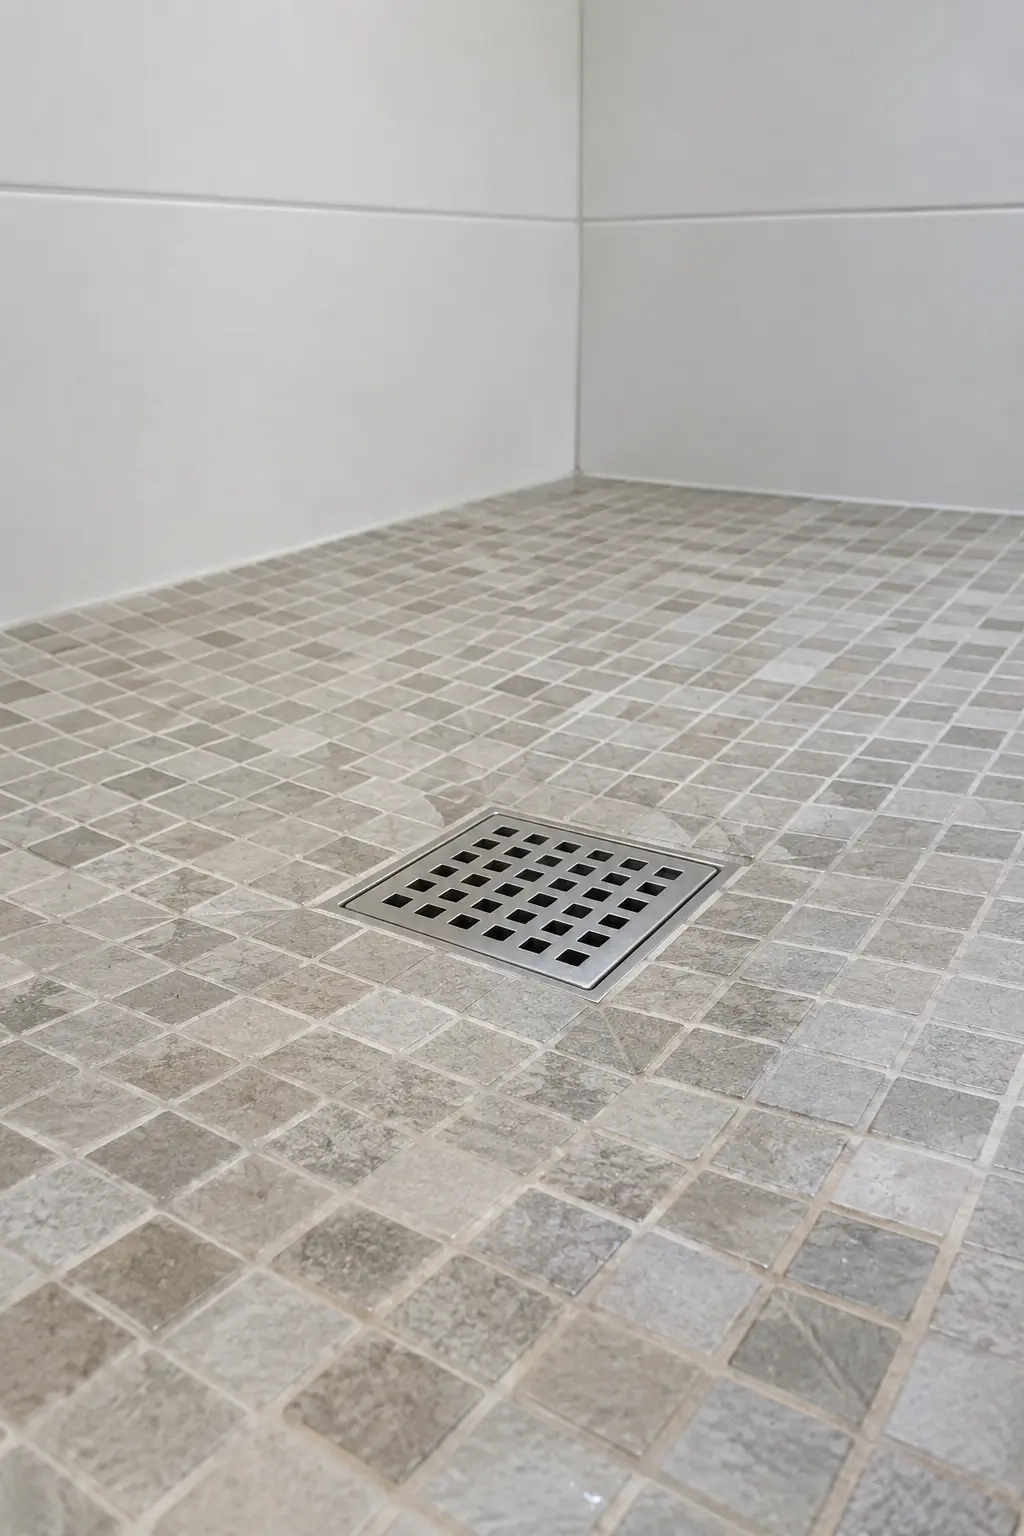
Whether the drain is centered or linear, its cover should lift or open as intended for routine cleaning. Coordinate the drain style with tile cuts and floor slope before installation.
Do not choose a drain only because it nearly disappears in a photo; service access matters after hair and soap begin to collect.
38. Choose Grout Color for Real Maintenance
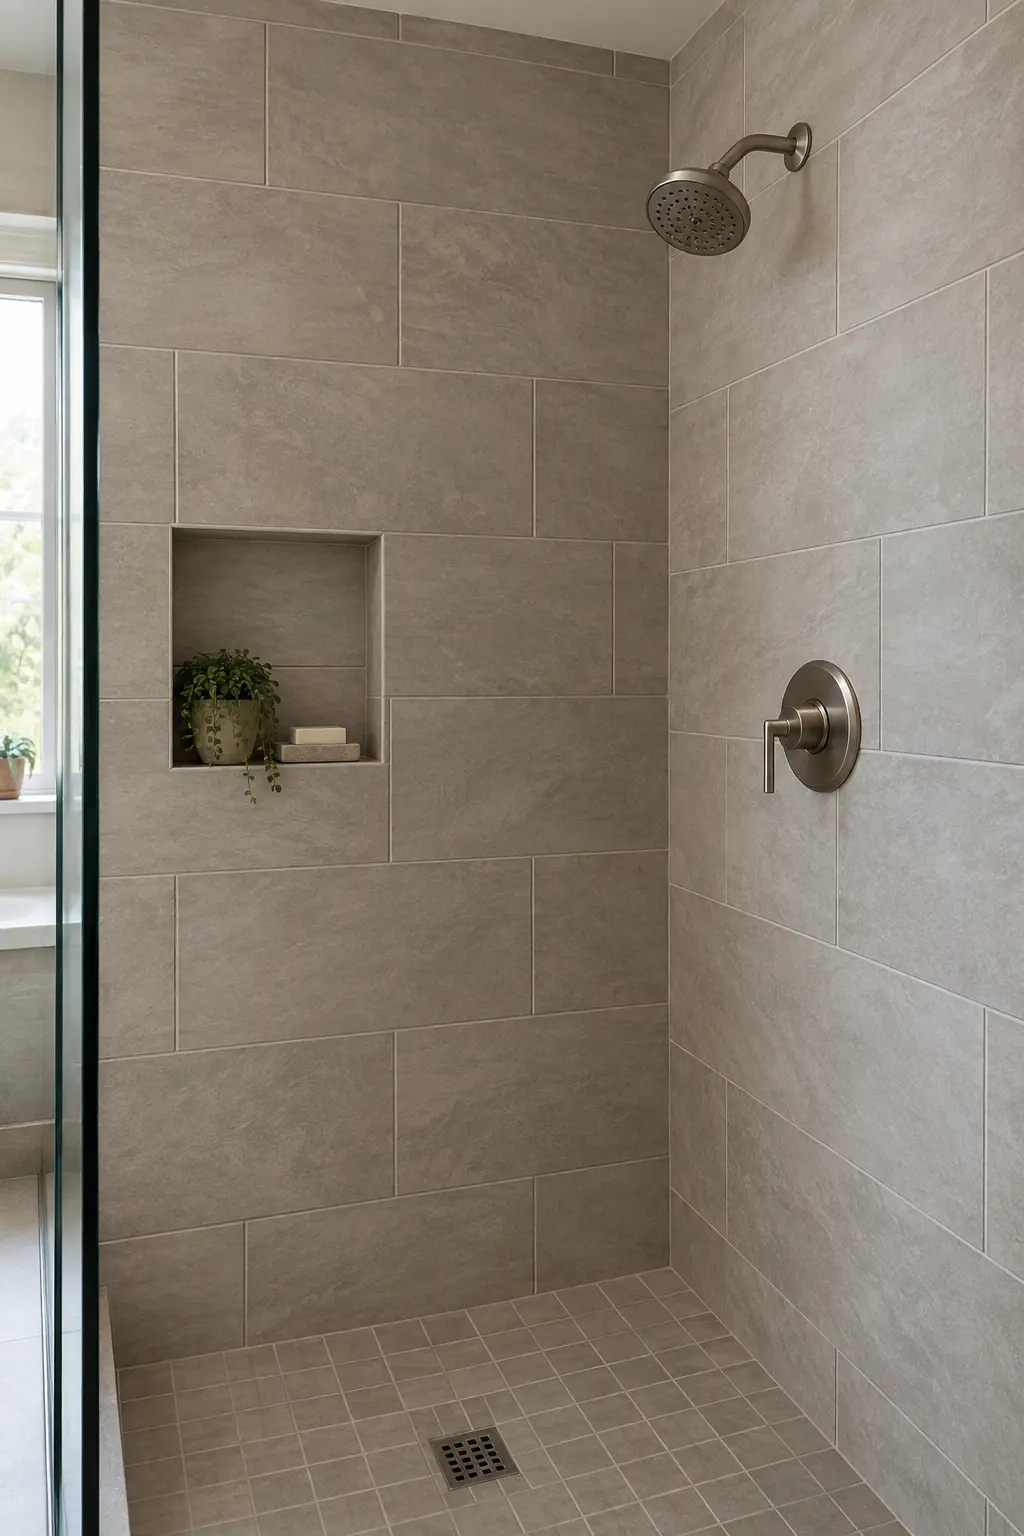
Mid-tone grout can soften the grid and may be more forgiving than stark white around a frequently used shower floor. The right color should relate to the tile body, not just the display board.
Use a grout product appropriate for the installation and follow its cleaning and sealing guidance rather than assuming every grout behaves the same.
39. Give Ventilation a Real Upgrade
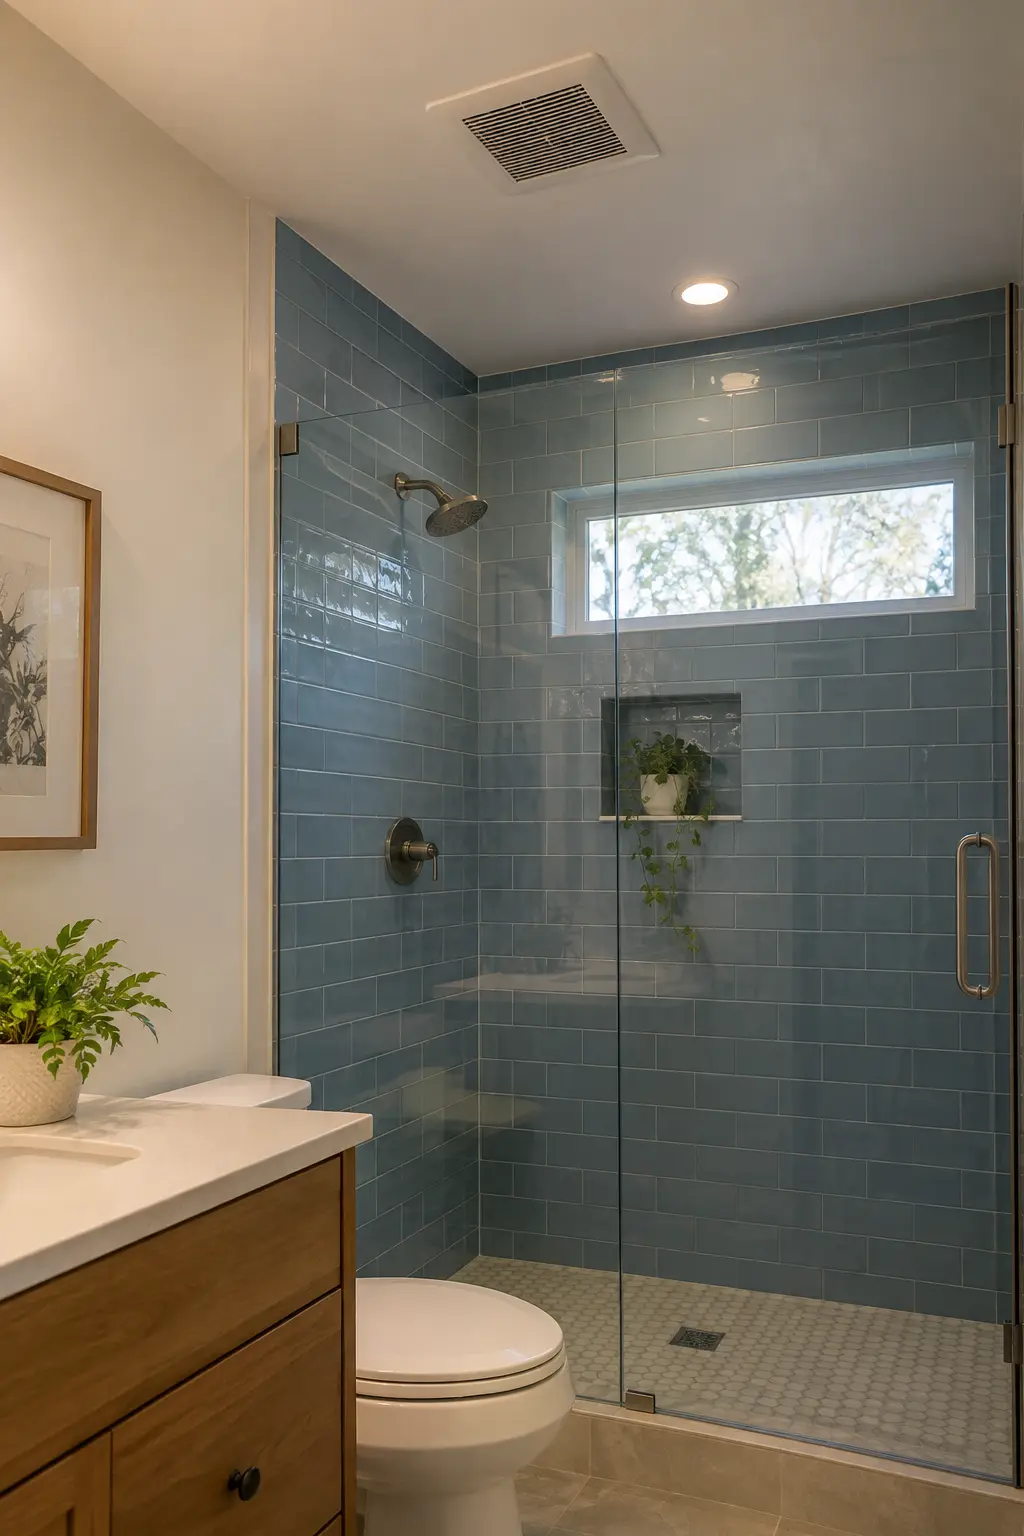
A shower remodel adds new surfaces, but moisture still has to leave the room. A correctly selected and ducted exhaust system helps the enclosure dry and protects finishes beyond the shower.
Ventilation design, electrical work, and exterior termination should meet local requirements; a decorative fan grille alone does not confirm good performance.
40. Respect the Home's Era Instead of Forcing a Spa Look
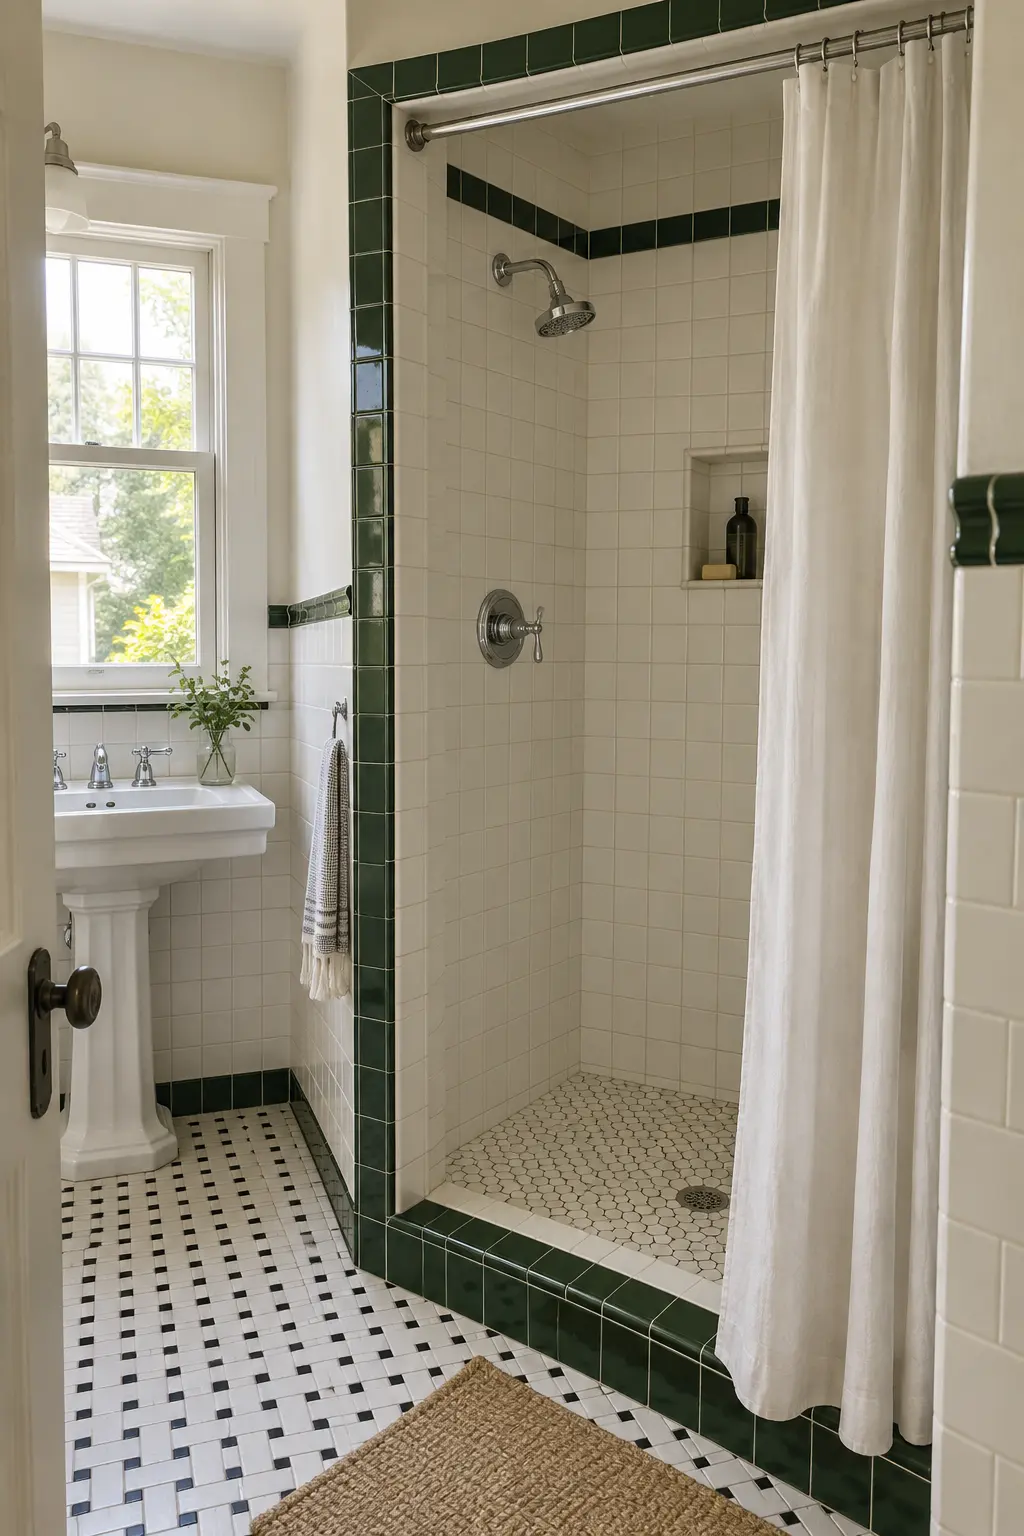
A 1920s bungalow, a midcentury ranch, and a new condo do not need the same shower. Classic tile scale, compatible trim, and a fixture silhouette that suits the house can feel fresher than importing a generic luxury-hotel palette.
Keep the performance layers current while allowing the visible design to acknowledge the architecture.
Build the Shower Around Daily Use
Start with the footprint, entry, spray direction, storage, and cleaning routine. Once those decisions work on paper, tile and fixture choices become easier because each material has a defined job.
Before construction, confirm the complete waterproofing, drainage, ventilation, plumbing, glass, and electrical plan with qualified local professionals. A shower remodel succeeds when the hidden assembly and the visible design support each other.