52 Small Bathroom Renovation Ideas

This post may contain affiliate links: full affiliate disclosure.
Small bathroom renovation ideas matter most when they protect clearances, control water, and make daily storage easier. Start with a measured plan, then spend on the hidden work that keeps the room dry, ventilated, and serviceable.
Research produced 78 credible candidates across layout, wet-zone construction, fixture scale, storage, lighting, daylight, ventilation, accessibility, partial upgrades, maintenance, and sequencing. The final set saturated at 52 distinct ideas; later candidates repeated finish changes, storage devices, or planning lessons already represented.
- Lock the measured footprint, door swings, and fixture clearances before choosing finishes.
- Resolve waterproofing, ventilation, plumbing, and electrical details before demolition.
- Keep a contingency for hidden damage and inspection-driven changes.
Treat dimensions in this guide as planning prompts, not substitutes for local code, product instructions, or qualified trade advice. A compact room rewards coordination because one changed inch can affect the door, vanity, toilet, shower glass, and towel location at once.
Plan the Small Bathroom Layout First
A compact bathroom gains usable space through measured circulation, controlled door swings, and fixtures chosen for their real projections. Draw the room to scale before choosing finishes.
1. Draw Every Fixture and Door Swing to Scale
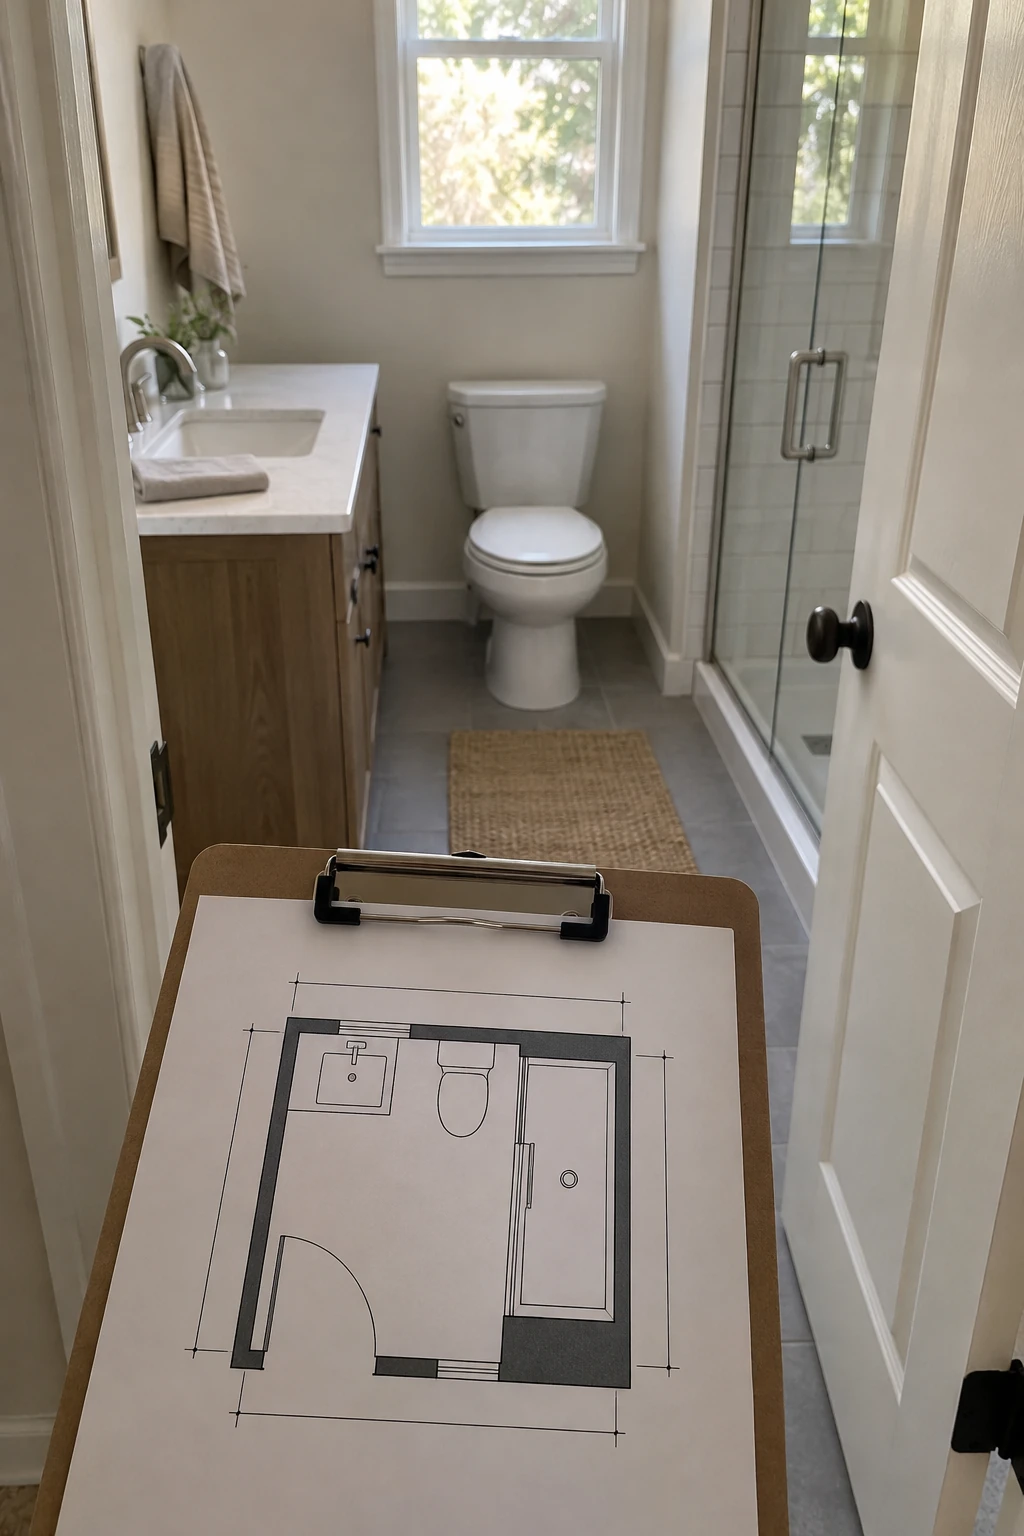
Measure finished wall to finished wall, then add the real depth of each fixture, handle, and open door. A vanity listed at 18 inches deep may project farther once the top, faucet, and pulls are included.
Tape the proposed footprints on the floor and trace the entry, shower, and cabinet swings. Keep a comfortable standing zone at the sink and enough room to pass the toilet without turning sideways.
- Mark finished fixture depths, not nominal cabinet sizes.
- Draw every door, drawer, and shower-panel swing at full scale.
- Confirm the tightest aisle against local code and product instructions.
Verify required clearances with the locally adopted code and the exact product instructions. Minimum compliance is a starting point; a few extra inches at the doorway or shower entry can change how the room feels every day.
Record the final dimensions on one plan shared by the plumber, electrician, cabinetmaker, tile installer, and glass fabricator. A single coordinated drawing prevents each trade from solving the room differently.
Shop the Bosch laser measure on Amazon
2. Move the Door Swing Out of the Room
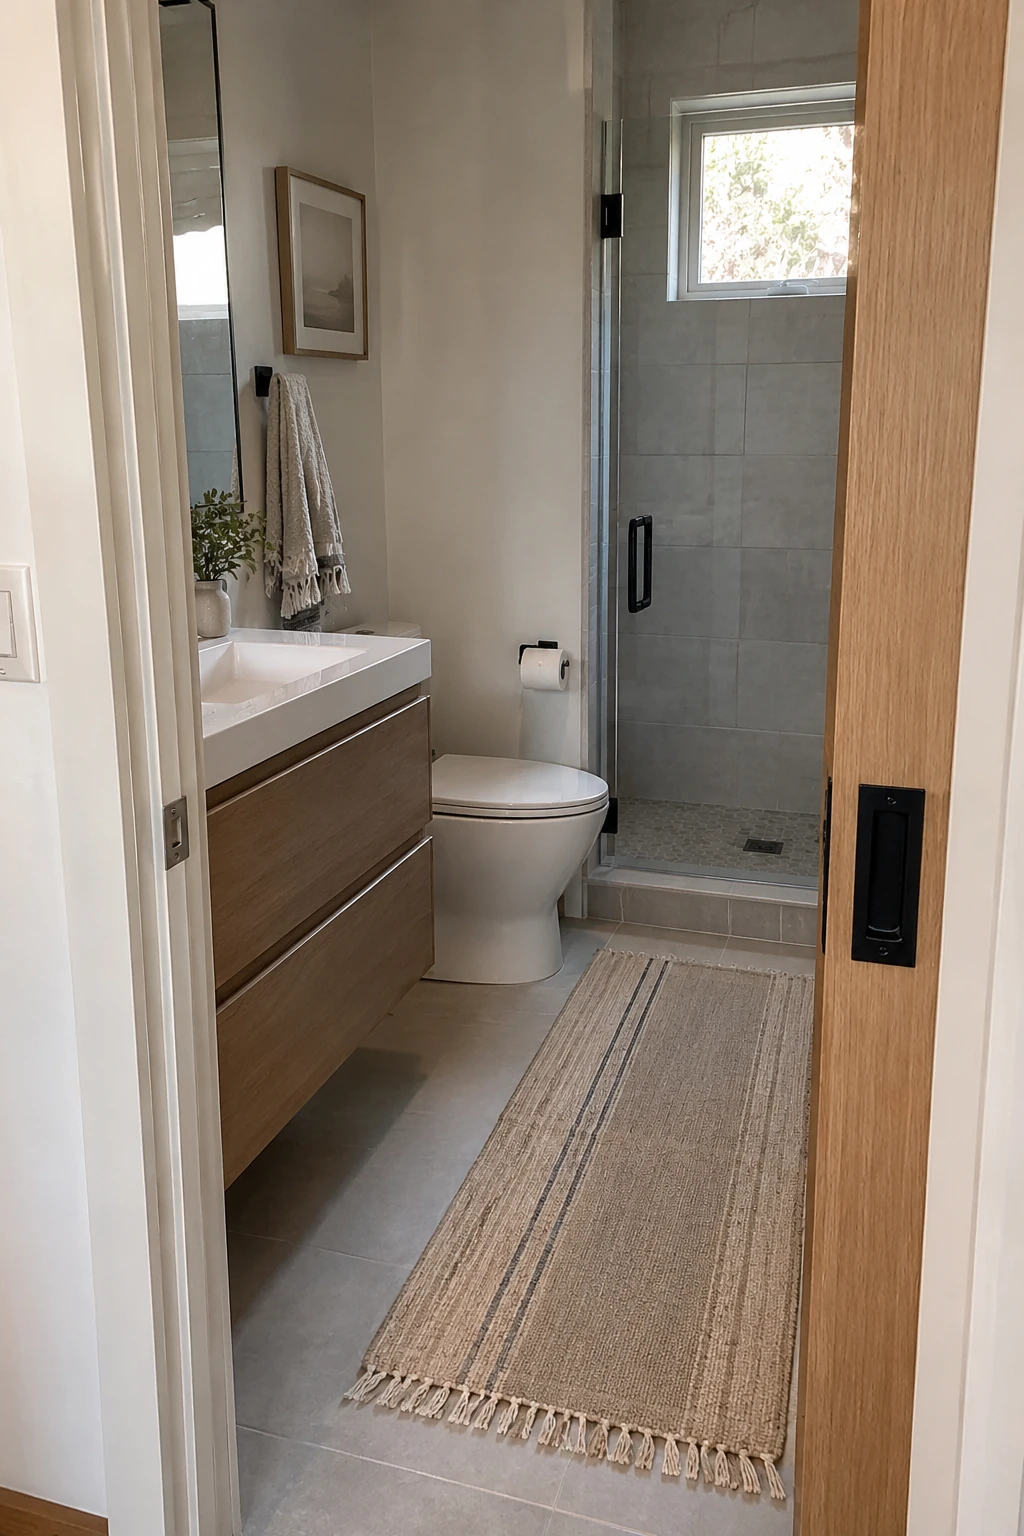
A pocket door or safe outward swing can recover the arc consumed by an inward-opening door. The change is especially valuable when the entry collides with a vanity drawer, toilet, towel bar, or shower glass.
Open the wall before committing to a pocket. Plumbing, wiring, structure, or a needed switch location may make a surface-mounted barn-style slider or a carefully planned outward swing more practical.
Use privacy hardware that can be released from outside in an emergency. Confirm the new door will not create a hazard in the hall or block another doorway.
3. Keep the Main Plumbing on One Wall
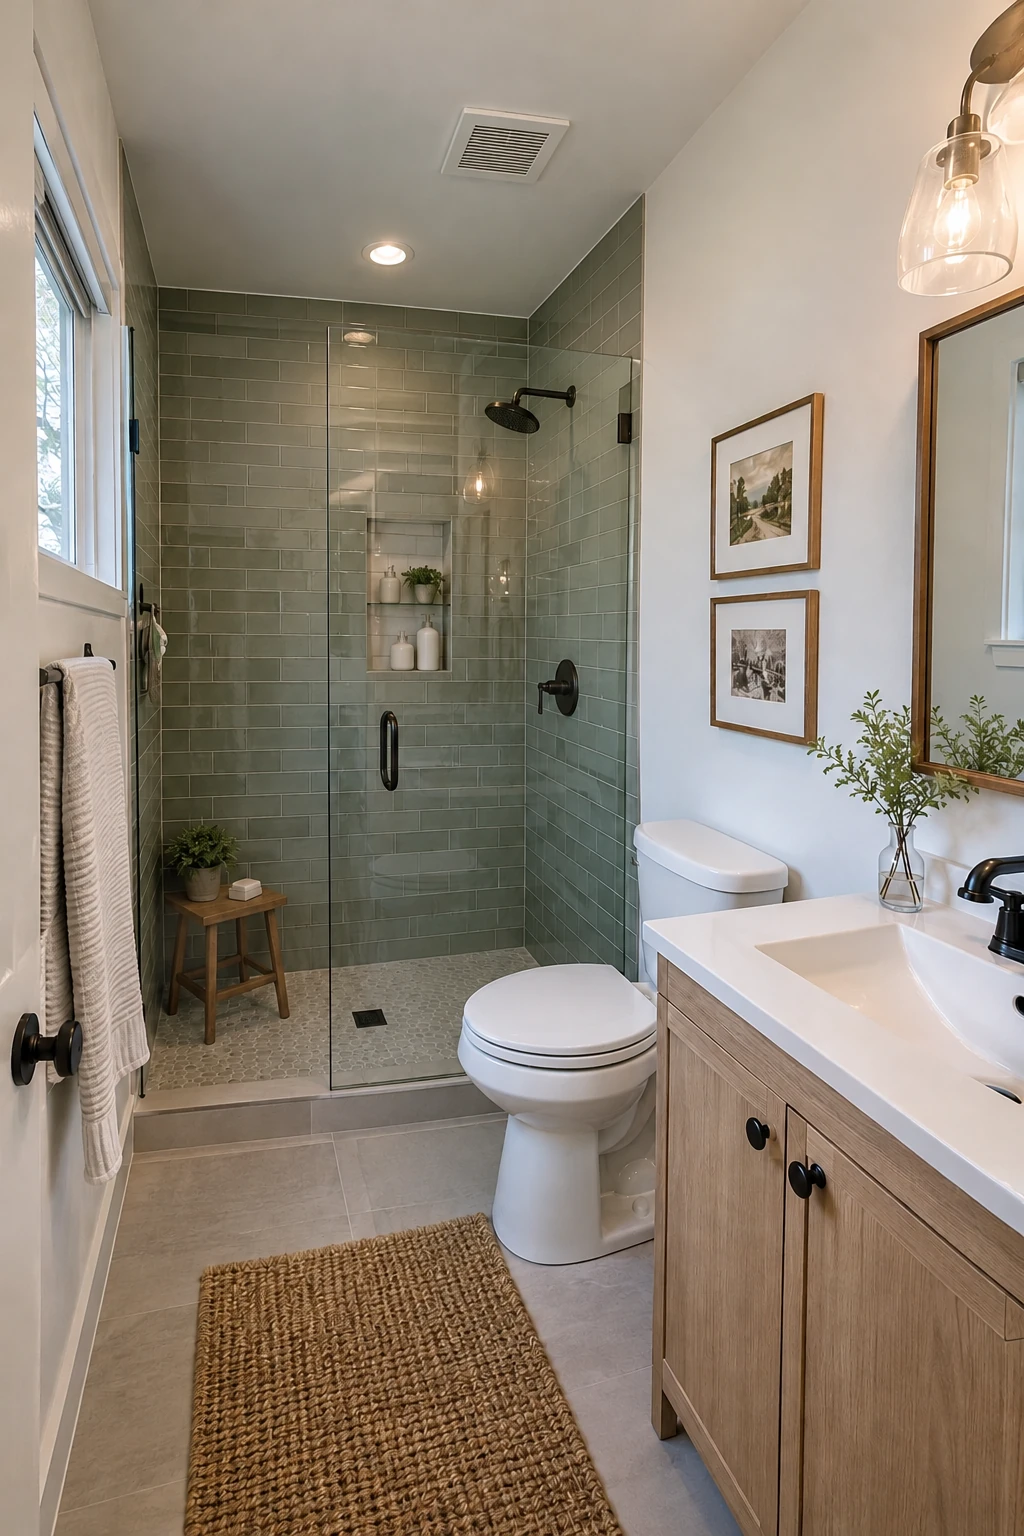
Keeping the sink, toilet, and shower close to existing supply, drain, and vent lines can protect the budget for waterproofing, ventilation, or better storage. Moving a toilet usually costs more than shifting a light or mirror.
Ask the plumber to inspect old shutoffs, drain condition, venting, and pipe material while walls are open. Reusing a location should not mean burying a weak connection behind new tile.
If a new layout solves a serious access problem, price the plumbing move separately rather than dismissing it. The right comparison is long-term function versus the complete cost of relocation and floor repair.
4. Choose a Shallow Vanity With Full-Extension Drawers
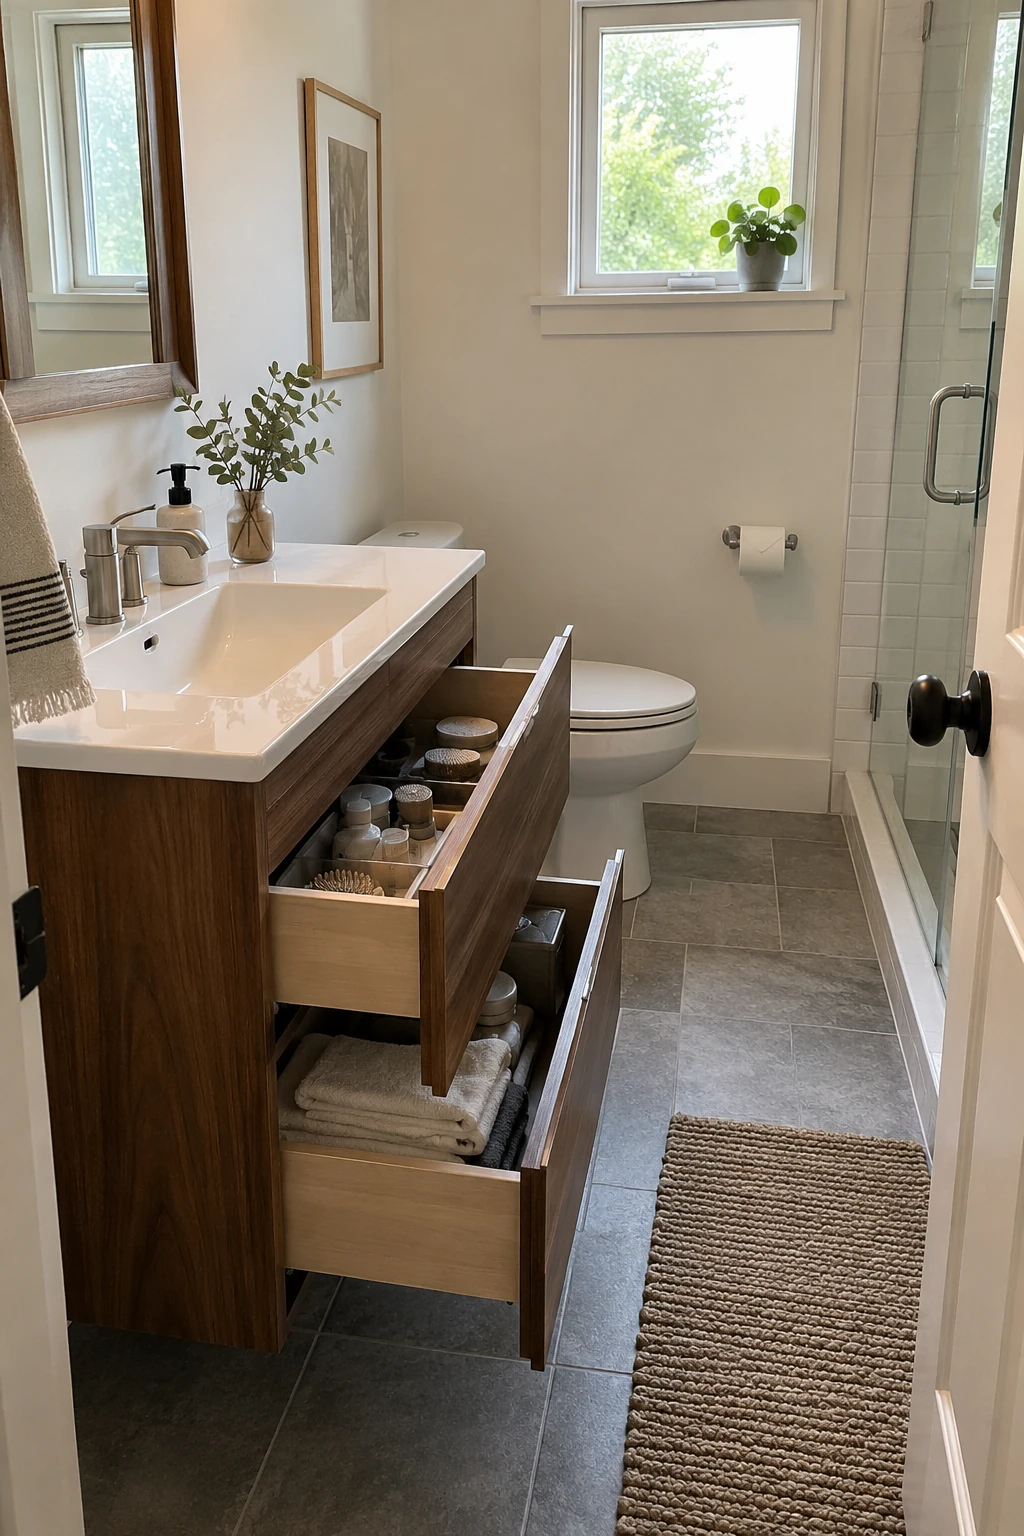
A vanity 18 to 20 inches deep can widen the aisle without sacrificing the sink. Drawers expose the full cabinet depth, while doors often leave toiletries hidden around the trap.
Check basin depth, faucet reach, splash control, drawer cutouts, and the actual projection of pulls. A tiny bowl that sends water across the counter is not an effective space saver.
Use a recessed pull or low-profile hardware where the aisle is narrow. Seal vulnerable cabinet edges and keep the toe-kick or wall-hung underside easy to wipe.
5. Float the Vanity to Keep the Floor Visible
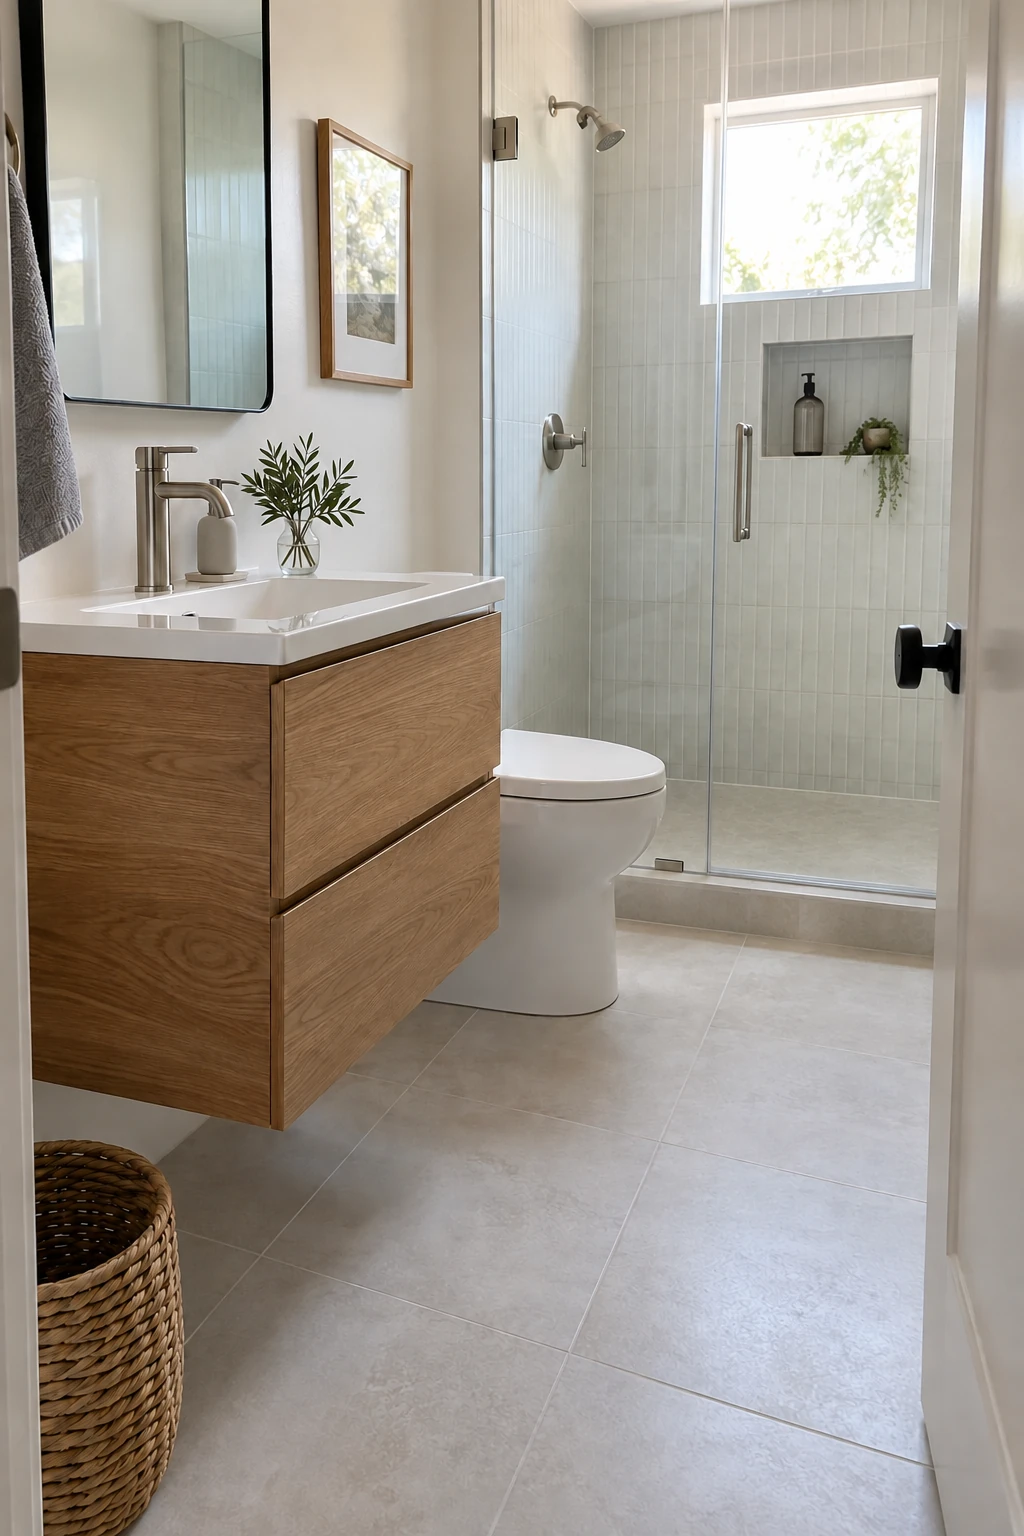
A wall-mounted vanity exposes more floor and makes cleaning easier around the sink zone. The lighter profile is useful in a room where a standard cabinet would sit close to the toilet or doorway.
Install structural blocking before the wall closes and set the finished height around the selected basin. The cabinet, counter, sink, stored items, and people leaning on the edge all contribute to the load.
6. Specify a Compact Toilet by Projection
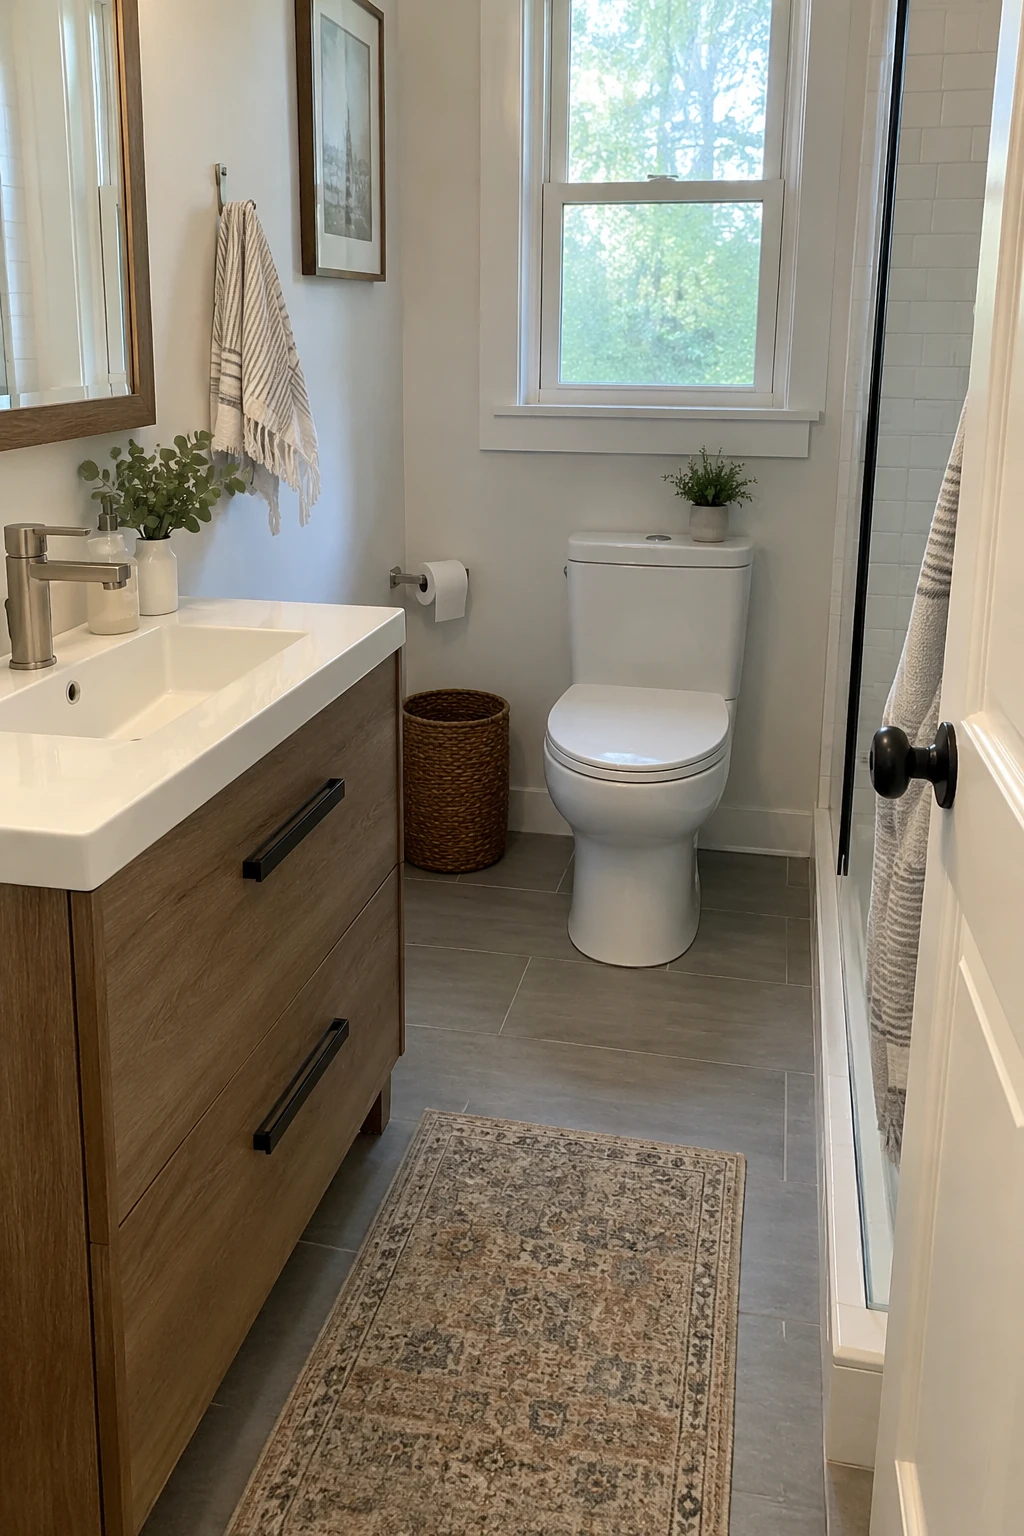
Compare toilets by total projection from the finished wall, not by the shape of the seat alone. A compact elongated model can preserve comfort while gaining an inch or two in front.
Confirm rough-in distance, supply location, bowl height, and space for cleaning around the base. A wall-hung toilet saves floor area only when the carrier wall and service access fit the plan.
Do not crowd the side clearances to chase a smaller footprint. Local code, accessibility goals, and actual user needs should set the position.
Rebuild the Wet Zone Carefully
The shower or tub determines most of the room’s waterproofing, drainage, glass, and ventilation work. Resolve those hidden layers before spending on decorative fixtures.
7. Replace an Unused Tub With a Roomier Shower
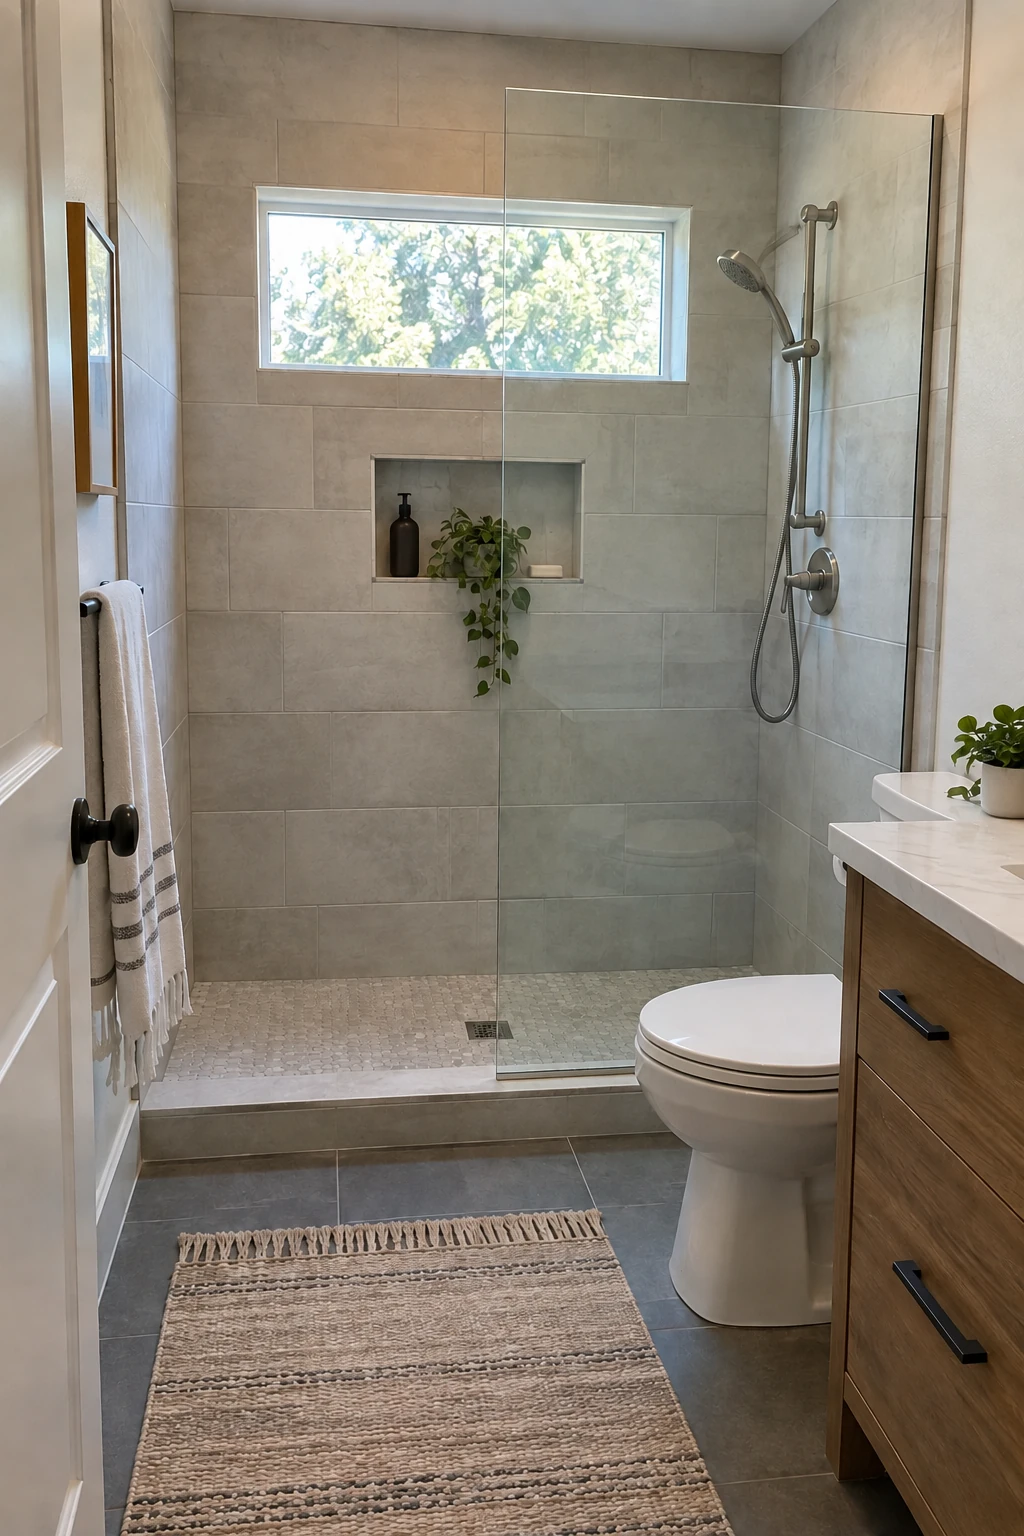
Converting a rarely used tub alcove can create a longer shower without moving the main drain wall. Keep at least one tub in the home when household needs or resale expectations make it important.
A conversion still requires a correctly sized shower drain, sloped receptor, waterproof wall assembly, and splash plan. Do not treat new tile over old backer as waterproofing.
Decision point: keep the alcove tub when it serves household or resale needs; convert it only after the drain, waterproofing, and splash-control plan are resolved.
Use one fixed glass panel when it contains spray and preserves the entry. A swinging door must clear the toilet, vanity, and towel location in every position.
For a lower-cost partial upgrade, retain a sound tub and replace the surround, valve, and curtain hardware. The budget can then prioritize ventilation and water-damaged substrates.
8. Build a Curbless Shower Only With a Drainage Plan
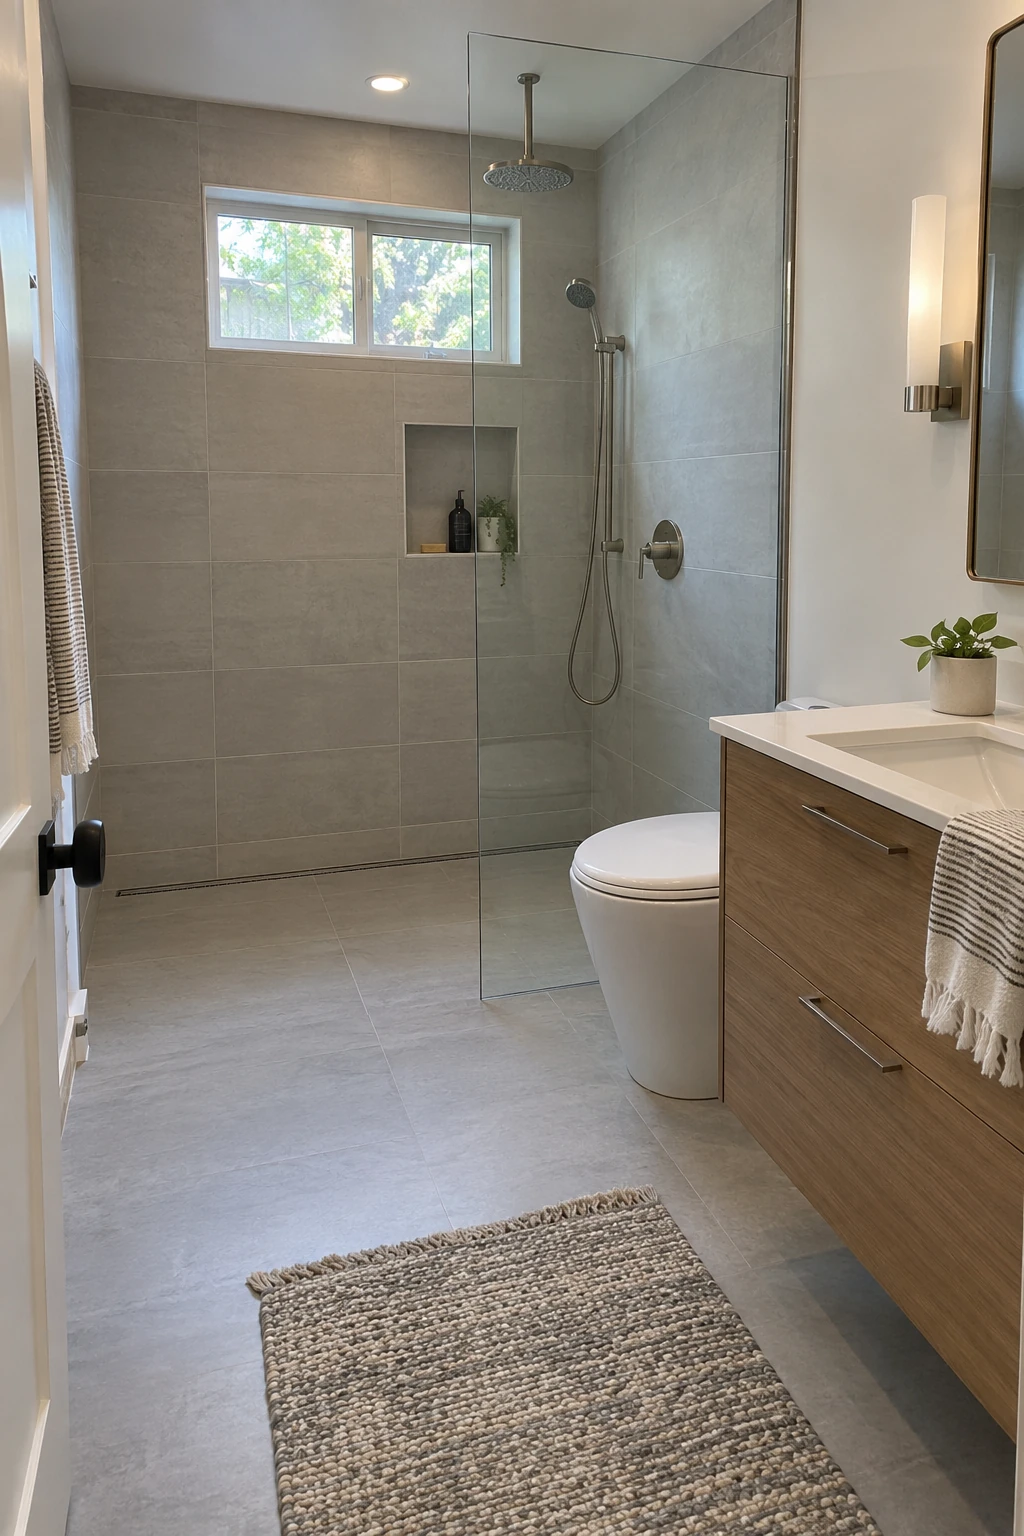
A curbless shower removes a trip point and lets the floor read as one surface. It can also improve future accessibility when the entry and controls are planned with sufficient clear space.
The floor structure must accommodate slope, drain placement, waterproofing, and the transition outside the shower. Review zero-entry shower examples, then have the installer detail the entire wet-area assembly.
Choose tile with appropriate wet-foot traction and a format that follows the slope without lippage. A glass panel or short return wall may still be needed to keep the vanity and doorway dry.
9. Use a Fixed Glass Panel Instead of a Swinging Door
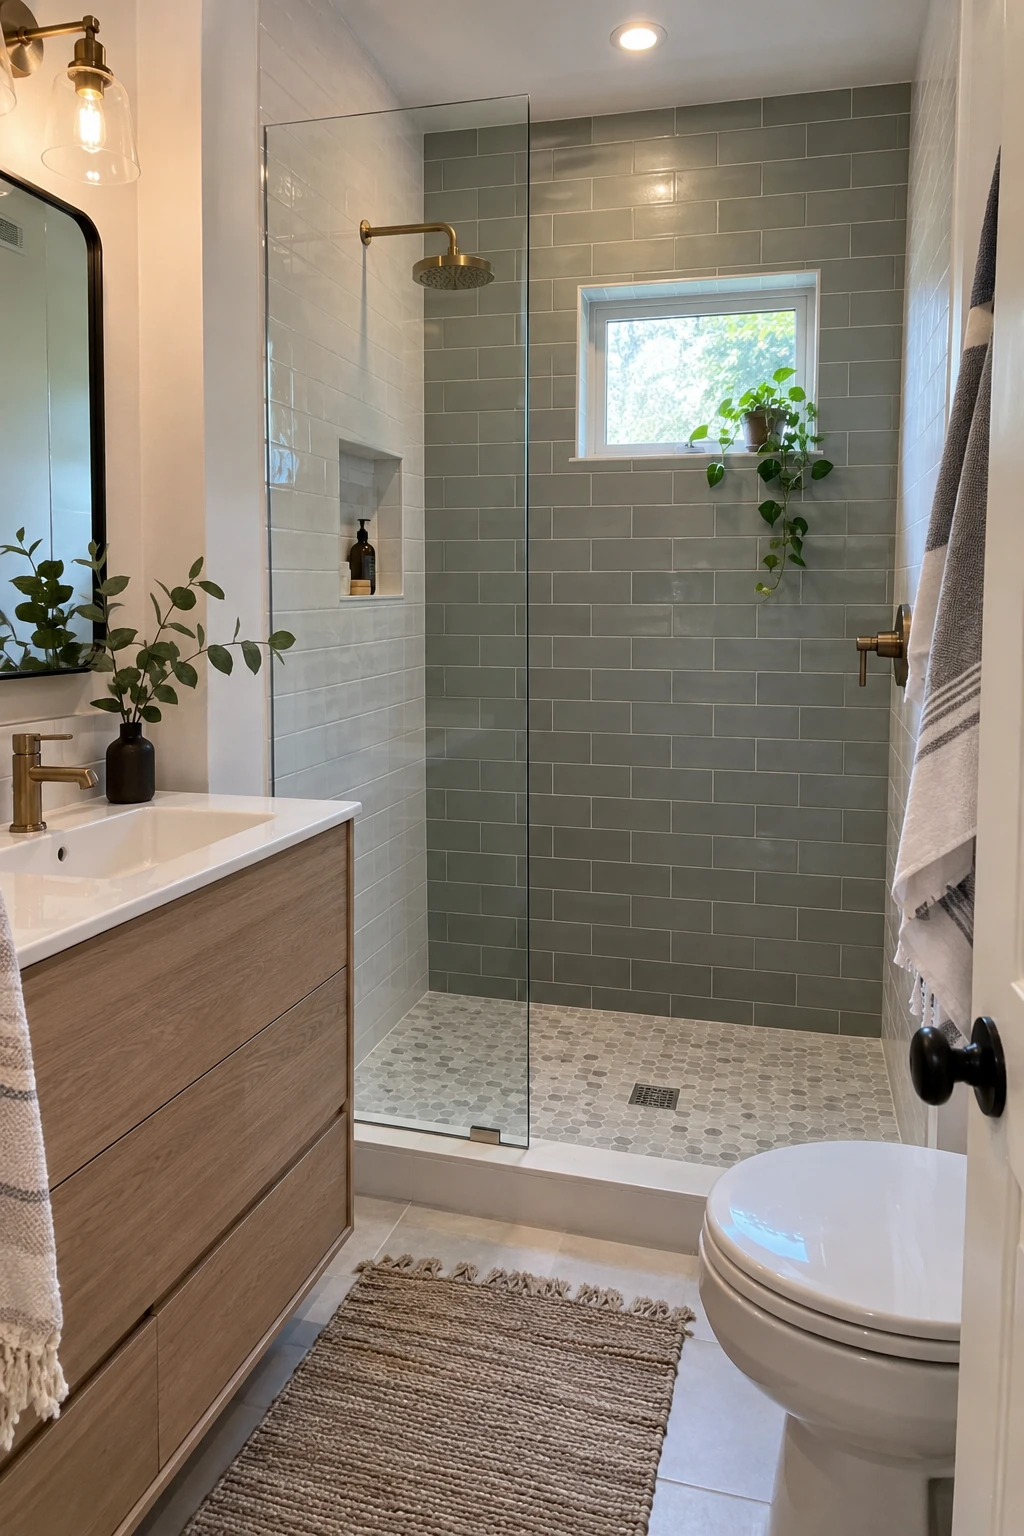
A fixed panel removes door hardware and the clearance needed for a swing. It works when the shower is long enough to contain spray and the open entry does not feel drafty.
Size the panel from the showerhead position, water pressure, and user movement rather than copying a photograph. If the room is too short, a sliding enclosure may control water better.
Leave enough space to enter, clean the glass edges, and reach the controls without standing in the first cold spray. The fabricator should confirm glass thickness and anchoring.
10. Place Shower Controls Near the Entrance
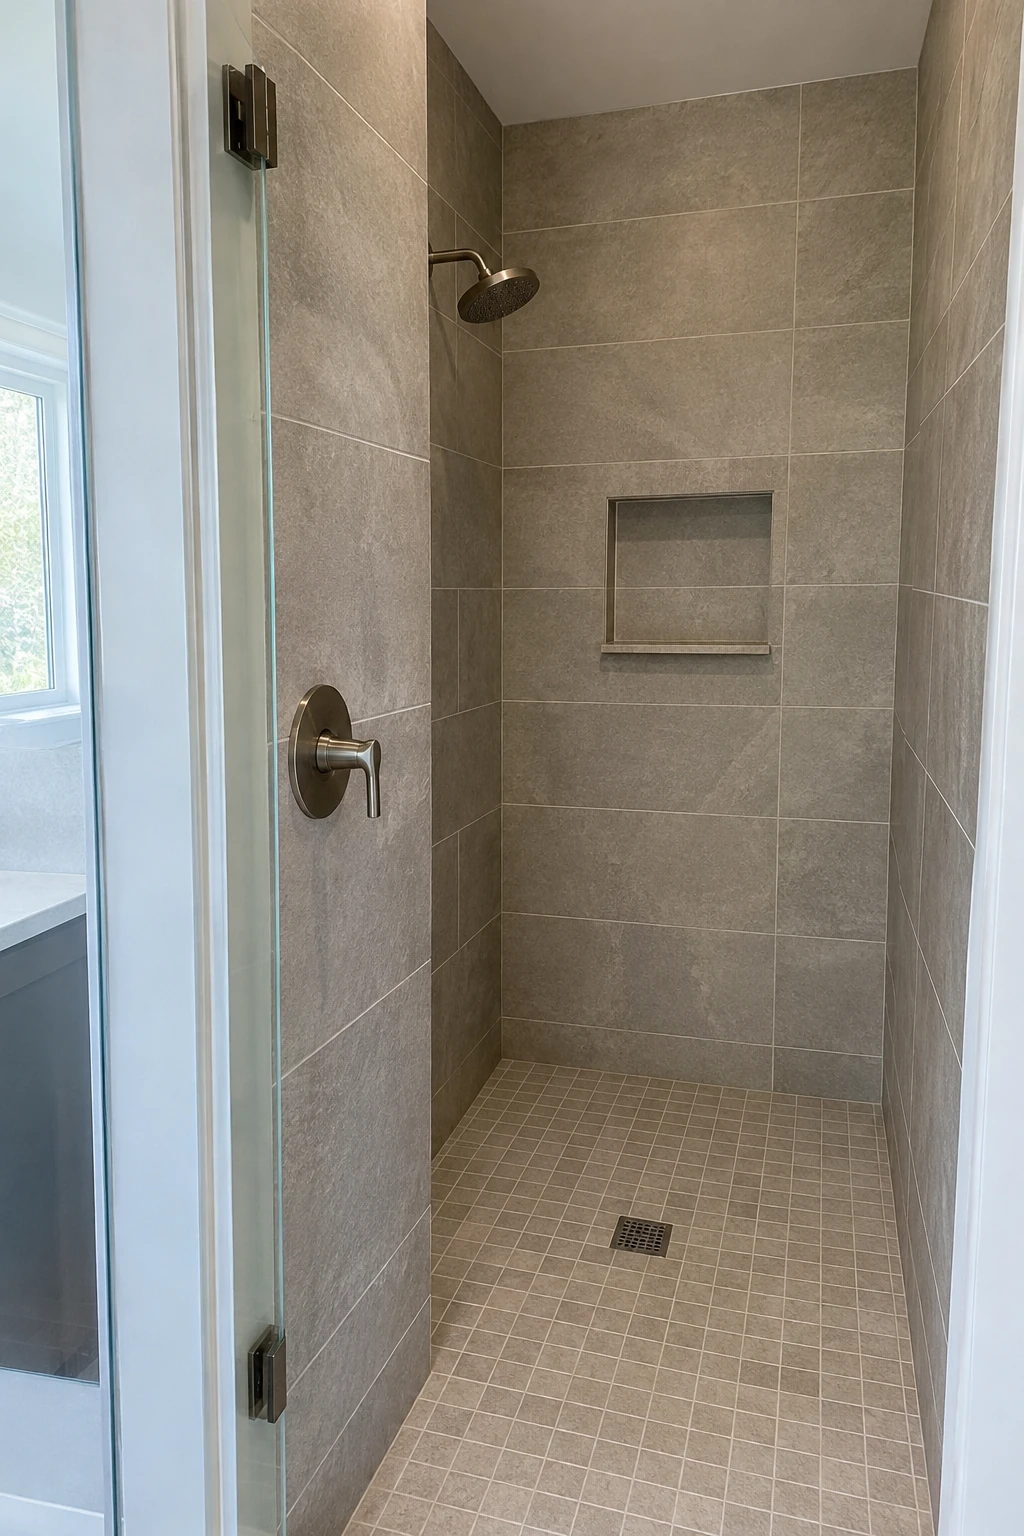
Mounting the valve near the entrance lets the user start and adjust water without stepping under the spray. This is a small rough-in decision that improves comfort every day.
Coordinate the valve, showerhead, handheld outlet, and glass before closing the wall. The controls need a comfortable reach while remaining outside the door edge and splash-prone seams.
11. Frame the Shower Niche Around Real Bottles
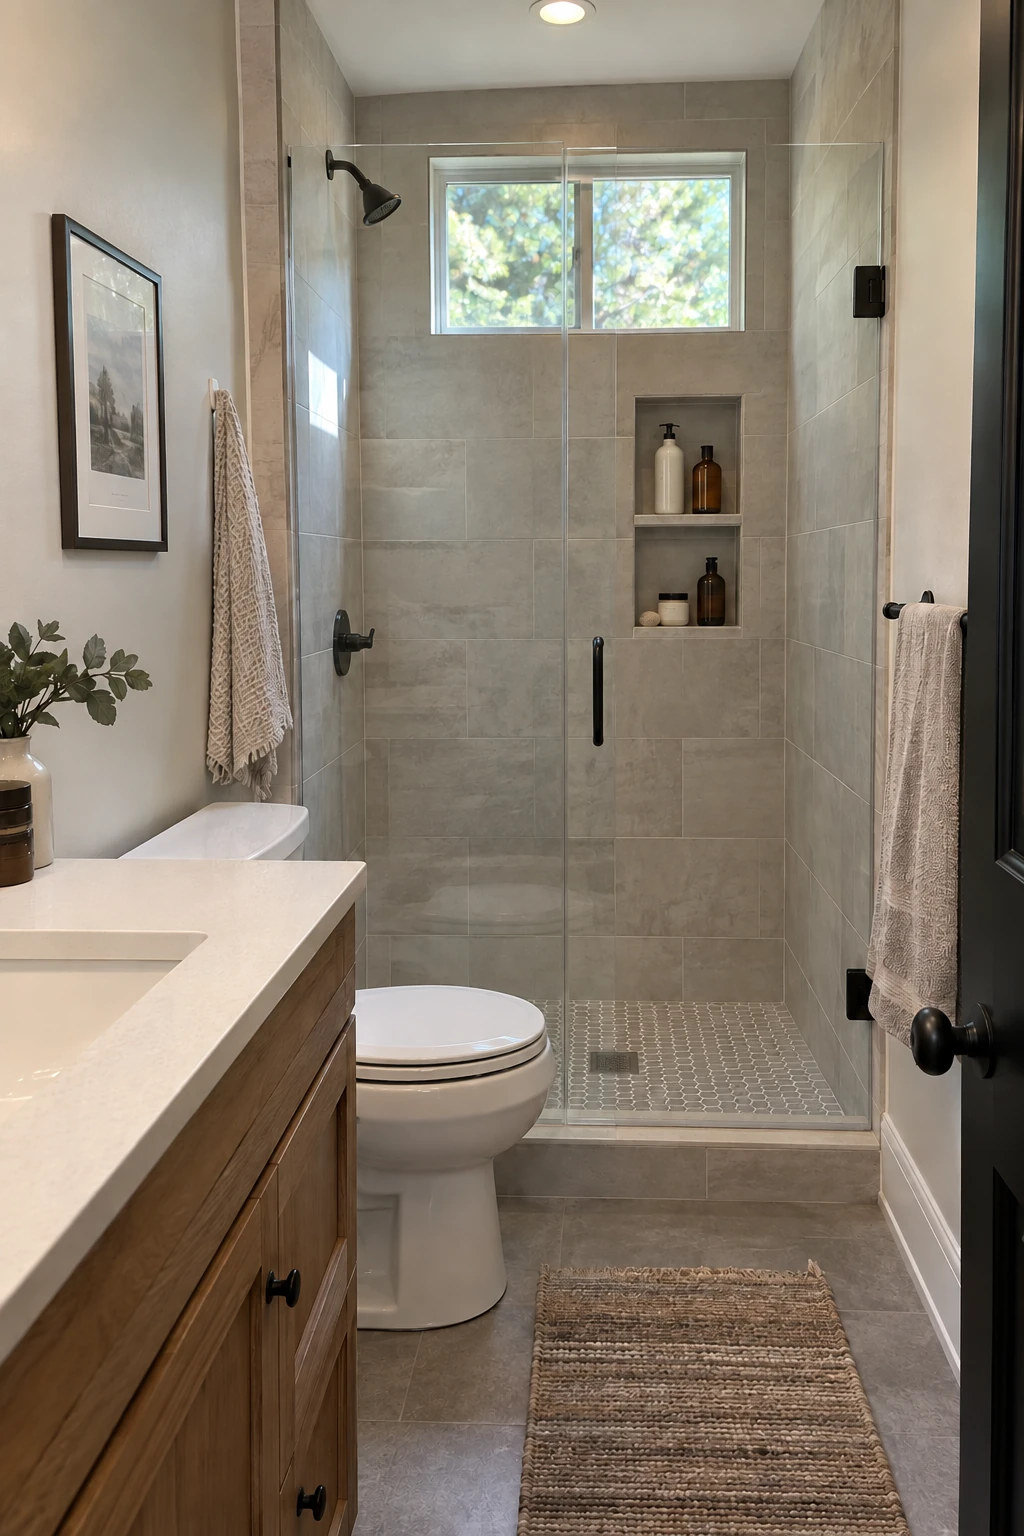
Measure the tallest bottle and the number of products before framing the niche. Two useful shelves usually outperform a decorative opening that cannot hold a pump bottle.
Align the niche edges with the tile layout, use solid shelf pieces, and slope every horizontal surface toward the shower. These shower niche ideas can help refine proportions without weakening the waterproofing plan.
Check the stud bay for pipes, wiring, and exterior-wall insulation. A surface-mounted metal shelf is safer than forcing a recess into the wrong wall.
12. Add a Short Wall to Protect the Vanity
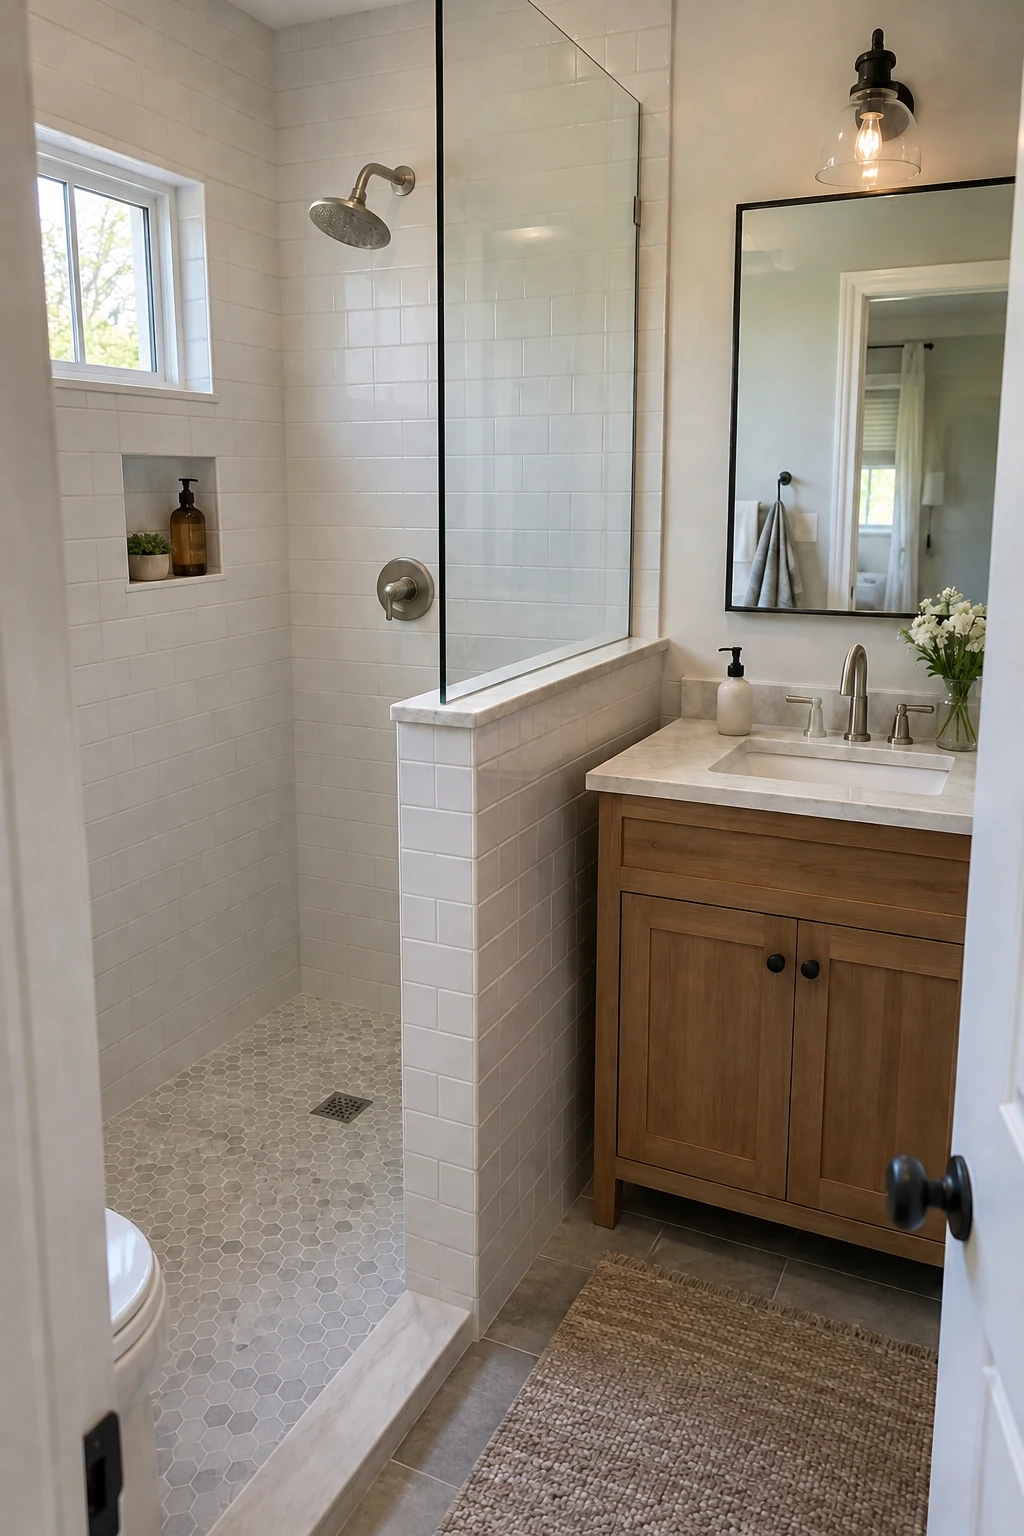
A tiled half wall can shield the vanity from direct spray, carry plumbing, and give glass a stable edge. Keeping glass above the wall preserves borrowed light across the room.
Extend the wall slightly beyond the cabinet depth and waterproof the cap, returns, and glass fasteners as part of the shower system. Browse doorless shower wall layouts for different levels of enclosure.
- Extend the half wall just beyond the vanity face.
- Slope and waterproof the cap toward the shower.
- Place glass anchors where framing can support them.
Leave a cleanable gap or a deliberate sealed junction beside the vanity. A narrow inaccessible slot becomes a moisture and dust trap.
Mock up the wall height with cardboard before framing. It should block splash without creating a shoulder-level visual barrier from the doorway.
Fit Storage Into the Architecture
Small-bathroom storage works best when it is shallow, vertical, and matched to the objects used in the room. Keep frequently used items close without narrowing circulation.
13. Recess the Medicine Cabinet Between Studs
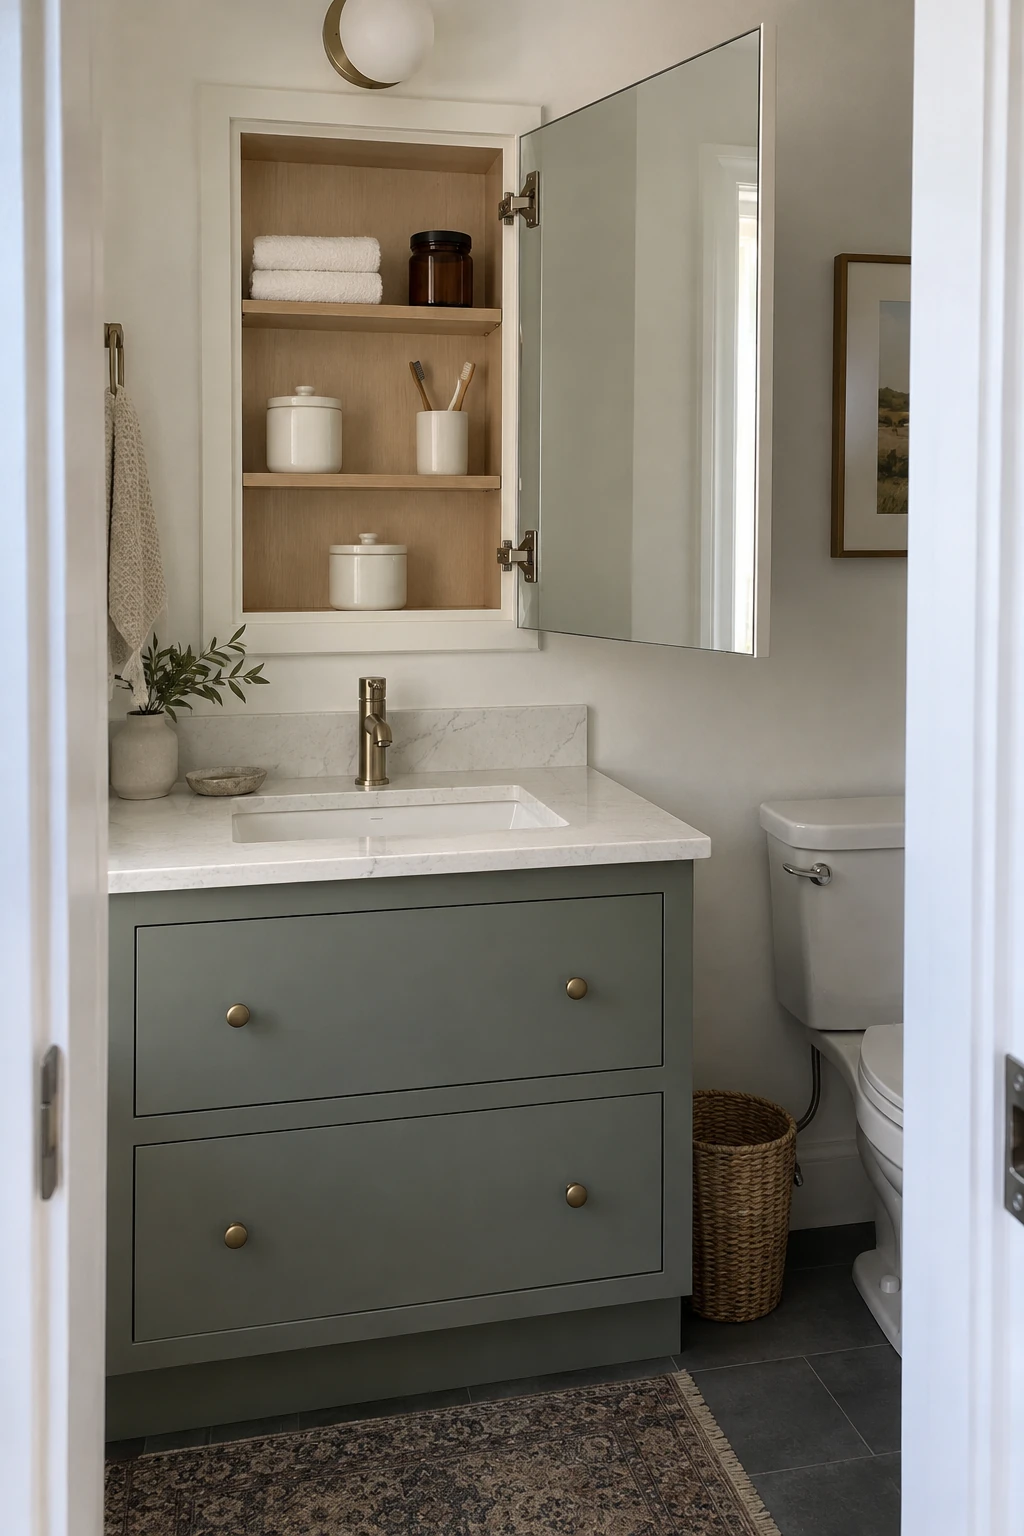
A recessed mirrored cabinet stores daily toiletries at eye level without projecting far over a shallow sink. It can replace both a plain mirror and counter organizers.
Check studs, wiring, vents, and pipe chases before selecting width. A surface-mounted cabinet with finished sides is the better fallback when the wall cannot be opened safely.
Plan shelf spacing around real bottles and keep medicines according to their storage instructions; a steamy bathroom is not suitable for every product. See more small-bathroom storage ideas for shallow alternatives.
14. Build a Shallow Linen Tower to the Ceiling
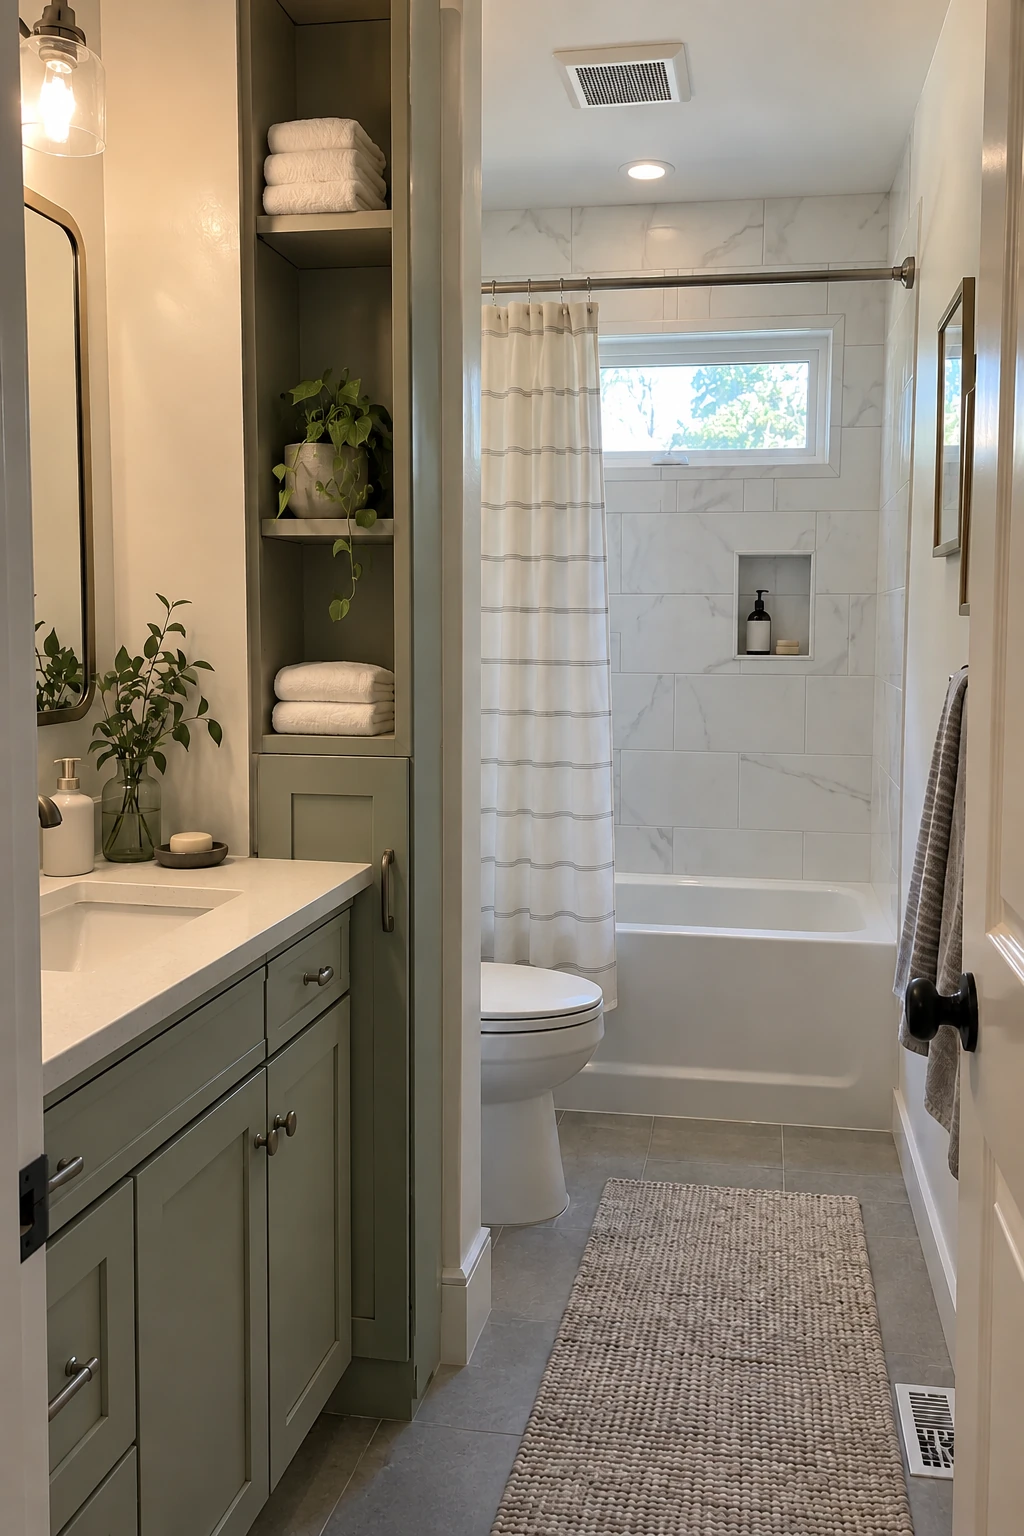
A 9- to 12-inch-deep tower can hold folded towels and refills without entering the aisle like a standard cabinet. Store lighter, rarely used items high and daily supplies between waist and eye level.
Anchor tall cabinetry to framing and allow the nearby door and drawers to open fully. Adjustable shelves make the narrow interior useful as household needs change.
15. Turn the Wall Above the Toilet Into a Recess
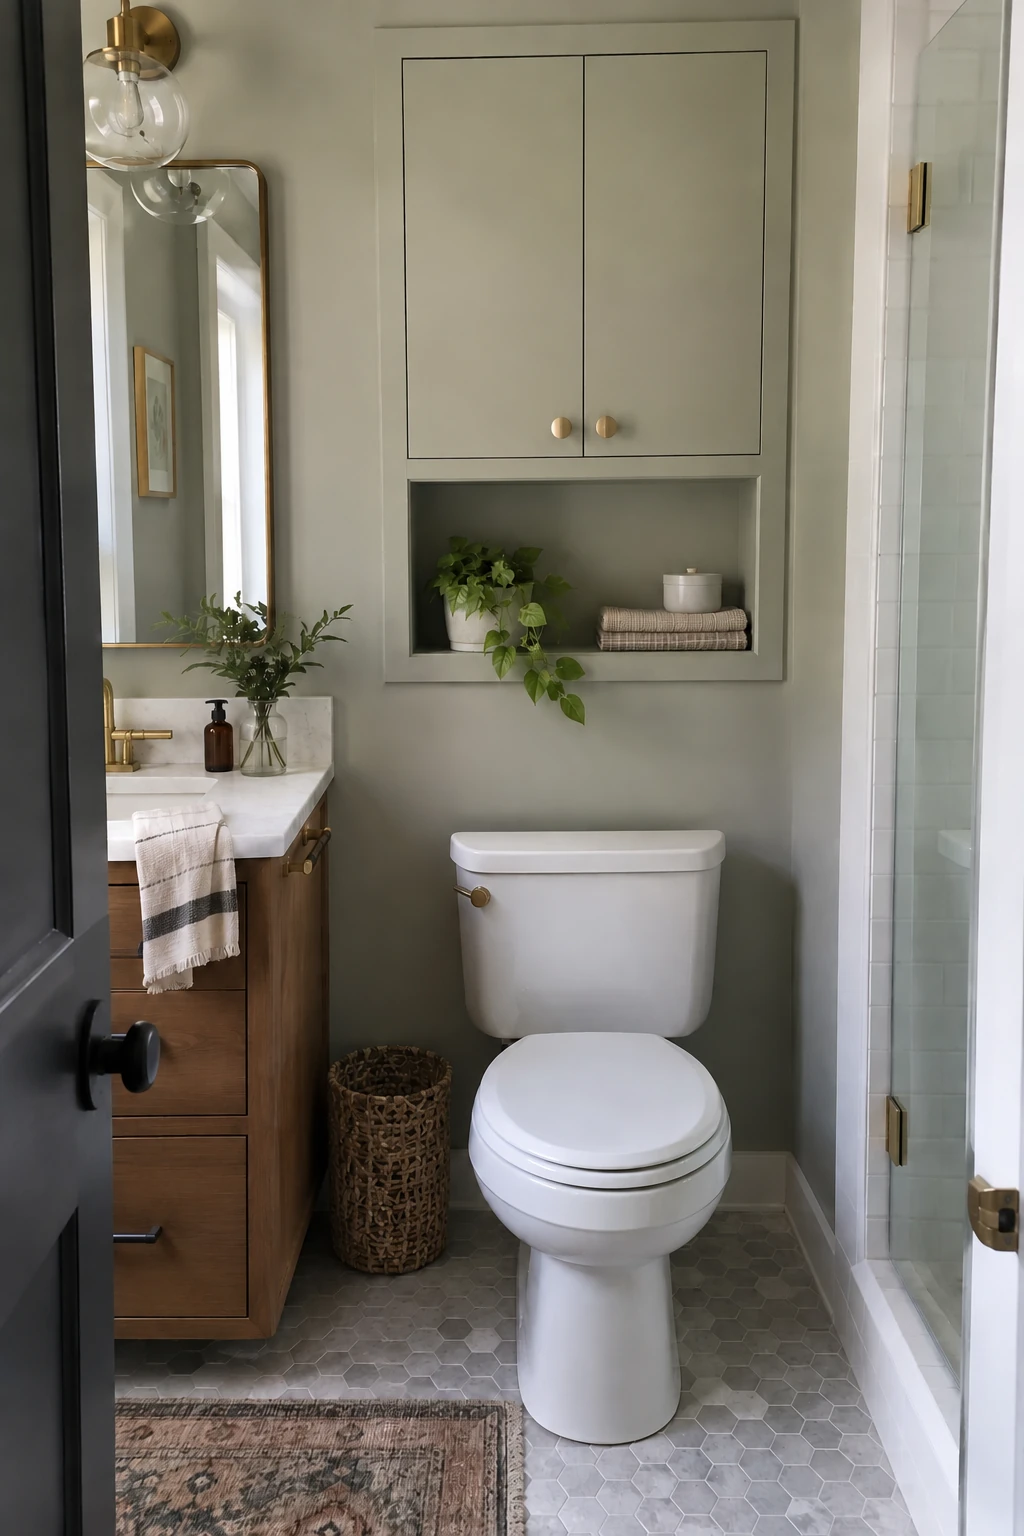
A shallow recess above the toilet stores paper and backups without placing a deep shelf near the user’s head. Closed doors keep the wall visually calm.
Locate vent stacks, supply lines, wiring, and framing before cutting. If the wall is unavailable, use a shallow wall cabinet secured into studs and sized so the lid and service access remain clear.
Keep heavy objects low and make every shelf reachable without standing on the toilet. More over-the-toilet storage options can help compare closed and open layouts.
16. Hide a Narrow Pullout Beside the Vanity
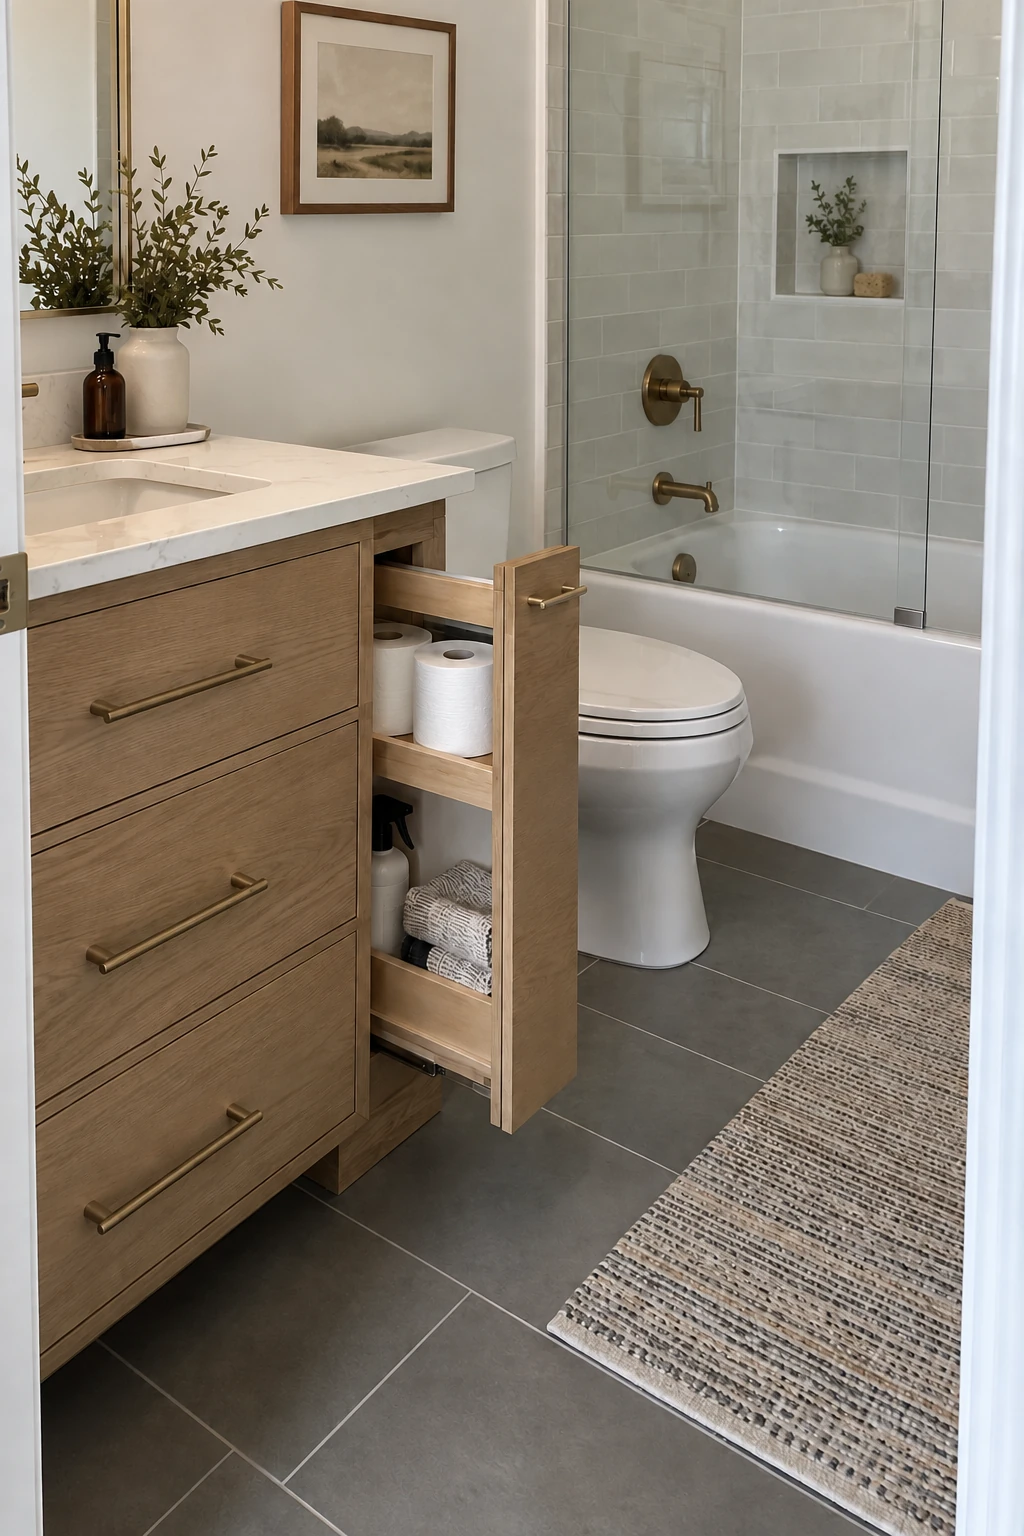
A slim pullout can use a narrow filler-like gap for paper, cleaning cloths, or tall bottles. Side access makes the full depth visible instead of creating a dark, narrow cabinet.
Use moisture-resistant materials, full-extension hardware, and removable bins that can be washed. Keep household chemicals away from children and separated from personal-care items.
17. Add Hooks Where Towels Can Actually Dry
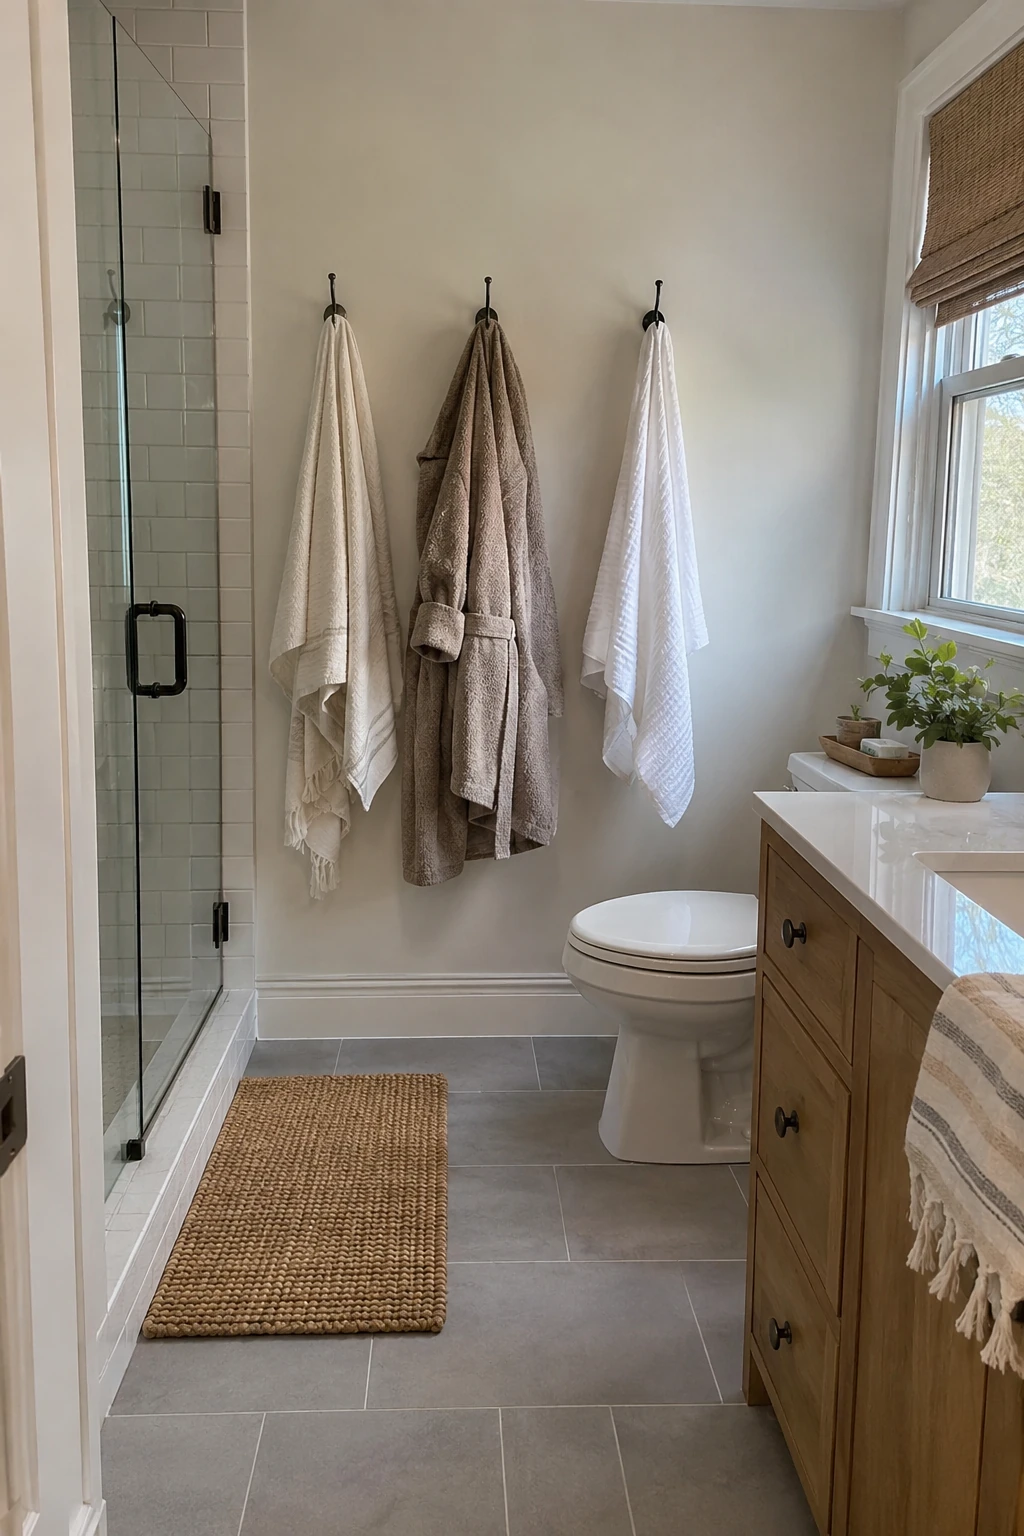
Hooks use less wall width than bars, but towels still need air around them. Space hooks so damp fabric does not form one dense bundle, and place them within reach of the shower without entering the wet zone.
Install blocking for heavy use and check that the door cannot crush the towels against the wall. A short rail with hooks can spread loads when stud locations are awkward.
If several people share the bathroom, pair each hook with a cubby or labeled shelf elsewhere. The room stays calmer when clean and damp storage are separate.
18. Use a Removable Storage Plan for a Rental
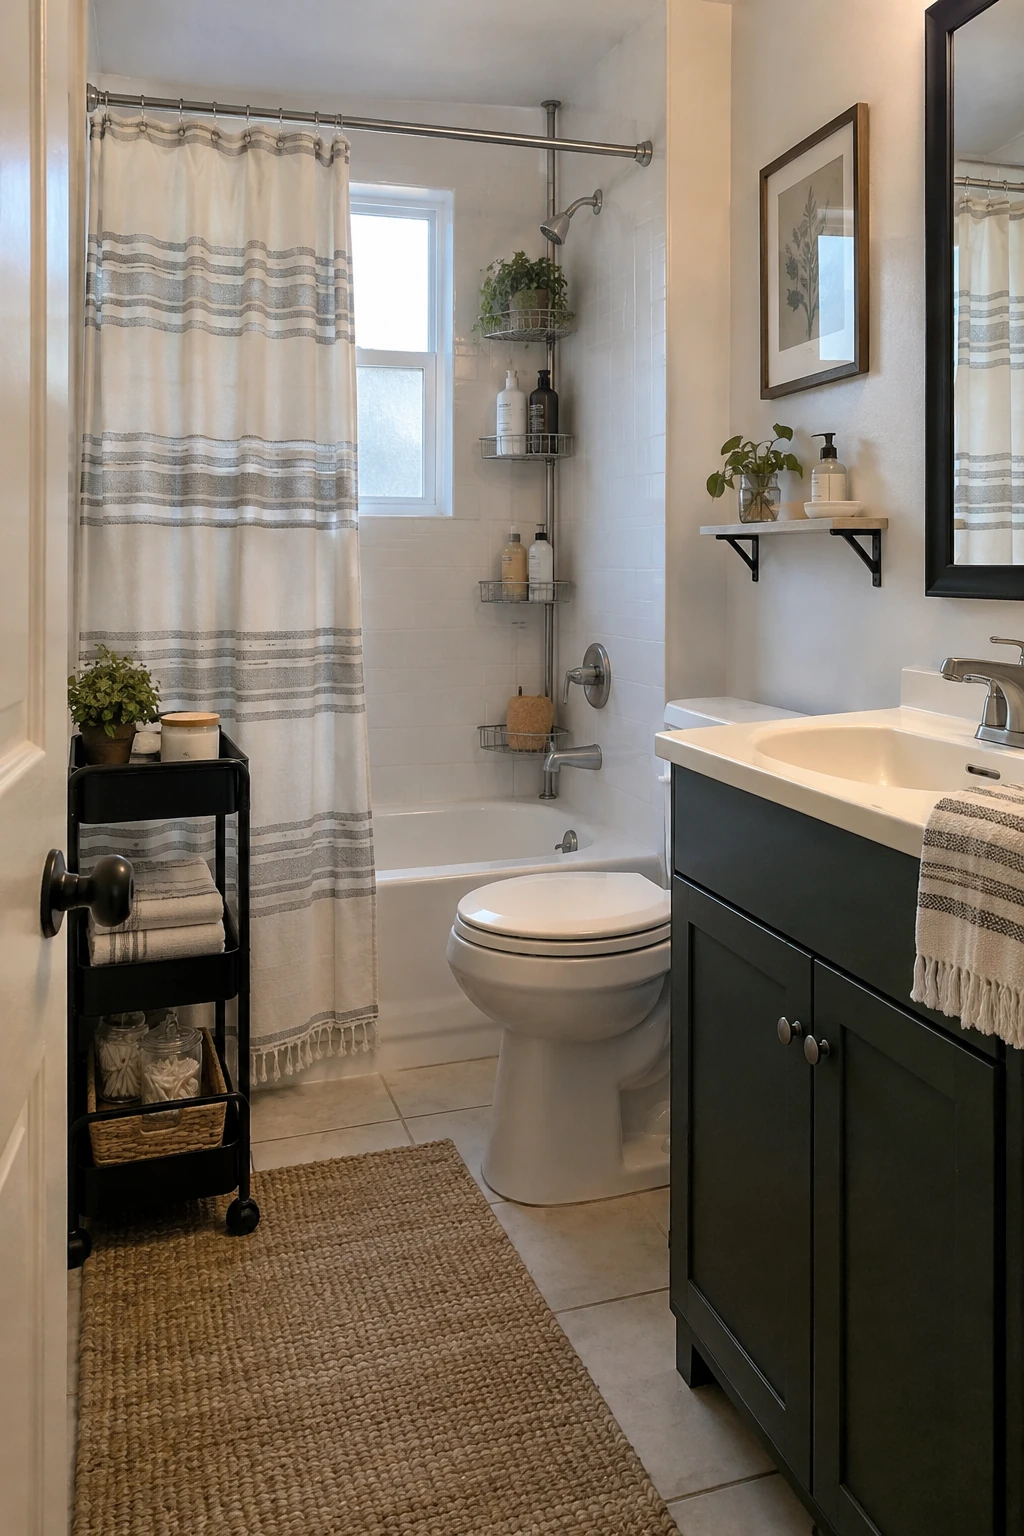
A renter can improve function with a narrow rolling cart, tension-pole shower storage, and an over-door hook rail. Choose pieces that fit around the door swing and can leave the room for cleaning.
Use rust-resistant materials and respect each product’s weight limit. Suction and adhesive accessories need smooth compatible surfaces and regular checks; they should never support grab loads.
Replace removable items rather than drilling through tile or waterproofing without permission. The goal is a safer, clearer routine that can move with you.
Choose Surfaces, Lighting, and Ventilation for Daily Use
A small room magnifies glare, grout lines, condensation, and maintenance. Use a limited material palette, targeted lighting, and a complete moisture plan.
19. Use Large Wall Tile and Smaller Shower-Floor Tile
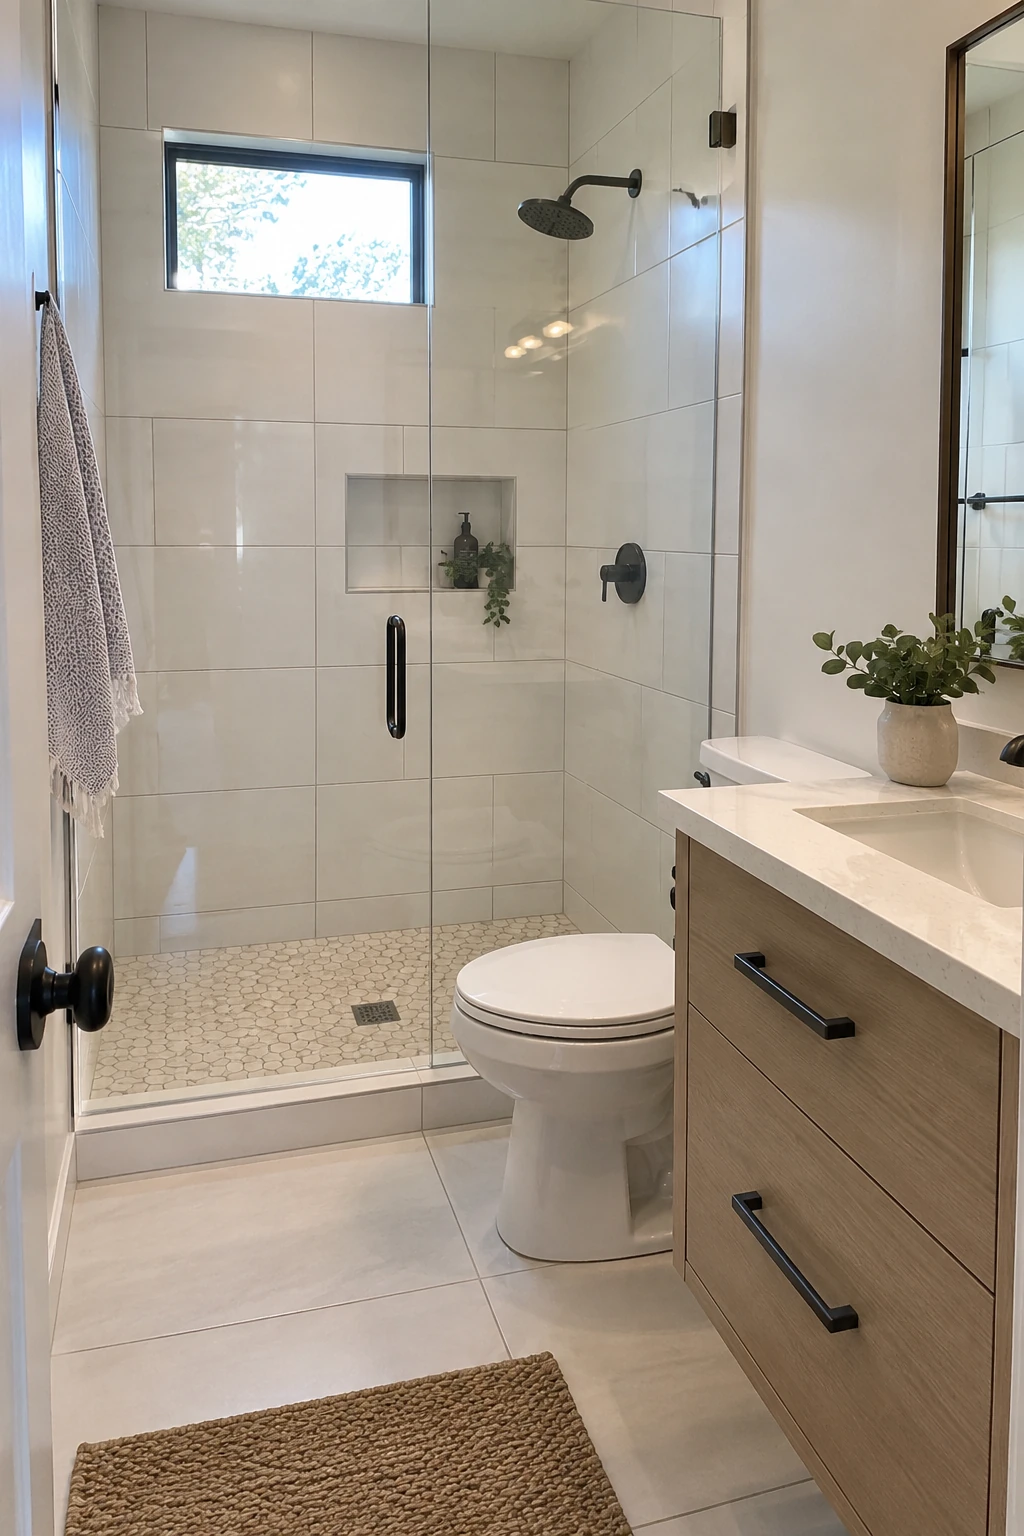
Large wall tile reduces joint count and visual interruption, while a smaller shower-floor mosaic can follow compound slope and provide more grout-line traction. Keep undertones related so the format change looks intentional.
Plan the layout from focal lines at the vanity, niche, and shower entry. Narrow slivers at corners make an expensive tile job look improvised.
Layout check: approve focal lines, corner cuts, and niche edges on a scaled elevation before ordering tile; this exposes awkward slivers while the pattern can still change.
Use the grout and sealant specified for the tile and wet-area assembly. These bathroom tile combinations show ways to limit the palette without making every surface identical.
Order attic stock from the same production lot and keep product details after installation. A future repair is easier when the exact tile, grout, and caulk are known.
20. Protect Dry Walls With Bathroom-Rated Finishes
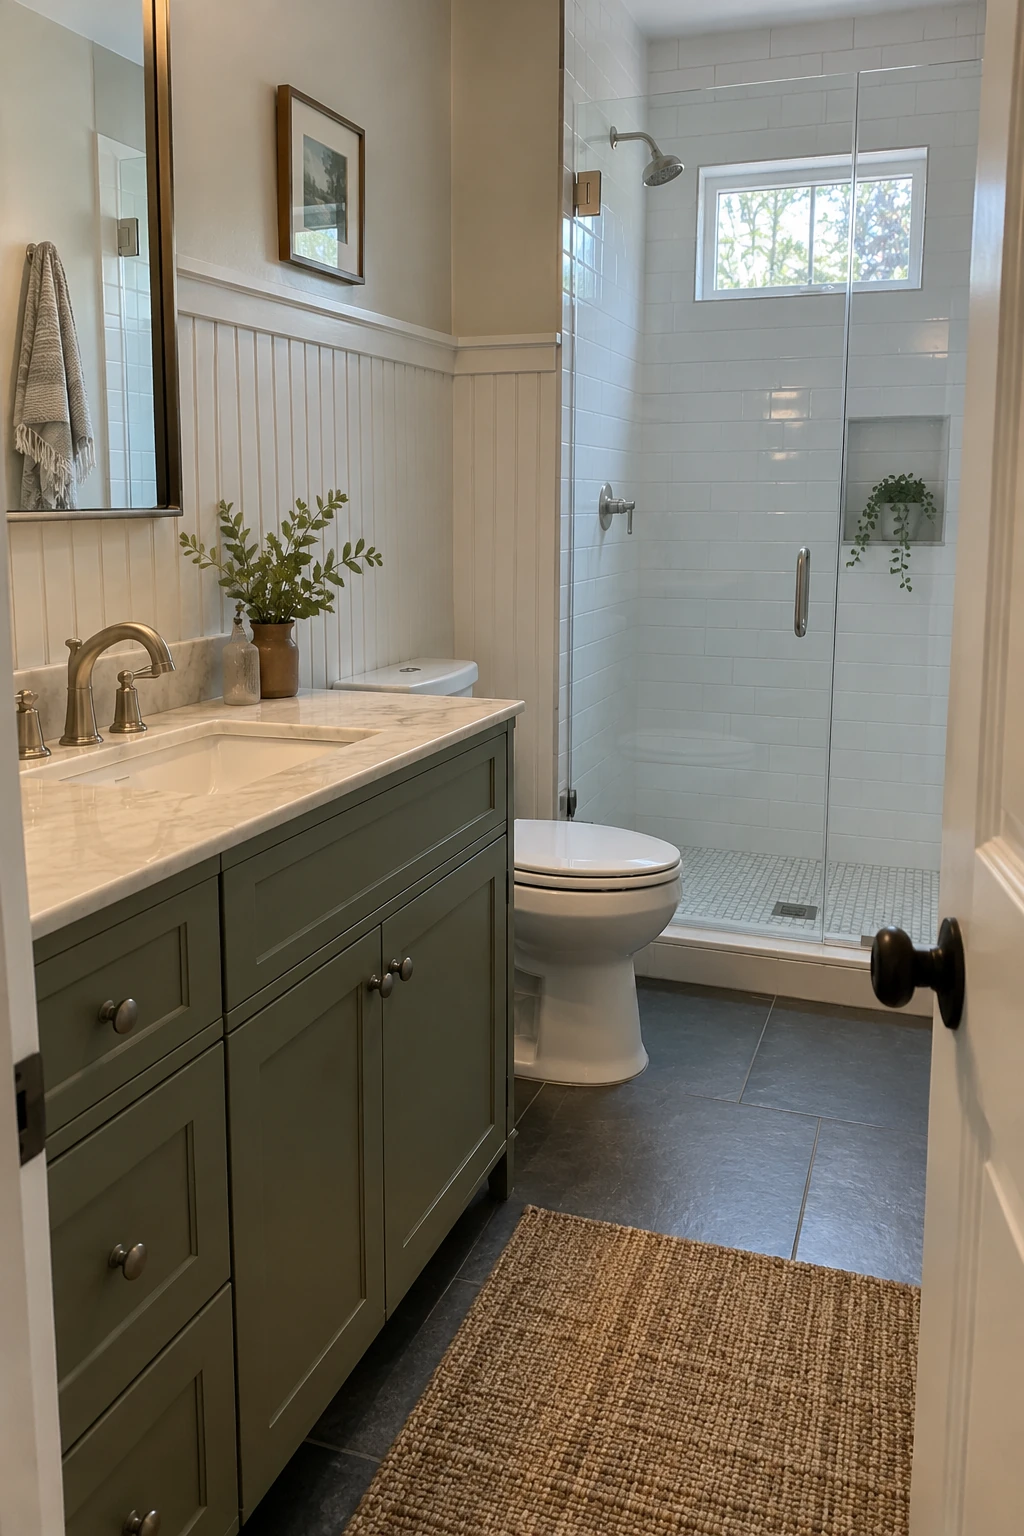
Use a complete waterproof assembly inside the shower and reserve bathroom-rated paint, panels, or beadboard for dry walls. “Moisture resistant” is not the same as approved for direct water exposure.
Prime cut edges, seal joints as the material requires, and leave vulnerable trim out of standing water. These bathroom beadboard ideas are most useful when adapted to the correct wet or dry zone.
Match sheen to cleanup needs without coating every wall in harsh gloss. Effective ventilation does more to protect the room than increasingly shiny paint.
21. Light the Face From Both Sides
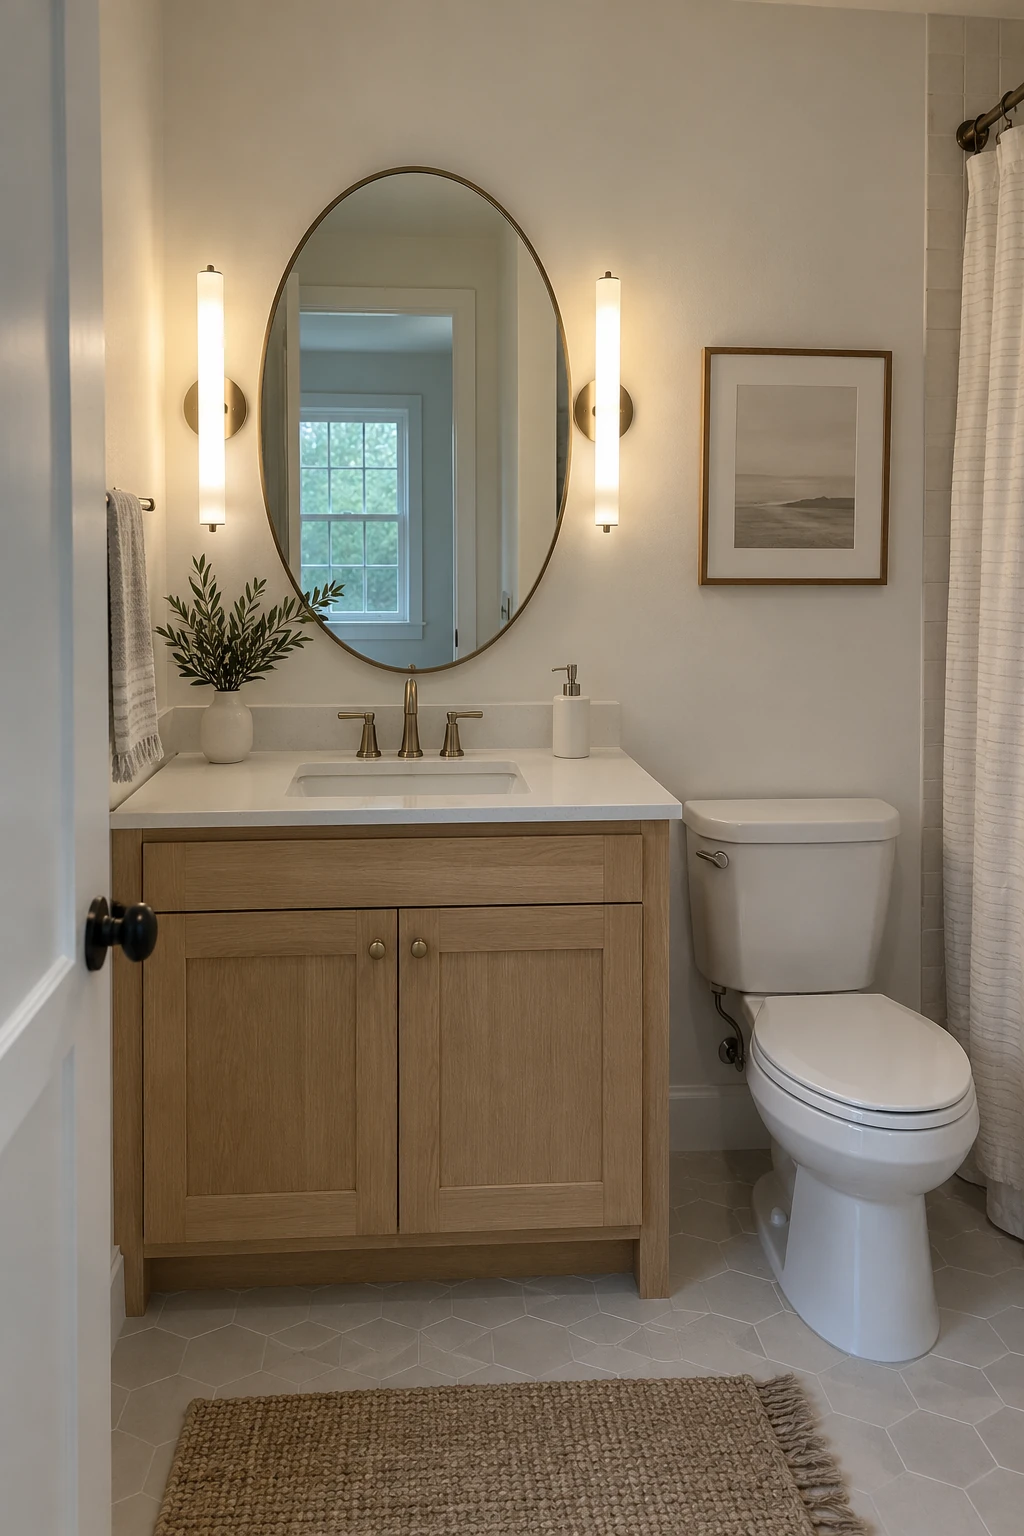
Two side lights reduce the shadows created by a single ceiling fixture. In a narrow room, slim sconces or a mirror with integrated vertical lighting can deliver the same effect.
Center the lighting on the user rather than on the room. Coordinate mirror width, cabinet doors, outlet locations, and fixture projection before the wall is closed.
Use compatible dimmers and consistent color temperature across vanity, ceiling, and shower lighting. High color quality helps skin, paint, and tile look natural.
22. Install a Quiet Fan That Senses Humidity
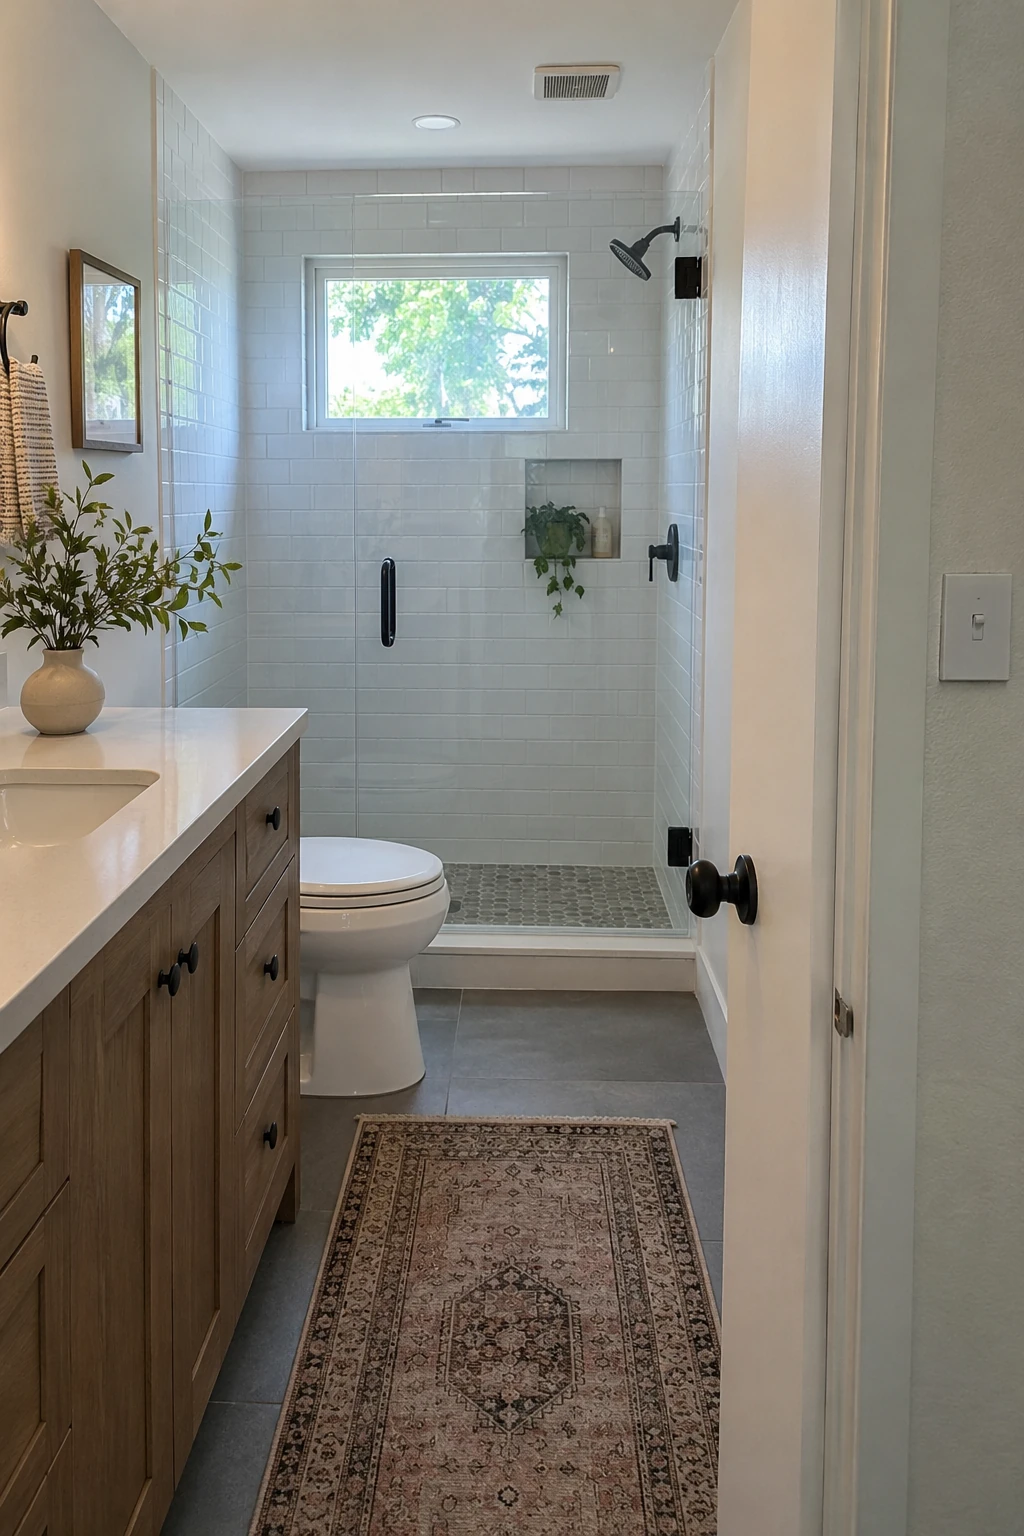
A humidity-sensing fan continues working after the room is empty, reducing condensation on paint, cabinets, mirrors, and grout. Quiet operation matters because a loud fan is more likely to be switched off.
Size airflow for the room and the adopted code, then vent outdoors through the shortest practical smooth duct. A strong fan connected to a crushed flex run or closed damper will still perform poorly.
- Confirm required airflow and an exterior termination.
- Use smooth, short ductwork within the fan maker's limits.
- Provide replacement air, then program the sensor and run-on time.
Provide replacement air under the door or through another approved path, and set the sensor and run-on time using the manufacturer’s instructions. Clean the grille and verify exterior discharge during routine maintenance.
If a full fan replacement is outside the budget, inspect and clean the existing fan and duct first. A qualified contractor can determine whether a timer or control upgrade is compatible.
23. Warm the Floor Without Heating Under Fixtures
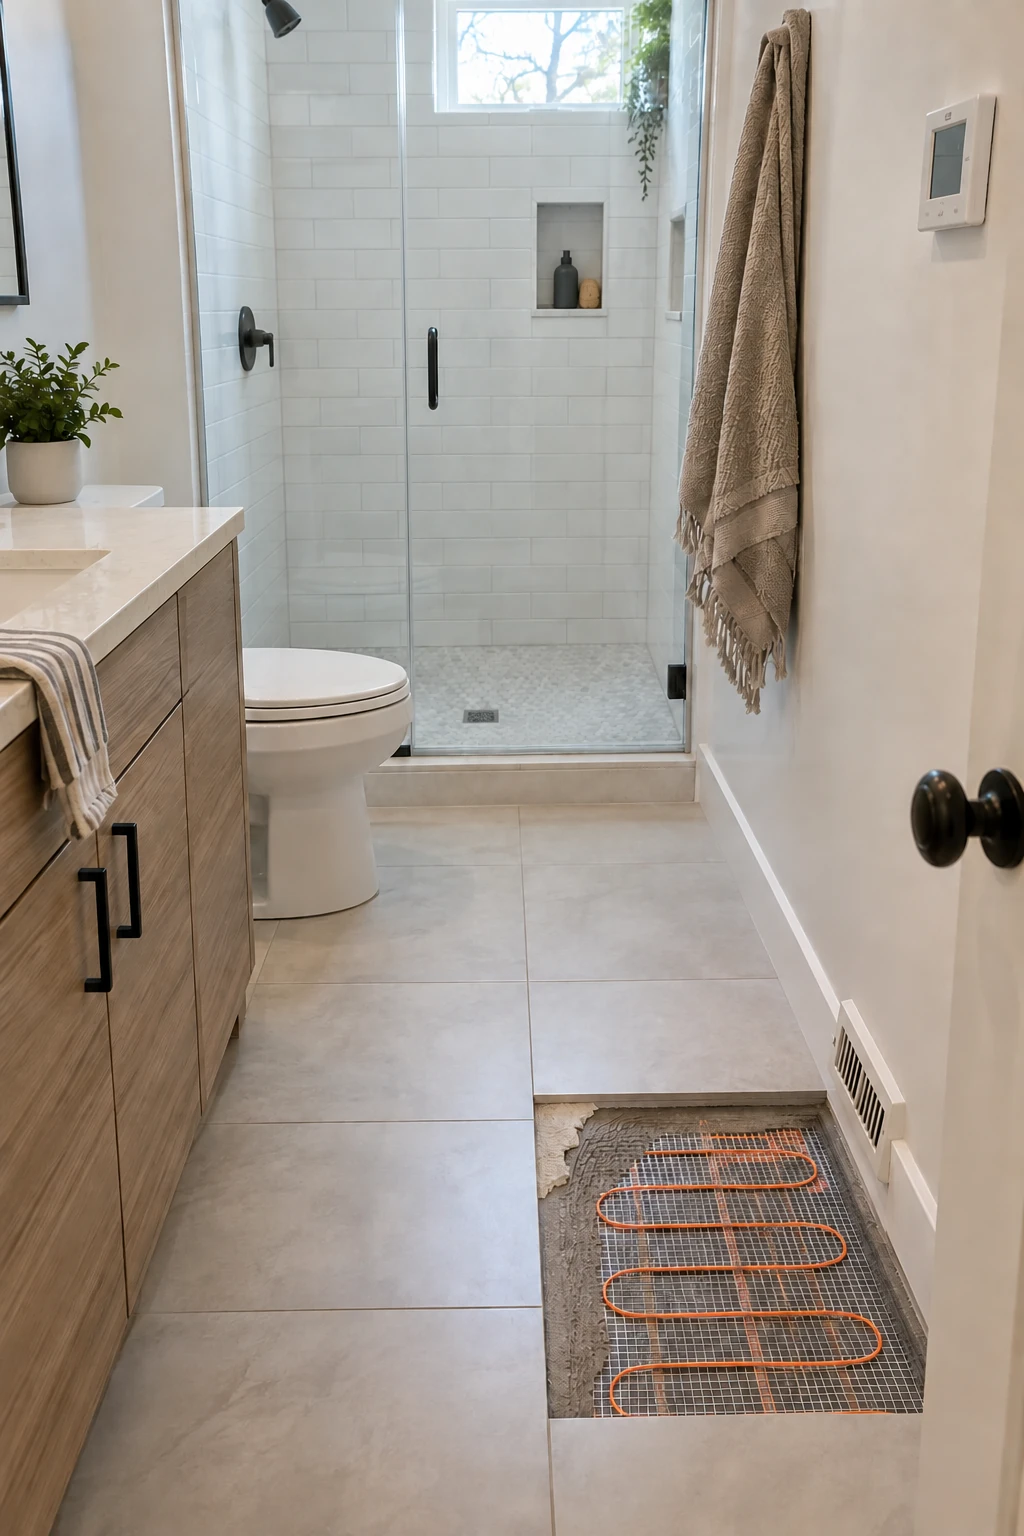
Electric radiant heat can make a small tiled floor comfortable without occupying wall space. Map the cable around the toilet, vanity, tub, and other fixed objects according to the system instructions.
Use the required floor sensor, controls, electrical protection, and installer tests before tile covers the system. Photograph the layout and save resistance readings for future service.
Treat floor heat as comfort heat unless a load calculation confirms it can warm the room alone. Exterior walls, windows, and climate determine the remaining heat requirement.
24. Place Protected Power Outside the Splash Zone
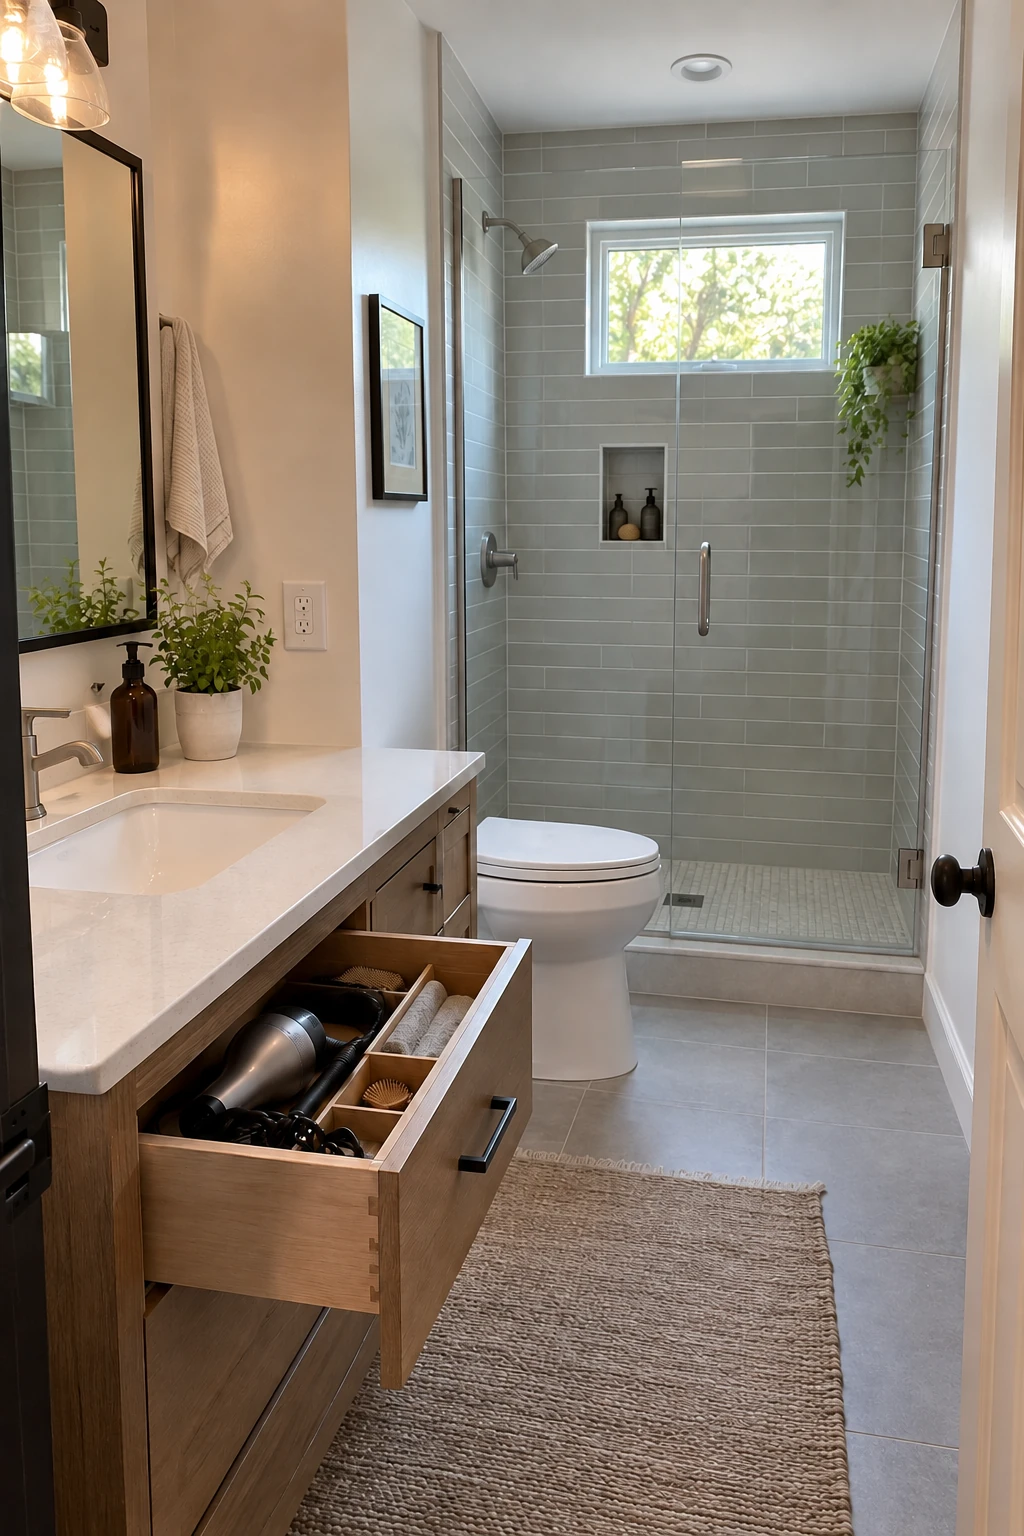
Plan receptacles for grooming tools, toothbrushes, and future devices before tile and cabinetry are ordered. Wet-area placement, circuit protection, and required spacing must follow the locally adopted electrical code.
Keep cords from crossing the sink or aisle, and leave access to reset devices. An interior vanity outlet is useful only when the listed system and cabinet clearances support it.
Do not hide extension cords inside drawers or route power through improvised holes. Have a licensed electrician coordinate the exact fixture, mirror, and appliance loads.
Spend the Budget on Longevity and Access
The best small-bathroom renovation is easy to use, service, and clean. Preserve sound work, strengthen hidden systems, and sequence the project around verified prerequisites.
25. Reuse a Sound Tub and Refresh Everything Around It
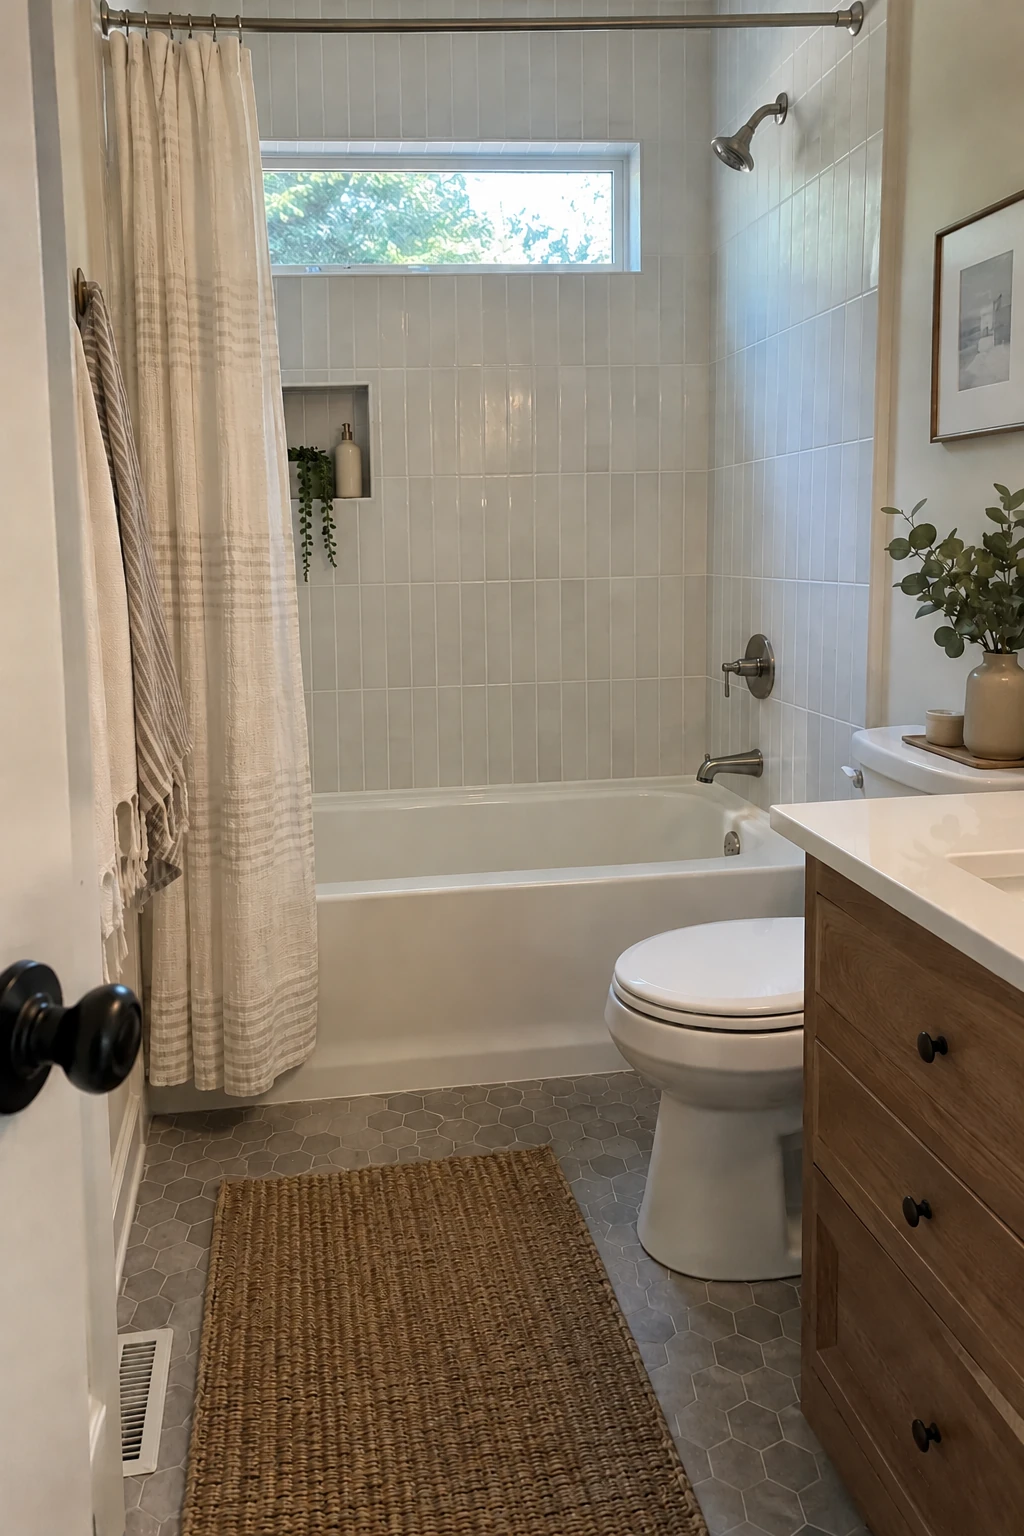
A solid cast-iron or steel tub can anchor a partial renovation when its size and location still work. Keeping it avoids demolition, disposal, drain changes, and possible floor repair.
Inspect the tub, flange, drain, valve, and wall substrate before deciding. New tile and caulk cannot correct concealed rust, movement, failed waterproofing, or a damaged drain connection.
Spend the saved budget on the surround assembly, ventilation, lighting, and a reliable valve. Reglazing can improve appearance, but its preparation, curing, cleaning limits, and expected life should be understood in advance.
26. Add Blocking for Future Grab Bars
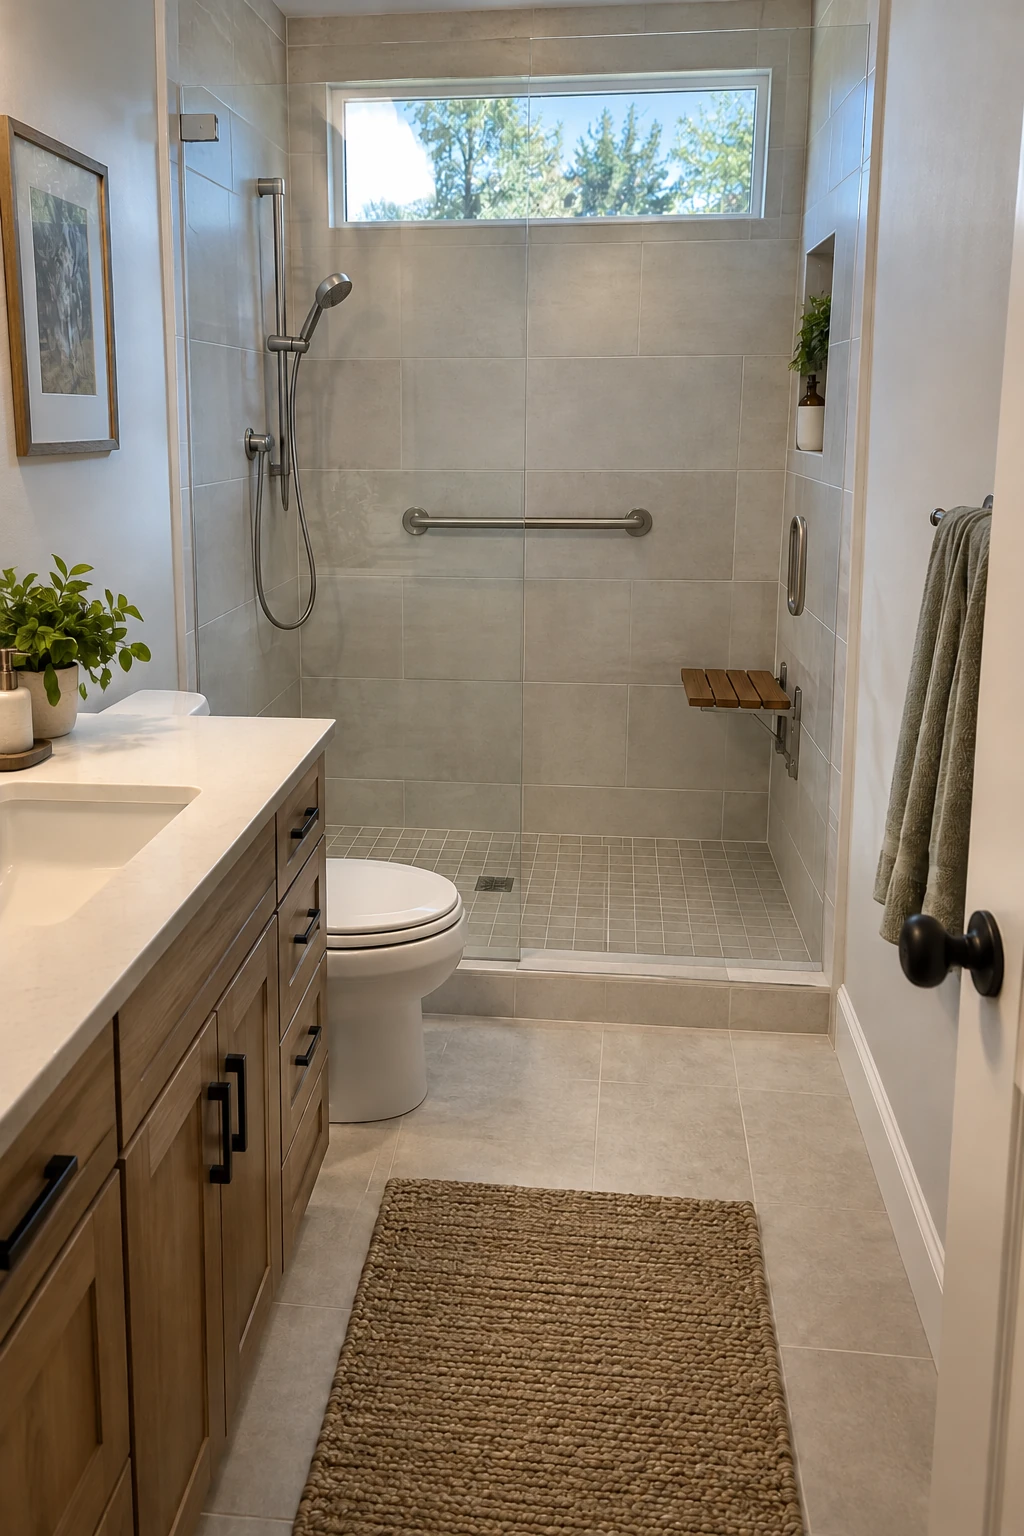
Install continuous blocking in the shower and beside the toilet while the walls are open, even if grab bars are not needed today. Photograph and dimension the blocking before waterproofing covers it.
A handheld shower, reachable controls, slip-resistant floor, and seat can support different ages and mobility levels without making the room feel institutional. Use products rated for the intended load and location.
Before closing the walls, photograph every blocking run with a tape measure in view and save the dimensions with the renovation records for future grab-bar installation.
For a fully accessible plan, verify the required clear floor spaces, turning areas, fixture positions, door maneuvering, and mounting heights. Residential goals and code-triggered accessibility are not interchangeable.
Avoid suction grab bars as structural supports. If immediate support is needed in an existing room, use a properly anchored product installed into confirmed framing or an approved mounting system.
27. Order the Critical Fixtures Before Framing
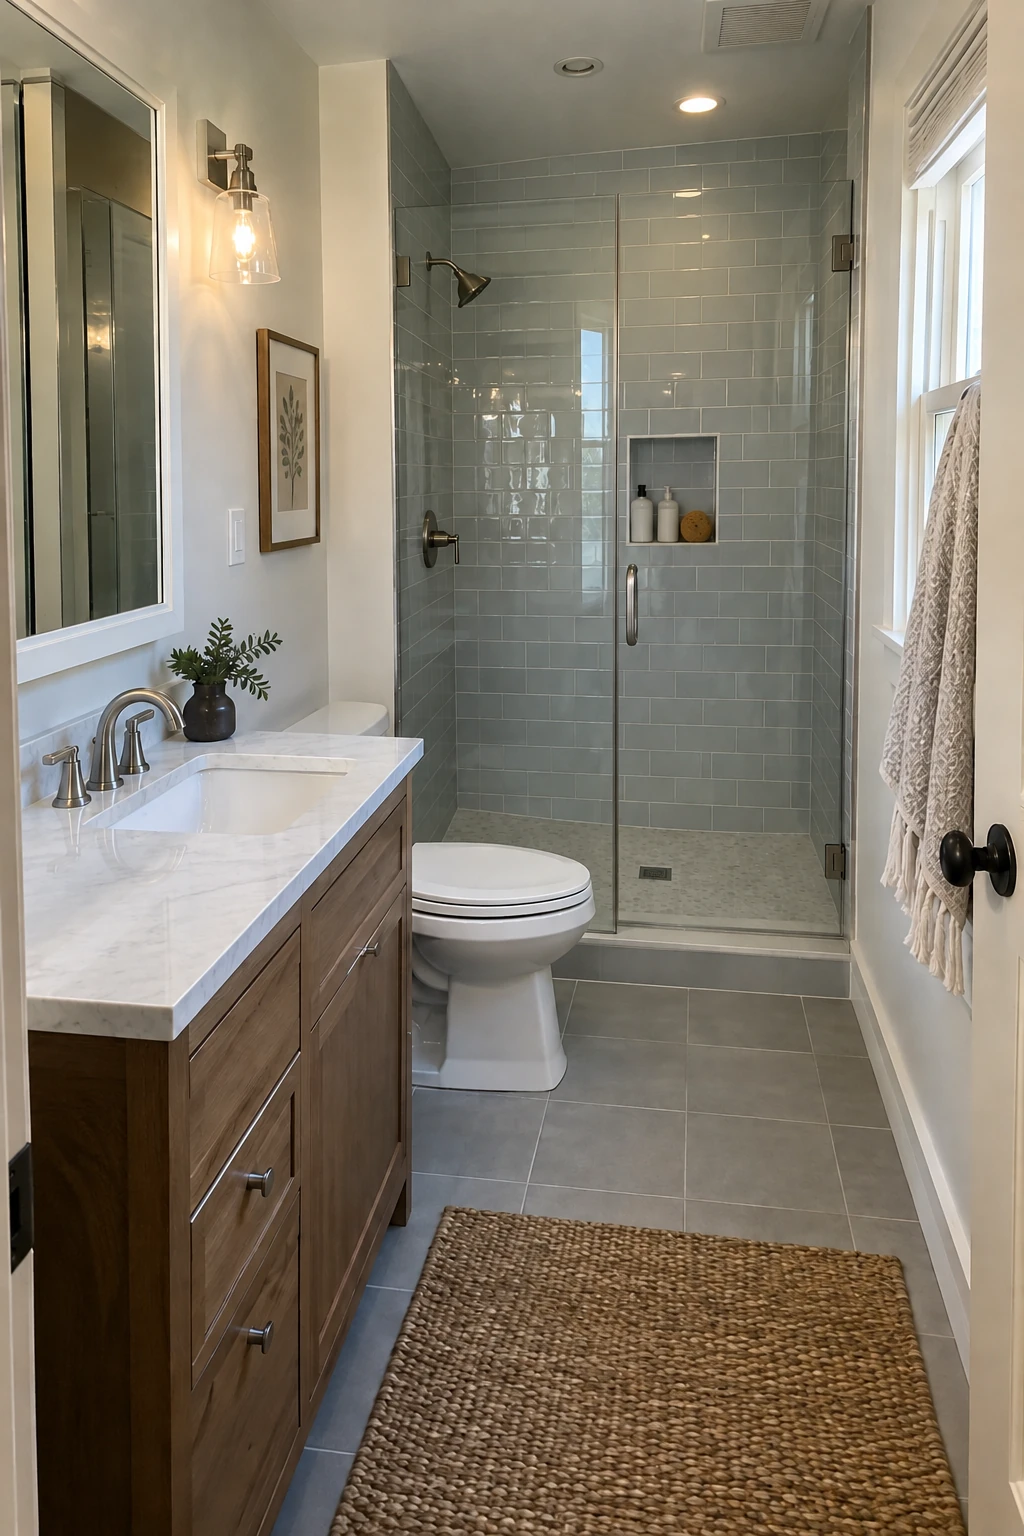
Select the exact vanity, sink, faucet, toilet, valve, drain, lighting, fan, tile, and glass approach before rough-in. Product drawings determine blocking, outlets, pipes, openings, and finished clearances.
Confirm every model number when orders arrive and before fabrication begins. A substituted basin or shower valve can move a drain, drawer cutout, or wall penetration.
Store specification sheets with the approved plan and note who is responsible for each measurement. The glass fabricator and countertop installer should measure only after their supporting surfaces are fixed and level.
28. Install in an Order That Protects Finished Work
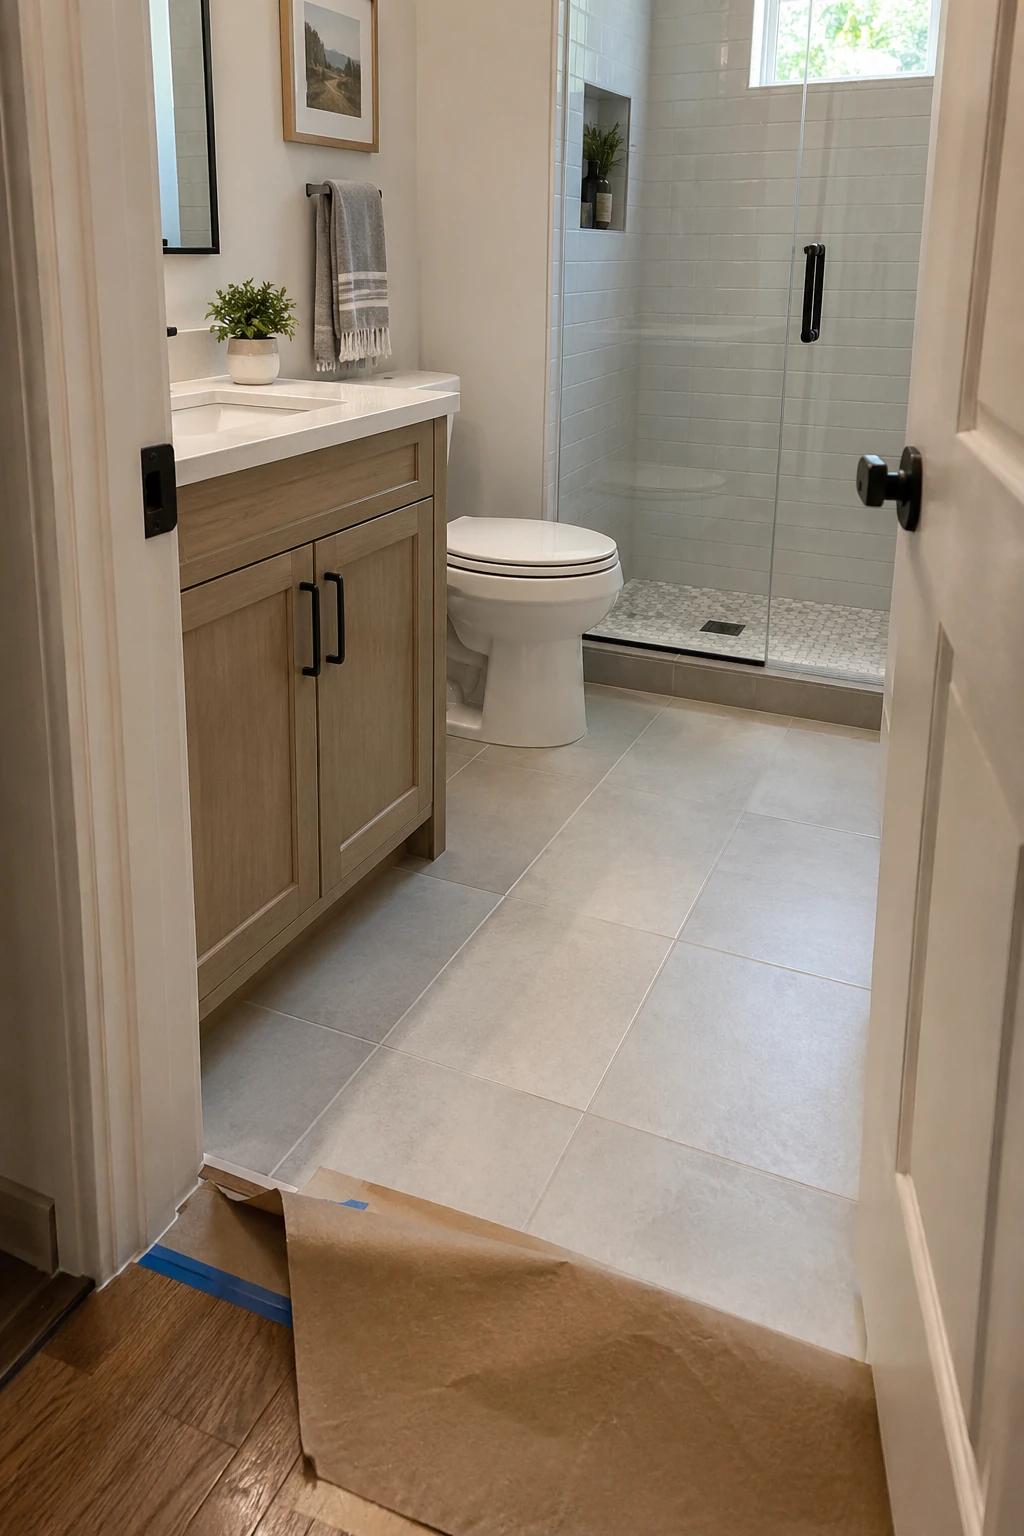
Coordinate demolition, framing, rough plumbing, electrical, ventilation, inspections, wall repair, waterproofing, tile, cabinetry, tops, finish fixtures, glass, paint touchups, and final adjustments as one sequence.
Do not cover rough work before required inspections or flood testing. Do not measure glass or countertops until the substrates they depend on are complete and stable.
- Approve rough plumbing, electrical, and ventilation before close-up.
- Complete waterproofing tests before tile or trim.
- Measure glass and tops only after supporting surfaces are final.
Protect floors, the tub, and cabinet faces with surface-appropriate materials as later trades return. Trapped grit can scratch beneath heavy protection, so clean before covering.
Reserve time for door alignment, sealant, fixture testing, fan verification, and a written punch list. A usable bathroom may still need careful finishing before the job is complete.
29. Design for Fast Cleaning and Service Access
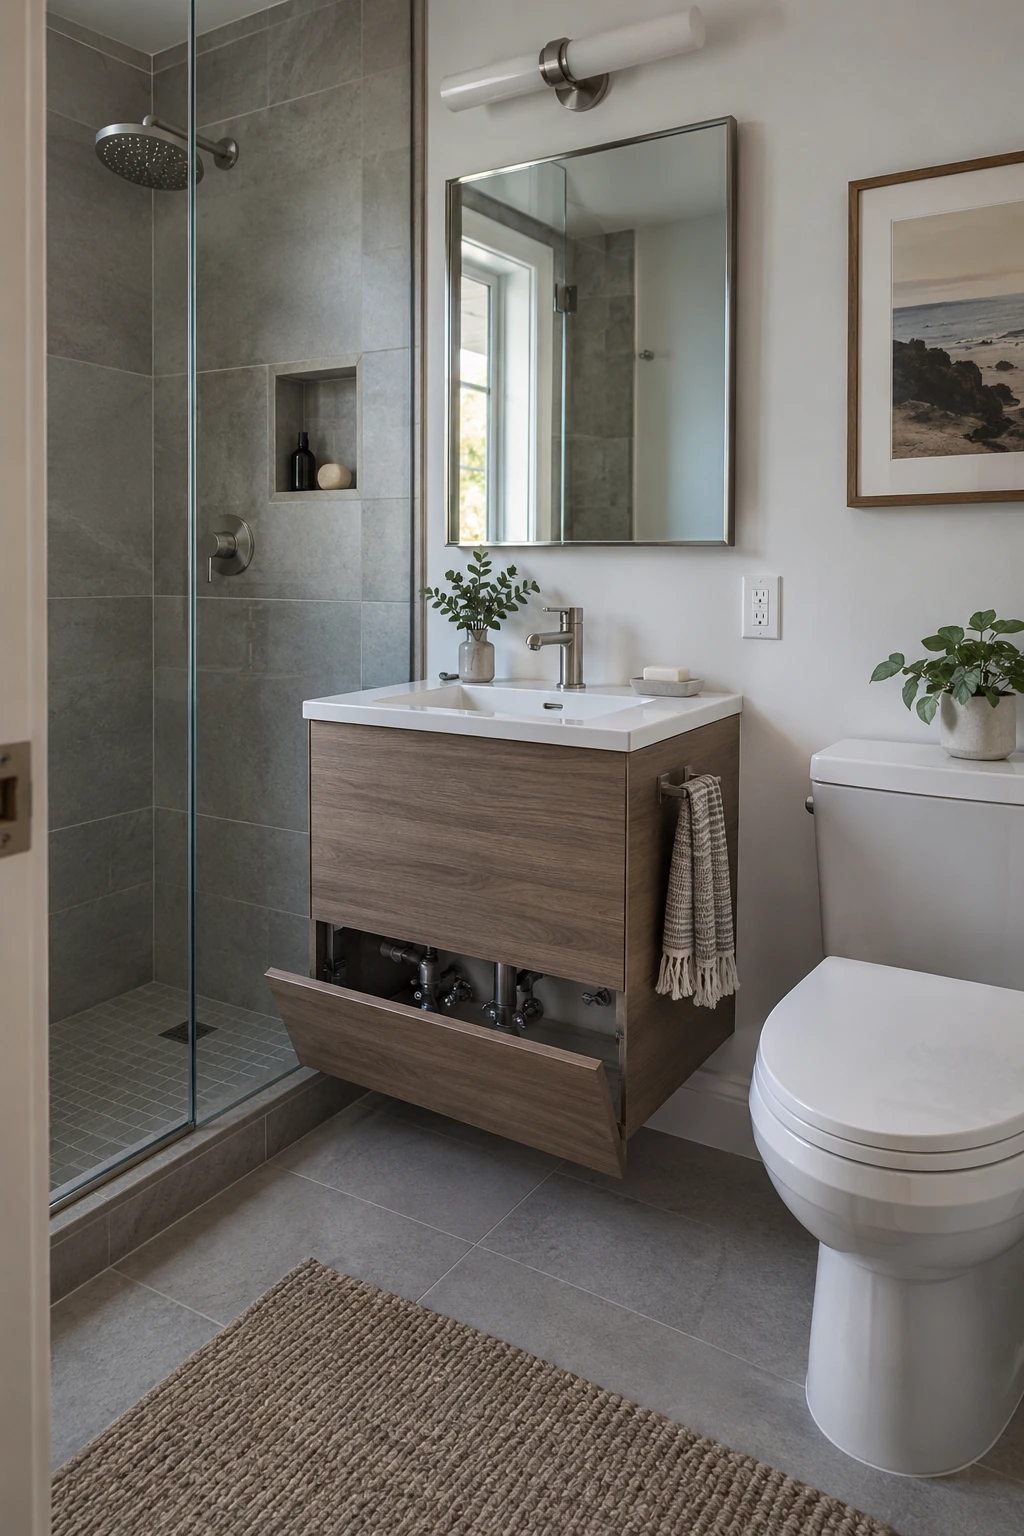
Fewer ledges, accessible floor edges, and uncomplicated glass reduce weekly cleaning. Large wall tile can reduce grout, while a wall-mounted vanity opens the floor beneath the sink.
Keep shutoffs, traps, fan grilles, drain strainers, and service panels reachable. Concealed hardware should be hidden from view, not sealed behind permanent finishes.
Save tile, grout, caulk, paint, fixture model numbers, warranties, and care instructions in one maintenance record. Use cleaners approved for each surface rather than one aggressive product everywhere.
30. Finish With One Calm, Repeatable Palette
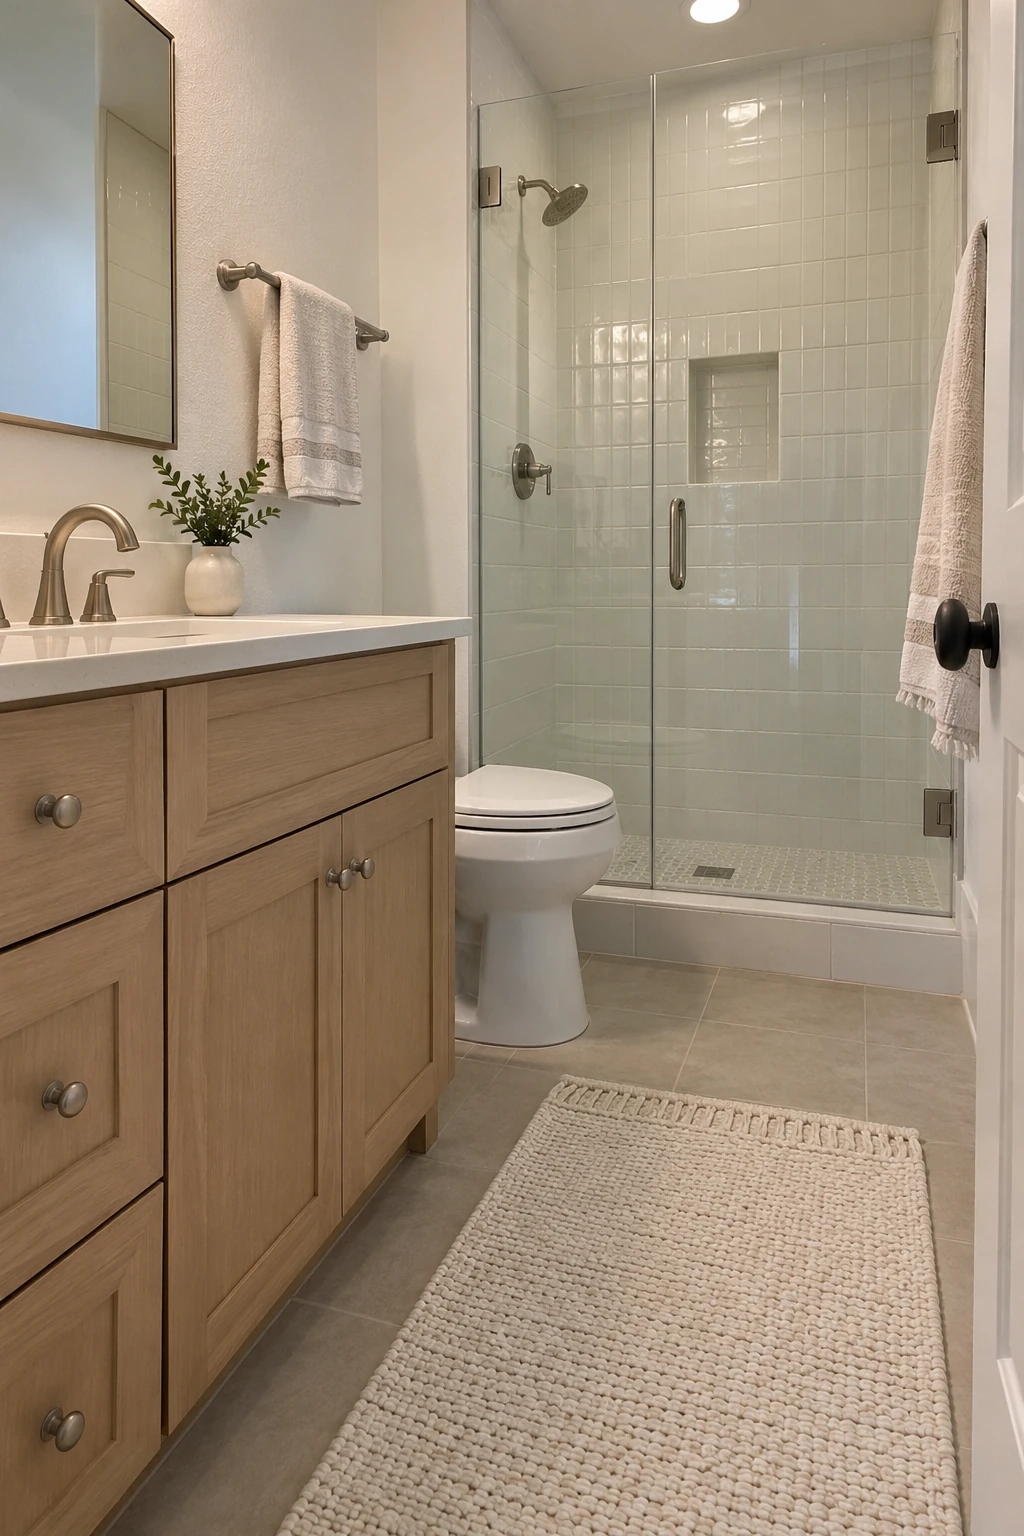
Limit the room to one main tile color, one cabinet finish, and one metal family before adding small accents. Repetition lets the layout read clearly and makes replacement parts easier to coordinate later.
Approve samples together under the final lighting. Whites, grays, and wood tones can shift when viewed beside each other or under a different color temperature.
Use removable towels, art, and bath mats for color instead of locking every trend into tile or plumbing. The fixed renovation stays adaptable while the room can still change character.
Compare More Compact Bathing Layouts
When a standard tub or hinged enclosure crowds the room, change the opening method, footprint, or receptor before moving walls. Every alternative still needs a complete drainage and waterproofing design.
31. Use a Sliding Shower Door in a Tight Aisle
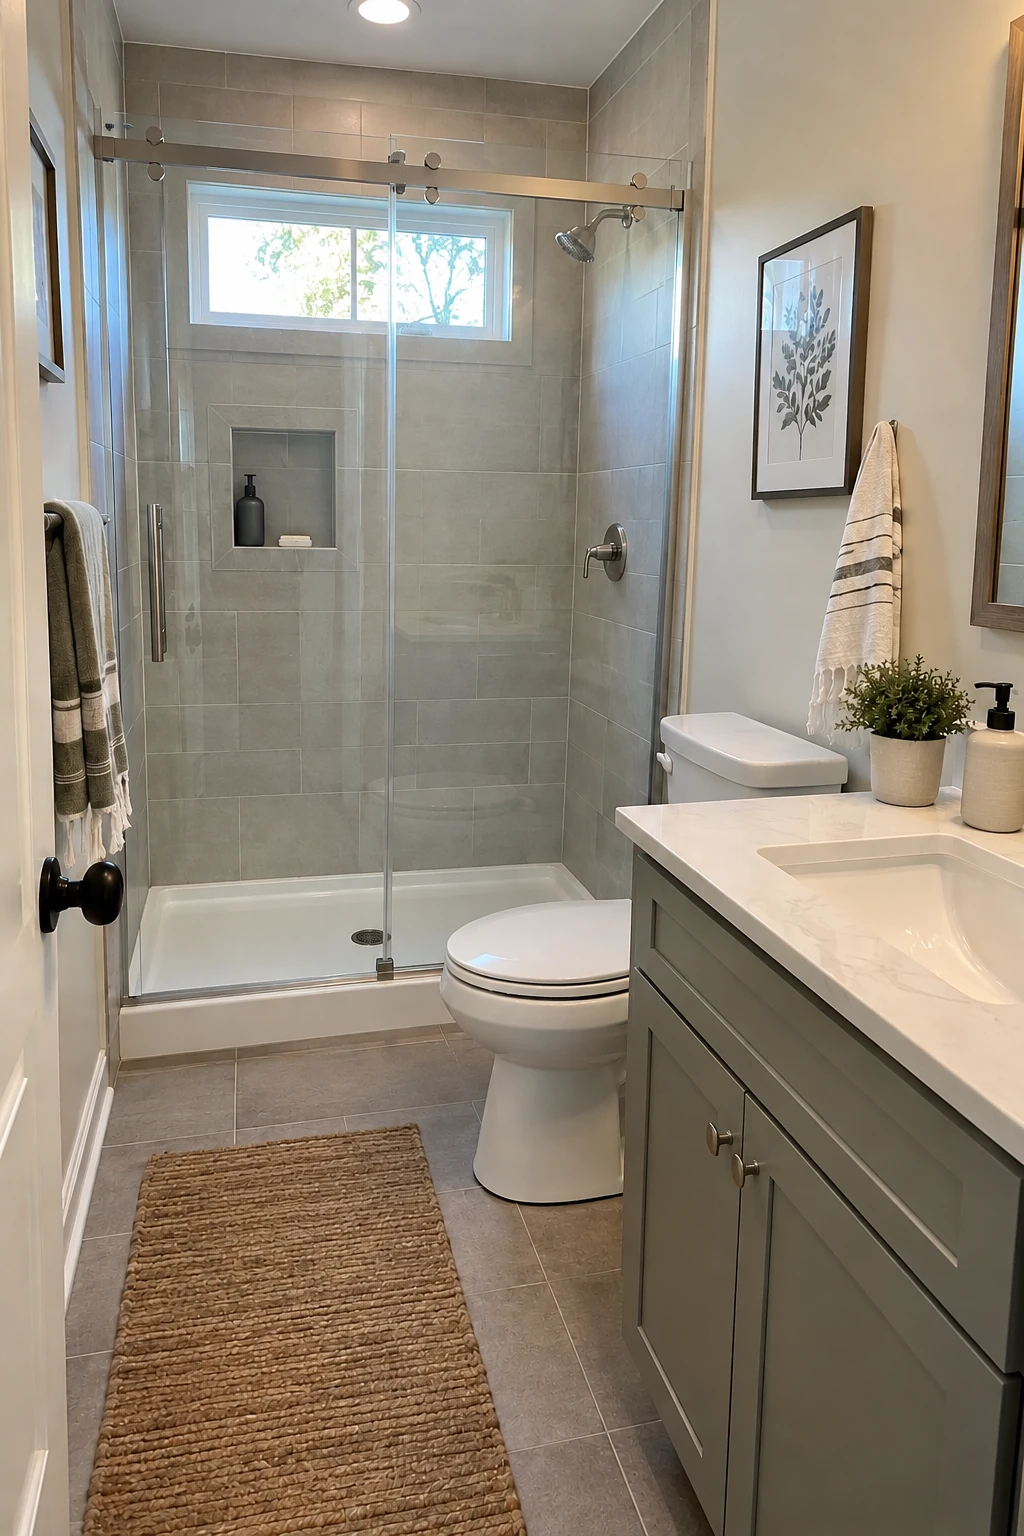
A sliding enclosure keeps glass out of the aisle and avoids a door colliding with the vanity or toilet. It controls spray more fully than a short fixed panel in a very shallow shower.
Confirm the clear entry after one panel overlaps the other, plus the reach needed to clean the track and glass edges. Choose serviceable hardware rated for the glass and wall structure, and slope the curb toward the shower.
32. Open the Center With a Corner Shower
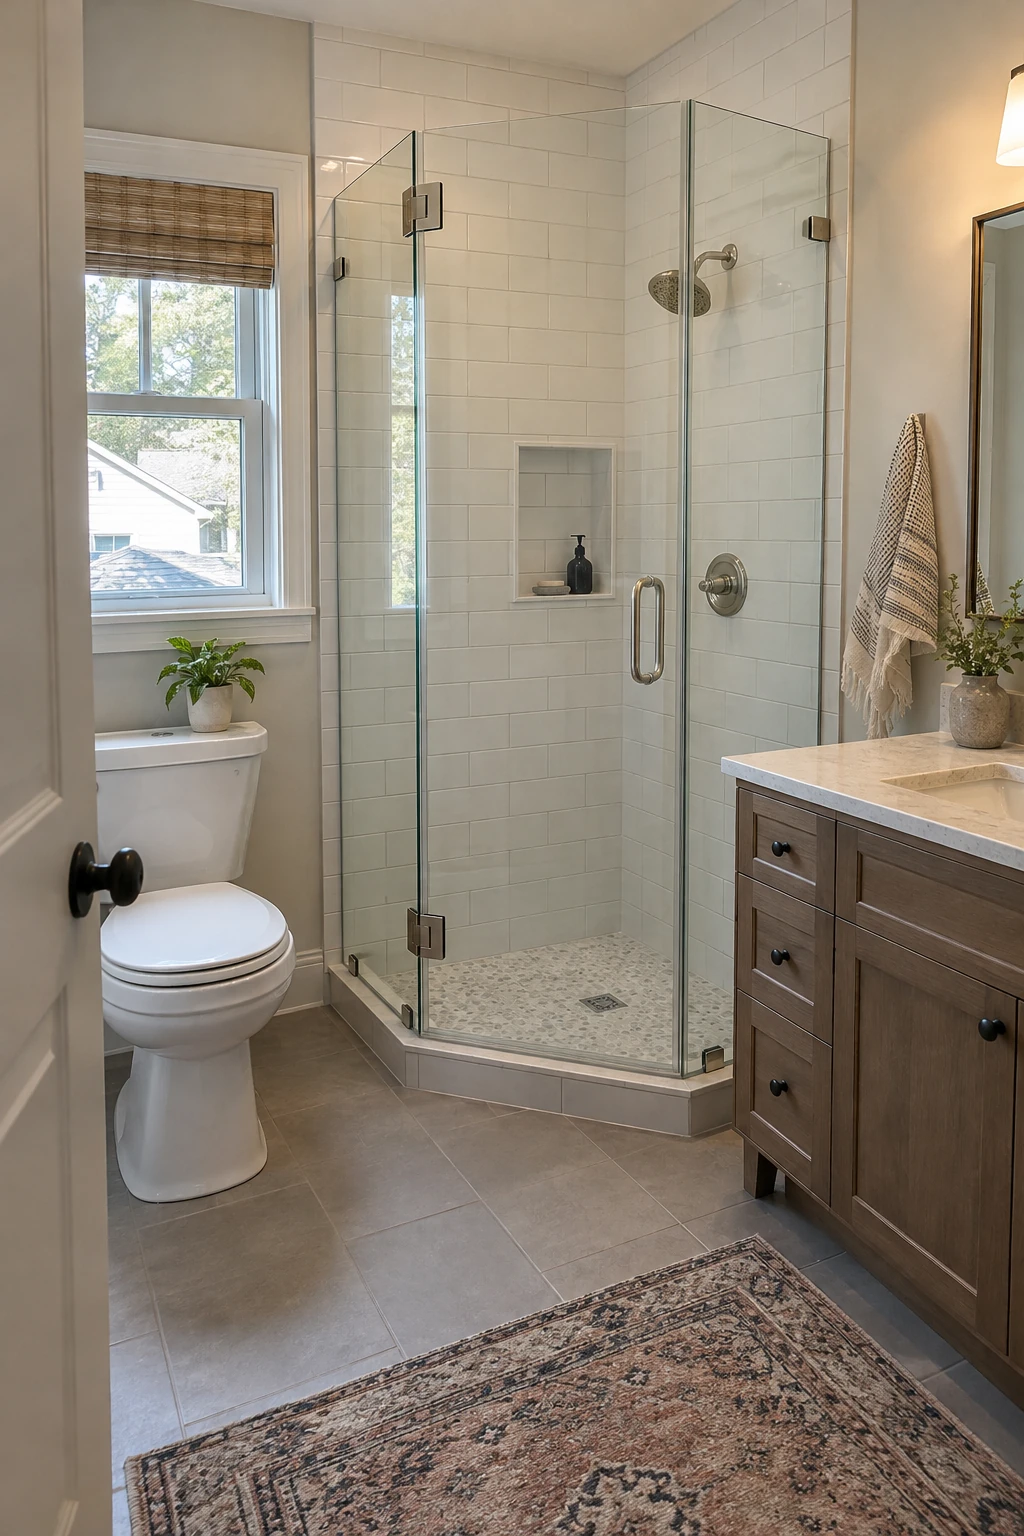
A corner shower can free the middle of a nearly square bathroom and create a clearer route from the door to the sink. A clipped or curved front reduces the projection into circulation.
Test the internal standing area, door opening, and elbow room rather than selecting by exterior dimensions alone. Prefabricated bases and glass kits require very accurate walls and rough-ins.
Keep the showerhead aimed away from the opening and place a towel within reach of the dry side. A smaller footprint should not create constant splash outside the enclosure.
33. Fit a Short Soaking Tub Instead of a Standard One
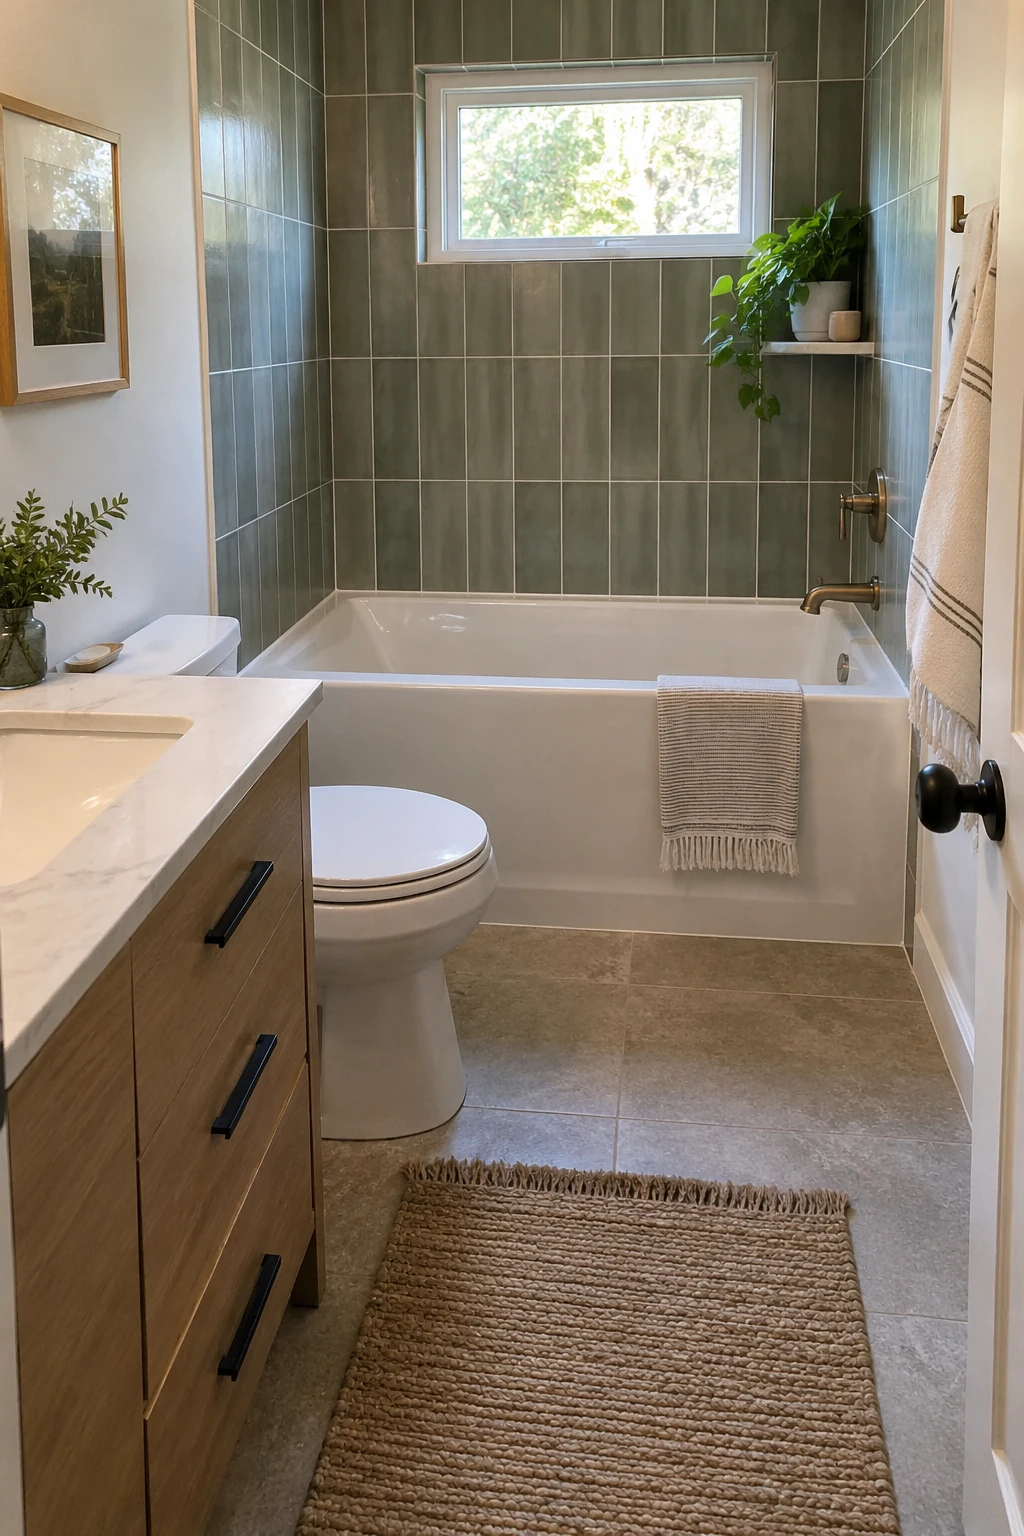
A shorter, deeper tub can preserve bathing in a room that cannot comfortably hold a standard 60-inch alcove model. Sit in the exact tub before ordering because depth, back angle, and floor length affect comfort.
Check filled weight, floor structure, step-over height, filler reach, drain location, and cleaning access. A compact tub that blocks the window or traps an unreachable gap is not a space-saving success.
Use a wall-mounted or deck-mounted filler only when its service access and splash pattern suit the installation. Keep a handheld spray available for rinsing and cleaning.
34. Choose a Low-Profile Prefabricated Shower Base
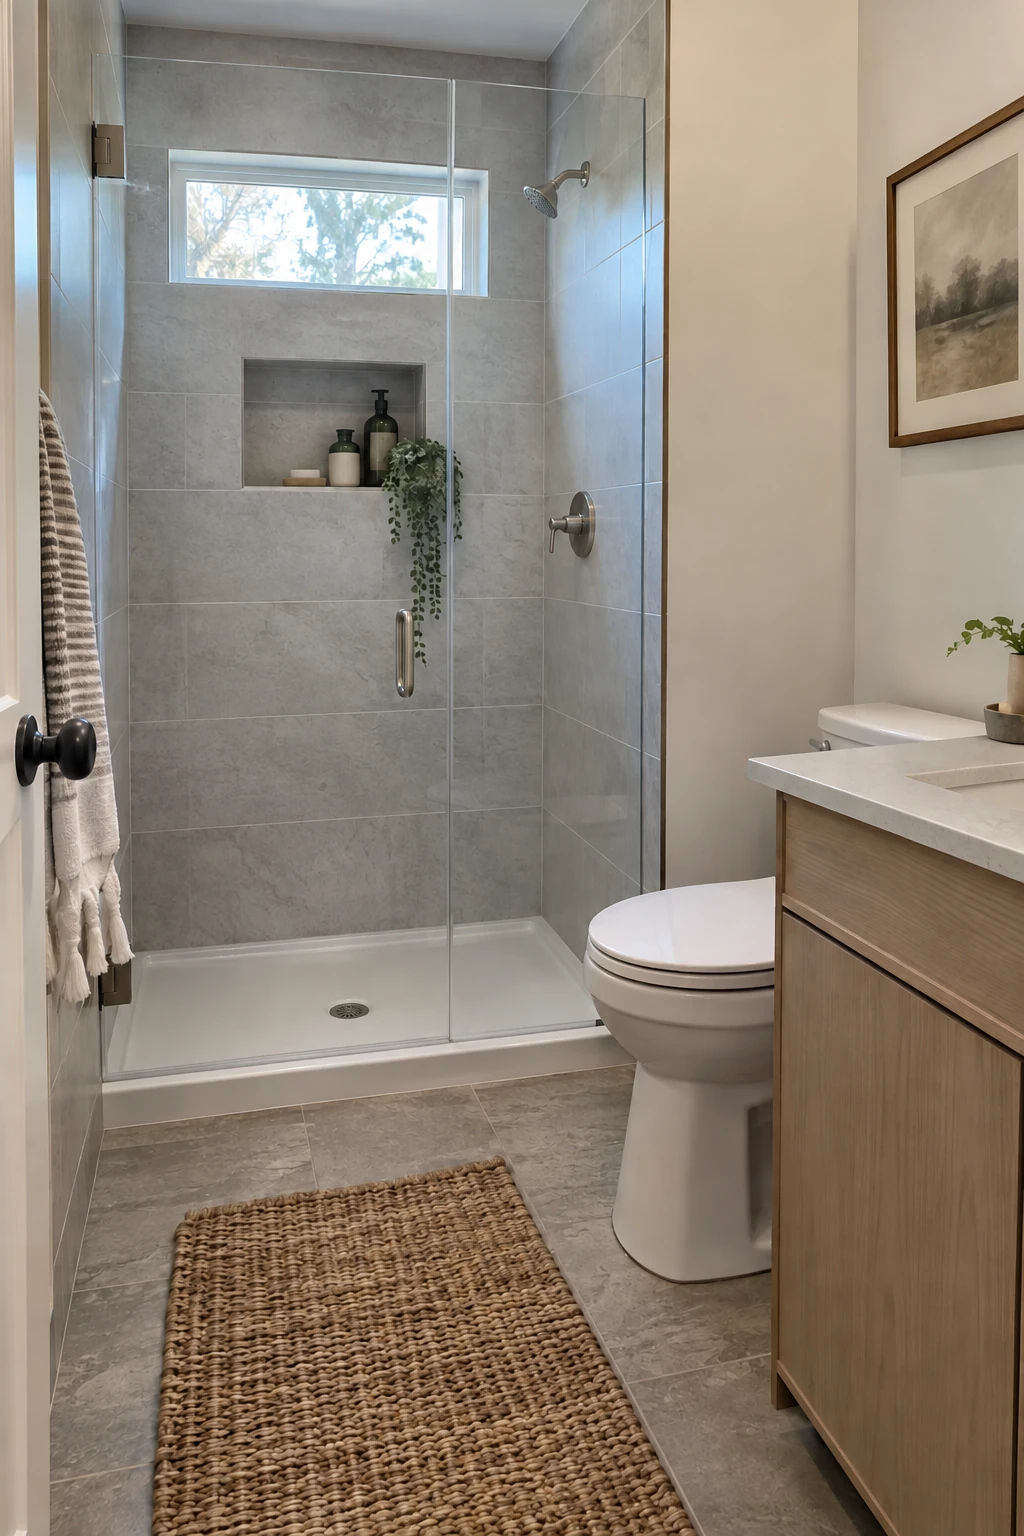
A quality prefabricated receptor can simplify slope, reduce grout on the floor, and shorten installation compared with a fully tiled pan. Low-profile models reduce the visual and physical step at the entry.
The subfloor must be flat and supported exactly as the manufacturer requires. Drain alignment, flange integration, waterproof wall transitions, and glass fastening still need careful coordination.
Before framing: compare the receptor's actual dimensions, drain center, flange detail, and required support with the plan; nominal size alone is not enough for rough-in.
Confirm slip resistance, repair options, available sizes, and how the threshold meets the bathroom floor. Do not cut or drill a receptor outside its approved installation details.
Order the base before framing the enclosure because nominal and actual dimensions may differ. Protect its finished surface from dropped tools and abrasive debris throughout the remaining work.
35. Build a Continuous Shower Ledge
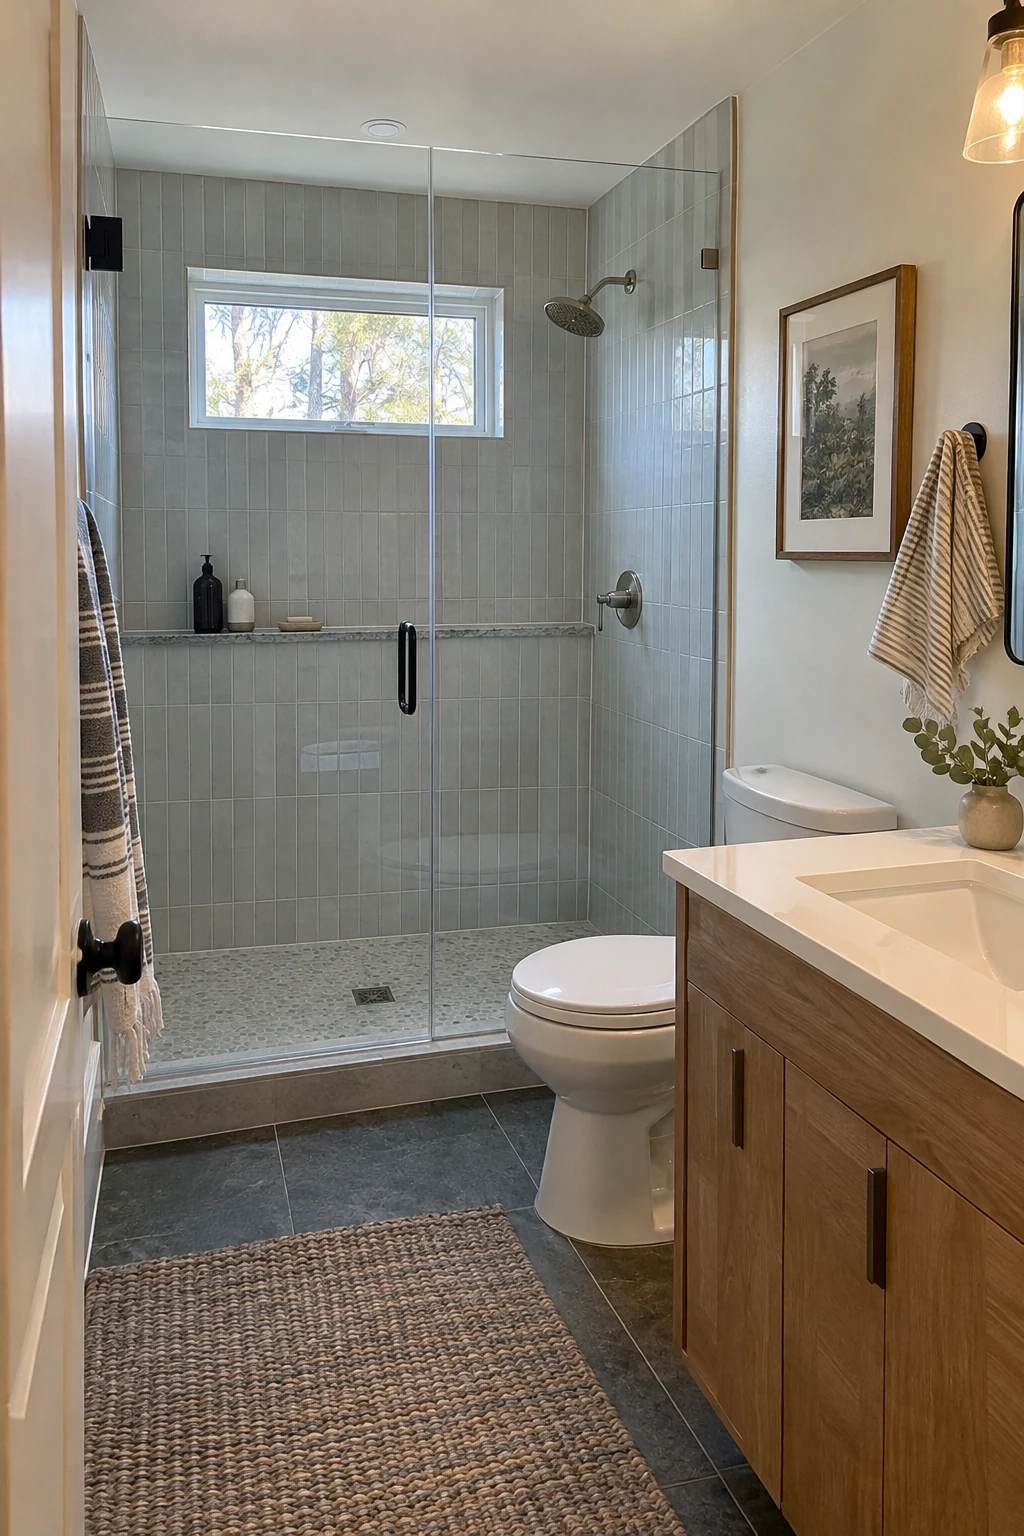
A shallow framed ledge can span the shower when a niche conflicts with plumbing or an exterior wall. It provides flexible storage without forcing bottles into one stud bay.
Waterproof the ledge as part of the wall assembly and slope its solid cap toward the drain. Keep the projection small enough that it does not reduce shoulder or elbow room.
Align the ledge with a tile course or window sill so it reads as architecture. Avoid placing it where users will step on it or where standing water collects behind bottles.
36. Aim the Shower Spray Away From the Opening
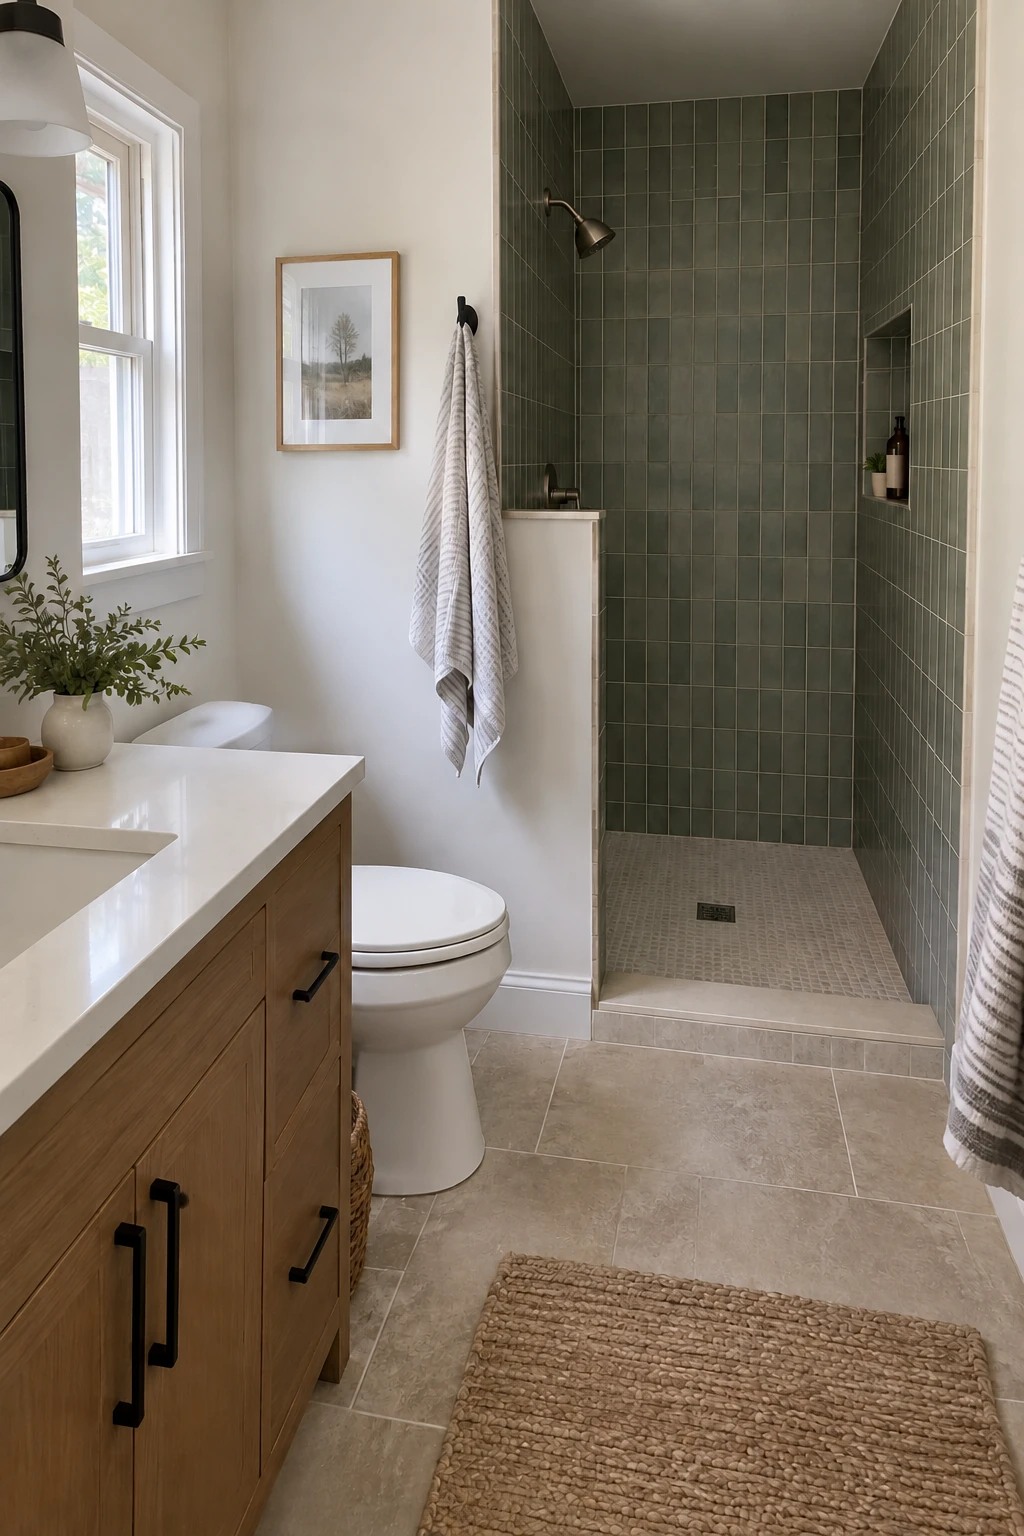
The showerhead wall affects how much water reaches the bathroom floor. Point the main spray toward a solid tiled surface and keep handheld hoses from resting where they can direct water through the opening.
Mark the user position, control reach, niche, bench, and glass together on the plan. A centered showerhead is not automatically correct when the entry is off-center.
Test the rough-in heights against the household, then follow the valve and showerhead instructions. Good spray control can allow simpler glass, but it does not replace waterproofing outside the immediate stream.
Use Compact Fixtures and Hidden Storage
A few inches gained at the sink or toilet can improve the whole route through the room. Select compact fixtures by usability, service access, and the storage they preserve.
37. Mount a Corner Sink in a Difficult Plan
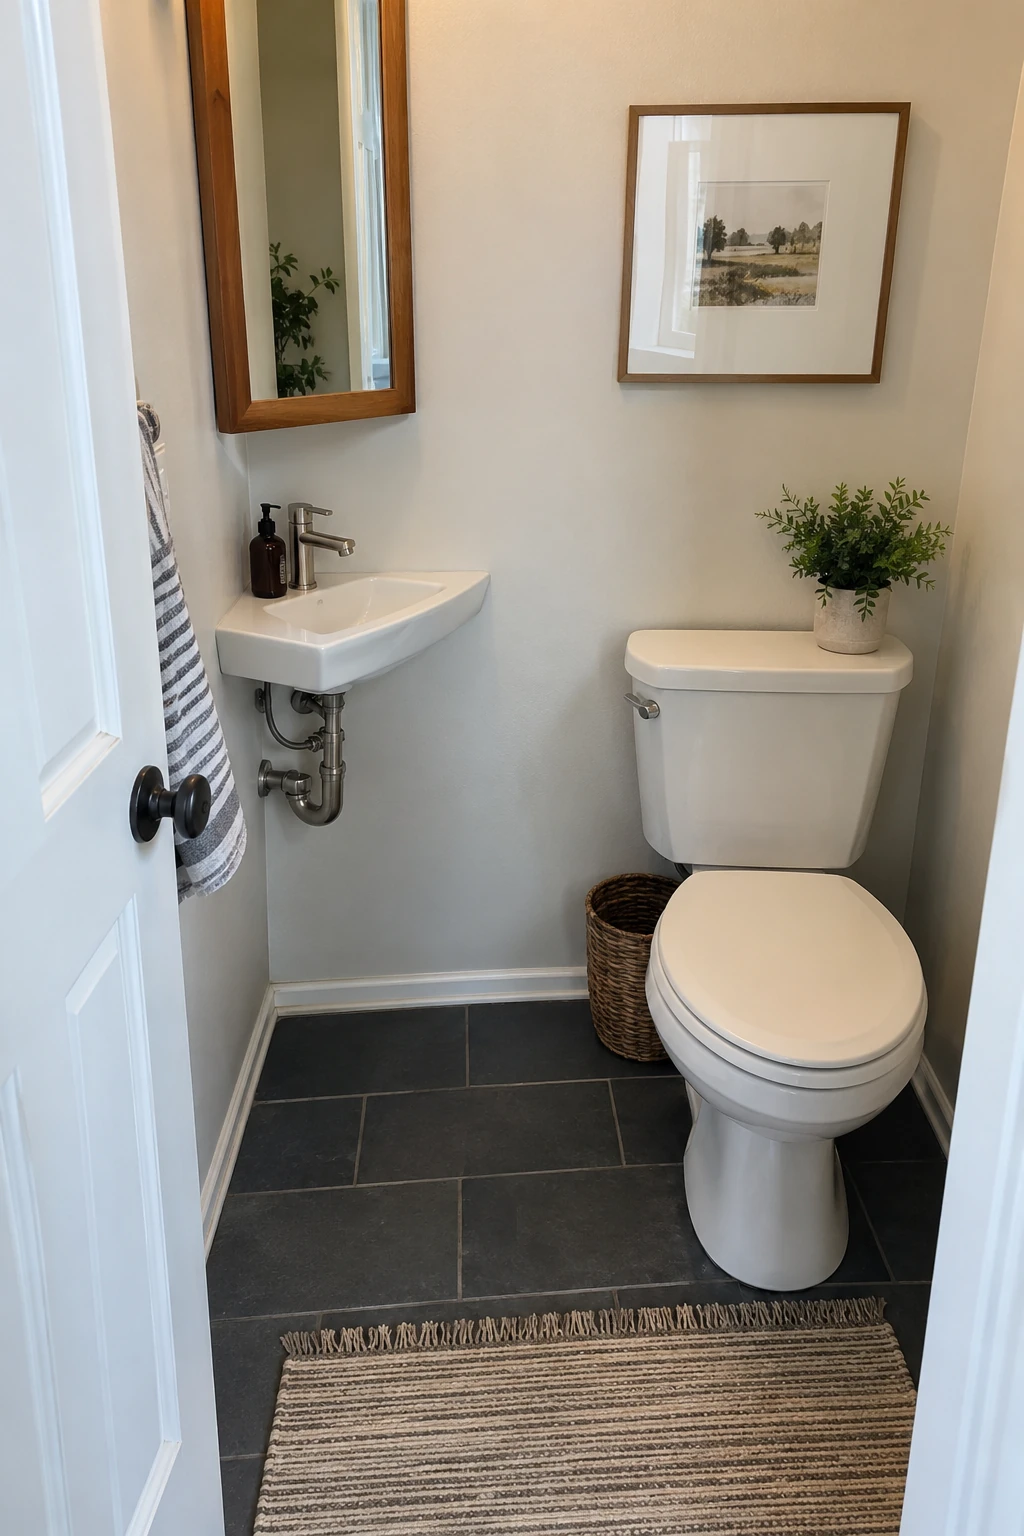
A wall-mounted corner basin can clear a route in a tiny powder bath or secondary bathroom where a standard vanity blocks the door. Choose one with enough bowl depth and a small landing edge for soap.
Plan exposed supply and drain lines as visible details or conceal them in a deliberate chase. Add wall blocking, verify height and faucet reach, and move bulk storage elsewhere so cabinets do not erase the circulation gain.
38. Use a Wall-Hung Toilet to Clear the Floor
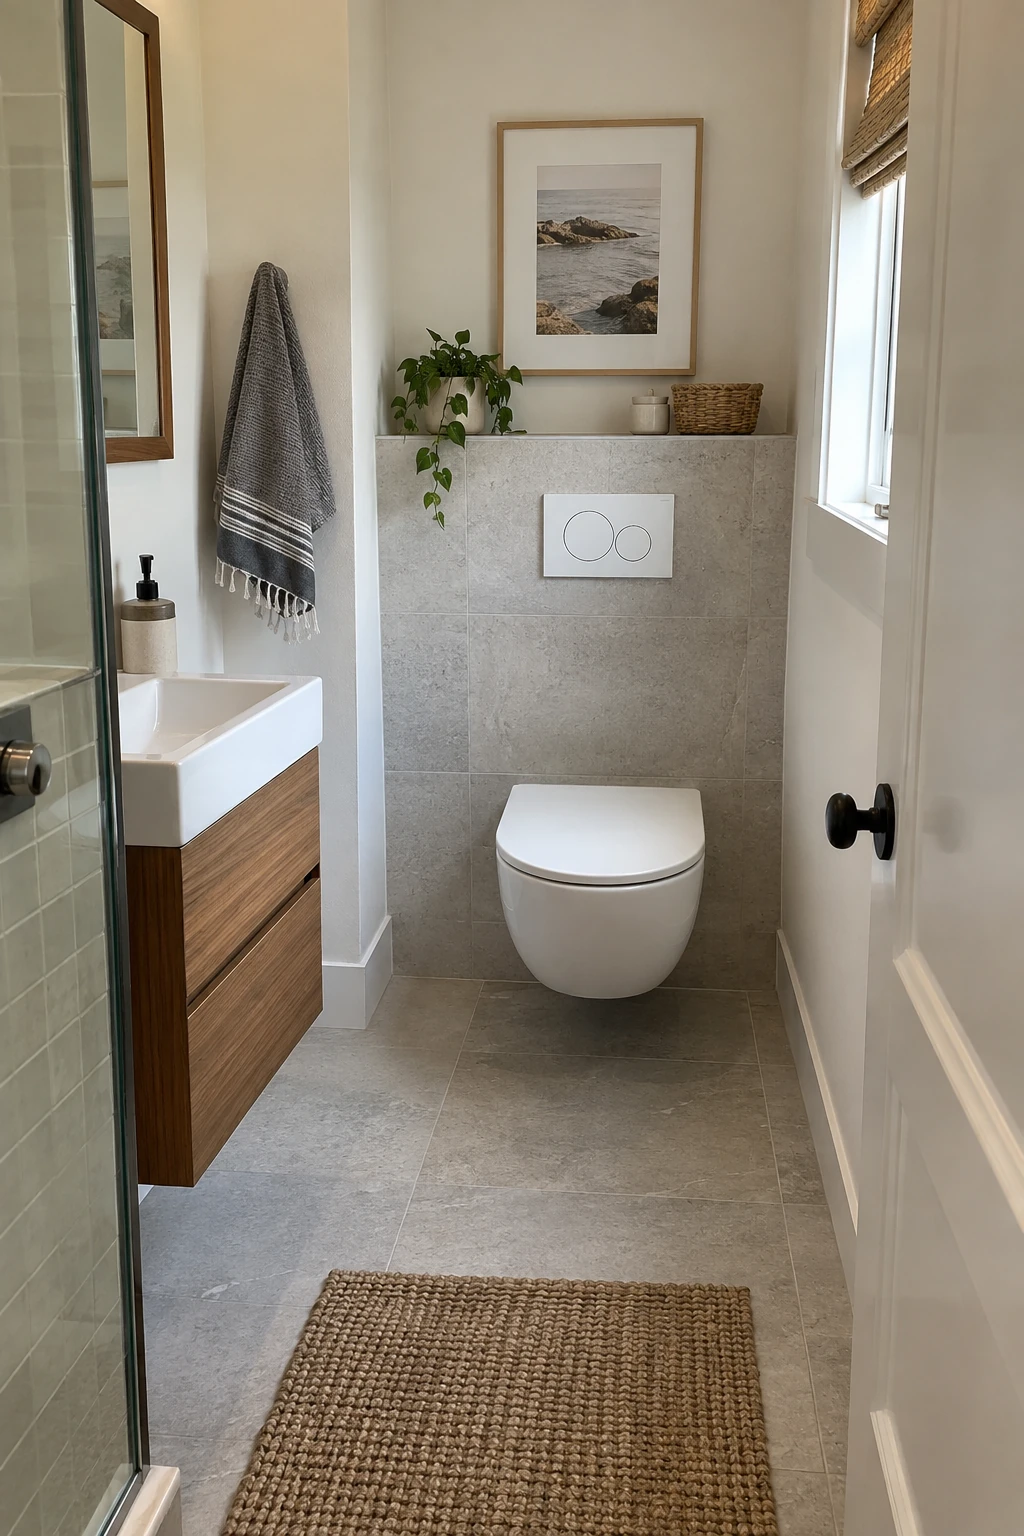
A wall-hung toilet opens the floor beneath the bowl and lets the finished seat height be set during installation. The carrier wall can form a shallow ledge for a few practical items.
Account for carrier depth, structural attachment, supply and waste alignment, flush-plate service access, and parts availability. The visible projection may shrink while the wall behind becomes thicker.
Coordinate the chase with the vanity or shower so it ends at a deliberate line. A random box around the carrier can fragment a small room.
39. Shift the Sink to Create One Useful Counter
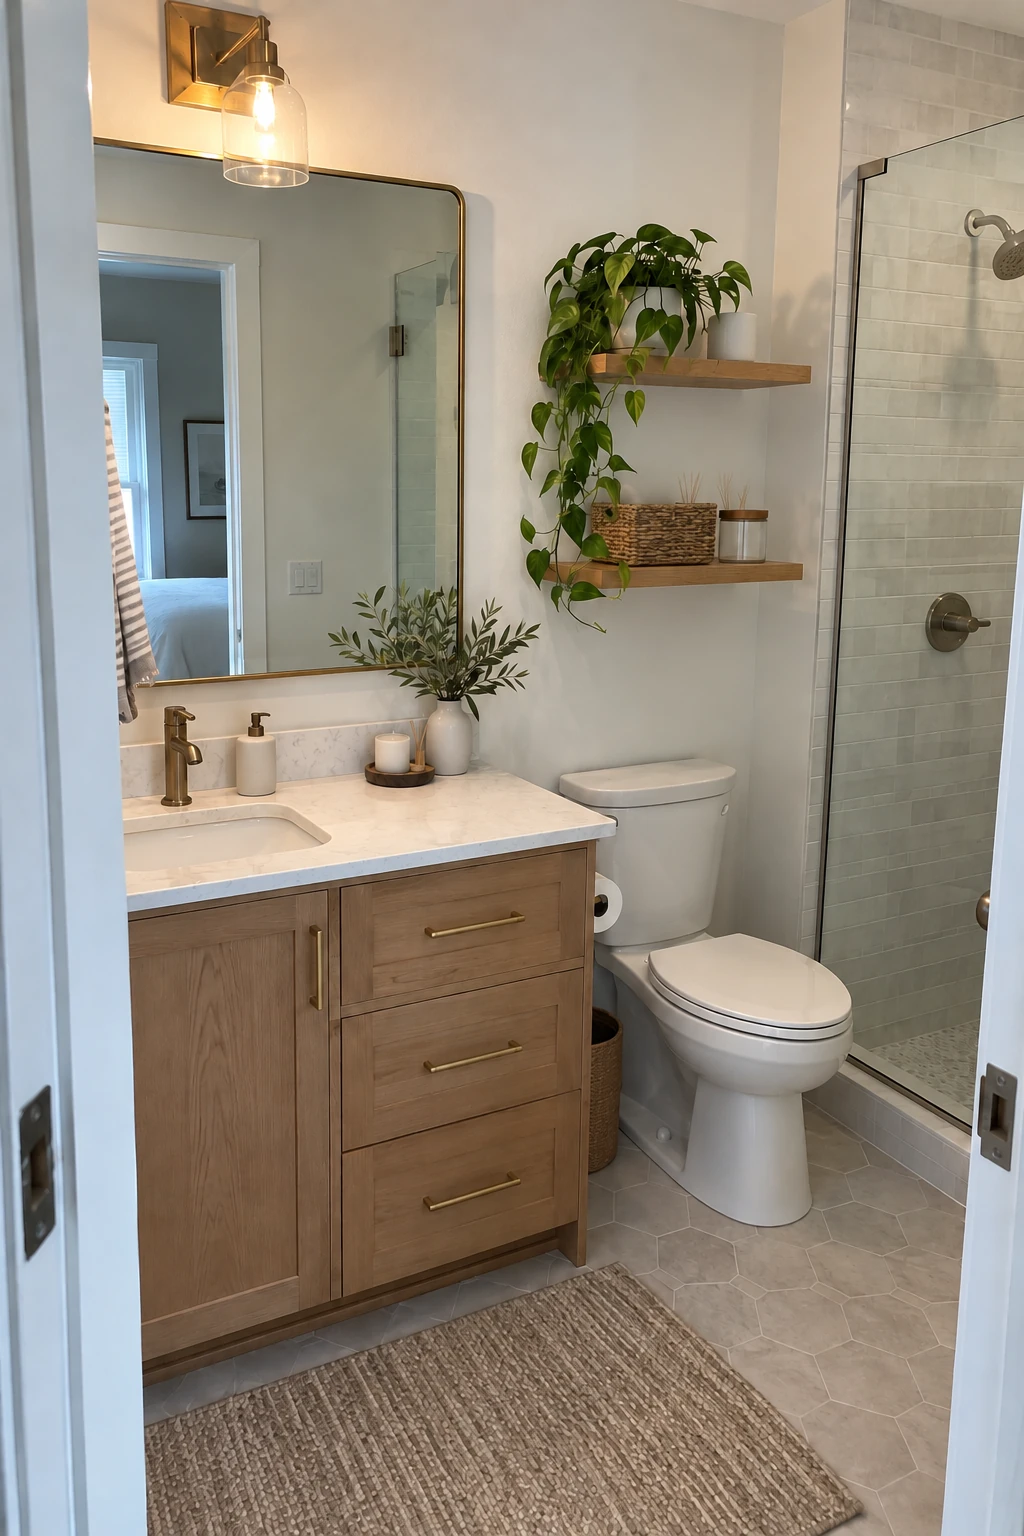
Centering a basin can leave two narrow counter scraps. Shifting it to one side creates a single landing area for daily grooming while preserving a compact cabinet width.
Coordinate the drain, faucet, mirror, lighting, and drawer bank around the new centerline. The composition should look intentional rather than like a field change.
Keep the clear counter on the side that does not crowd the toilet or doorway. Test how right- and left-handed users reach the faucet and nearby outlet.
40. Mount the Faucet on the Wall
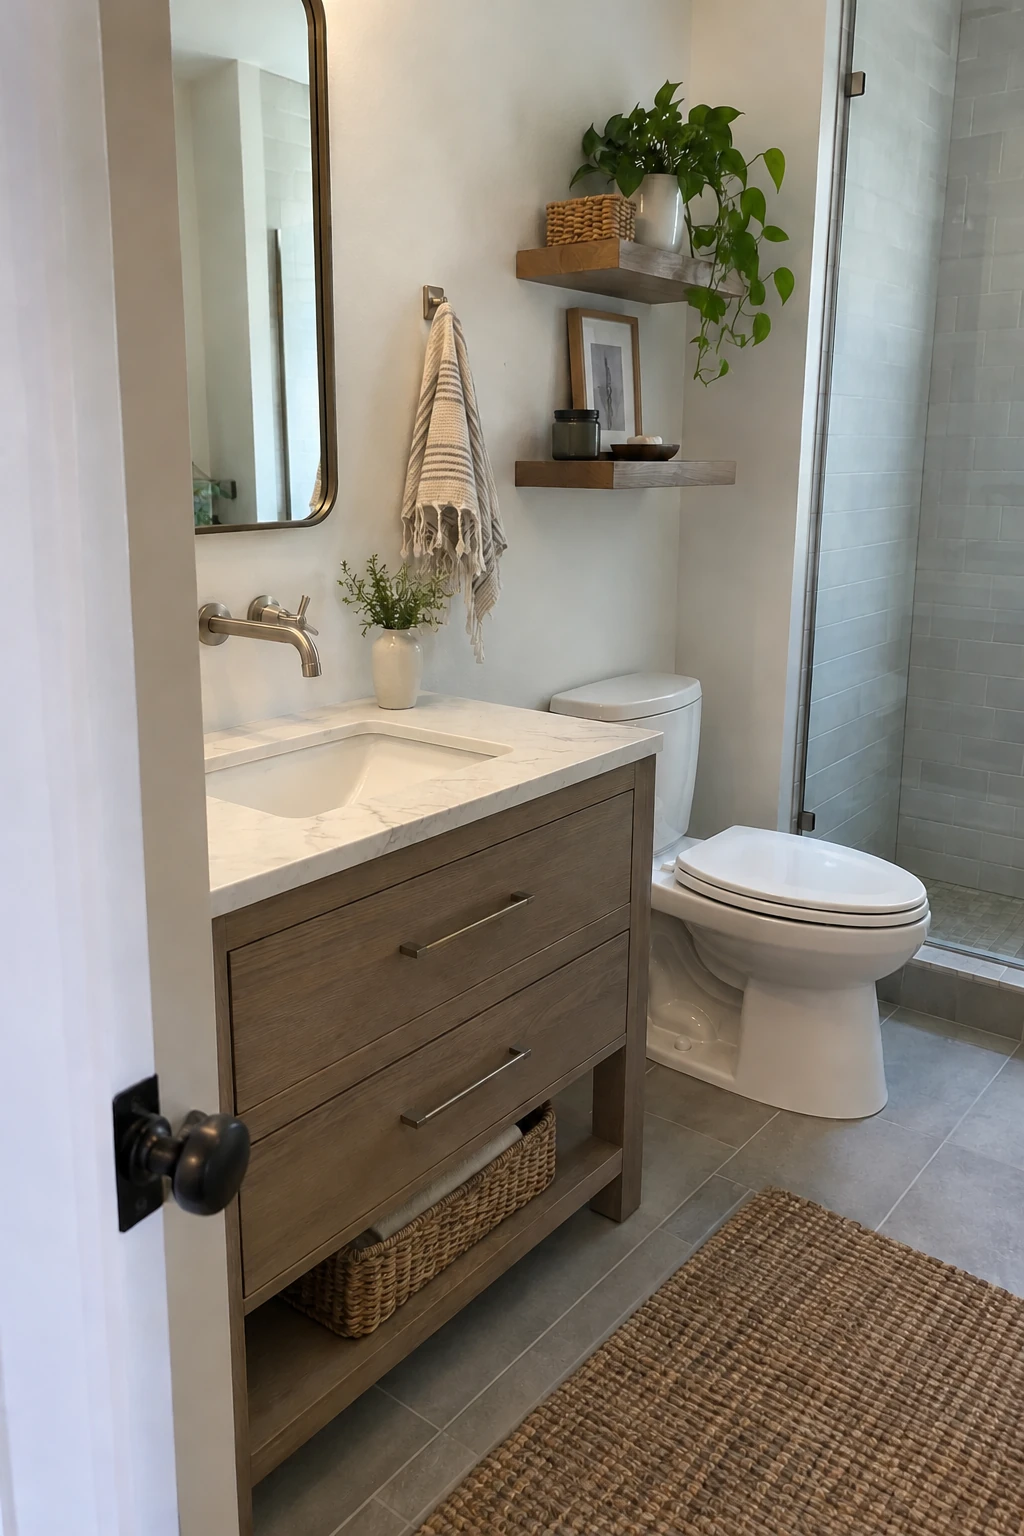
A wall-mounted faucet frees the narrow strip behind the basin and makes the counter easier to wipe. It pairs well with a shallow vanity when a deck-mounted faucet would crowd the bowl.
Set spout reach and height using the exact sink and finished wall thickness so water lands near the drain without splashing. Use a serviceable valve with available parts and secure its rough-in before tile.
41. Wrap Vanity Drawers Around the Plumbing
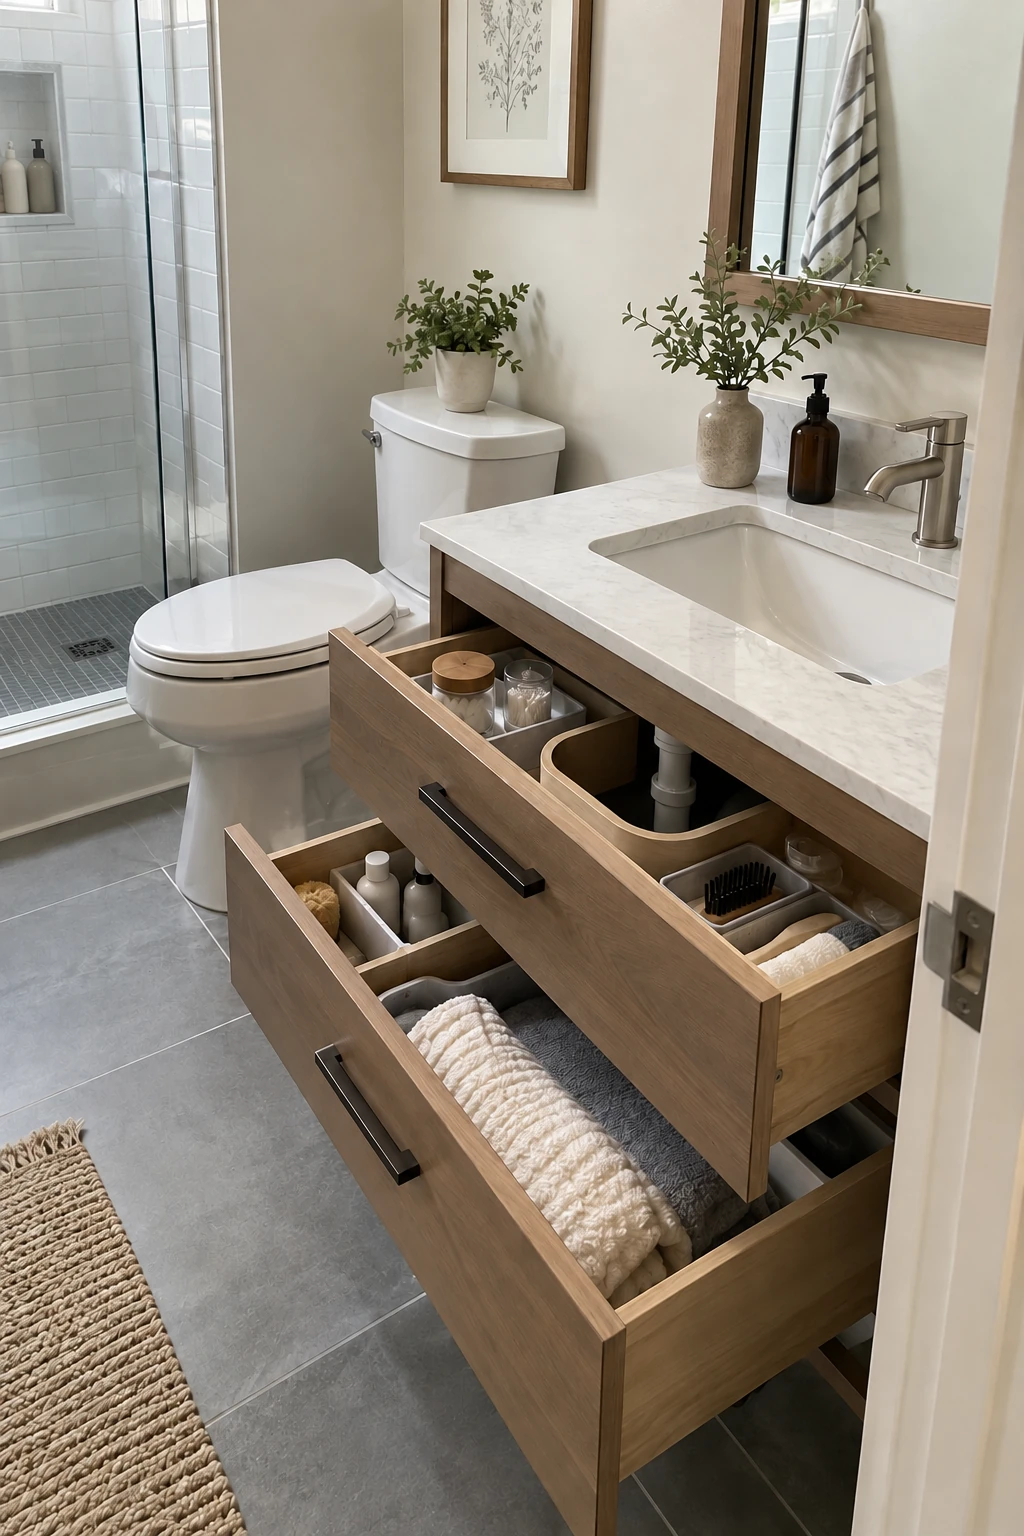
A U-shaped top drawer uses the space around the trap while a full-depth lower drawer holds towels and refills. The arrangement keeps small items visible from above.
Finalize the drain, supply valves, sink depth, and disposal of condensation before the cabinet is built. A large plumbing cutout can erase the storage benefit.
Use removable organizers and leave shutoffs reachable without removing the entire drawer system. Protect the cabinet base with a washable tray or leak mat.
42. Hide a Pullout Hamper in the Vanity
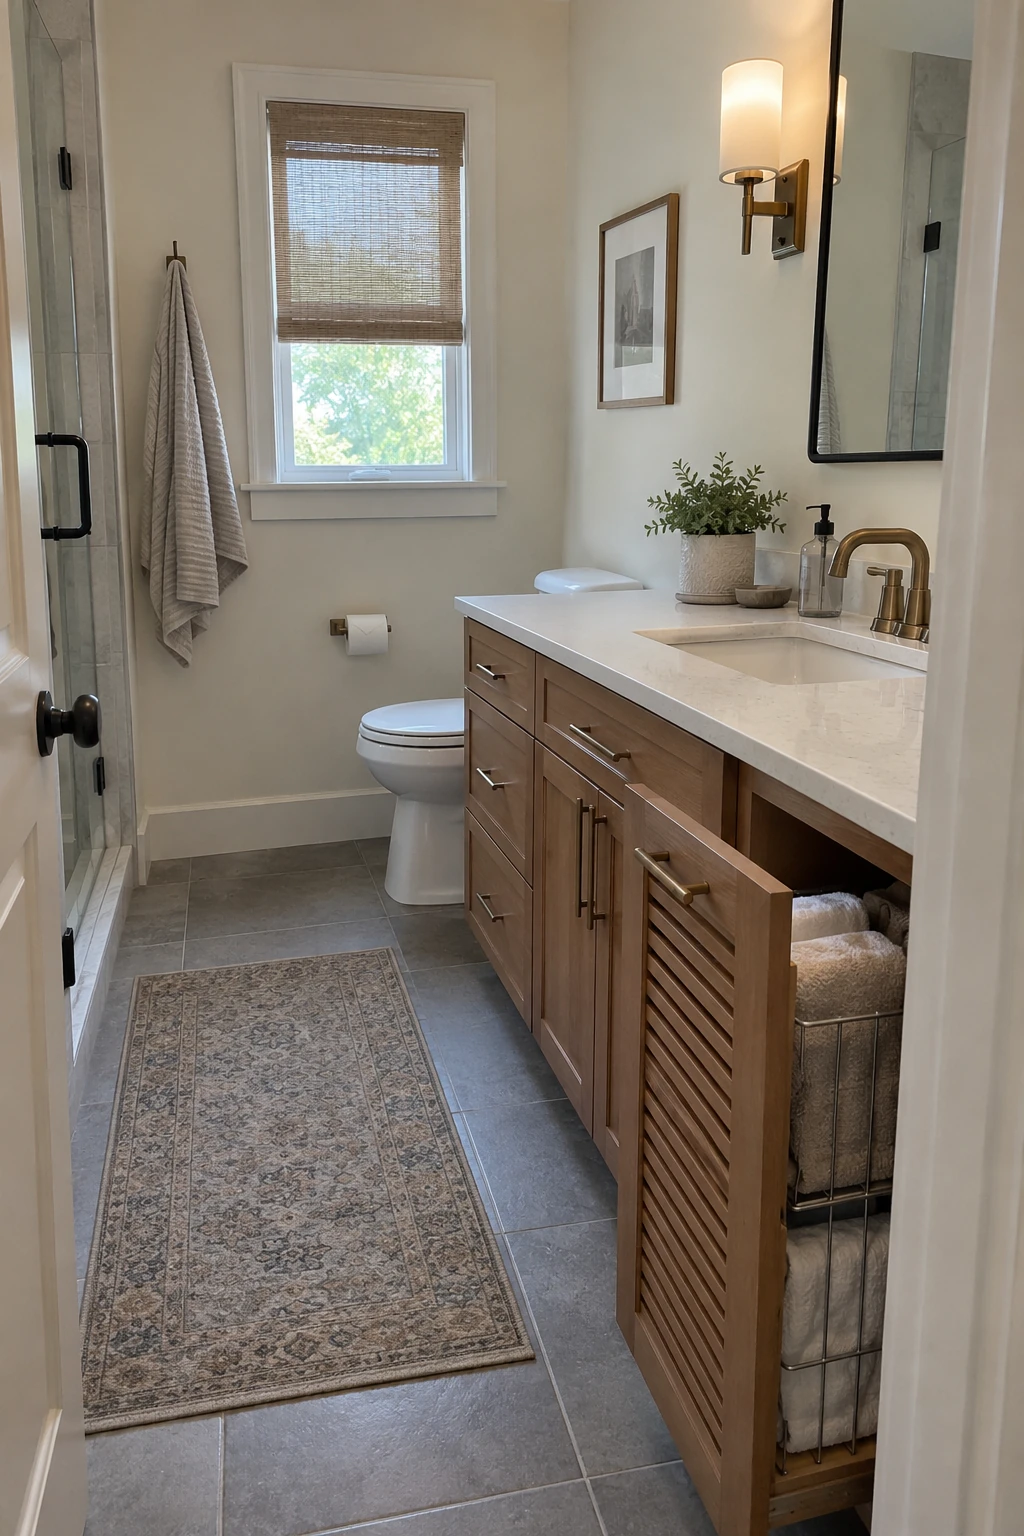
A narrow pullout hamper captures damp towels and clothing without adding a basket to the floor. Place it at the end of the vanity where it can open without trapping someone at the sink.
Use a removable washable bag and provide ventilation. Wet fabric should still be moved promptly to laundry; concealed storage is not a drying system.
Confirm the pullout does not collide with the bathroom door or toilet. A freestanding slim hamper remains the better choice when cabinetry is too tight.
Control Daylight, Joints, and Small Details
Windows, mirrors, controls, and transitions occupy little area but strongly affect privacy, maintenance, and comfort. Detail them before tile and trim lock the edges in place.
43. Use Frosted Glass at a Shower Window
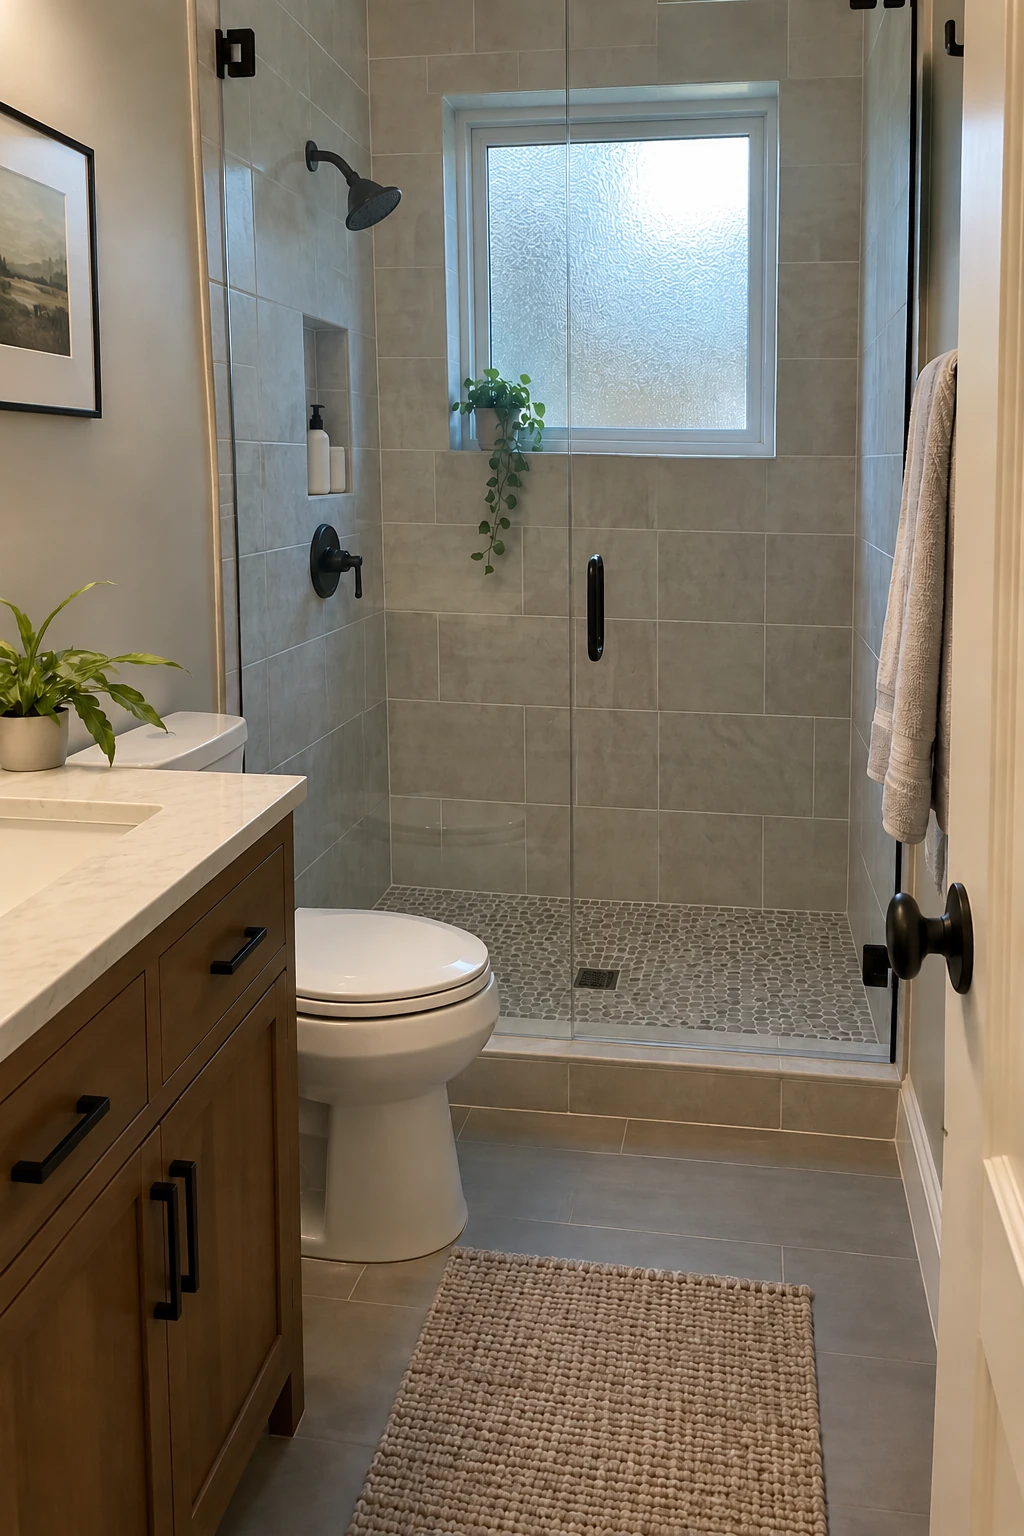
Privacy glass brings daylight into the shower without a fabric shade in the wet zone. Choose glazing and window construction suited to the location and any required safety glazing.
Integrate the opening into the waterproof wall assembly and slope the sill toward the drain. Use a solid sill material with minimal joints and keep operable hardware reachable.
- Use safety glazing where the location requires it.
- Slope the sill toward the shower and minimize joints.
- Detail exterior flashing, insulation, and interior waterproofing as one assembly.
Exterior appearance, insulation, condensation, and local egress or safety rules still apply. A peel-on privacy film is a renter-friendly dry-side option only when the product suits the glass and moisture.
Inspect sealant, paint, and exterior flashing during routine maintenance. A window inside the wet zone deserves closer attention than one on a dry wall.
44. Bring Daylight Through a Tubular Skylight
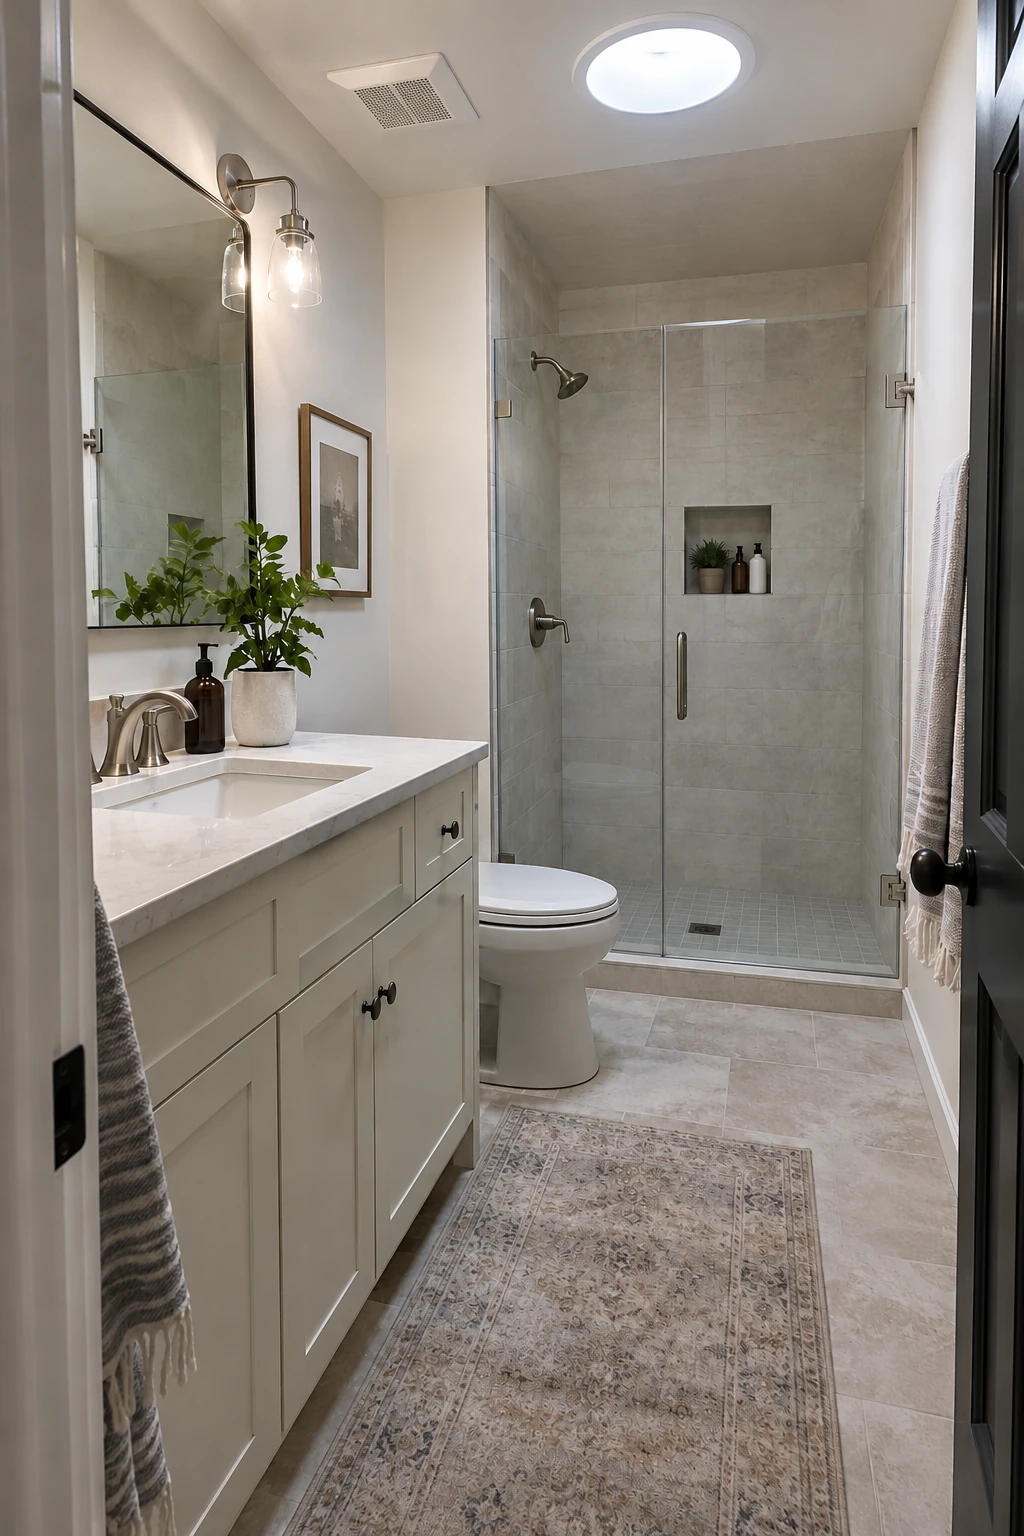
A tubular daylight device can brighten an interior bathroom without sacrificing wall storage or privacy. It is smaller than a conventional skylight and can thread between some roof and ceiling obstacles.
A qualified installer should confirm the roof path, flashing, insulation, condensation control, and ceiling location. Avoid conflicts with the exhaust fan, and retain vanity and nighttime lighting for dark hours.
45. Use a Full-Height Mirror on One Dry Wall
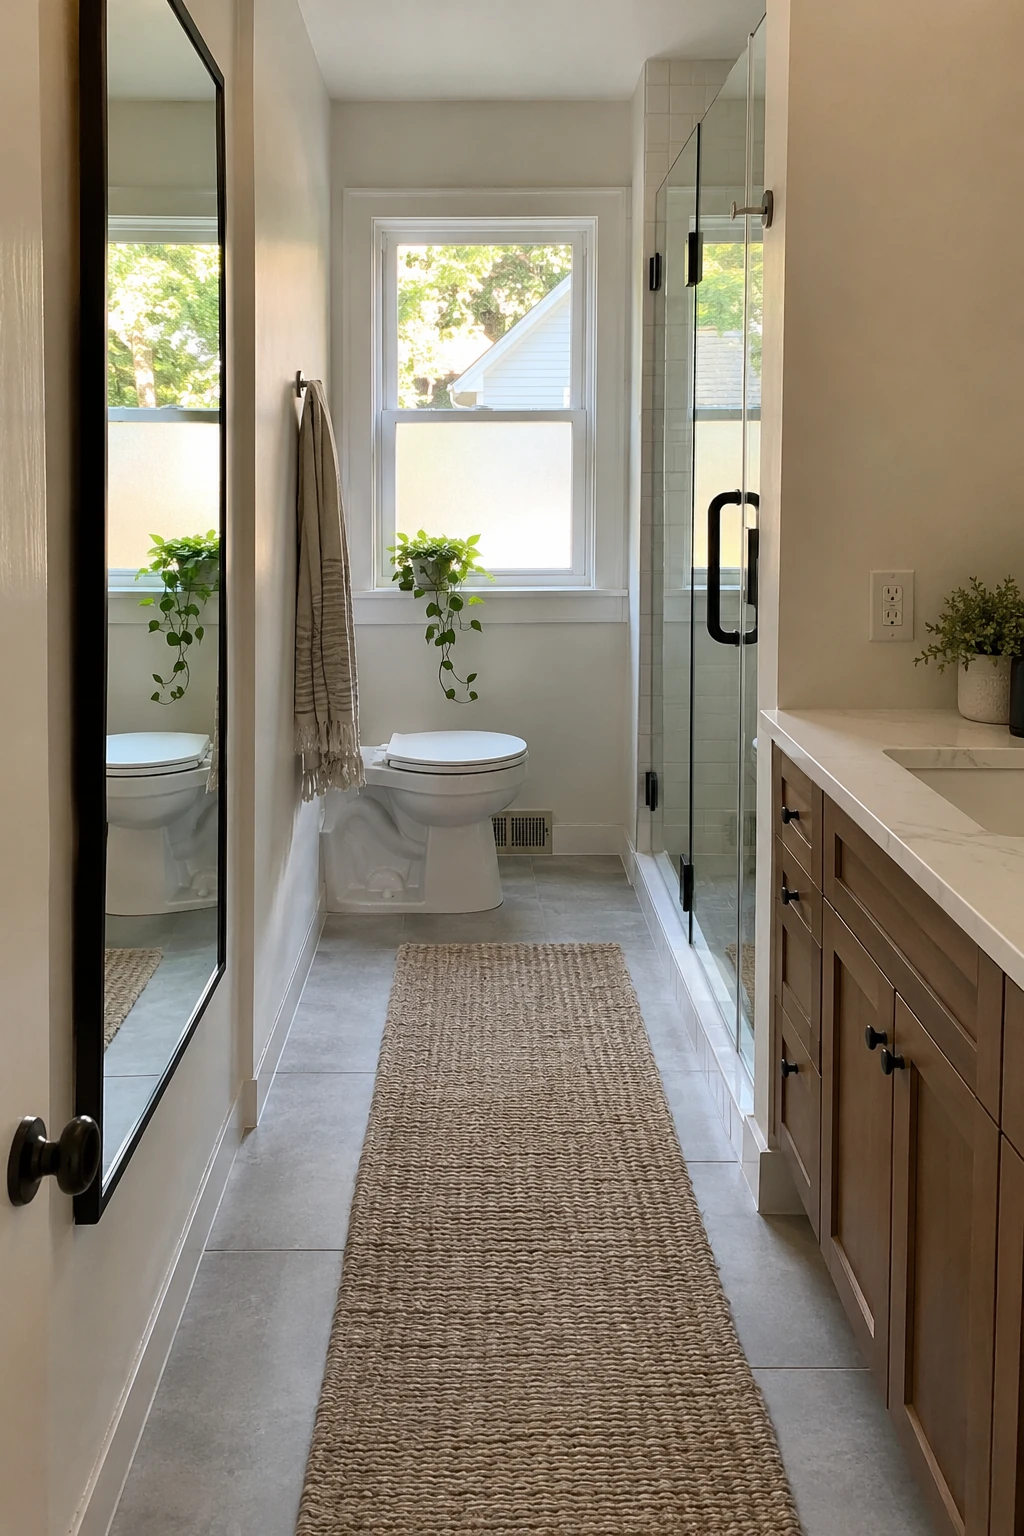
A tall mirror can borrow daylight and give a narrow room a longer sightline. Place it on a dry wall where its reflection shows useful light rather than the toilet or a cluttered doorway.
Check the entry door, towel hooks, outlets, and baseboard before ordering glass. Safety backing, polished edges, secure mounting, and local glazing rules matter at full height.
Keep the composition asymmetrical enough that the room still feels real. One large mirror is easier to clean than several decorative pieces with exposed joints.
46. Use Solid-Surface Panels for Fewer Shower Joints
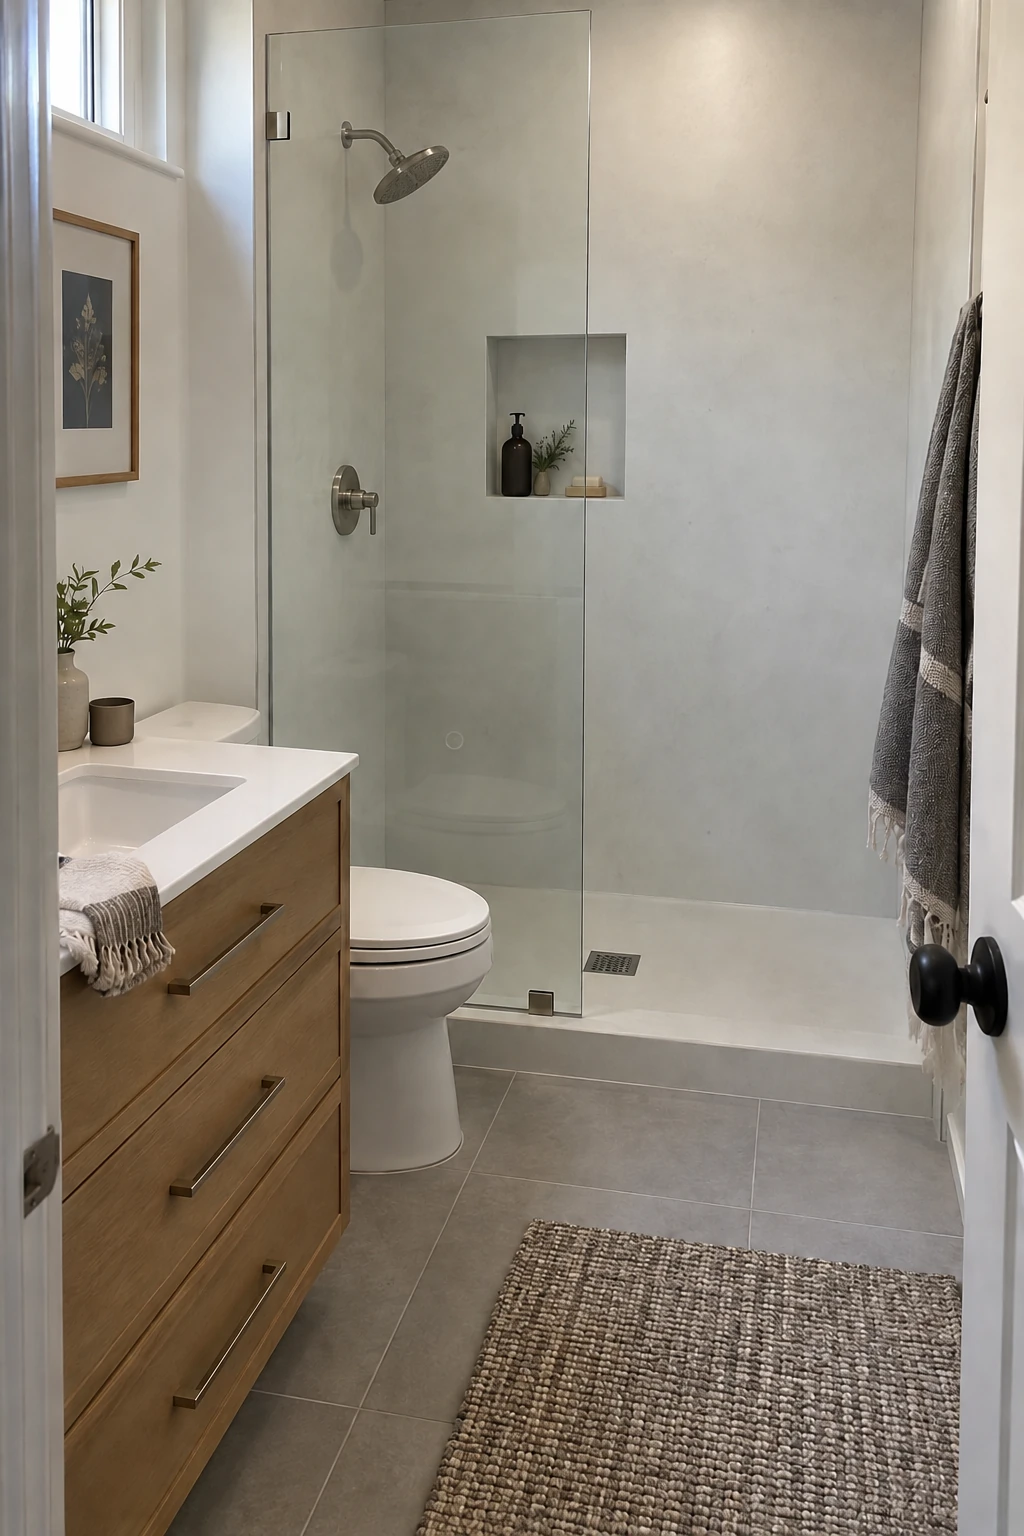
Large solid-surface or composite shower panels reduce grout joints and can shorten installation. Quiet stone-like color keeps a compact enclosure from feeling busy.
Compare substrate preparation, seam treatment, edge profiles, repairability, heat limits, and cleaning instructions for the exact system. Panels still rely on a correctly detailed receptor and penetrations.
Access check: verify the largest panel can travel through the entry, stairs, turns, and bathroom doorway before approving sheet size or seam locations.
Plan how the sheets enter the house and turn into the bathroom. A panel sized for the wall may not fit through the stair or doorway.
Approve a large sample under bathroom lighting and check how cut edges will be finished. A printed pattern can repeat noticeably across a small enclosure if the layout is not planned.
47. Choose a Forgiving Grout Color and Joint
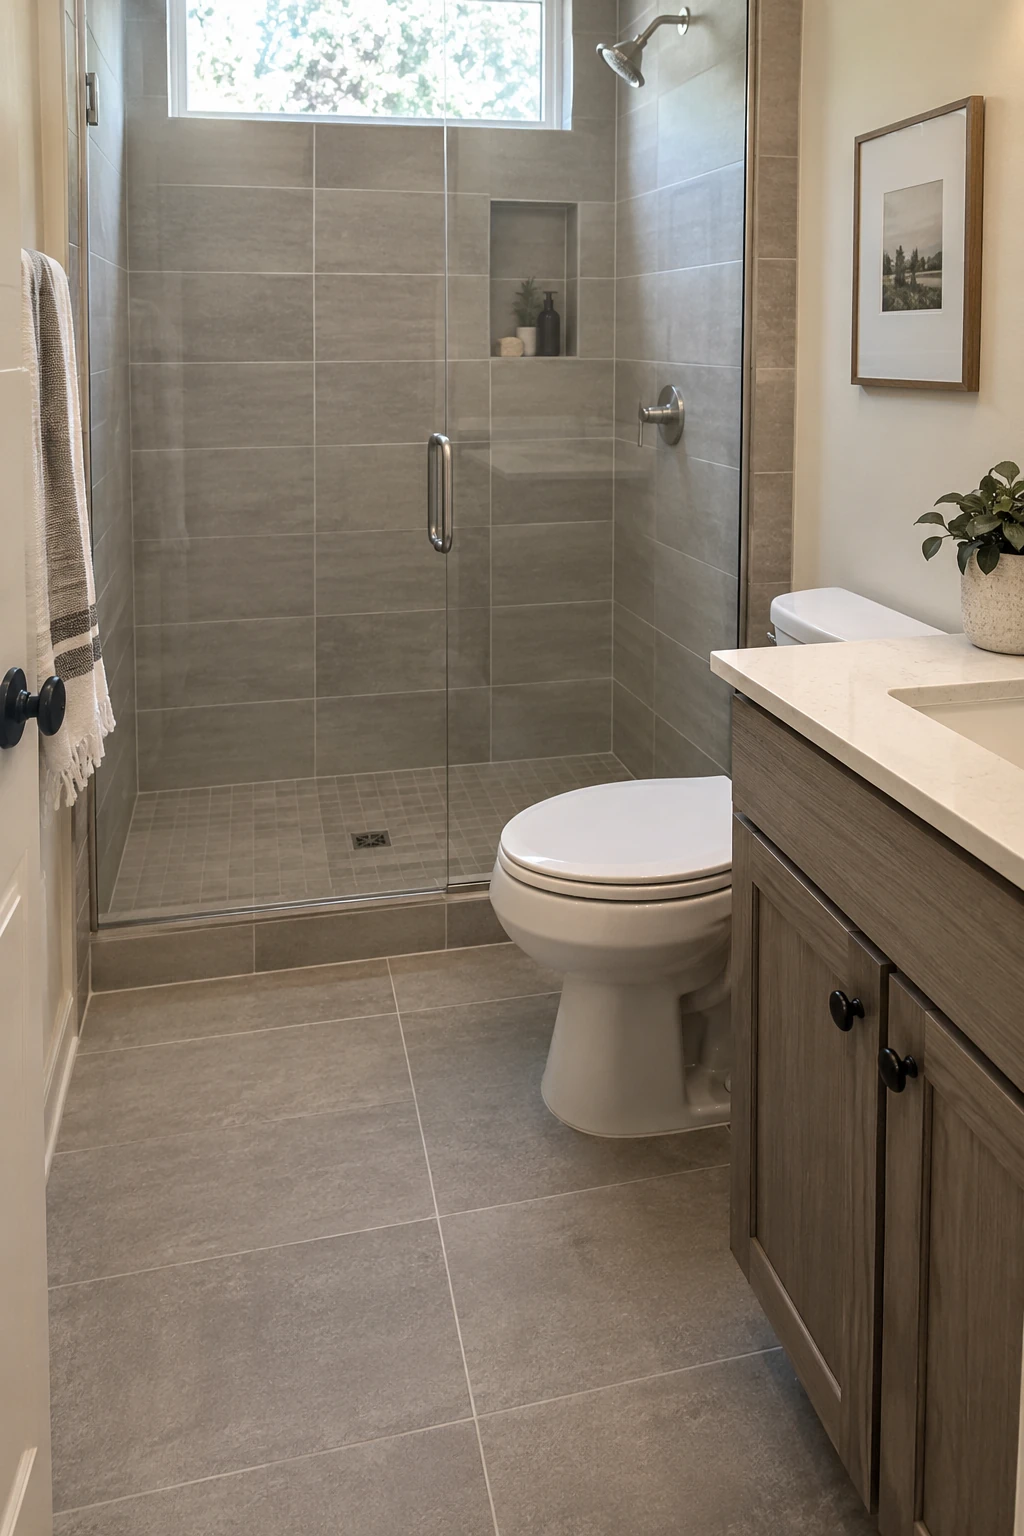
A mid-tone grout close to the tile body hides routine variation better than a stark contrast. Joint width should follow the tile size, edge, variation, substrate, and installer’s layout.
Use movement joints and flexible sealant where the assembly requires them rather than filling every corner with rigid grout. Select products approved for the wet or dry location.
Make a sample board and test cleaning before installation. Very light grout, textured tile, and aggressive cleaners can create more maintenance than the small room needs.
48. Detail the Threshold and Baseboards for Water
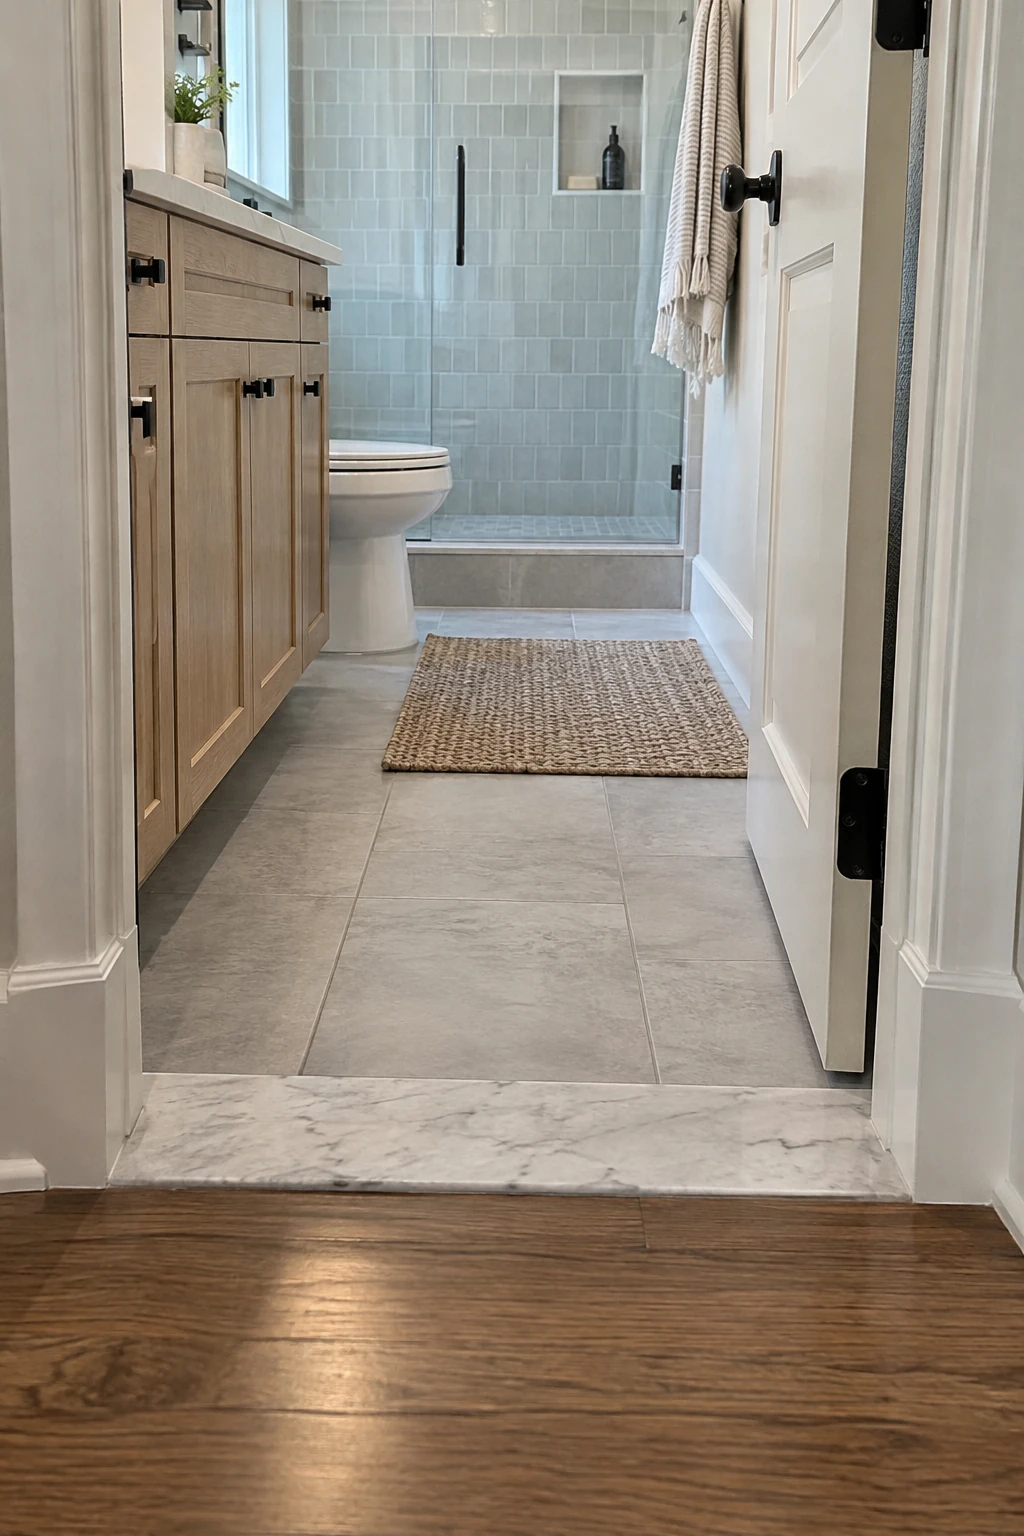
The doorway transition must handle finished floor heights, splash, and cleaning without becoming a trip edge. A stone threshold or properly detailed profile can protect the exposed tile edge.
Use moisture-suitable baseboard material and seal cut ends near the shower and toilet. Wood trim can work in a dry zone when it is prepared and ventilated, but swollen fiberboard is difficult to repair invisibly.
Coordinate the door undercut with ventilation and floor height. Changing tile thickness late can leave the door dragging or remove the air path needed by the exhaust system.
49. Specify a Pressure-Balancing or Thermostatic Valve
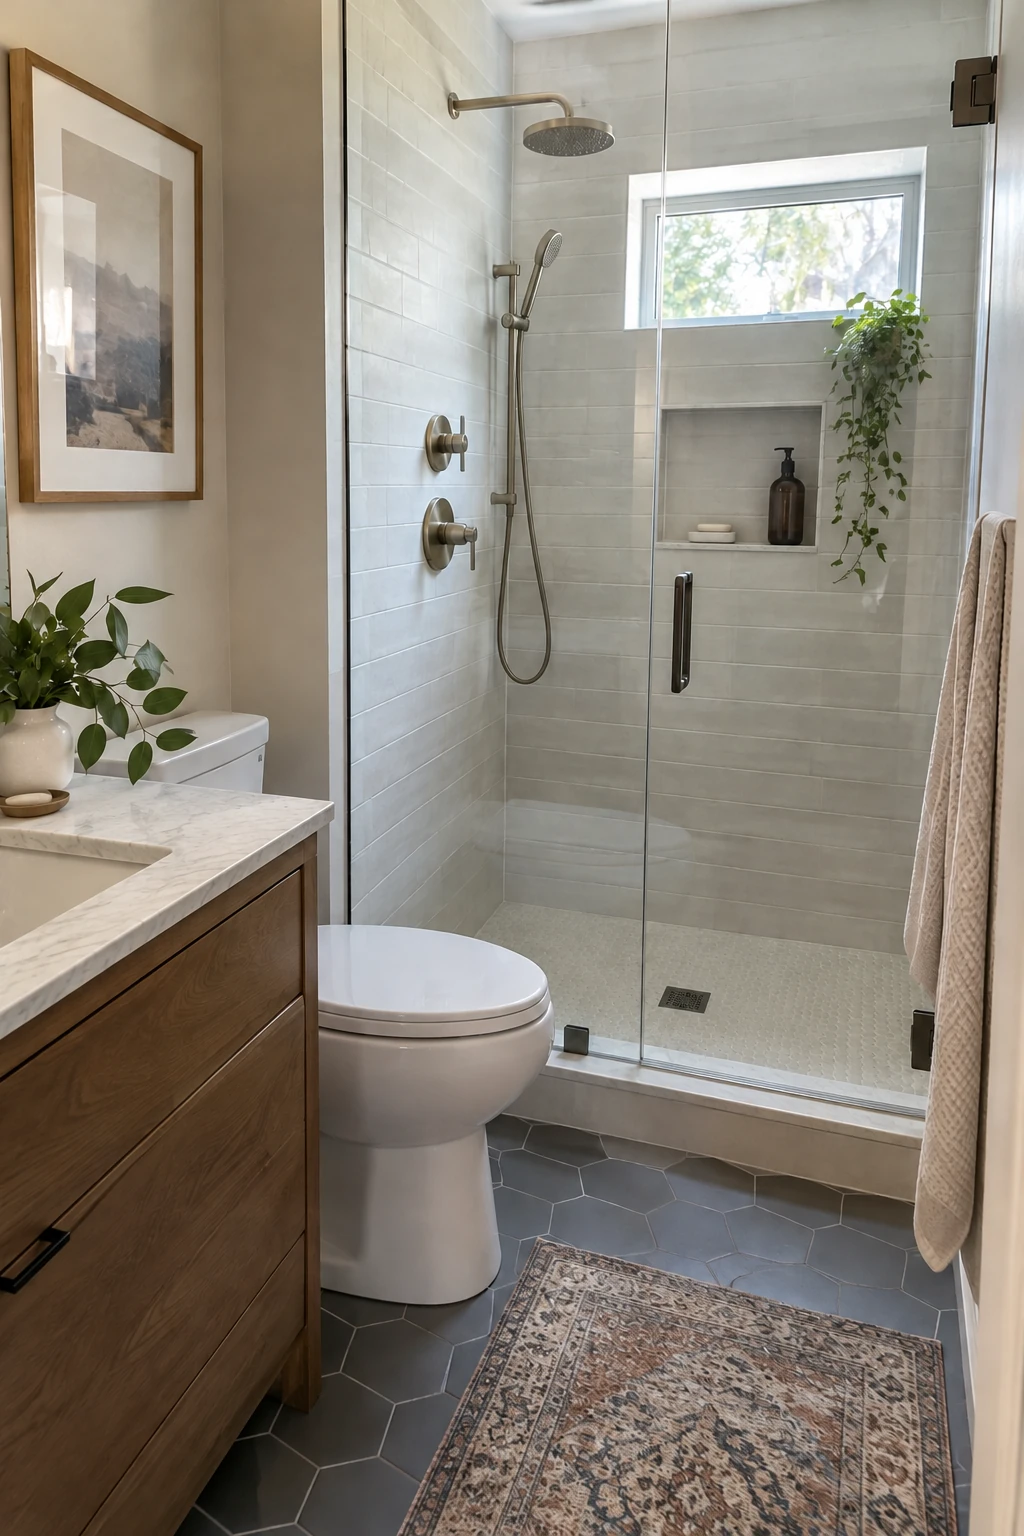
A pressure-balancing or thermostatic valve helps limit sudden temperature changes when another fixture runs. Thermostatic systems can also separate temperature from volume control.
Choose the rough valve and trim together, then set depth against the finished tile assembly. Mixing parts or discovering an unavailable trim after waterproofing can force costly rework.
Follow local plumbing requirements, water-heater settings, and manufacturer commissioning steps. Keep the access and parts information with the home records.
50. Keep Shutoffs and Leak Detection Reachable
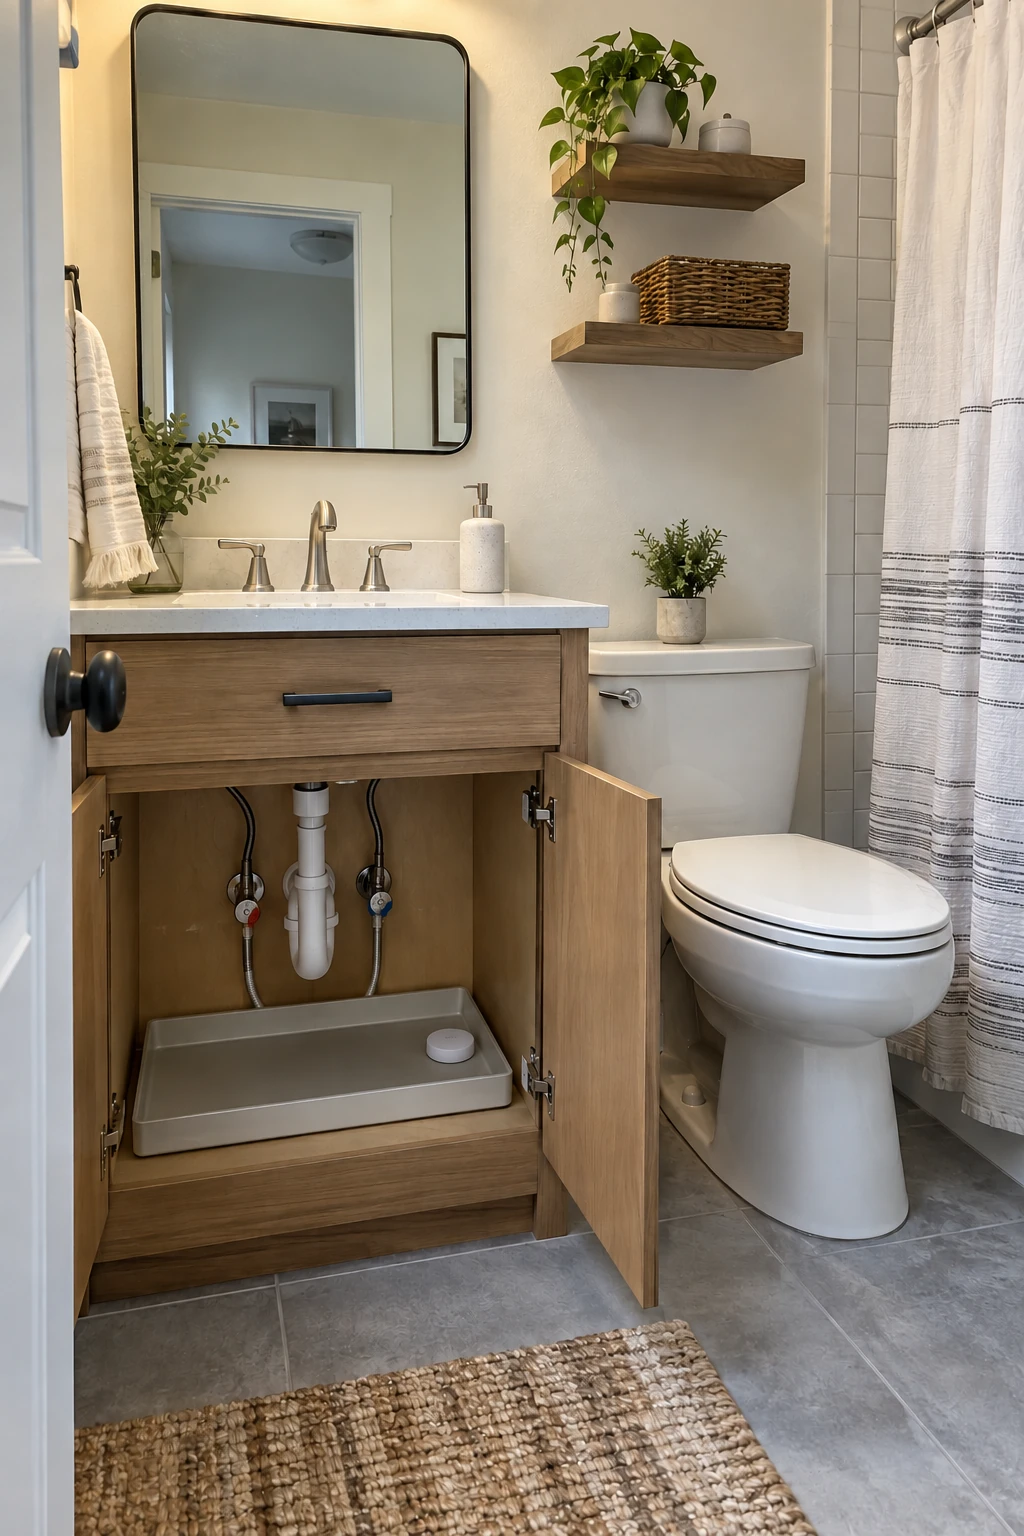
Every sink and toilet shutoff should remain reachable after drawers, organizers, and trim are installed. Label the home’s main shutoff and make sure household members know where it is.
A small leak sensor in the vanity or near the toilet can provide early warning, but it does not replace sound connections and inspection. Test batteries and notifications on a schedule.
Use a removable tray under the sink and avoid storing absorbent paper around valves. Moisture is easier to spot when the cabinet is organized and surfaces are visible.
51. Put Ceiling, Vanity, and Shower Lights on Separate Controls
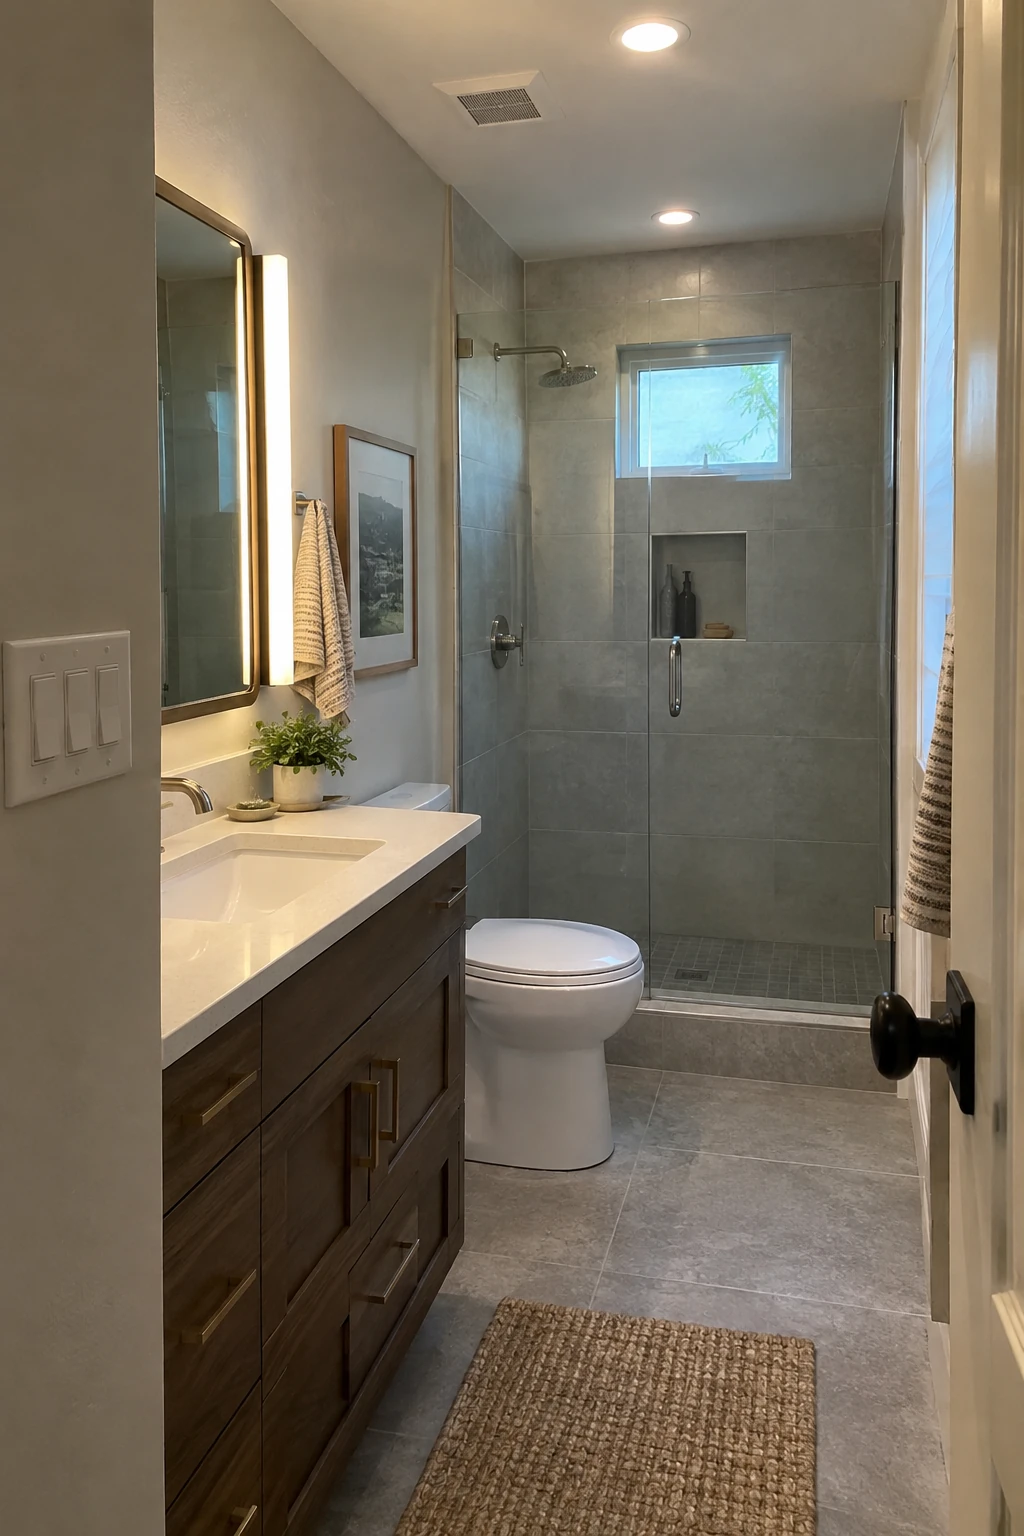
Separate controls let bright grooming light, general circulation light, and the shower fixture serve different tasks. Dimmers can soften the room at night without weakening daytime visibility.
Place switches where the door does not cover them and where wet hands do not cross splash zones. Use damp- or wet-location fixtures as required for each position.
Coordinate color temperature and color rendering across all layers. A tiny room makes mismatched cool and warm sources especially obvious.
52. Add Low-Level Light for Nighttime
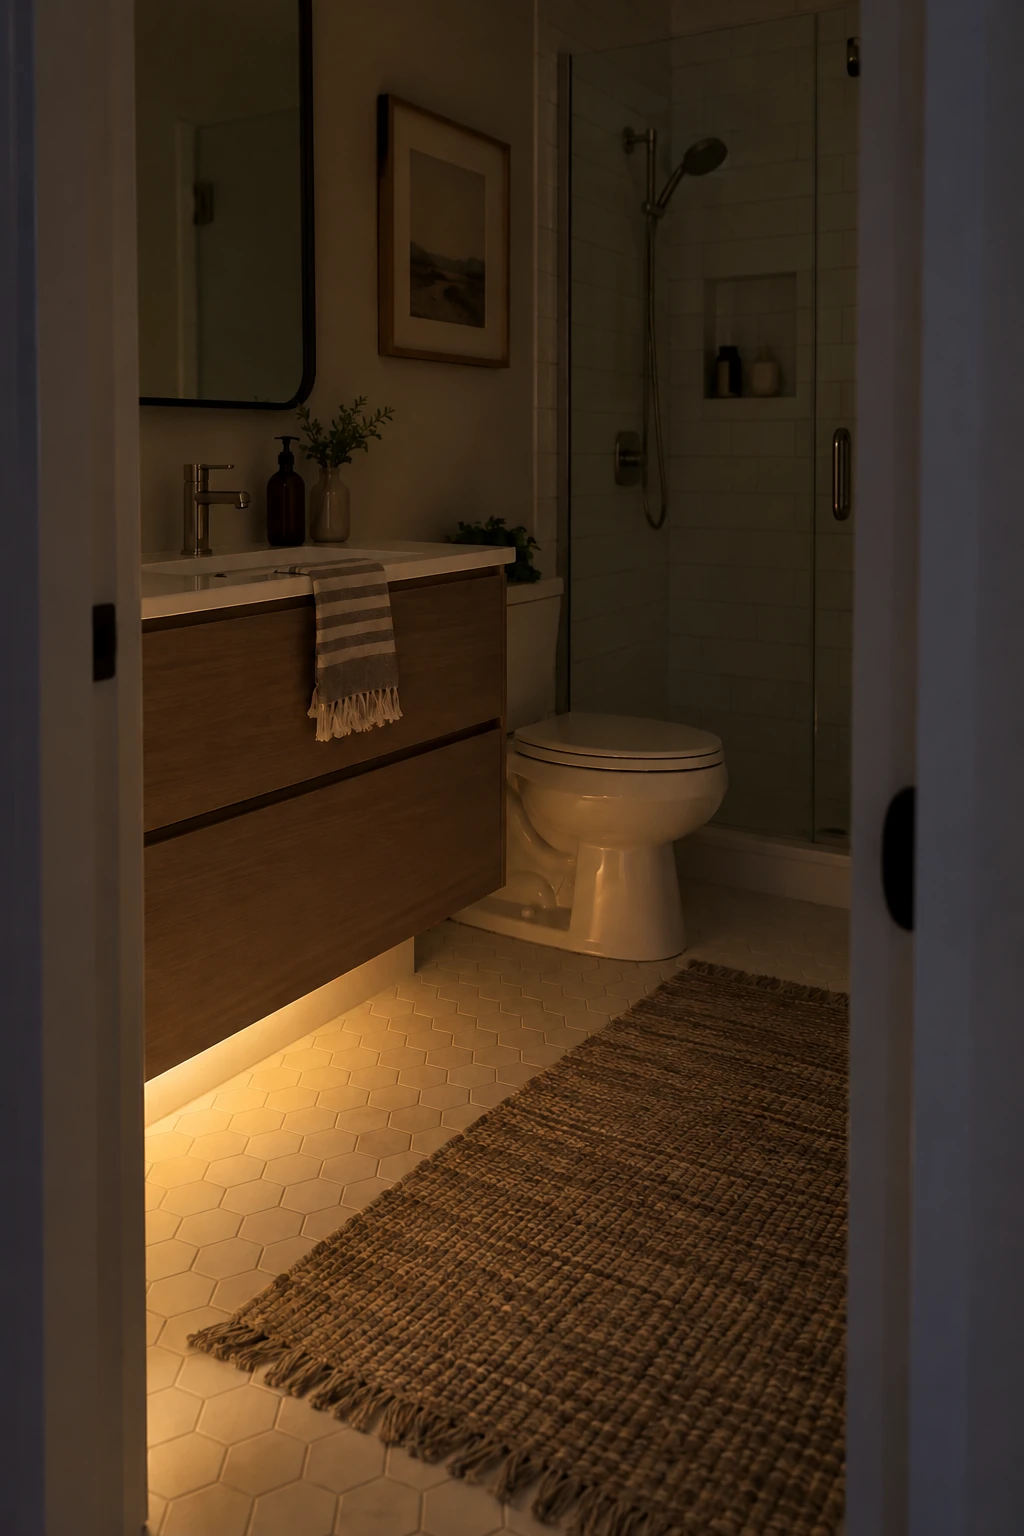
A low-level light under a floating vanity or in a listed wall fixture can mark the route without flooding the room. A motion sensor is useful when it has a short, adjustable range and does not trigger from the hallway.
Keep drivers and connections accessible, use equipment approved for the location, and avoid exposed tape lighting near splash. The glow should reveal the floor and threshold rather than shine into the user’s eyes.
For a no-wiring alternative, use a rechargeable listed night light in a dry location. Do not run a loose charging cord across the bathroom floor.
Renovate the Small Bathroom From the Hidden Layers Out
Resolve circulation, plumbing, drainage, waterproofing, ventilation, power, and structural support before choosing decorative details. Those decisions are expensive to revisit and determine whether the room works long after the reveal.
Mock up fixture footprints, approve exact products, document concealed work, and keep maintenance records. A disciplined partial renovation can outperform a larger project that spends heavily on finishes while leaving the same functional problems.