70 Water Closet Ideas

This post may contain affiliate links: full affiliate disclosure.
A water closet may occupy only a few square feet, yet its doorway, wall finish, storage, lighting, and ventilation shape how the entire bathroom works.
Use these ideas to compare distinct looks and practical arrangements, then adapt favorites to your measurements, household needs, existing plumbing, and local requirements.
As an Amazon Associate I earn from qualifying purchases.
Privacy and Layout Ideas
Start with the doorway, sightline, and available floor area. A convincing water closet feels private without sacrificing comfortable movement, ventilation, or maintenance access.
1. Build a Fully Enclosed Toilet Room
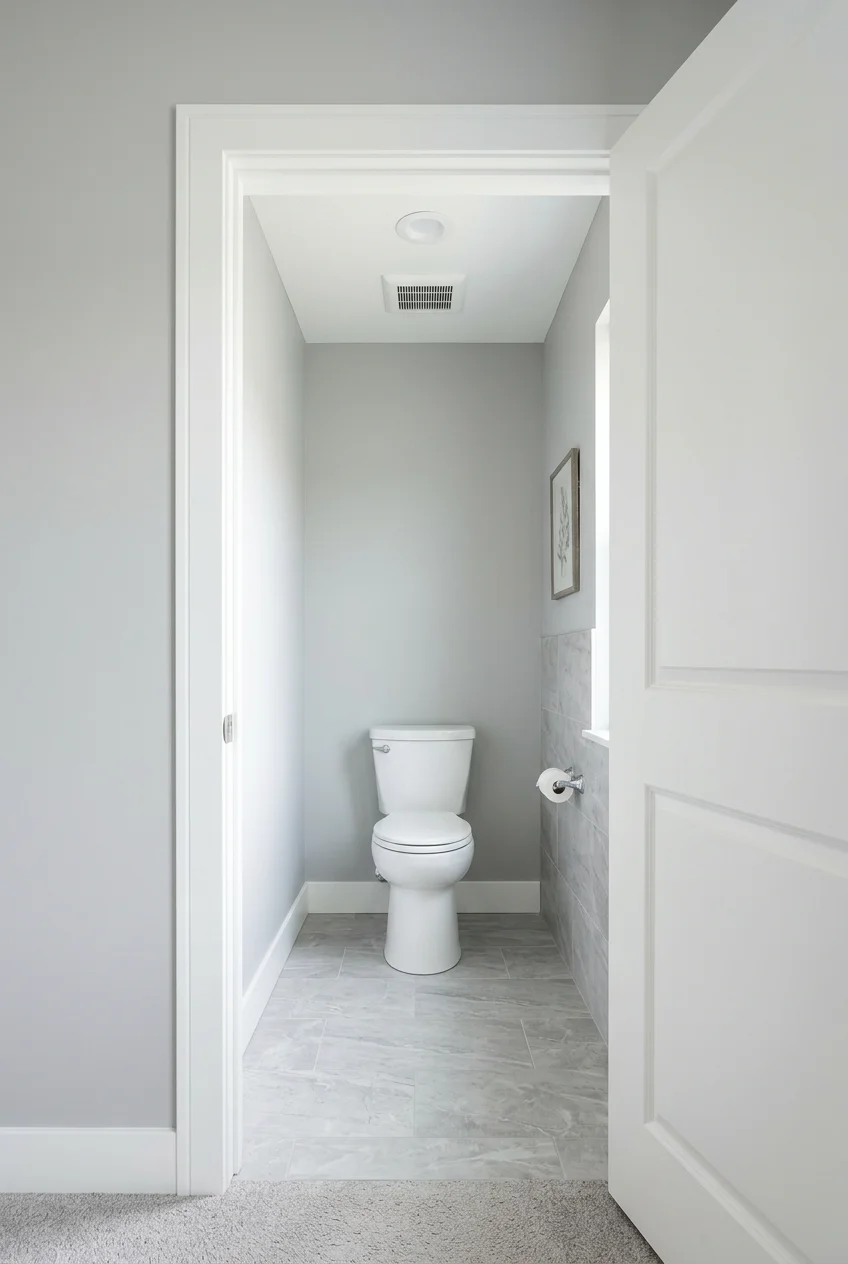
Full-height walls and a solid door provide the strongest visual and sound separation, especially when two people may use the larger bathroom simultaneously.
Plan the enclosure around the toilet, doorway, and service points rather than squeezing walls around an existing fixture. Comfortable movement matters more than symmetry.
Keep plumbing shutoffs, flush components, and fan access reachable after finishes are complete. A beautiful enclosure becomes frustrating when routine service requires demolition.
A solid-core door and perimeter seals may reduce sound transfer, but leave any required air path intact. Coordinate privacy goals with the ventilation design.
- Check the toilet manufacturer’s clearances.
- Keep the tank or flush plate serviceable.
- Confirm the door clears every fixture.
- Provide dedicated lighting and ventilation.
Planning note Local codes govern minimum fixture spacing and ventilation. Have the layout reviewed before framing, because finished tile thickness can reduce usable clearance.
2. Save the Door Swing with a Pocket Door
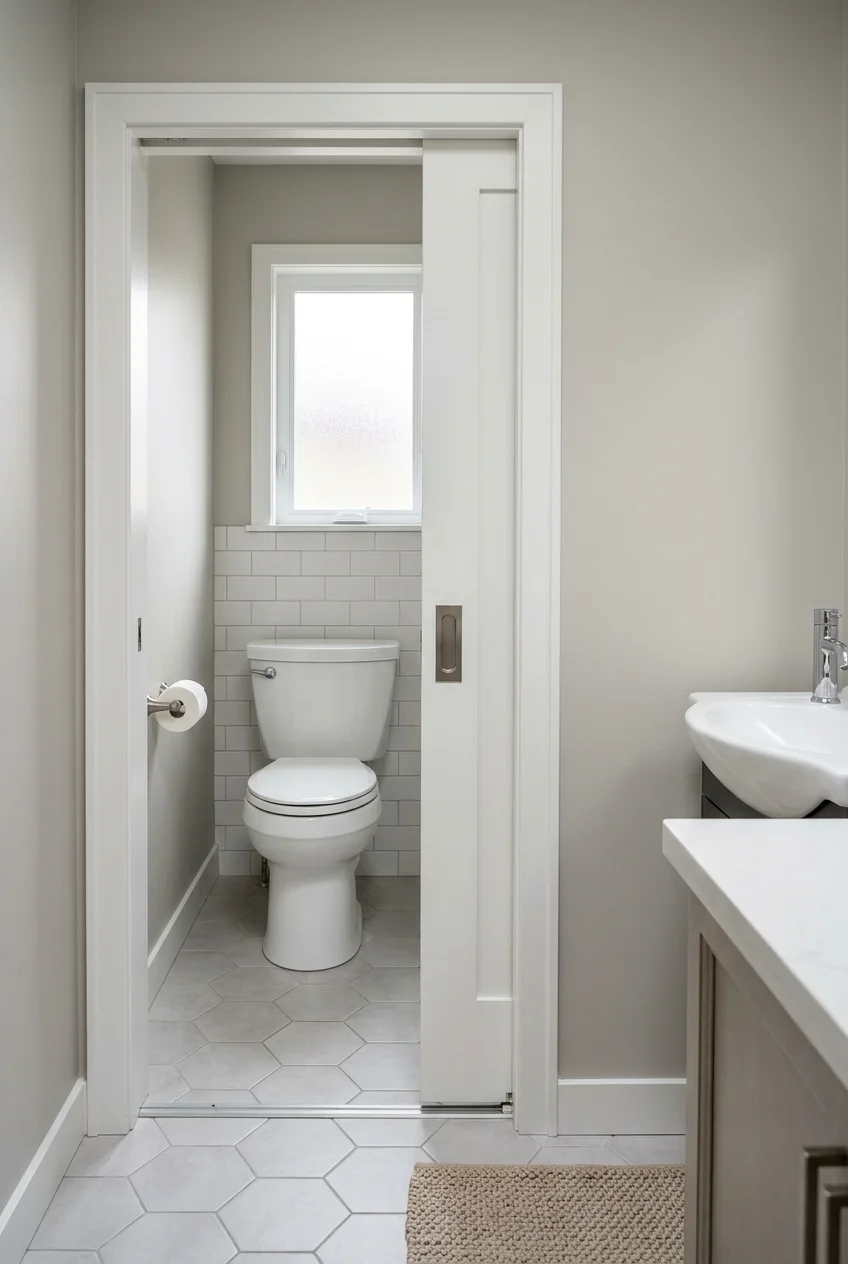
A pocket door frees the narrow compartment from an inward swing and keeps the main bathroom circulation clear when the water closet is occupied.
The wall cavity must remain clear of plumbing, wiring, and blocking where the door travels. Choose a privacy latch designed for pocket-door hardware.
Use a quality frame and floor guide so the door closes consistently without scraping. Remember that pocket walls offer fewer convenient fastening locations afterward.
- Map pipes, wiring, and studs.
- Choose the door and pocket frame.
- Coordinate the latch and pull.
- Frame the opening before finishes.
3. Use Reeded Glass for Borrowed Light
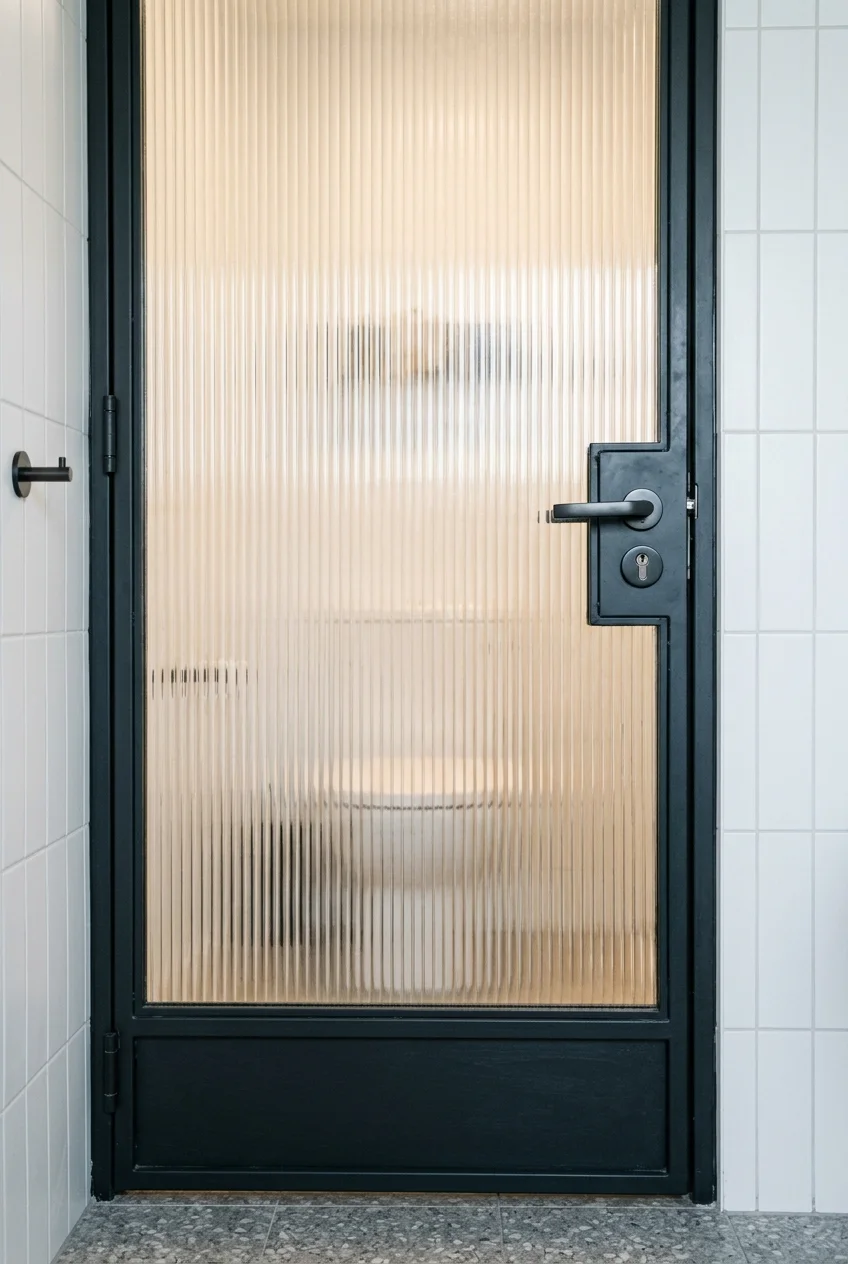
Reeded glass softens the view while allowing daylight or bathroom lighting to reach the compartment, making a small interior room feel less boxed in.
Choose obscuring glass after viewing a full-size sample from both sides. Silhouettes can remain visible, particularly when the compartment is brighter.
Pair the glass with a lockable frame and an opaque lower panel when stronger privacy matters. Keep the frame finish consistent with nearby hardware.
4. Screen the Toilet with a Half Wall
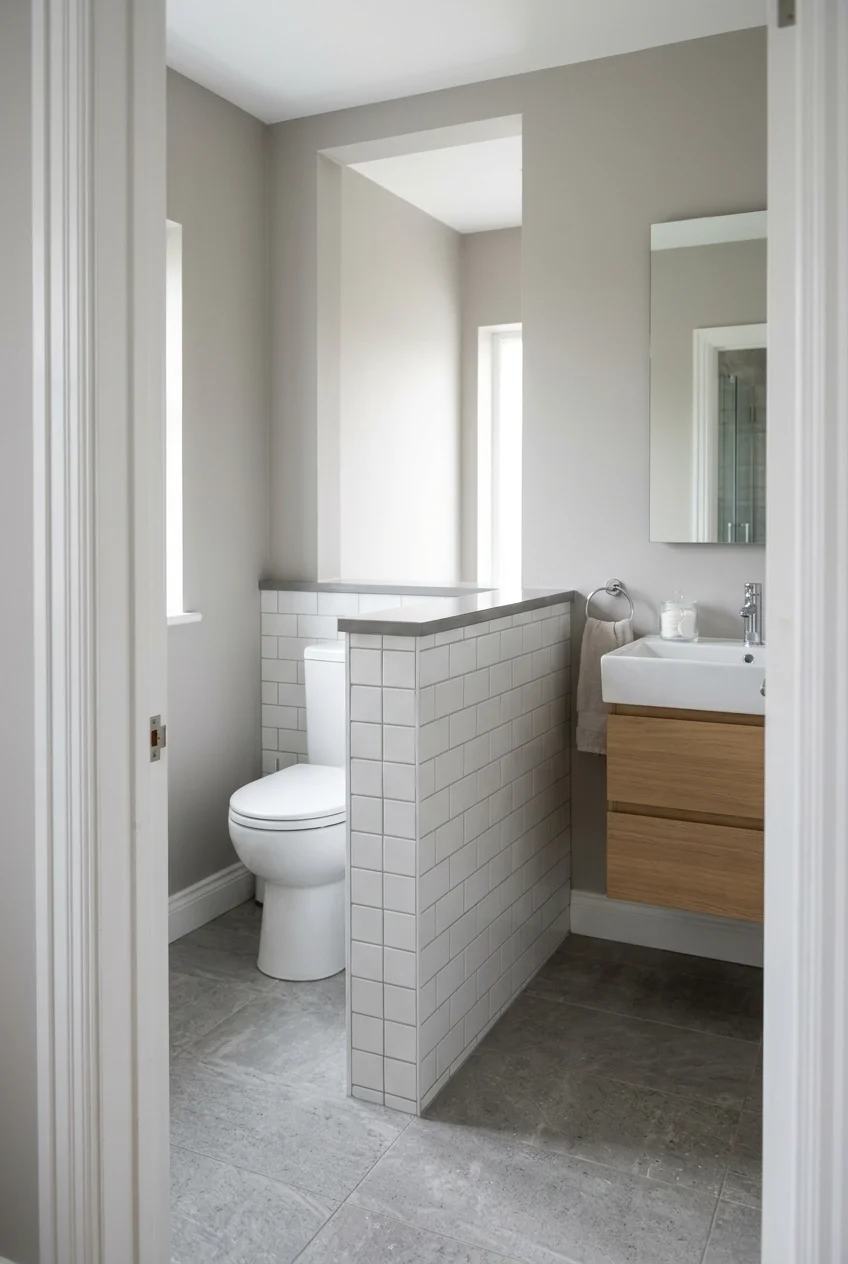
A half wall blocks the toilet from the bathroom entrance while preserving shared light and airflow above, creating separation without constructing another closed room.
Extend the partition far enough to interrupt the main sightline, but avoid placing its end where it pinches the route to the shower or vanity.
Design check Mock up the wall height and length with cardboard before building. View it from the bathroom door, vanity, tub, and bedroom entrance.
5. Turn the Entry to Break the Sightline
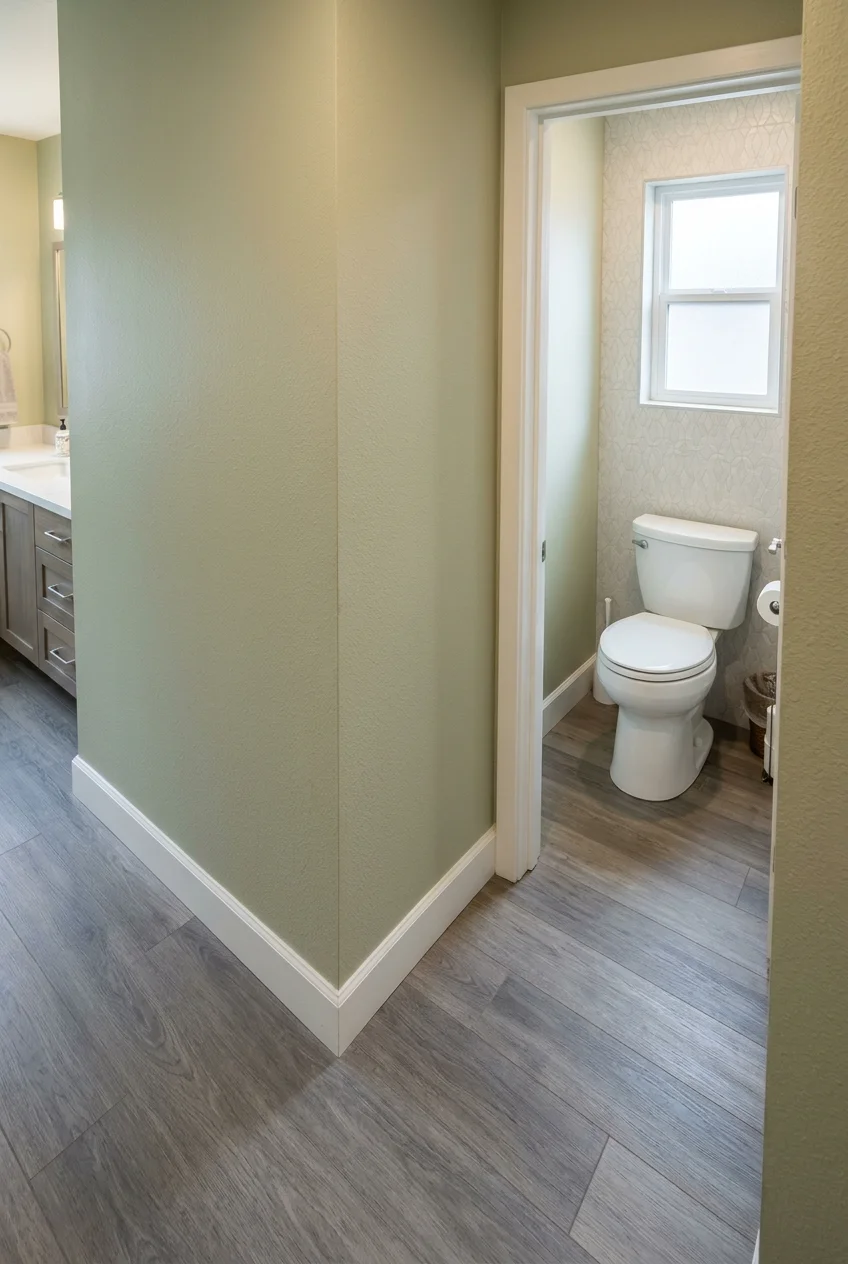
An offset doorway or short return wall can hide the fixture without a full enclosure, a useful approach when the bathroom layout already has an awkward corner.
Keep the turn generous enough for comfortable passage and moving replacement fixtures. A narrow maze will feel more inconvenient than private in daily use.
6. Frame the Opening with a Soft Arch
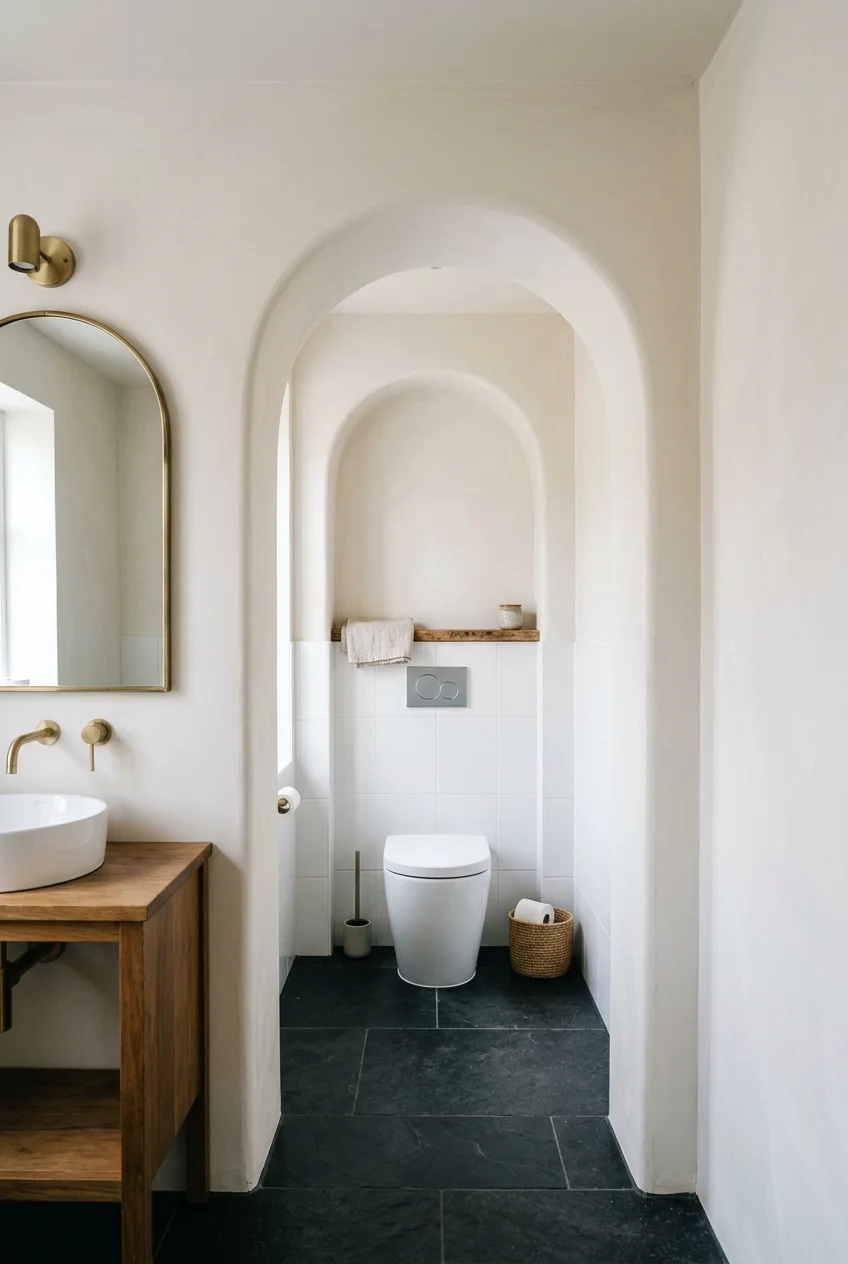
An arched opening gives an open toilet alcove a clear architectural boundary, softening the transition from a rectilinear vanity and tiled bathroom.
Repeat the curve once elsewhere, perhaps in a mirror or niche, rather than adding several competing arches. The toilet should remain outside the first sightline.
This is a visual divider, not acoustic privacy. Add a door or choose another layout when the compartment must support simultaneous bathroom use.
7. Tuck the Water Closet into a Corner Enclosure
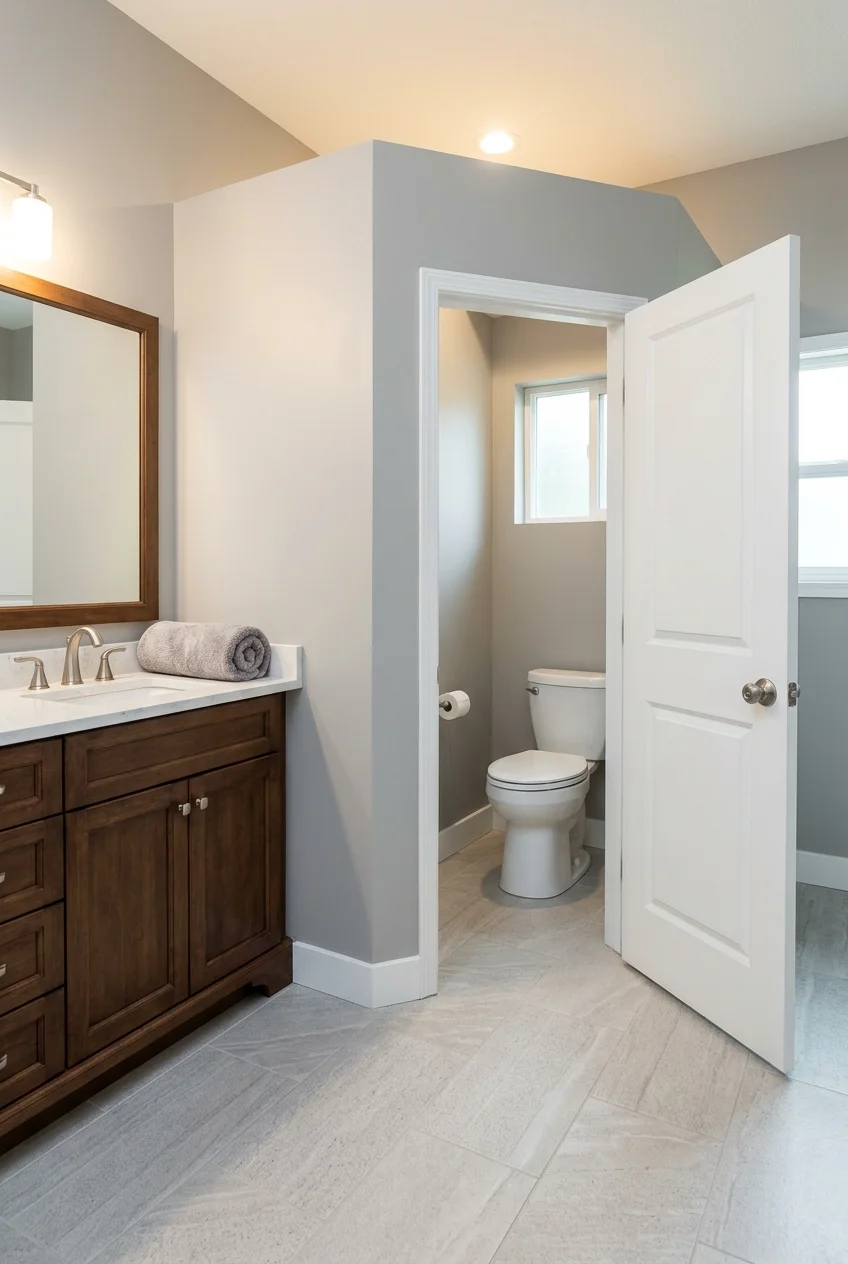
A corner enclosure can use two existing walls, reducing new construction while keeping the toilet separate from a freestanding tub or double vanity.
Place the door where its swing and handle cannot strike nearby cabinetry. Continue one bathroom finish into the compartment so the addition feels intentional.
Watch for Corner walls often contain plumbing or electrical runs. Verify the cavity before selecting a pocket door, recessed cabinet, or wall-mounted fixture.
8. Add a Vertical Slat Privacy Screen
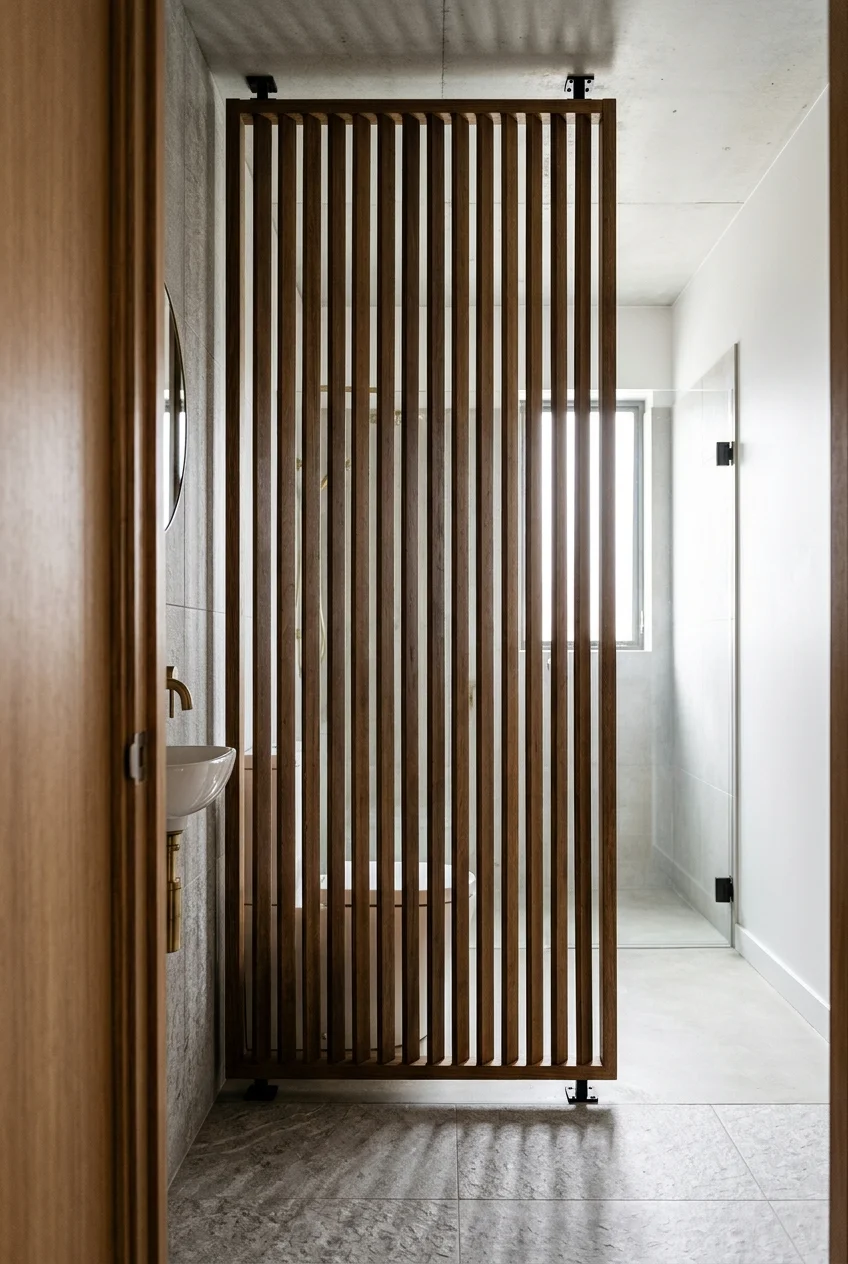
A fixed slatted screen filters the view of an open toilet zone while keeping the larger bathroom visually connected and allowing light between sections.
Use closely spaced, sealed slats and position them beyond splash areas. The screen needs secure top and bottom attachment rather than a freestanding furniture base.
Angle the slats toward the primary viewpoint for better concealment. Test the view while seated and standing before finalizing their spacing.
9. Borrow Daylight through a Clerestory
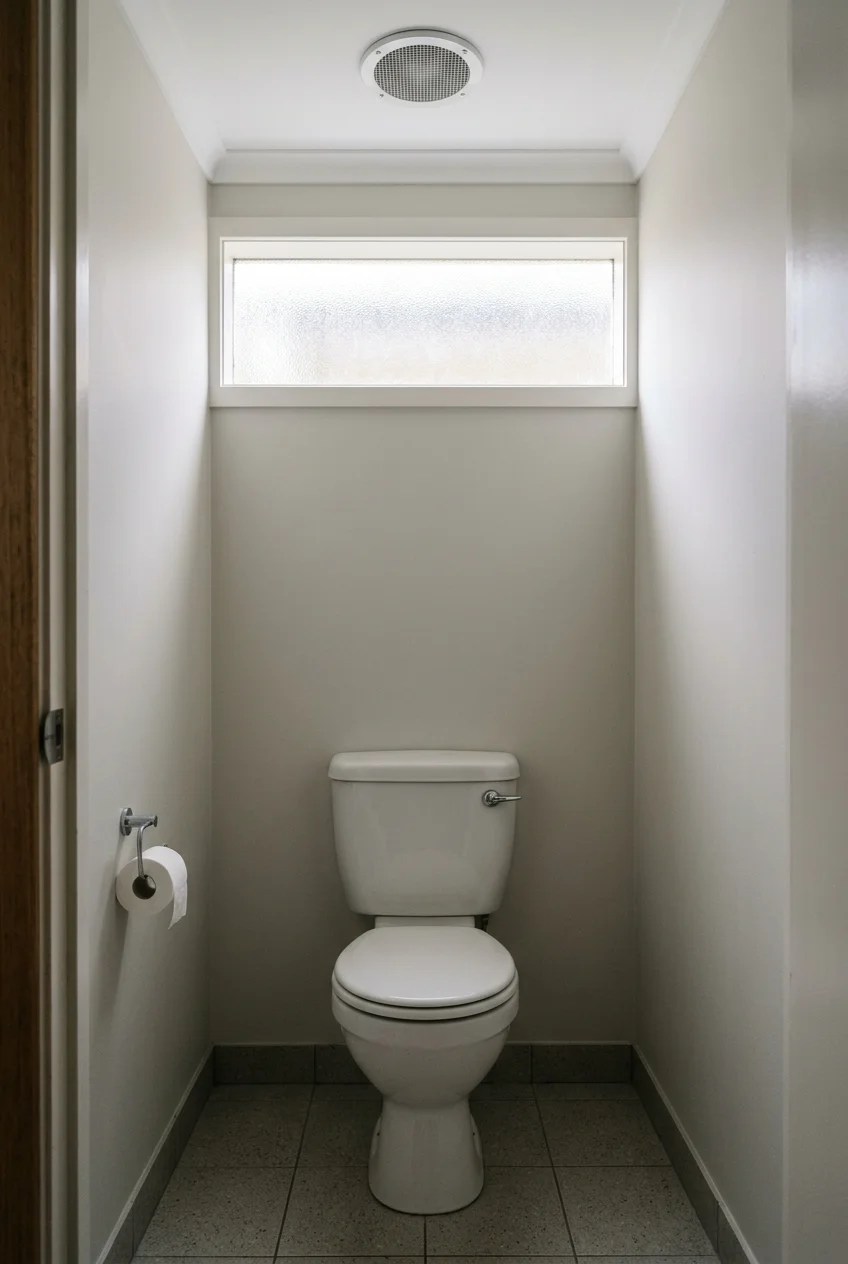
A high interior window can share daylight from the main bathroom while keeping the toilet compartment closed below eye level for practical privacy.
Use obscured or fluted glazing if upper-level views remain possible. Coordinate the opening with studs, ducts, and the compartment’s exhaust route before framing.
10. Choose an Out-Swing Door for a Tight Compartment
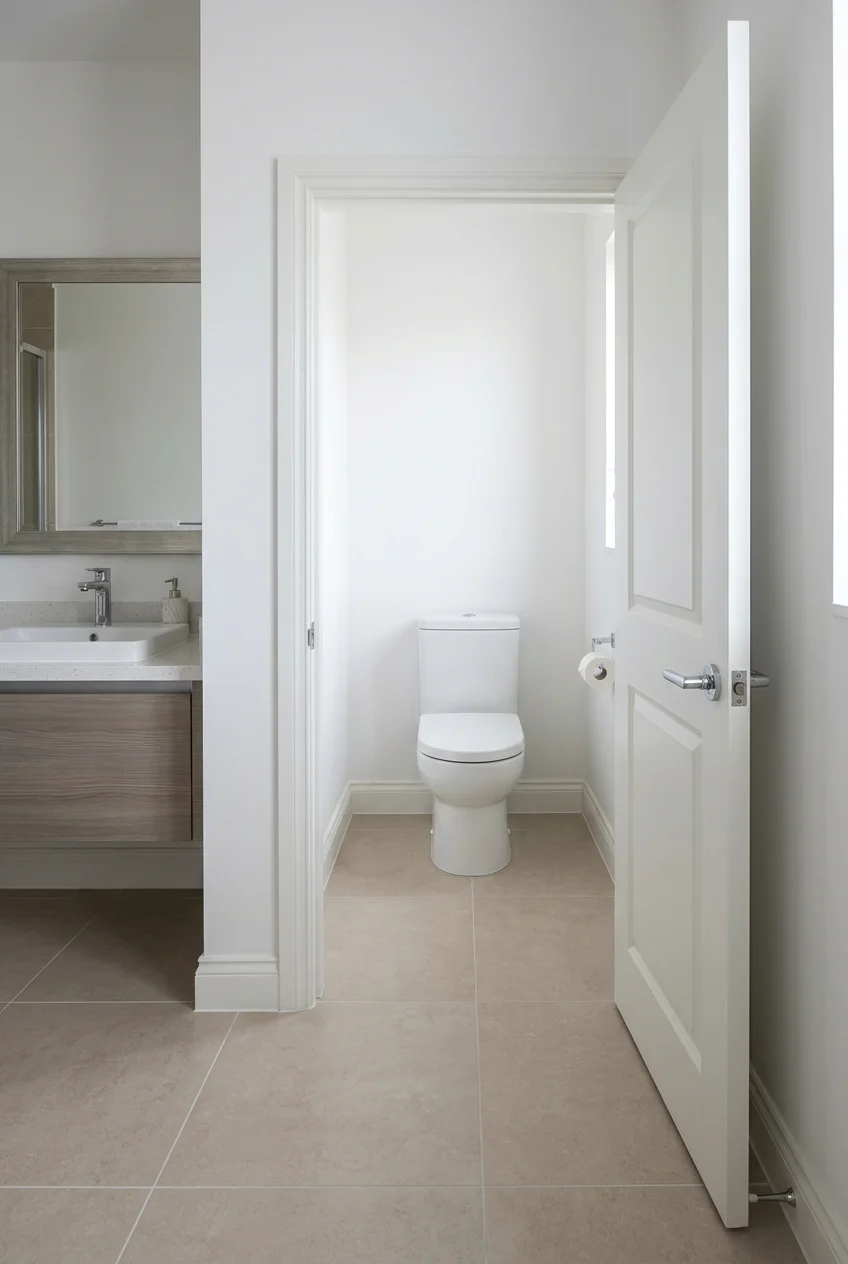
When local requirements and surrounding circulation allow, an out-swing door can leave more usable floor inside and improve access if someone needs assistance.
The door must not block the bathroom walkway, vanity, or another doorway. Compare this option with a pocket door before changing framing or hardware.
Use a privacy latch that can be released from outside during an emergency. Confirm hinge handing with the final toilet and accessory positions.
Color and Wall Treatment Ideas
Small toilet rooms can carry concentrated color and pattern beautifully. Choose one memorable wall treatment, then support it with durable finishes and restrained accessories.
11. Color-Drench the Walls, Trim, and Ceiling
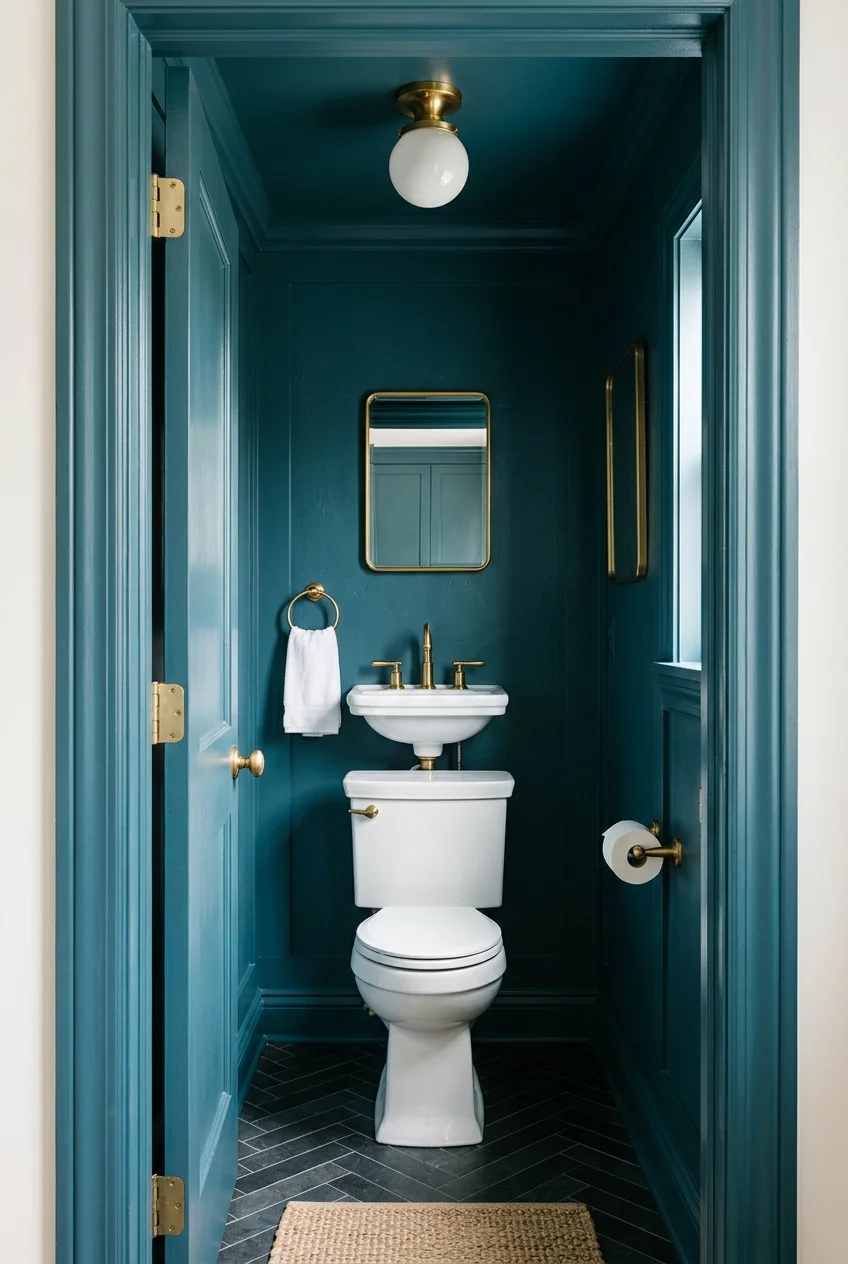
One saturated color across walls, trim, and ceiling removes visual breaks, giving a tiny compartment a deliberate, room-like identity instead of leftover-space energy.
Test the color under the actual ceiling light because enclosed rooms intensify undertones. Vary the sheen slightly where trim needs easier wiping.
12. Balance Wallpaper with Painted Wainscoting
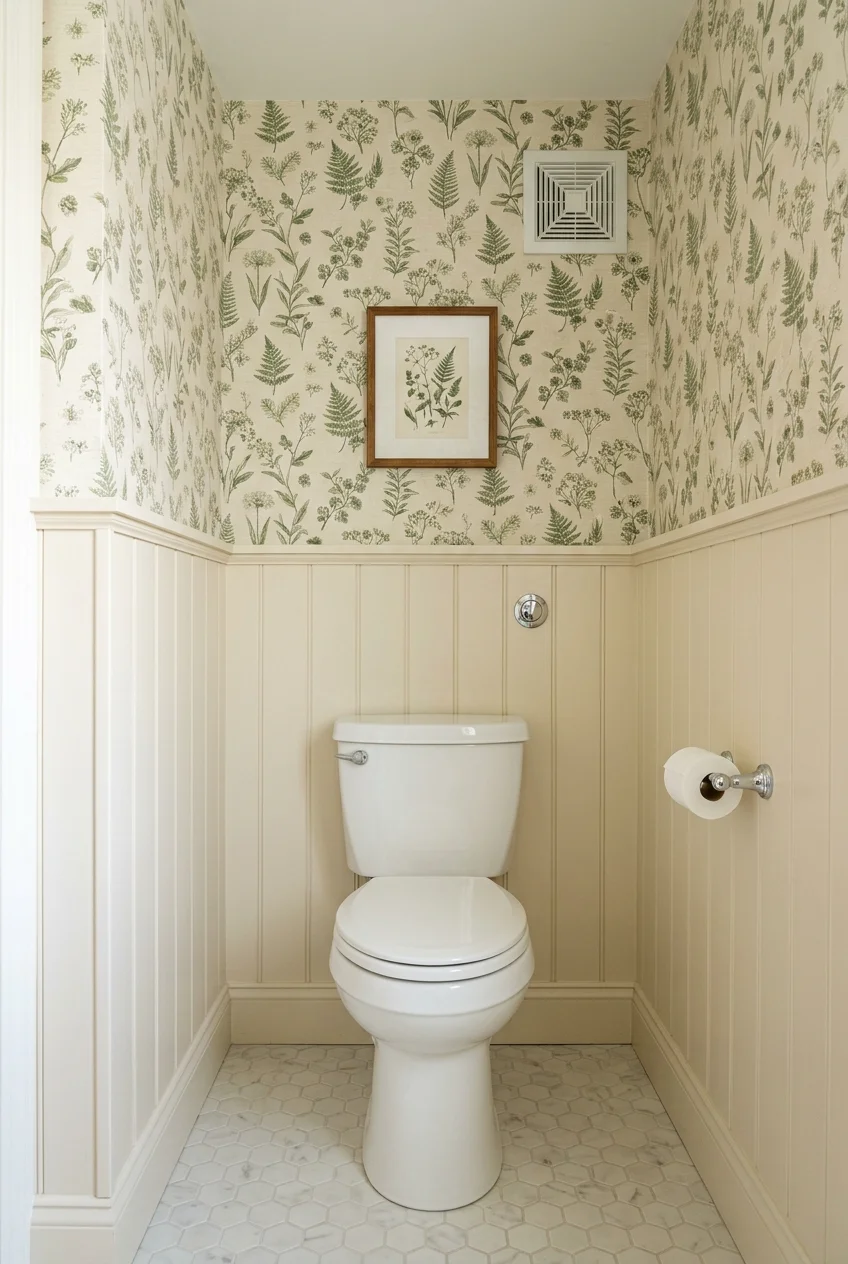
Painted wainscoting gives the lower wall a durable, structured base while wallpaper adds pattern above, keeping a bold print from surrounding the toilet completely.
Align the cap rail with nearby architectural lines and seal vulnerable seams. Adequate ventilation helps protect wallpaper from prolonged humidity and peeling.
For more compact-room combinations, carefully compare these downstairs toilet ideas before choosing the panel height, print scale, and fixture finish.
13. Add Picture-Frame Molding to One Wall
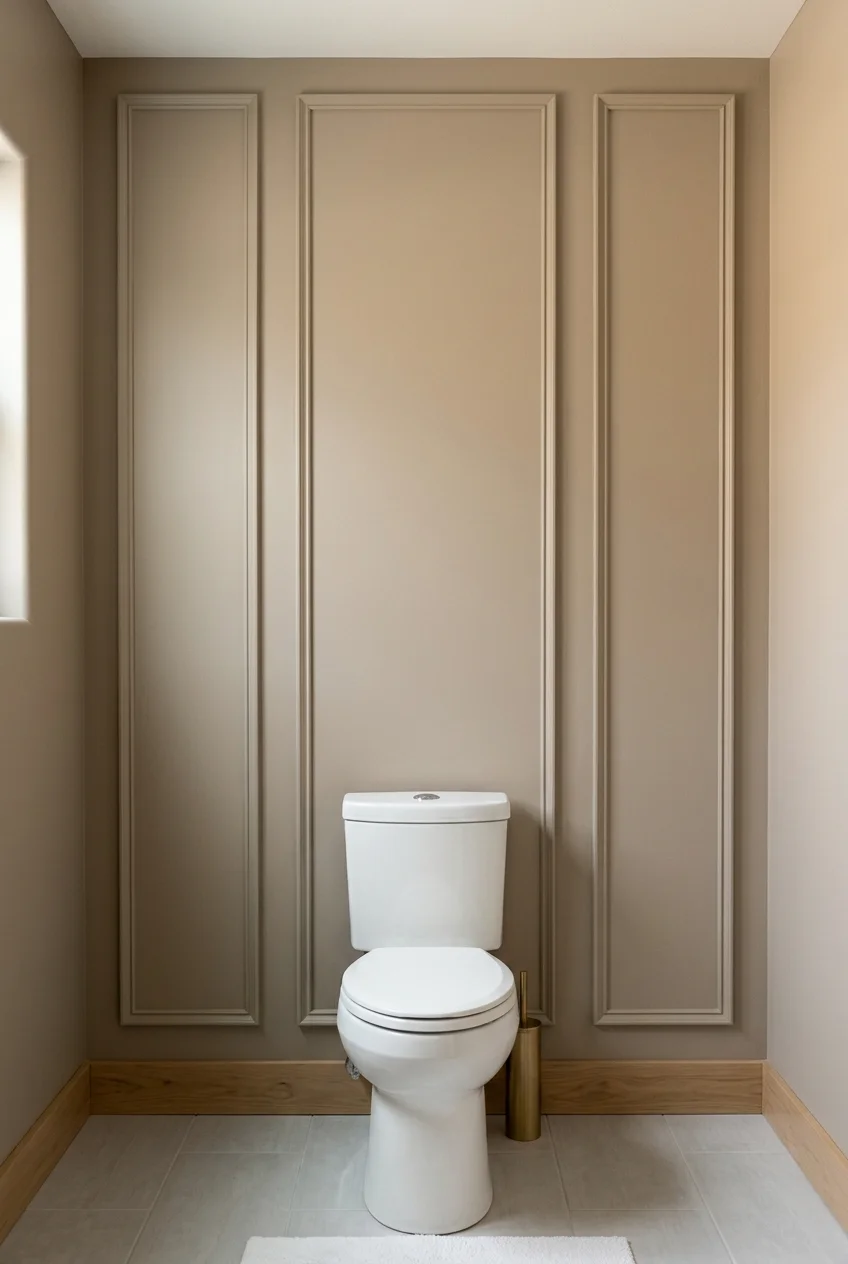
Shallow picture-frame molding adds proportion and shadow without reducing much floor area, making it useful behind the toilet where furniture cannot provide visual structure.
Center the molding layout on the wall rather than the toilet if the fixture is slightly offset. Keep profiles slim enough for easy cleaning.
14. Wrap the Room in a Small-Scale Botanical Print
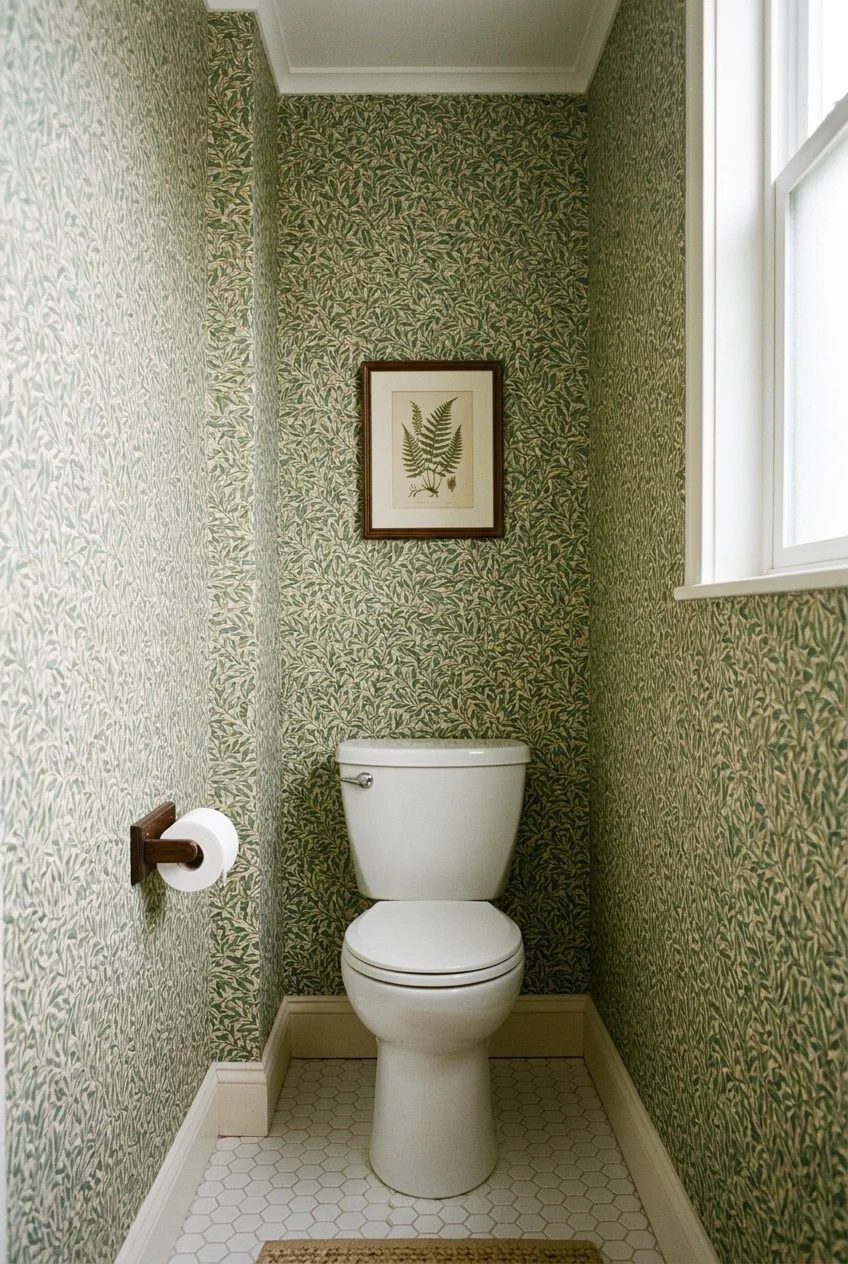
A closely spaced botanical wallpaper can make narrow walls feel continuous, especially when the background color relates to the larger bathroom’s paint or tile.
Choose a washable wallcovering rated for the setting, keep it away from direct splashes, and prioritize reliable exhaust so seams remain flat.
Limit competing accessories to one framed piece or a simple shelf. The print should supply the detail rather than becoming a background for more pattern.
15. Create a Single Scenic Mural Wall
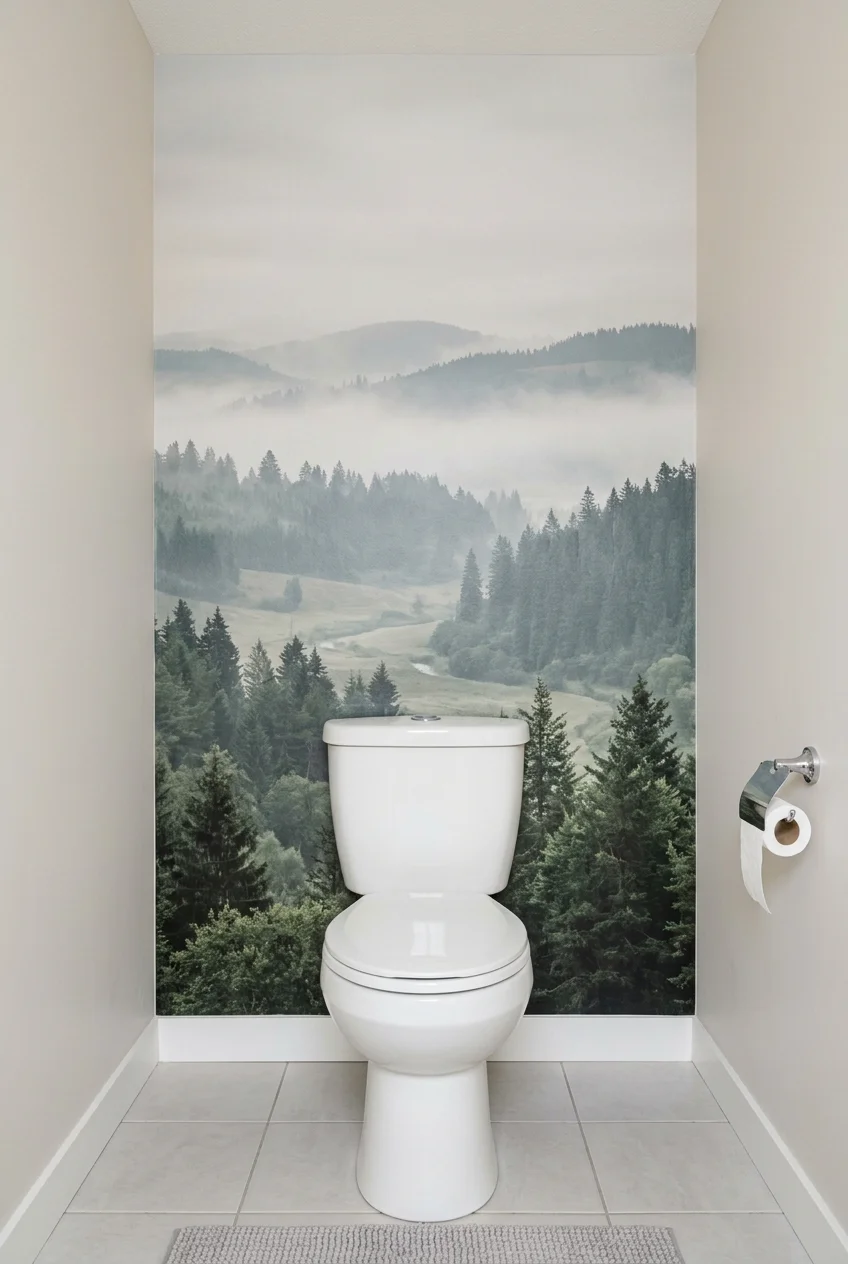
A scenic mural behind the toilet creates depth and a strong focal point while leaving side walls quiet enough to prevent a narrow room feeling busy.
Select artwork whose important details remain visible above and beside the fixture. Measure the wall after trim installation so panels align correctly.
16. Use Limewash for Soft Tonal Movement
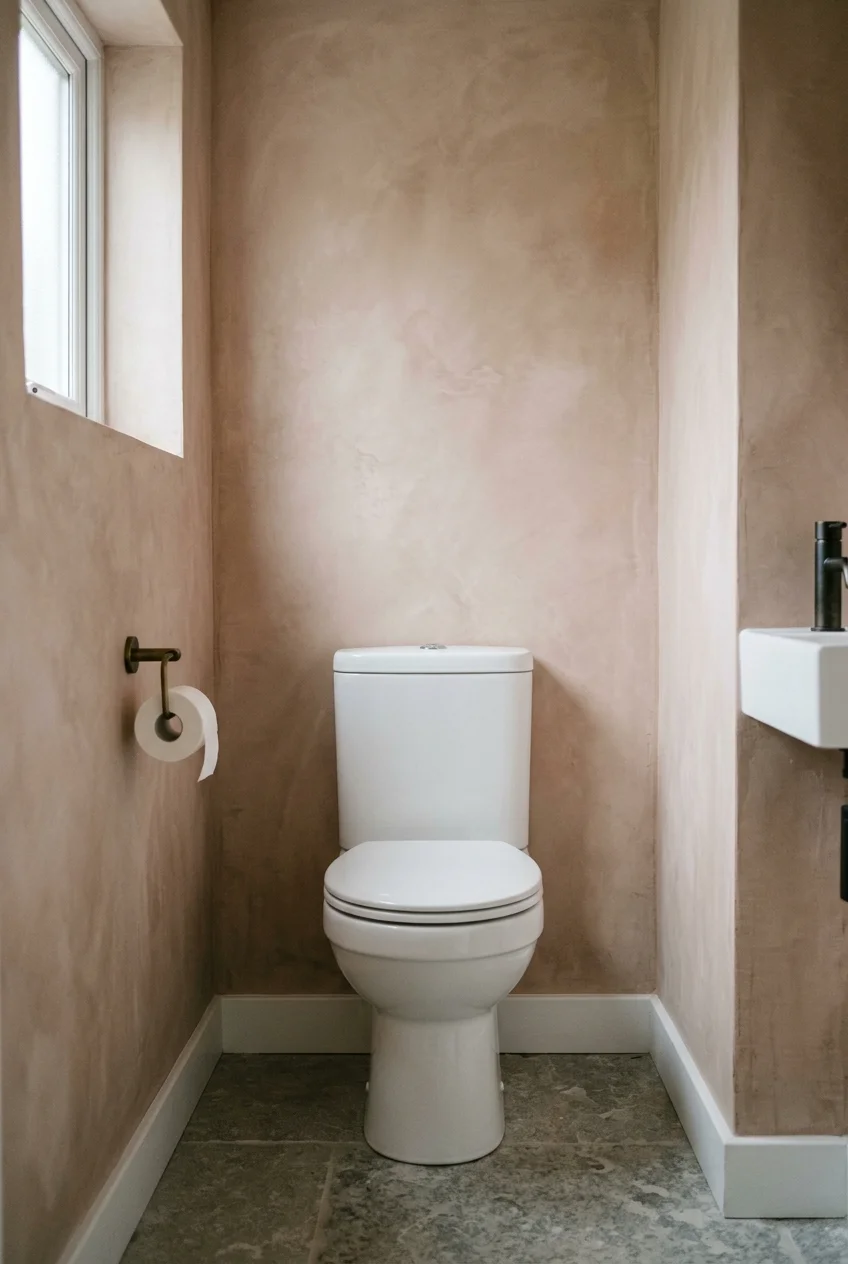
Limewash-style color variation can give an enclosed room depth without a printed pattern, particularly when the fixture and floor have simple, quiet shapes.
Confirm the selected coating suits the wall substrate and humid setting. Samples matter because application technique and lighting strongly affect the finished movement.
Practical tip Sample the finish on a movable board and inspect it beside the toilet, trim, and floor during both daytime and evening lighting.
17. Choose Humidity-Ready Matte Paint
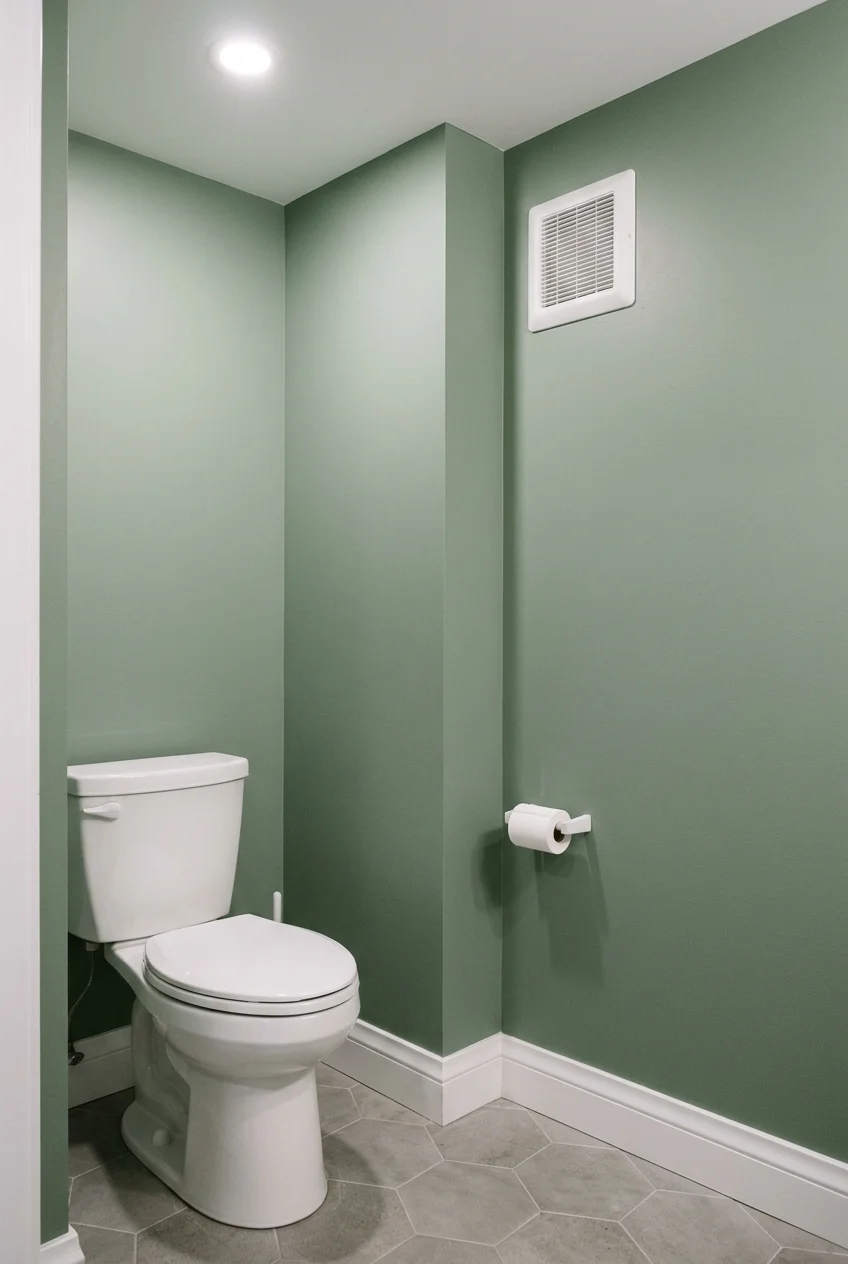
A bathroom-formulated matte paint keeps color soft while providing a coating intended for humid rooms, avoiding the hard glare of a very glossy finish.
Prepare stains and damaged surfaces before painting, then follow the product label for primer, drying, ventilation, and cleaning. Paint cannot compensate for poor exhaust.
18. Paint the Ceiling a Contrasting Color
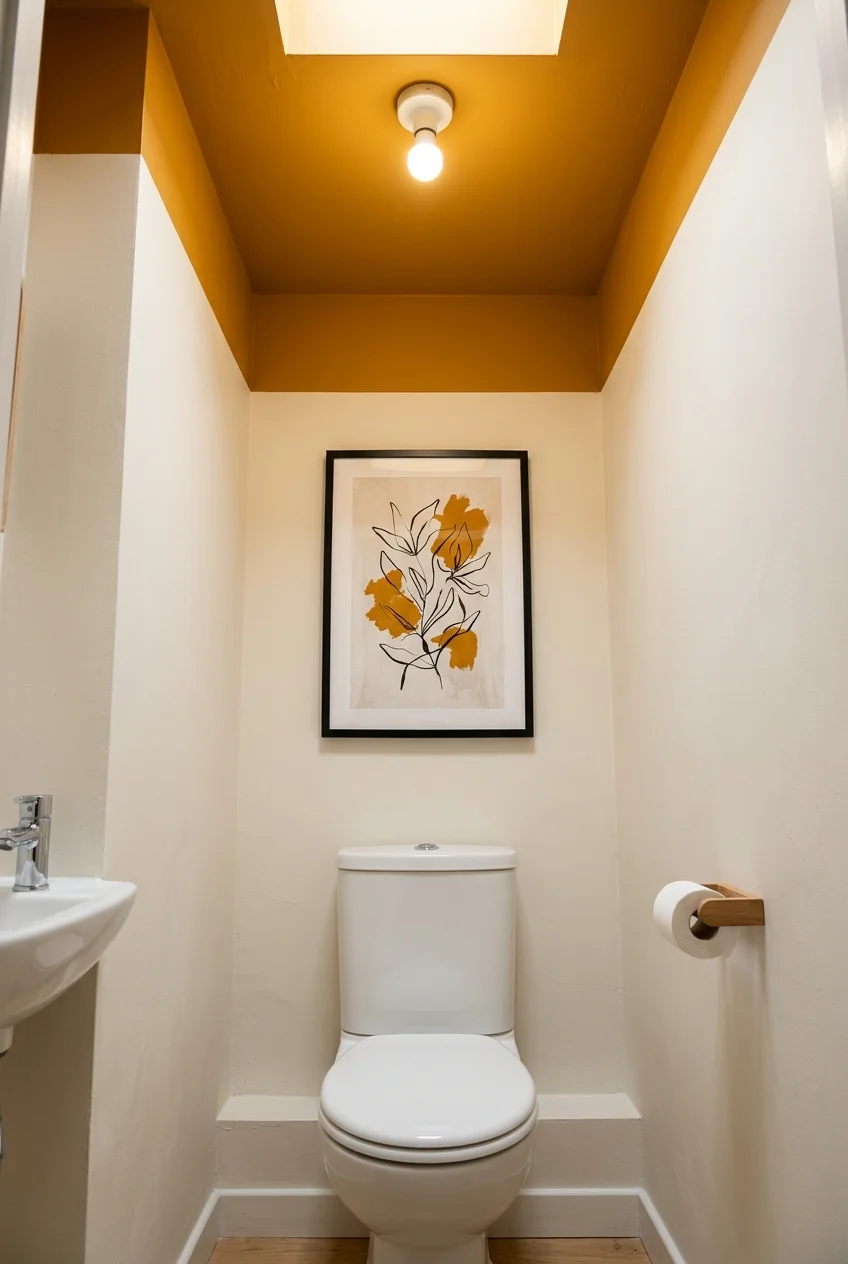
A contrasting ceiling draws attention upward and gives a plain toilet room a finished fifth surface without using floor area or adding cleaning obstacles.
Repeat the ceiling color in one small element, such as artwork or a towel, so the choice connects to the room rather than floating above it.
19. Stretch the Room with Vertical Stripes
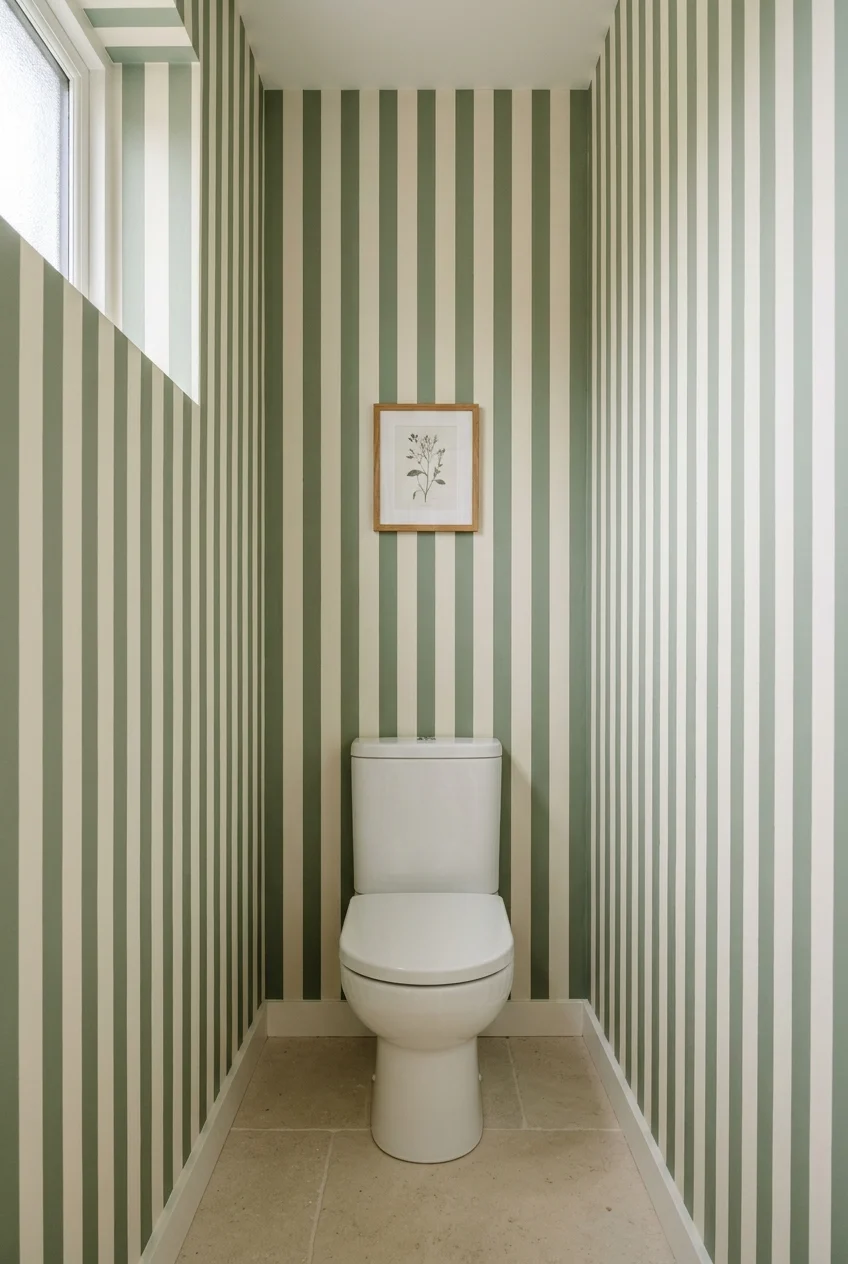
Narrow vertical stripes emphasize height and can organize an oddly proportioned compartment, while wider stripes create a calmer, more architectural rhythm.
Keep lines plumb at corners and around the door frame. A limited two-color palette prevents the treatment from competing with floor pattern and hardware.
20. Ground the Room with a Dark Lower Wall
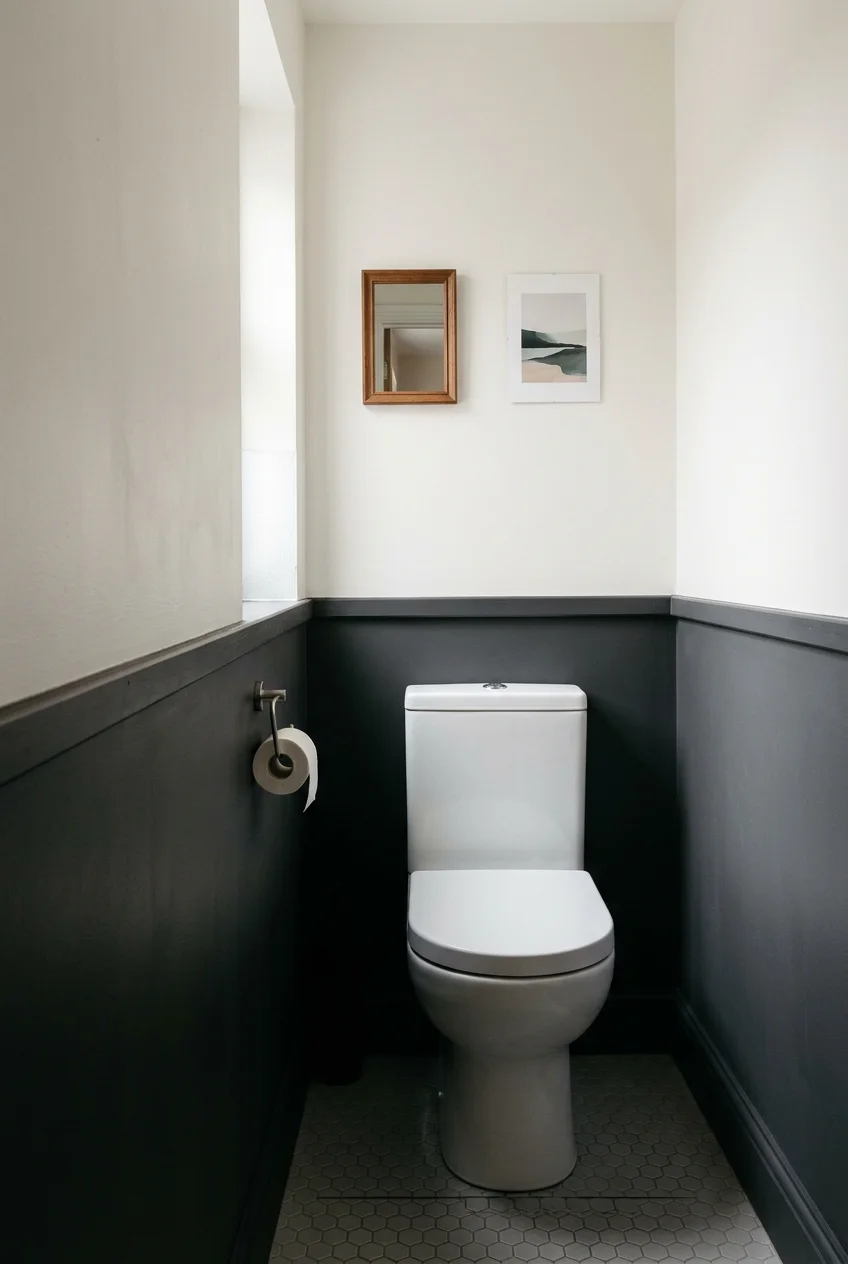
A dark painted lower wall visually anchors the toilet and hides minor scuffs, while a lighter upper wall keeps the narrow compartment from feeling uniformly heavy.
Set the dividing line deliberately at a molding or tile edge. Avoid stopping it at an arbitrary height that conflicts with the tank or flush plate.
Tile and Floor Ideas
Tile can establish scale, rhythm, and an easy-clean surface in one move. Let the room size and existing bathroom finishes guide pattern intensity.
21. Run Large-Format Tile Up the Back Wall
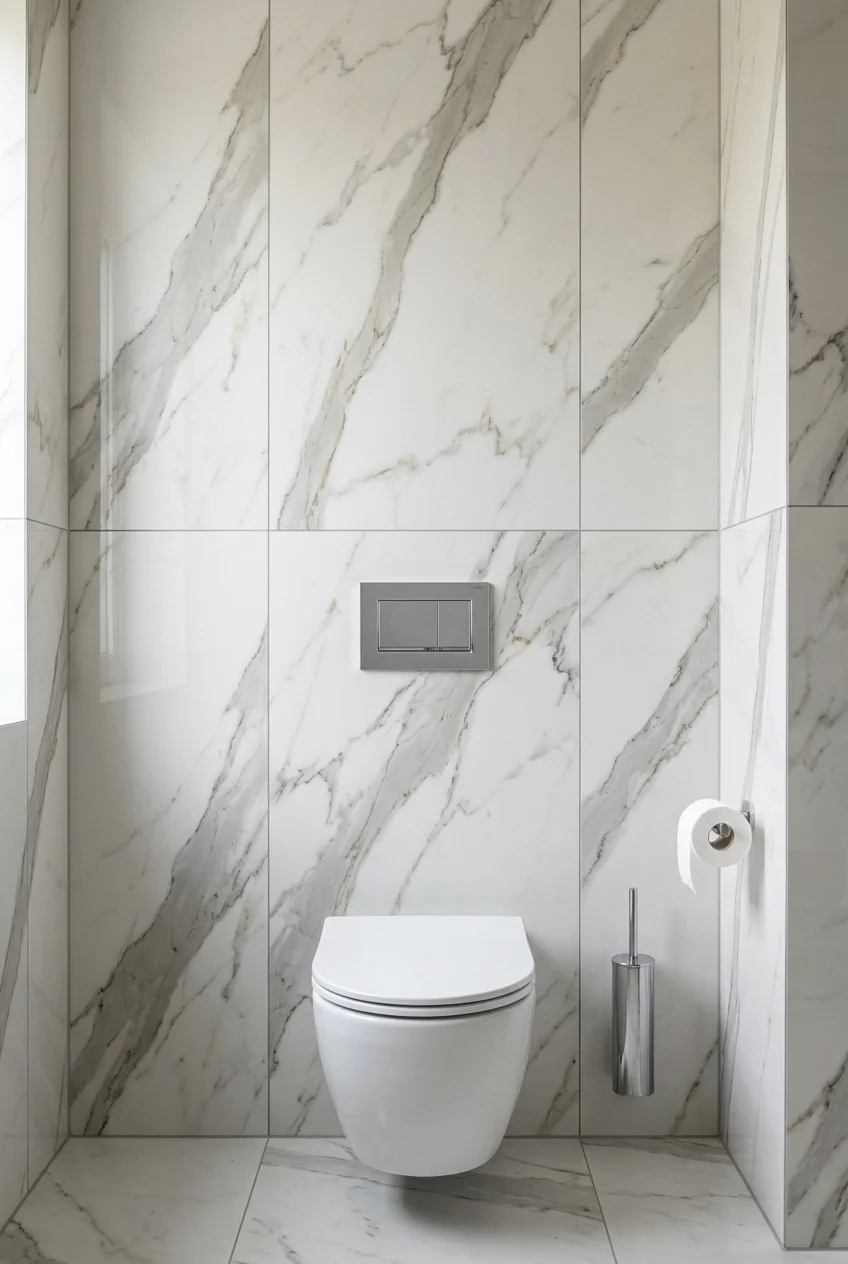
Large-format tile behind the toilet creates a calm surface with fewer grout lines, allowing veining or subtle texture to read clearly in a narrow view.
Plan cuts around the outlet, flush plate, and corners before installation. Balanced edge pieces usually look more intentional than one full tile forced off-center.
Use an appropriate substrate and setting system for the tile weight. A professional installer can coordinate support, movement joints, and service openings.
22. Stack Slim Tile Vertically
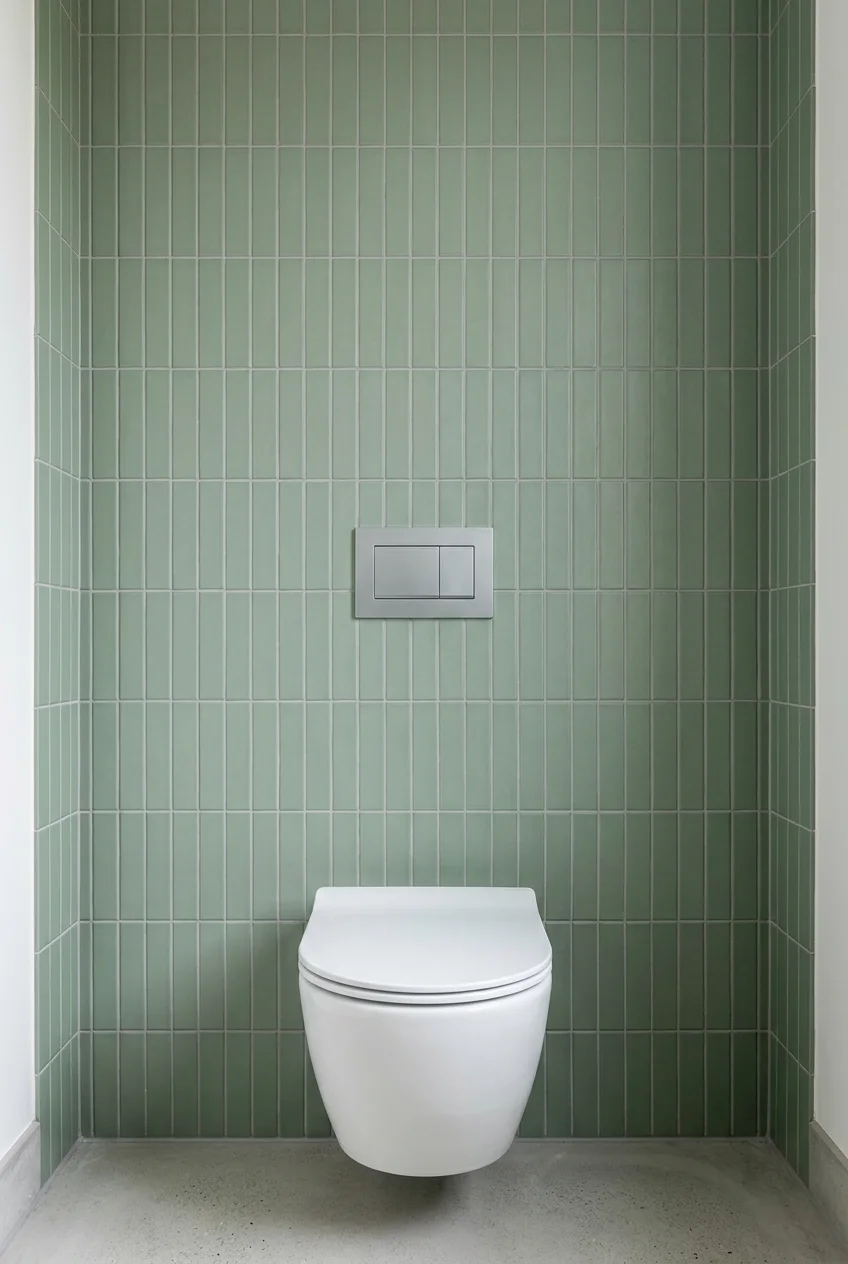
Vertically stacked rectangular tile creates orderly height behind the fixture, offering more rhythm than a slab while remaining cleaner than a busy offset pattern.
Center a grout joint or full tile on the wall, then preview side cuts. A close grout color keeps the grid present but restrained.
23. Highlight One Wall with Handmade-Look Tile
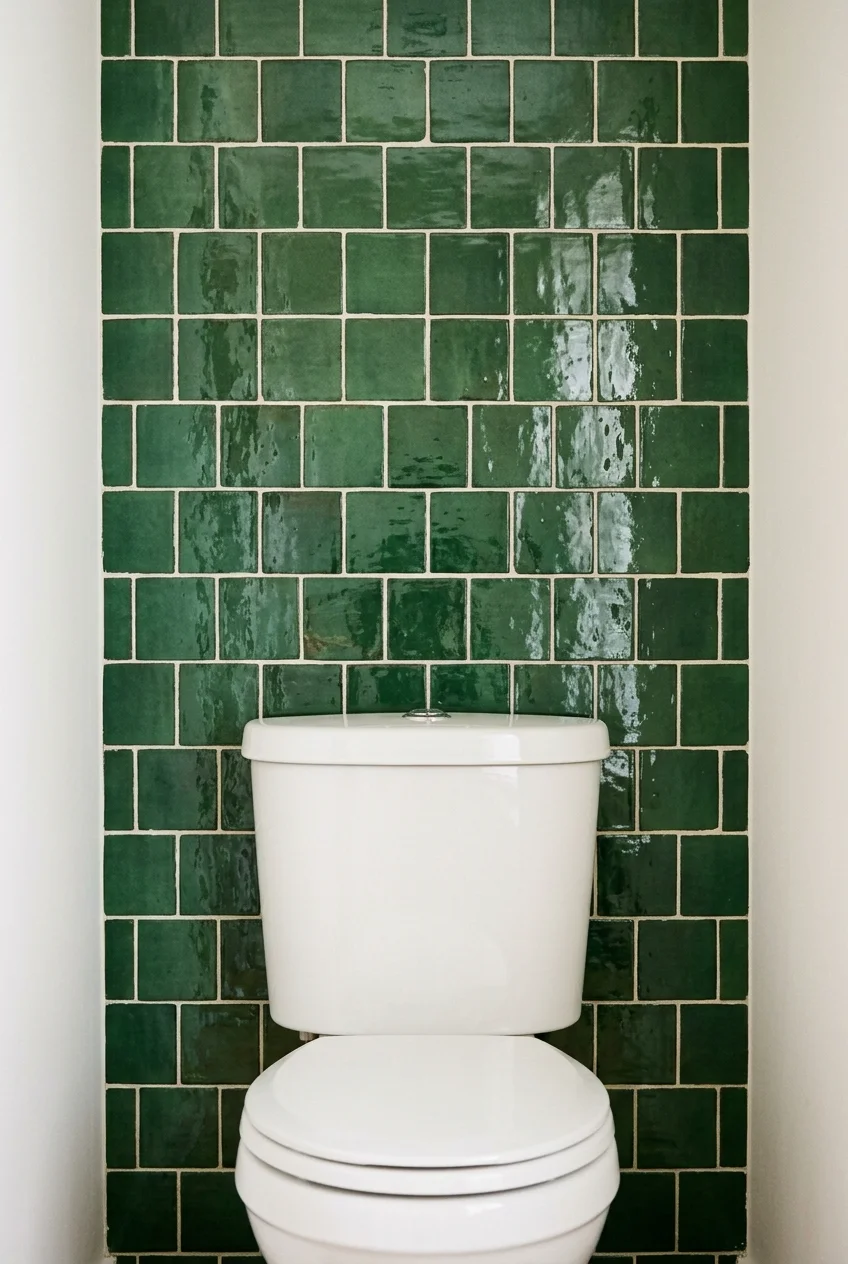
Handmade-look tile brings subtle surface variation to the compact back wall, where changing reflections can add interest without introducing another decorative object.
Use the irregular character on one surface and keep adjacent walls simple. Order enough material together so color variation feels distributed rather than patched.
24. Build a Penny-Tile Accent Niche
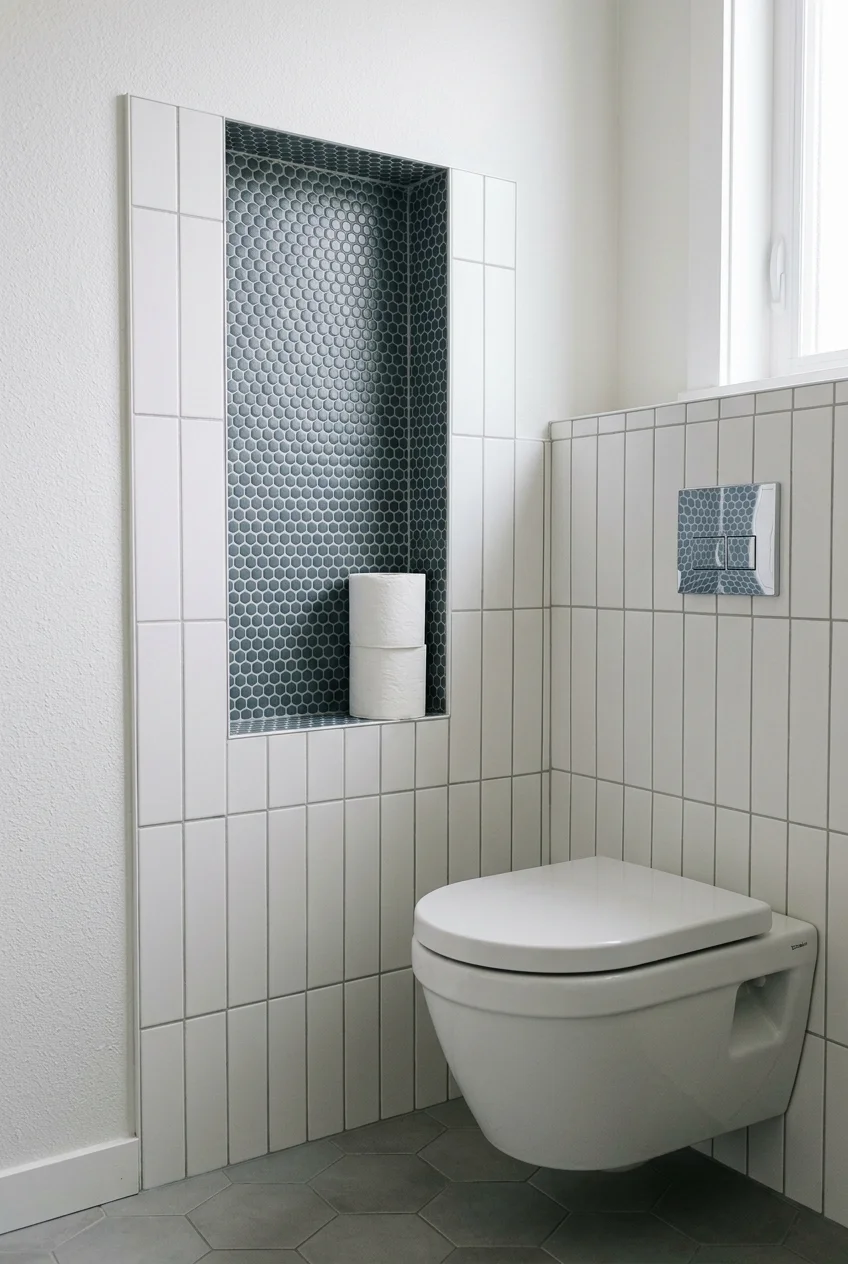
A small tiled niche can hold spare paper or one decorative object while repeating the bathroom floor pattern at eye level for a connected design.
Recessed storage requires suitable wall depth and careful coordination around pipes and wiring. Keep the niche shallow enough that supplies remain easy to reach.
Setup note Place the niche beside or above the fixture only after confirming it will not interfere with service access, grab bars, or comfortable movement.
25. Use Terrazzo as the Room’s Main Pattern
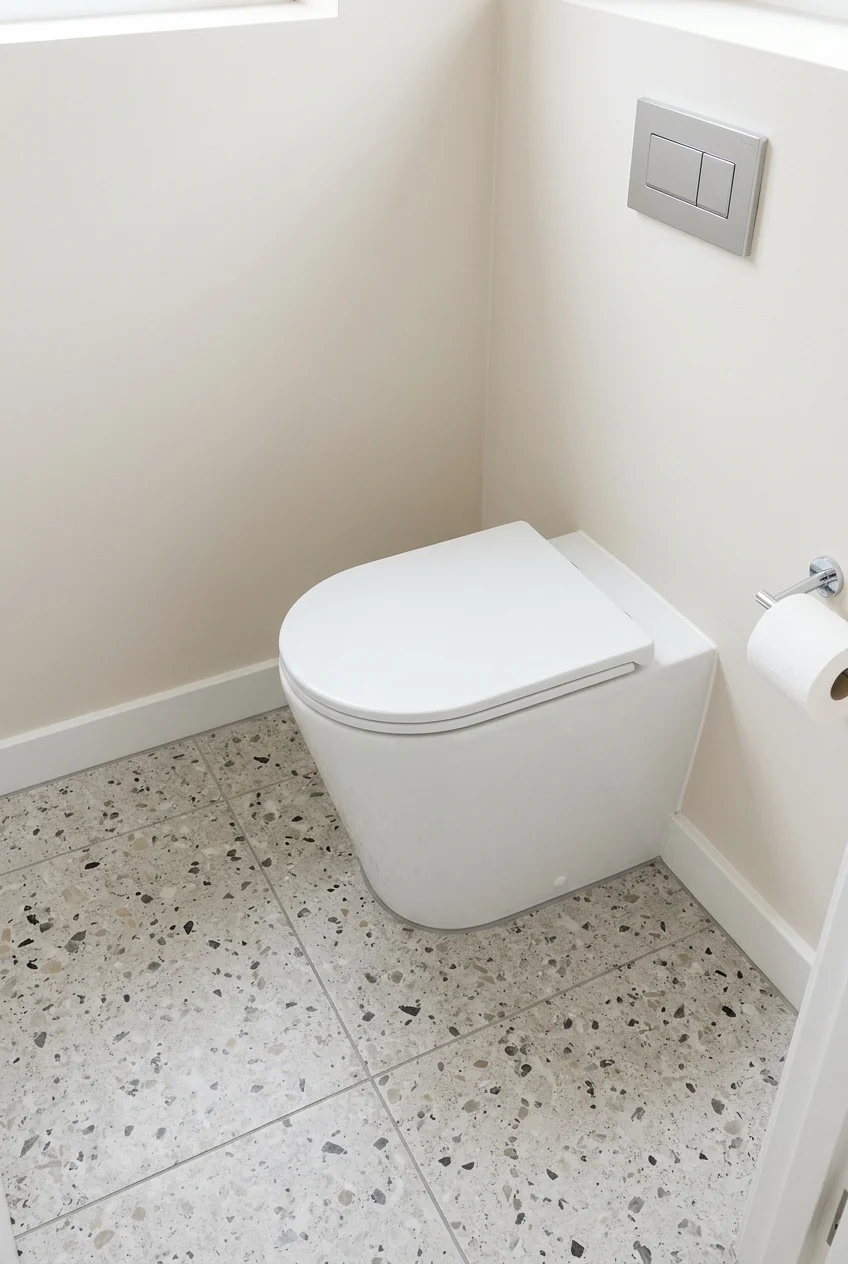
Terrazzo-look floor tile supplies color and movement at ground level, allowing walls and storage to remain simple in an already compact compartment.
Choose a chip scale that remains readable across the available floor. Pull one quieter fleck color into the wall paint for an easy connection.
26. Lay a Small Checkerboard Floor
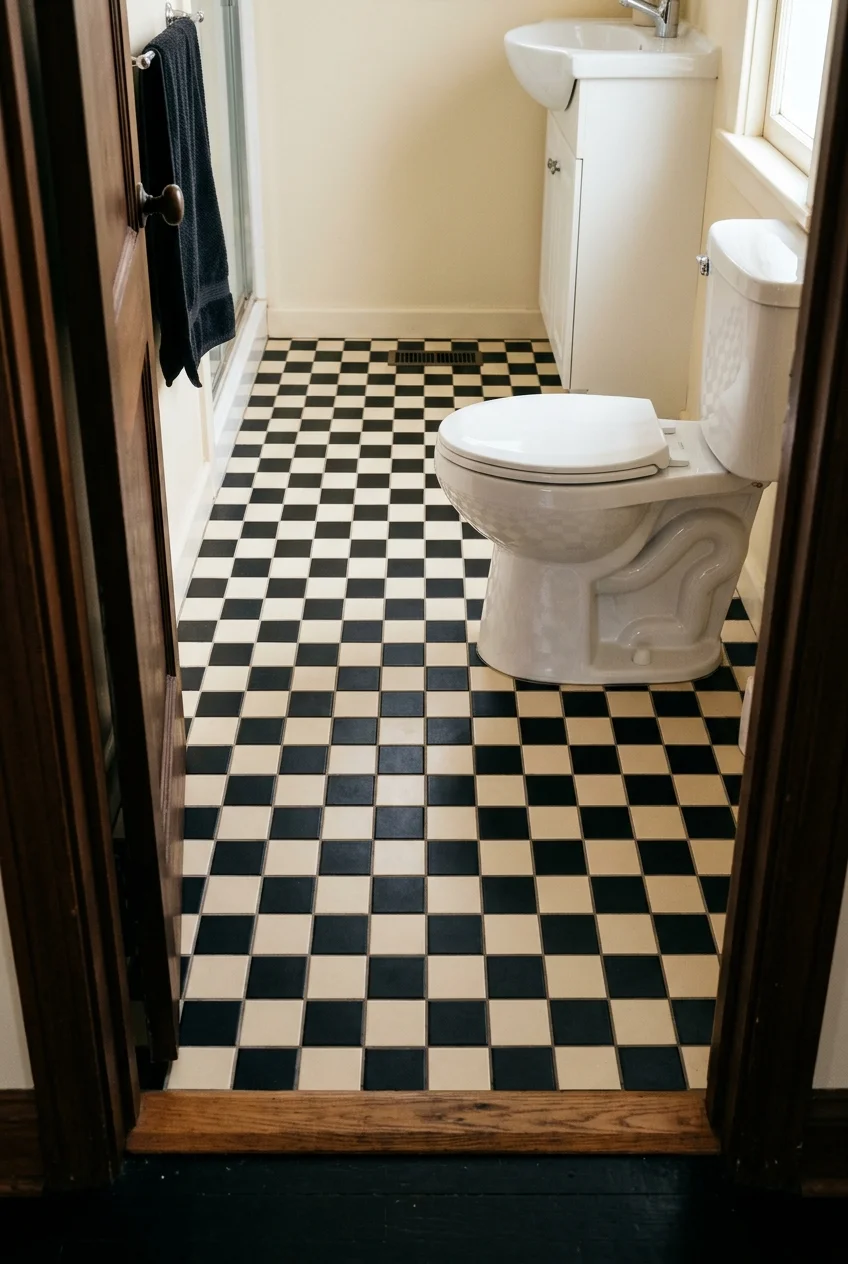
A small-scale checkerboard gives the narrow floor a clear graphic identity, particularly when the squares relate proportionally to the toilet and doorway width.
Dry-plan the grid from the most visible threshold. Balanced cuts at side walls keep the pattern from appearing shifted beneath the fixture.
27. Add a Mosaic Border around a Plain Field
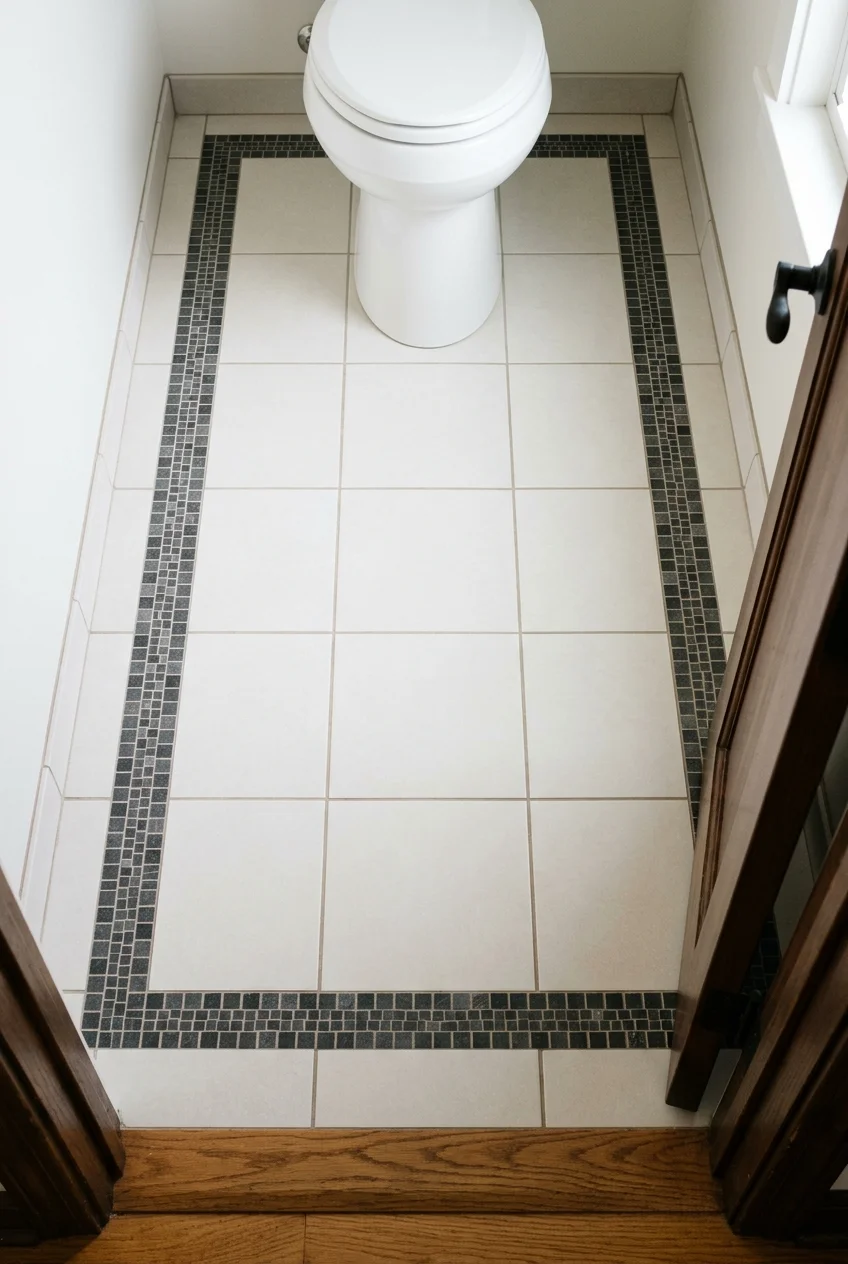
A narrow mosaic border can outline the floor like a rug while the central field stays quiet, giving a small compartment detail without full-surface pattern.
Keep the border clear of the toilet footprint when possible, and align it with the doorway. Complicated cuts around the base weaken the framed effect.
28. Continue the Main Bathroom Floor Inside
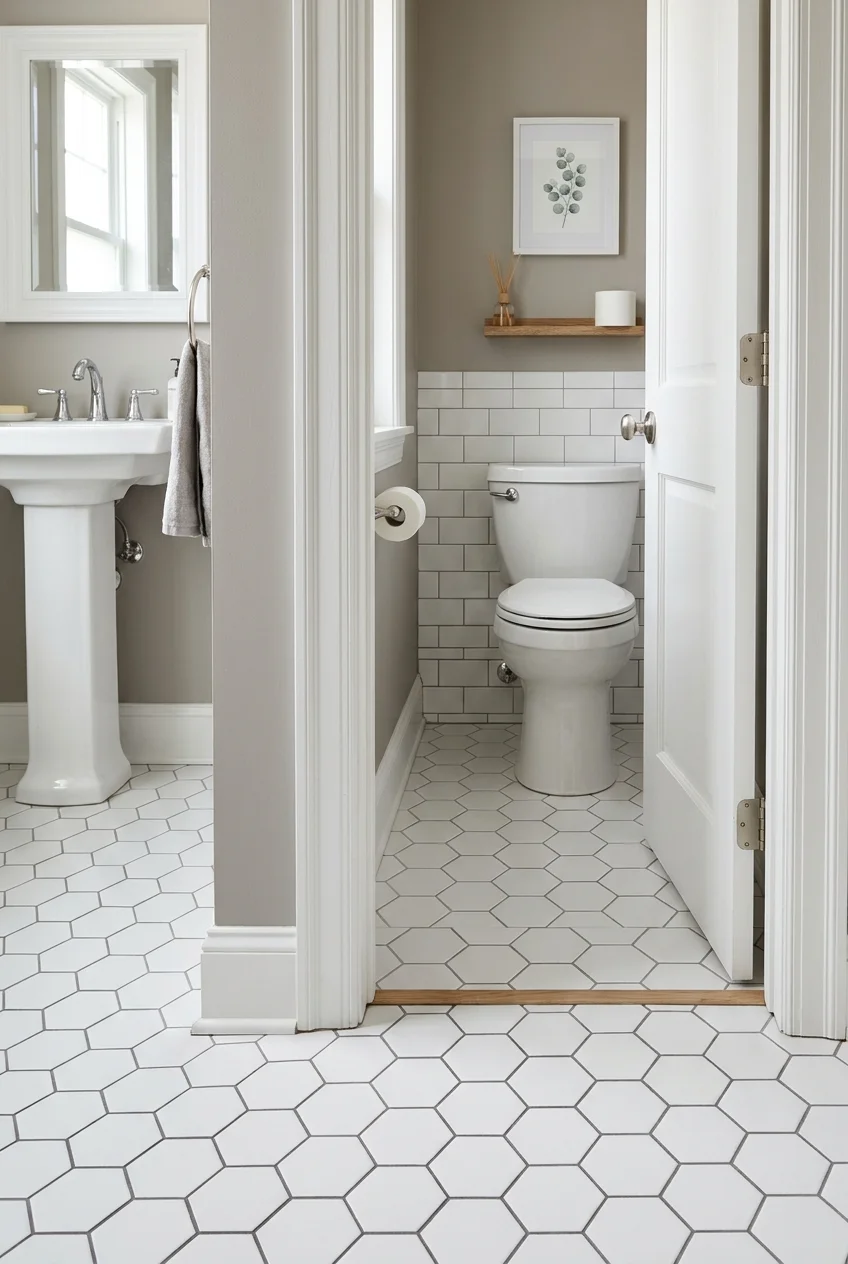
Running one floor tile through the doorway makes the toilet room feel connected to the larger bath and avoids a visually choppy threshold.
Coordinate the layout before setting either area so grout lines pass through the opening cleanly. The transition still needs any movement treatment the assembly requires.
This approach works especially well with a glass or open doorway, where both floors appear together. A closed door reduces the visual benefit.
29. Warm the Floor with Wood-Look Porcelain
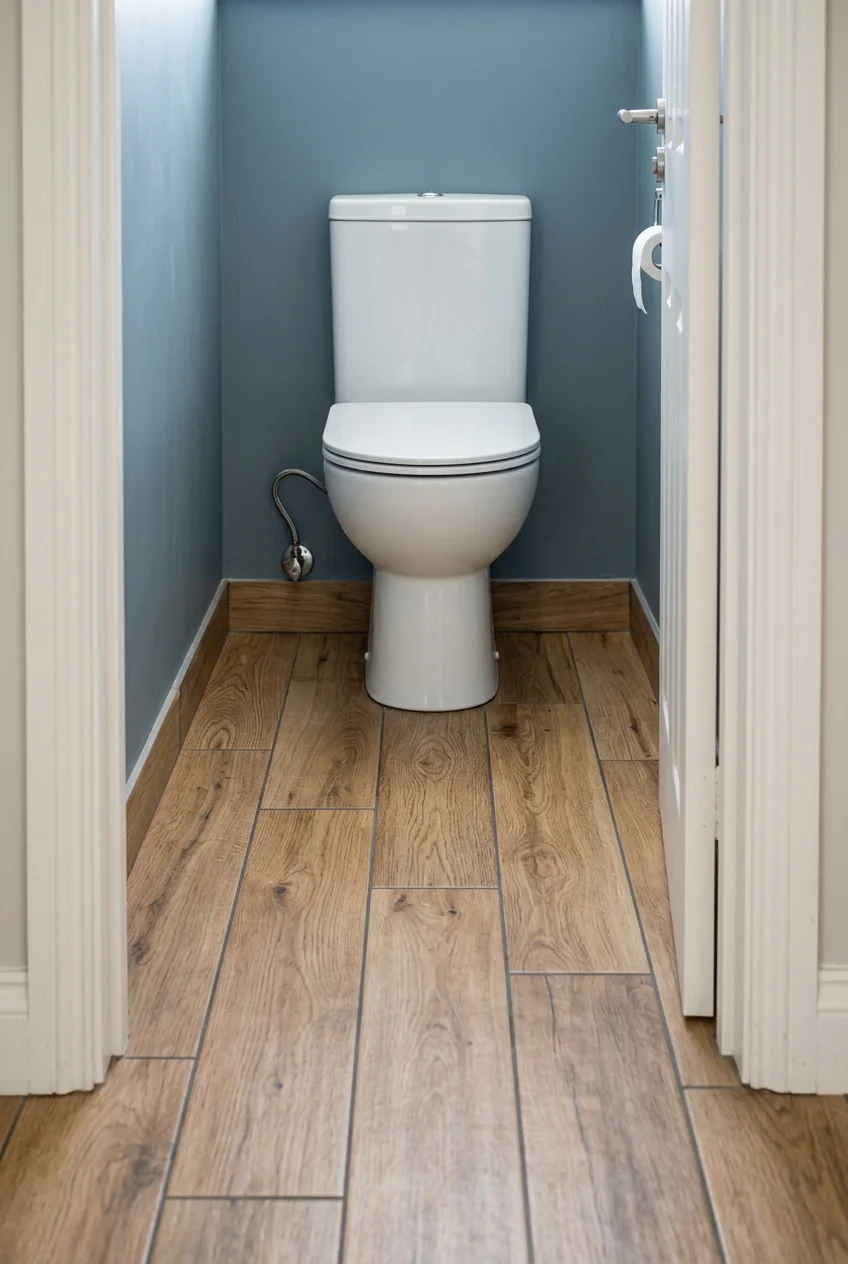
Wood-look porcelain brings linear warmth without placing real wood directly around the toilet, where cleaning routines and occasional moisture demand a resilient surface.
Choose planks with varied printed faces and a restrained grain. Stagger joints thoughtfully so repeated motifs do not create an artificial striped floor.
30. Create a Geometric Floor with Quiet Walls
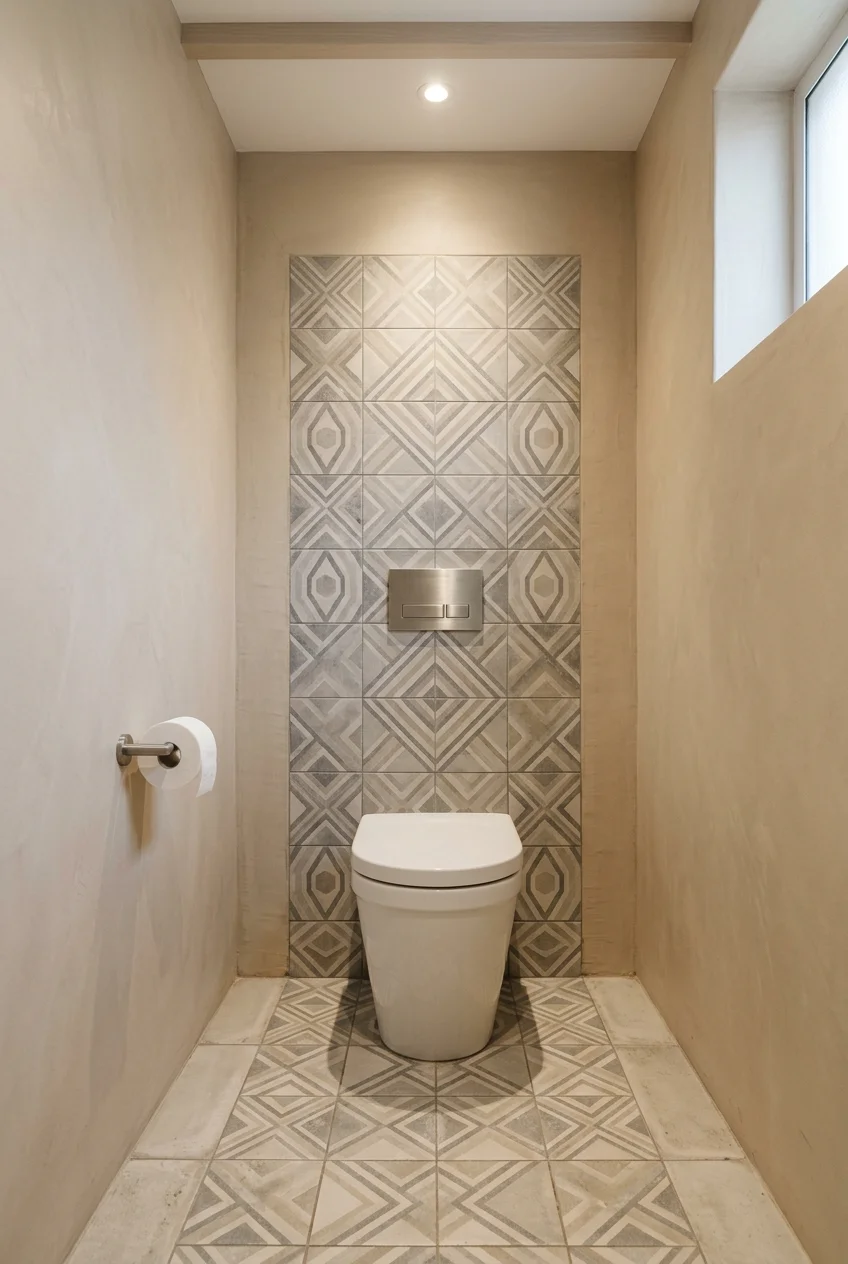
A geometric floor can carry the room’s strongest visual moment when walls, hardware, and storage remain calm enough to let the pattern read clearly.
Preview the repeat across the exact floor dimensions. Large motifs can disappear under the toilet, while tiny patterns may look restless in photographs and daily use.
31. Choose Tonal Stone-Look Surfaces
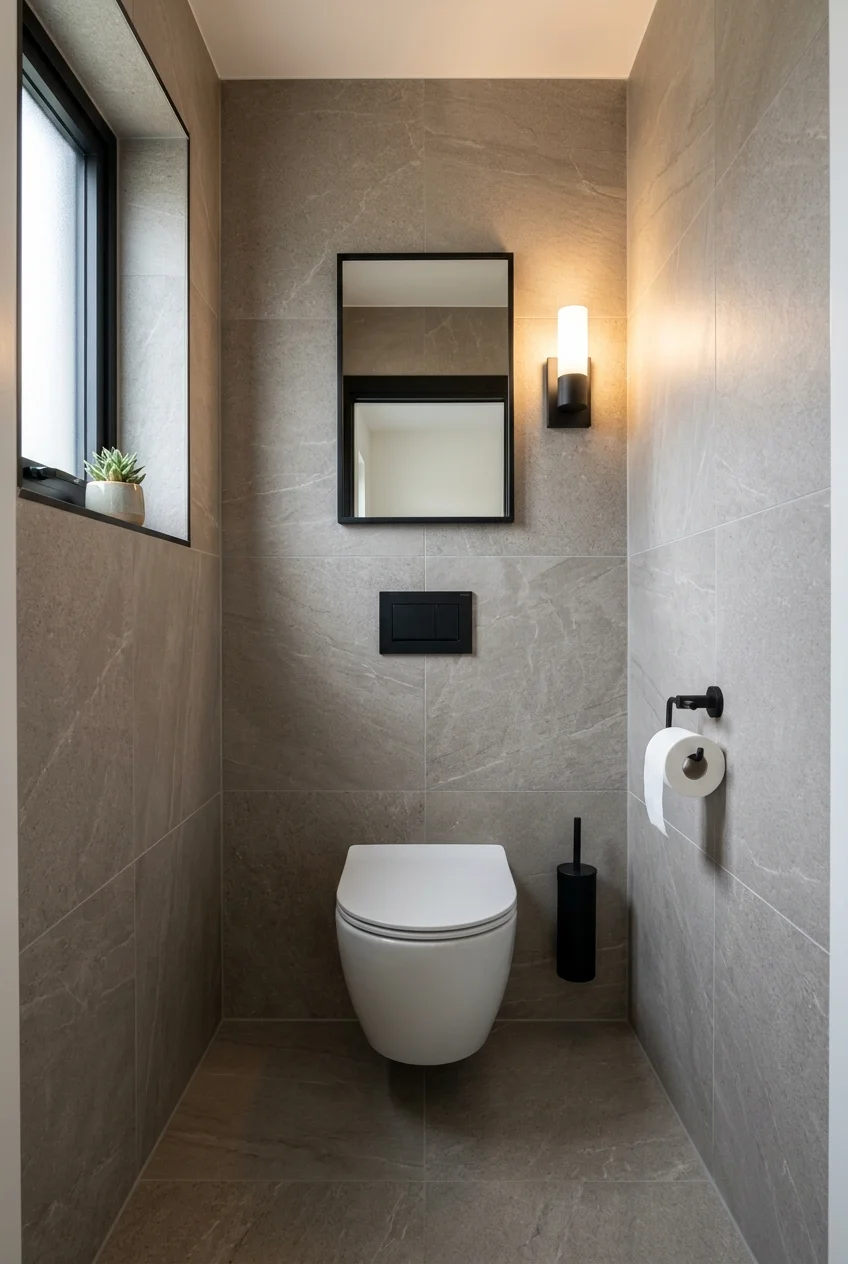
Related stone-look tones across floor and one wall can make a small compartment feel composed, provided the veining scale and undertones remain compatible.
Separate surfaces with accurate grout and corner joints rather than attempting a seamless stone illusion. Keep accessories matte or softly reflective to avoid competing movement.
32. Use Contrasting Grout as a Graphic Grid
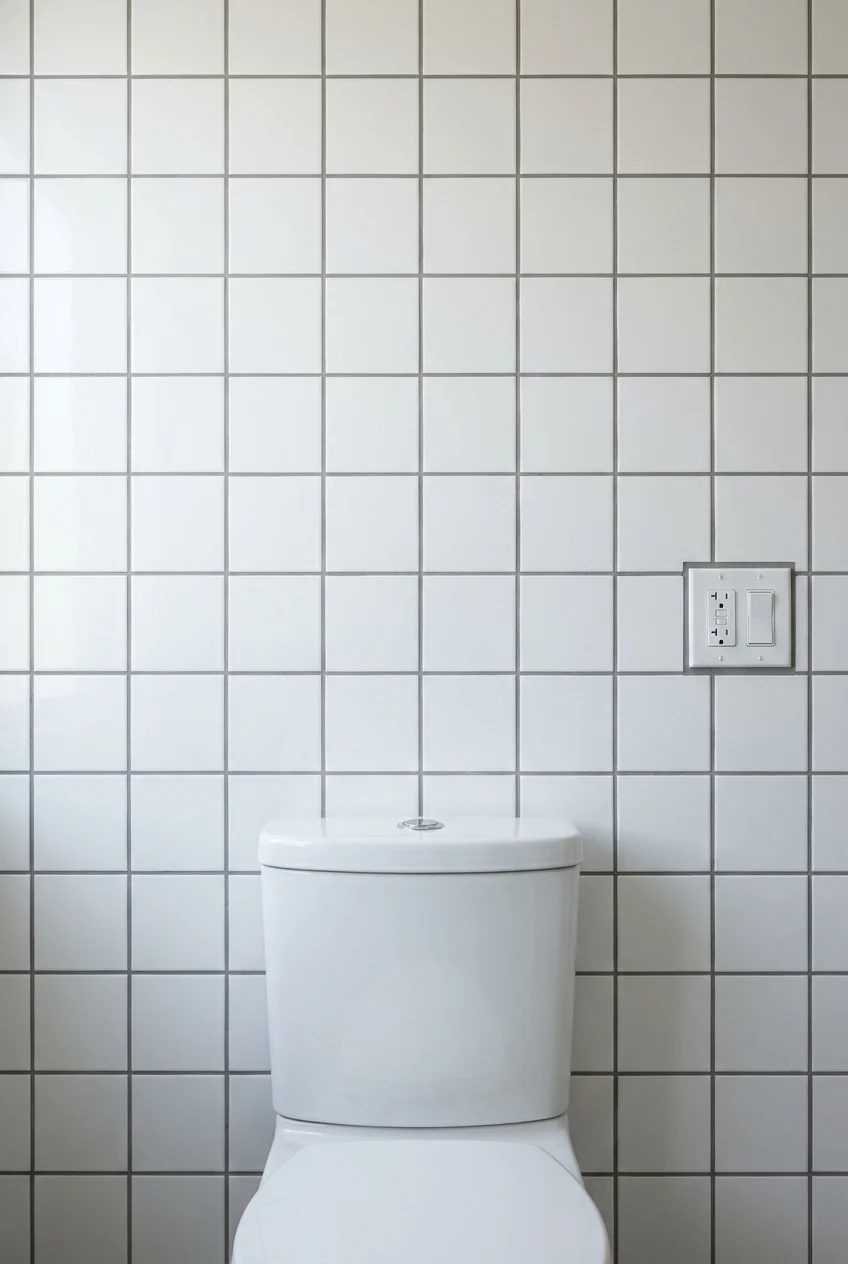
Contrasting grout emphasizes simple tile geometry, turning an affordable field tile into a deliberate grid that suits compact rooms with few other details.
The contrast also makes uneven spacing more obvious, so layout and joint consistency matter. Select grout for the setting and follow its sealing and cleaning guidance.
33. Cap a Tiled Half Wall with a Useful Ledge
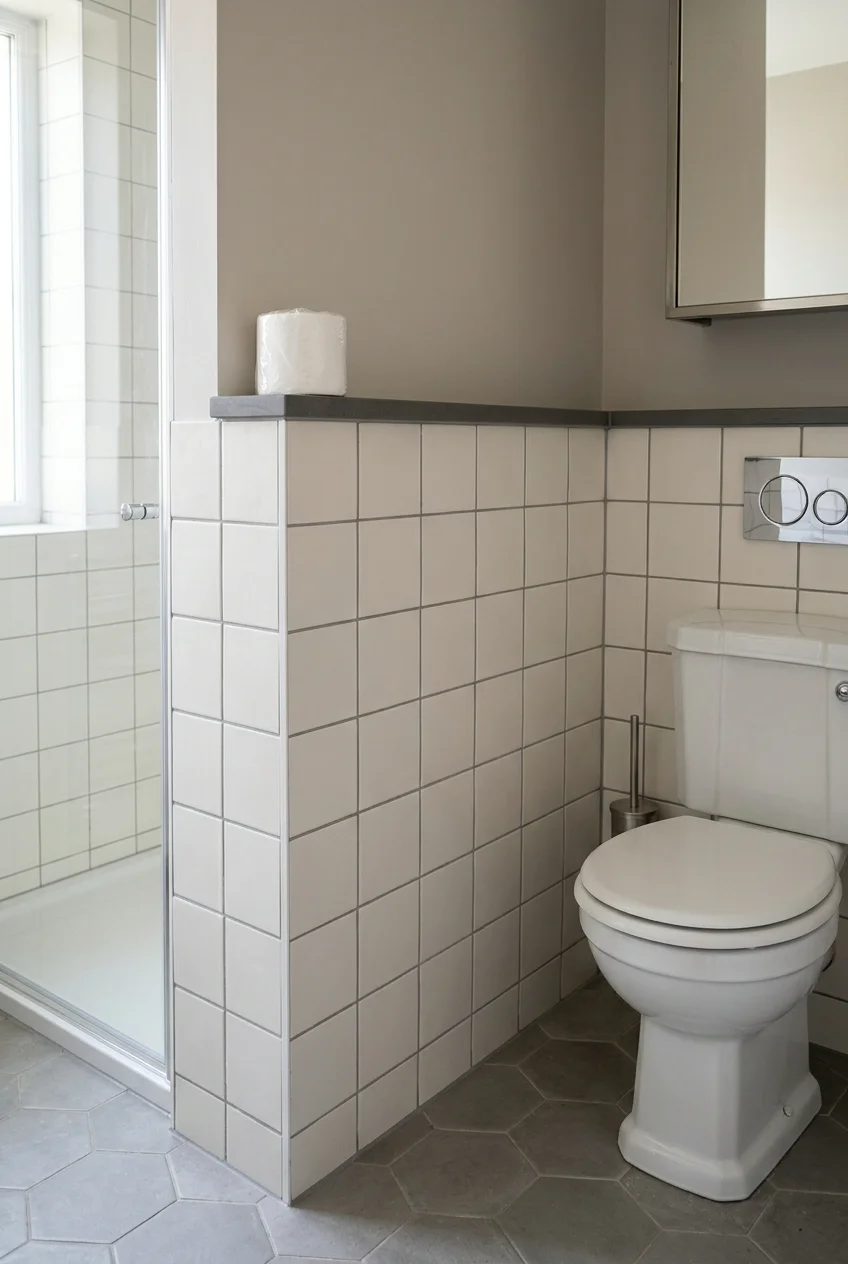
A tiled half wall can protect the lower surface and create a narrow ledge for one spare roll, provided the cap remains level and easy to wipe.
Keep the projection modest so it does not crowd shoulder space. Slope any surface exposed to splashes according to the chosen assembly’s requirements.
Align the top with a flush plate or nearby trim for a purposeful elevation. Avoid scattering small décor across the entire ledge.
34. Use Small Mosaic Tile for Better Floor Grip
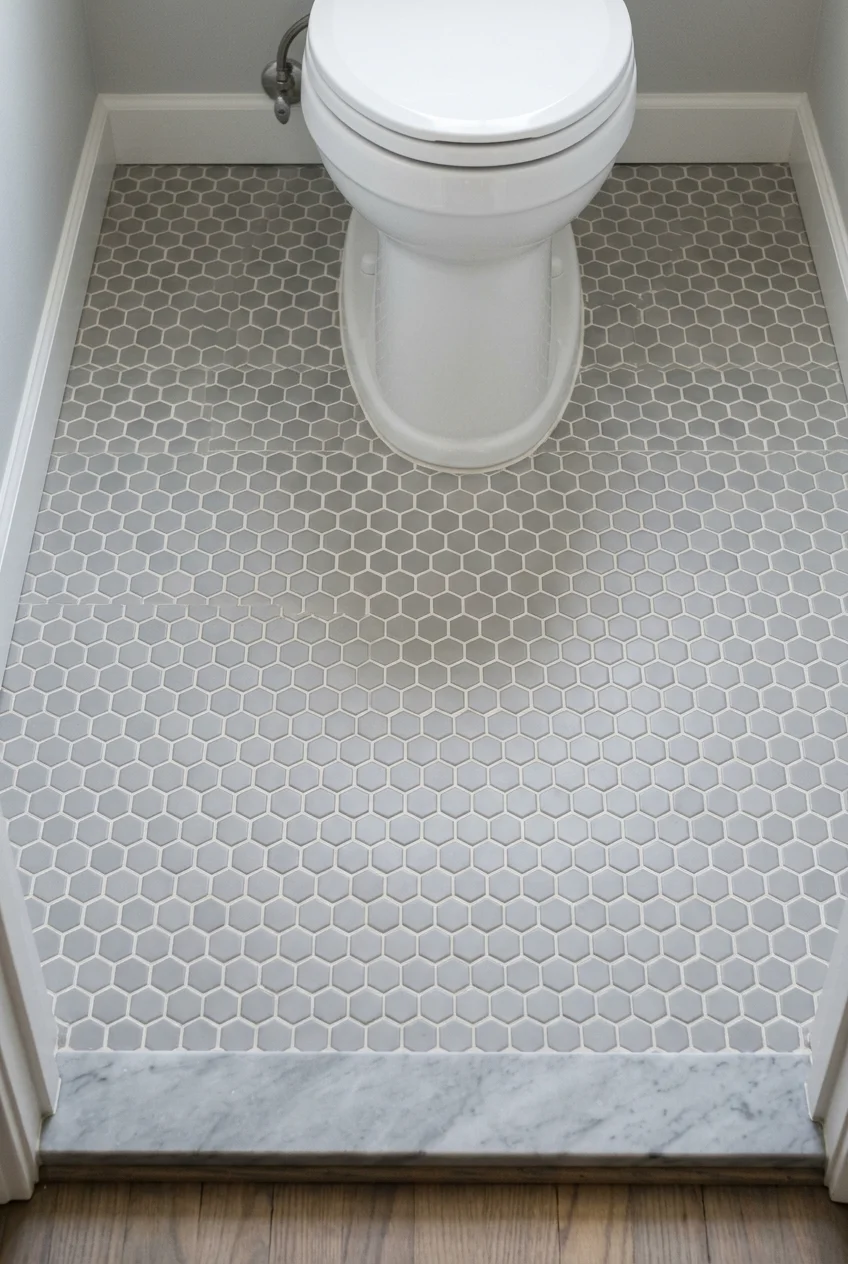
Small mosaic tiles introduce frequent grout joints, which can provide more underfoot texture than a broad polished surface in a compact toilet room.
Slip performance depends on the complete product and installation, not tile size alone. Review manufacturer data and choose a floor-rated surface for the location.
Safety note Do not infer slip resistance from appearance. Confirm current product ratings, suitable grout, and cleaning requirements before purchasing the floor material.
35. Frame the Back Wall with a Tile Border
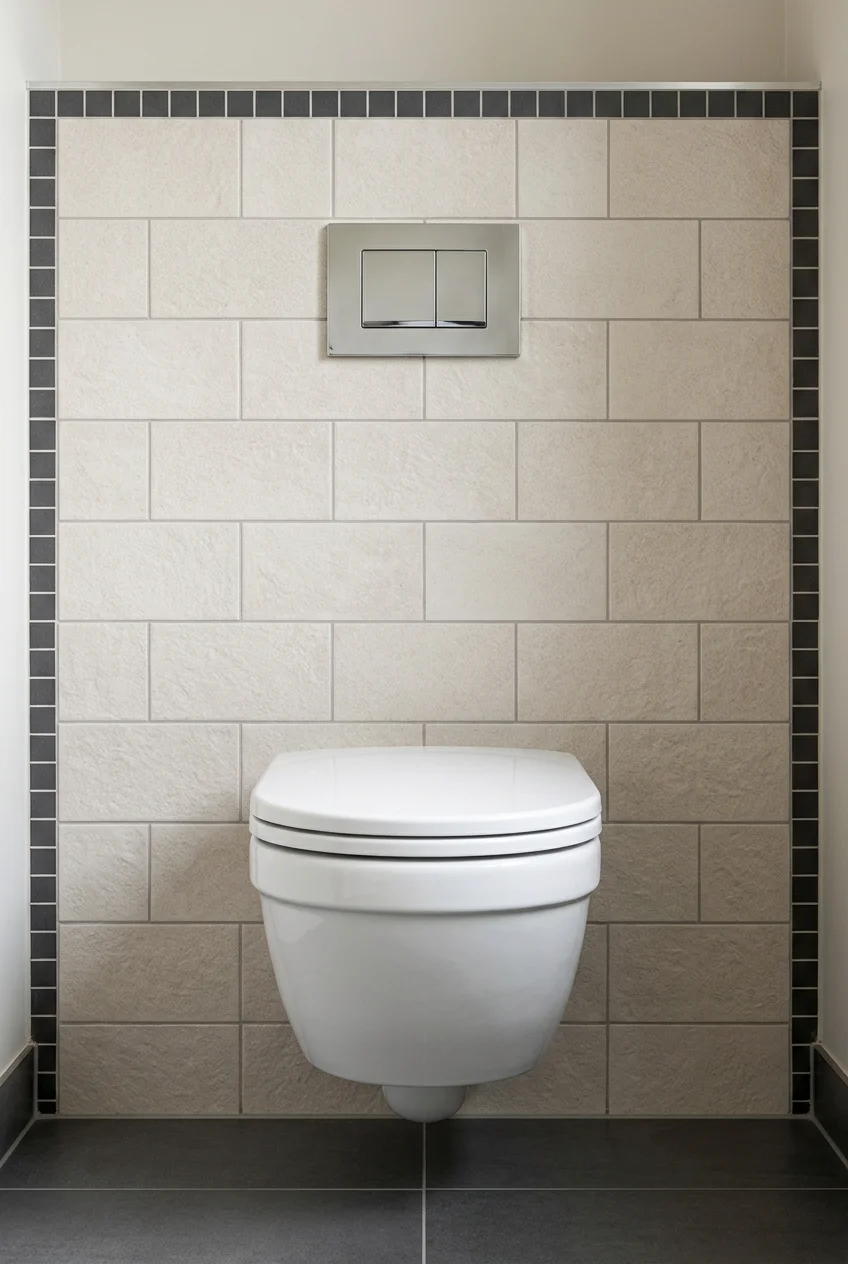
A slim border around the tiled back wall creates a finished panel effect, giving the toilet a defined backdrop without covering every wall in pattern.
Plan the border around full field tiles where possible. Keep outlet, flush plate, and accessory cuts outside decorative corners to preserve the frame.
Storage Without Crowding
The best storage keeps paper, cleaning supplies, and guest essentials reachable without narrowing the usable floor. Measure doors, tank access, and head clearance first.
36. Recess a Cabinet between Wall Studs
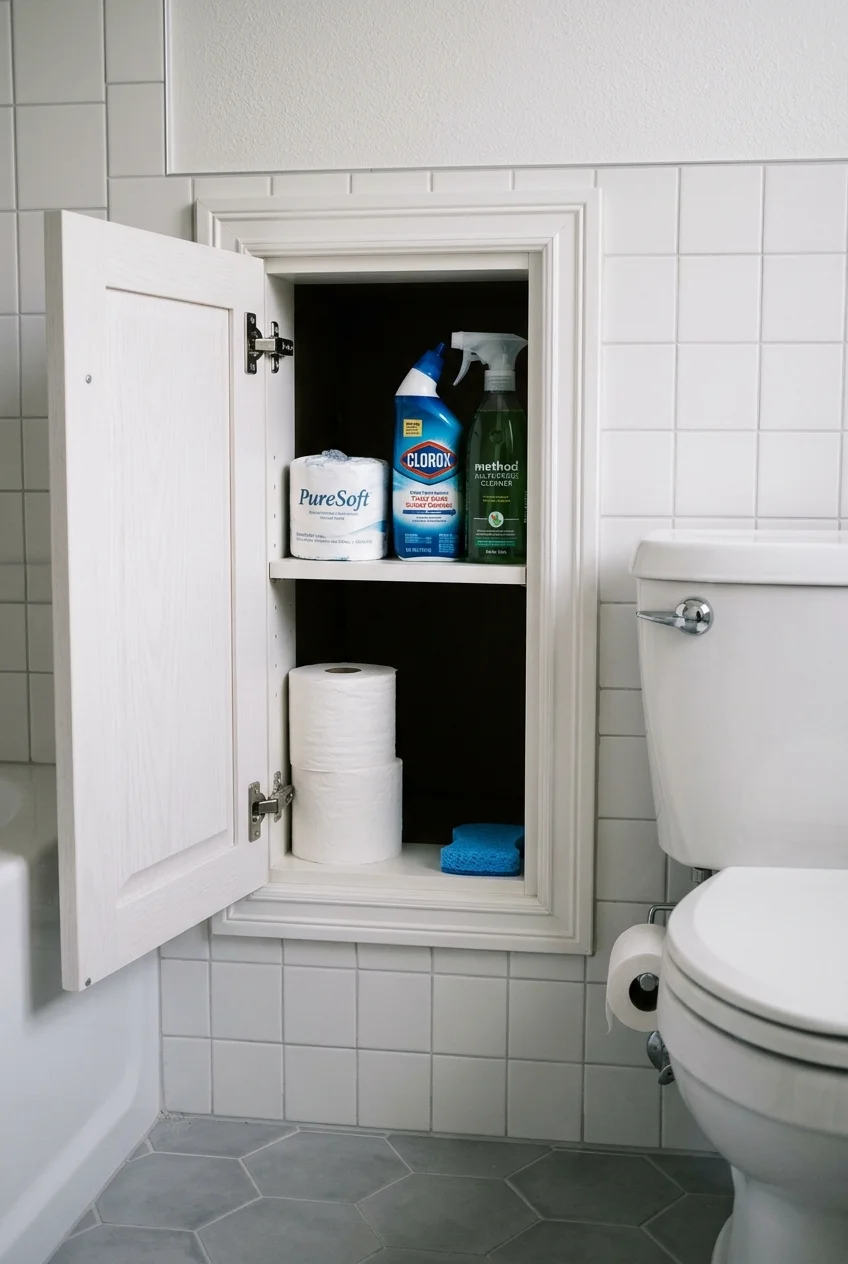
A recessed cabinet stores paper and cleaning supplies without projecting deeply into the room, making it valuable beside the toilet in a narrow enclosure.
Open the wall only after locating plumbing, wiring, ducts, and framing. Choose a door that can swing fully without meeting the user or entry door.
Measure the cavity after the wall is opened, because nominal stud spacing does not reveal pipes, blocking, or irregular framing that reduces cabinet depth.
Keep medicines and hazardous cleaners elsewhere when children can reach the cabinet. Reserve this small storage zone for paper and low-risk household supplies.
- Confirm the clear cavity dimensions.
- Keep shutoffs and service points reachable.
- Use adjustable interior shelves.
- Select moisture-tolerant cabinet materials.
37. Install One Long Floating Shelf
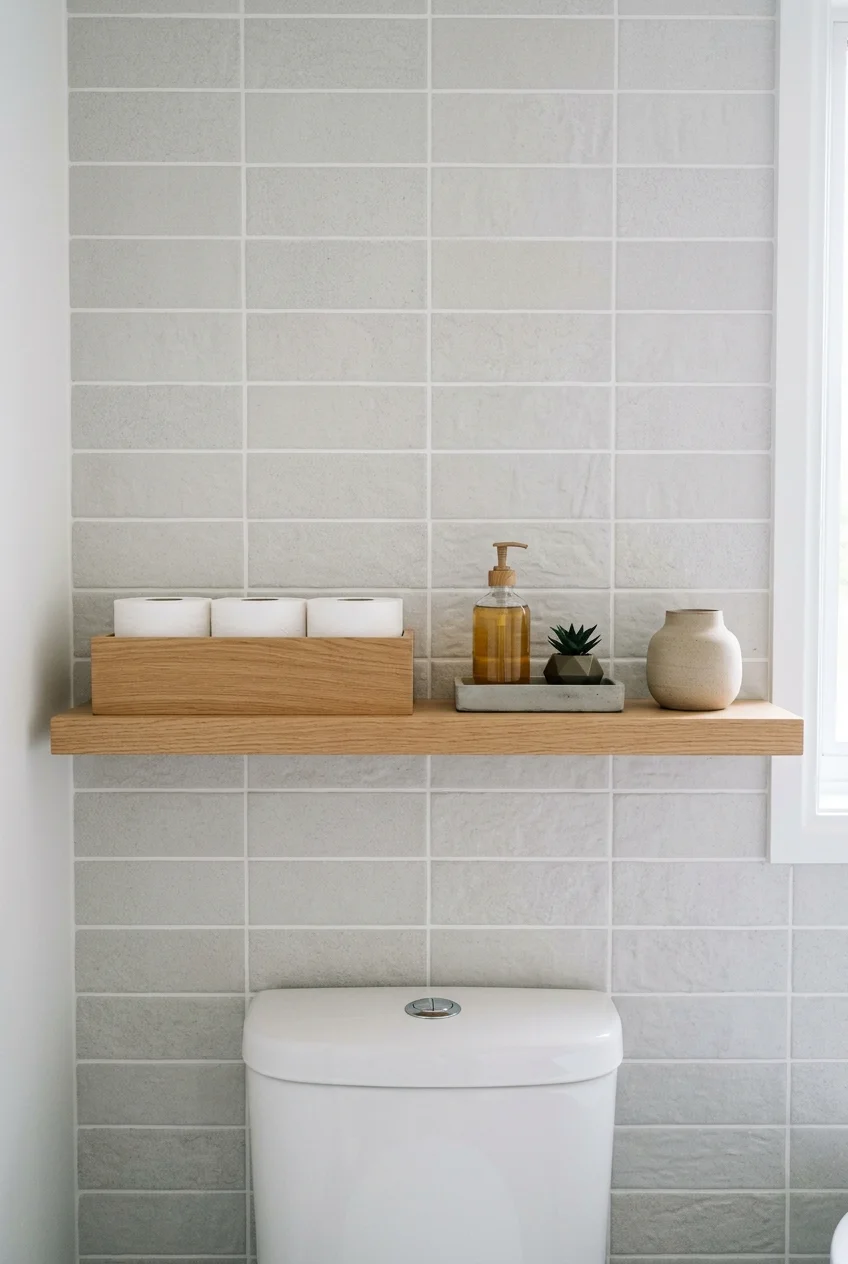
A single shelf above the toilet creates a strong horizontal line and enough space for reserve paper, a small tray, and one decorative object.
Mount it high enough to protect head clearance while keeping supplies reachable. Secure the shelf to suitable structure and respect its manufacturer’s load guidance.
If storage is the larger problem, these small bathroom storage ideas offer additional ways to use corners, doors, and narrow gaps.
38. Hide Supplies in a Closed Cabinet
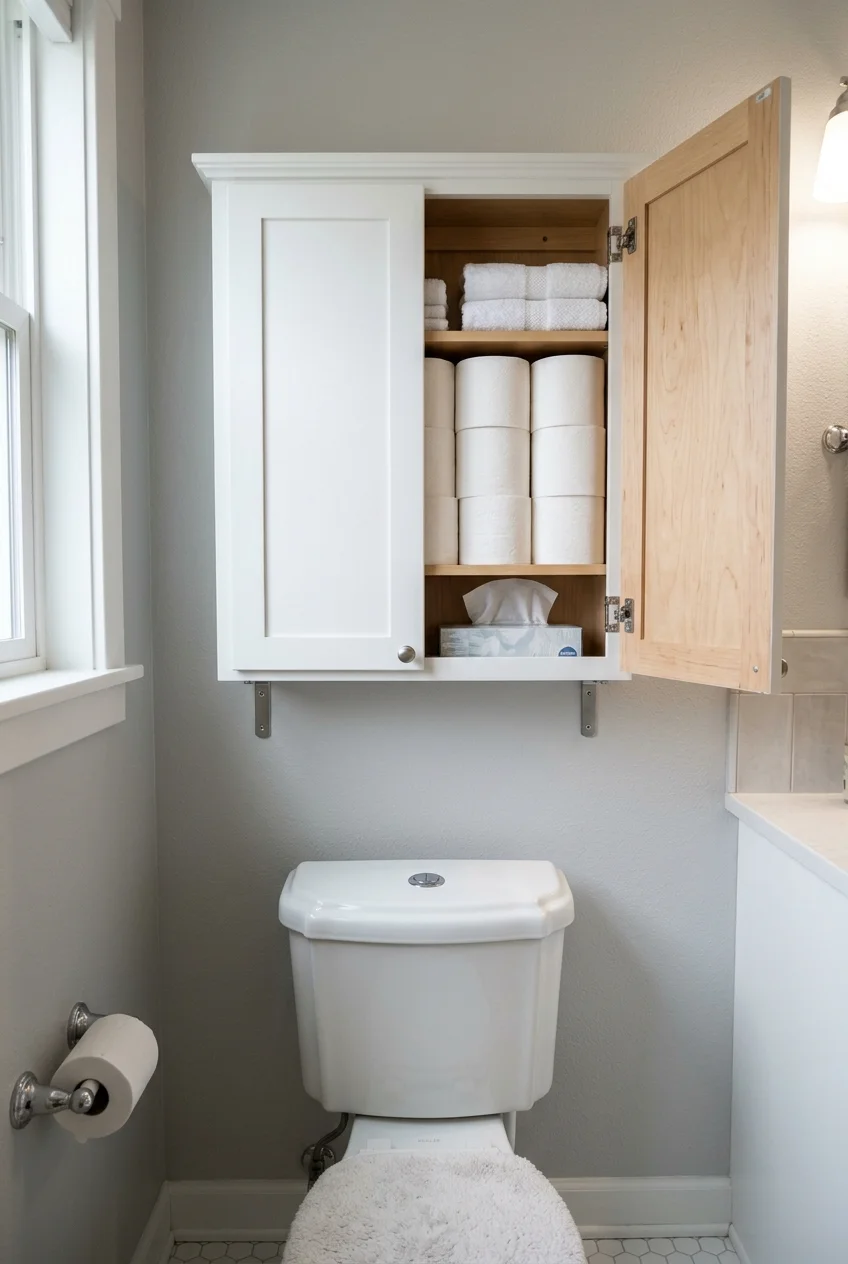
A wall cabinet keeps bulk paper and cleaning products out of sight, reducing visual clutter in a room already dominated by one large fixture.
Choose shallow depth and doors that clear the user’s head. The cabinet bottom should not interfere with tank access or a wall flush plate.
Match the cabinet color to the wall for a quiet built-in effect, or repeat the vanity finish when the two spaces remain visible together.
39. Keep Reserve Rolls in a Lidded Floor Holder
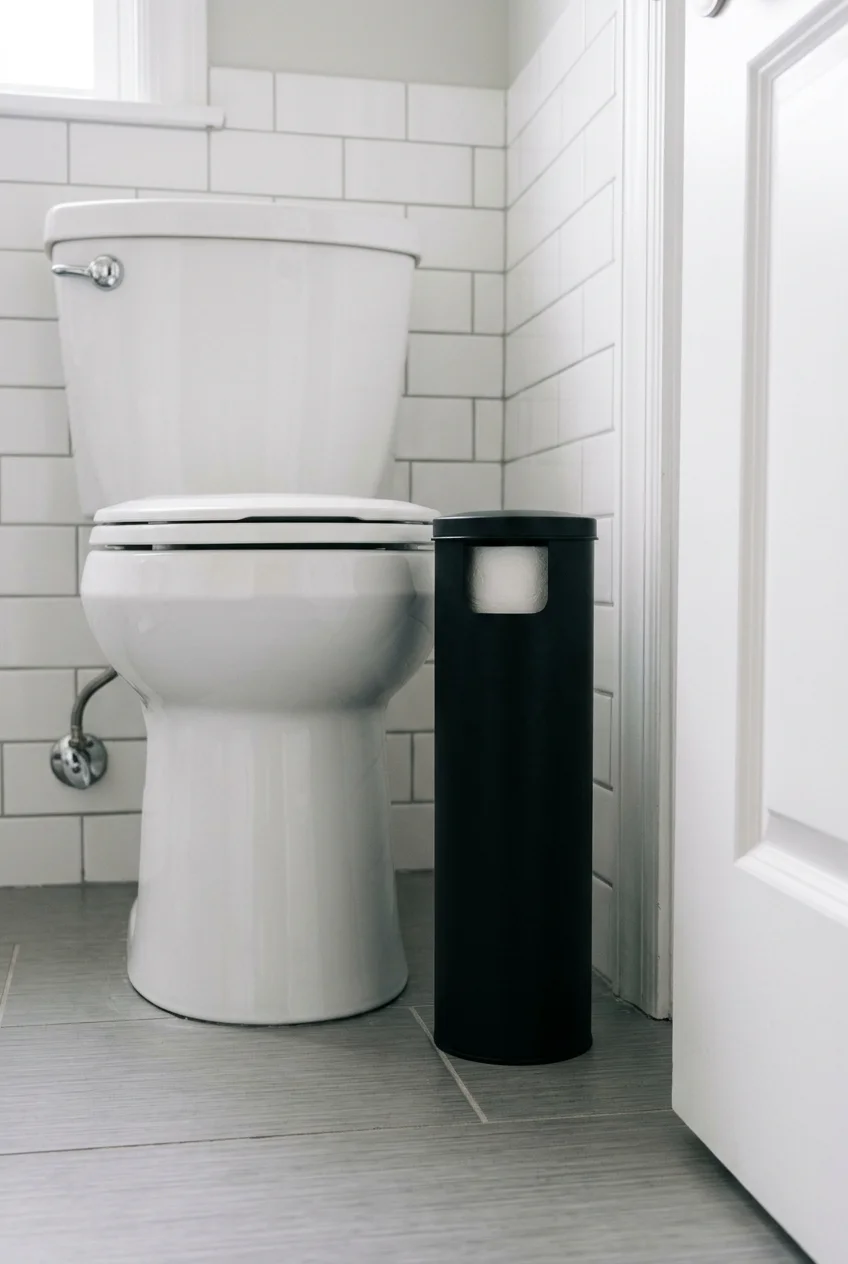
A slim lidded holder protects spare rolls and uses a narrow floor strip that might otherwise remain empty, without requiring drilling or permanent installation.
A lidded three-roll toilet paper holder (paid link) is one verified option; measure the available gap and keep it clear of the door swing.
Place the holder where it can be lifted out for cleaning. Avoid wedging it against supply lines, a shutoff valve, or a floor register.
40. Slide in a Narrow Rolling Cart
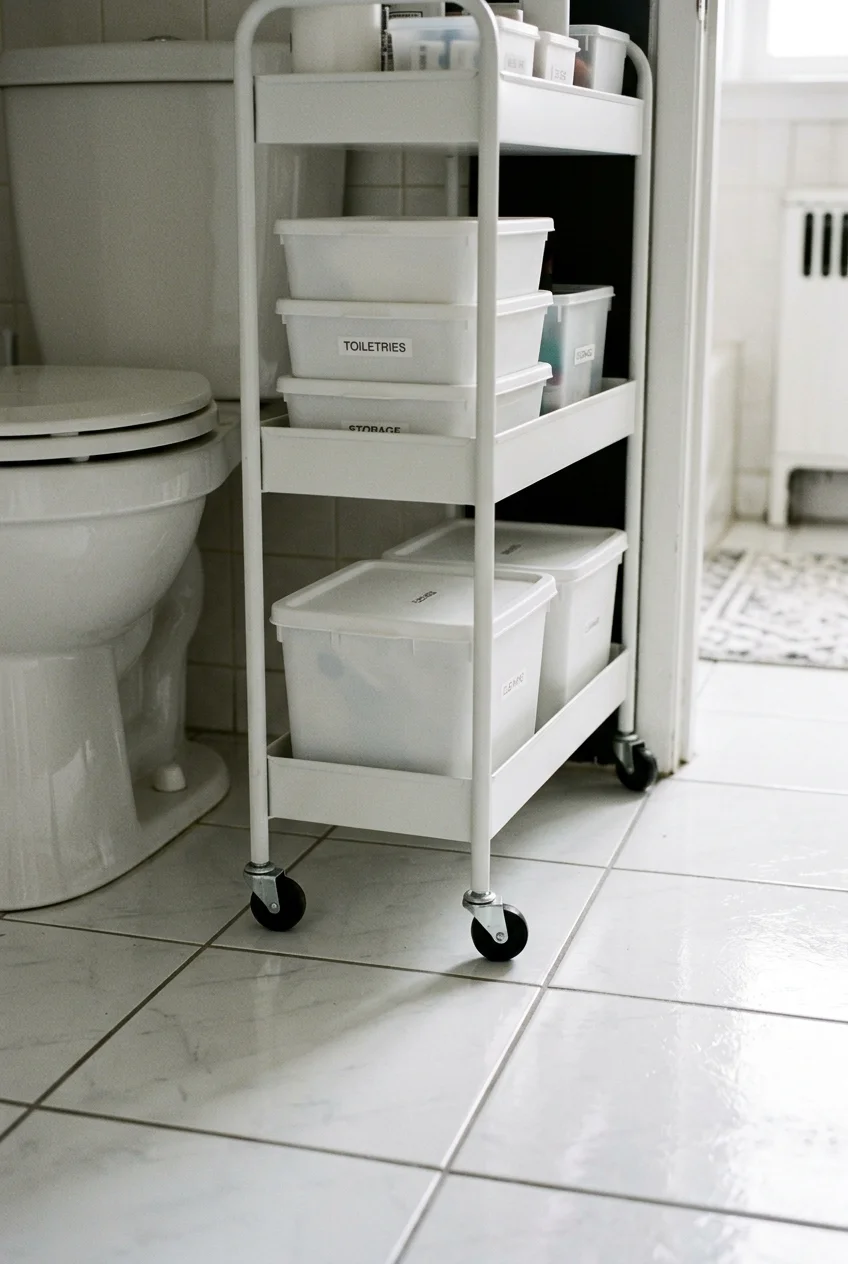
A slim rolling cart turns a measured side gap into flexible storage for paper, wipes, and cleaning supplies, then pulls out for easier floor cleaning.
Confirm the cart’s width, handle clearance, and wheel path before buying. Use closed containers so stored items do not visually crowd the compact room.
Renters can find more removable storage approaches in these dorm bathroom ideas, including door organizers, tension racks, and adhesive hooks.
41. Corral Essentials on a Tank Tray
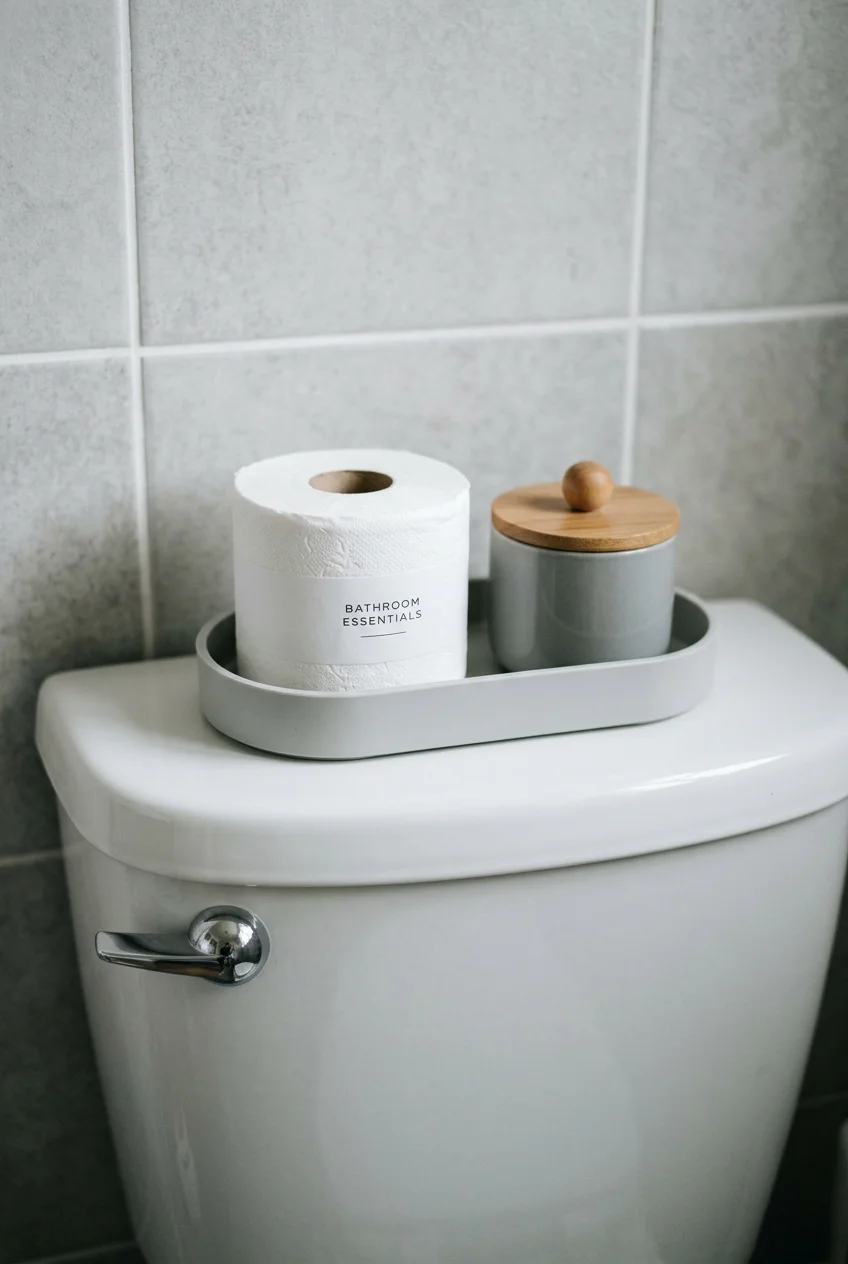
A low tray can stabilize one spare roll and a small lidded container on a flat toilet tank, creating order without adding another wall fixture.
Keep the flush control, tank lid, and service access unobstructed. Skip this idea on curved lids or toilets that require top access for maintenance.
42. Mount One Wire Basket on a Side Wall
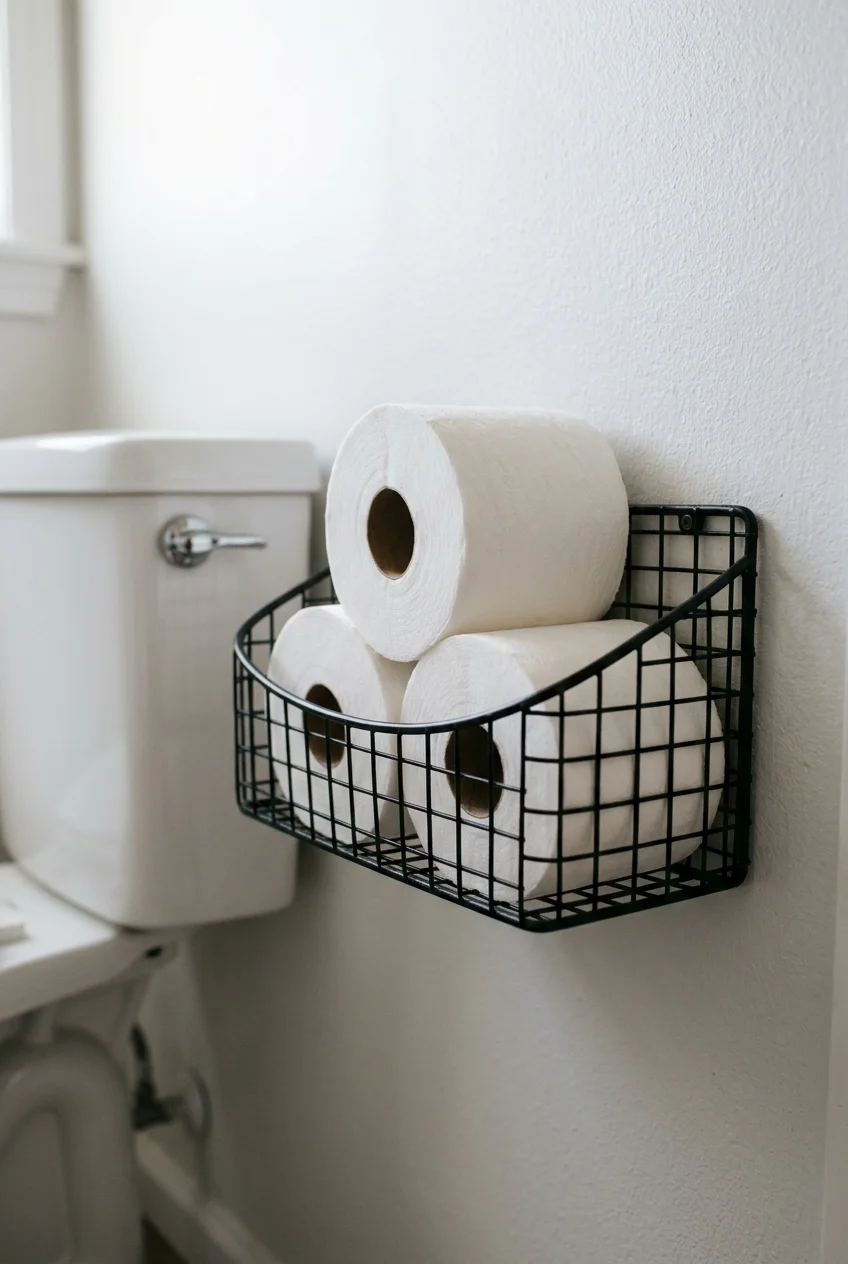
A shallow wire basket keeps reserve paper visible and reachable while using side-wall space that is too narrow for a cabinet or deep shelf.
Round or cover sharp edges and mount the basket outside shoulder space. Open wire works best for clean supplies, not exposed cleaning chemicals.
43. Build a High Perimeter Ledge
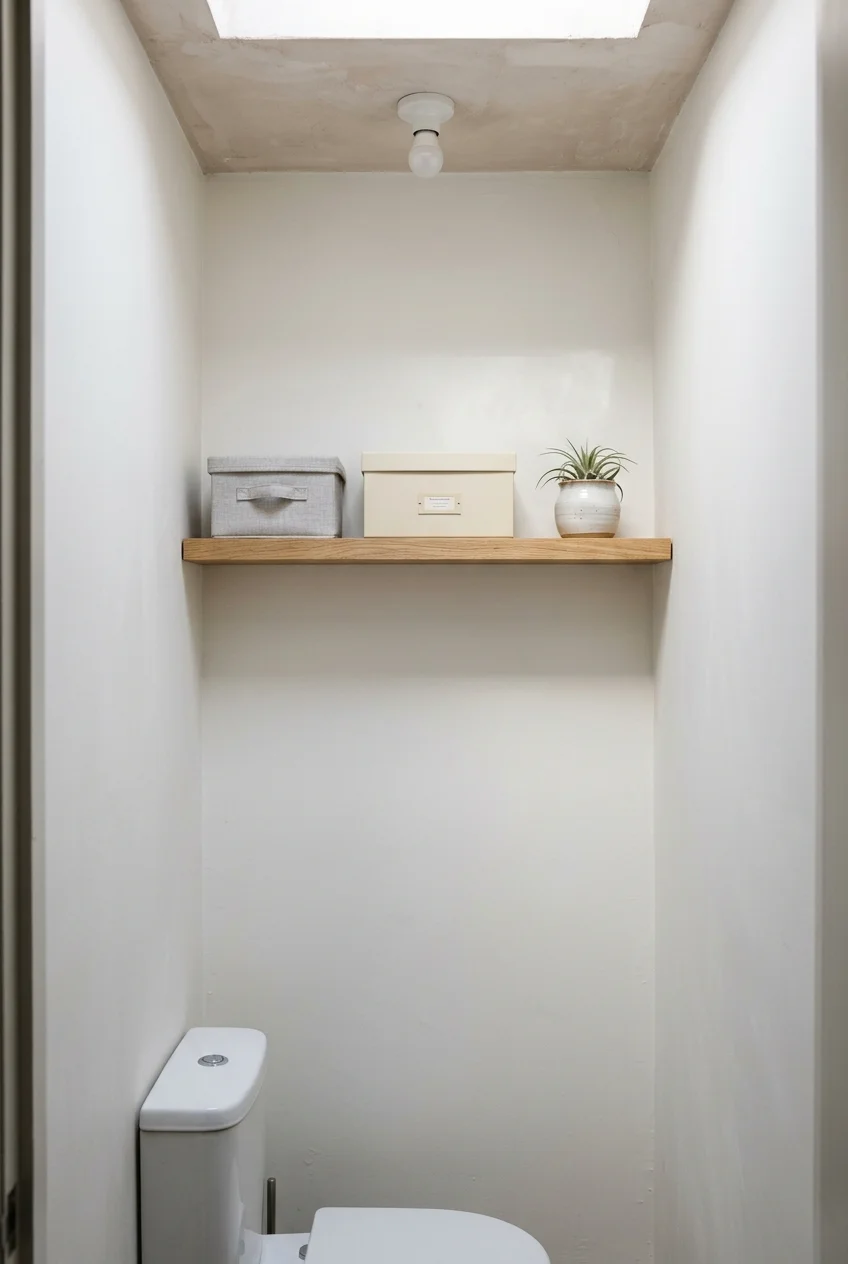
A narrow ledge above standing head height can display light objects or hold rarely used supplies, keeping the more valuable lower walls visually open.
Use it selectively, because a continuous loaded shelf can make the ceiling feel lower. Secure it properly and avoid placing heavy objects overhead.
44. Fit a Floor-to-Ceiling Side Cupboard
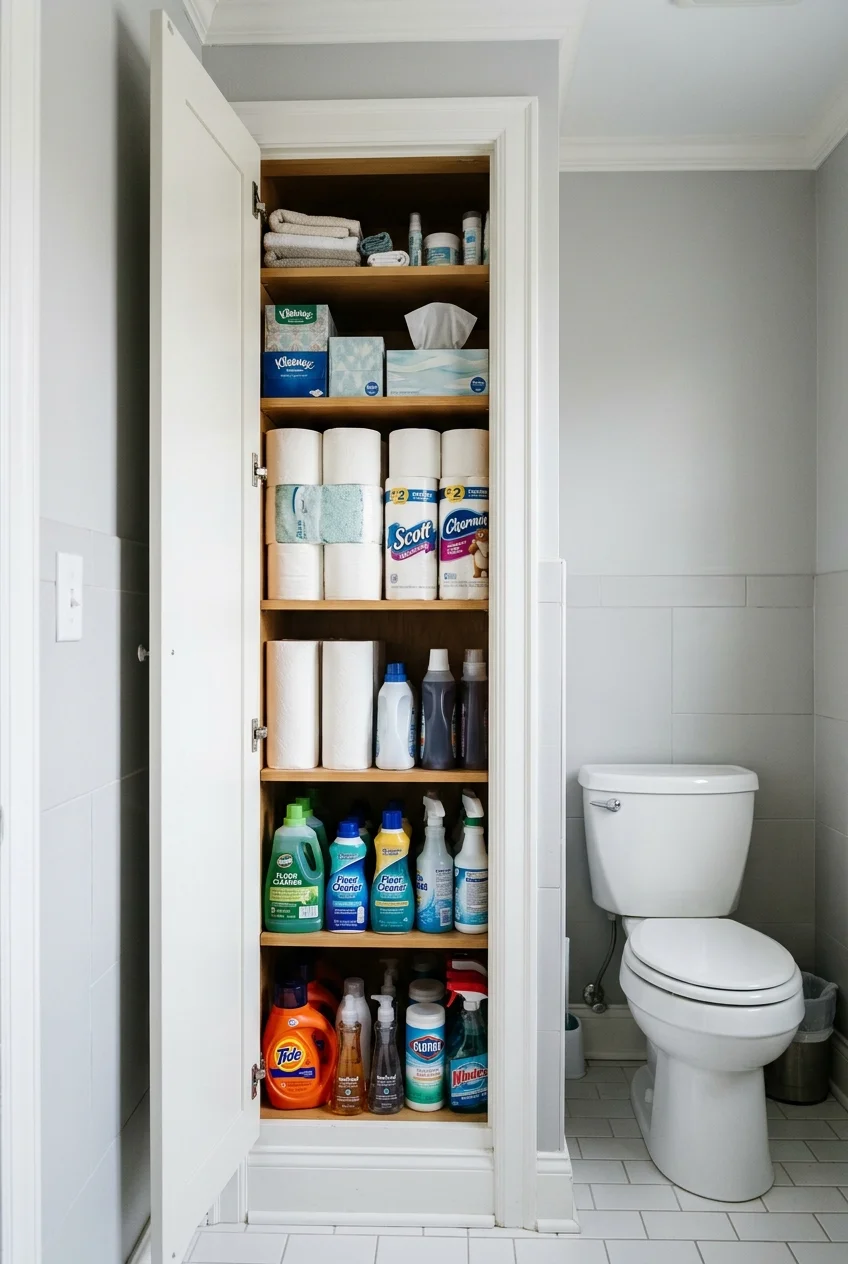
A very shallow tall cupboard can use a dead strip beside the fixture for paper, towels, and household supplies while keeping the footprint visually tidy.
Divide the interior by frequency of use, with heavier supplies low and occasional backups high. The door must open without crossing the toilet seat.
Measure first Record baseboard projection, floor slope, door hardware, and the widest fixture point. A nominal gap width alone will not guarantee a clean fit.
45. Give Cleaning Tools a Ventilated Home
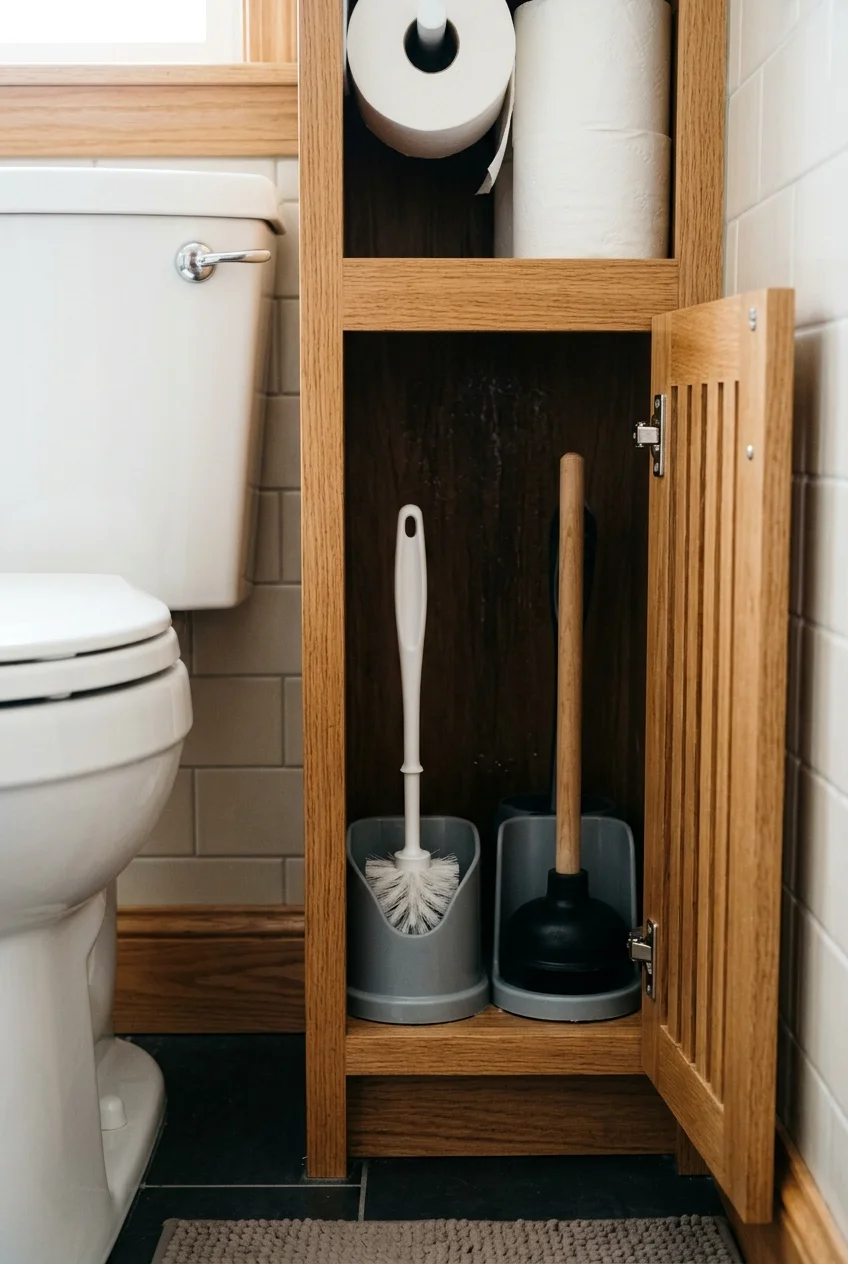
A closed, washable compartment for the brush and plunger keeps utilitarian tools together and prevents them from becoming the room’s main visual detail.
Choose removable drip trays and ventilation openings, then clean and dry tools before storage. Never seal damp equipment inside an unventilated decorative box.
- Keep the toilet shutoff accessible.
- Separate tools from spare paper.
- Use a washable interior surface.
- Remove the tray for routine cleaning.
Lighting and Ventilation Ideas
A windowless compartment needs deliberate light and fresh-air planning. Combine flattering illumination with practical controls, while treating electrical and ventilation work as professional installations.
46. Layer a Ceiling Light with a Wall Sconce
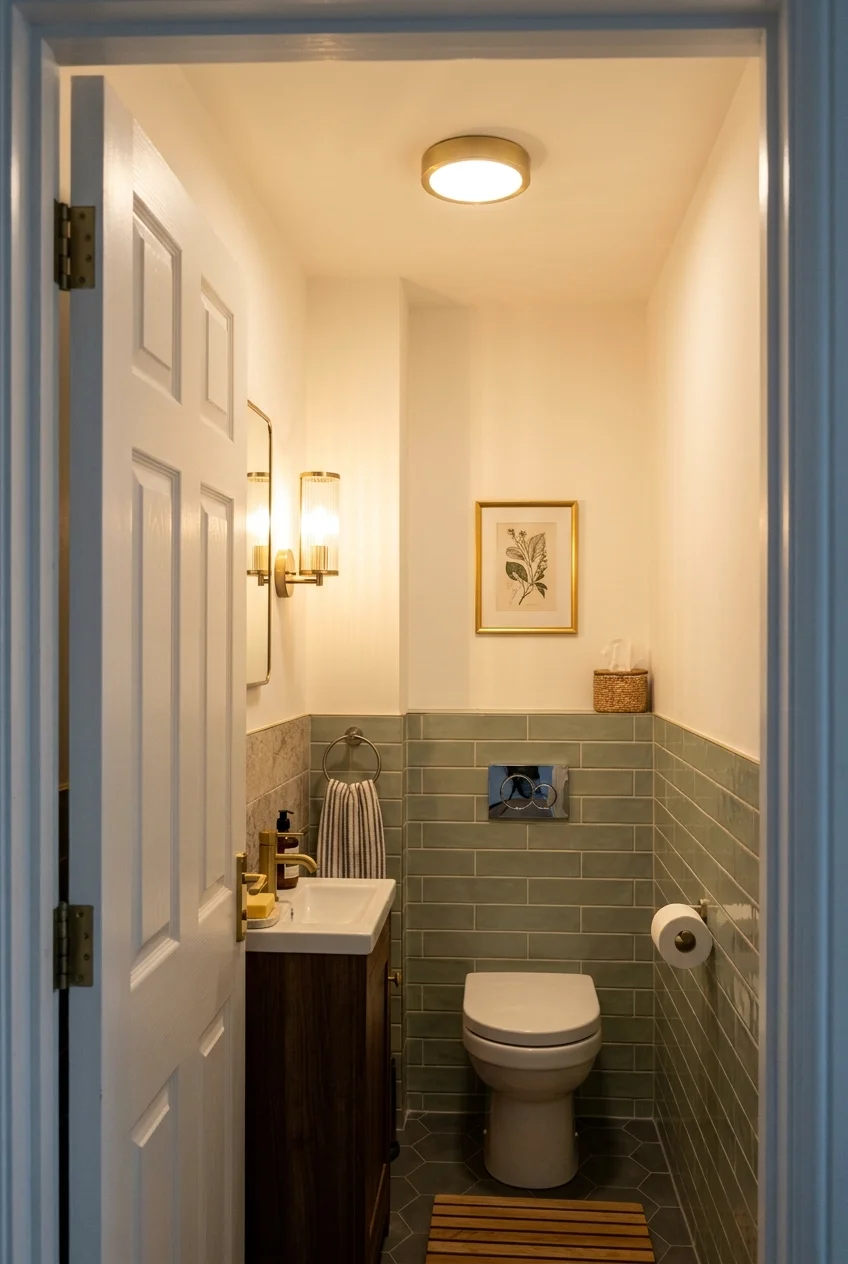
An overhead fixture provides general visibility, while a wall sconce softens shadows and gives the small room a more considered evening atmosphere.
Place the sconce where the door and user cannot strike it. Use fixtures rated for the location and have electrical work completed professionally.
Connect the two sources to separate controls when practical. This allows quick full light for cleaning and gentler light for nighttime use.
47. Wash a Textured Wall with Light
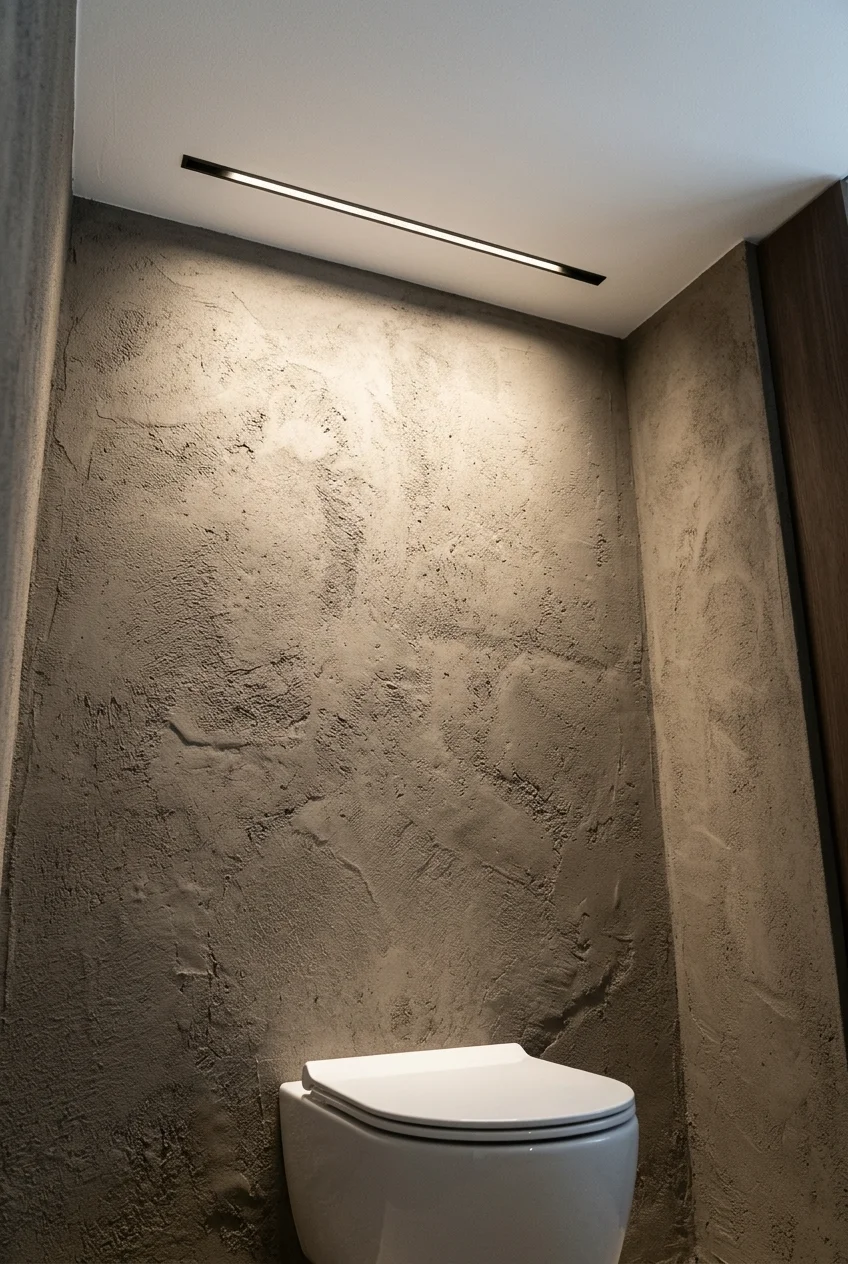
A small ceiling-mounted wall washer can skim across tile, plaster, or molding, revealing surface texture while keeping the fixture itself visually quiet.
Aim and spacing need testing before final installation. Harsh grazing light can exaggerate uneven drywall, crooked tile joints, and surface repairs.
48. Put the Main Light on a Dimmer
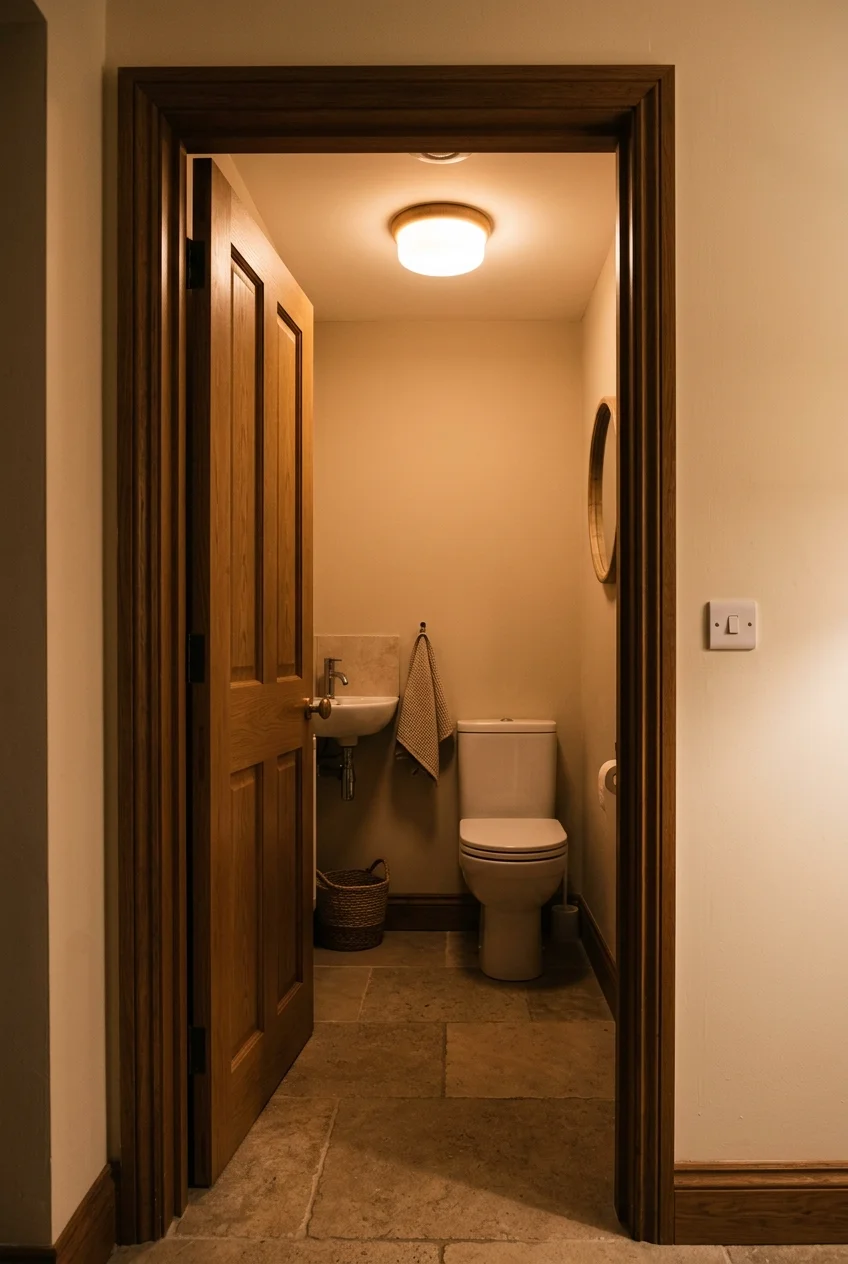
A compatible dimmer lets one ceiling fixture handle bright cleaning light and lower evening light, useful when the water closet sits near a bedroom.
Confirm compatibility among the lamp, fixture, driver, and control. Locate the switch where it can be reached before entering the dark compartment.
49. Add a Low Motion-Sensor Night Light
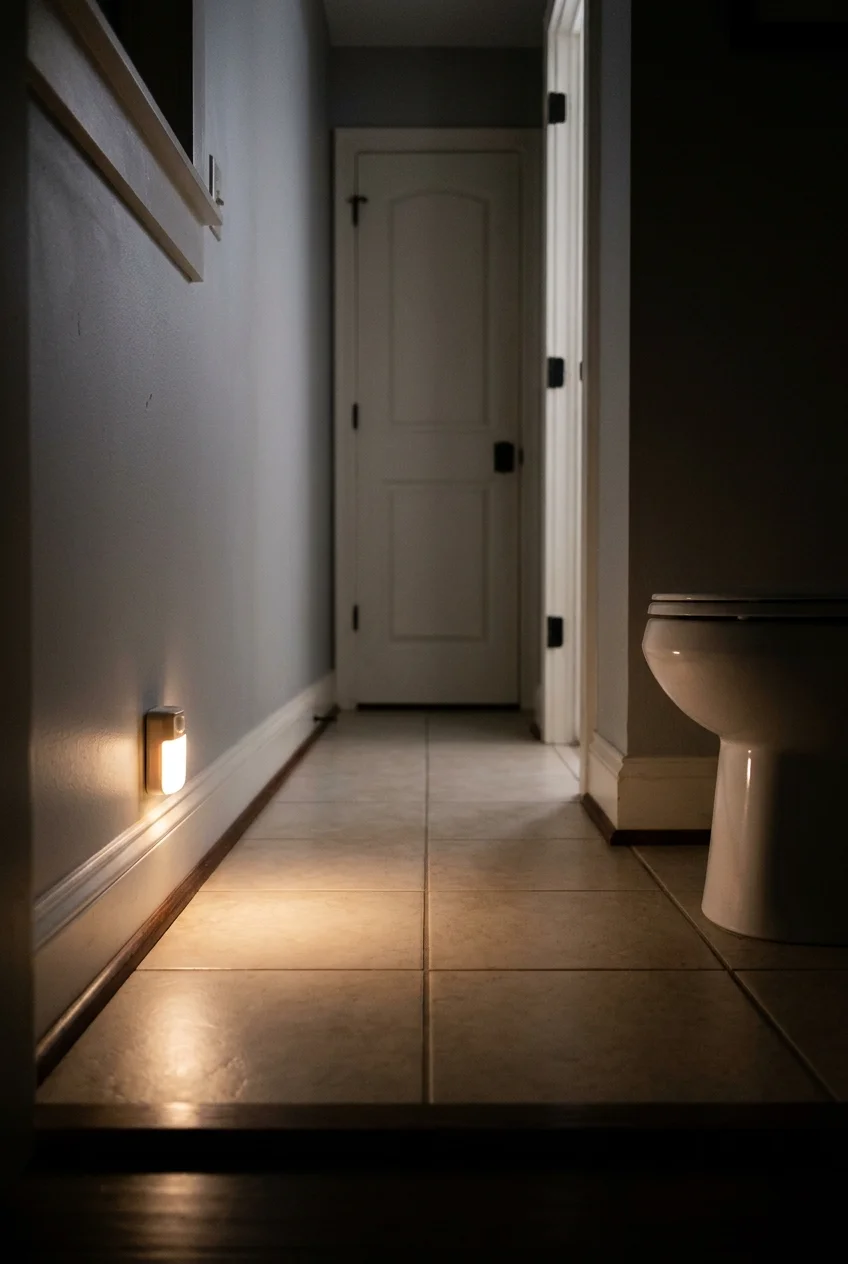
Low-level motion light can guide nighttime trips without turning on a bright overhead fixture, especially when positioned toward the floor rather than eye level.
A rechargeable warm-white motion light (paid link) offers adjustable brightness; test its sensor range and mounting surface before relying on it.
Keep portable lights outside wet or splash-prone zones and follow their instructions. They supplement, rather than replace, the room’s permanent code-compliant lighting.
50. Bring in Daylight with a Solar Tube
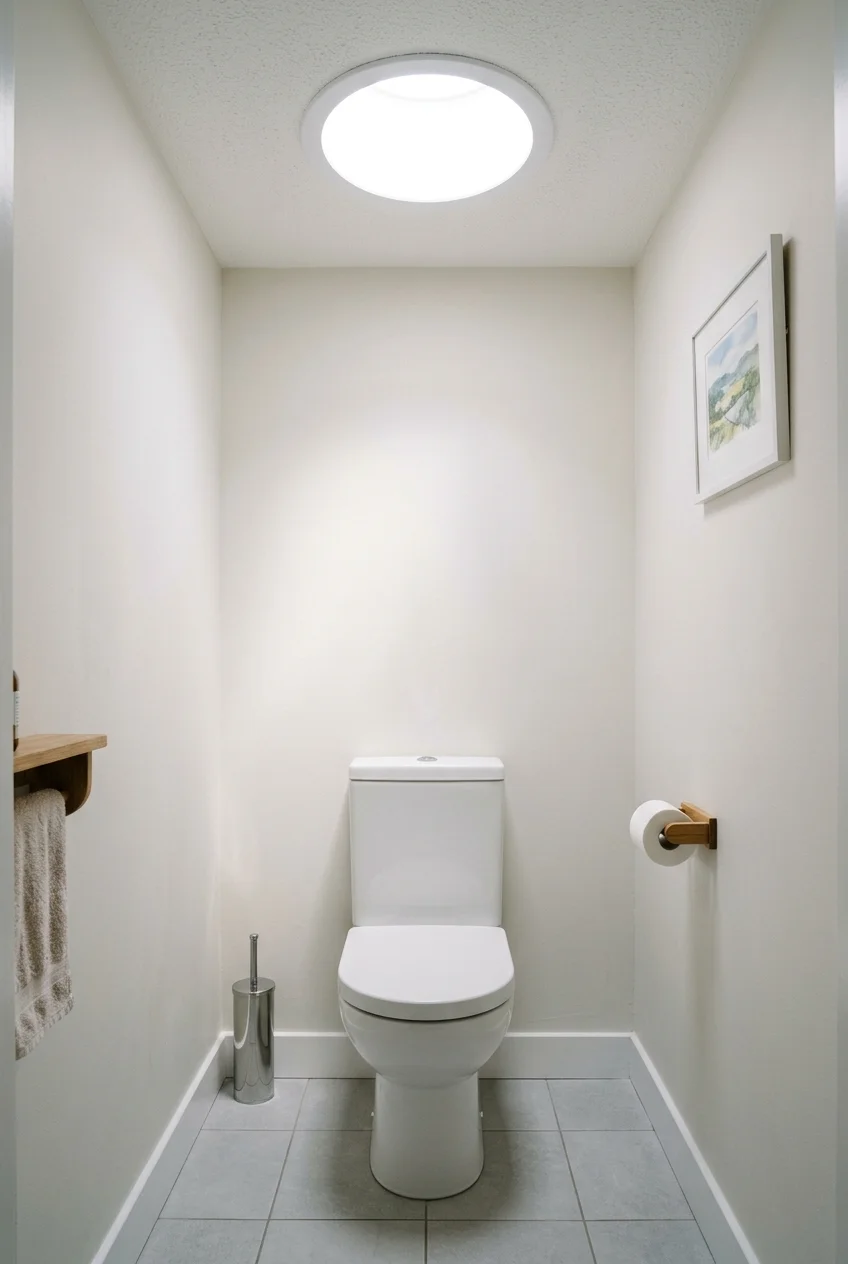
A tubular daylight device can brighten an interior toilet room when roof position and construction allow, reducing the closed-in feeling during daytime hours.
Routing must account for roof structure, insulation, ducts, waterproofing, and local requirements. This is a building-envelope project for qualified professionals, not simple décor.
51. Use Frosted Glass at a Real Window
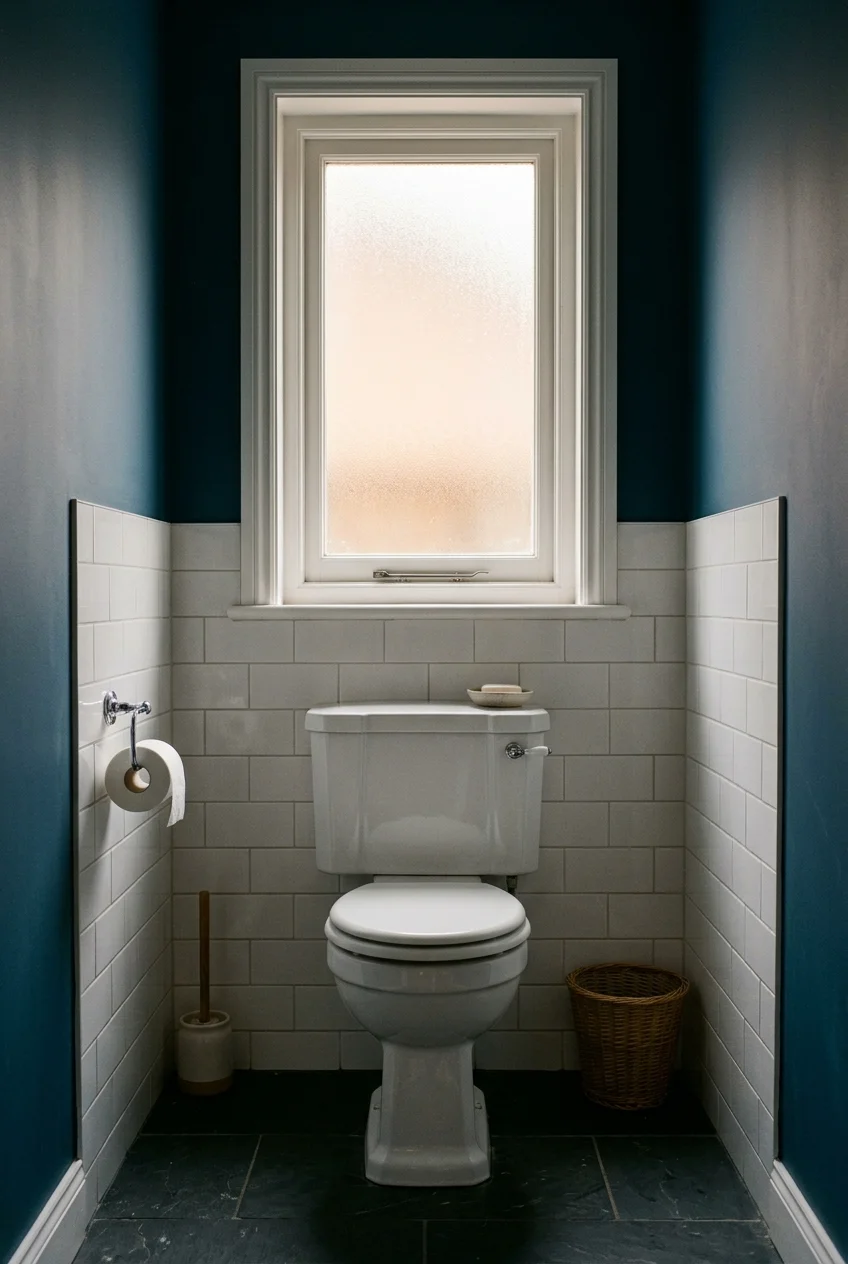
Frosted or patterned glazing gives a toilet room daylight while obscuring direct views, which can reduce the need for a permanently closed blind.
Check privacy after dark with the interior light on. Window placement, neighboring sightlines, and glass pattern determine how much silhouette remains visible.
Privacy check Stand outside at several angles after sunset while someone moves inside. Add a suitable shade if the glazing reveals more shape than expected.
52. Choose a Compact Decorative Pendant
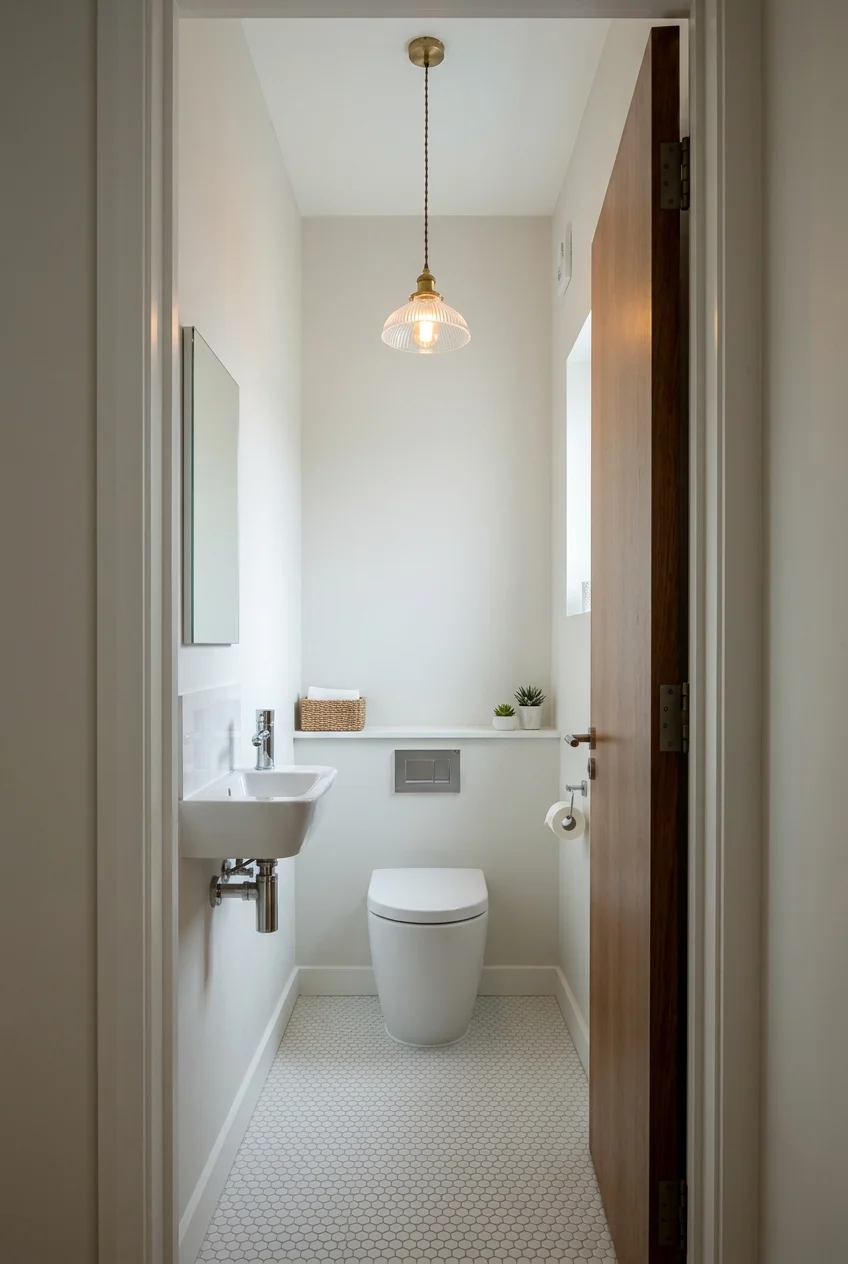
A small pendant can give a tall toilet room a focal point, particularly when walls are quiet and the ceiling height leaves safe clearance.
Keep the fixture clear of heads, doors, and maintenance access. Confirm its damp-location suitability and installation requirements with the electrician and local authority.
53. Light a Recessed Display Niche
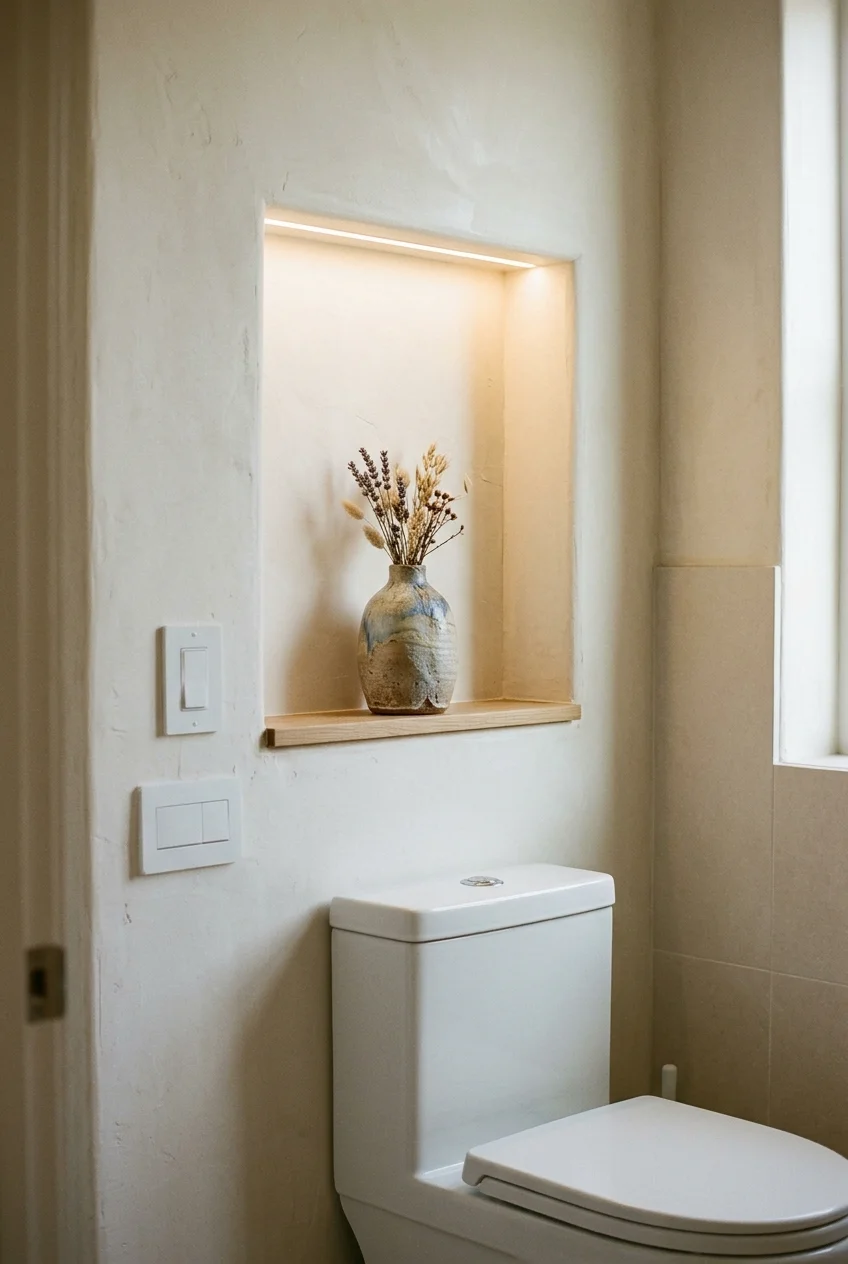
A softly lit niche can provide evening interest and a resting place for one durable object without introducing a table or projecting shelf.
Coordinate the low-voltage lighting, driver access, wall cavity, and niche finish before construction. The light should reveal the recess without shining directly into seated eyes.
54. Give the Compartment Its Own Exhaust Fan
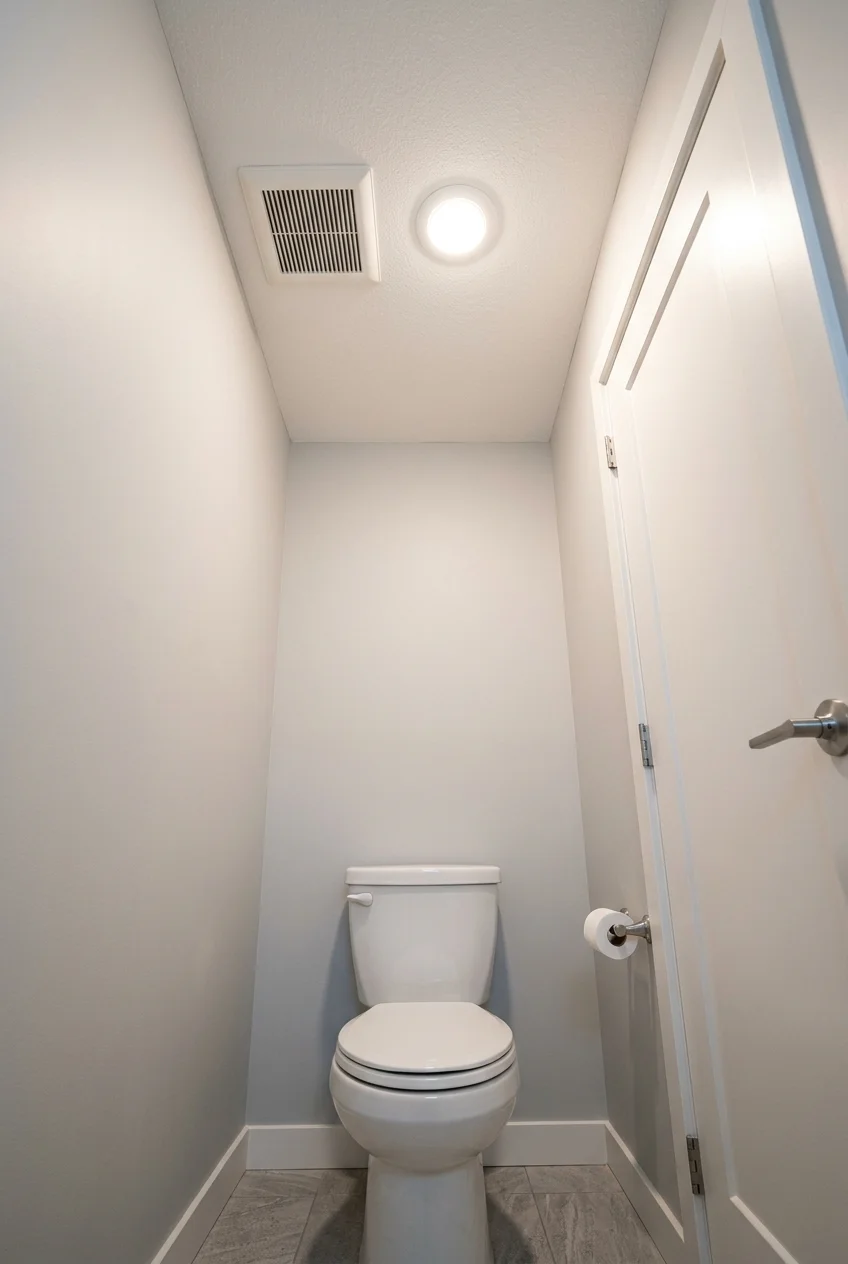
A dedicated exhaust fan addresses odors and stale air inside the closed compartment instead of relying entirely on a fan elsewhere in the larger bathroom.
Size and duct the fan for the actual room and local requirements, venting outdoors rather than into an attic or wall cavity. Plan replacement access.
The Home Ventilating Institute recommends a separate fan for an enclosed toilet. Product ratings, duct length, makeup air, and controls affect real performance.
A quiet rating can encourage consistent use, but airflow remains the primary requirement. Compare certified performance at the resistance expected in the completed duct run.
Provide an air path into the compartment according to the approved design. Even a strong fan cannot exhaust effectively from a tightly sealed room without replacement air.
55. Use a Timer or Humidity-Aware Fan Control
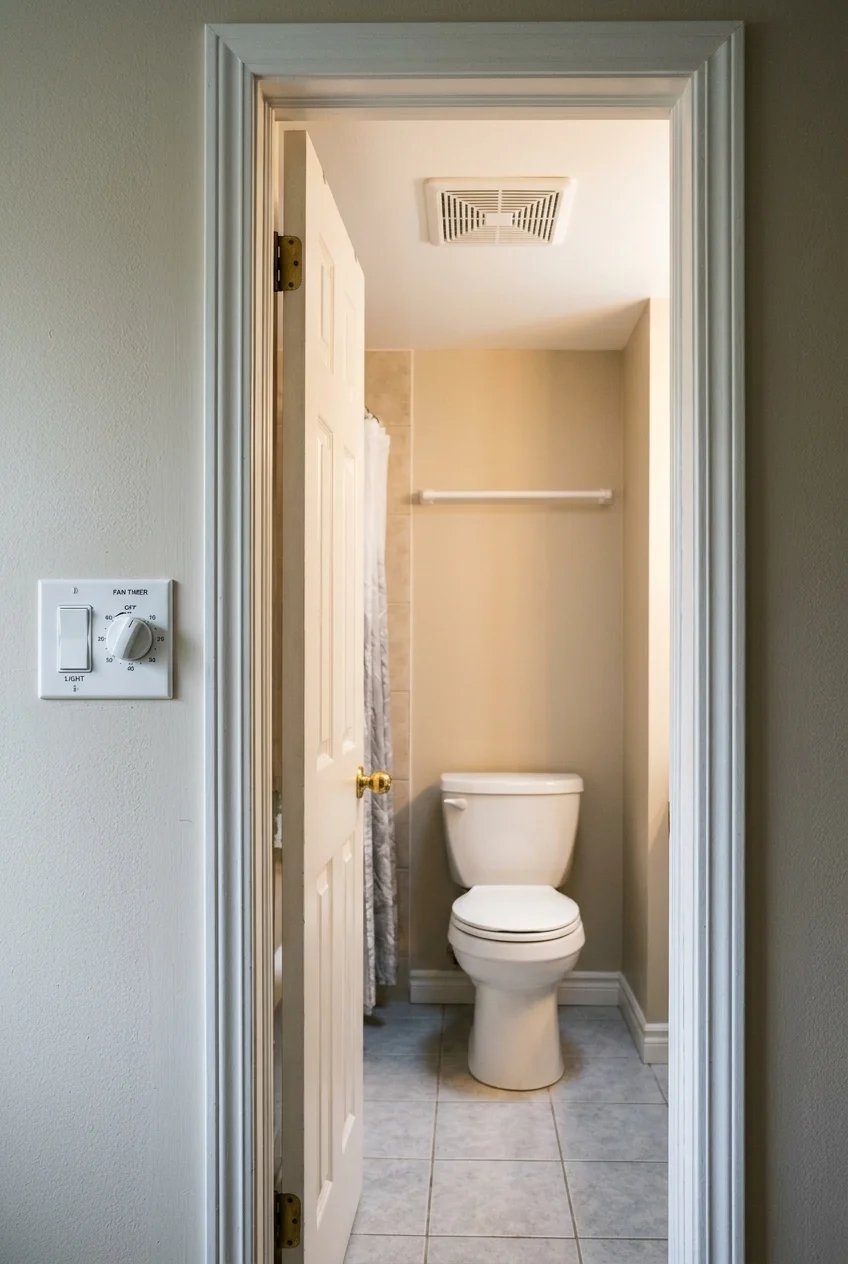
A timer or suitable automatic control can keep ventilation running after use, reducing the chance that the fan is switched off too soon.
Choose a control compatible with the fan and room conditions. Place it near the exit, label it clearly, and have wiring completed professionally.
- Confirm fan and control compatibility.
- Set an understandable run time.
- Keep manual override available.
- Review local ventilation requirements.
Fixture and Everyday Function Ideas
Fixture choices change cleaning, comfort, and usable space more than decorative accessories do. Confirm rough-ins, service access, clearances, and household needs before ordering anything.
56. Float the Toilet on the Wall
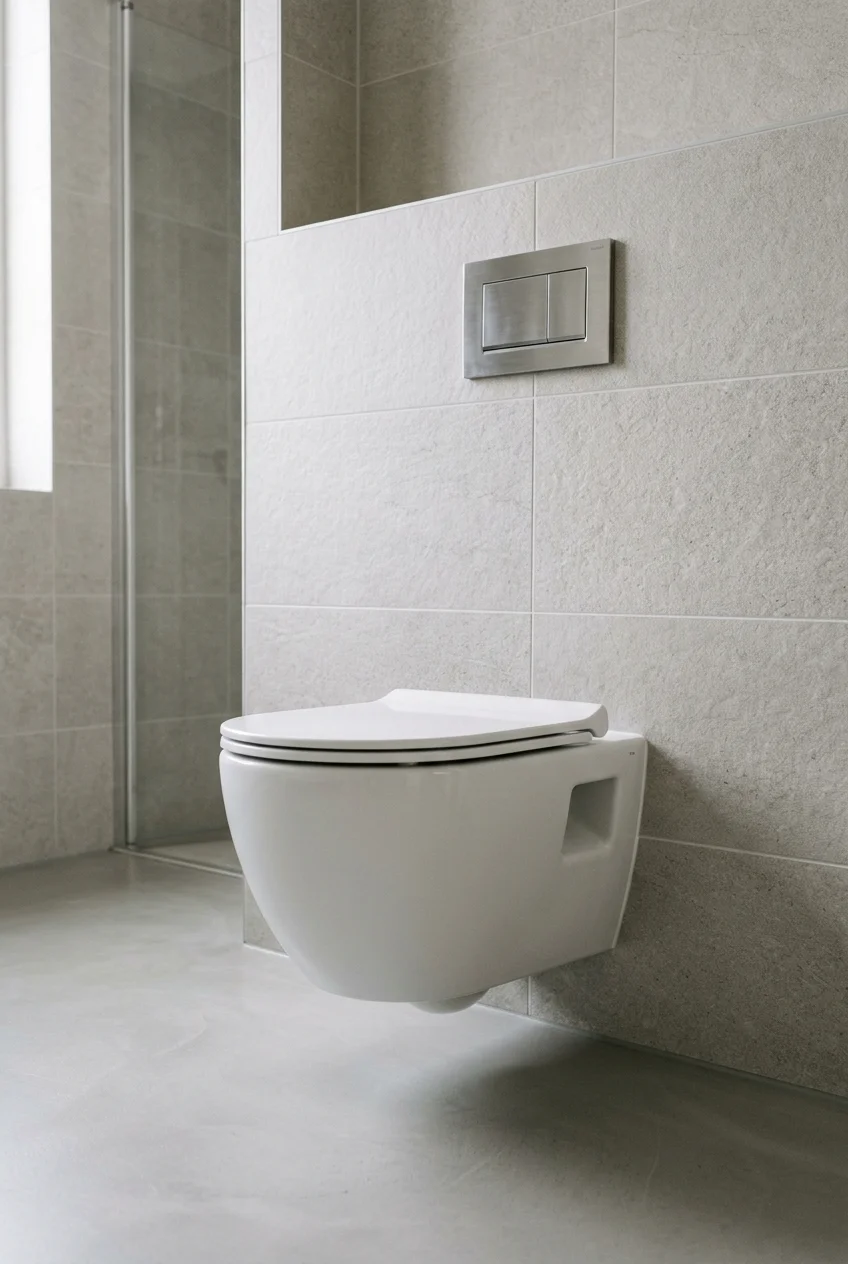
A wall-hung toilet exposes more floor and removes the visible tank, which can make cleaning simpler and a narrow compartment feel less crowded.
The carrier, wall construction, bowl, flush plate, and finished height must be planned as one compatible system. Preserve access through the actuator opening.
This is a structural plumbing installation, not a styling swap. Compare product specifications, wall depth, service options, and local approvals before committing.
Decide the finished seat height with the intended users before closing the wall. Carrier adjustment ranges do not remove the need for coordinated installation dimensions.
Photograph the open wall and retain component records. Future service is easier when the carrier model, valve parts, fastener locations, and supply route are documented.
- Verify wall framing and carrier compatibility.
- Choose the bowl and finished seat height.
- Coordinate supply, waste, and actuator location.
- Complete wall finishes after testing.
57. Choose a Compact Round-Front Toilet
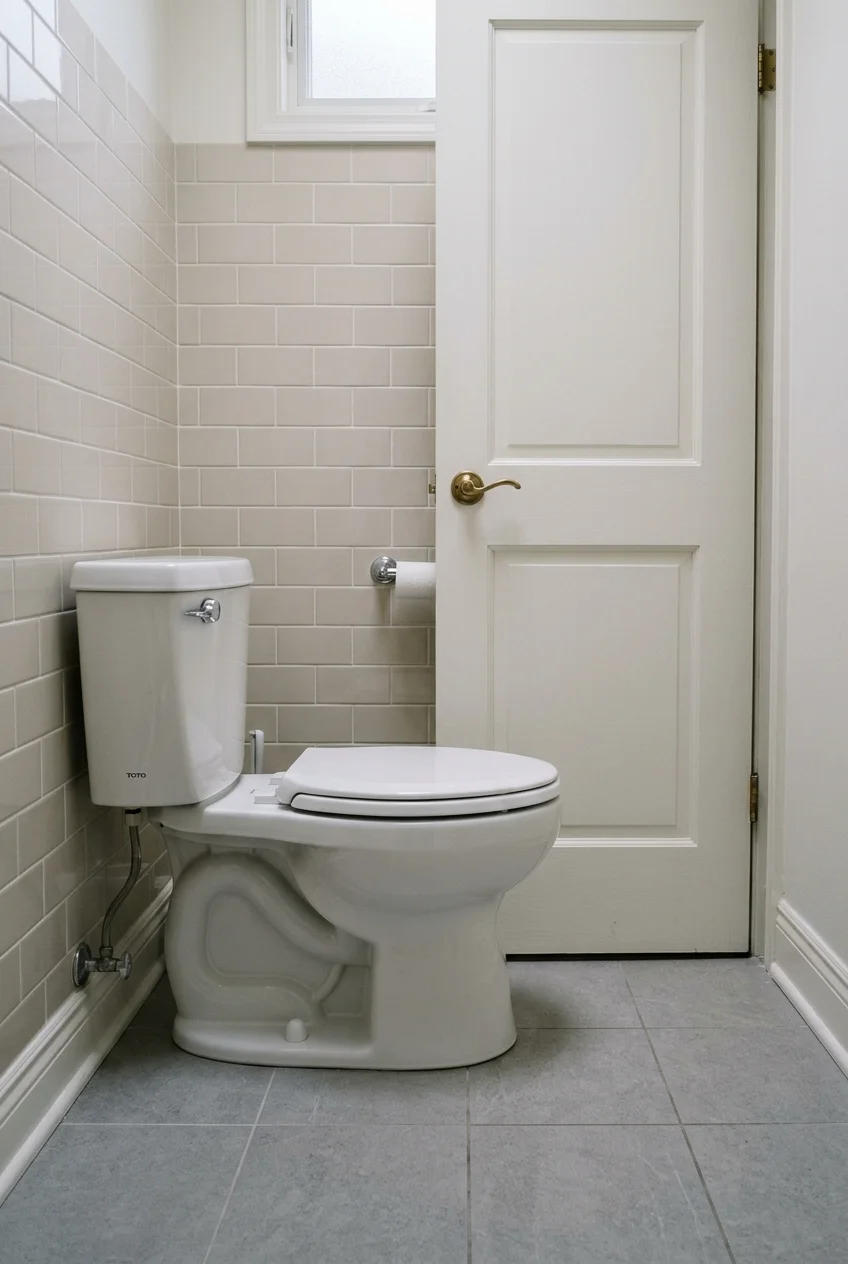
A round-front bowl can reduce projection compared with many elongated models, potentially improving knee and door clearance in a genuinely tight compartment.
Measure the rough-in from the finished wall and compare complete product dimensions. Comfort, seat height, and user needs matter alongside saved inches.
58. Simplify Cleaning with a Skirted Base
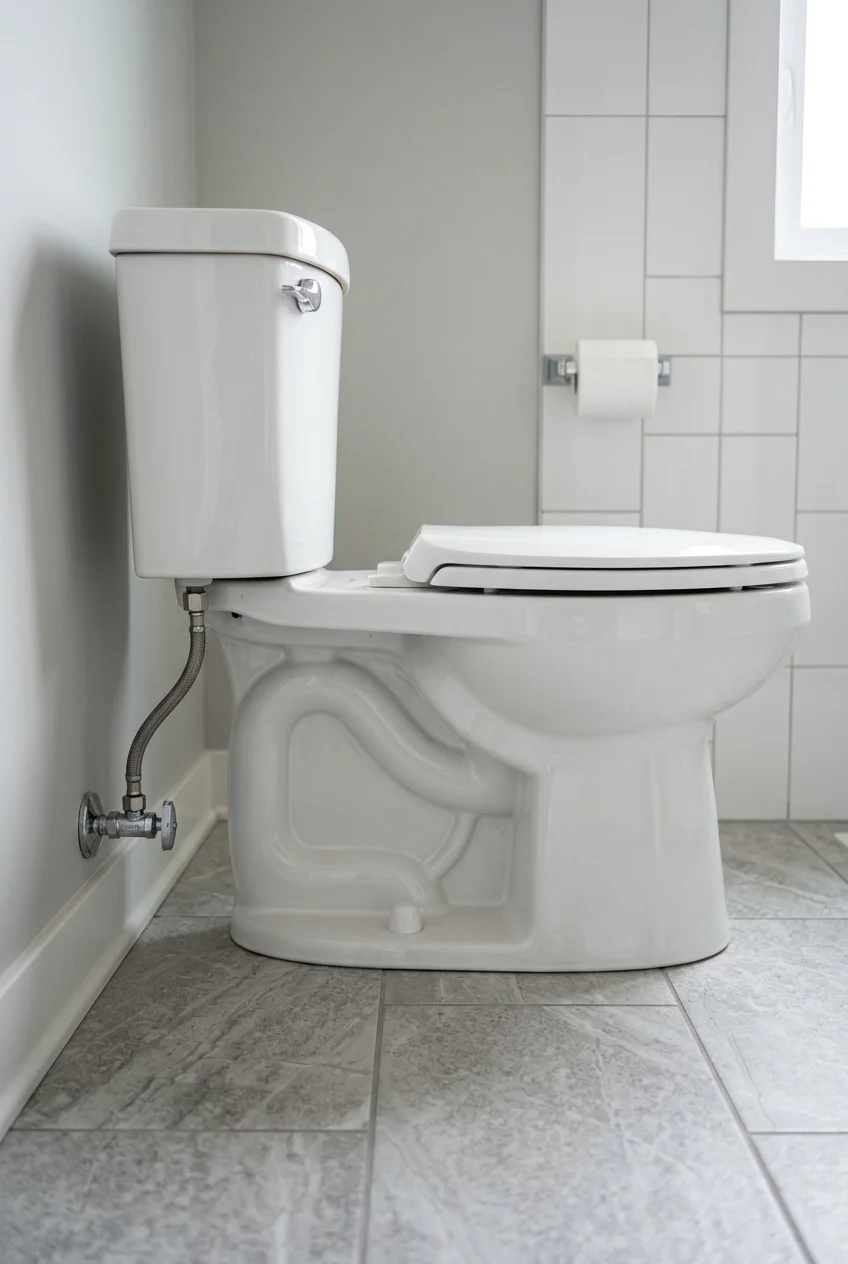
A skirted toilet conceals the trapway contours, leaving smoother exterior sides that can be faster to wipe in a narrow room with limited reach.
Check rough-in, supply location, mounting access, and service instructions. Some concealed fasteners require more installation space or model-specific tools than expected.
59. Make a Colored Toilet the Focal Point
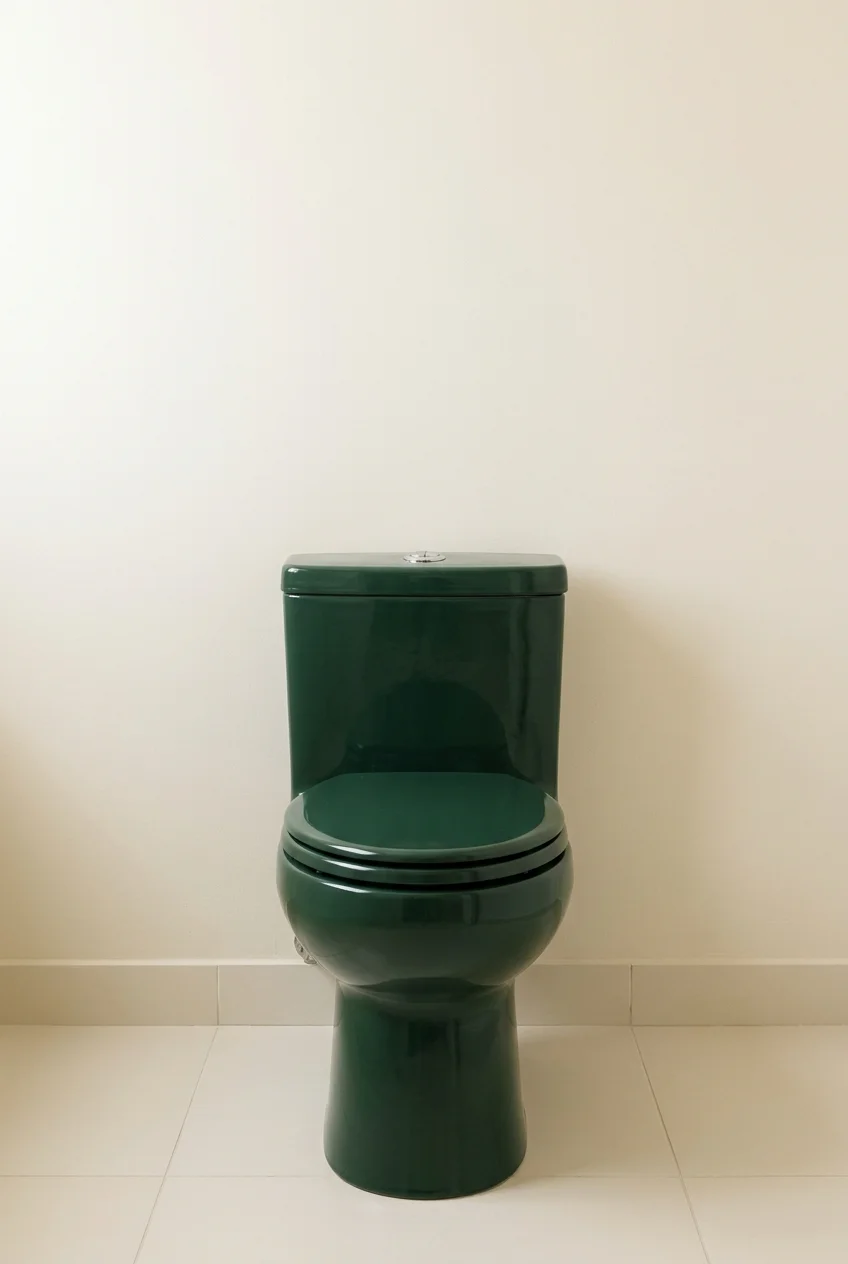
A black, green, or softly colored toilet can anchor a restrained room, turning the fixture into an intentional design element rather than something to hide.
Confirm replacement parts, seat availability, and color consistency before ordering. Keep surrounding tile and paint quieter so the fixture remains the single statement.
60. Plan Properly for a Bidet Seat
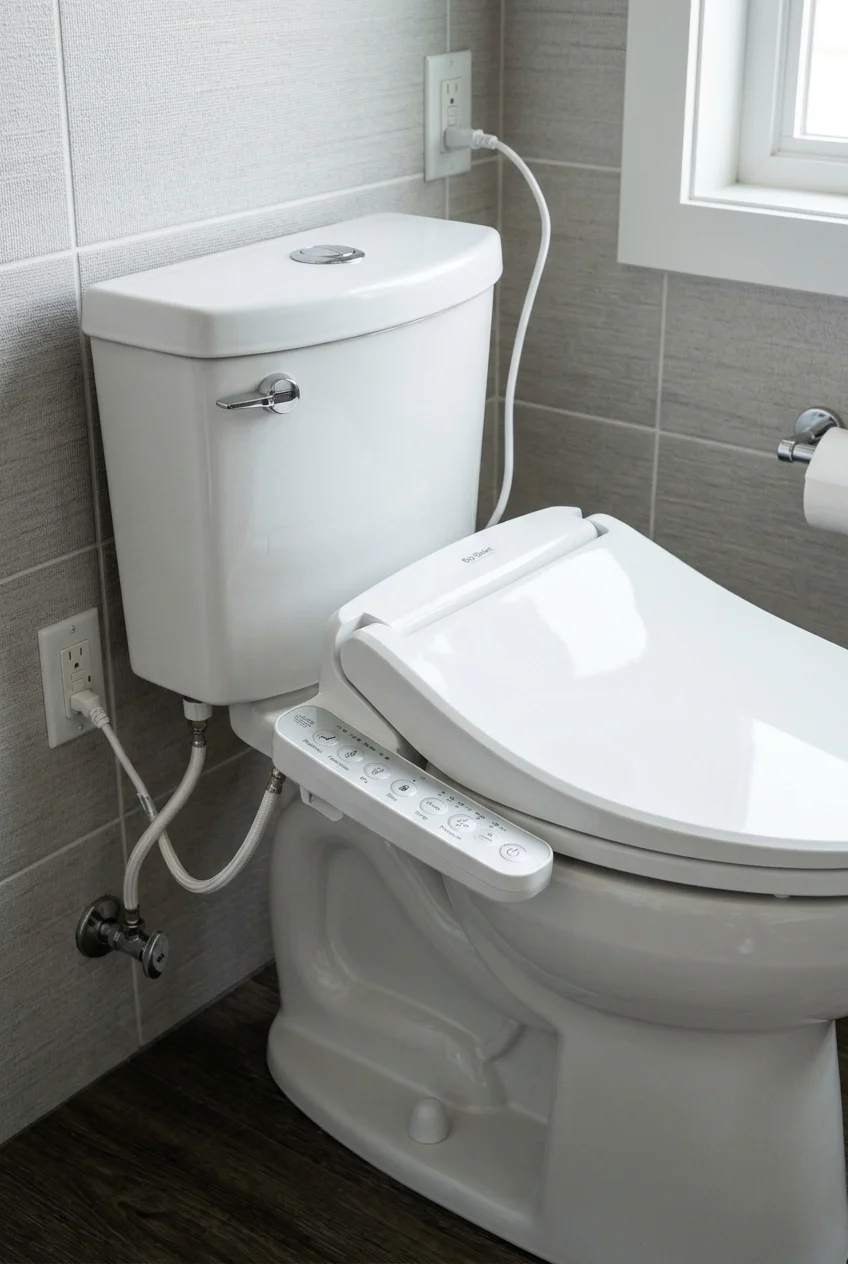
A bidet seat can add washing functions without installing a separate fixture, but the chosen toilet shape, supply connection, outlet, and clearances must align.
Electrical models typically need a suitable nearby receptacle and protected circuit arrangement. Coordinate plumbing and electrical requirements with qualified professionals before finishing walls.
Leave enough side access for controls and cleaning. Verify the seat’s compatibility directly rather than assuming every elongated or round bowl shares identical mounting dimensions.
Check how the seat will be removed for cleaning and service. A tight side wall may block release buttons, hose connections, or manual controls.
61. Turn a Concealed Cistern Wall into a Ledge
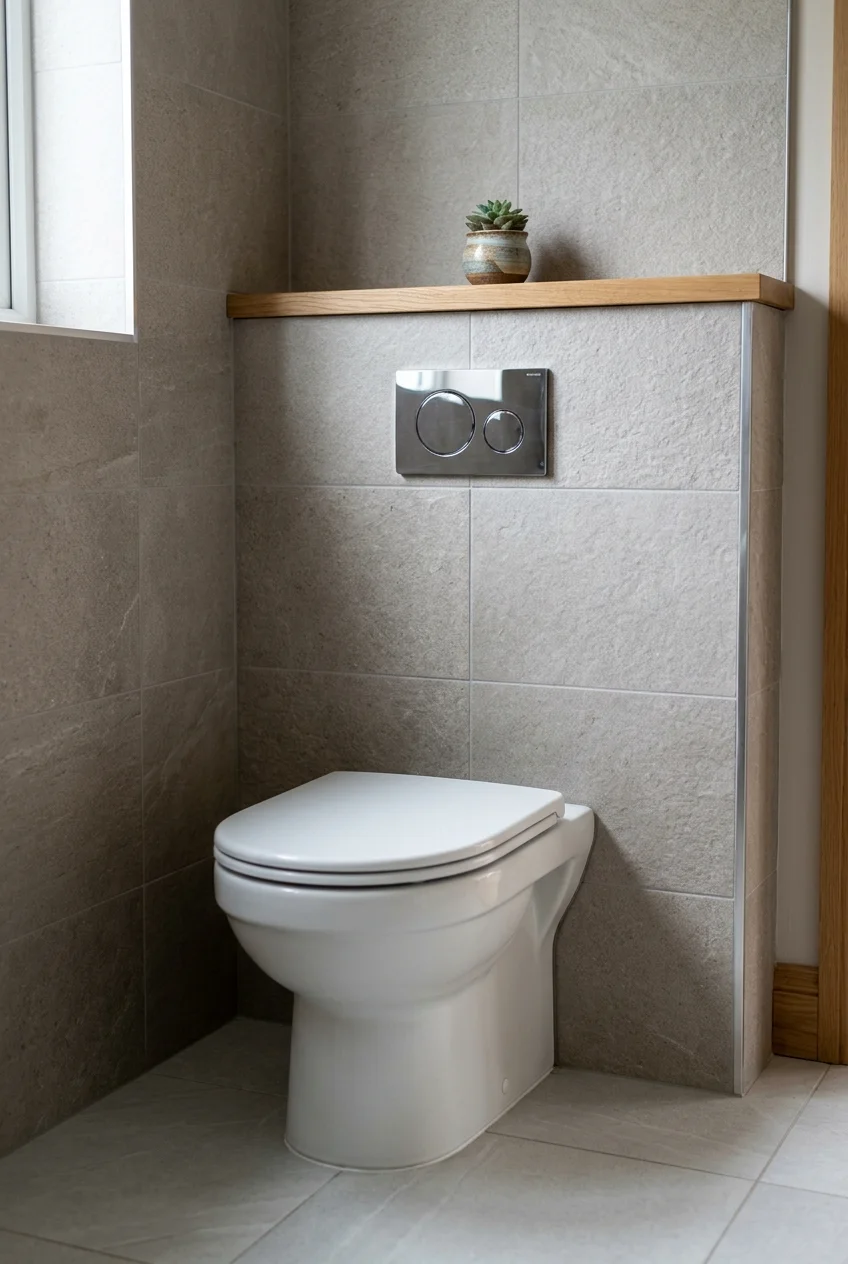
A partial-height service wall for a concealed cistern can create a useful display ledge while keeping the flush plate and maintenance opening accessible.
The ledge should remain shallow and uncluttered, with a durable cap that meets the wall finish cleanly. Do not block the removable actuator plate.
Service reminder Photograph framing, plumbing, and carrier locations before closing the wall. Keep manufacturer documents with the household records for future repairs.
62. Coordinate the Flush Plate with the Hardware
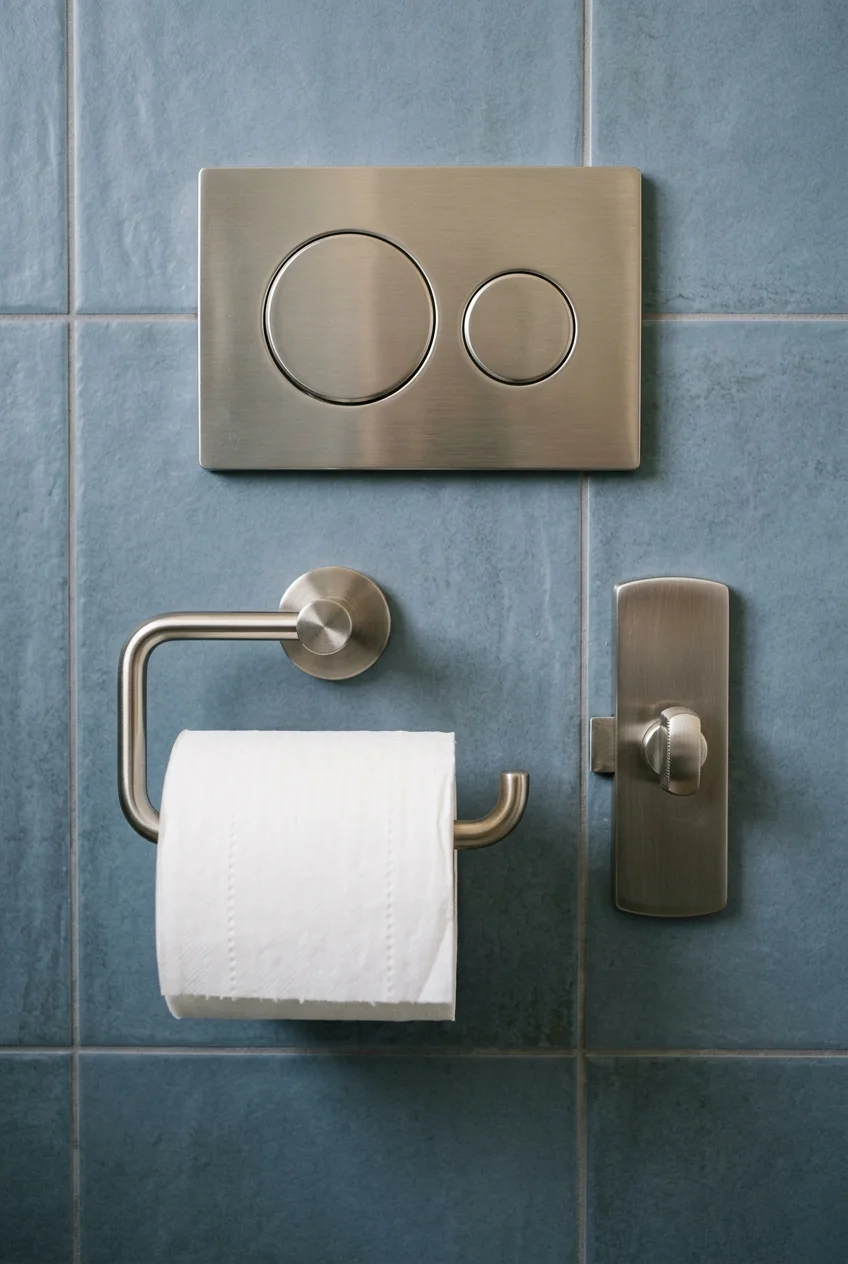
Matching the flush plate to the latch, paper holder, and light fixture creates a coherent finish story in a room with very few visible components.
Exact finish names vary across brands, so compare physical samples when possible. Slightly different black or brass tones can look more accidental than mixed intentionally.
63. Add a Tiny Corner Hand-Washing Basin
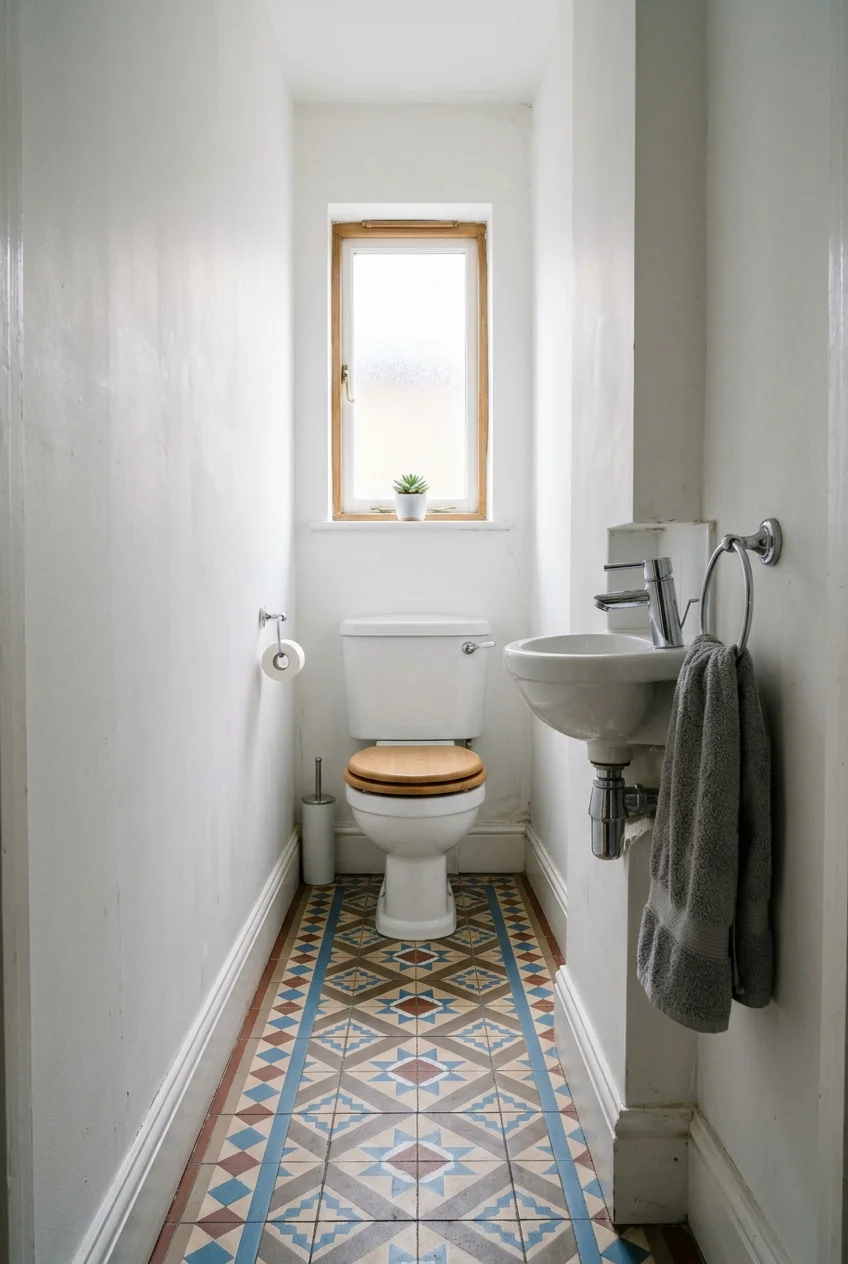
A compact corner basin can make a separate toilet room more self-contained when plumbing, floor area, and local requirements support the additional fixture.
Protect knee and door clearance, choose a faucet that lands inside the bowl, and provide sensible soap and hand-drying locations without projecting into passage.
This addition changes supply, drainage, ventilation, and possibly permitting needs. A plumber and local authority should confirm feasibility before any wall is opened.
A wall-mounted basin can preserve more visible floor than a cabinet vanity, but its brackets and drain still need suitable structure and an orderly finished route.
64. Reserve Clear Space for Easier Movement
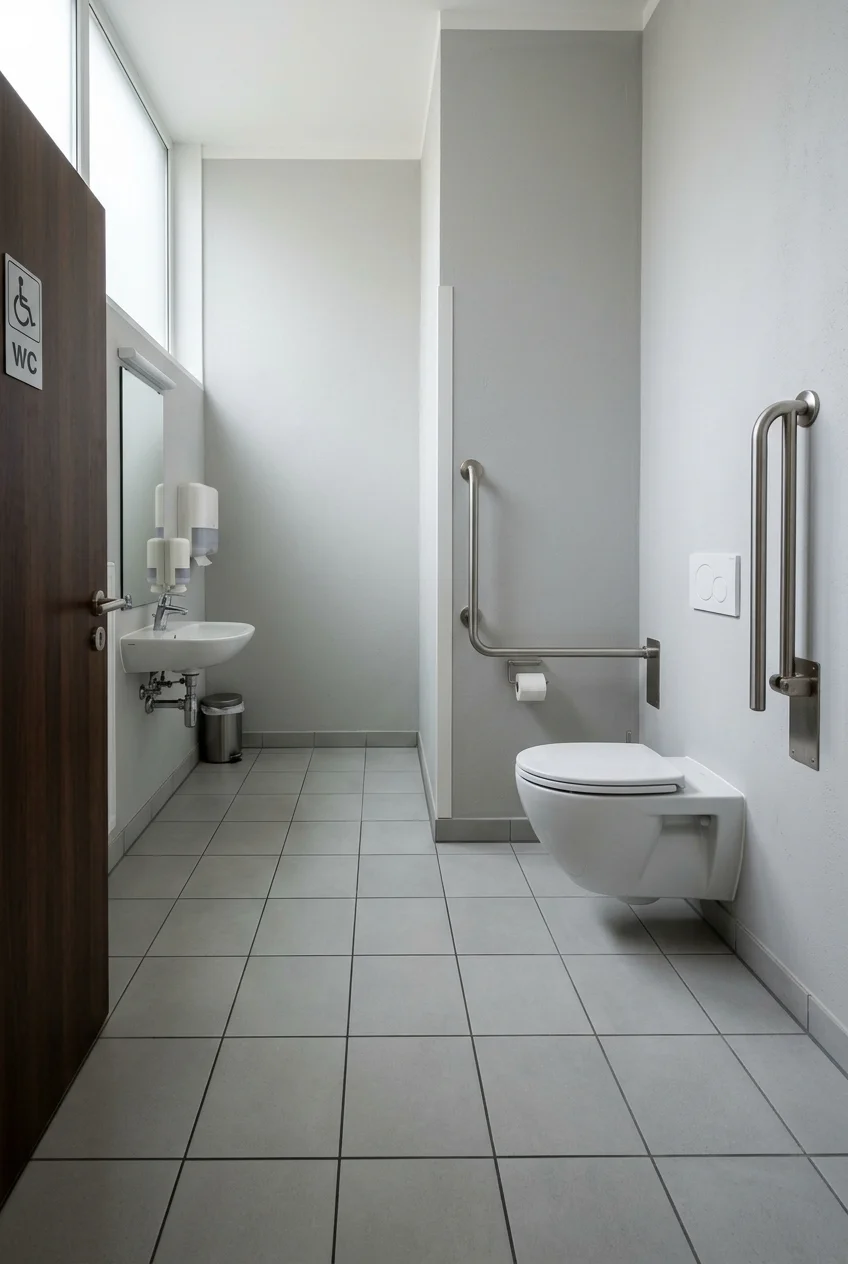
Generous open floor beside and in front of the toilet supports more bodies and mobility needs than a room packed with shelves and decorative furniture.
If accessibility is a goal, use the applicable standards and professional guidance rather than copying a photograph. Door maneuvering, transfers, controls, and grab bars interact.
Future-friendly planning can include wall reinforcement and adaptable accessories without installing everything immediately. Record concealed blocking locations before closing the walls.
Keep shelves, bins, and decorative stands outside intended transfer and turning areas. Accessories added later can quietly undo the clearance established during construction.
Discuss left- or right-side transfer needs with the actual user whenever possible. Generic symmetry is less important than a layout supporting reliable daily movement.
65. Choose a Grab Bar That Fits the Design
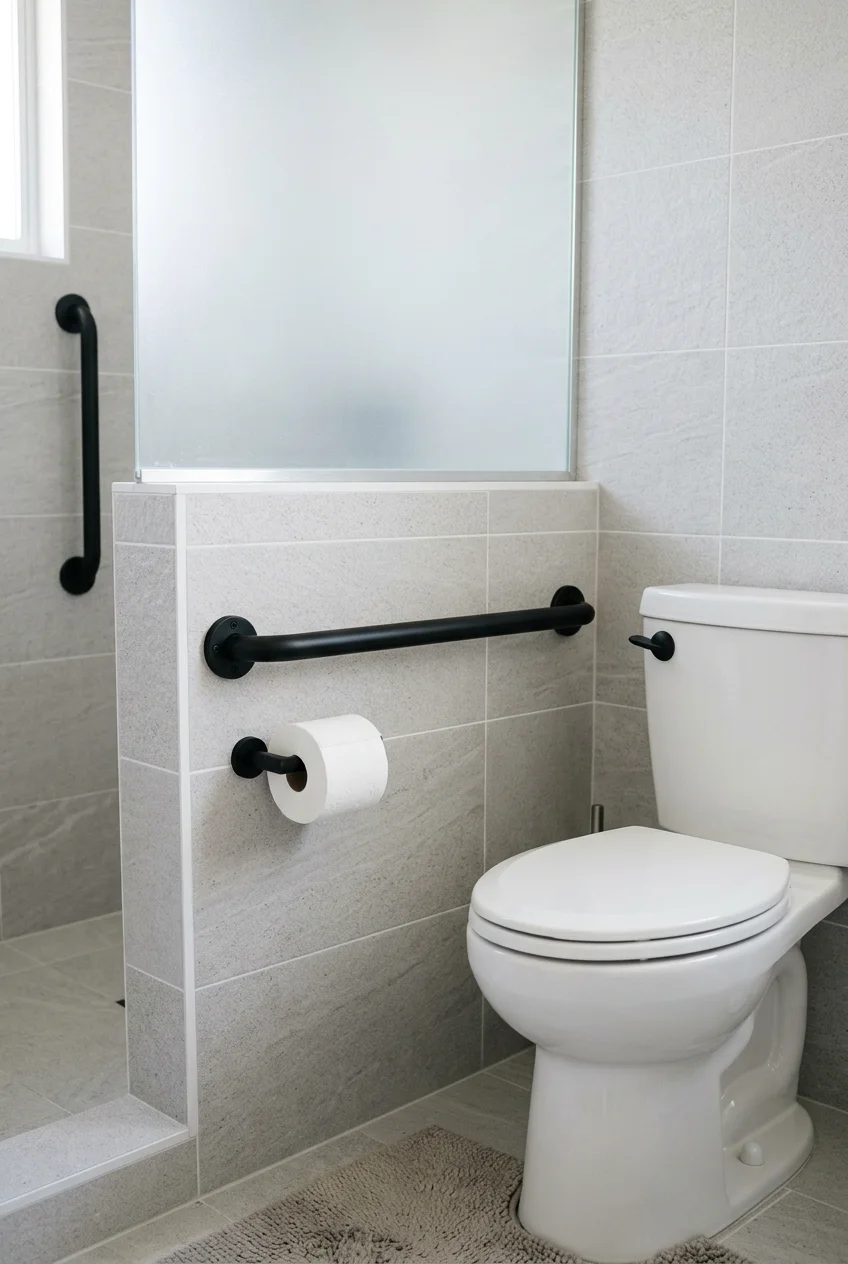
A properly specified grab bar can coordinate with other hardware while providing real support, avoiding improvised towel bars that are not designed for body weight.
Location, height, wall reinforcement, fasteners, and required clearances depend on the user and applicable standards. Have support bars planned and installed correctly.
Important A decorative towel bar is not a substitute for a rated grab bar. Confirm the complete assembly and wall attachment for its intended use.
Finishing Touches with a Clear Point of View
Finish the room with one or two deliberate details rather than a collection of tiny objects. Every addition should tolerate humidity and stay clear of movement.
66. Hang One Oversized Artwork
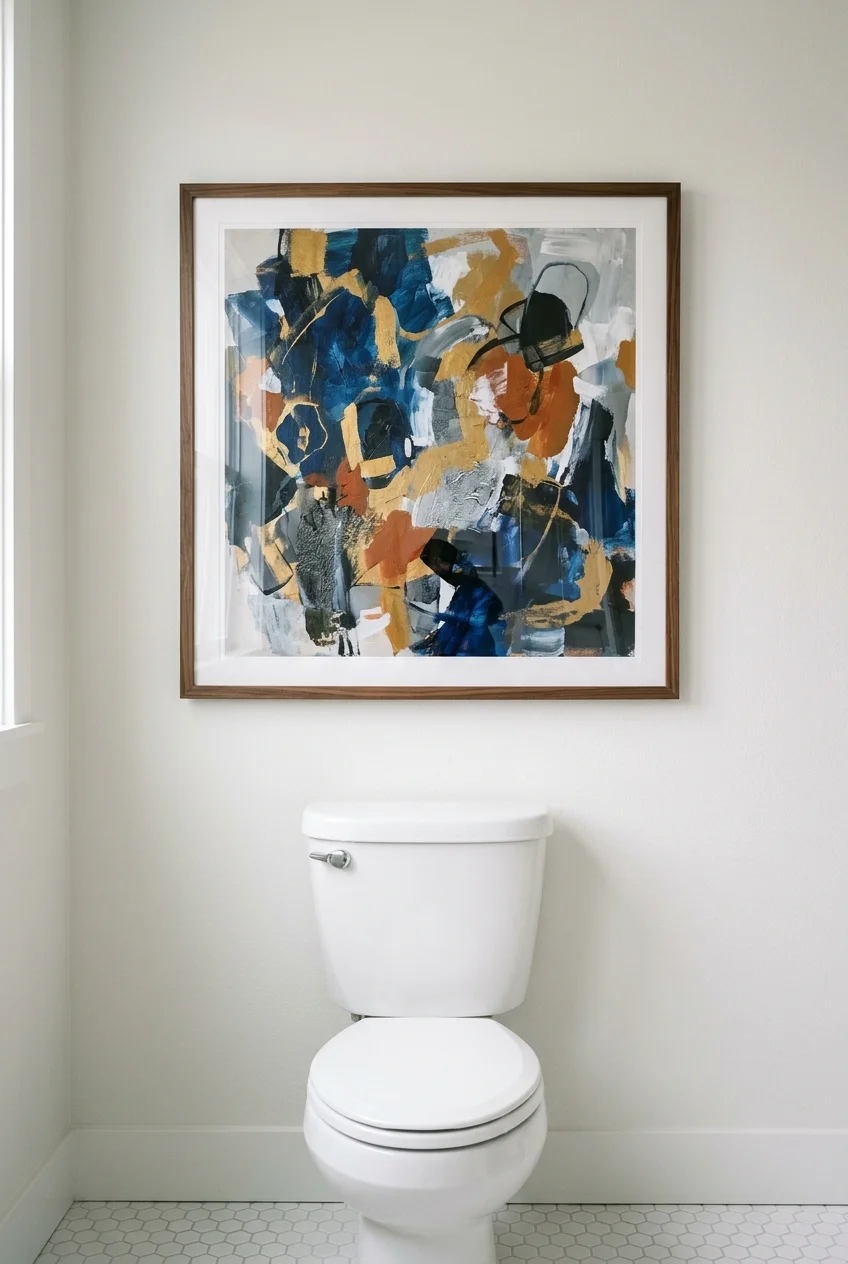
One large framed piece above the toilet can make the room feel composed with fewer visual interruptions than several small signs or novelty prints.
Choose moisture-tolerant framing and secure hanging hardware. Position the lower edge high enough to protect head clearance and keep the tank serviceable.
67. Stack Two Coordinated Prints Vertically
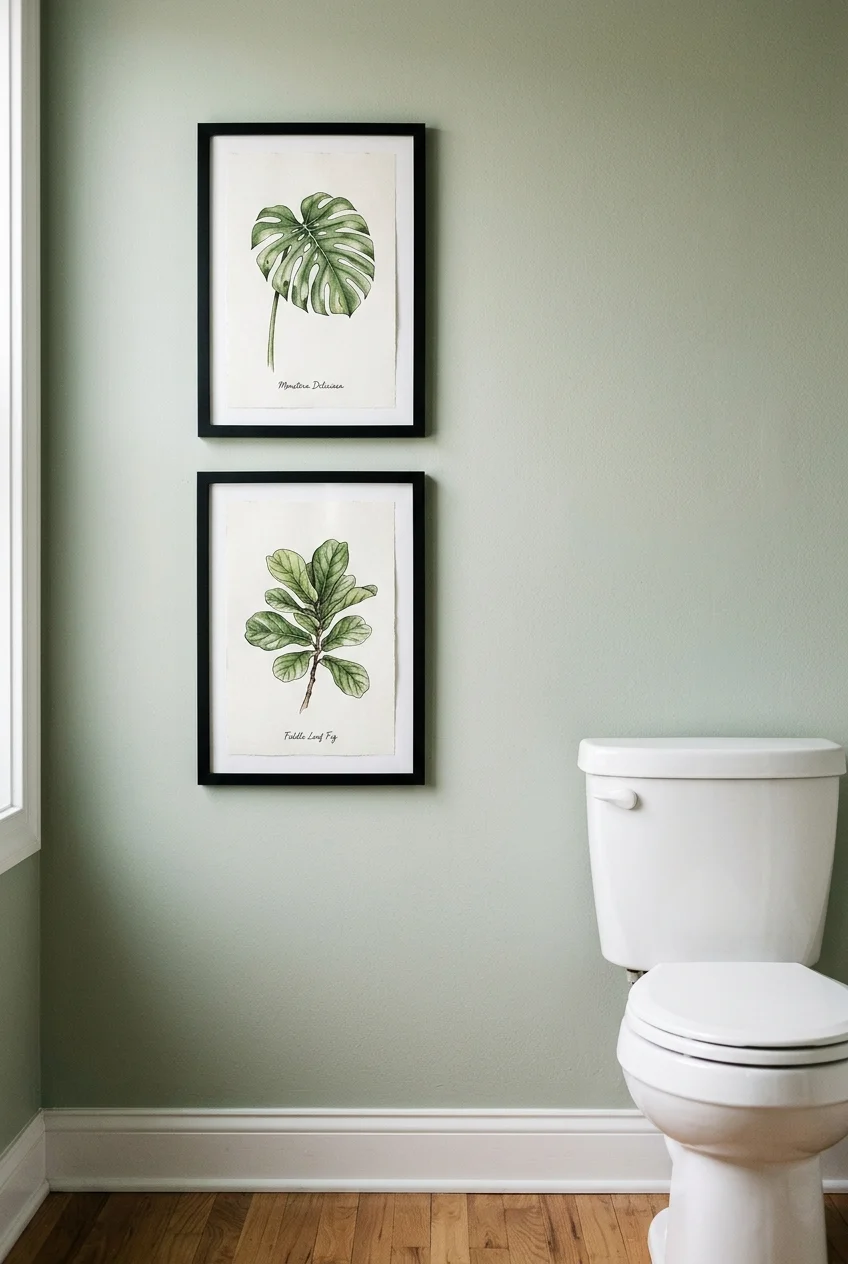
Two related prints can fill a tall narrow wall more gracefully than a wide picture, reinforcing the room’s vertical proportions without adding physical depth.
Keep frame size, spacing, and alignment consistent. Use imagery with enough contrast to remain readable under the room’s actual light level.
68. Use a Slim Mirror to Bounce Light
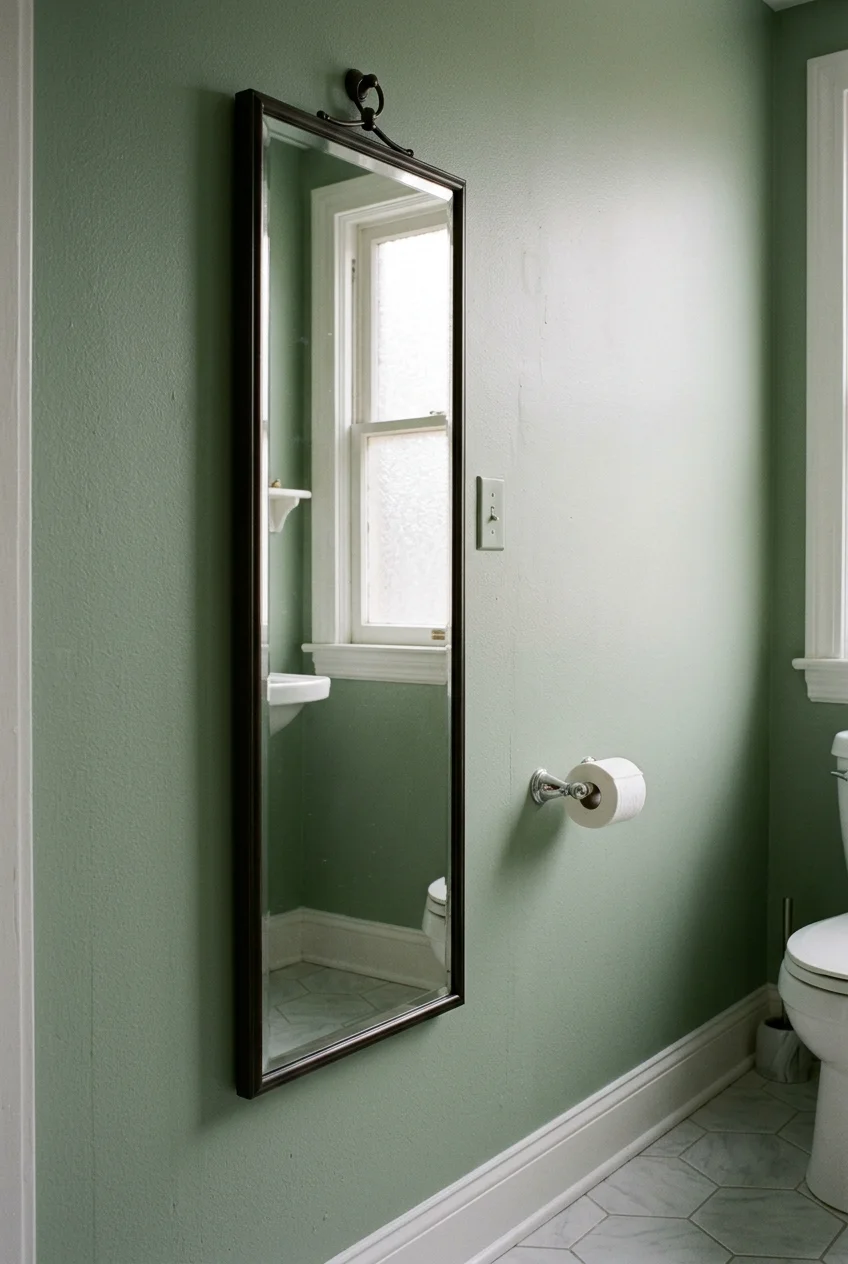
A narrow mirror on the side or back wall can reflect borrowed light and add depth, even when the room does not include a hand-washing basin.
Angle the placement away from direct, awkward toilet reflections. A simple frame connected to the hardware finish keeps the mirror architectural rather than decorative clutter.
69. Choose a Covered Bin and Matching Tool Set
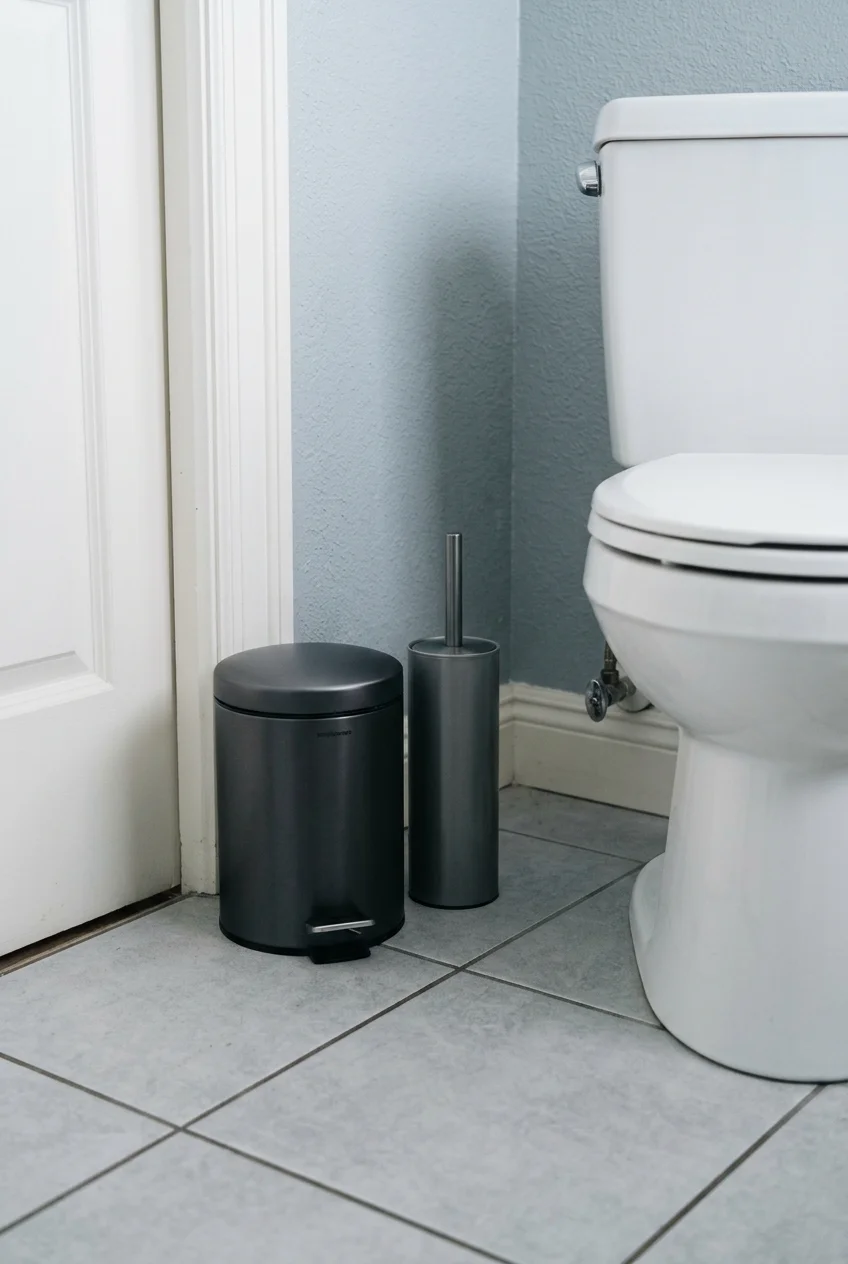
A compact covered bin and coordinated brush holder keep necessary items visually quiet, especially when both fit beside the fixture without narrowing the doorway.
Measure pedal or lid movement before buying, and leave space to remove liners. Select washable surfaces and keep every item clear of the shutoff valve.
70. Create a Small Guest Supply Station
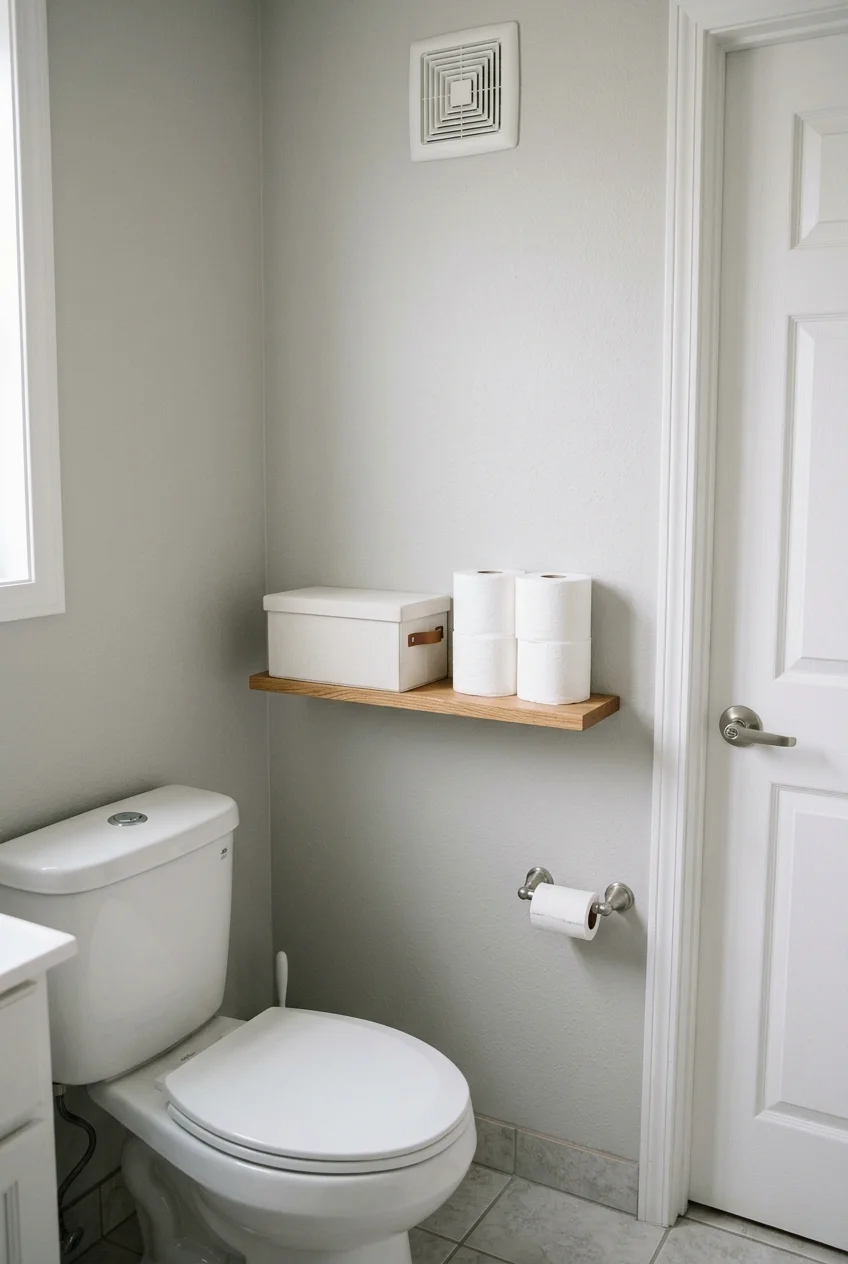
A lidded box or shallow cabinet can gather spare paper, disposal bags, and personal-care basics where guests can find them without opening multiple cupboards.
Use plain containers without long labels, check supplies regularly, and avoid displaying medications or scented products that may not suit every visitor.
Keep the station off the floor and within comfortable reach. The finished arrangement should leave the toilet, door, ventilation, and cleaning route unobstructed.
Frequently Asked Questions
What is the difference between a water closet and a powder room?
In American home design, a water closet usually means a toilet compartment within a larger bathroom, while a powder room typically includes a toilet and sink.
Does an enclosed water closet need its own exhaust fan?
Closed toilet compartments benefit from dedicated ventilation, and some codes or design guidance require it. Confirm fan sizing, ducting, controls, and makeup air locally.
How can a tiny water closet feel less cramped?
Protect clear floor space first, then use a pocket or outward-opening door where permitted, shallow storage, balanced lighting, and one controlled wall treatment.
Can wallpaper work in a water closet?
Wallpaper can work when the product suits the setting, walls avoid direct splashes, seams are installed correctly, and ventilation prevents prolonged humidity from lingering.