60 Narrow Bathroom Remodel Ideas

This post may contain affiliate links: full affiliate disclosure.
In a narrow bathroom, a deep vanity or badly placed door can make the whole room feel cramped. Start by noticing where you turn or squeeze past.
Compare the layouts first, then save the tile, lighting and storage details that fit yours. Some changes preserve the plumbing, while others make sense during a full remodel.
As an Amazon Associate I earn from qualifying purchases.
Layouts that keep the aisle clear
Start with what makes the room hard to use. A door that catches the vanity calls for a different fix than a poorly placed shower.
1. Put the fixtures on one long wall
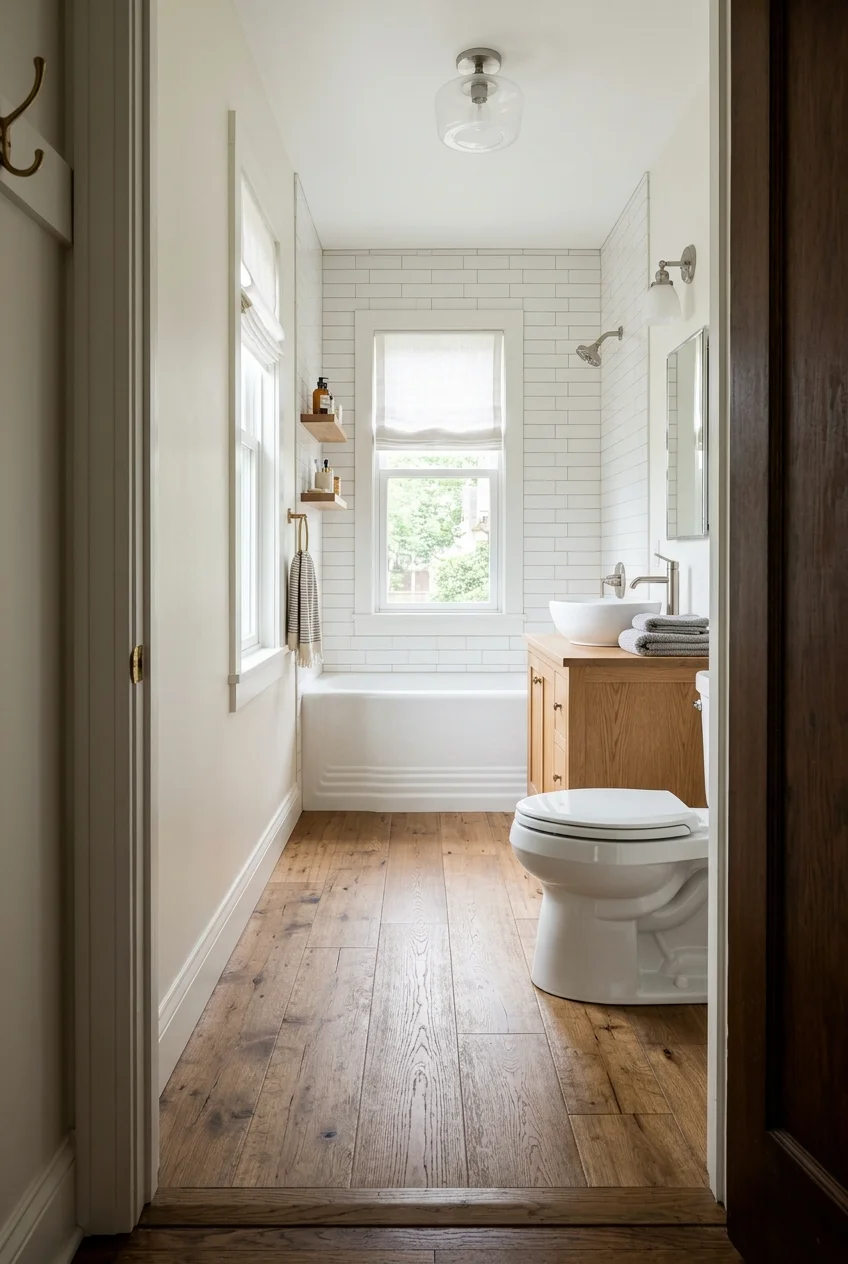
Line up the vanity, toilet and an alcove tub along one long wall. The opposite side becomes a continuous path, even if the fixtures project different distances.
This arrangement is a strong starting point when the plumbing already follows that wall. Draw each fixture at its finished depth, including counter edges and handles.
Try the layout on the floor before ordering anything. Tape the vanity outline and mark the toilet's centerline, then check both everyday movement and required fixture clearances.
Give each fixture a standing area on the plan. The narrowest point may be at the counter edge, even when the toilet projects farther into the room.
Practical tip A cardboard mock-up at vanity height reveals the corner your hip might hit, especially when you step around someone standing at the sink.
2. Put a shower across the short wall
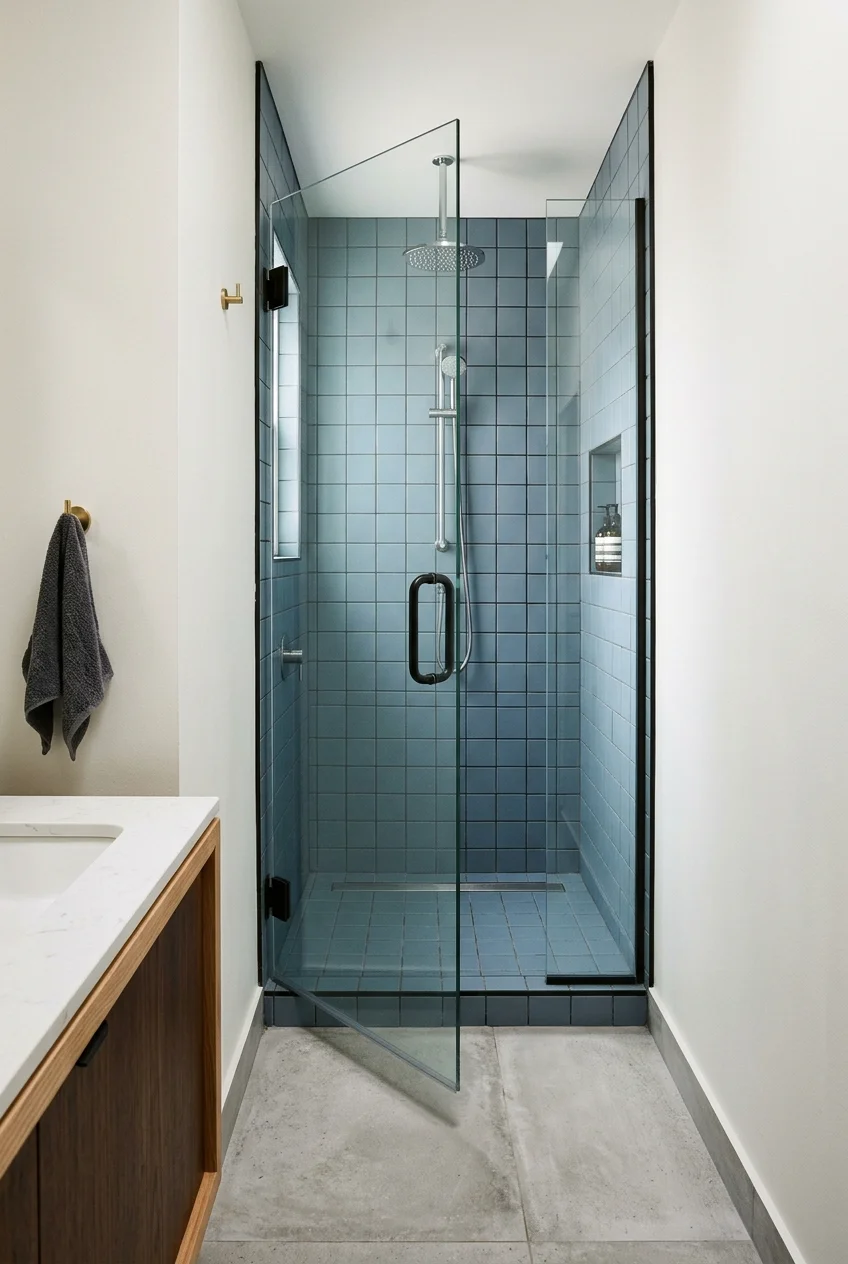
Setting the enclosure across the end gives the room an obvious stopping point. Your standing area can use the short wall's width while the long walls guide the approach.
Compare the finished shower dimensions after wall finishes go in. Decide where you can step in, where the spray lands, and how you reach the controls.
If that end holds a window, include the sill and trim in the water-management plan. A window partly inside the spray area needs a designed waterproof detail.
For layouts that also have to work in a tiny footprint, compare very small bathrooms with showers to see how enclosure choices affect the approach.
3. Stagger opposing fixtures down the room
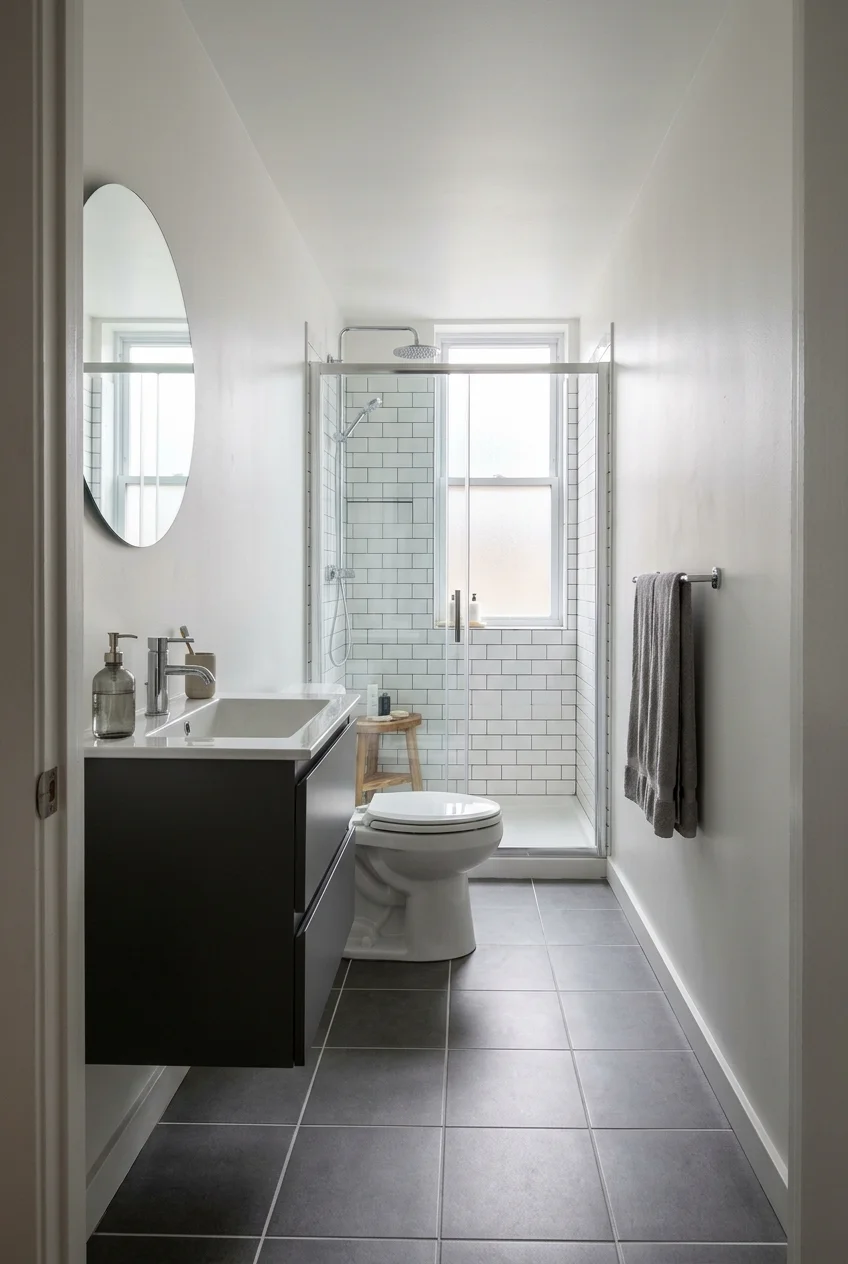
If plumbing already runs down both sides, offset the vanity and toilet along the length. Their deepest parts can then occupy different stretches of the aisle.
A shallow sink near the door and a toilet farther down the opposite wall can work. Check clear space in front of both with the door open.
Mark the standing zone at the sink and the approach to the toilet. Test each one while someone else uses the other so you see where movement overlaps.
4. Give the entry door a wall pocket
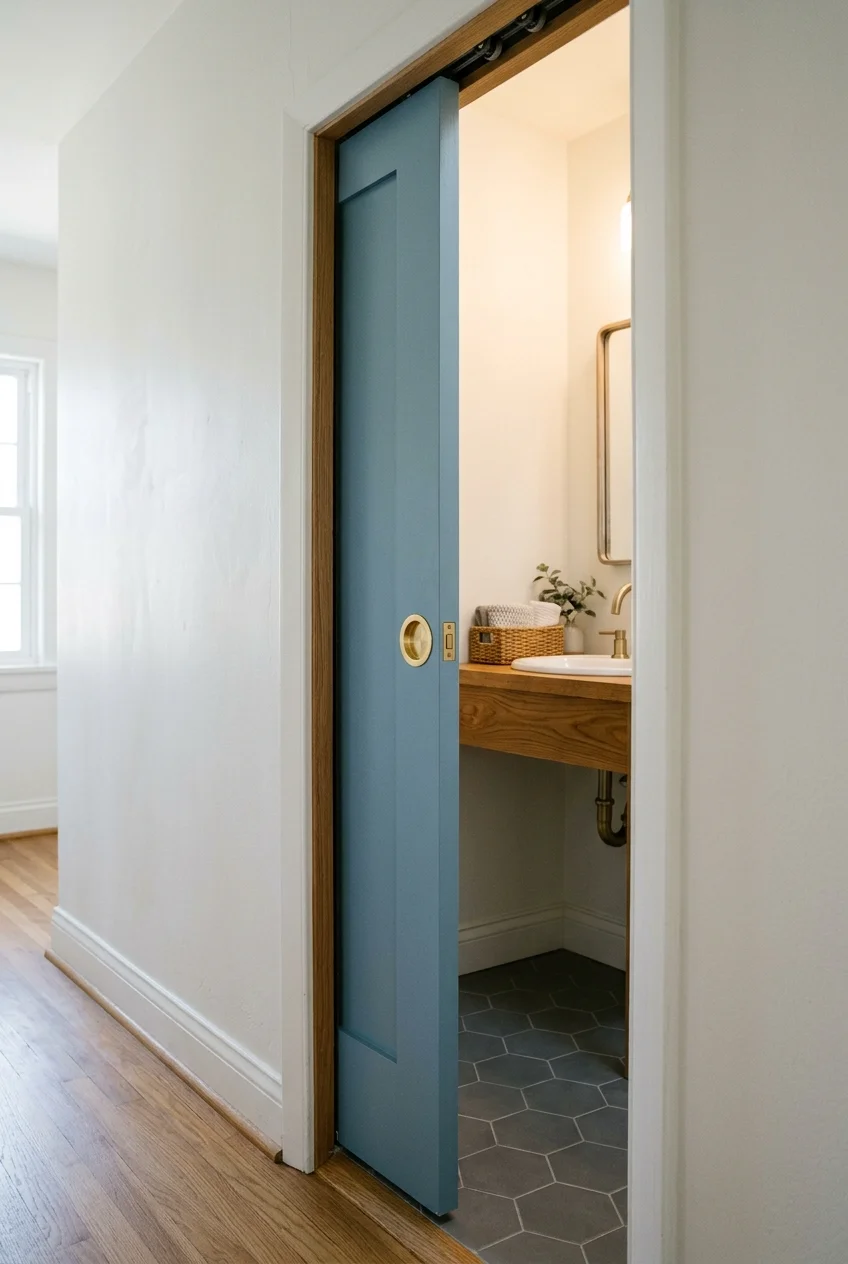
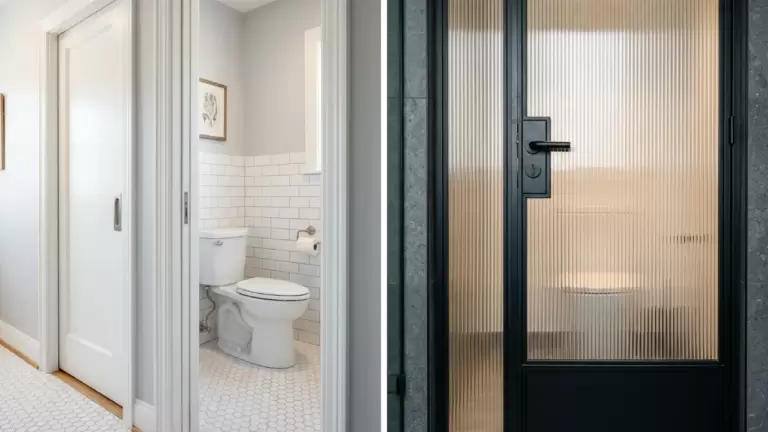
A pocket door can solve a collision right at the threshold and leave the vanity where it is. The sliding slab disappears into the adjacent wall.
Have the wall checked for pipes, wiring and structural duties before choosing the kit. The cavity and frame need room for the full door to travel.
Choose recessed hardware and a bathroom privacy latch that can be released from outside. Compare the finished clear opening, particularly if a mobility aid needs to pass.
Before the framing is closed, show the installer where you want towel bars or shelving. The pocket wall changes where and how those accessories can be fastened.
5. Reverse the entry door into the hall
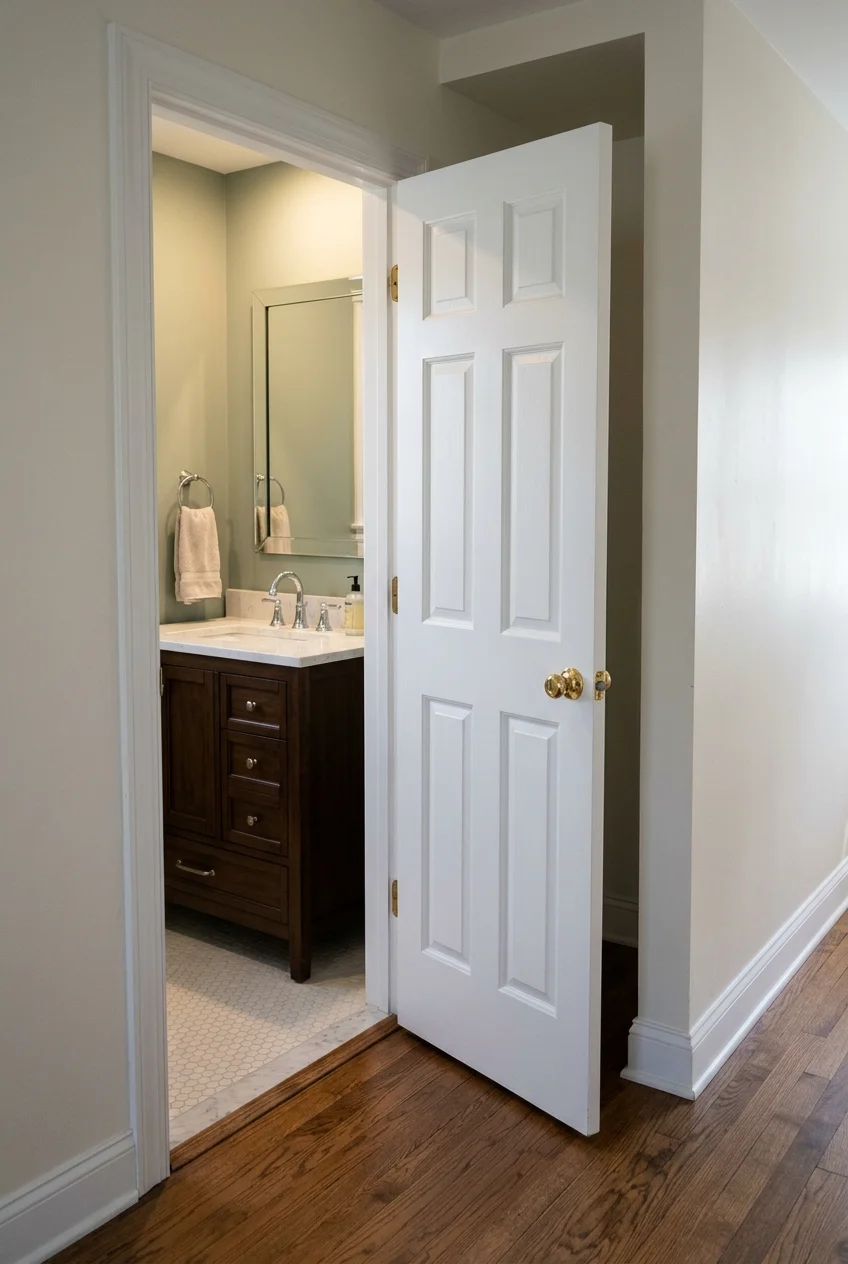
Moving the swing into the hallway can free the patch of floor you use when stepping inside. The change is easiest to picture with both doors open.
Check the hallway with nearby doors in use and confirm the swing meets local requirements. A recessed hall entry may have space that a busy passage lacks.
Account for the stop, hinges, latch and trim when you price the reversal. The bathroom side gains usable space only if the new swing works every day.
6. Turn the vanity onto an open end wall
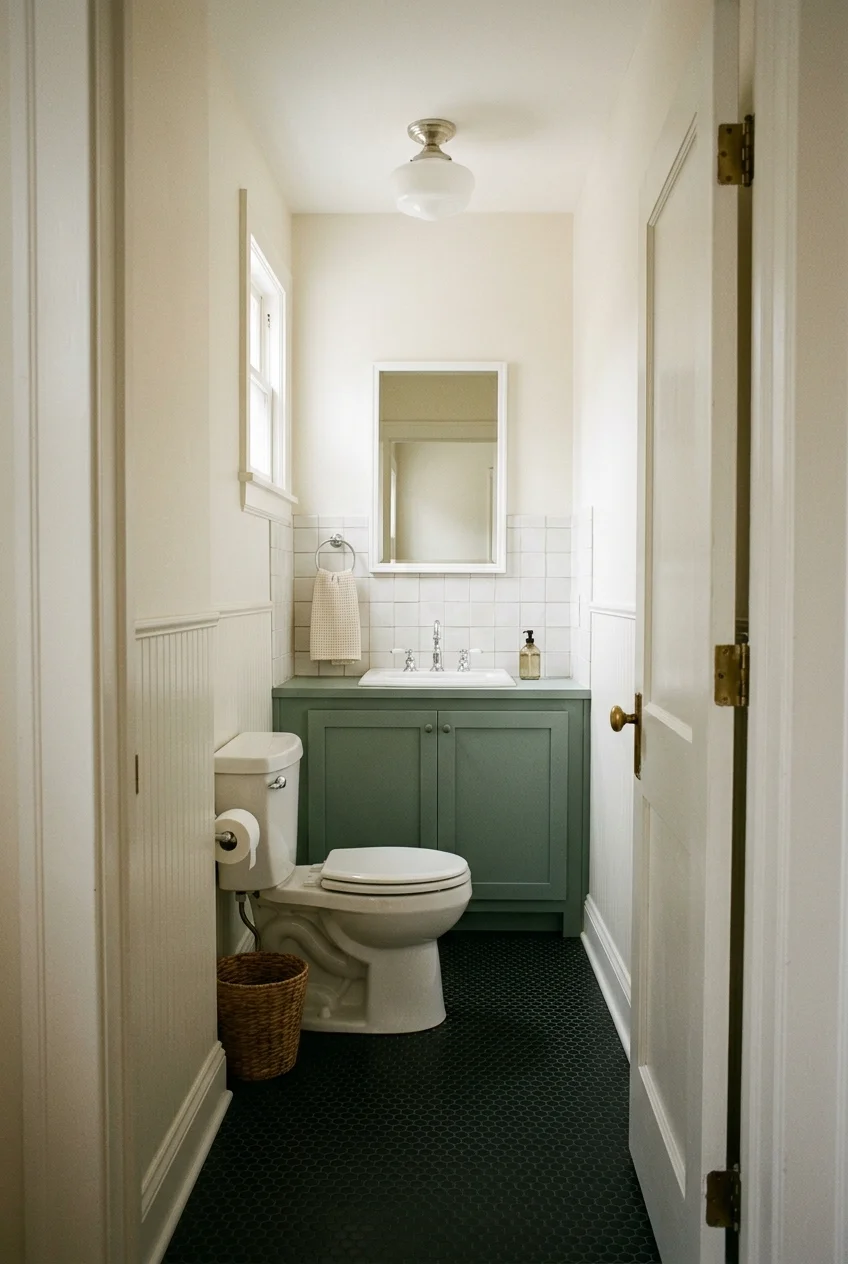
An end-wall vanity can reclaim the long sides when the door opens in the middle of a long wall. The sink then faces down the room.
This suits a powder room or a side-entry bath with the shower opposite. An asymmetric cabinet can still have a faucet centered on its bowl.
Measure the approach and any corner where a door or drawer opens. A built-to-fit counter can use the width, provided the doorway and adjacent trim remain clear.
7. Trade a long vanity for a corner basin
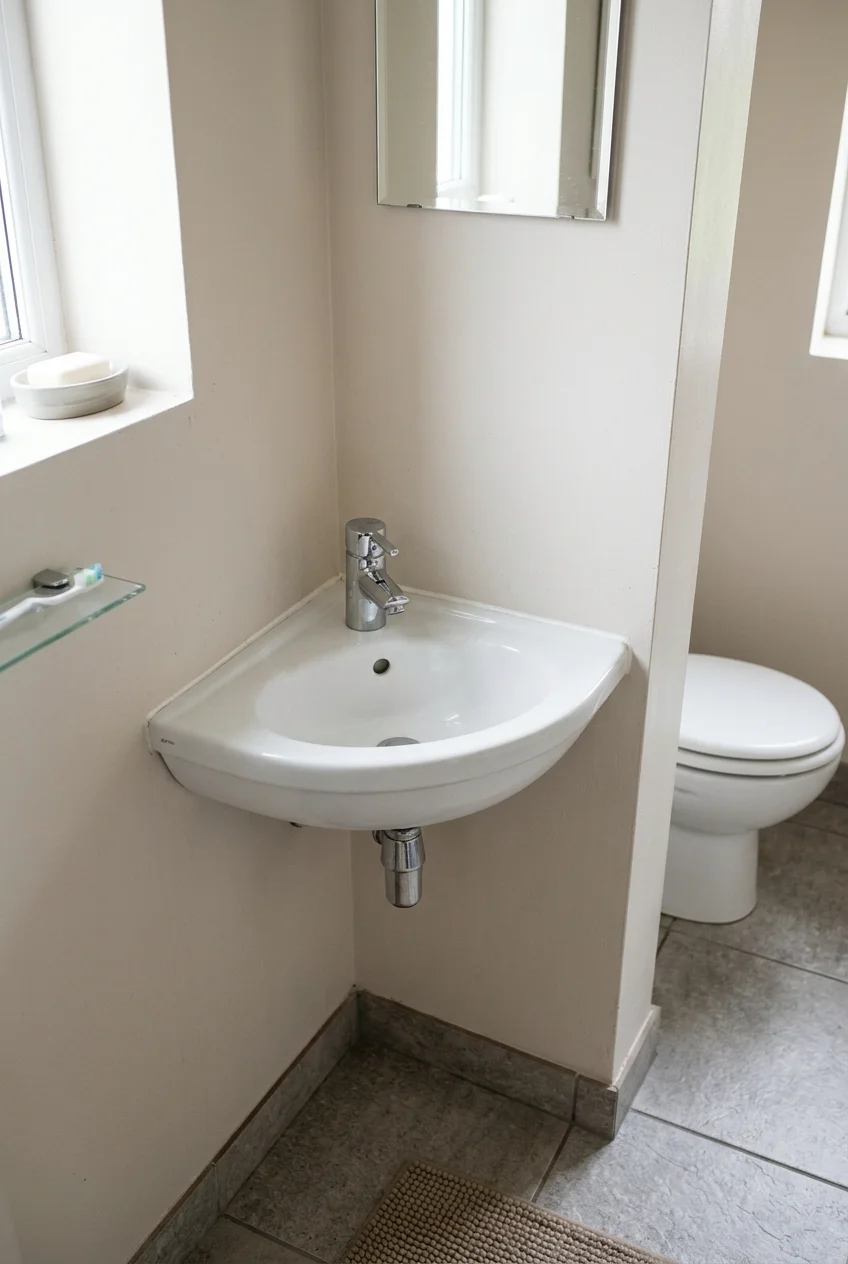
In a powder room where the door and toilet already claim the straight walls, a triangular corner basin can turn an unused corner into the wash area.
Compare the diagonal front projection along the path and check the faucet and bowl together. A bowl with enough depth makes everyday handwashing more comfortable.
Plan a small hand towel within reach and keep soap on a compact wall shelf beside the sink. Check mirror visibility from where you actually stand.
8. Hide the toilet behind a slim return wall
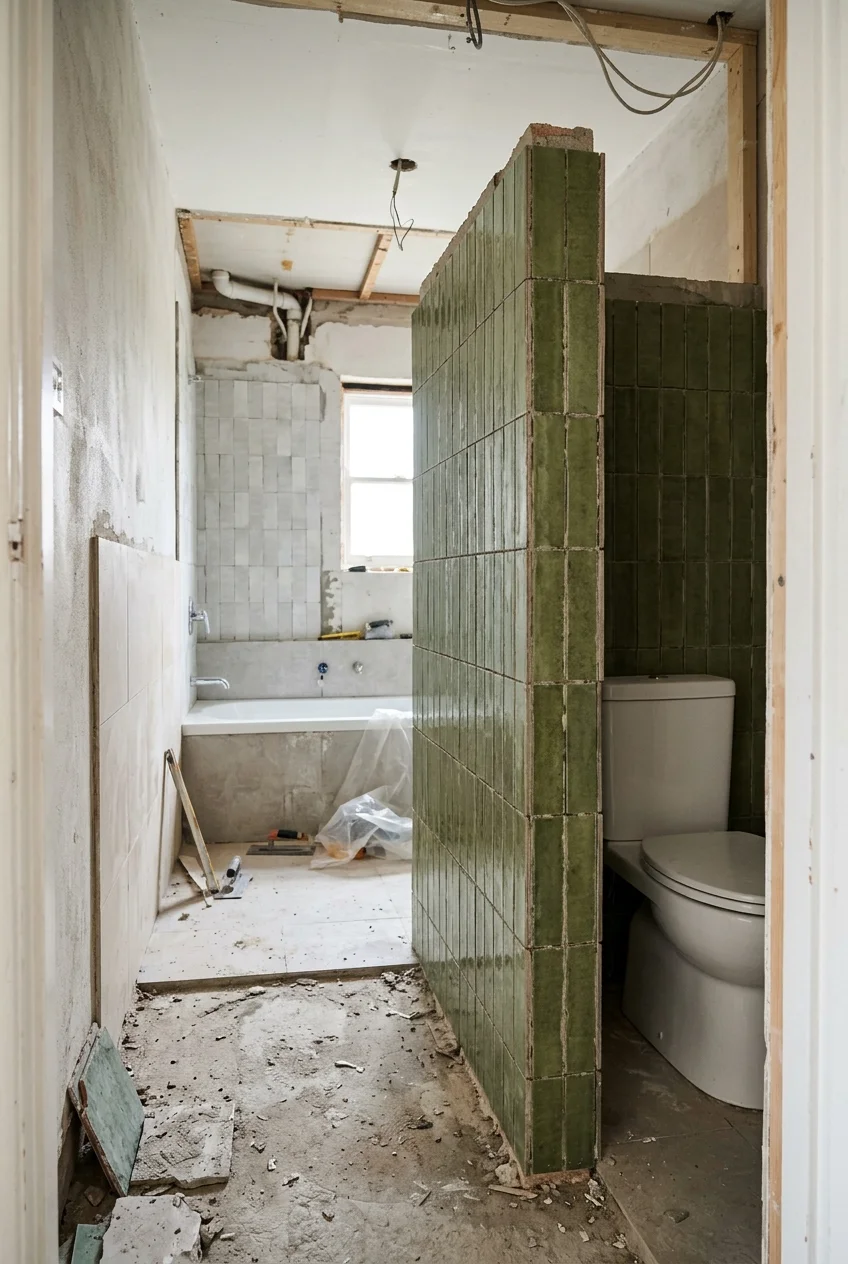
A short return beside the toilet can screen it from the open doorway. It works best when the partition fits beside the fixture without shrinking usable clearance.
Mark the finished thickness first and look from the hallway. A partial-height screen gives privacy at seated level while letting light reach the toilet zone.
Keep the toilet paper within comfortable reach and leave room to clean beside the bowl. Have your remodeler check fixture spacing before committing to the framing.
9. Borrow space from a neighboring closet
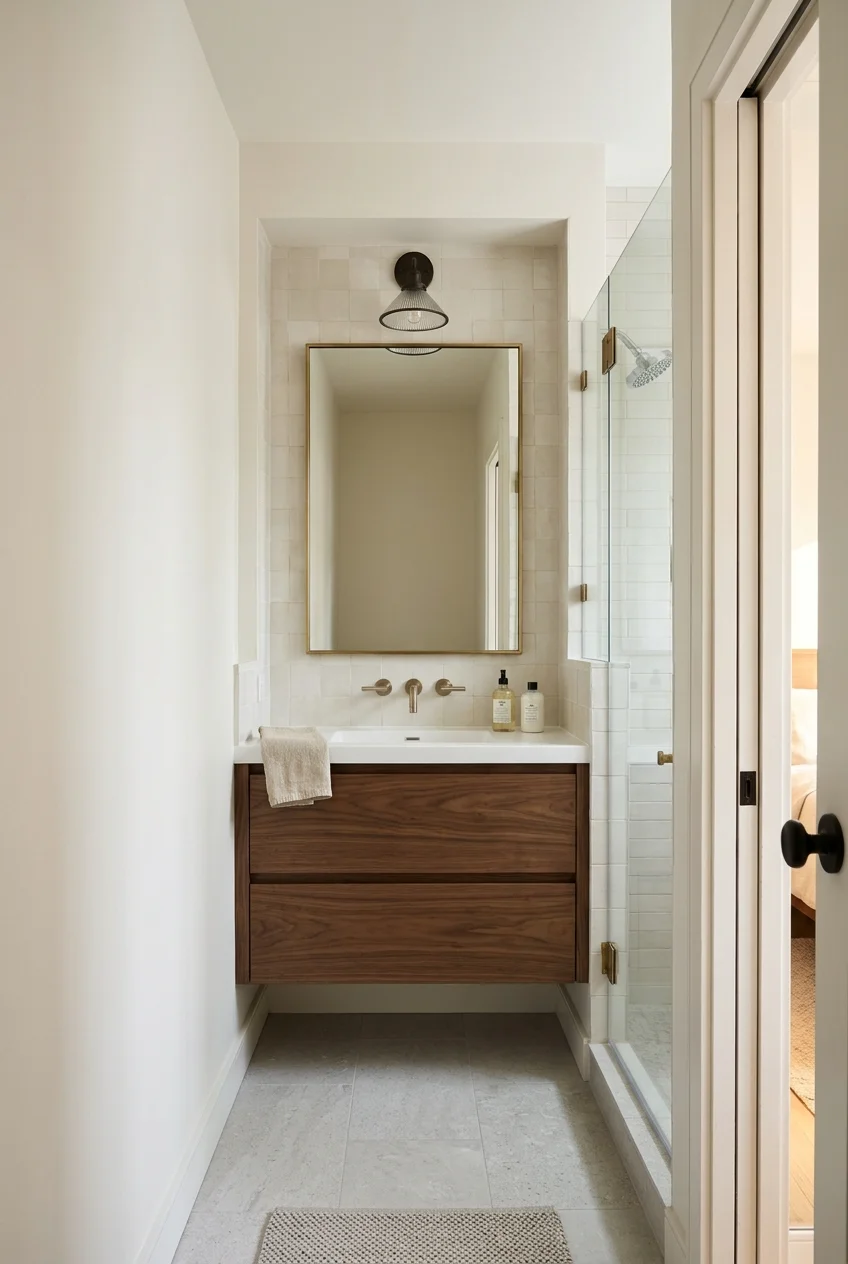
Removing a little closet depth can create a recess for storage or a vanity. The gain matters most at the spot where the existing aisle pinches.
Ask a remodeler to inspect the wall and measure what the closet will still hold. Framing, utilities and finished surfaces determine the usable size of the recess.
A recessed linen cabinet can be enough to solve the problem when the sink already works. Check that its open doors clear the main bathroom route.
- Measure the closet contents you want to keep.
- Have the wall and utilities inspected.
- Draw the new finished wall and check both rooms.
- Verify door and drawer movement before cabinetry is ordered.
10. Replace a deep toilet with a shorter floor model
Image pending: No image is attached to this draft for idea 10 (image-10).
The front edge of the bowl matters when a toilet faces a vanity or a narrow passage. Compare total projection from the finished wall in the manufacturer drawings.
Check the rough-in before buying. Have your plumber compare the new model's drawings with the existing drain position and check the available space in front and on either side.
Sit on the bowl shape you're considering if you can. A compact elongated model and a round model can feel different even when their projections are similar.
Tubs and showers sized for a narrow room
Choose the enclosure by its actual opening and how you use it. Glass, a curtain and a low curb each change a different part of the experience.
11. Keep the tub and use a straight curtain rod
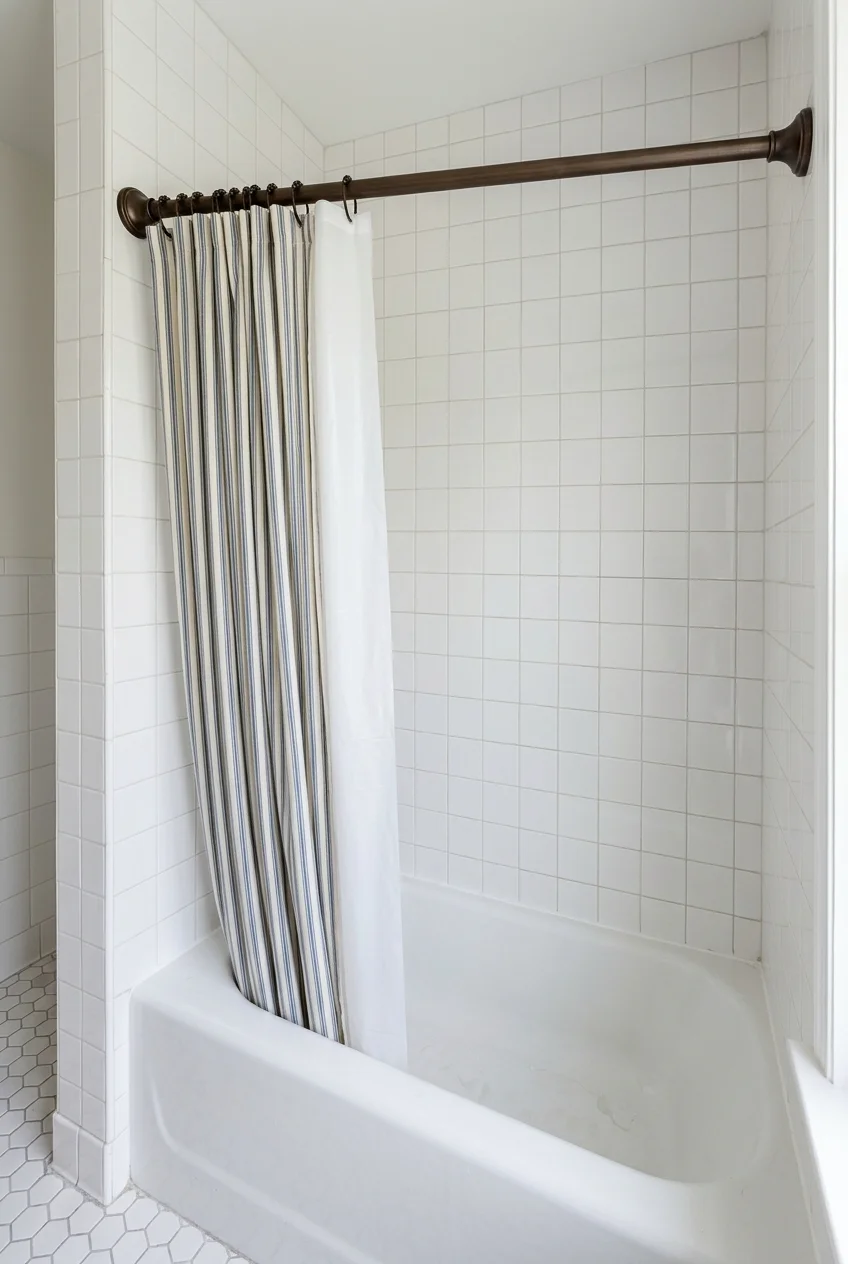
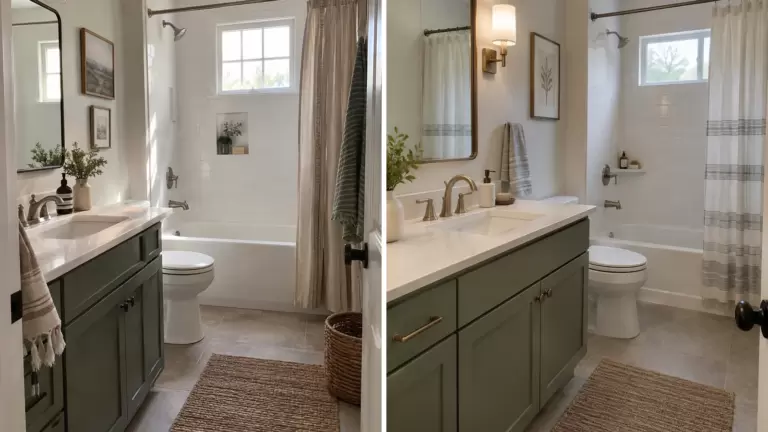
A curtain slides back for bath time and avoids a door swinging into the aisle. A straight rod keeps the hanging fabric close to the tub edge.
Measure the finished wall-to-wall opening where the rod will sit. Keep the liner inside the tub during showers and gather the cloth to a convenient end when dry.
The Zenna Home straight tension rod adjusts from 48 to 76 inches. Check the finished span and follow the mounting instructions for your wall surfaces.
12. Convert an underused tub to a low-curb shower
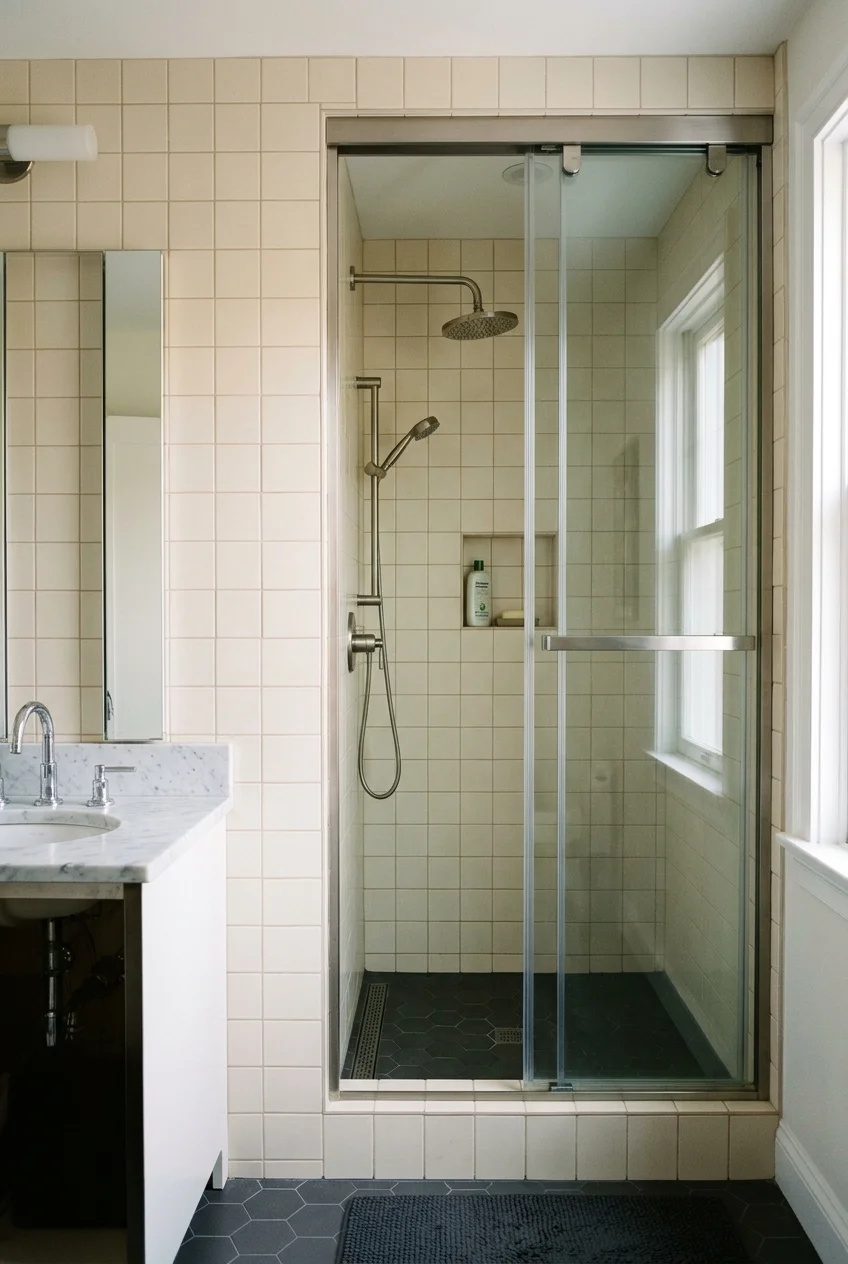
A tiled shower in the old alcove can make entry easier by replacing a tub wall with a low curb. The remodel can retain the basic room arrangement.
Have your plumber evaluate the drain and its position before selecting a base. The alcove shape may survive a conversion even when the drain and supply details change.
Choose the enclosure at the same time as the base. A sliding door saves swing space, while a curtain can give you access across more of the opening.
Compare more shower remodel layouts if keeping the current footprint is your priority. Plan the waterproofing and curb as part of the same assembly from the start.
Think about the next few years of use, especially if this is your only tub. A better shower may change how you bathe children or pets.
13. Use one fixed panel where splash can stay inside
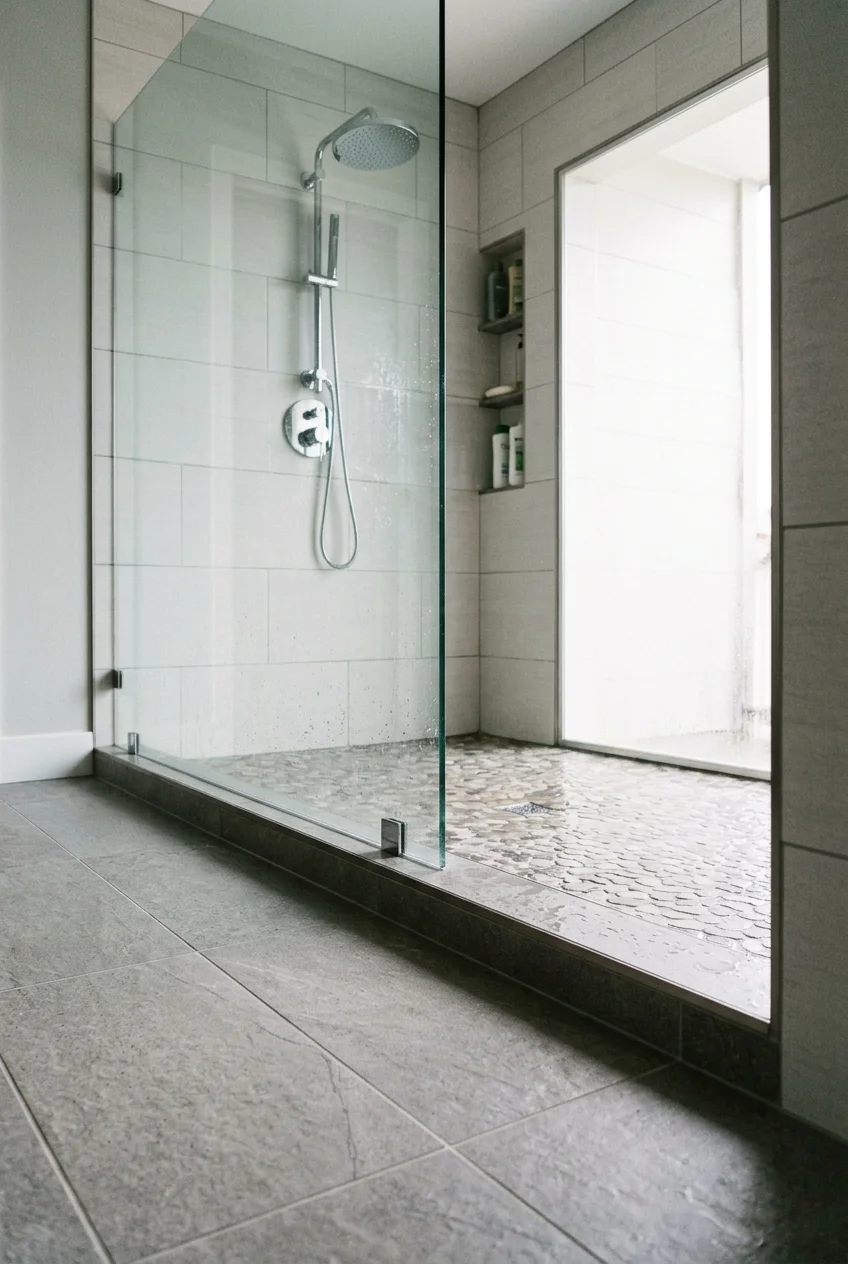
A single glass panel leaves a permanent opening and the room feeling continuous. Put the glass between the main spray and the dry floor outside the shower.
This suits an enclosure with enough run to separate entry from spray. Have the designer check how showerhead angle, pressure and panel length affect splash.
Mark which end you enter and where you reach for the controls. If the layout puts spray close to the opening, compare a fully enclosed slider.
14. Slide the shower glass past the vanity
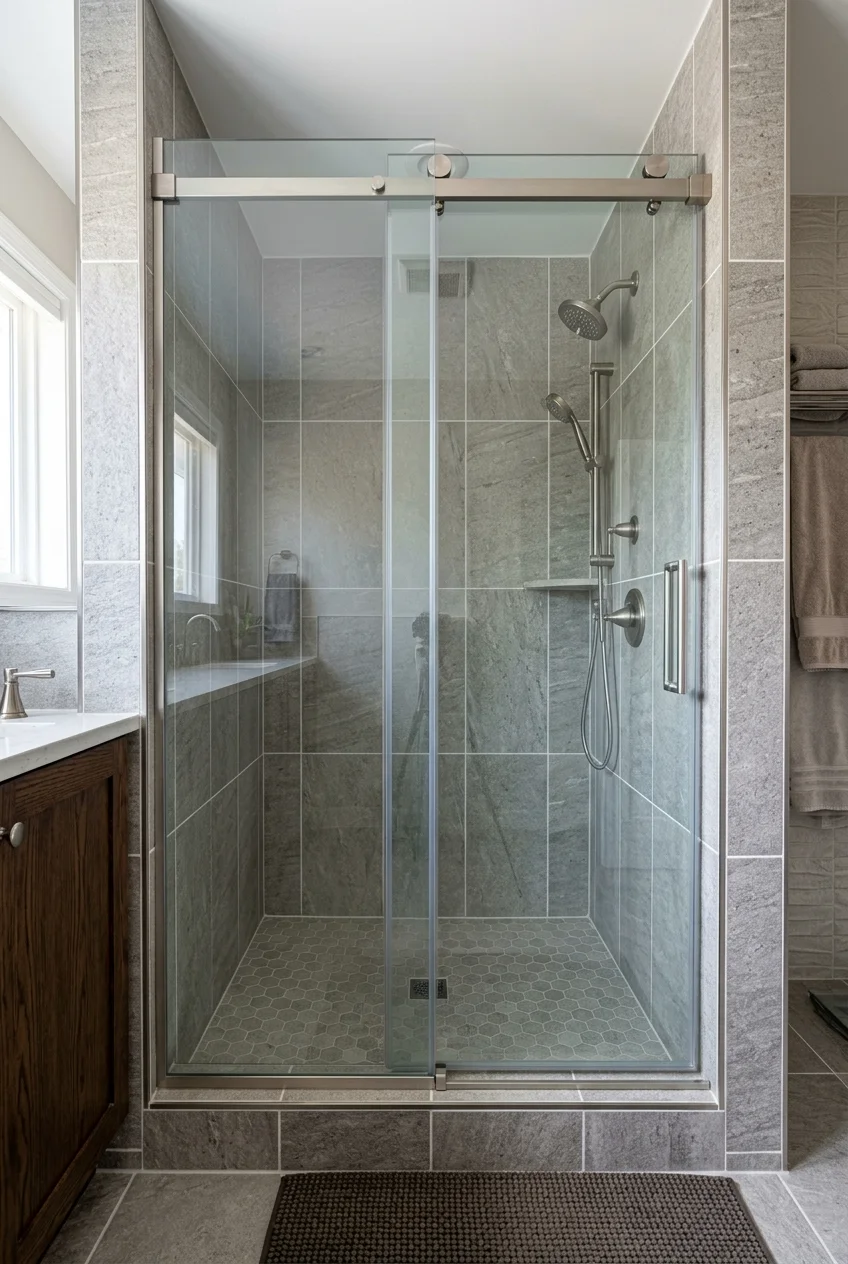
A bypass enclosure keeps the aisle free of a swinging glass leaf. Check the usable opening with the panels overlapped before ordering an enclosure for a short span.
Position the opening where you can step in easily, even if the neighboring vanity drawers are closed. Compare how each panel slides and which side gives access to the controls.
Consider the bottom guide and where you can reach it with a cloth. Water spots and track cleanup are part of living with this style of door.
15. Choose a hinged glass door with a clear swing
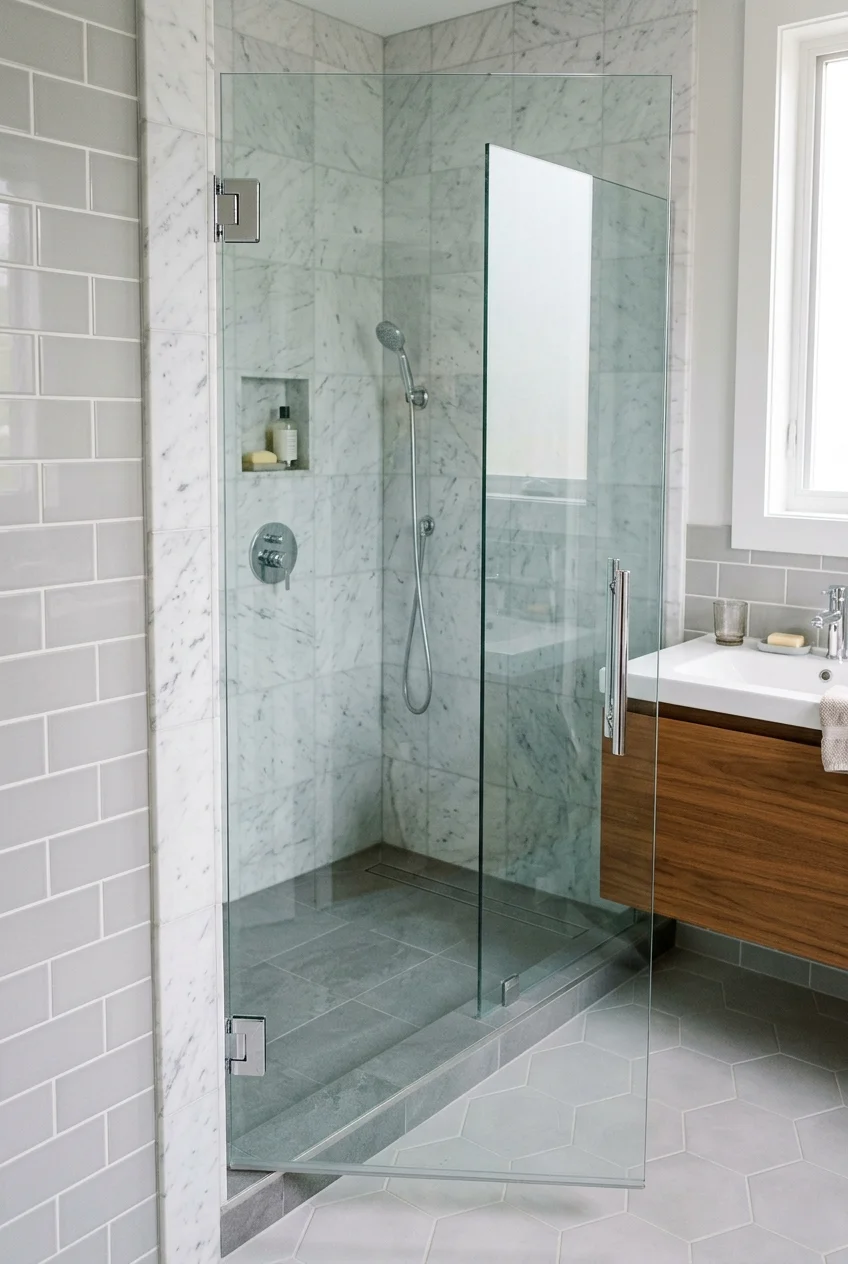
A swing door gives straightforward access where there is room for its arc. It can be a good fit at the far end of a narrow bathroom.
Draw the open glass leaf and handle at full scale. Check the toilet, vanity, towel hardware and bathroom entry door along that arc before the glass is measured.
Have the installer confirm local requirements for the door opening and the hinge manufacturer's support details. Extra clearance is especially useful where handles project beyond the glass.
16. Keep the shower entry flush with the floor
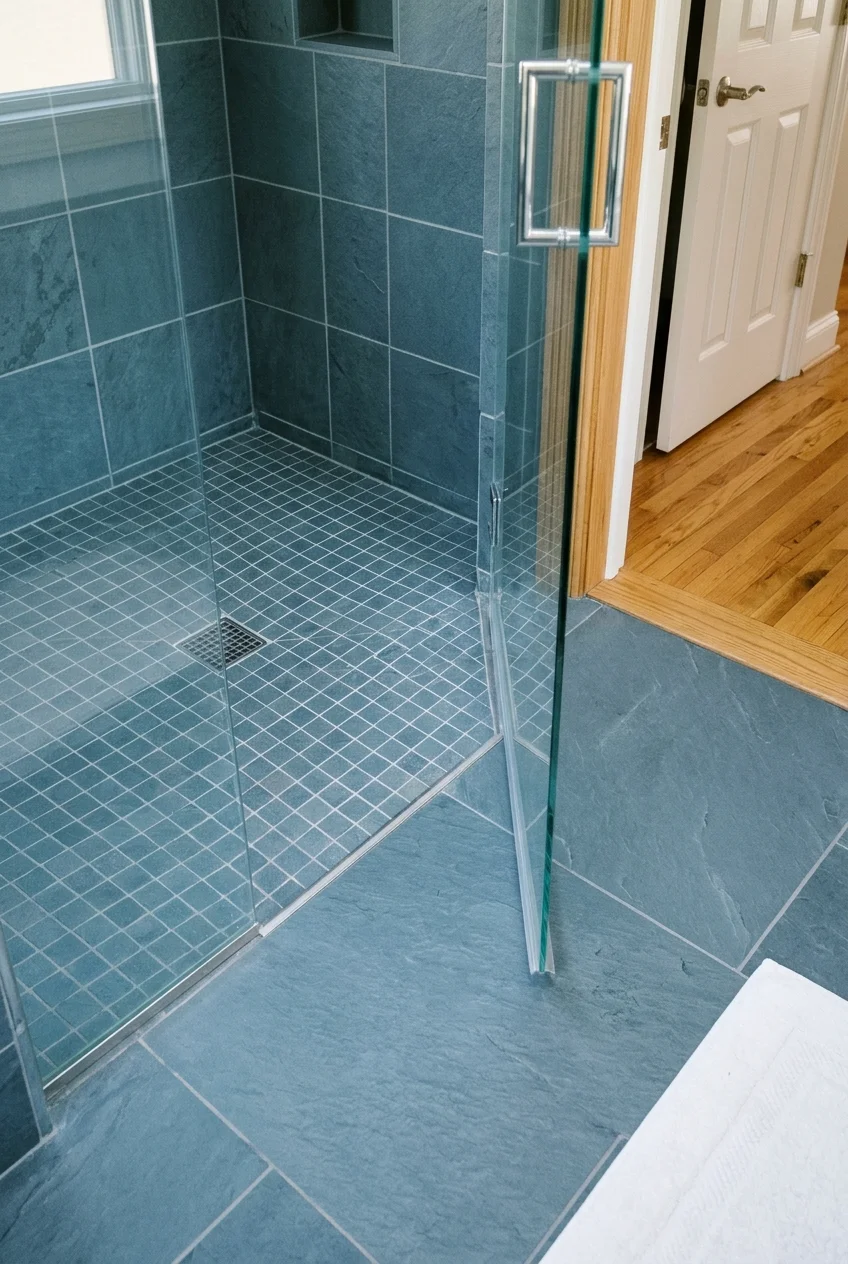
A curbless shower extends the view of the floor to the back wall and removes the threshold. The finished transition should feel smooth through the opening.
Ask a remodeler to evaluate the floor structure, drain route and floor elevations together. The assembly needs enough depth to pitch the shower floor and manage water.
Discuss where waterproofing will extend and how the enclosure contains spray. A flush edge alone leaves splashes free to travel if the rest of the room is poorly planned.
Choose tile after the installer has settled the slope and drain layout. A floor that pitches in several directions may suit smaller pieces around the drain.
- Check the finished elevations at the hall, bathroom and shower.
- Mark the glass, spray direction and dry landing.
- Ask how the installer will check the waterproofing before tile.
Setup note Compare the doorway transition to the hall floor too. Raising the entire bathroom floor to gain shower depth can move the height change to that doorway.
17. Keep a rectangular alcove tub for shared bathing
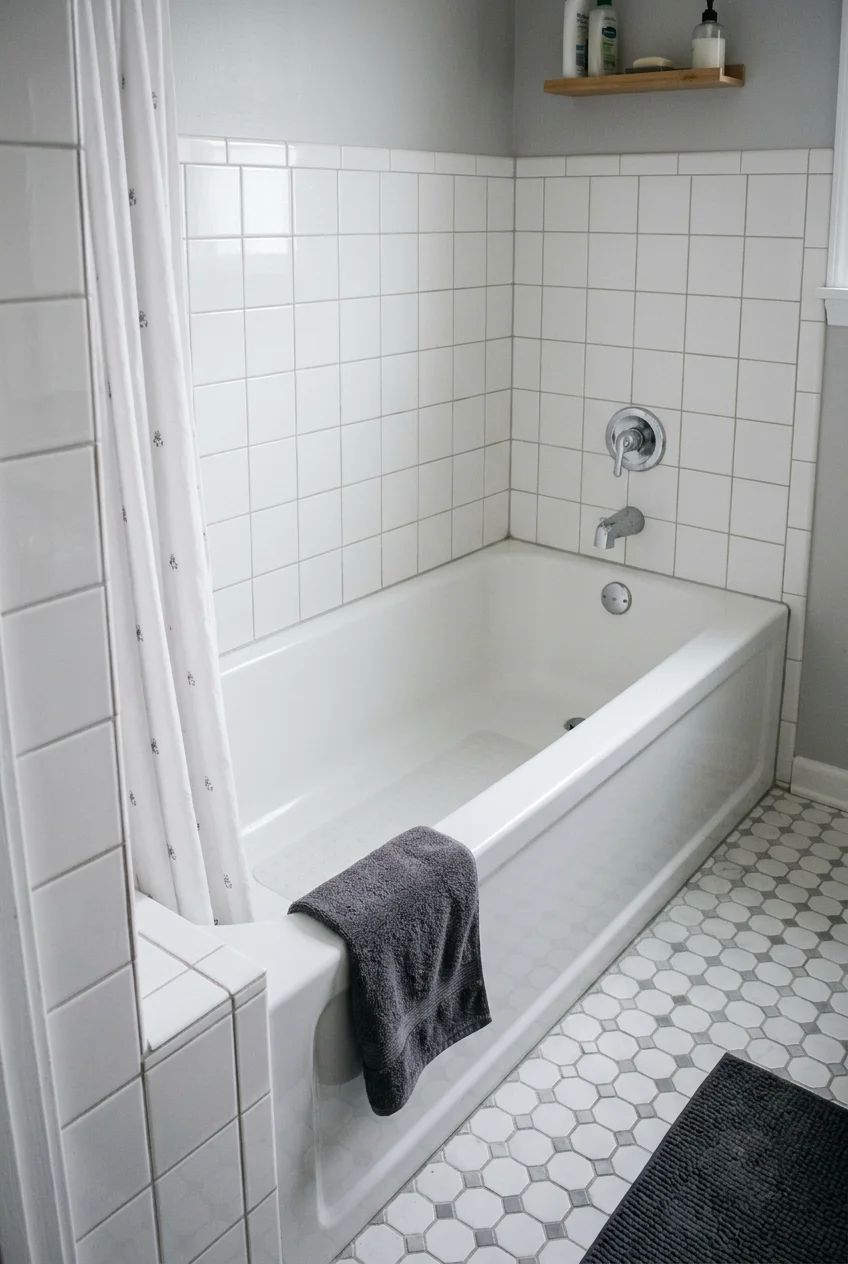
A tub with a straight apron fits neatly between walls and leaves a predictable aisle edge. This layout suits a bathroom used for showers and baths.
When replacing the tub, confirm the actual alcove opening and compare the drain end, apron shape and step-over height. Those details affect everyday use and installation.
Leave a clear approach at the spot where someone bathes a child or reaches the controls. A curtain that gathers away from that spot keeps access flexible.
18. Fit a short soaking tub across the end
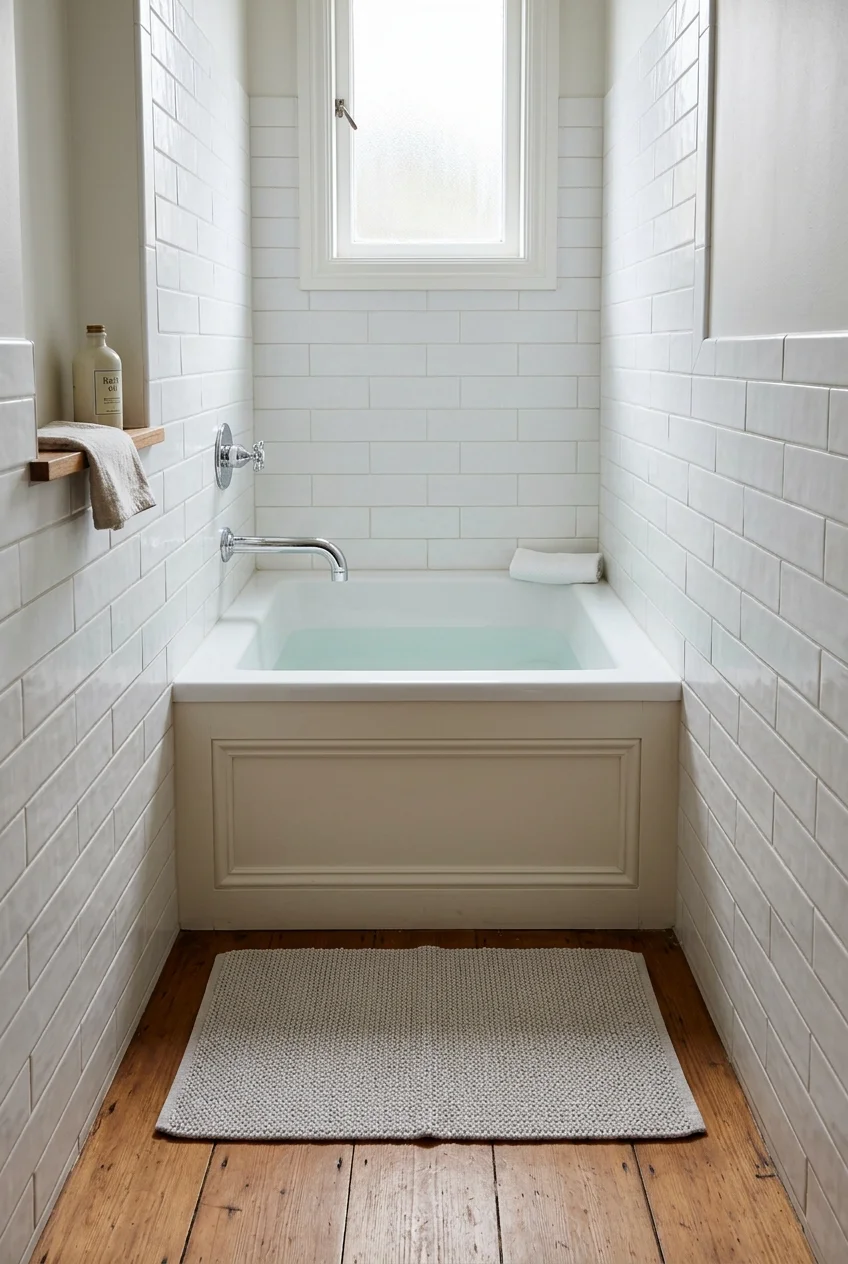
When soaking matters more than stretching out, a shorter tub can fit across the narrow end. It turns the back wall into the bathing zone and keeps the aisle clear.
Compare interior seat length, water depth and step-over height in the actual model. A tub with a short outer shell can still vary considerably in how it feels.
Ask your remodeler to check the filled weight, floor support, drain route and service access. Test how you would enter and exit before choosing a deep model.
19. Choose a low curb with a one-piece shower base
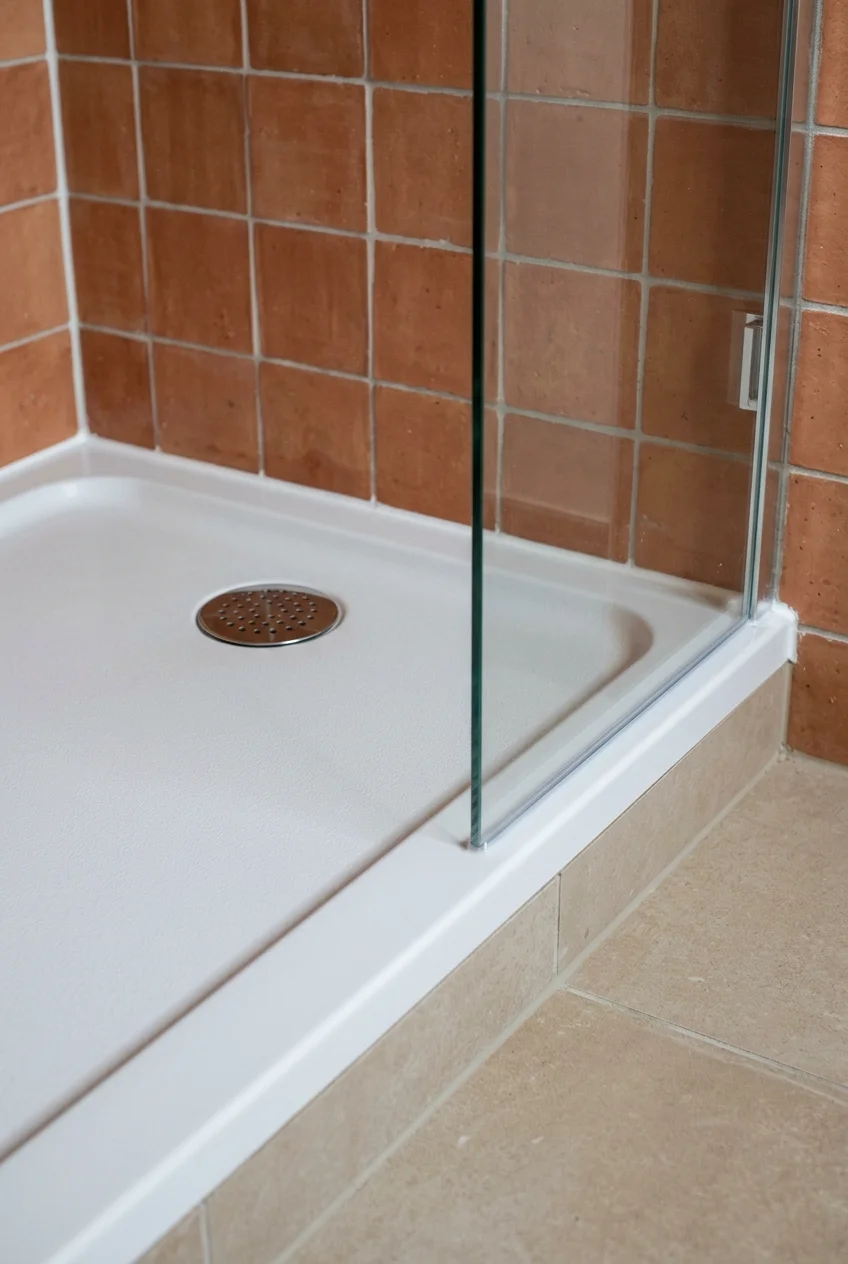
A low-profile molded base gives the shower a clean floor edge and fewer grout lines underfoot. Pair it with tiled walls for texture where it shows.
Choose the drain location, size, threshold profile and enclosure together. Check the base's instructions for support and the connection to the wall waterproofing before finishes are ordered.
Look at the floor texture in person if possible. Select a finish designed for shower use and compare how easily you can reach the corners for cleaning.
20. Fit a fold-away seat inside the shower
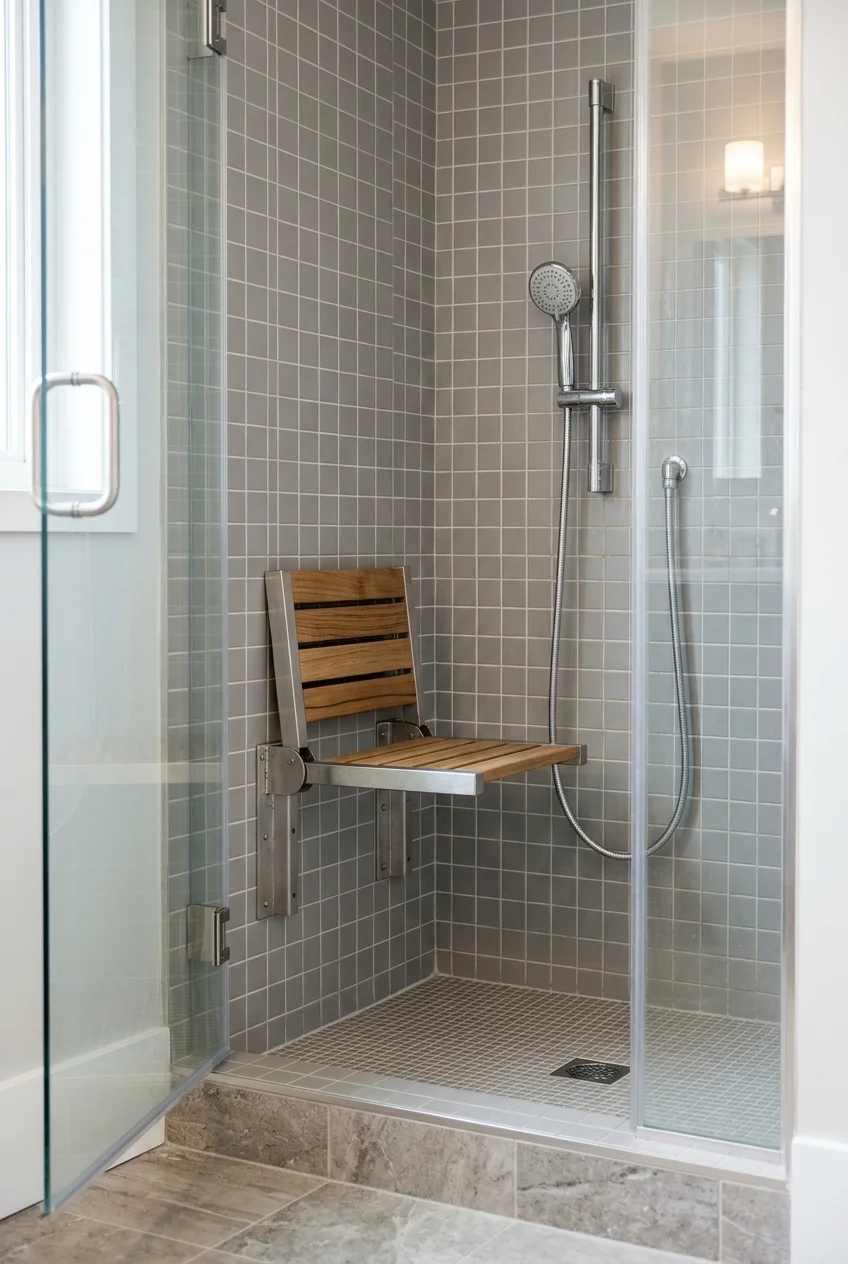
A wall-mounted folding seat gives you somewhere to sit during a shower and folds up to free standing room. Compare its reach from the controls before buying.
Draw the seat in both positions using the manufacturer's dimensions. Check the entry, any moving glass and the standing area with the seat folded down.
Decide where the handheld shower can be reached while seated. Keep its hose clear of the folding mechanism and verify that the user can reach the controls comfortably.
Have the installer confirm the mounting support and waterproofing detail for the exact seat. Check the manufacturer's weight limit and any applicable clearance requirements before committing.
Vanities, sinks and fixtures that use less space
Compare the part that projects farthest into the aisle. A handle, front rim or countertop edge can matter more than the cabinet dimensions on the listing.
21. Float a vanity above the floor
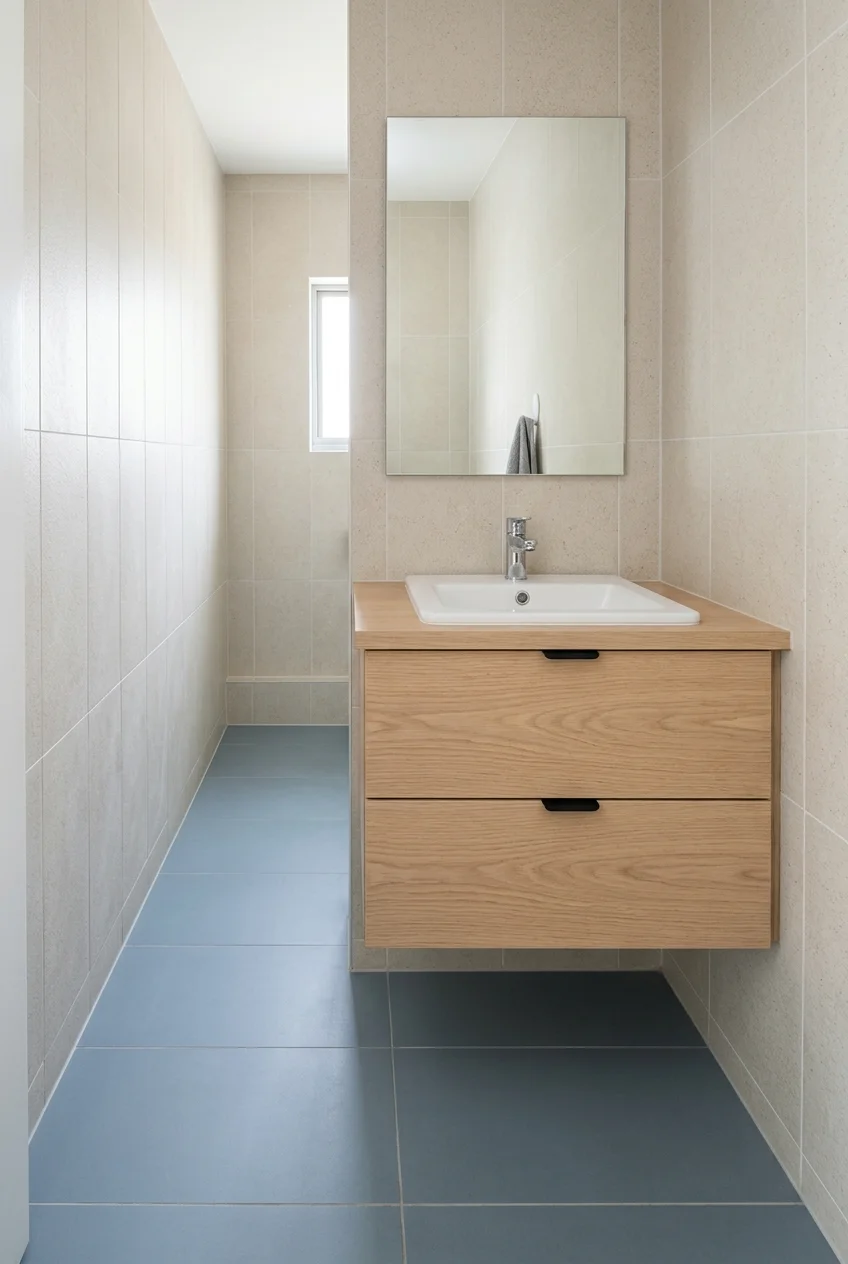
With the cabinet mounted on the wall, you can see tile underneath and clean up splashes in one pass. Drawers provide room for daily items.
Verify wall support and the drain route with your installer. A drawer layout should leave space for the trap and keep the shutoff valves accessible for service.
Have the installer mark the actual countertop height and bottom gap. This lets you check standing comfort and determine whether the floor underneath will be easy to clean.
22. Gain aisle width with a shallow vanity
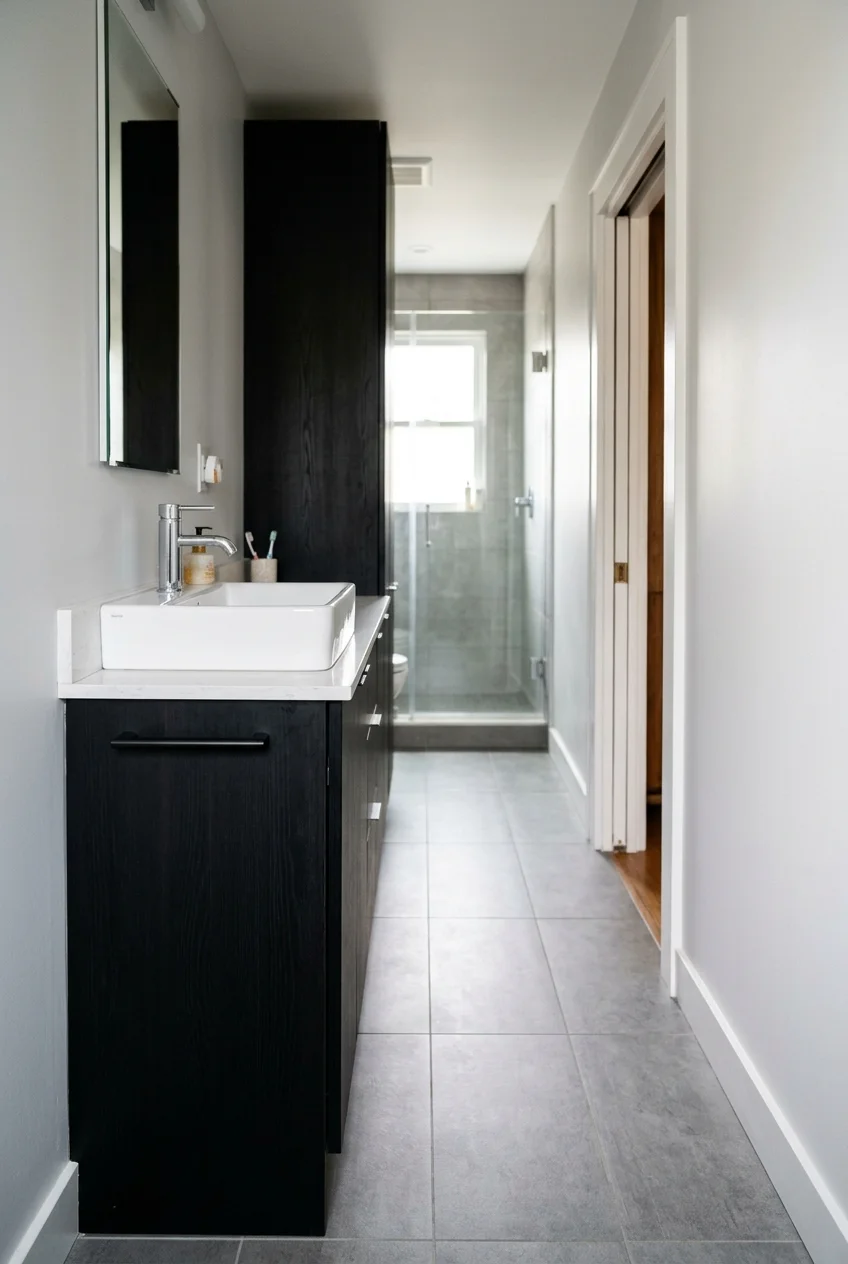
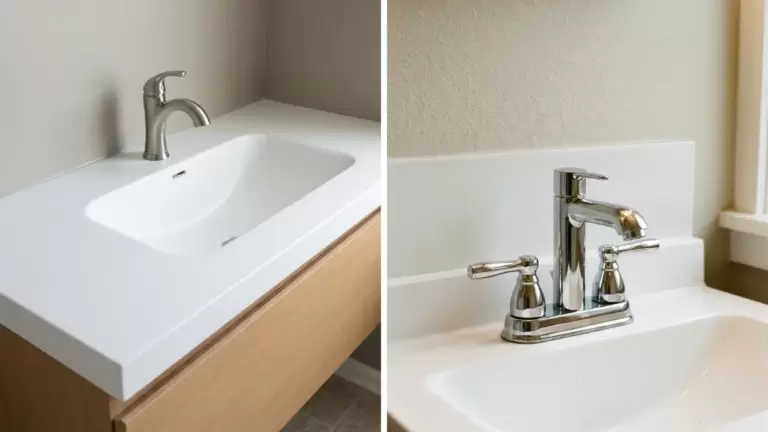
A counter that barely projects past the basin can free room along the busiest wall. Compare the finished countertop depth, including the overhang and hardware.
Try the basin and faucet together before you commit. Check where the water lands, how much room your hands have, and where wet items can sit.
- Lay the planned depth out from the finished wall.
- Open the nearest door and a full-depth drawer on your drawing.
- Check room for the drain trap, supply valves and sink overflow.
23. Use a pedestal sink where storage is handled elsewhere
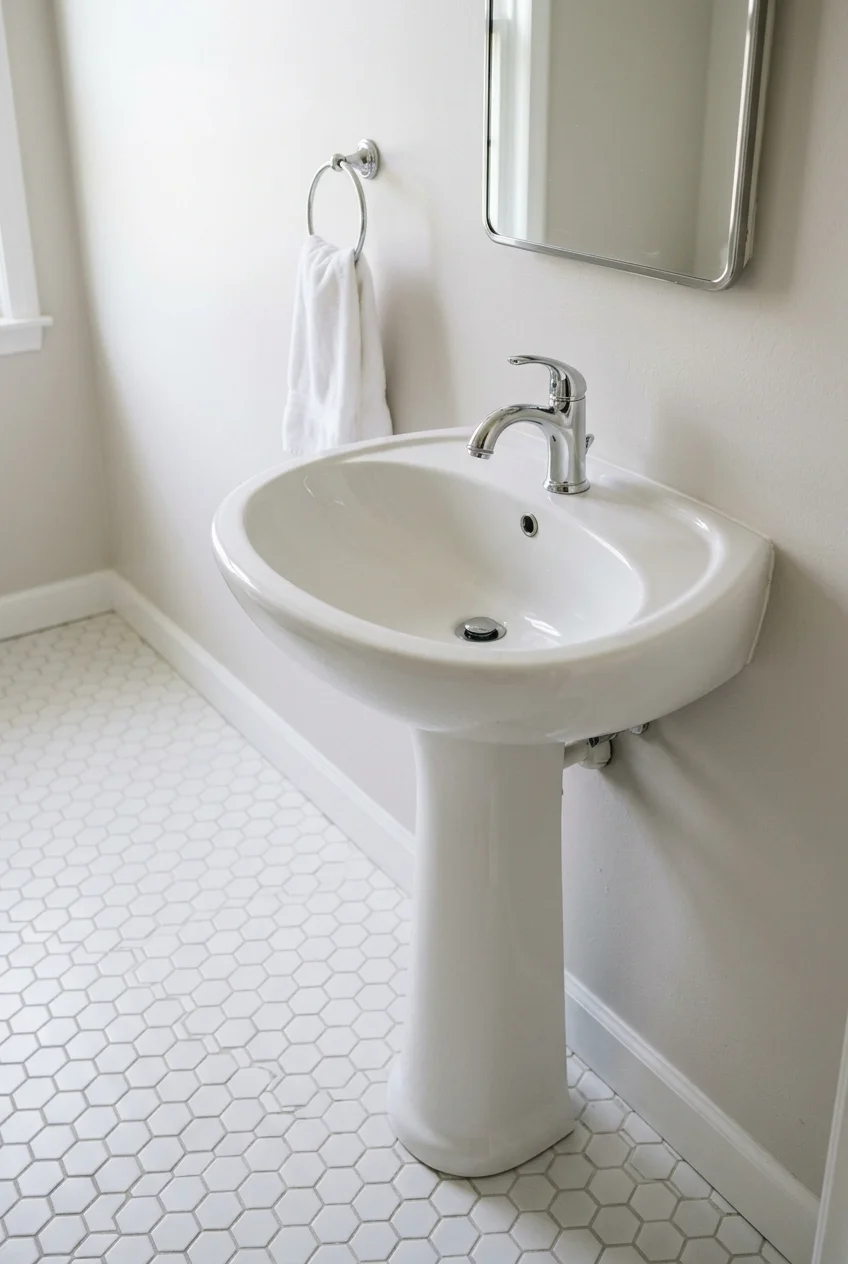
A pedestal gives a small powder room a clear floor outline at either side of the sink. It suits a wall that feels crowded by boxy cabinets.
The tradeoff is counter and cabinet space. Put soap on the basin ledge and store backups elsewhere, or choose a matching mirror cabinet if the wall can take one.
Check the manufacturer's rough-in and mounting requirements. The pedestal and basin are designed as a set, and the nearby floor and wall finishes will remain visible.
24. Mount the faucet on the wall
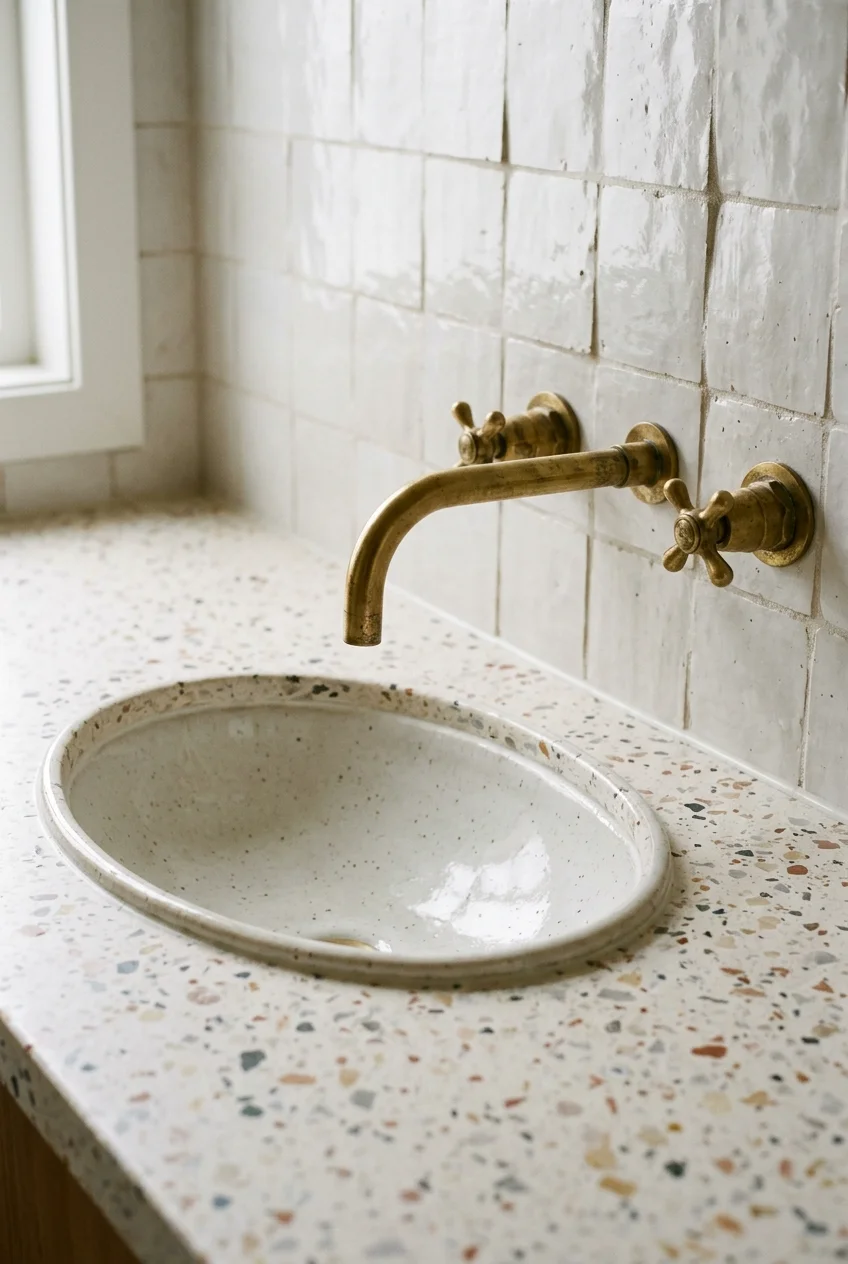
A wall-mounted spout can free the counter strip behind the bowl. The result works especially well with a shallow basin that would otherwise lose depth to the faucet.
Choose the sink and faucet together so the spout reaches well into the bowl. Check the specified mounting height and where the stream will hit with your installer.
Plan the valve rough-in before tile work. The finished wall thickness, supply route and access for future repairs all matter more here than with a deck-mounted model.
25. Install a wall-hung toilet with a concealed carrier
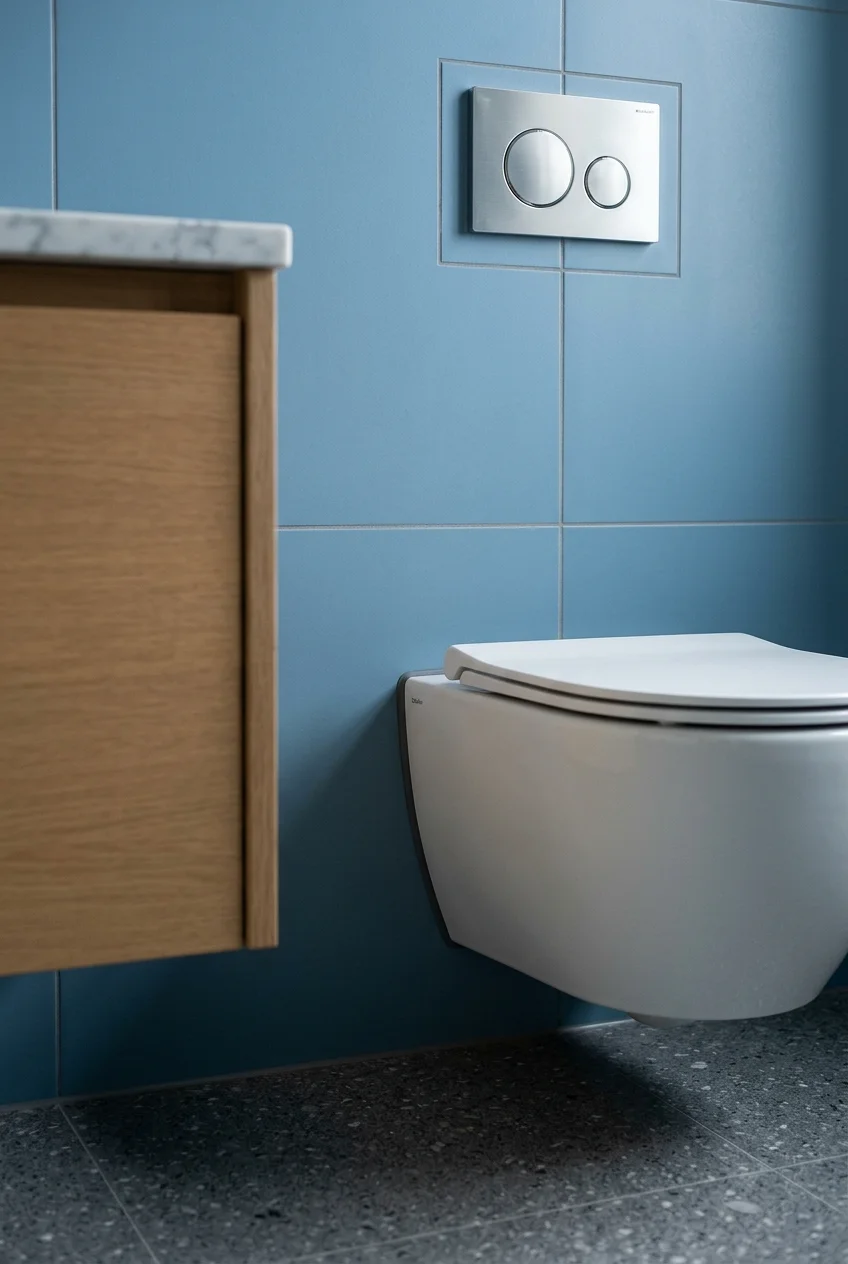
With the tank behind the wall, the visible bowl has a simpler outline and the floor beneath stays open. Some layouts gain room across the aisle.
Compare the bowl's projection from the new finished wall, including any chase the installer must build. A thick chase can eat into the improvement you hoped for.
Ask about compatible bowls, support, drain routing and access through the flush plate. Check the clearance with both the new wall thickness and opposite fixtures drawn in.
If the carrier creates a ledge above the toilet, leave the flush plate easy to remove. That service opening is more valuable than a continuous decorative panel.
26. Round off the vanity corner beside the door
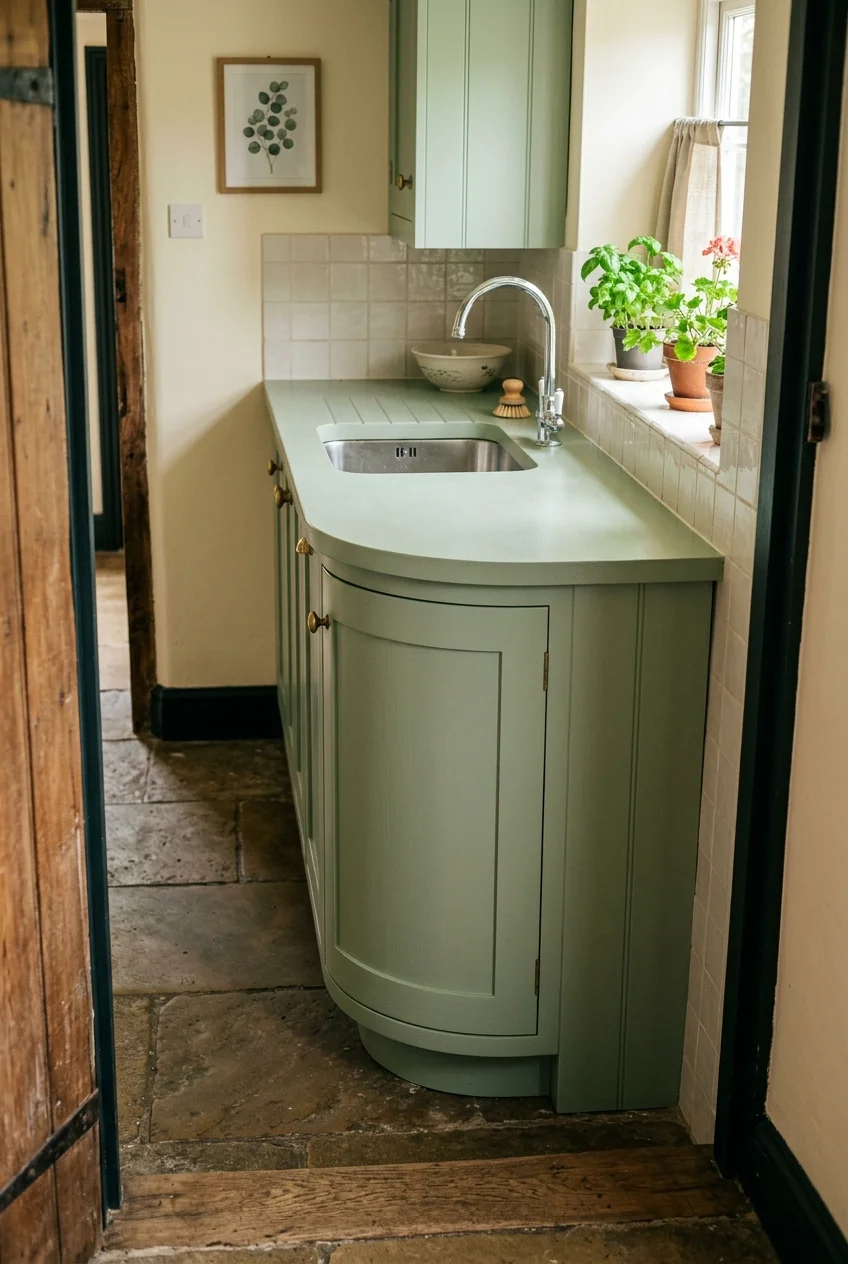
A curved cabinet end removes the sharp corner you pass as you enter. It can improve the approach even if the central countertop depth stays the same.
Match the curve in the top and cabinet so the overhang stays consistent. Actual clearance still depends on the hardware and the door's path past the sink.
27. Set the basin to one side for a landing spot
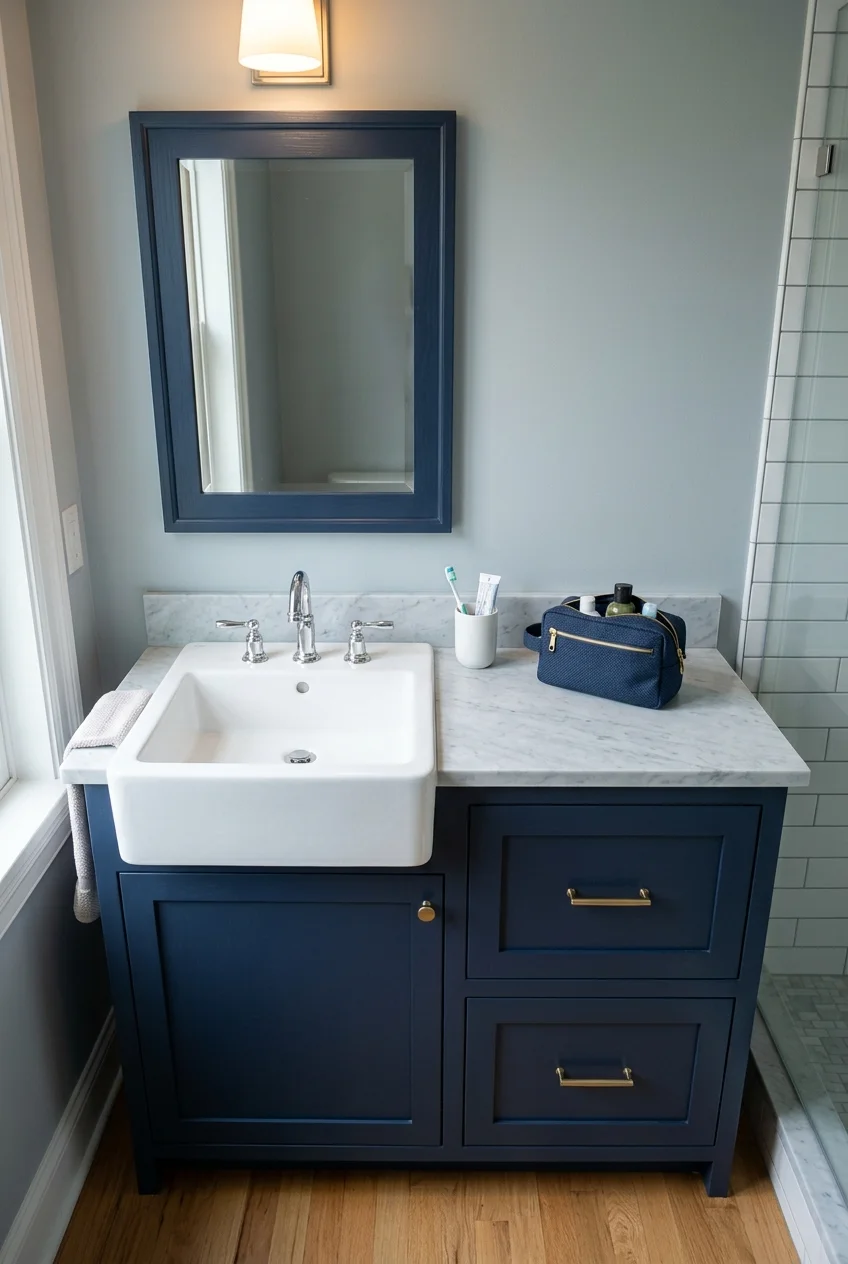
An offset bowl leaves one continuous area for a morning routine. Put the counter space on the side where you naturally set a brush or toiletry bag.
Use the under-bowl zone for plumbing and dedicate the open-counter side to deeper drawers. Confirm the countertop cutout and faucet holes before picking storage units underneath.
If the toilet sits right next to the vanity, check where your elbows go when you lean over the sink. The bowl can move away from that pinch point.
28. Choose one long sink with two faucets
Image pending: No image is attached to this draft for idea 28 (image-28).
A long trough basin can give two people dedicated taps without requiring two separate bowls in a slim vanity. It works when wall length is the resource you have.
Compare the usable distance between taps and where each person stands. A generous overall basin length can still feel tight if the taps are close together.
Check the specified drain arrangement and allow for plumbing under the basin. If the aisle is too tight for two people to pass, prioritize one comfortable station.
- Check tap spacing from center to center.
- Compare basin depth at both faucet positions.
- Allow room to operate both sets of handles.
- Mark the standing area and the route past it.
29. Cover the cabinet base with a recessed toe kick
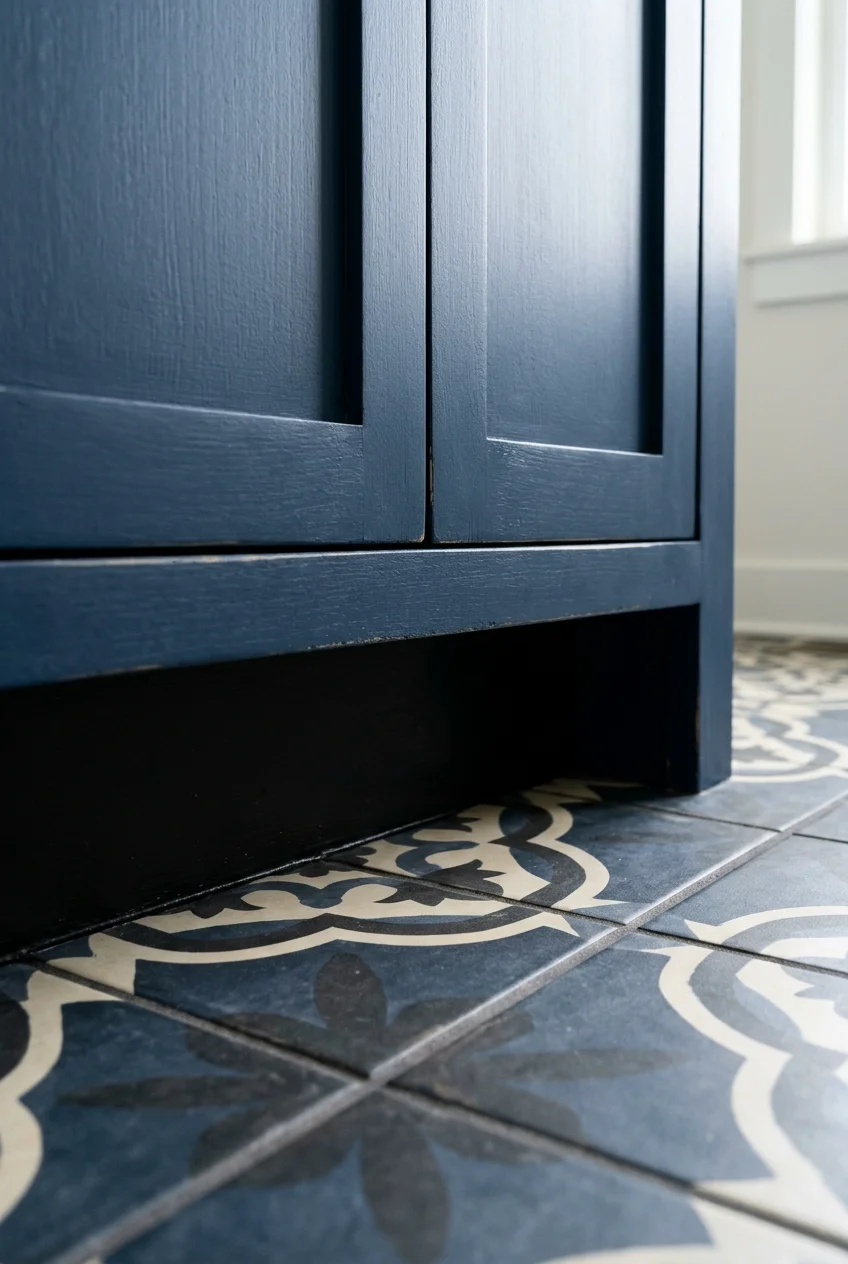
A recessed kick lets you stand close to the basin while keeping full cabinet doors and enclosed storage. It's useful where a floating vanity would cost too much capacity.
Check that the kick is deep enough for your shoes and that the doors clear the floor as they open. Pick a smooth surface underneath that wipes clean.
30. Switch to low-profile cabinet pulls
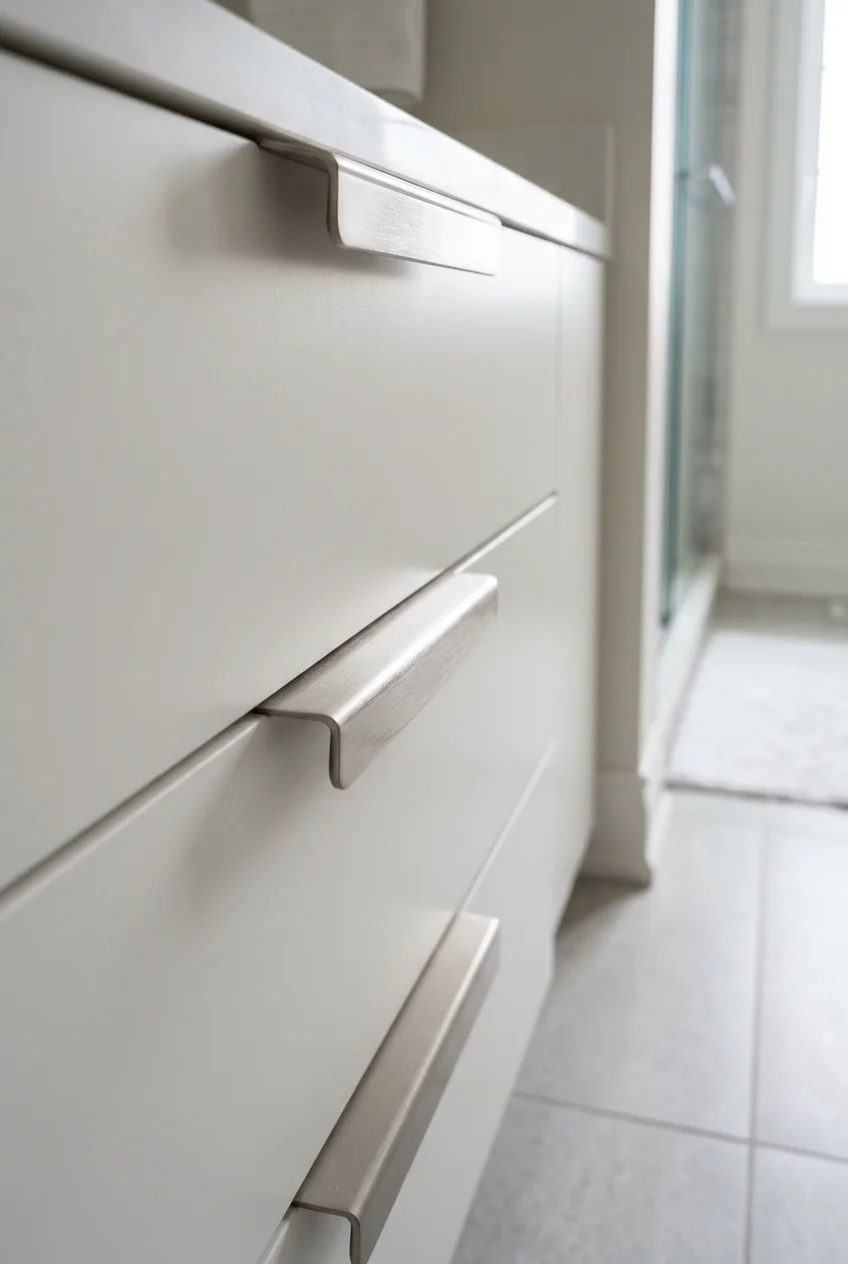
A small pull with a shallow projection makes sense where the cabinet is already the right size. Look for a finger grip that feels comfortable with damp hands.
On an existing cabinet, measure the screw spacing before ordering. Matching the holes avoids patching; a true routed finger pull is easiest to specify when replacing fronts.
Storage that stays out of the walkway
Look for depth inside the wall, along an unused end, or inside the vanity itself. Put the things you reach for daily in the easiest spot.
31. Recess the medicine cabinet into the wall
Image pending: No image is attached to this draft for idea 31 (image-31).
A mirrored cabinet can hide toiletries at eye level while staying close to the wall. Check the available cavity before you order a recessed model.
Ask the installer to check pipes, wiring and studs where the box will go. Include the mirror door swing when you lay out nearby lights and walls.
Adjust the shelves around the things you actually store. A tall daily bottle may deserve one generous bay, with smaller shelves for toothpaste and skin care.
32. Stack towels in a shallow linen tower
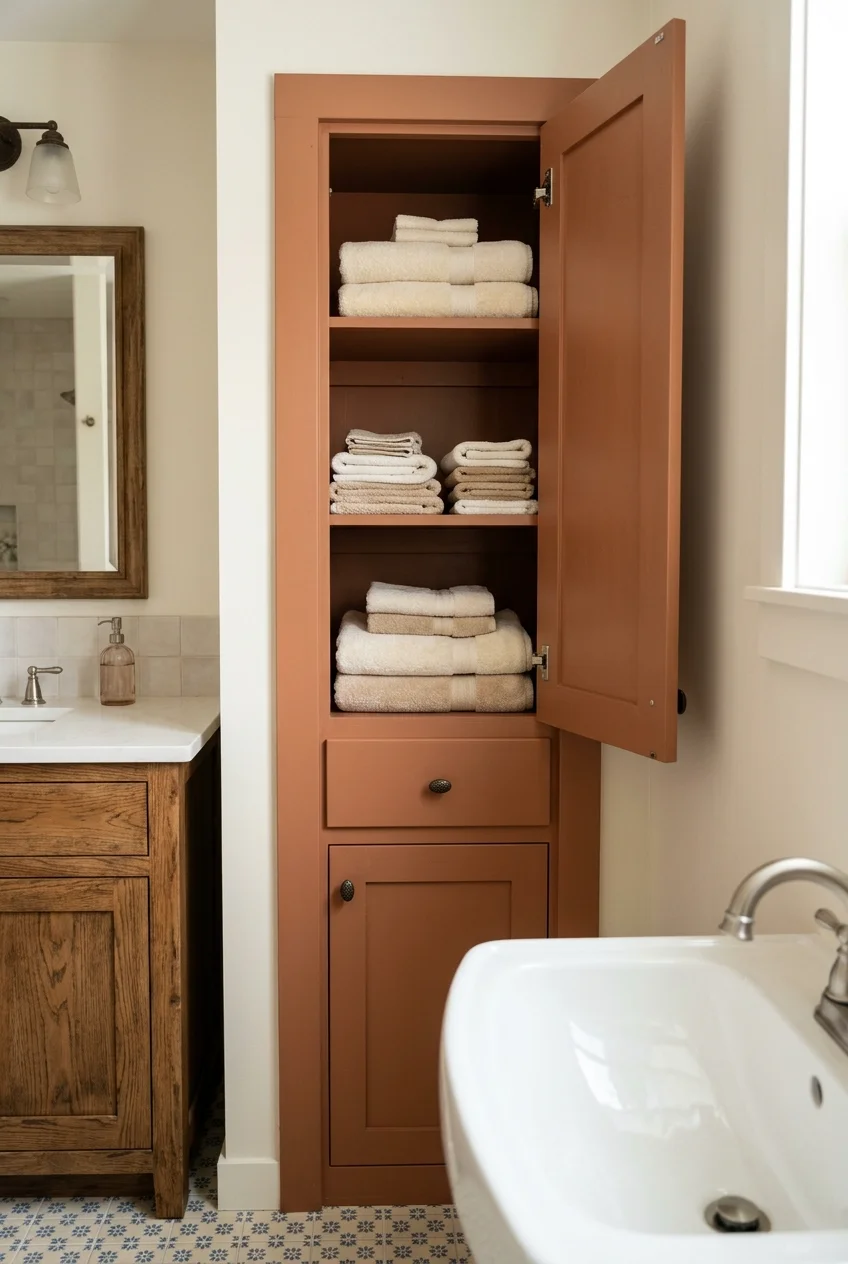
A tall, shallow cabinet can use the last few inches of wall beside the vanity. Fold your regular towels first to determine how deep the shelves need to be.
Check the door swing, toe space and mounting instructions. Adjustable shelves can hold towels at hand height with room higher up for the things you rarely reach for.
Find more small bathroom storage ideas if wall length is limited. A slim tower works best when it takes over an existing recess or leaves the main aisle clear.
33. Put closed shelves above the toilet
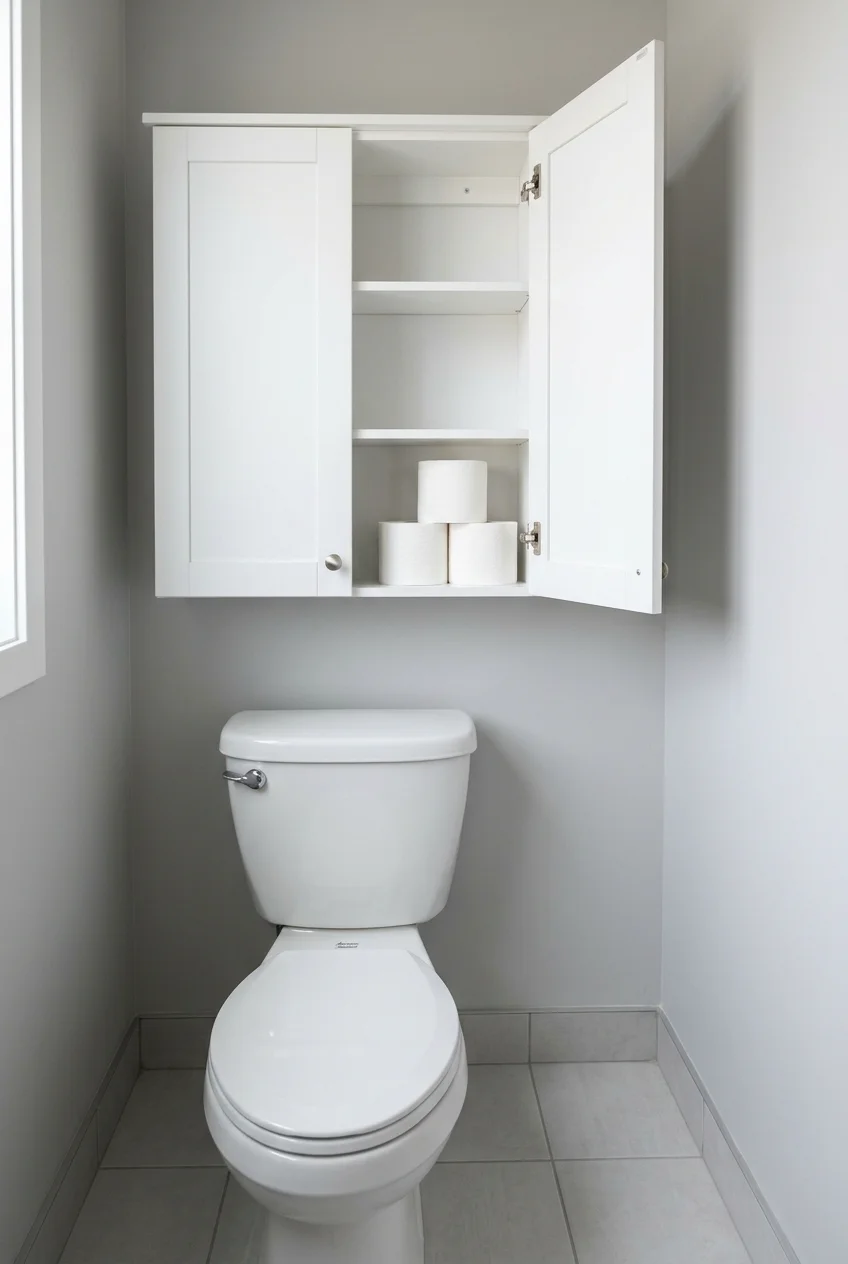
A shallow cabinet over the toilet keeps spare soap and paper out of the vanity. Set the lower edge high enough that standing up feels comfortable.
Check the door path and leave access to the toilet tank or flush plate. A cabinet with short, paired doors is worth comparing if the room is especially tight.
34. Fit a vertical niche for tall shower bottles
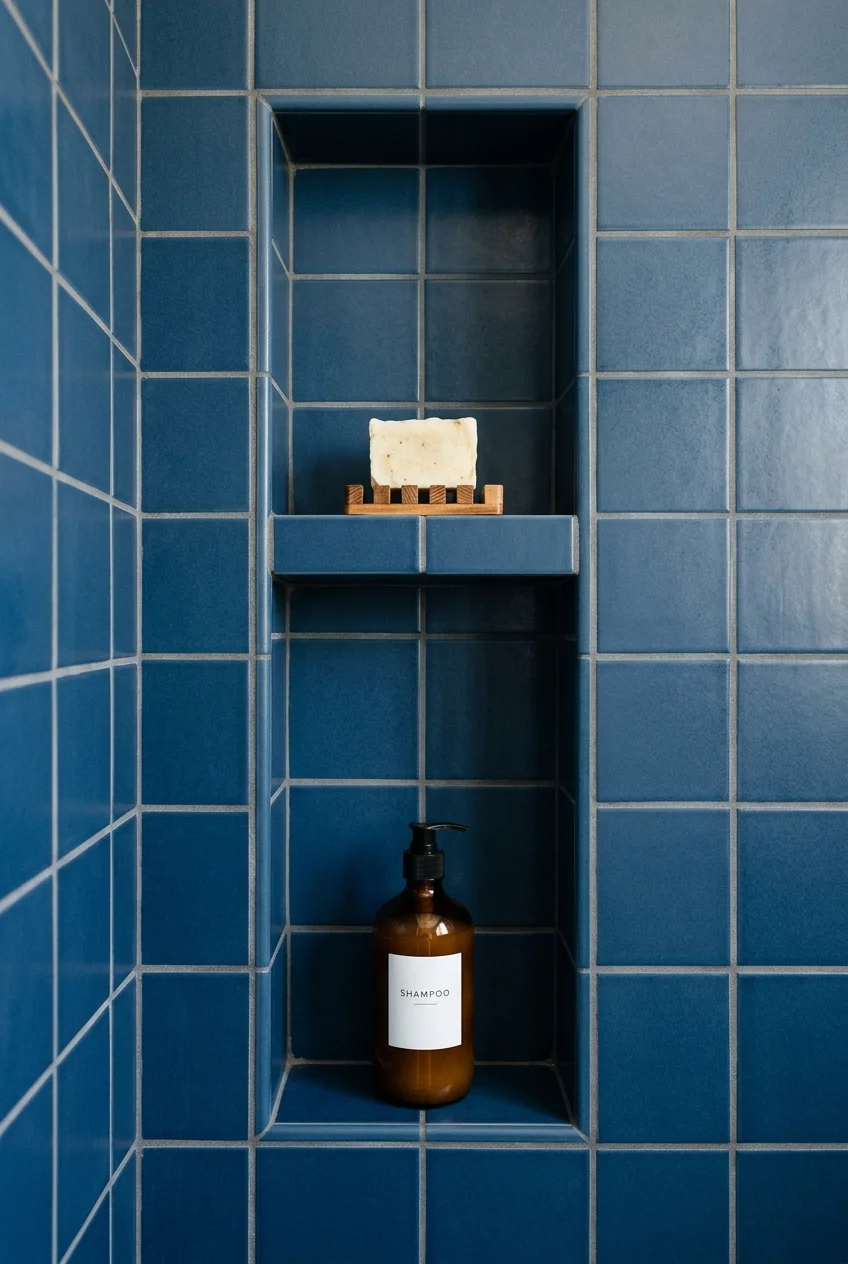
A tall niche organizes pump bottles on one shelf and smaller bars or razors above. Recessing it takes hard edges out of the narrow showering area.
Bring the tallest bottle to the layout discussion, including room to press its pump. Ask the installer to check the wall cavity, waterproofing and sill detail before cutting.
Coordinate the niche opening with the tile grid. Its corners will look cleaner when the surrounding joints land deliberately and the shelf has no awkward little slivers.
Practical tip Place the opening where you can reach it without leaning across the spray. Mock up shelf heights from the finished shower floor before tile begins.
35. Use a removable tray below the sink trap
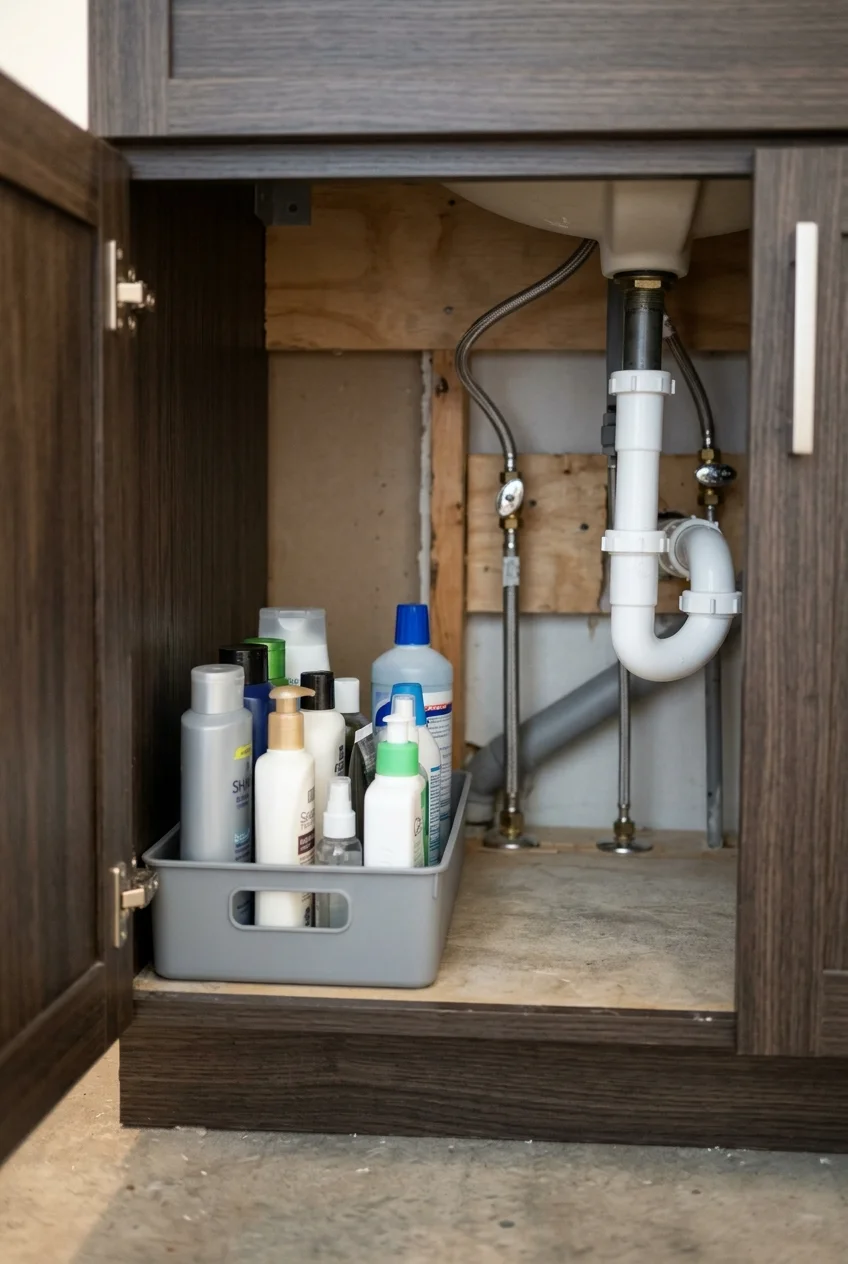
In an existing vanity, a low tray can keep spare bottles accessible around the drain. Pick a size that lifts out without pulling against the plumbing.
Measure from the floor of the cabinet to the lowest part of the trap. Leave shutoff handles clear, and keep frequently used items at the front.
36. Add a fold-down hamper front to the vanity end
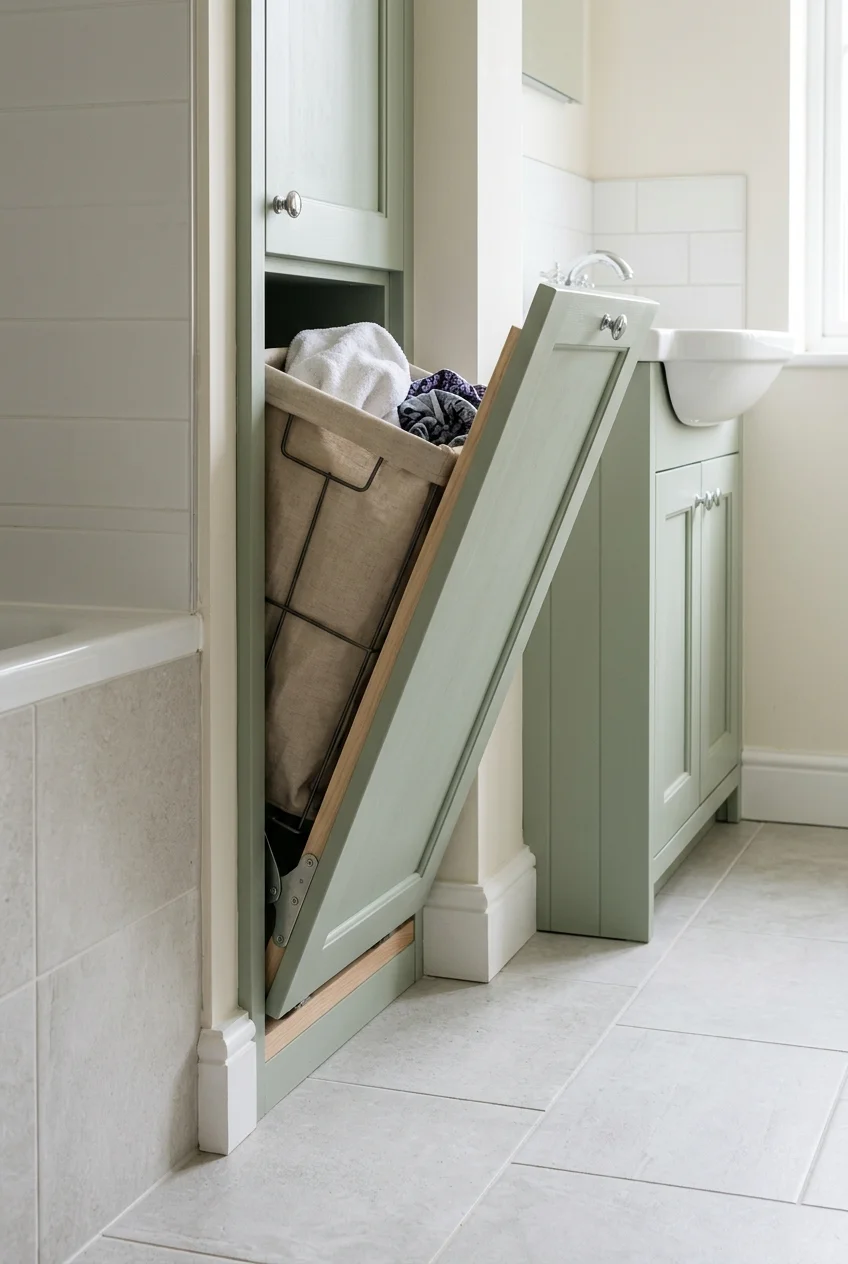
A tilt-out compartment uses a single cabinet bay to collect laundry without a basket in the aisle. It helps when towels always pile up beside the shower.
Check the open door's sweep and the capacity of the insert. A removable, ventilated bag makes it easier to carry laundry and let the cabinet air.
If the room stays damp, hang wet towels to dry before dropping them in. Keep this compartment separate from clean linens and leave the sink plumbing accessible.
37. Hang a hand towel beside the sink without drilling
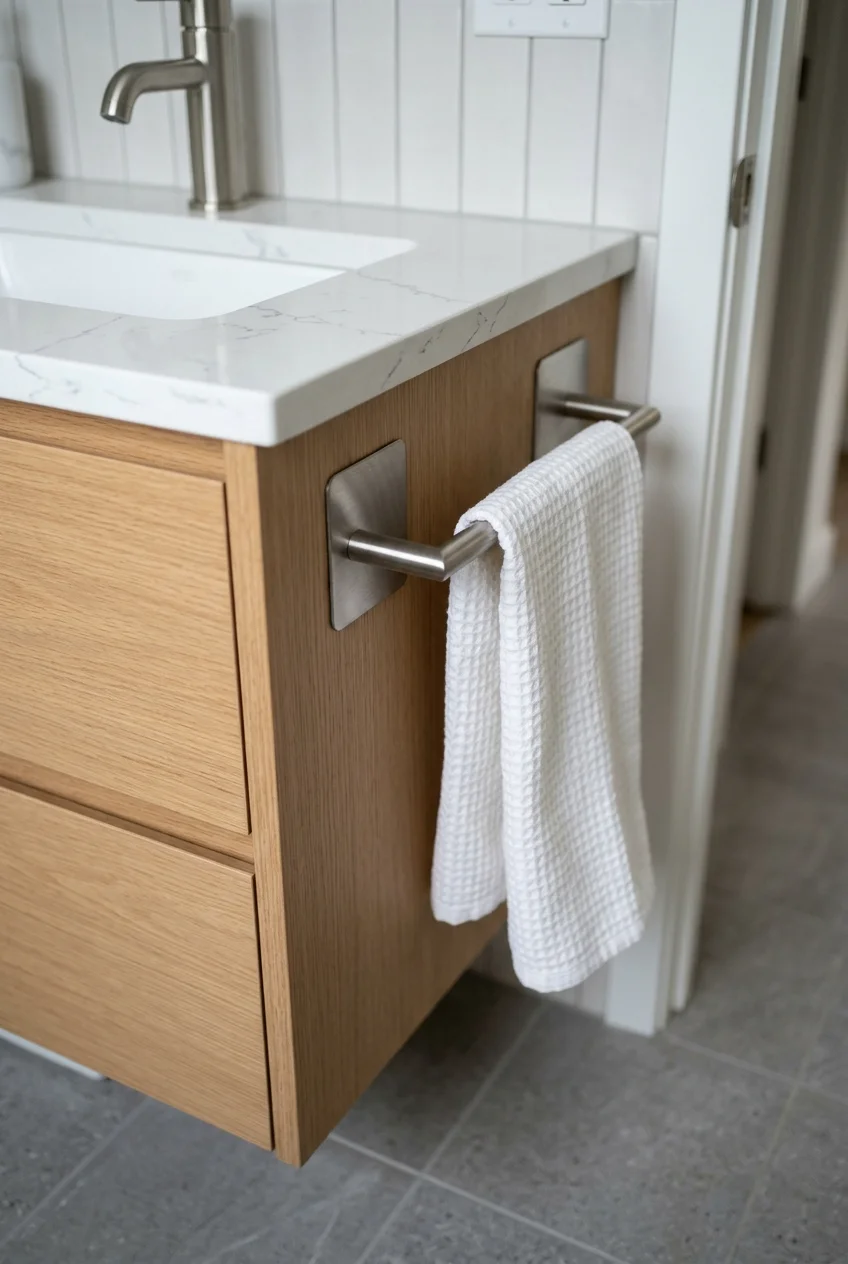
A short rail on a compatible side panel frees the wall between the vanity and the entry. Lay a towel against that spot to test its reach.
A Command satin nickel towel bar uses adhesive mounting on compatible surfaces. Check the package directions and make sure the towel clears the open vanity door.
38. Build a recessed shelf beside the sink
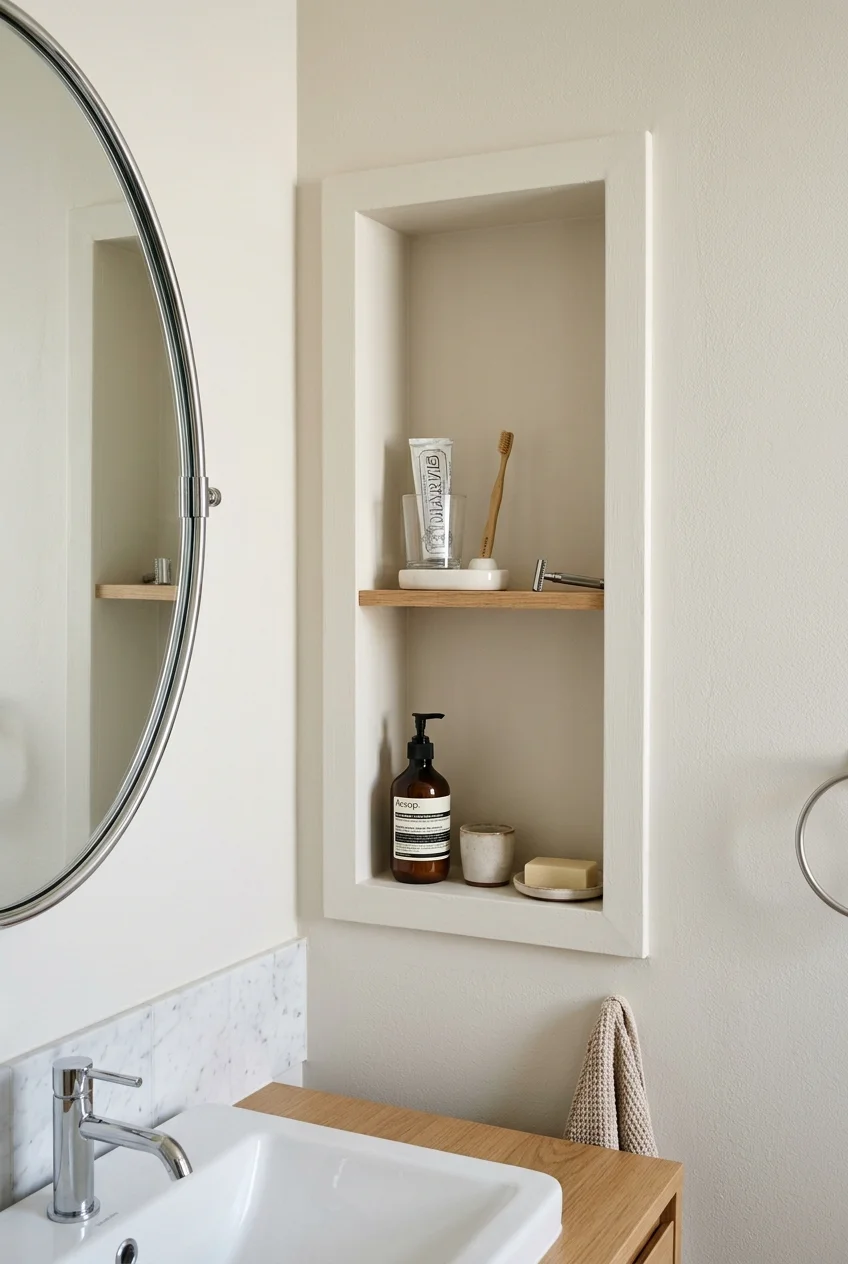
A recess beside the sink gives daily items somewhere to land without a ledge projecting into the aisle. Use one shelf for products and leave space for taller bottles.
Ask what runs through the wall before committing. Where a cavity is available, align the recess with a mirror edge or grout joint so it looks planned.
39. Put bath towels on the back of the door
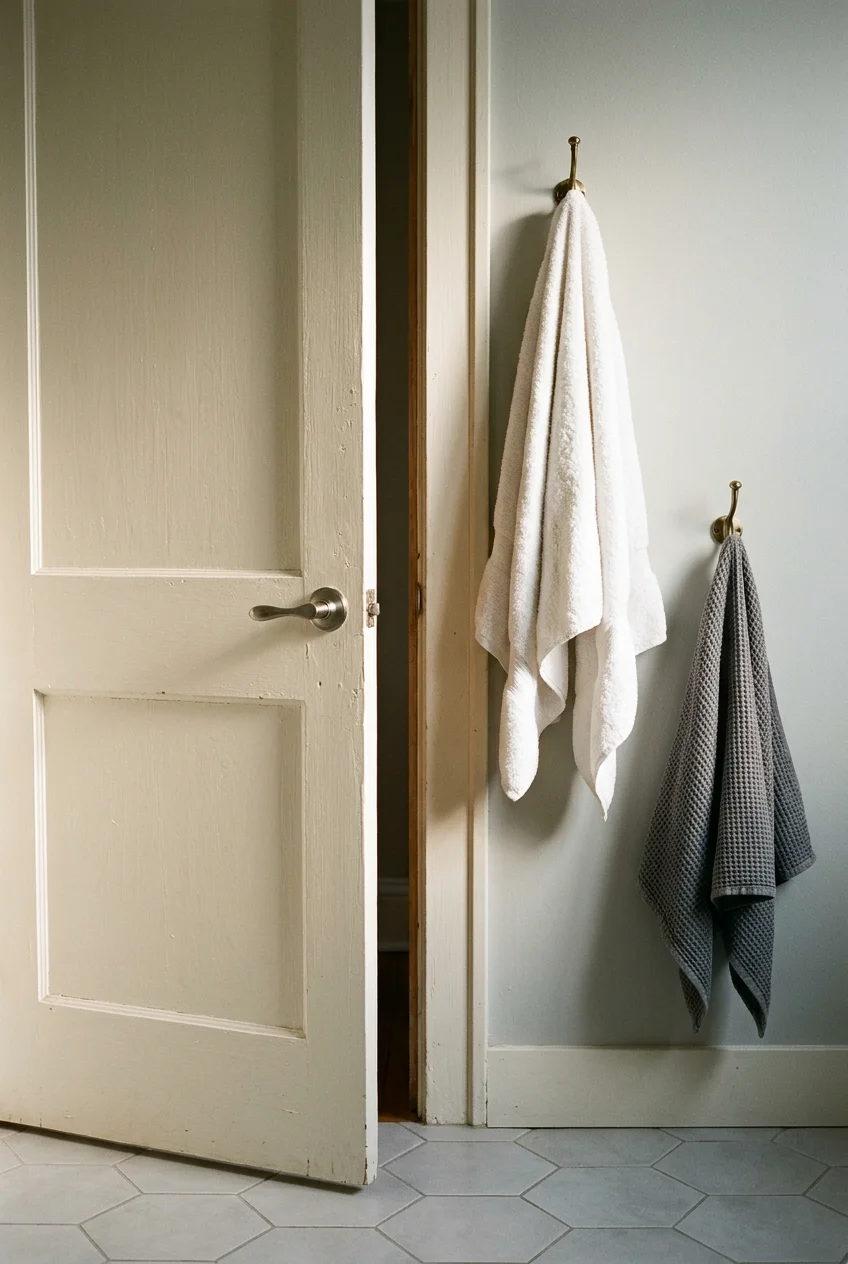
Two hooks at different heights can turn an unused door face into a drying spot. Separate the towels so they hang freely and stay clear of the floor.
Check the gap behind the open door with towels in place. Choose hardware suited to the door construction and locate it where towels clear the handle and stop.
40. Give the vanity a plumbing-shaped top drawer
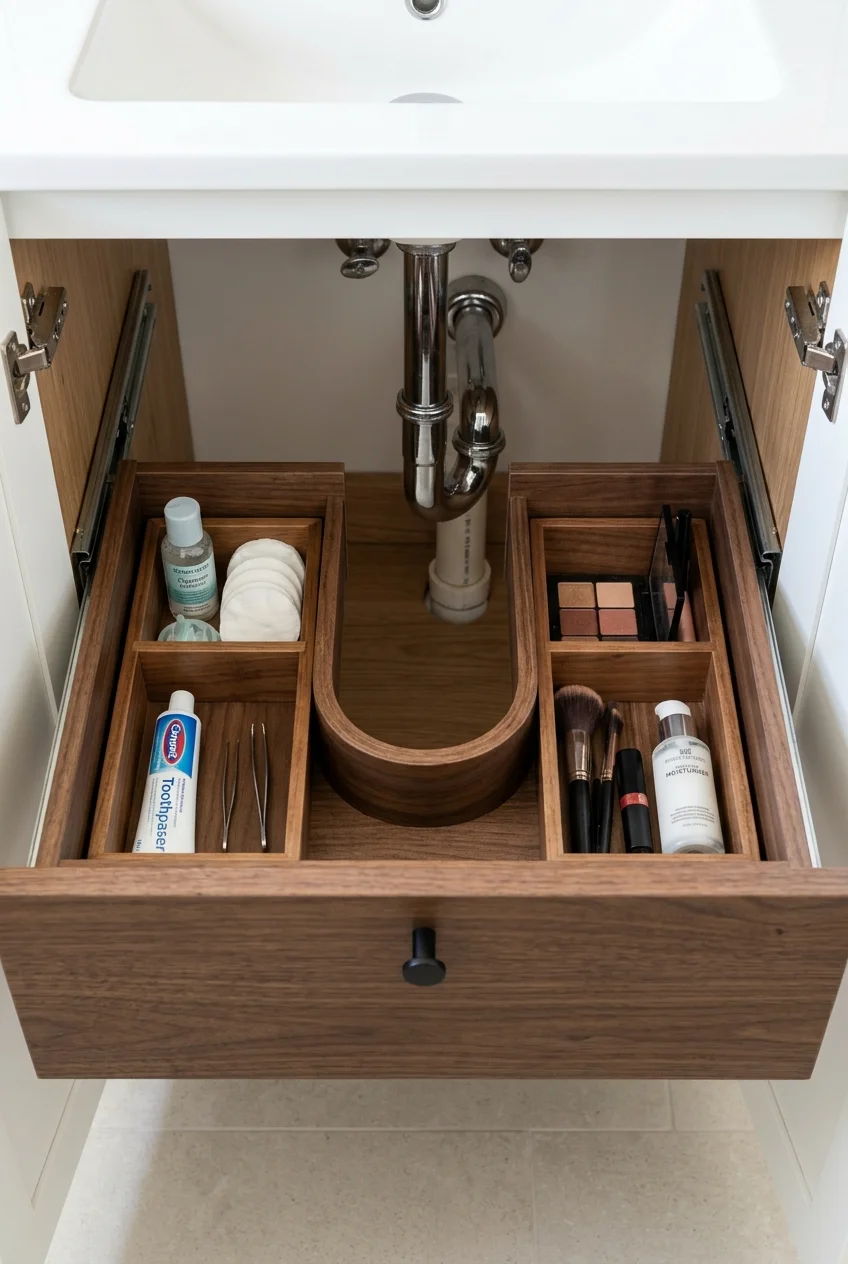
A U-shaped top drawer lets you reach toothpaste and brushes near the basin while making space for the drain. Look at its usable depth around the cutout.
Match cabinet drawings to the installed trap and shutoffs. If plumbing projects where a drawer back needs to move, a false front with deeper drawers below may work better.
Tile, paint and finishes that change the proportions
Use the narrow shape to decide where the strongest finish goes. A single short wall, a continuous floor or a deliberate half-height line can organize the room.
41. Put the boldest tile on the short wall
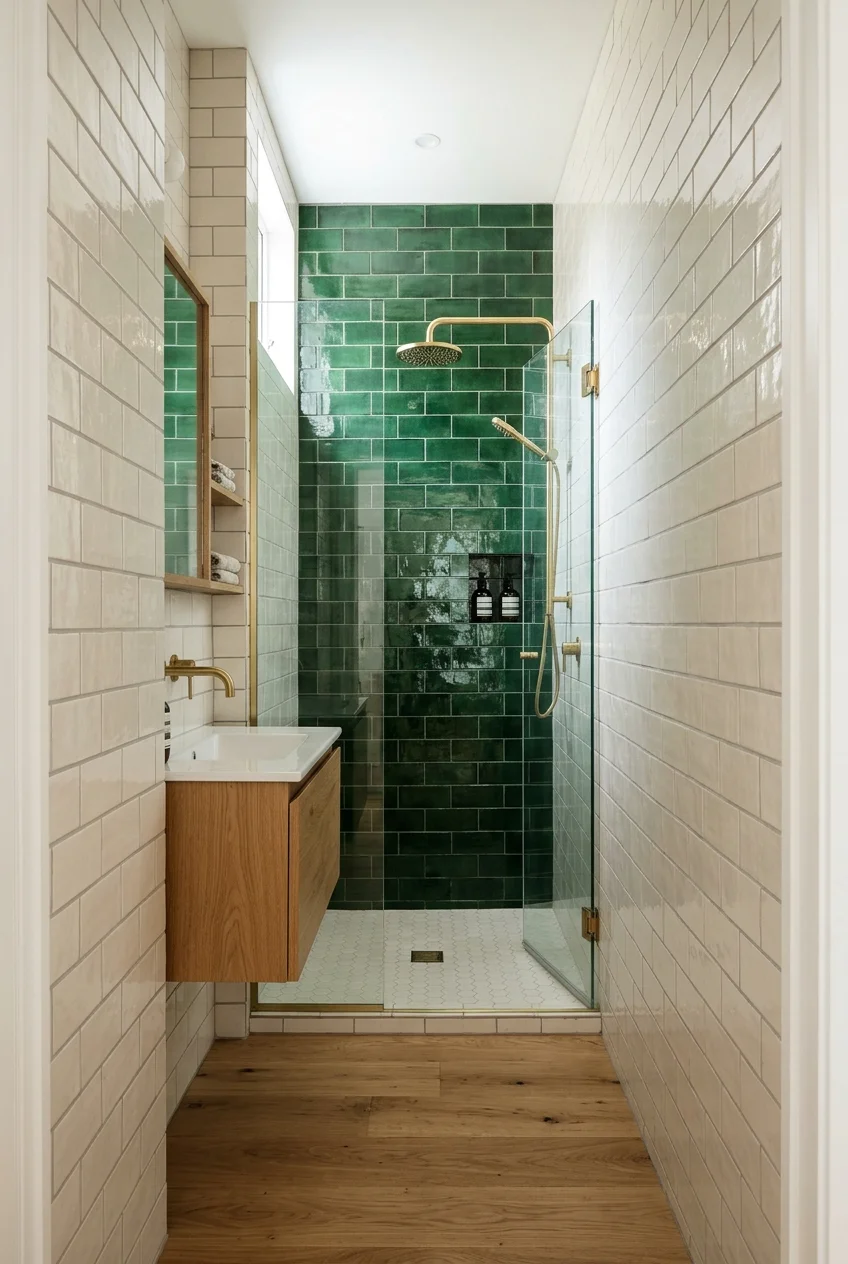
A strong color at the far end gives your eye somewhere to land. Behind glass, it can anchor the view from the doorway before you even step inside.
Keep the long walls quieter and repeat the accent once in a smaller detail. Use a sample under the actual lights to see how deep the color reads.
42. Emphasize the width with crosswise floor tile
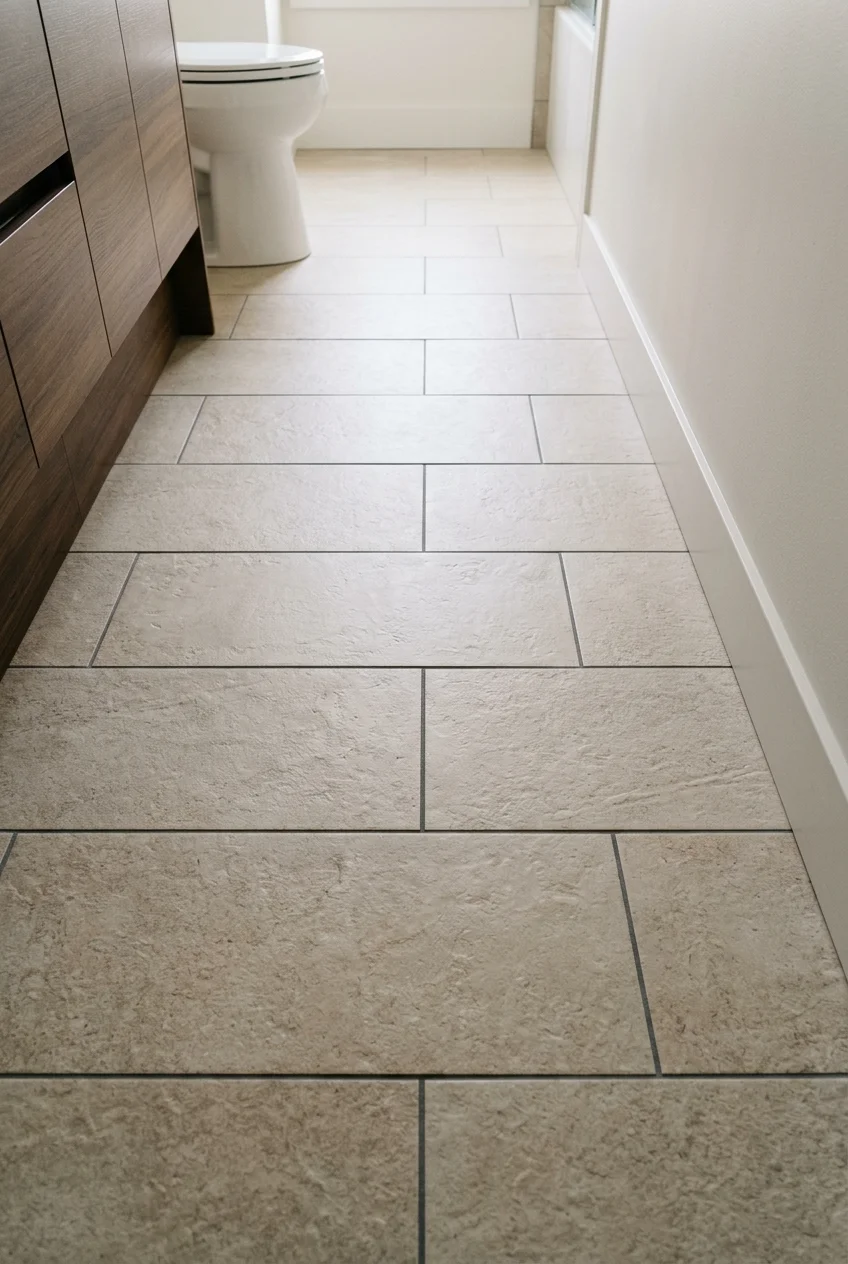
Set rectangular floor tile with its long edge across the aisle. The crosswise joints give the eye a reason to read the width as you enter.
Dry-lay several rows first and look at cuts along both long walls. Balance the edge pieces so the floor pattern makes sense well past the vanity.
43. Run a small patterned tile down the main aisle
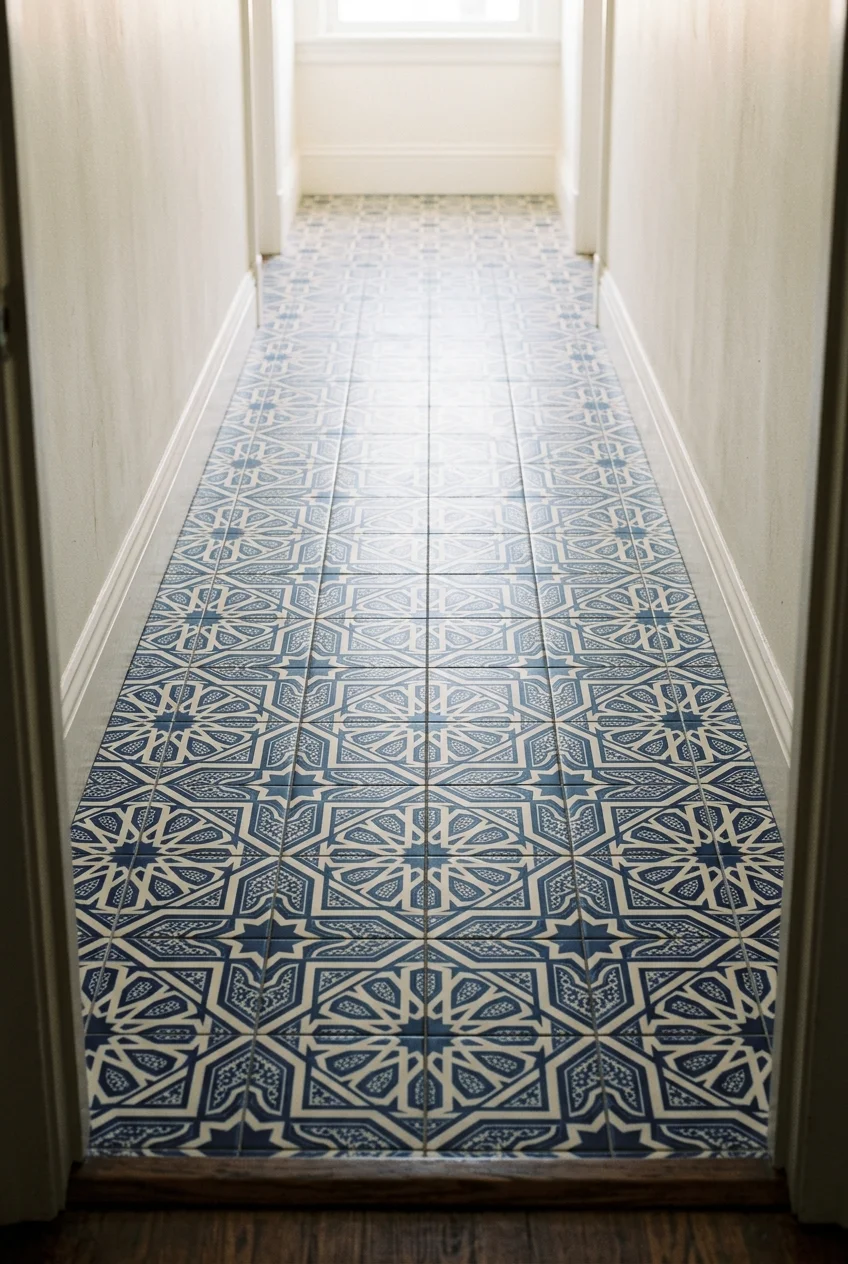
A repeating floor motif can carry a narrow room without busy walls. Pick a pattern scaled so several whole repeats fit across the visible strip.
Have the installer start from the most visible axis and plan the cuts under the vanity and at the threshold. Confirm the tile is rated for the floor.
44. Keep floor tones consistent through the shower
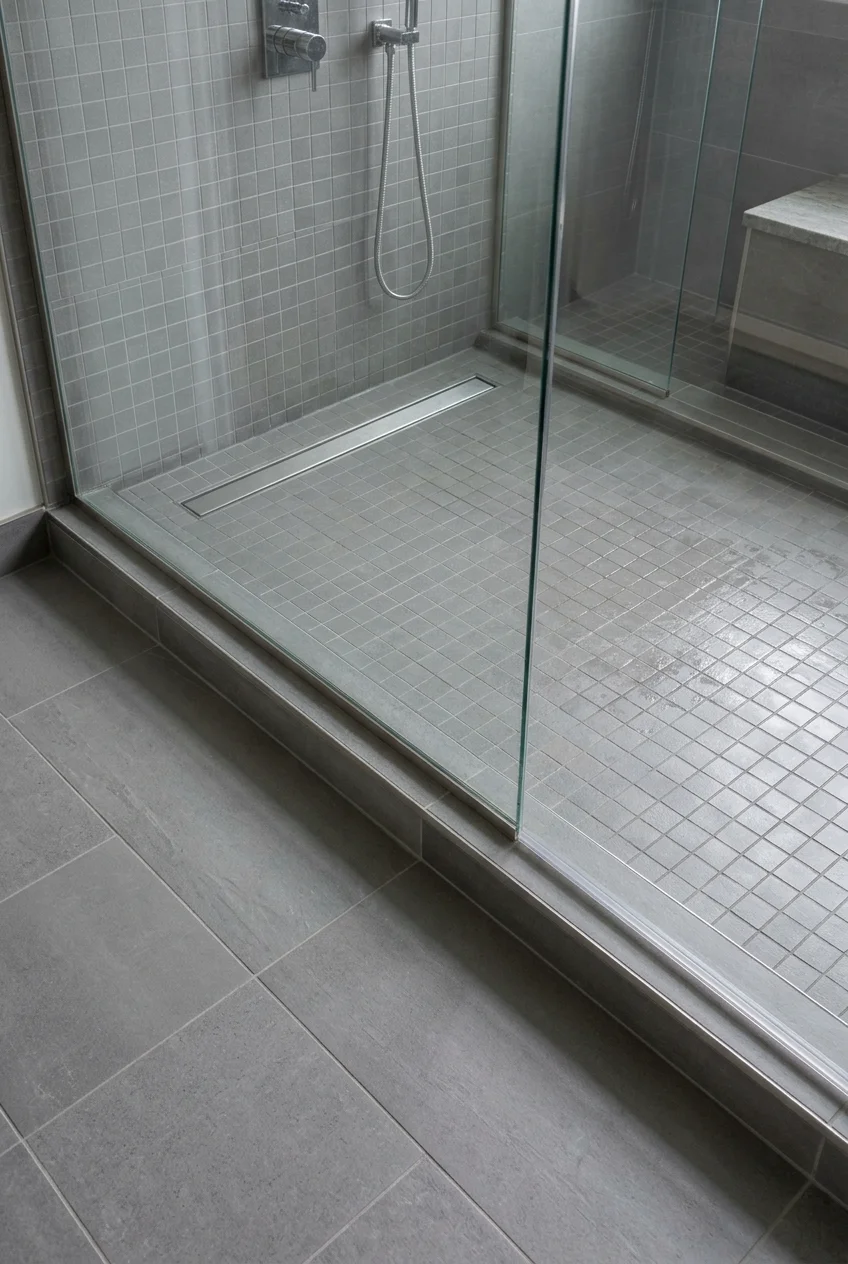
A similar floor color on either side of the glass makes the room read as one length. The shower tile can be smaller to suit its slope.
Check manufacturer guidance for shower-floor use as well as dry-floor use. Coordinate the grout shades and compare the finished samples together, especially when pieces come from different lines.
45. Use large wall tile with closely matched grout
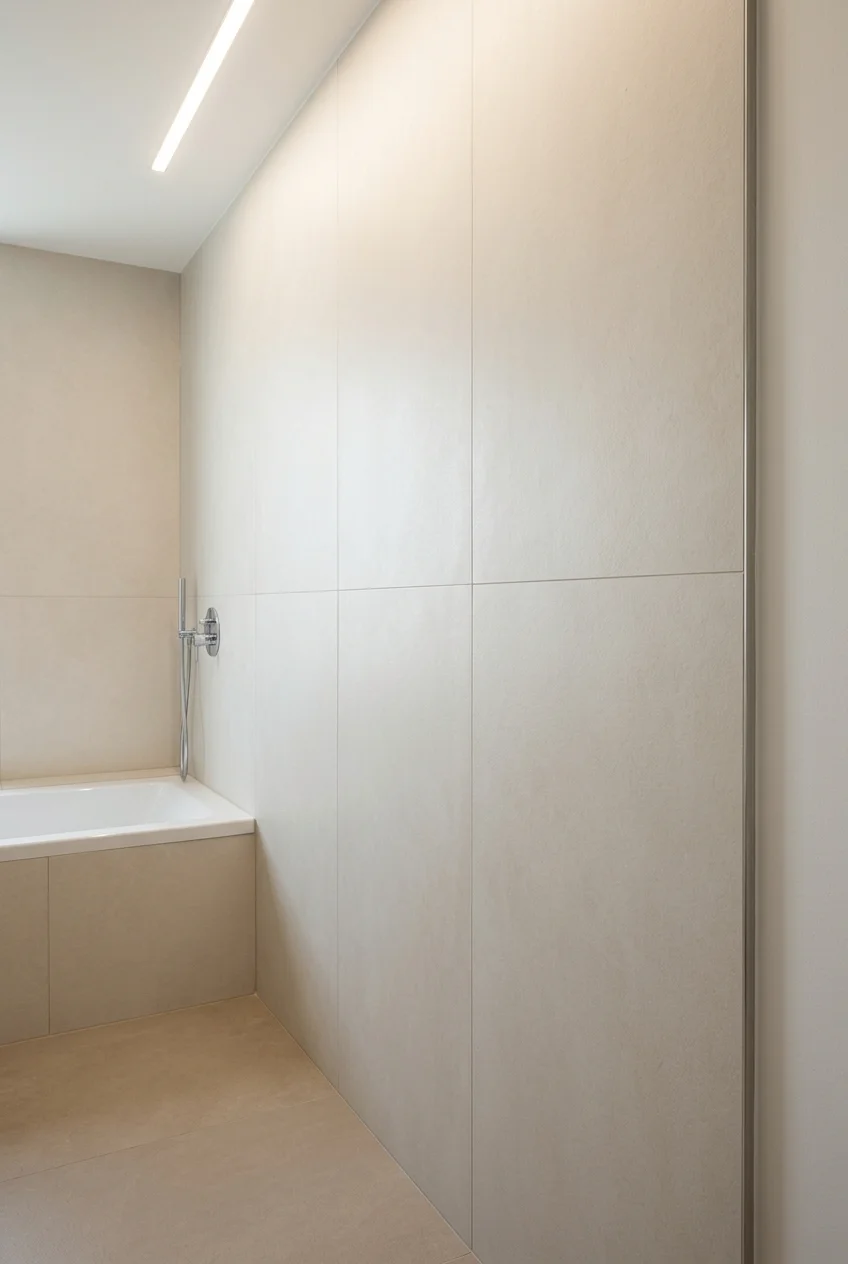
Fewer visible joints can quiet an uninterrupted wall beside the aisle. A grout close to the tile color keeps the surface from reading as a busy grid.
Confirm the wall can meet the tile's installation requirements. Sketch the layout at the doorway, niche and corners so large tiles finish with planned cuts and even joints.
46. Carry a half-height tile line around the room
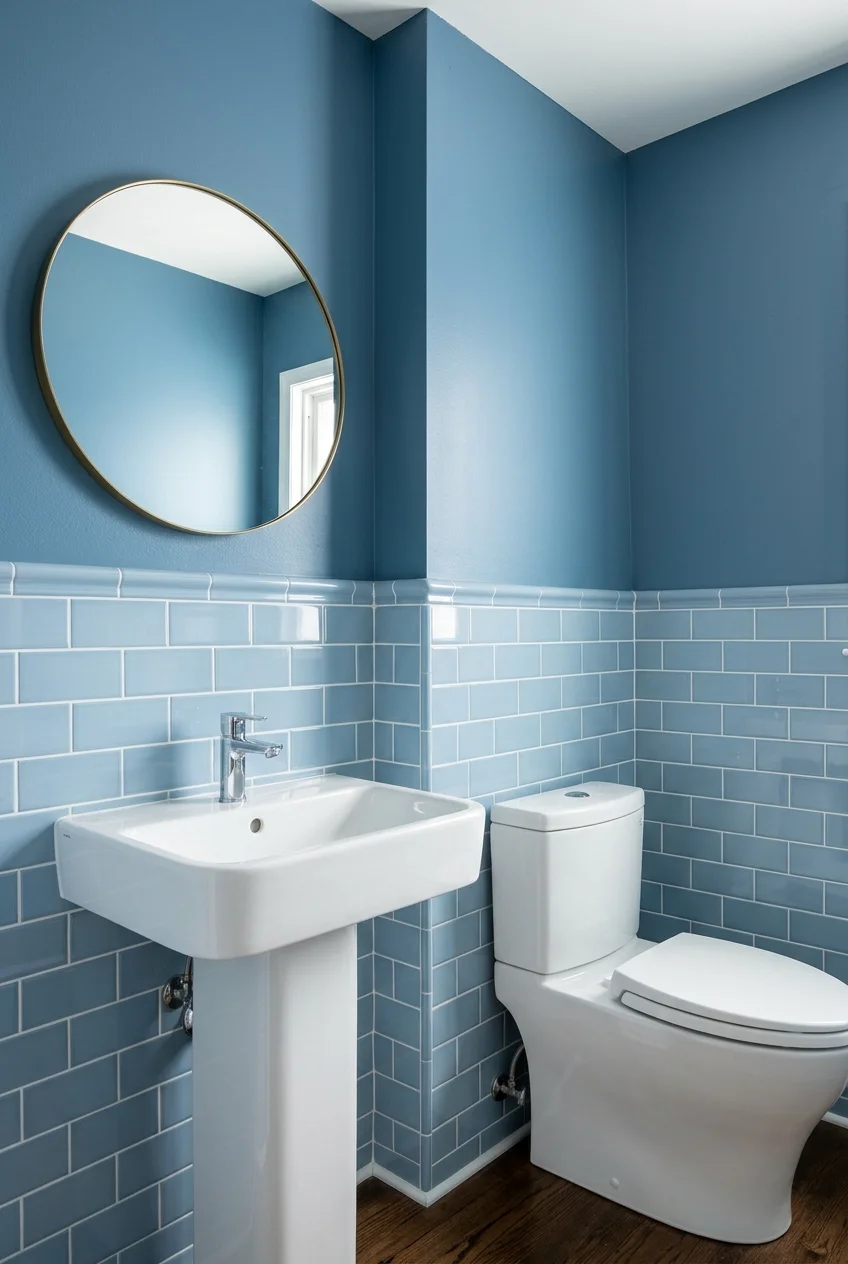
A continuous wainscot links the vanity and toilet zones and protects the wall behind them. Set its cap to relate to a feature already in the room.
Use the mirror, window sill or vanity backsplash as an alignment cue. Take the shower tile to the height your wet-area design needs and resolve the change at a corner.
47. Pair a darker vanity wall with a light opposite wall
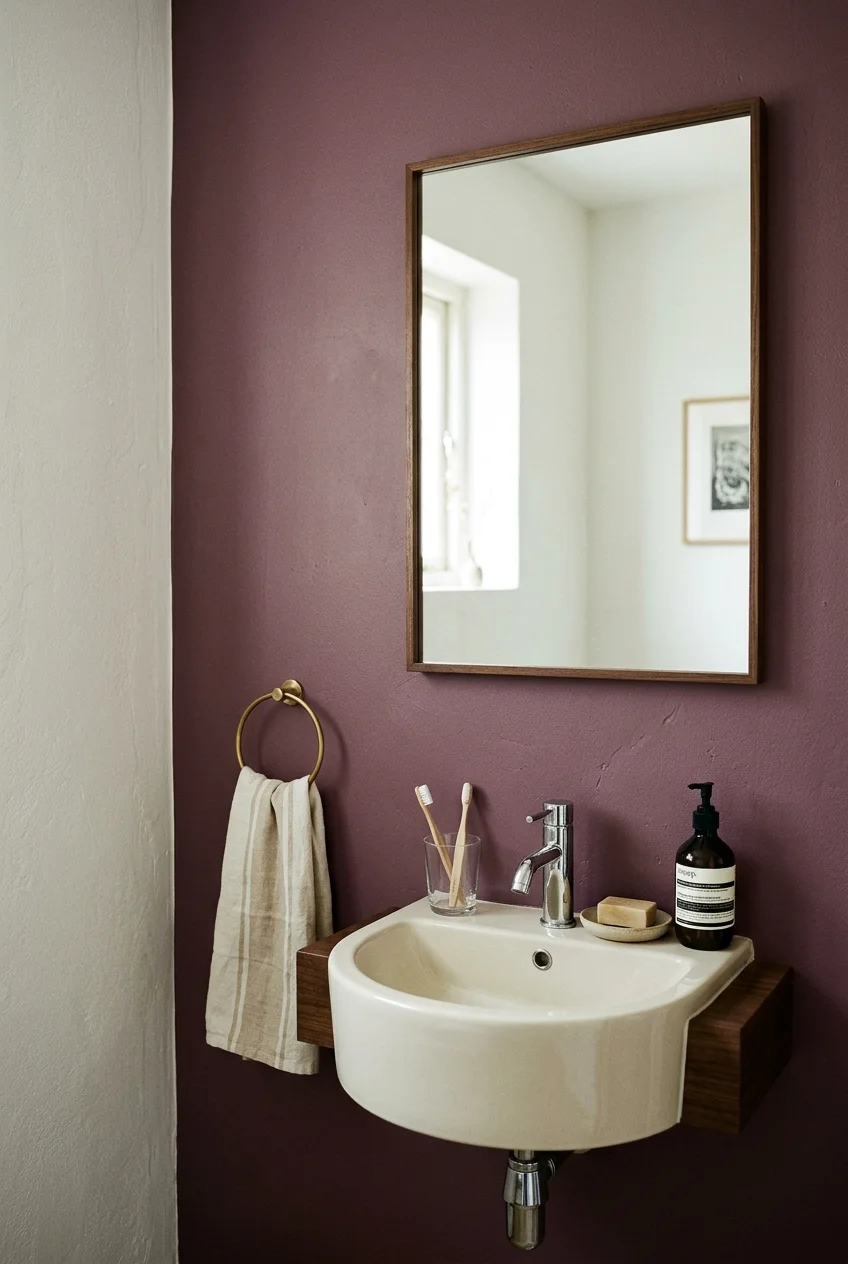
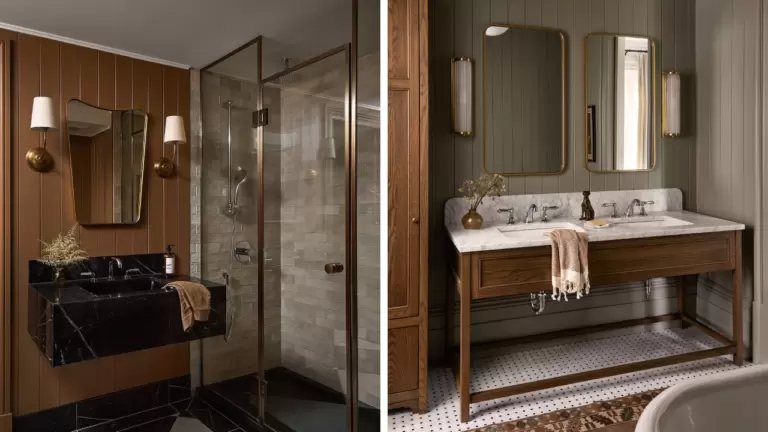
A deeper color behind the mirror can give the sink its own zone. A lighter finish opposite keeps that wall quiet in the mirror's reflection.
Hold large samples on both walls and switch on the actual task lights. Paint color can shift when it faces a strong reflection from tile or the mirror.
48. Wrap the walls and ceiling in one color
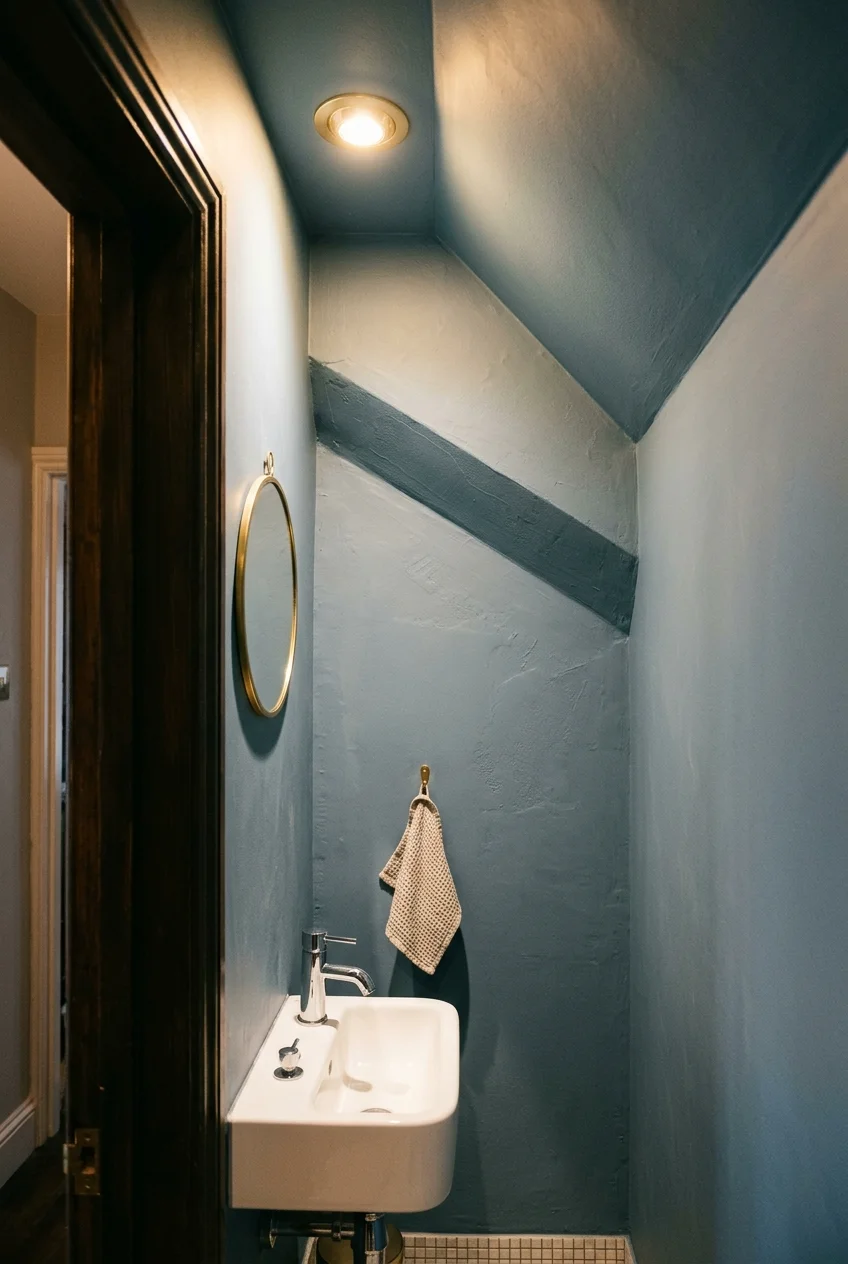
Bringing the same hue overhead can soften the line where the walls meet the ceiling. It works particularly well in a dry powder room with awkward angles.
Test the color high and low before painting. Choose finishes for the room conditions and let the basin, mirror and lighting supply contrast where you need it.
49. Build a slim tile backsplash that doubles as an accent strip
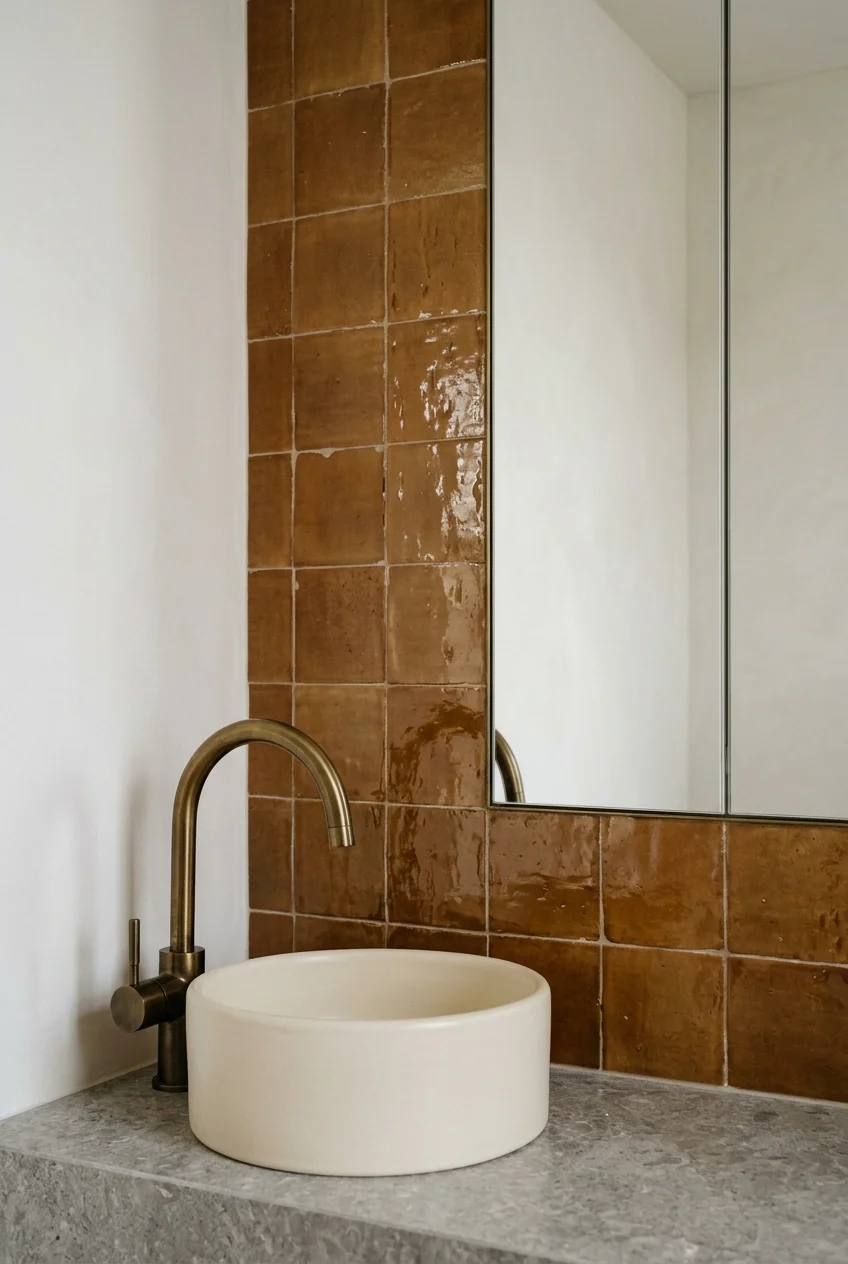
One narrow band behind the basin can protect the splash zone and give the sink a clear outline. Stop its edges deliberately at the counter ends.
Choose a height that accounts for faucet use and mirror placement. If the wall has an outlet or switch, coordinate the finish edge and faceplate before work starts.
50. Switch from a bulky tub skirt to a flush tiled apron
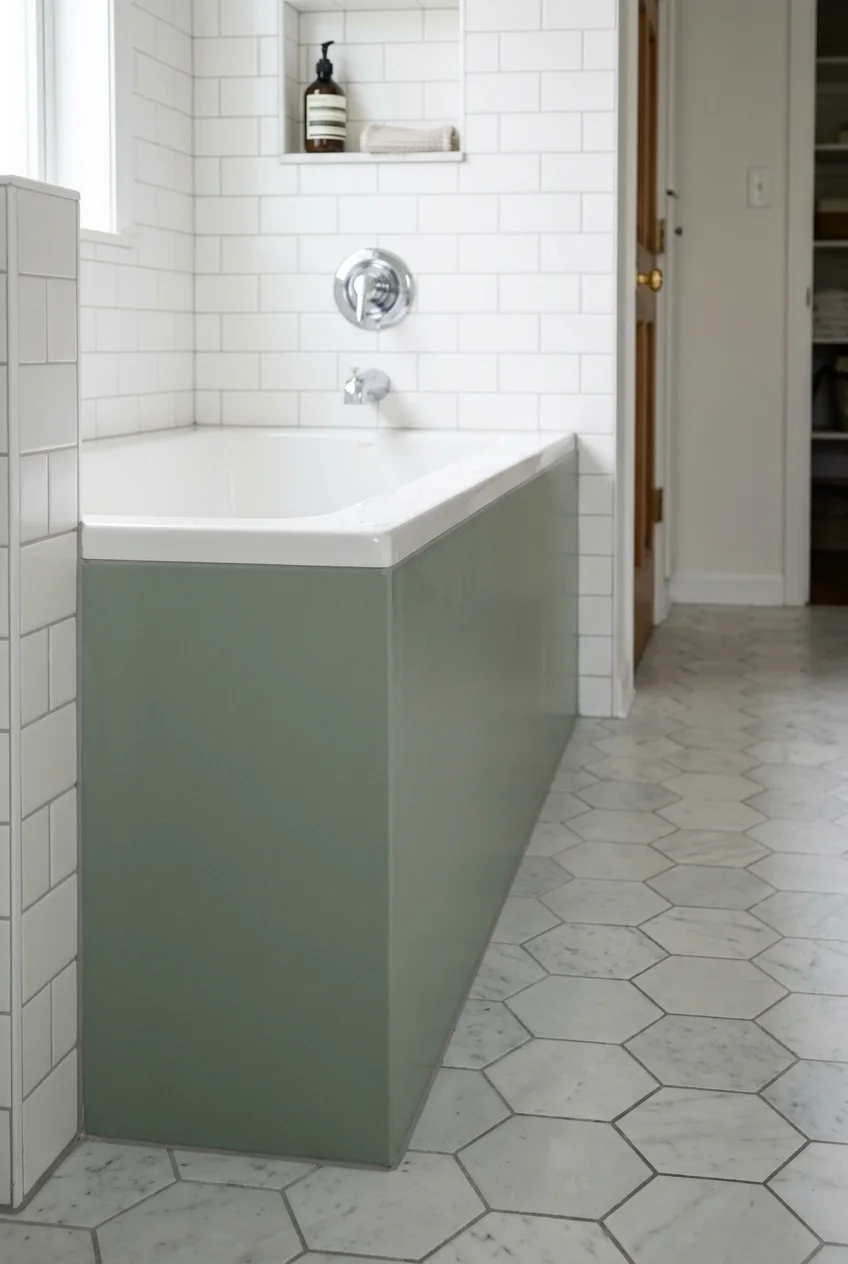
A tiled apron can give a built-in tub a custom edge while keeping the aisle line straight. Coordinate the face with the tub rim and floor.
Use an assembly suited to the tub and room conditions. Ask how the installer will retain service access where needed, especially if the tub has pumps or controls.
Lighting, mirrors and finishing touches for tight spaces
Once the layout feels right, look for small changes that improve the routine. A well-placed mirror or towel hook can solve a problem without moving a pipe.
51. Use a wide mirror over a single sink
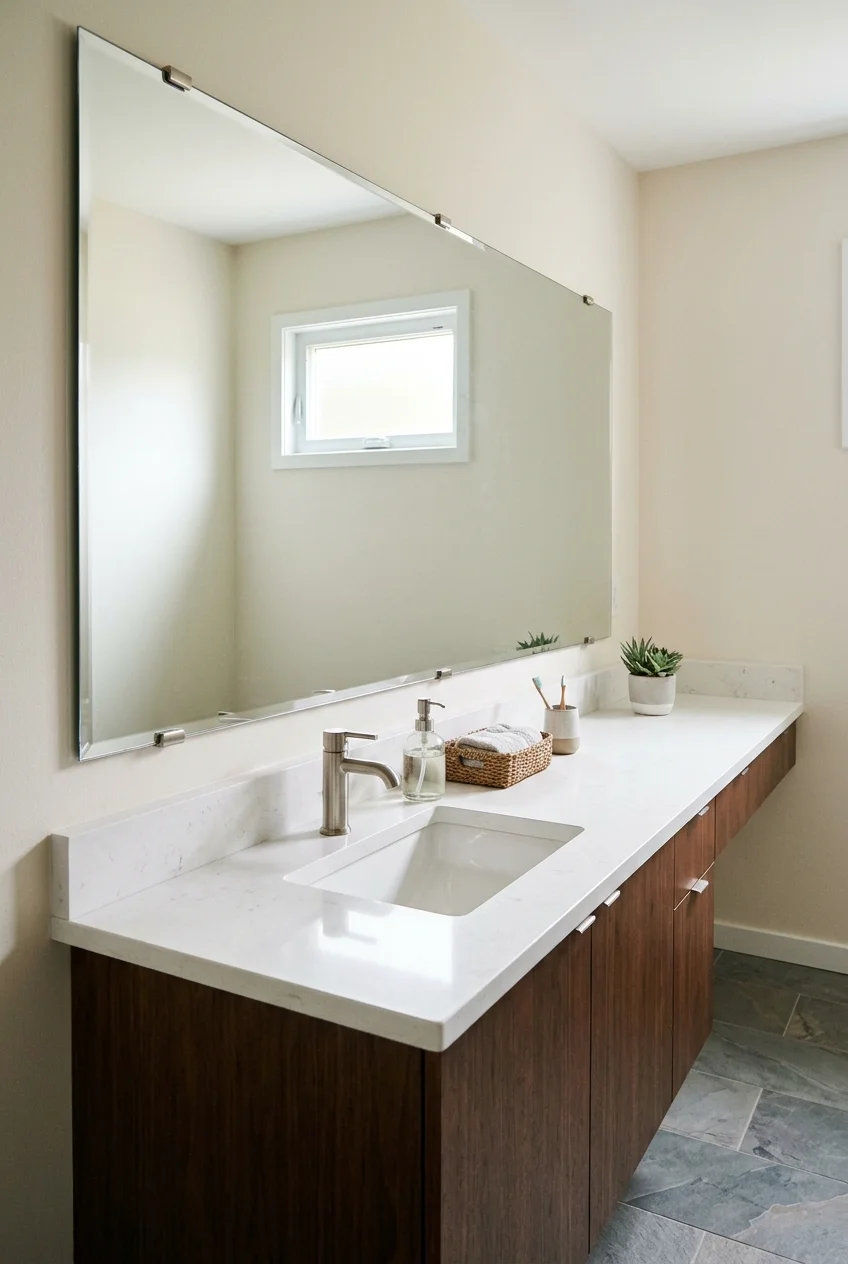
A wide mirror can make a long vanity feel unified and pick up light from another part of the room. Center it on the countertop or basin deliberately.
Check what the mirror will reflect as you enter. An open shower wall or a window can be a better view than a crowded shelf behind you.
52. Try a tall mirror on the narrow sink wall
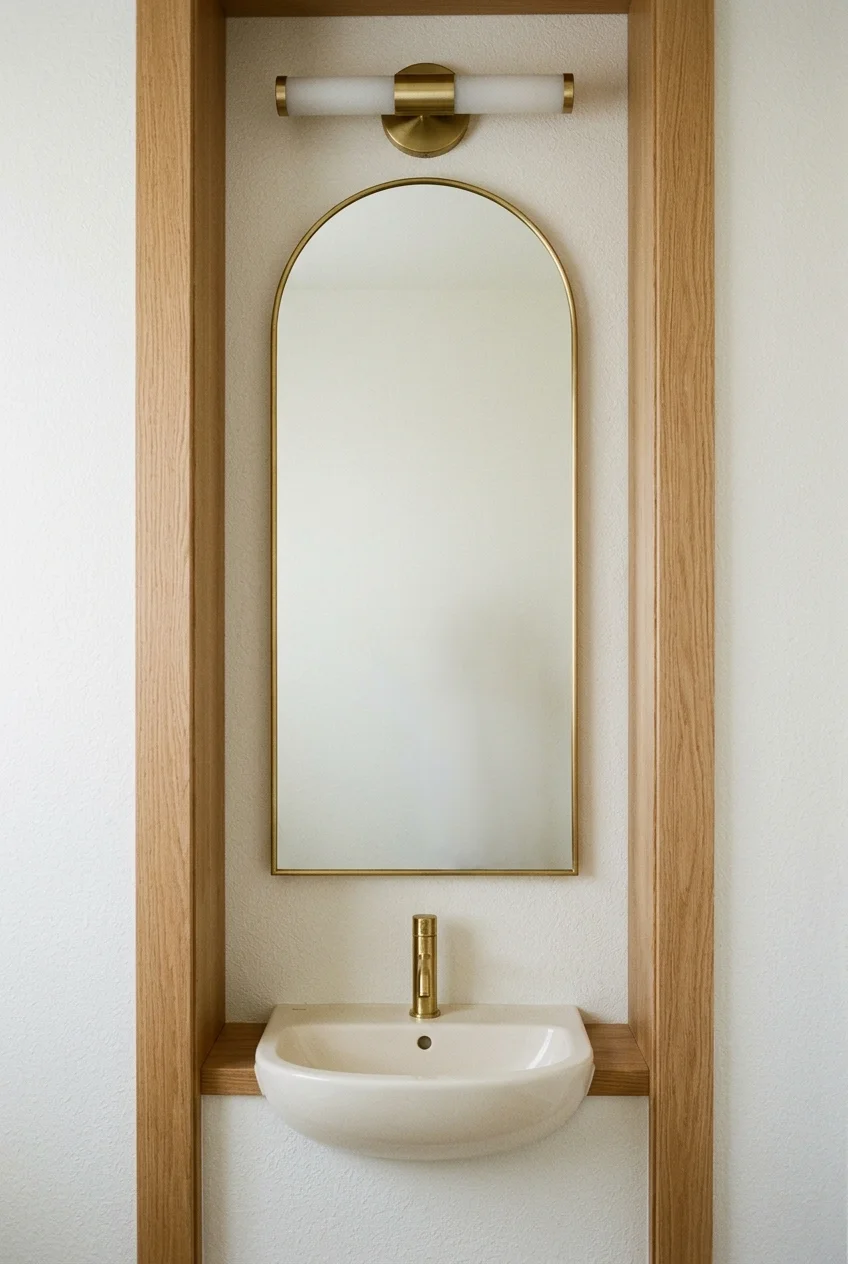
A vertical mirror suits a compact basin tucked into a slender wall. It puts useful reflection at different heights without crowding the sides of the sink.
Check the lowest and highest useful viewing points for your household. Leave space between the mirror and faucet for cleaning and between the mirror and light for installation.
53. Light the face from both sides of the mirror
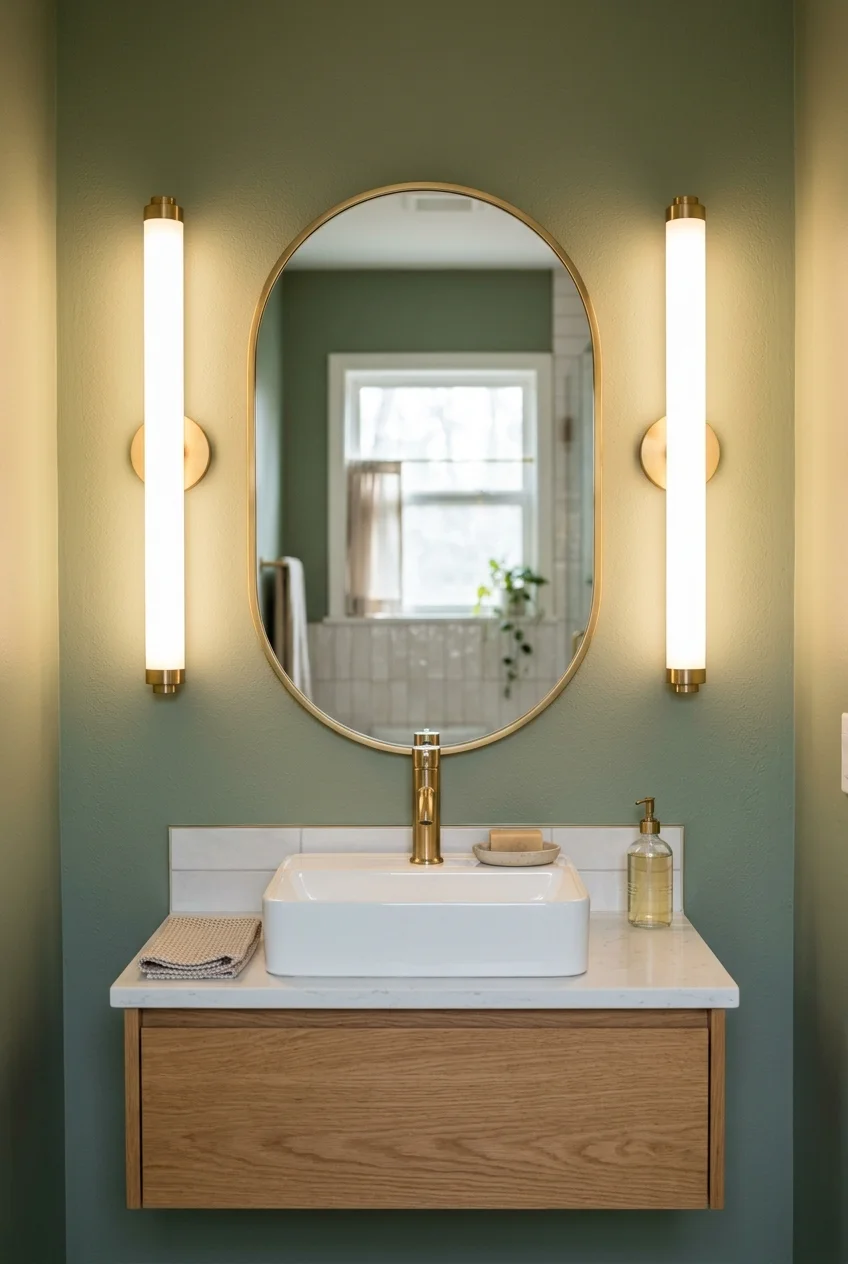
Two slim diffused sconces bring light toward your face from the sides. This arrangement suits a wall with enough space beside the mirror for both fixtures.
Mock up their positions at the heights people actually use. Have an electrician confirm fixture ratings, box locations and clearances before ordering a mirror that crowds the wall.
54. Put a slim light above the mirror when wall space is tight
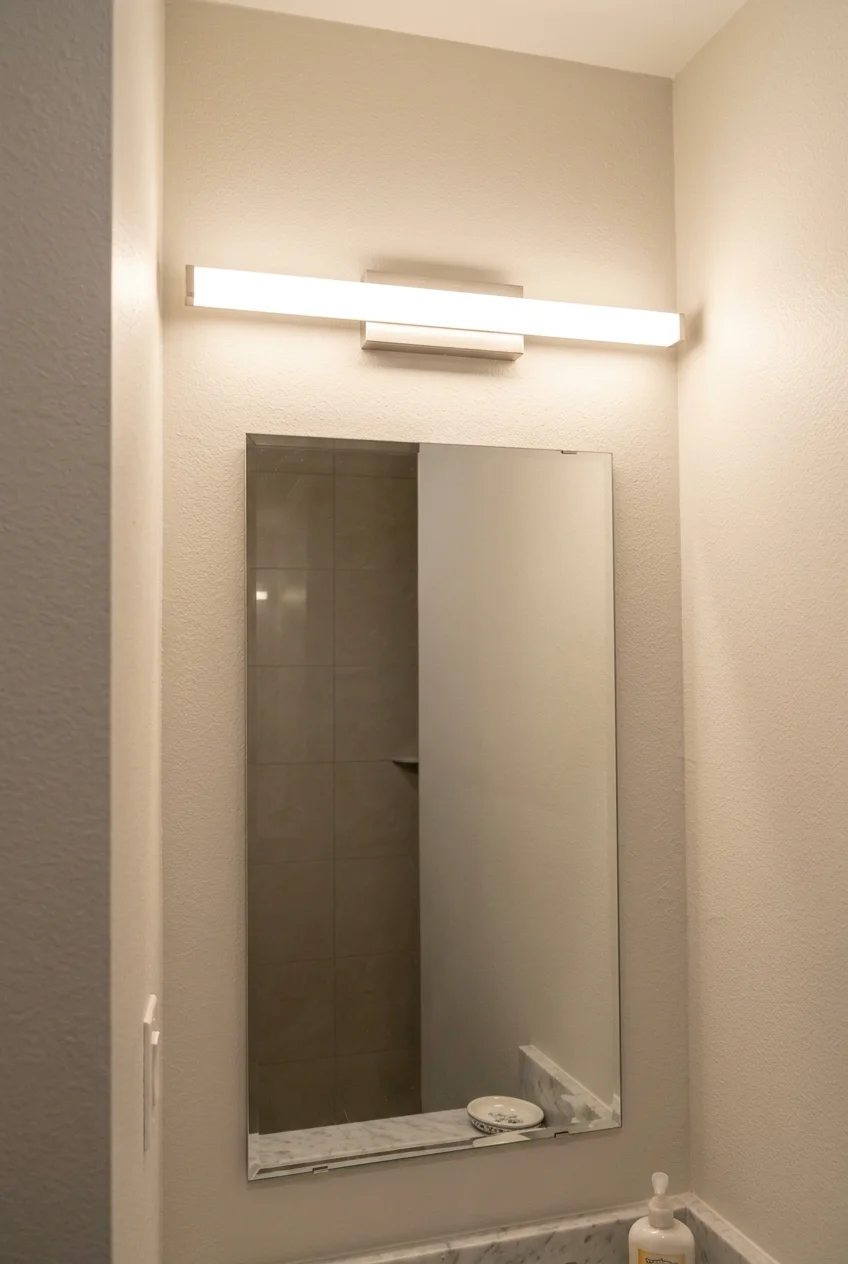
A diffused bar over the mirror preserves the narrow side margins. Choose a length that lights the standing spot evenly without overwhelming a small mirror.
Check how far the light projects and how it washes the face. Have your electrician compare fixture placement with the box and medicine cabinet door if there is one.
55. Add a dedicated ceiling light inside the shower
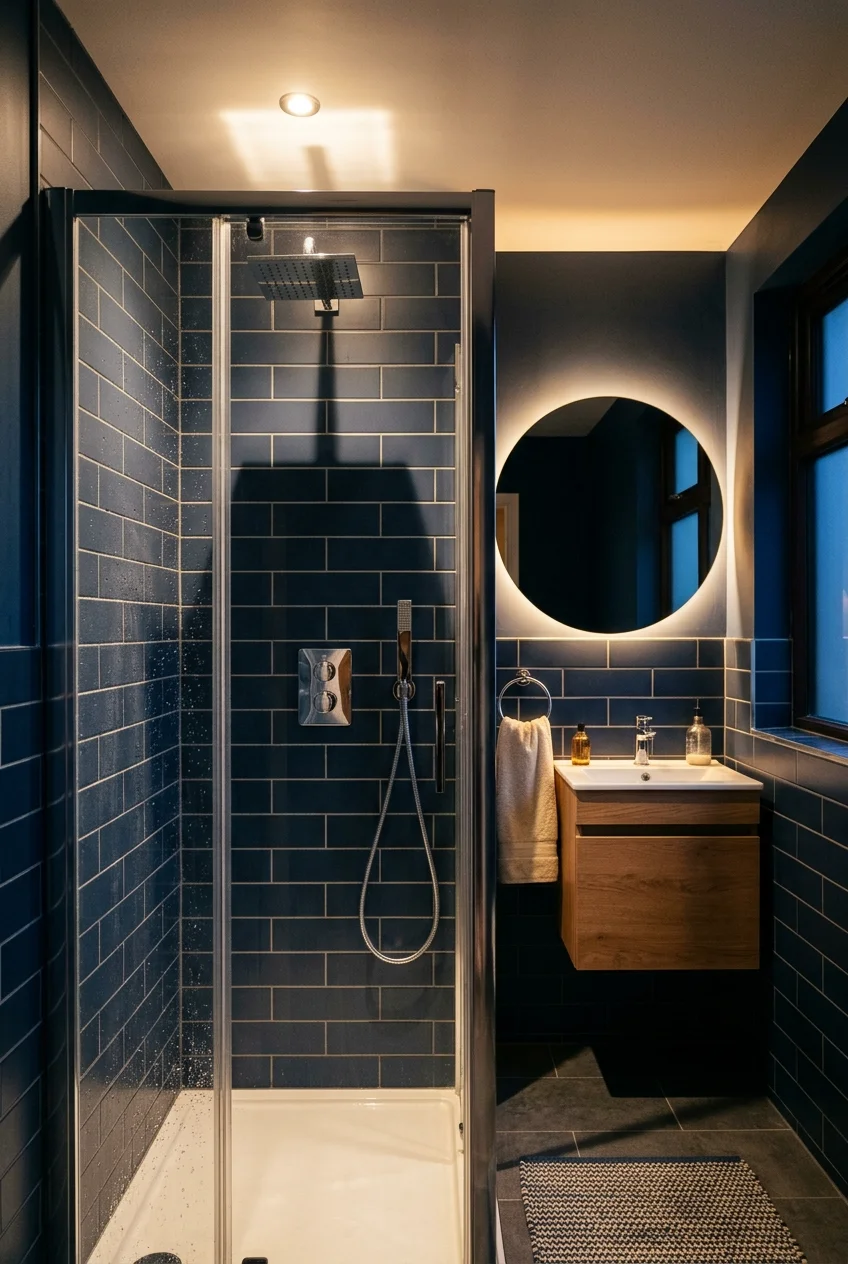
An enclosed shower can stay dim even when the sink is bright. A dedicated light helps you see the floor, shelves and controls at the far end.
Ask an electrician to choose a fixture listed for the location and confirm the required protection. A compact wet-location downlight is one option for a spray-exposed ceiling.
56. Filter daylight through a privacy-glazed window
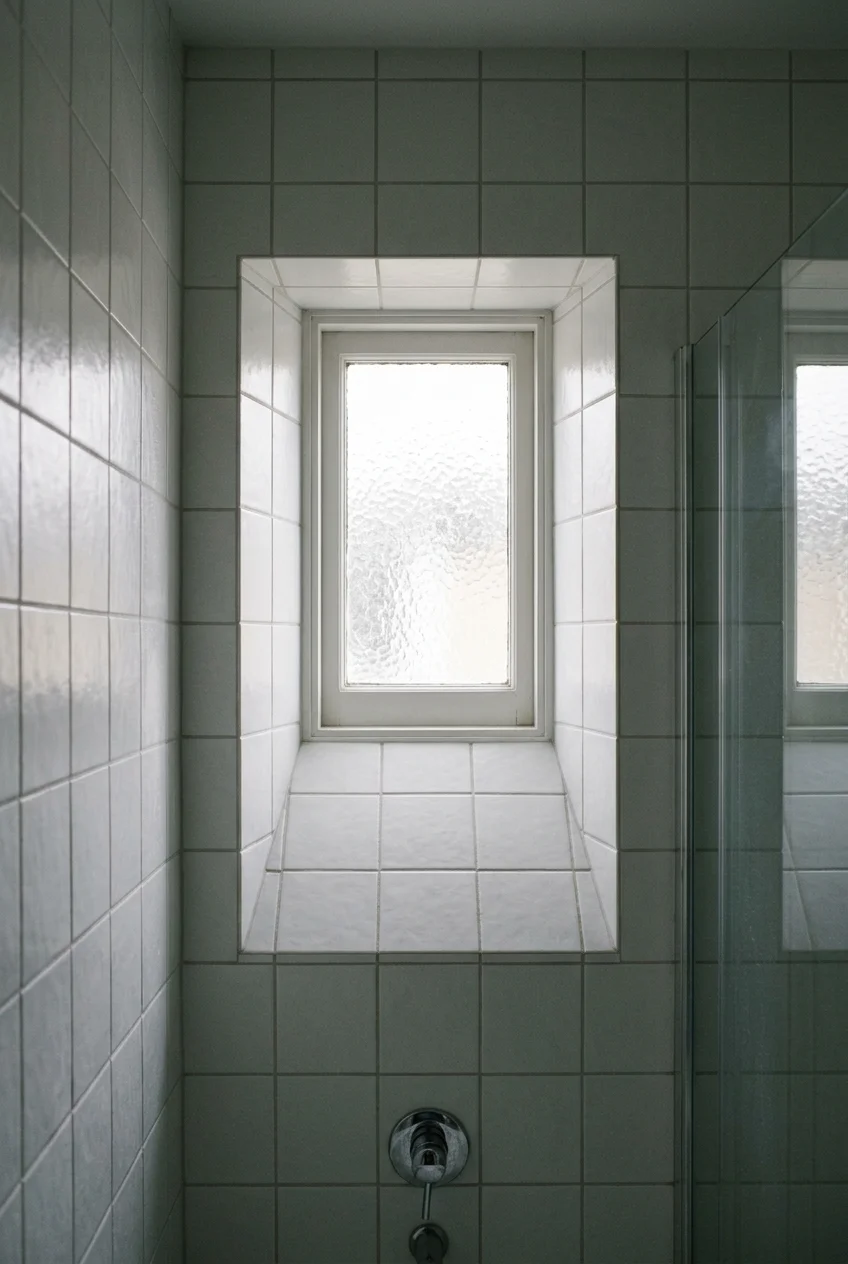
Obscure glazing lets the window brighten the room while softening the outside view. A high opening can work well where the lower wall is needed for fixtures.
Look at actual glass samples under daylight and artificial light. If the opening sits inside the shower, have the installer detail the sill and wall connection for water exposure.
57. Add a high transom over the bathroom door
Image pending: No image is attached to this draft for idea 57 (image-57).
A glazed transom can bring hall light into a windowless bath. Put it above the privacy door so there is still a solid barrier at eye level.
Compare privacy glazing and the actual light available in the hall. Ask the installer about wall framing and how the trim will align with the existing jamb.
58. Give the floor a low night-light glow
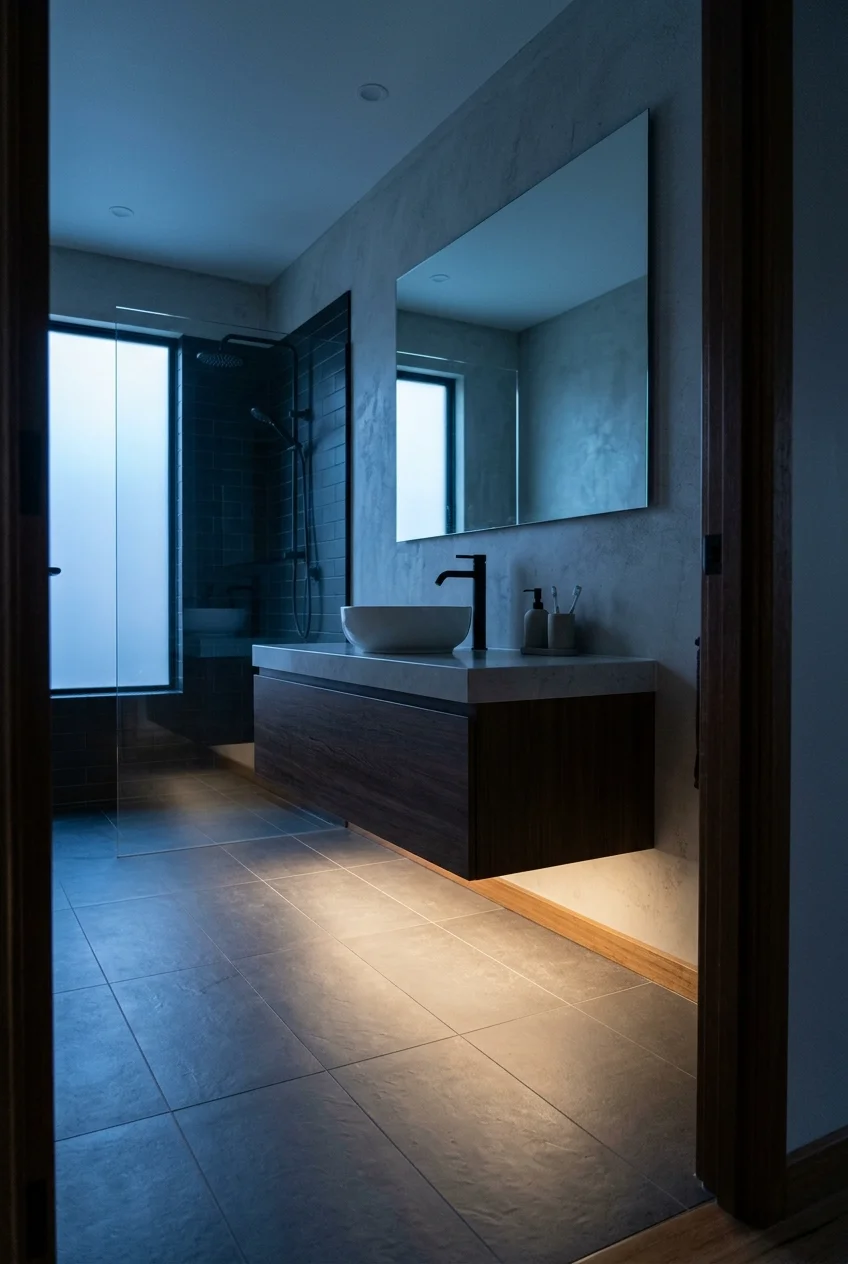
Light under a floating vanity can show where you are stepping without turning on the main fixtures. A soft reflected glow is easier to live with at night.
Conceal the light source from doorway sightlines and choose a control mode that suits the room. Have an electrician specify equipment and wiring for the location.
59. Add a flush exhaust grille where it can serve the wet end
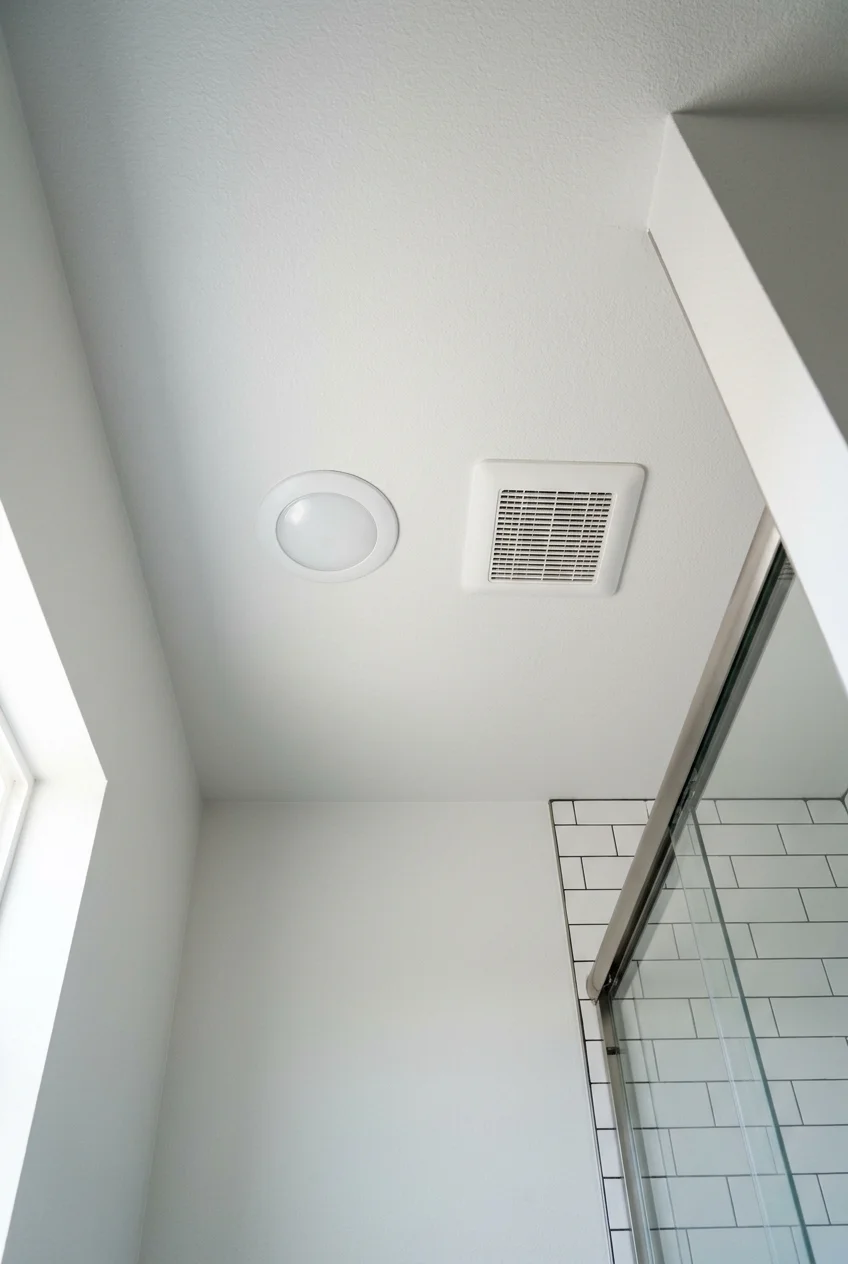
A low-profile ceiling grille can look less busy in a narrow ceiling. Placement and duct routing matter more to ventilation than the cover style alone.
Compare airflow and sound ratings for the whole fan, then ask the installer to check the duct route outdoors. Keep the cover reachable for routine cleaning.
Setup note If the grille sits directly over a tub or shower, have the installer verify that the specific unit is approved for that location and protection.
60. Put a robe hook on the dry side of the shower
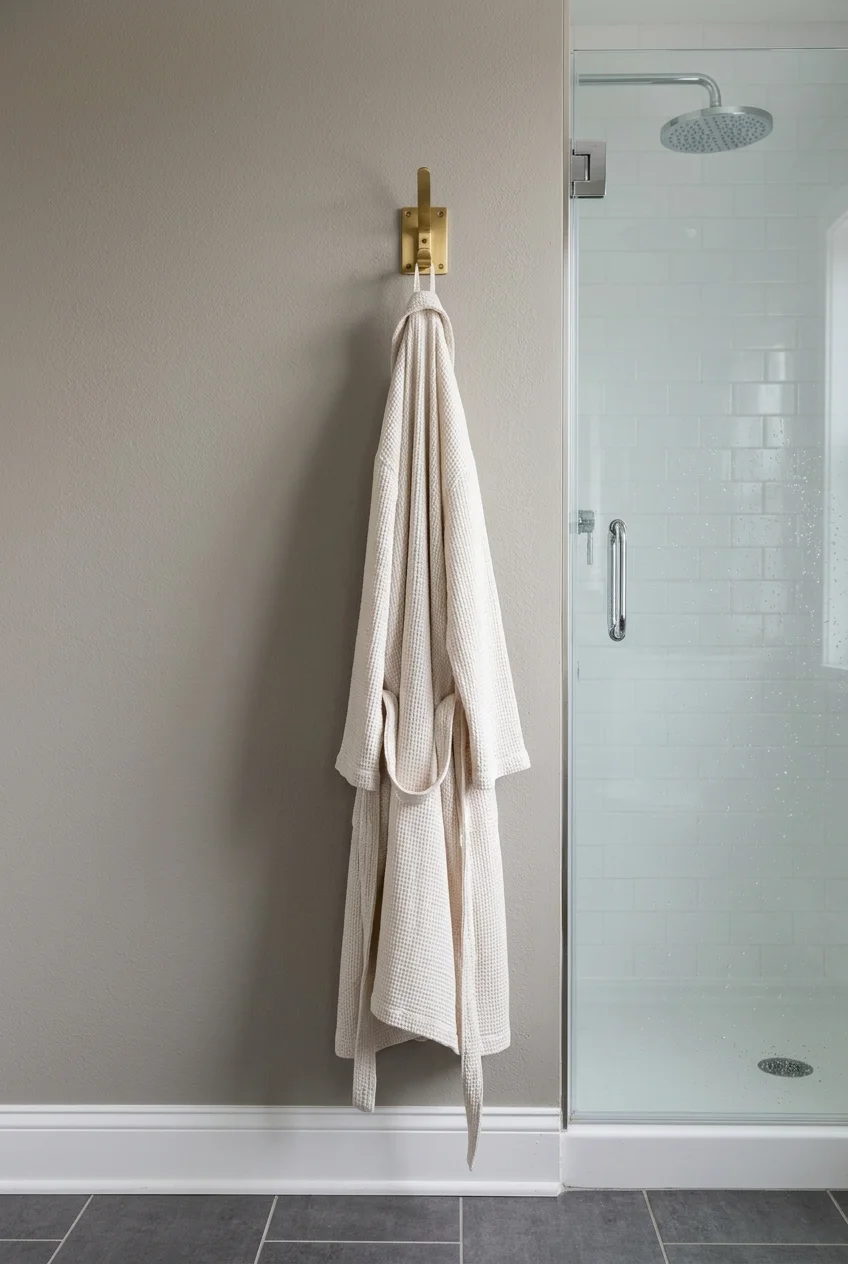
A slim hook just outside the spray zone keeps a robe within reach without a towel stand in the aisle. Check the spot with the glass open.
Hang the robe high enough that its hem dries off the floor. Choose a wall or cabinet end where the fabric hangs clear of handles and door edges.
Frequently Asked Questions
What should I measure before saving a narrow bathroom layout?
Measure the finished width at the doorway, vanity, toilet and shower approach. Include trim, handles and countertop edges so the sketch reflects your actual pinch points.
Mark door and drawer swings on the same sketch. Then compare the spaces you need to stand, pass through and reach fixtures against the locally required clearances.
What can I change if the toilet and tub have to stay?
Start at the aisle edge. A shallower vanity, smaller cabinet pulls and a straight tub curtain can improve day-to-day movement while keeping the main plumbing in place.
If the aisle already feels comfortable, try a better mirror light or a recessed cabinet where the wall allows. Both can improve the sink area without moving fixtures.