50 Basement Bathroom Remodel Ideas

This post may contain affiliate links: full affiliate disclosure.
A basement bathroom remodel succeeds or fails long before tile is installed. Drain elevation, existing moisture, vent routing, ceiling height, electrical safety, and local approvals shape the layout, budget, and construction sequence.
This guide walks through 50 practical decisions in order, from the first site review to final testing. It is a planning roadmap, not another inspiration gallery. Use it to ask better questions, compare bids, and prevent finished surfaces from hiding unresolved risks.
Codes, permit rules, and accepted assemblies vary by location. Confirm structural, plumbing, electrical, ventilation, fire-safety, and waterproofing details with the local authority and qualified trades.
Confirm the Basement Can Support the Remodel
Begin with facts about the room, the house, and the ground around it. A clear existing-conditions record prevents a beautiful plan from being built over water, access, or drainage problems.
1. Define the Bathroom's Job Before Drawing It
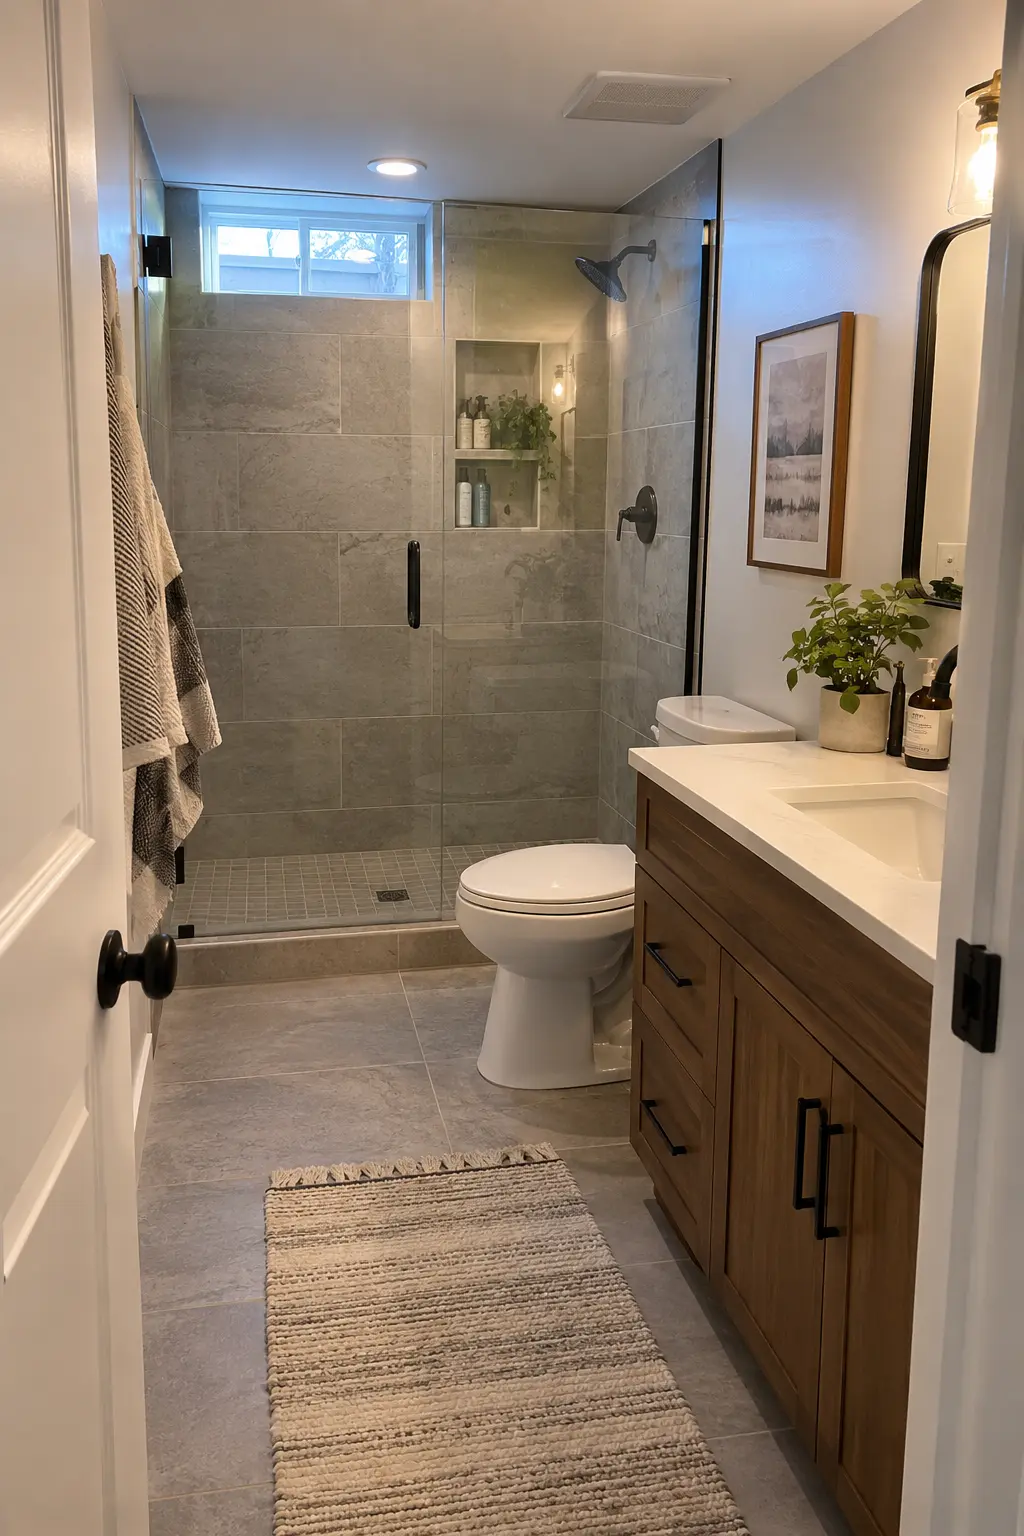
Decide whether the room needs a toilet and sink, a shower, or a full bathing setup. Record who will use it, how often, and whether the surrounding basement will become living space now or later.
Write one priority list and one exclusion list before requesting bids. If you still need visual direction, review these basement bathroom ideas separately, then return to the process plan so style does not drive costly utility moves.
2. Document Moisture Before Demolition
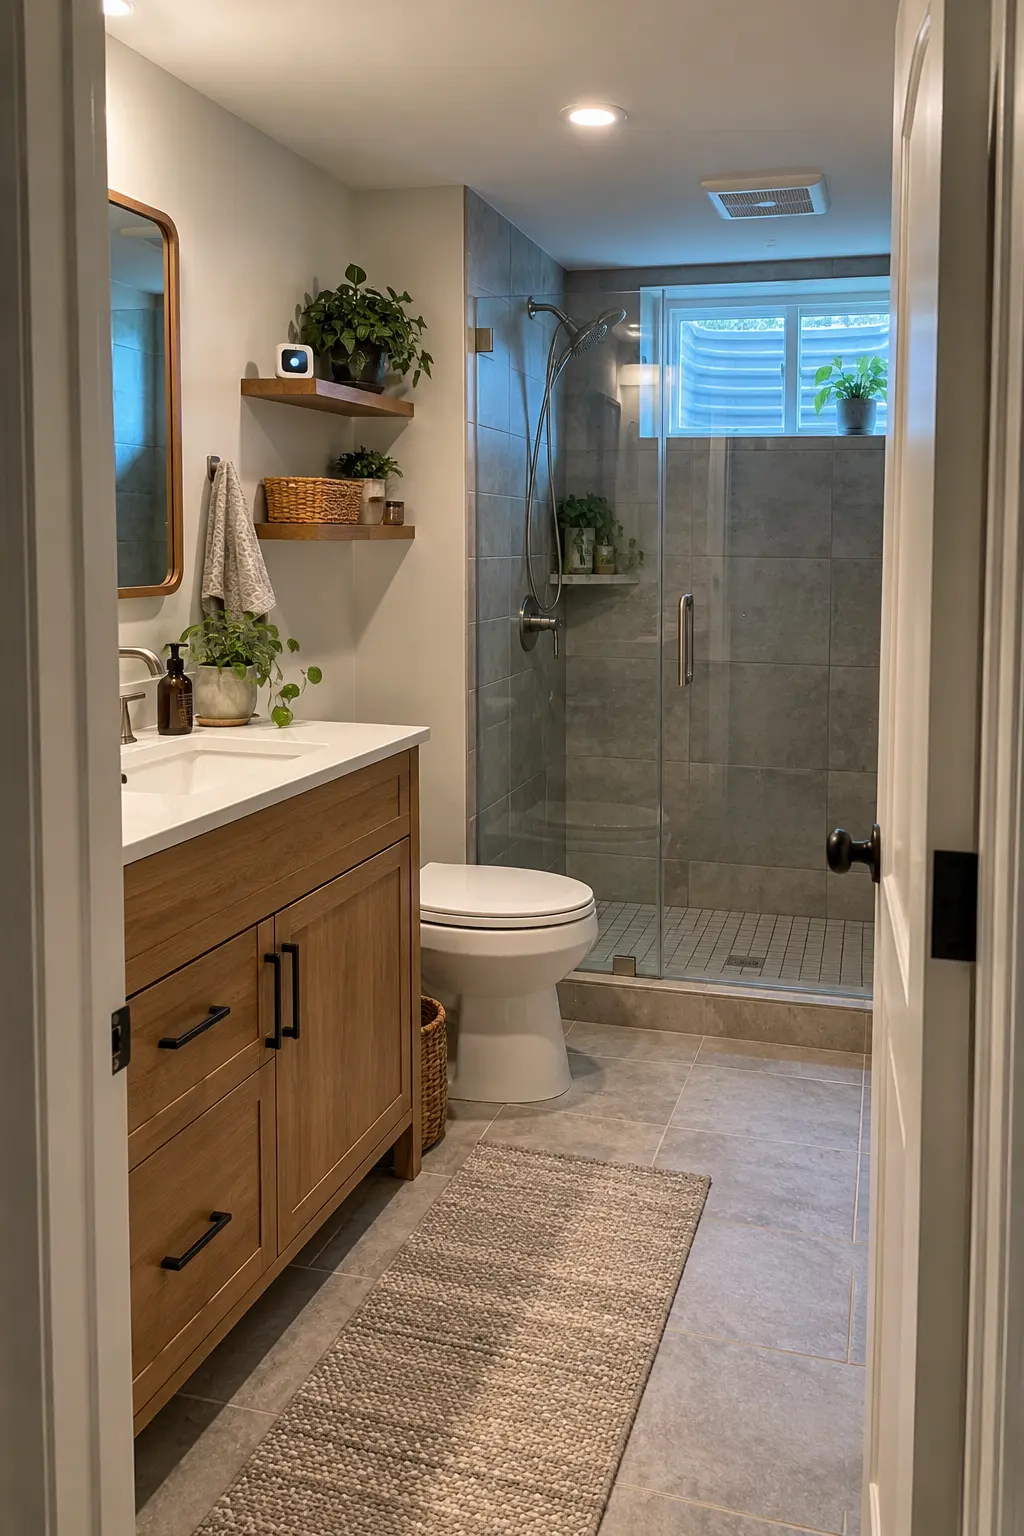
Inspect the slab, foundation walls, rim joist, pipe penetrations, and nearby windows after dry weather and after heavy rain. Photograph staining, efflorescence, peeling coatings, musty areas, and any active water before finishes hide the evidence.
Use a moisture meter as a screening tool, not a diagnosis. Compare several locations and dates, then bring persistent readings or visible leaks to a waterproofing or building professional before framing the bathroom.
Shop the Klein Tools pinless moisture meter on Amazon
3. Measure Headroom, Beams, and Mechanical Clearances
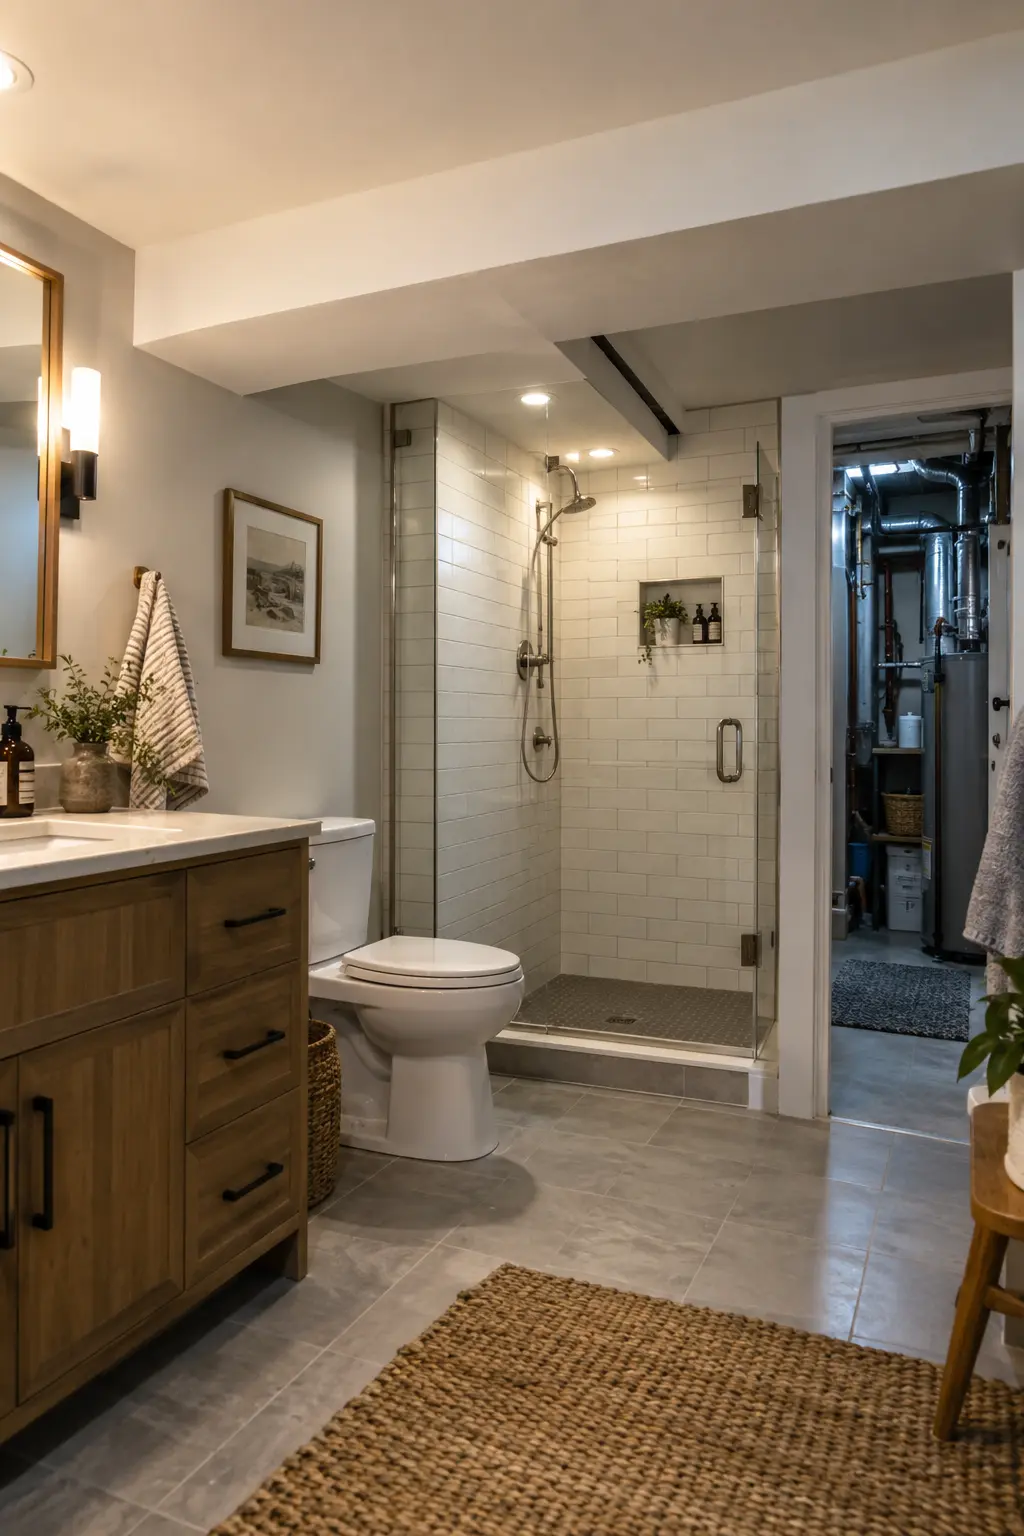
Measure from the slab to the lowest beam, duct, pipe, and planned finished ceiling. Mark soffits, access panels, windows, and the service clearances required around the furnace, water heater, electrical panel, and other equipment.
Sketch the lowest finished height across the whole proposed room, not only at the doorway. A shallow ceiling pocket may decide where the shower, mirror, fan duct, or door can actually fit.
4. Map Every Existing Pipe and Drain
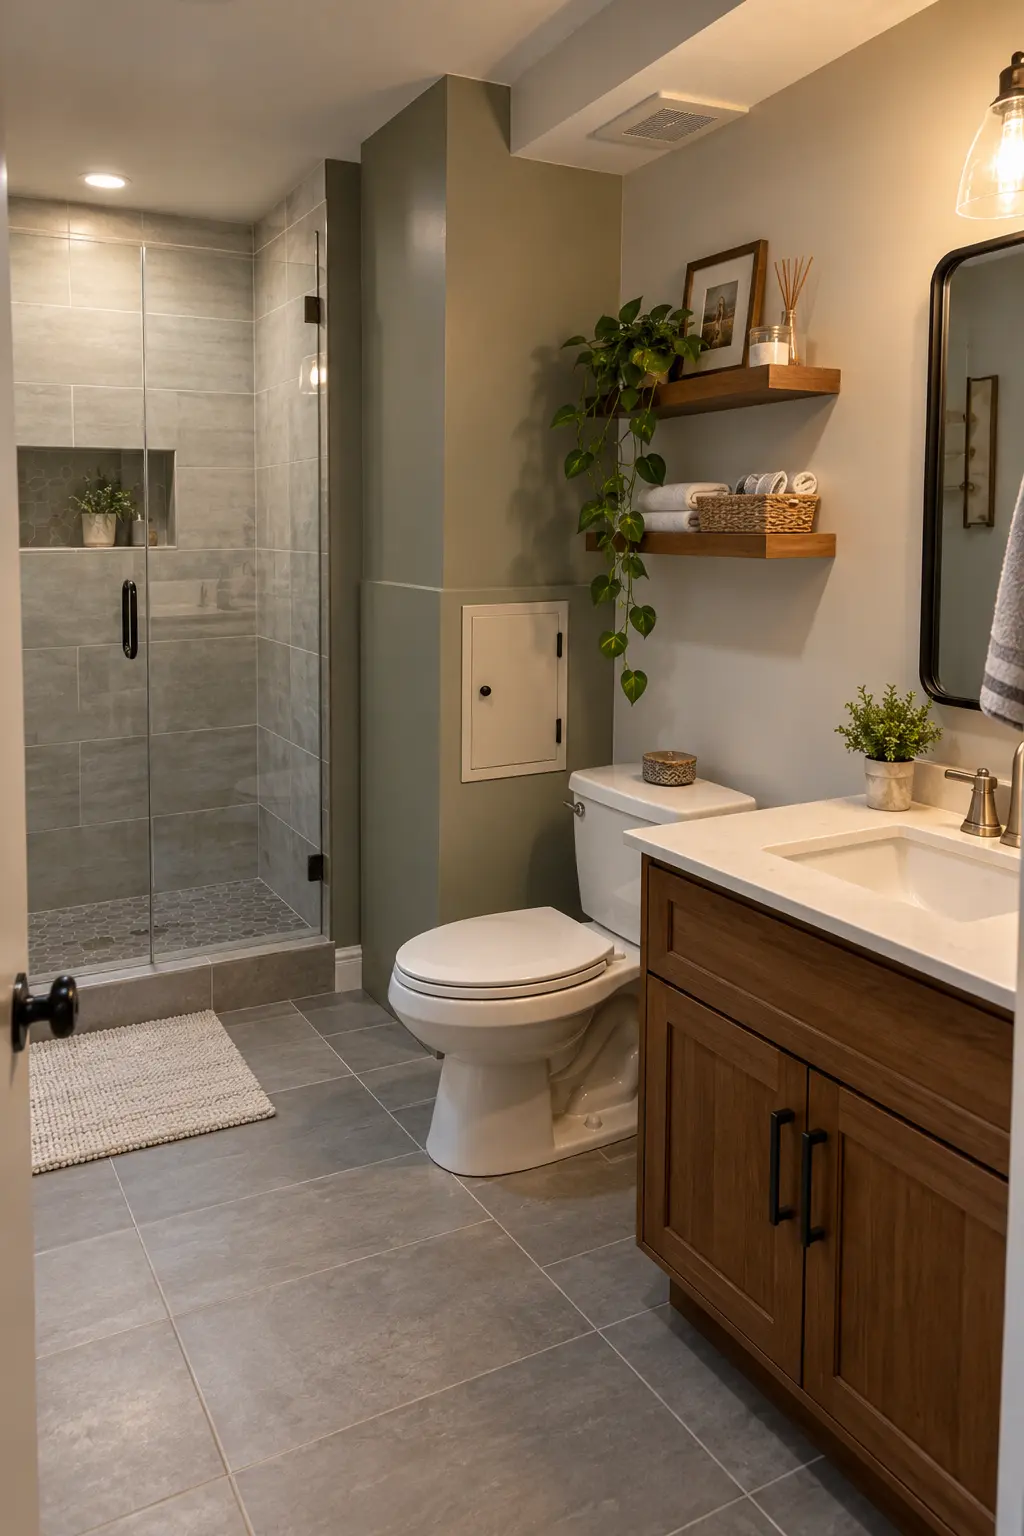
Trace water lines, waste lines, the main stack, cleanouts, floor drains, and any capped rough-ins. Note pipe materials, diameters, slopes where visible, and which lines serve fixtures on upper floors.
Ask a licensed plumber to verify assumptions before the slab is cut. A pipe that looks convenient may be undersized, poorly vented, damaged, or reserved for another fixture group.
5. Check Sewer Elevation and Backup Risk
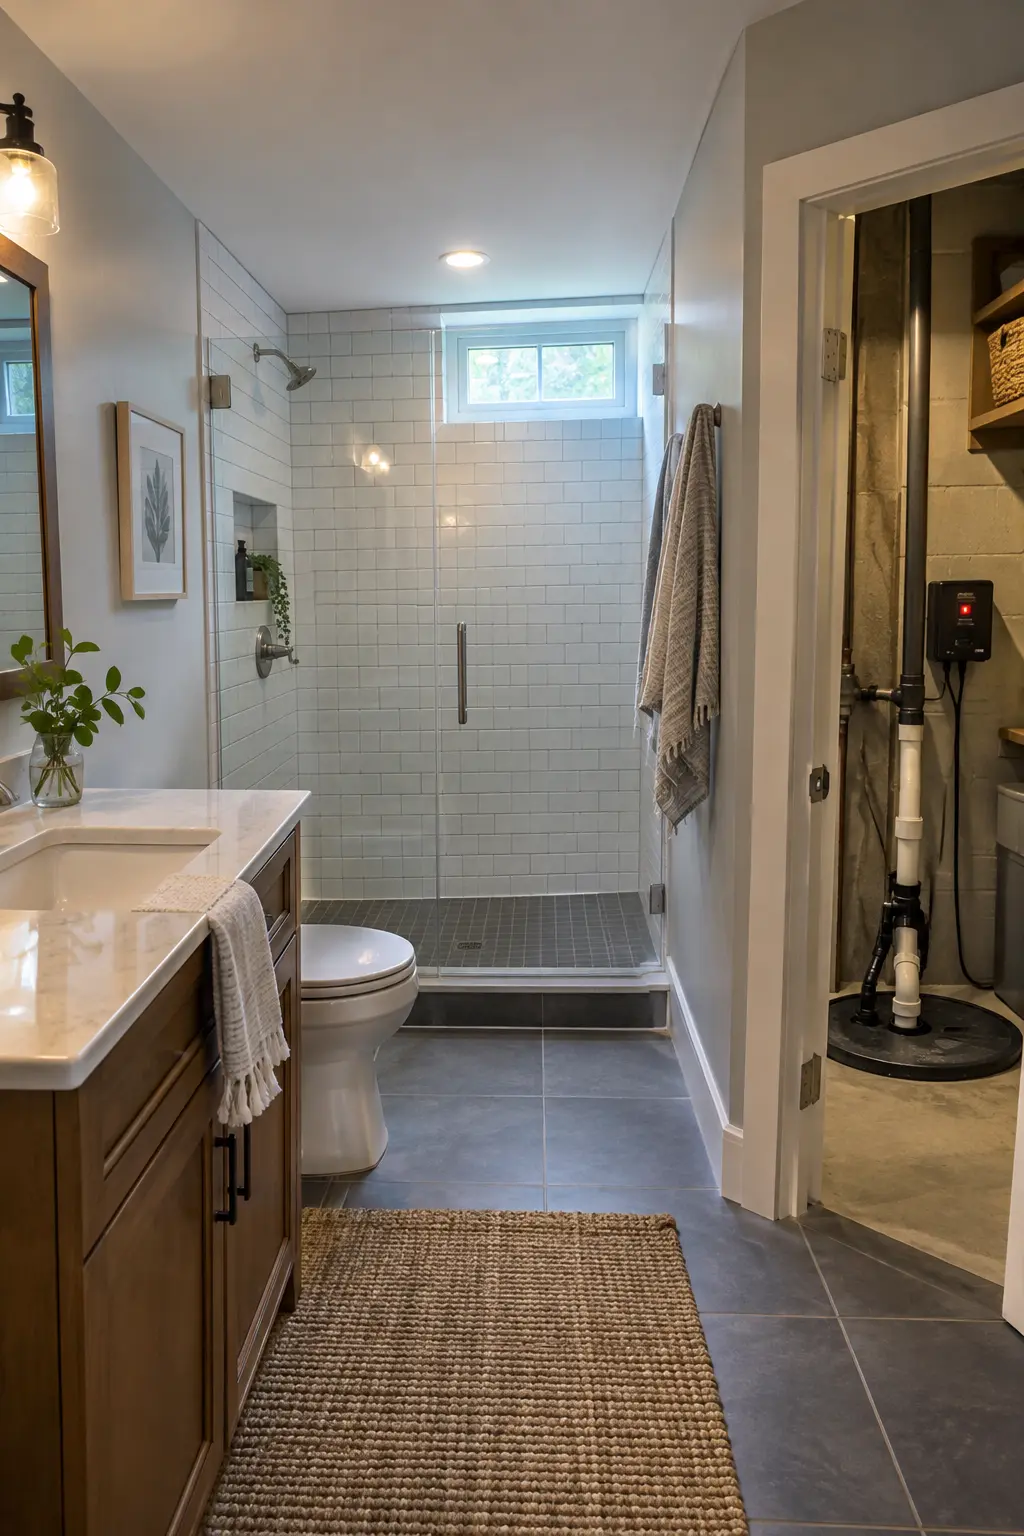
Determine whether each proposed fixture can drain by gravity to the building sewer. If the fixture outlets sit too low, the design may need a sewage ejector system, a raised platform, or a different location.
Also ask whether a backwater valve is required or advisable and where it can remain serviceable. Never bury a pump lid, check valve, alarm, or cleanout behind permanent cabinetry or tile.
Set the Approval, Team, and Budget Framework
Turn the initial findings into an approved scope, a realistic team, and a budget with room for concealed conditions. These decisions make later bids easier to compare.
6. Call the Building Department Early
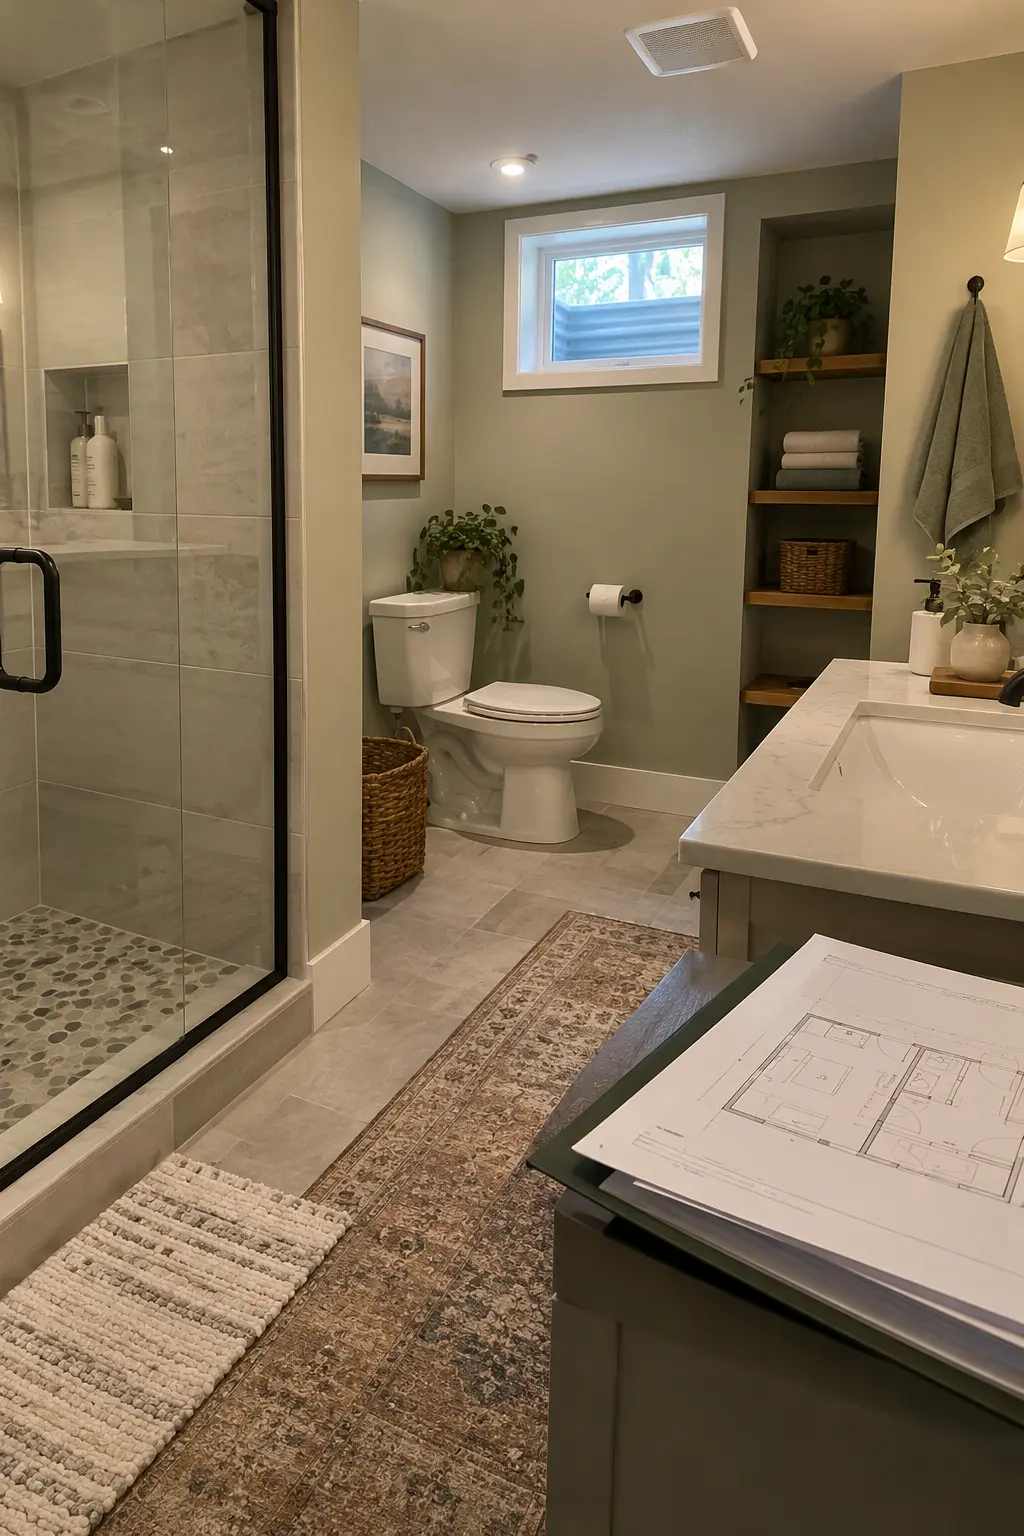
Ask which building, plumbing, electrical, mechanical, and occupancy permits apply. Confirm the adopted code edition, inspection stages, plan requirements, fixture rules, ceiling-height rules, and whether basement sleeping areas change egress or fire-separation requirements.
Record the name, date, and summary of each answer, then obtain written guidance where possible. Requirements vary, so a rule from another city or an online forum is not a substitute for the local authority.
7. Assign Responsibility to Qualified Trades
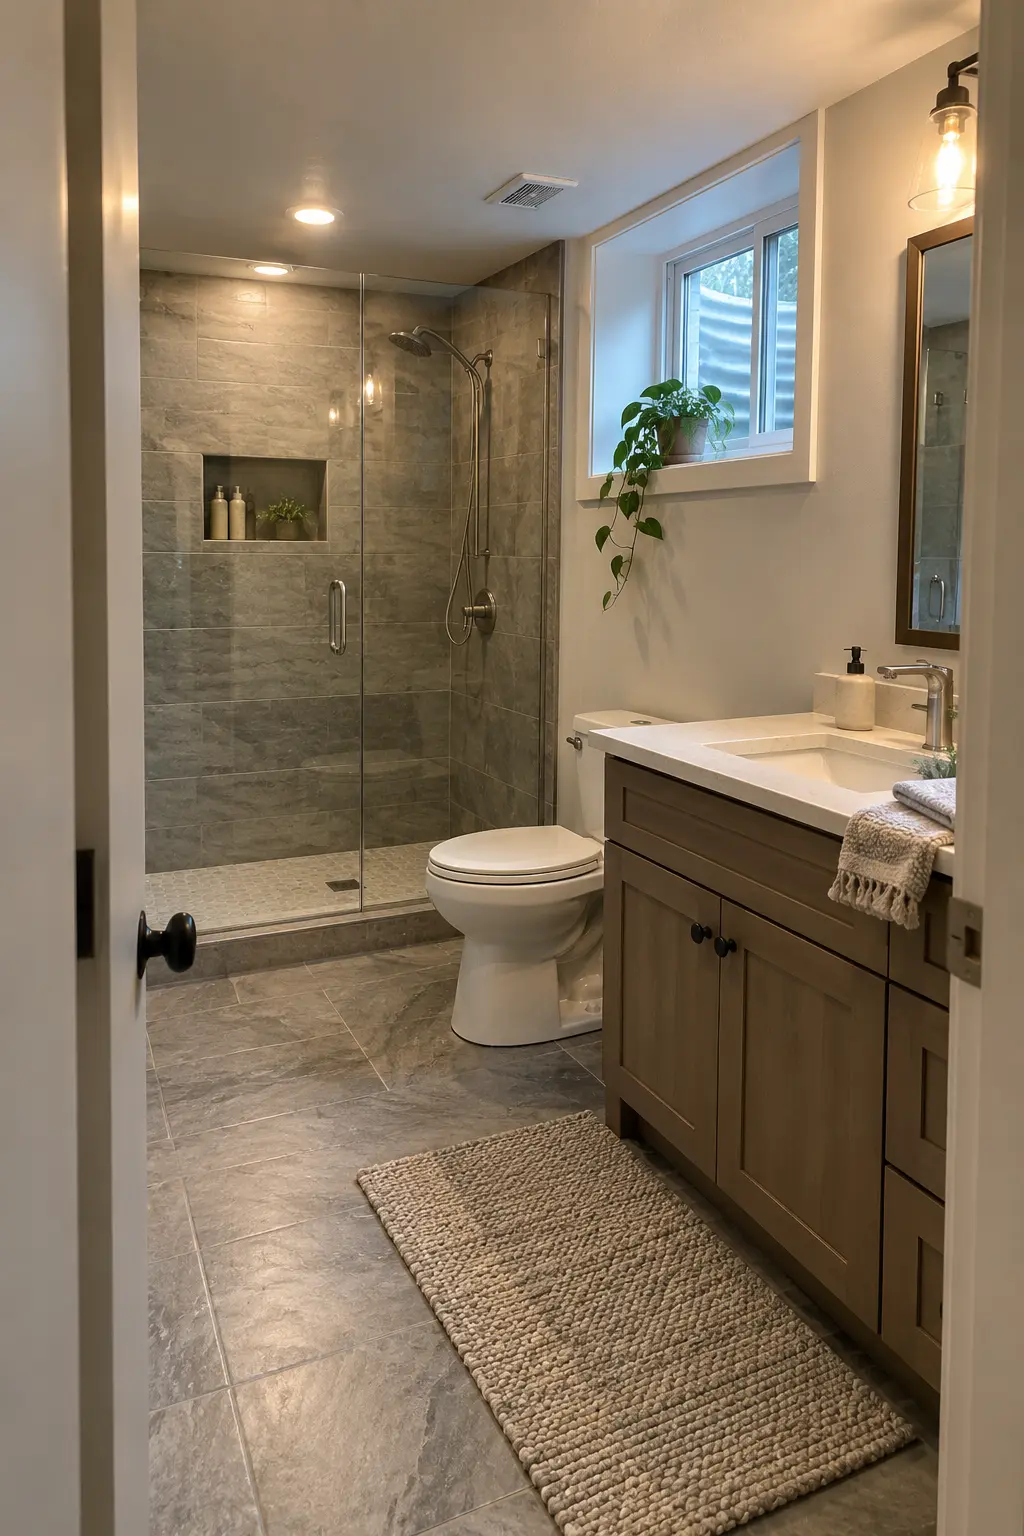
List who will design, permit, supervise, rough in, inspect, waterproof, tile, and commission each system. Basement drainage, structural cuts, service upgrades, and combustion-air issues should not fall into gaps between contractors.
Ask every bidder to state exclusions and dependencies in writing. Confirm licensing, insurance, references, warranty terms, cleanup, and who corrects work that fails an inspection.
8. Create a Dimensioned Scope Drawing
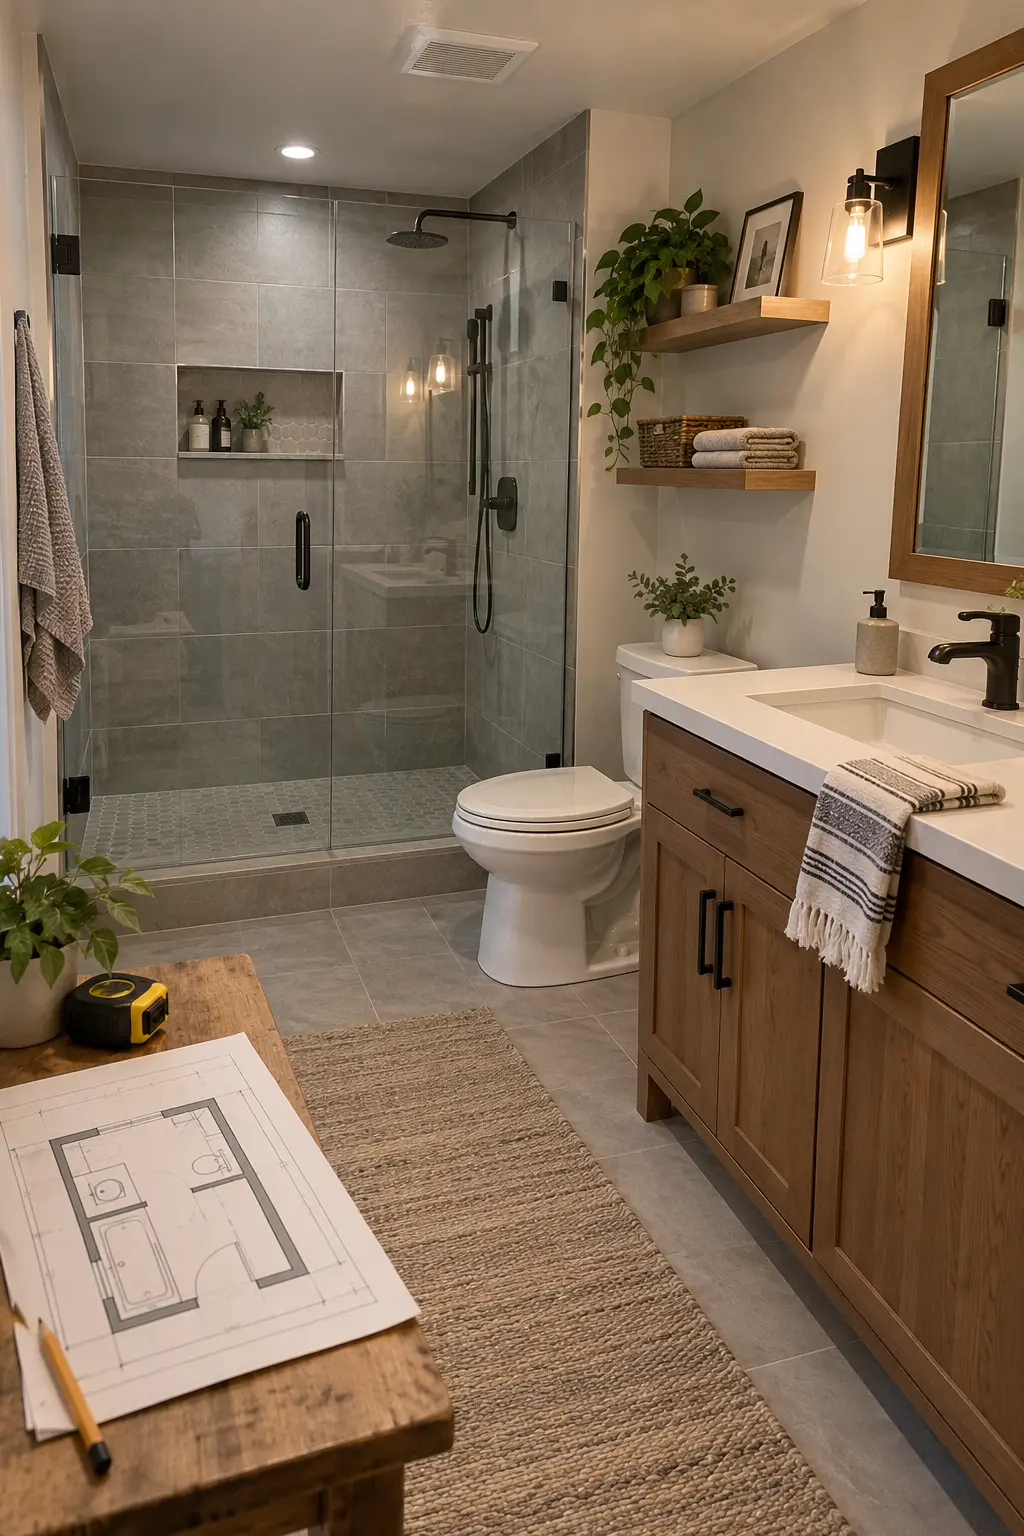
Draw existing and proposed walls, finished dimensions, fixture centerlines, door swings, clearances, drains, vents, outlets, lights, fan route, shutoffs, access panels, and ceiling changes. Include elevations for the vanity and shower walls.
Use the same drawing set for every quote. When bidders price different assumptions, a low number can hide missing waterproofing, electrical work, permits, or finish preparation.
9. Build a Phase-Based Budget
Separate the budget into investigation, design and permits, demolition, moisture correction, plumbing, electrical, ventilation, framing, waterproofing, finishes, fixtures, labor, and cleanup. Keep taxes, delivery, disposal, and inspection fees visible.
Add a contingency sized for an older or uncertain basement rather than spending the entire budget on finishes. Do not release contingency money for upgrades until concealed work has passed inspection.
10. Sequence Decisions Before Ordering
Lock the drain strategy, room footprint, fixture rough-ins, fan route, electrical plan, and waterproofing system before ordering finish materials. Those choices control dimensions that tile color cannot fix.
Create a lead-time list for valves, shower bases, glass, vanity, fan, pumps, and specialty fittings. Store products dry and inspect them before their installation date so damage does not stall the schedule.
Resolve Drainage and Plumbing Constraints
Basement plumbing is governed by elevation, venting, service access, and the existing system. Resolve these hidden elements before the room is framed around them.
11. Choose Gravity Drainage or an Ejector System
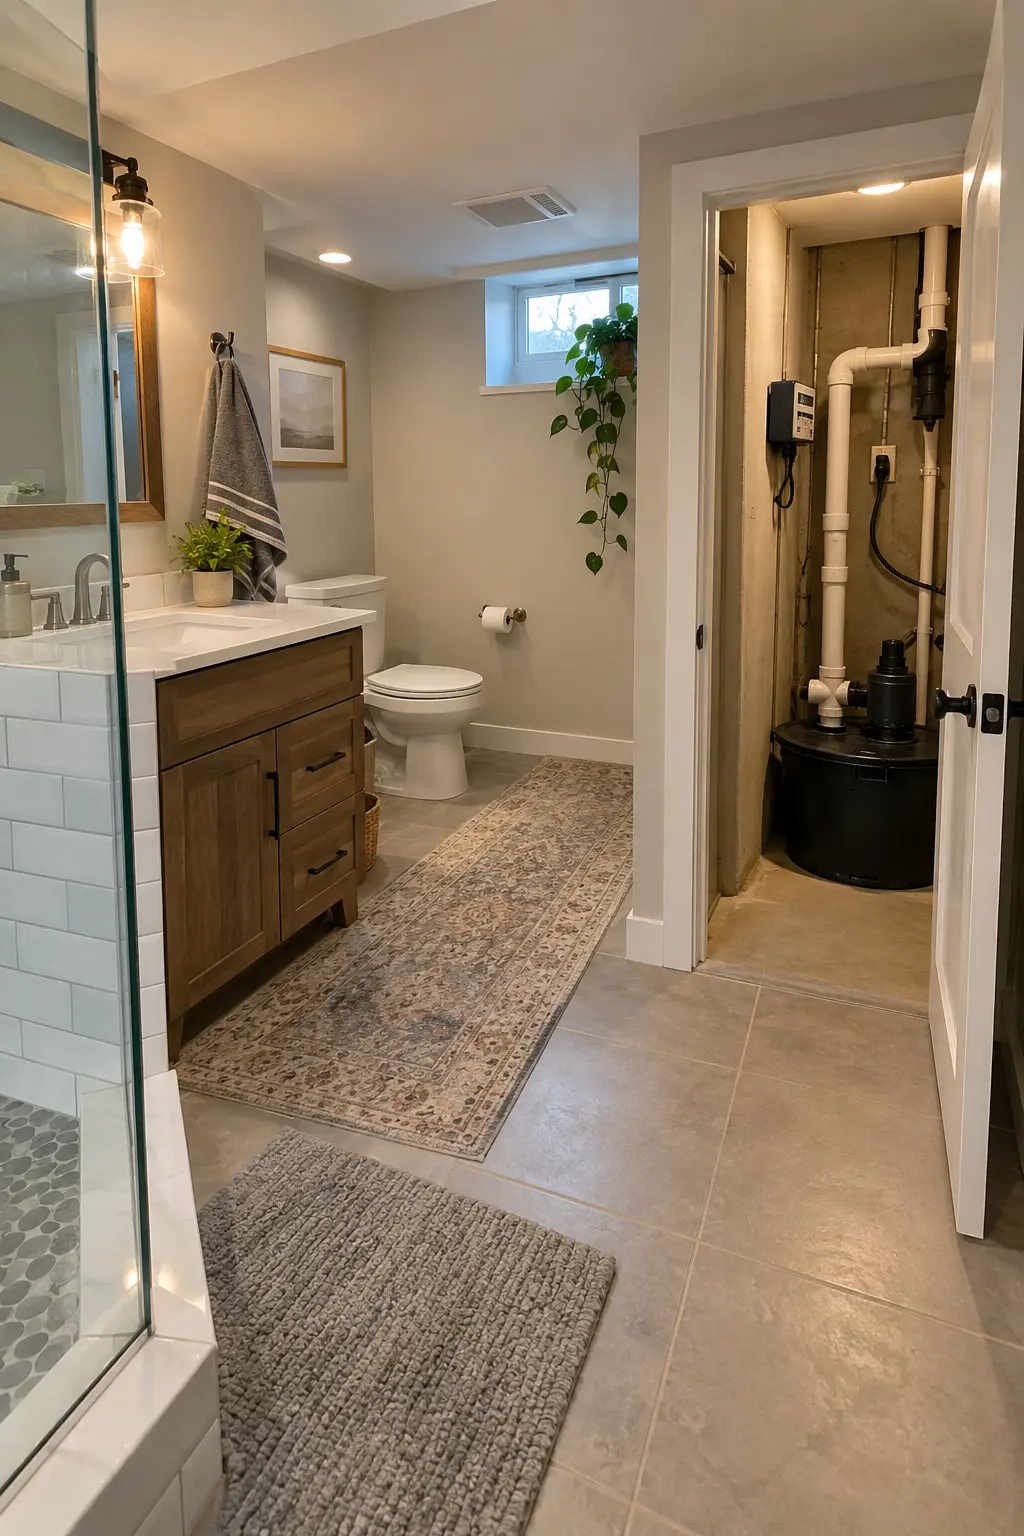
Have the plumber compare gravity drainage with an ejector system using verified elevations and local rules. Include pit location, basin sealing, venting, electrical supply, alarm, check valve, maintenance access, and expected pump replacement in the comparison.
A pump can unlock a difficult layout, but it adds equipment and future service. Place it where vibration, noise, and access are manageable without opening the finished bathroom.
12. Keep the Toilet Near the Best Drain Path
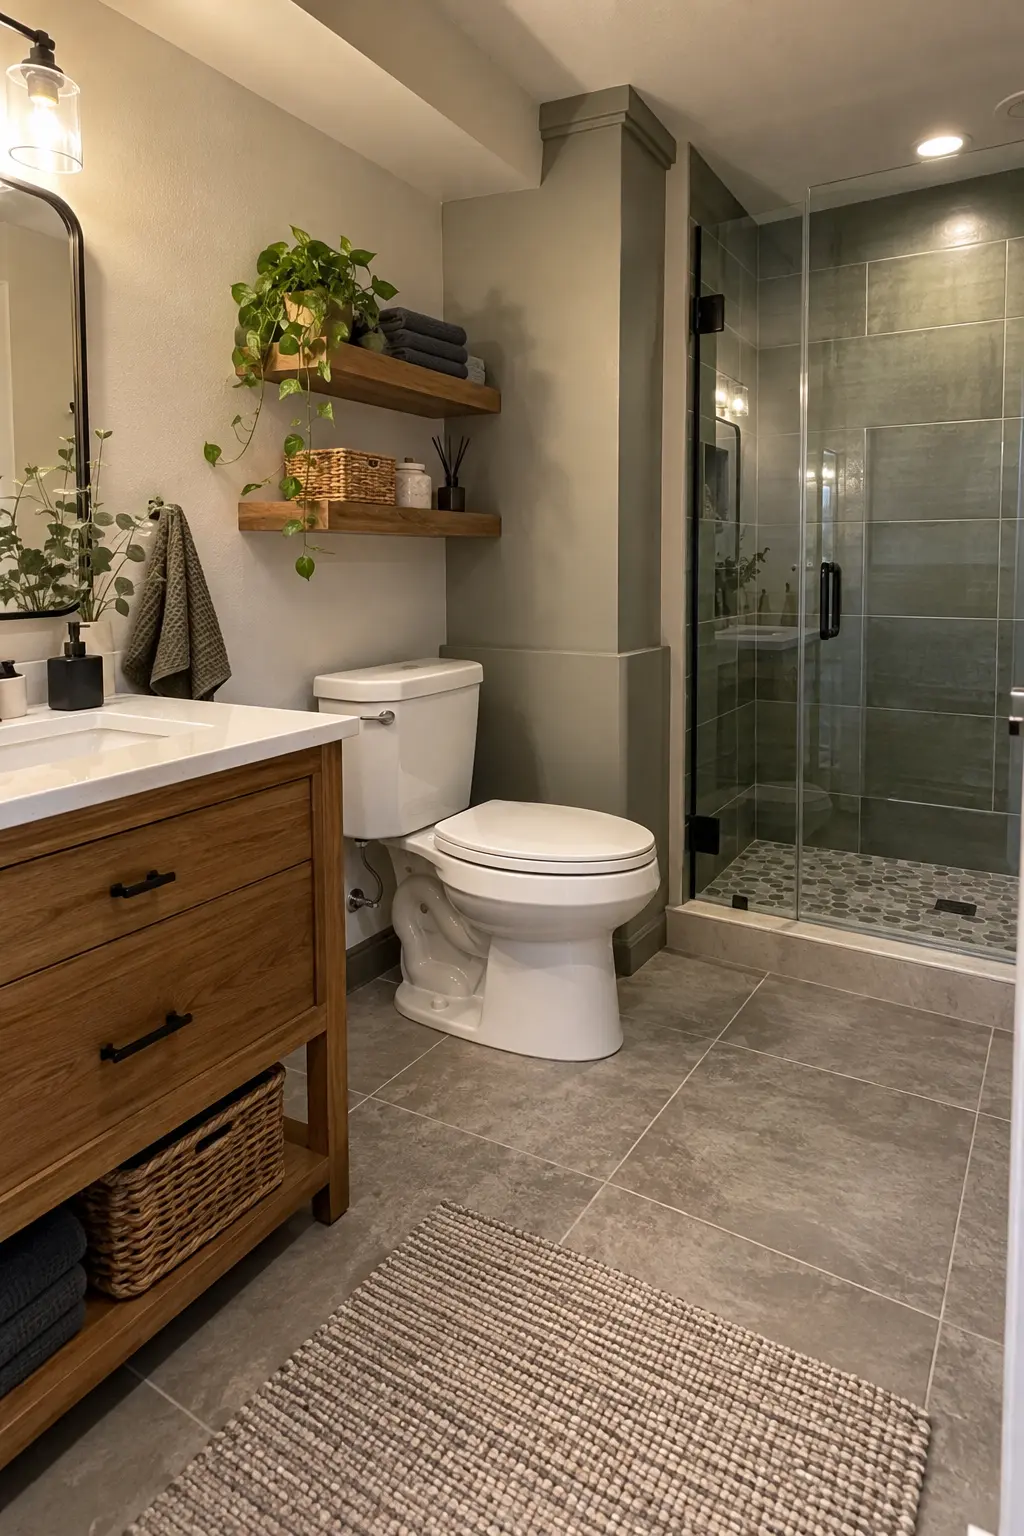
Place the toilet where its waste line can reach the approved drain with the fewest turns and least slab disruption. Confirm flange elevation after the finished floor assembly is known.
Mock up the toilet footprint and required side and front clearances before cutting concrete. A small relocation on paper may save extensive trenching and preserve better floor slope elsewhere.
13. Plan the Vent Route With the Drain
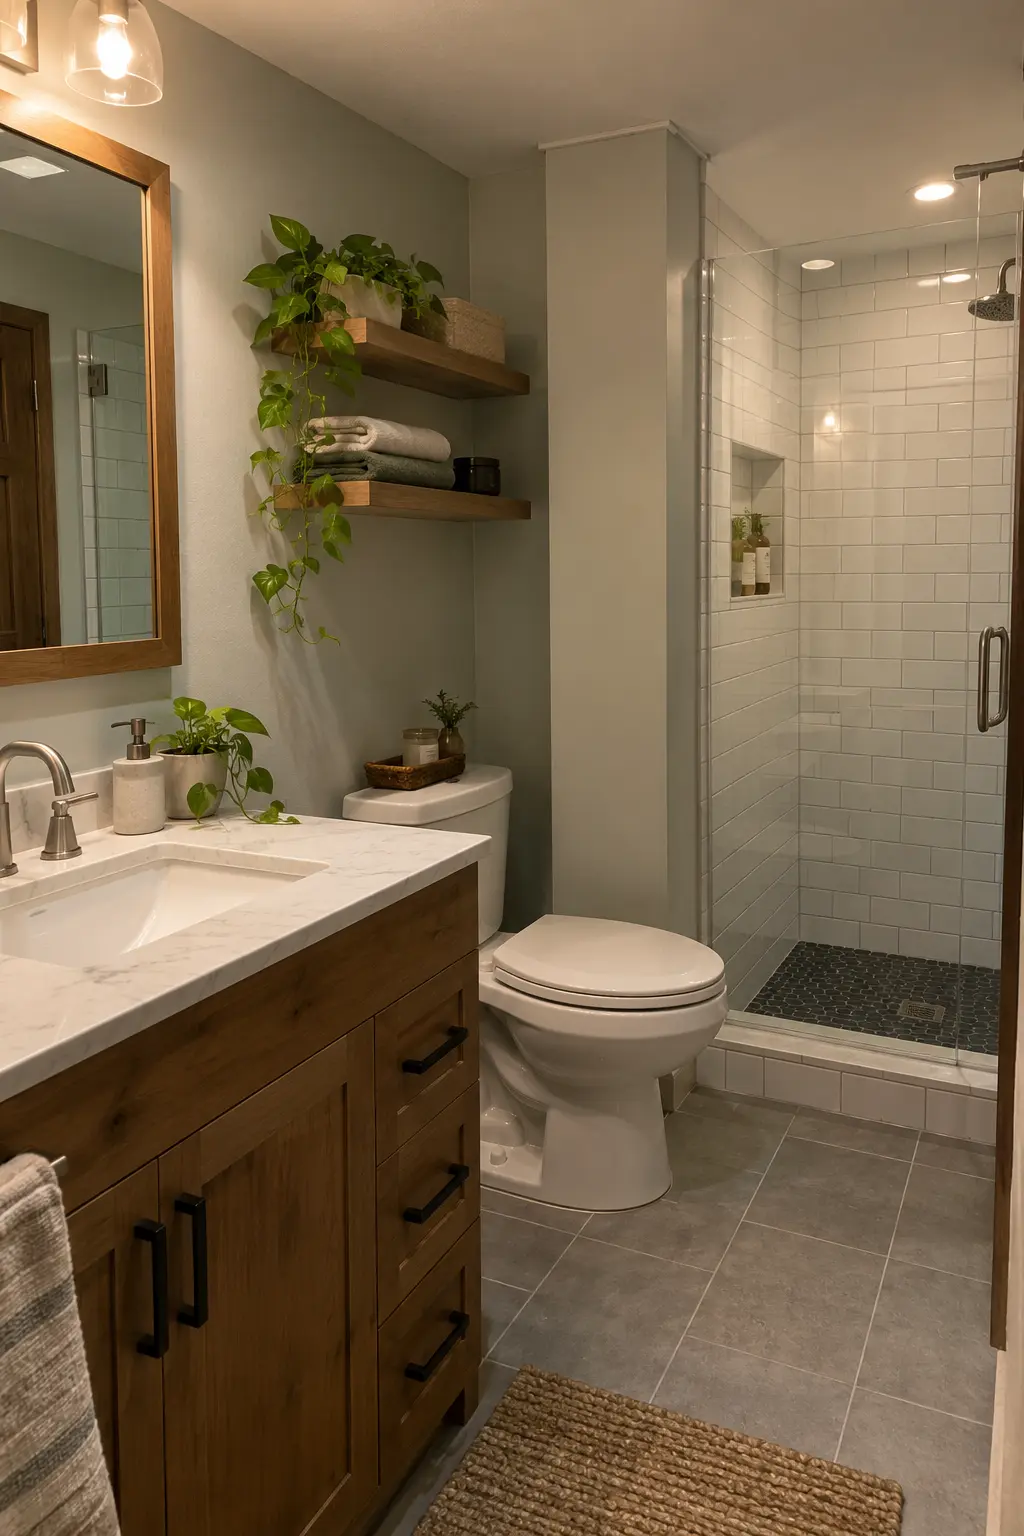
Every fixture needs an approved venting method, and the route can be harder than the water supply. Identify how the vent will connect, where it can rise, and which framing or fire-stopping details it crosses.
Do not assume a nearby pipe is available or that an air admittance valve is permitted. Have the plumber document the accepted vent layout before walls close.
14. Preserve Shutoff and Cleanout Access
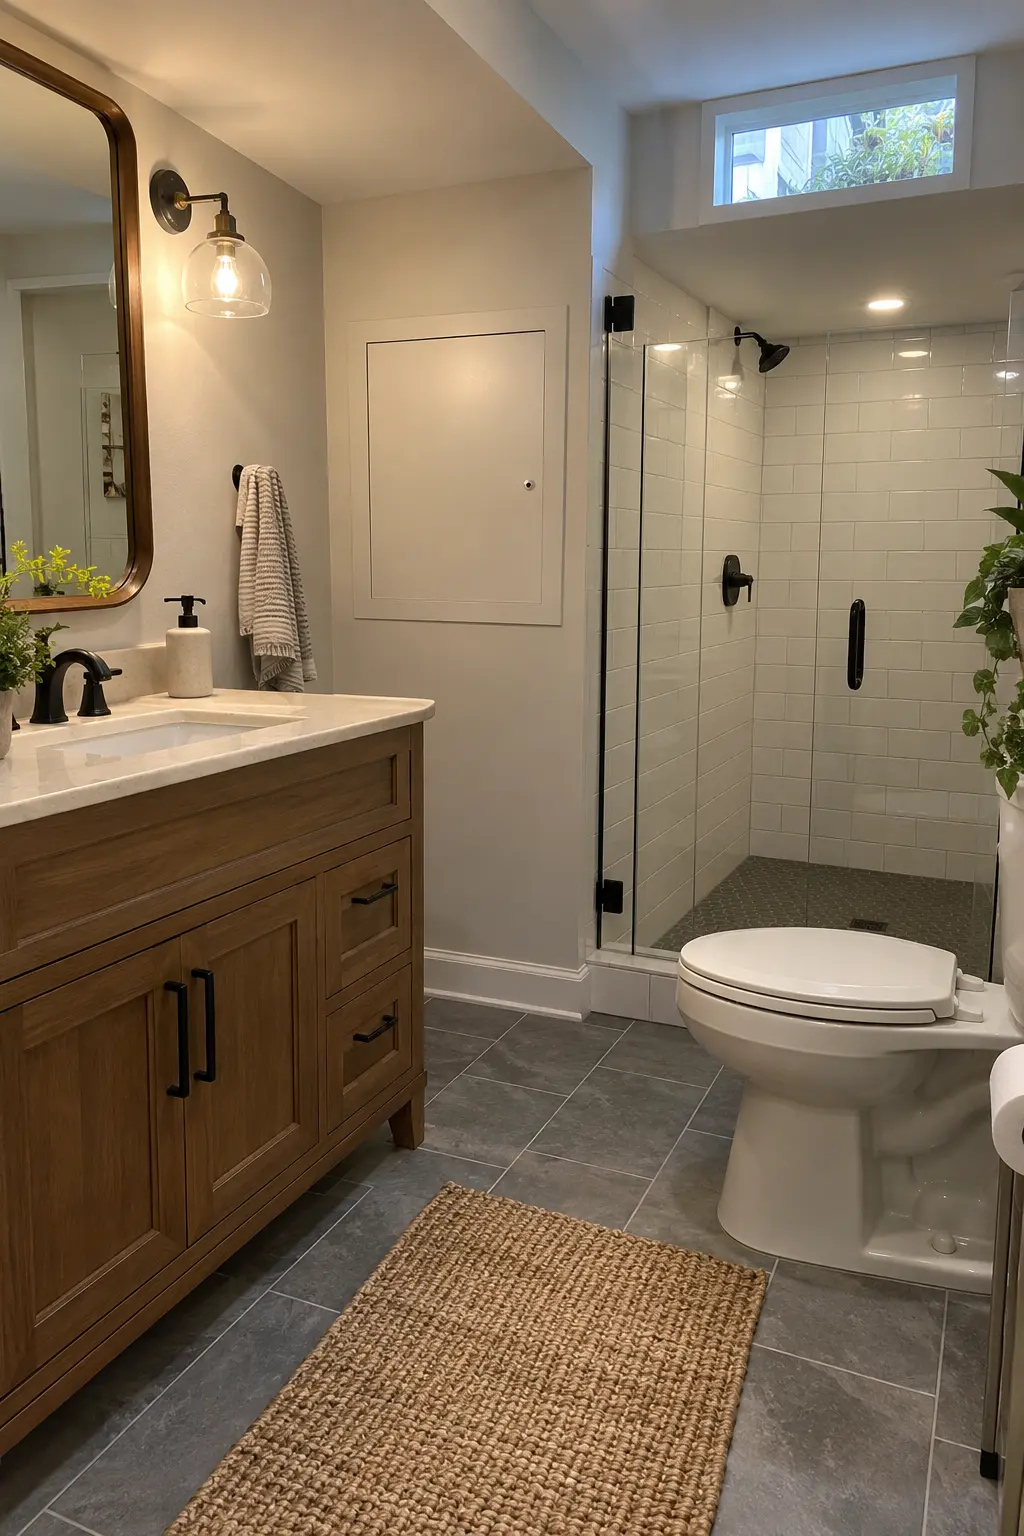
Give each fixture reliable shutoffs and keep main valves, cleanouts, pump components, and trap service points reachable. Use labeled access panels where a permanent finish would otherwise trap them.
Align access openings with cabinetry or wall panels so they look intentional. Test whether a wrench, replacement part, and technician can actually reach the component, not merely see it.
15. Verify Water Supply and Hot-Water Capacity
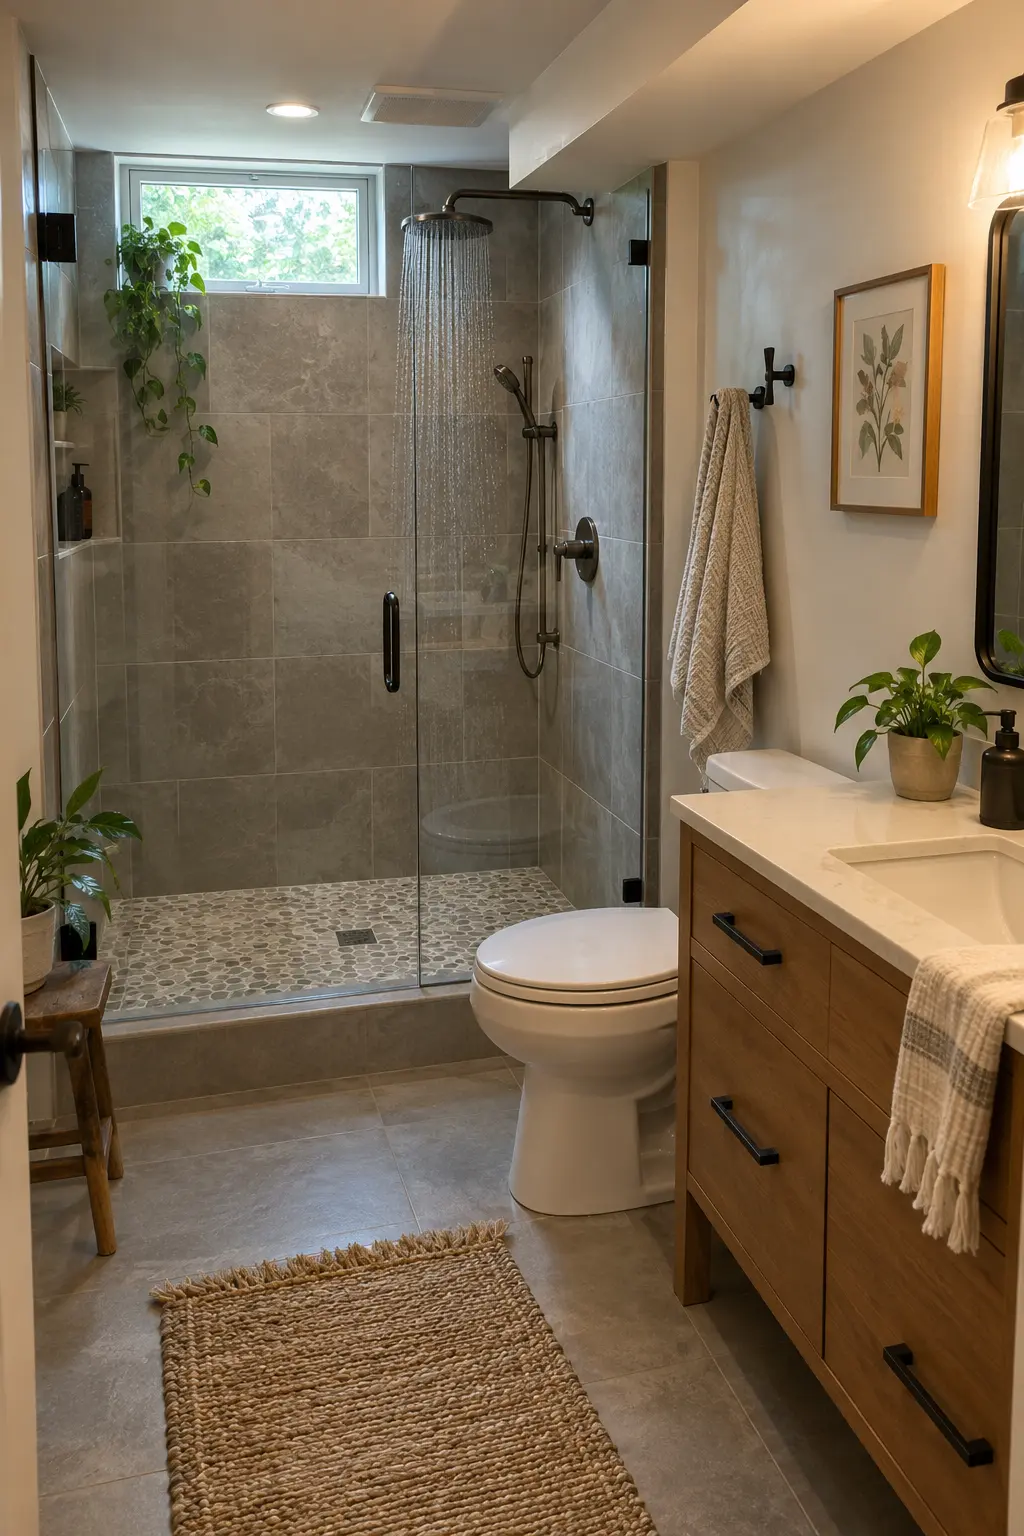
Check pressure, pipe sizing, simultaneous demand, and the distance from the water heater. A long basement run can waste water while the shower warms, and an added high-flow fixture may expose limited capacity.
Select fixture flow rates after the supply review. If a recirculation strategy is considered, have the plumber assess energy use, controls, insulation, and compatibility with the existing water-heating system.
Control Groundwater, Vapor, and Shower Water
Treat bulk water, vapor, condensation, and shower water as separate problems. Each needs a continuous strategy that can dry, drain, or be serviced as intended.
16. Fix Exterior Water Sources First
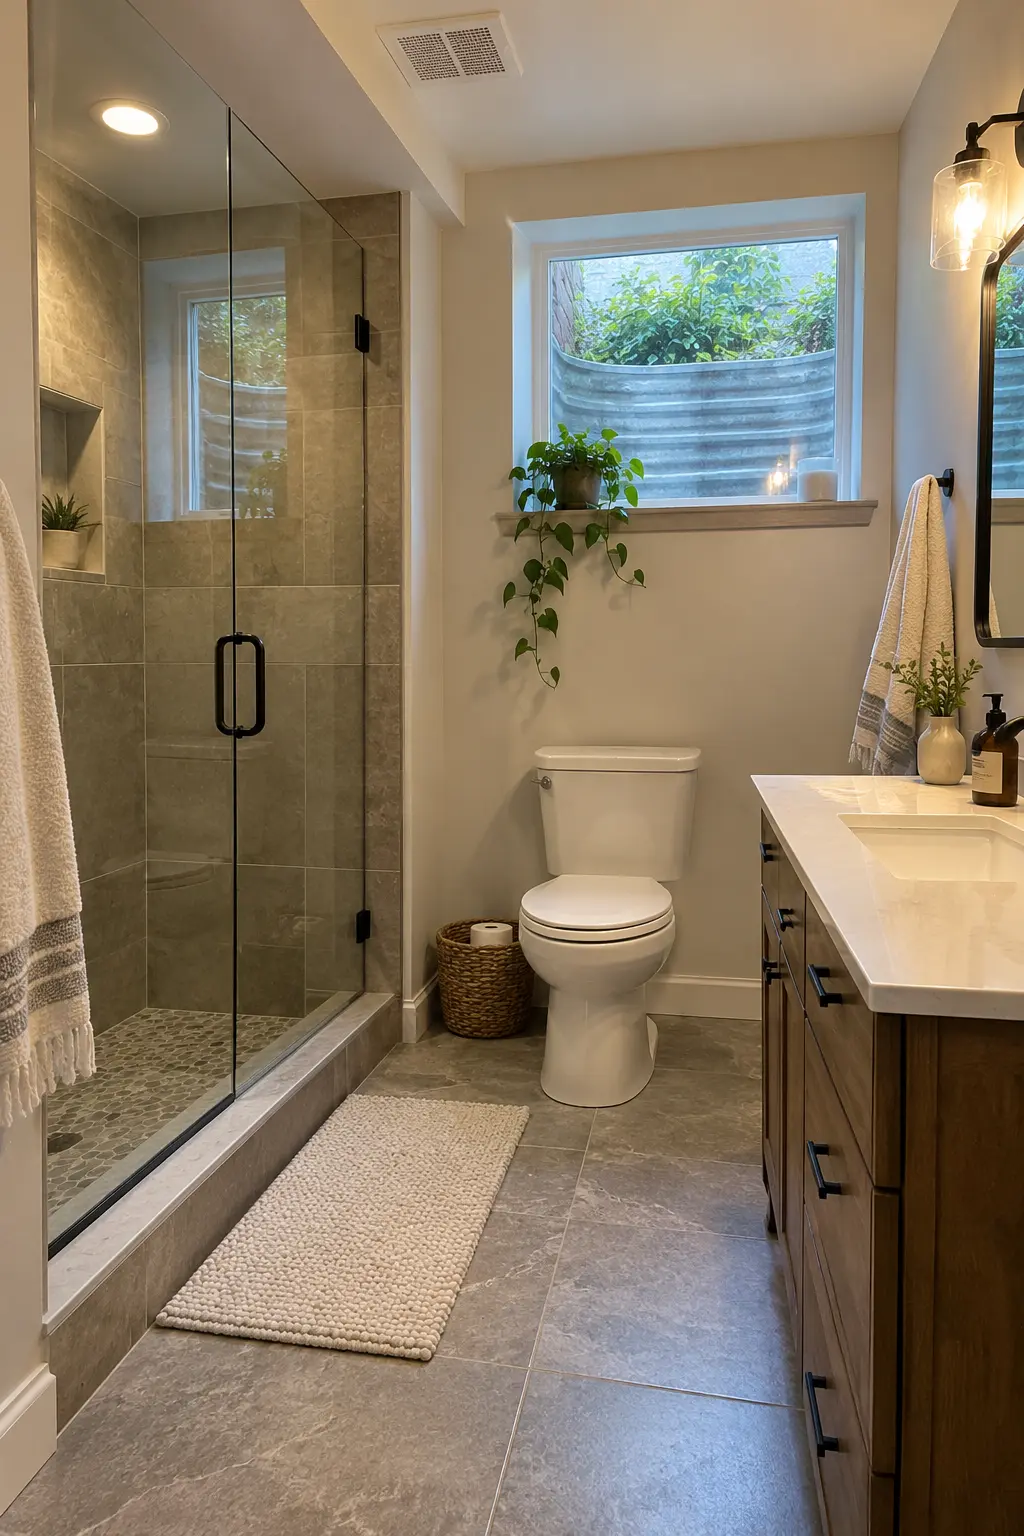
Correct grading, gutters, downspouts, window wells, foundation cracks, or drainage failures that send water toward the basement. Interior finishes should not be the first line of defense against exterior bulk water.
Observe the area through wet weather after repairs. If seepage continues, pause the bathroom build and get a foundation or waterproofing assessment before adding framing and tile.
17. Repair the Slab and Plan a Capillary Break
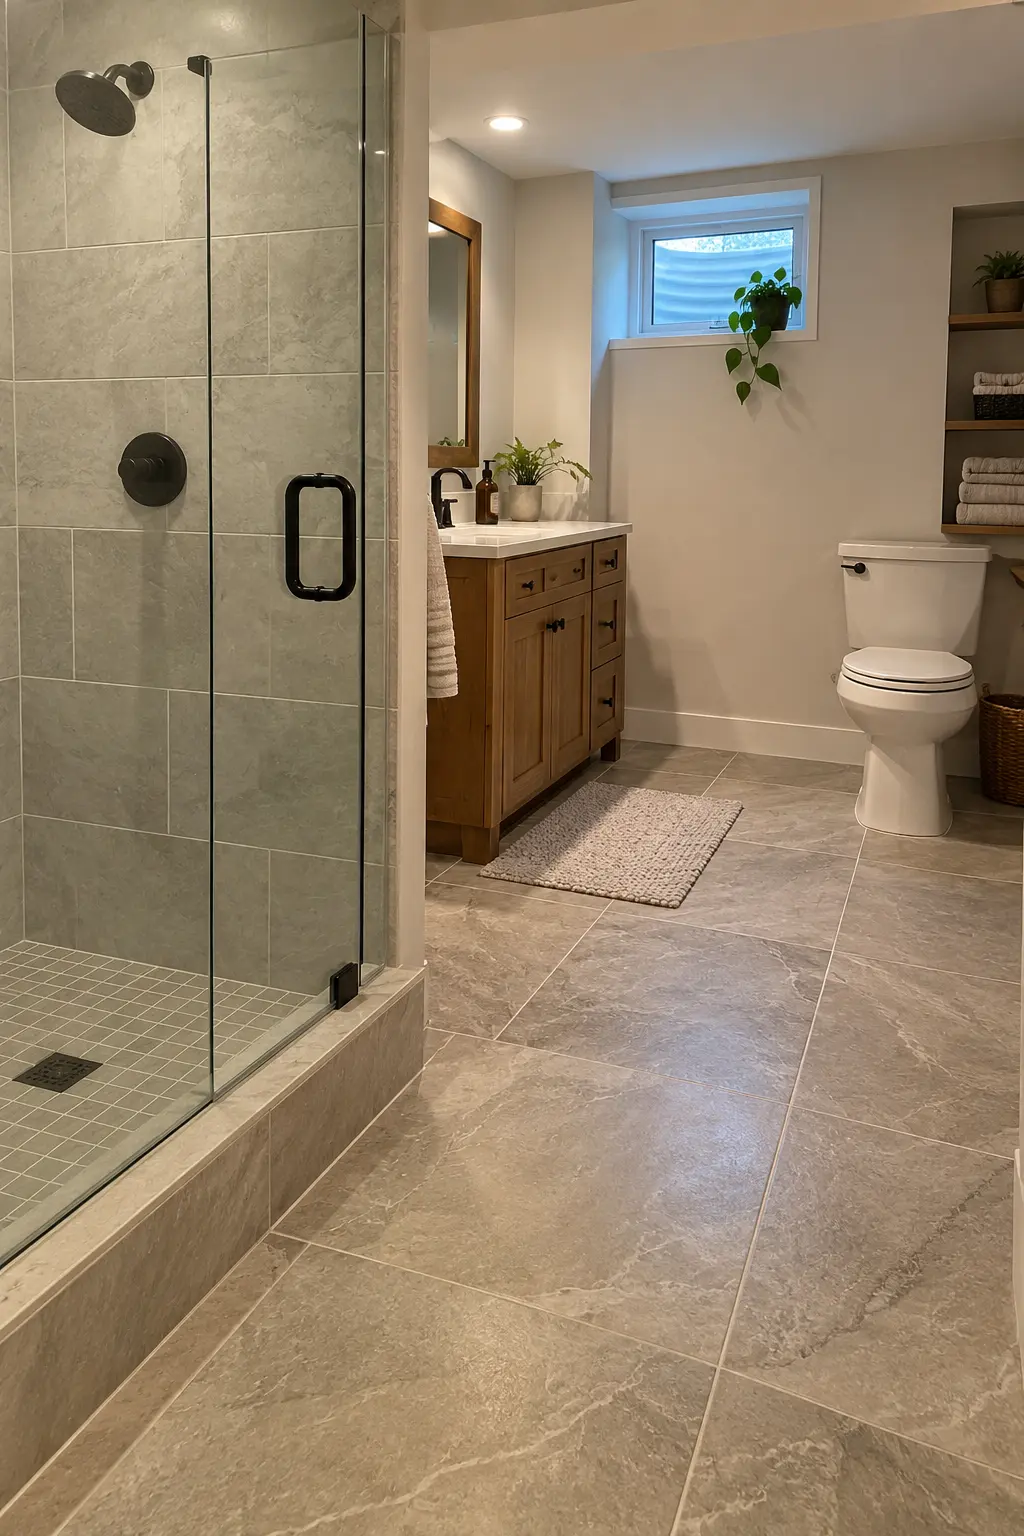
Inspect cracks, joints, penetrations, and previous patches before floor buildup begins. Have significant movement, active seepage, or unknown cracks evaluated rather than hiding them beneath underlayment.
Choose a floor assembly compatible with the slab's moisture behavior and the finish manufacturer. Coordinate crack isolation, uncoupling, vapor management, drain transitions, and finished elevation as one system.
18. Choose a Foundation-Wall Assembly That Can Dry
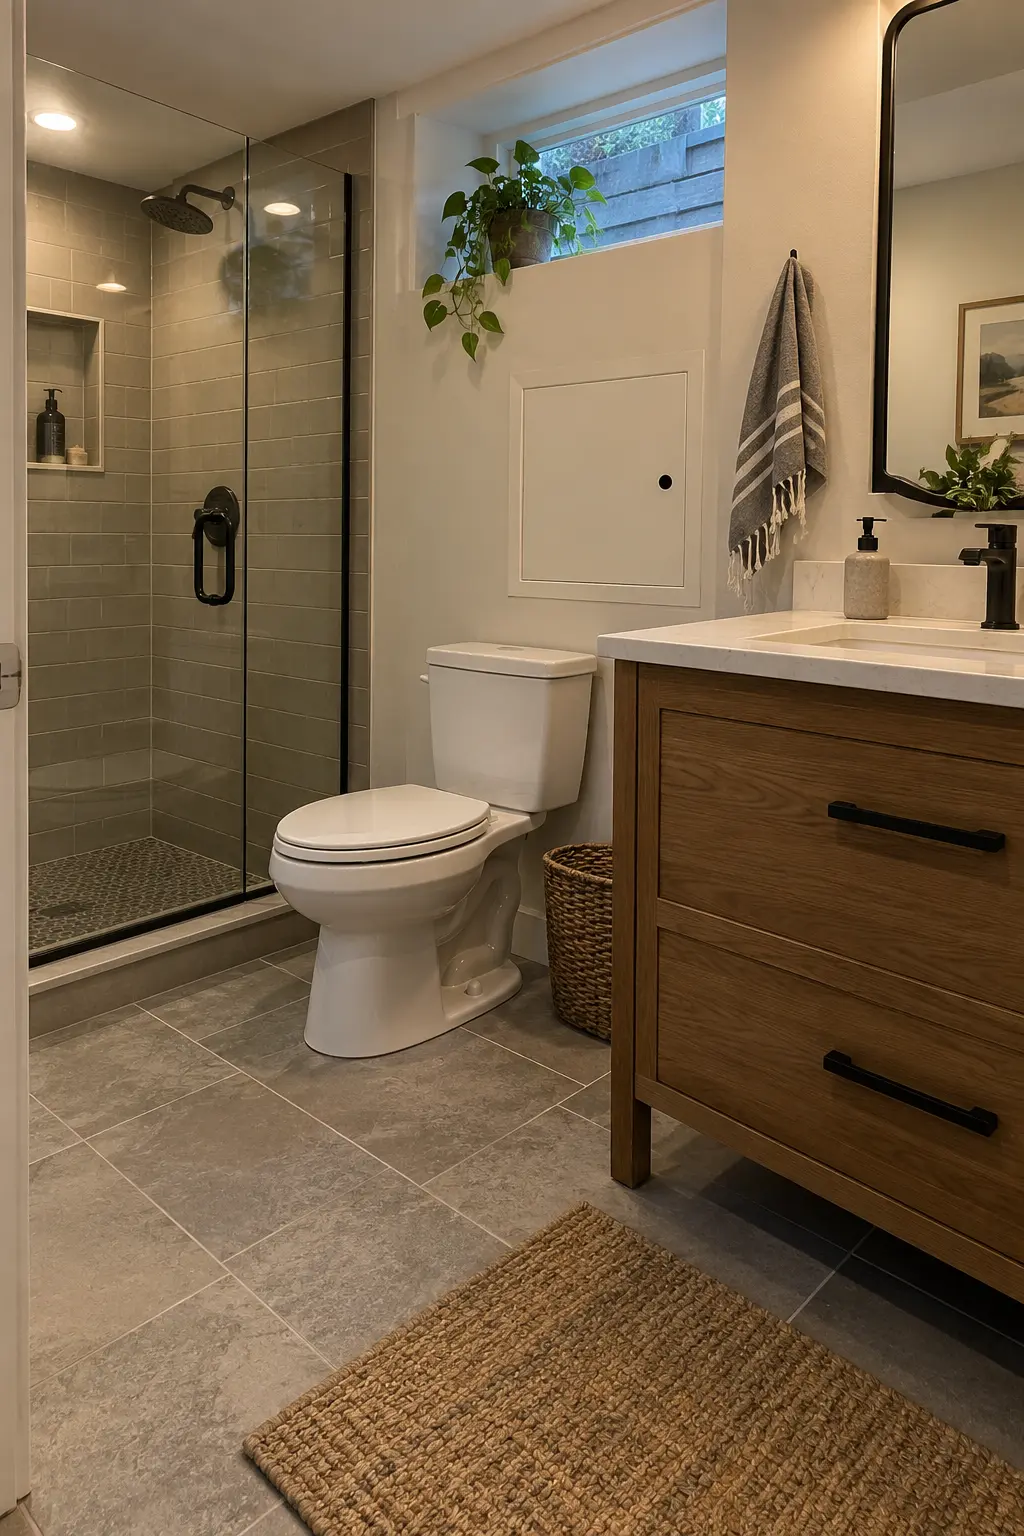
The wall build-up must suit the climate, foundation type, exterior conditions, and local code. Avoid trapping moisture between incompatible low-permeance layers or placing moisture-sensitive materials against damp masonry.
Have the insulation, air control, vapor control, fire blocking, and interior finish detailed together. Keep an inspection record before the assembly disappears behind drywall.
19. Specify One Complete Shower Waterproofing System
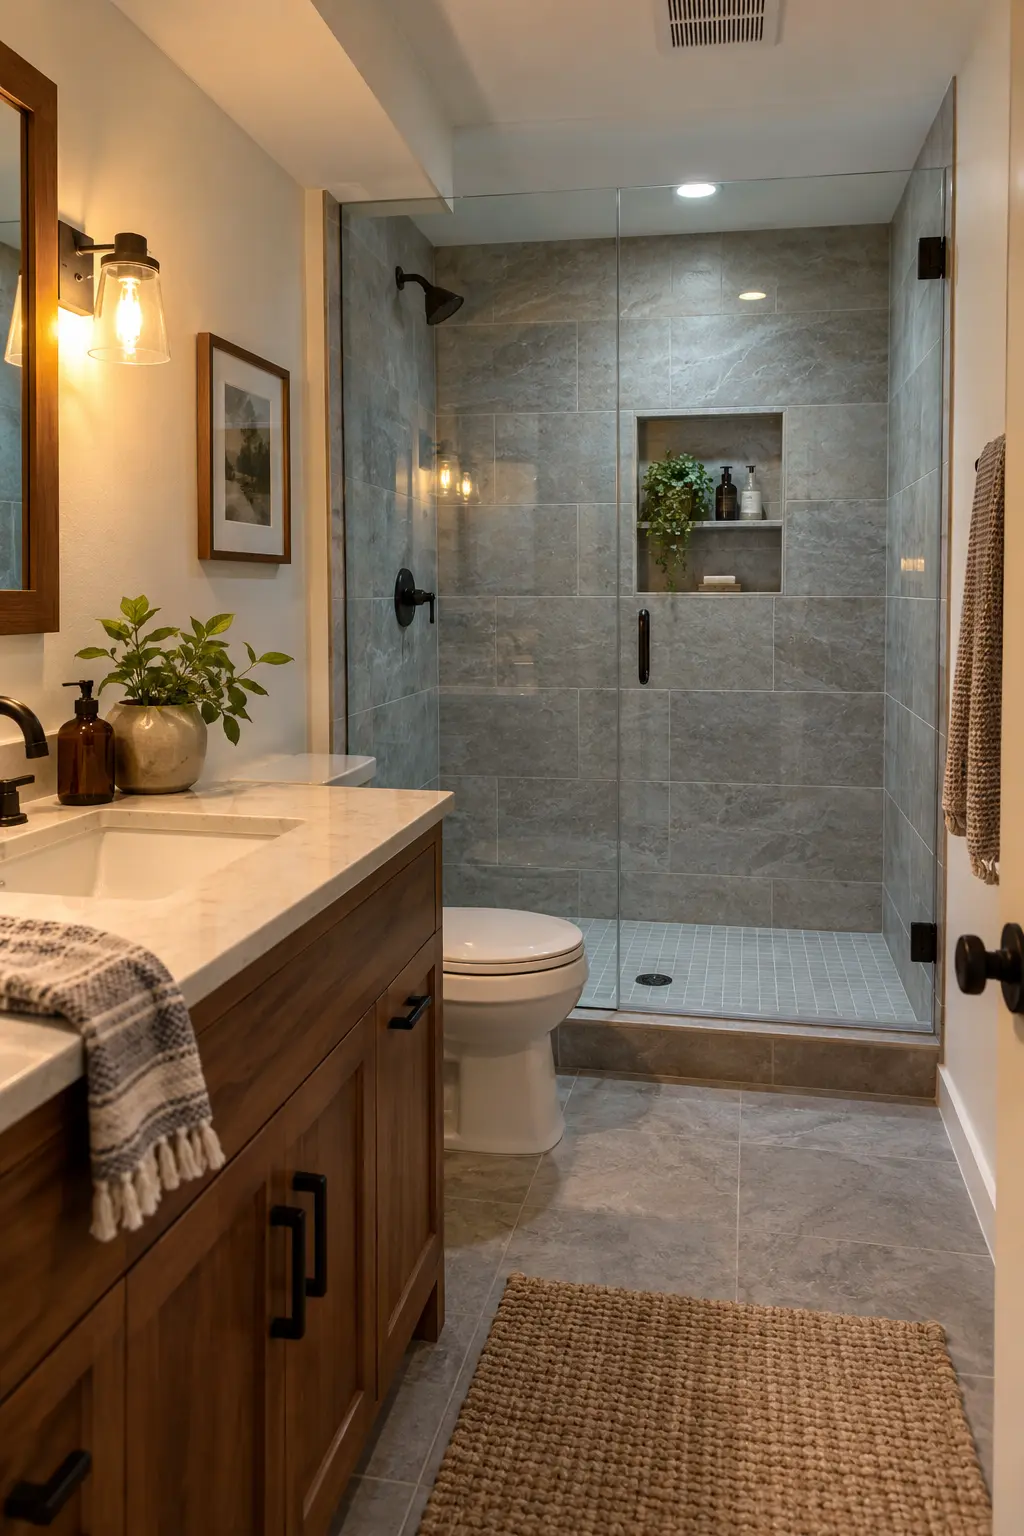
Choose a tested shower system and follow its approved drain, membrane, corners, seams, fasteners, penetrations, and cure times. Mixing unrelated products can leave gaps and complicate warranty responsibility.
Require a documented flood test when applicable before tile begins. Photograph every wall, curb, niche, bench, and valve penetration while the waterproofing is still visible.
20. Design for Leaks and Cleanup
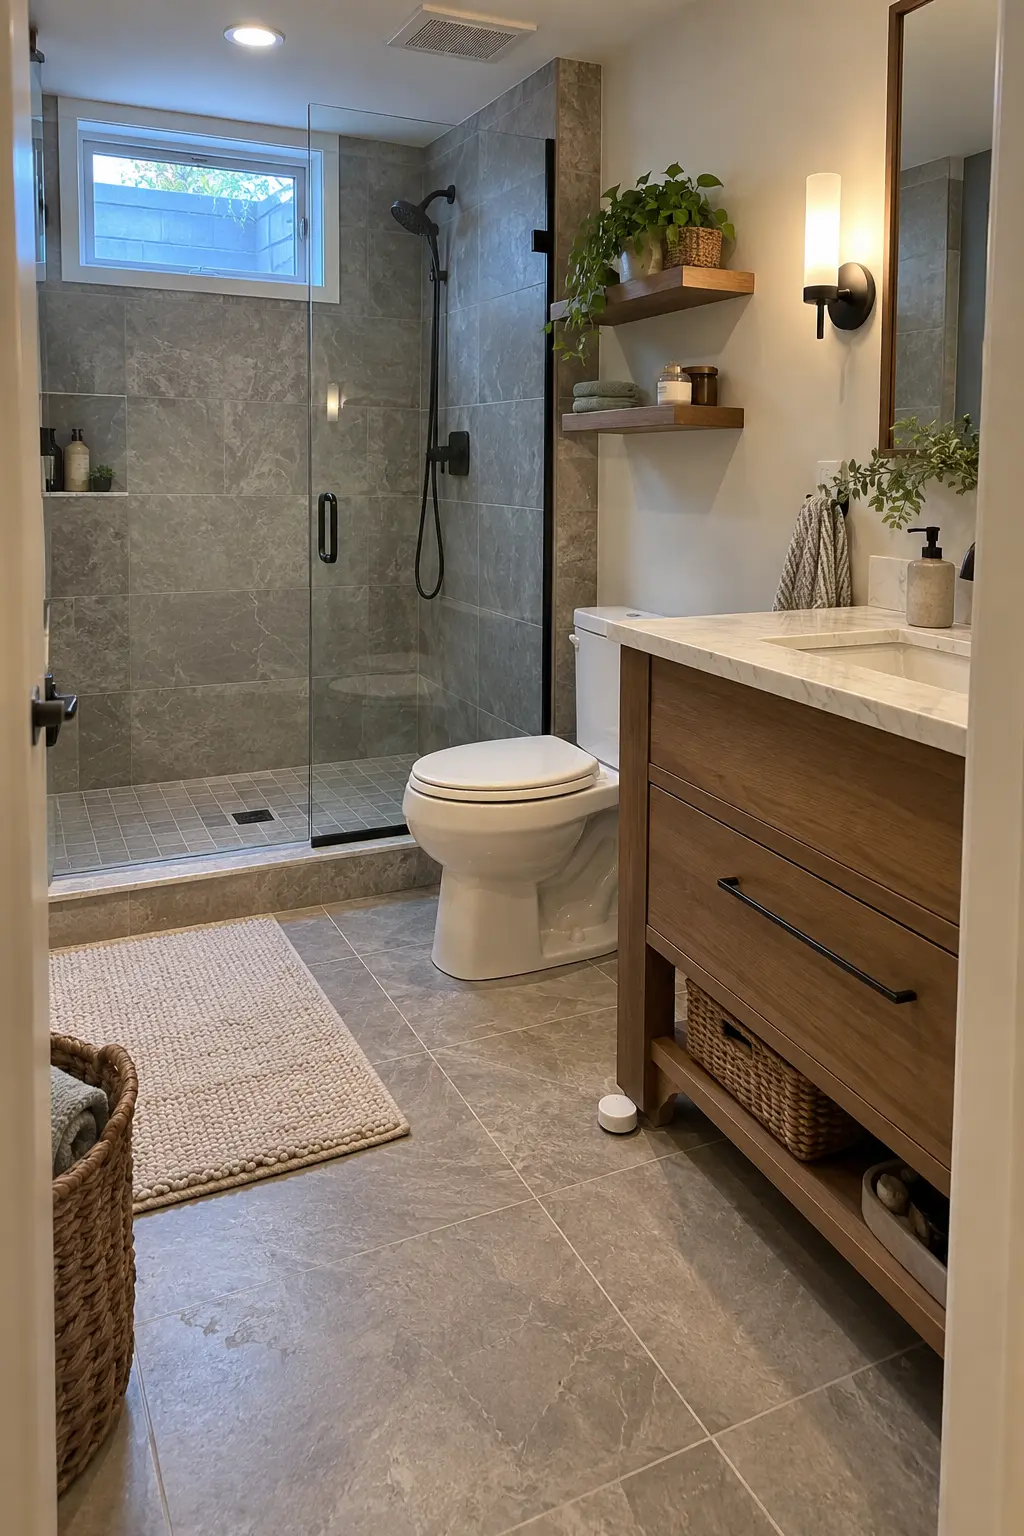
Keep water-sensitive trim and cabinetry away from likely leak points. Consider leak sensors, accessible shutoffs, a floor drain where allowed, and finishes that tolerate brief wetting without turning a small failure into major demolition.
Slope only surfaces intended to drain and avoid creating unintended low spots at the doorway. Confirm that any floor drain remains primed and permitted for the planned use.
Fit the Layout to Real Bodies and Clearances
A basement room often has columns, soffits, and tight circulation. Full-size mockups reveal conflicts that a small floor plan can hide.
21. Tape the Full Layout on the Floor
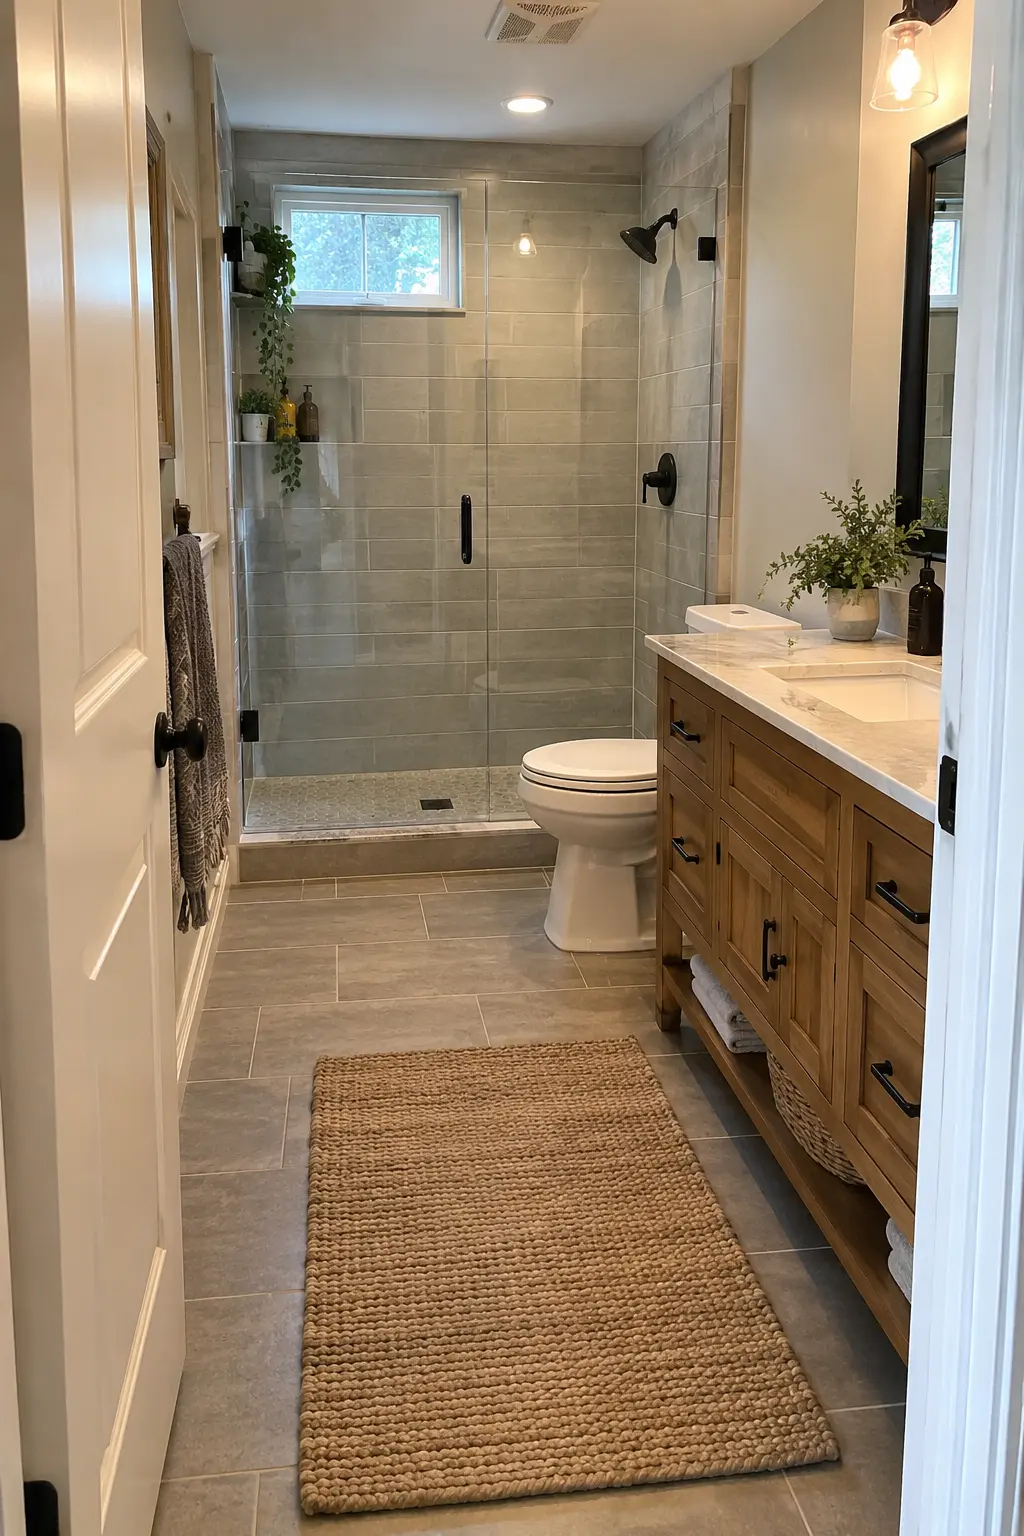
Mark the finished wall faces, shower edge, toilet, vanity, door swing, and circulation path at full size. Add cardboard boxes at fixture heights to test knees, elbows, doors, drawers, and cleaning access.
Walk the layout carrying a laundry basket or towel stack if the bathroom shares a basement route. Adjust cramped relationships before rough-in locations become expensive to move.
22. Choose the Shower Entry Deliberately
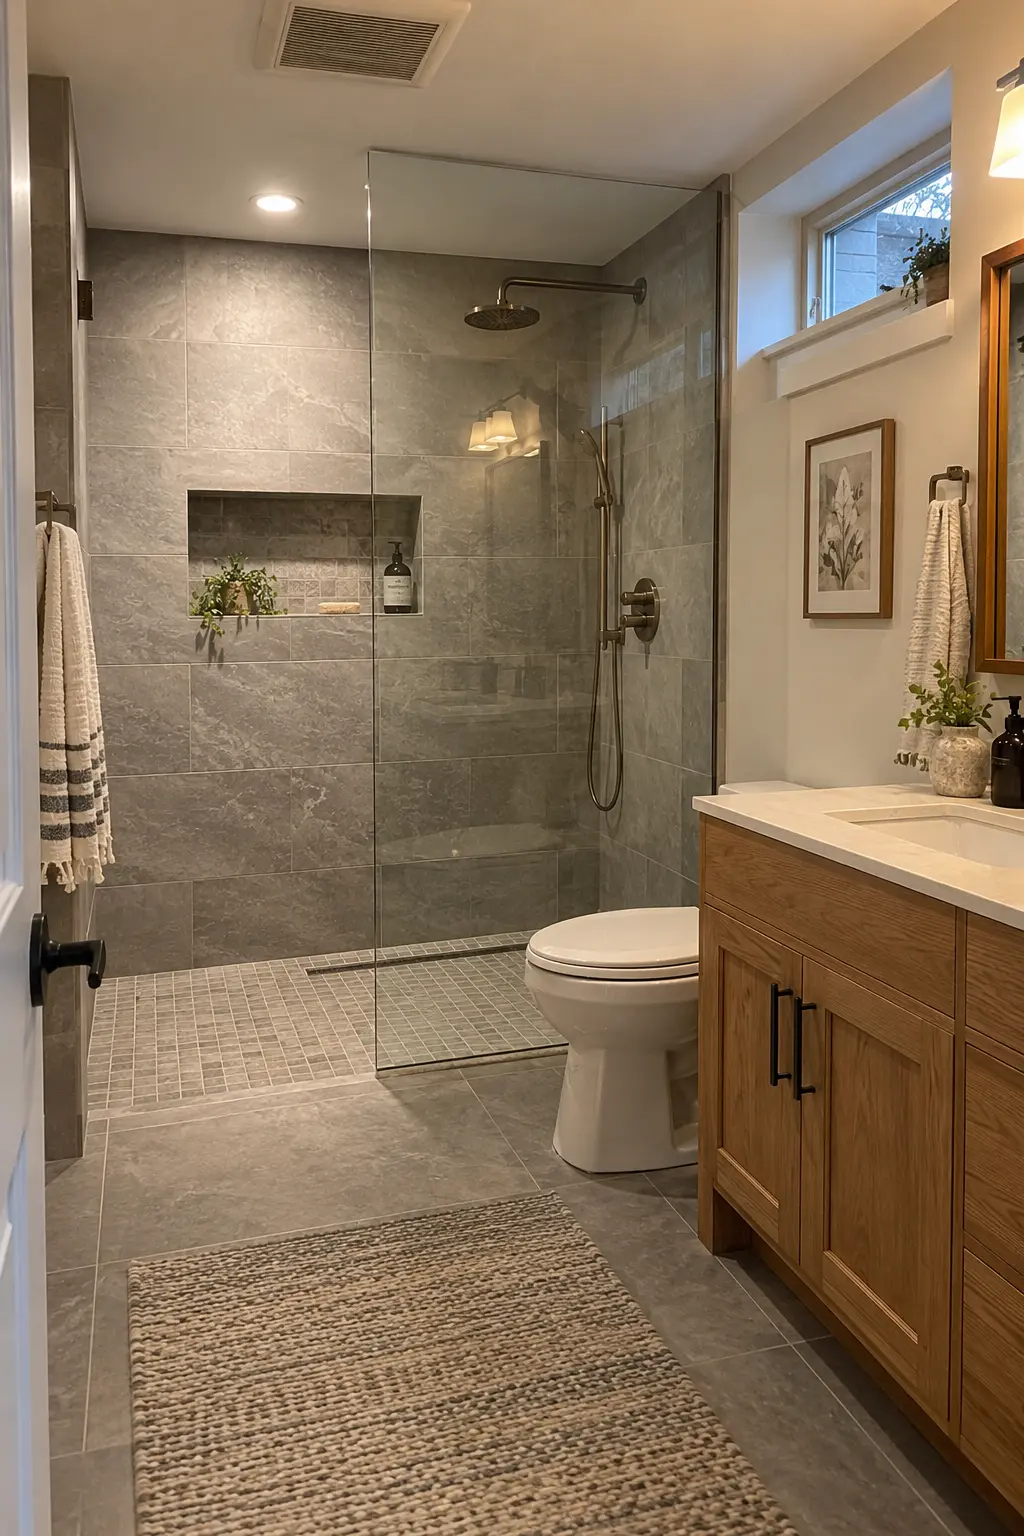
Compare a curbed shower, low-threshold base, and properly detailed curbless design against slab depth, drain position, waterproofing, and splash control. Curbless work may require structural and drainage planning rather than a thin finish change.
If accessibility is important, plan it from the start. These zero-entry shower ideas can help with visual direction, but the slope, drain, glass, and waterproofing still need project-specific design.
23. Resolve the Door Before Finalizing Fixtures
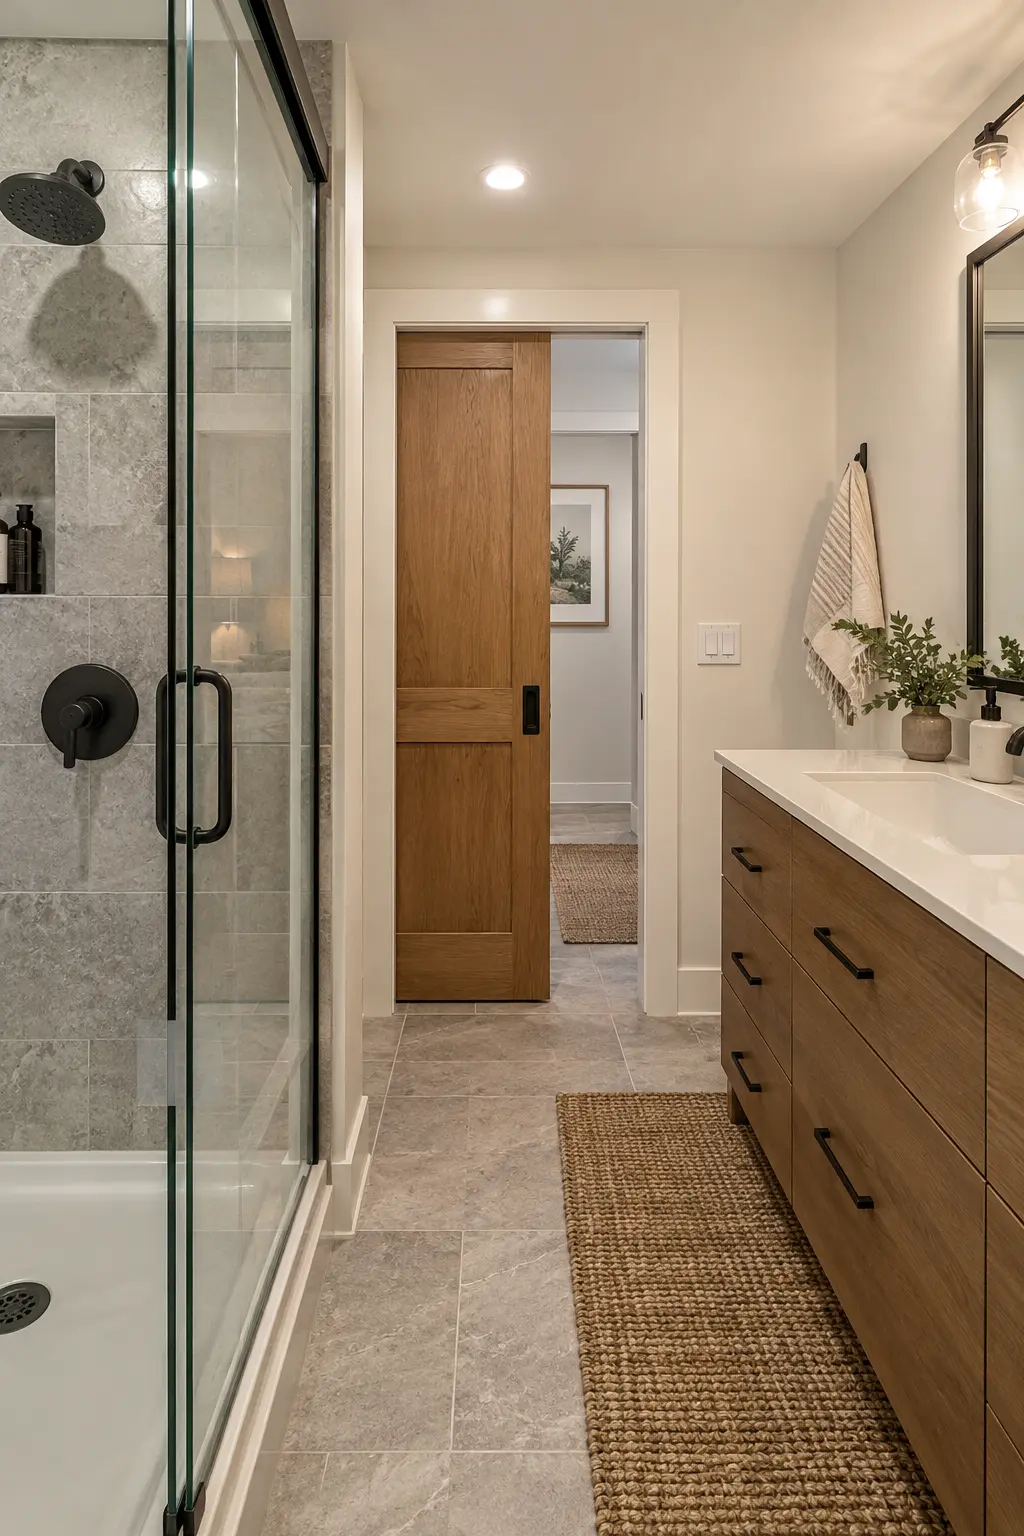
Test an inswing, outswing where permitted, pocket door, or surface slider against switches, towel hooks, privacy, wall utilities, and emergency access. A pocket cavity cannot also contain pipes, ducts, or electrical boxes.
Choose hardware that is easy to operate and confirm the clear opening after trim. The door should not collide with the toilet, vanity drawers, shower glass, or the main basement path.
24. Right-Size the Vanity and Sink
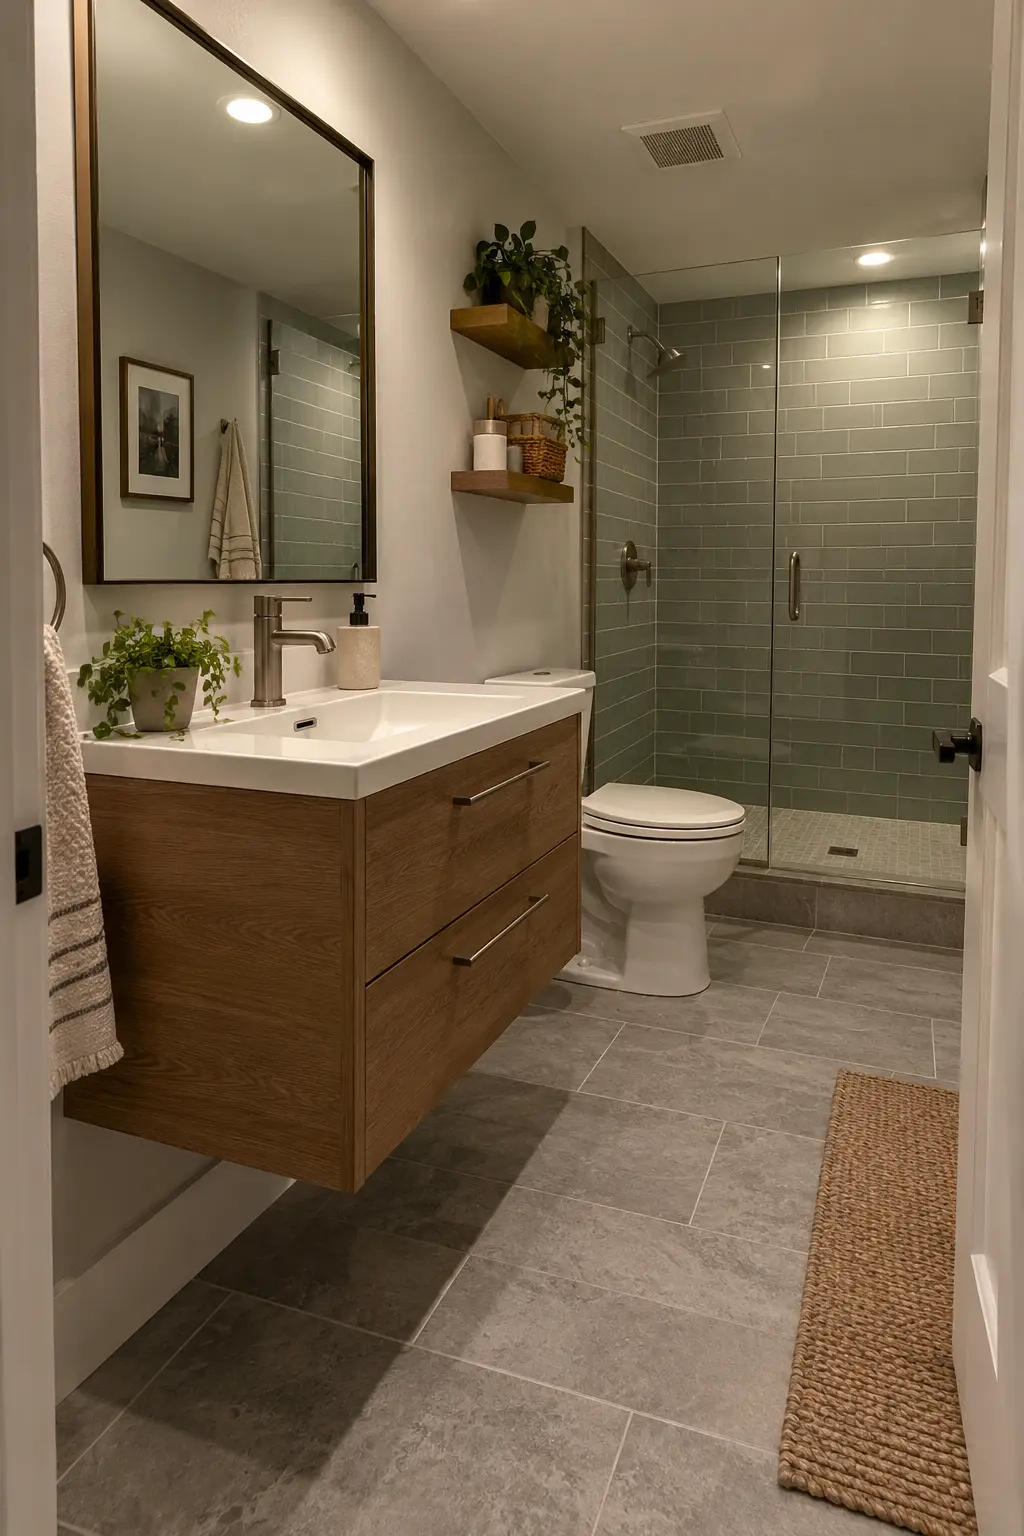
Select vanity width and depth from the taped clearance plan, not from an online photo. Confirm faucet reach, bowl size, drain location, drawer paths, mirror width, and plumbing space inside the cabinet.
A shallower vanity can improve circulation without sacrificing useful drawers. Wall-mounting may expose more floor, but blocking, drain height, and wall structure must be coordinated before drywall.
25. Build Storage Into Dead Zones
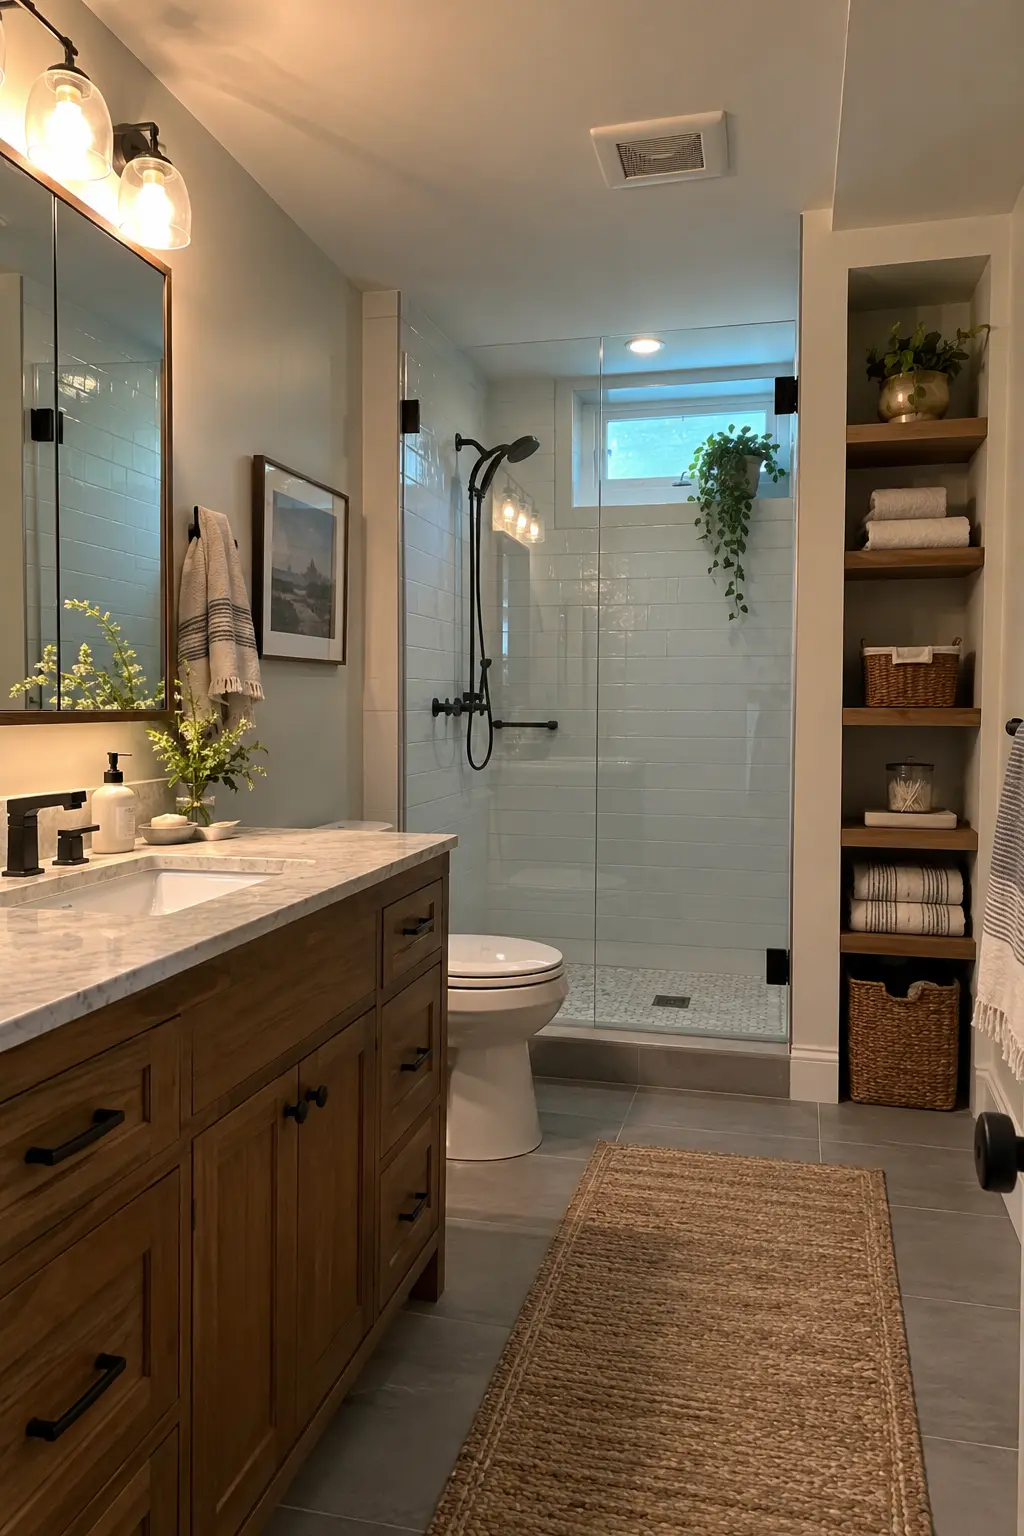
Use stud bays, the space above the toilet, a shallow linen niche, or the end of a vanity before adding bulky furniture. Keep storage outside splash zones and away from required access panels.
Plan shelf depths around the items they will hold. These small bathroom storage ideas can help refine the layout after plumbing and clearances are fixed.
Design Ventilation, Drying, and Thermal Comfort
The room must remove shower moisture without creating pressure, noise, or condensation problems elsewhere. Coordinate the fan, duct, insulation, and heat before the ceiling closes.
26. Route the Exhaust Fan Outdoors
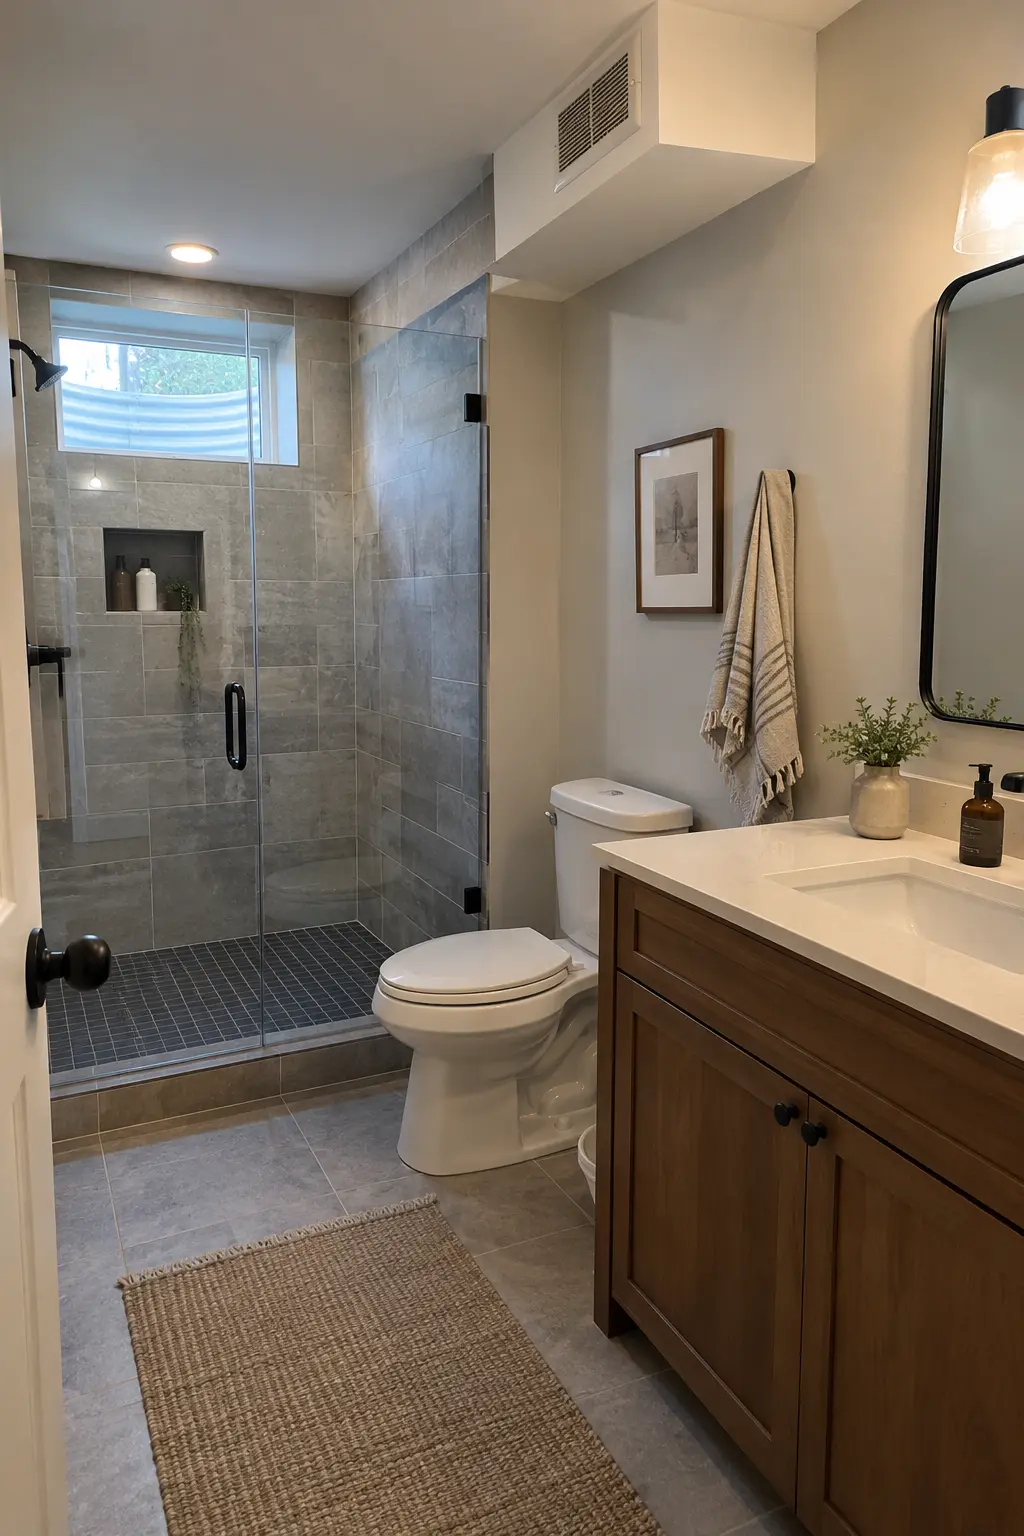
Plan the shortest practical duct route to an approved exterior termination. Avoid exhausting into a ceiling cavity, joist bay, garage, attic, or another indoor space.
Coordinate diameter, material, slope, insulation, backdraft control, exterior cap, and clearances with the fan instructions and local code. Seal joints as specified so moist air does not leak into cold framing.
27. Size the Fan for the Actual Installation
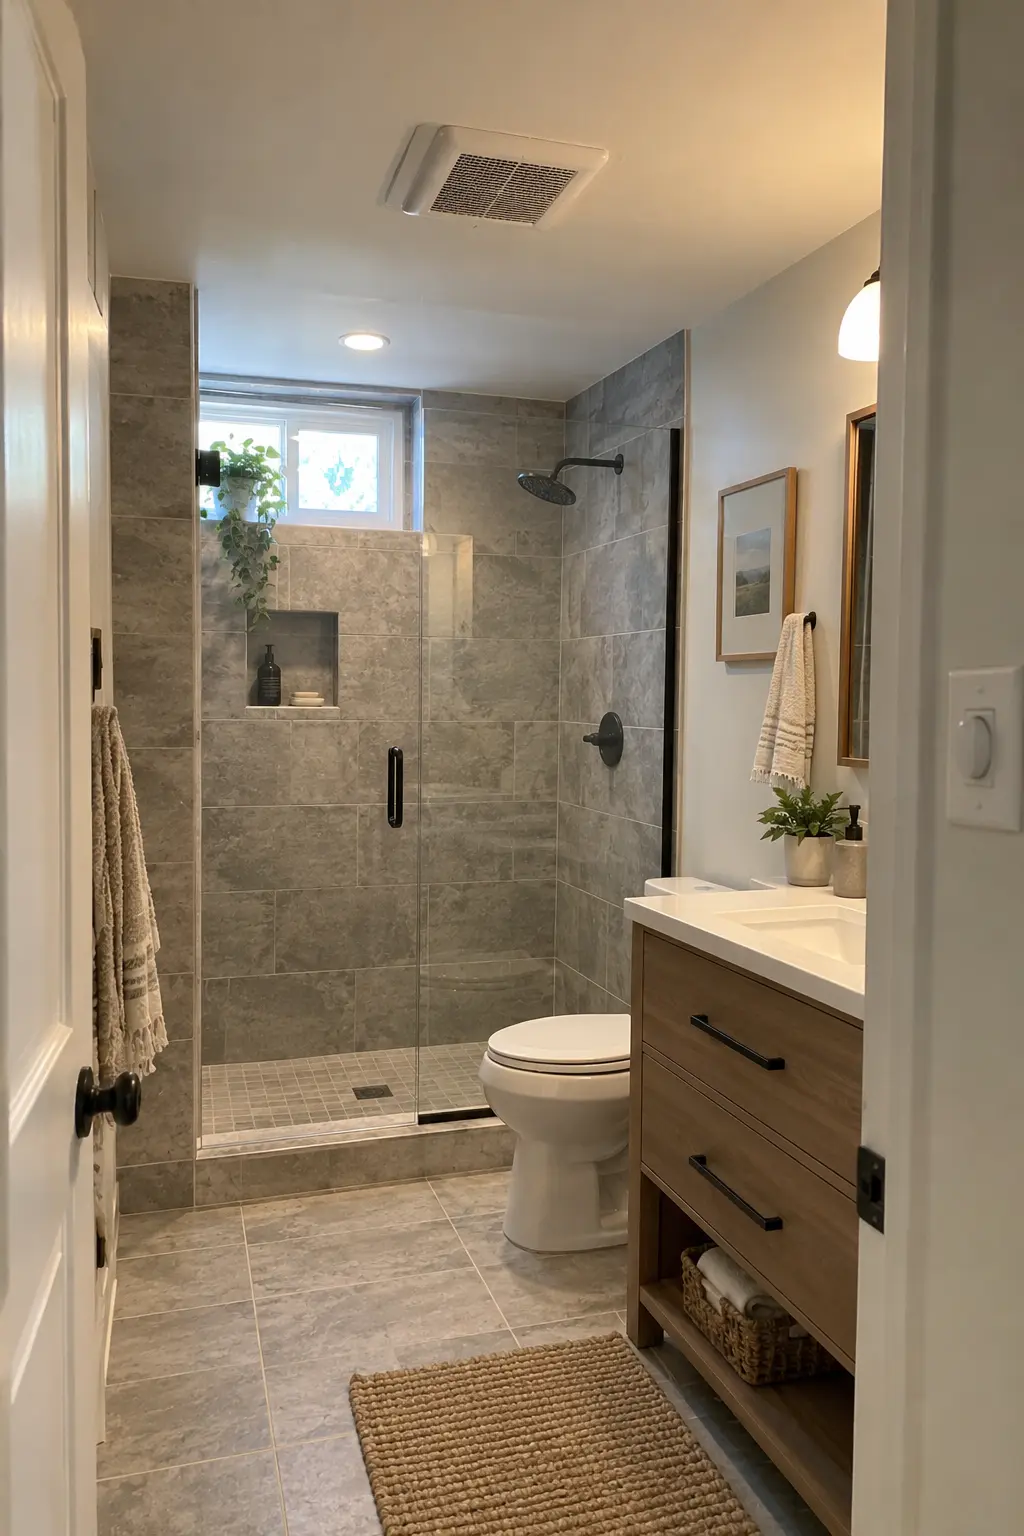
Select airflow using the room, fixture load, duct length, fittings, and required static pressure rather than the label alone. A fan can underperform when connected to a long, narrow, or sharply bent duct.
Balance airflow, sound rating, service access, and controls. A timer, occupancy control, or humidity response can improve run time, but it must be set and commissioned correctly.
28. Provide Makeup Air and Whole-Basement Drying
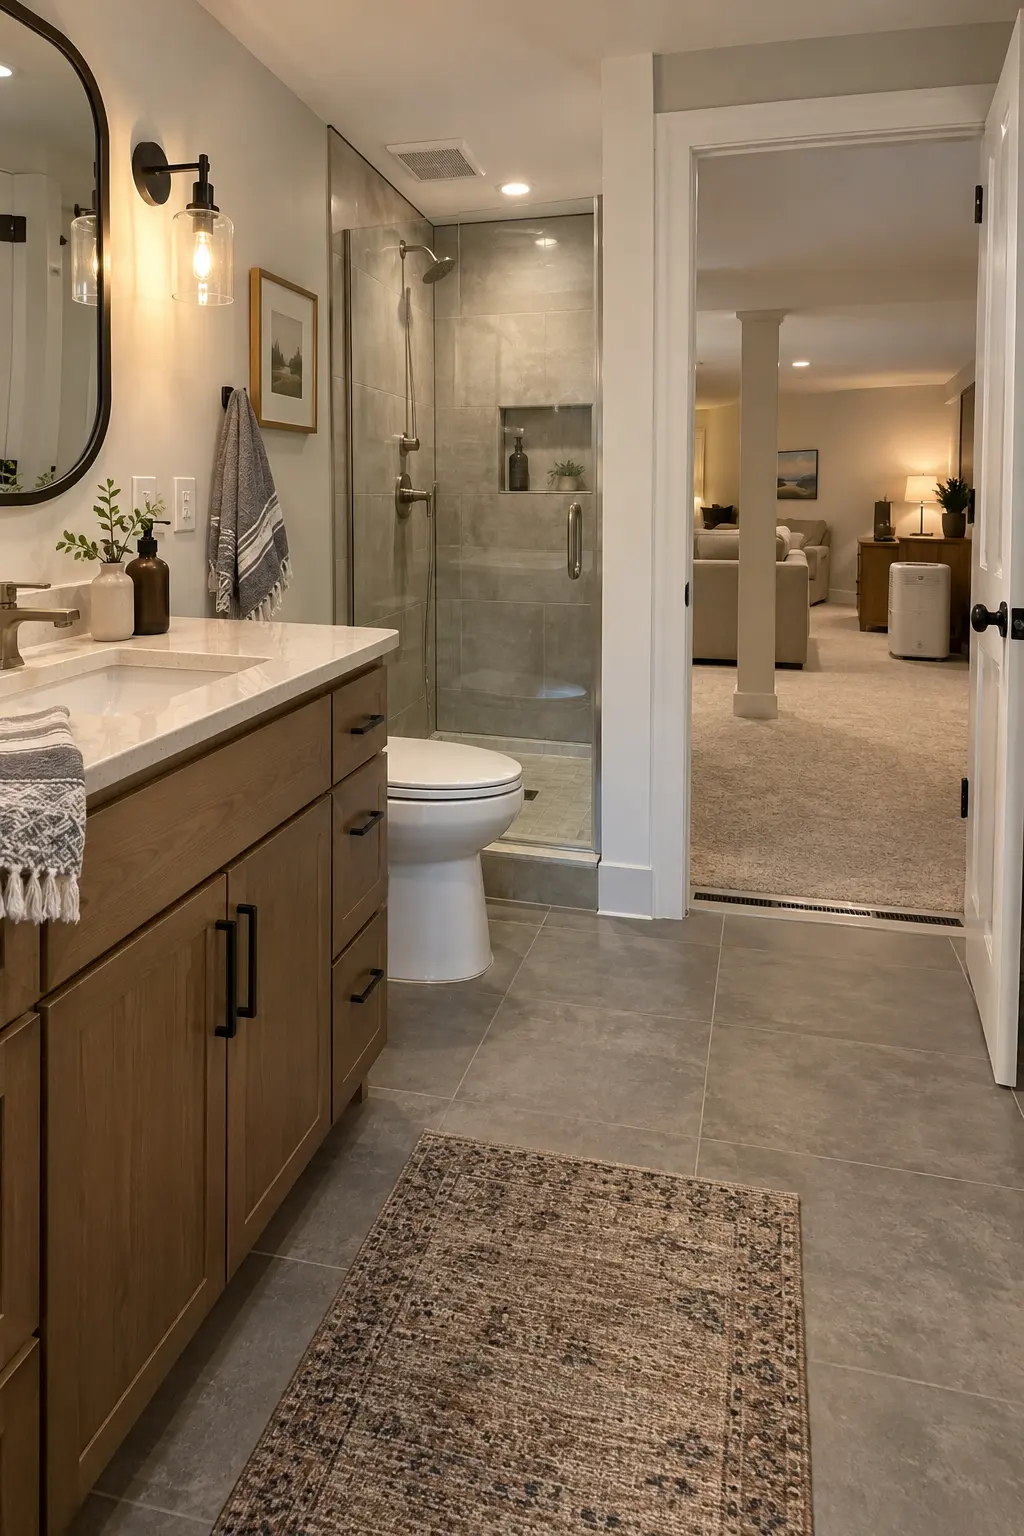
Confirm how replacement air reaches the bathroom when the door is closed. A properly sized door undercut or approved transfer path helps the exhaust fan move its rated air.
Treat persistent basement humidity as a whole-space issue, not something one bath fan must solve. Coordinate HVAC operation or dehumidification, condensate drainage, and target humidity with a qualified professional.
29. Insulate Cold Surfaces Before They Condense
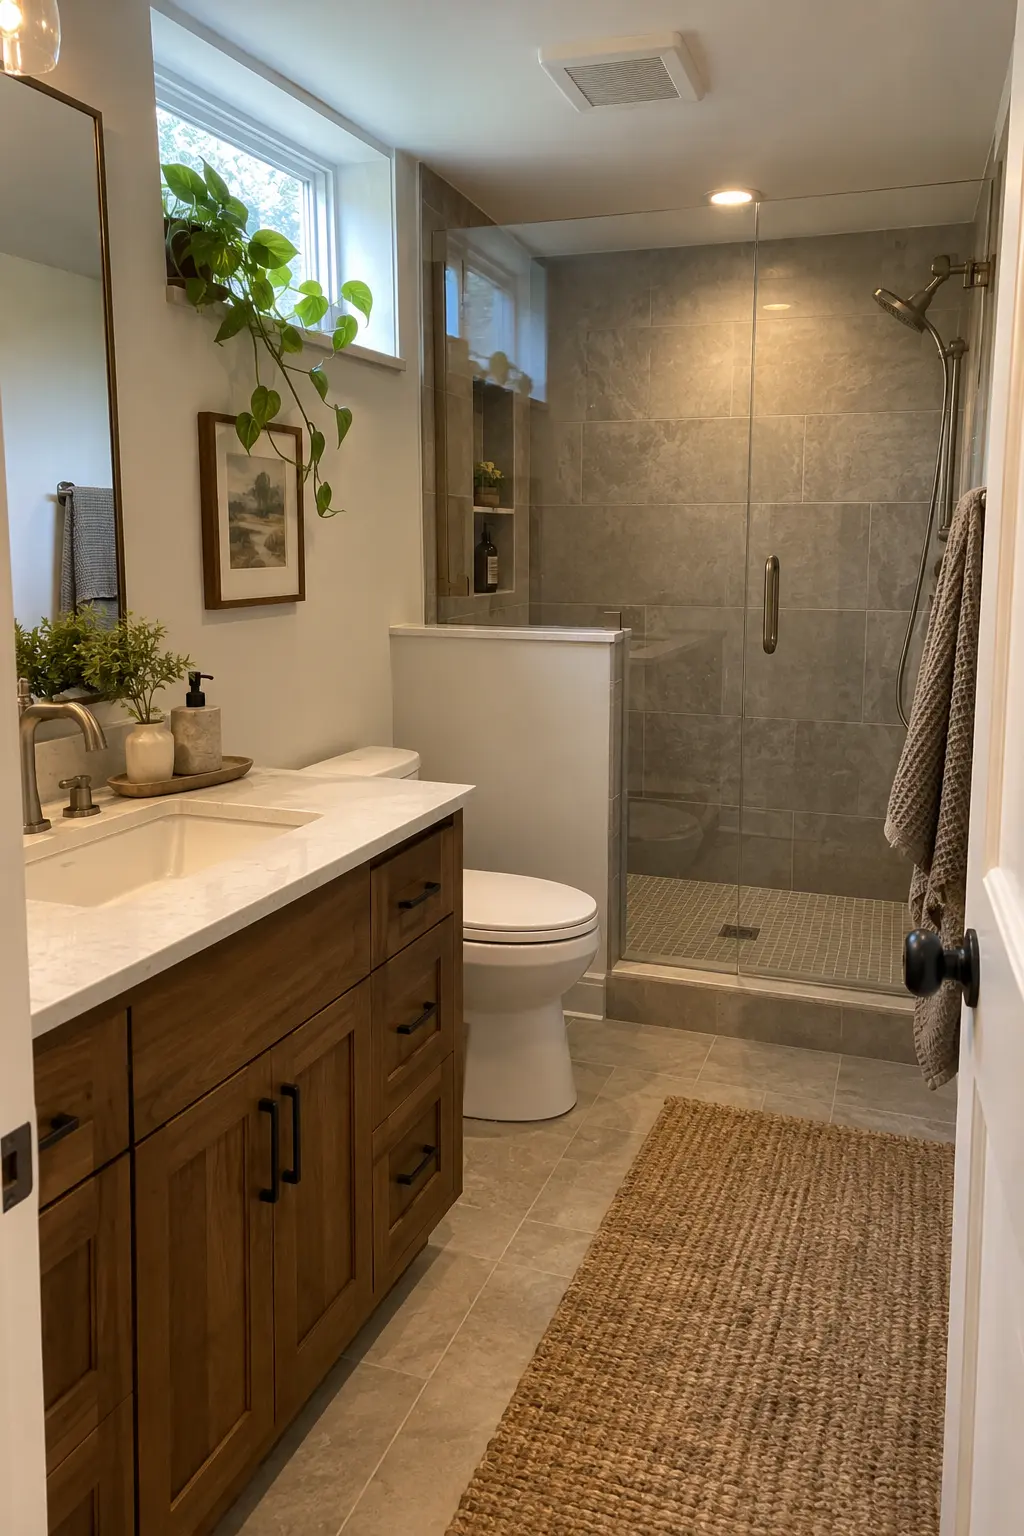
Cold foundation walls, rim joists, pipes, ducts, and toilet tanks can collect condensation when warm bathroom air reaches them. Identify these surfaces during design and choose compatible insulation and air-sealing details.
Do not block required combustion air or equipment clearances while tightening the room. Inspect the continuity of the thermal and air-control layers before finishes cover them.
30. Add Comfort Heat Without Hiding Risks
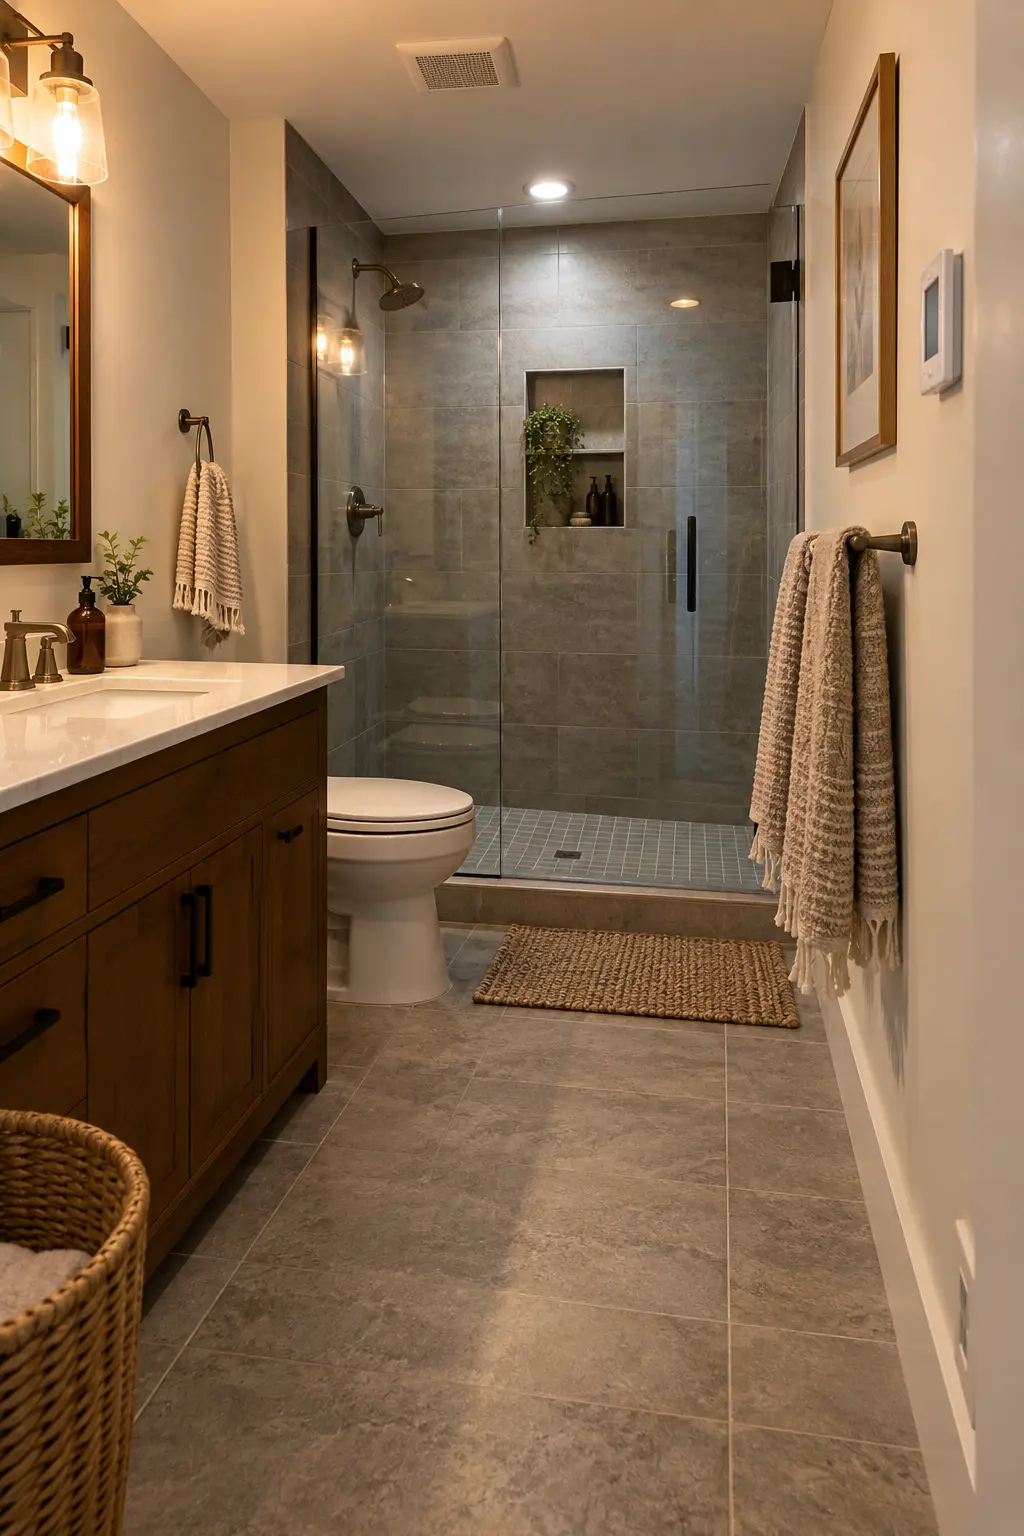
Compare extending the home's HVAC, using an approved electric heater, or adding listed floor warming under a compatible finish. Size the solution to the room and basement conditions rather than using decorative heat as the moisture plan.
Coordinate thermostats, sensors, circuits, clearances, and service access. Keep heating products away from wet locations unless listed and installed for that exact use.
Plan Electrical Safety and Useful Lighting
Bathrooms combine water, grooming appliances, and confined spaces. Let a licensed electrician coordinate protection, circuit capacity, fixture listings, and access with the adopted code.
31. Map GFCI-Protected Receptacles
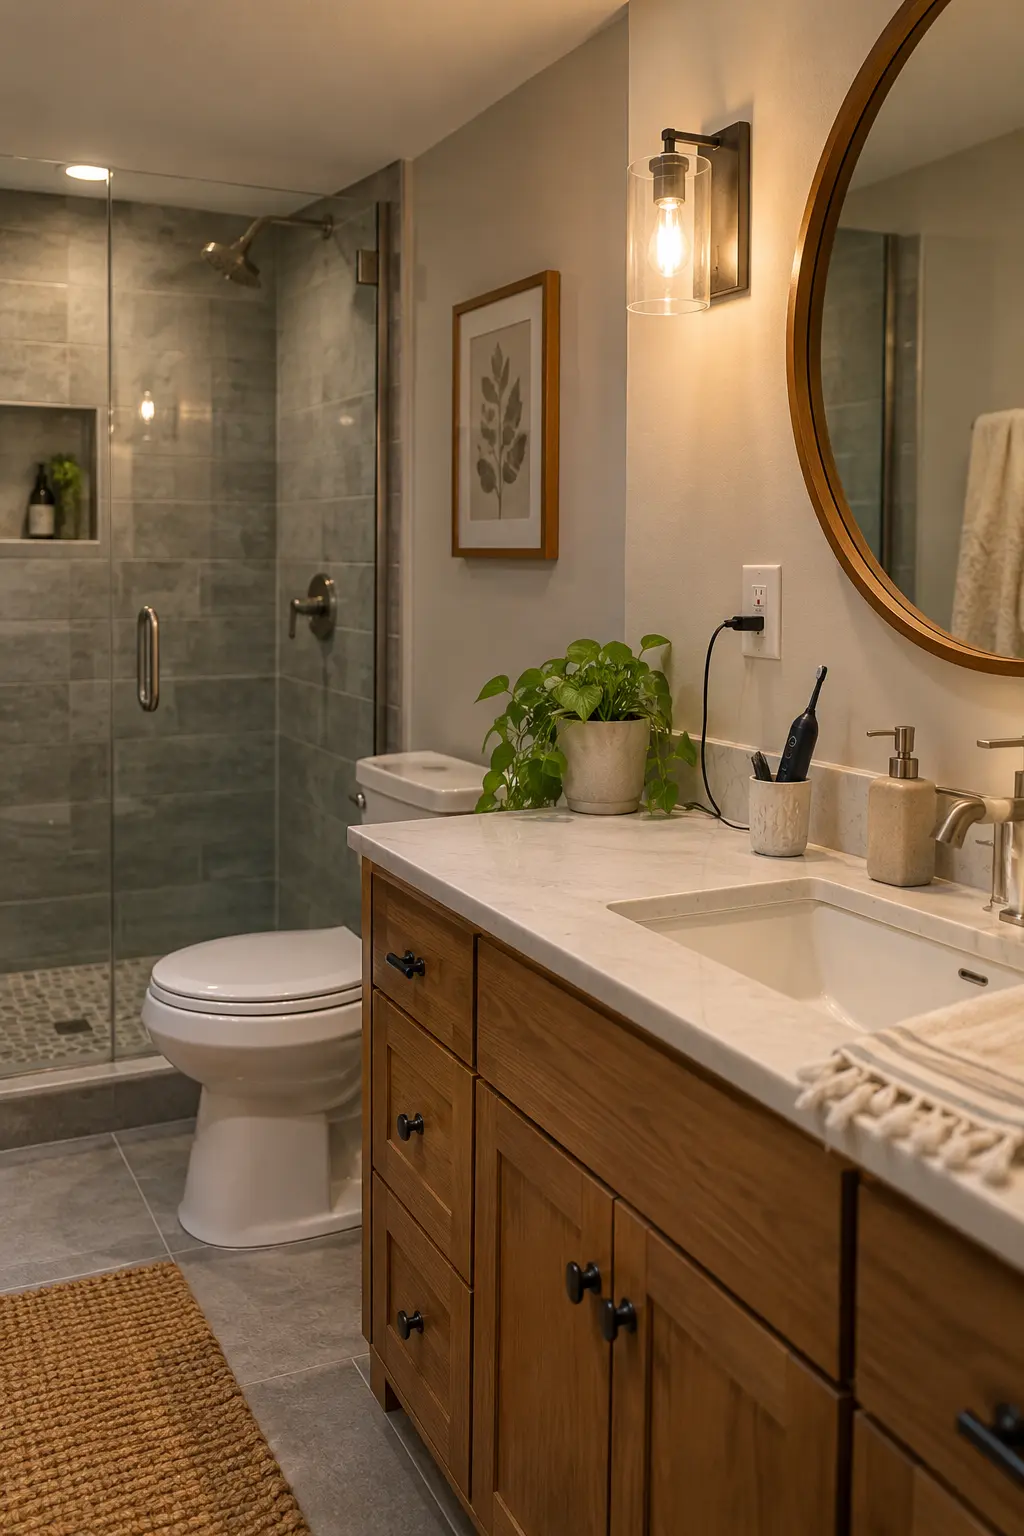
Locate bathroom receptacles from the finished vanity and user routine, then confirm required GFCI protection and circuit rules locally. Keep cords from crossing the sink and avoid placements blocked by drawers, mirrors, or backsplash details.
Test the protection after installation and label anything not obvious. The electrician should verify grounding, box fill, cover suitability, and compatibility with the selected devices.
32. Confirm Circuit Capacity Before Adding Loads
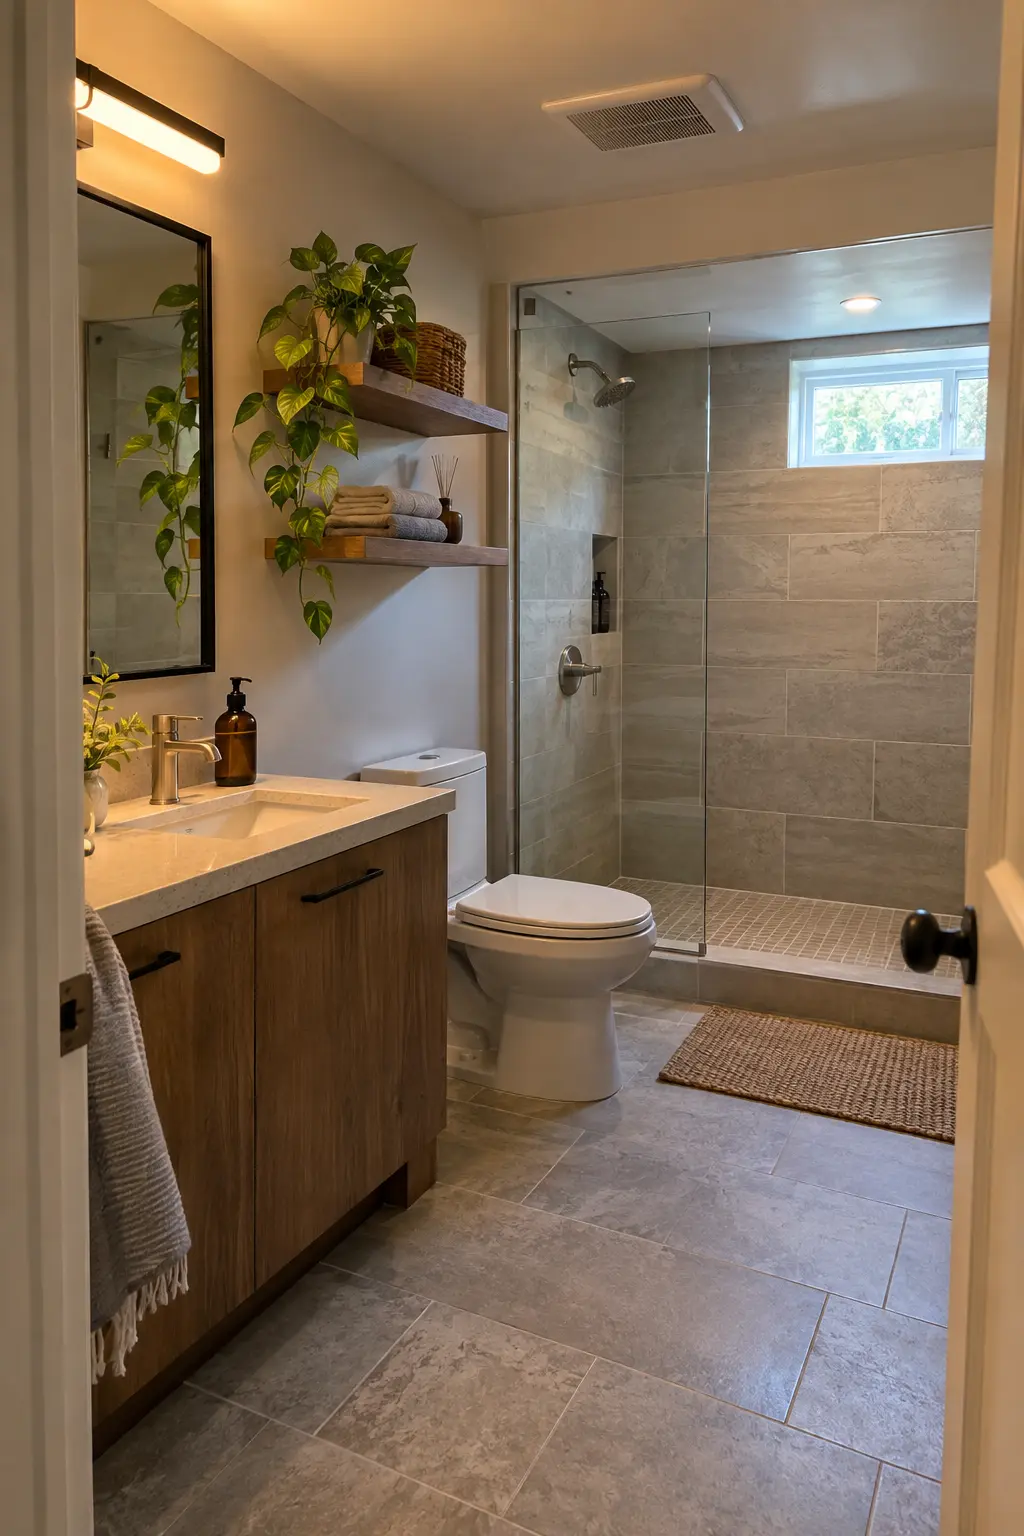
List the fan, lights, receptacles, heated floor, bidet seat, pump, towel warmer, and any electric heater before wiring. Some loads may need dedicated circuits or special protection.
Have the electrician assess panel capacity and the route to the basement. Do not let optional comfort products appear after rough-in without revisiting the load calculation and permit scope.
33. Layer Ambient, Task, and Night Lighting
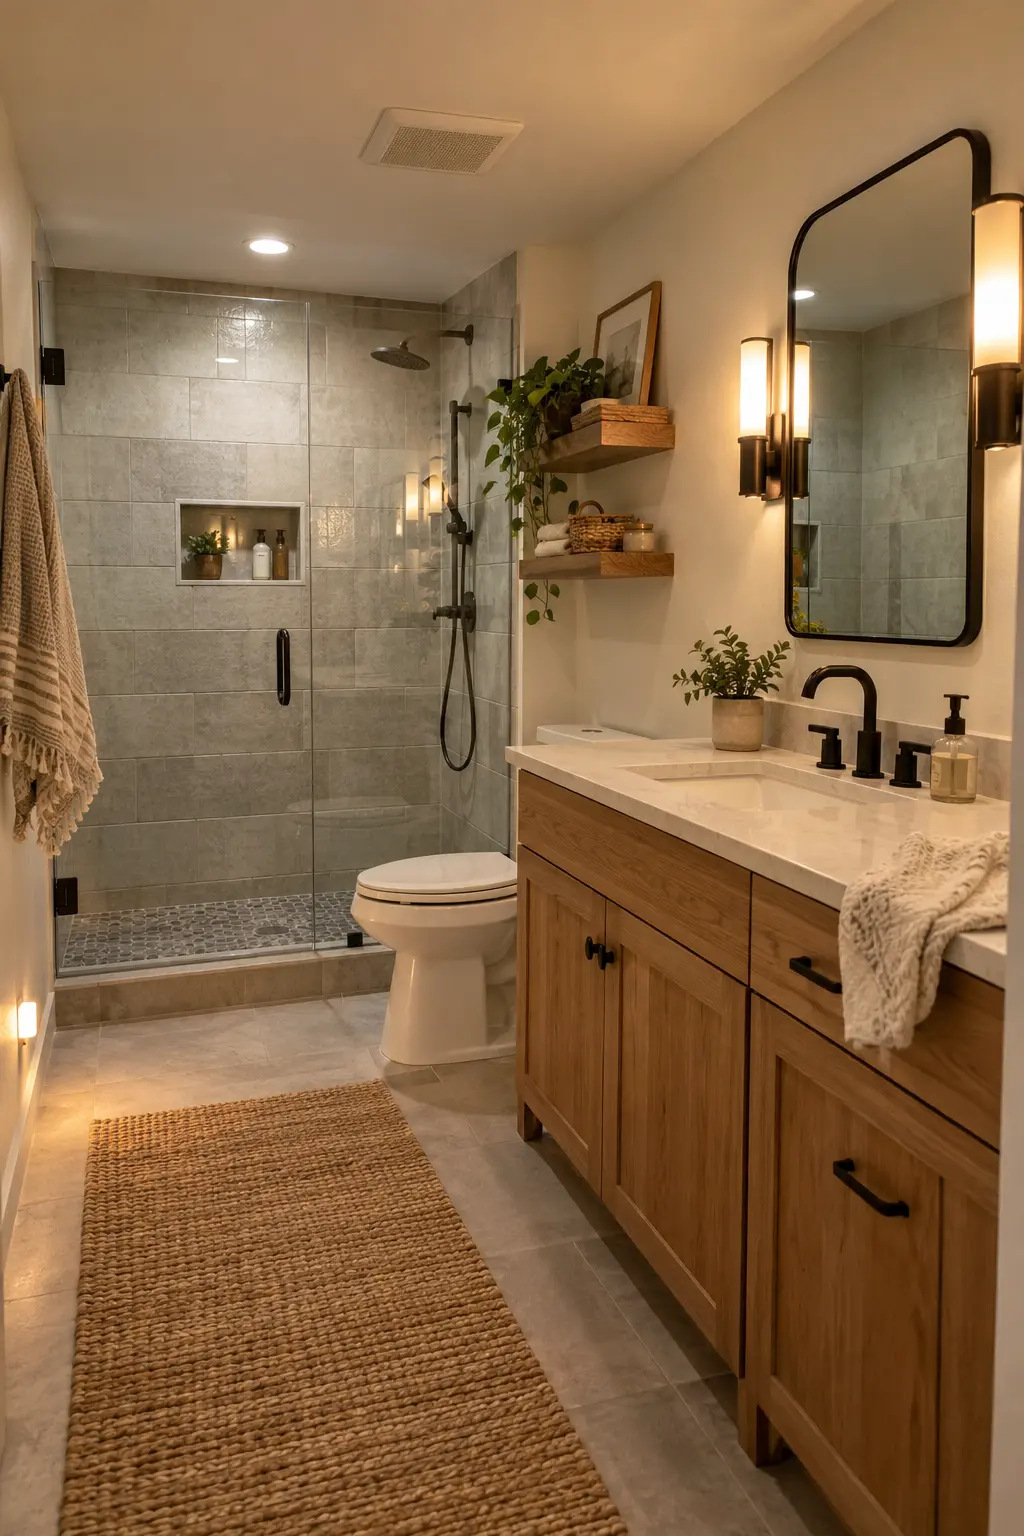
Use general ceiling light for safe movement, vertical light near the mirror for grooming, and a low-level option for nighttime visits. Place fixtures to reduce face shadows and dark shower corners.
Choose controls before wiring, including dimming where compatible. Confirm color temperature and rendering with sample finishes so gray tile does not look blue or muddy underground.
34. Use Fixtures Listed for Their Location
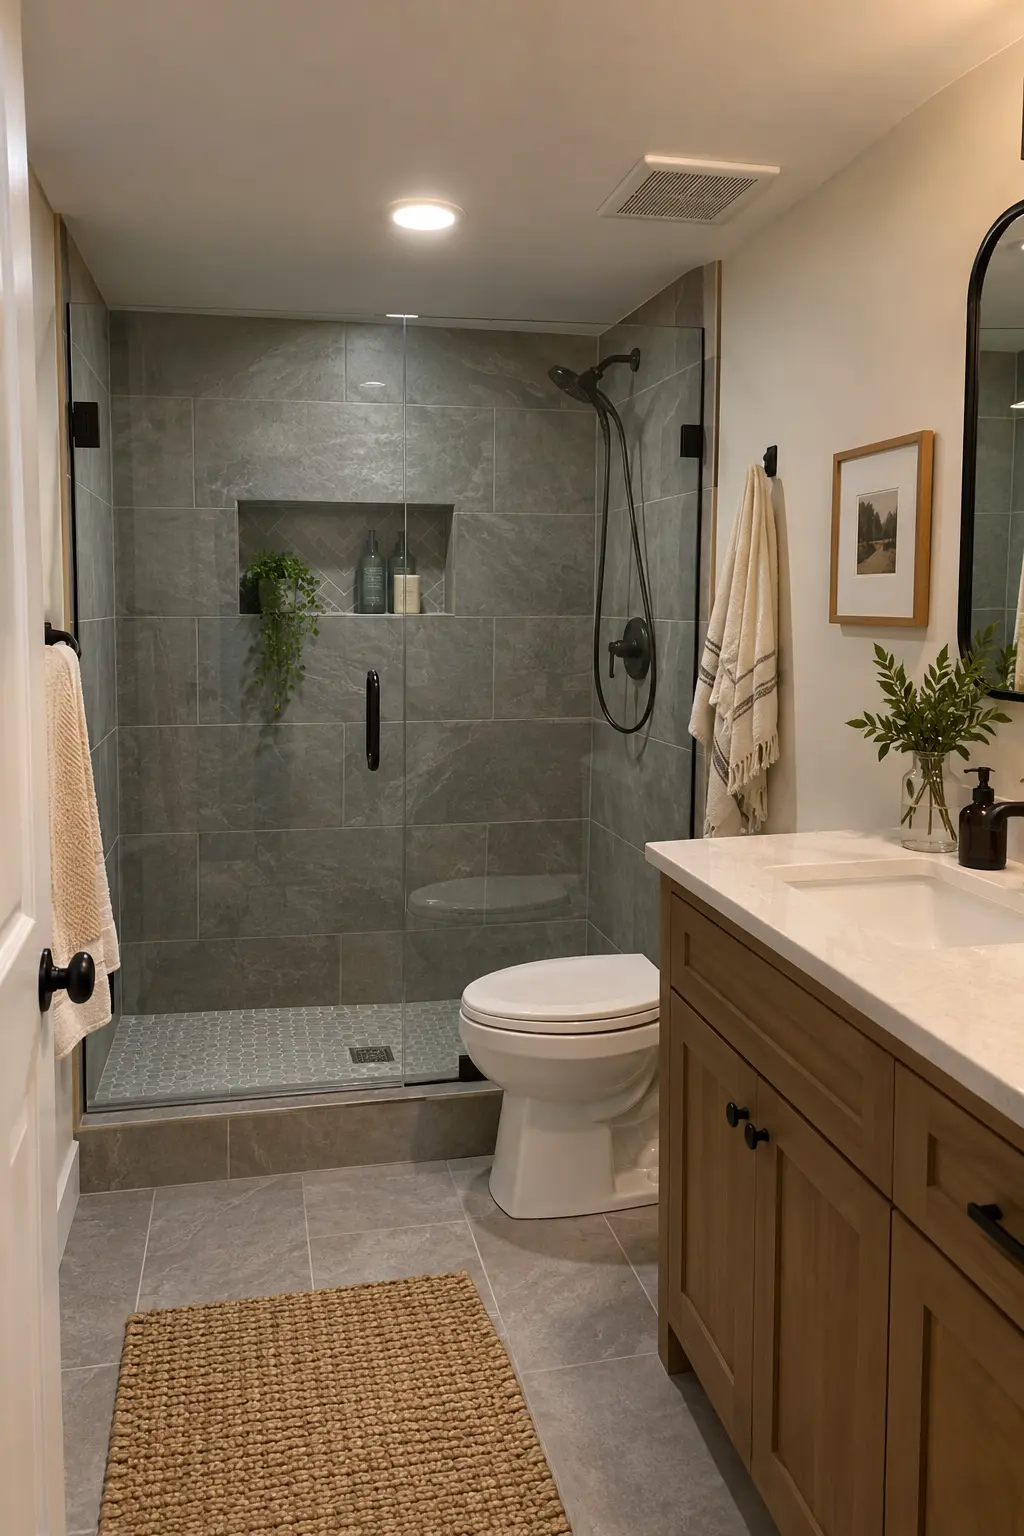
Divide the room into wet, damp, and dry zones with the electrician and inspector. Select luminaires, fans, controls, and accessories listed for their exact location and exposure.
Keep decorative fixtures from reducing required headroom or door clearance. Save product documentation so the inspector can verify ratings without removing finished trim.
35. Coordinate the Mirror, Sconces, and Boxes
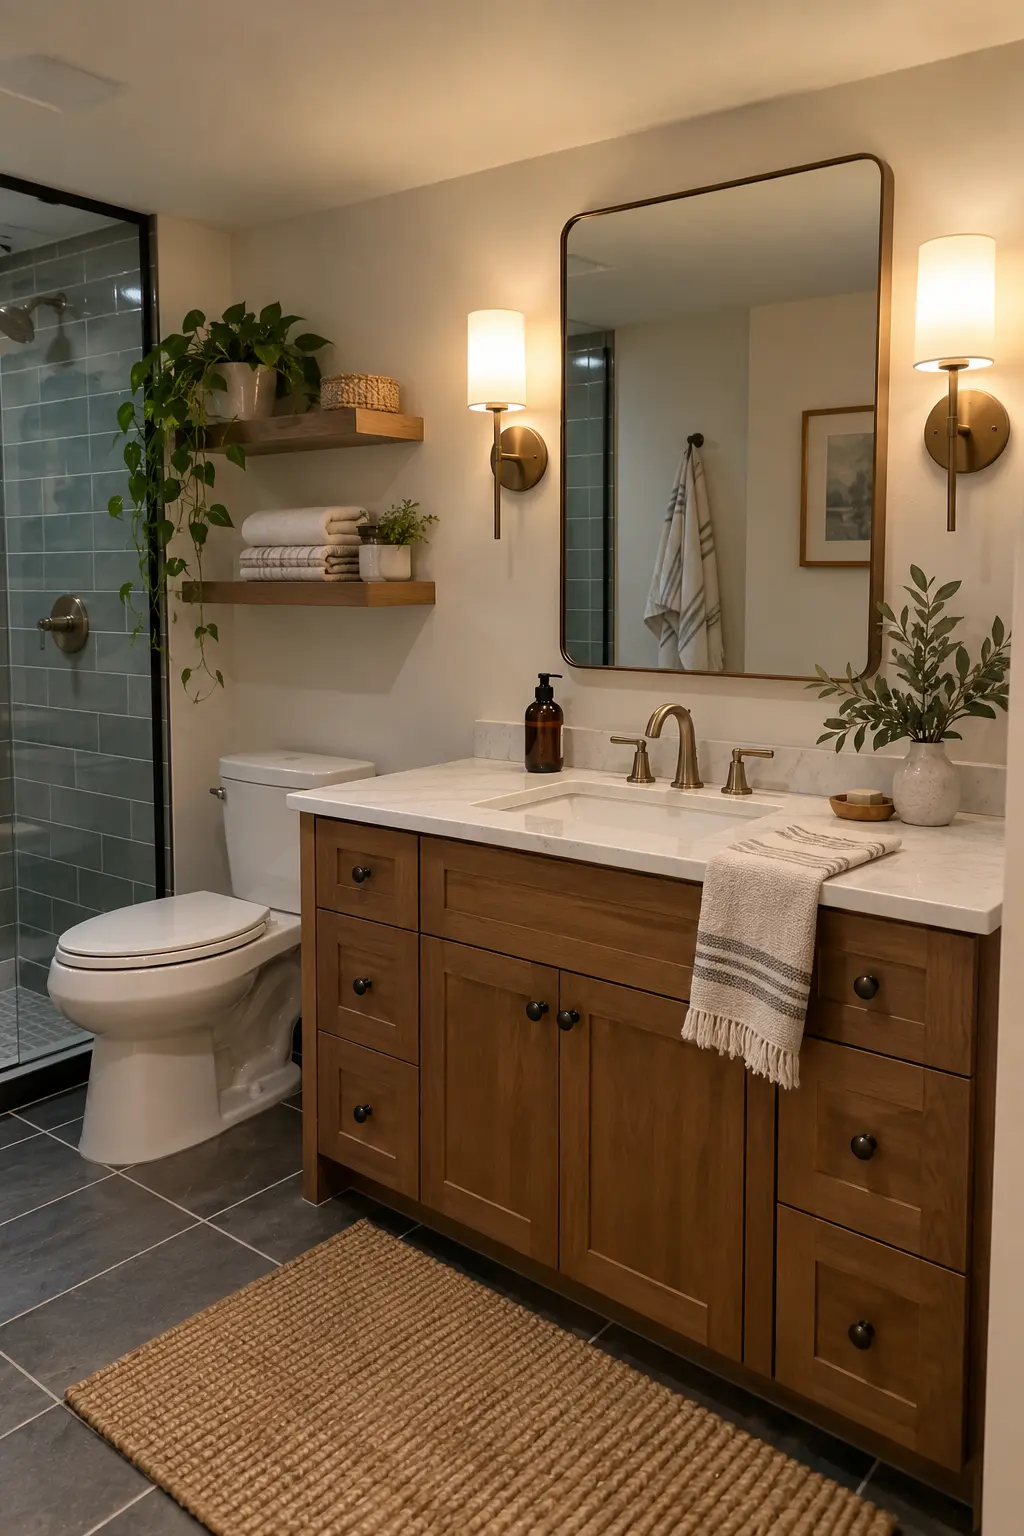
Choose the mirror dimensions before electrical boxes are fixed. Centerlines should relate to the sink and user's face, while sconces clear medicine-cabinet doors and mirror mounting hardware.
Add solid backing for heavy mirrors and cabinets before drywall. Photograph the blocking and box locations with measurements so future drilling does not hit wires or pipes.
Select Materials for a Below-Grade Wet Room
Choose materials as parts of compatible assemblies. Water tolerance, slip resistance, cleaning, movement, and repairability matter more than a single showroom sample.
36. Choose a Stable, Water-Tolerant Floor
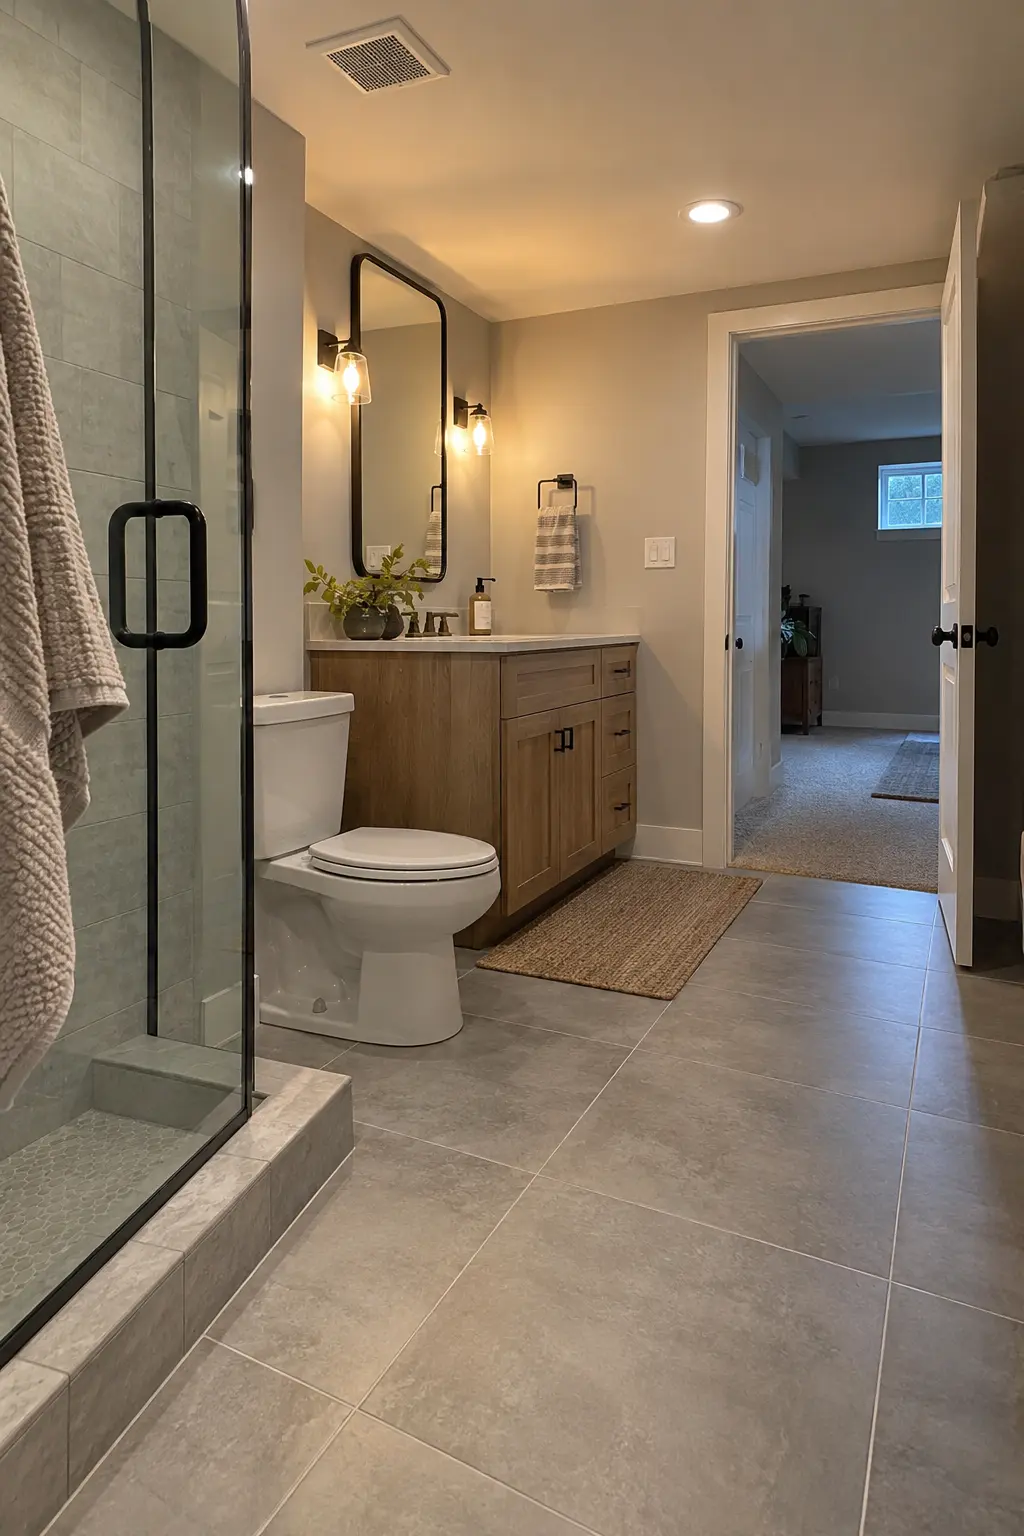
Compare porcelain tile, suitable resilient flooring, and other approved products against slab moisture, floor flatness, drain details, heating, transitions, and manufacturer limits. Avoid moisture-sensitive materials where the assembly cannot keep them dry.
Bring finish samples into the basement lighting. For more visual options after technical screening, see these bathroom flooring ideas and verify every product for the actual substrate and wet-area use.
37. Balance Grip, Grout, and Cleaning
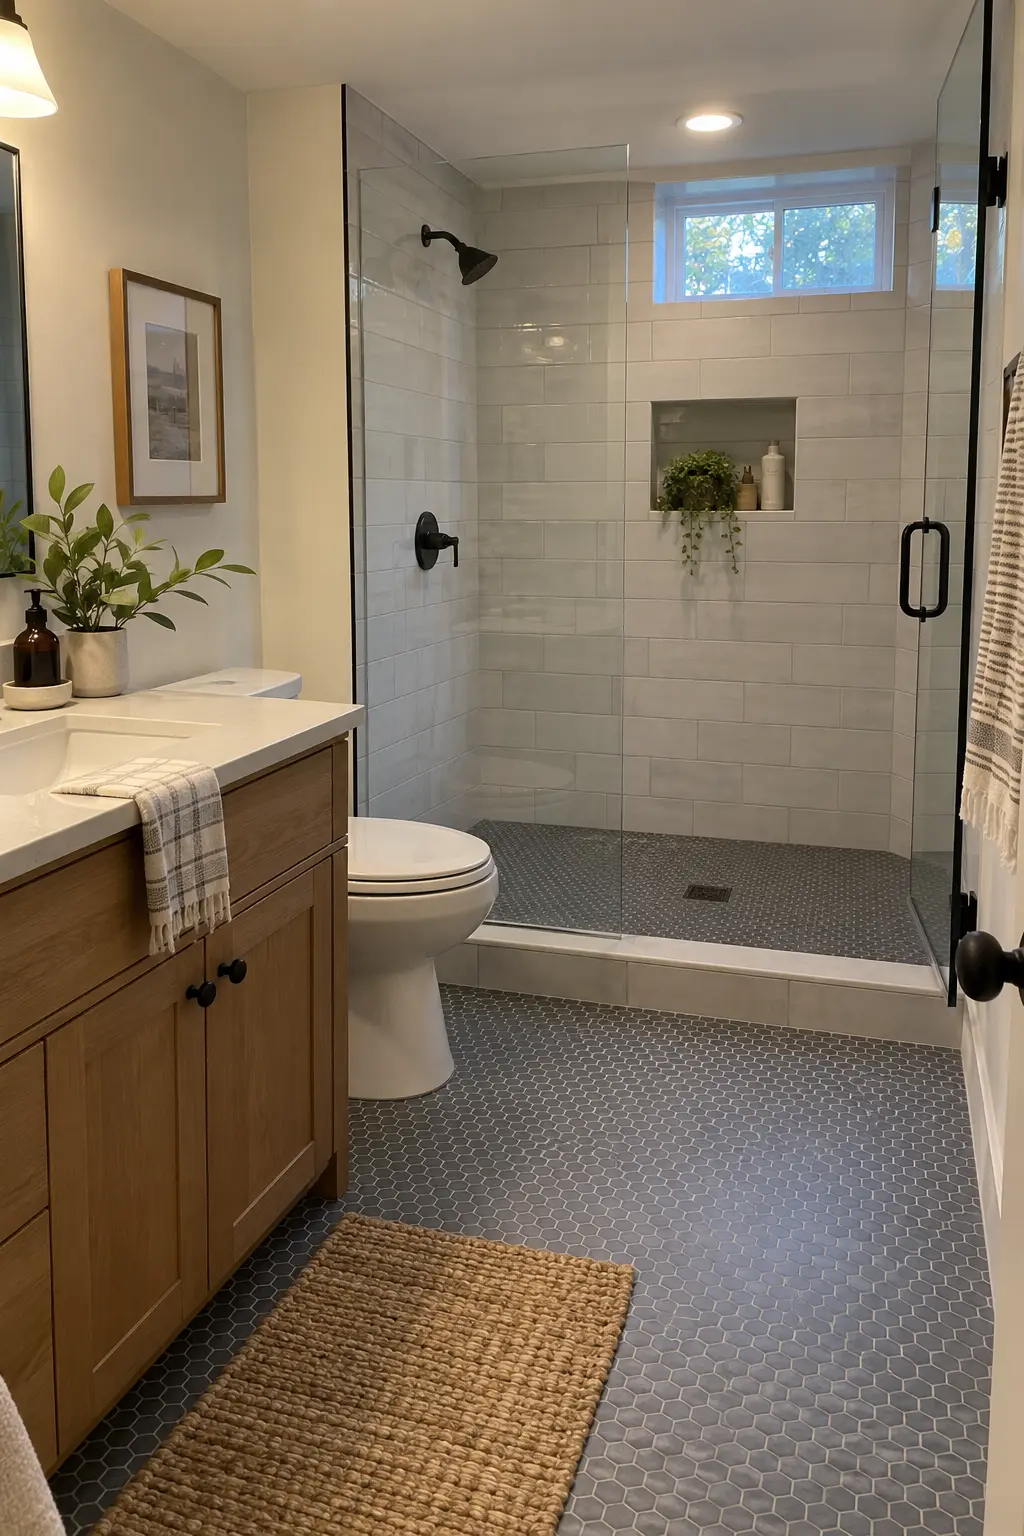
Select shower and bathroom tile with appropriate slip performance and texture for the location. Very rough surfaces add grip but can be harder to clean, while highly polished floors may be unsuitable when wet.
Plan grout joint size, color, movement joints, sealant locations, and cleaning products with the tile system. A correctly sloped shower floor matters more than using tiny tile by habit.
38. Keep Wall Finishes Compatible With Moisture Zones
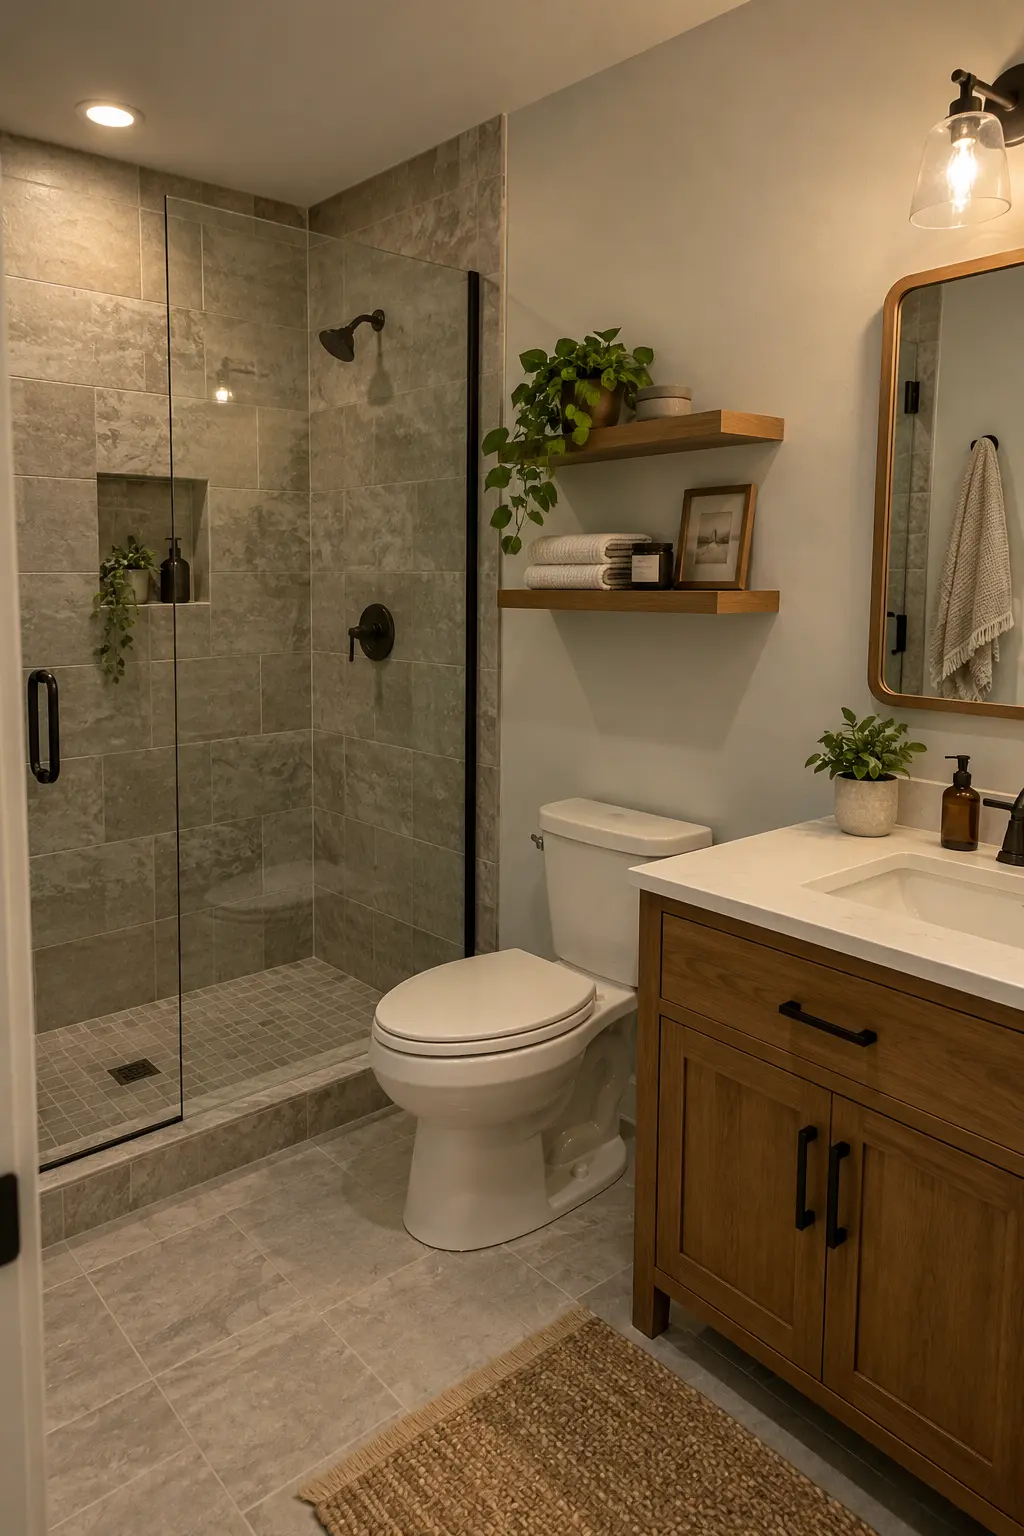
Use the approved shower substrate and waterproofing behind tile or panels, then transition carefully to painted dry-area walls. Moisture-resistant drywall alone is not a complete shower waterproofing system.
Specify primers, paints, panels, trim, and sealants for the exposure they will receive. Leave required gaps and movement joints instead of filling every transition with rigid material.
39. Select a Vanity That Can Survive the Room
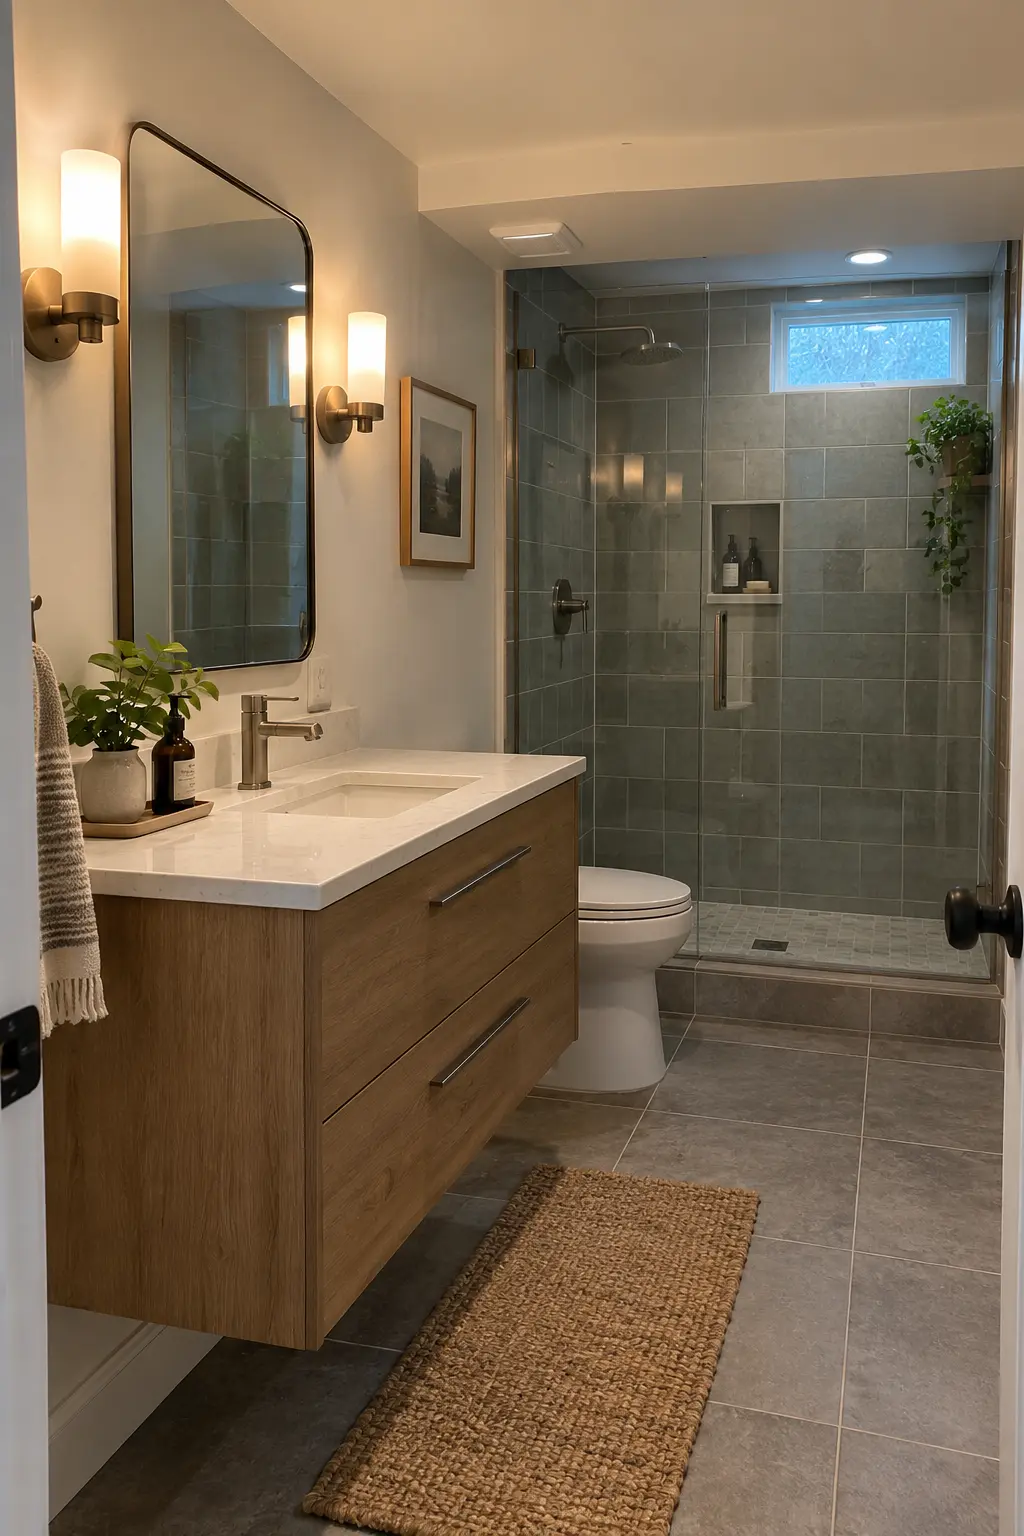
Choose cabinet materials, feet, toe kicks, countertop, sink, and hardware for humidity and occasional splashes. Inspect exposed edges and plumbing cutouts, where swelling often begins.
A raised or wall-mounted vanity can simplify floor drying and inspection. Browse these bathroom vanity ideas only after confirming the rough-in, wall support, and available depth.
40. Seal Penetrations Without Blocking Service
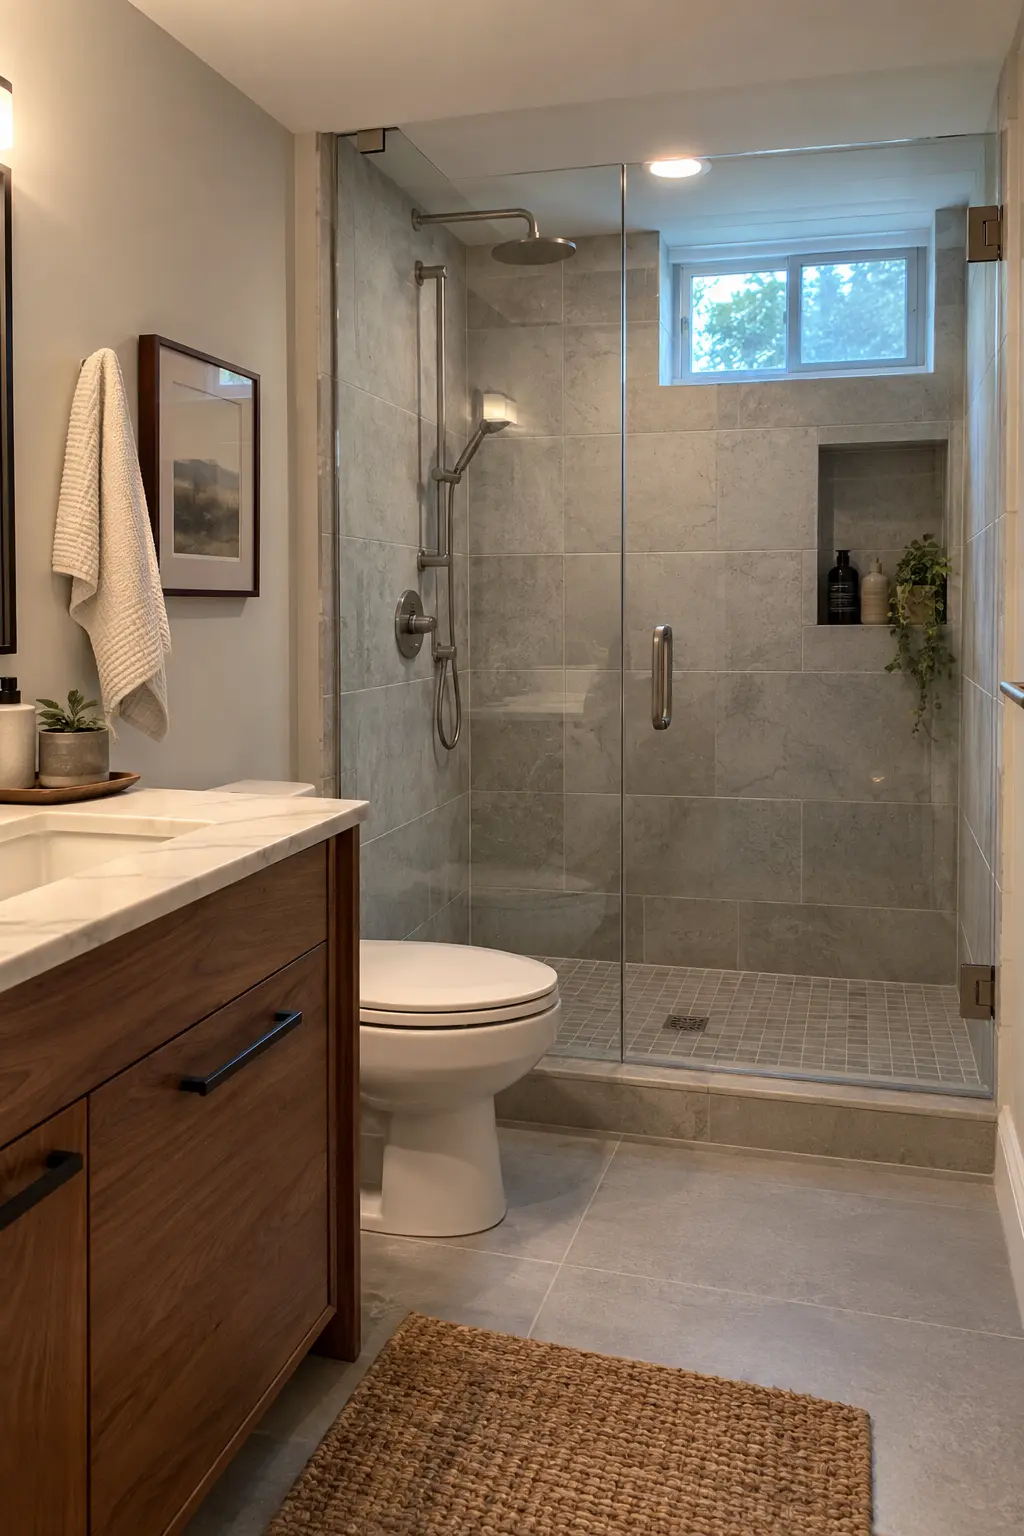
Detail every pipe, valve, fastener, glass anchor, niche, accessory, and change of plane in the wet-area plan. Use the waterproofing manufacturer's approved methods rather than relying on a visible bead of caulk as the entire defense.
At service points, combine water control with removable access. Photograph concealed seals and keep spare compatible sealant and finish materials for future repairs.
Control the Construction Sequence
Good sequencing protects completed work and keeps inspections meaningful. Each trade should leave the next trade a verified surface, dimension, or system.
41. Protect the Access Route and Contain Dust
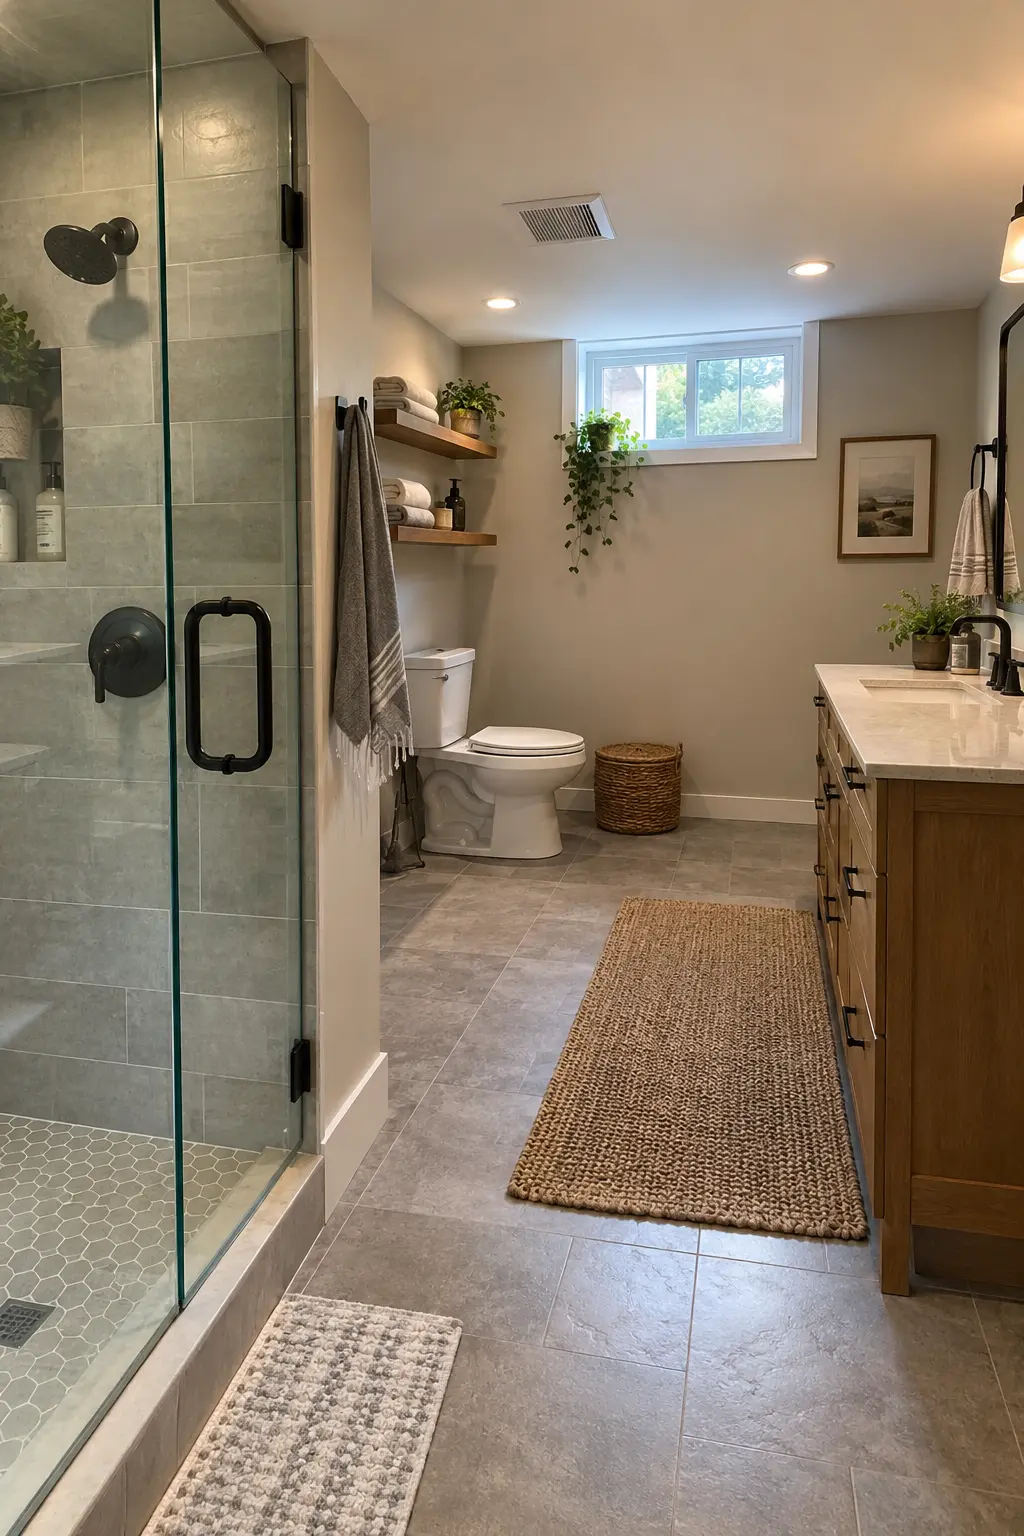
Plan how concrete, debris, tile, fixtures, and tools will travel through the house. Protect floors, isolate dust, maintain safe stairs, and keep exits and mechanical equipment accessible throughout construction.
Define daily cleanup and debris removal in the contract. Silica-producing work and demolition require appropriate controls, tools, protective equipment, and qualified supervision.
42. Complete Rough-Ins Before Framing Is Closed
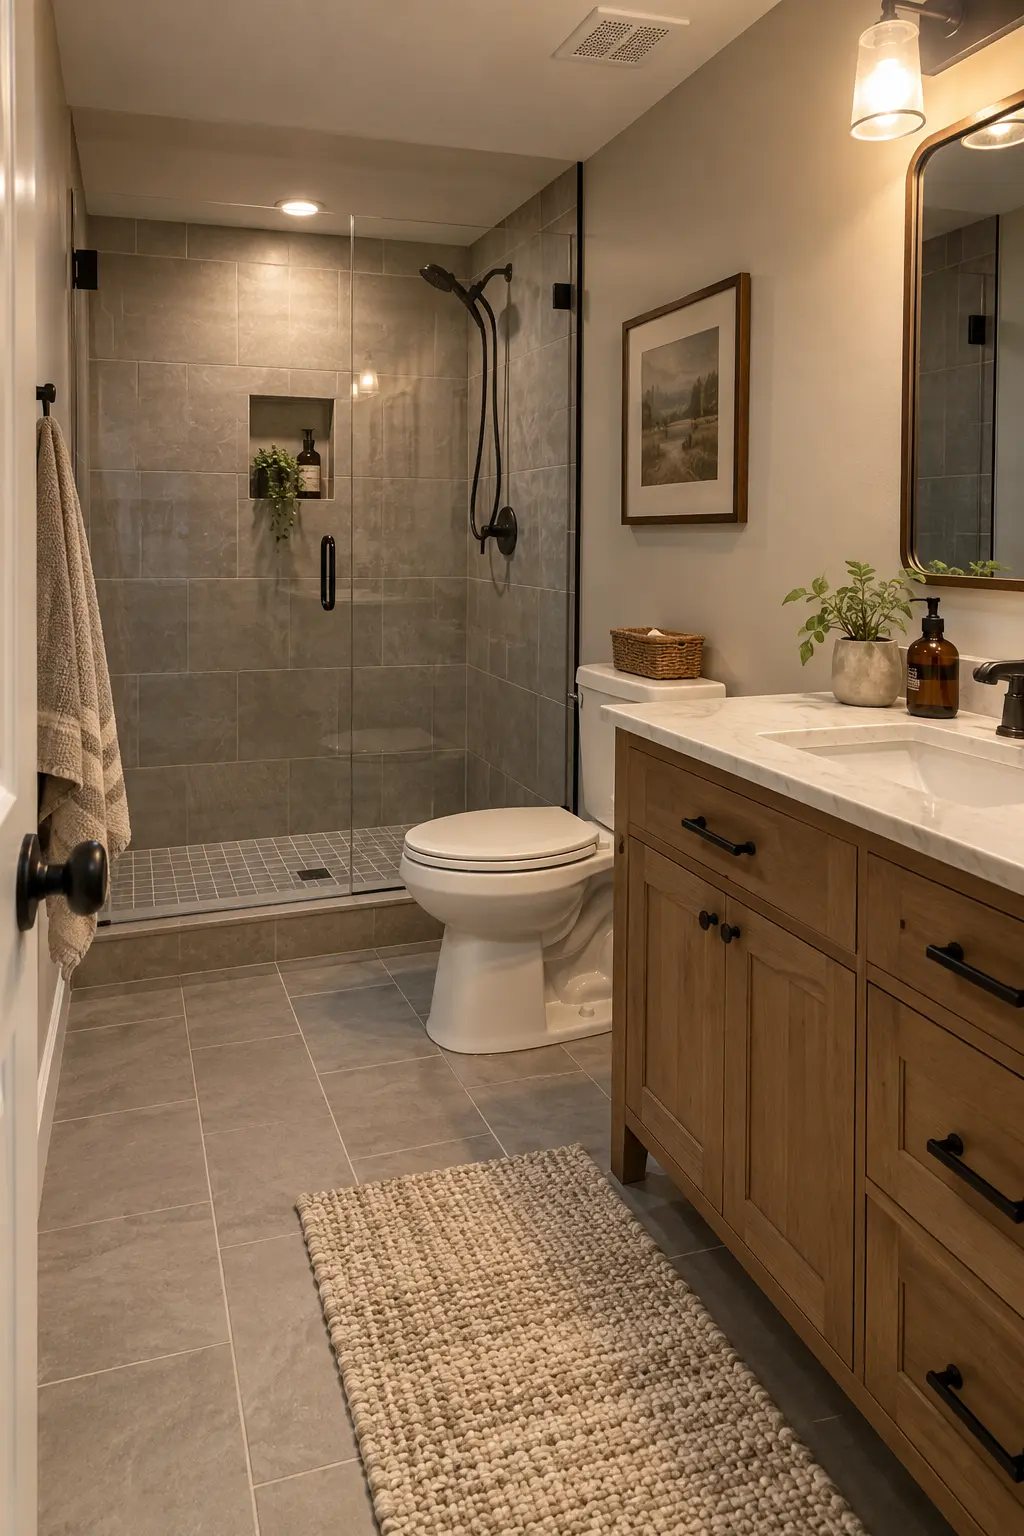
Coordinate drain, vent, water, electrical, fan duct, blocking, niches, glass support, and access panels while framing remains visible. Check every fixture centerline against the actual product specification.
Invite all affected trades to one rough-in review. A pipe moved for a niche can conflict with a sconce, blocking, or duct unless the whole wall is considered together.
43. Test Hidden Systems Before Finishes
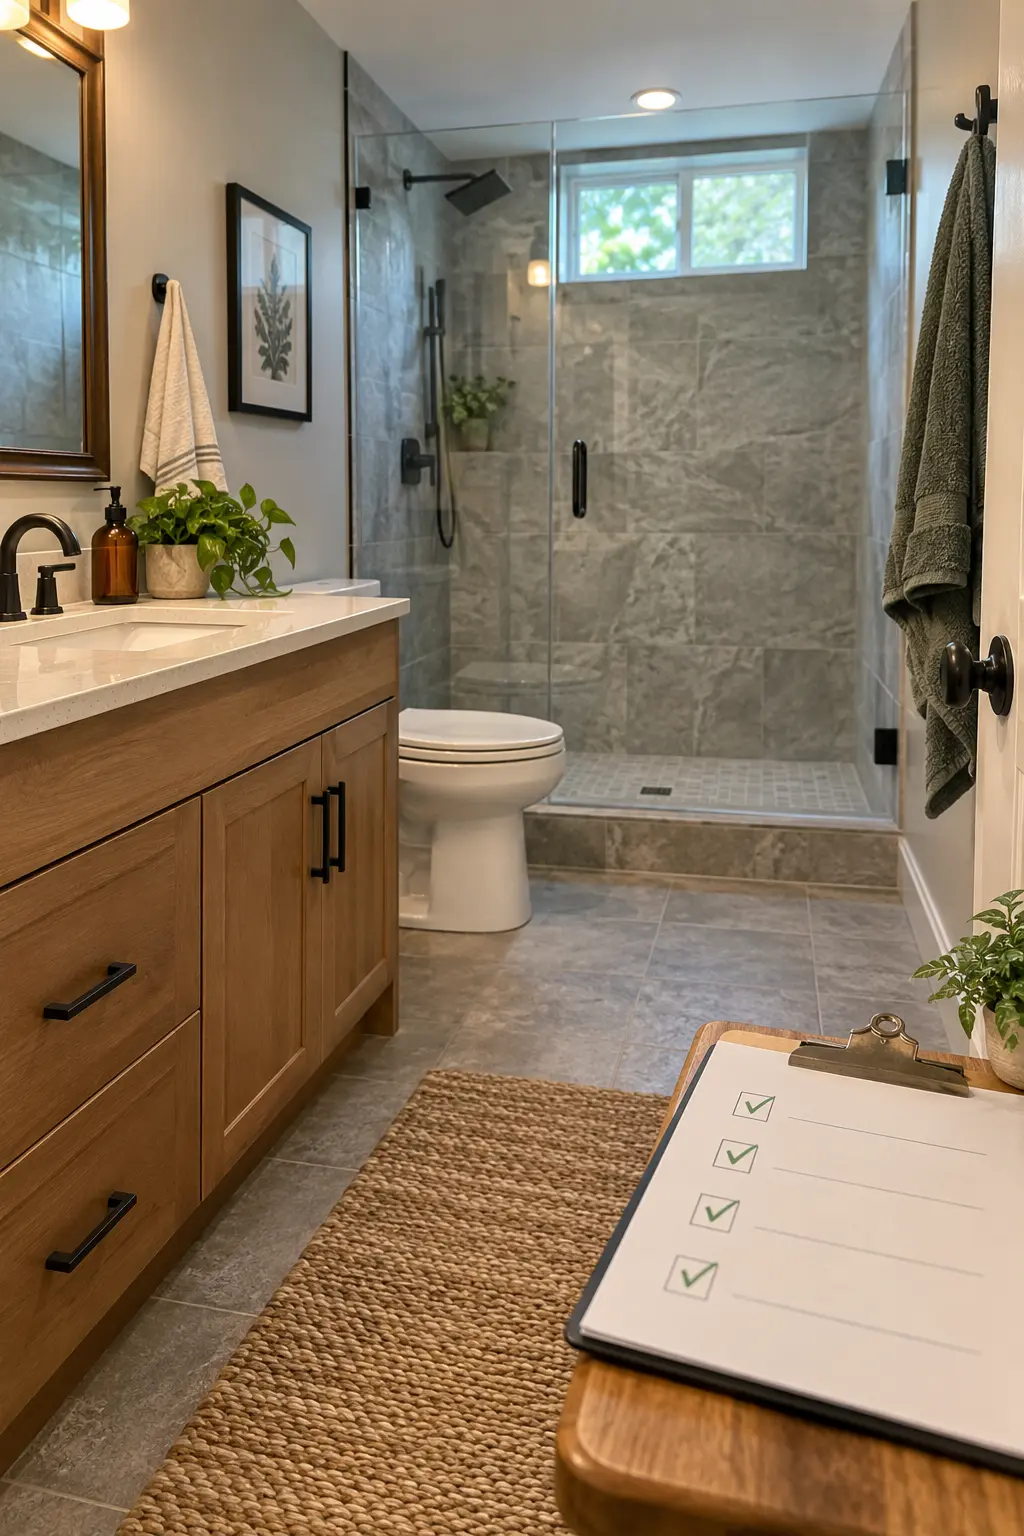
Perform required plumbing pressure tests, drain tests, shower flood tests, electrical checks, fan duct inspection, and pump testing at the proper stages. Document results and corrections before insulation, drywall, or tile covers the work.
A passed inspection does not replace manufacturer-required testing, and a product test does not replace the local inspection. Keep both records in the project file.
44. Photograph Every Open Wall
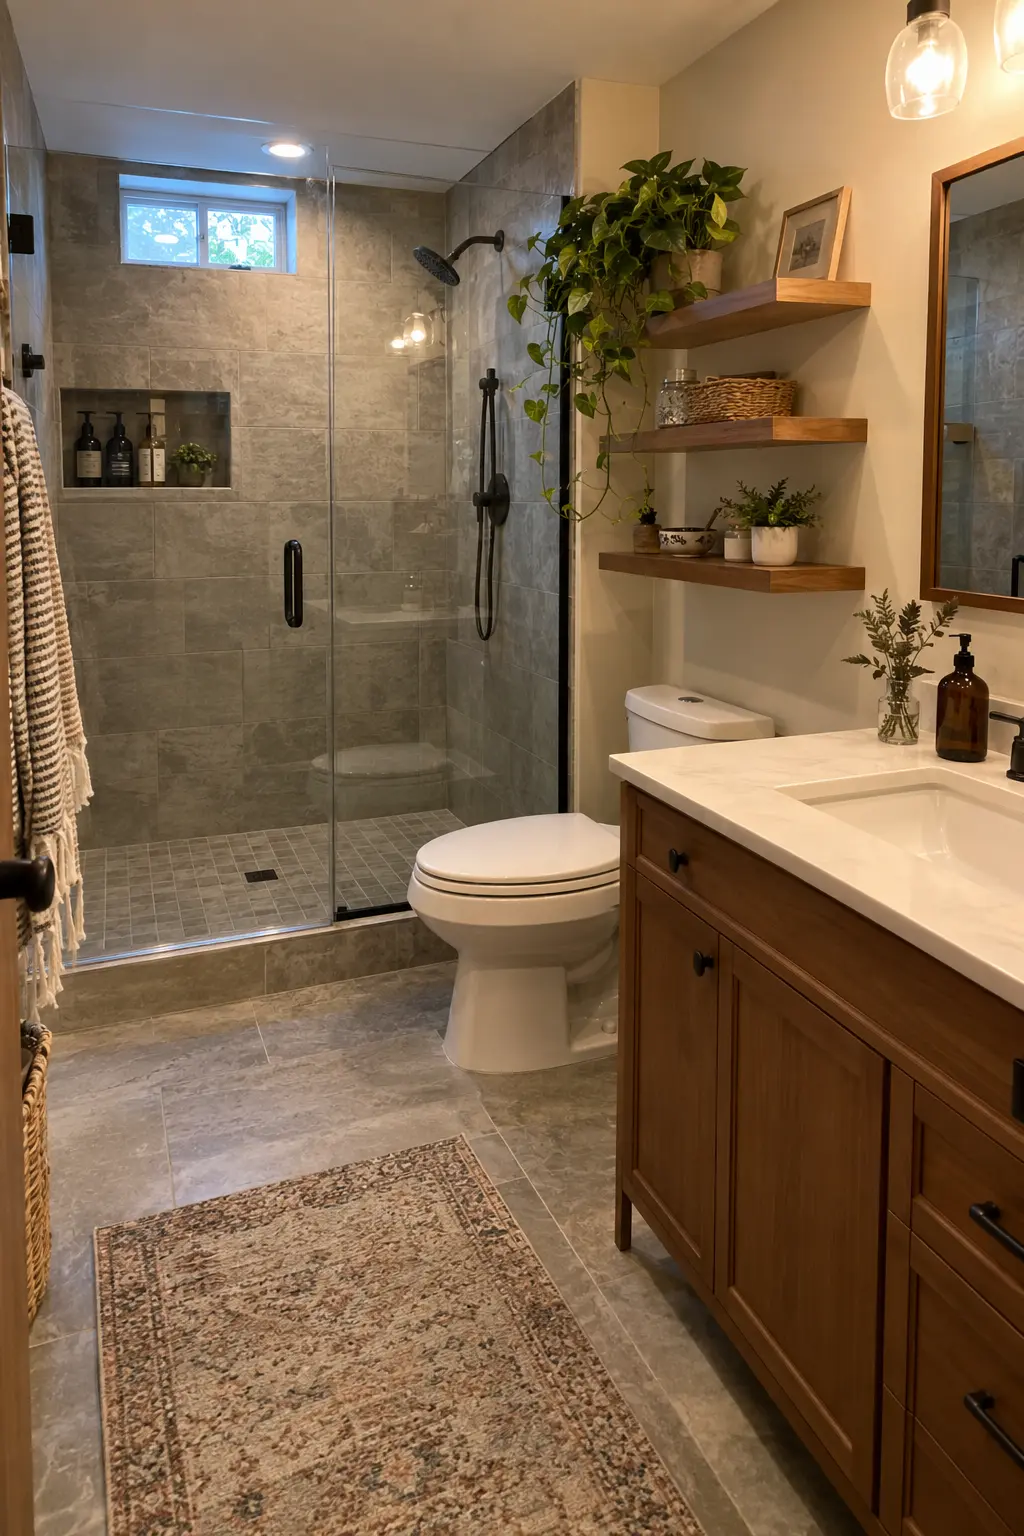
Take square-on photos of each wall, ceiling bay, floor trench, drain, waterproofing layer, blocking location, and service route. Include a tape measure or dimension reference where future drilling may occur.
Name files by room, wall, and date, then store them with permits and product manuals. These images make future leaks, upgrades, and accessory installation safer and faster.
45. Install Finishes in Dependency Order
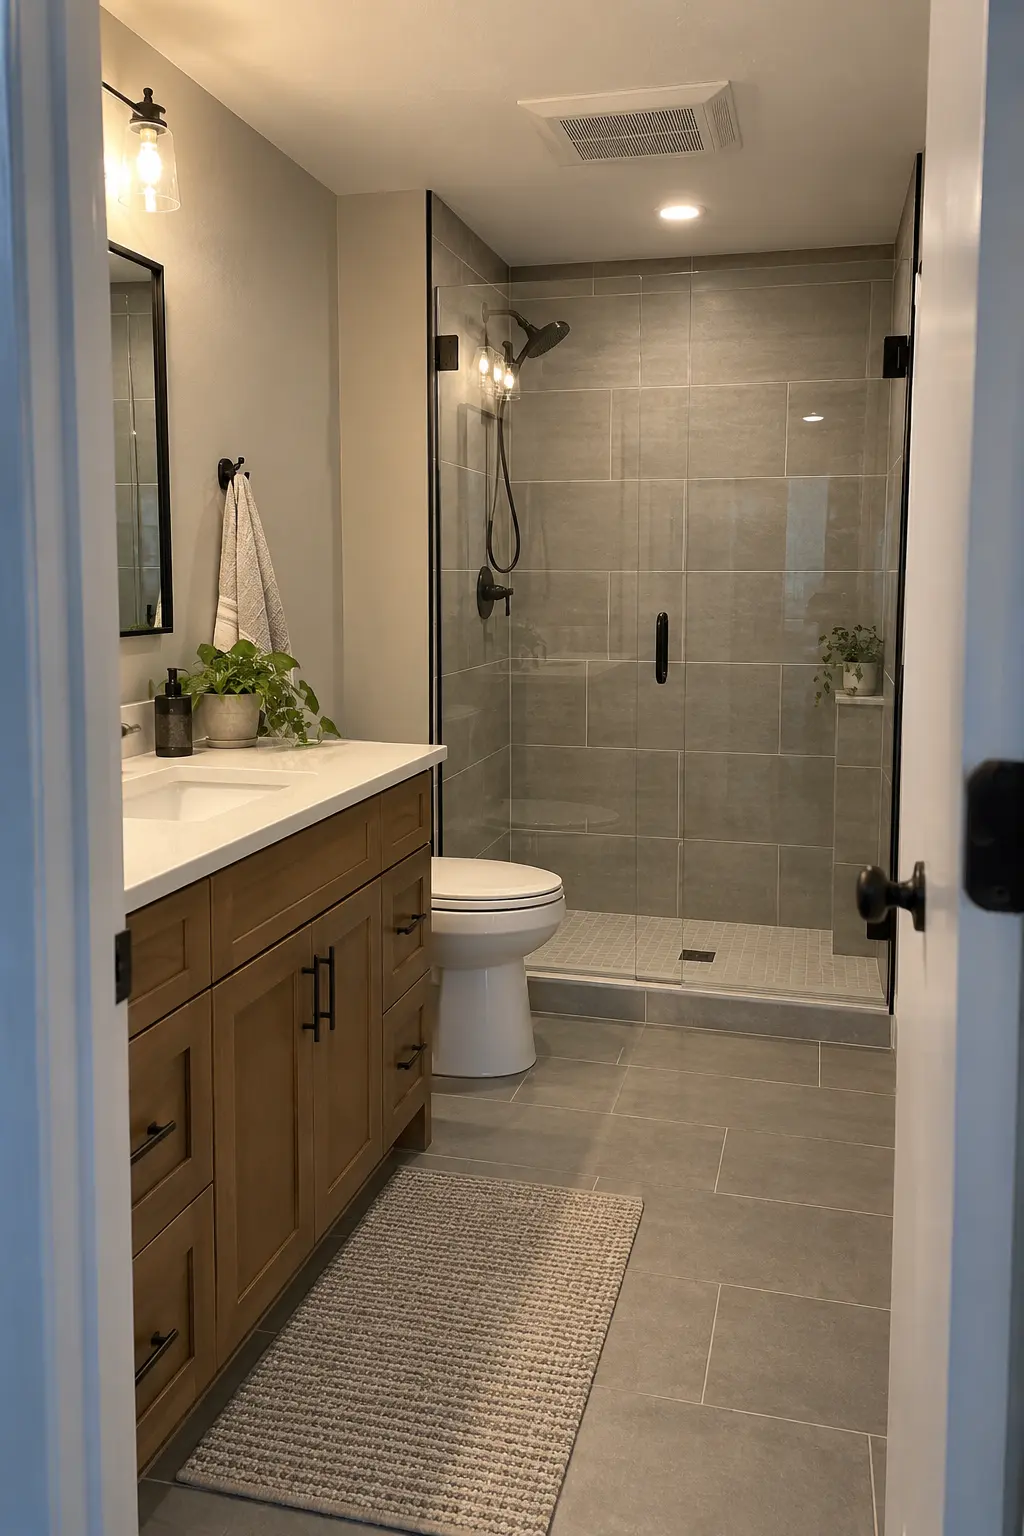
Confirm the sequence for substrate preparation, waterproofing, tile, grout, paint, vanity, fixtures, glass, trim, and final sealant. Protect finished surfaces as soon as they are accepted.
Do not rush cure times to recover a delayed schedule. Record the products, batch information, temperatures, and wait periods required before flood testing, grouting, sealing, or using the shower.
Commission the Room and Preserve the Investment
The remodel is not complete when the last trim piece is installed. Test performance, close permits, collect records, and create a simple maintenance routine.
46. Run a Detailed Punch List
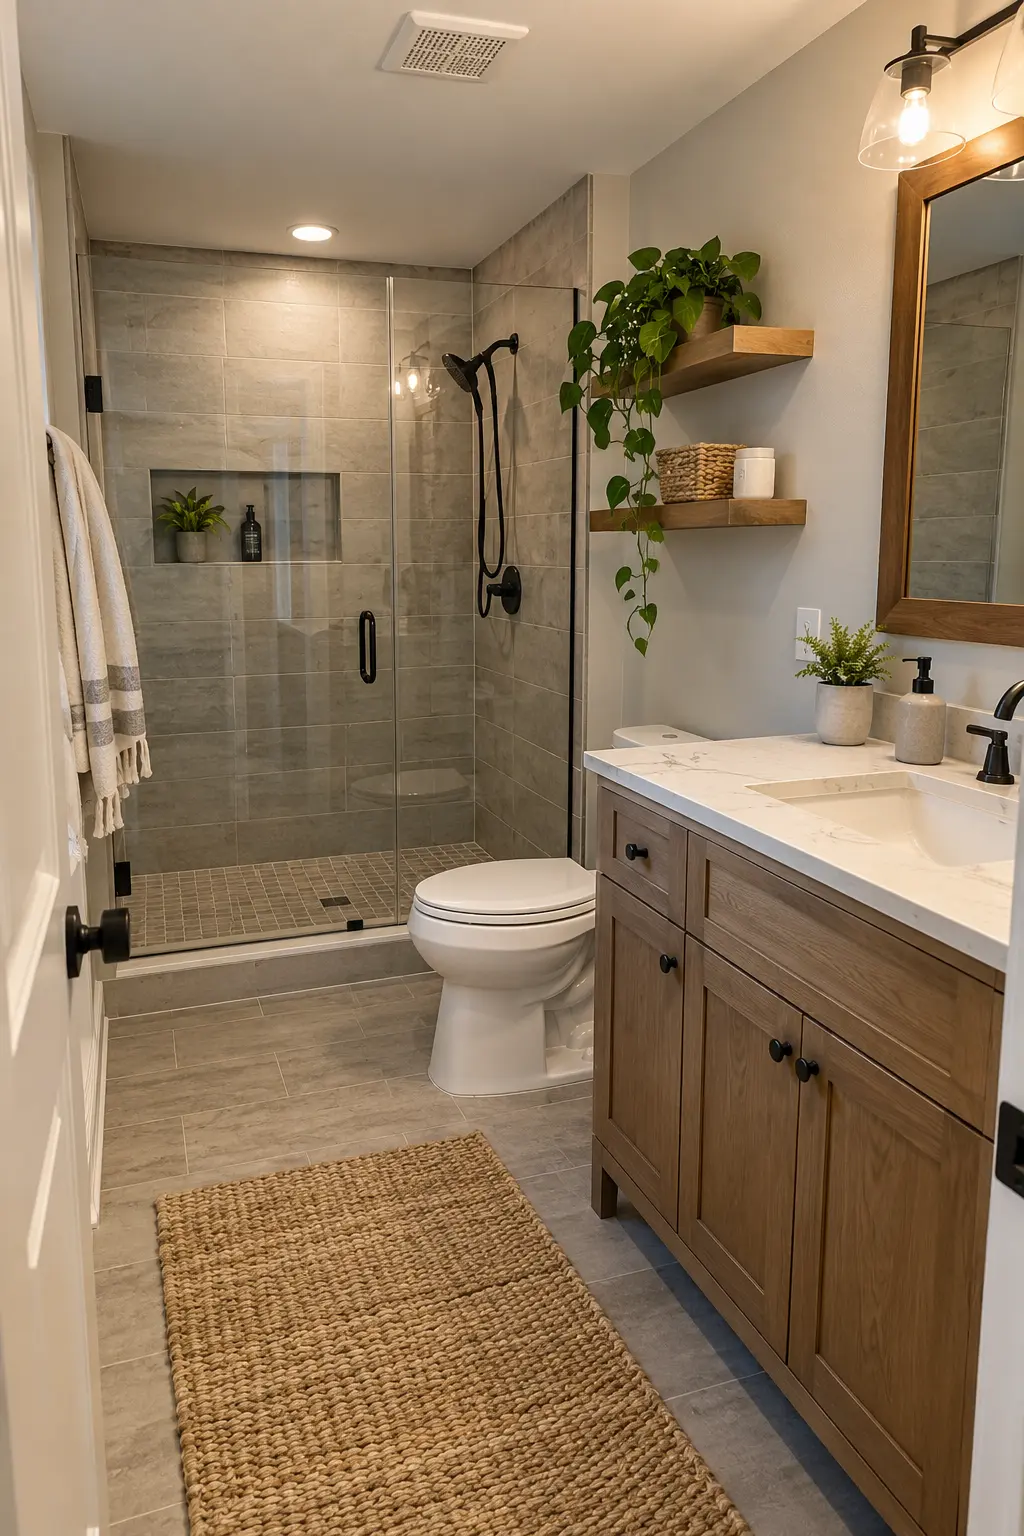
Inspect the room in bright light and during actual fixture use. Check doors, drawers, glass, drainage, grout, sealant, paint, hardware, accessories, floor transitions, access panels, and every item promised in the scope.
Photograph each defect and assign an owner and deadline. Hold final payment according to the contract and local law until agreed work, permits, warranties, and closeout documents are complete.
47. Commission Drainage, Ventilation, and Controls
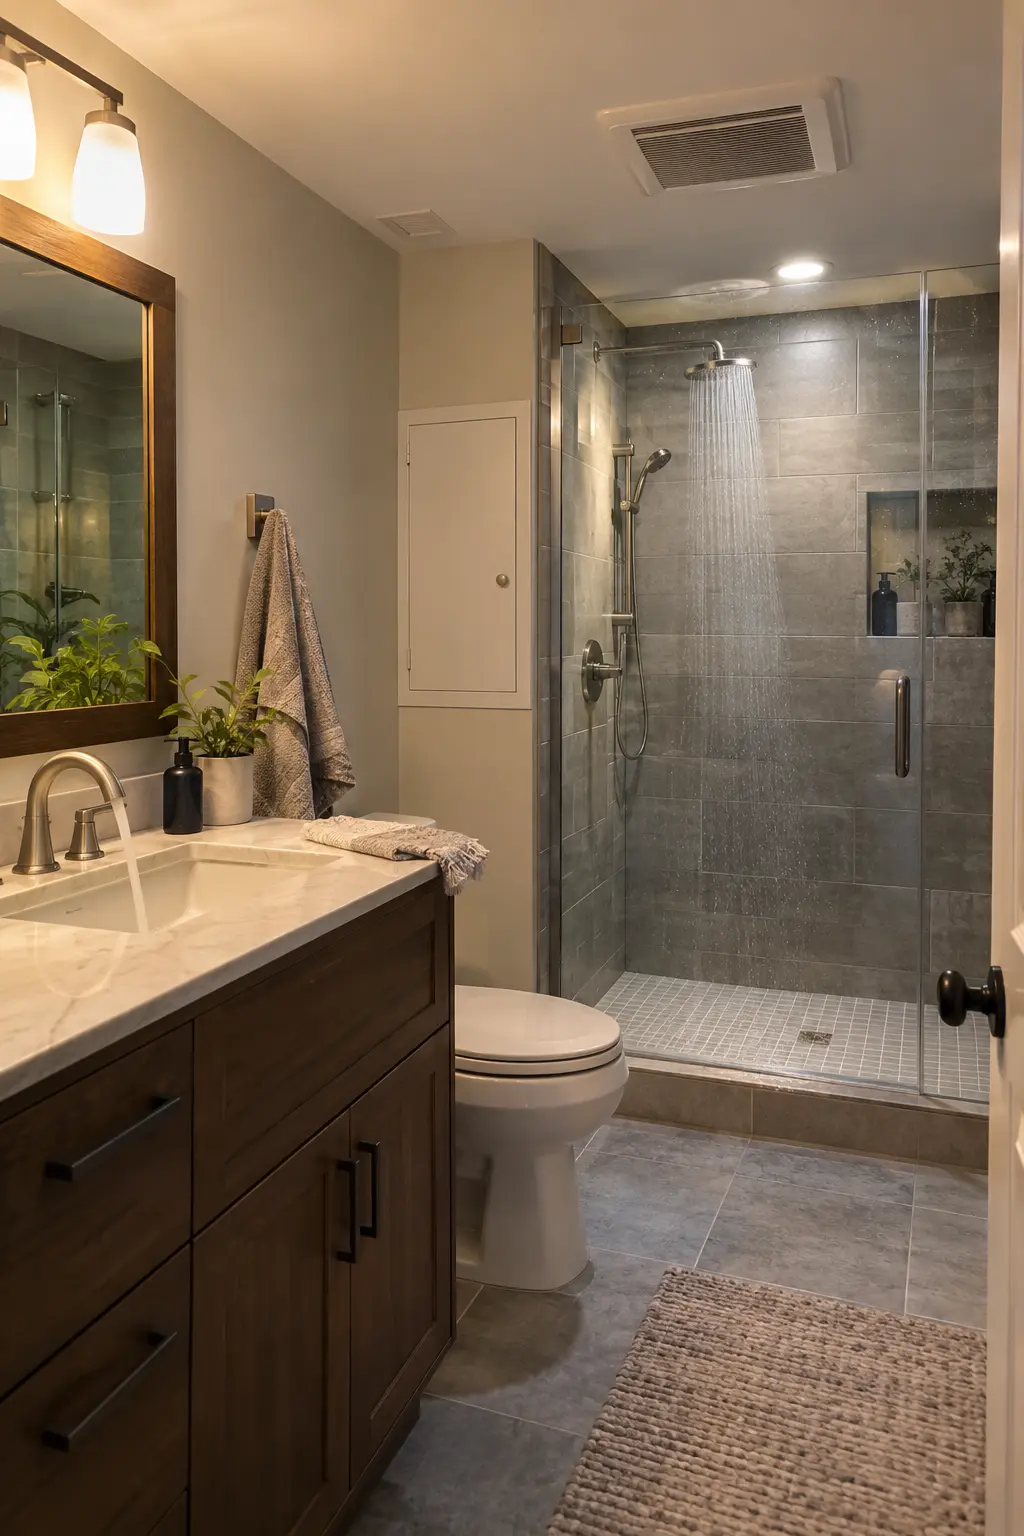
Run every fixture, flush repeatedly, fill and drain basins, and inspect accessible joints. Test the pump alarm if present, verify fan airflow and direction, and confirm timers, humidity controls, GFCI devices, lights, and heated-floor controls.
Recheck nearby rooms and the utility area for leaks, noise, odor, or pressure changes. Correct performance problems before normal use begins.
48. Close Permits and Assemble the Home File
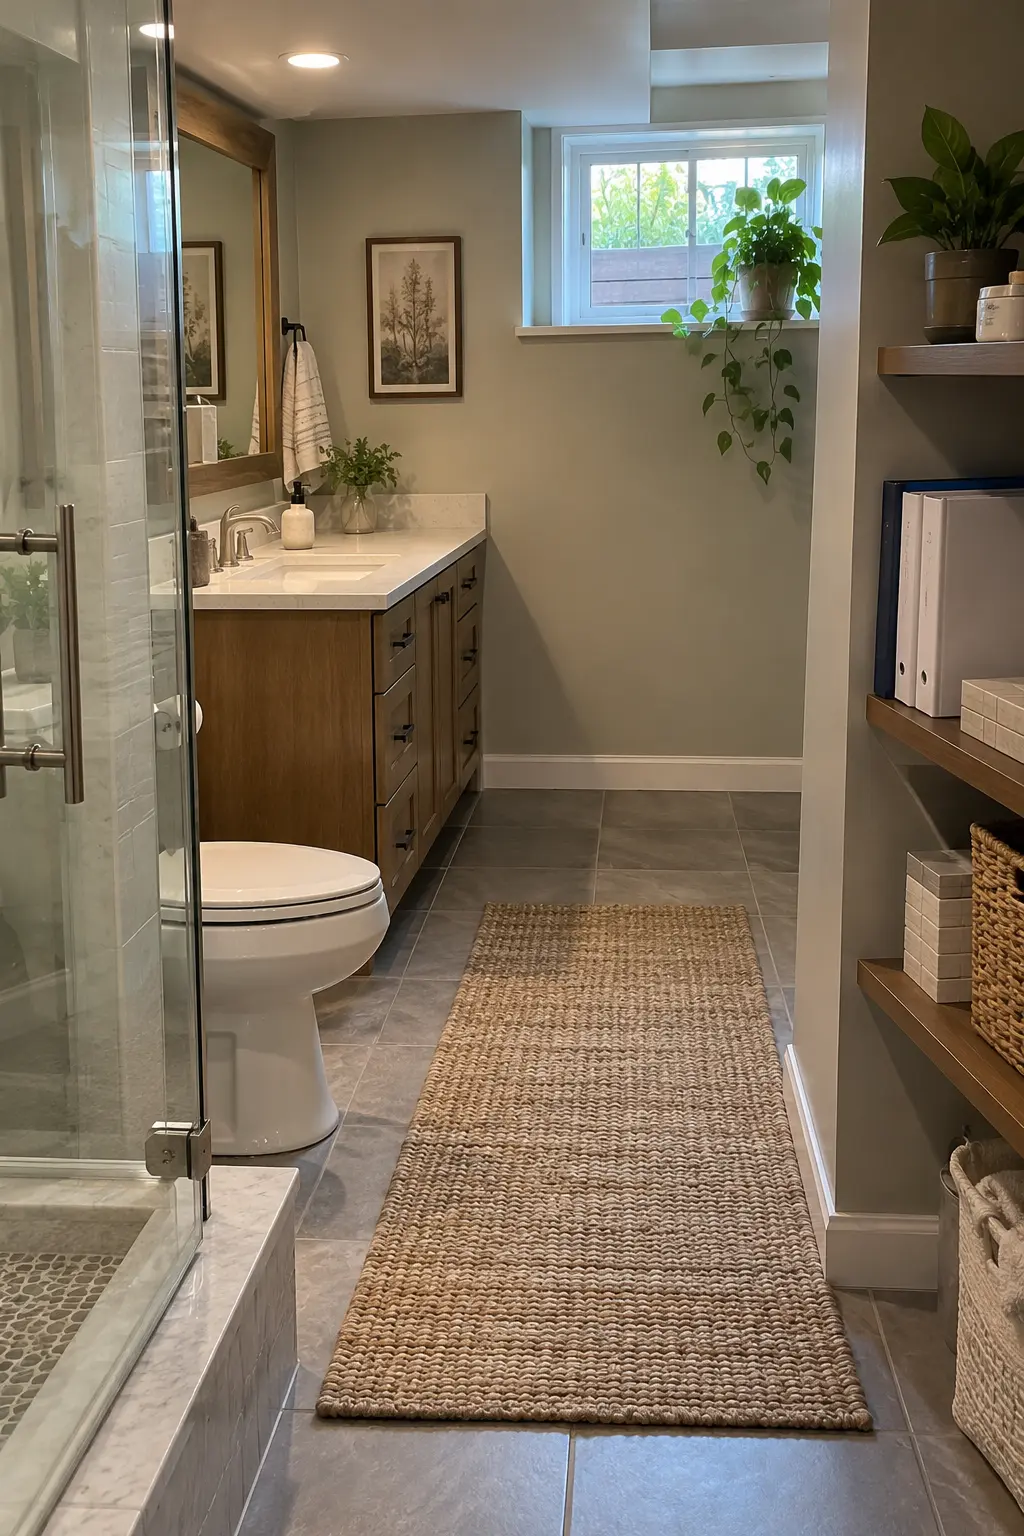
Obtain final inspection approvals and keep permits, drawings, contracts, invoices, warranties, product data, color codes, spare tile, and concealed-work photos together. Record model and serial numbers for fans, pumps, heaters, and controls.
Add shutoff, cleanout, access-panel, and breaker locations to a one-page room guide. Future owners and service technicians should not need to rediscover the system by opening finishes.
49. Phase Optional Upgrades After the Core Works
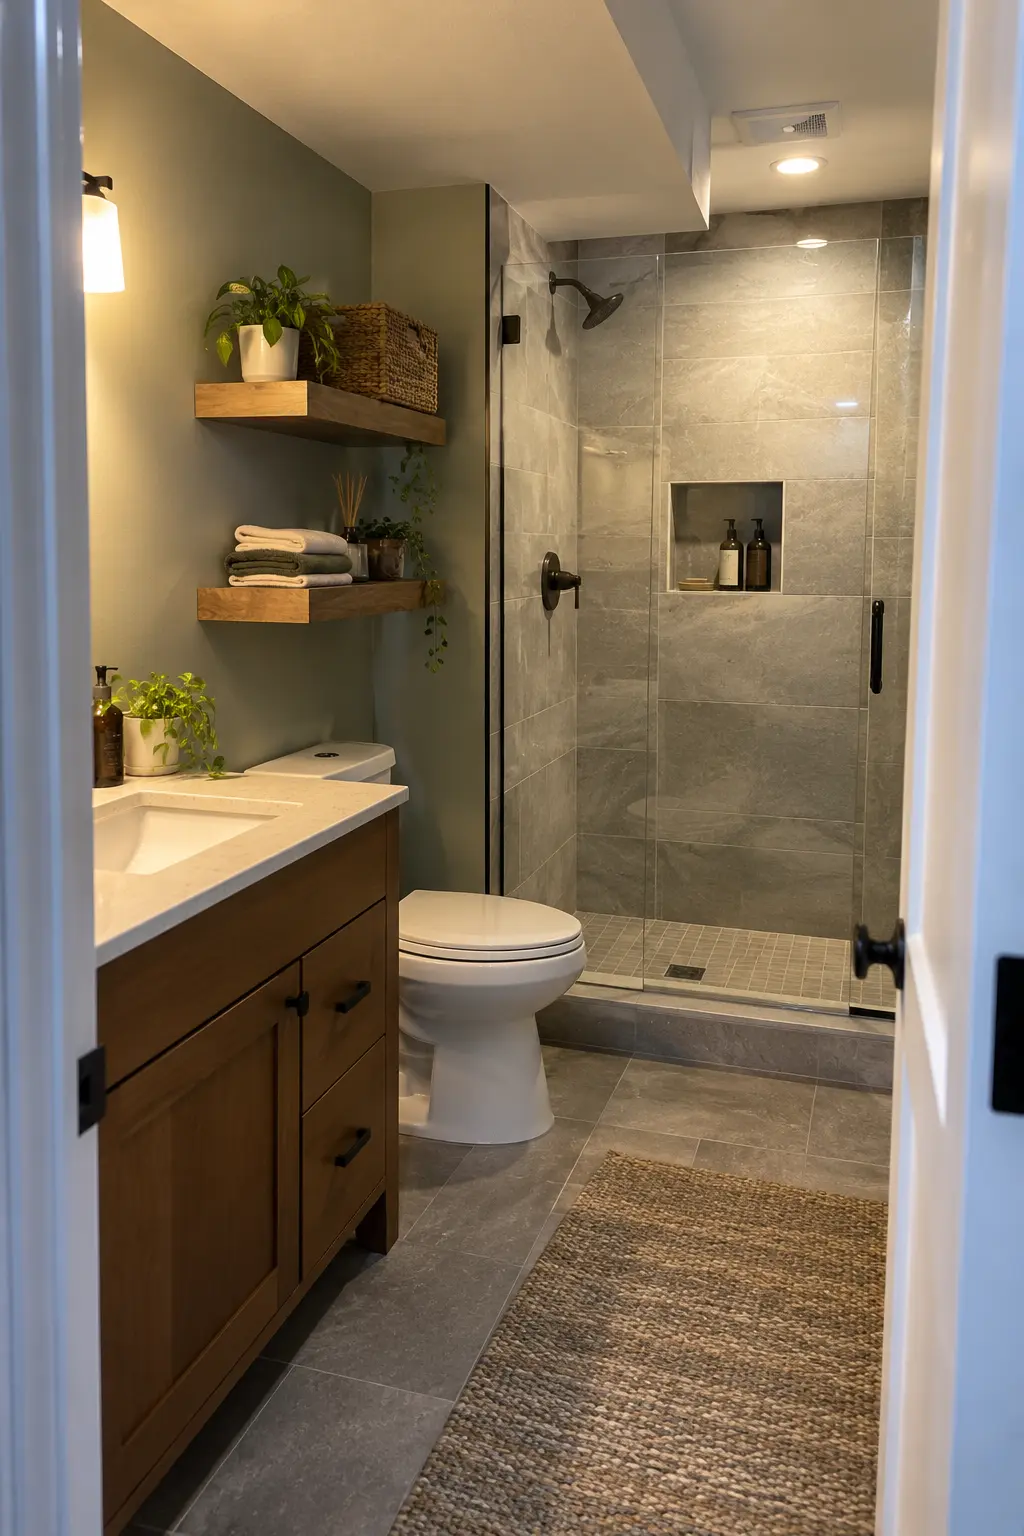
If the budget tightens, protect drainage, waterproofing, ventilation, electrical safety, insulation, and durable substrates first. Decorative lighting, premium glass, custom storage, and upgraded hardware can often follow later if rough-ins are planned.
Coordinate the bathroom with the larger basement plan using these finished basement ideas. Keep future walls, flooring transitions, HVAC zones, and access routes from forcing a second remodel.
50. Use a Final Basement Bathroom Checklist
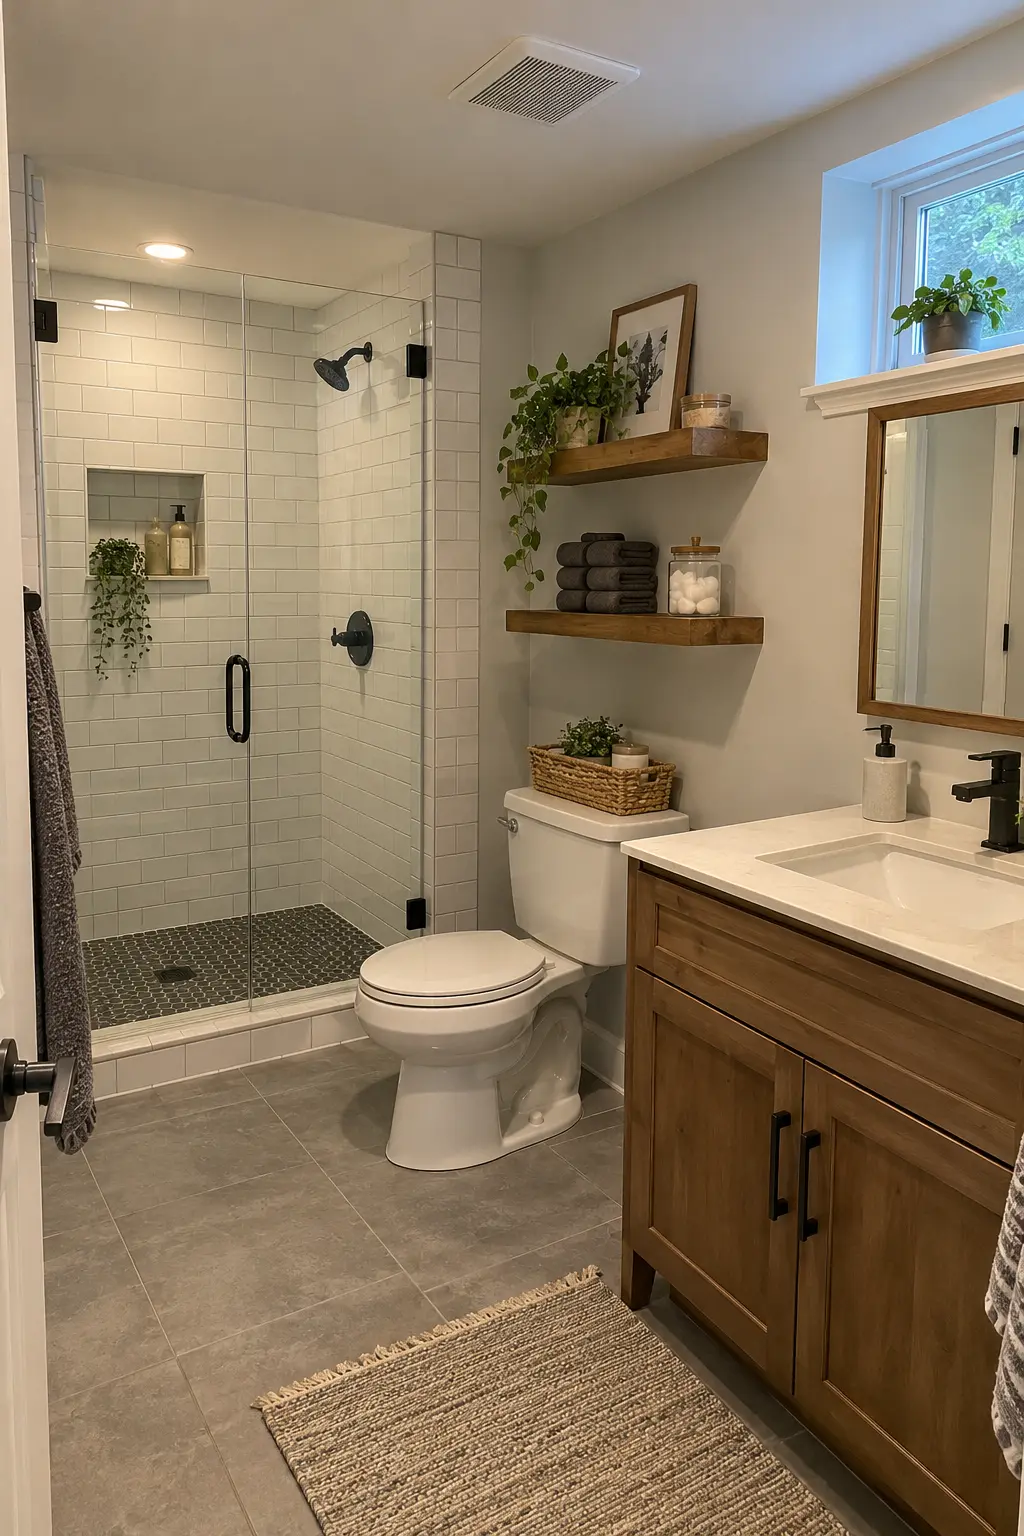
Confirm the room is dry, permitted, tested, ventilated outdoors, safely powered, fully drainable, comfortably heated, easy to clean, and serviceable. Verify that every shutoff, cleanout, pump, junction, and access panel remains reachable.
Post the fan routine, inspect sealant and grout periodically, test protective devices, and watch the basement after heavy rain. A disciplined maintenance plan is the final remodel decision, not an afterthought.
A Basement Bathroom Remodel Built to Last
The strongest basement bathroom remodel is a coordinated system, not a collection of attractive finishes. Solve water, drainage, venting, power, clearances, and approvals first; then choose materials that support those decisions.
Keep the drawings, tests, inspections, photos, and product records after the room opens. That evidence makes maintenance easier and protects the value of the careful work hidden behind the finished surfaces.
Basement Bathroom Remodel FAQs
What should be checked first in a basement bathroom remodel?
Check for active moisture, confirm sewer and drain elevations, map utilities, measure finished headroom, and ask the local building department about permits and code requirements. Those findings determine whether the proposed layout and budget are realistic.
Does a basement bathroom always need a sewage ejector pump?
No. Fixtures that sit high enough may drain by gravity, while lower fixtures may require an approved ejector system. A licensed plumber should verify elevations, pipe routing, venting, access, and local requirements before the slab is cut.
How should a basement bathroom be ventilated?
Use a properly sized bathroom exhaust system ducted to an approved exterior termination, with a practical replacement-air path. Duct length, fittings, insulation, controls, and whole-basement humidity all affect performance, so follow the adopted code and manufacturer instructions.
What flooring works best for a basement bathroom?
The best floor is compatible with the slab's moisture conditions, flatness, movement, drain details, heating system, and wet-area use. Porcelain tile is common, but every assembly should be selected from verified site conditions and manufacturer requirements.
How much contingency should a basement bathroom budget include?
The amount depends on the home's age, investigation quality, and uncertainty behind walls or below the slab. Keep a clearly separated contingency for concealed moisture, drainage, electrical, or structural conditions, and protect it until rough-ins and inspections are complete.