50 Freestanding Bathtub Ideas for Every Bathroom Layout

This post may contain affiliate links: full affiliate disclosure.
Freestanding tubs look best when the room is planned around them. This guide pairs 50 distinct looks with the decisions that make each one workable.
Start with placement, then compare shapes, finishes, fixtures and styling. Each idea shows what to see and what to check before you buy.
Weight, drain location and clearances matter more than most photos suggest, so those checks sit beside the ideas they affect.
Where a Freestanding Tub Looks Best
1. Center the Tub on a Window Wall
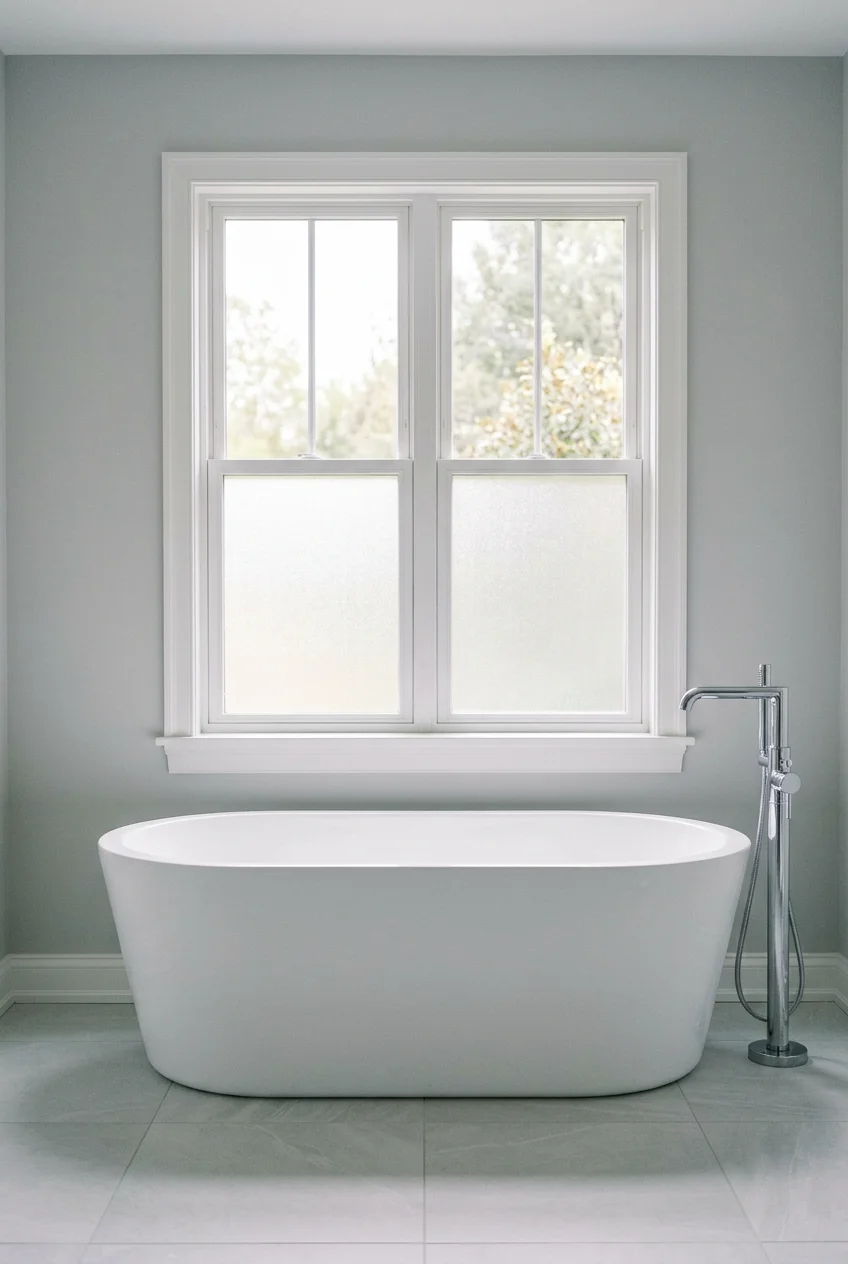
Line the tub's midpoint up with a window and keep the sill clear. The symmetry makes a long wall feel deliberate and gives the soak a view.
Frosted lower glass or a cellular shade handles privacy without losing daylight. Check that the sill sits above the tub rim so the window frames the bath, not the plumbing.
- Sill height compared with the tub rim
- A frosted or lined privacy option
- Clear floor at both ends for stepping in
2. Tuck the Tub Into a Tiled Recess
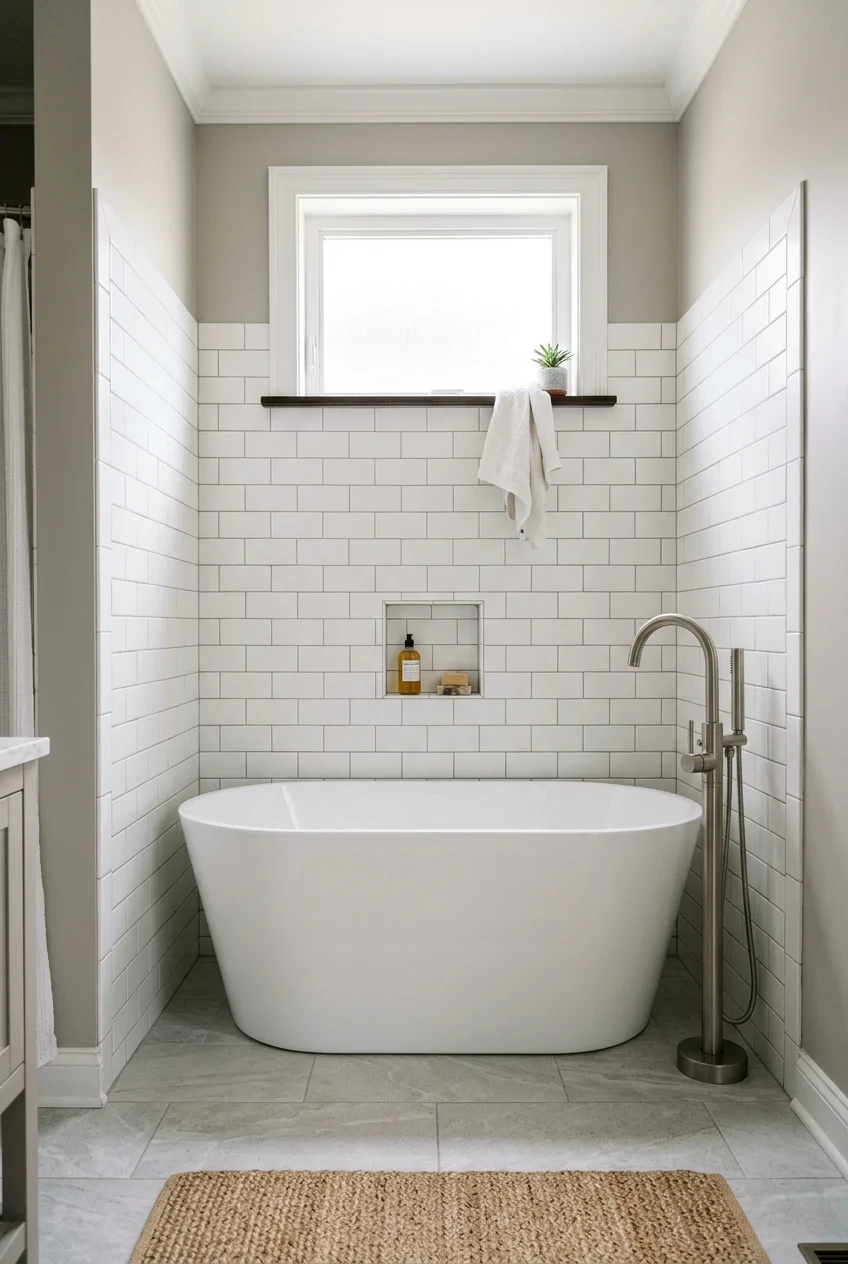
A freestanding tub can sit inside a three-wall nook if each side keeps breathing room. Tile the back and side walls fully so splashes have nowhere to hide.
A gap of a few inches lets you clean behind the tub and reach the drain. It also leaves space for a floor-mounted filler beside the rim.
Tiling all three walls to the ceiling also simplifies cleaning. Plan the niche location so shelves sit at the head of the tub, away from the filler.
Watch for Confirm the drain location before choosing a nook. Moving a drain is often the costliest part of a tub swap, so match the tub to existing plumbing when possible.
3. Pair the Tub With a Walk-In Shower
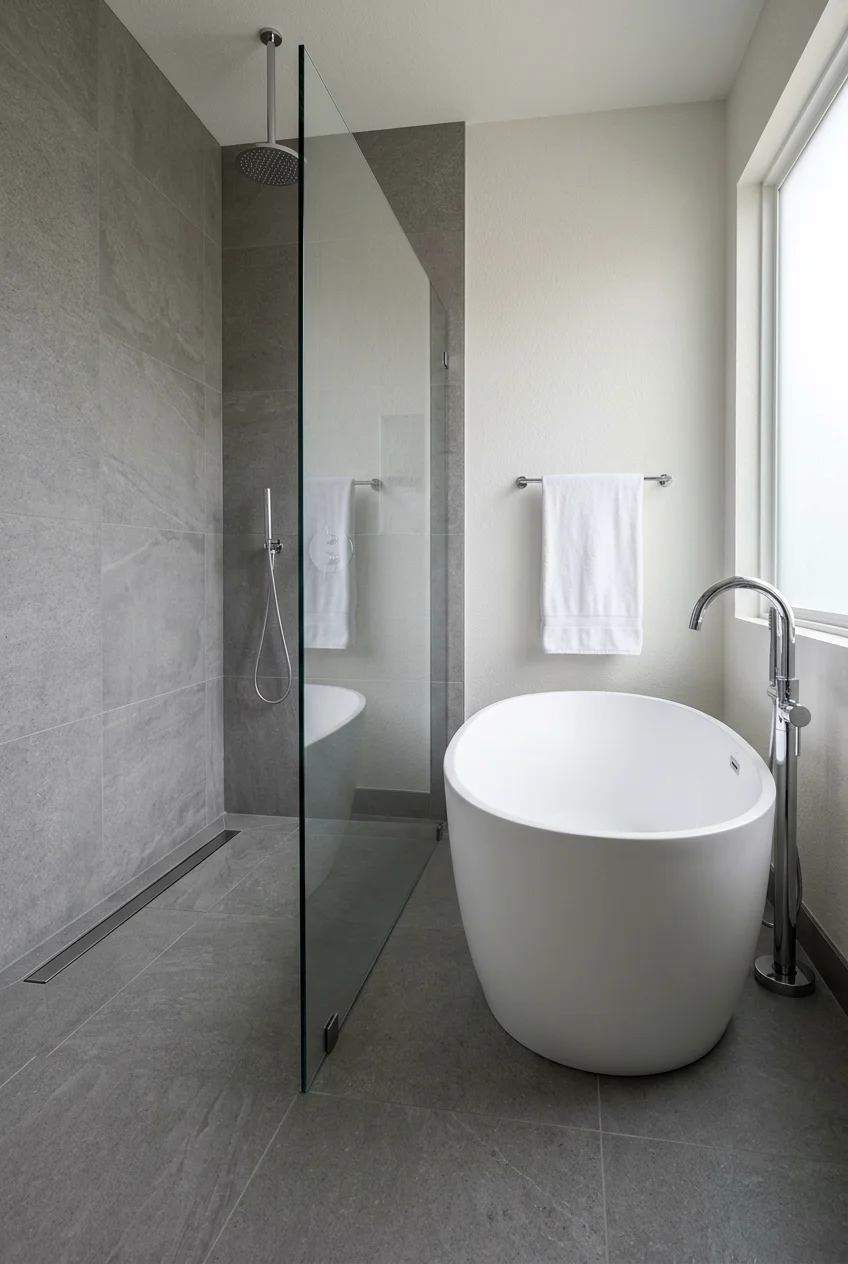
When one bathroom must hold both, set the tub beside a walk-in shower behind fixed glass. The panel keeps spray off the tub exterior and its filler.
Slope the floor toward the shower drain and keep the tub footprint outside the wet zone. Ask your installer to set glass height rather than copying a photo.
Choose a panel wide enough to catch the spray. Matching tile and metal finishes across both zones helps the tub and shower read as one room.
- Glass height and panel width
- Drain slope in the shower zone
- Where the tub filler stands relative to the glass
4. Float the Tub in the Middle of the Room
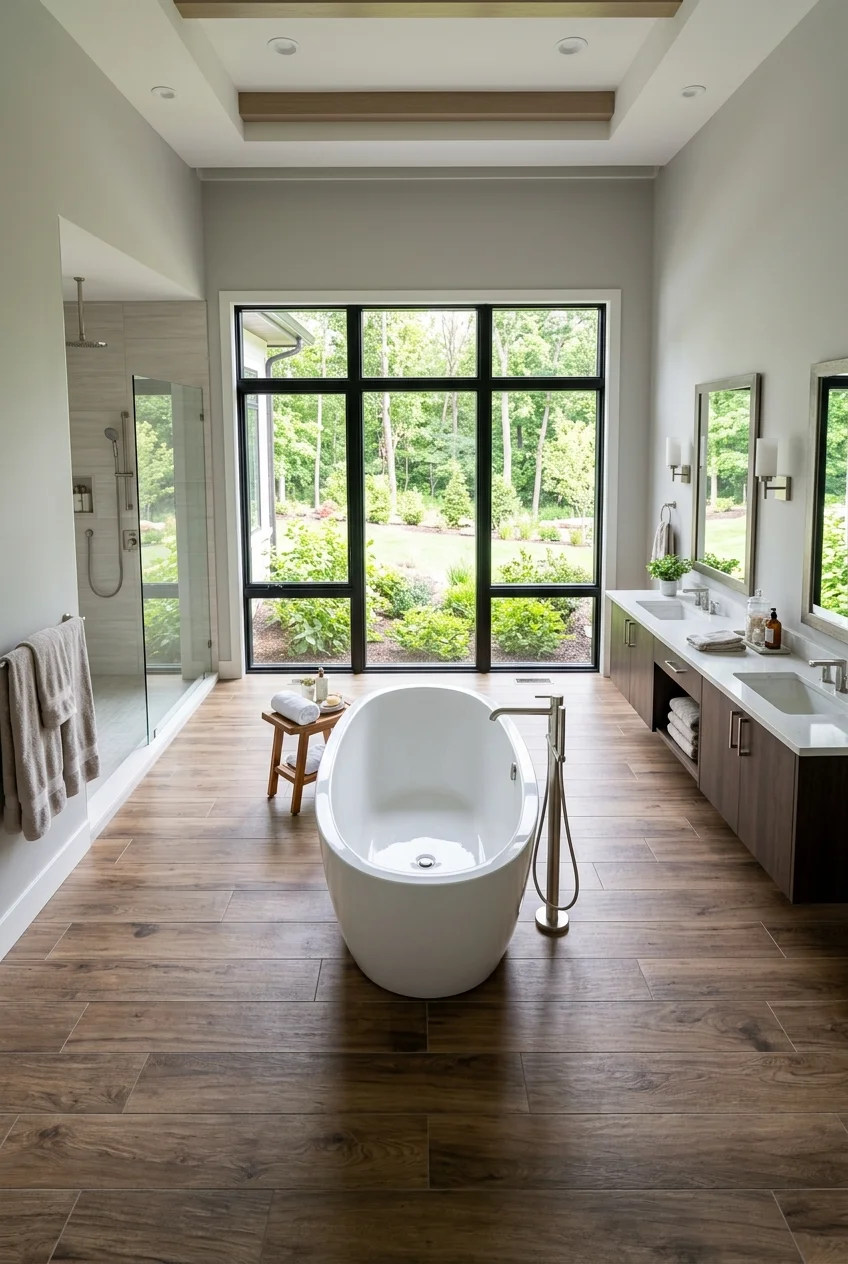
A center-room tub works only in large bathrooms where the walkway on every side stays comfortable. Treat it like furniture and keep clear floor all the way around.
Drain and supply lines must reach the middle of the floor, so this layout usually belongs to new construction or a major remodel. A floor-mounted filler looks cleanest.
Ask a plumber about venting and routing through joists or slab before committing, because a mid-floor drain is not a simple swap.
Setup note Order the tub and filler specifications early. Mid-floor rough-ins depend on exact drain and supply positions, so changes later are costly.
- Drain and supply routing
- Walkway width on every side
- Floor load for the filled tub
5. Angle the Tub Into a Corner
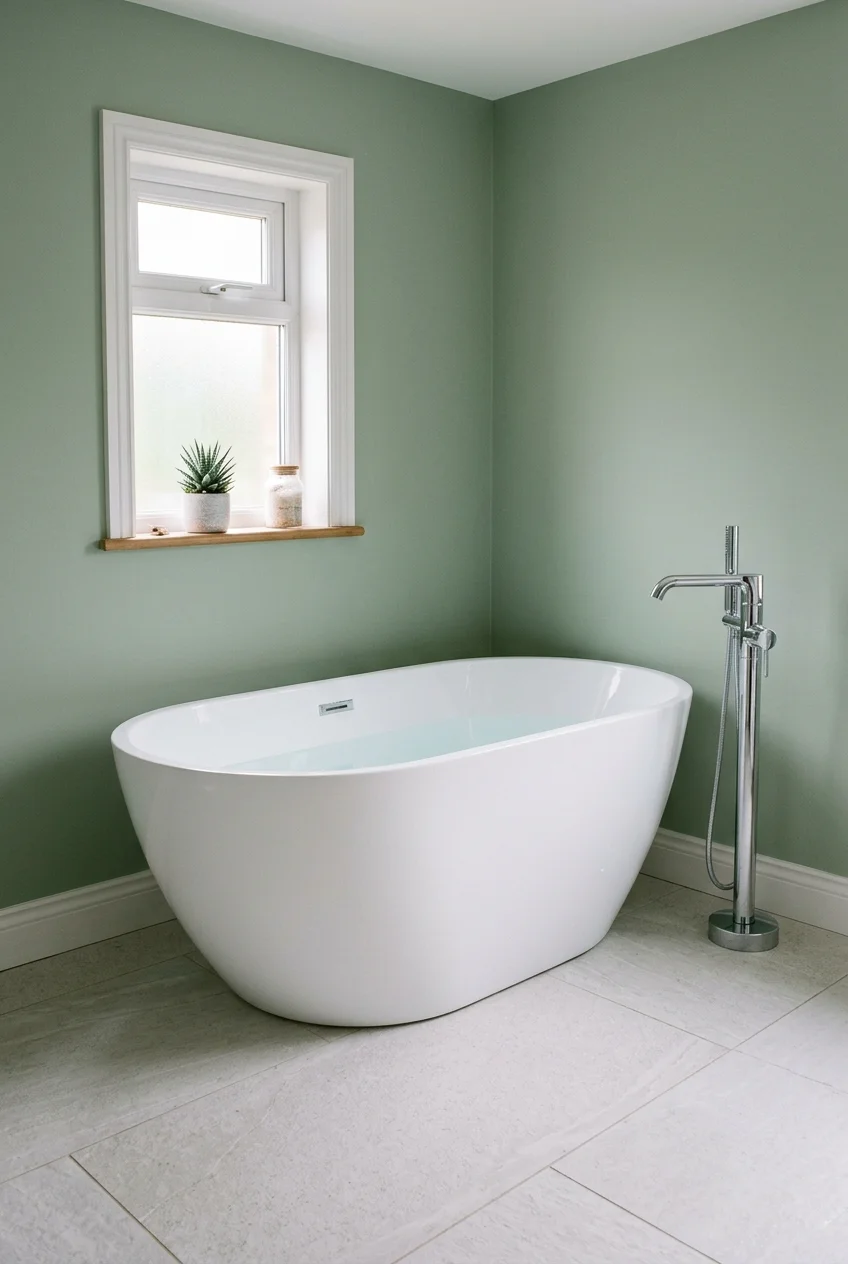
Turning the tub about 45 degrees in a corner softens a square room and uses space that would otherwise sit empty. The diagonal also shows off the curve.
Leave room behind the tub for cleaning and a supply line. Measure from the drain center, because the angle changes where the filler and walls must land.
A diagonal tub can leave awkward triangles behind it. Fill one with a plant or a small stool so the space looks planned, not leftover.
6. Tuck a Tub Under a Sloped Ceiling
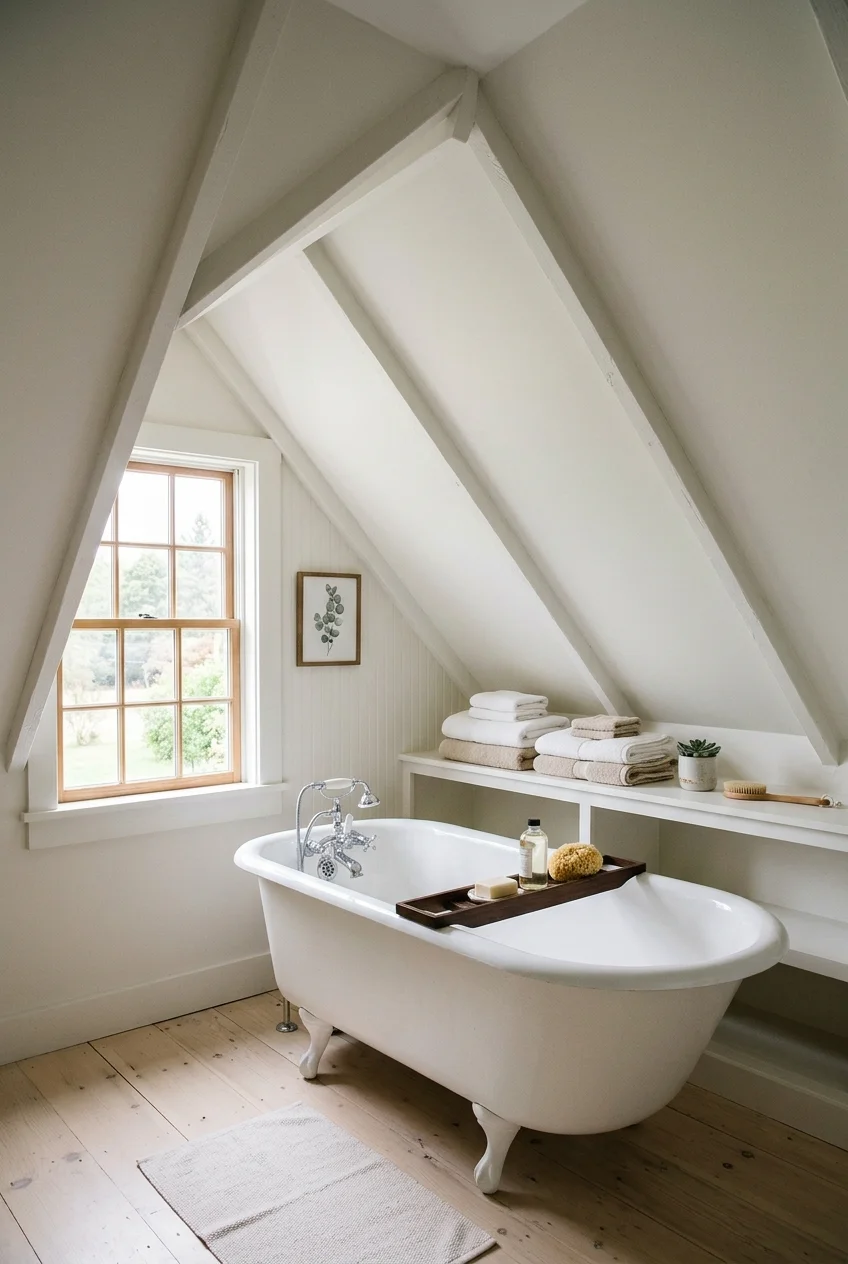
Under a sloped ceiling, put the tub where headroom is greatest and let the low side hold a shelf or plants. Check both standing and seated heights.
For more layouts that follow the roofline and handle low headroom, see these attic bathroom ideas before you settle on a position.
- Standing headroom at the edge of the tub
- Seated headroom at the back
- Window or skylight position
- Storage under the low slope
7. Keep a Clear Walkway to the Vanity
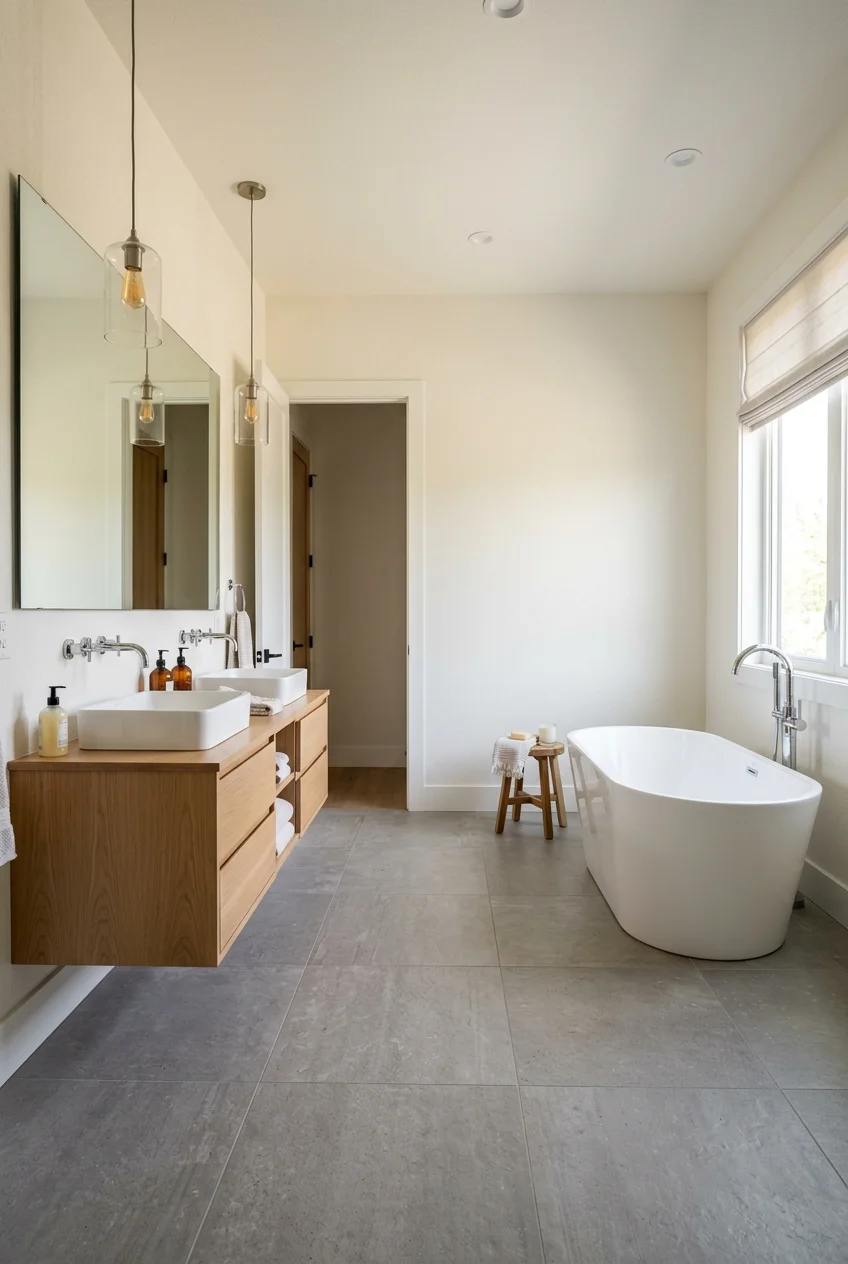
Set the tub so a clear path stays open between door, vanity and tub. Planning guidelines commonly suggest about 21 inches of open floor in front of fixtures.
Tape the footprint on the floor and walk the route carrying a towel. Tight gaps look fine in photos and feel awkward in daily use.
Practical tip Mark door swings too. A vanity door that opens into the tub path defeats the clear walkway you planned on paper.
8. Raise the Tub on a Low Tiled Plinth
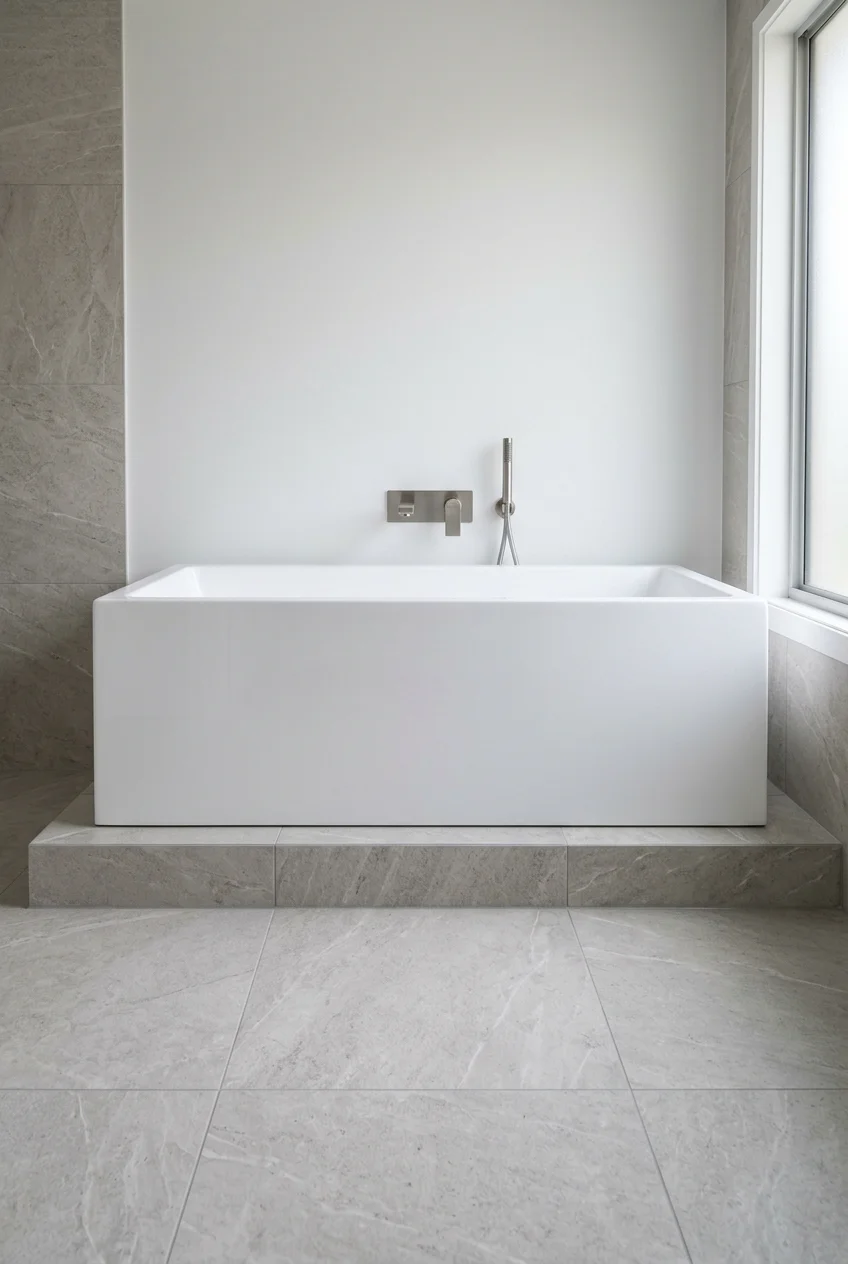
A shallow plinth gives the tub a defined stage and can hide plumbing for a wall-mounted filler. Keep the step low enough to cross safely with wet feet.
Heavy tubs plus tile add weight. Have a contractor or structural professional confirm the floor can carry a filled tub before building any platform.
- Plinth height and step edge
- A waterproof finish matching the floor
- Access to plumbing if it is ever needed
9. Give the Tub Its Own Bathing Room
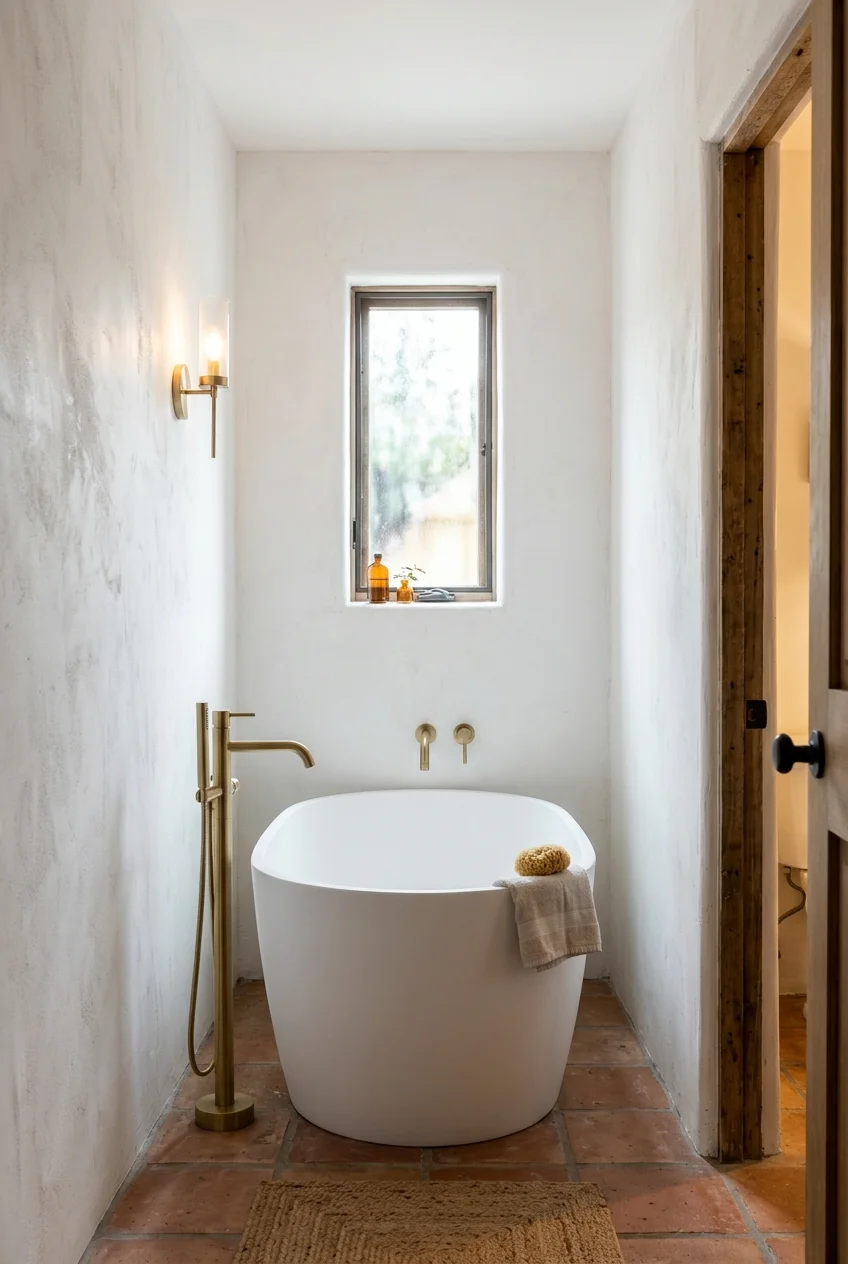
A separate bathing room lets the tub stand alone behind a door, which helps shared homes where someone else needs the sink. Size the exhaust fan for the room.
Even a compact room works if the tub is the only fixture. Leave space around it and add one wall light and a window or skylight.
A closed room can trap humidity, so choose a fan rated for the room size and run it after bathing. A small sill or shelf can hold the day's essentials.
10. Frame the Tub From the Doorway
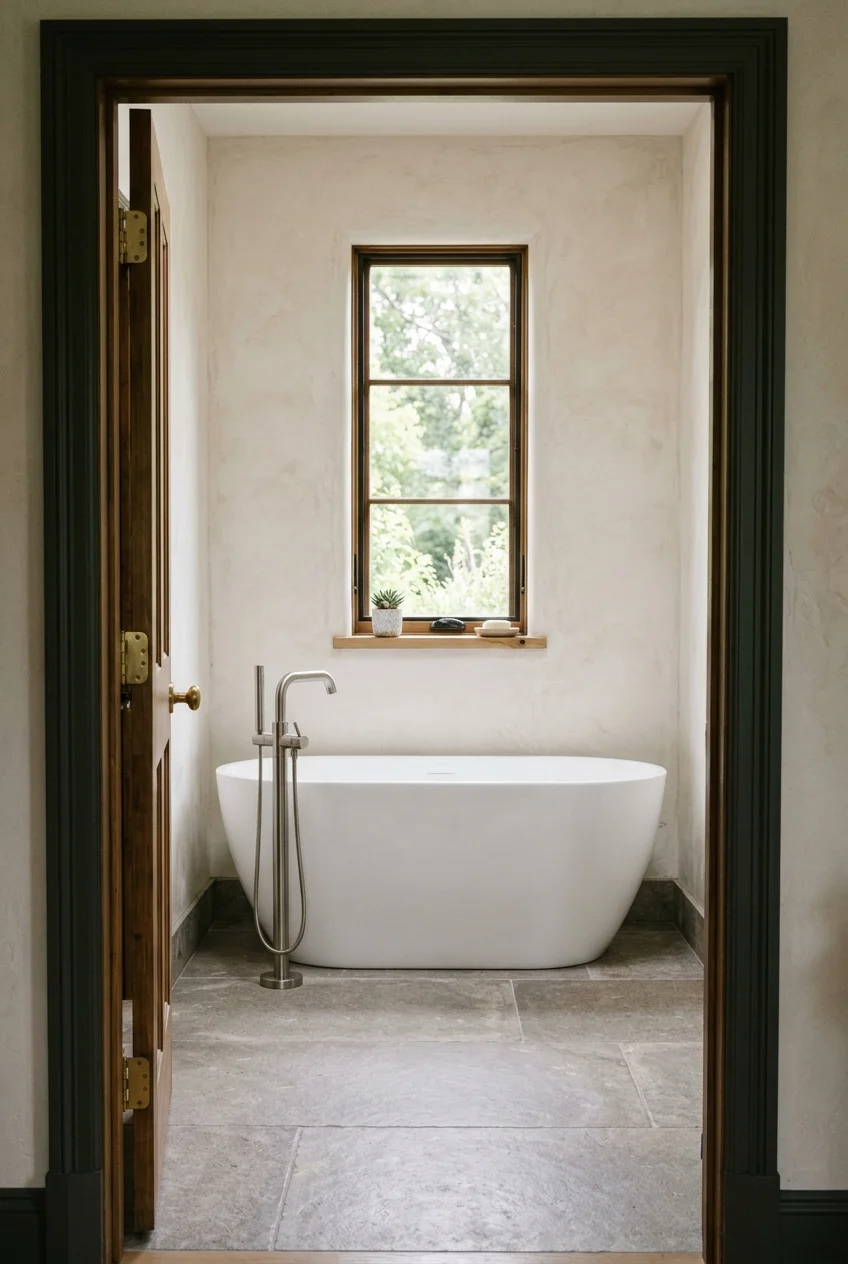
Align the tub with the entrance so it is the first thing seen, then keep the wall behind it simple. One feature, such as tile, is enough.
Avoid putting the toilet in the same sightline. A pocket door or short partition can screen it without adding a full wall.
Tub Shapes and Styles to Save
11. Choose a Double-Ended Oval
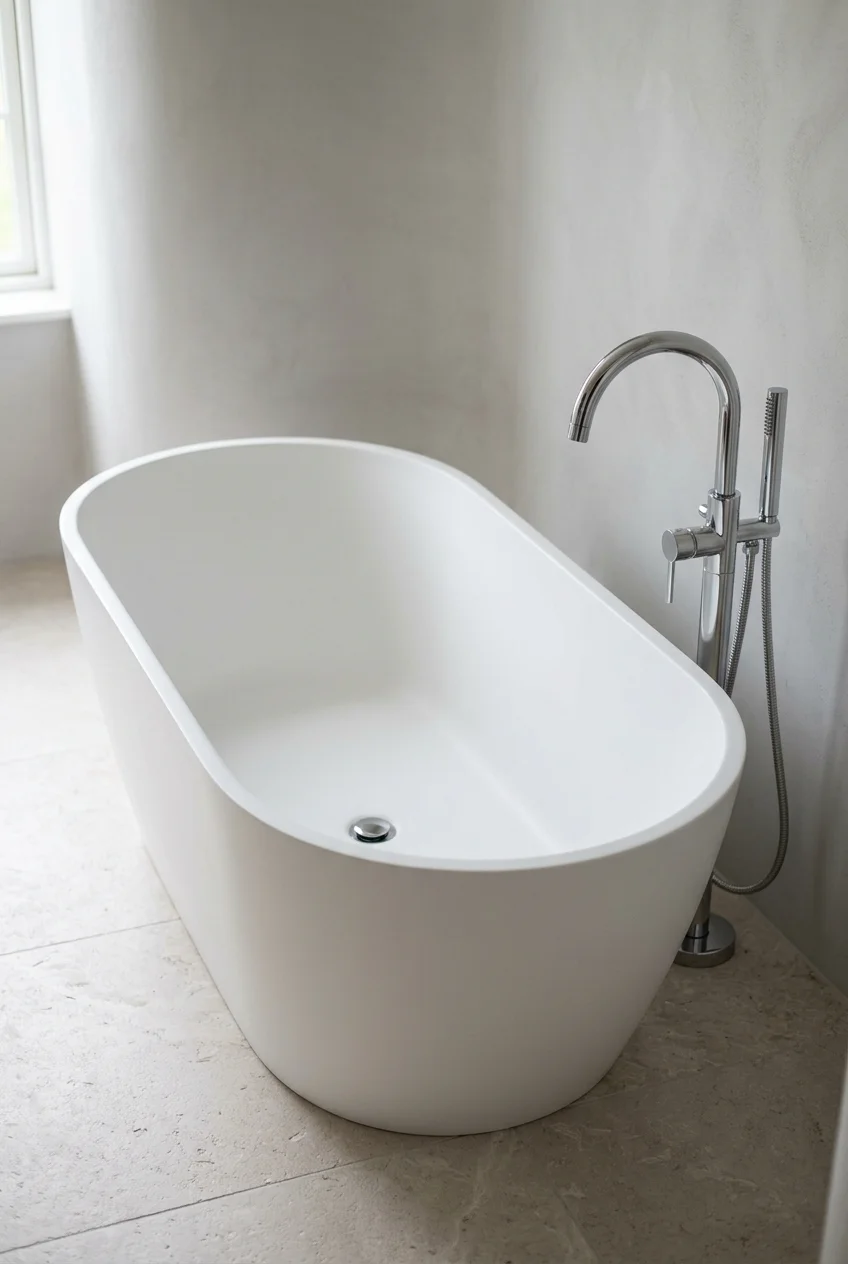
A double-ended oval slopes up at both ends, so either end works for leaning back. It suits window-wall and center-room layouts where symmetry matters.
Check the drain position on the spec sheet, since some models place it in the center and others at one end. That location sets your rough-in.
- Drain in the center or at one end
- Rim width for towels and bottles
- Interior slope at both ends
12. Pick a Slipper Tub for the Raised Back
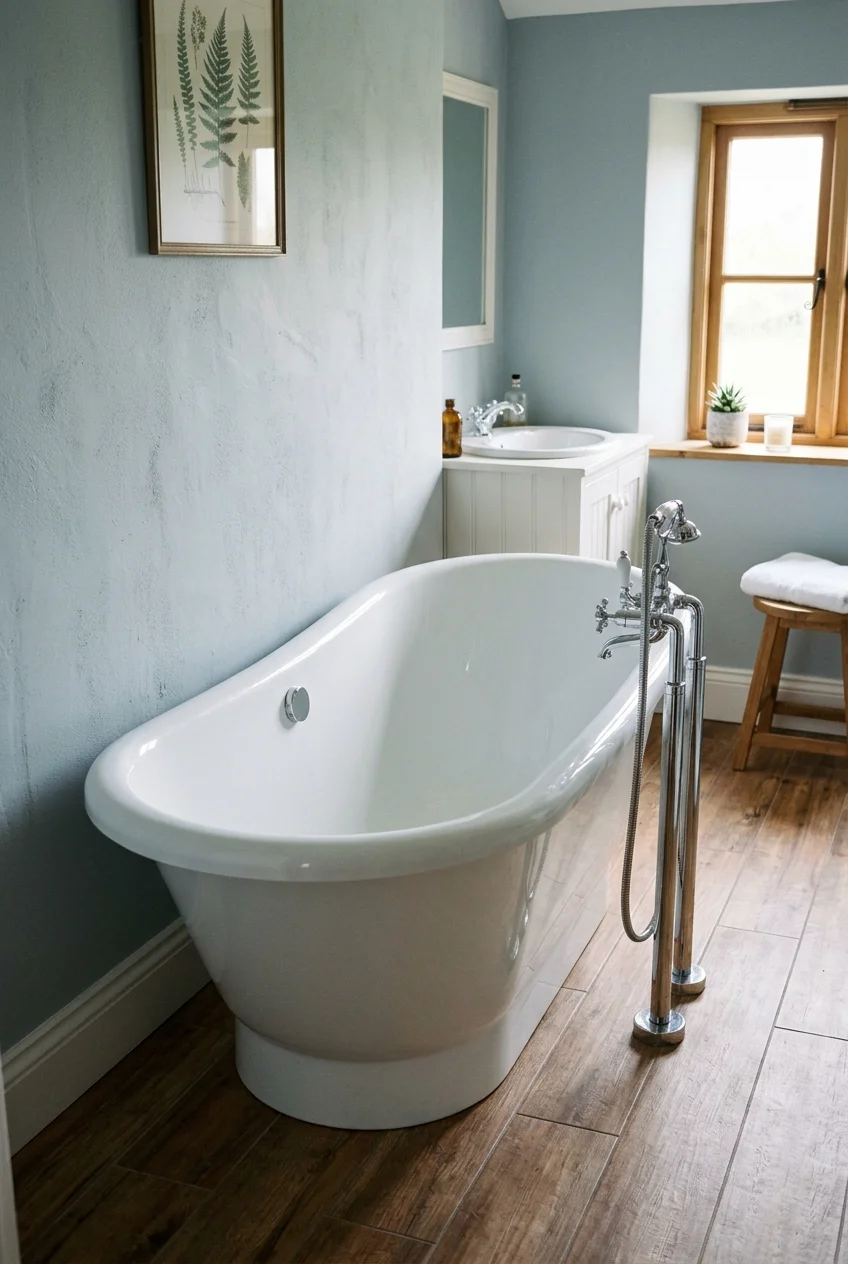
A slipper tub rises higher at one end to give full back support. Place the tall end against a wall or window and the low end toward the room.
The raised end makes the tub taller overall, so compare rim height with nearby windowsills and any wall-mounted filler before ordering.
Watch for Check the rim height against windowsills. A tall back can block a low window or collide with wall-mounted fixtures behind it.
13. Show Off a Clawfoot Tub on Exposed Feet
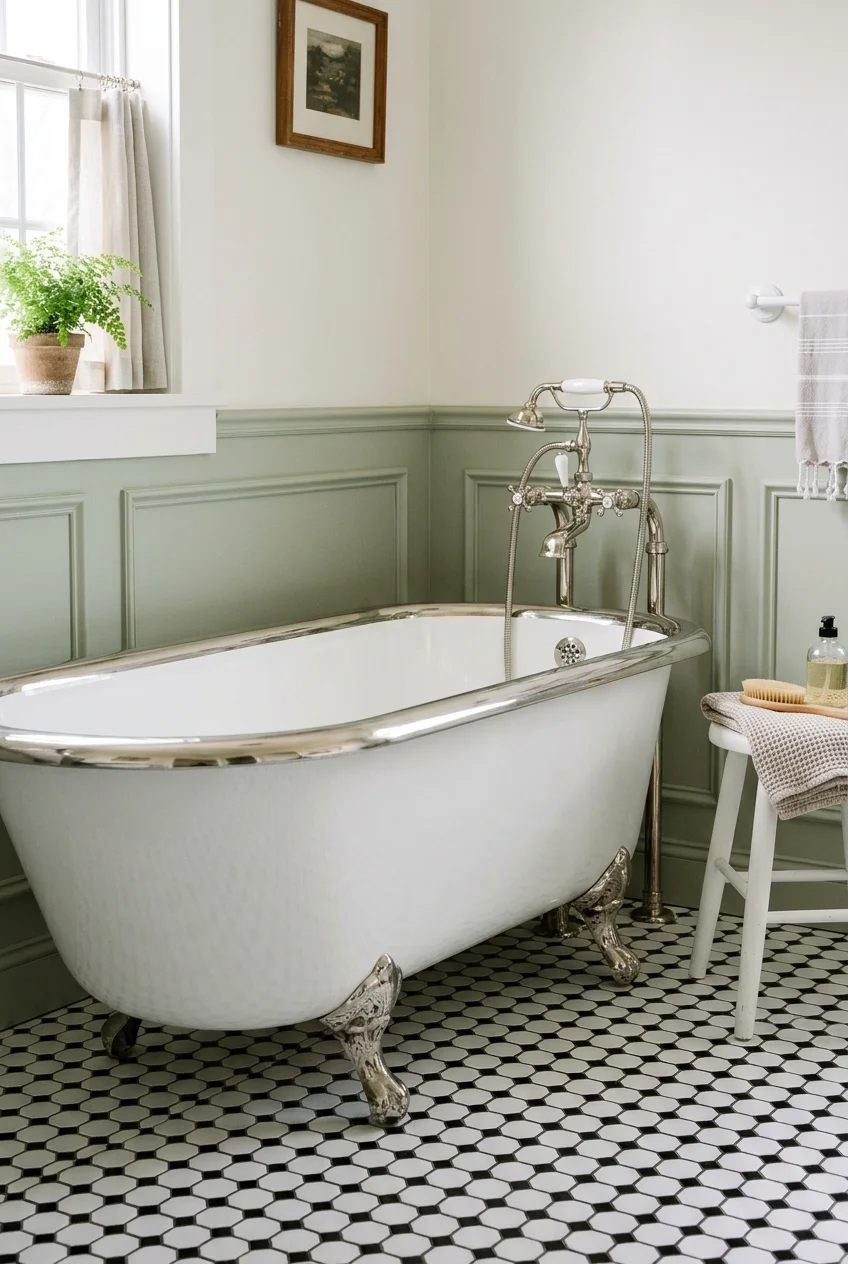
A clawfoot tub on exposed feet gives a traditional silhouette and lets you see the floor beneath it, which can make a room feel larger.
Exposed feet need a splash-tolerant floor finish and a gap for cleaning. Pair the tub with an exposed-pipe filler for a period look.
- A floor finish that handles splashes
- A gap beneath and behind the feet
- A filler style that matches the tub
Period-friendly pairings, from pedestal sinks to wainscot, appear in these vintage bathroom ideas, if you want the whole room to match the tub.
14. Go Modern With a Rectangular Tub
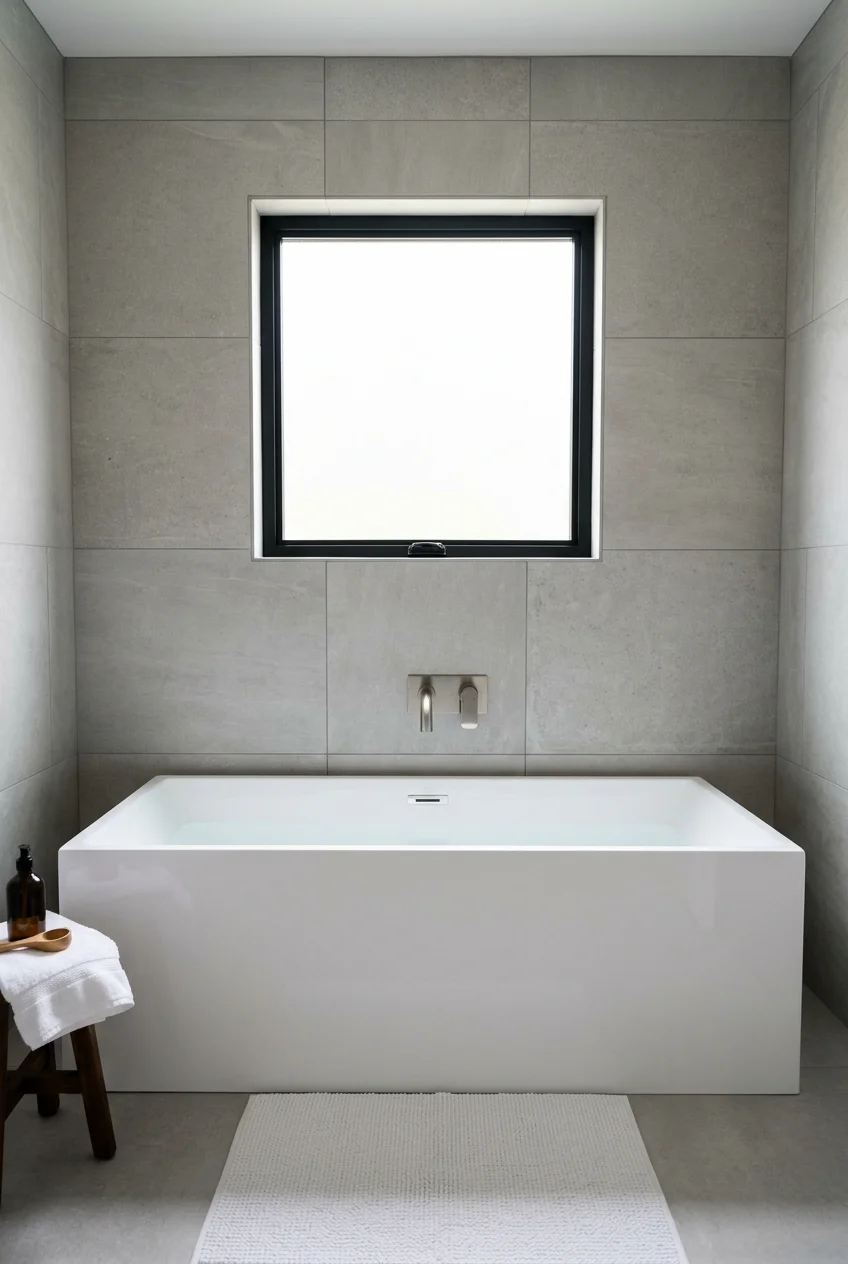
A rectangular tub with straight sides lines up with tiled walls and square rooms because its edges echo the room's geometry.
Check the interior shape, not just the outside length. A boxy exterior can hide a shallow seat or a steep interior wall.
15. Fit a Round Tub Into a Square Room
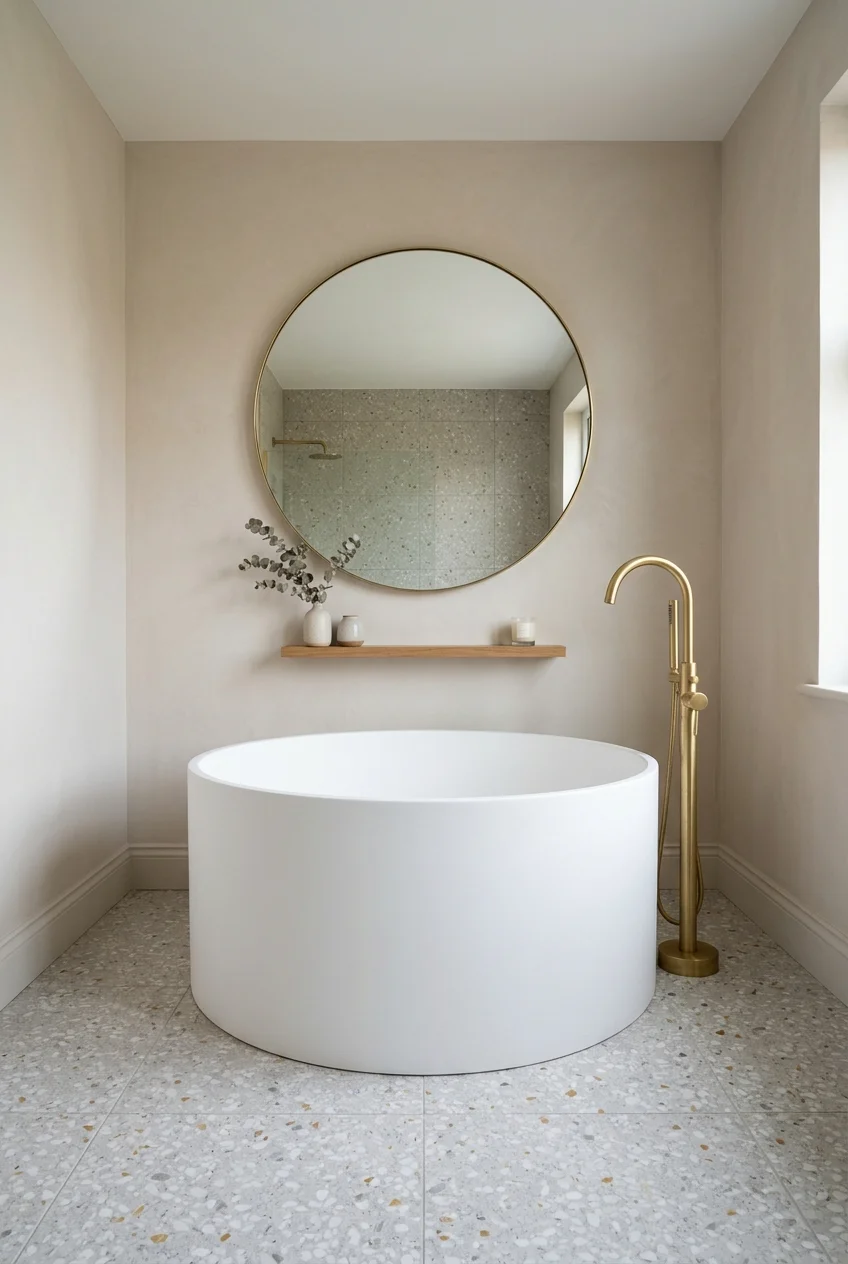
A round tub suits square or hexagonal rooms and allows bathing at any angle. It needs roughly equal floor space on all sides.
Round models are often deep, and they limit stretching out fully. Decide whether a seated soak or a long reclined one matters more.
16. Try a Deep Japanese-Style Soaking Tub
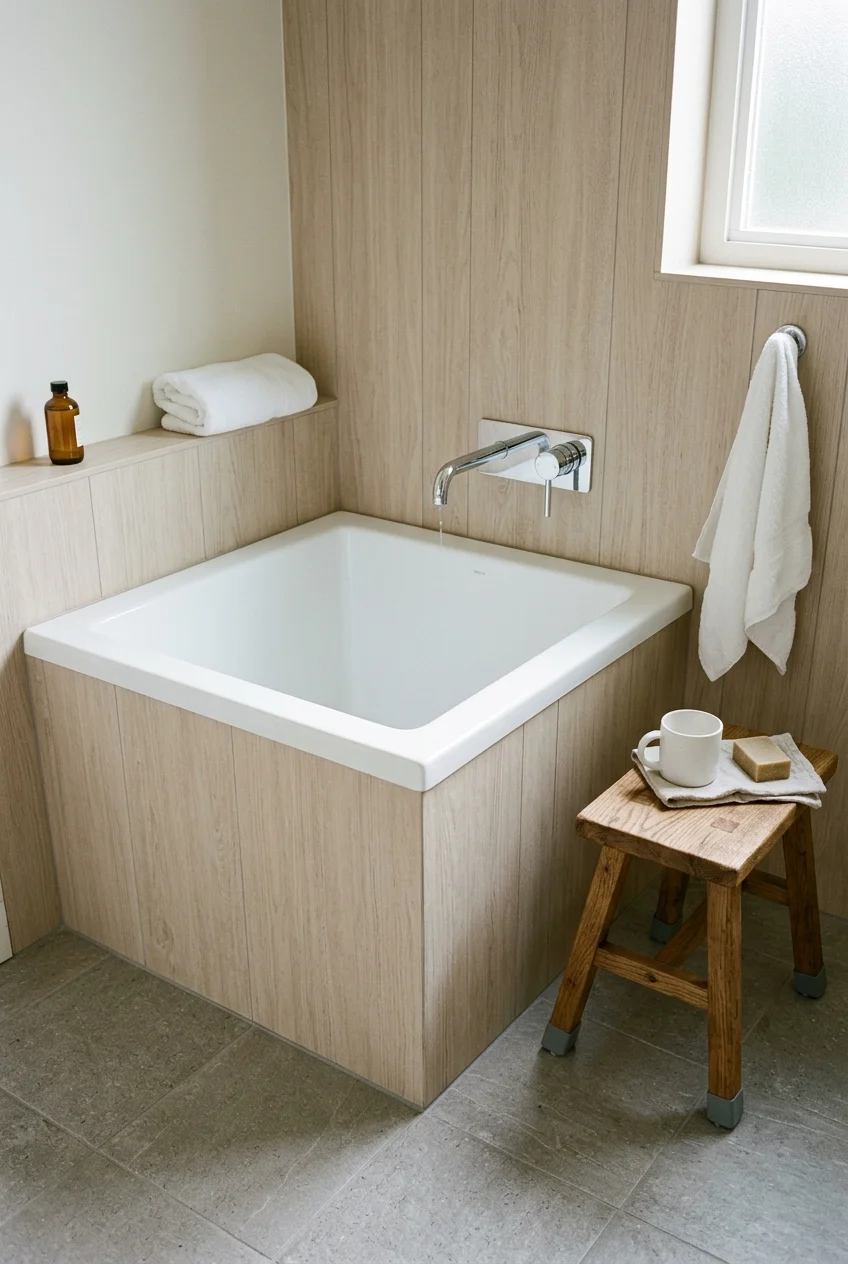
A soaking tub is shorter and taller than a Western tub, so you sit upright with water to the shoulders. That saves footprint in compact bathrooms.
Rim height makes entry harder. A built-in step or stable non-slip stool helps, and so does choosing a model with a gently sloped interior.
Setup note Test a showroom tub for entry height. A tub that is hard to climb into may not suit everyone in the household.
17. Choose a Pedestal-Base Tub
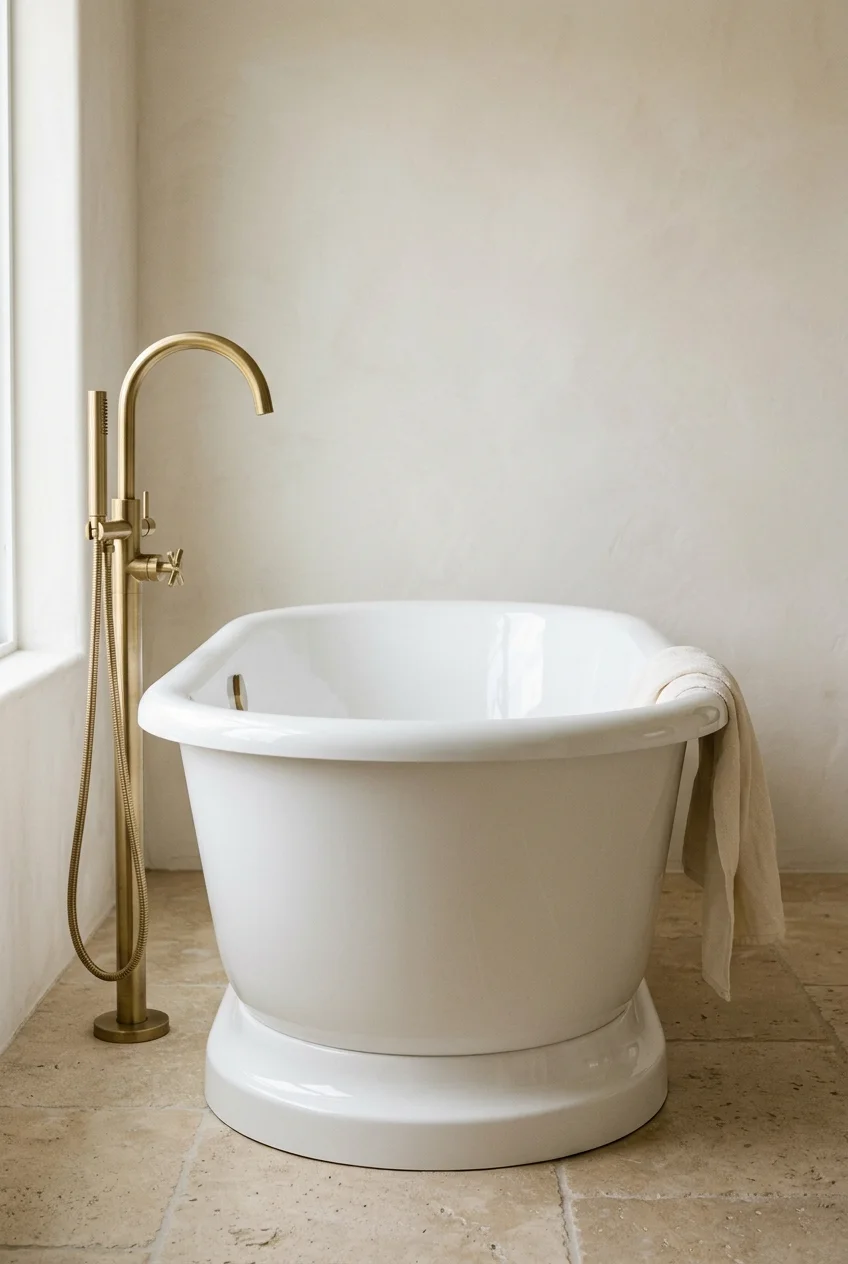
A pedestal-base tub rests on a solid base instead of feet, which hides the floor and gives a sculptural, grounded profile.
The base spreads weight over a larger footprint, but it still needs a plan. Confirm drain placement and fit against the spec sheet before buying.
18. Fit a Compact 54-Inch Tub in a Small Bath
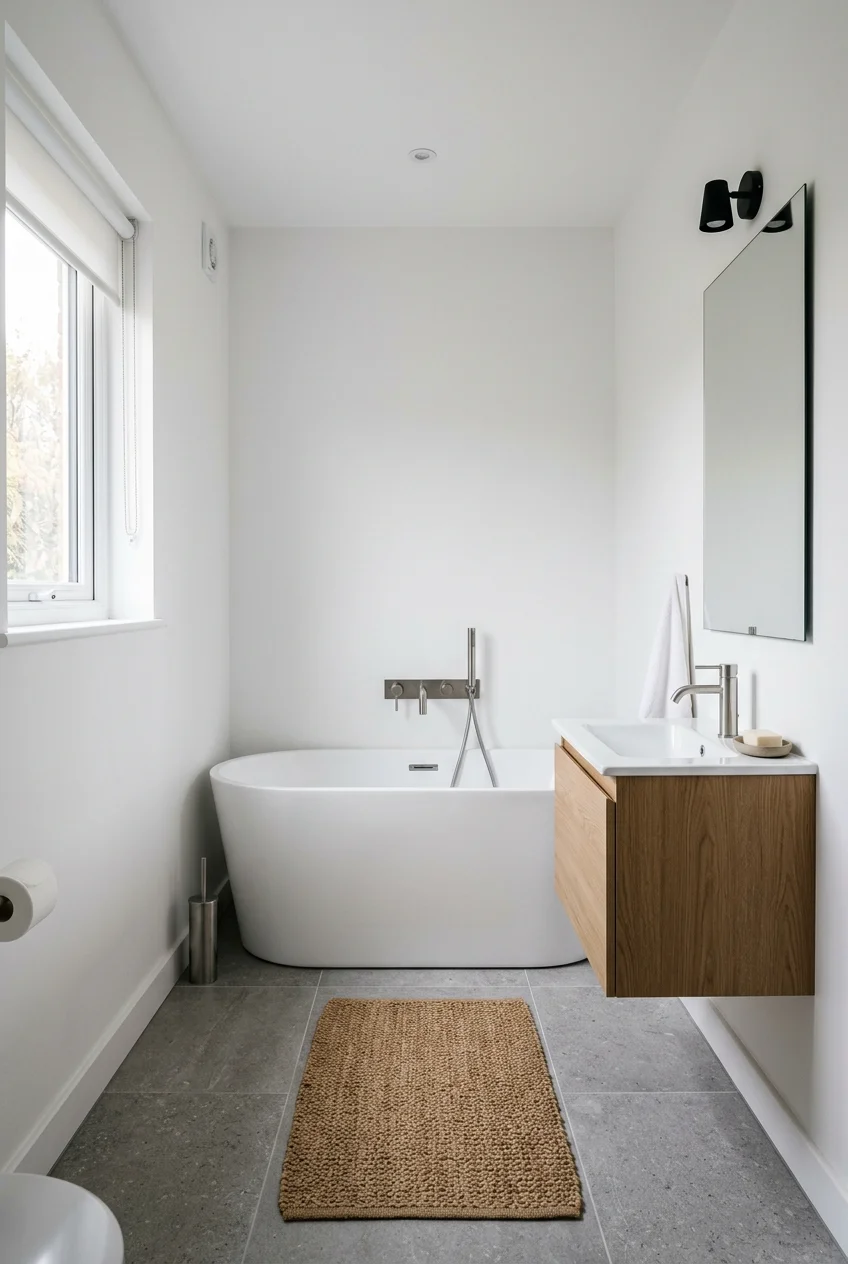
A small bathroom can still hold a freestanding tub if you choose a compact model, often 54 to 60 inches long. Sit in a showroom model if you can.
Allow clearance on every side. A 60-inch tub with about 4 inches per side needs roughly 68 inches of wall.
More layouts that protect clearances in tight rooms appear in these small bathroom renovation ideas if the tub competes with a shower or vanity.
19. Ground a Light Room With a Black Exterior
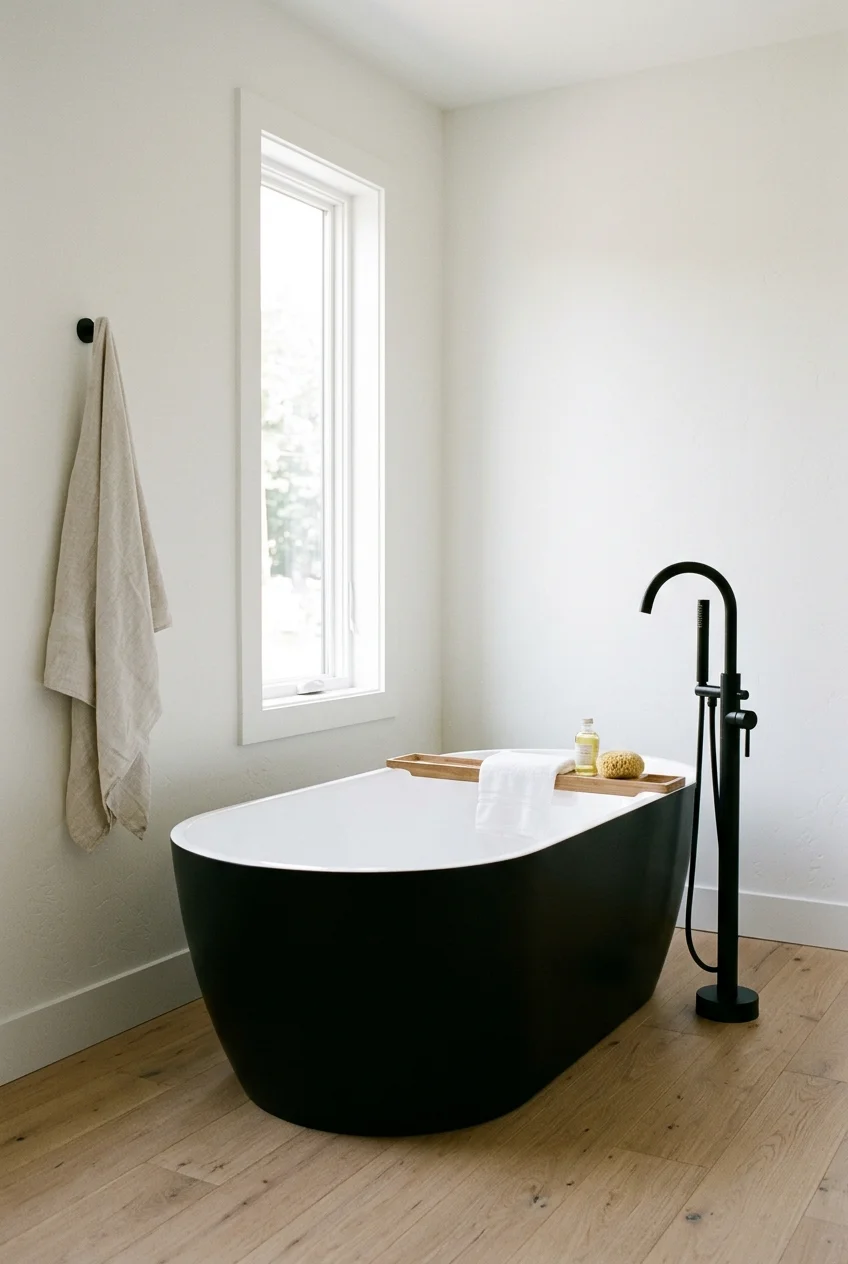
A tub with a matte black exterior and white interior anchors a pale room while keeping the bathing surface bright.
Dark finishes show mineral spots and dust differently than white ones. Ask the maker which cleaners the finish tolerates and wipe the exterior after use.
20. Warm a Tiled Room With a Wood-Clad Tub
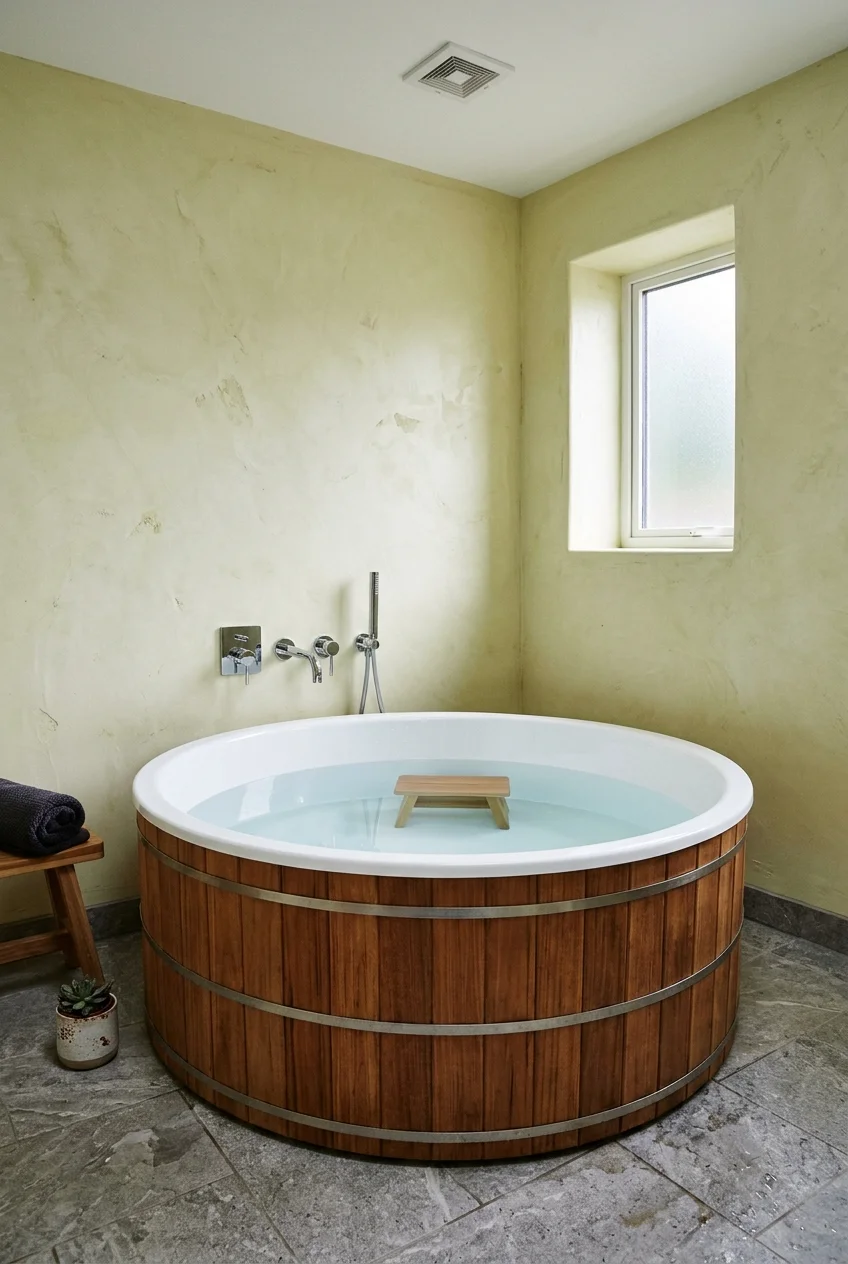
A freestanding tub with a wooden exterior softens a bathroom full of tile and glass. Some brands offer wooden soaking tubs as a made-to-order style.
Wood needs good ventilation and the maker's care instructions. Keep towels and mats from trapping moisture against the surface, and wipe splashes promptly.
Walls, Floors and Color Around the Tub
21. Use Glossy Handmade-Look Tile Behind the Tub
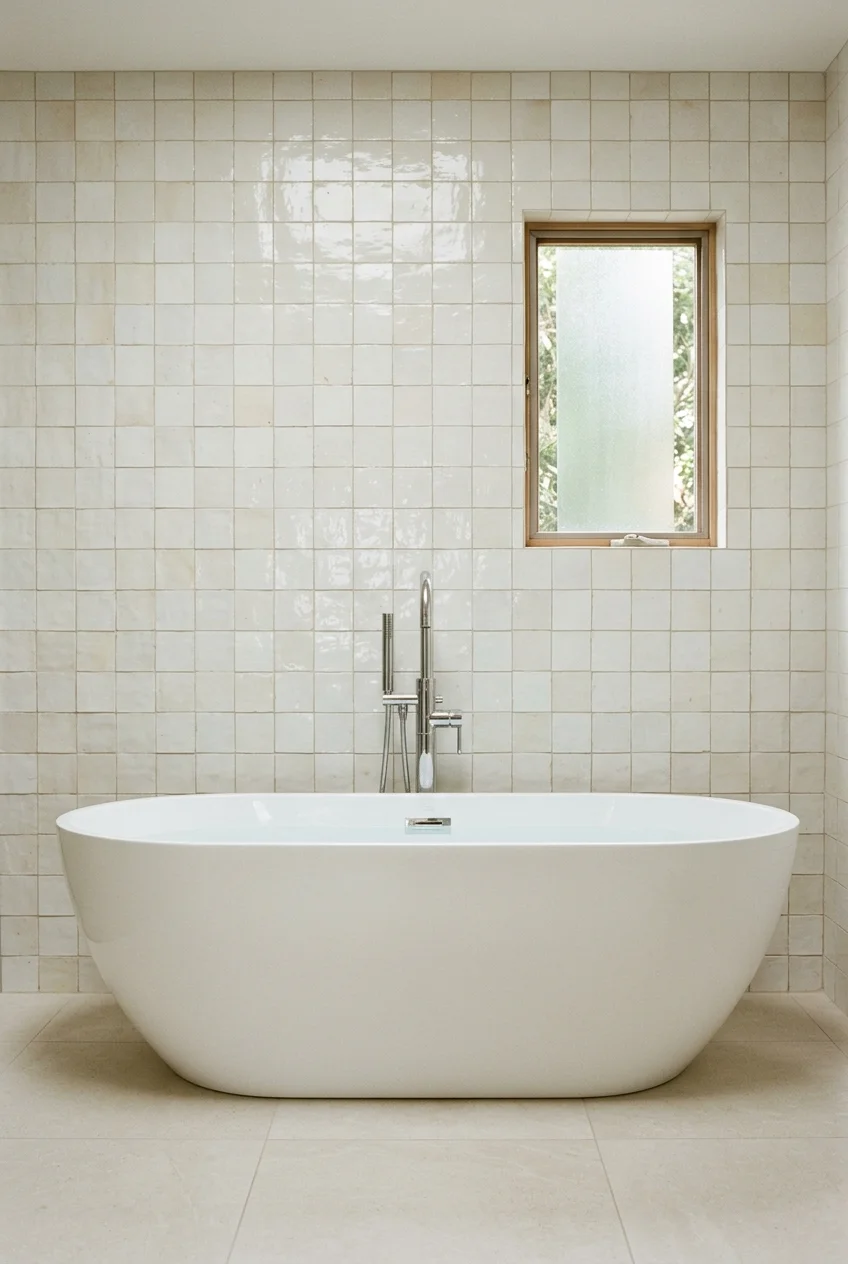
Tile with slight surface variation catches light and gives a plain white tub a richer backdrop. Run it to the ceiling behind the tub for a complete look.
Pick a grout color close to the tile so the variation reads as texture, not a pattern of lines. Seal grout as the maker advises.
- A grout color close to the tile
- Edge trim at corners and windows
- Sealer, if the maker advises it
22. Stack Tile Vertically Behind the Tub
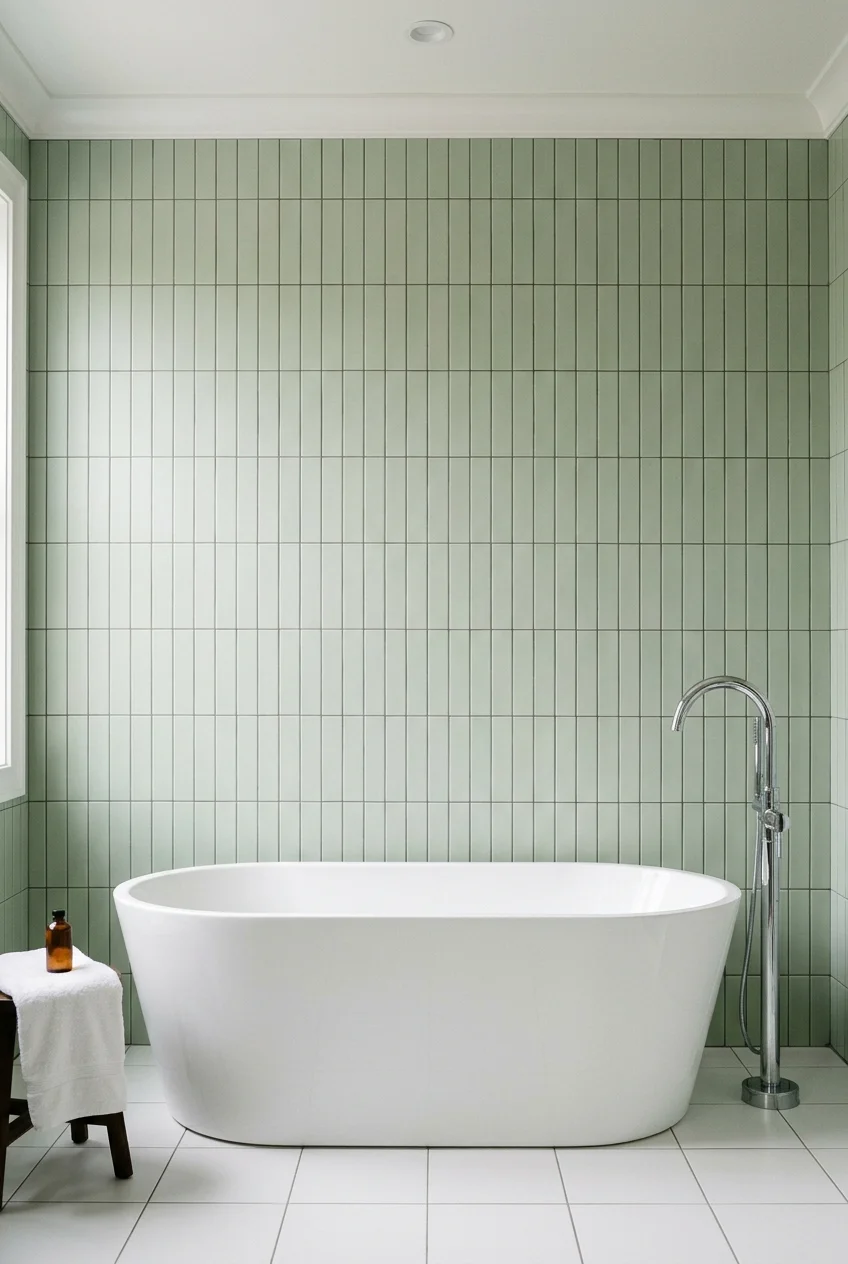
Vertical stacking draws the eye upward and makes a low ceiling feel taller. Long rectangular tiles in a soft color work well behind a rounded tub.
Line the joints up carefully with the window frame and ceiling. A level starting line matters more here than with offset patterns.
23. Add Wainscot and Painted Upper Walls
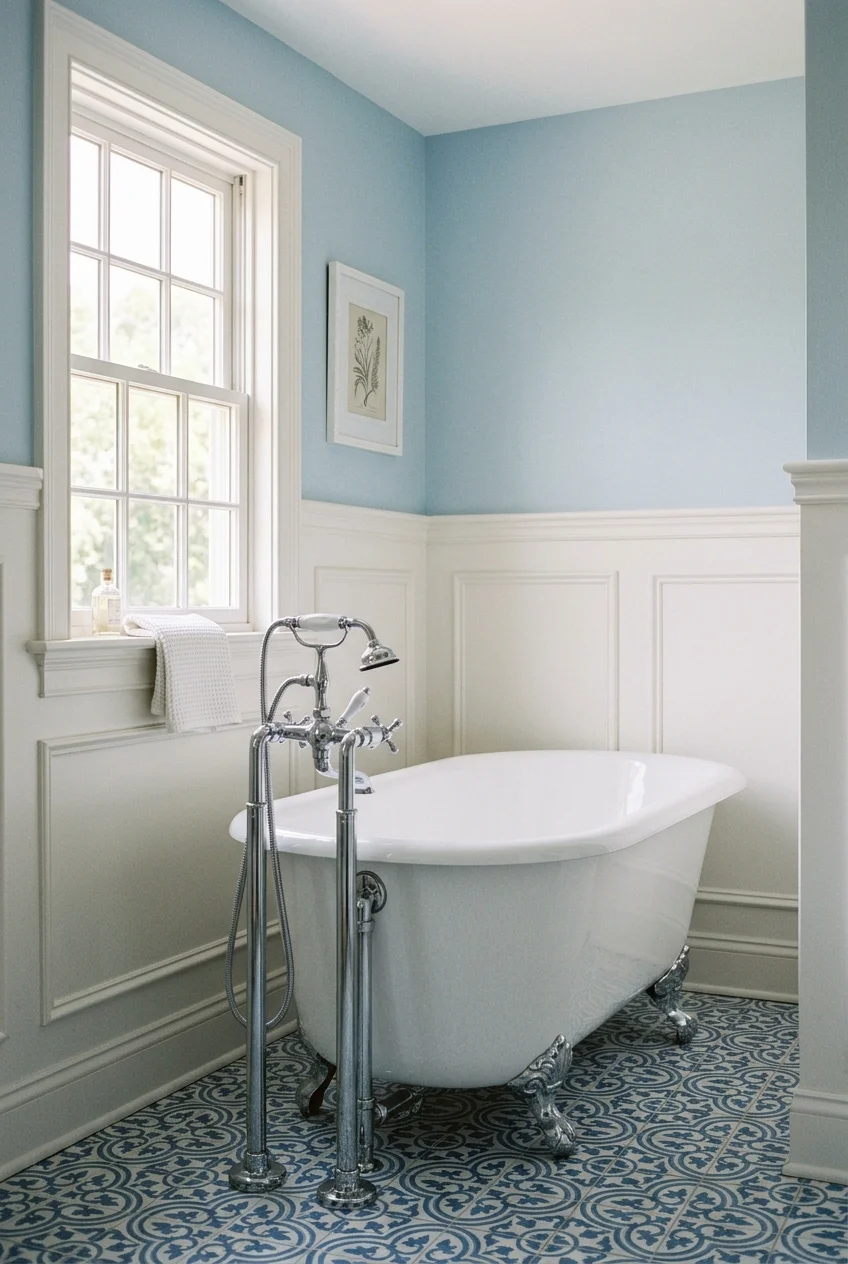
Tile or panel the lower half of the wall near the tub and paint above it. This protects splash zones while keeping the room light.
Choose a paint rated for bathrooms and ventilate well. Keep the line of the wainscot at a consistent height behind the tub and the window.
- Consistent wainscot height around the room
- Moisture-rated paint above it
- A cap rail that sheds water
24. Hang Moisture-Rated Wallpaper Away From Splashes
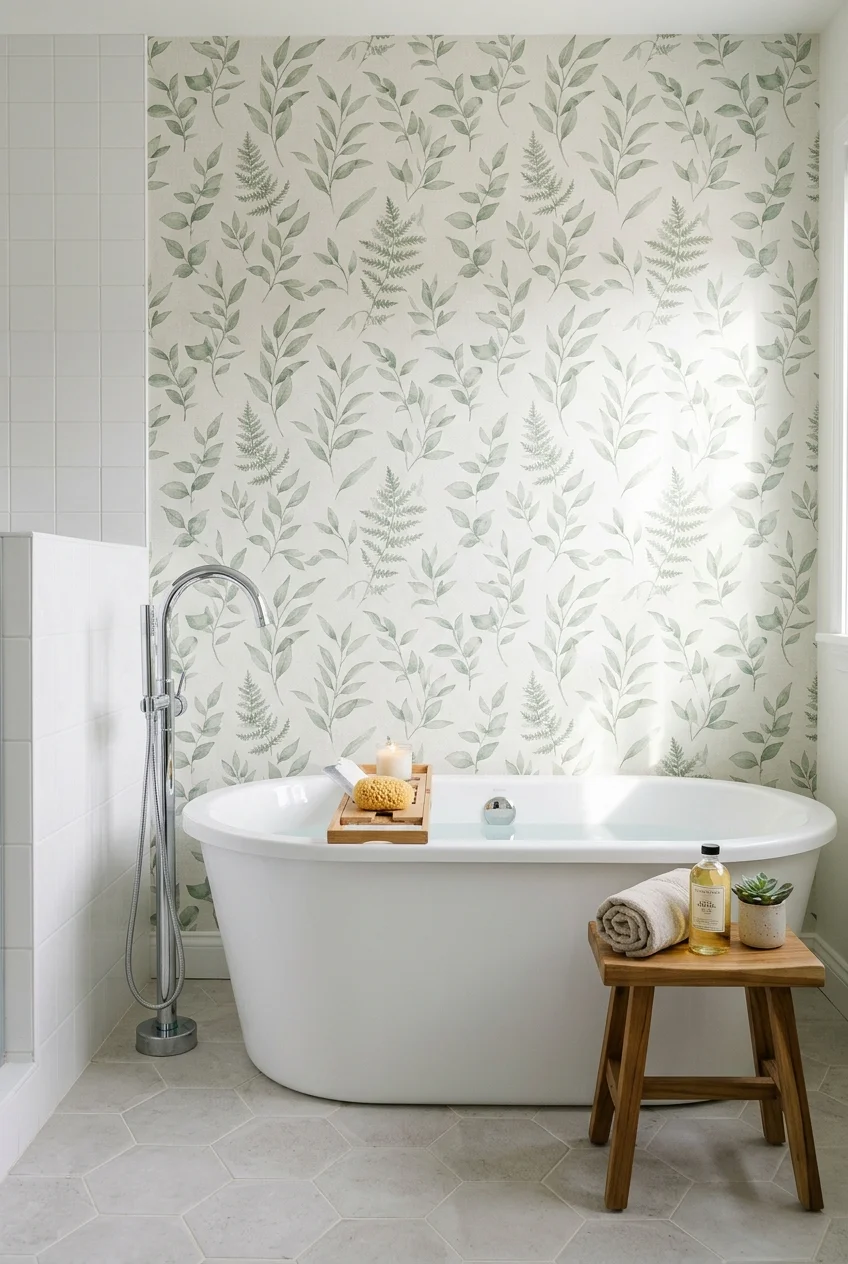
A botanical or textured wallcovering gives a bathing nook personality. Use it on the wall opposite the tub, where splashes rarely reach.
Choose a product made for humid rooms and check the maker's guidance on bathrooms. Keep it away from direct water contact around the filler.
Watch for Peeling can start at seams exposed to steam, so keep the covering away from the tub's splash zone and ventilate well.
25. Wrap the Tub Wall in Limestone-Look Porcelain
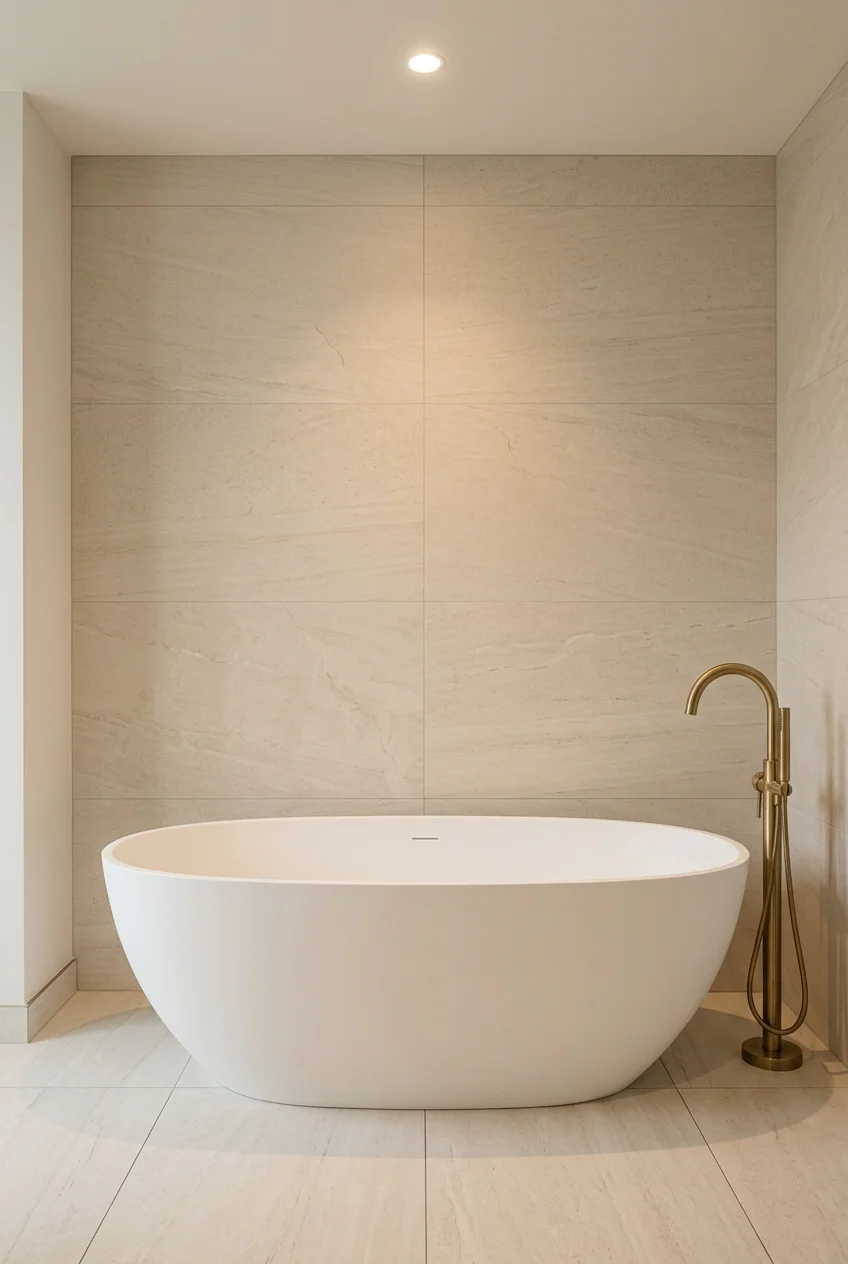
Large limestone-look porcelain slabs create few grout lines and a quiet backdrop. The calm surface lets the tub's silhouette take center stage.
Large panels need careful handling and a flat substrate. Ask an installer about weight and whether the floor transition stays level with the tub area.
26. Paint the Walls a Deep Color Behind a White Tub
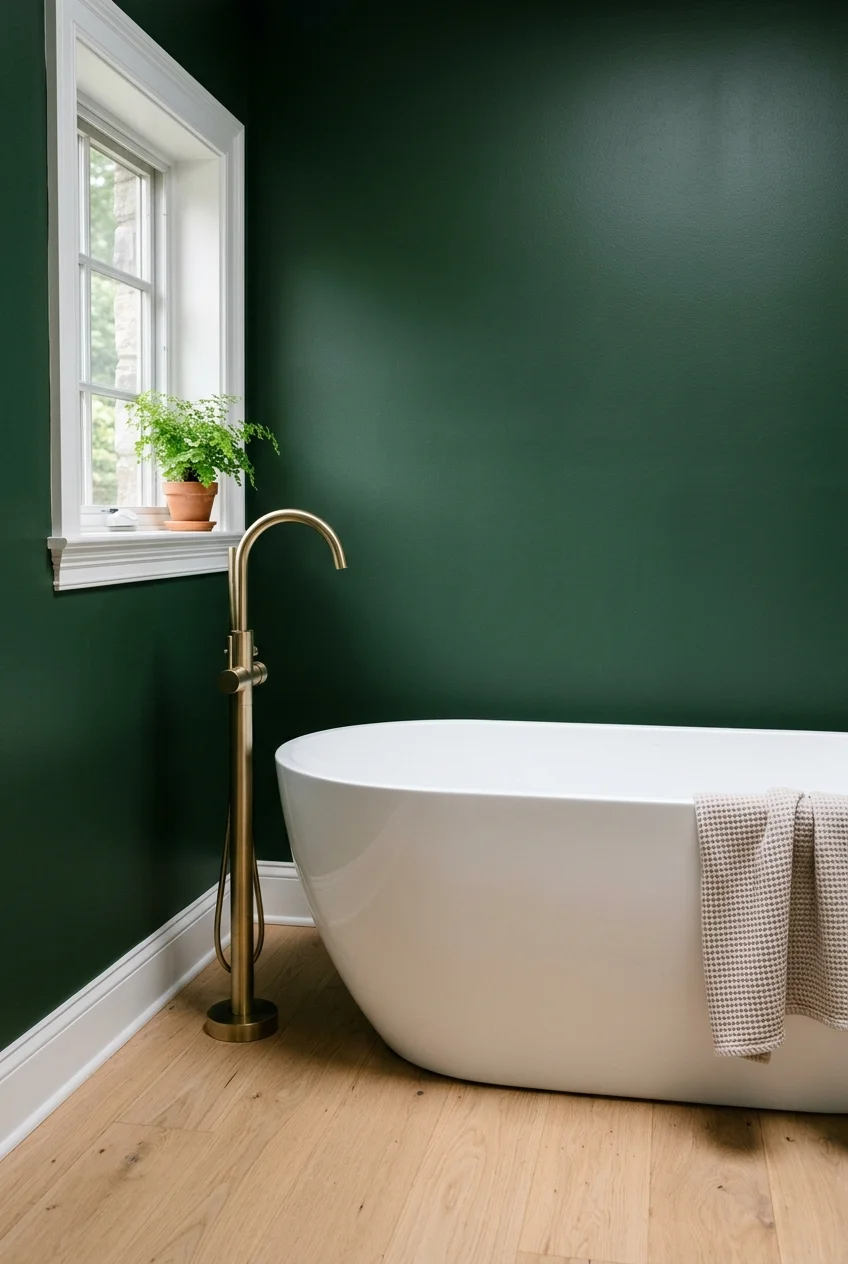
Deep green or navy paint makes a white tub read as a clean silhouette. Keep the floor light so the room does not feel heavy.
Use a moisture-resistant finish and consider a semi-gloss or satin on splash zones. Test the color beside the tub, since daylight changes it.
27. Soften the Room With Pale Green Walls
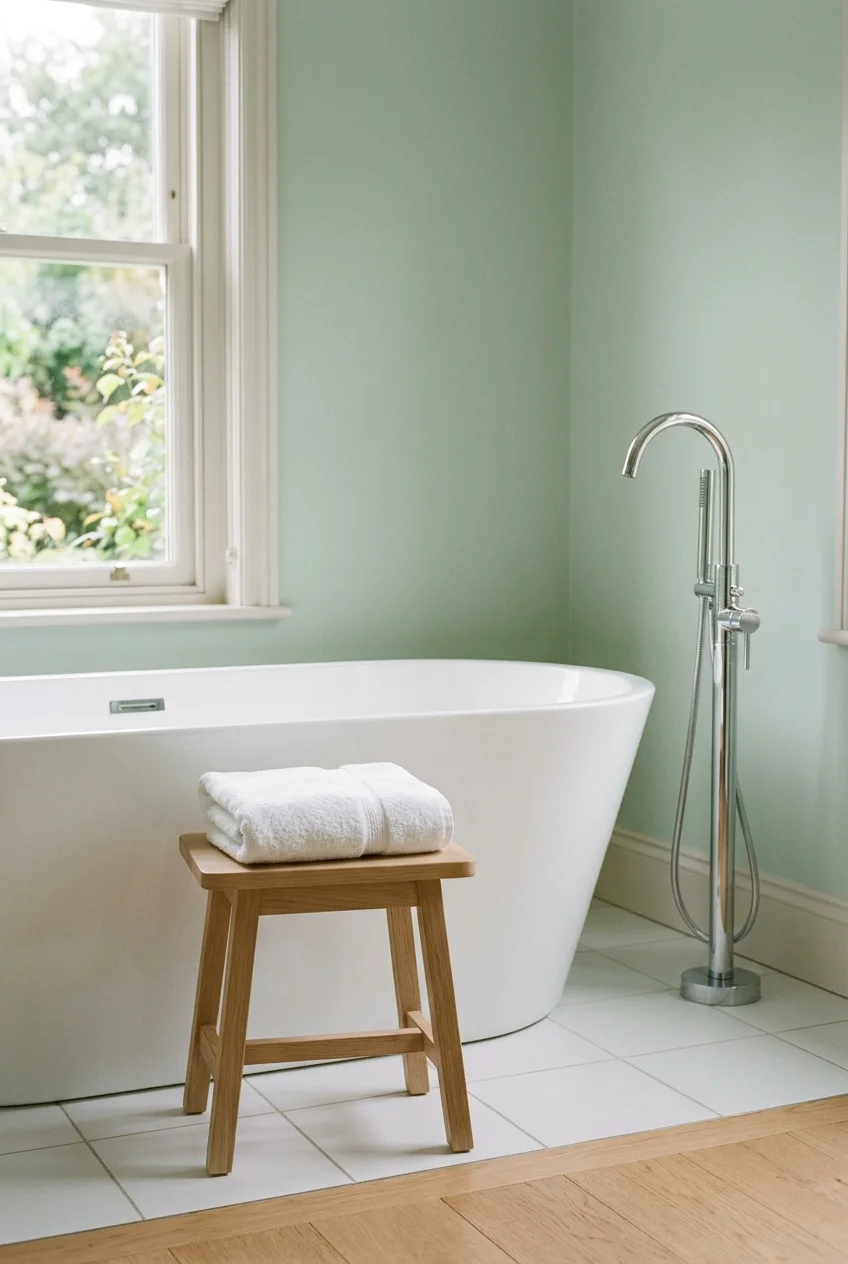
A pale green wall pairs with white fixtures and wood tones without the weight of a dark color. It suits rooms with modest daylight.
Repeat the color in one small object, such as a towel or plant pot, instead of matching every item in the room.
28. Lay Herringbone Tile Under the Tub
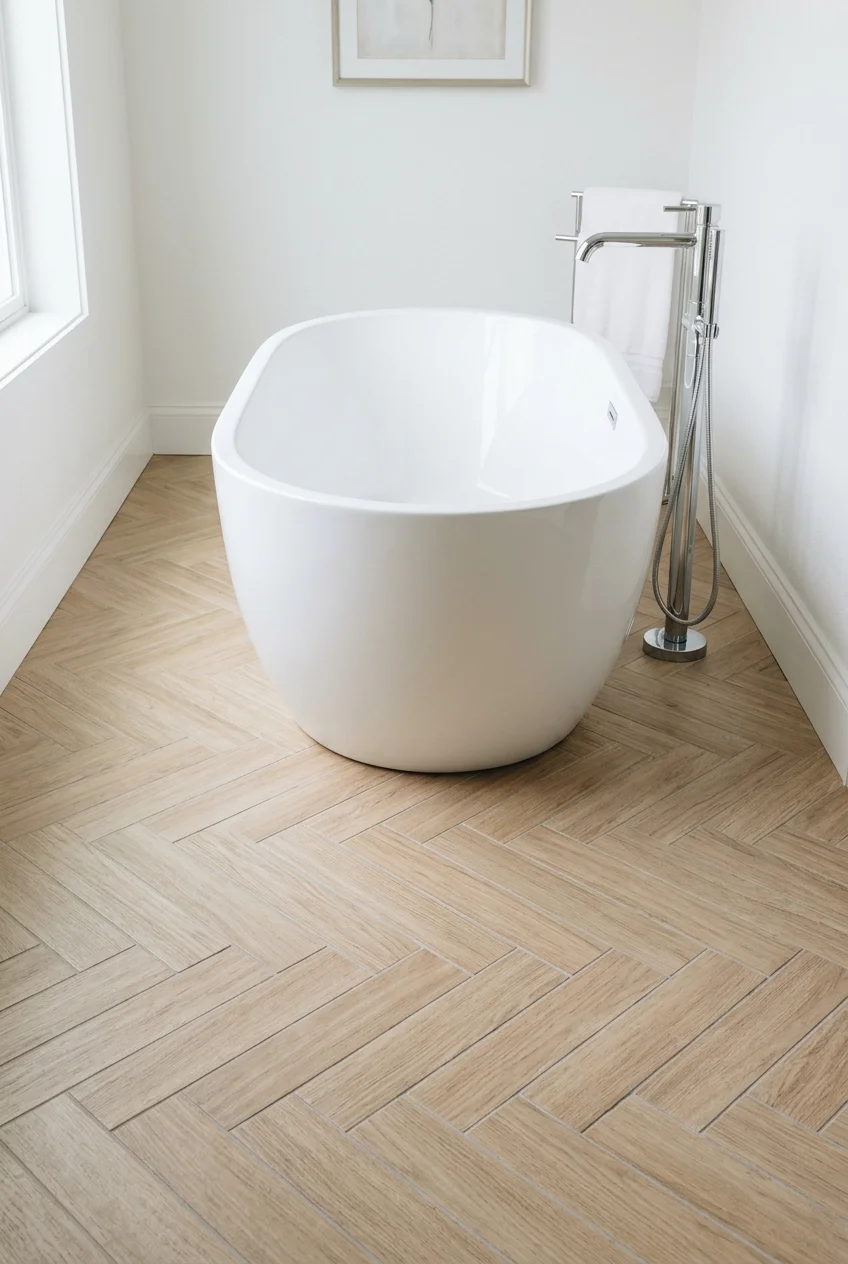
A herringbone floor draws the eye toward the tub and adds texture without a bold color. Wood-look planks and small rectangles both work.
Keep the pattern consistent through the tub zone and stop it cleanly at thresholds. Choose a slip-resistant, bathroom-rated tile and confirm the rating with the seller.
29. Use Small Hex Mosaics for Grip and Pattern
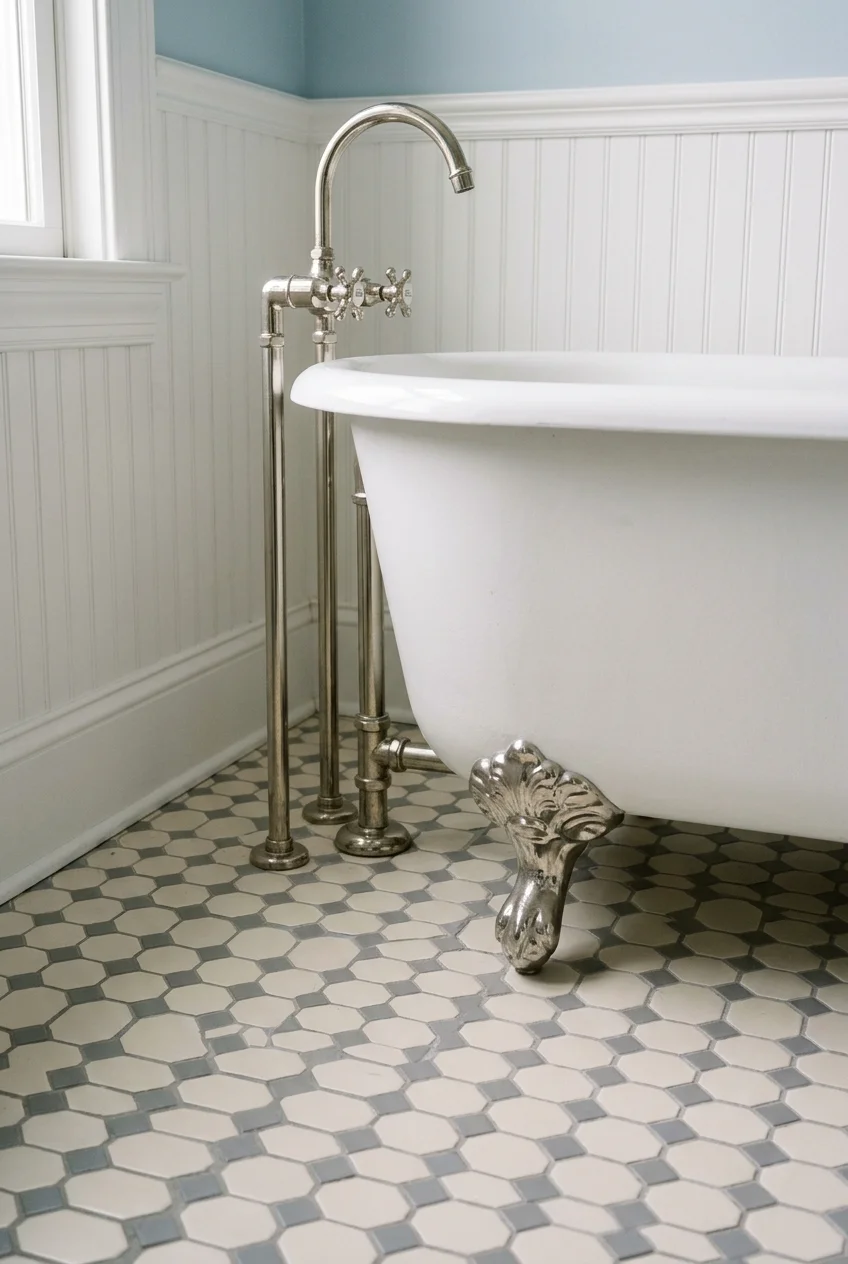
Small hexagon tiles add many grout lines, which gives a bit more grip underfoot. Black and white is a classic combination around a roll-top tub.
Choose a grout that hides stains, since the extra joints collect dust. A sealed, mid-tone grout is easier to maintain than bright white.
30. Pick Wood-Look Porcelain for a Warm Floor
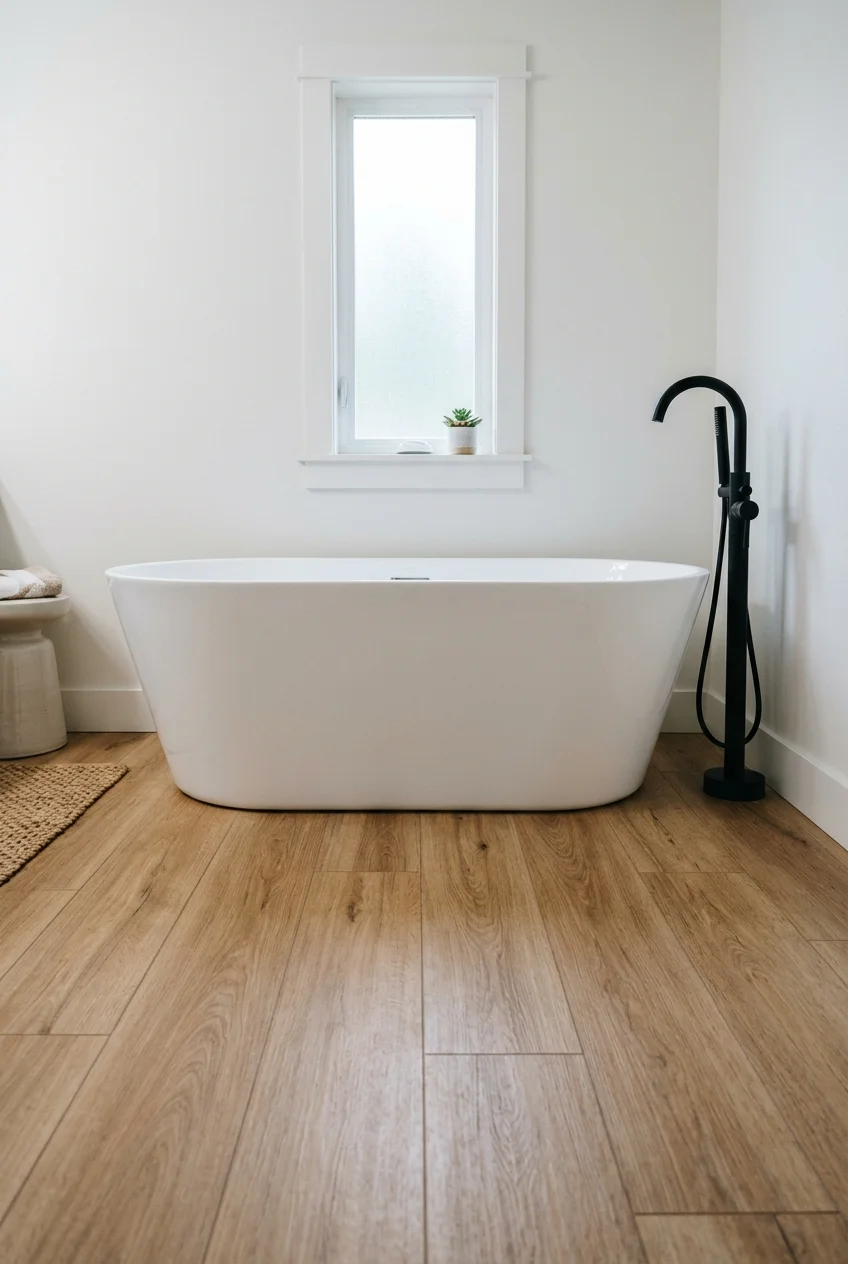
Wood-look porcelain brings warmth under a tub without the water concerns of real wood. Choose planks long enough to minimize seams near the tub.
Run the planks parallel to the longest wall and keep the tub oriented along the same direction for a calm layout.
Faucets, Lighting and Fixtures for a Freestanding Tub
31. Install a Polished Chrome Floor-Mounted Filler
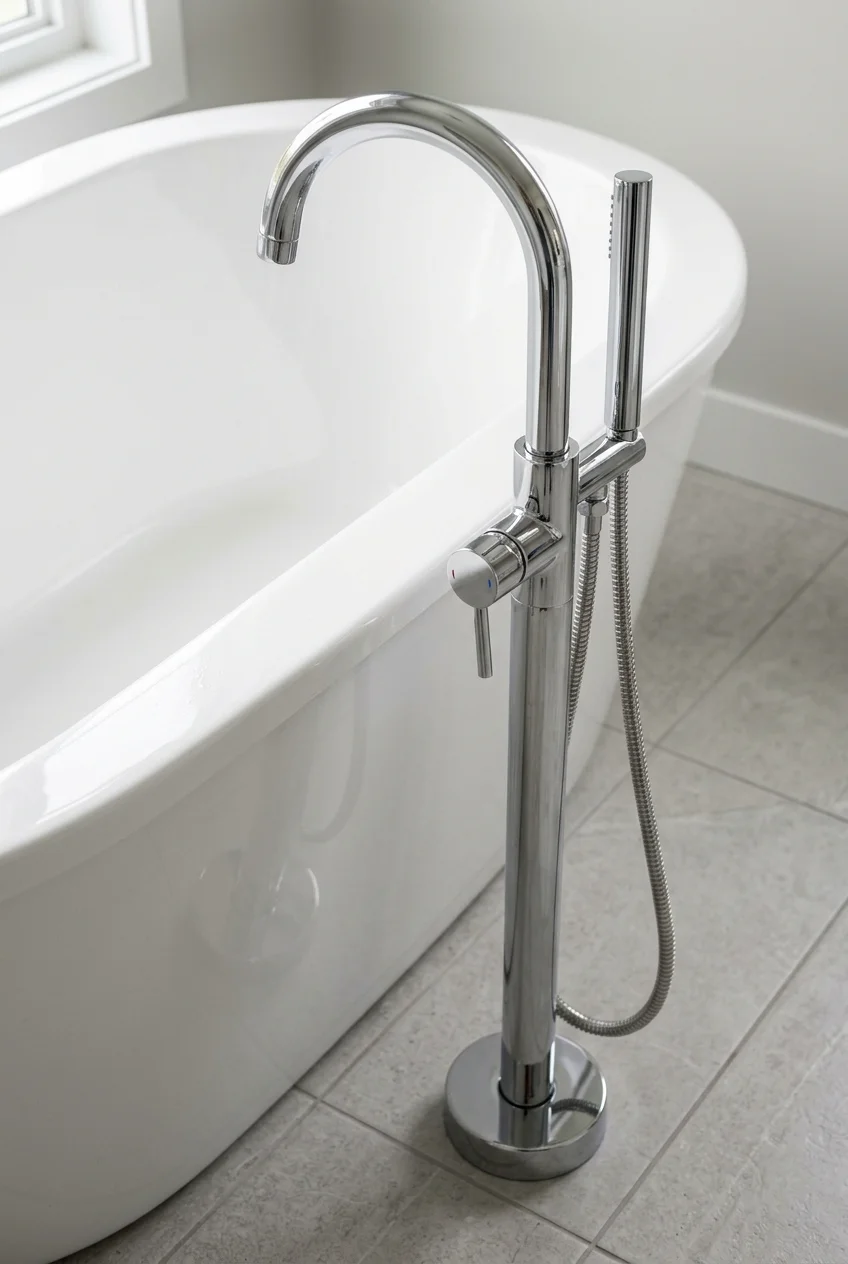
A floor-mounted filler rises from the floor beside the tub and keeps walls free for windows or art. Polished chrome suits most finishes.
This option needs supply lines through the floor, so choose it before the rough-in is set. Match its height to the tub rim.
- Rough-in position beside the tub
- Spout height over the rim
- Handle reach from outside the tub
32. Warm Things Up With a Brushed Brass Filler
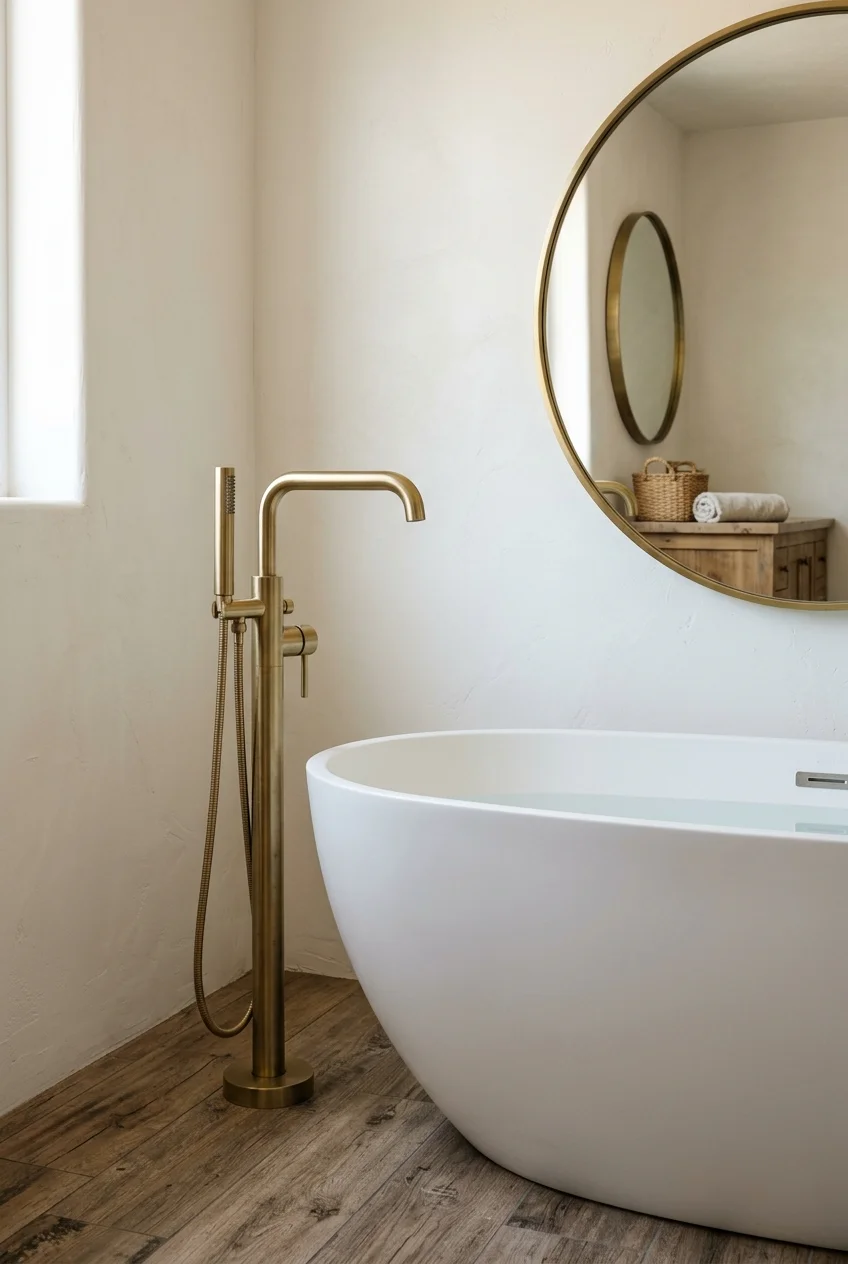
Brushed brass adds warmth against white and wood tones. Keep it to one or two pieces so the finish reads as an accent.
Ask the manufacturer how the finish should be cleaned, because some warm finishes dislike abrasive cleaners. Repeating it on a mirror frame or hook ties the room together.
33. Match a Black Filler to a Black-Framed Window
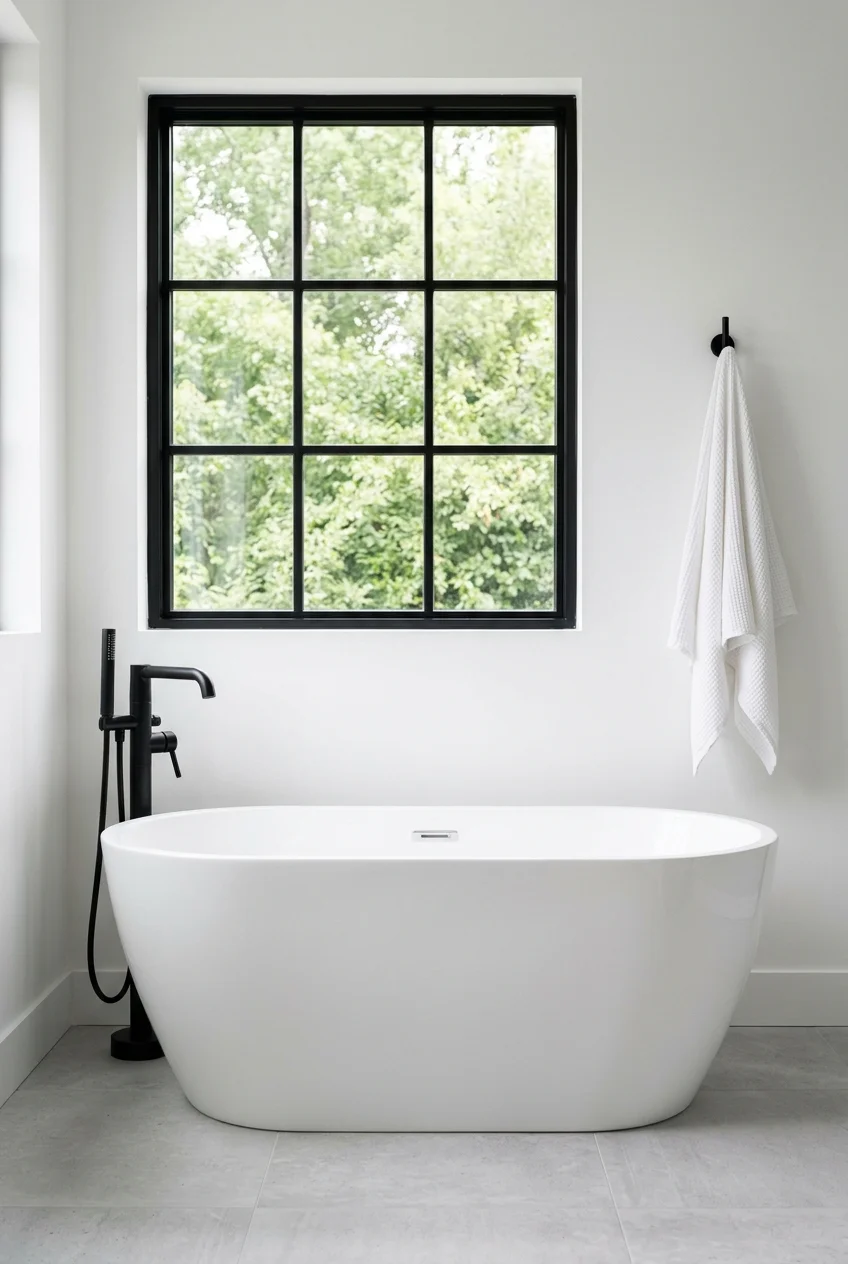
Matte black fixtures look intentional when repeated in a window frame or shelf bracket. Keep the number of black pieces small so the room stays balanced.
Choose a high-quality finish and wipe off water spots. Dark finishes show hard-water marks more quickly than polished ones, so a soft cloth after each bath helps.
34. Use a Wall-Mounted Filler When the Tub Sits Near a Wall
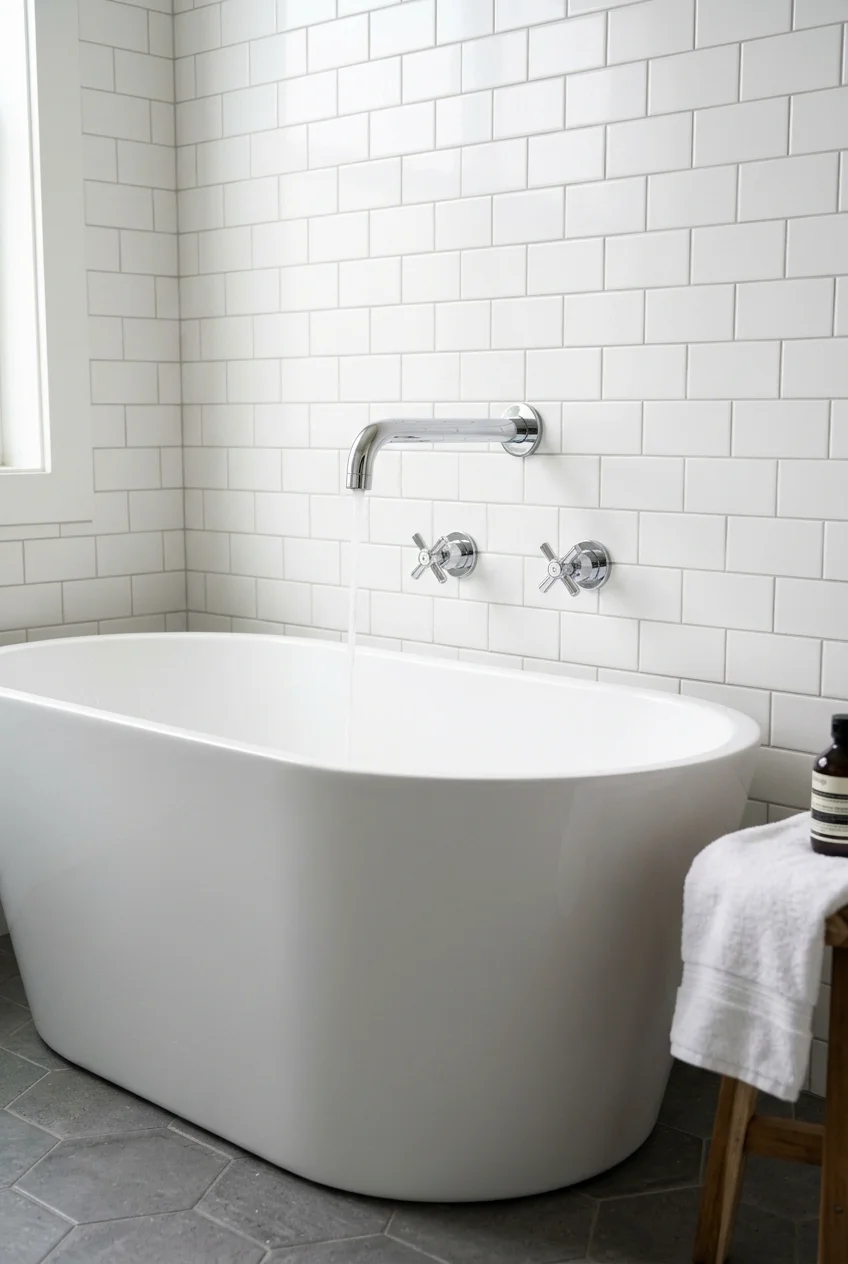
A wall-mounted filler saves floor clearance and avoids a second floor rough-in. It works best when the tub sits close to the wall.
The spout must reach the tub's interior and align with the overflow end. Confirm rough-in height and projection with the plumber.
Setup note Choose the tub and filler together. The wall spout position depends on tub height and distance from the wall, so check both specs.
35. Pair Exposed Plumbing and a Handshower With a Clawfoot
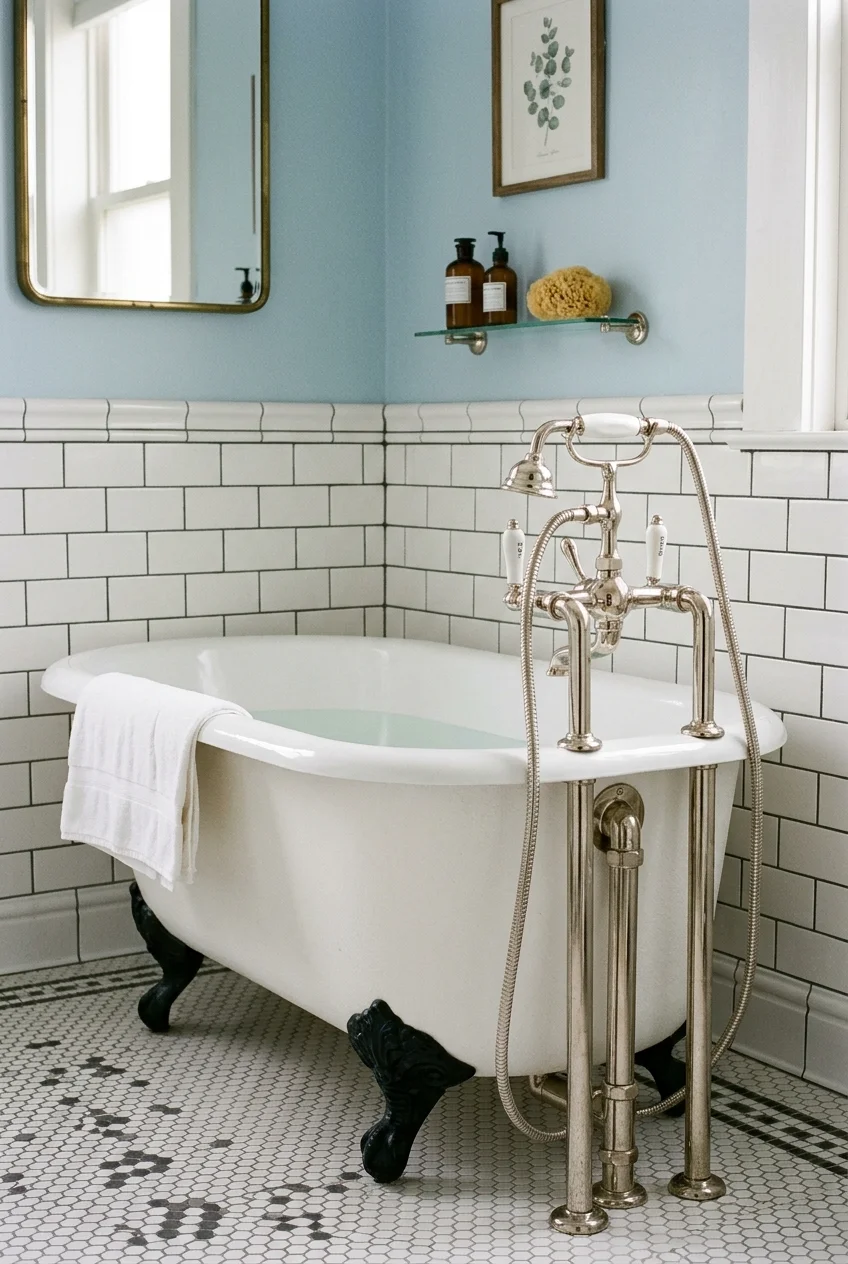
An exposed-pipe filler with a handshower suits a clawfoot or roll-top tub and makes rinsing hair or the tub easier.
Check that the hose length reaches the whole tub and that the holder is stable. Plan the supply rough-in with the tub's feet in mind.
- Hose length to reach the whole tub
- A stable holder
- Supply routing near the tub feet
36. Flank the Tub Wall With Sconces
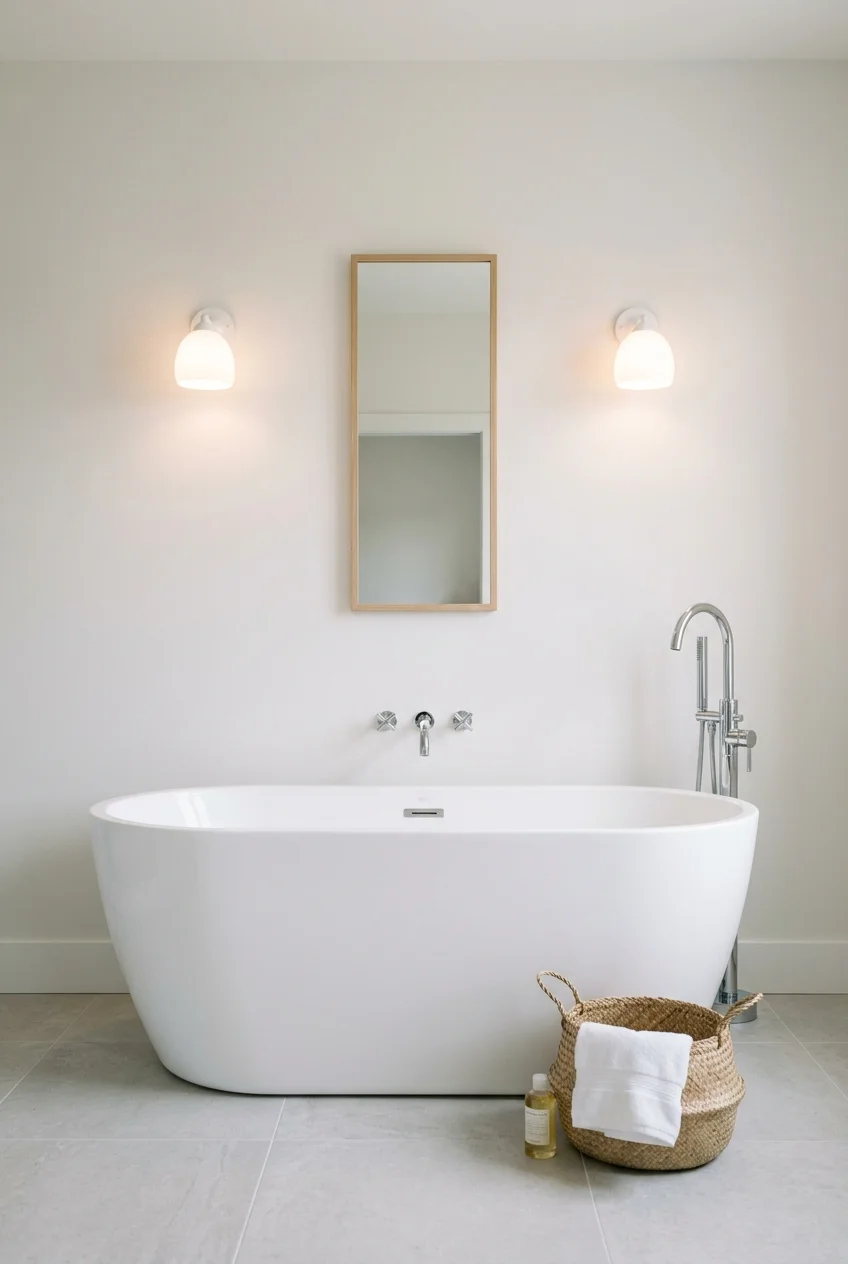
Wall sconces on either side of a mirror or window give soft light without glare. Mount them where they will not be splashed.
Check that each fixture is rated for bathrooms and ask an electrician about placement near the tub. Local code can limit where lights go.
Setup note Sconces near a tub should be listed for damp locations. Confirm with an electrician before buying, because local rules vary.
37. Hang a Pendant Above the Tub
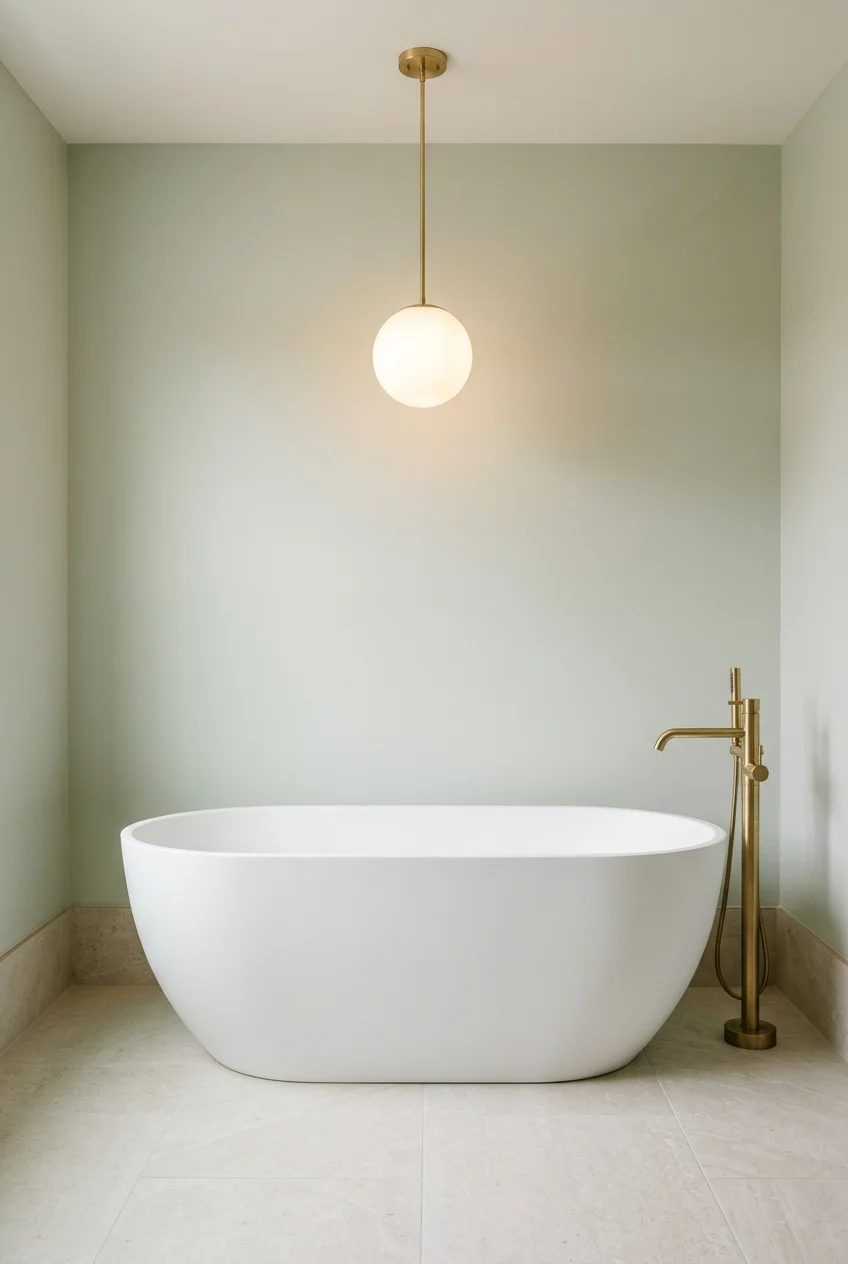
A pendant above a freestanding tub makes the tub a focal point and gives layered lighting. Keep the scale modest so it does not dominate.
Choose a fixture listed for damp locations and have an electrician confirm the distance from the tub rim and the local code.
Hang the pendant off to one side if the ceiling height is low. A smaller shade keeps the view clear and reduces the chance of bumping it.
38. Bring In Daylight With a Skylight
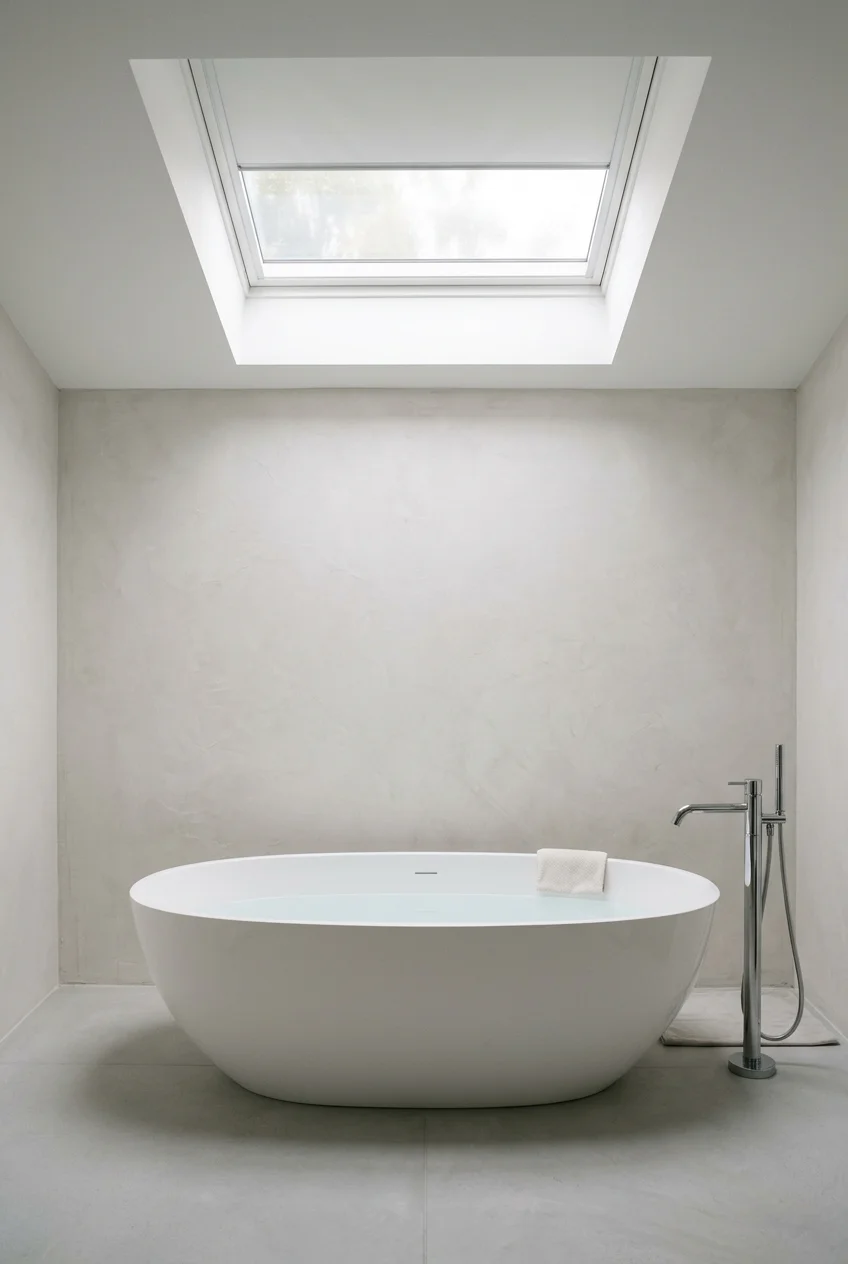
A skylight above or near the tub brings daylight to a windowless or north-facing bathroom. A frosted option protects privacy.
Make sure the unit is properly flashed and the ceiling finish near it tolerates humidity. Add a shade for glare on sunny days.
- Flashing and waterproofing
- Shade or tint for glare
- A humidity-tolerant ceiling finish
39. Add Recessed Lights on a Dimmer
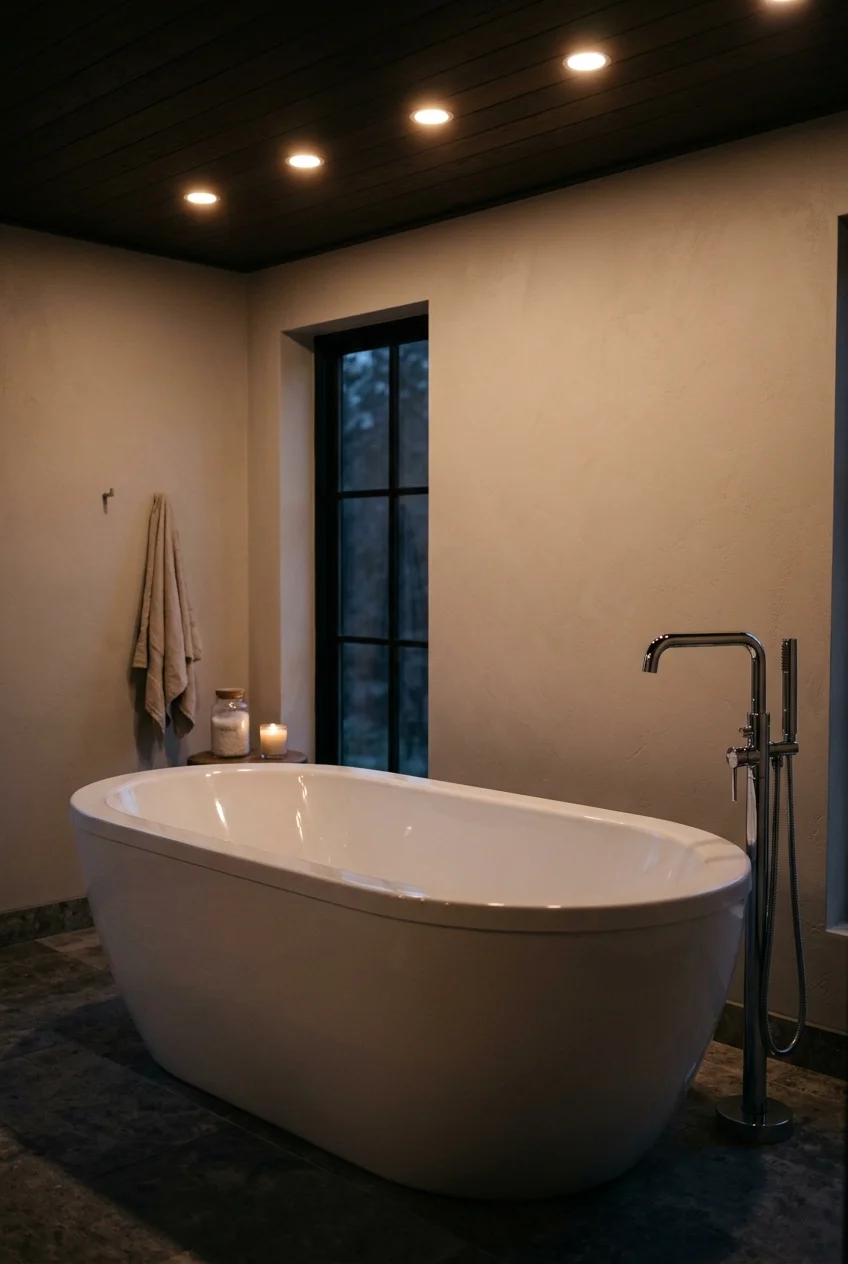
Recessed ceiling lights on a dimmer let you switch from bright cleaning light to soft evening light. Keep them around the tub, not directly over the water.
Use fixtures rated for bathrooms and check spacing with an electrician. A dimmer should be rated for the lights you choose.
- A dimmer compatible with the fixtures
- Placement around, not over, the water
- Warm bulb color
Styling and Storage Beside the Tub
40. Park a Teak Stool Beside the Tub
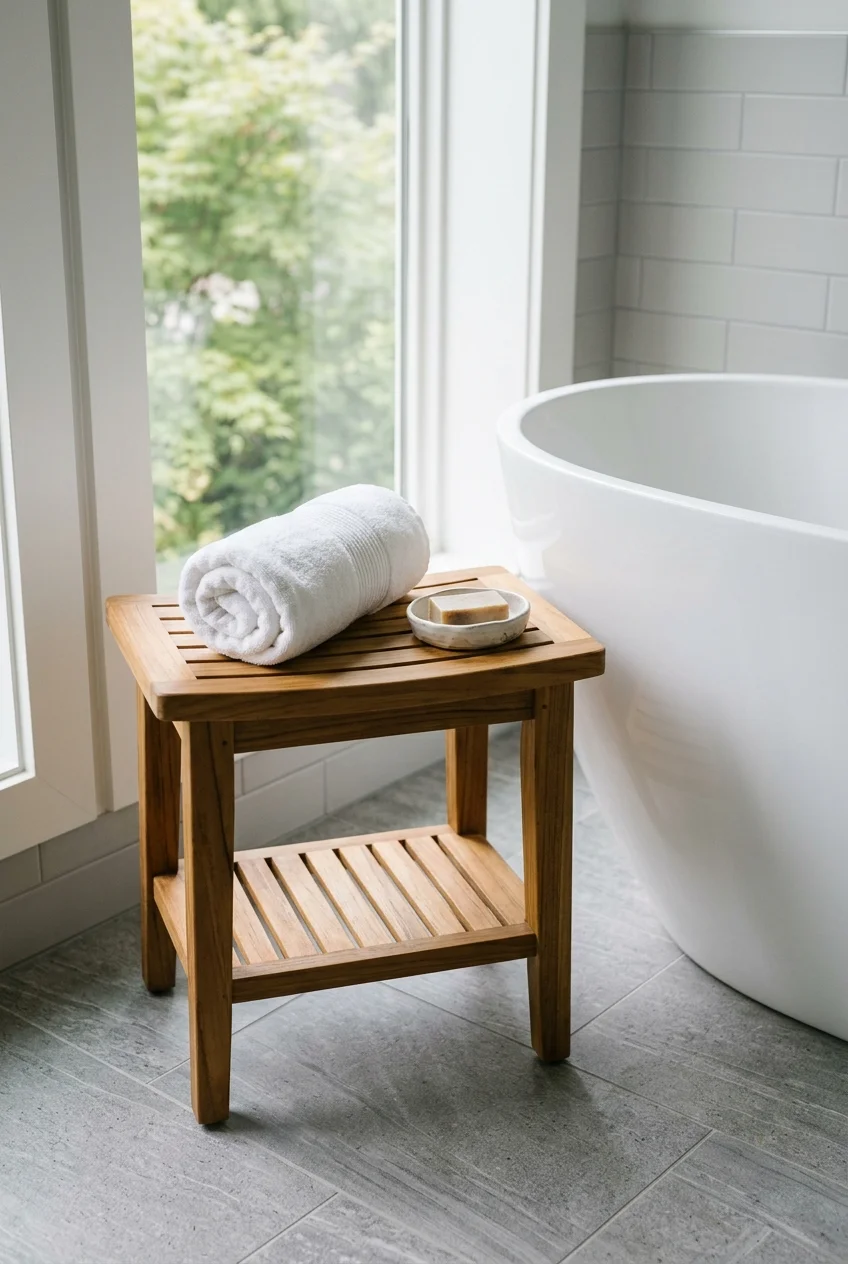
A slatted teak stool gives you a landing spot for a towel, a book or a glass. Teak is a common choice for wet rooms.
Check that the legs have non-marking feet and that the stool stays stable on wet tile. Keep it a few inches from the rim.
41. Mount a Narrow Shelf Within Reach
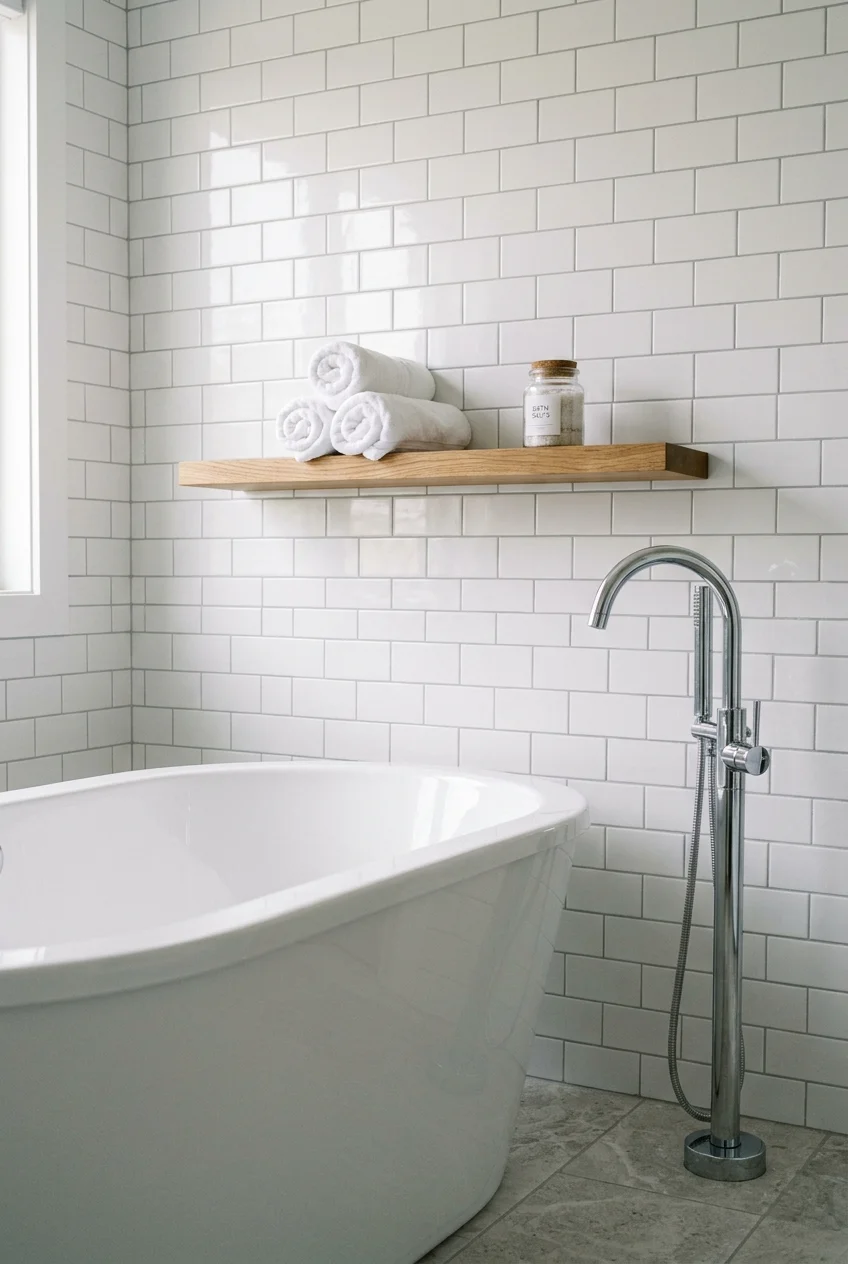
A narrow shelf at the head of the tub holds soap, a candle holder and a towel roll within arm's reach.
Mount it where no splash lands and set it a little above the rim. Anchor it to studs or the correct anchors for the wall material.
42. Heat Towels on a Rail Near the Tub
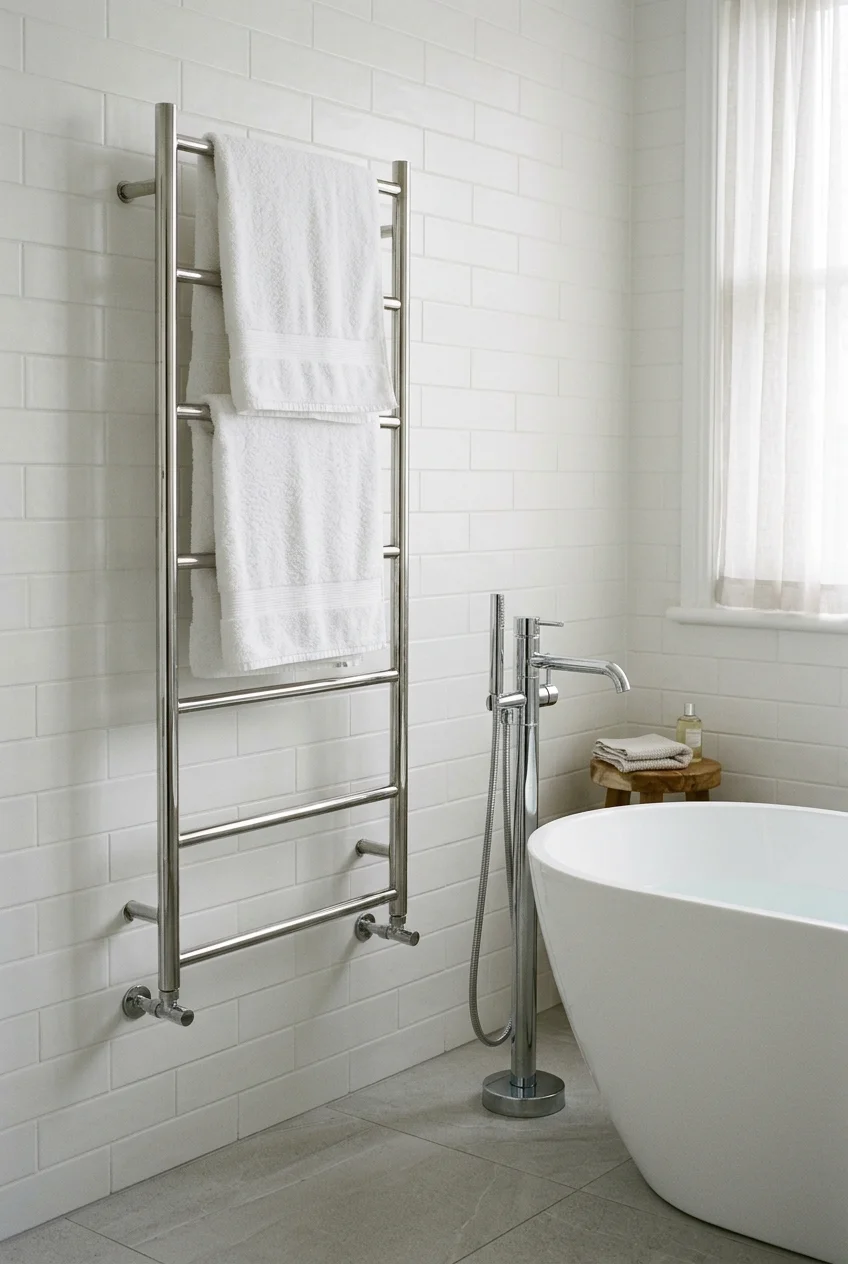
A heated towel rail near the tub warms towels without piling them on the floor. Plug-in and hardwired models need different planning.
Ask an electrician about wiring and placement. Keep the rail within reach of the tub but outside the zone where water spills.
43. Add a Humidity-Friendly Plant
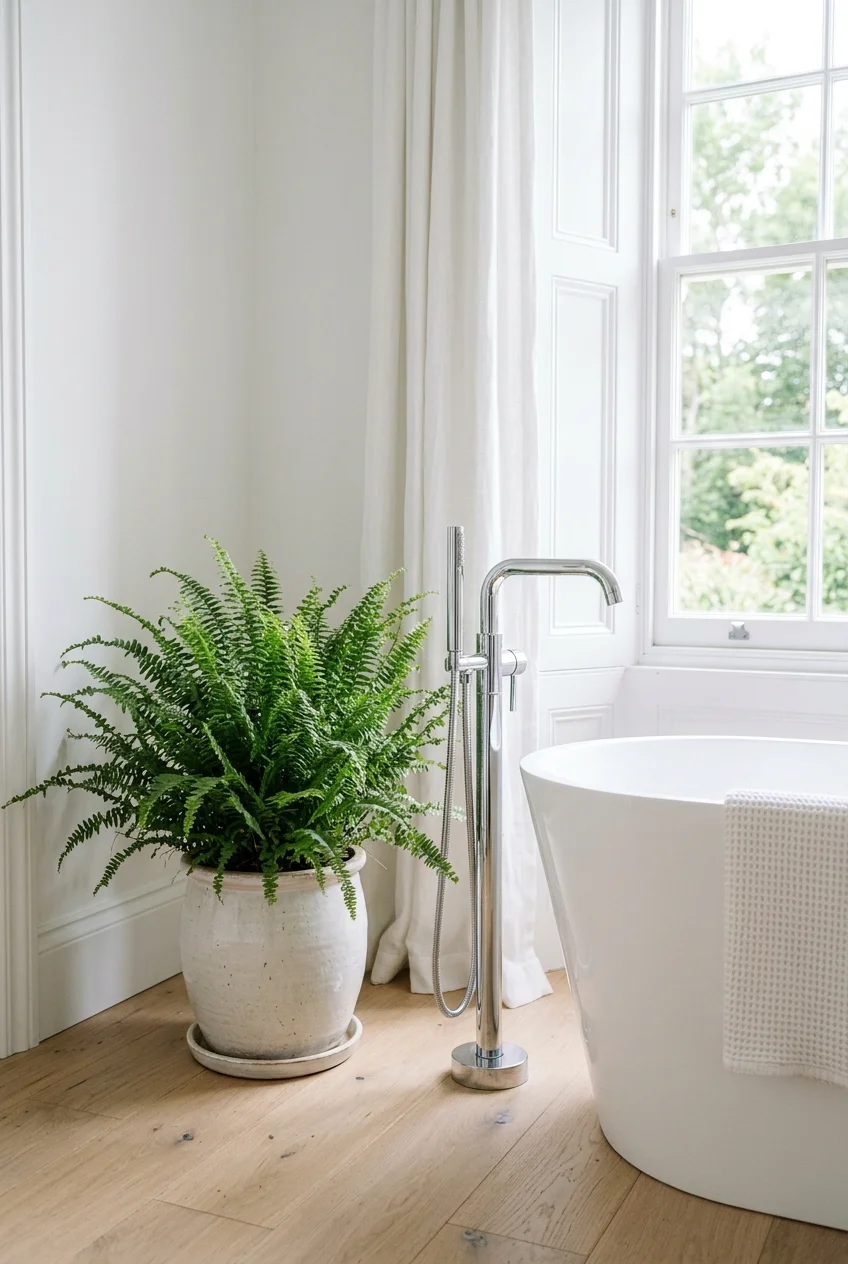
A plant that tolerates humidity adds softness beside a hard-edged tub. Place it near a window and avoid direct splash.
Choose a pot with a saucer to protect the floor and keep the plant at the side of the tub rather than behind the tap.
- A humidity-tolerant plant
- A saucer to protect the floor
- Distance from splashes
44. Lay a Washable Rug With a Non-Slip Backing
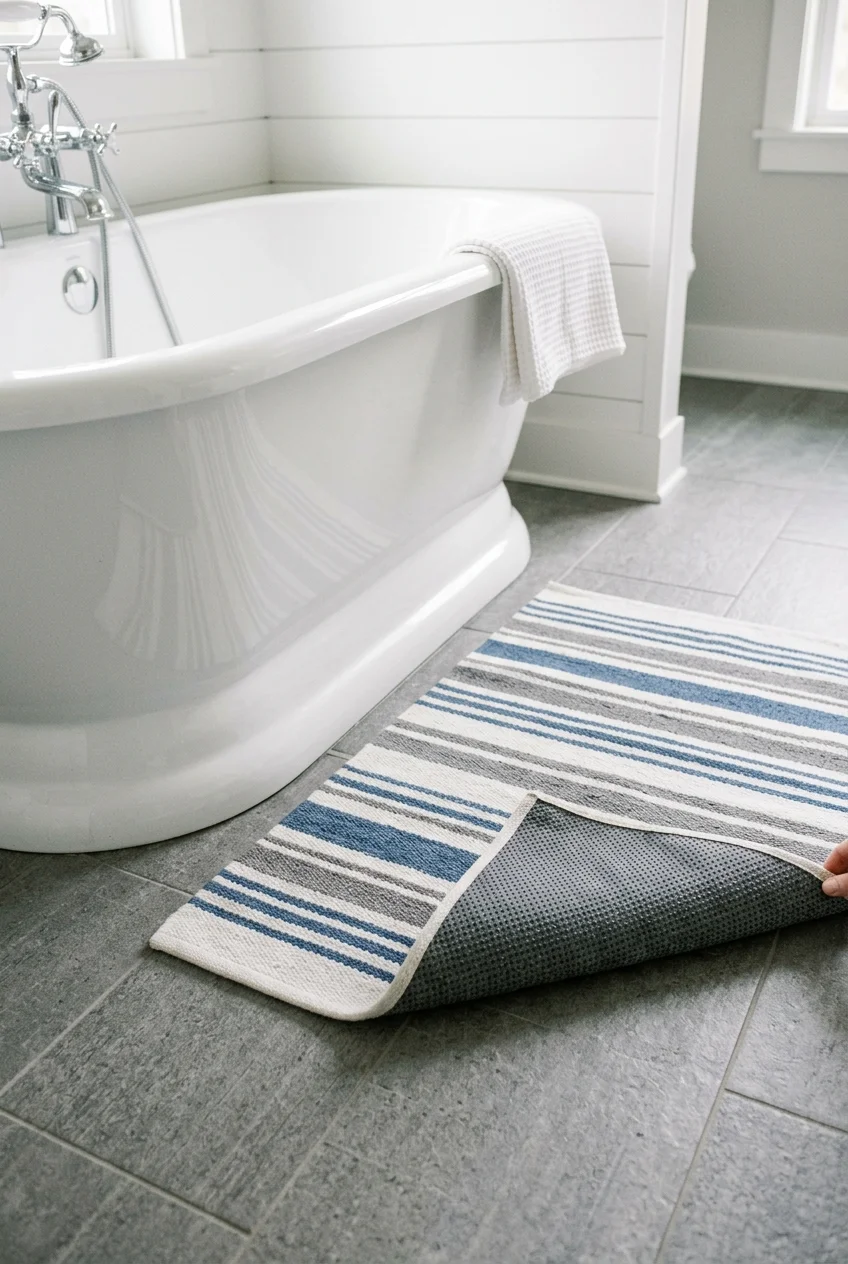
A washable rug on the exit side of the tub catches drips and warms bare feet. Stripes or a subtle pattern hide small marks.
Pick a backing that grips tile and wash it often. A small rug is easier to dry than a large one.
45. Dress the Window With a Sheer Curtain
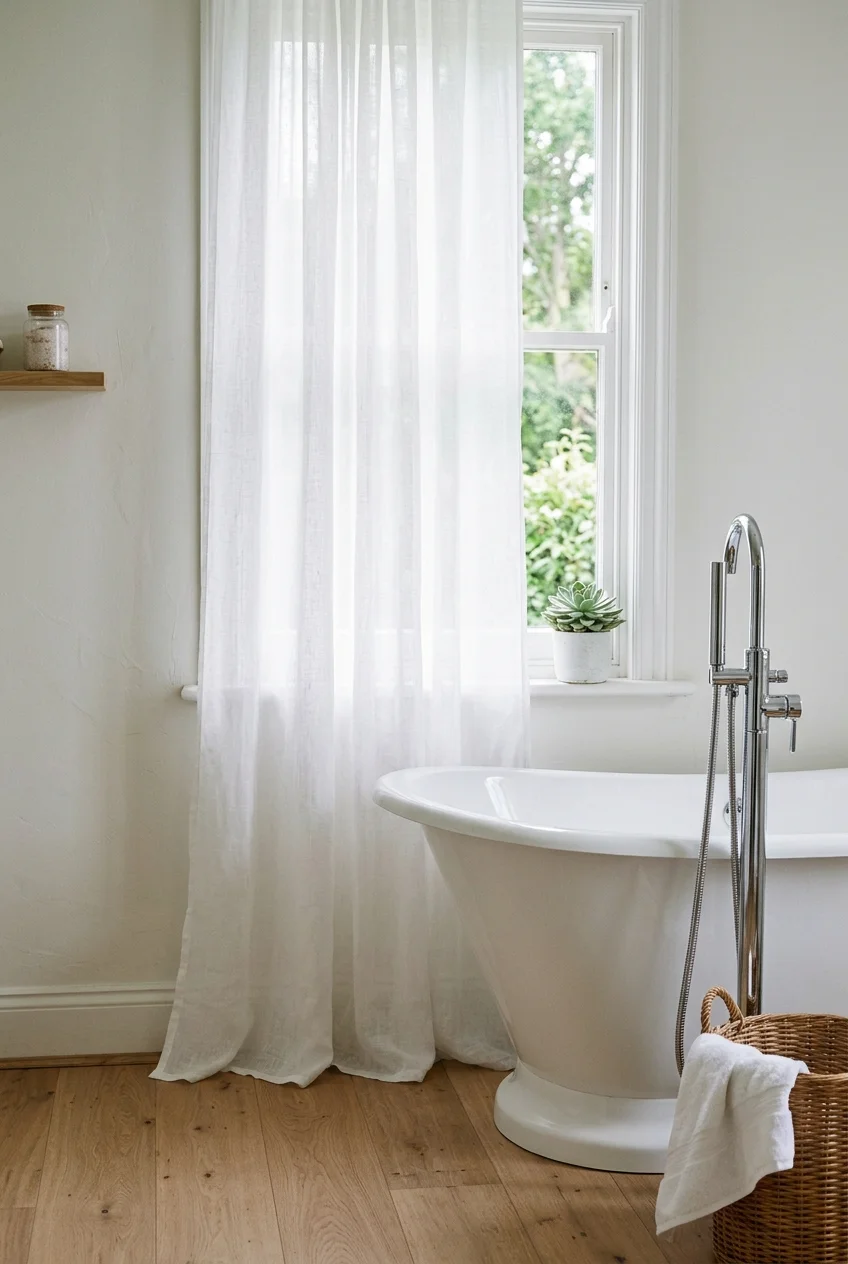
A sheer curtain softens a window beside the tub while letting light through. Hang it wide so it does not touch splashes.
Use a washable fabric and a rod that clears the window trim. A top-down shade adds privacy when you want it.
Planning Ideas That Make the Tub Work
46. Mock Up the Tub With Painter's Tape
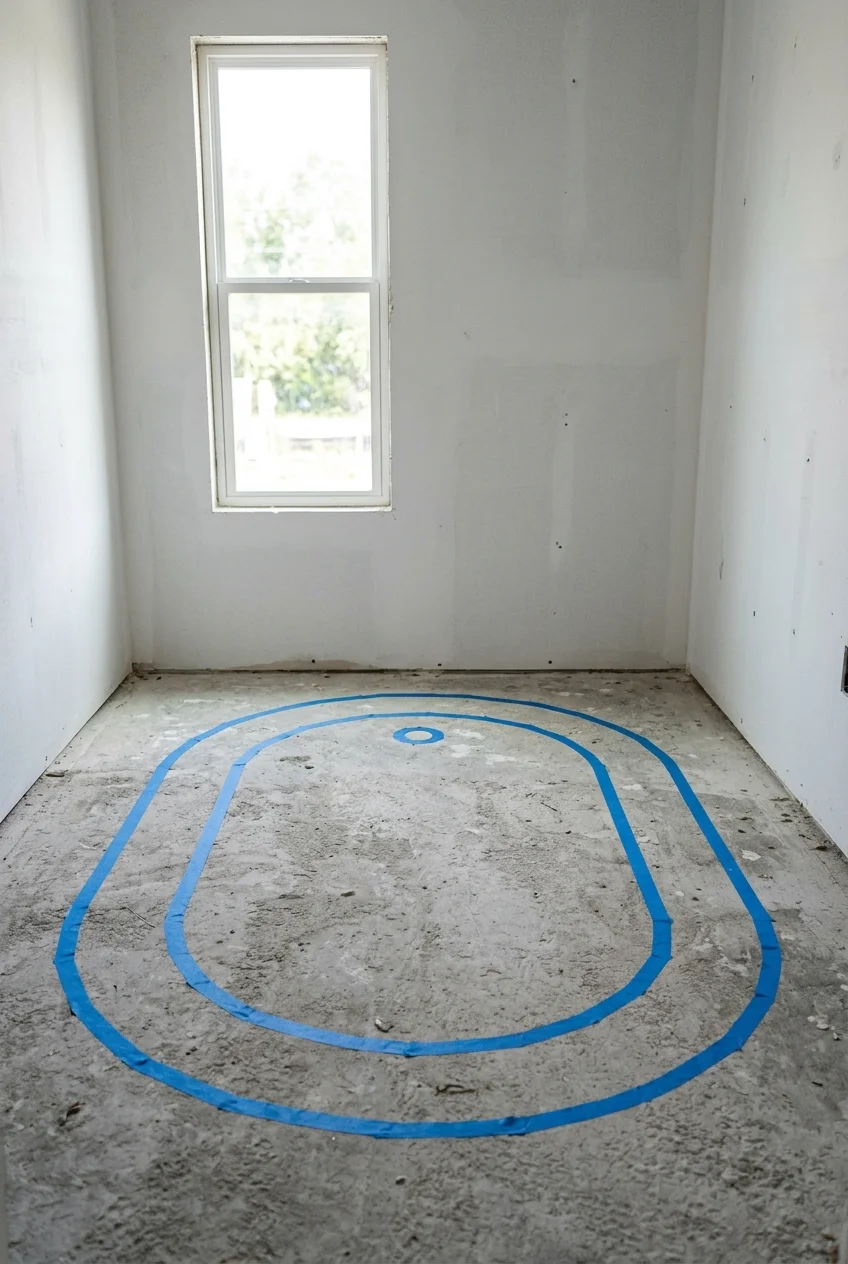
Outline the tub on the floor with painter's tape and mark the drain and filler positions. Then stand in the space with a chair.
Walk the door swing and the route to the vanity. If the outline feels tight, try a shorter tub before ordering.
- Mark the tub's length and width on the floor.
- Add a clearance zone of several inches on each side.
- Mark the drain center from the spec sheet.
- Check door swing and walkway.
47. Leave a Gap for Cleaning
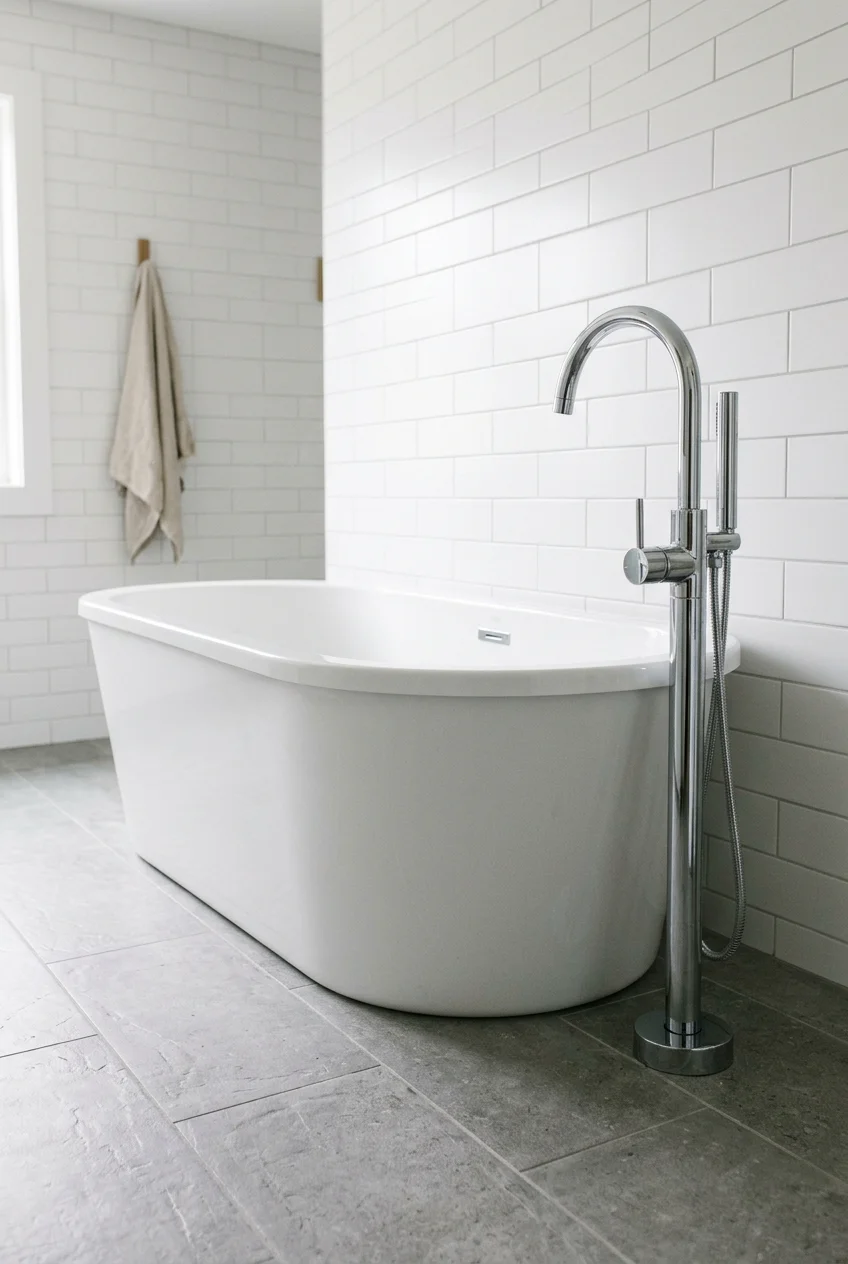
Leave a few inches between the tub and the wall so you can reach the floor and the back of the tub. Many guides suggest 4 to 6 inches.
A gap also gives room to service the drain. Choose floor and wall finishes that you can wipe easily, since dust collects behind the tub.
48. Plan a Freestanding Tub in a Basement Bath
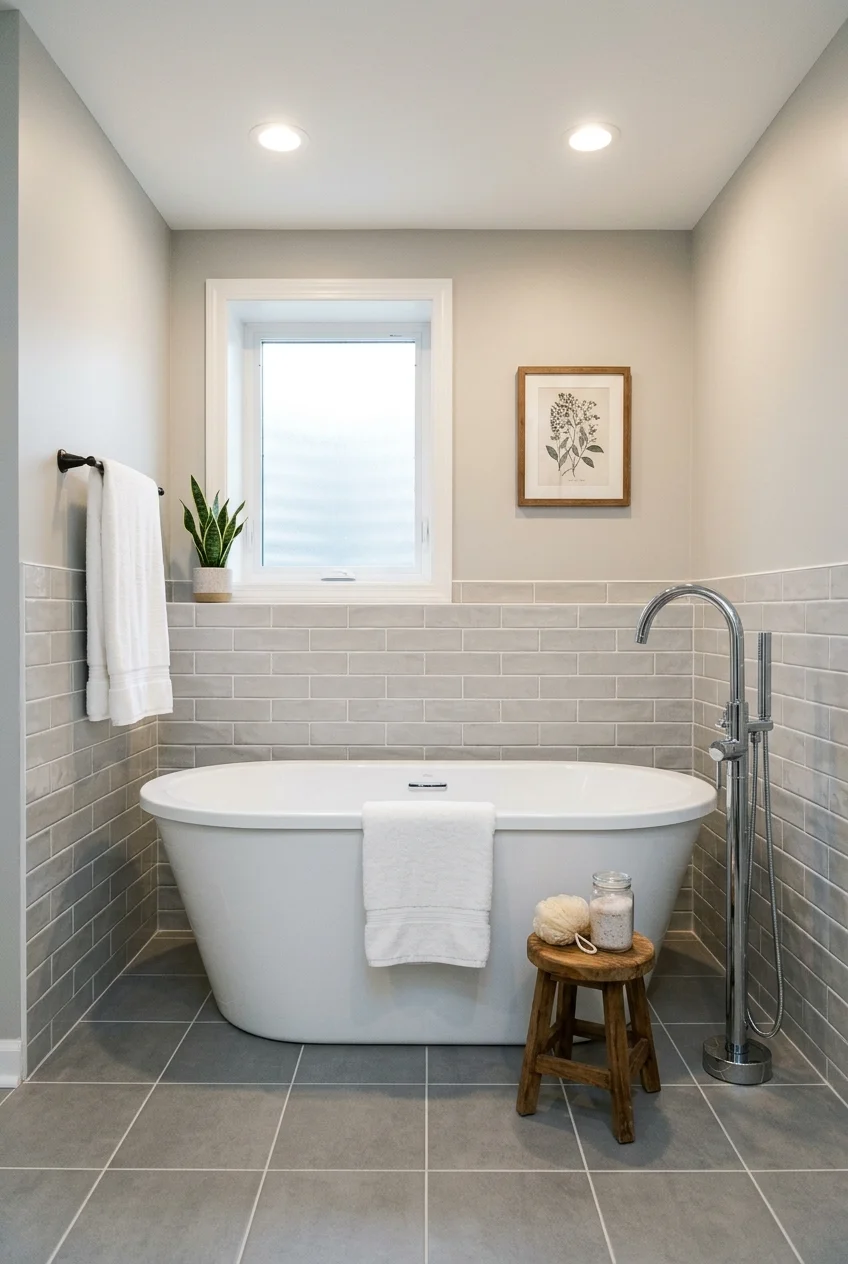
A basement bathroom can suit a freestanding tub because the slab handles weight well. Drain elevation and moisture control matter more than style.
Drain elevation, waste routing and moisture control all shape this layout, and these basement bathroom remodel ideas walk through the planning questions.
Use moisture-resistant finishes, add a fan and check that the drain can reach a slope that works for the tub.
49. Keep the Tub Part of a Modern Minimalist Bath
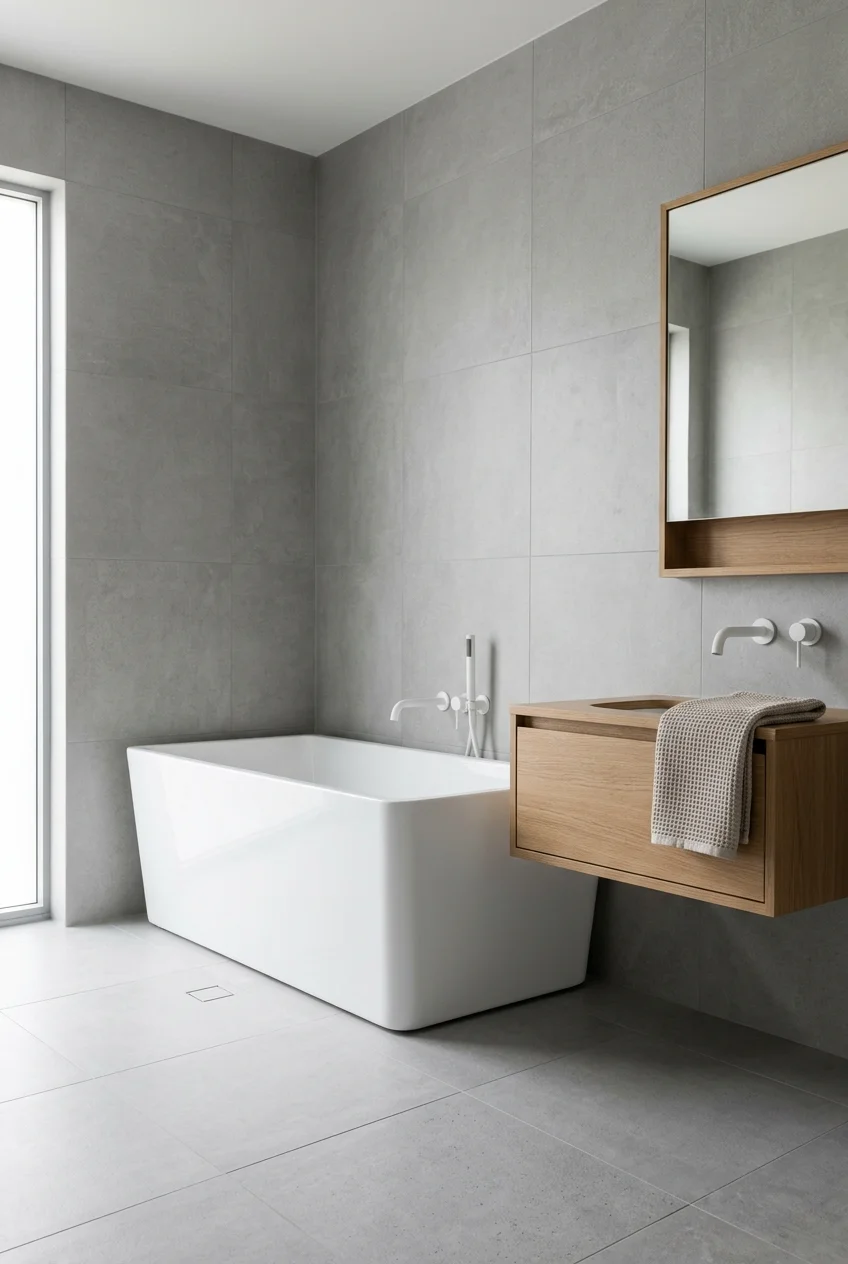
In a modern bathroom the tub can be the only sculptural object. Keep the palette narrow and let the tub's shape do the work.
Clean-lined rooms depend on edge alignment and a narrow palette, and these modern bathroom design ideas show more ways to build that calm.
Hide storage in a wall-hung vanity and keep counters and ledges clear so the tub reads as the focus of the whole room.
50. Open the Bath to the Bedroom With a Partial Wall
Image pending: No image is attached to this draft for idea 50 (image-50).
A partial wall or low glass screen lets a bath share light with a bedroom while keeping the tub's splash zone contained.
Choose moisture-tolerant flooring that continues into the bedroom area or ends at a clear threshold, and add a strong exhaust fan.
Frequently Asked Questions
How much space should I leave around a freestanding tub?
Guides commonly suggest at least 4 to 6 inches around the tub for cleaning and faucet access. Some manufacturers specify more.
Planning guidelines also suggest about 21 inches of open floor in front of fixtures. Confirm clearances with the maker and local code.
Will my floor support a freestanding tub?
A filled tub with a bather can weigh several hundred pounds, and some retailers say heavy stone or cast iron tubs can exceed 800 pounds.
Ask a contractor or structural professional to check, especially on upper floors or older framing, before ordering a heavy tub or building any platform.
Should the filler be floor-mounted or wall-mounted?
A floor-mounted filler suits tubs away from walls but needs a second rough-in. A wall-mounted filler saves floor space when the tub sits close to the wall.
Pick the filler and the tub together before rough-in, because the plumbing position depends on the dimensions in both spec sheets.
How do I choose between acrylic, cast iron and stone resin?
Acrylic tubs are lighter and often easier to install. Cast iron and stone resin are heavier and may need more floor support.
Compare weight, interior shape, finish care and warranty on the spec sheet, then match the choice to your floor and budget.