50 Small Kitchen Breakfast Bar Ideas That Make Every Inch Work

This post may contain affiliate links: full affiliate disclosure.
This post may contain affiliate links. See our full affiliate disclosure.
A small breakfast bar works best when it solves one clear problem: adding seats, prep space, storage, or a visual boundary without blocking movement.
Start by measuring the open bar, pulled-out stools, appliance doors, and the route through the kitchen. The right idea should improve daily flow.
These examples range from slim wall ledges to storage peninsulas, with practical choices that help you adapt each look to your actual room.
Wall and Window Breakfast Bars
An unused wall or window can hold a compact eating surface without introducing a cabinet block. These ideas preserve the most floor area.
1. Float a Slim Bar Along an Empty Wall
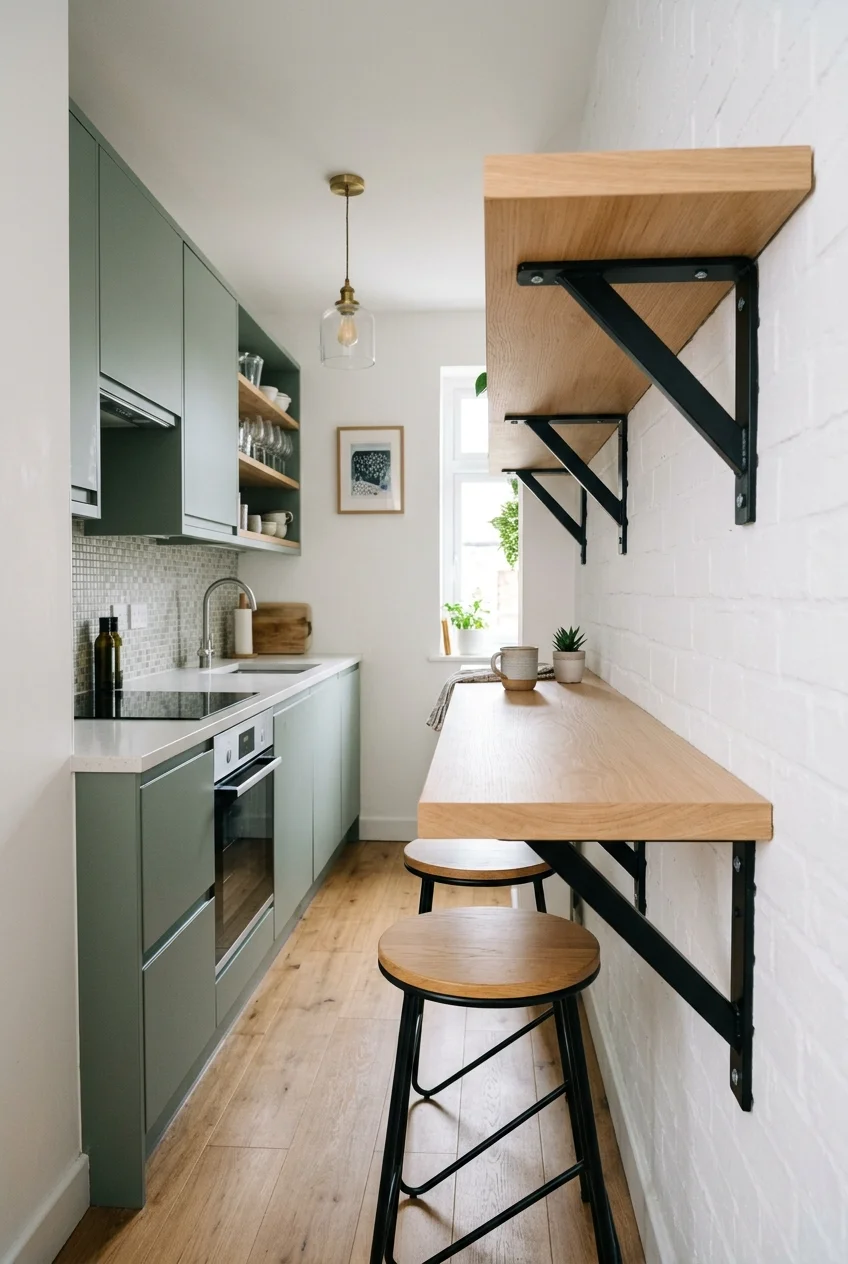
A shallow wall-mounted top creates a coffee or breakfast perch where a full table would project too far. Keep the floor beneath completely open.
Set the length around the number of seats you truly need, then verify wall construction, bracket spacing, and the countertop maker’s support requirements.
Fit check Tape the proposed depth on the floor and place a stool there before drilling, so you can test the occupied walkway realistically.
2. Turn a Window Wall Into a Morning Counter
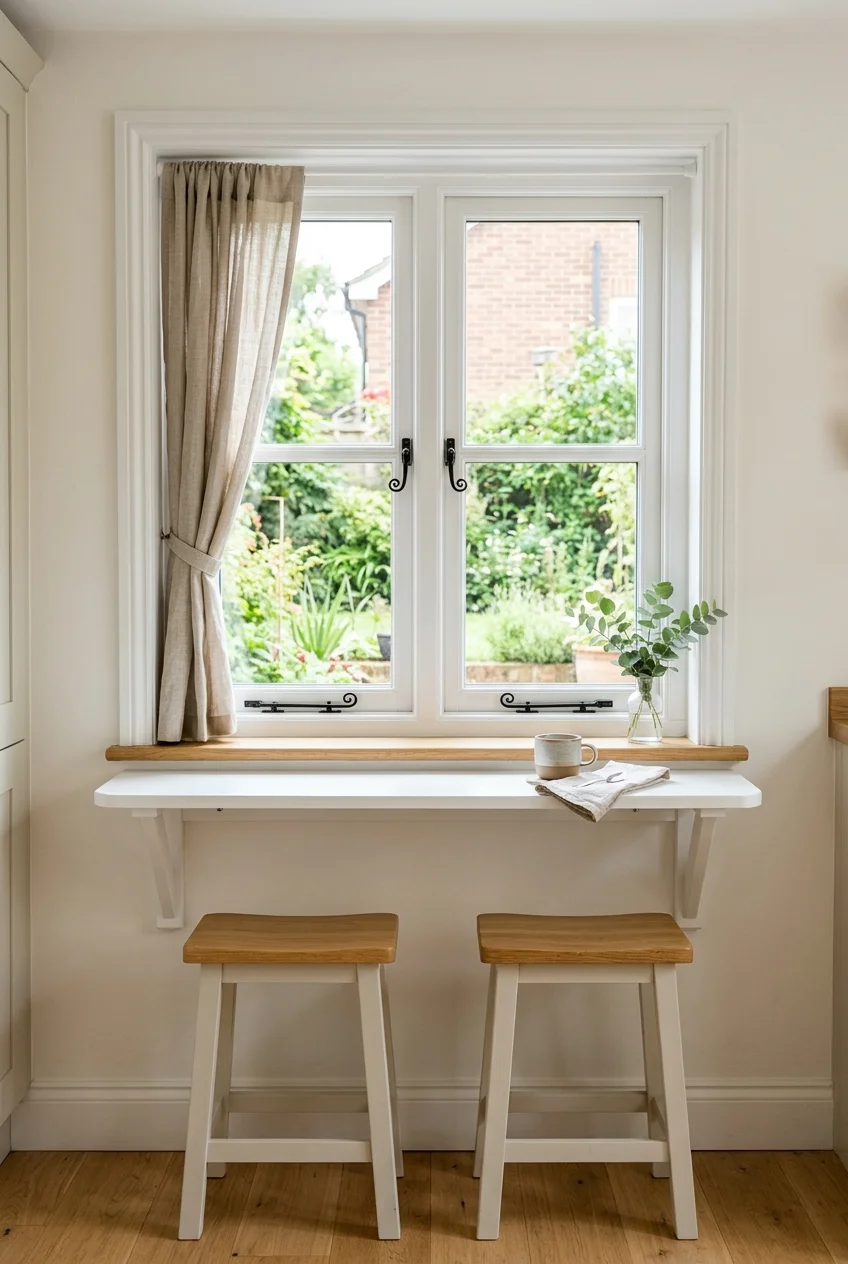
A ledge beneath a kitchen window gives breakfast a view while keeping seating against the perimeter. Position the top below operable window hardware.
Check for radiators, floor vents, deep trim, and outward-swinging casements before deciding the depth. Leave every latch and cleaning point reachable.
3. Install a Fold-Down Bar for Occasional Meals
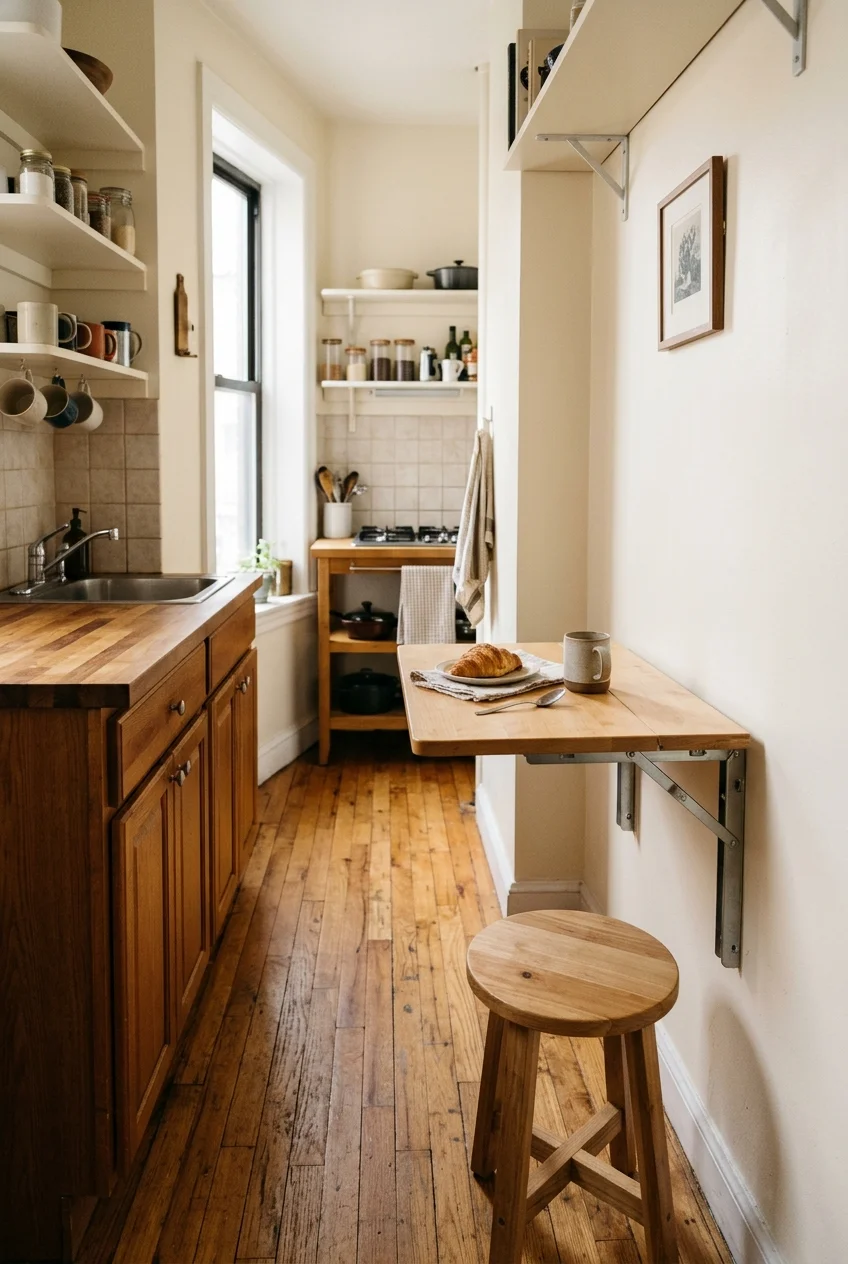
A hinged wall table can disappear after breakfast, restoring valuable standing room in a galley or studio. Choose a depth that supports plates comfortably.
The wall, anchors, brackets, and top must work as one tested system. Follow the manufacturer’s mounting instructions and stated load limit exactly.
Wall-mounted furniture transfers dining loads into the building, so decorative drywall anchors alone may be inadequate. The installation plan must match the actual wall.
- Mark the open tabletop and stool footprints on the floor.
- Confirm studs, masonry, or another approved mounting substrate.
- Test that the folded panel clears baseboards and outlets.
Use this surface for dining or light tasks only when the product allows them. A fold-down table is not automatically suitable for heavy appliances.
Choose a wipeable top with an edge comfortable against forearms, then confirm the folded panel will not trap fingers or strike adjacent trim.
4. Build a Bar Into a Shallow Wall Niche
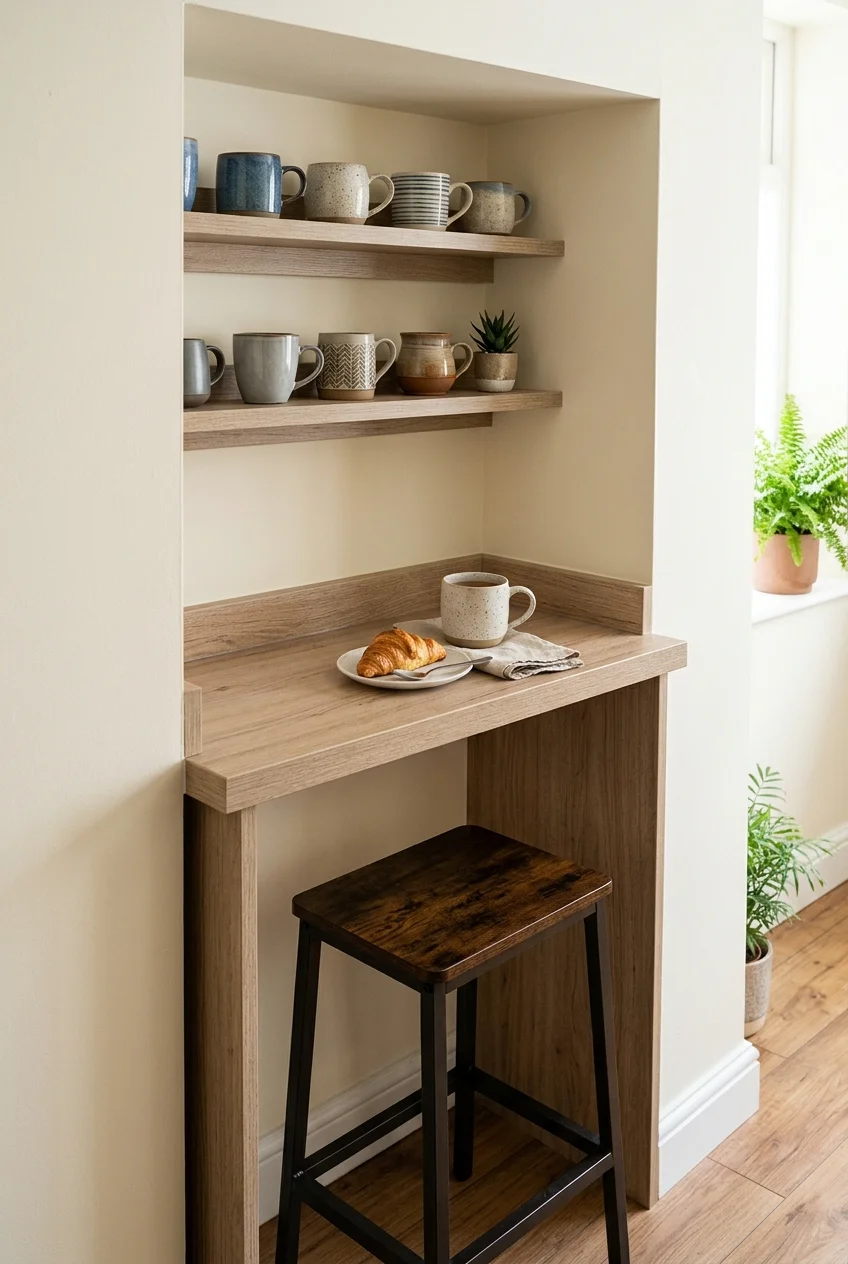
A recessed niche can hold a compact counter without projecting as far as furniture. Use the side walls to frame the eating zone visually.
Keep the lower opening clear for knees and stools, then place shallow shelves above for mugs or cereal rather than bulky countertop appliances.
Watch for Do not close over electrical panels, plumbing access, vents, or damp areas; investigate the cavity before treating it as usable space.
5. Use a Pass-Through Ledge Between Rooms
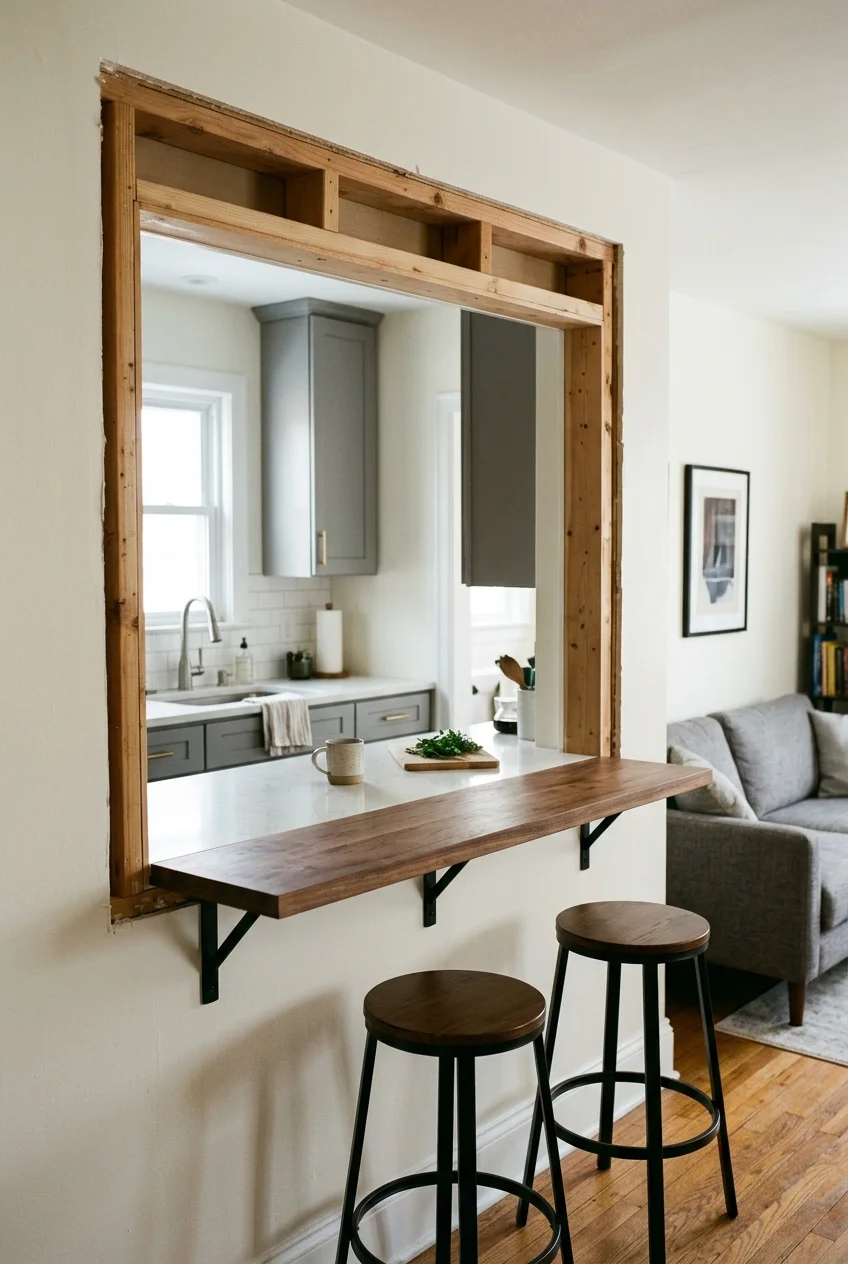
An existing interior opening can become a slim serving and eating ledge, connecting the kitchen with an adjacent dining or living space.
Place stools on the nonworking side so seated people remain outside the cook’s path. Keep the opening clear of the range and hot cookware.
If creating a new opening, have a qualified professional identify structure and hidden services first. The visual idea does not establish that removal is safe.
6. Wrap a Short Bar Around an Outside Corner
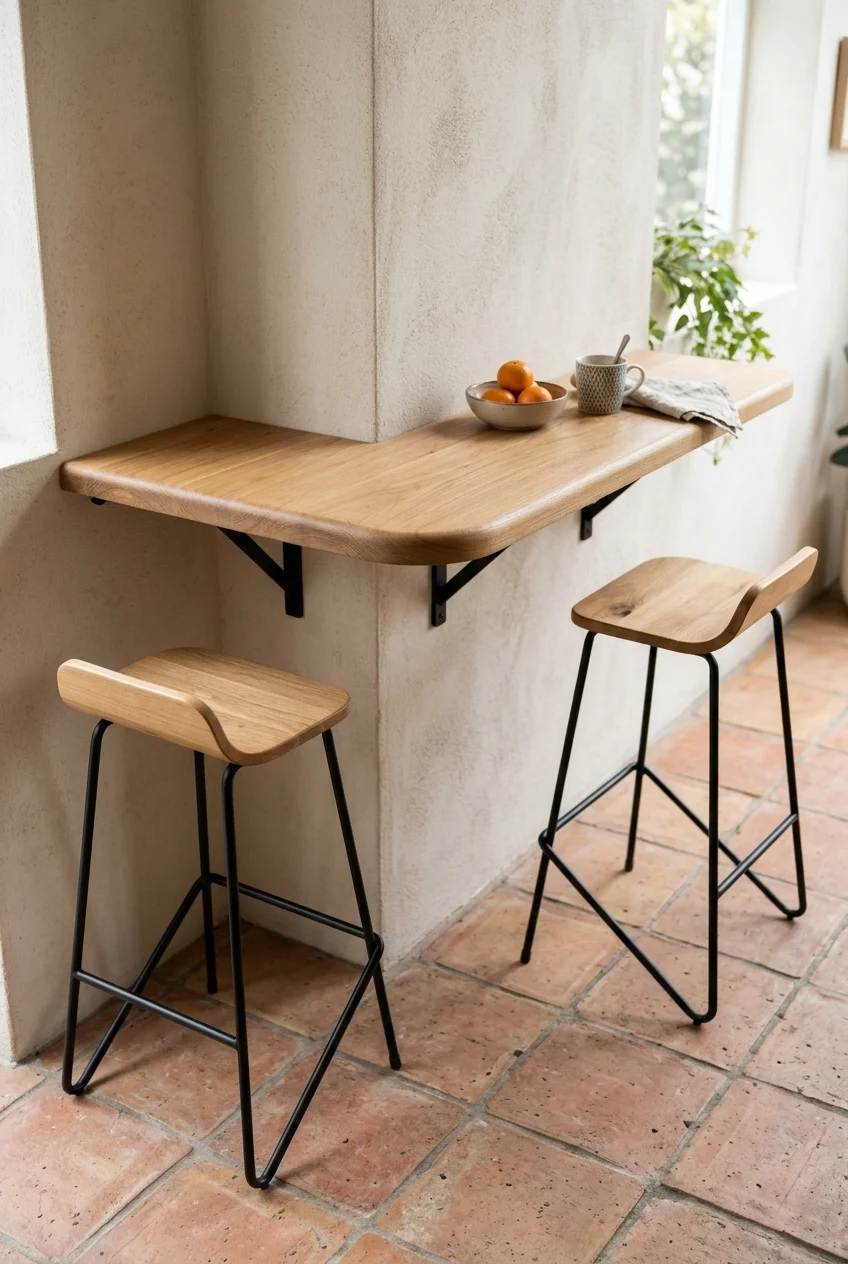
An L-shaped wall ledge uses two short wall sections and lets diners face each other. This works best beyond the busiest appliance doors.
Round or clip the exposed corner to soften the turn, but preserve enough surface for plates. Support both legs according to the material requirements.
7. Fit a One-Person Bar Beside the Refrigerator
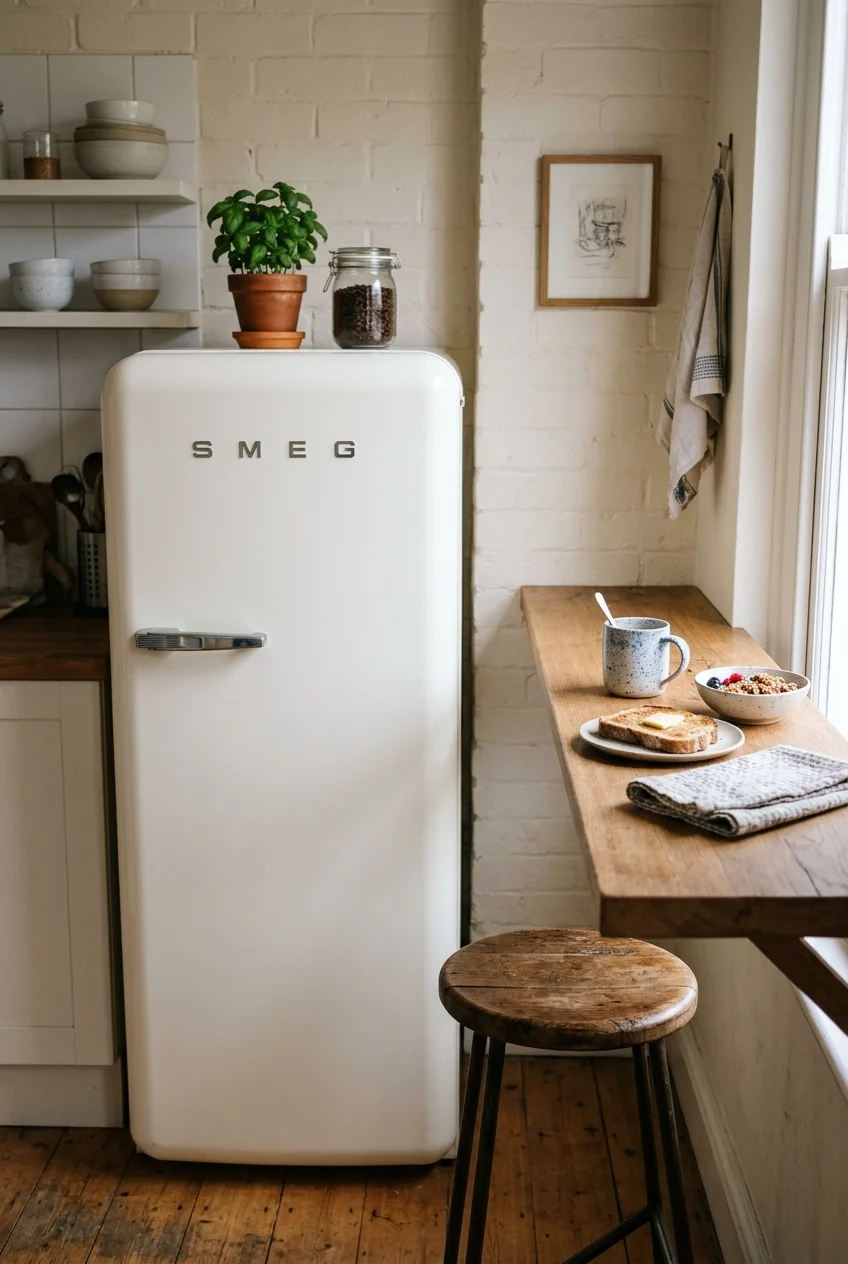
A narrow leftover strip beside the refrigerator may hold one useful perch. Keep the surface separate from required appliance ventilation and door clearance.
A single seat can feel intentional with one small pendant or framed print above. Avoid shelves that prevent the refrigerator door from opening fully.
8. Choose a Freestanding Slim Bar Table
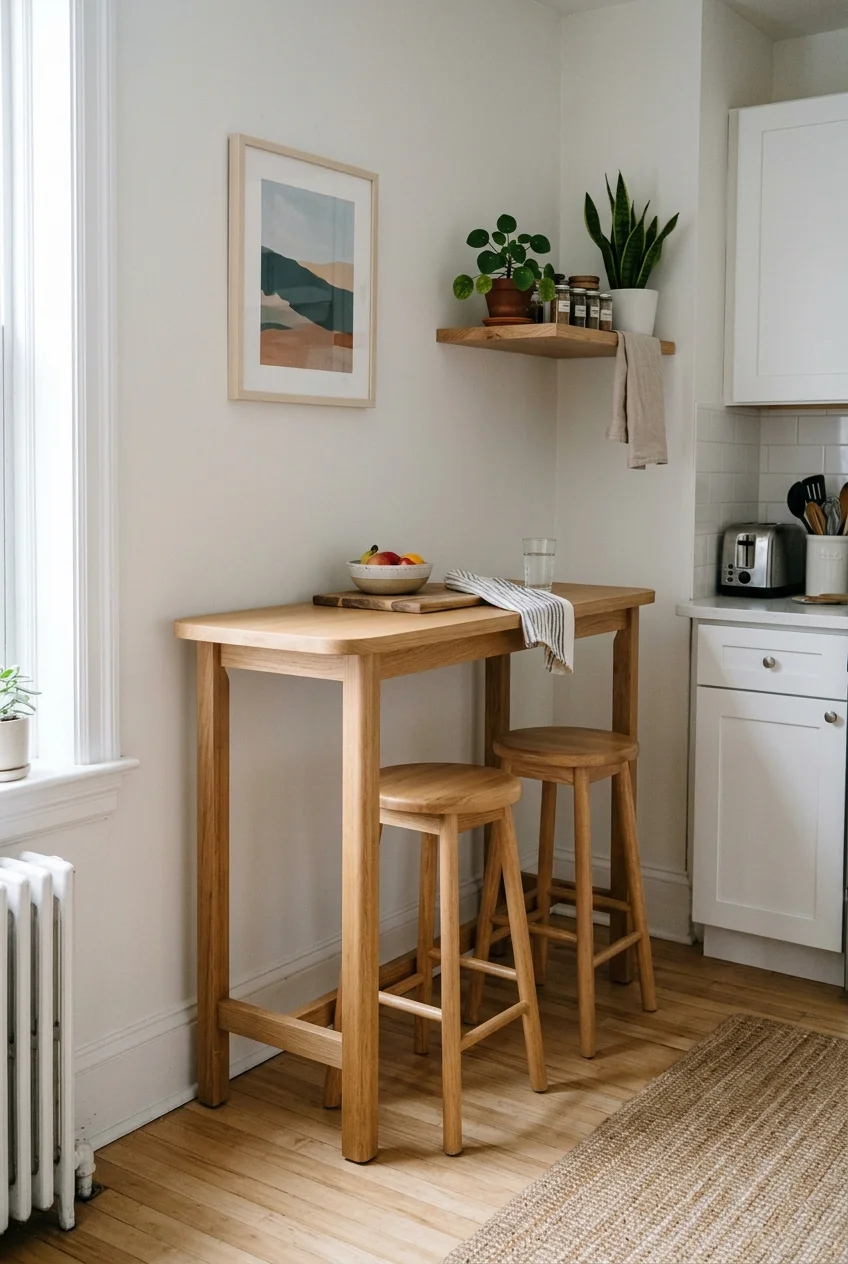
A narrow counter-height table gives renters a breakfast bar without fastening furniture to cabinets or walls. It can move when the layout changes.
For a ready-made option, consider this slim rounded-edge counter-height table. Its listed 17.72-inch depth is promising, but confirm the full 55.12-inch length fits your room.
Measure with chairs occupied, not merely tucked away. Freestanding furniture still needs a stable, level position and a clear route around both ends.
9. Park a Console-Depth Bar Behind a Sofa
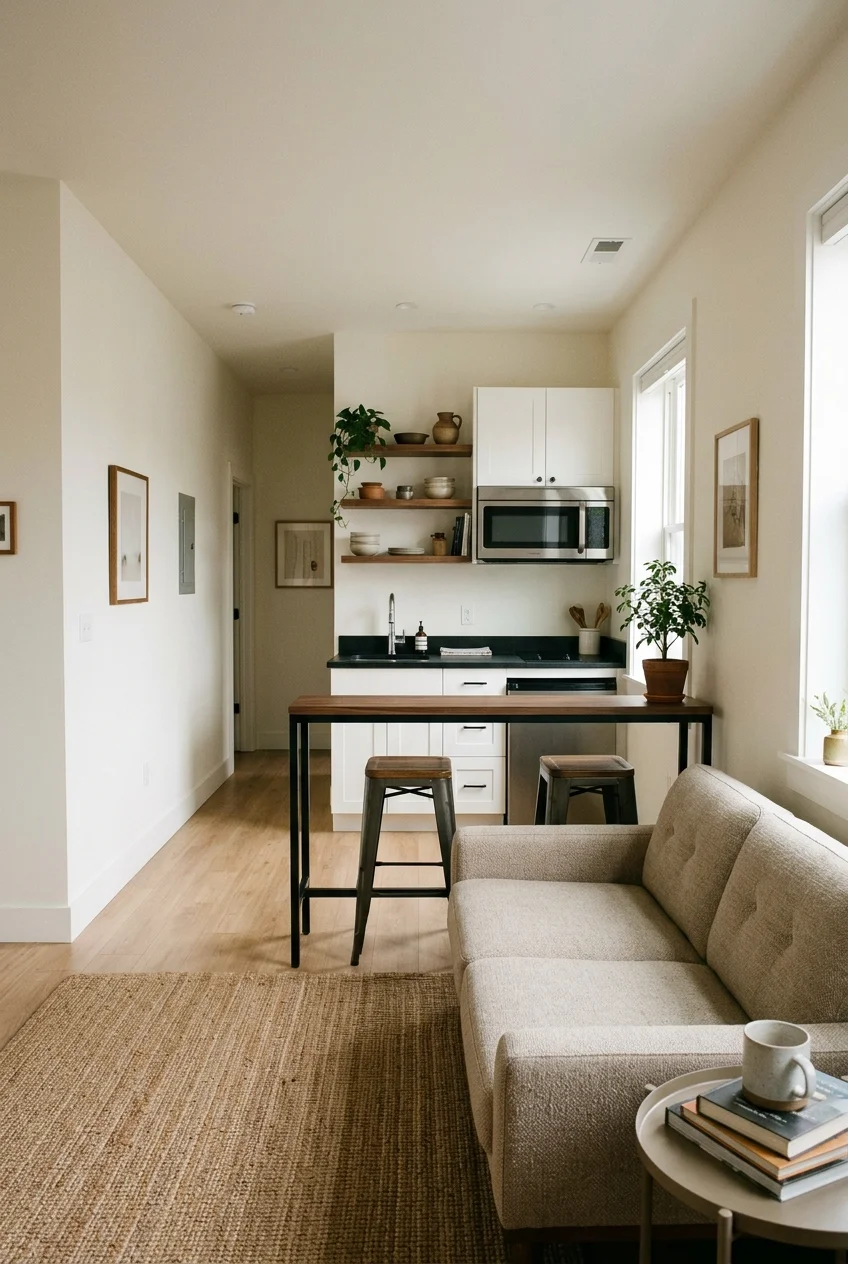
In an open studio, a slim table behind the sofa can define the kitchen edge and provide breakfast seating without adding another furniture zone.
Keep stools on the kitchen-facing side only when that side is outside the active work aisle. Secure tall, narrow furniture if the manufacturer requires it.
10. Extend a Deep Windowsill Into a Café Ledge
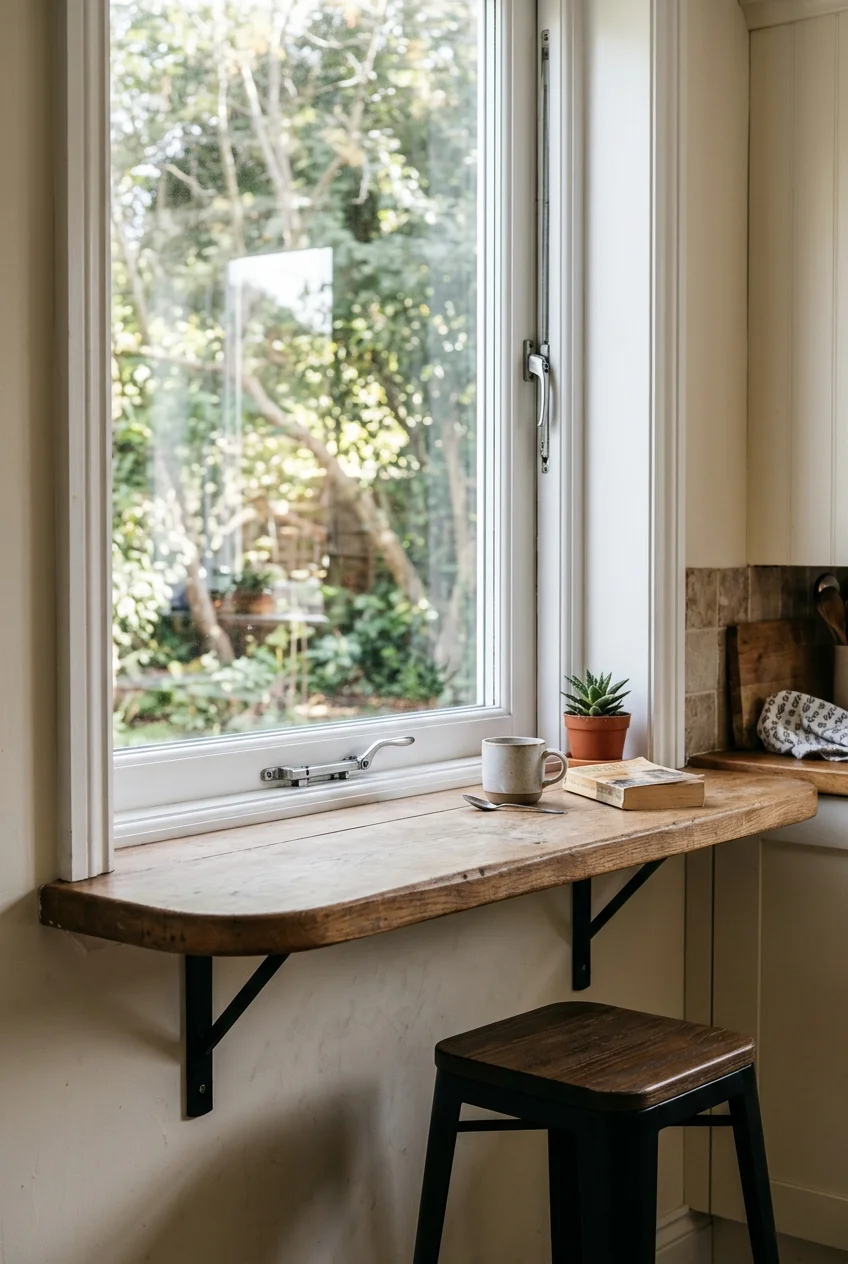
A sturdy deep sill can inspire a café-like ledge, but the extension should be independently supported rather than relying on decorative trim.
Keep the new surface level and easy to wipe, with enough separation from glass for condensation cleanup. Do not block window egress or operation.
Compact Peninsula and Island Bars
Peninsulas and islands can add useful seating, but only when appliance doors and working aisles still function. Favor restrained footprints over overloaded layouts.
11. Add Seating to the End of a Peninsula
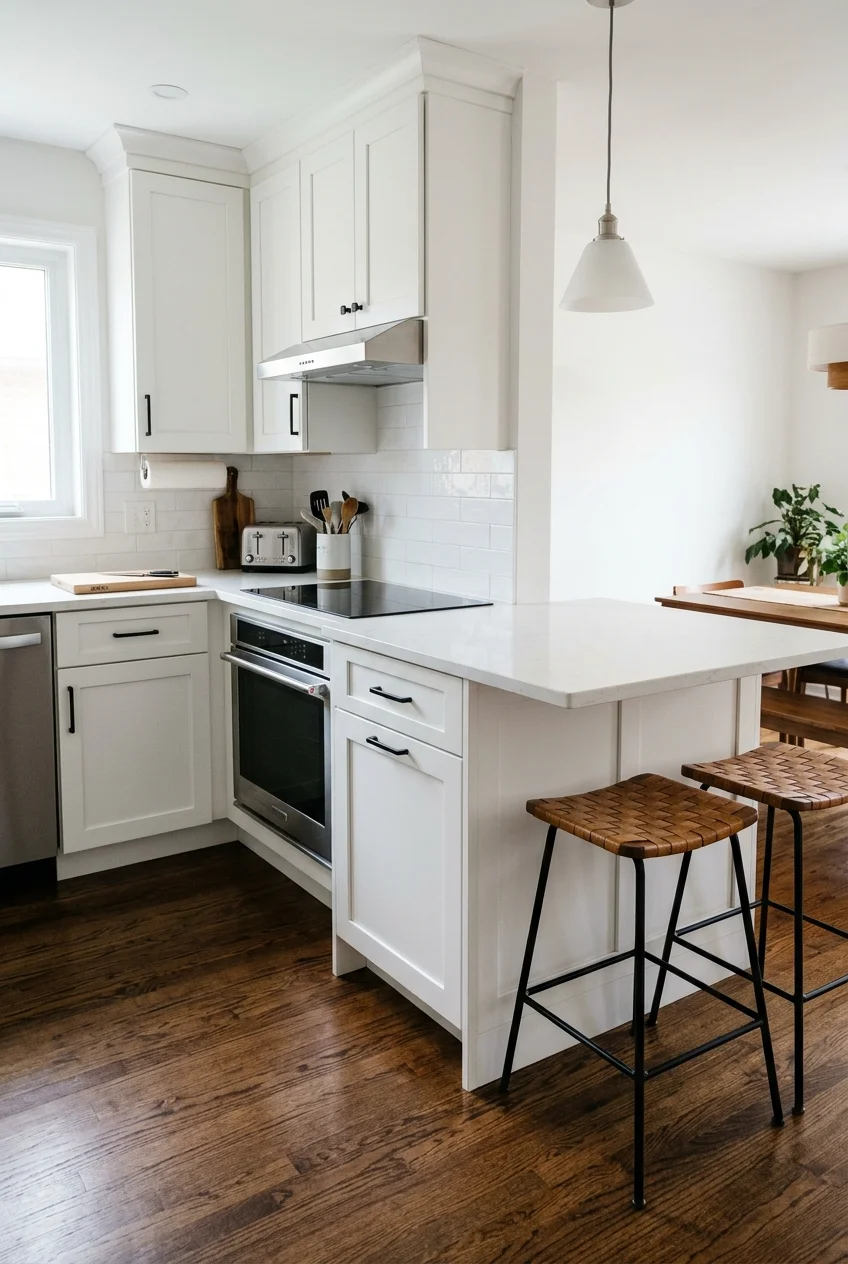
Placing stools at the open end keeps seated knees away from cabinet doors along the working side. It also limits the required overhang length.
This arrangement suits a narrow room when side seating would pinch the aisle. Keep the end beyond the sink, range, and busiest drawer fronts.
NKBA guidance recommends twenty-four inches of width per diner, with knee depth varying by counter height. Treat these as planning guidance, then check local requirements.
12. Continue the Counter Into a Short L-Shaped Bar
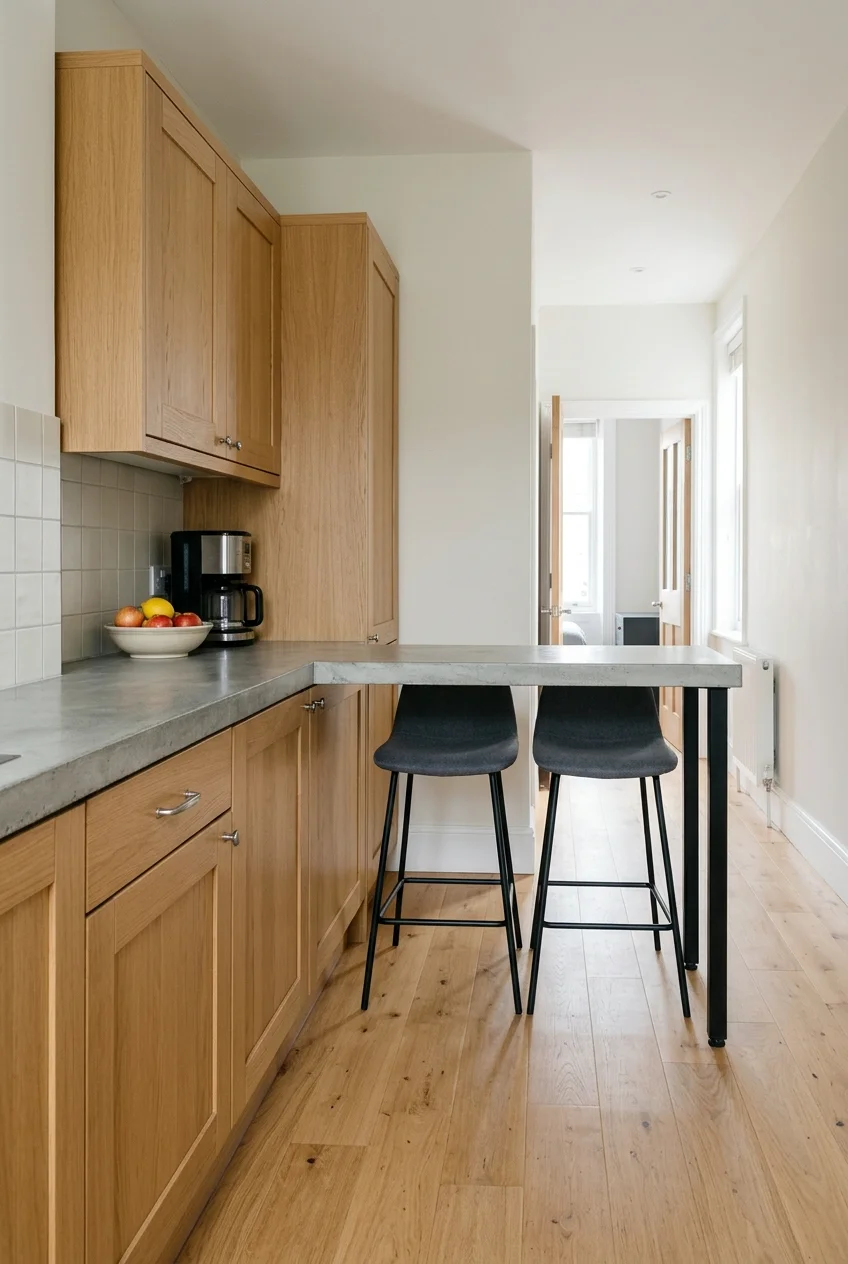
A short return can turn the end of a cabinet run into face-to-face seating for two. Keep the connection visually simple and structurally supported.
The return should stop before the main passage and leave nearby doors fully operable. An open leg base feels lighter than another cabinet box.
Layout test Build a cardboard outline at the planned height, then walk around it while another person occupies both proposed seats in the space.
13. Use a Single-Level Peninsula for Prep and Dining
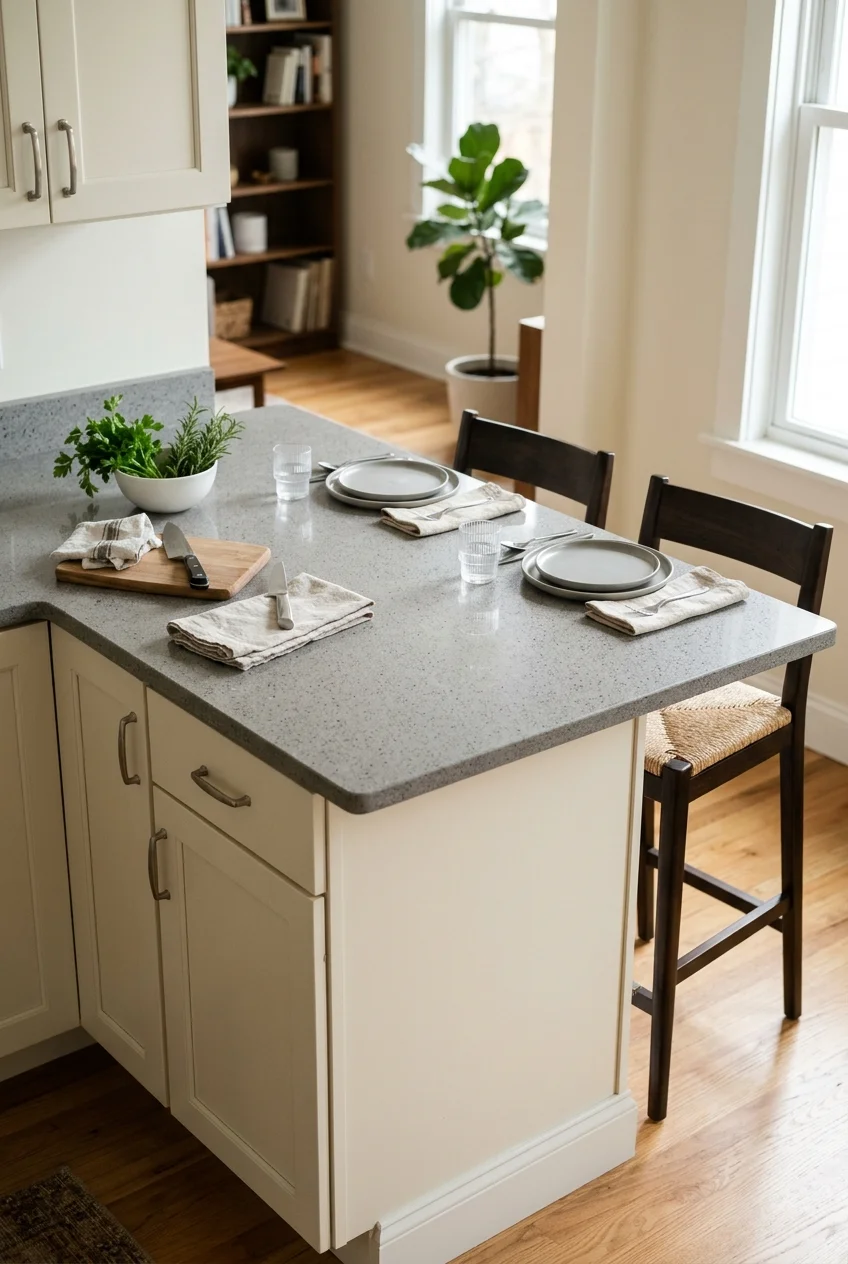
One continuous counter height makes a small peninsula useful from both sides and avoids the bulk of a raised second tier.
Keep food preparation on the kitchen side and place settings on the outer edge. A clear surface makes the limited span feel longer.
14. Choose an Extra-Slim Island With End Seating
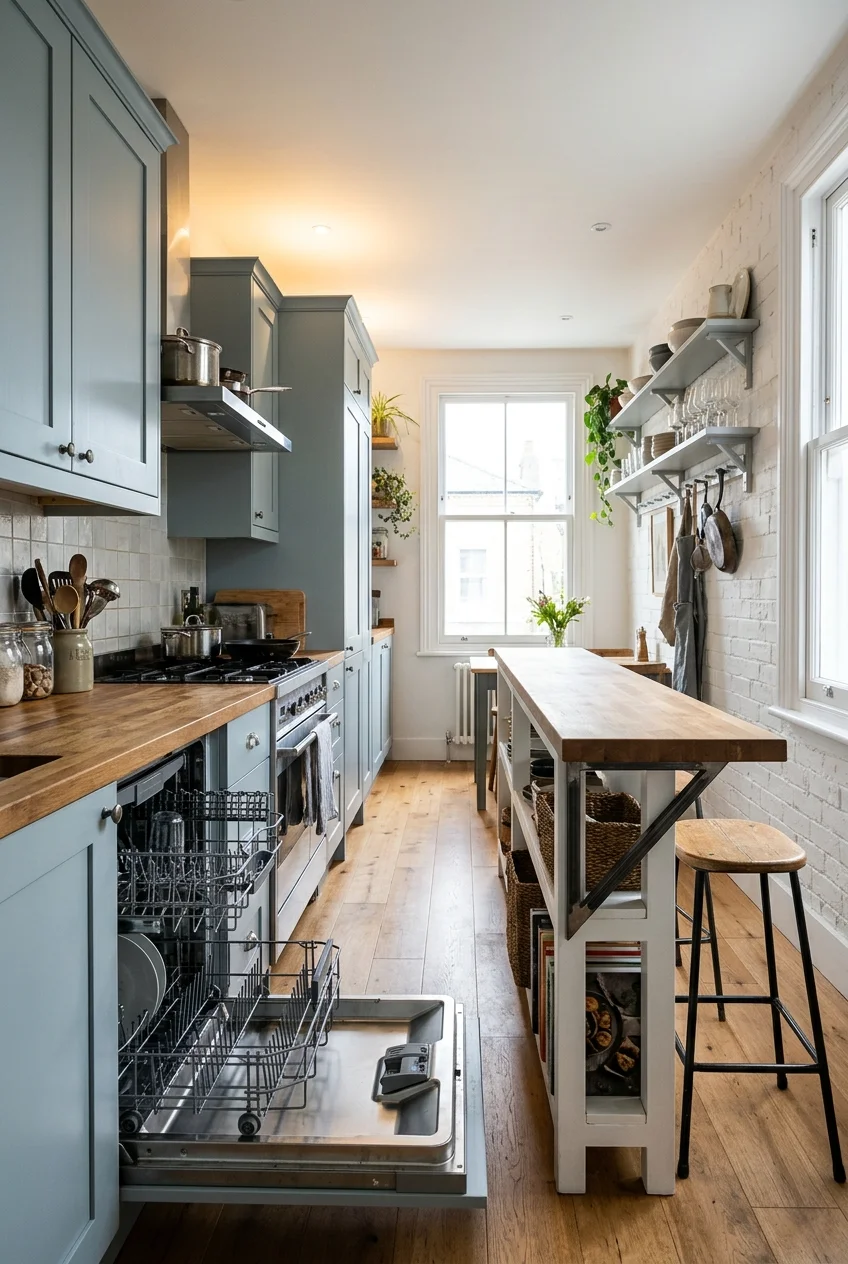
A narrow island can provide a small work surface while reserving one open end for breakfast. Avoid seating along the busy working aisle.
Compare more proportion and aisle options in these narrow kitchen island ideas before choosing a fixed cabinet footprint for your room.
Mark the island and fully opened appliances on the floor. If two people cannot pass comfortably, choose a movable table or wall bar instead.
NKBA guidance calls for a forty-two-inch work aisle for one cook and forty-eight inches for multiple cooks, though room conditions still matter.
Measure from countertop and appliance fronts rather than cabinet boxes, because handles and open doors often create the tightest points in a narrow kitchen.
- Map every appliance and exterior-door swing.
- Pull stools out to their occupied position.
- Protect the primary prep and cleanup route.
- Confirm slab support with the fabricator.
15. Create One Open Seat Beside a Waterfall End
Image pending: No image is attached to this draft for idea 15 (image-15).
An asymmetrical island can combine one protective waterfall panel with one open knee space. The single stool keeps a tight room from becoming crowded.
Use the waterfall at the exposed entry end and the seat at the quieter end. Confirm slab joints and support with the countertop fabricator.
16. Curve the Seating End of a Tiny Island
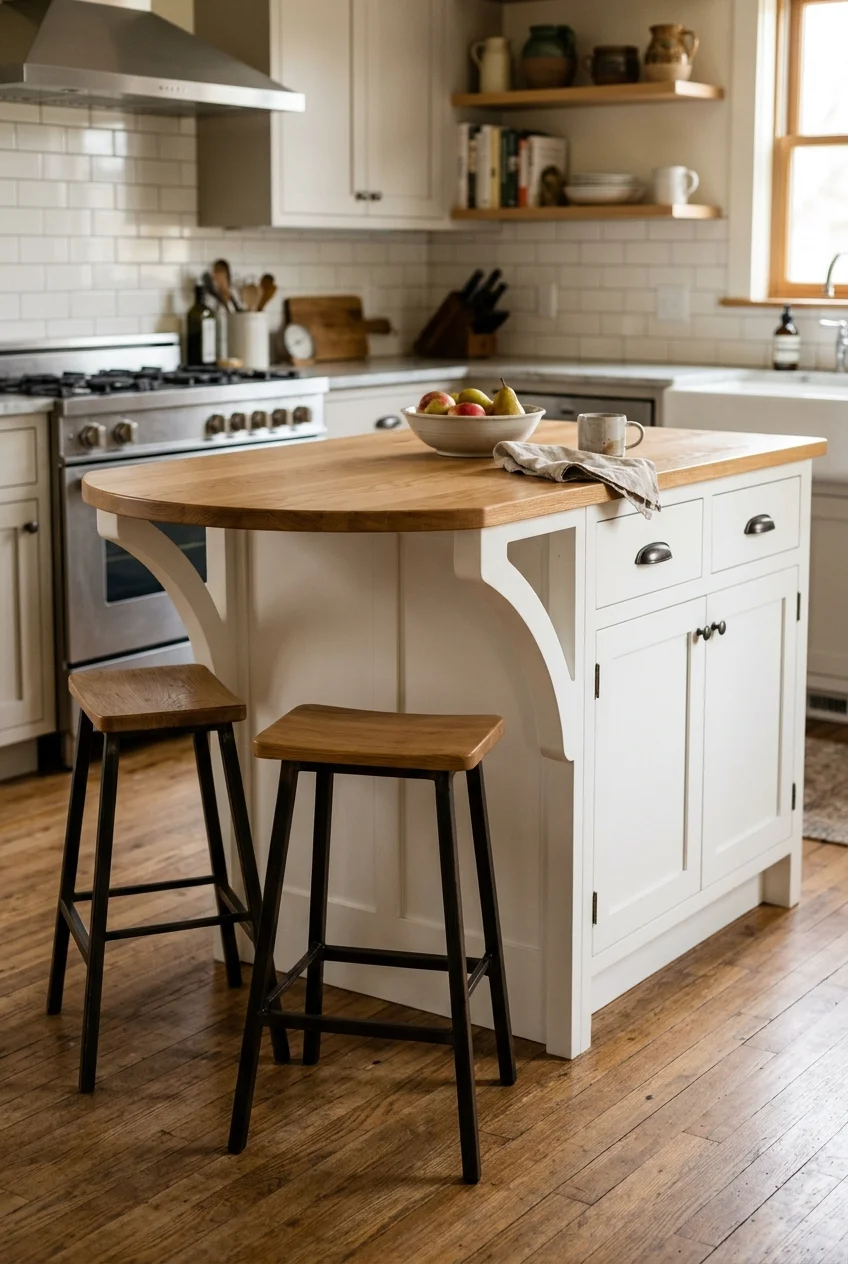
A shallow curved end helps two stools angle toward each other while softening a tight turn. Keep working sides straight for useful storage.
The curve needs planned support beneath the countertop and enough radius for plates. Position it only where pulled-out stools will not obstruct traffic.
Choose this shape for conversation and circulation, not to squeeze in an extra seat. Two comfortable places usually work better than three cramped ones.
17. Attach a Dining-Height Table to the Island End
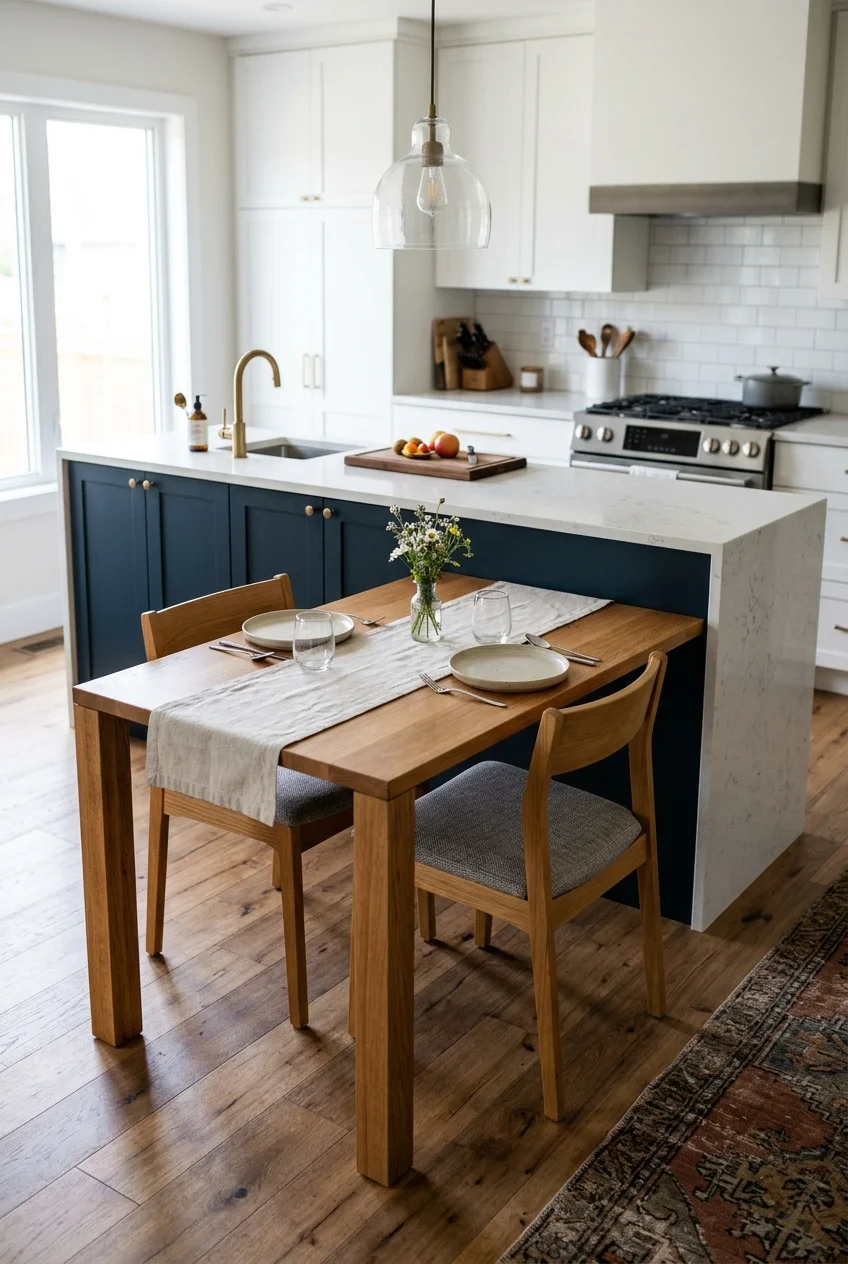
A lower table extension offers familiar chair seating and can feel more comfortable for longer meals than counter-height stools in a compact kitchen.
Place the table beyond the active cooking zone, using a properly designed connection and its own support. Preserve a clear separation from hot surfaces.
The change in height also divides jobs naturally: preparation stays on the island, while laptops, homework, and breakfast use the lower surface.
18. Raise a Narrow Shelf Above a Half Wall
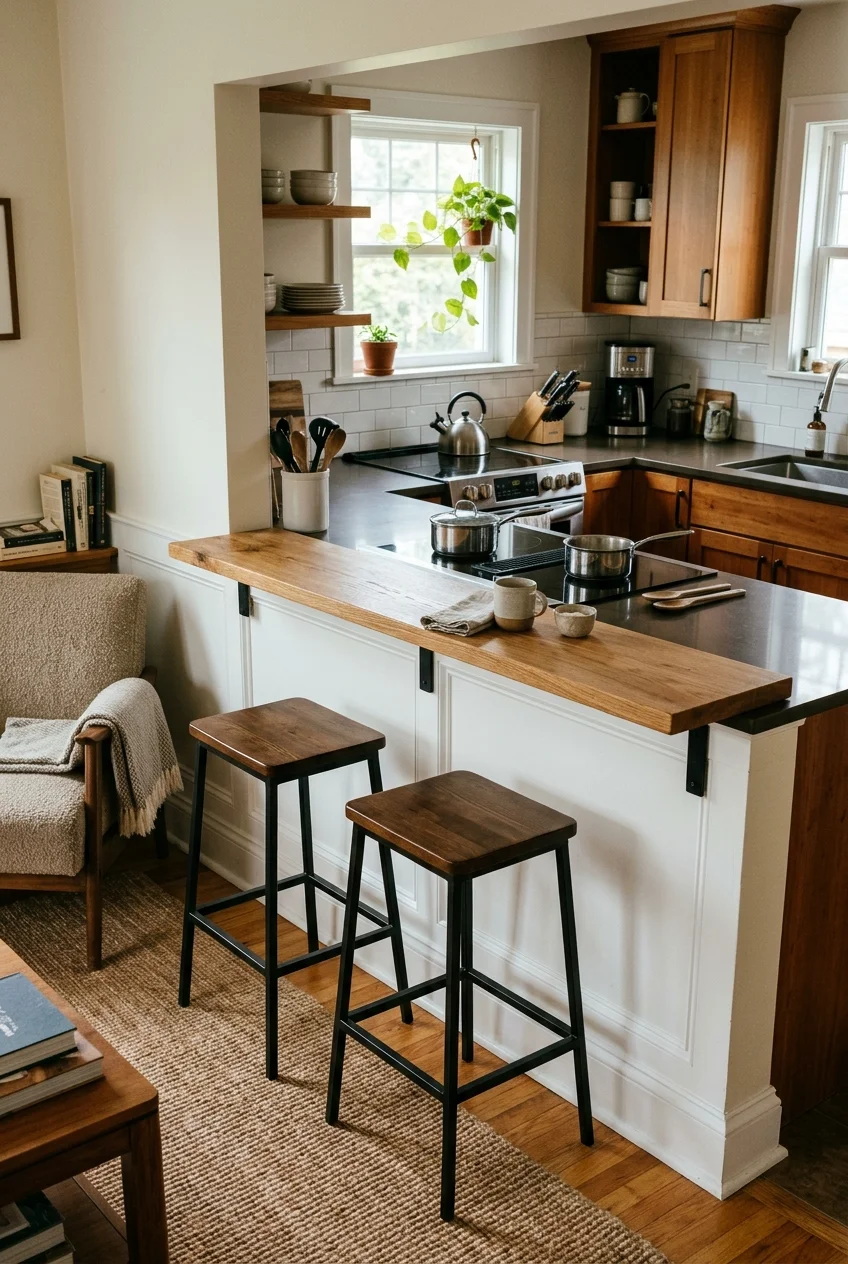
An existing half wall can support a raised eating ledge that screens limited countertop clutter from an adjacent room. Keep the tier visually thin.
A raised bar uses taller stools and requires different knee depth than counter seating. Measure the complete stool, footrest, and occupied clearance before building.
Safety note Keep the ledge away from the range and verify that the half wall and supports can carry the chosen top.
19. Connect a Compact Banquette to the Island
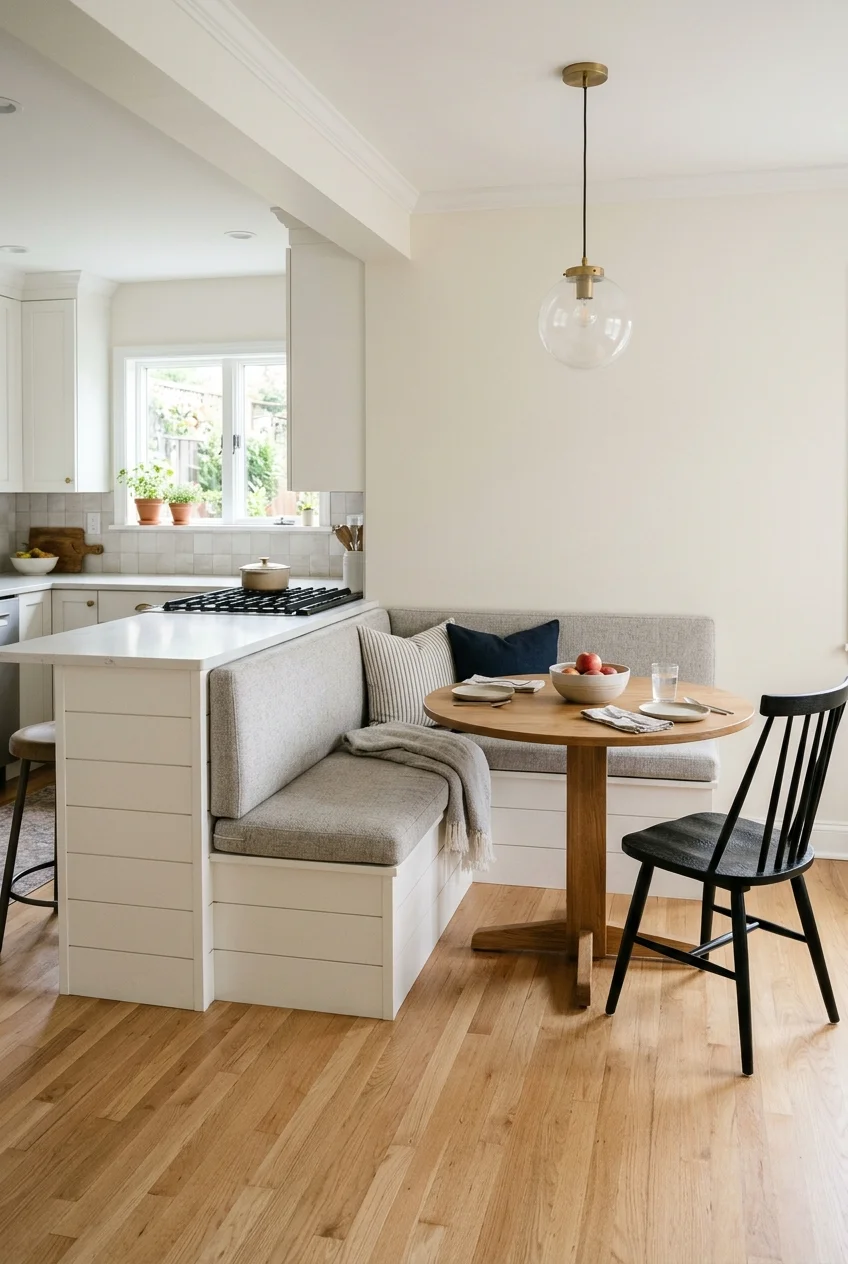
A bench attached to the island end can move family seating beyond the work aisle. Pair it with a small pedestal table for easier entry.
For bench shapes, storage options, and corner arrangements, browse these corner dining nook ideas before deciding between built-in and freestanding seating.
Use washable upholstery and avoid lift-up storage that requires removing cushions daily. Drawers opening from the accessible end can be more practical.
Plan enough table overlap for comfortable dining while leaving room to slide onto the bench. A pedestal base usually interferes less than corner legs.
If the bench contains storage, reserve it for occasional items and use supported hinges or drawers appropriate to the expected weight and access pattern.
Keep the table and bench outside major appliance routes. A compact banquette succeeds when people can sit without trapping the cook inside the kitchen.
20. Make a Movable Island Bar With a Drop Leaf
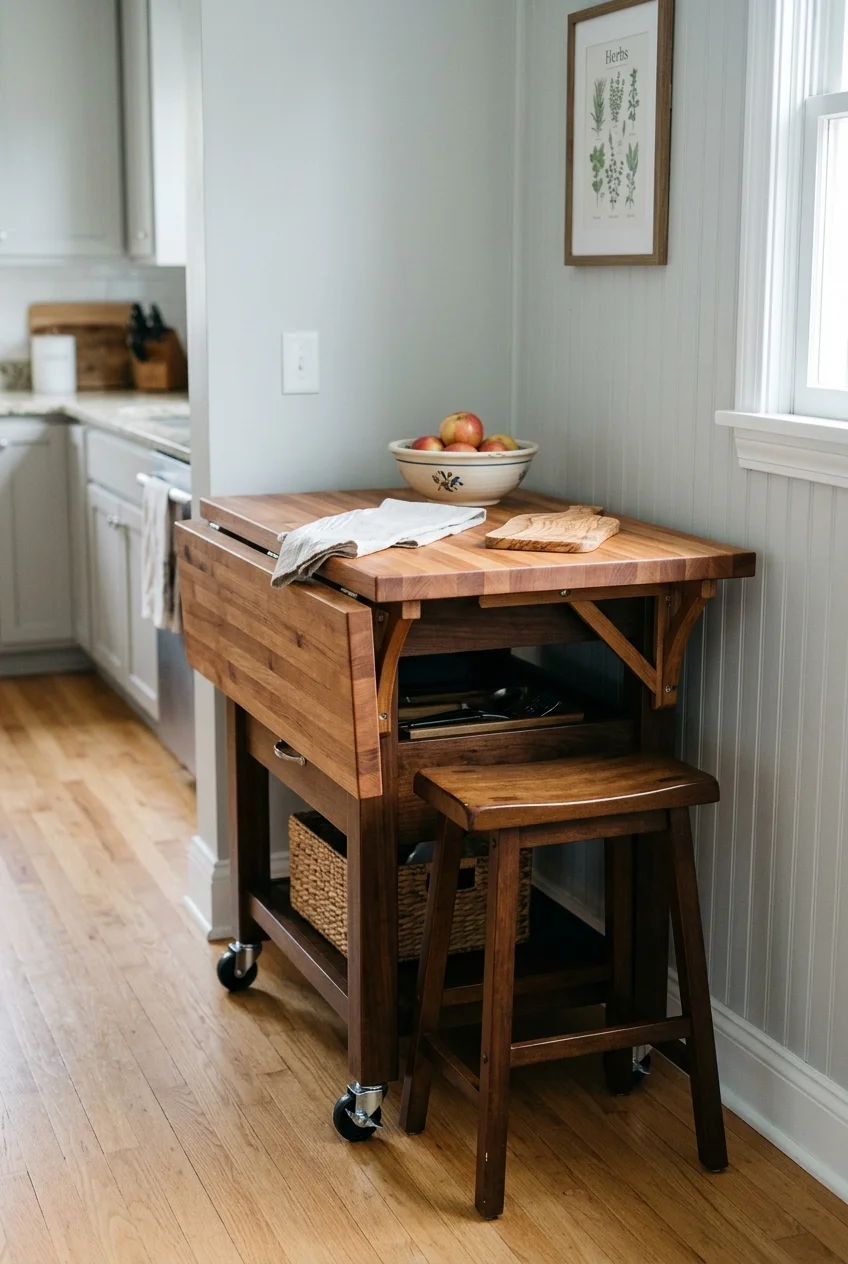
A rolling island with a hinged leaf offers breakfast space only when needed. Locking casters keep the base stationary while the leaf is used.
Choose a model whose brackets, top, and base are designed for seating loads. A decorative cart may not resist someone leaning on the edge.
Move the cart only after clearing the top and folding the leaf, then park it where the wheel locks remain easy to reach.
- Lock every caster before raising the leaf.
- Keep knees clear of folding hardware.
- Park the cart away from heat and door swings.
- Follow the stated load and assembly limits.
Flexible and Renter-Friendly Breakfast Bars
Freestanding pieces let small kitchens change with the day and often suit renters. Stability, scale, and clear movement still matter as much as flexibility.
21. Use a Gateleg Table as a Pop-Up Bar
Image pending: No image is attached to this draft for idea 21 (image-21).
A gateleg table can stay narrow against the wall, then open for breakfast or extra preparation. Its familiar dining height works with ordinary chairs.
Check the footprint in every leaf position and make sure the supporting legs lock securely. Store folding chairs nearby instead of crowding the kitchen.
22. Repurpose a Narrow Console at Counter Height
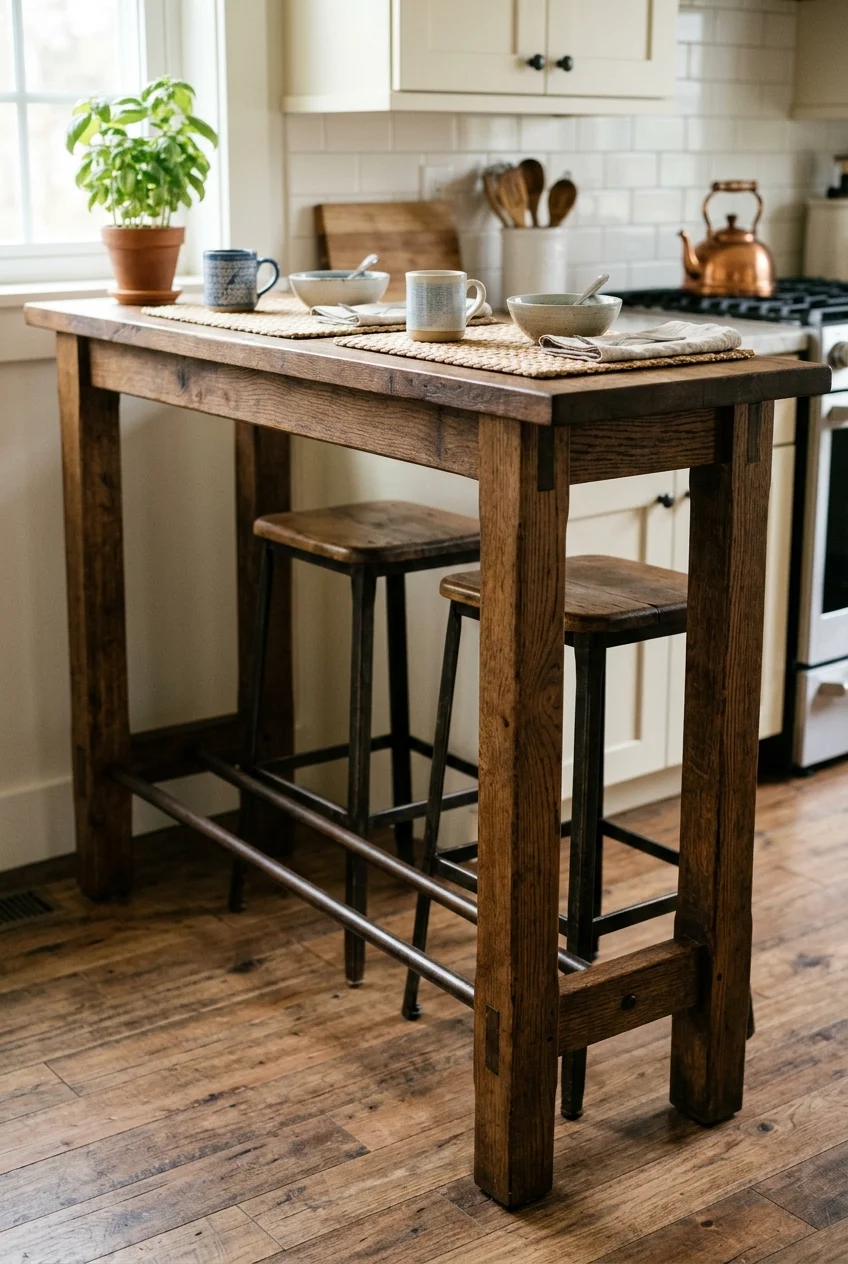
A counter-height console can become a simple breakfast bar if its depth, stability, and finish suit dining. Avoid lightweight decorative pieces that wobble.
Look for a footrest or add a manufacturer-approved one, because dangling feet make a shallow bar uncomfortable. Protect the top with washable placemats.
23. Slide a Bar Table Perpendicular to the Counter
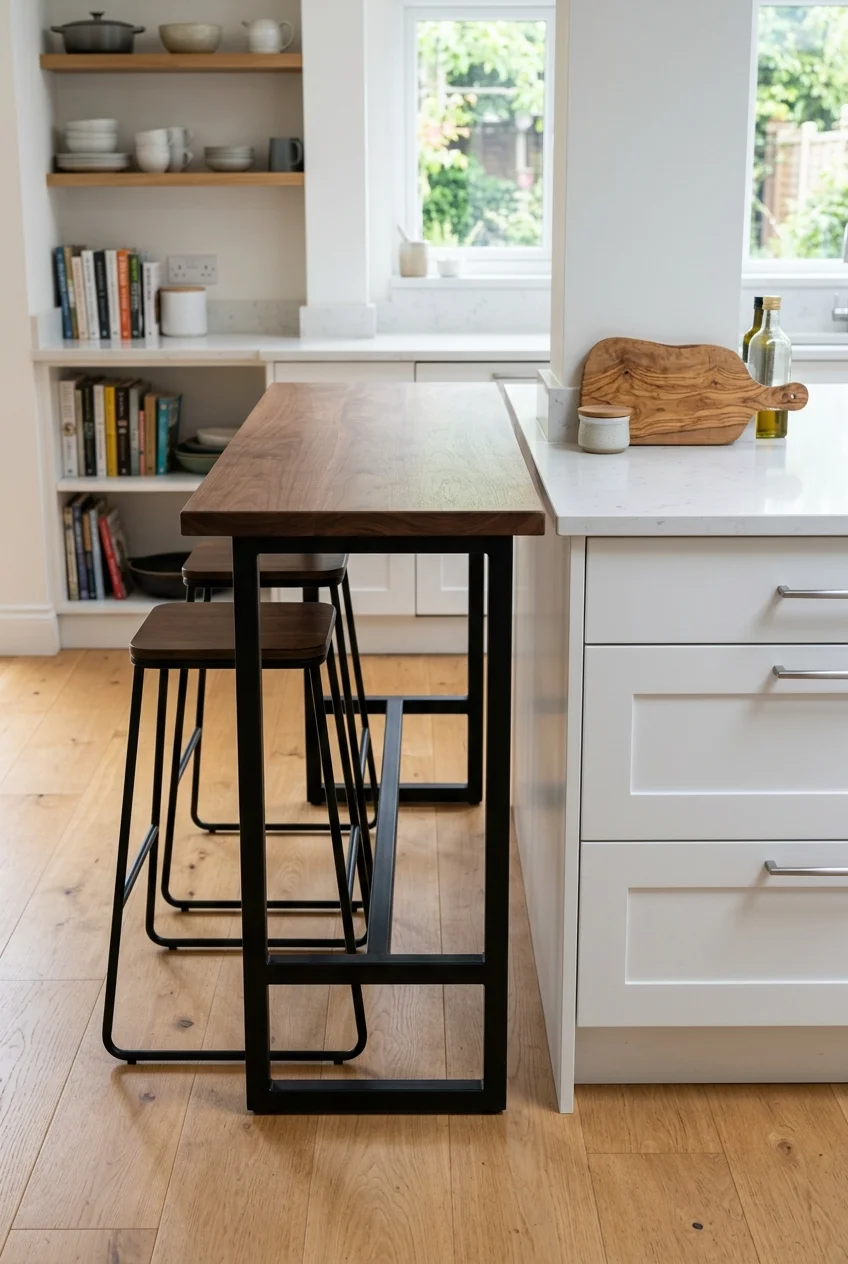
A freestanding table placed perpendicular to the cabinet run creates a peninsula effect without altering cabinetry. Align the surfaces only if heights match.
Leave a deliberate small gap when materials or heights differ, preventing an awkward near-match. Use nonslip feet so the table stays put during meals.
24. Use a Small Worktable With One Breakfast Side
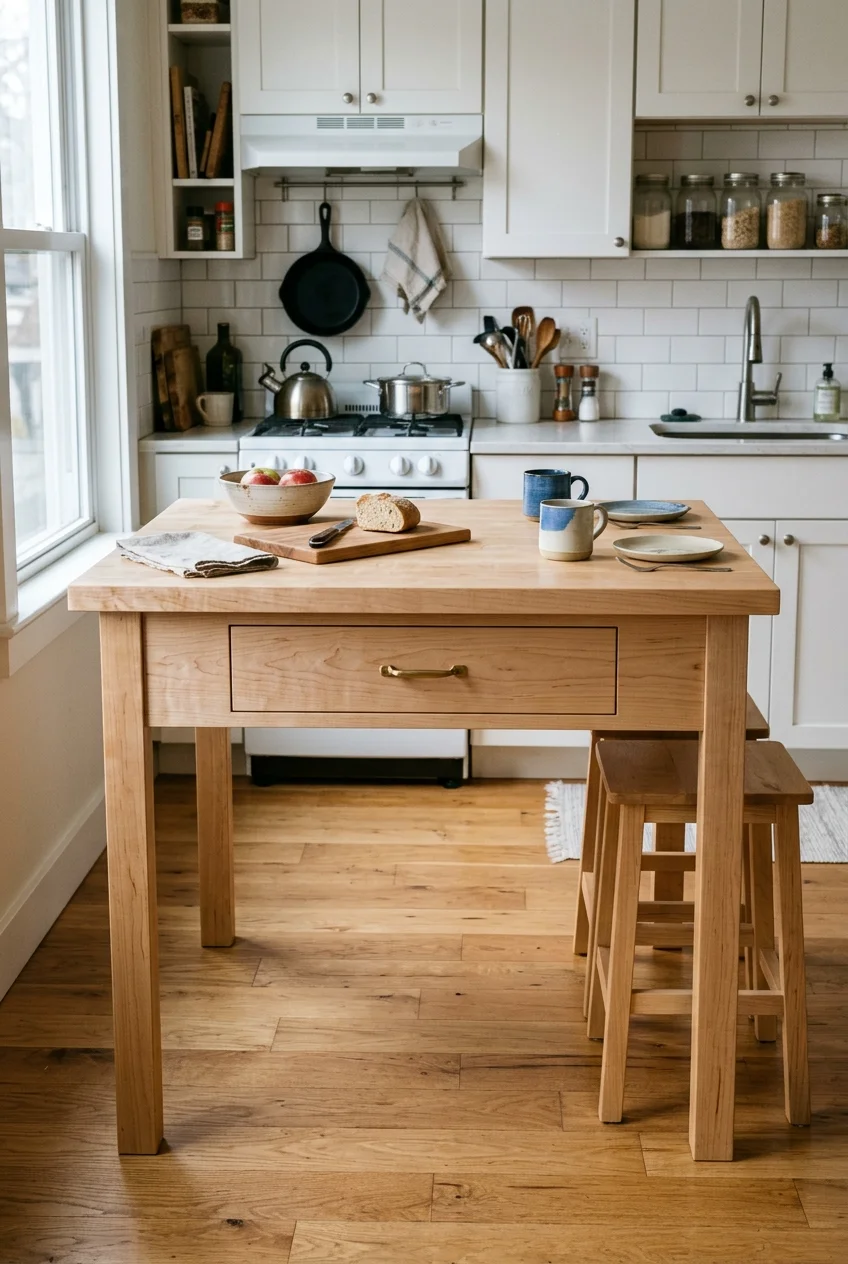
An open-leg worktable can serve as prep space from one side and breakfast seating from the other. Its visible floor area keeps the room lighter.
Reserve one end for a shallow drawer, leaving knees unobstructed across the eating side. Choose a working height comfortable for your household.
Because the table moves independently, avoid plumbing and fixed wiring. Felt or nonslip pads can protect the floor while reducing accidental shifting.
25. Turn a Butcher-Block Cart Into a One-Seat Perch
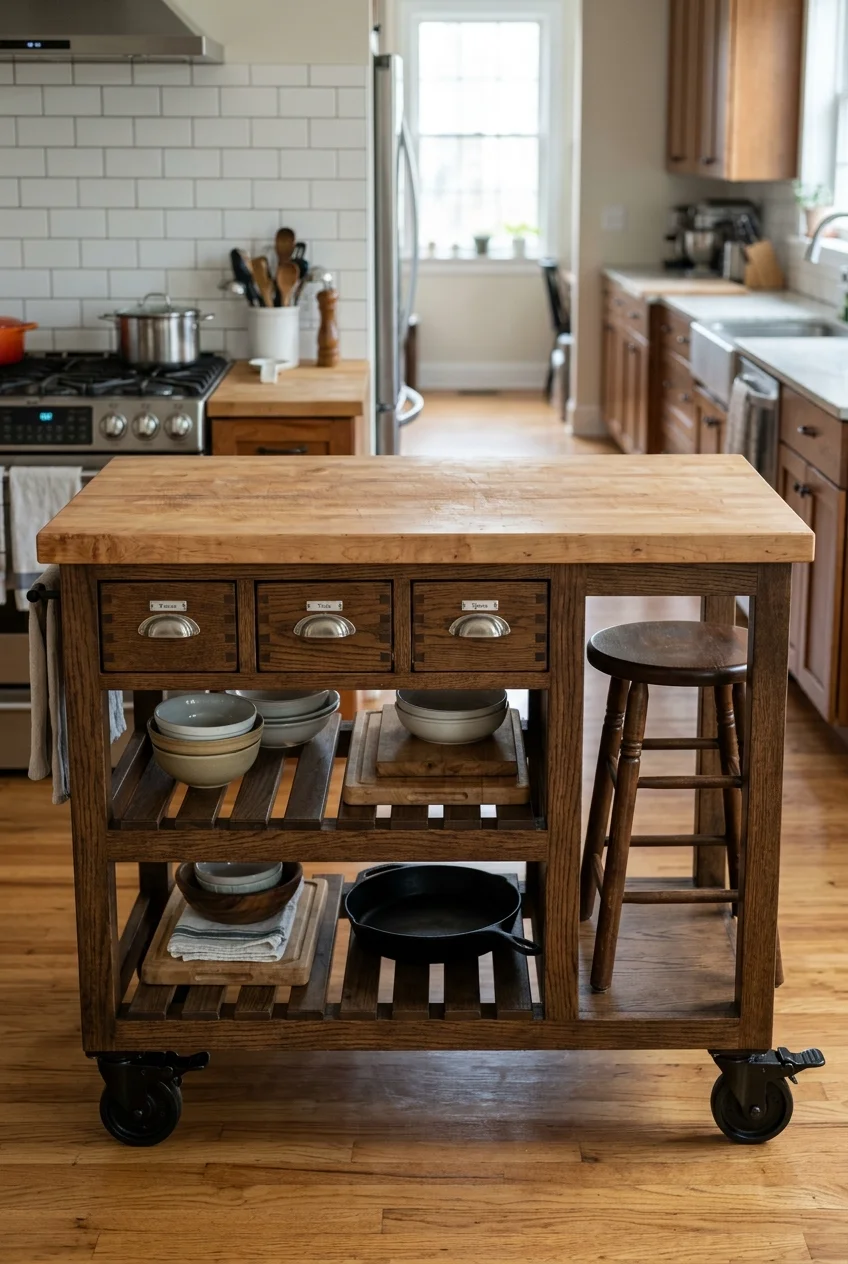
A sturdy butcher-block cart can offer one quick breakfast seat when one side stays completely open. Keep storage on the cook-facing side.
Verify that the cart manufacturer permits seating or leaning loads; many utility carts are intended only for storage and light preparation.
Simpler alternative If seating is not approved, park the stool elsewhere and use the cart only as a mobile serving surface instead.
26. Combine Two Small Carts Into a Longer Bar
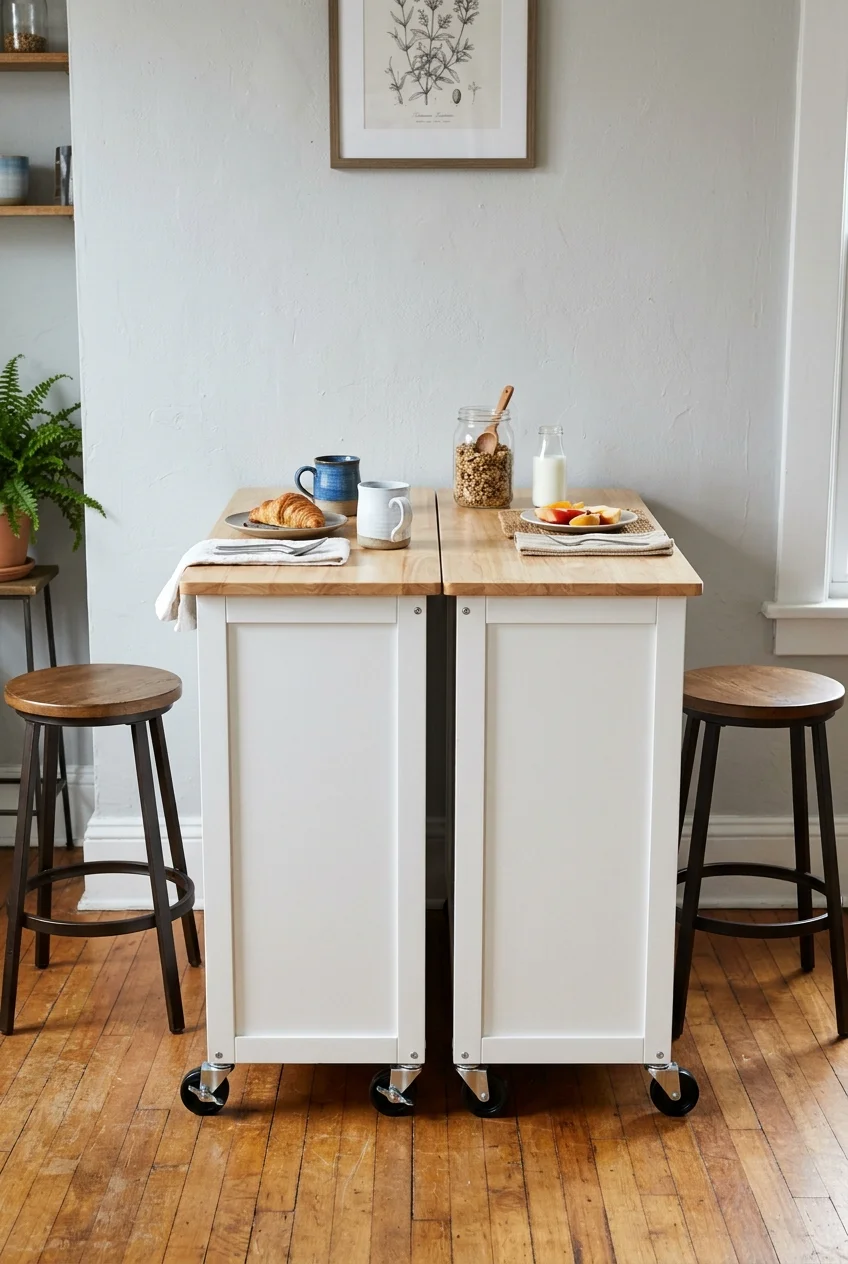
Two matching carts can stand together for serving, then separate when the walkway needs opening. This works better for buffet use than permanent dining.
Align tops carefully and lock every caster before use. Avoid bridging the seam with heavy appliances or leaning across unsupported edges.
27. Choose a Half-Moon Table for a Tight Turn
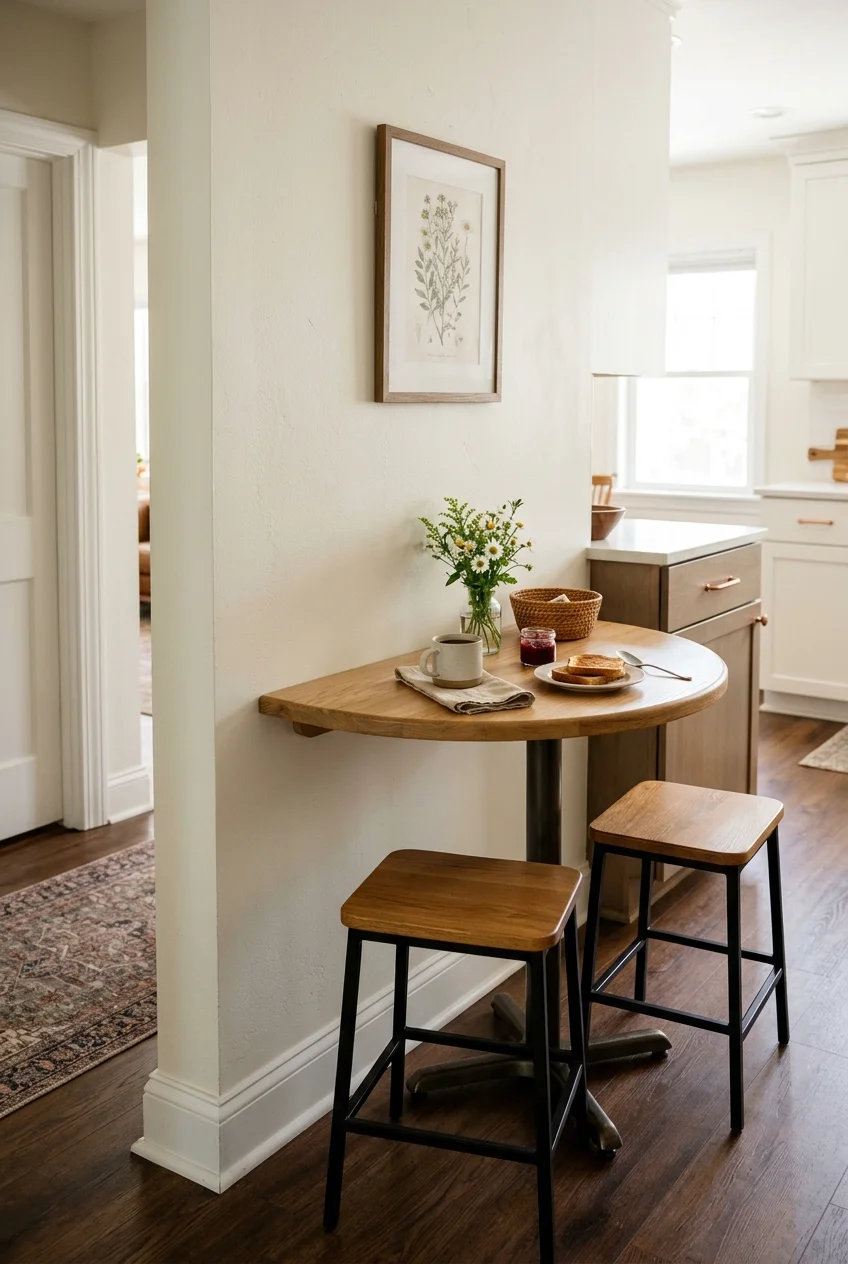
A half-moon table offers a flat wall edge and a rounded walking edge, making it useful near an entry into the kitchen.
Use it for one or two compact settings, depending on length. A center pedestal or carefully placed legs preserve more knee space.
28. Use a Round Pedestal Table as the Bar
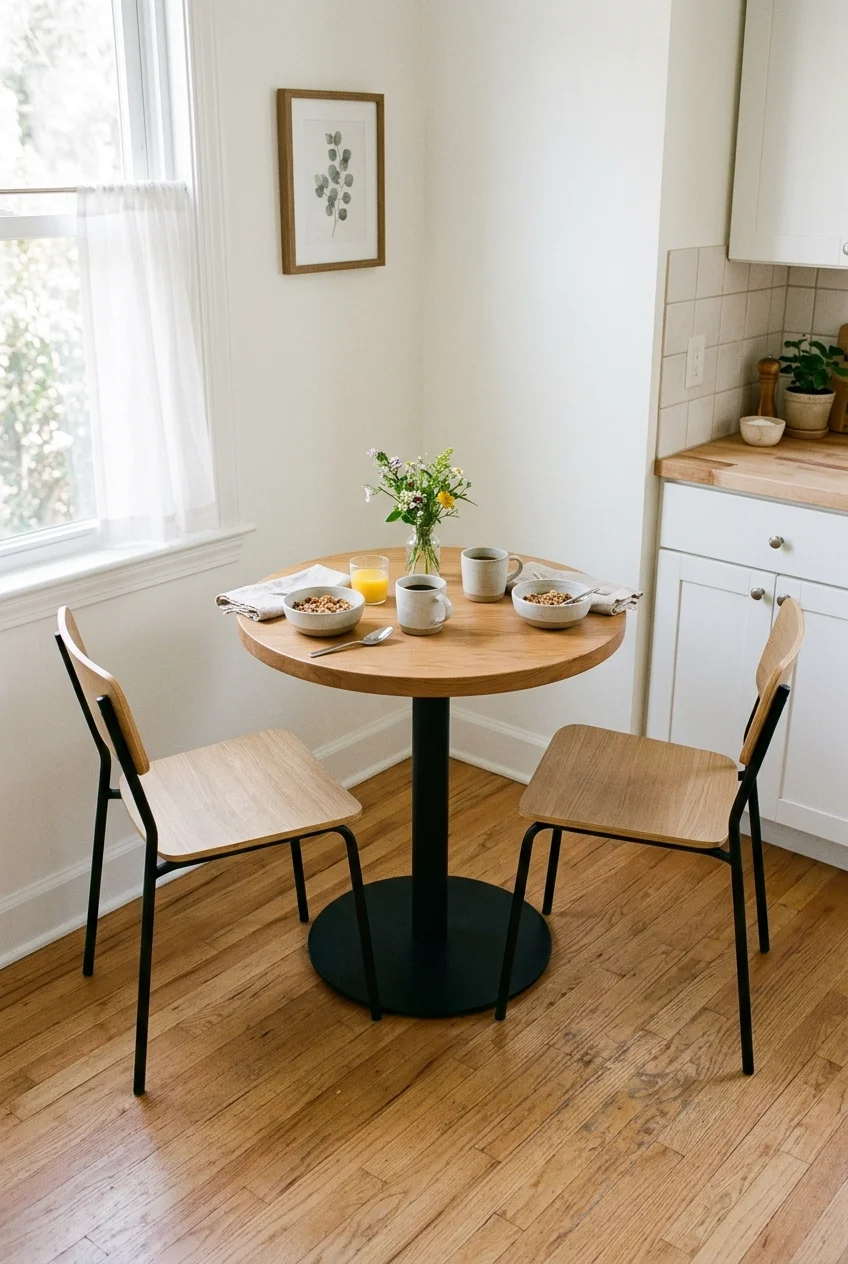
A small round pedestal table offers breakfast seating without sharp corners or four competing legs. It suits a square leftover kitchen corner.
Choose dining height for standard chairs or counter height for stools, then keep every seat type consistent with the actual tabletop height.
29. Build a Breakfast Bar From Modular Cabinets
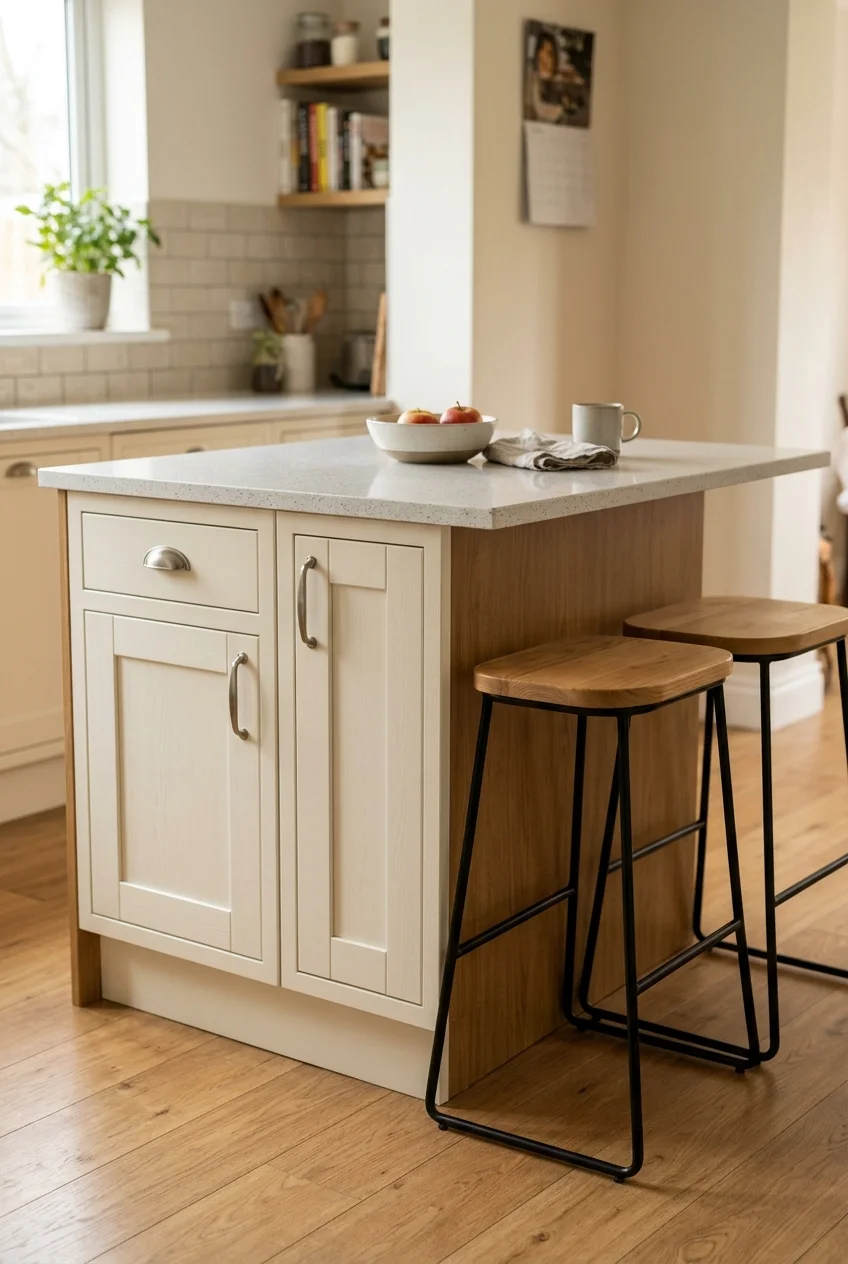
Freestanding modular base cabinets can create storage and a bar-like surface without matching the existing kitchen exactly. Use finished backs and end panels.
The cabinets must be joined, leveled, and secured according to their installation instructions. Add a supported overhang only after confirming the complete assembly.
Face drawers toward the working side and keep handles away from passage corners. Closed backs should look finished from the living area.
- Dry-fit the cabinet footprint and open nearby doors.
- Level and connect the boxes as specified.
- Finish exposed sides before fitting the top.
- Confirm countertop support and anchoring requirements.
If the countertop includes a seam, place it where the fabricator recommends rather than over an unsupported stool bay or projecting corner.
This solution is more involved than loose furniture but less disruptive than changing the main cabinet run. It also creates valuable closed storage.
30. Use a Stainless Worktable for an Urban Bar
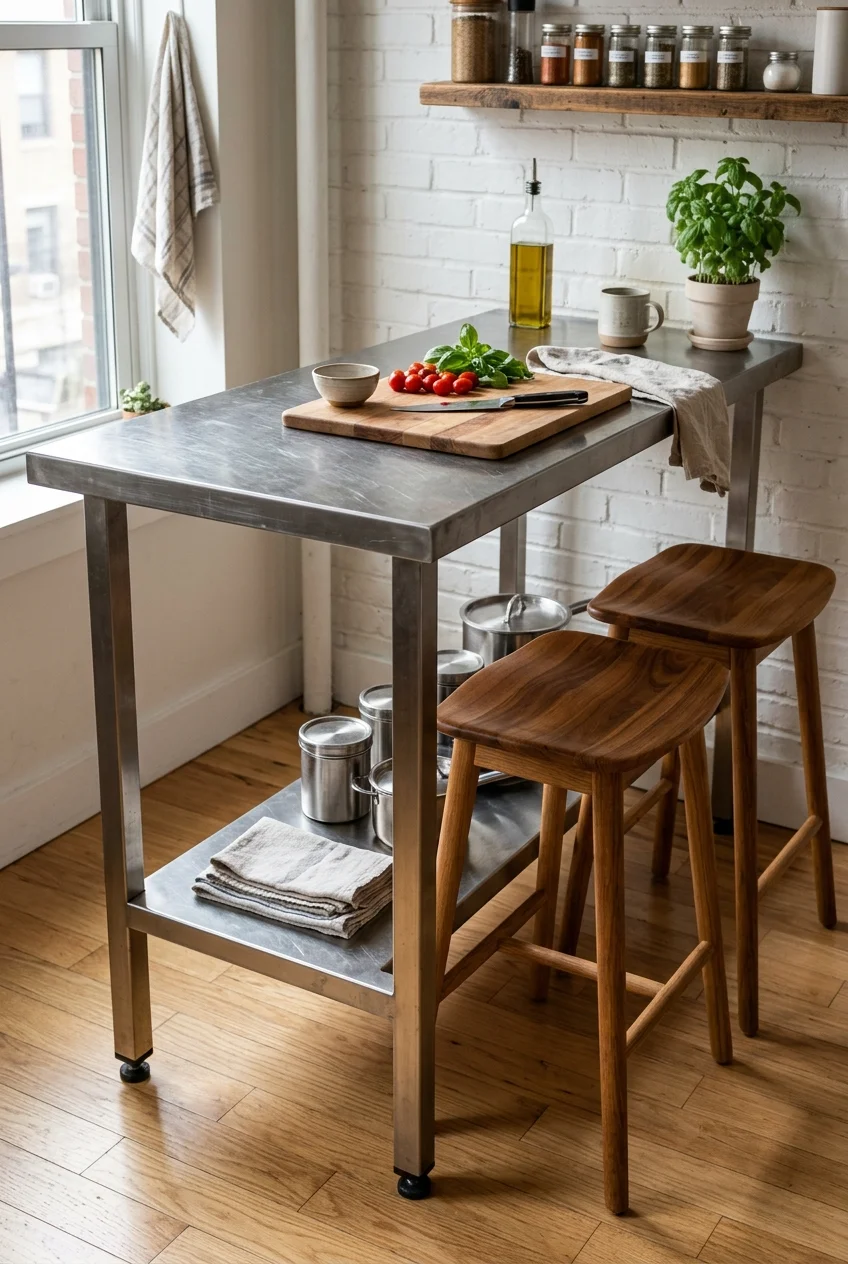
A narrow stainless worktable gives a compact kitchen a durable prep surface and visually light breakfast spot. Select a residentially appropriate, stable size.
Use adjustable feet to level the table and keep the lower shelf away from knees. Expect fingerprints and ordinary surface marks rather than perfection.
Pair it with warm wood or colored stools to keep the room from feeling institutional. The contrast can look purposeful without adding decorative clutter.
Smarter Seating and Storage
A compact bar earns its footprint when stools disappear neatly and storage opens safely. Plan the seated body, not only the empty furniture arrangement.
31. Tuck Backless Stools Completely Under the Top
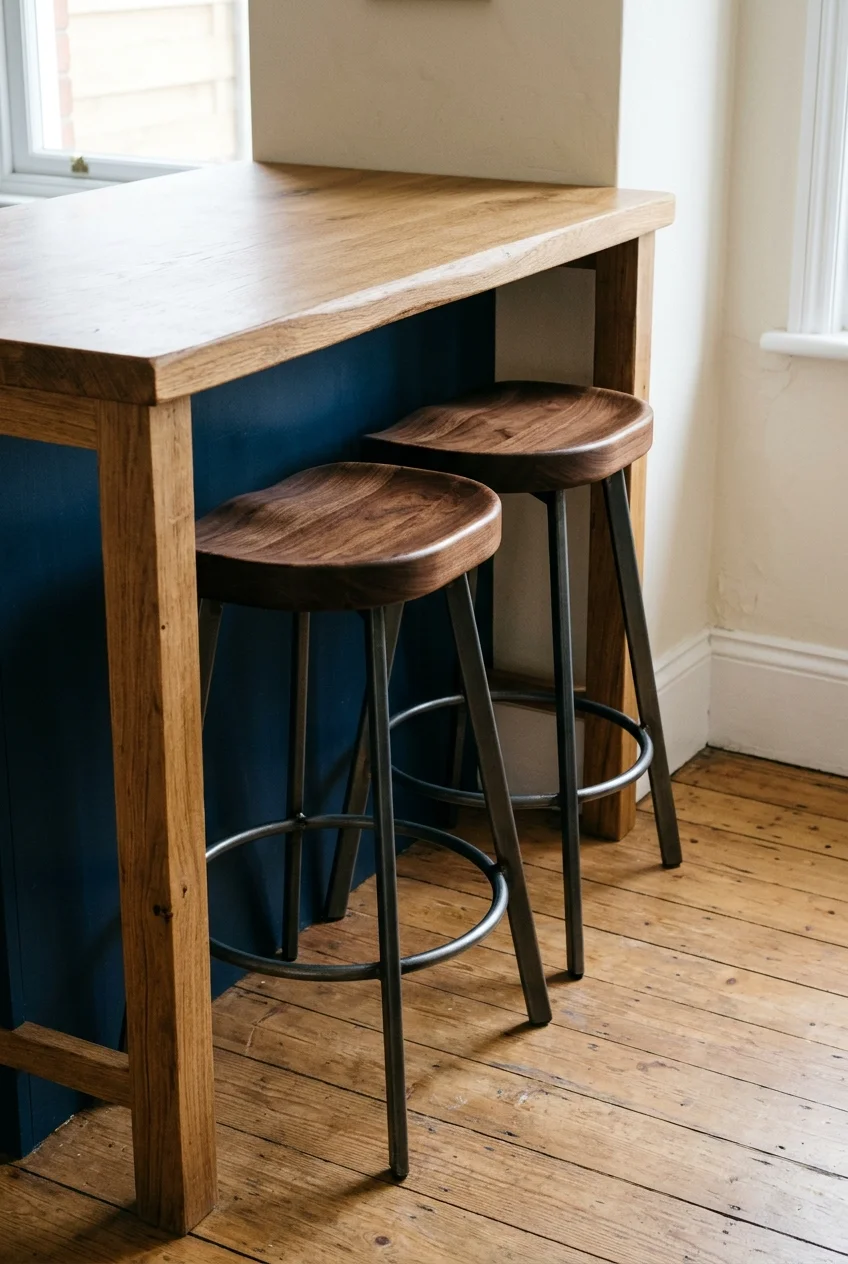
Backless stools keep sightlines open and can disappear beneath the overhang. Measure their full width and depth, including feet that flare outward.
These 24-inch backless saddle stools are listed for 35-to-39-inch counters. Confirm seat clearance, width, and upholstery suitability before ordering for your kitchen.
A stool that fits beneath an empty counter may still project when occupied. Test legroom and the path behind the seated person separately.
32. Choose Stackable Stools for a Flexible Guest Seat
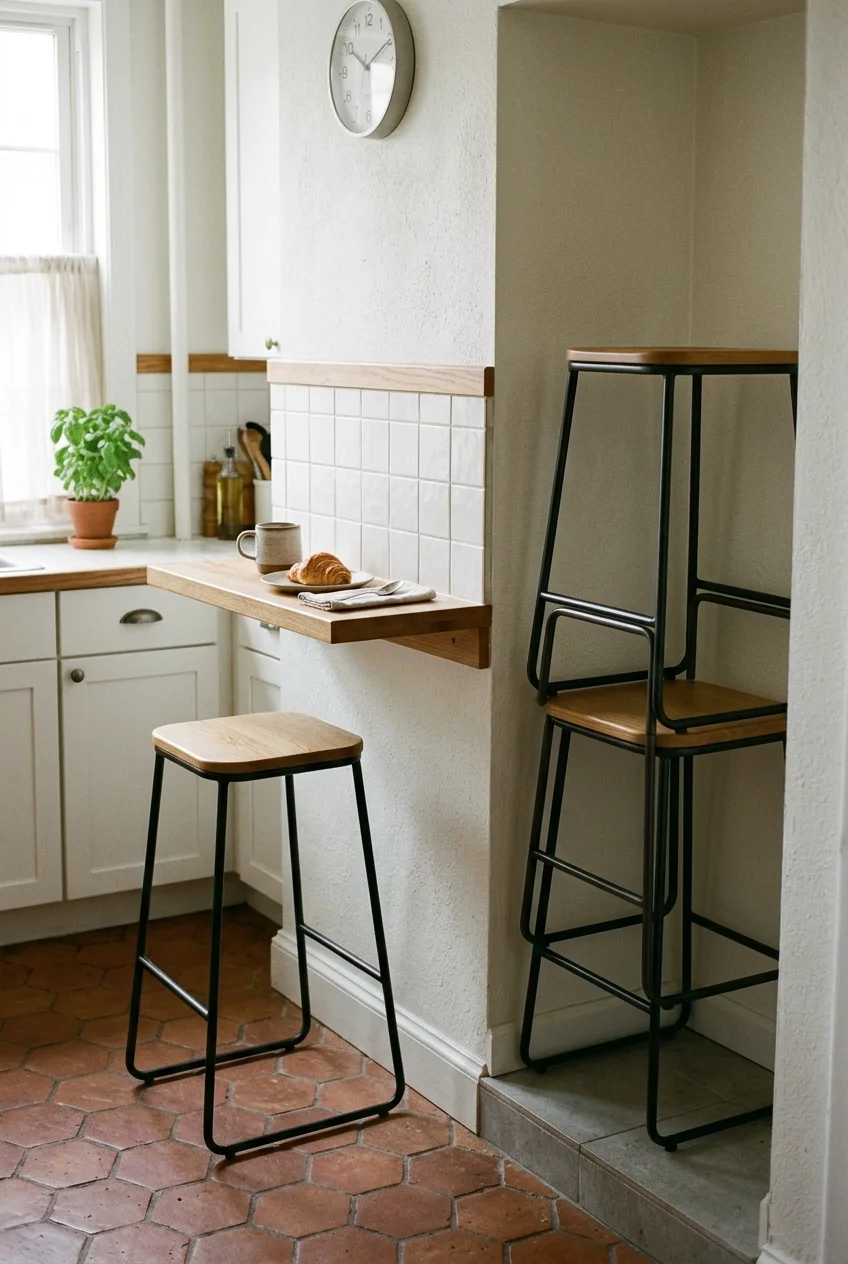
Stackable stools let a one-seat bar expand briefly without storing several chairs around the kitchen. Choose a design intended to stack safely.
Keep the spare stack in a dry, stable location rather than beside the range. Confirm protective feet so repeated movement does not scratch flooring.
33. Use Low-Back Stools When Support Matters
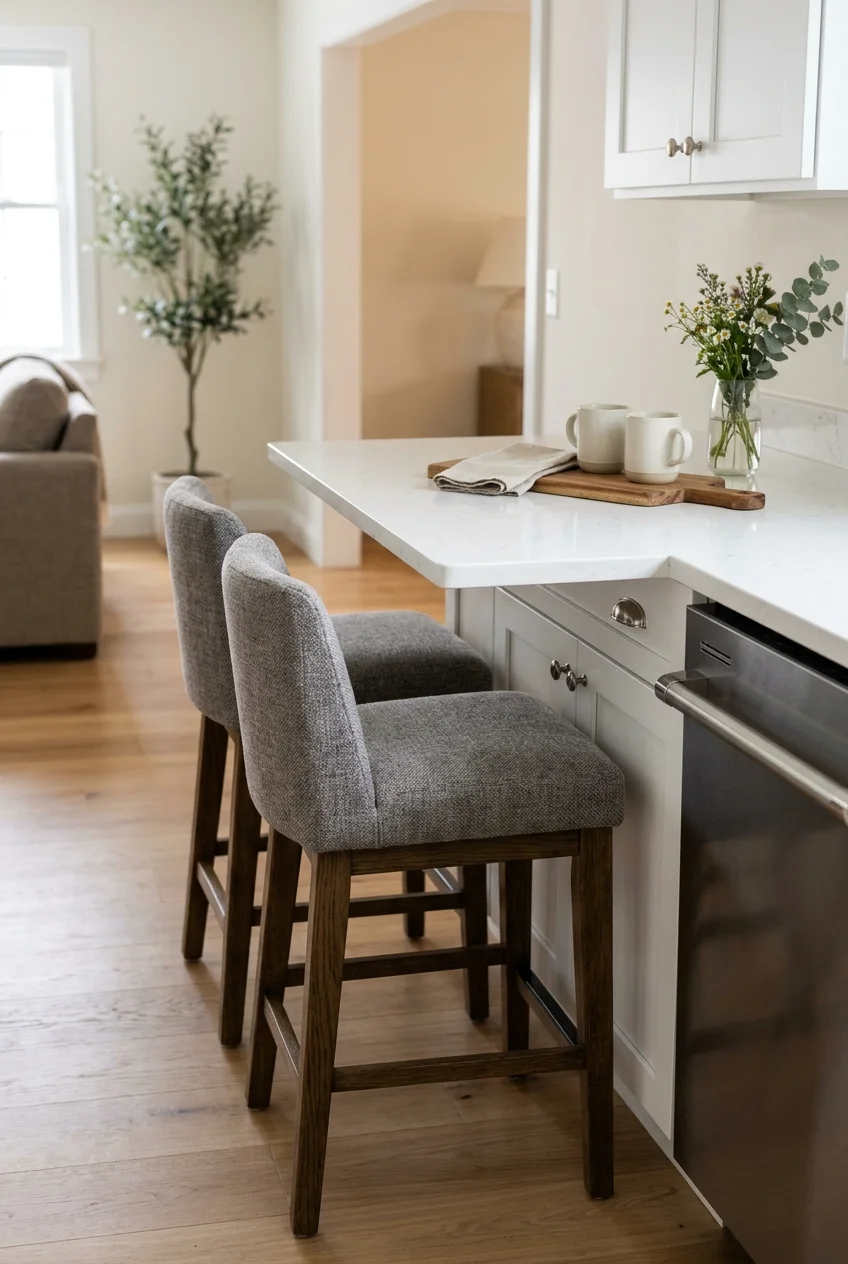
A low-back stool offers more support than a backless seat while remaining visually compact. It will not disappear fully beneath most counters.
Allow for the projecting back in your walkway measurement and avoid placing it opposite an oven or dishwasher. Choose a wipeable, durable upholstery.
34. Pick a Pedestal Base to Free Knee Space
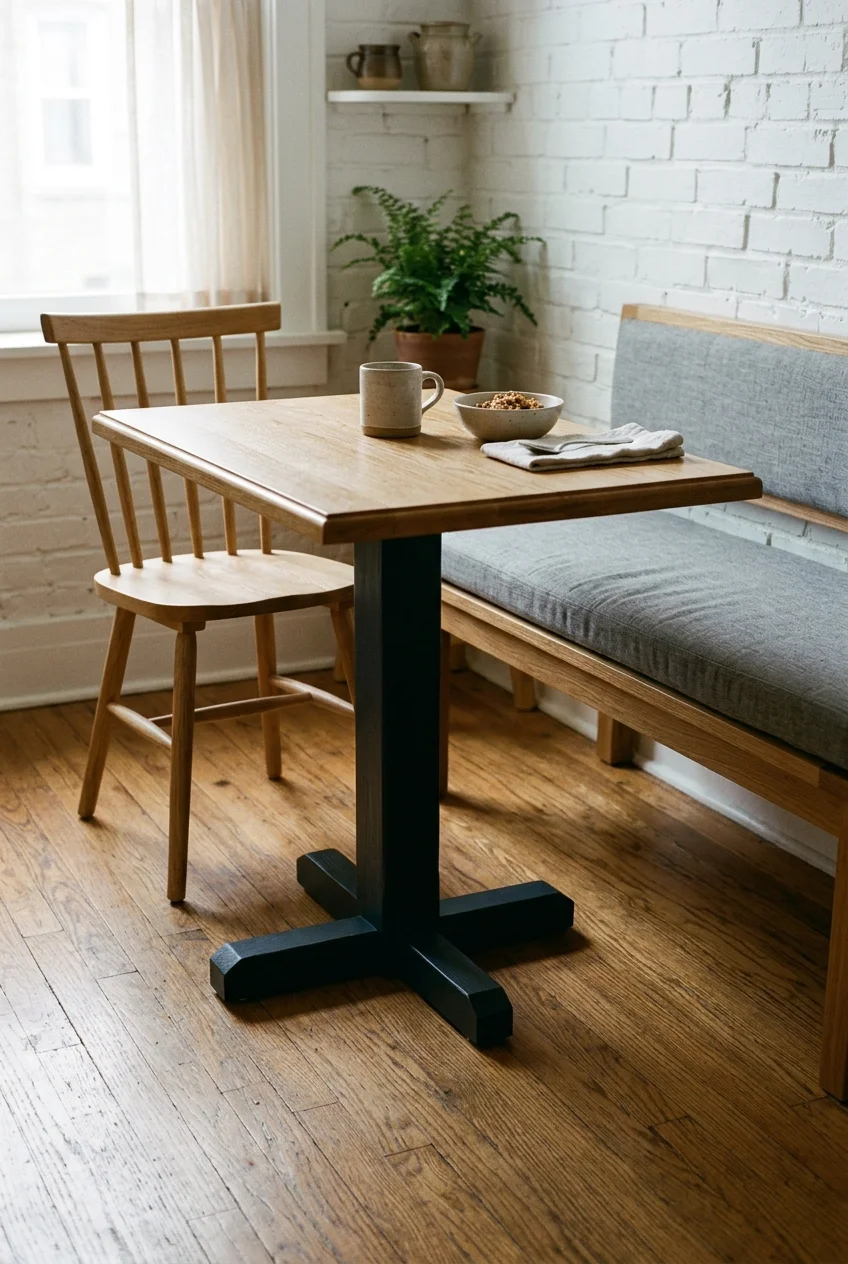
A central pedestal beneath a small bar table removes corner legs that can trap knees. This is especially helpful beside a bench.
The base must be proportioned to resist tipping when someone leans on the edge. Follow the manufacturer’s top-size and weight compatibility guidance.
35. Add Shallow Cabinets on the Room Side
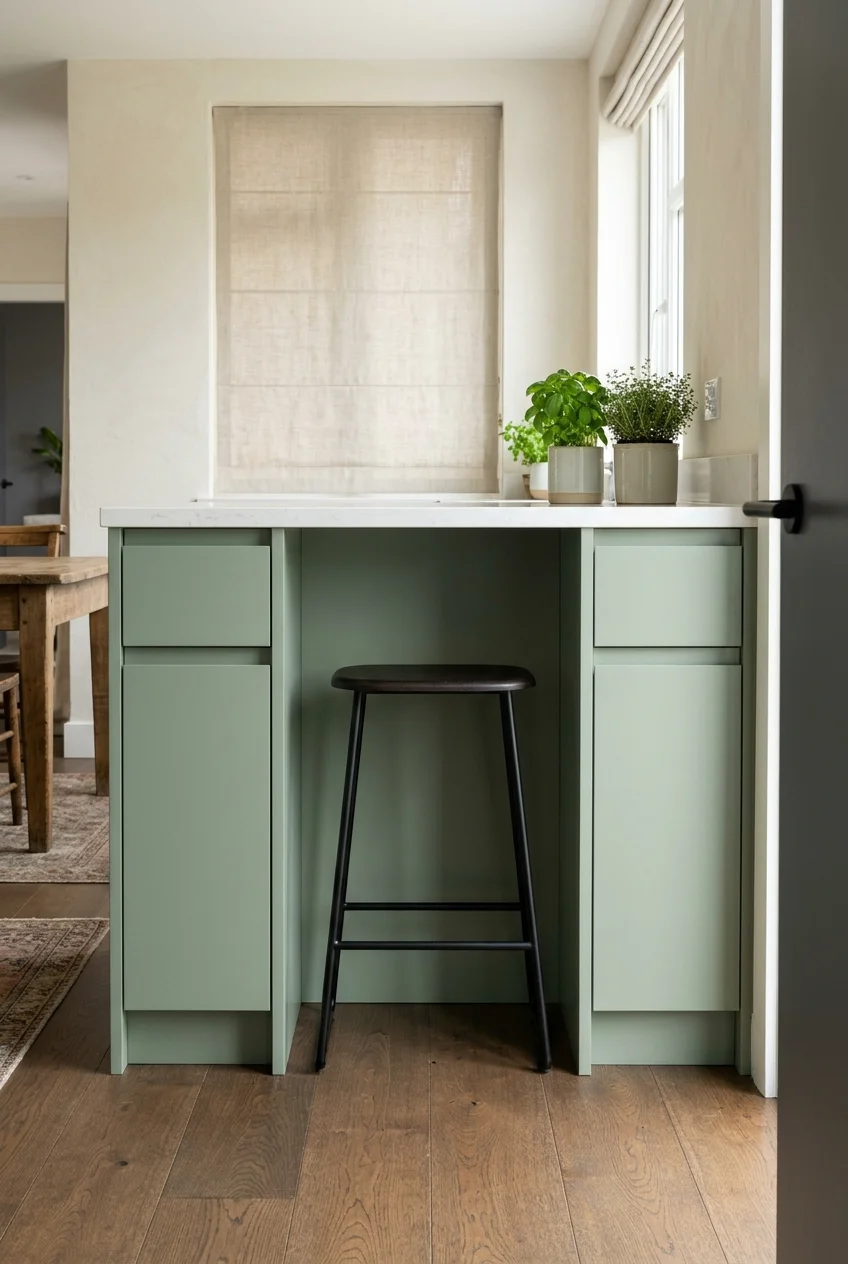
Shallow cabinets beneath a peninsula can store linens, trays, and serving pieces without consuming full cabinet depth. Use them for occasional items.
Choose touch latches or low-profile pulls where people pass. Doors should open away from stool legs and never into the primary kitchen route.
Keep seating bays distinct from storage bays so knees never collide with handles. A simple rhythm of closed cabinet, open seat, closed cabinet works clearly.
36. Build a Cookbook Niche Into the Bar End
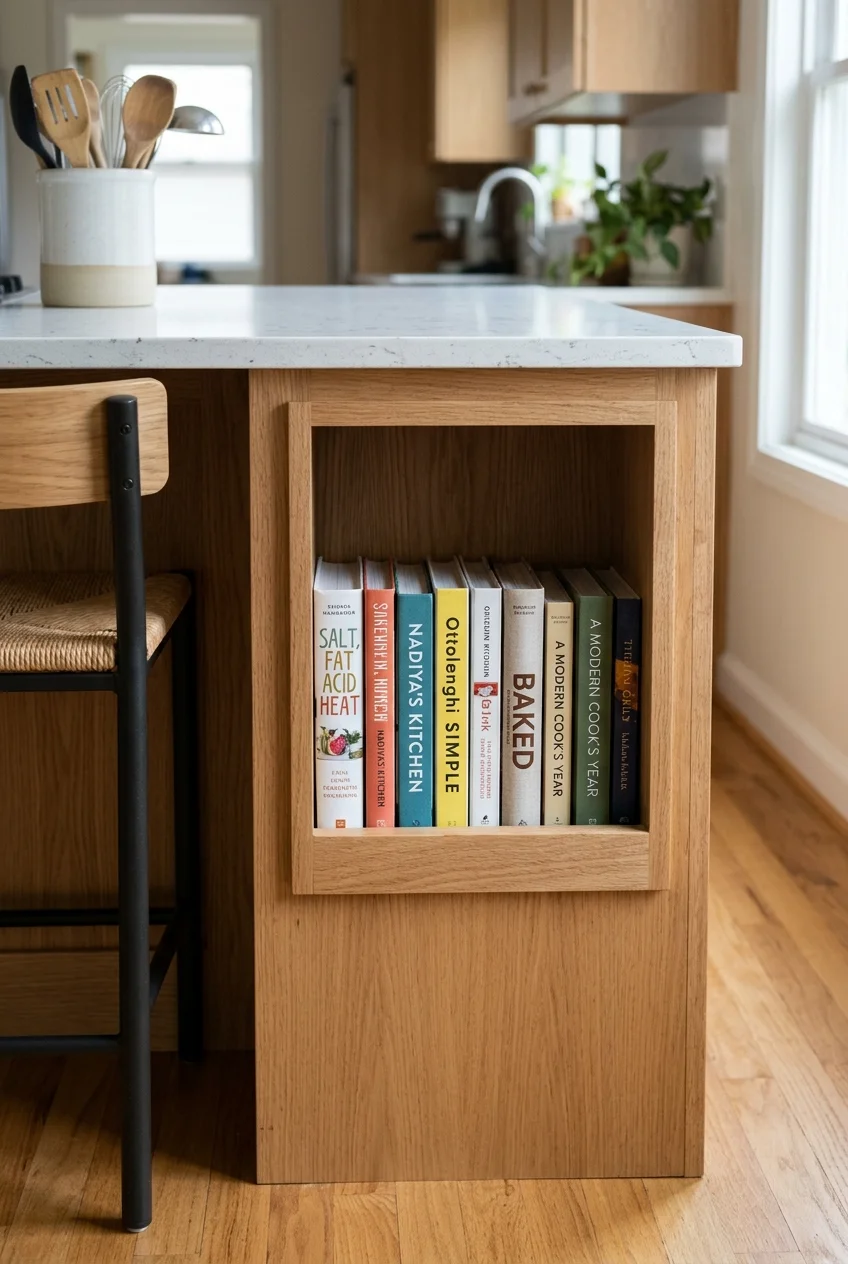
A recessed shelf at the short end stores cookbooks without widening the breakfast bar. Include a small lip if books could slide into traffic.
Keep the niche above shoe level and away from splashes. One edited row looks calmer than packing every inch with mixed objects.
37. Add Vertical Slots for Trays and Boards
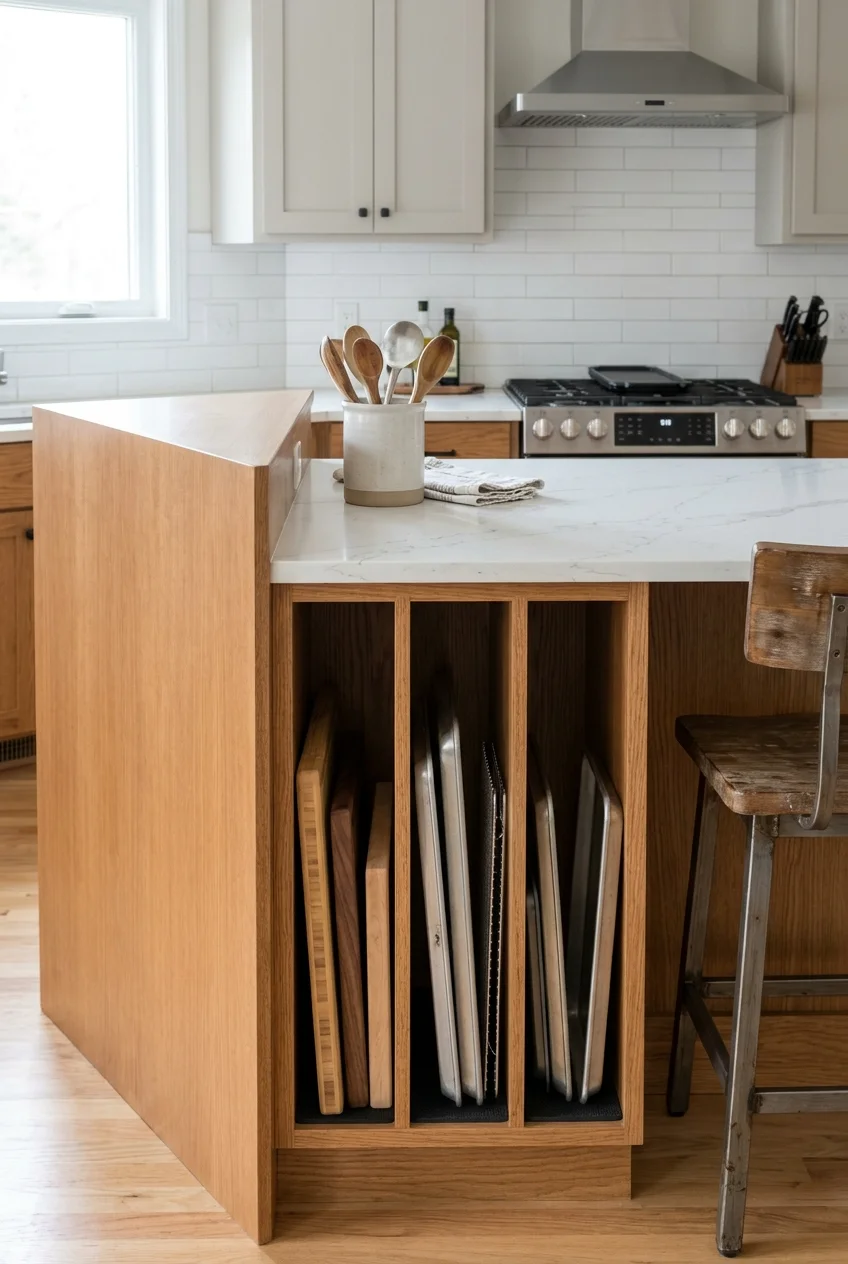
Vertical dividers use a narrow bar-end cabinet efficiently, keeping cutting boards and trays visible instead of buried beneath heavy stacks.
Open the slots toward the working side, not the main passage. Size each bay around your actual pieces and include a removable base liner.
38. Use Drawers Instead of Deep Bar Cabinets
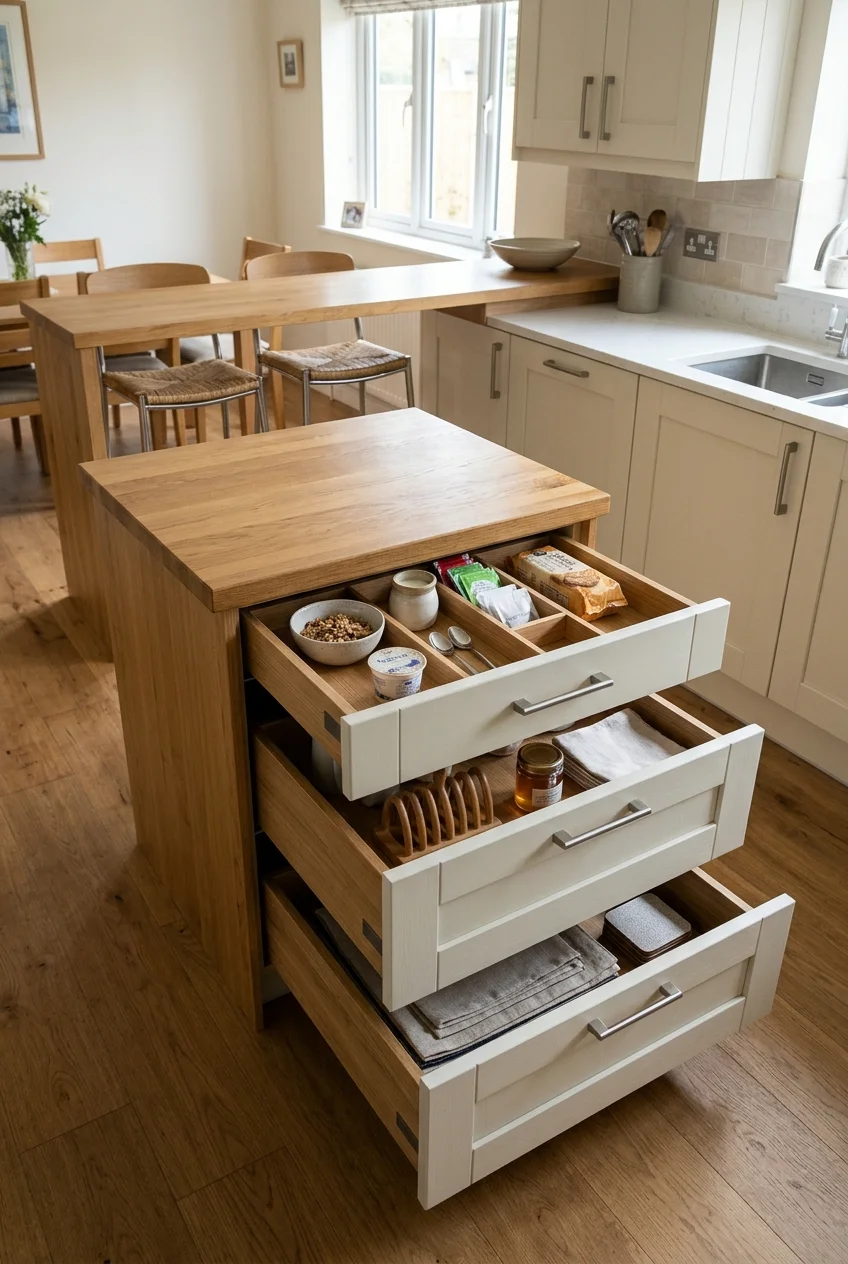
Wide drawers bring breakfast bowls, napkins, and utensils into view from above, making a compact bar easier to reset after each meal.
Face drawers toward the cook and leave the seating side plain. Confirm every drawer opens without striking stools, walls, or an opposite appliance.
- Top drawer: flatware and napkins.
- Middle drawer: bowls and small plates.
- Lower drawer: cereal containers or serving pieces.
39. Create a Breakfast Appliance Garage Nearby
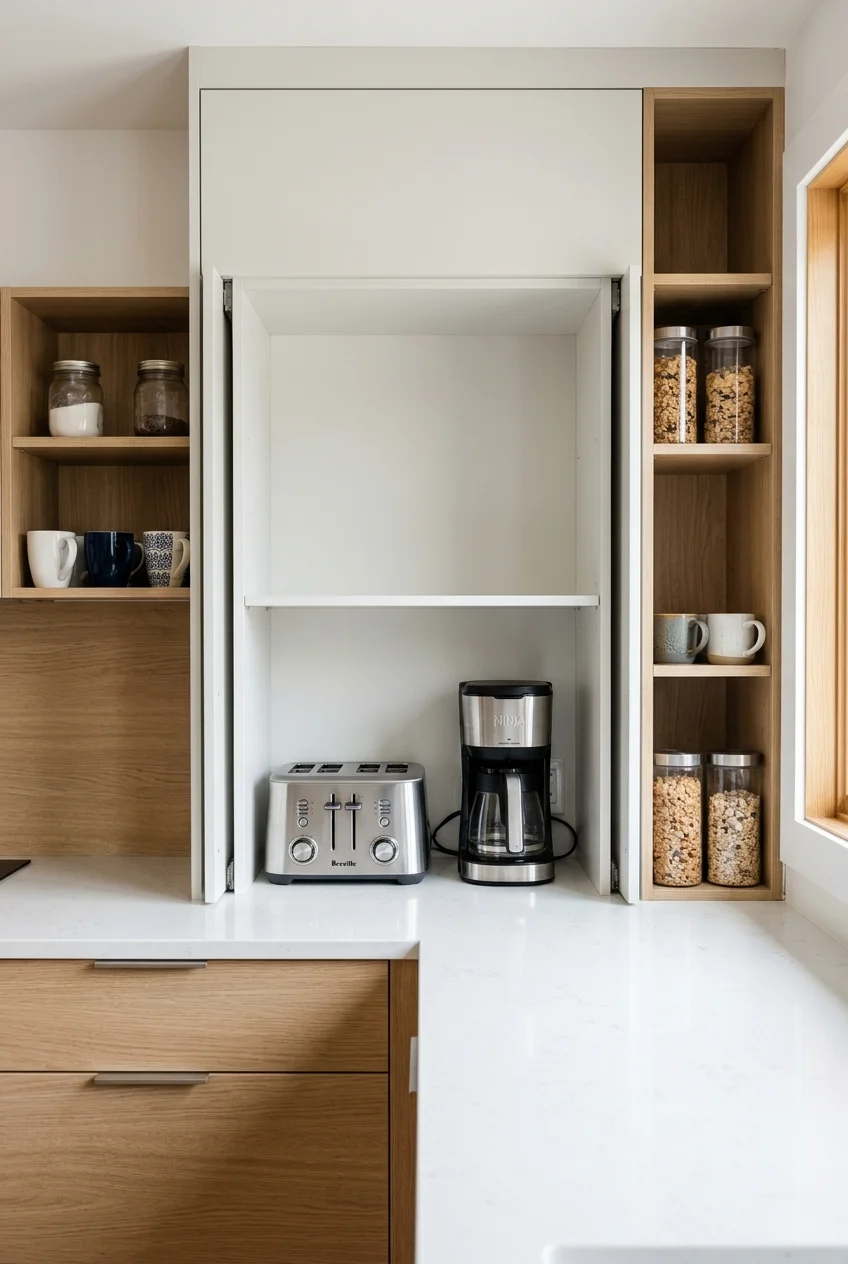
Move the toaster and coffee machine into a nearby appliance garage so the breakfast bar remains an open eating and preparation surface.
Follow each appliance’s ventilation, heat, and outlet requirements, and keep doors safely open during use. Closed cabinetry should conceal only cooled equipment.
Pocketing or lift-up doors work only when they can remain securely open without narrowing the passage or hovering over a hot appliance.
Store mugs, spoons, and cereal close to the garage, reducing trips across the work aisle. Return everything before closing the cabinet front.
40. Include an Accessible Table-Height Section
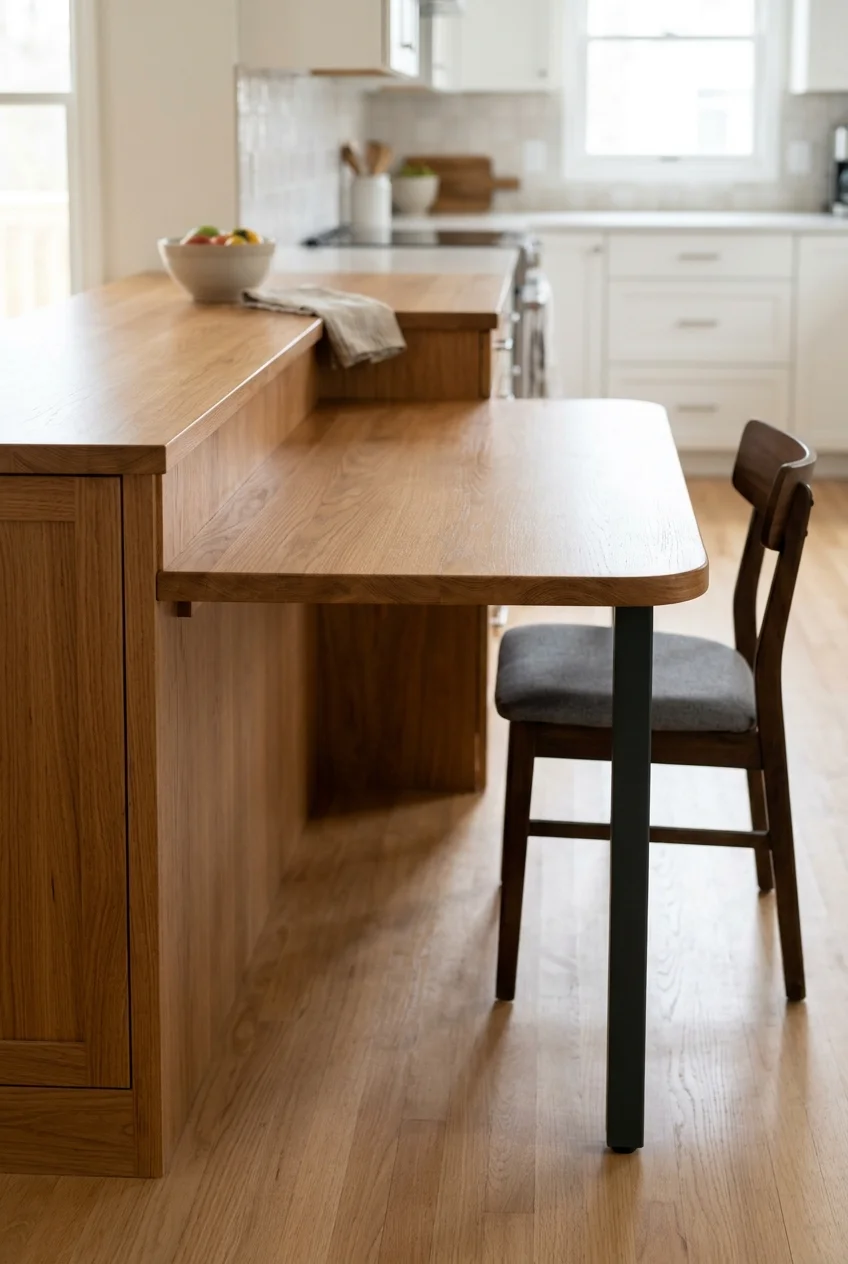
A lower section can welcome diners who prefer a standard chair or use a mobility aid. Plan it as integral seating, not an afterthought.
ADA standards for covered public facilities place accessible dining surfaces between twenty-eight and thirty-four inches high, with clear floor and knee space requirements.
Residential needs vary, so design around the intended user and consult a qualified professional where accessibility is essential. Keep supports outside the approach area.
Check knee height, toe depth, and the turning route together, because a correctly lowered top can still fail if the base blocks approach.
A standard chair should pull in without catching on braces, while the exposed edge remains easy to see and comfortable against forearms.
Planning note Test the proposed height and approach with the actual chair or mobility device before ordering cabinetry, countertops, or structural supports.
Finishes and Daily-Use Details
Once the footprint works, materials, lighting, and a few organized details can make the breakfast bar feel intentional without overwhelming a small kitchen.
41. Warm the Bar With a Butcher-Block Top
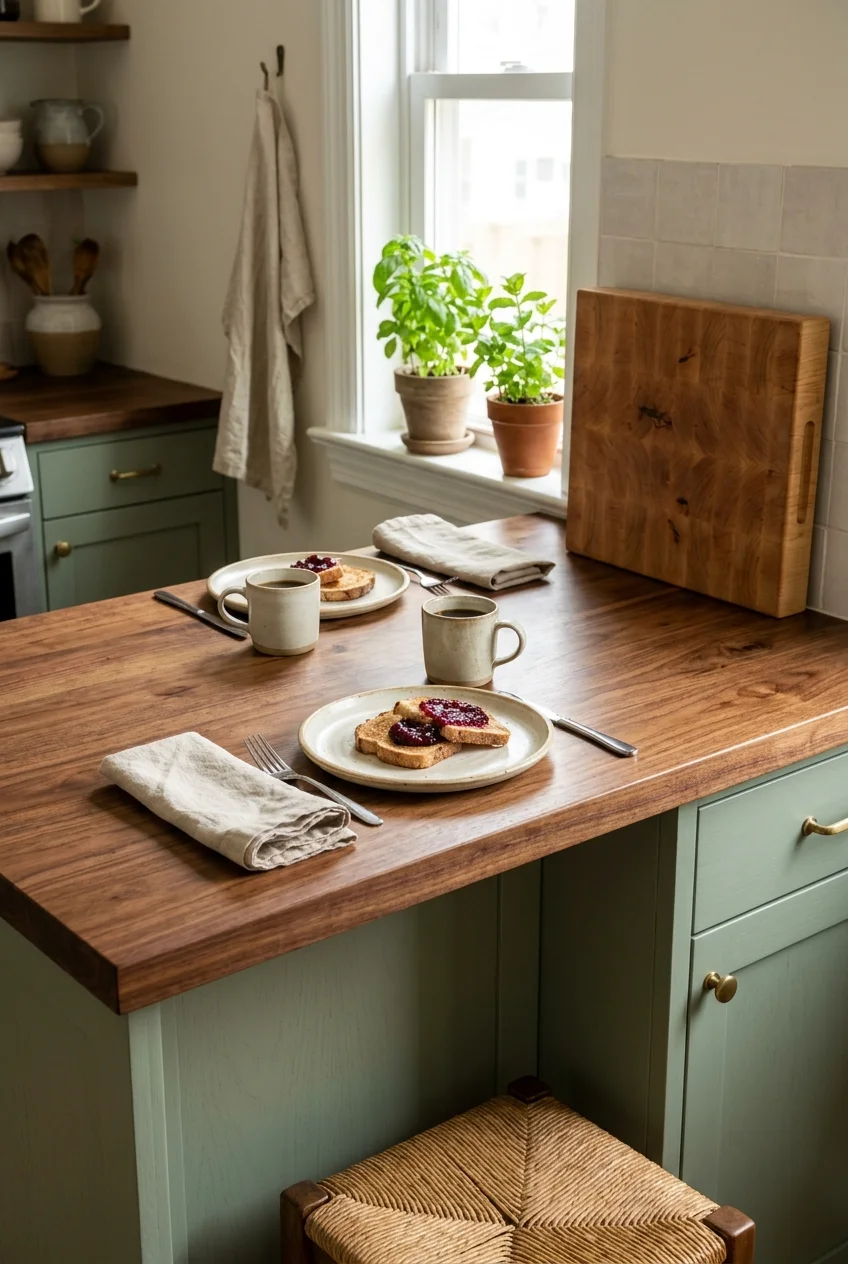
A wood top brings warmth to white, gray, or painted cabinets and can be cut into a modest custom shape for a compact bar.
Choose a finish appropriate for kitchen use and maintain it as directed. Use cutting boards rather than treating the dining surface as a chopping block.
42. Use a Stone Remnant for a Petite Bar
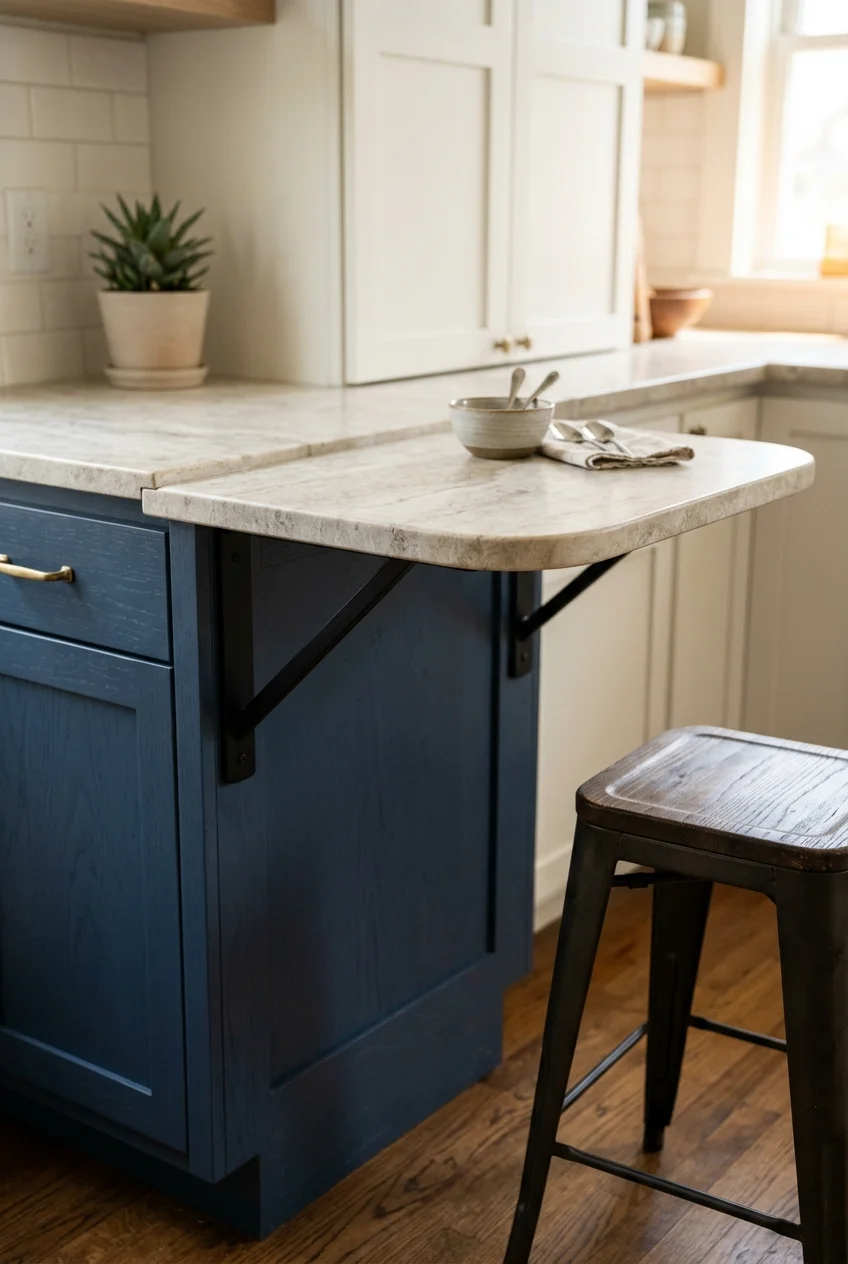
A small remnant may suit a short ledge or one-seat peninsula, reducing the need to purchase a full slab for a limited surface.
Let the fabricator evaluate material condition, seams, edge profile, and required supports. Remnant availability changes, so design flexibility helps more than a specific color.
A simple eased edge keeps the piece visually light and easier to navigate. Avoid elaborate profiles that reduce knee clearance or collect crumbs.
43. Paint the Bar Base to Match Lower Cabinets
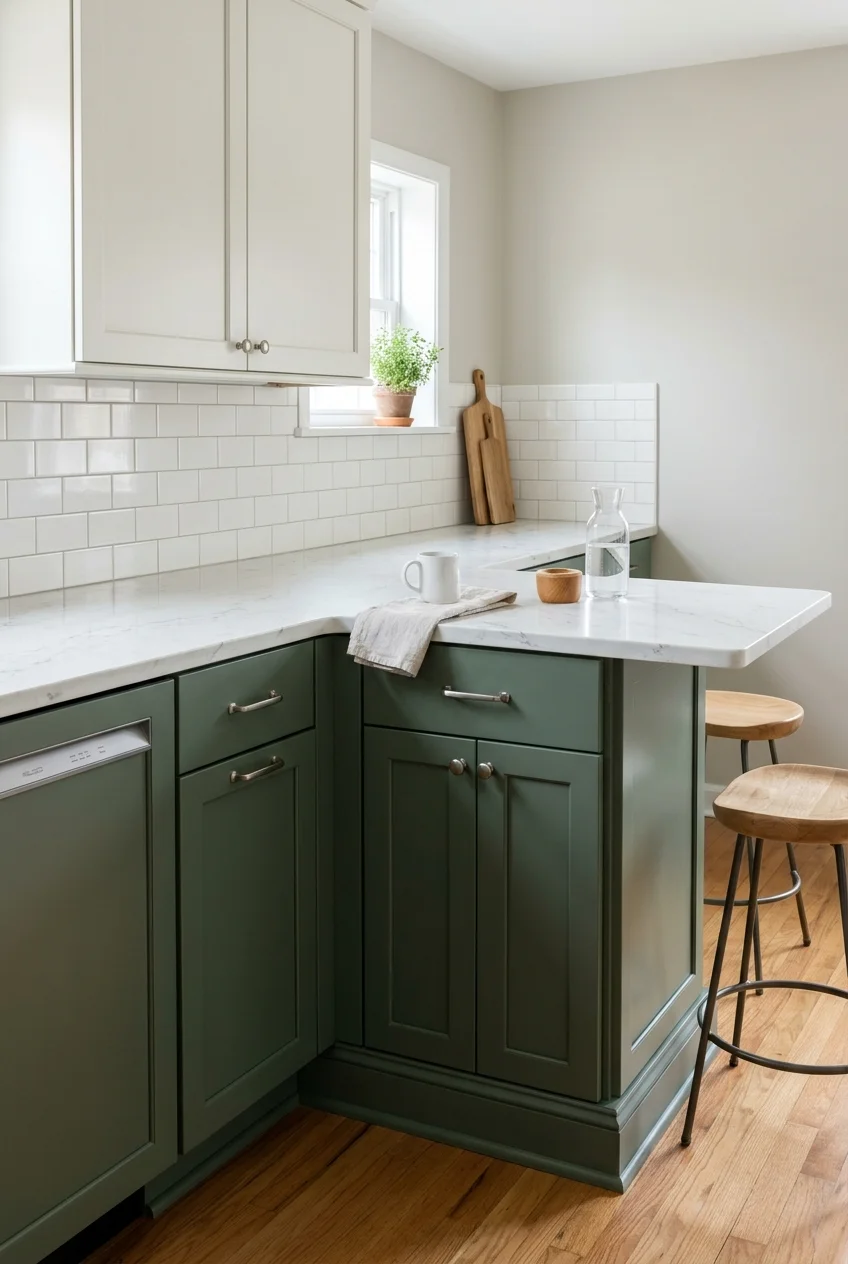
Matching the breakfast bar base to lower cabinets creates one continuous visual line, helping an added piece feel integrated rather than crowded.
Repeat the existing sheen and hardware family, but compare samples in the room first. Older cabinet finishes may have shifted from their original color.
44. Contrast the Bar With One Deliberate Color
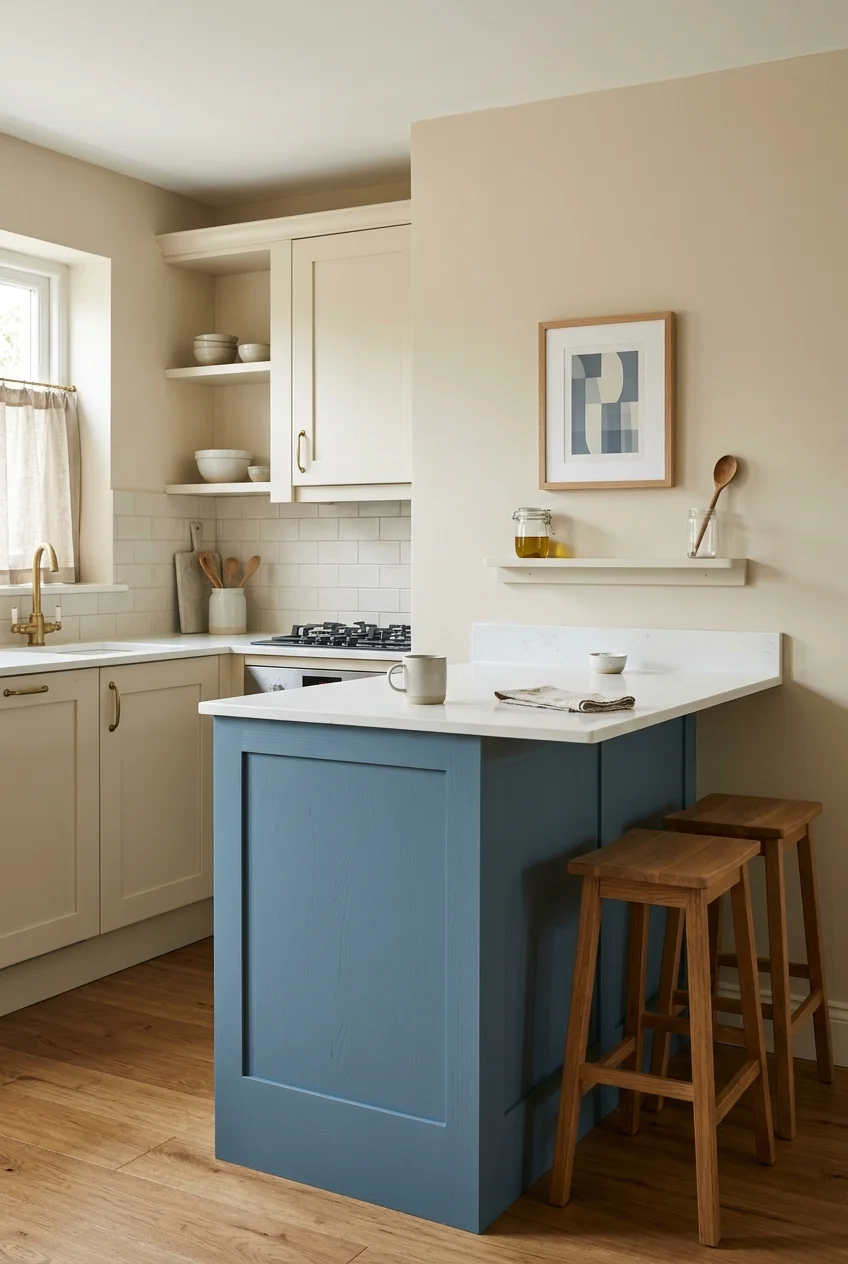
A compact bar can carry one stronger color while perimeter cabinets stay quiet. This gives the small piece a purposeful furniture-like identity.
Repeat the color once in a modest object, such as artwork or a tea towel, rather than filling the room with matching accessories.
45. Add Fluted Wood Only on the Outer Face
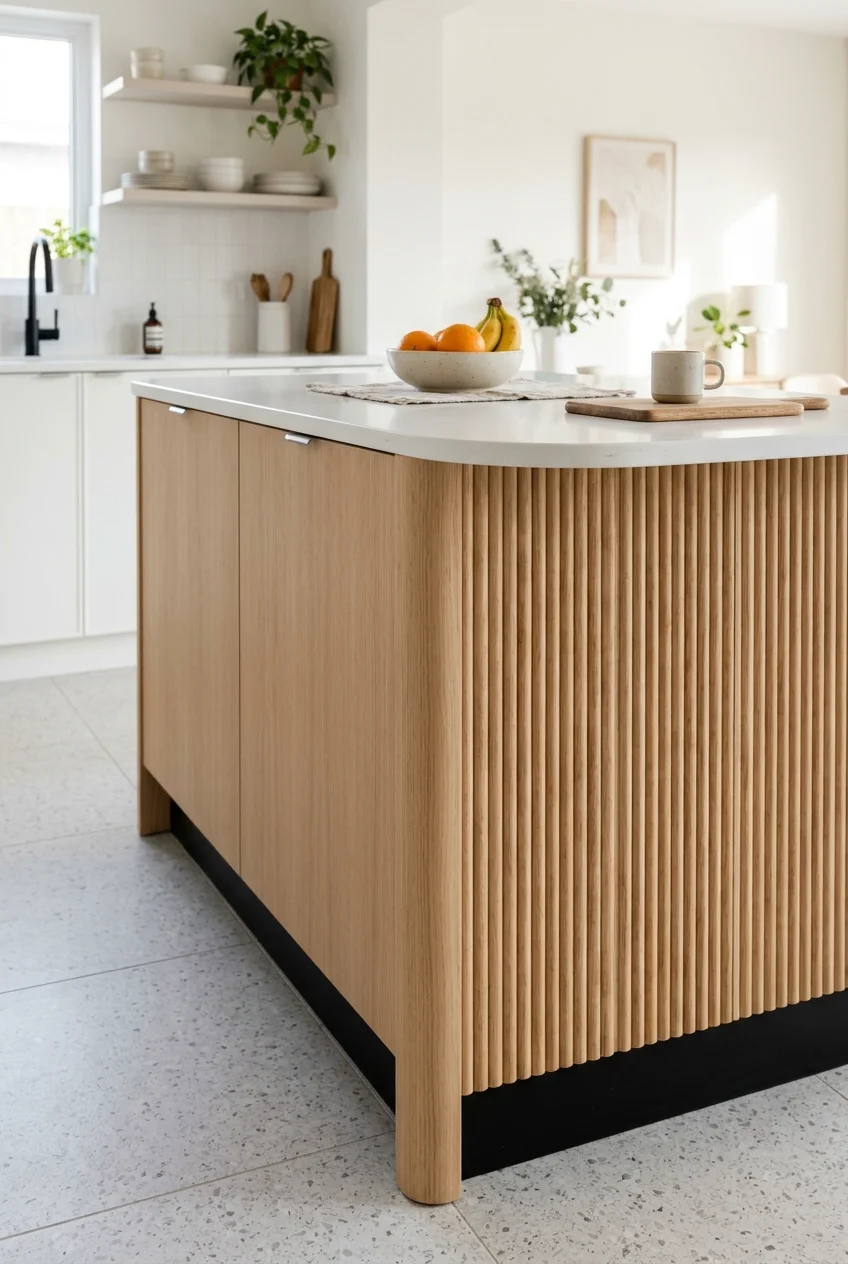
Vertical fluting gives a compact bar texture without enlarging its footprint. Limit it to the room-facing panel so working doors remain smooth.
Use a wipeable finish and stop the fluting before exposed corners where narrow grooves could chip. A plain toe kick keeps cleaning straightforward.
46. Tile One Bar Face for a Durable Accent
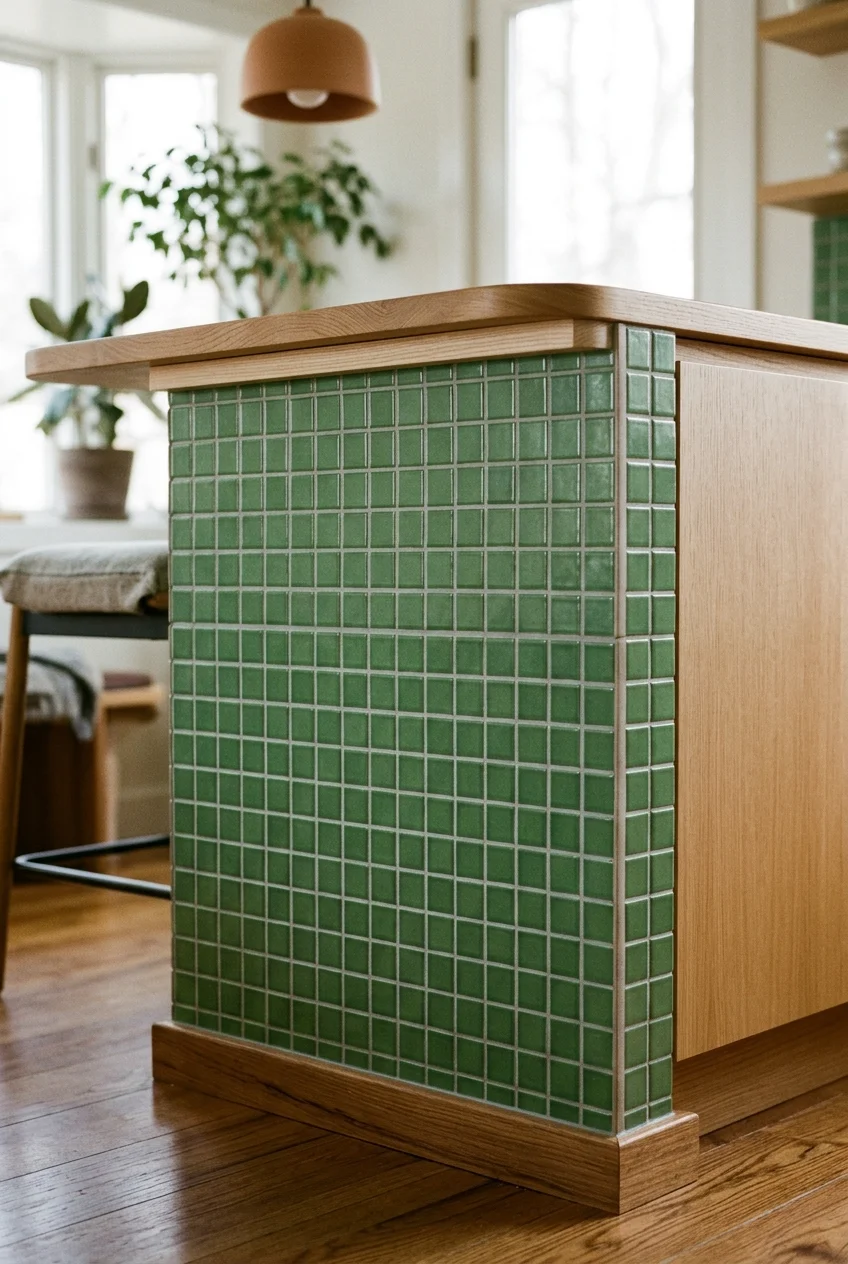
Tile can protect the most visible outer panel from shoes while introducing pattern or color. Choose a scale that fits the short surface neatly.
Plan full courses, consistent joints, and finished exposed edges before installation. Use grout suited to kitchen cleaning and protect adjacent cabinetry.
Visual restraint Tile one face or end, not every surface, so the compact bar remains visually light and easy to maintain each day.
47. Hang One Small Pendant Over a One-Seat Bar
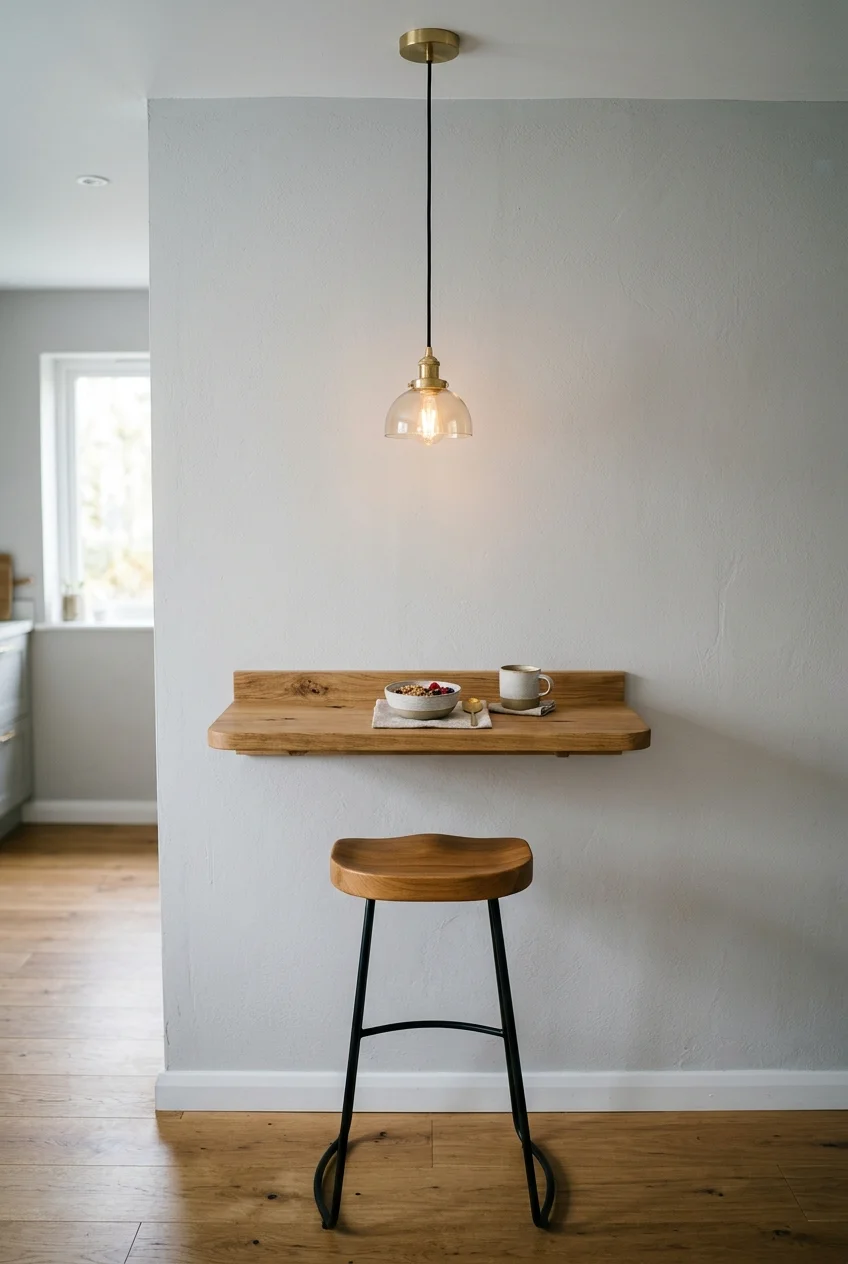
One pendant can define a tiny breakfast perch without crowding the ceiling. Center it over the surface rather than the surrounding floor area.
Choose a fixture scaled to the bar and position it where heads will not meet it. Have electrical changes completed by a qualified professional.
48. Use Under-Shelf Light for a Wall Bar
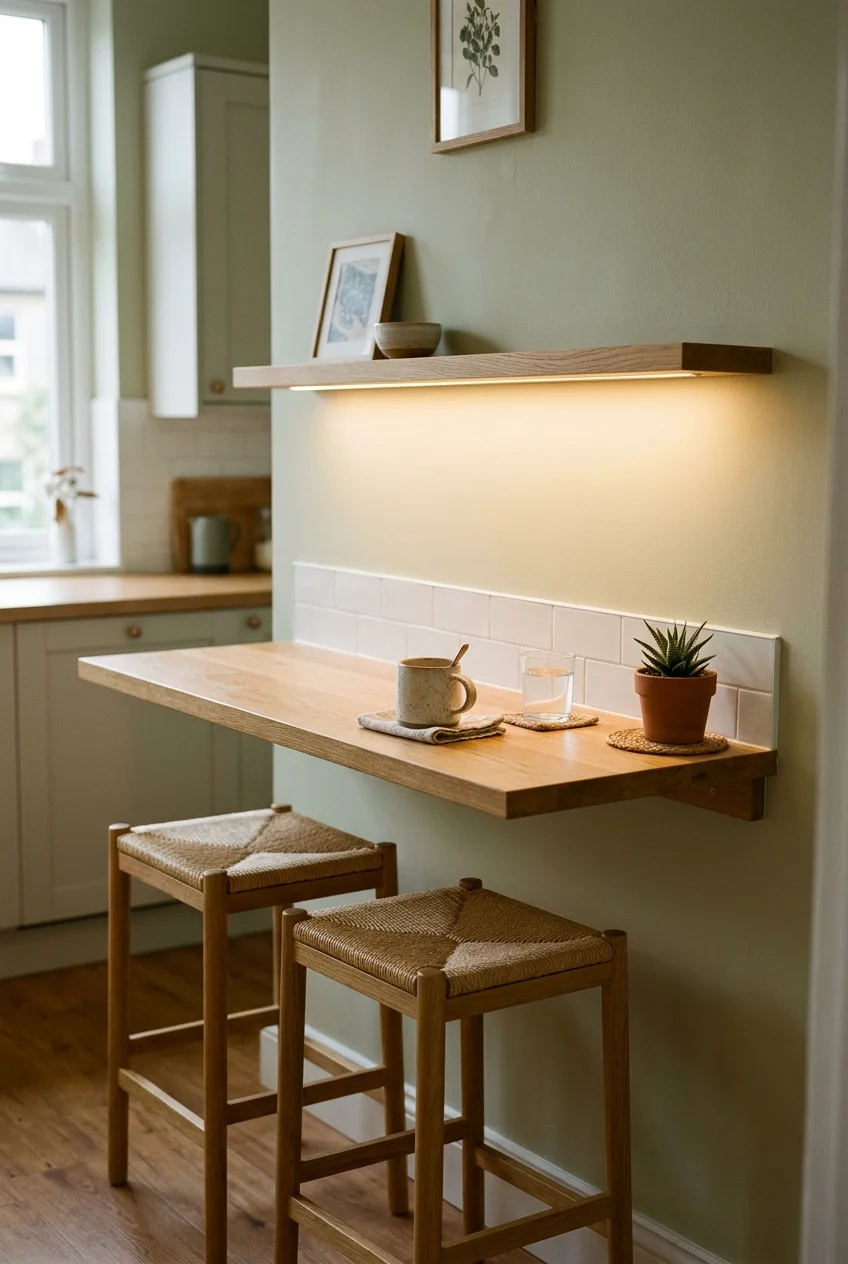
A shallow shelf above a wall bar can carry concealed task lighting, making the ledge useful on dark mornings without adding countertop clutter.
Choose an approved kitchen-suitable fixture, hide wiring properly, and prevent glare at seated eye level. Electrical installation should follow manufacturer instructions and local requirements.
Keep the shelf shallower than the bar so diners do not bump it. A matte underside diffuses reflected light more gently than a glossy finish.
49. Add a Short Peg Rail for Breakfast Essentials
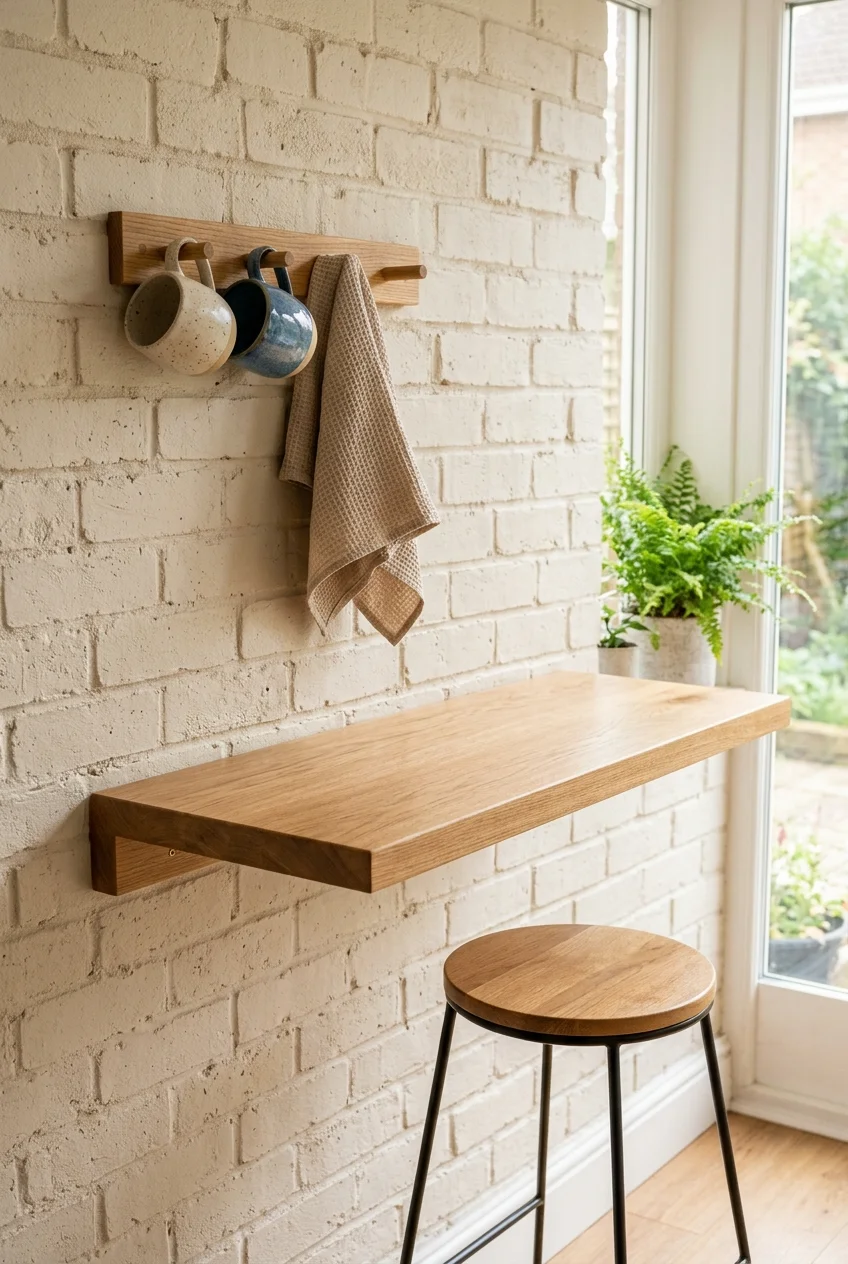
A short peg rail above the bar can hold two mugs, a small tray, or a folded cloth while keeping the eating surface open.
Mount it beyond head height and away from the range. Limit hanging items so they do not swing into faces or collect cooking grease.
50. Finish With a Clear-Surface Breakfast Drawer
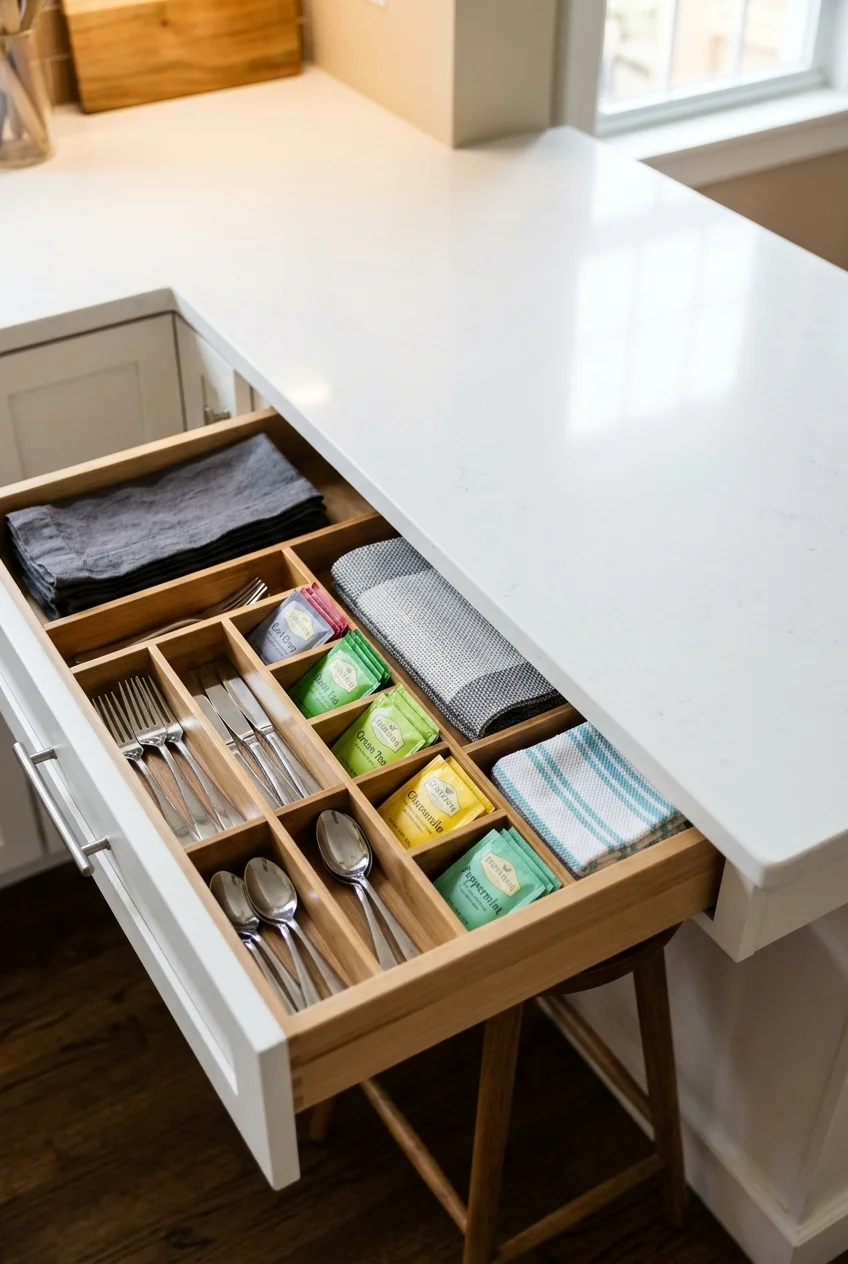
Dedicate one nearby drawer to napkins, flatware, tea, and everyday breakfast tools, allowing the small bar to stay open between meals.
Use dividers shaped around actual contents and remove duplicates that migrate there. The drawer should support the bar, not become another miscellaneous catchall.
- Daily flatware and washable napkins.
- Tea bags, coffee filters, or sweeteners.
- Small trivets and wipeable placemats.
- A crumb brush or compact cleaning cloth.
Resetting takes seconds when every item has a shallow, visible home. The uncluttered top then works for breakfast, preparation, or a laptop.
Frequently Asked Questions
How much space should I allow for each breakfast bar seat?
NKBA guidance recommends twenty-four inches of width per diner, with knee depth based on surface height. Wider places may feel better for larger stools.
How much clearance is needed behind breakfast bar stools?
NKBA planning guidance starts at thirty-two inches where nobody passes behind a seated diner, increasing when people must edge or walk past.
Measure from the counter edge, not the tucked stool. Appliance doors, room doors, and household accessibility needs may require substantially more space.
Is counter height or bar height better in a small kitchen?
Counter height usually creates one continuous preparation and dining surface, while bar height can screen clutter but adds a visually heavier second tier.
Can renters create a breakfast bar without drilling?
Yes. A slim freestanding bar table, gateleg table, or stable console can provide seating without altering cabinetry, provided the occupied footprint fits safely.
When should I skip a breakfast bar entirely?
Skip it when stools block the main route, appliance doors collide, or knee space is inadequate. A folding table or separate nook may work better.