40 Kitchen Cabinet Makeover Ideas That Work

This post may contain affiliate links: full affiliate disclosure.
Cabinets dominate the kitchen, so a thoughtful cabinet makeover can change the whole room without replacing every box. The best approach depends less on a trending color than on what is actually sound: the cabinet frames, door style, finish, hinges, layout, and storage inside.
These kitchen cabinet makeover ideas range from low-disruption hardware and lighting updates to refacing, selective replacement, and full finish changes. Each option includes the practical tradeoff that matters most, so you can choose a change that fits the cabinets you already have.
Make the Most of Existing Wood Cabinets
Good wood cabinets do not always need paint. Cleaning, correcting the finish, and changing the surrounding details can make dated grain look deliberate again.
1. Refresh Honey Oak Instead of Hiding It
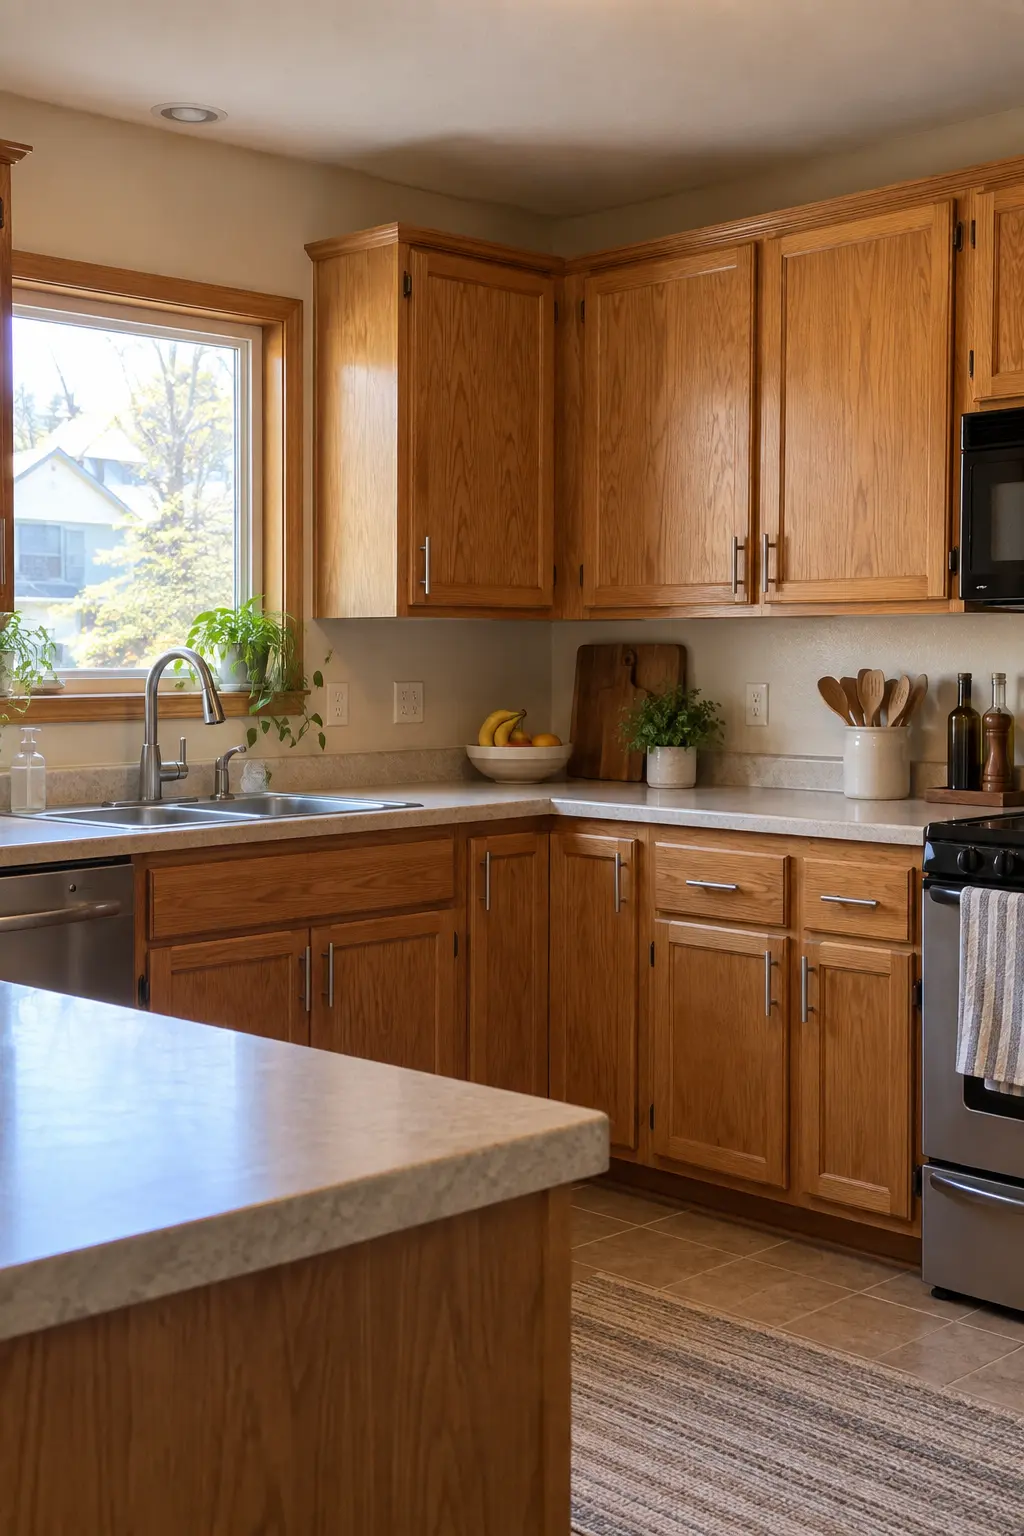
Honey oak can look current when the orange cast is balanced rather than covered. A careful cleaning and a compatible low-sheen finish keep the grain visible, while restrained metal hardware removes some of the 1990s builder-grade feel.
This works best when the doors are solid and the wood is evenly matched. Test any cleaning or refinishing product inside a door first; old coatings do not all react the same way.
2. Darken Worn Wood with a Richer Stain
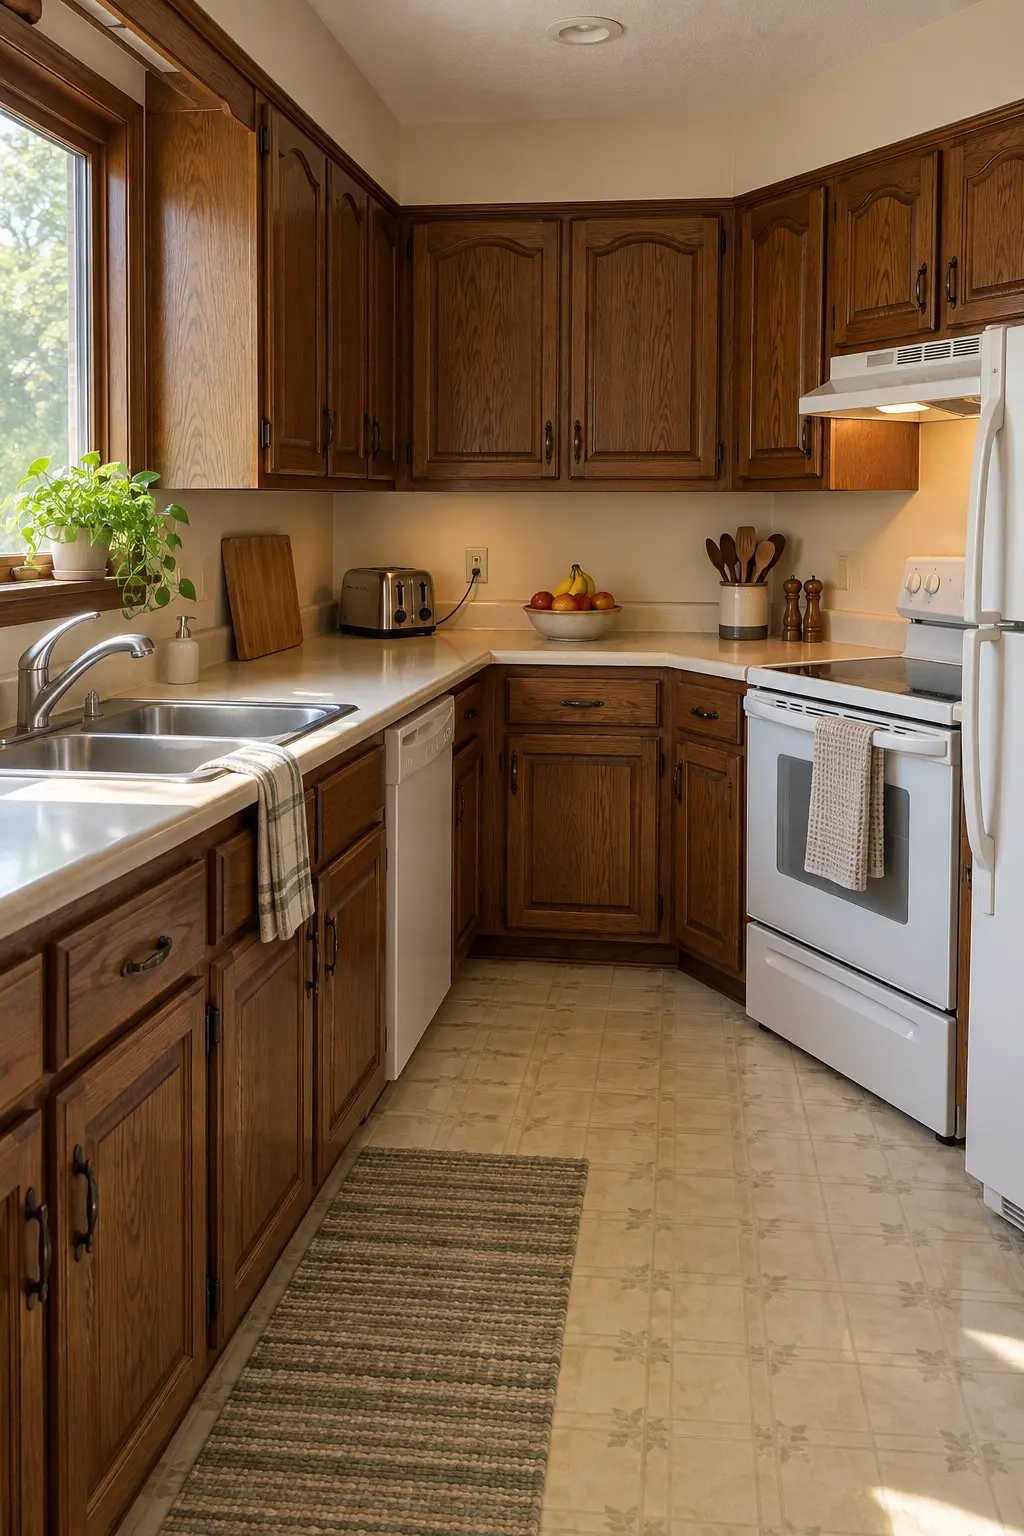
A medium walnut or muted brown stain can disguise uneven fading while preserving real wood grain. It is a better candidate for sound wood doors than for laminate, thermofoil, or badly patched surfaces.
Because stain reveals rather than conceals, prep quality matters. Sample the color on the back of a door and compare it beside the floor in both daylight and evening light.
3. Remove a Heavy Gloss from Dark Cabinets
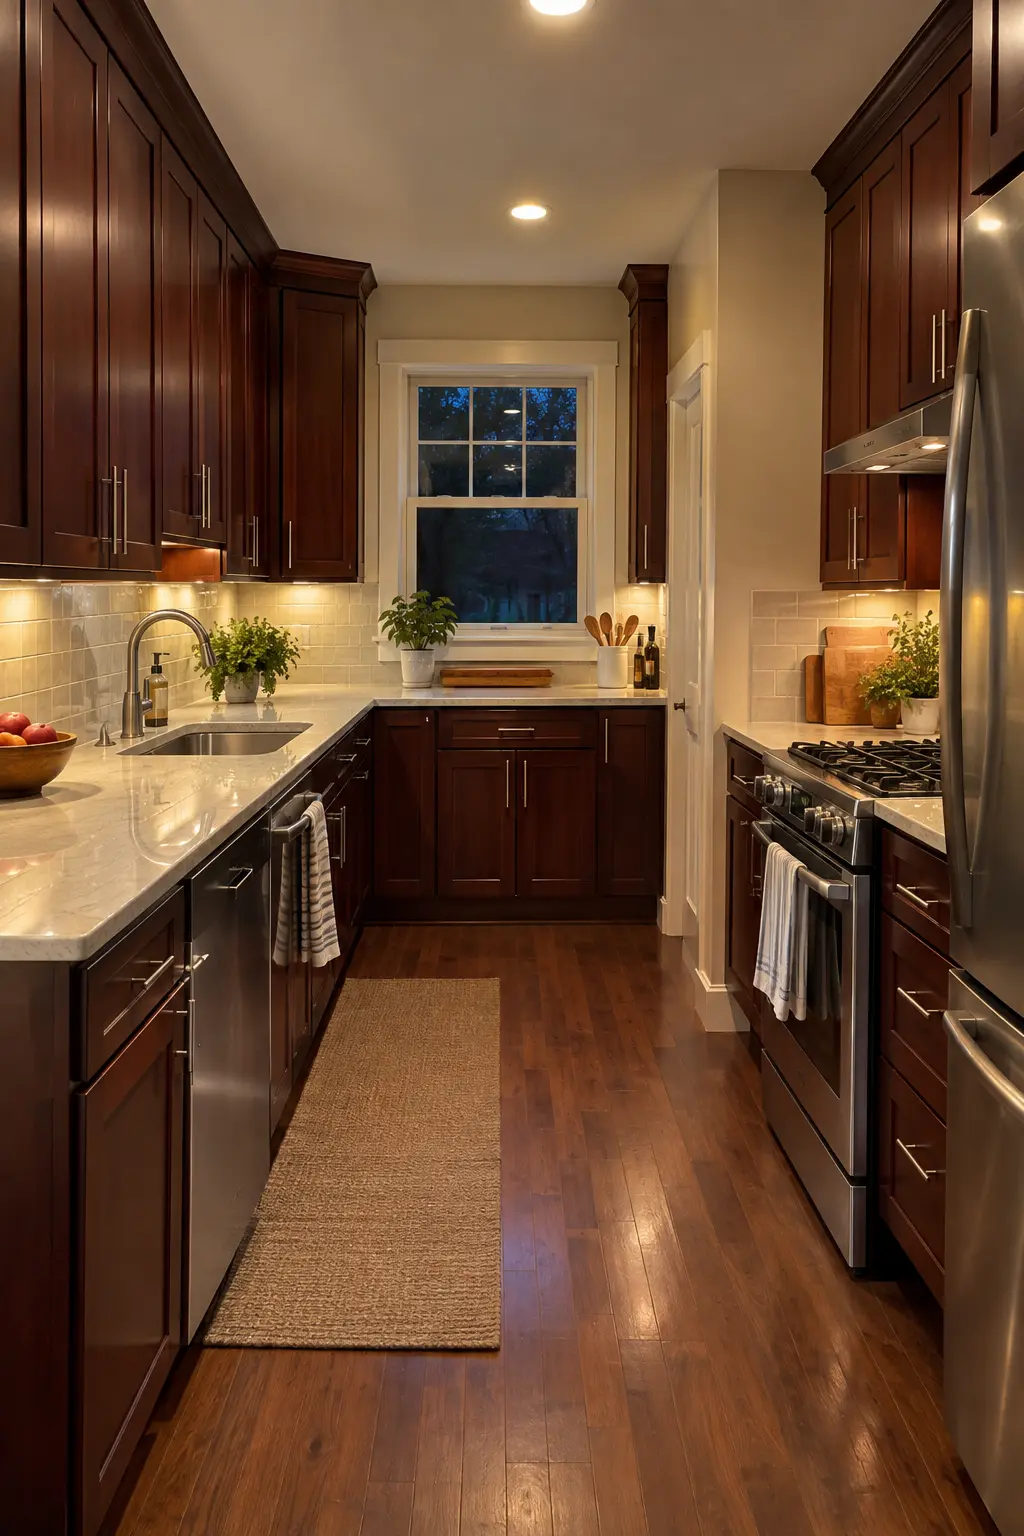
Sometimes the dated feature is the shine, not the color. Moving from a mirror-like topcoat to a soft satin appearance can calm dark cherry or espresso cabinetry and reduce glare from overhead lights.
Do not apply a new topcoat blindly over an unknown finish. Identify the existing coating and follow a compatible preparation system so the surface does not peel or turn cloudy.
4. Let Wood Cabinets Lead a Warmer Palette
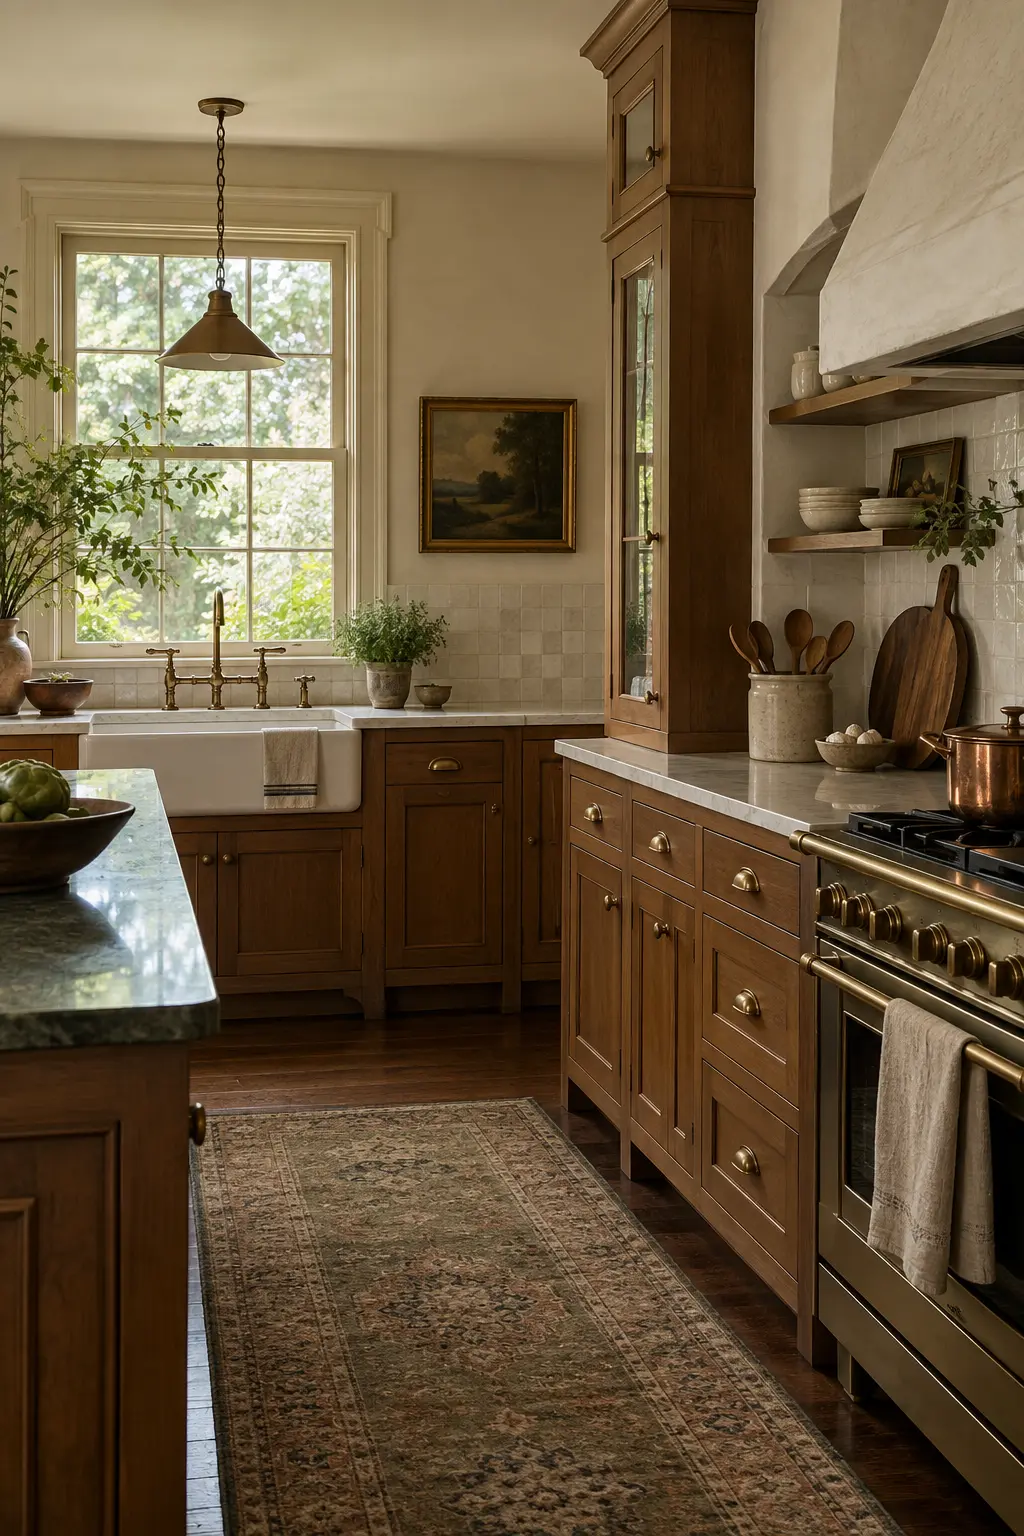
Instead of fighting warm wood, repeat one of its quieter brown tones in the room. Creamy walls, softly varied tile, and aged-bronze hardware make the cabinetry read as part of a layered palette rather than an isolated orange block.
5. Keep the Wood and Replace the Busy Backsplash
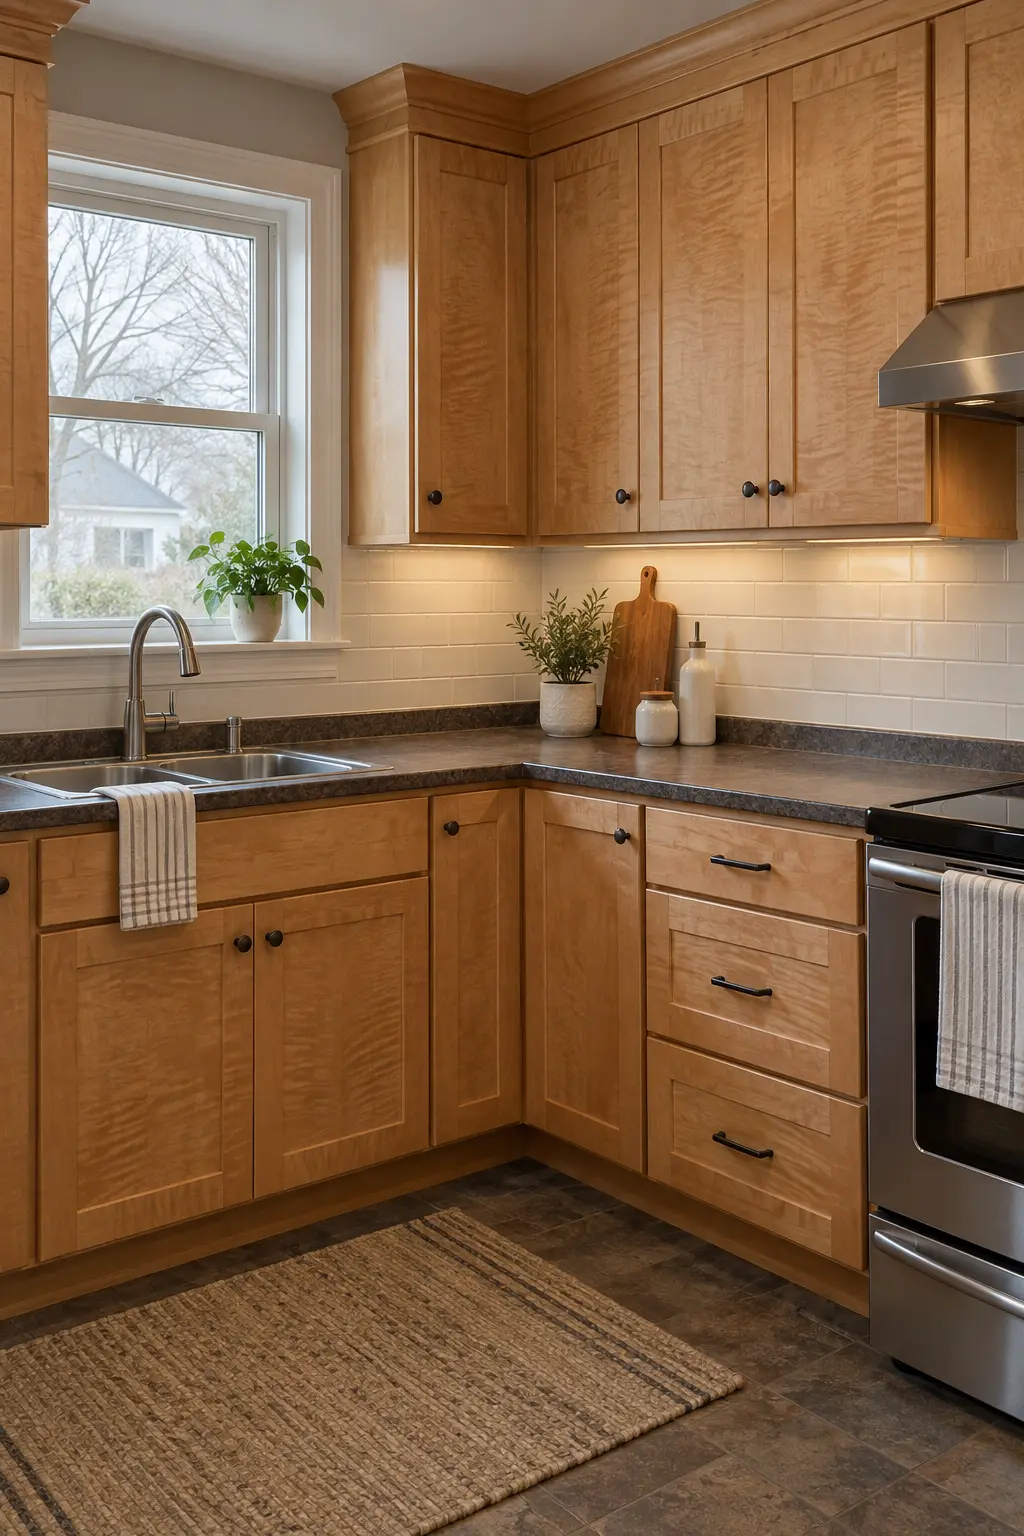
Busy mosaic tile can make figured wood cabinets feel more dated than they are. A quieter backsplash with fewer colors gives the grain space to register and can be a more sensible investment than refinishing every door.
Carry samples home. The backsplash should relate to the countertop first; forcing it to match the cabinet stain can make the room look overly coordinated.
6. Mix Painted Uppers with Wood Base Cabinets
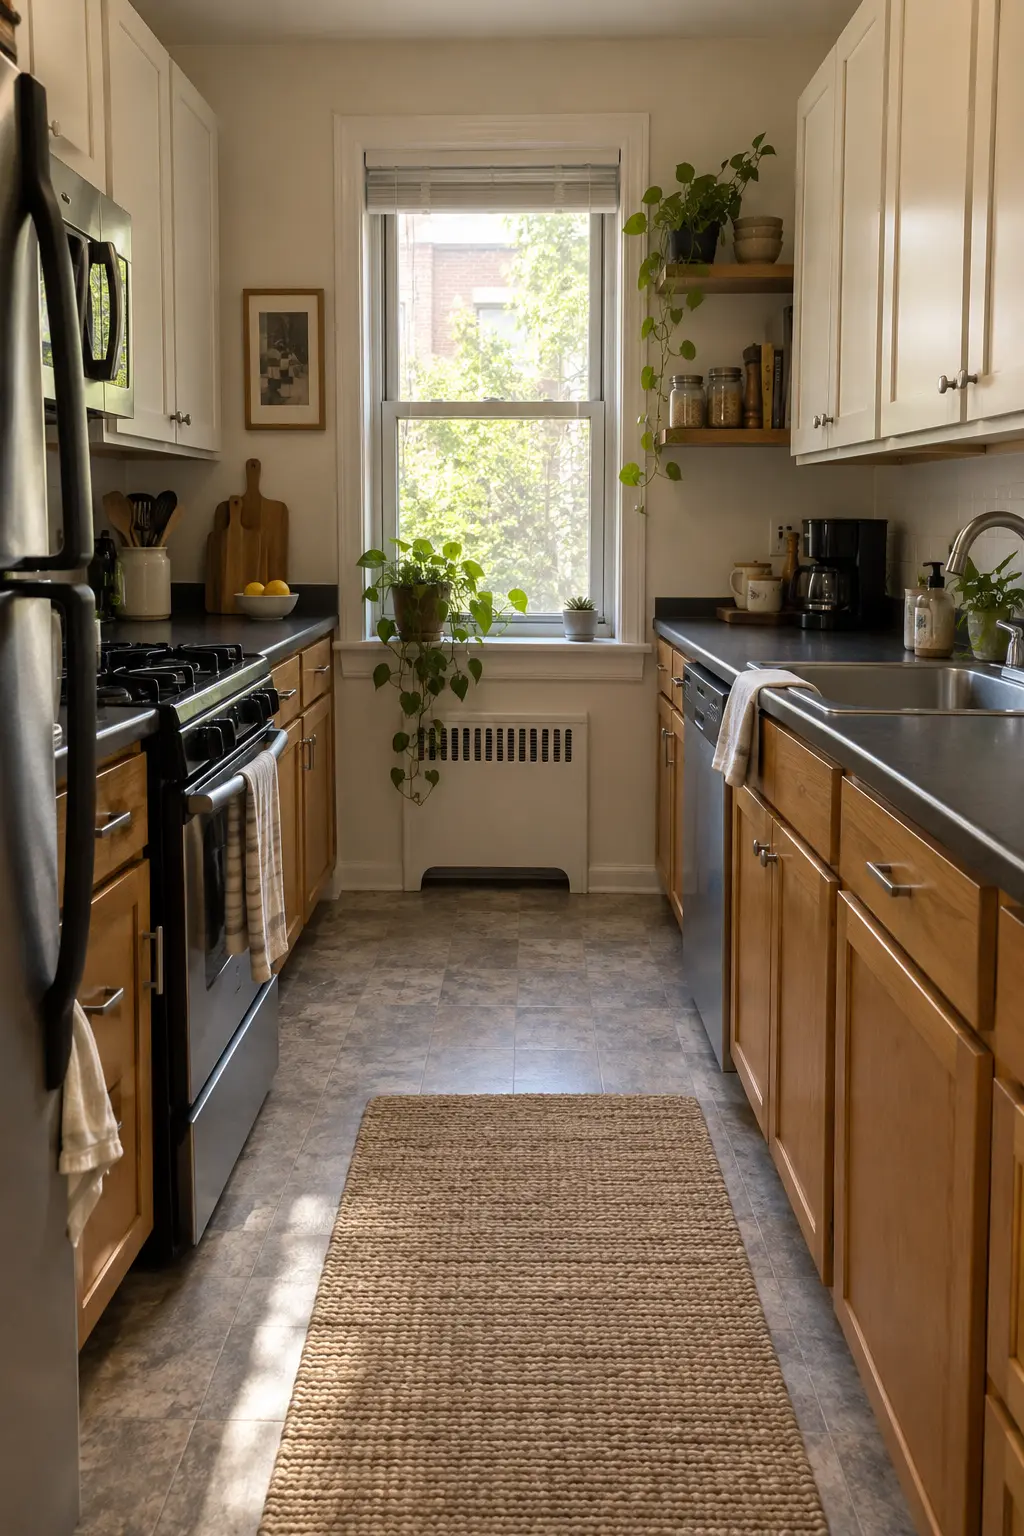
Keeping wood below and painting only the upper cabinets preserves character while reducing visual weight at eye level. It is especially effective in a narrow kitchen where a full wall of medium-toned wood feels enclosing.
The split should look intentional, so repeat both finishes elsewhere—perhaps wood stools and a painted pantry door—instead of treating the uppers as an isolated fix.
Paint and Finish Changes with Real Impact
Paint is flexible, but it is not a shortcut. Degreasing, labeling doors, surface preparation, compatible primer, and enough cure time determine whether a cabinet finish lasts.
7. Use Warm White Without Erasing Every Detail
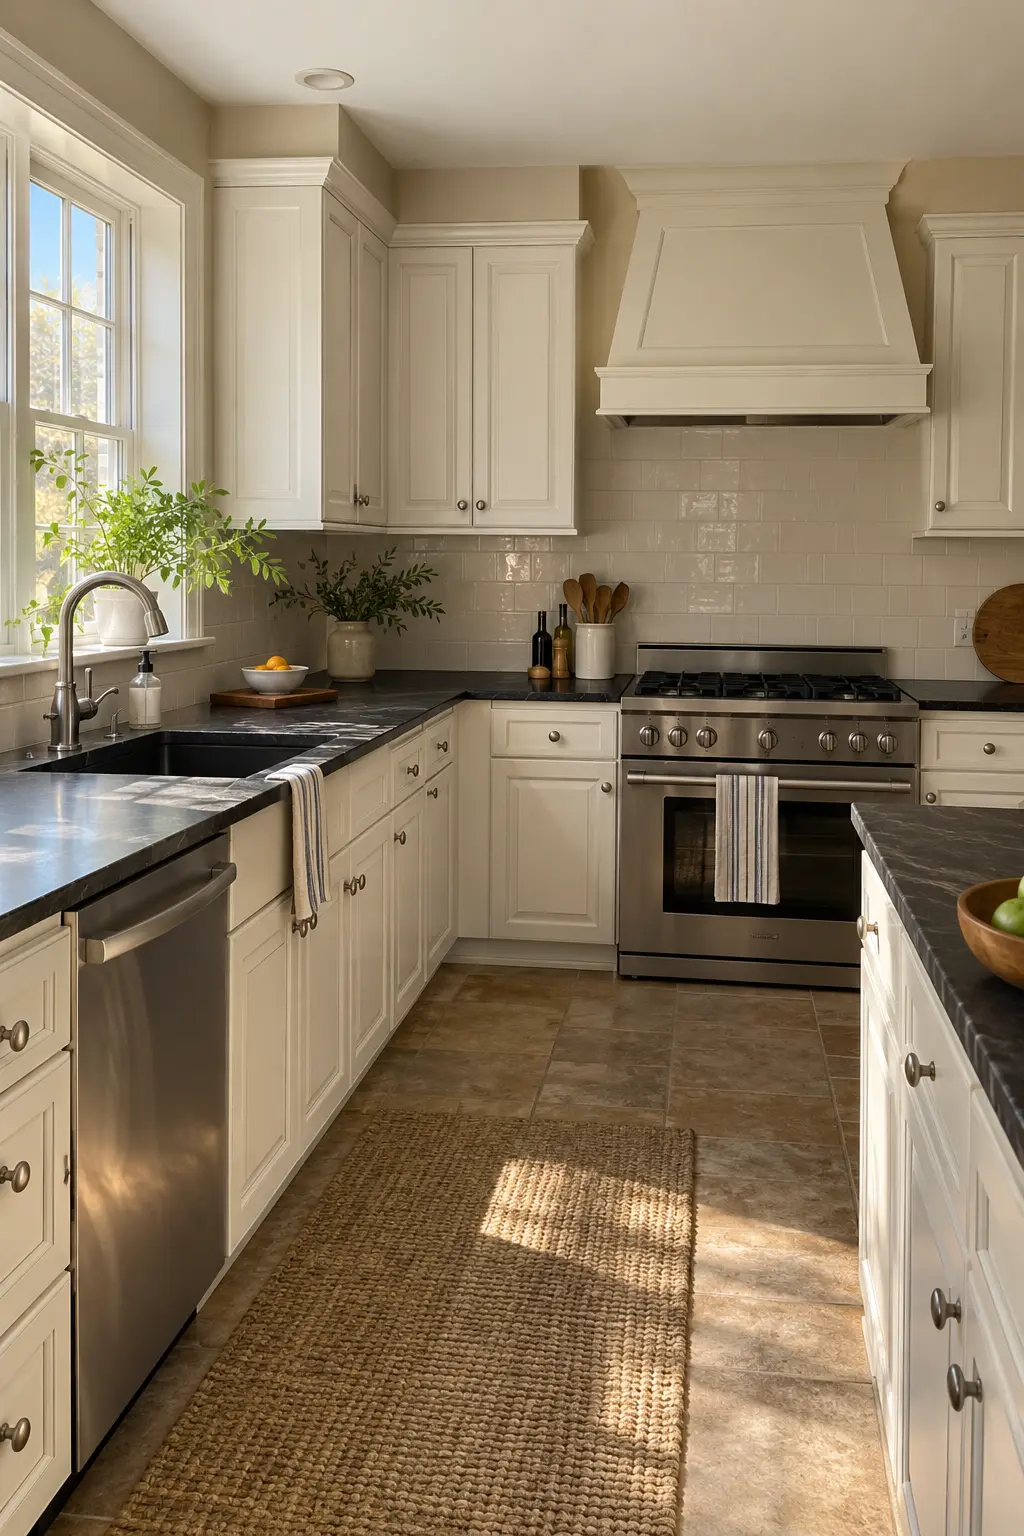
Warm white can brighten a kitchen while keeping raised-panel doors appropriate to a traditional home. A slight contrast with the wall color prevents the cabinets from disappearing into one flat white box.
Grease and residue are adhesion problems, not cosmetic ones. Clean thoroughly and use the coating manufacturer's full prep and cure instructions before the doors return to daily use.
8. Paint Only the Lower Cabinets a Deep Blue
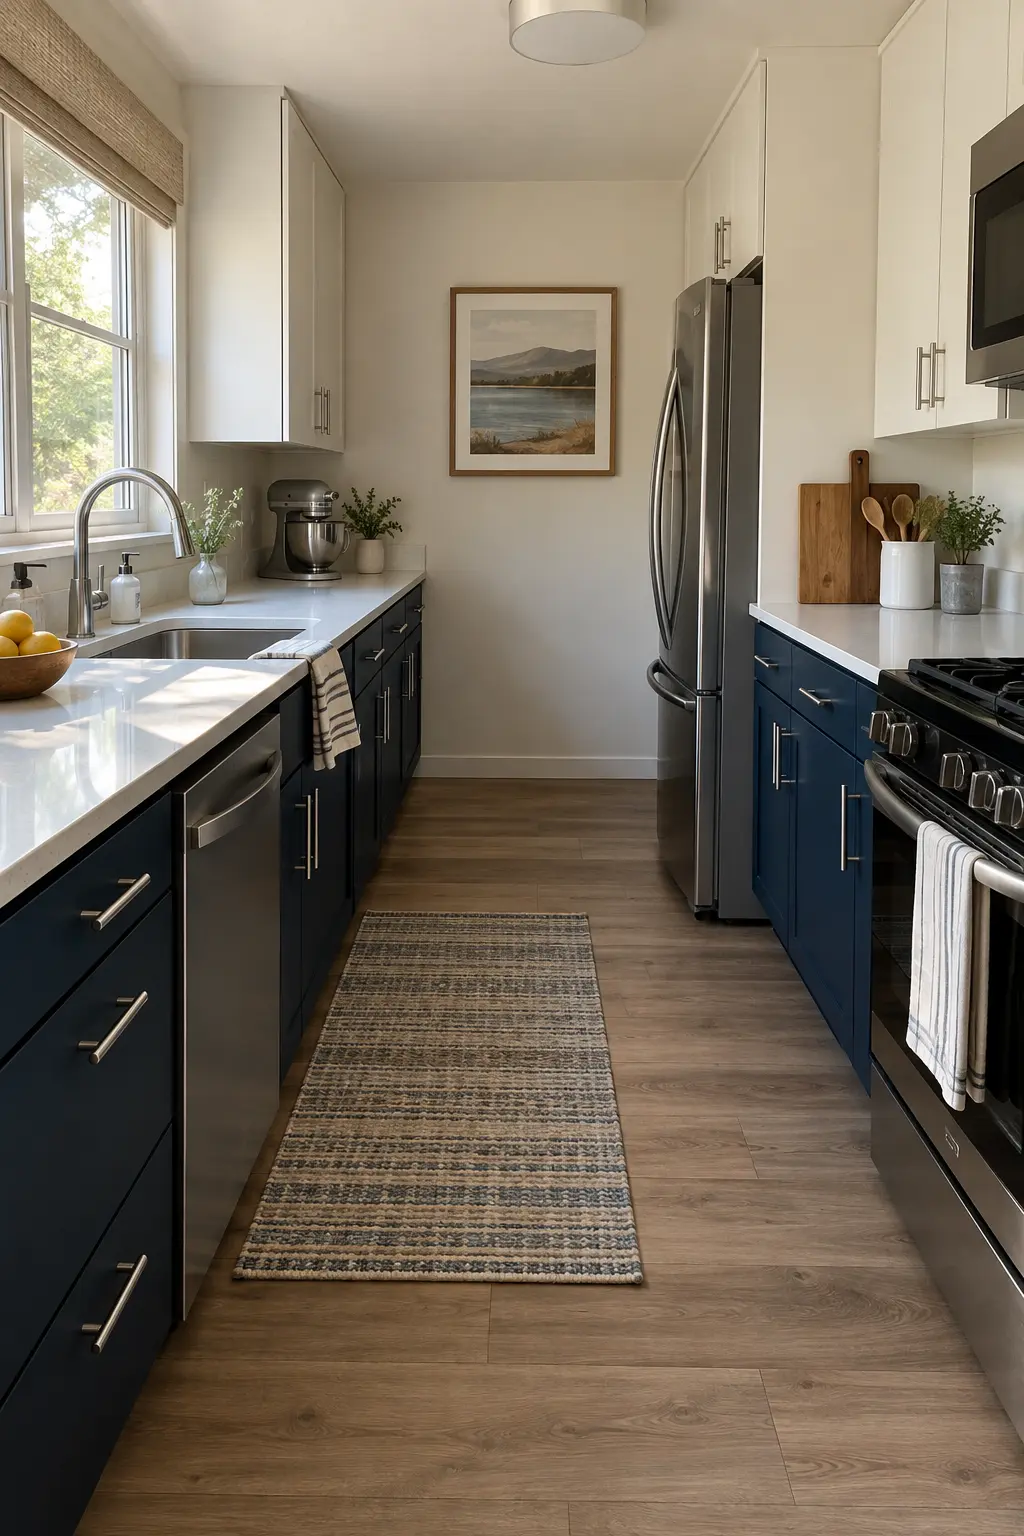
A dark blue base grounds a small kitchen while pale uppers keep the sightline open. This two-tone approach also hides scuffs around lower doors better than a very light finish.
Check the blue beside the flooring before committing. Cool navy against warm red-toned wood can create a clash that a small paint chip will not reveal.
9. Try Muted Green on a Builder-Grade Kitchen
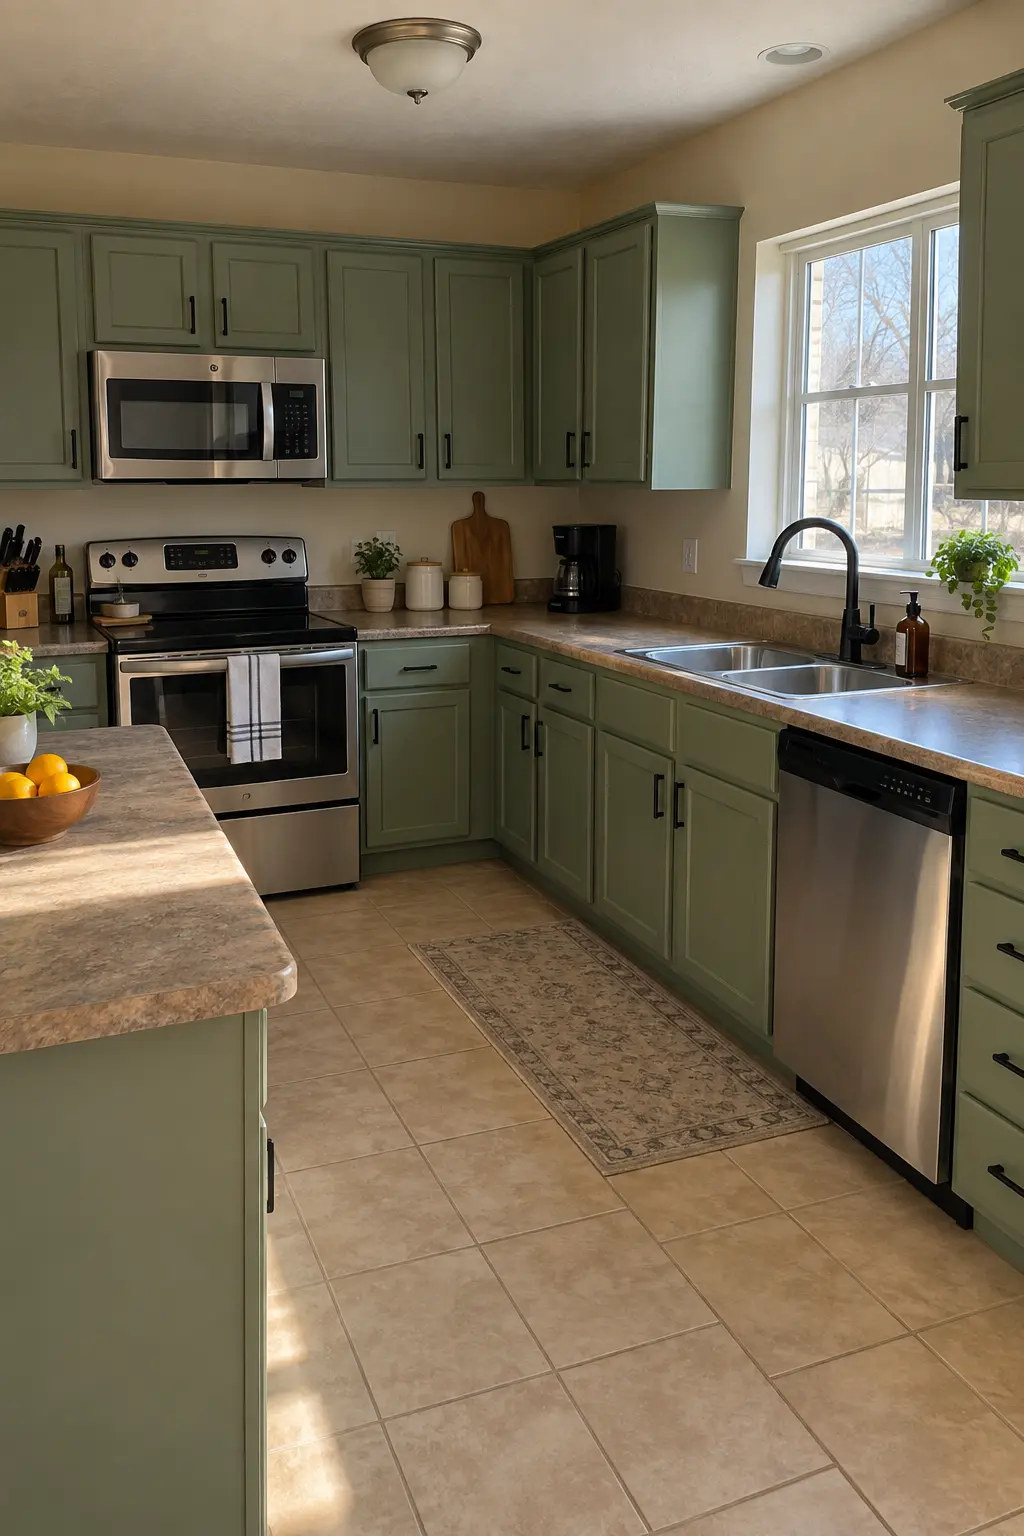
Muted sage gives plain builder-grade doors identity without demanding a full style change. Black, nickel, or aged-brass hardware can all work; choose the finish that already relates to the faucet and lighting.
Green shifts dramatically with light. View a large sample on more than one cabinet face before ordering paint.
10. Create a Moody Pantry Wall
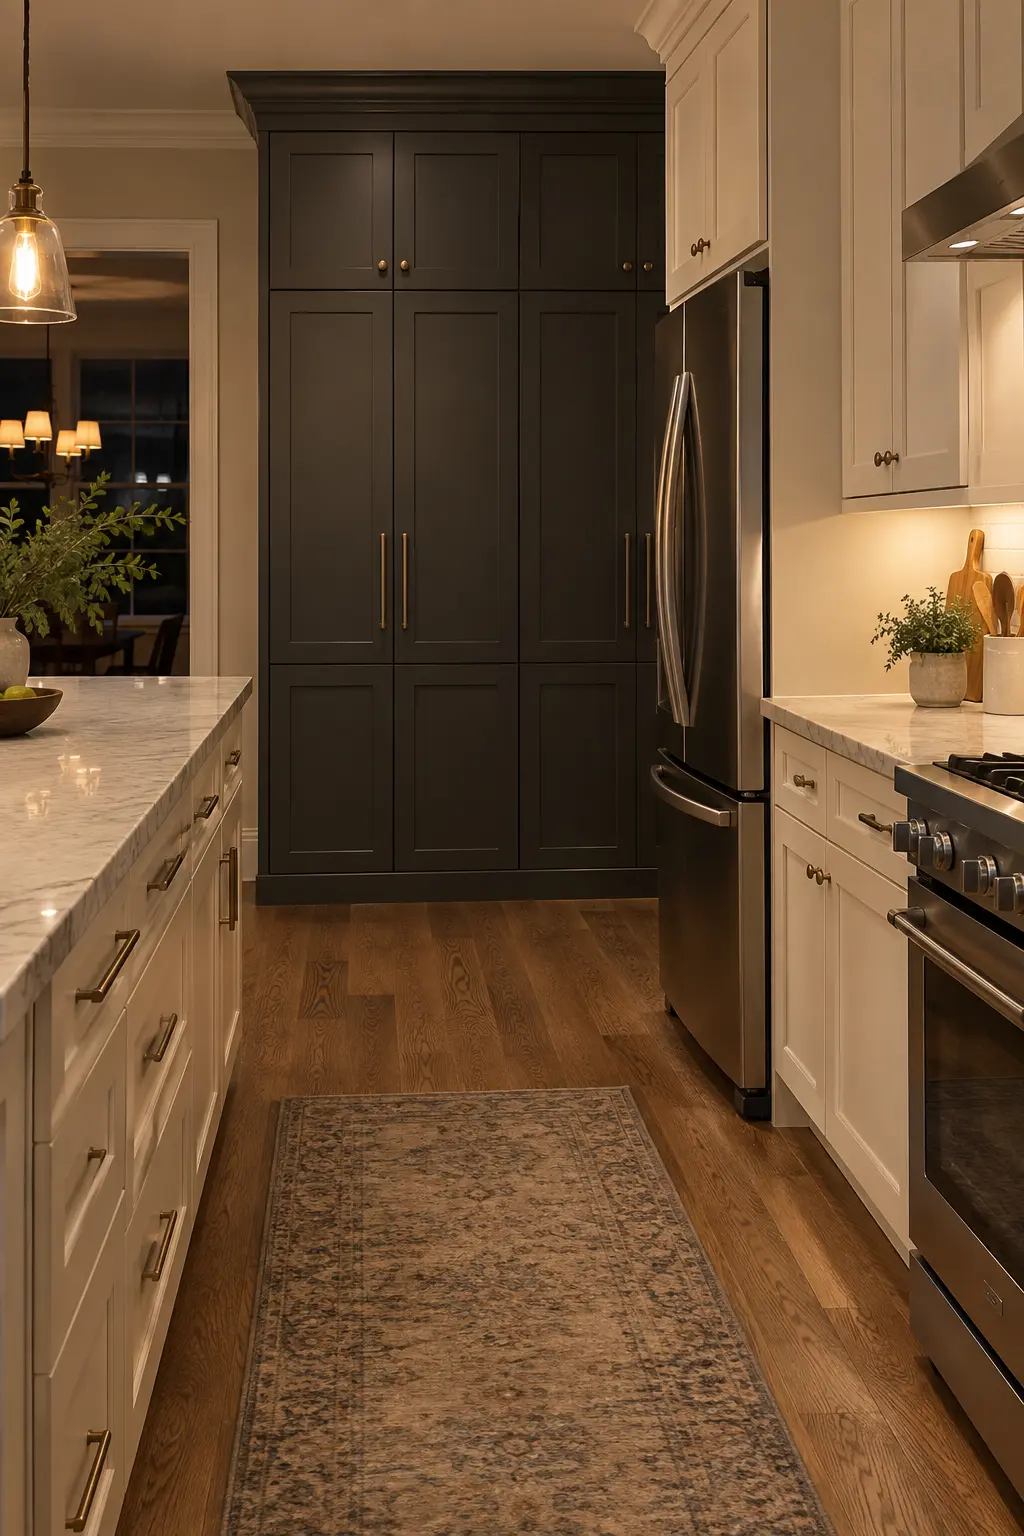
A tall pantry bank is a natural place for a concentrated dark color. Painting that one cabinet wall charcoal, aubergine, or deep olive can give the room depth without making every work zone feel dim.
Keep the treatment to one connected mass. Scattering dark doors around the kitchen usually looks accidental.
11. Color-Drench a Small Cabinet Nook
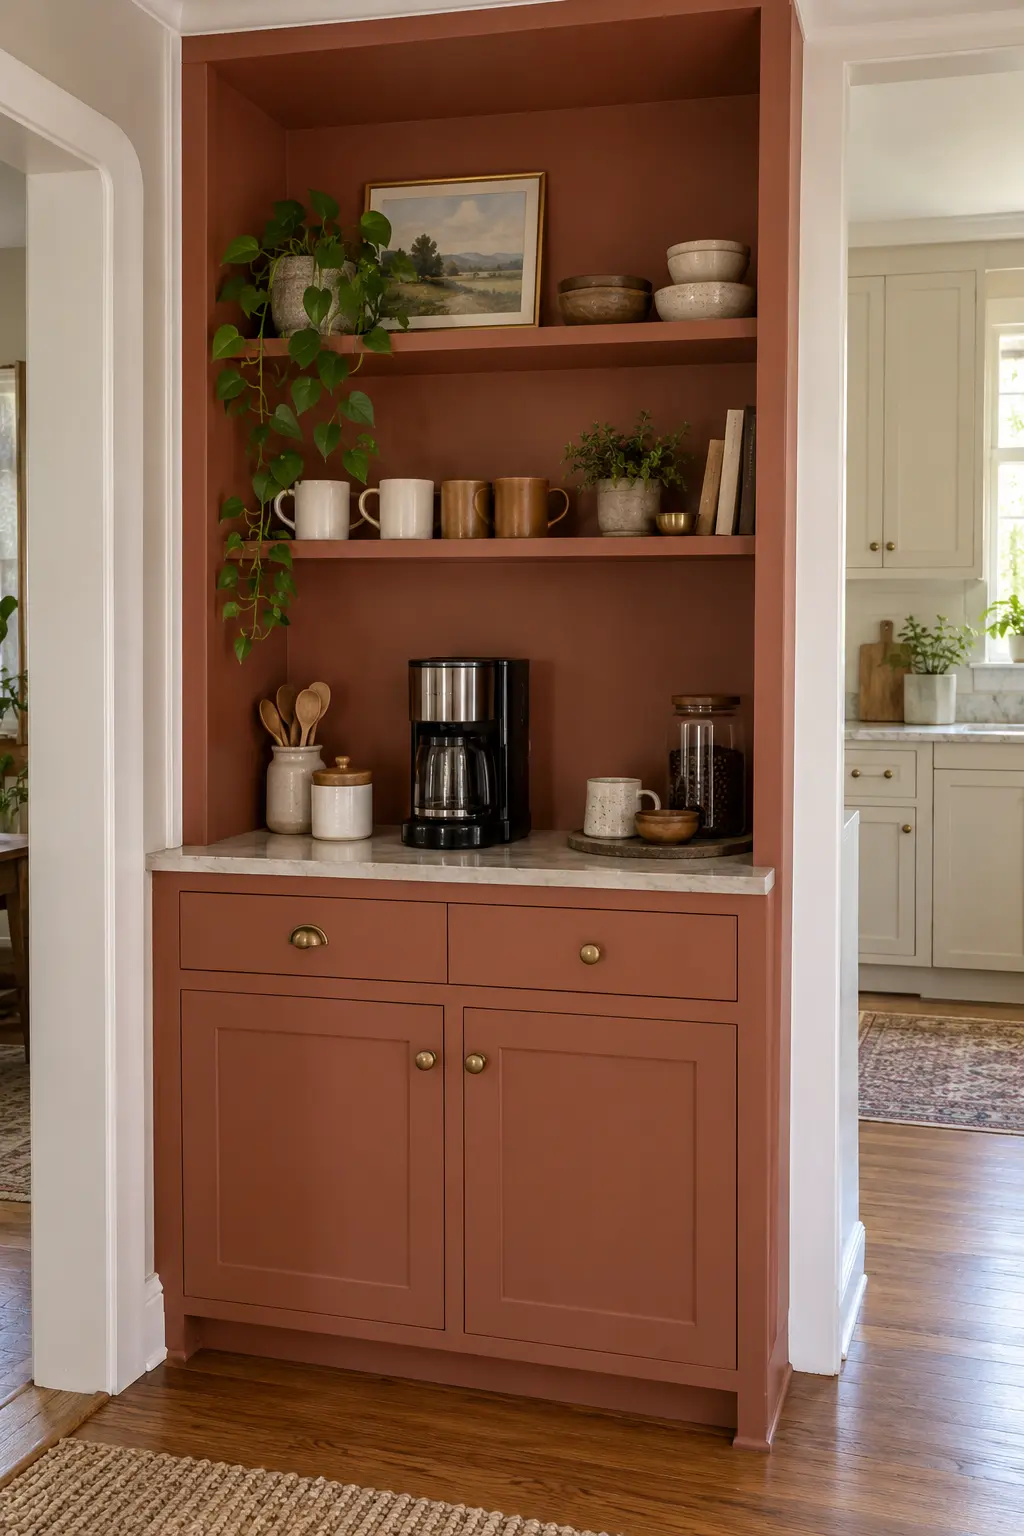
In a breakfast or beverage nook, painting the cabinets and back wall one earthy color turns an awkward recess into a defined feature. The effect is strongest when adjacent counters and major appliances stay visually quiet.
Use the correct product for each surface even when the color matches; wall paint and cabinet coatings have different performance requirements.
12. Use a Soft Black on Simple Slab Doors
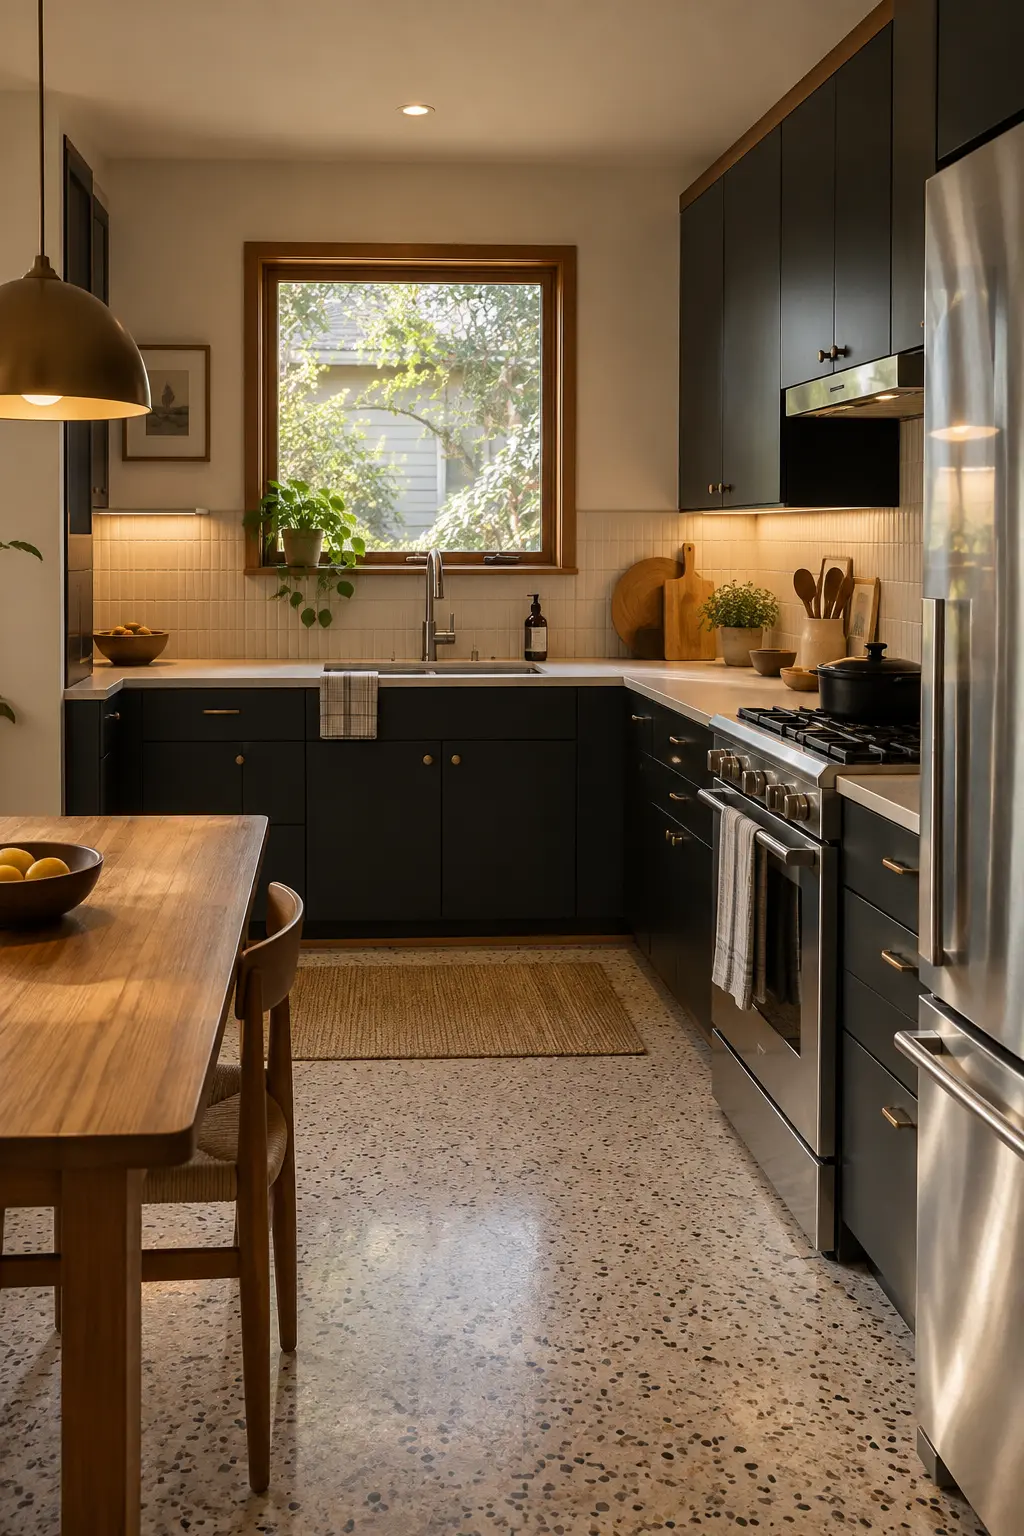
Soft black gives flat slab doors a crisp outline and can make mismatched dark appliances feel more integrated. Natural wood, pale counters, and adequate task lighting keep the result from becoming a dark block.
Fingerprints show more readily on very smooth dark finishes, so choose sheen and cleaning requirements with daily use in mind.
13. Paint the Island as a Separate Furniture Piece
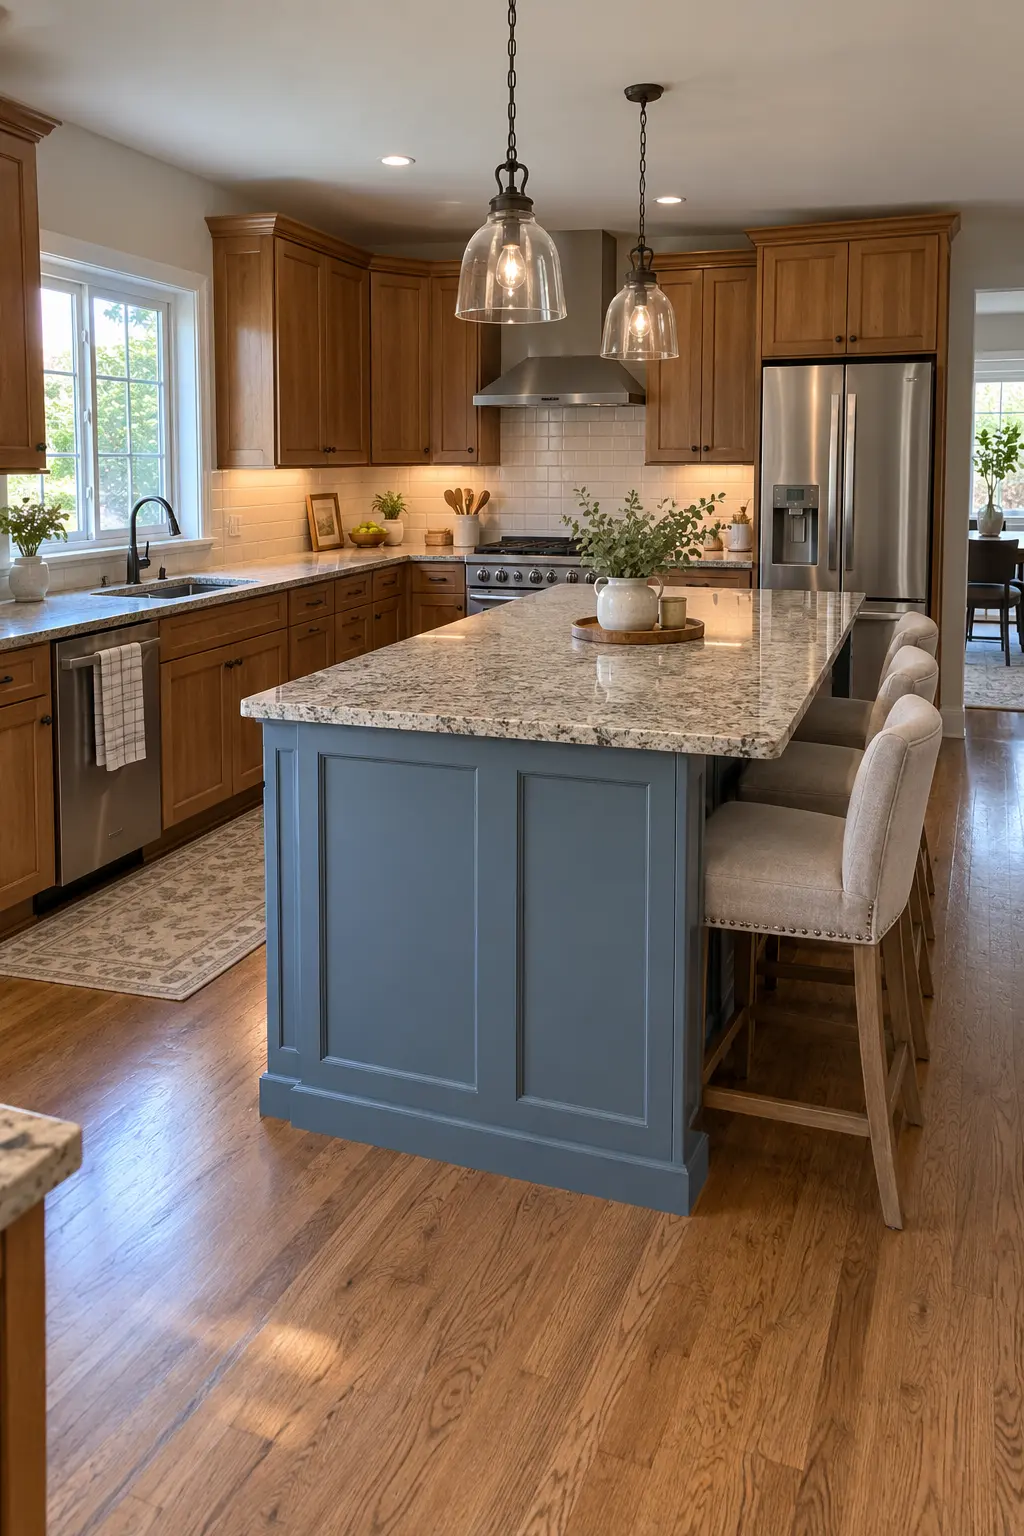
When perimeter cabinets are still in good shape, the island can carry the color. Dusty blue, deep green, or brown-red makes it read like furniture and avoids the work of refinishing the entire kitchen.
Repeat the island color only once or twice in small details. A forced match across rugs, stools, and decor can weaken the focal point.
14. Add Contrast Inside Glass-Front Cabinets
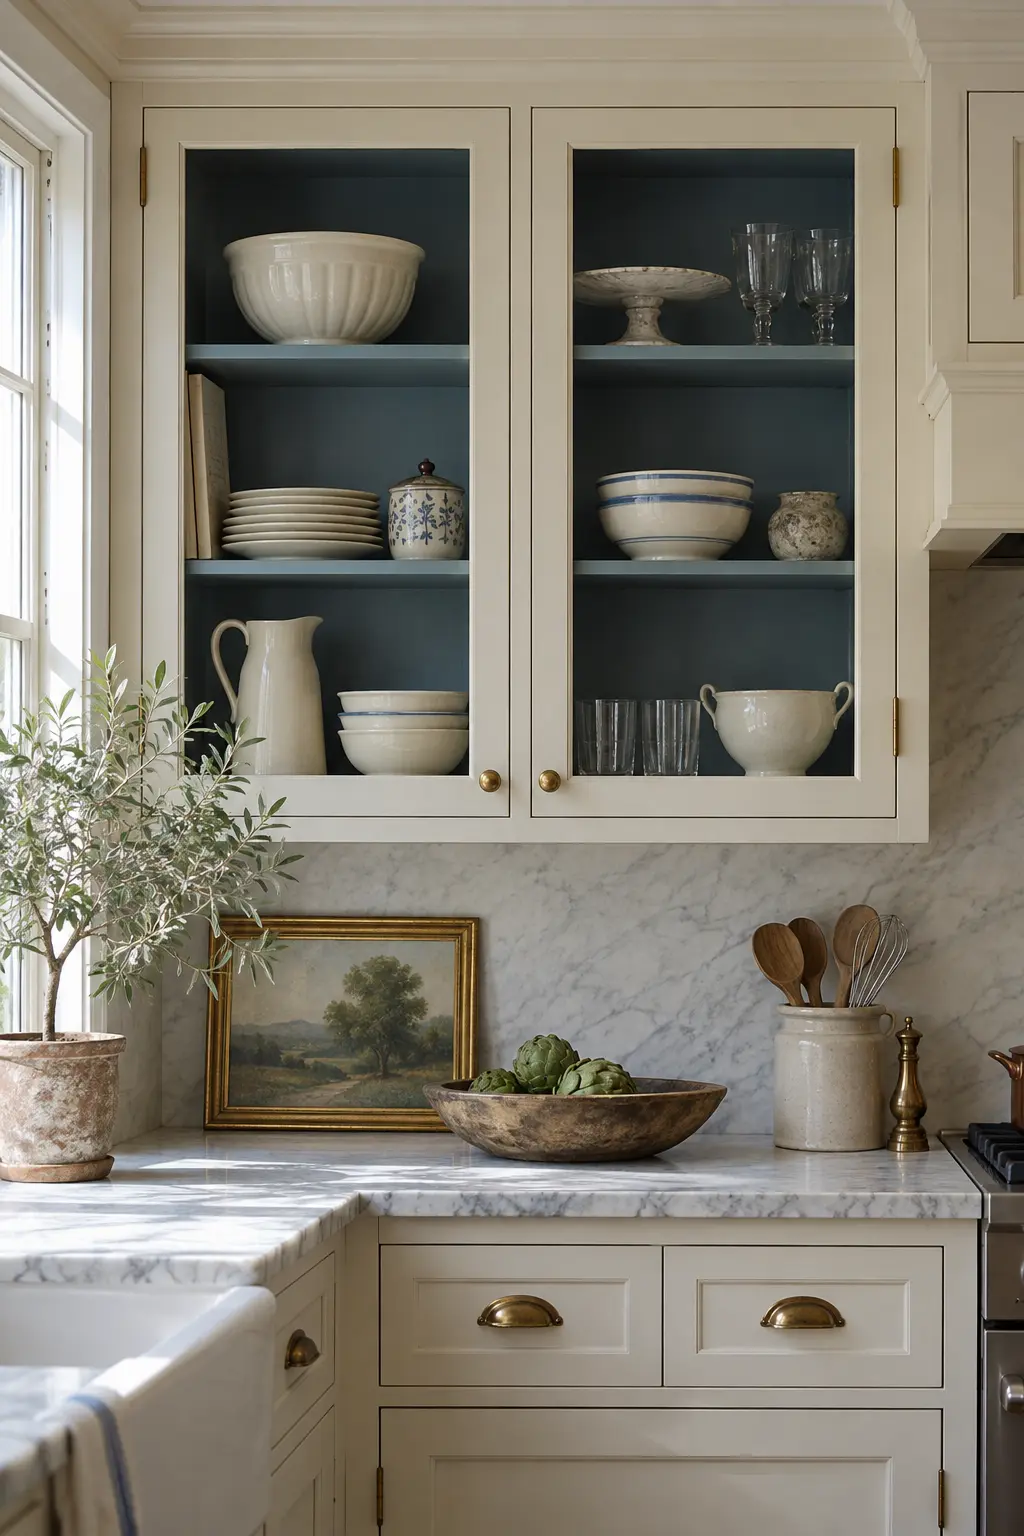
A contrasting interior makes glass doors look intentional and helps pale dishes stand out. It is a contained way to use a stronger color because the cabinet frame still relates to the rest of the kitchen.
This idea rewards tidy storage. If the cabinet holds everyday overflow, ribbed or frosted glass may be more forgiving than a transparent door.
15. Use a Tonal Two-Color Scheme
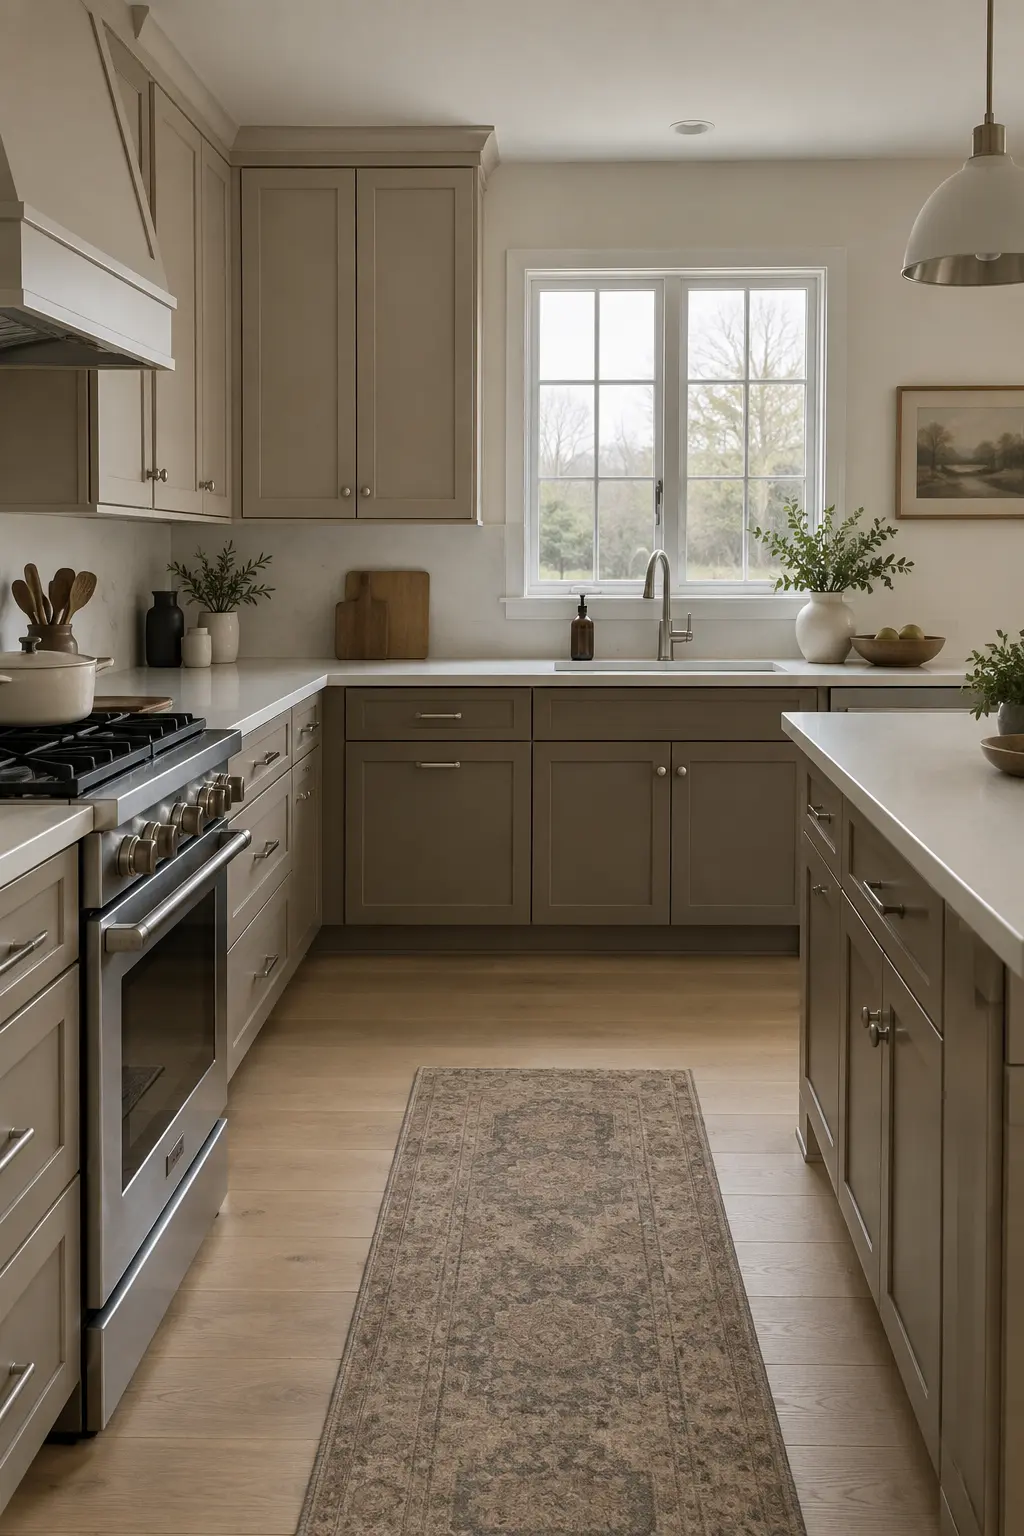
Two related tones—such as mushroom uppers and deeper taupe bases—create depth without a sharp color break. This can unify mixed cabinet styles because the palette feels calm even when the door details vary.
Compare both colors with the countertop undertone. A near-match that is slightly wrong is often more noticeable than an intentional contrast.
Change the Doors Without Rebuilding the Kitchen
If the boxes are level and solid but the door style is the problem, focus spending on the visible fronts. Refacing and selective door changes can produce a larger shift than cosmetic styling alone.
16. Reface Sound Boxes with Slim Shaker Doors
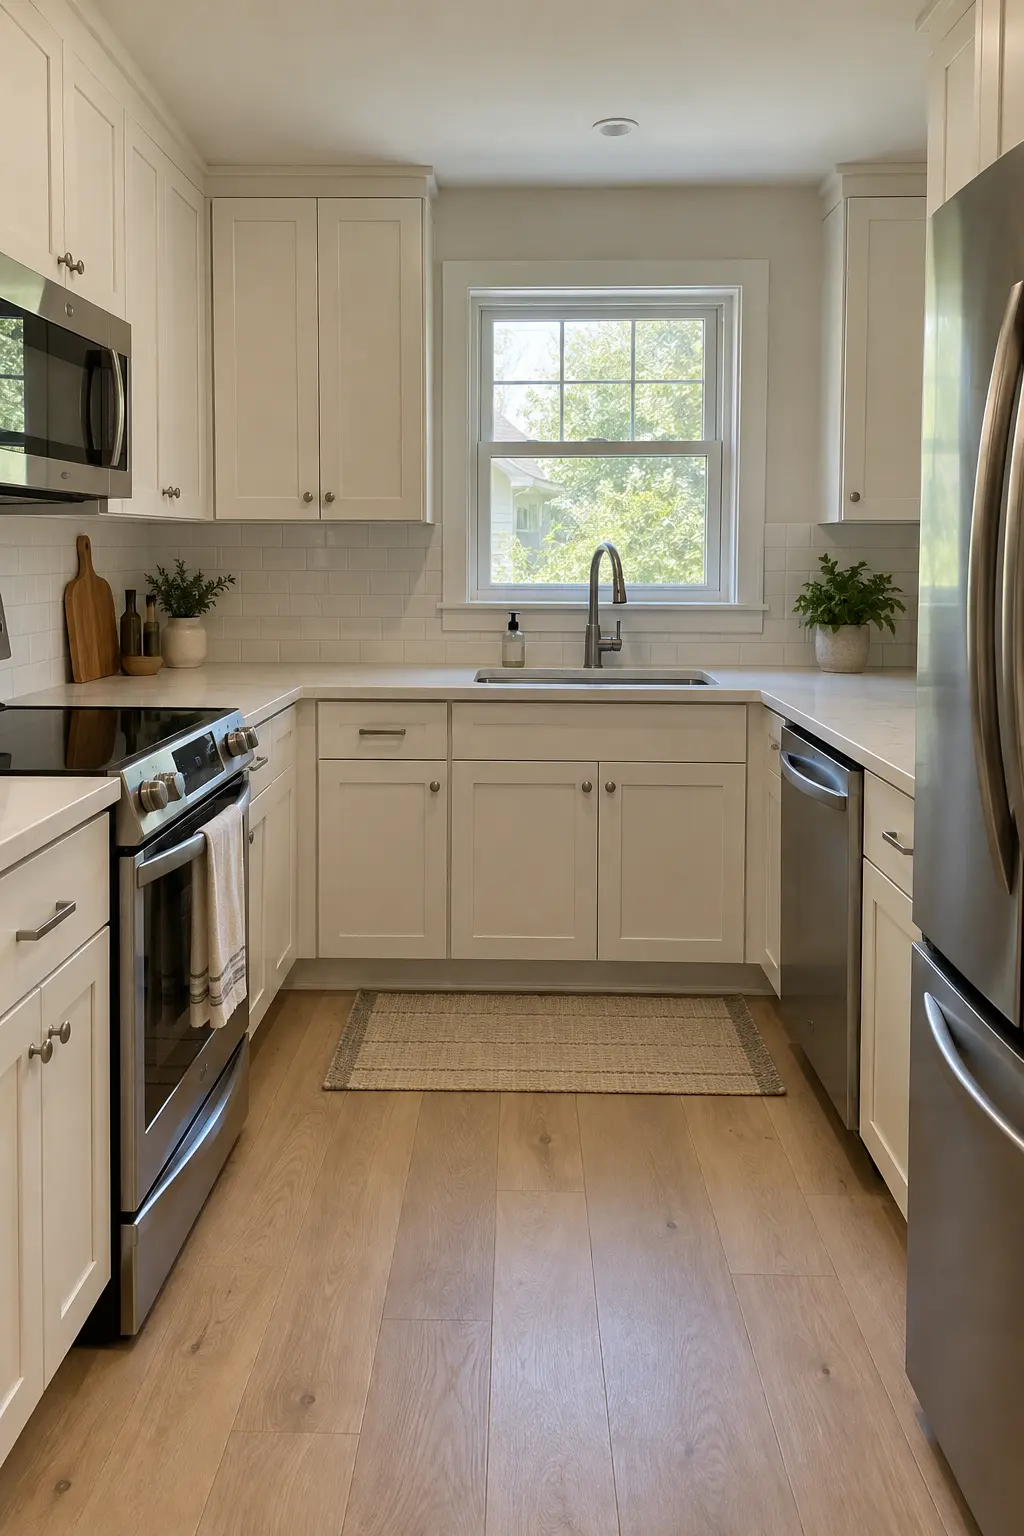
Slim Shaker fronts update sturdy cabinet boxes without changing the layout. The narrower rail feels lighter than a chunky traditional Shaker profile, particularly in a compact kitchen with many doors.
Refacing is only sensible when the boxes and layout deserve to stay. Water damage, failing particleboard, or a poor workflow should be solved before new fronts are ordered.
17. Switch Dated Arches to Simple Flat Panels
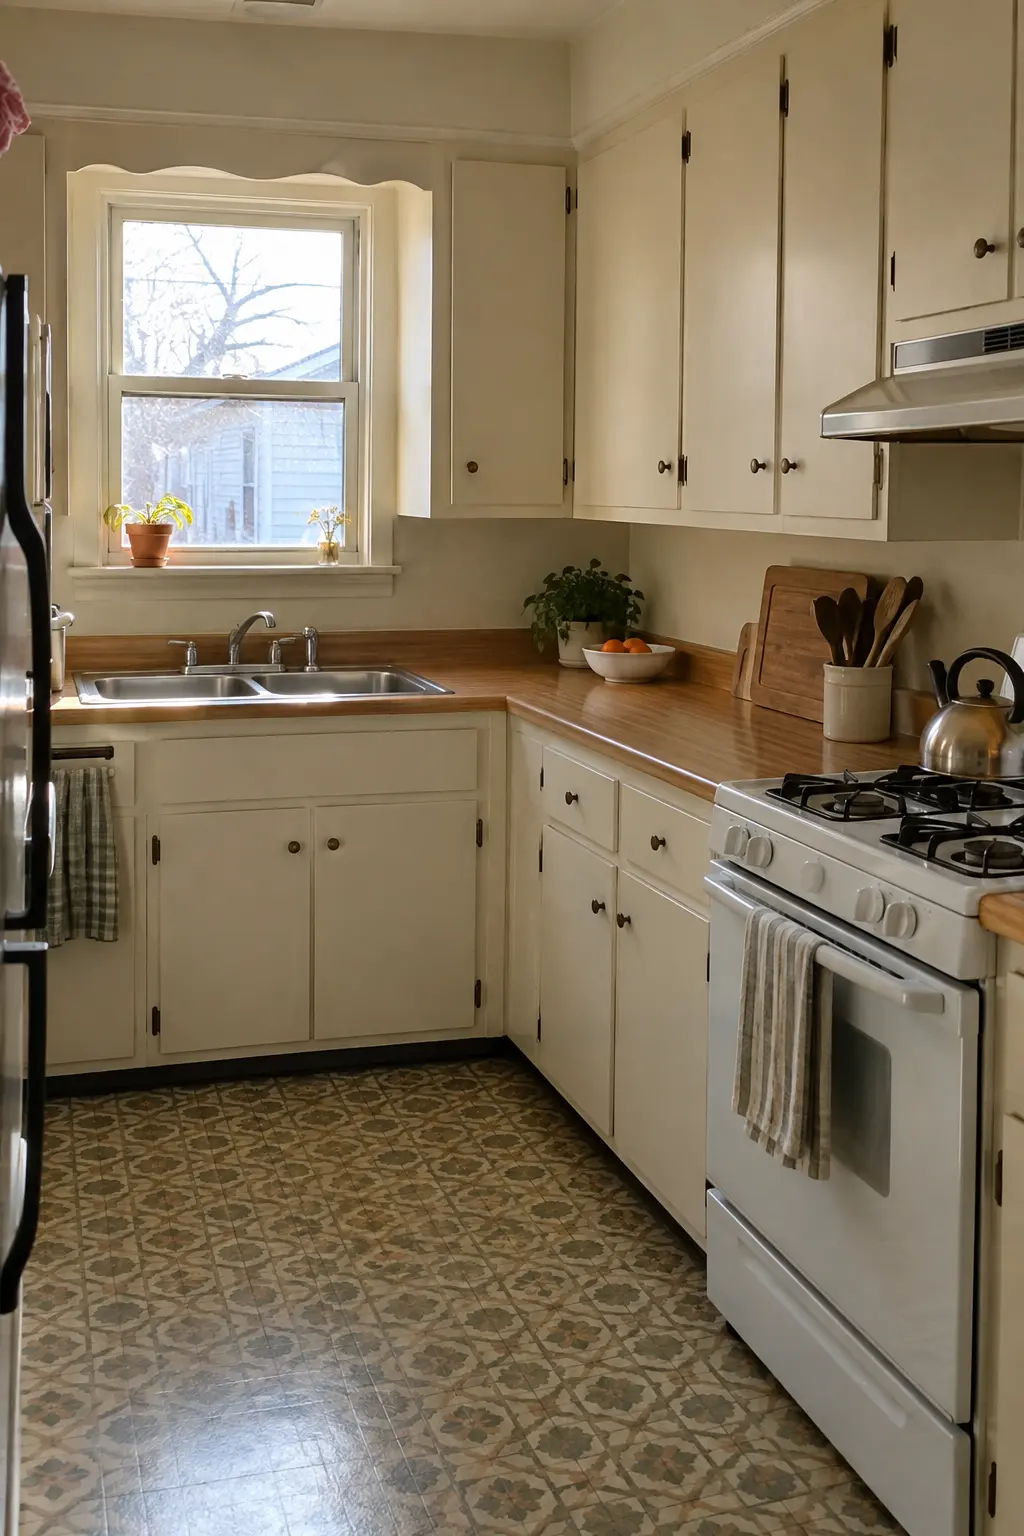
Replacing cathedral-arch doors with simple flat panels removes a strong era marker while keeping the cabinet footprint intact. A painted finish can also help new doors and older face frames read as one system.
Measure every opening and overlay carefully. Older kitchens often contain small inconsistencies that matter when ordering replacement fronts.
18. Use Ribbed Glass Where You Need Some Privacy
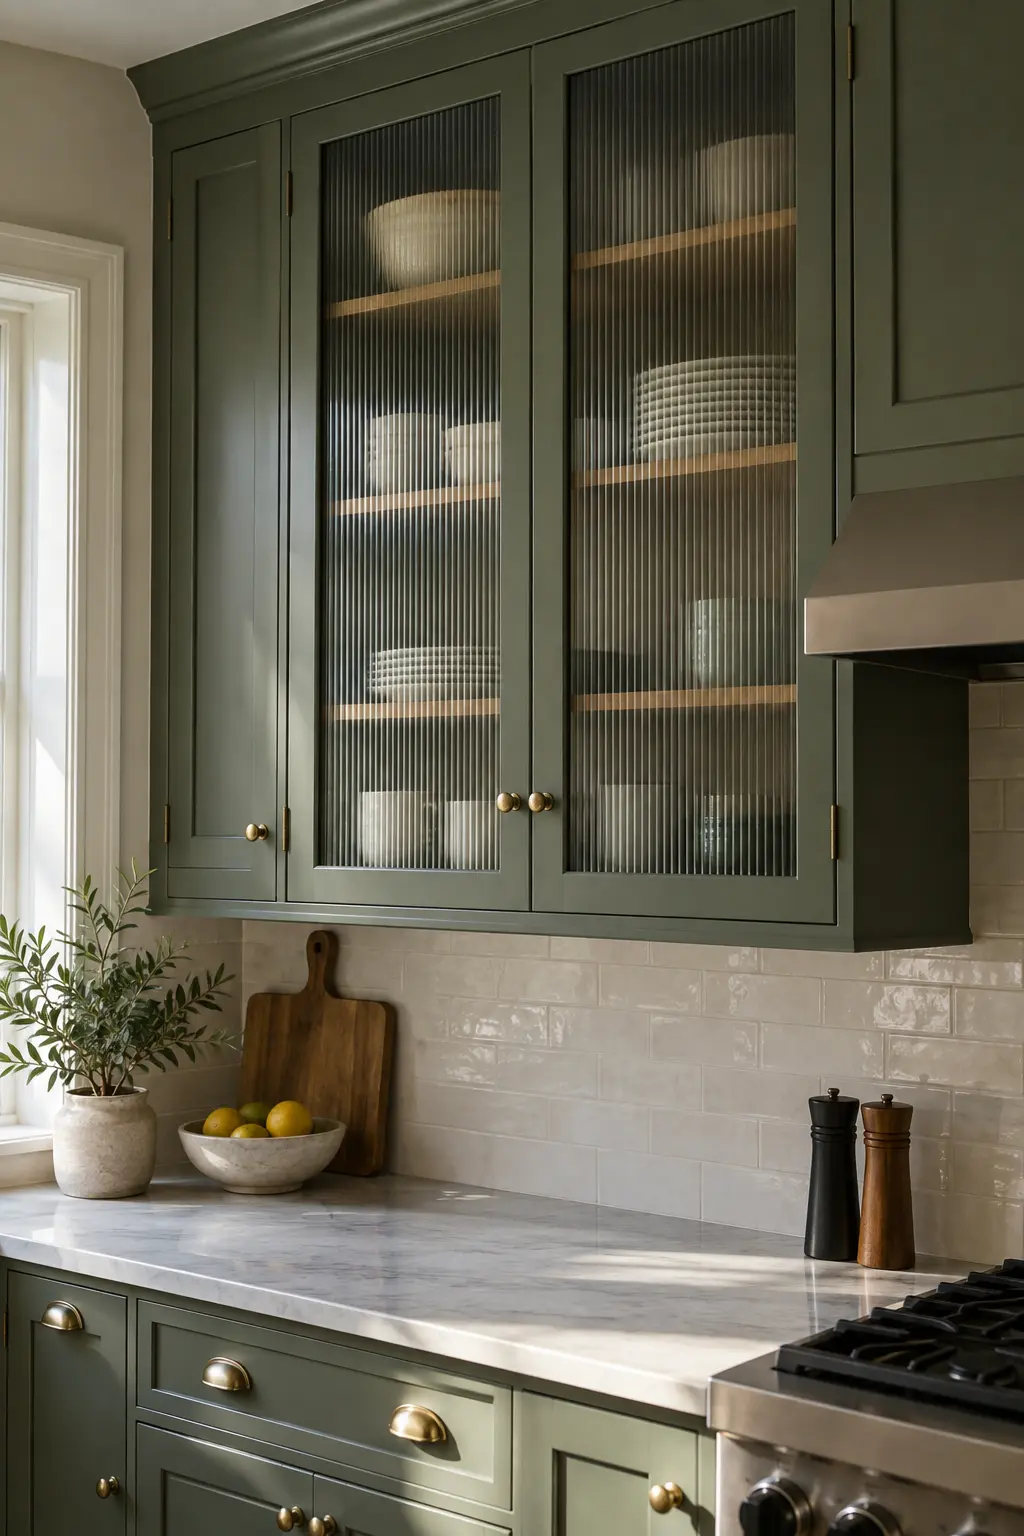
Ribbed glass breaks up reflections and softens the view of dishes better than clear glass. Use it on a short run of upper doors to relieve a heavy cabinet wall without turning every shelf into a display.
Glass should be cut and installed for cabinet use with secure retainers. A local glass shop or experienced cabinet professional can advise on suitable material and edge treatment.
19. Convert One Upper Cabinet to Open Shelves
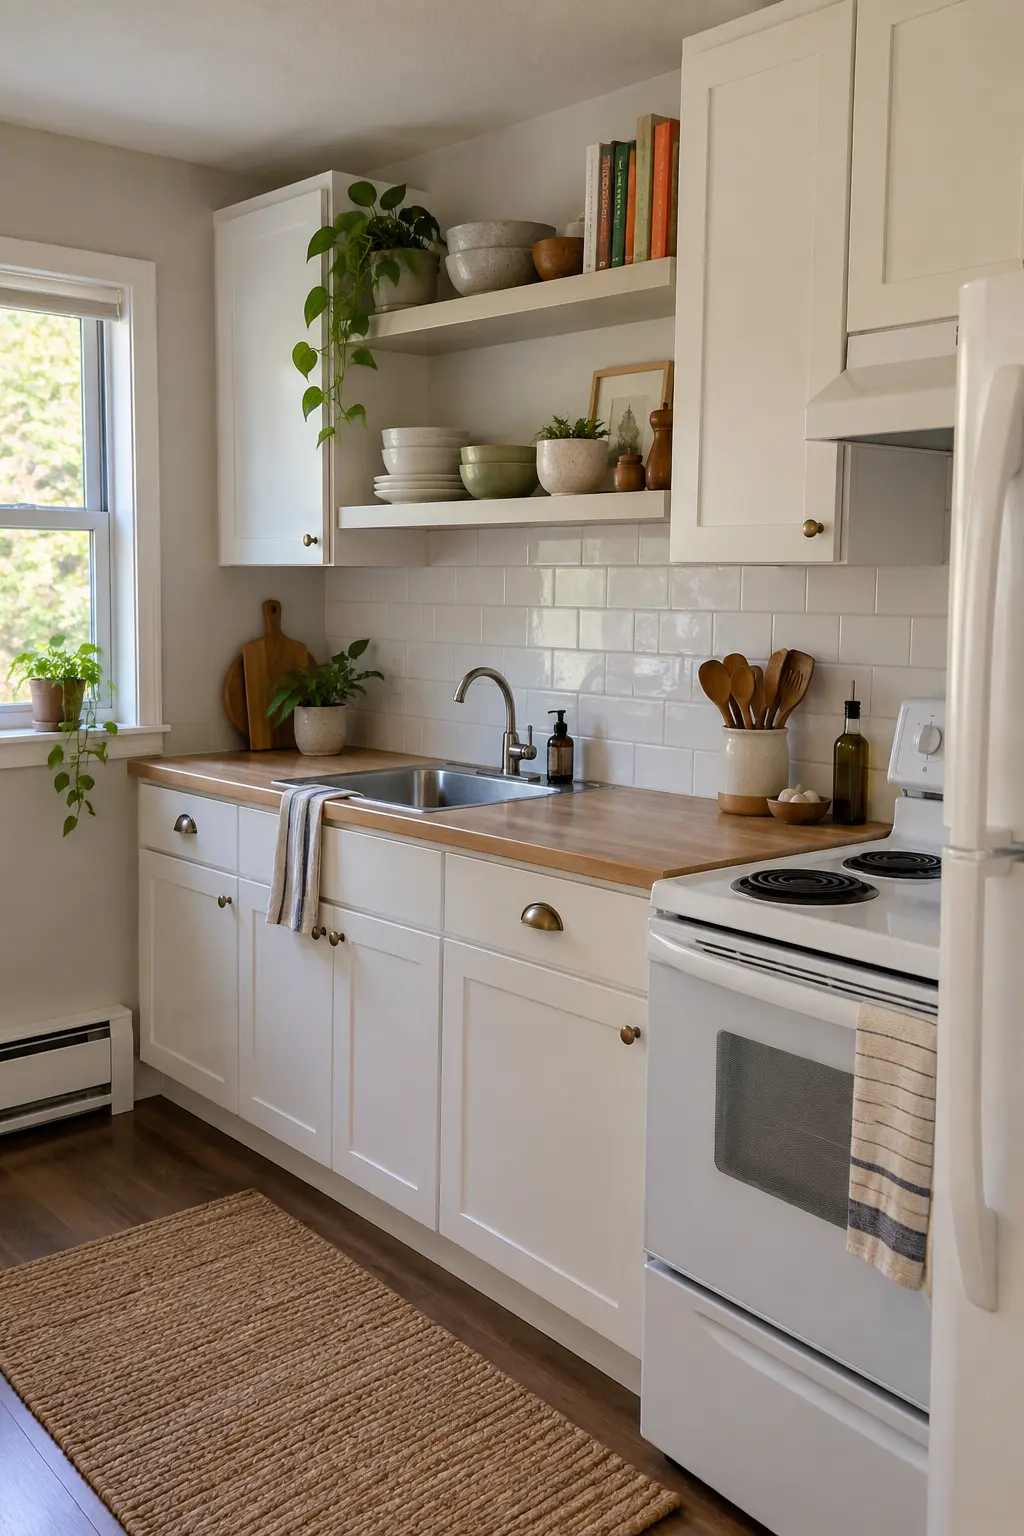
Removing a single upper door pair can open a tight corner while leaving most storage concealed. Finish the interior to match the room and reserve the shelves for items used often enough to stay clean.
More is not always better. A whole wall of open shelving changes dusting, storage capacity, and visual clutter; one edited section gives you the effect with less upkeep.
20. Add Mesh Inserts for a Collected Look
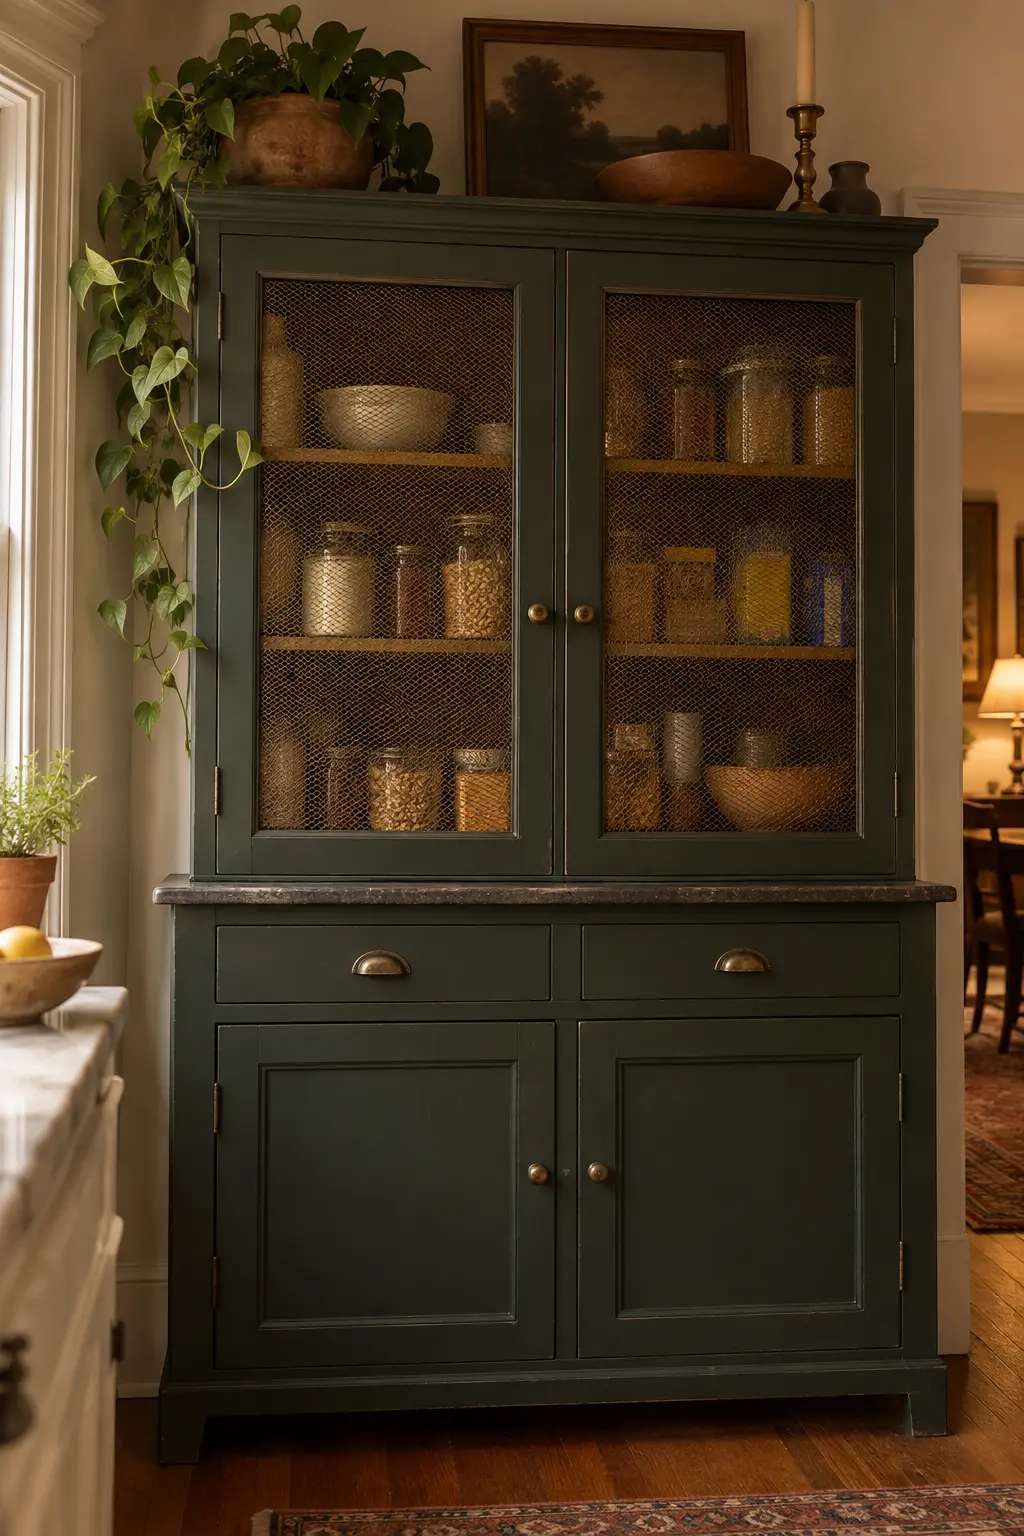
Fine metal mesh can turn a bar, hutch, or pantry cabinet into a furniture-like feature. It conceals contents more than clear glass while allowing a hint of depth behind the door.
Limit mesh to one zone and choose a scale that will not snag fingers or cloths during cleaning.
21. Replace Damaged Doors but Keep Good Drawer Fronts
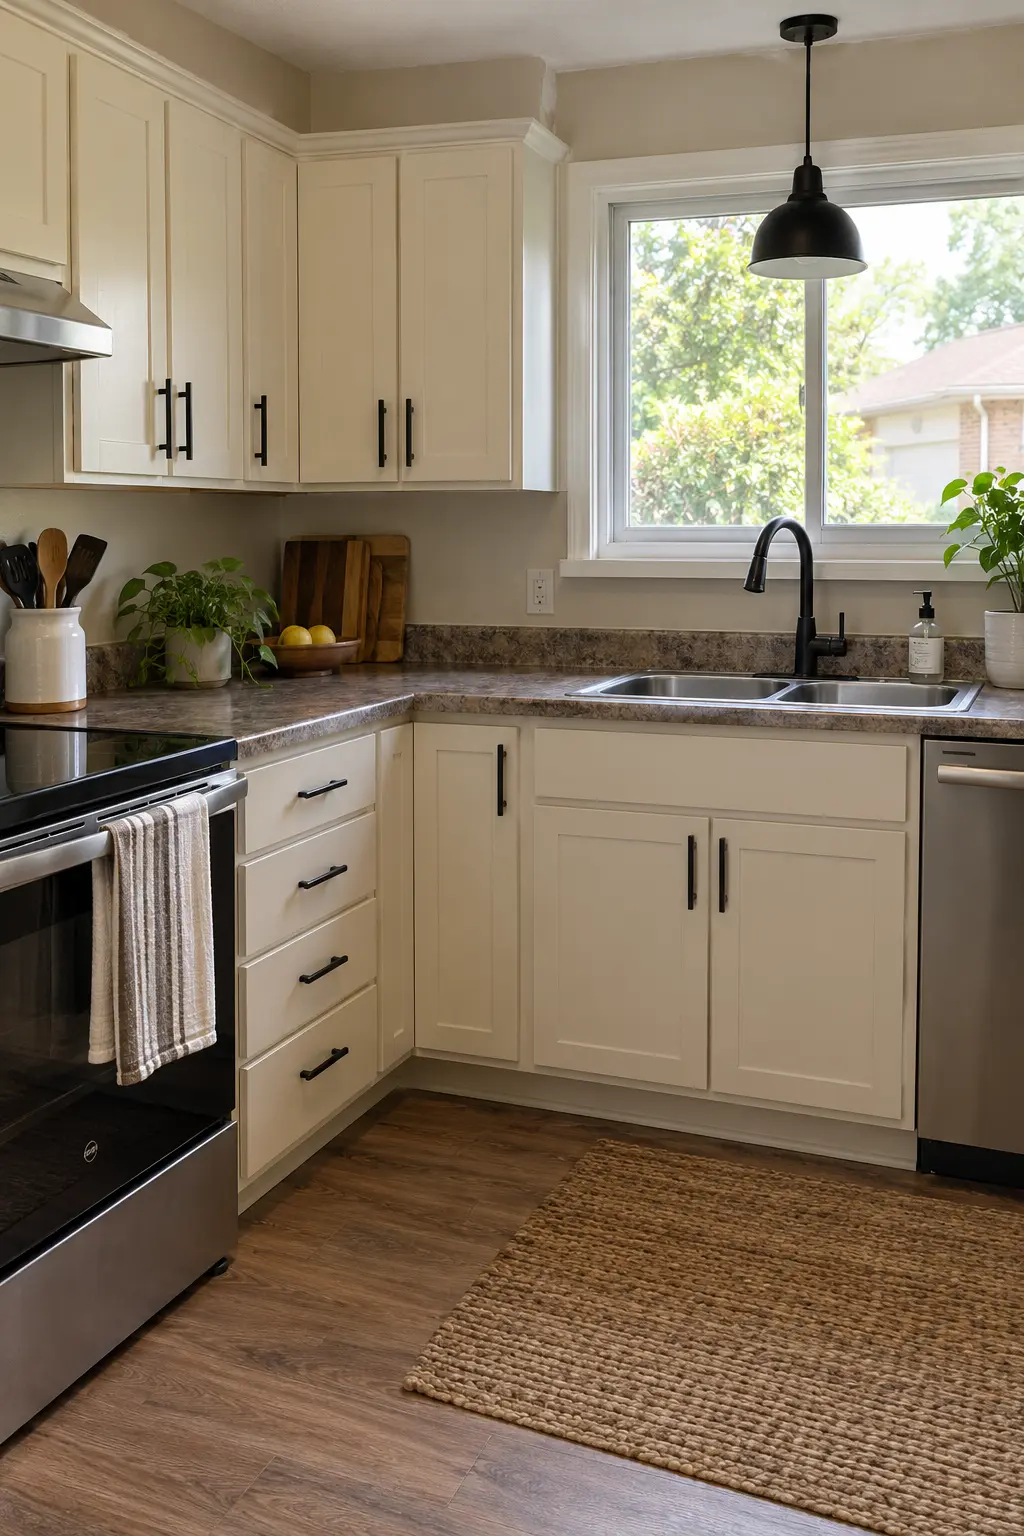
Selective replacement can make sense when doors are peeling but solid drawer fronts remain usable. A simple new door profile paired with retained slab drawers looks intentional when both receive the same finish and hardware.
Confirm that the old boxes can accept the planned hinges before ordering. Door thickness, overlay, and face-frame construction affect the hardware choice.
22. Create a Freestanding-Looking Hutch Section
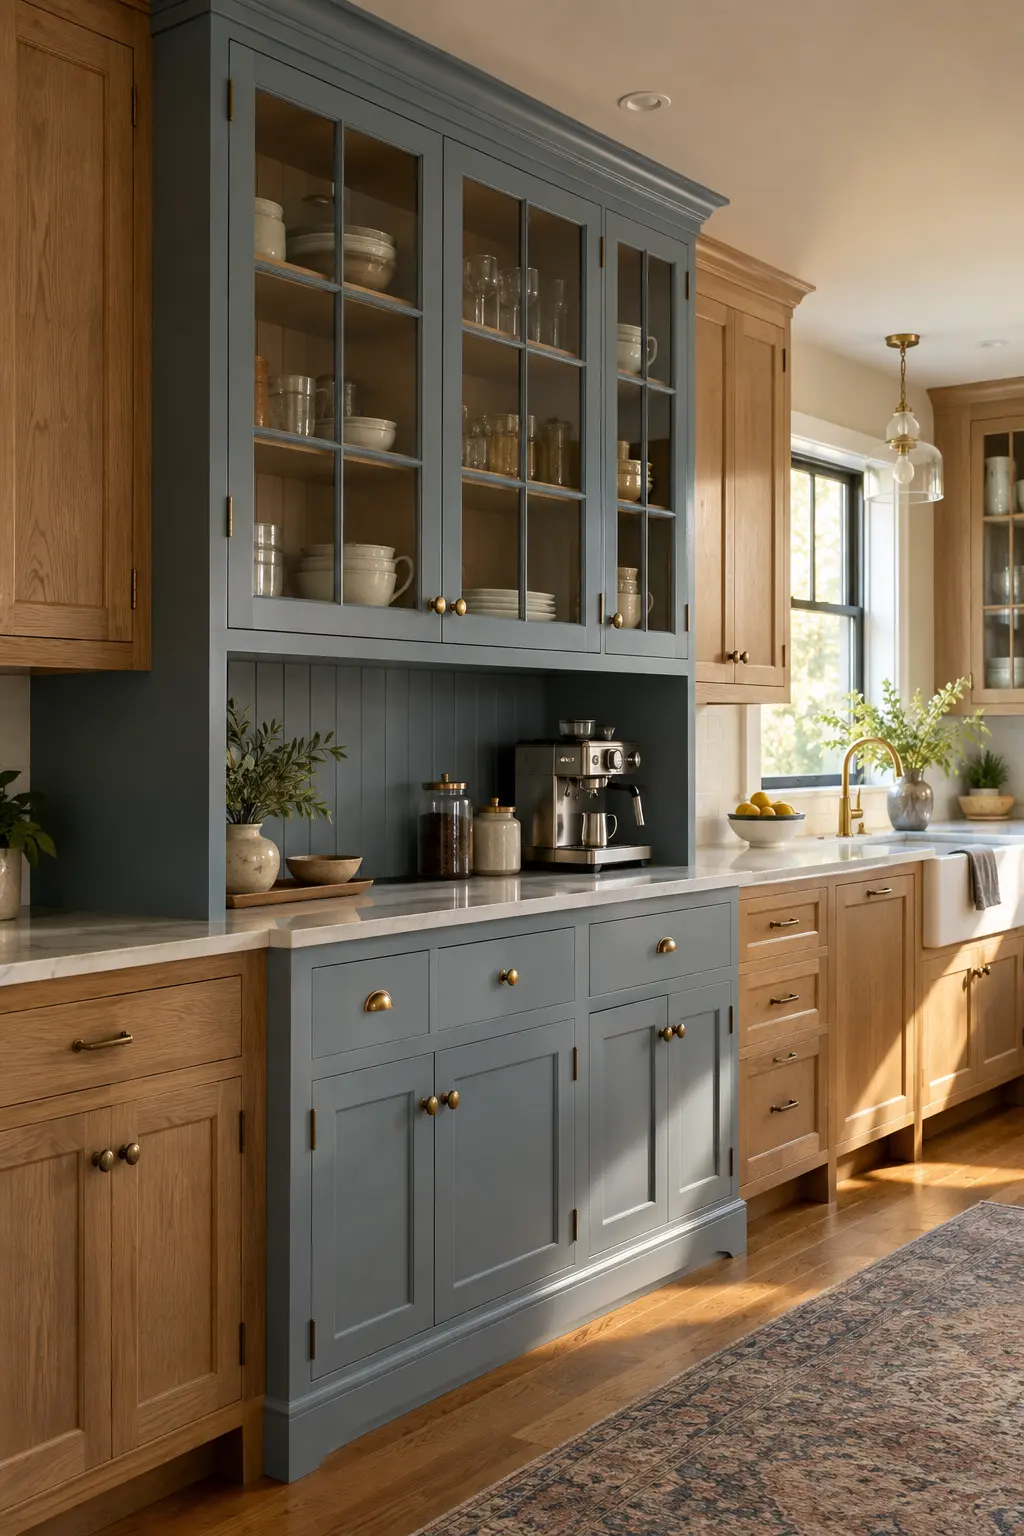
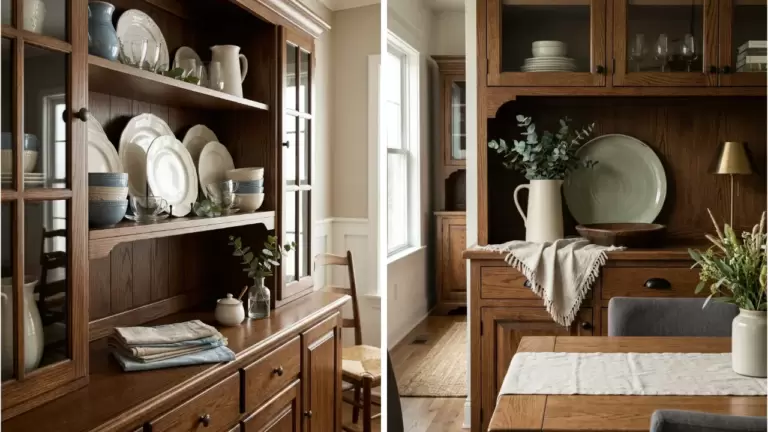
Give one cabinet run a hutch identity with a contrasting finish, glass uppers, and a defined counter area. This breaks up a long wall of matching doors and works well for coffee supplies or everyday dishes.
Keep the work surface clear enough to function. Decorative trim should not crowd outlets, small appliances, or door swing.
23. Turn a Few Solid Doors into Display Doors
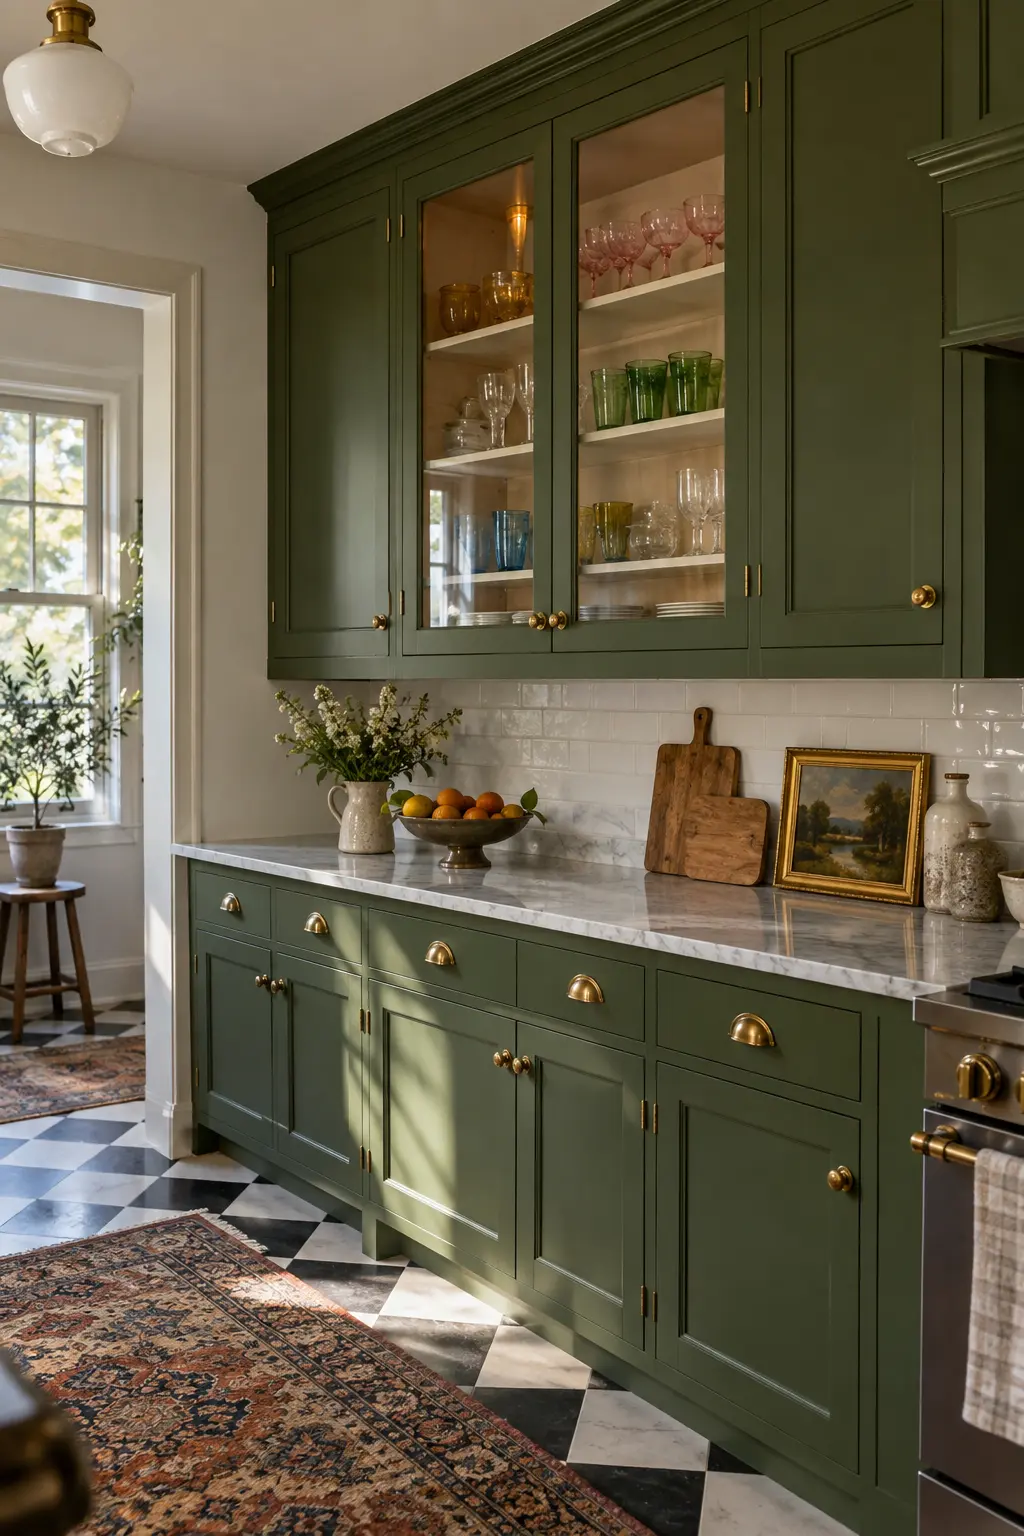
Two glass doors can interrupt a solid wall of cabinetry without sacrificing much concealed storage. Place them where the shelves naturally hold a coherent group, such as white serving pieces or colored glassware.
If modifying existing doors, confirm that their construction can be altered safely; not every molded or laminate door has a removable center panel.
Use Hardware and Millwork to Correct Dated Details
Small components matter because they repeat across the room. Hardware scale, hinge function, trim proportions, and end panels can make existing boxes feel more finished.
24. Choose Pulls That Fit the Existing Holes
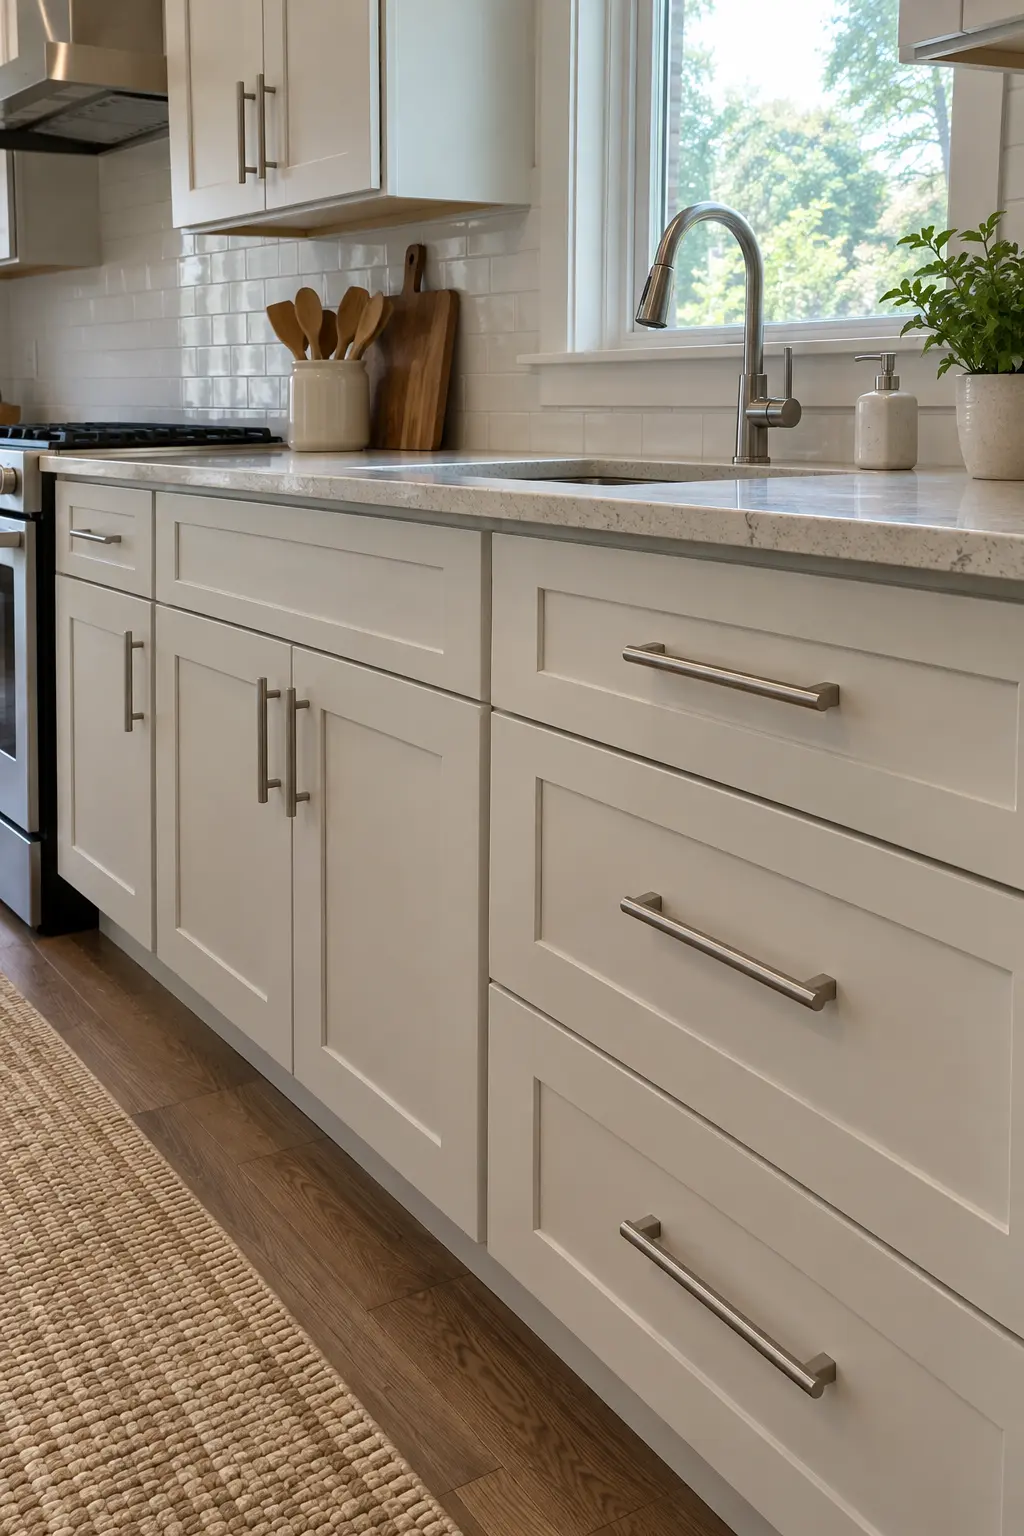
Matching the center-to-center spacing of existing holes prevents unnecessary filling and drilling. Bring one old pull and one door to the store—or measure carefully—because a close visual match is not enough.
Longer pulls can modernize wide drawers, but they should not collide at inside corners or overpower narrow doors.
25. Mix Knobs and Pulls by Function
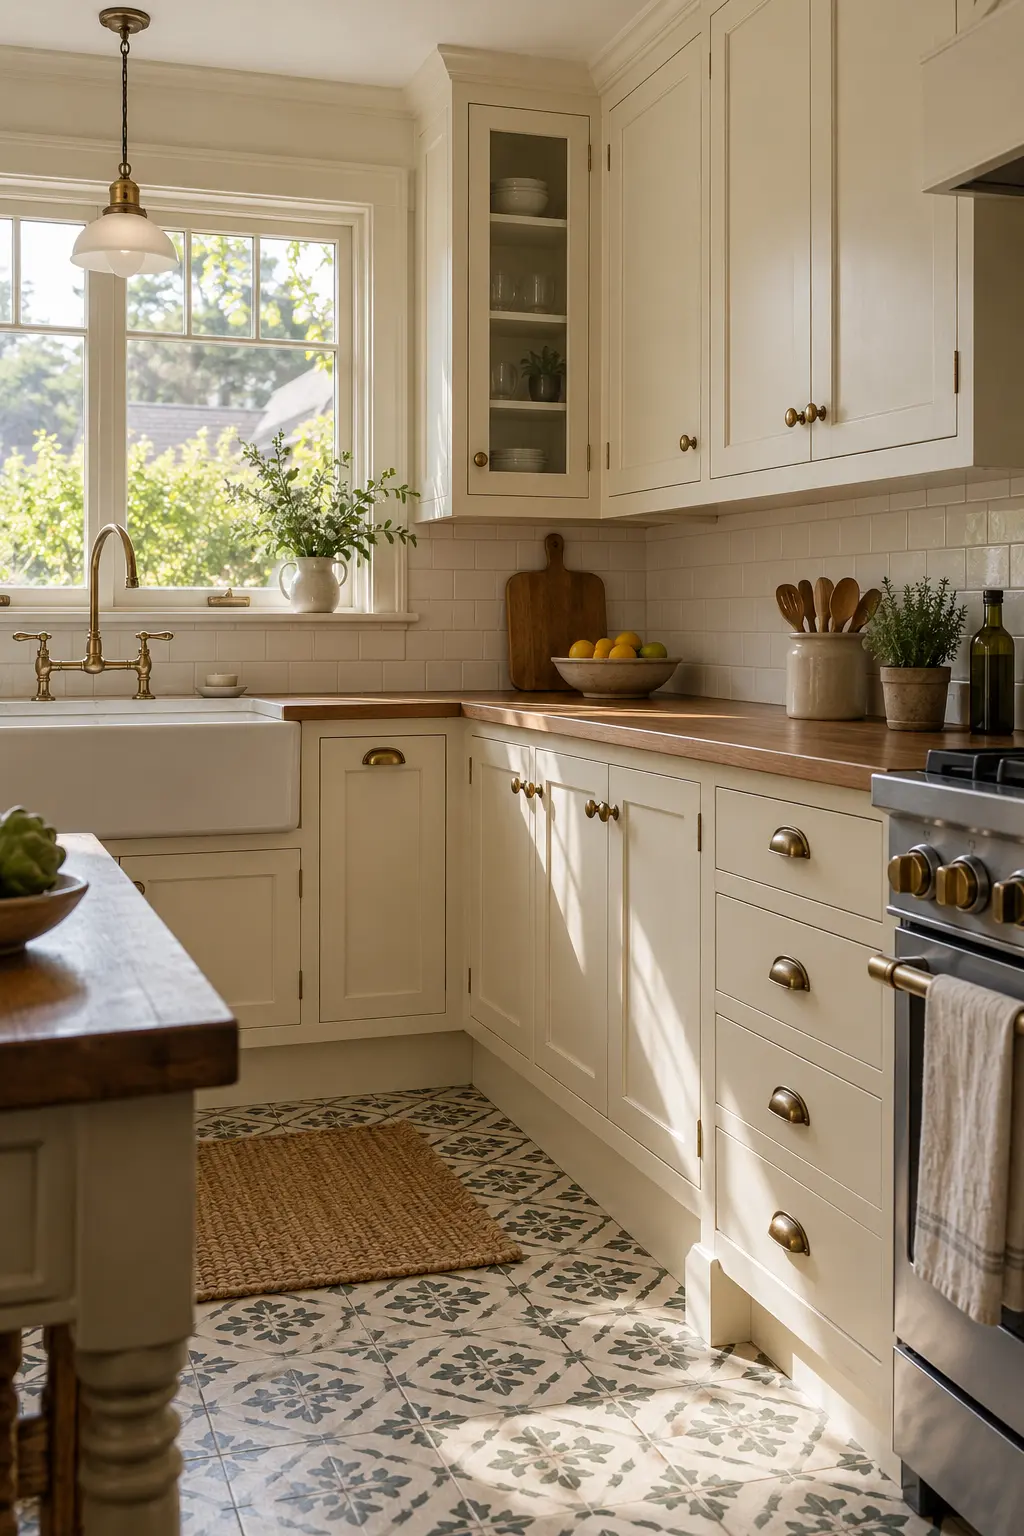
Knobs on doors and pulls on drawers create a useful visual rhythm and can make each action more intuitive. Keep the finish and general shape related so the mix reads as purposeful rather than leftover hardware.
26. Replace Visible Hinges with a Cleaner System
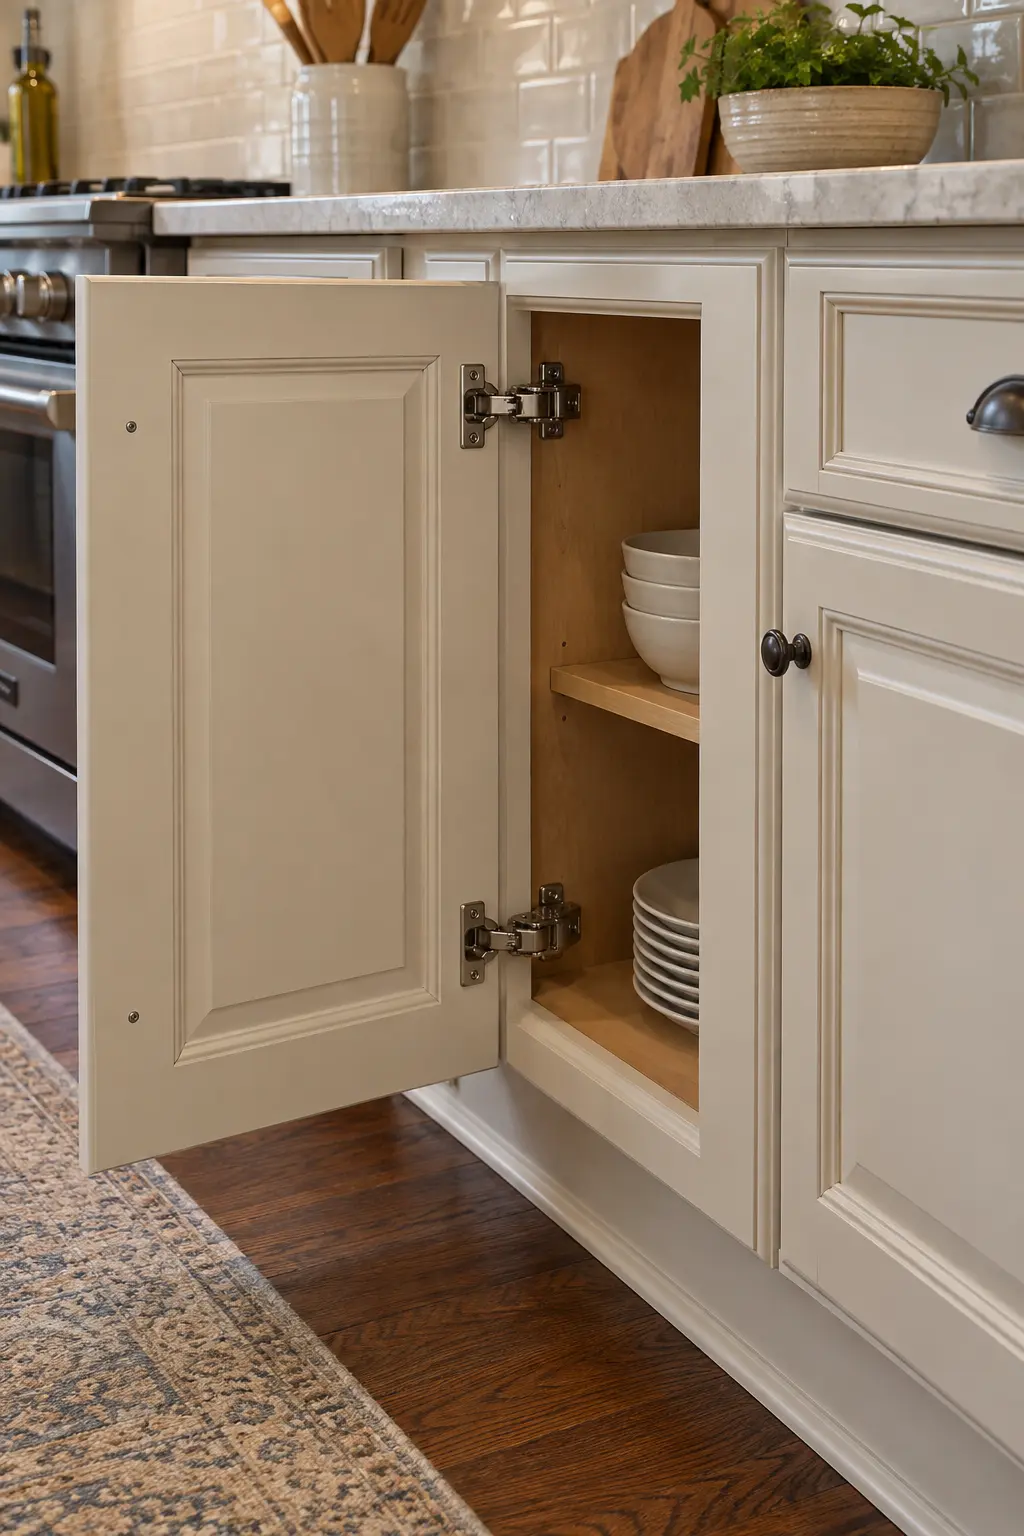
Bulky exposed hinges can date otherwise serviceable doors. A compatible concealed-hinge retrofit cleans up the face and may add useful adjustment, but the cabinet construction must support it.
This is a precision upgrade, not a universal swap. Use a jig or hire a cabinet installer if cup boring and door overlay are unfamiliar.
27. Add Finished End Panels to Exposed Sides
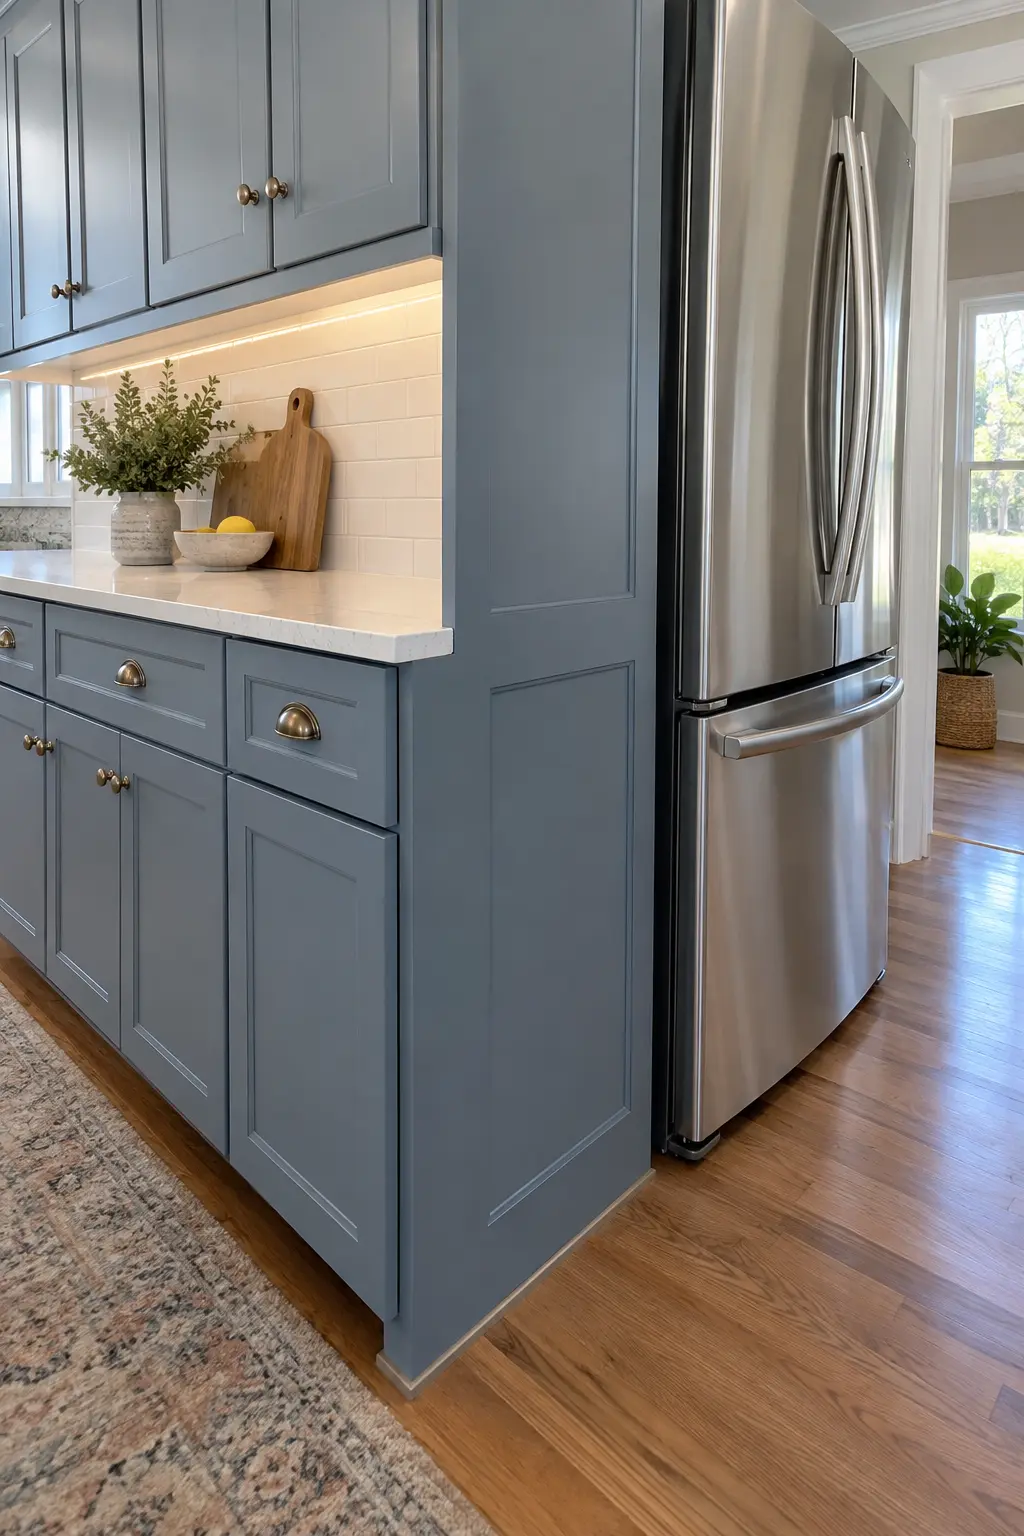
An exposed cabinet side often reveals the project's builder-grade origins. A finished end panel that matches the new doors makes the run look complete, especially beside a refrigerator or at the end of a peninsula.
Keep the panel thickness in mind near tight walkways and appliance doors.
28. Extend Upper Cabinets Visually to the Ceiling
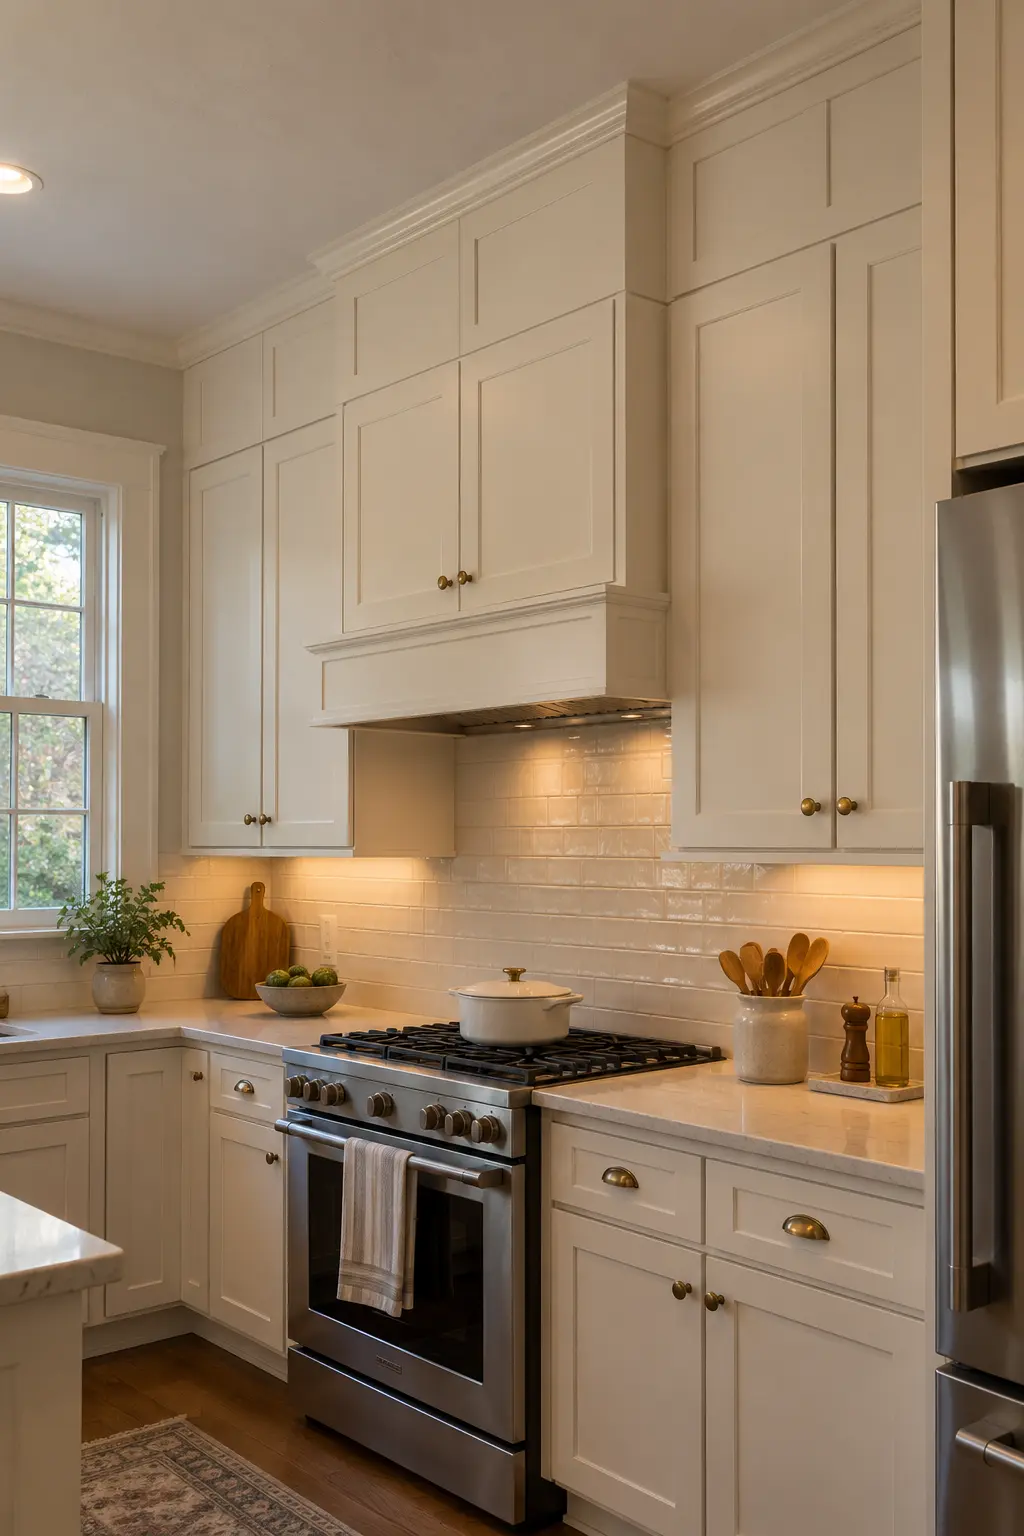
Painted filler panels and simple crown can close an awkward dust-catching gap above upper cabinets. The proportions work best when the added section looks structural rather than like a row of tiny unusable doors.
Ceilings are rarely perfectly level. Scribe or adapt the trim instead of forcing a straight piece against a visible slope.
29. Add Simple Feet to a Cabinet Run
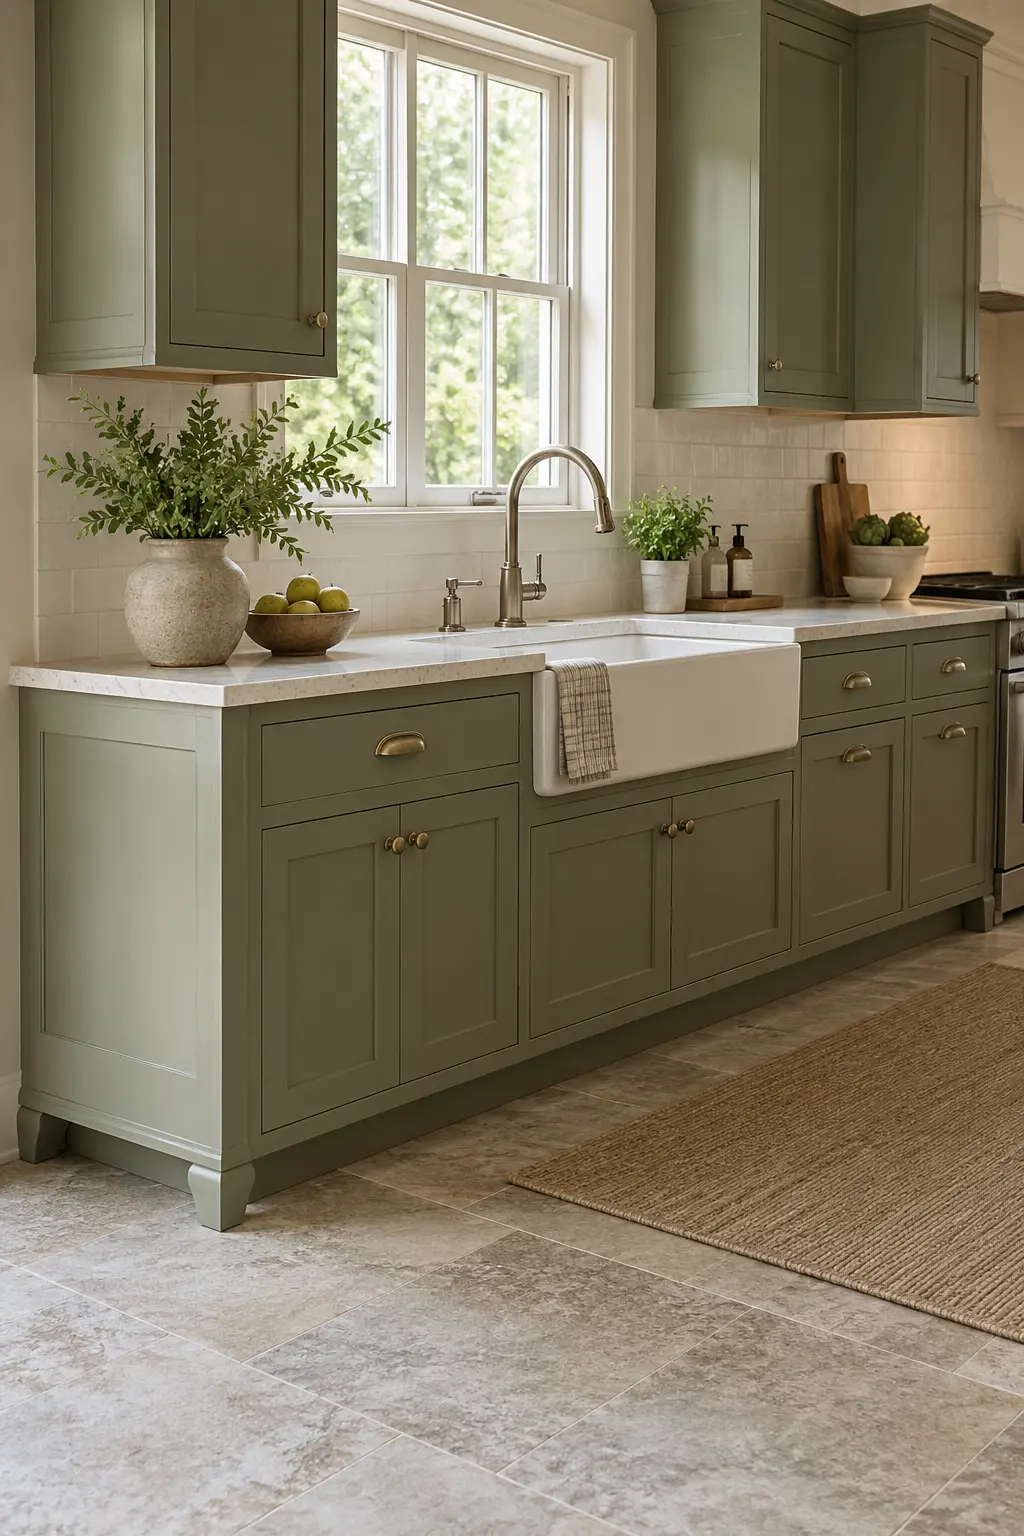
Small furniture feet at the ends of a sink run or hutch section can soften a continuous toe-kick. Use them sparingly, and keep them clear of working areas where they could trap debris or narrow foot space.
30. Frame a Plain Island with Applied Panels
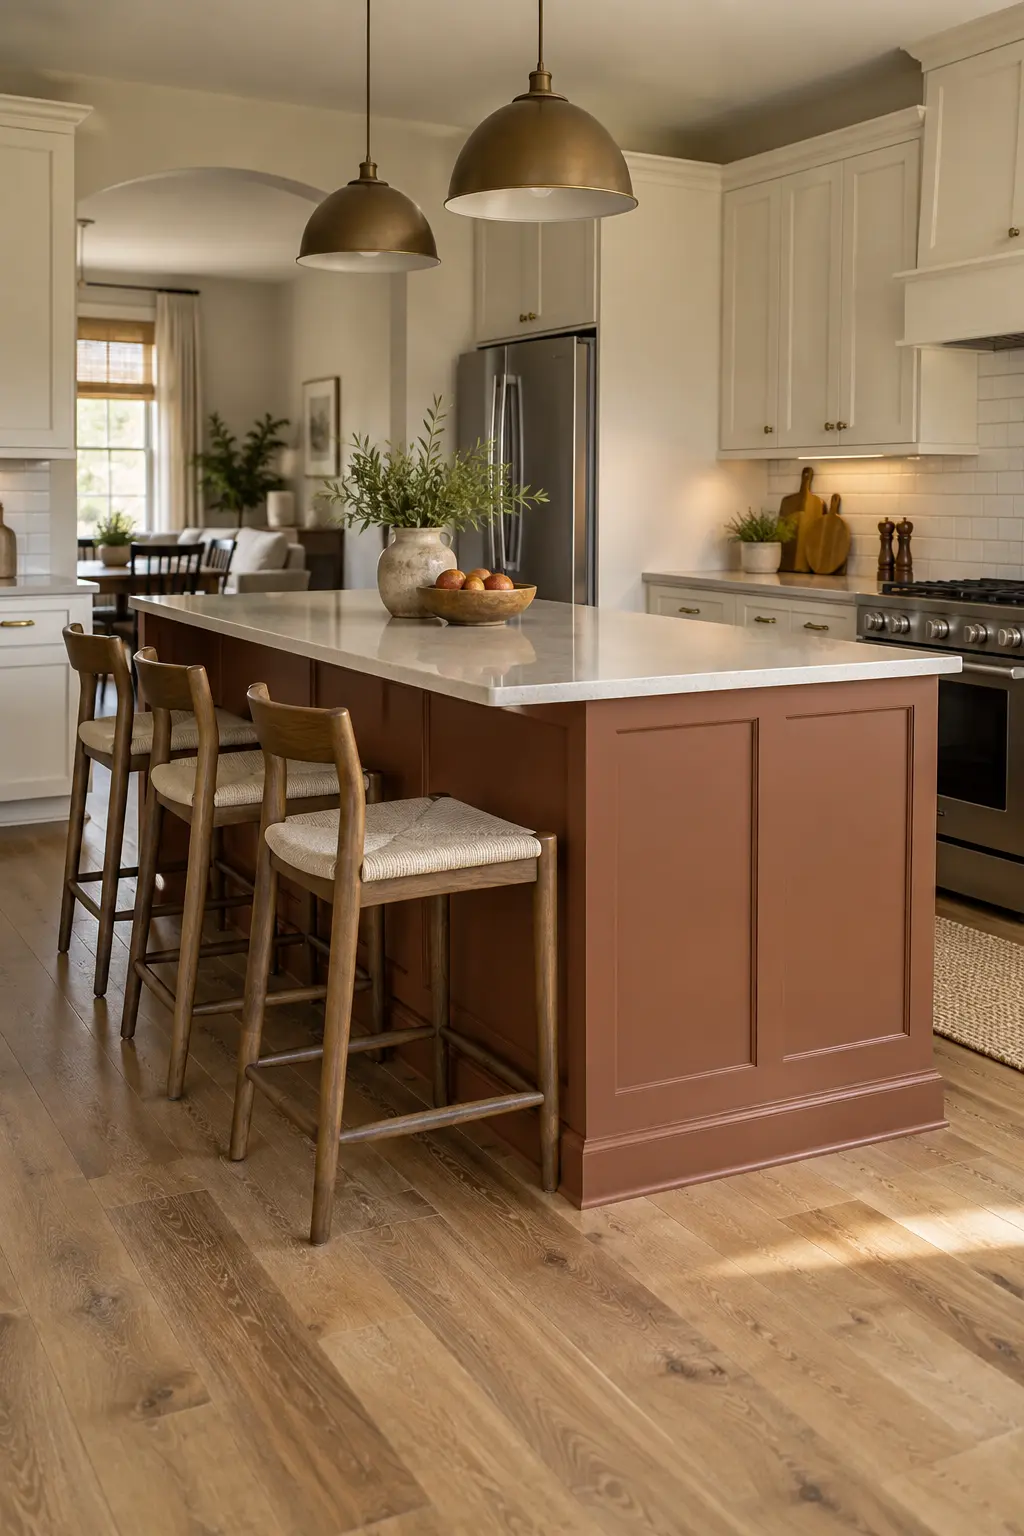
Flat island sides are a good place for shallow applied molding or simple framed panels. The detail gives a builder-grade island better proportions without changing storage inside.
Avoid deep trim near stools or narrow aisles. The makeover should not create knee bumps or reduce a walkway.
Improve What Happens Inside the Cabinets
A cabinet makeover is more convincing when it fixes daily friction. Prioritize the doors and drawers that are hardest to use rather than buying organizers for every cabinet at once.
31. Retrofit Pull-Out Shelves in Deep Base Cabinets
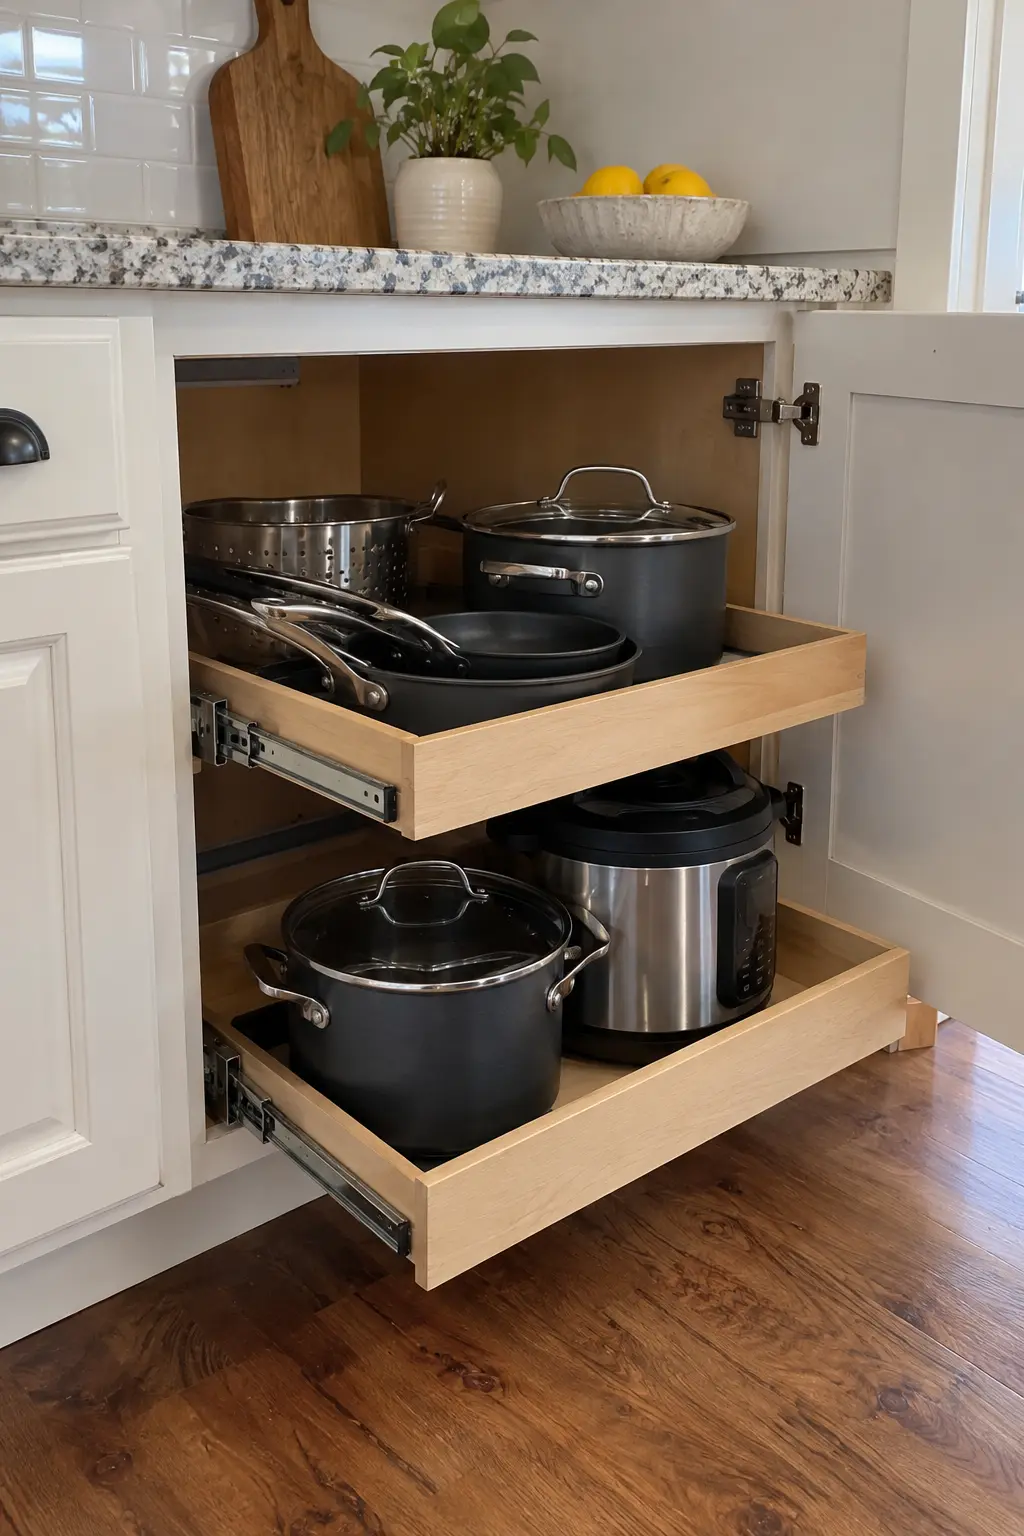
Pull-out shelves bring heavy pots and small appliances forward instead of forcing you to reach through a dark cabinet. Check opening width, hinge clearance, and shelf load requirements before choosing a system.
Start with the cabinet that causes the most frustration. One well-fitted pull-out is more useful than several poorly sized organizers.
32. Make a Blind Corner Easier to Reach
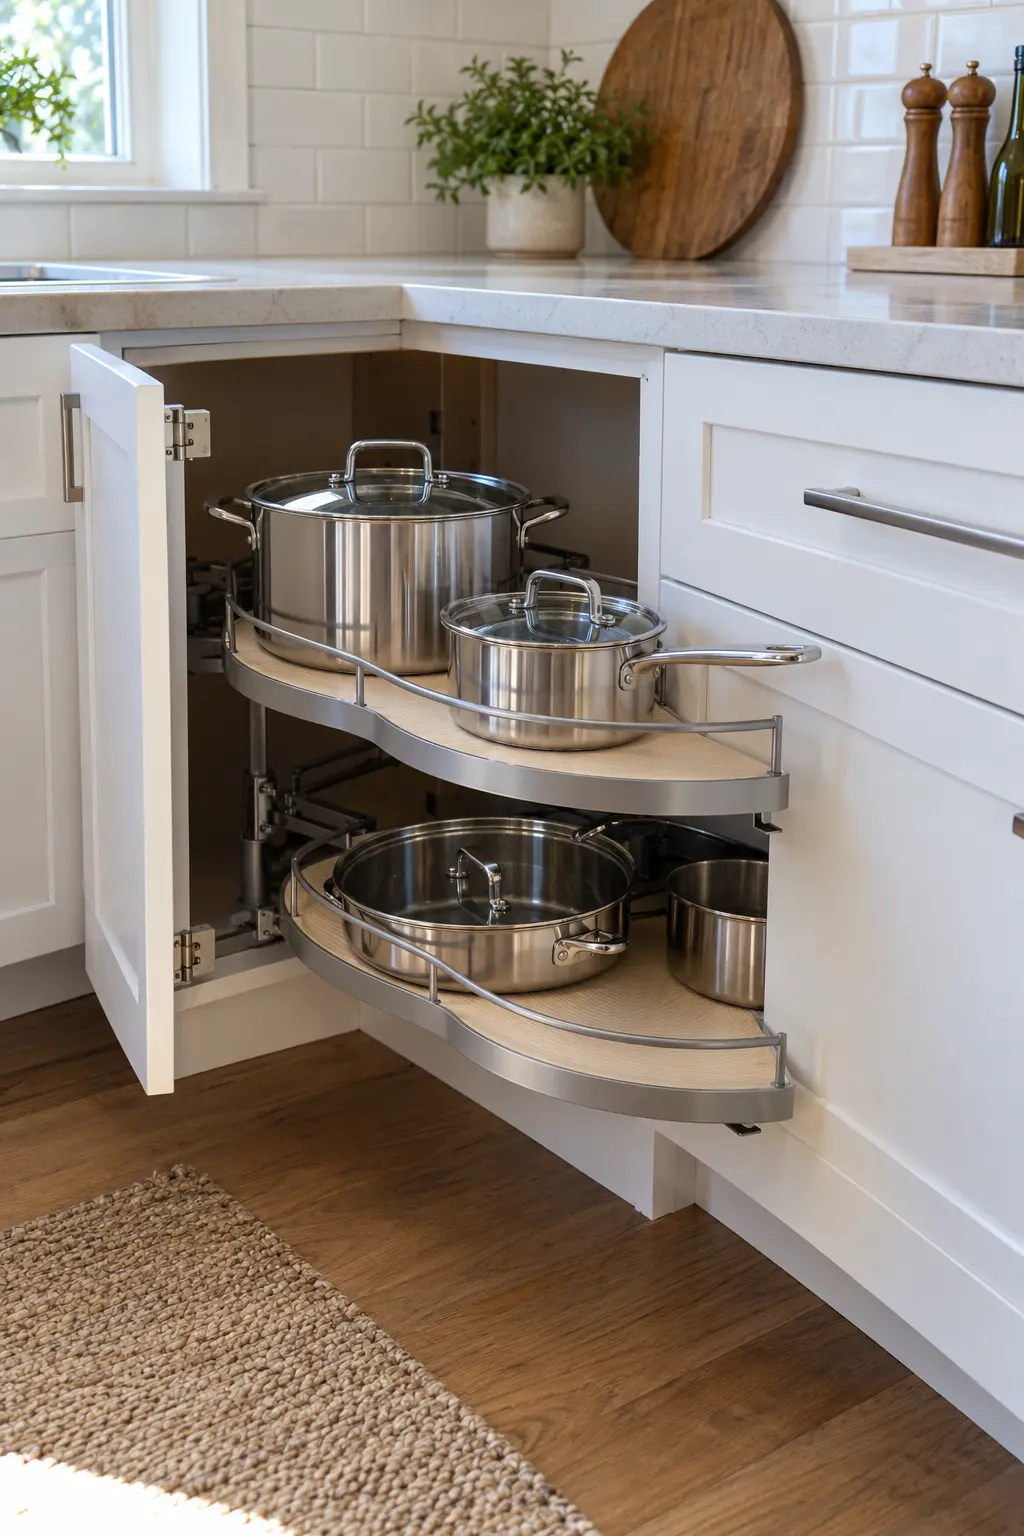
A swing-out or corner-specific organizer can recover space that otherwise becomes a graveyard for rarely used cookware. The mechanism must fit the cabinet opening—not just the interior footprint—and still clear adjacent handles.
33. Add Vertical Dividers for Pans and Boards
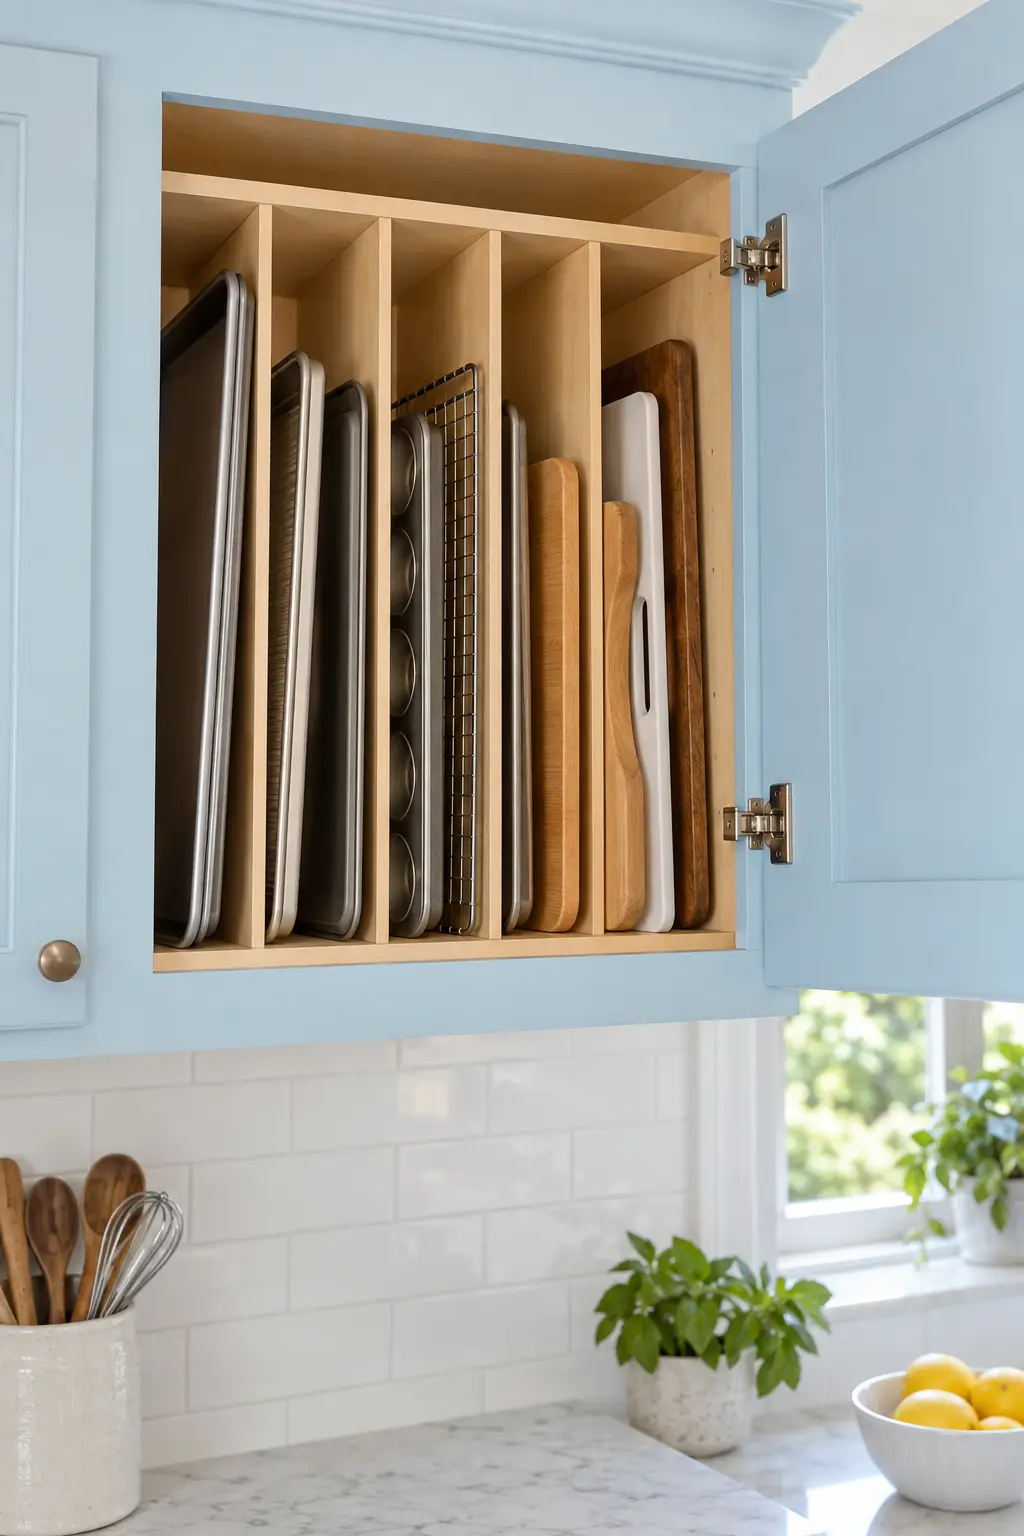
Vertical dividers stop sheet pans, trays, and cutting boards from collapsing into a stack. An upper cabinet over the oven or a narrow base cabinet often provides the most useful location.
Measure the tallest item and leave room to lift it out without scraping the shelf above.
34. Convert a Lower Door Cabinet to Drawers
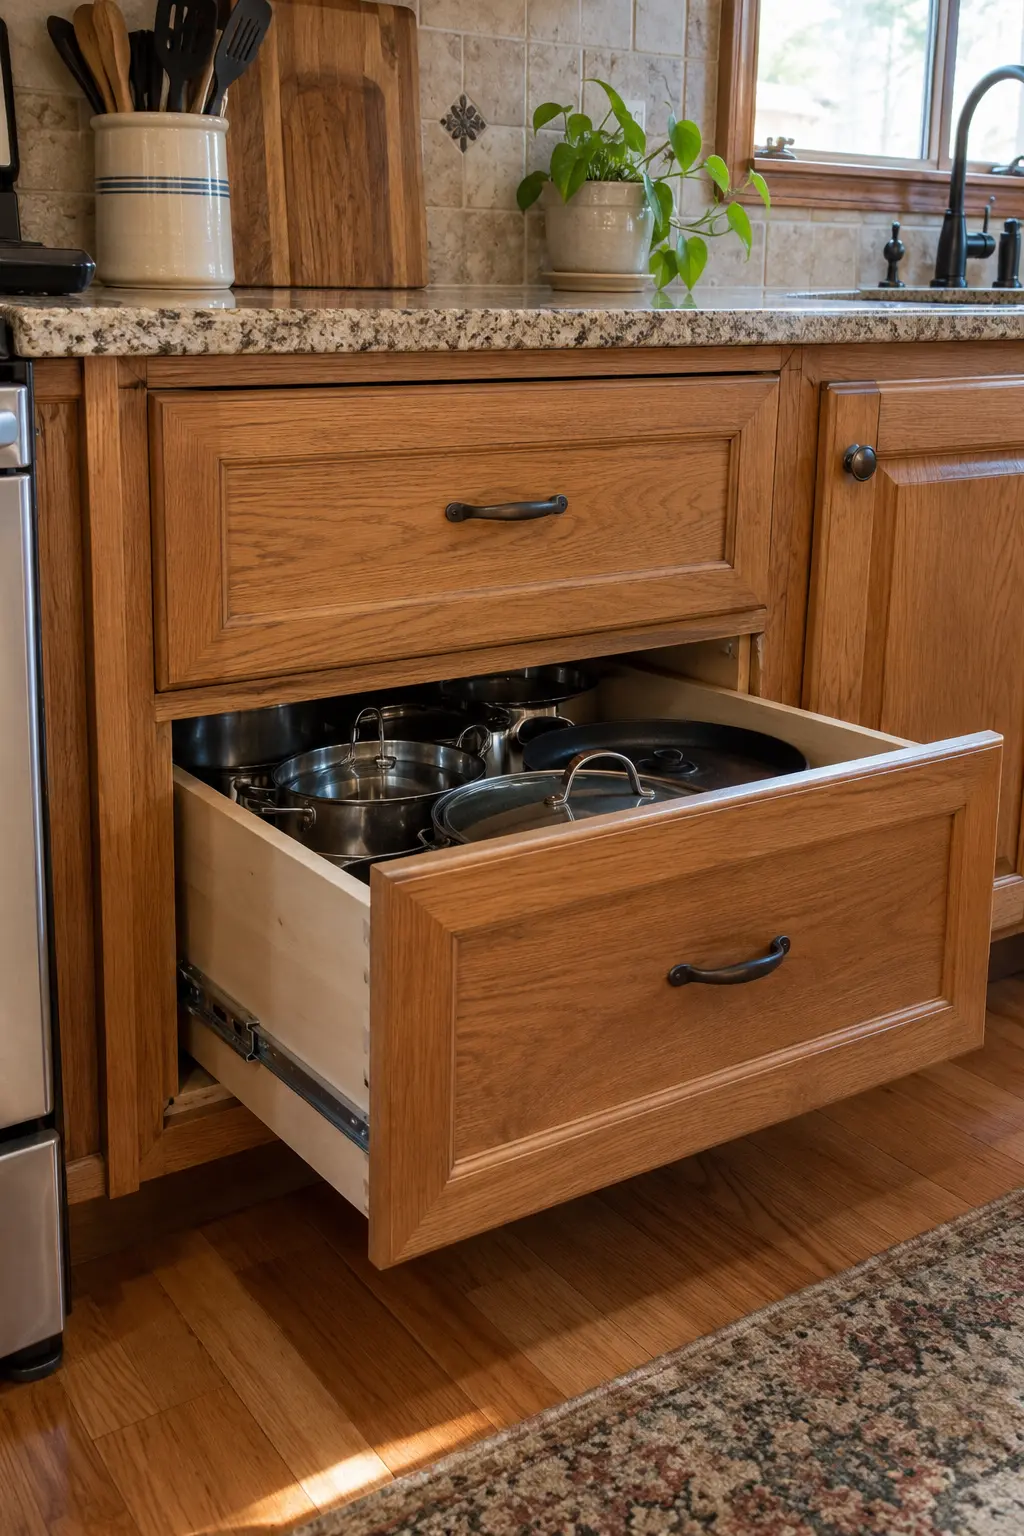
Deep drawers make everyday dishes or cookware visible from above and reduce kneeling. This is a larger carpentry change than adding a pull-out shelf, but it can be worth targeting to one high-use base cabinet.
Existing face frames, plumbing, and cabinet width determine whether a conversion is practical.
35. Use the Toe-Kick for Shallow Storage
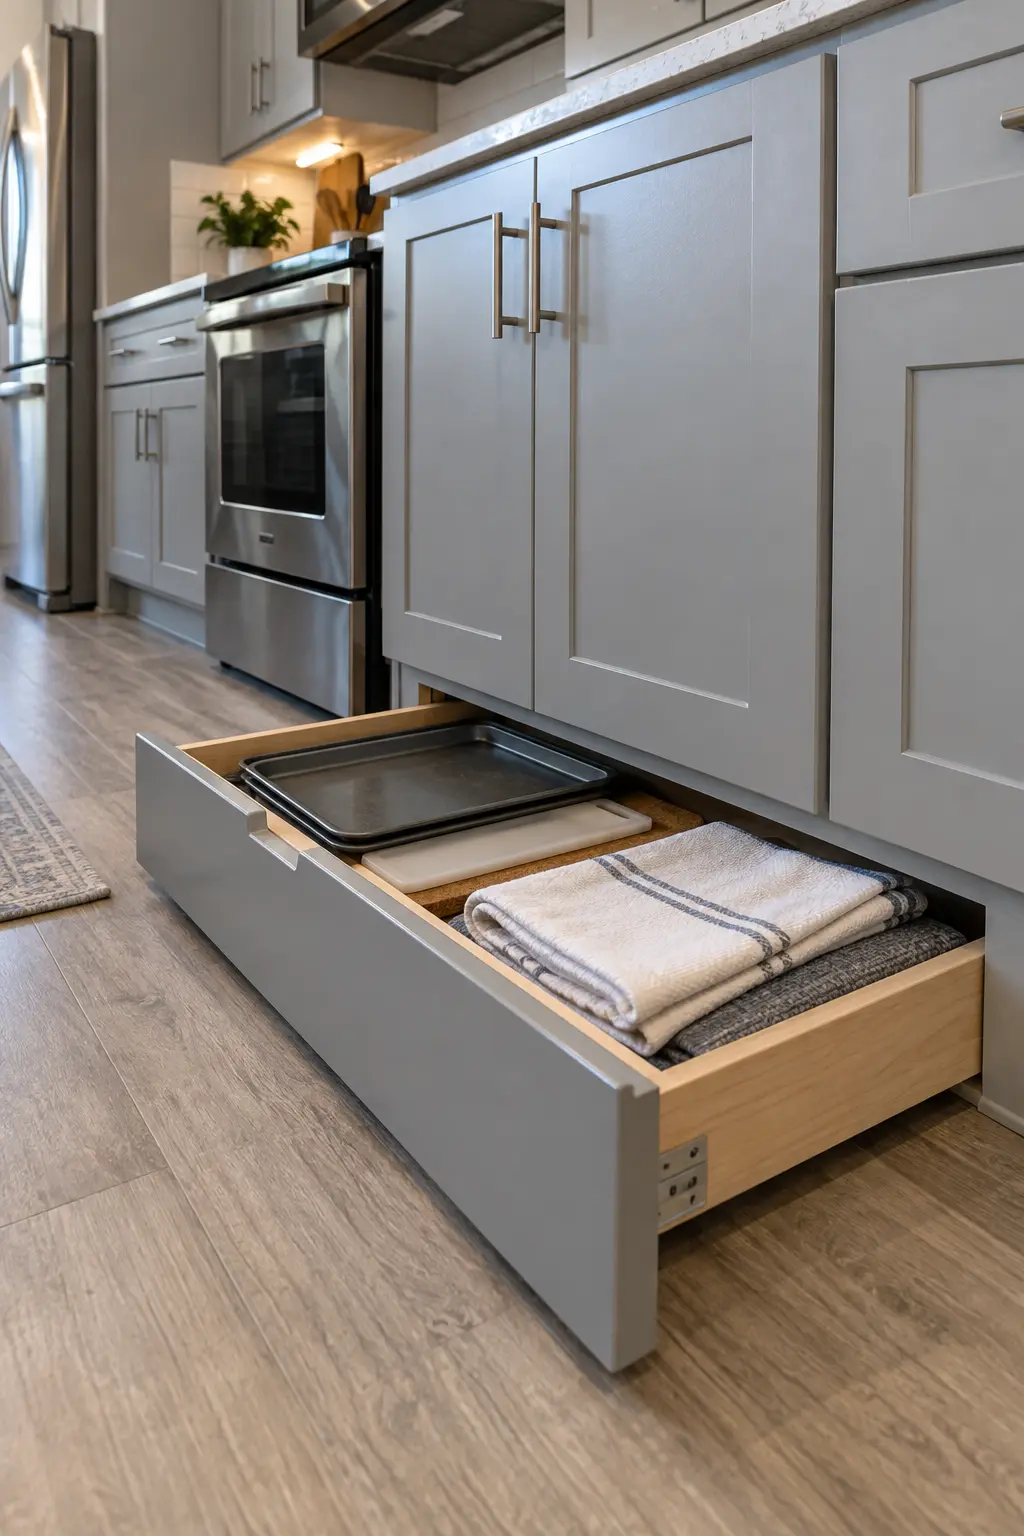
A toe-kick drawer can hold flat trays, serving boards, or spare linens in space that is usually hidden. It is most practical in a dry, unobstructed cabinet run away from plumbing and appliance ventilation.
This is a custom modification; confirm clearances before cutting into an existing base.
36. Light Dark Work Zones Under the Uppers
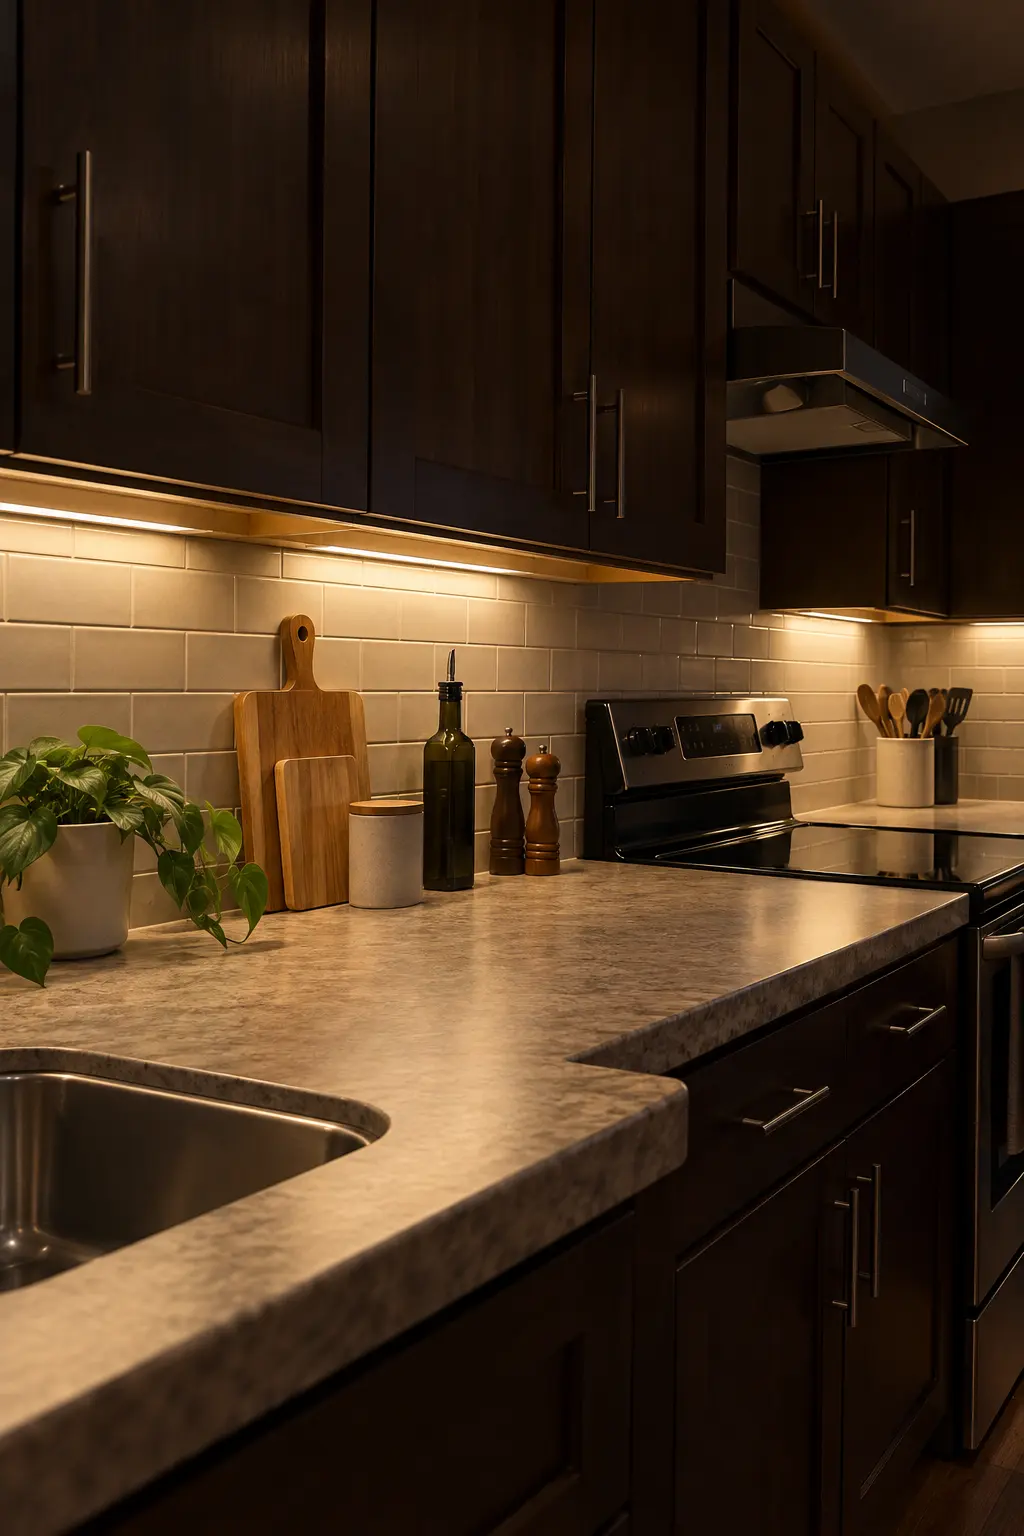
Even under-cabinet lighting can make dark cabinetry feel lighter and improve counter visibility. Conceal the light source behind the cabinet edge so you see the illuminated work surface, not a row of bright dots.
Plug-in systems avoid fixed-wiring work. Hardwired installation should be handled according to product instructions and local electrical requirements, with a qualified electrician where required.
Use a Targeted Makeover When a Full One Is Not Practical
Renters, tight budgets, and mixed-condition kitchens often benefit from a smaller intervention. Focus on reversible changes or on the one cabinet zone that visually controls the room.
37. Line Cabinet Backs with Removable Pattern
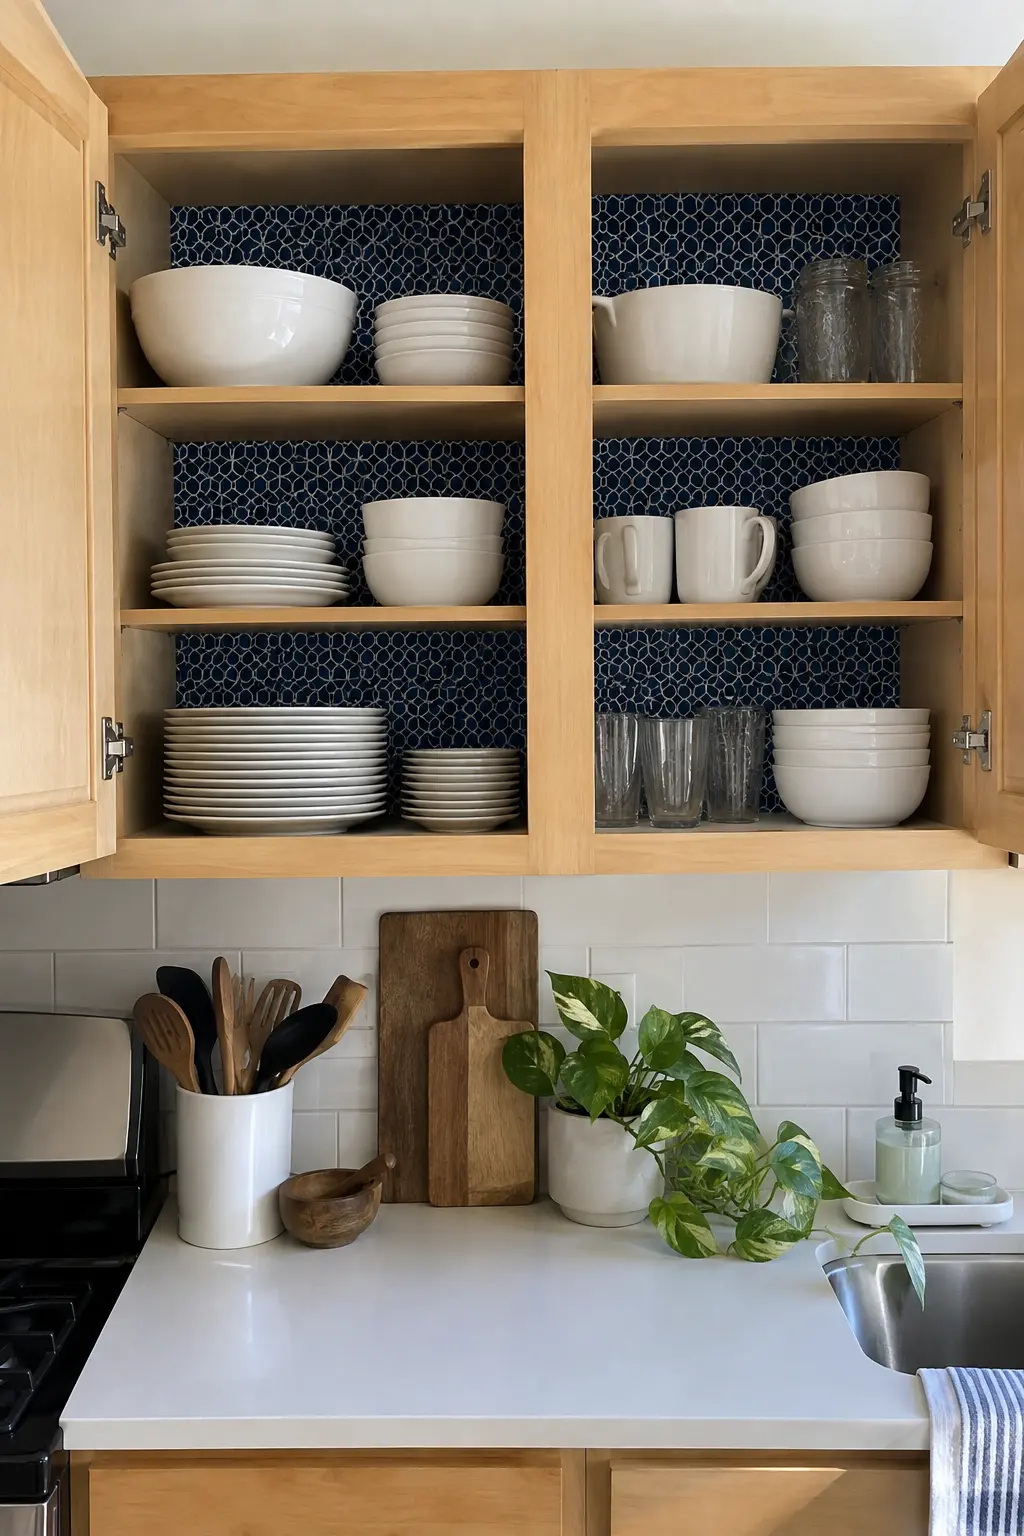
A removable liner behind open shelves or glass doors adds color without altering the cabinet exterior. Choose a washable material and test the adhesive in a hidden spot, especially in a rental or on an older finish.
Use the pattern in one or two cabinets, not across every interior. The small repeat is easier to live with and simpler to remove.
38. Make Reversible Changes in a Rental Kitchen
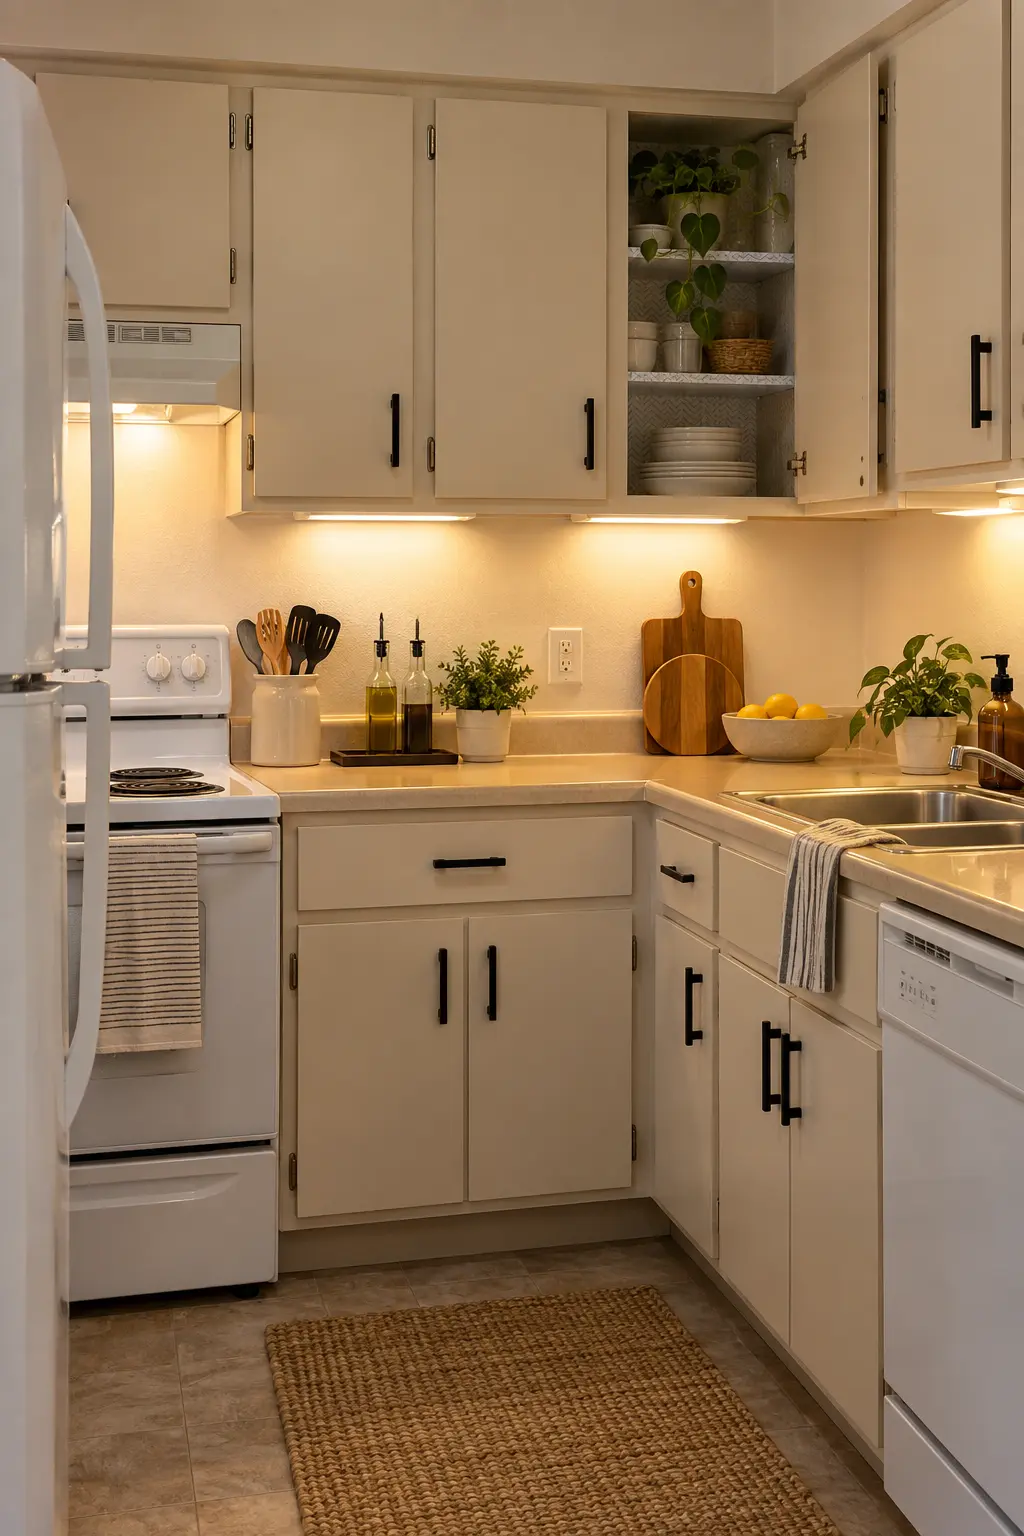
Keep the original hardware labeled in a box, use existing screw holes, and choose removable interior liners rather than painting. Plug-in task lighting can improve a dim counter without changing fixed wiring.
Get written permission before drilling, removing doors, or applying anything that may affect the finish.
39. Replace Only the Water-Damaged Sink Cabinet
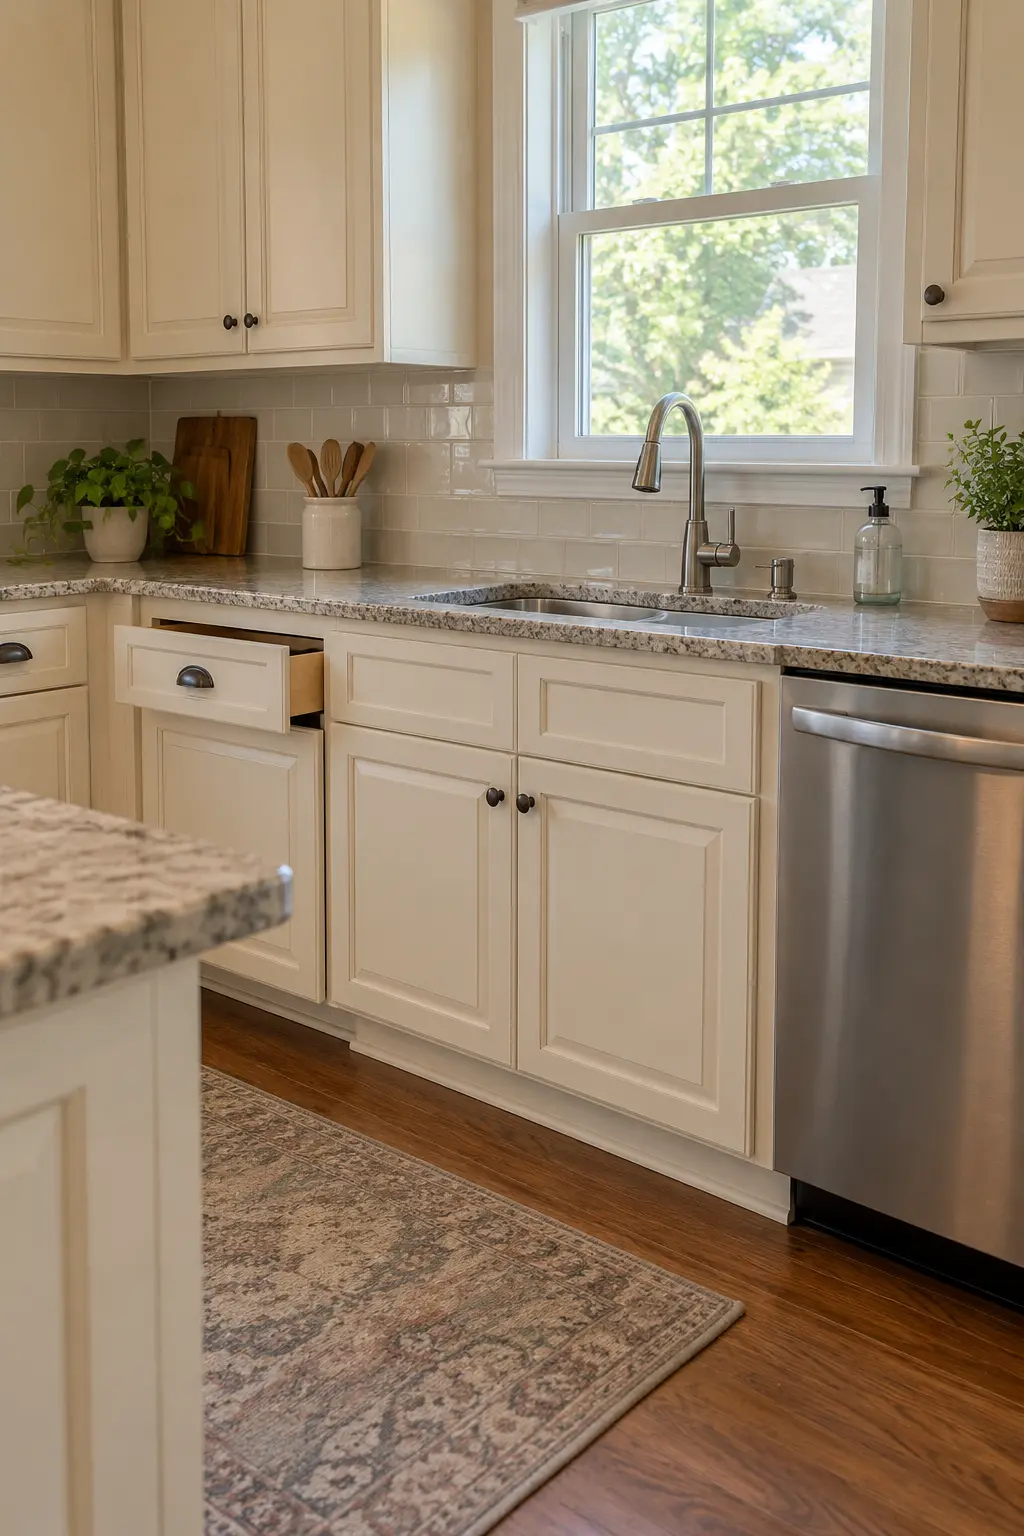
When damage is localized, replacing the sink base and matching its visible front can preserve the rest of a sound kitchen. The leak must be corrected and the area fully evaluated before new cabinetry closes it in.
A selective replacement is also a chance to add a durable interior liner and easier access around plumbing, but it should not conceal mold or structural damage.
40. Build the Makeover Around One High-Impact Zone
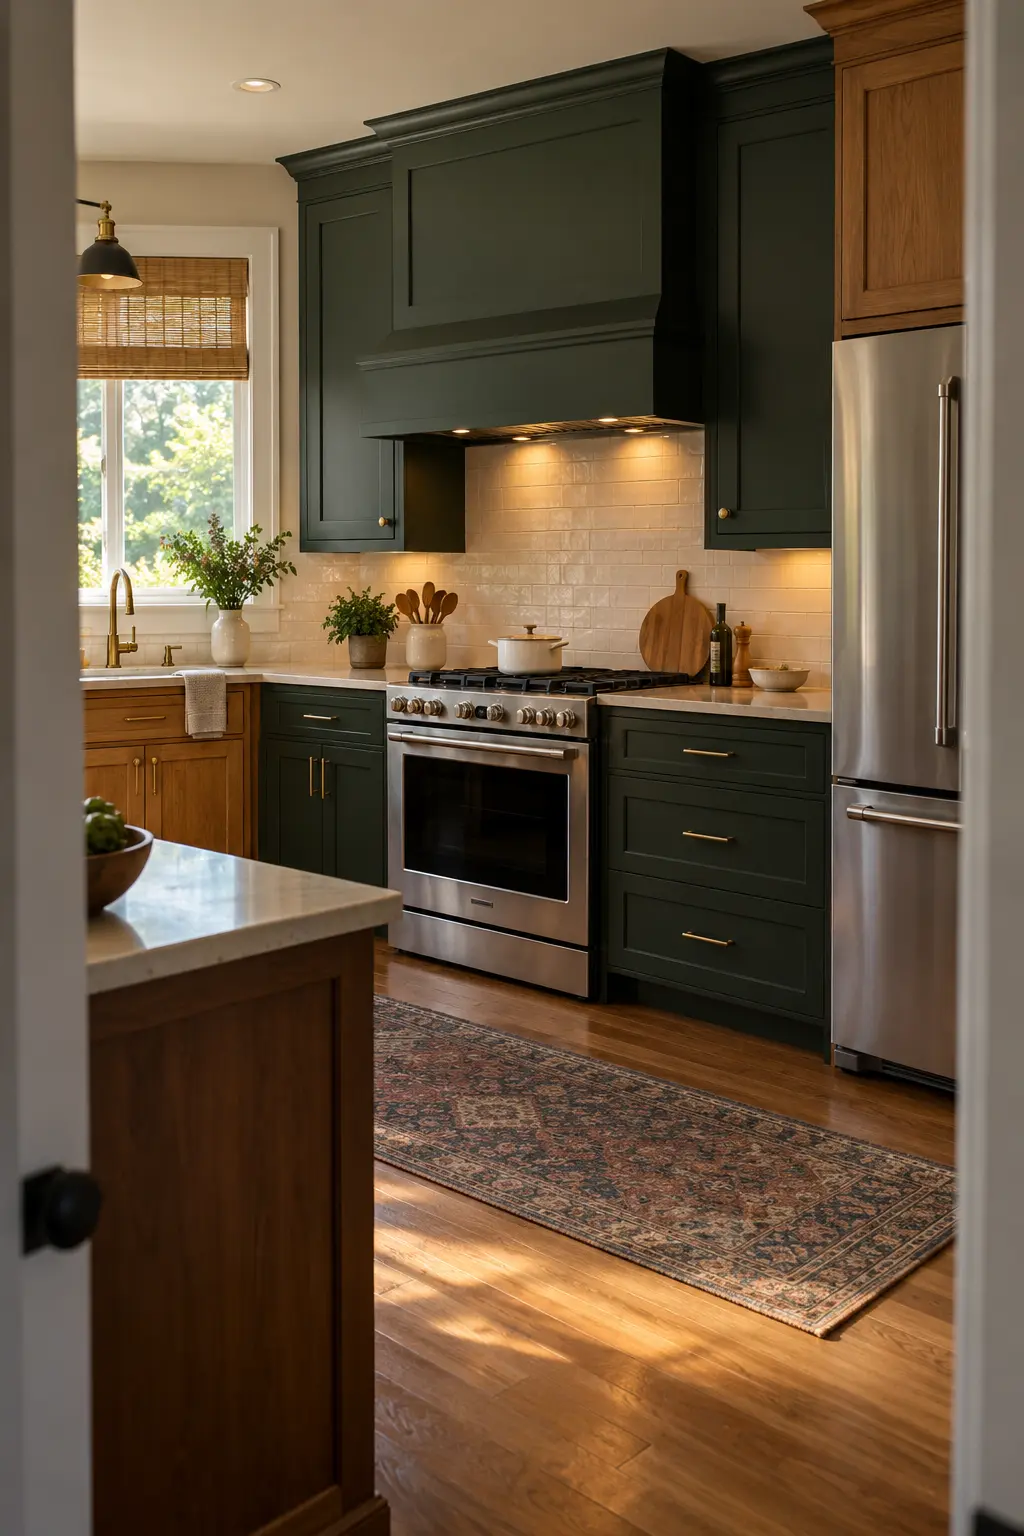
If the whole kitchen cannot change at once, choose the zone visible from the main doorway: the range wall, island, or tall pantry bank. Update that connected area completely—finish, hardware, trim, and lighting—while leaving the quieter cabinets alone.
A finished zone looks deliberate. A thin layer of small changes spread everywhere often looks like a project still waiting to be completed.
Choose the Cabinet Makeover Your Kitchen Actually Needs
Begin with condition, not color. If the boxes are sound and the layout works, finish, doors, hardware, millwork, and interior fittings can solve very different problems without defaulting to full replacement.
Pick one visual goal and one functional goal, test materials in the room, and finish a connected zone before expanding the project. The result will feel more intentional—and be easier to maintain—than a collection of unrelated updates.