50 U-Shaped Kitchen With Peninsula Ideas

This post may contain affiliate links: full affiliate disclosure.
A U-shaped kitchen with a peninsula can concentrate storage, prep space, and seating into a compact footprint. The same extra leg can also create a bottleneck, so plan from finished cabinet faces, appliance projections, and the routes people actually use.
These 50 ideas were retained from an 88-option research pool after removing finish-only swaps, repeated seating variations, and concepts that were impractical or visually indistinguishable. Use them as planning prompts, then verify dimensions against your room, adopted code, accessibility needs, and each product's instructions.
How to Plan a U-Shaped Kitchen With a Peninsula
Start with a full-size floor mockup. Open every nearby door, pull out the stools, carry a laundry basket through the entry, and ask a second person to pass the cook before cabinetry or stone is ordered.
Fit the Peninsula to the Room
The peninsula should complete the U without turning its opening into a squeeze point. Test length, depth, and end shape against real movement before chasing more cabinets or seats.
1. Tape-Test the Full Footprint
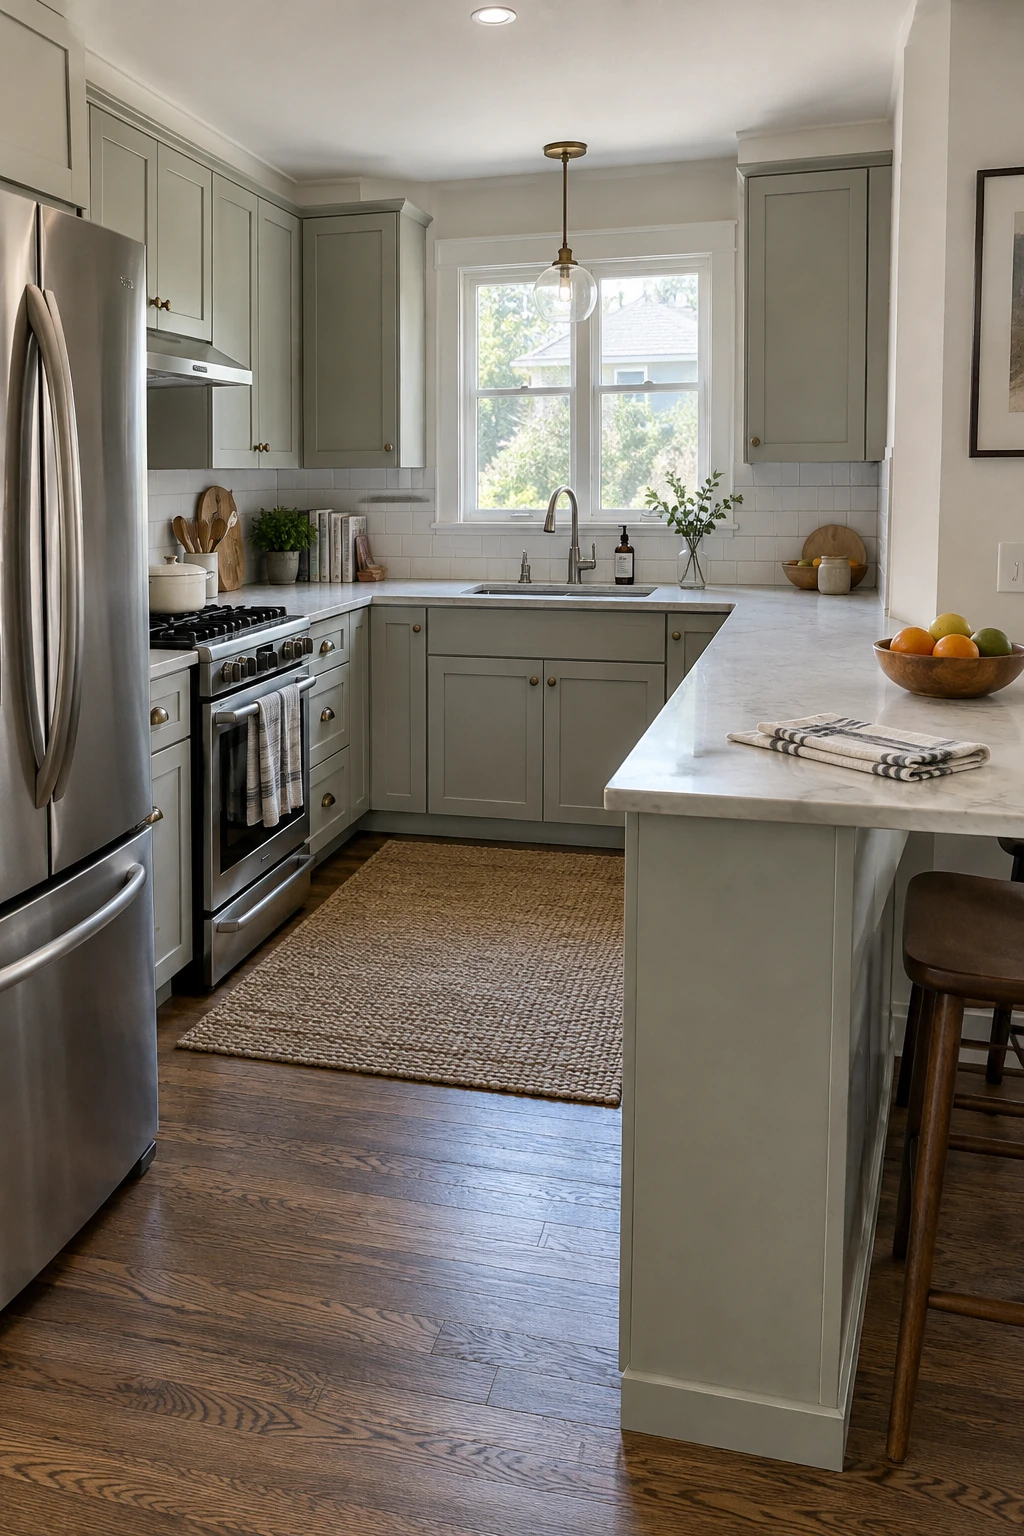
Mark the finished peninsula edge, overhang, stool backs, and open appliance doors on the floor. A laser measure can speed repeated checks, but painter's tape and cardboard reveal the occupied footprint more clearly.
Walk the route from entry to refrigerator, sink, range, and dining room. Repeat the test with another person standing at the sink so the plan reflects family use instead of an empty room.
Planning check: Record the narrowest point with doors, drawers, and stools in use.
Measure from projected handles and pulls, not cabinet boxes alone. Verify the final clearances with your designer, local requirements, and the exact appliance specifications before ordering.
Shop the Bosch laser measure on Amazon
2. Stop Before the Doorway
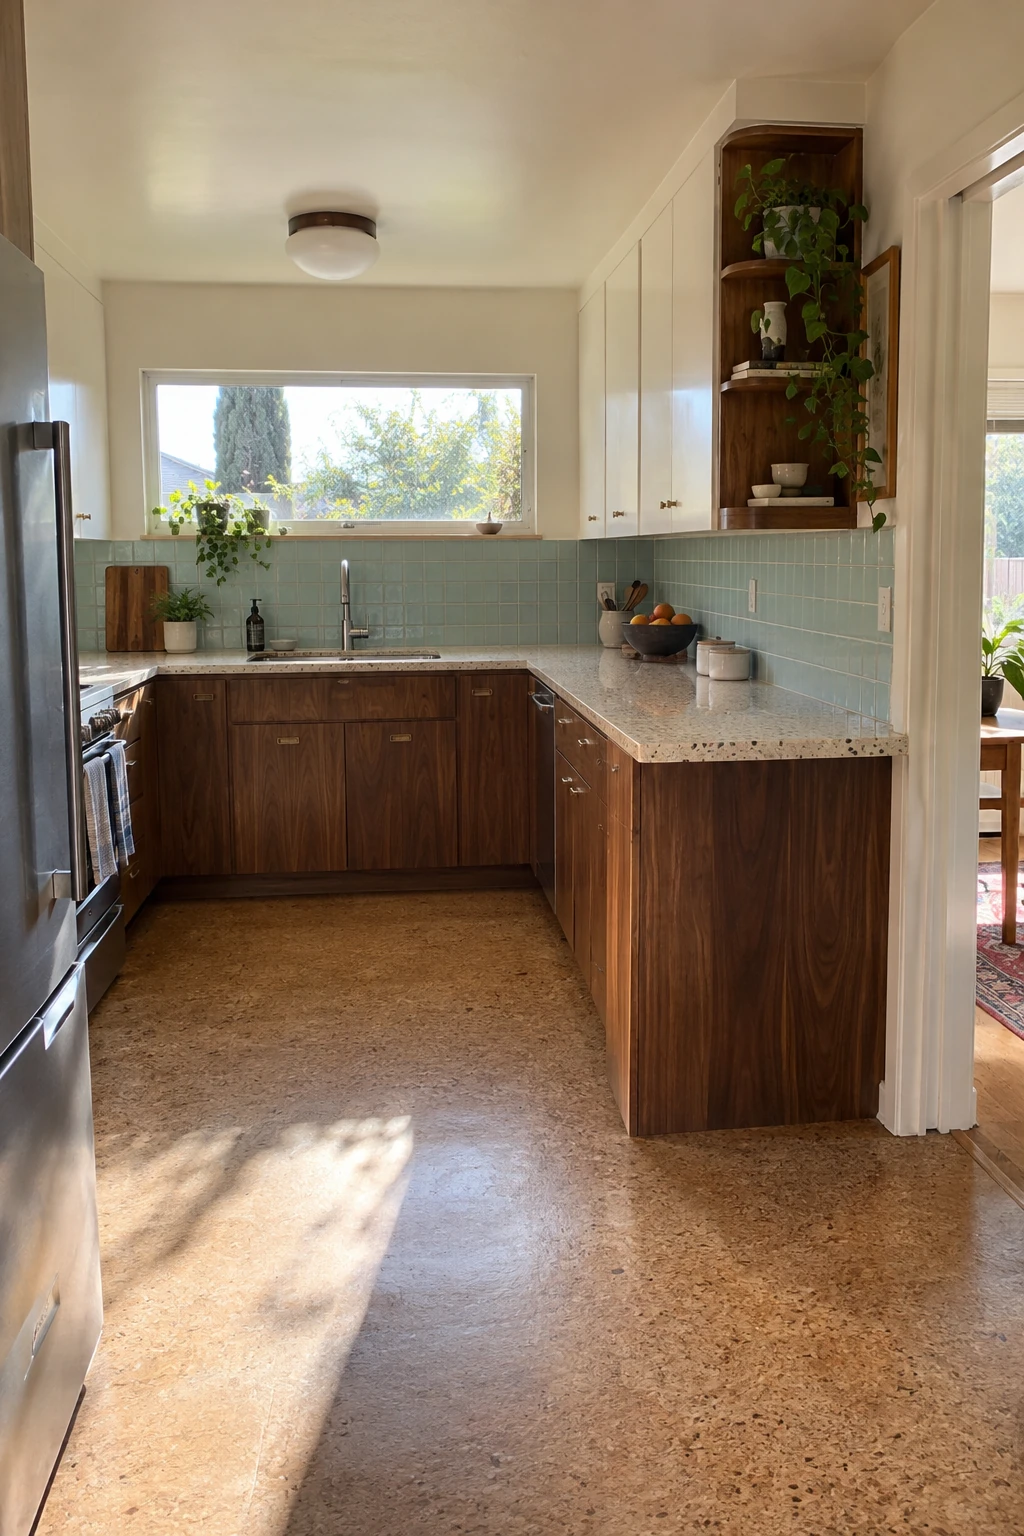
End the peninsula before a doorway, patio slider, or hall crossing begins. A few extra inches of cabinetry rarely compensate for a daily shoulder squeeze.
Check trim, baseboards, switch plates, and the full door swing. The end panel should look intentional while leaving a comfortable approach from both directions.
Planning check: Carry a wide object through the opening during the mockup test.
Use the saved end space for a clean turning zone or a narrow wall hook outside the traffic path. Keep freestanding bins and pet bowls from reclaiming the clearance later.
3. Separate the Public Passage
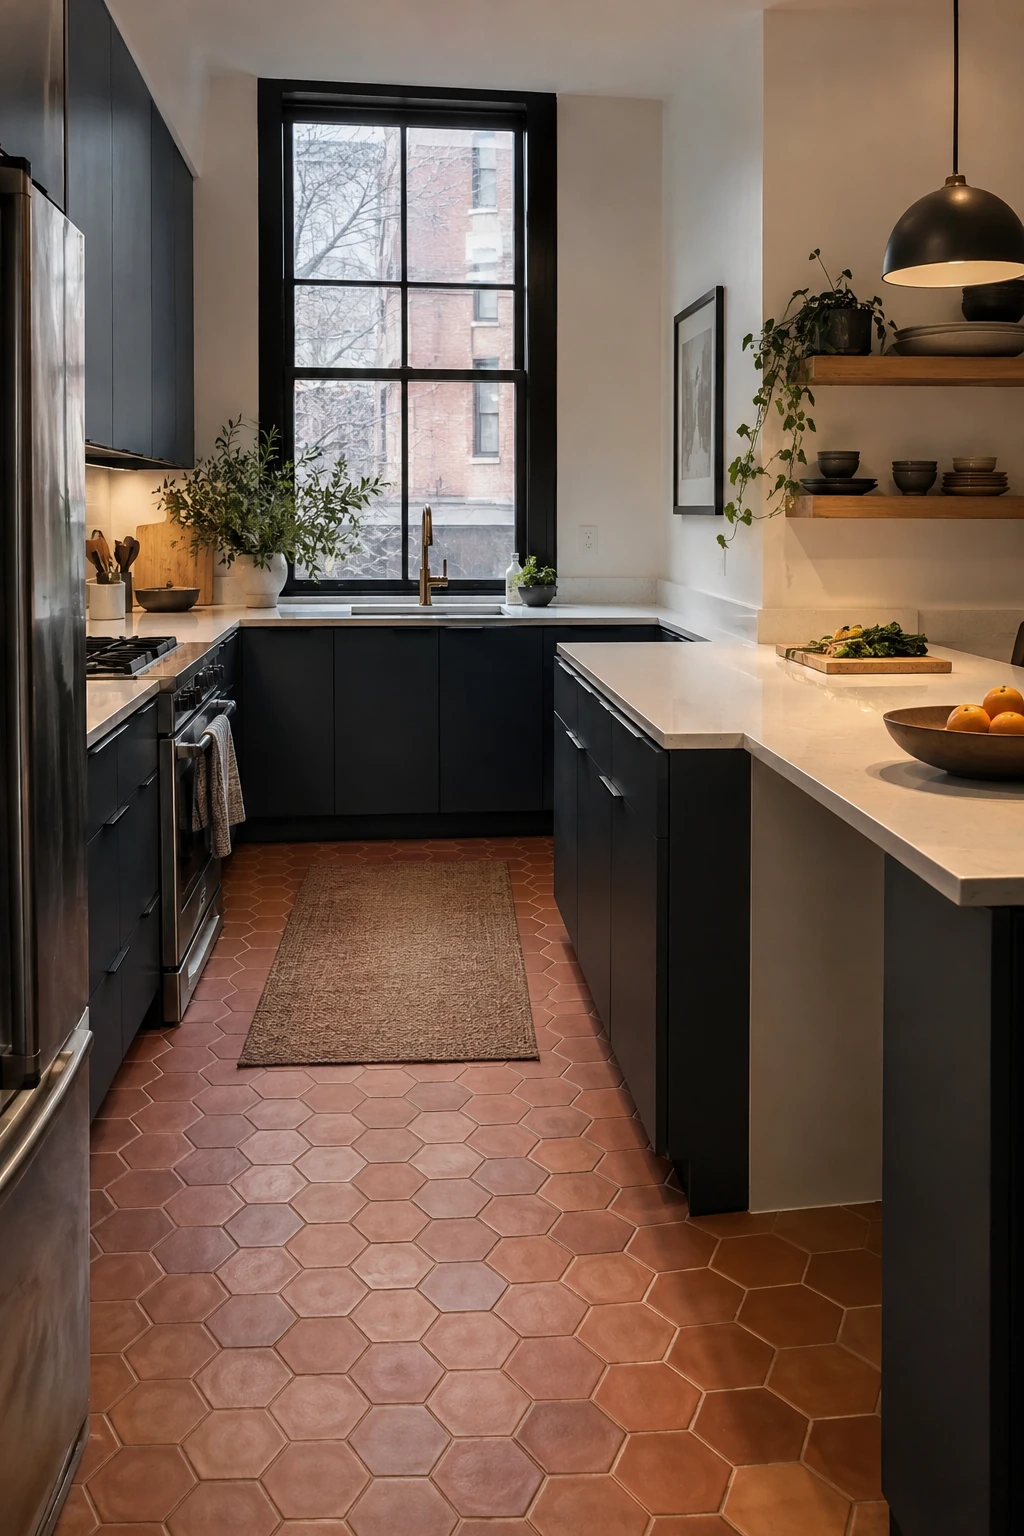
Aim household traffic behind the peninsula rather than through the sink-to-range route. An offset or slightly shorter leg can preserve a direct passage to the dining area.
- Trace the entry-to-dining route
- Trace the refrigerator-to-table route
- Test both while a stool is occupied
Place snacks, drinks, and everyday dishes on the public side so family members do not enter the work core. This is especially useful during breakfast and homework hours.
Watch for a second pinch point where the public passage meets a wall, table, or open refrigerator. Plan the whole route, not just the peninsula opening.
4. Clip the Entry Corner
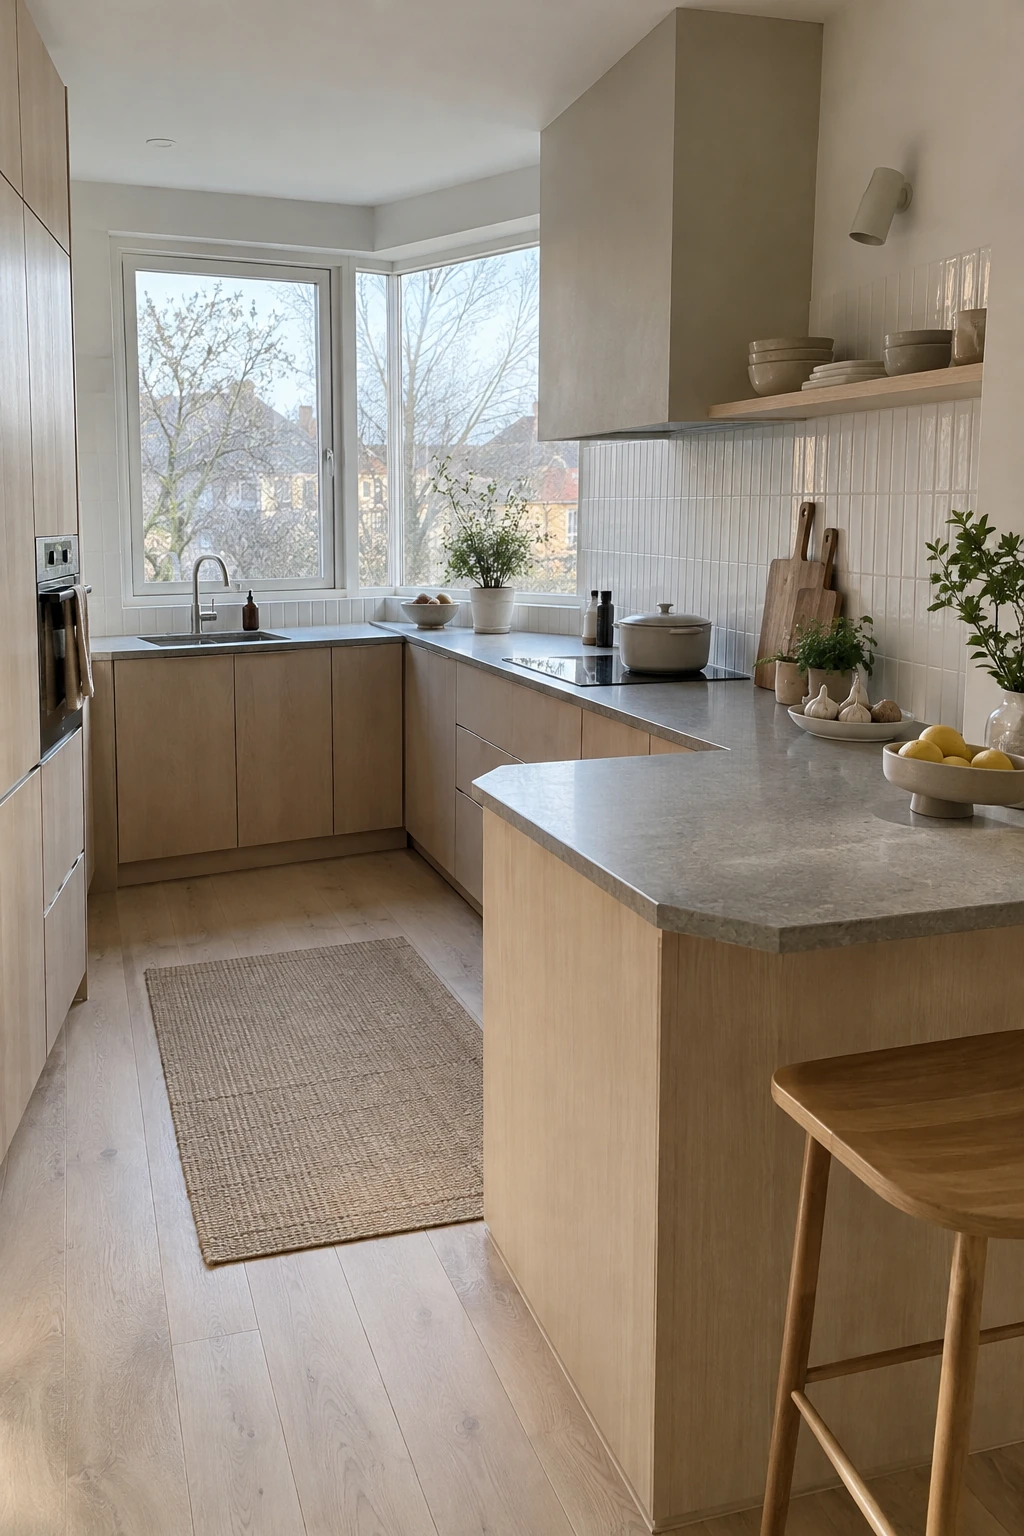
A clipped outer corner can soften the approach when a square end feels abrupt. Keep the angled cut modest so the counter remains useful and the base cabinet can still support it.
Resolve the edge profile, panel joint, and flooring below the angle before fabrication. An improvised cut can leave a weak corner or awkward exposed substrate.
Planning check: Confirm that the clipped end still protects the cabinet hardware from passing traffic.
Mock up the exact shape at hip height, not only on the floor. Ask the cabinet and countertop teams to coordinate the support and finished edge.
5. Round the Outer End
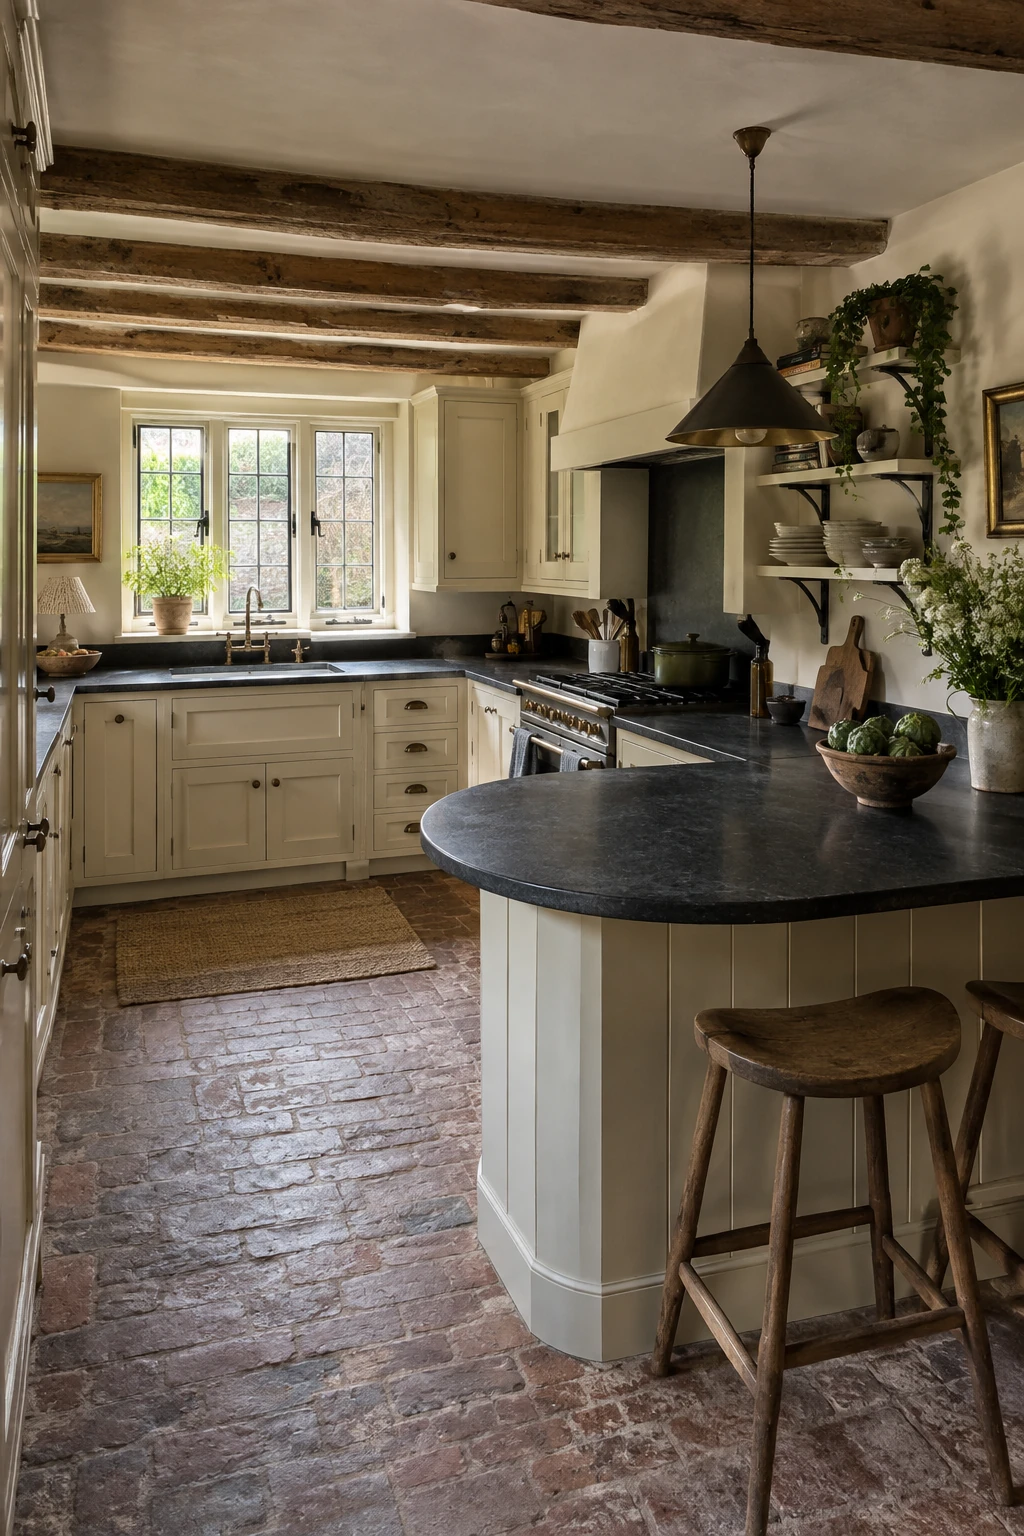
A rounded end can ease circulation and give end seating a more natural shape. It works best when the counter material, substrate, and edge detail can be fabricated as one deliberate system.
Keep stools inside the curve rather than scattering them around it. Hidden brackets or an engineered frame may be needed depending on material, thickness, and overhang.
Planning check: Check the curve against open cabinet doors and the passing route.
Request shop drawings before approval. Verify support, edge radius, and seating clearance with the fabricator's instructions instead of relying on a generic rule.
Choose the Right Depth and Work Surface
Depth determines how the peninsula works, how far people reach, and how much aisle it consumes. Treat the counter, cabinets, supports, and stools as one assembly.
6. Build an Extra-Deep Prep Surface
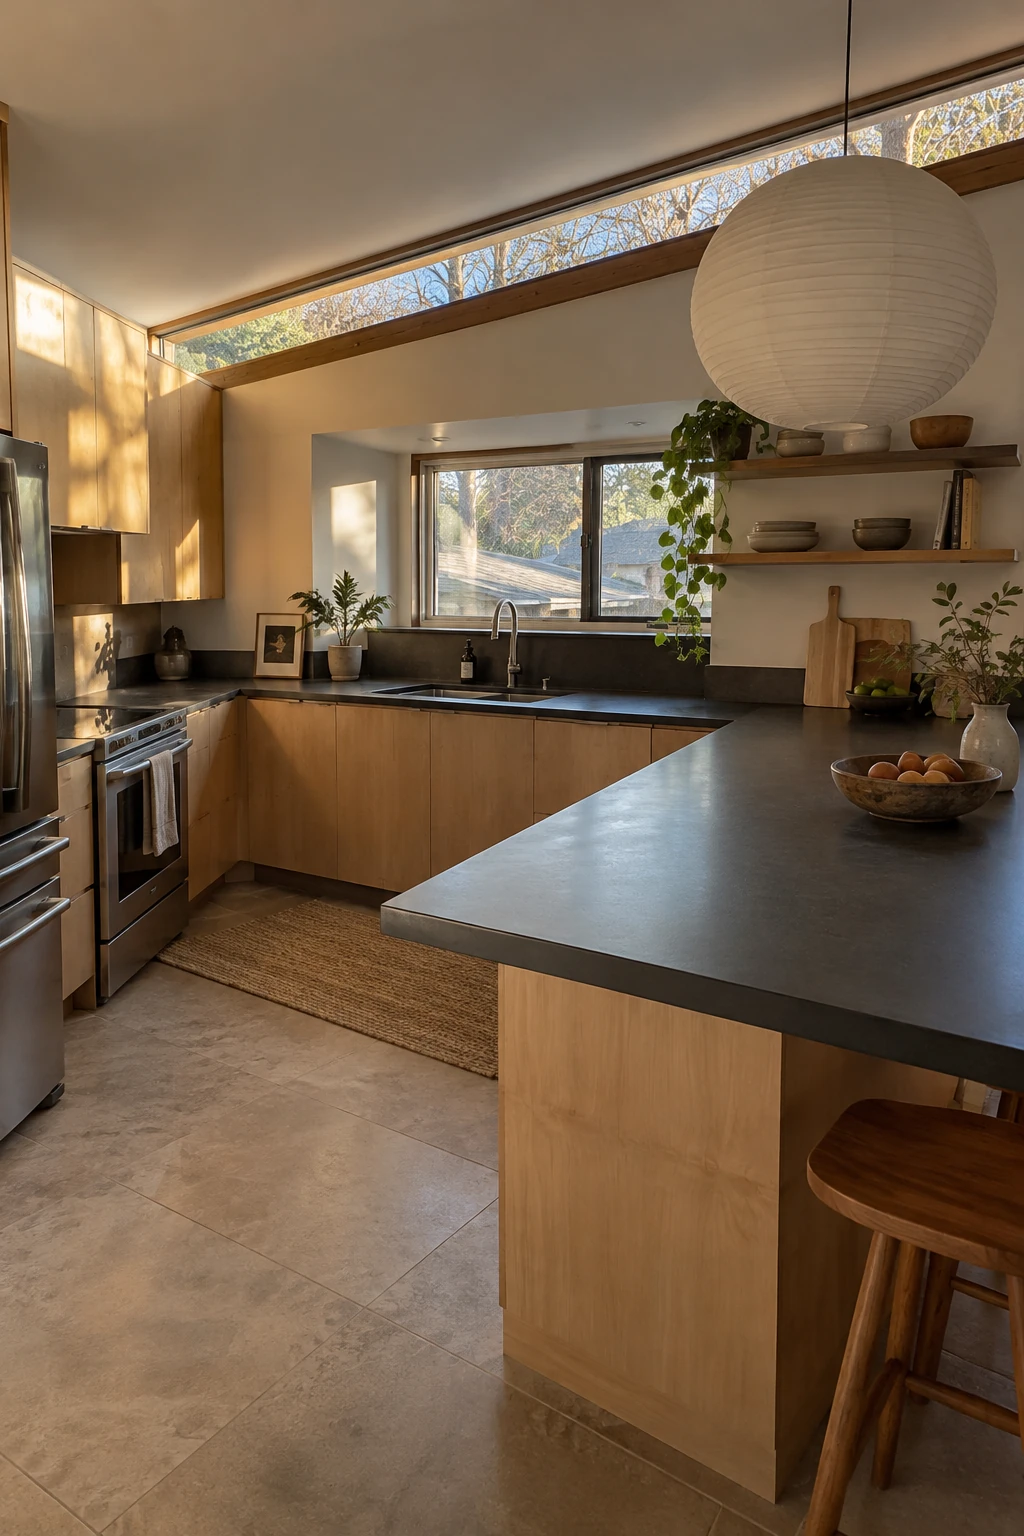
A deeper peninsula can hold large mixing bowls, sheet pans, and shared prep without crowding the cook. It suits rooms with enough aisle width on both the kitchen and public sides.
Keep the center reachable for wiping and avoid placing daily items beyond a comfortable stretch. Plan seams, substrate, and support before selecting the slab.
Planning check: Test reach from both sides with the proposed backsplash and any raised ledge.
Deep counters can hide outlets and create broad overhangs. Coordinate electrical access and structural support with the exact material and local requirements.
7. Use a Shallow Storage Peninsula
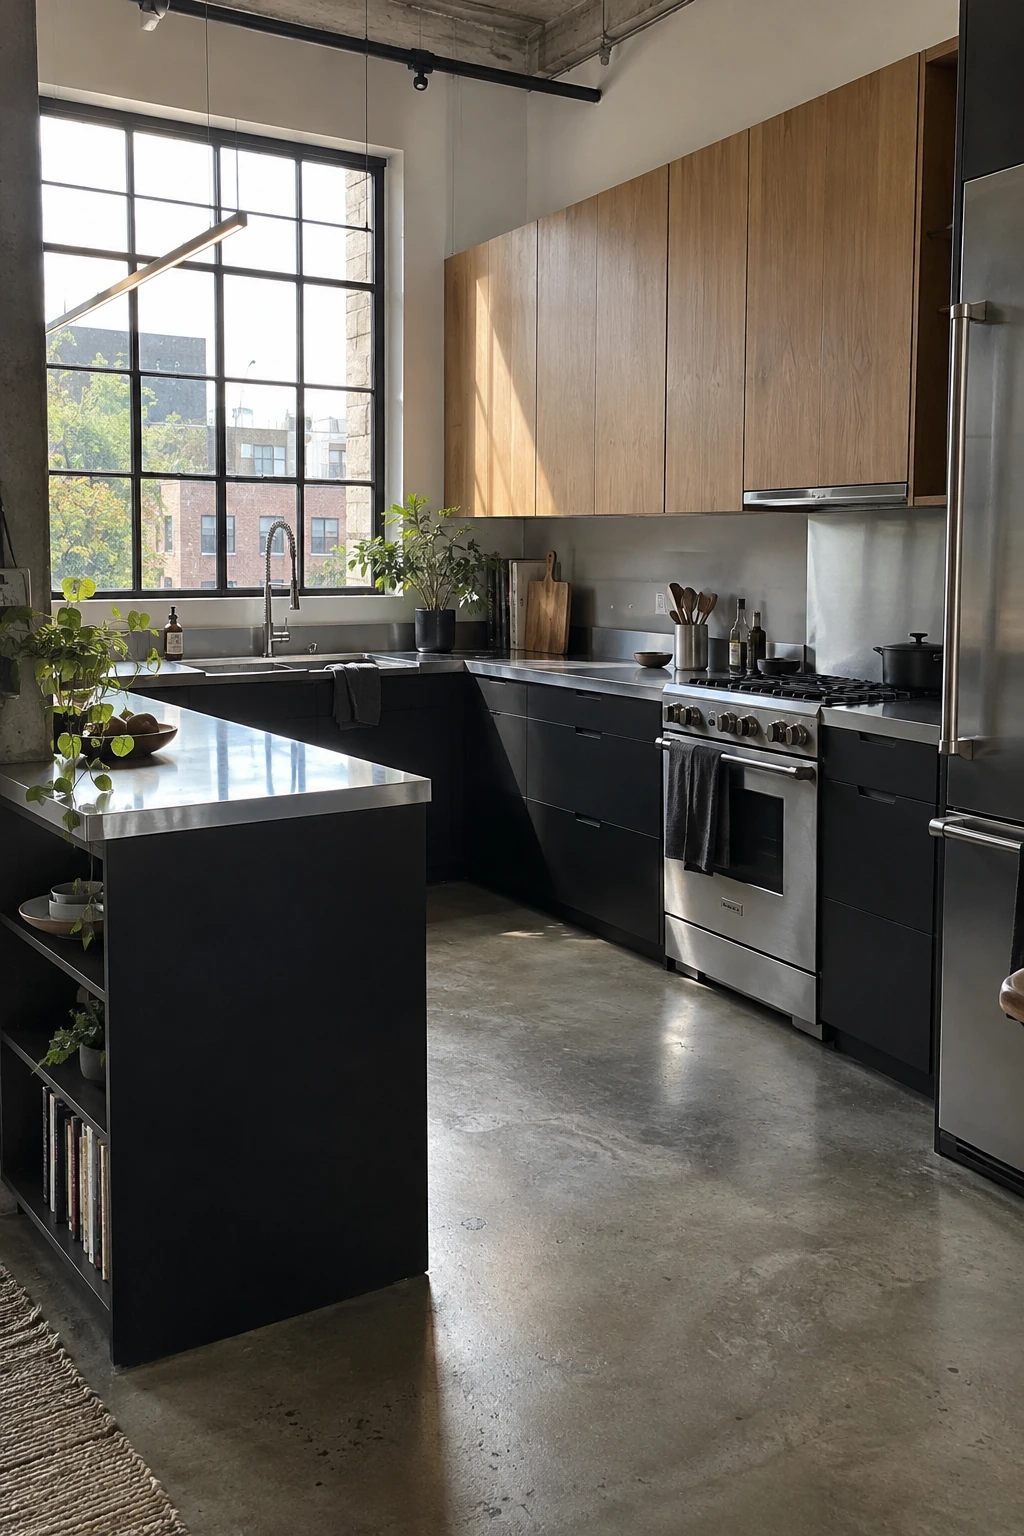
When the room is tight, a shallow cabinet run can define the U without consuming the width of full-depth bases. Store trays, linens, or pantry items rather than heavy appliances.
Choose hardware that stays close to the fronts and confirm that doors can open beside the opposing run. Wall cabinets repurposed as bases may need approved reinforcement and a finished plinth.
Planning check: Verify cabinet anchoring and countertop support for the shallower boxes.
Skip stools if the overhang would erase the remaining passage. A narrower dry counter can still become a valuable landing and serving surface.
8. Add a Raised Serving Ledge
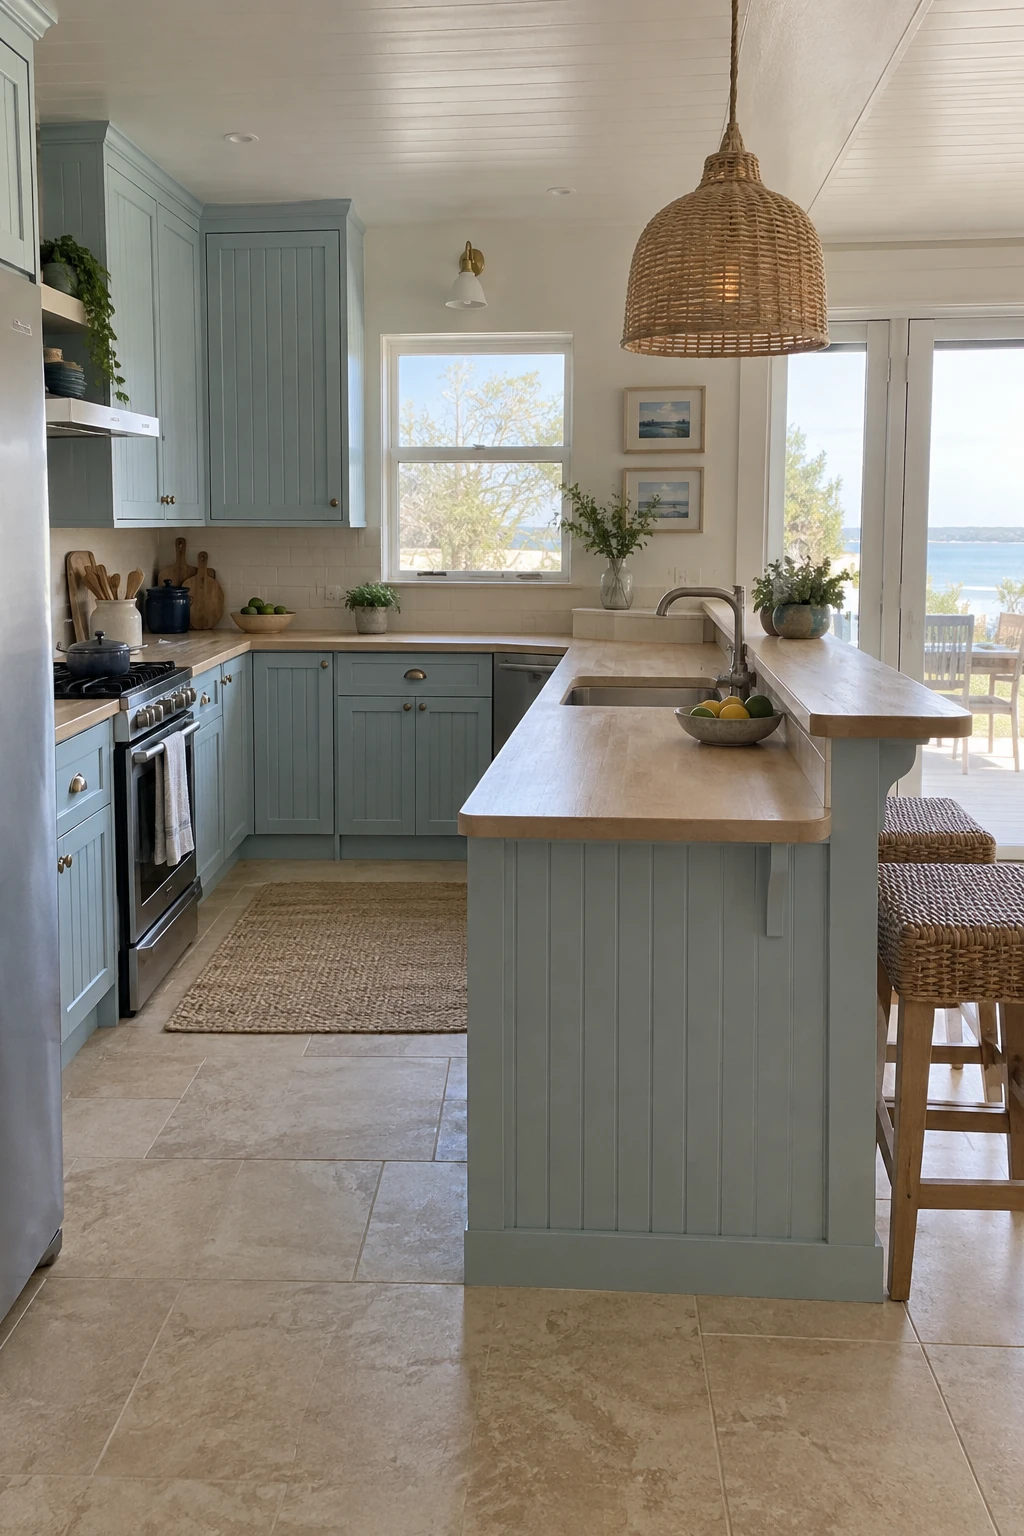
A raised ledge can screen dish clutter and give guests a separate place for glasses. Keep the step modest so it does not create a bulky barrier across a small room.
- Serving and glass landing
- Splash screening
- Joint and cleaning access
Plan the joint, brackets, backsplash return, and cleaning access as part of the cabinet package. Narrow ledges collect objects quickly when they are not assigned a clear use.
Compare the ledge with a single-level counter before committing. The simpler plane is often easier for baking, buffets, and future accessibility.
9. Include a Lowered Work Position
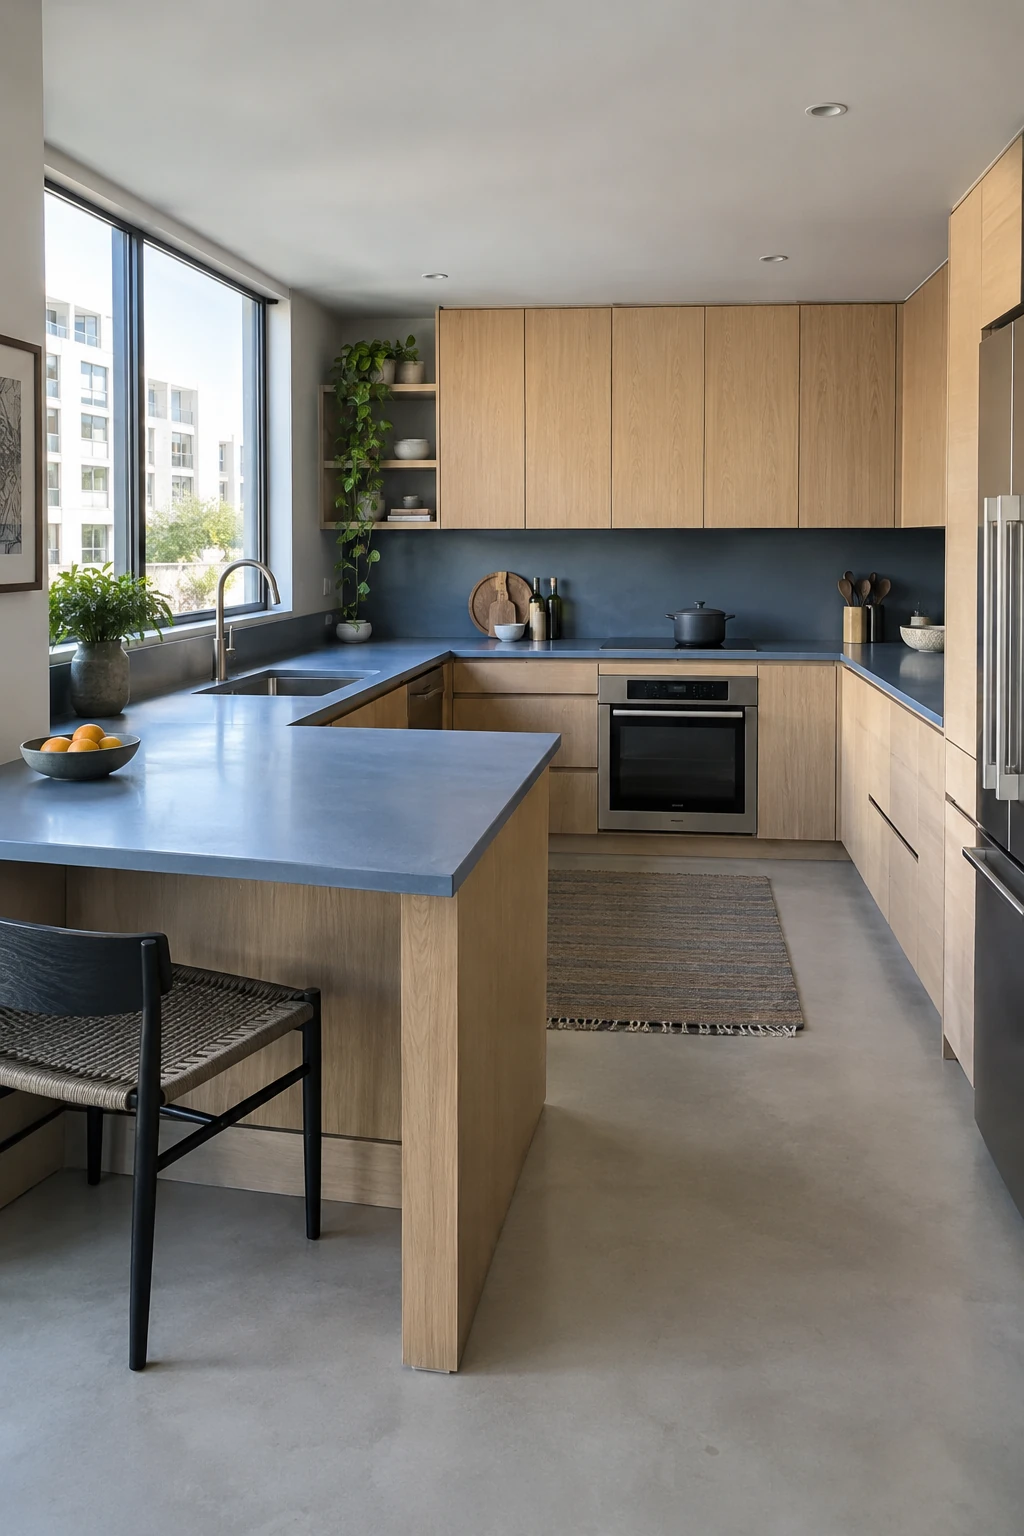
A lowered open-knee section can support seated prep, a child's baking task, or changing mobility needs. Place it where the approach remains clear and away from hot appliances.
Finish the underside, protect knees from sharp edges, and keep plumbing or wiring outside the open bay. Removable base cabinetry can make future adaptation less disruptive.
Planning check: Mock up the work position with the actual chair or mobility device.
Accessibility rules vary by project and jurisdiction. Base final height, reach, clear floor space, and knee clearance on the user, applicable standards, and qualified guidance.
10. Trade Stools for Full Storage
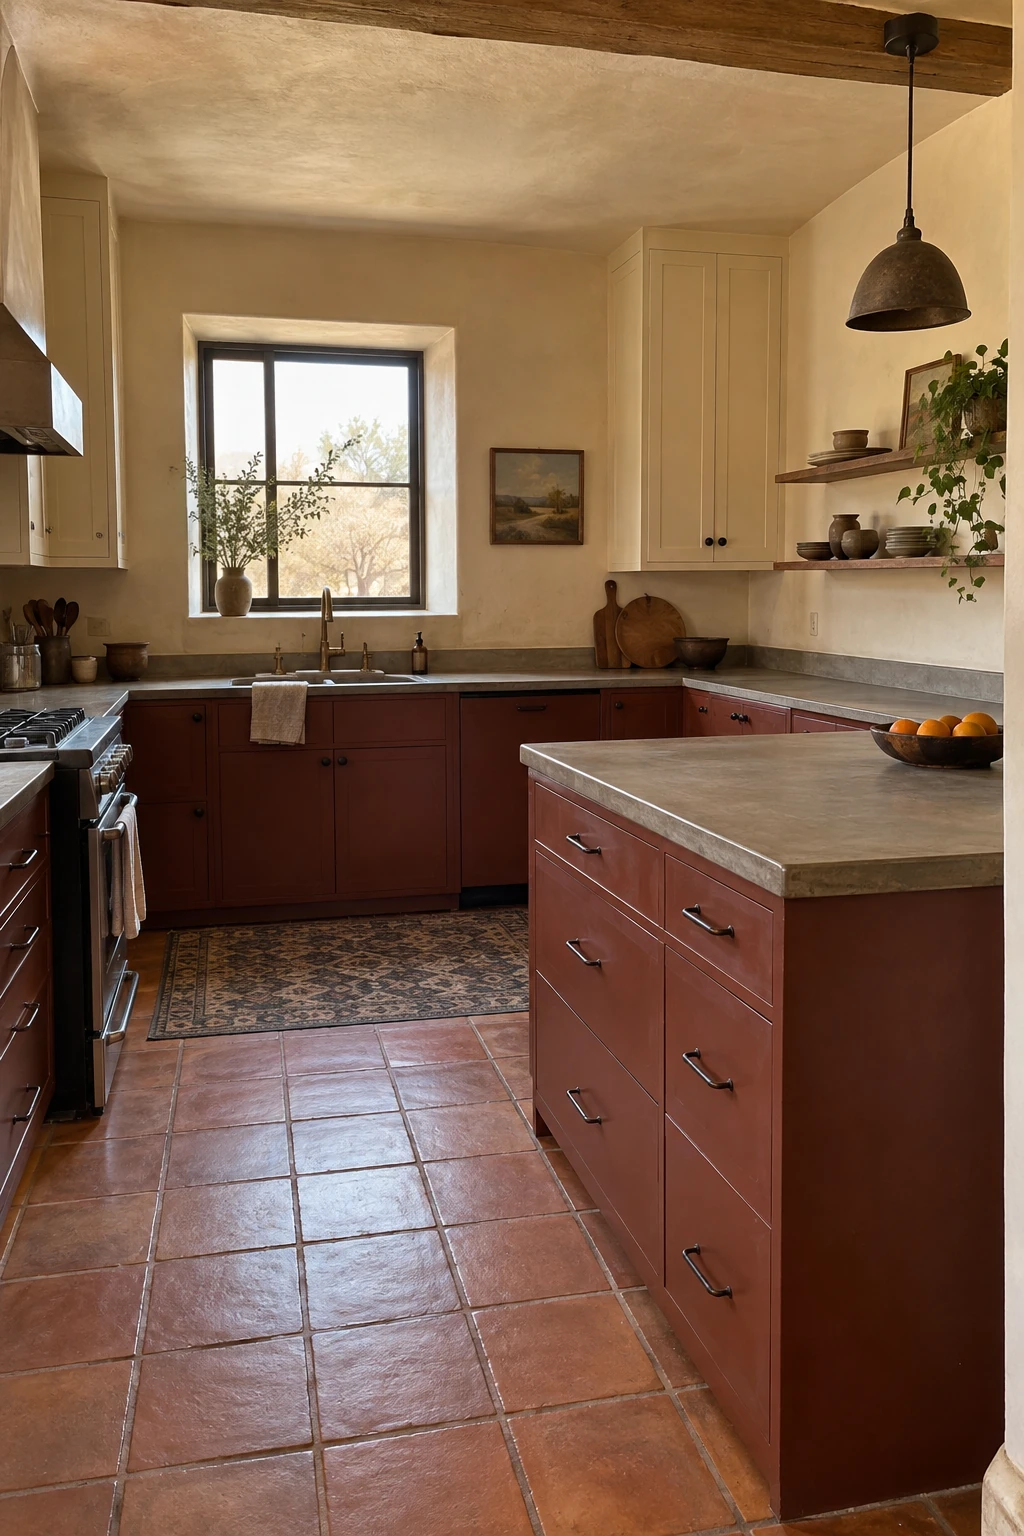
Use the public side for full-depth or back-to-back storage when seating would crowd a walkway. This can hold serving pieces, seasonal linens, or small appliances close to the dining room.
Confirm that doors open without colliding with dining furniture. Shallow push-latch cabinets can keep the back visually quiet where handle projections would catch clothing.
Planning check: Assign the cabinet contents before selecting depth and shelf spacing.
Compare the result with existing kitchen storage ideas before adding specialty hardware. Simple shelves may outperform an expensive mechanism for infrequently used pieces.
Place Sinks and Appliances Without Conflicts
A peninsula can host a major work center, but every appliance brings open doors, services, heat, splashes, and landing needs. Freeze exact models before cabinets and counters.
11. Center the Main Sink in the Peninsula
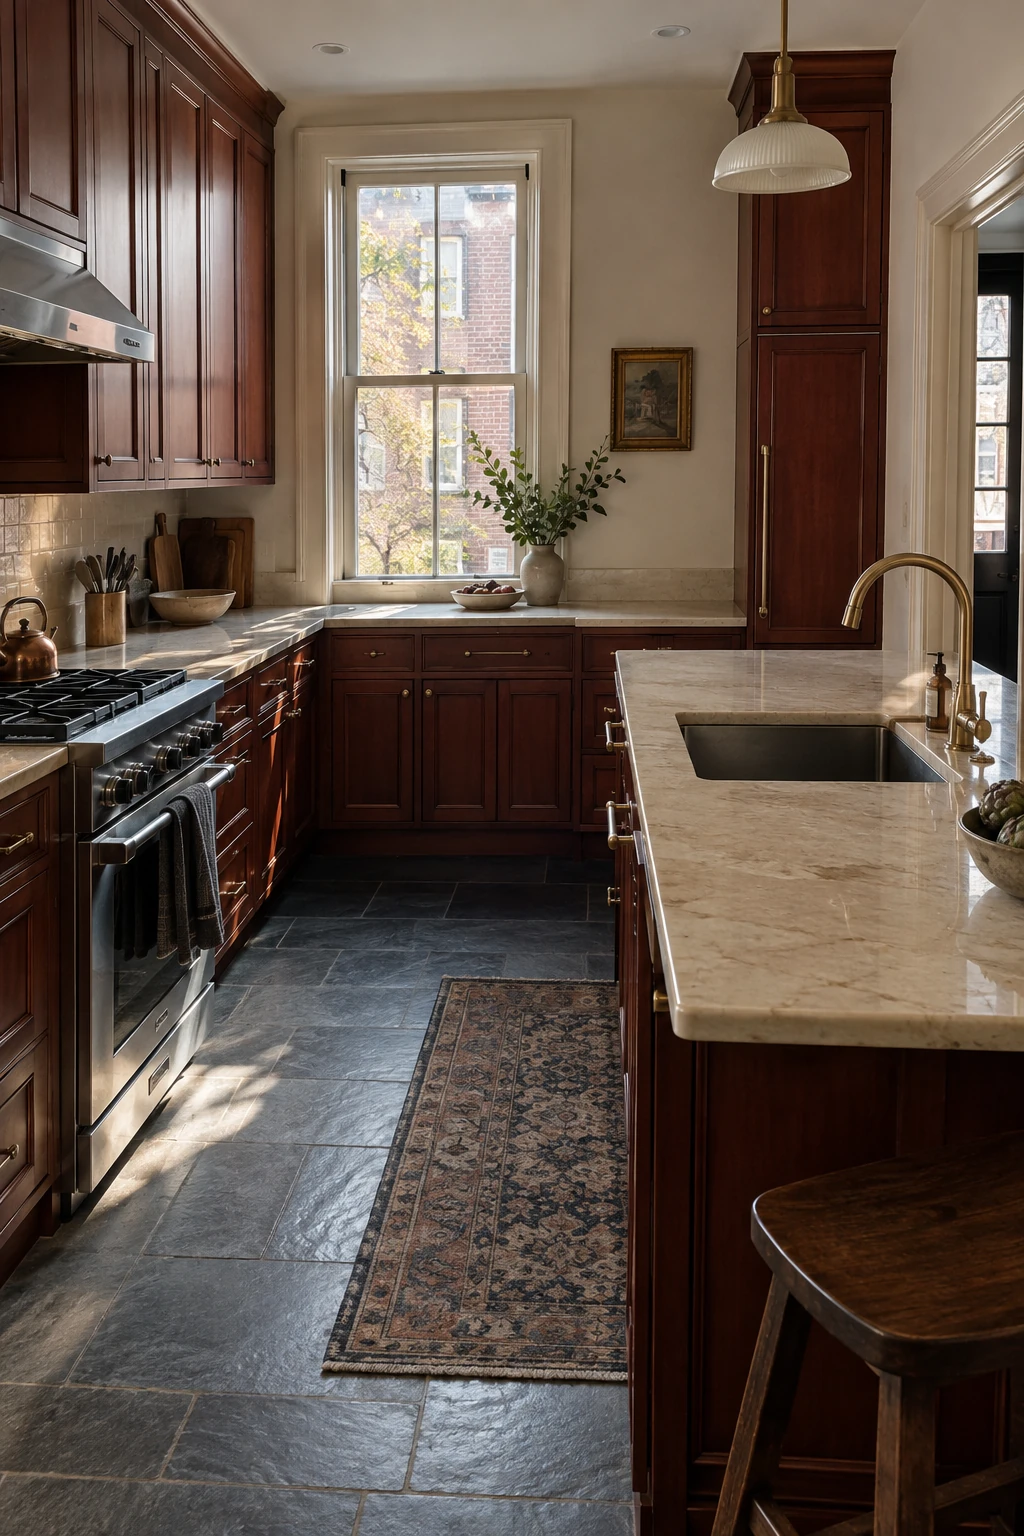
A peninsula sink lets the cook face the room and divides the counter into cleanup and prep zones. Leave useful landing space on both sides instead of squeezing the bowl between tall panels.
Plan the faucet, disposal, filter, venting, drain, shutoffs, and dishwasher route before the floor closes. Keep service access available after drawers and organizers are installed.
Planning check: Locate every under-sink component on a cabinet elevation before ordering.
Protect the public side from splashes with adequate counter depth and a durable seam layout. Follow the sink, faucet, countertop, and plumbing instructions for support and cutouts.
12. Protect the Dishwasher Door Arc
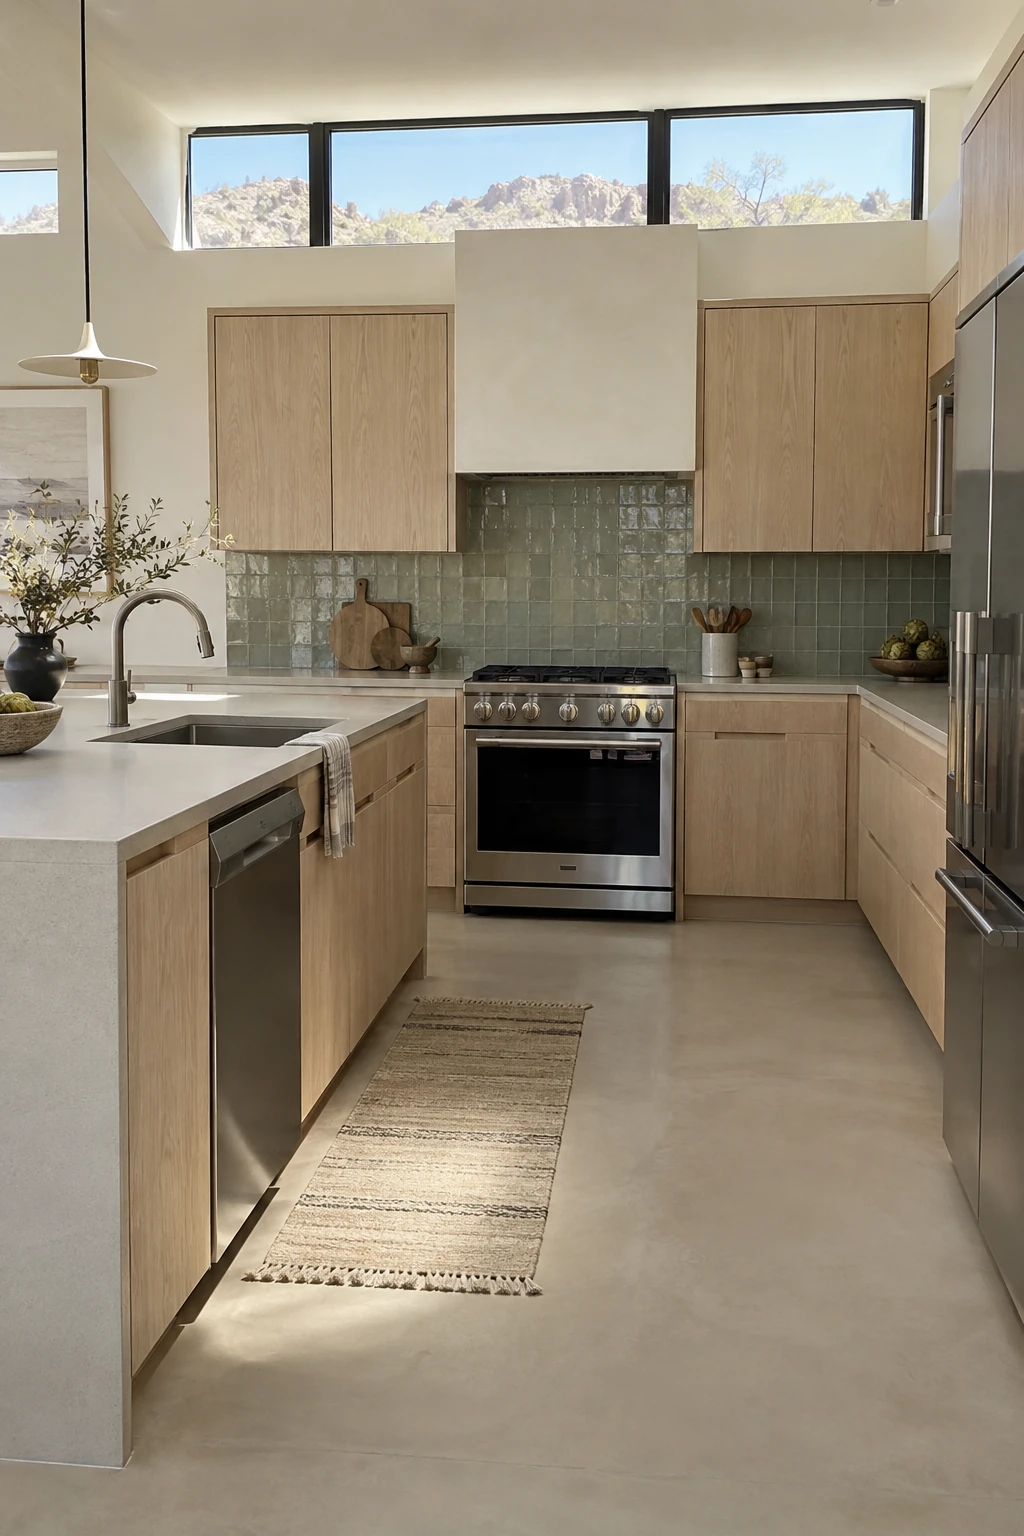
Place the dishwasher beside the sink without trapping it against the inside corner. Its open door should not block the only entry or collide with opposing drawers.
- Open dishwasher
- Open adjacent drawer
- Stand at sink
- Walk through entry
Test loading with the door fully lowered and a person standing at the sink. Check that nearby trash storage, dish drawers, and corner hardware can operate in a sensible sequence.
Door thickness, handle depth, plumbing connections, and flooring can change the fit. Use the exact installation guide and verify adopted requirements before cabinet release.
13. Put a Prep Sink at the Quiet End
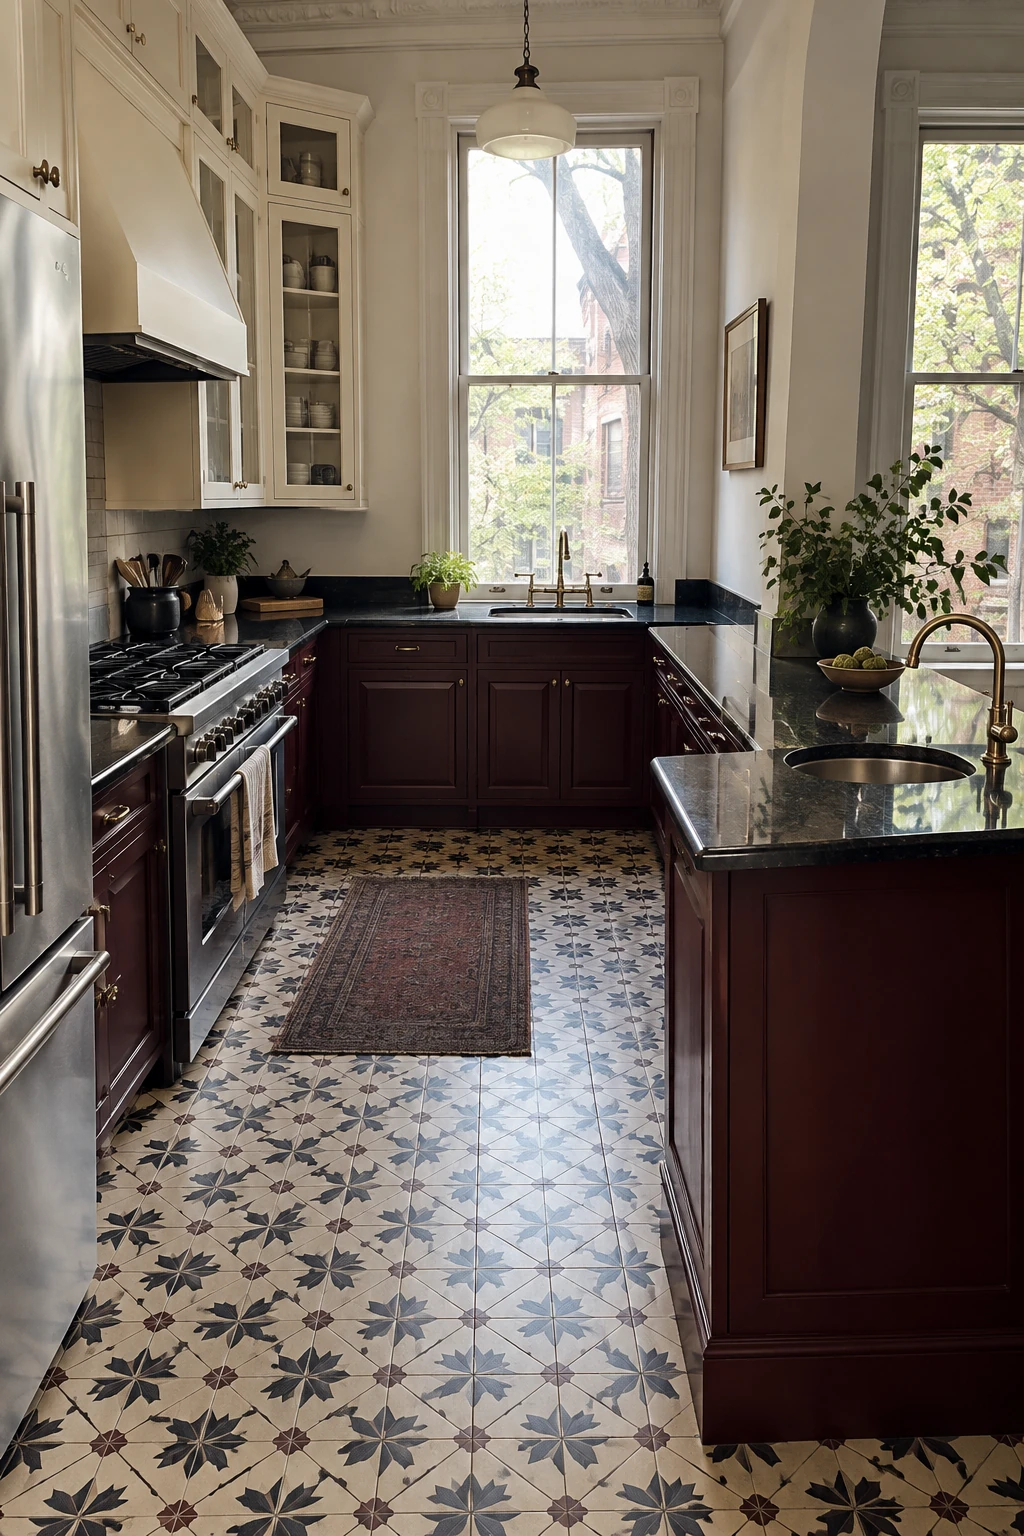
A compact prep sink at the quiet end can support produce washing while the main cleanup sink remains on the back wall. It works best when two cooks can use the zones without crossing.
Preserve enough counter around the bowl for ingredients and a cutting board. Avoid placing a stool directly under splash or plumbing zones.
Planning check: Map both cooks' paths from refrigerator to sink to range.
The extra fixture adds supply, drain, venting, shutoff, and maintenance work. Price the complete route before assuming a small sink is a small upgrade.
14. Keep the Range on the Back Wall
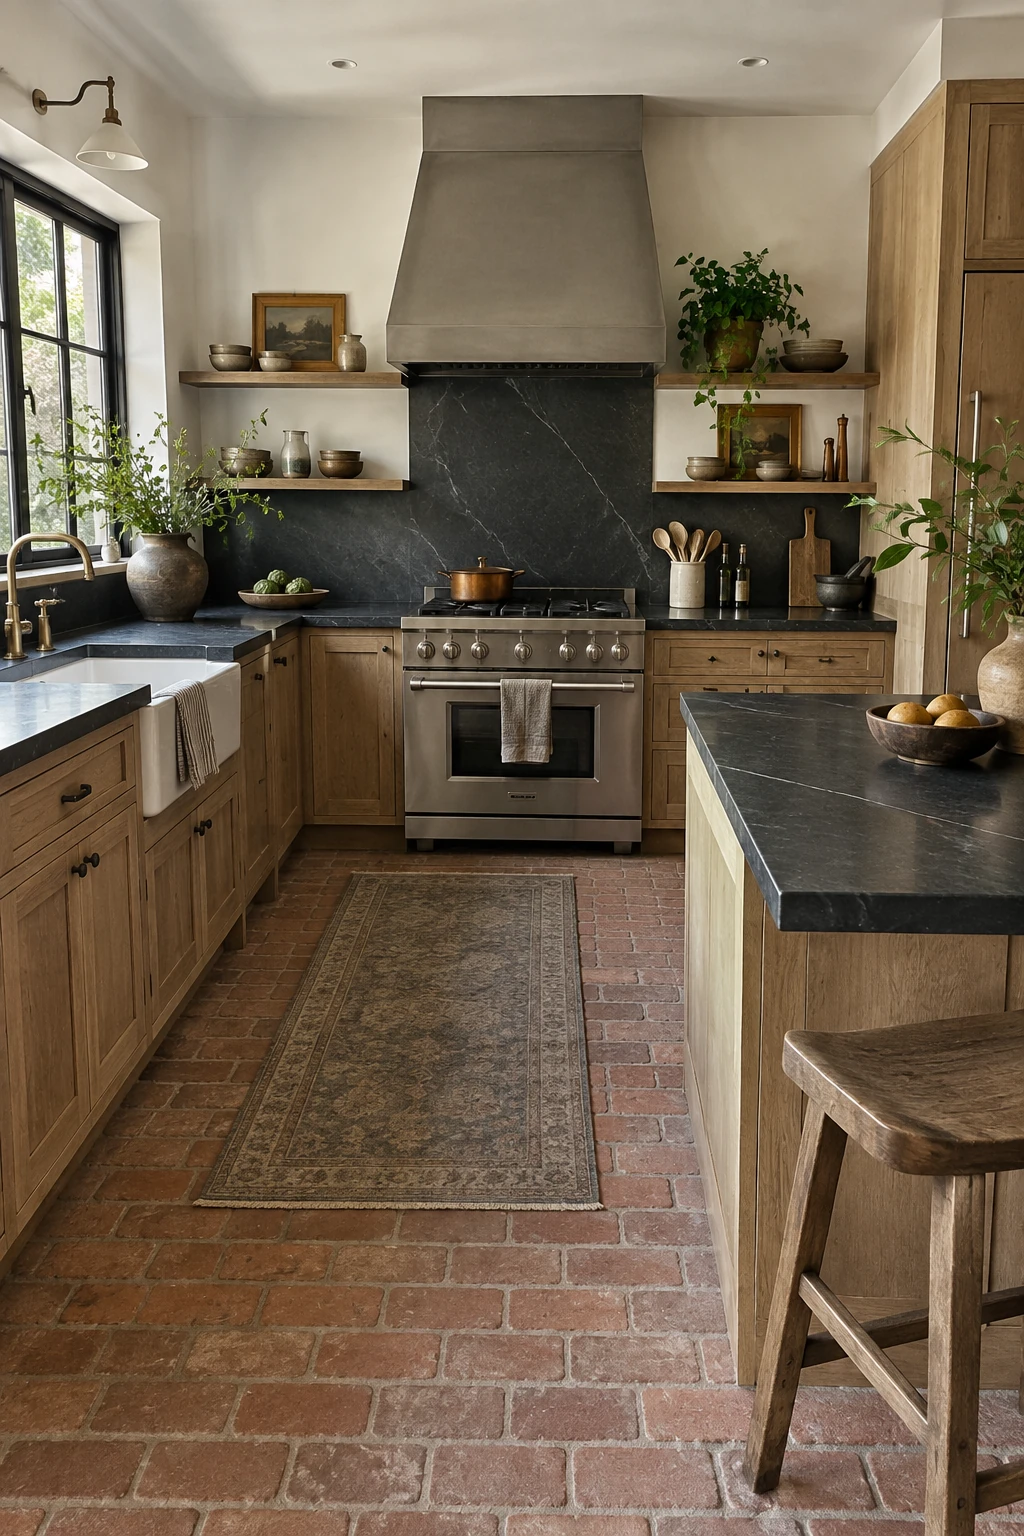
Keeping the range on the wall simplifies overhead ventilation and removes heat from seated guests. The peninsula can provide a nearby landing and prep surface without carrying a cooktop cutout.
Place the range far enough from the inside corner for handles and drawers to operate. Avoid a traffic route that passes between the hot surface and the peninsula.
Planning check: Confirm the hood route before finalizing upper-cabinet proportions.
Coordinate duct direction, makeup air where applicable, and cabinet clearances using the exact appliance instructions. Browse these range hood ideas only after performance and route are resolved.
15. Place the Refrigerator at the Open End
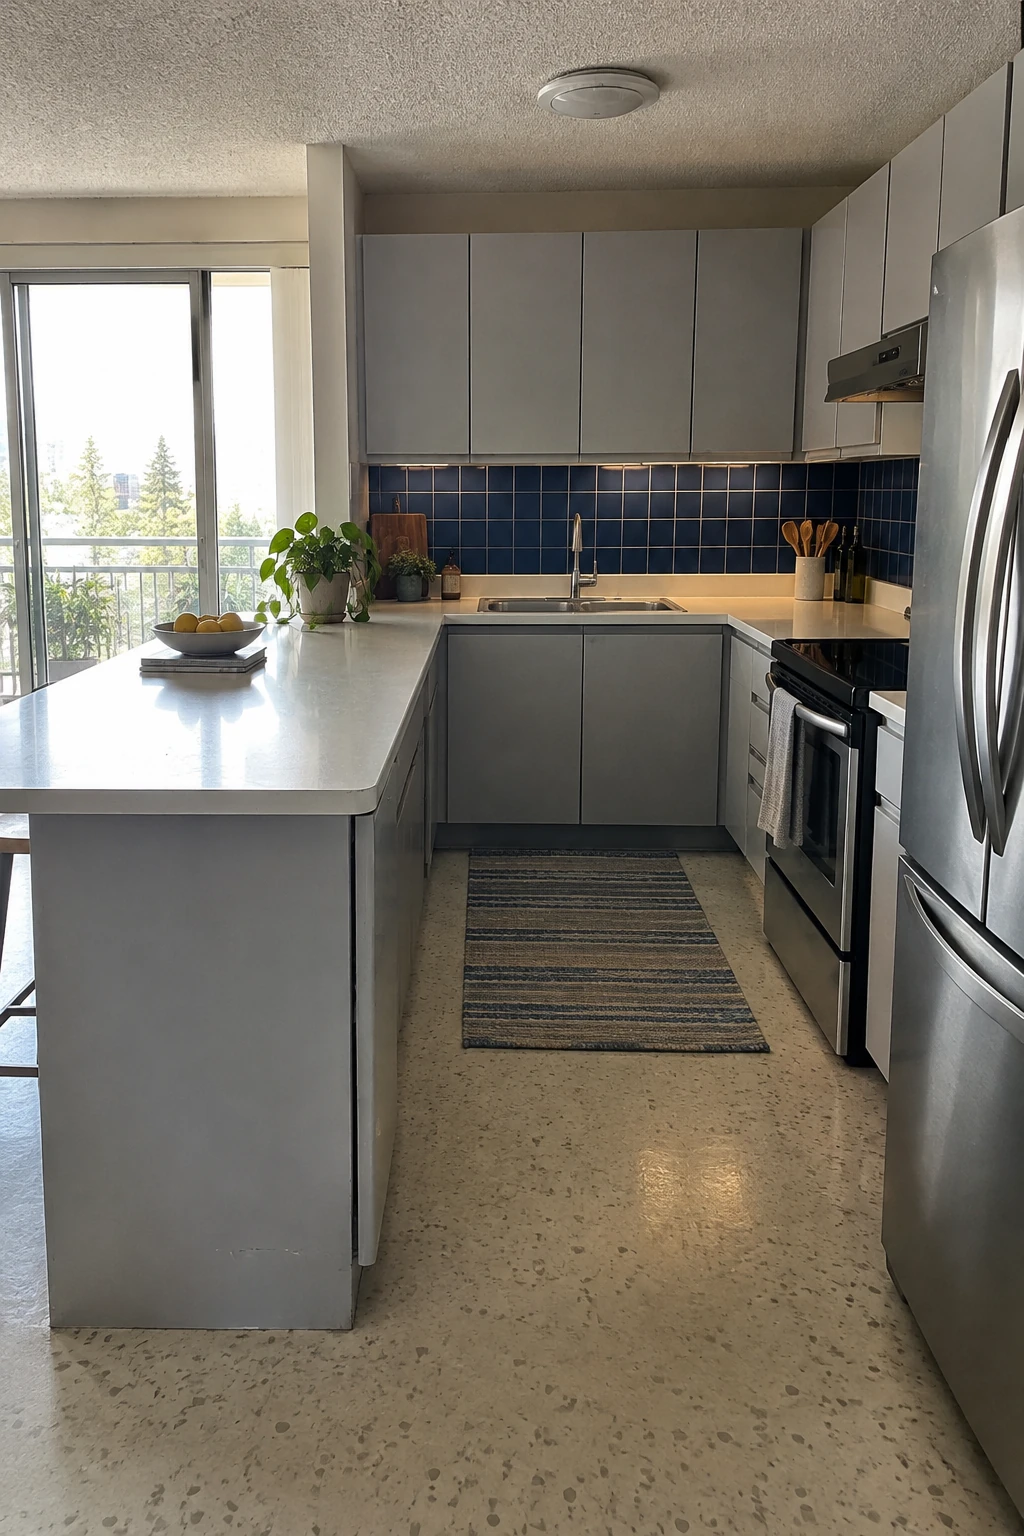
A refrigerator at the open end lets family members grab food without entering the U. Put a landing surface nearby so groceries and heavy containers do not cross the cooking zone.
Model the full door and drawer extension, including handles and wall thickness. A refrigerator that fits the opening can still fail to release shelves or bins.
Planning check: Test the largest refrigerator door and freezer drawer simultaneously.
Allow for ventilation, leveling, water supply, and required side conditions in the product instructions. Check the peninsula end does not pinch the approach when a door is open.
Create Work Zones for Real Household Routines
The best peninsula reduces crossings during ordinary mornings, dinners, and cleanup. Assign each side to a routine before filling it with specialty storage.
16. Move Drinks to the Public Side
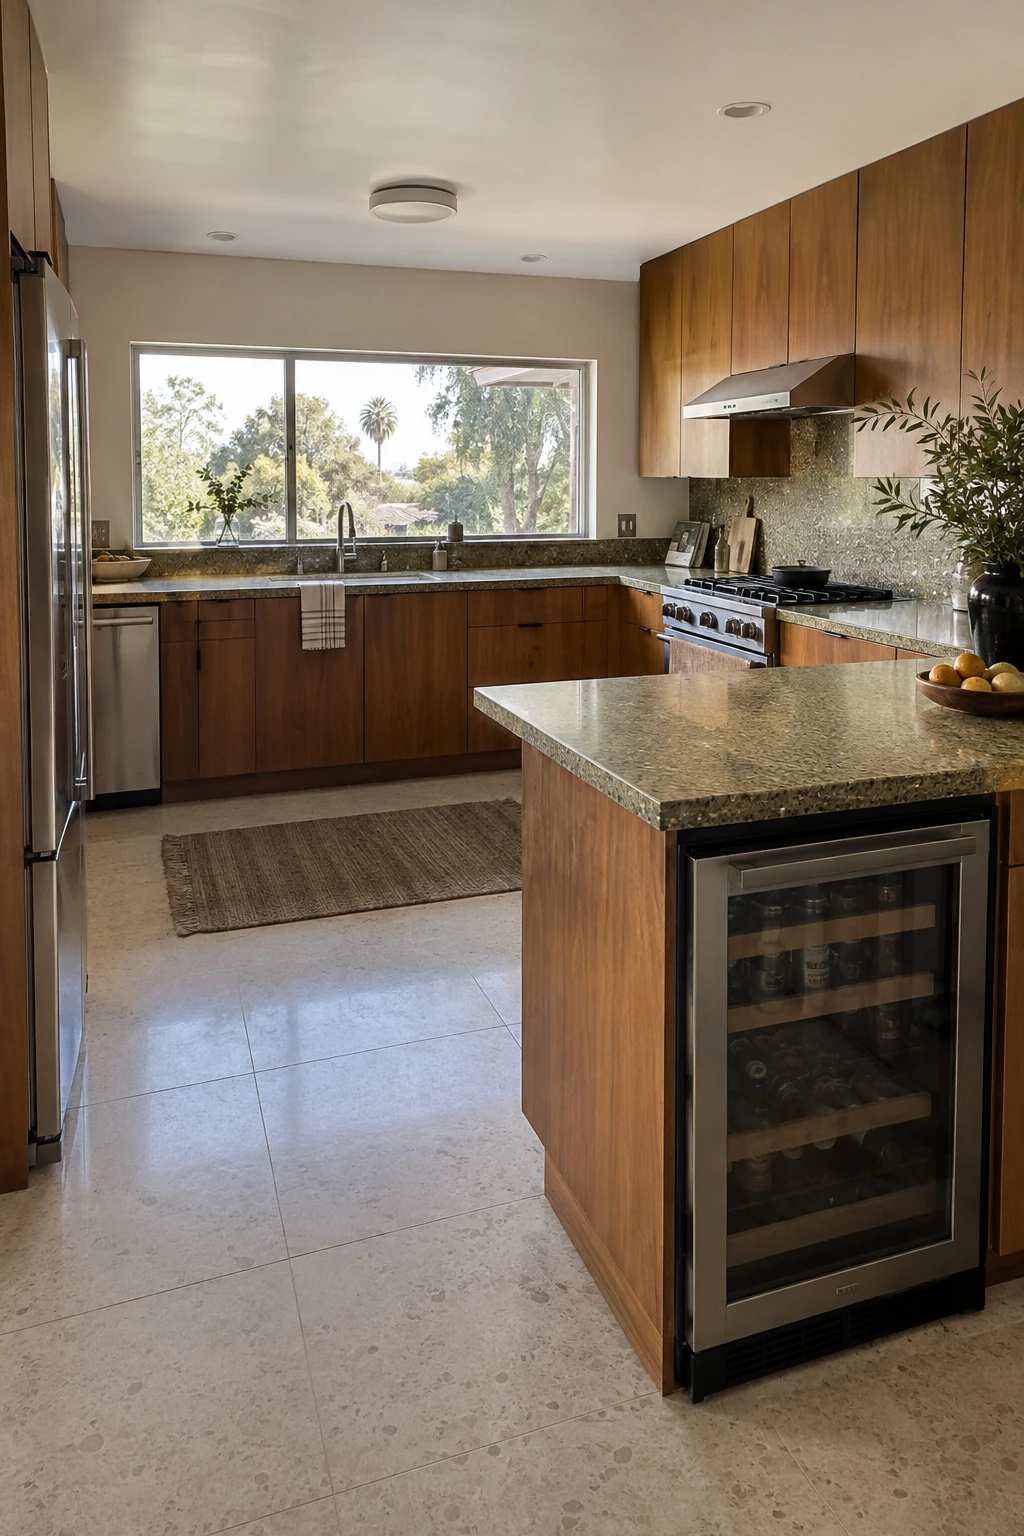
A small beverage zone on the public side keeps guests and children out of the work core. Pair cold storage with glasses and a wipeable landing area.
Keep the appliance door from blocking the dining passage. Provide ventilation and electrical conditions specified by the manufacturer rather than enclosing a freestanding unit tightly.
Planning check: Open the beverage door while someone passes behind it.
Limit the zone to actual household habits. A simple water and glass cabinet may be more useful than a dedicated appliance.
17. Build a Grocery Landing Zone
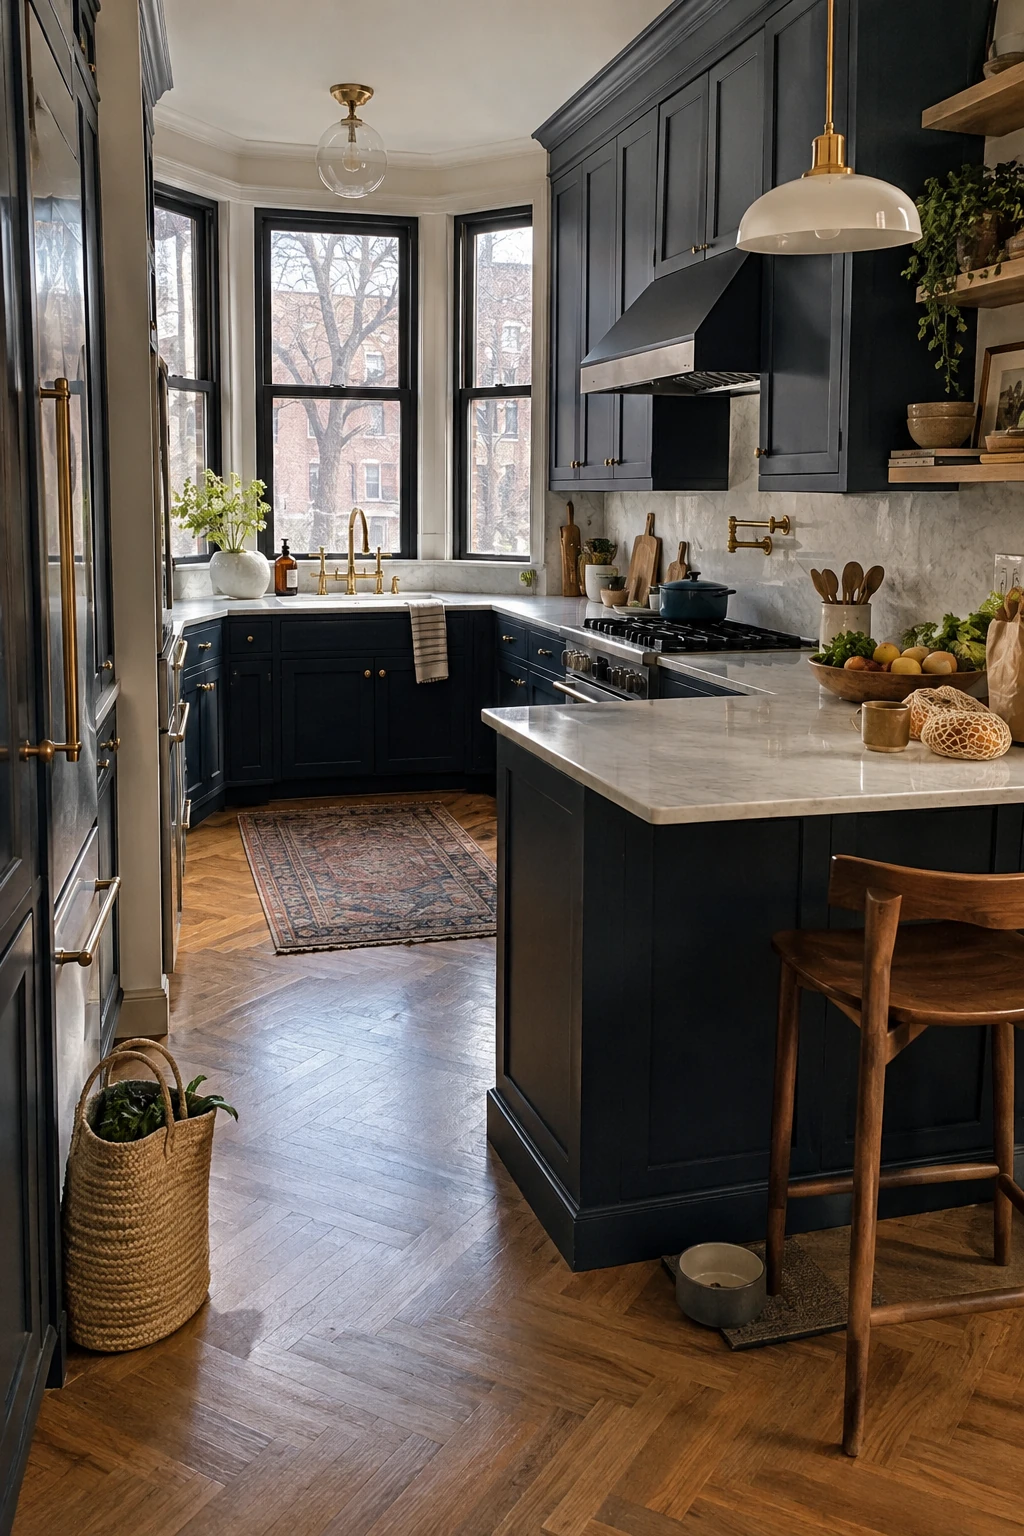
Use the peninsula end nearest the entry and refrigerator as a grocery landing surface. Heavy bags can stop there before food moves to cold storage or pantry shelves.
Keep that corner free of permanent decor and stools. A shallow drawer for reusable bags, labels, and scissors can support the routine without covering the counter.
Planning check: Carry a typical grocery load through the taped layout.
Avoid hanging a low light where tall packages are set down. The surface should accept a full bag while preserving the kitchen entry.
18. Turn One Side Into a Baking Center
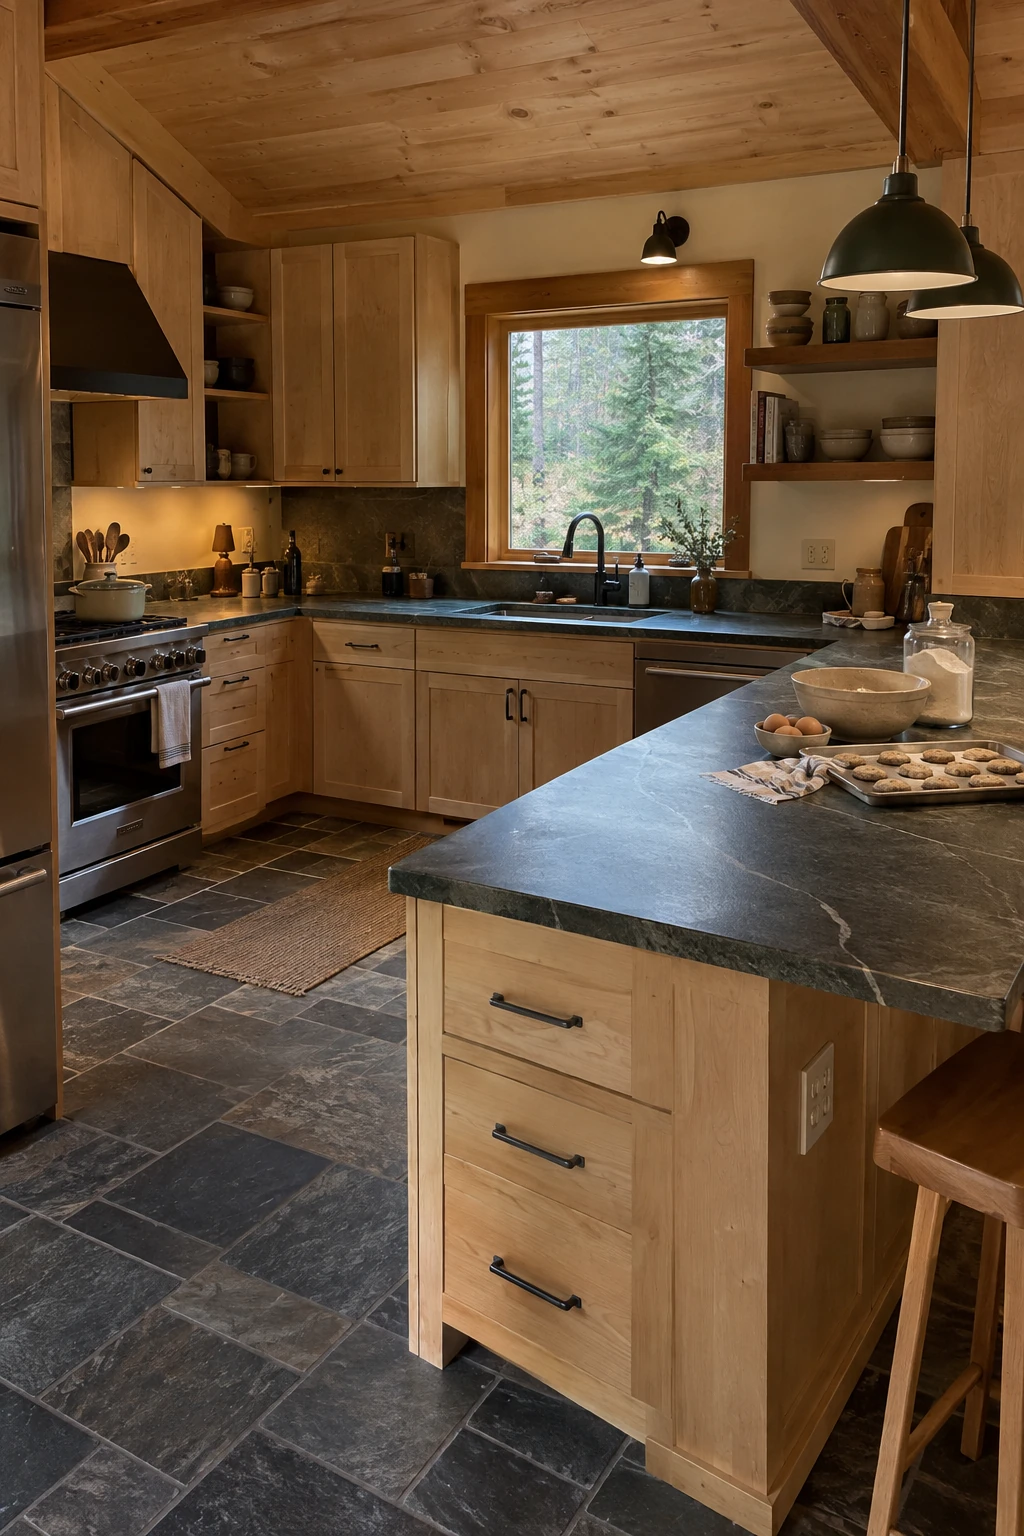
Group flour, bowls, sheet pans, and mixing tools in peninsula drawers beneath an open work surface. A nearby refrigerator path helps keep ingredients moving in one direction.
- Dry ingredients
- Mixing tools
- Sheet pans
- Cooling and serving route
A mixer lift can help some users but consumes cabinet volume and needs rated hardware. Compare it with a simple deep drawer or counter parking place.
Choose a counter height and edge that suit the primary baker. Use washable drawer liners and keep heavy equipment on hardware designed for the load.
19. Reserve the Quiet End for Homework
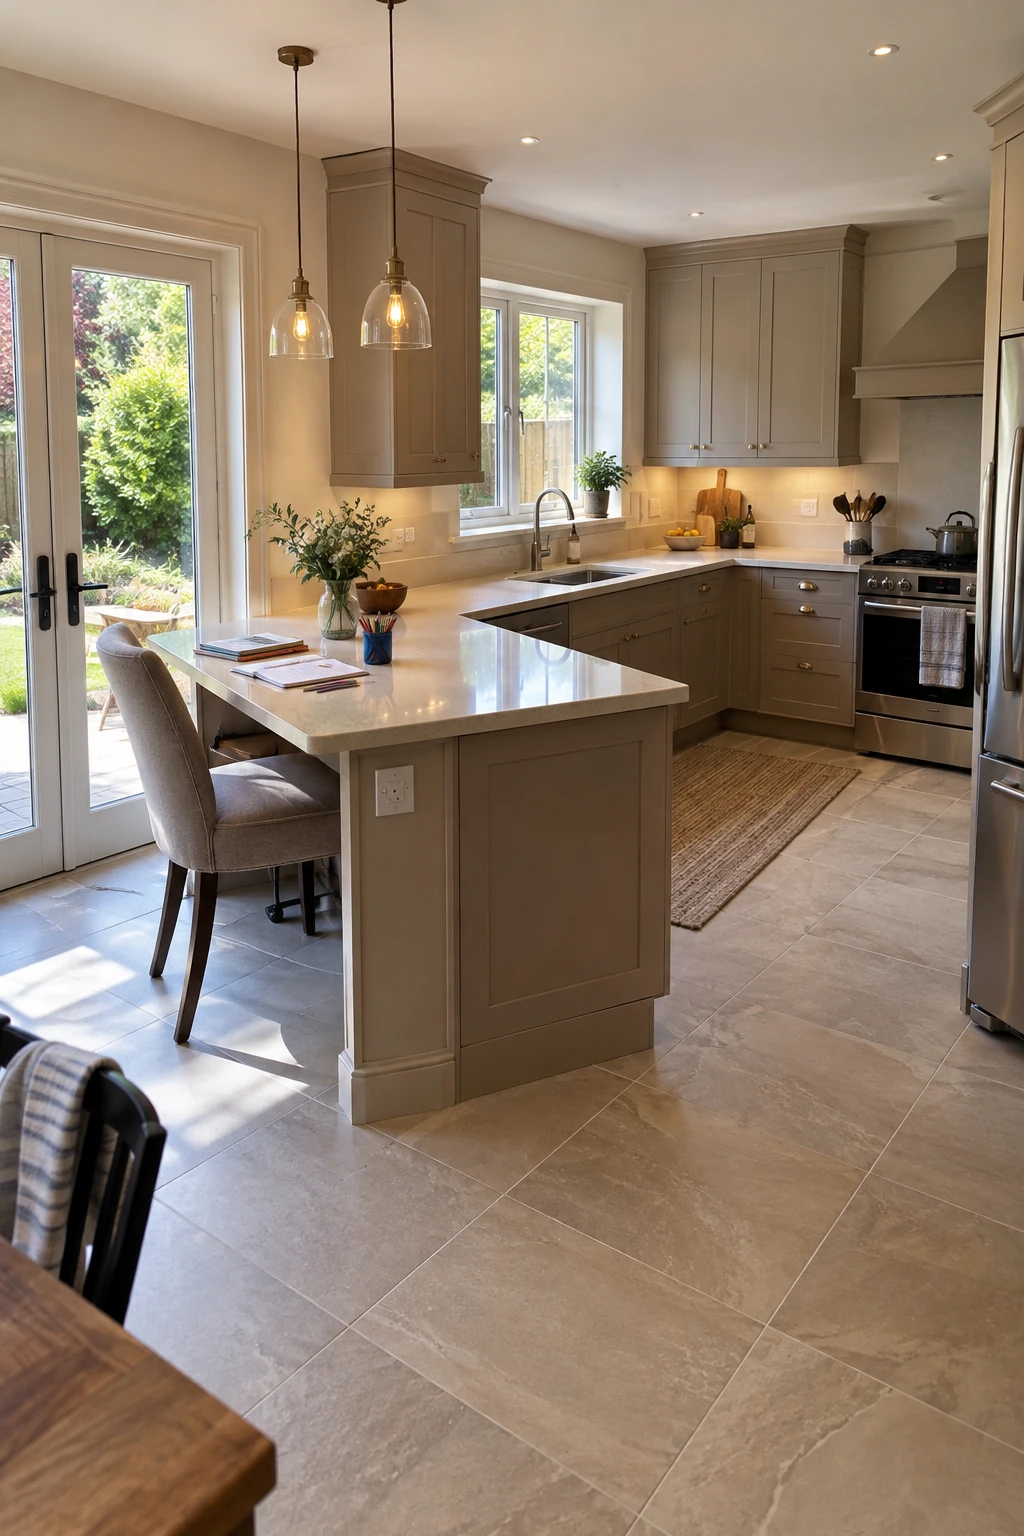
Place a homework seat at the outer end, away from the range and cleanup spray. The cook can stay nearby without sharing the narrow work aisle.
Use one shallow drawer for pencils and charging cables. Keep electrical work separated from water and route cords through an approved setup that does not pinch inside cabinetry.
Planning check: Confirm that the occupied seat does not narrow the route to the dining room.
Plan where papers move after dinner. A small file elsewhere prevents the peninsula from becoming permanent storage.
20. Face the Coffee Station Outward
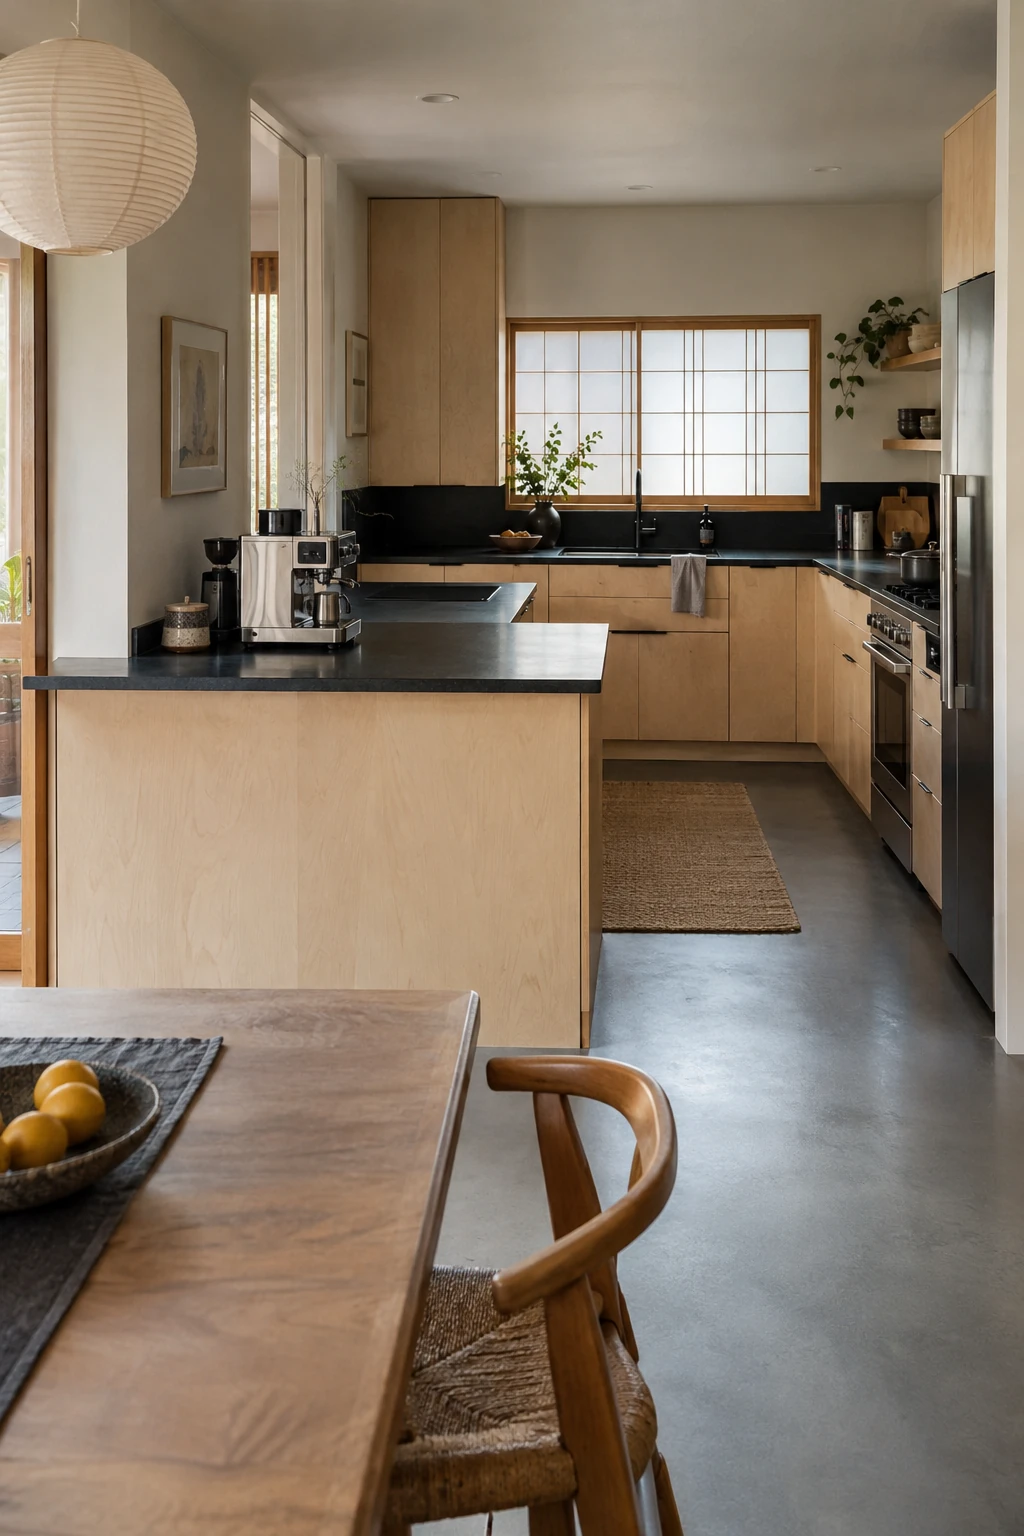
Orient a compact coffee station toward the dining room so the morning queue stays outside the U. Store cups, beans, and filters in the same cabinet bay.
Protect the counter from steam and drips, and give the appliance manufacturer its required ventilation and electrical conditions. Avoid a low shelf that interferes with filling the reservoir.
Planning check: Simulate filling the reservoir, opening lids, and removing drip trays.
Keep the setup narrow enough to leave a serving landing. A tray can contain grounds and make weekly cleaning easier.
Make Seating Comfortable Without Blocking Traffic
Seating is useful only when knees, stool backs, doors, and passing bodies all fit at once. Choose fewer usable places over a longer row that permanently narrows circulation.
21. Use Two Tuck-Away Stools
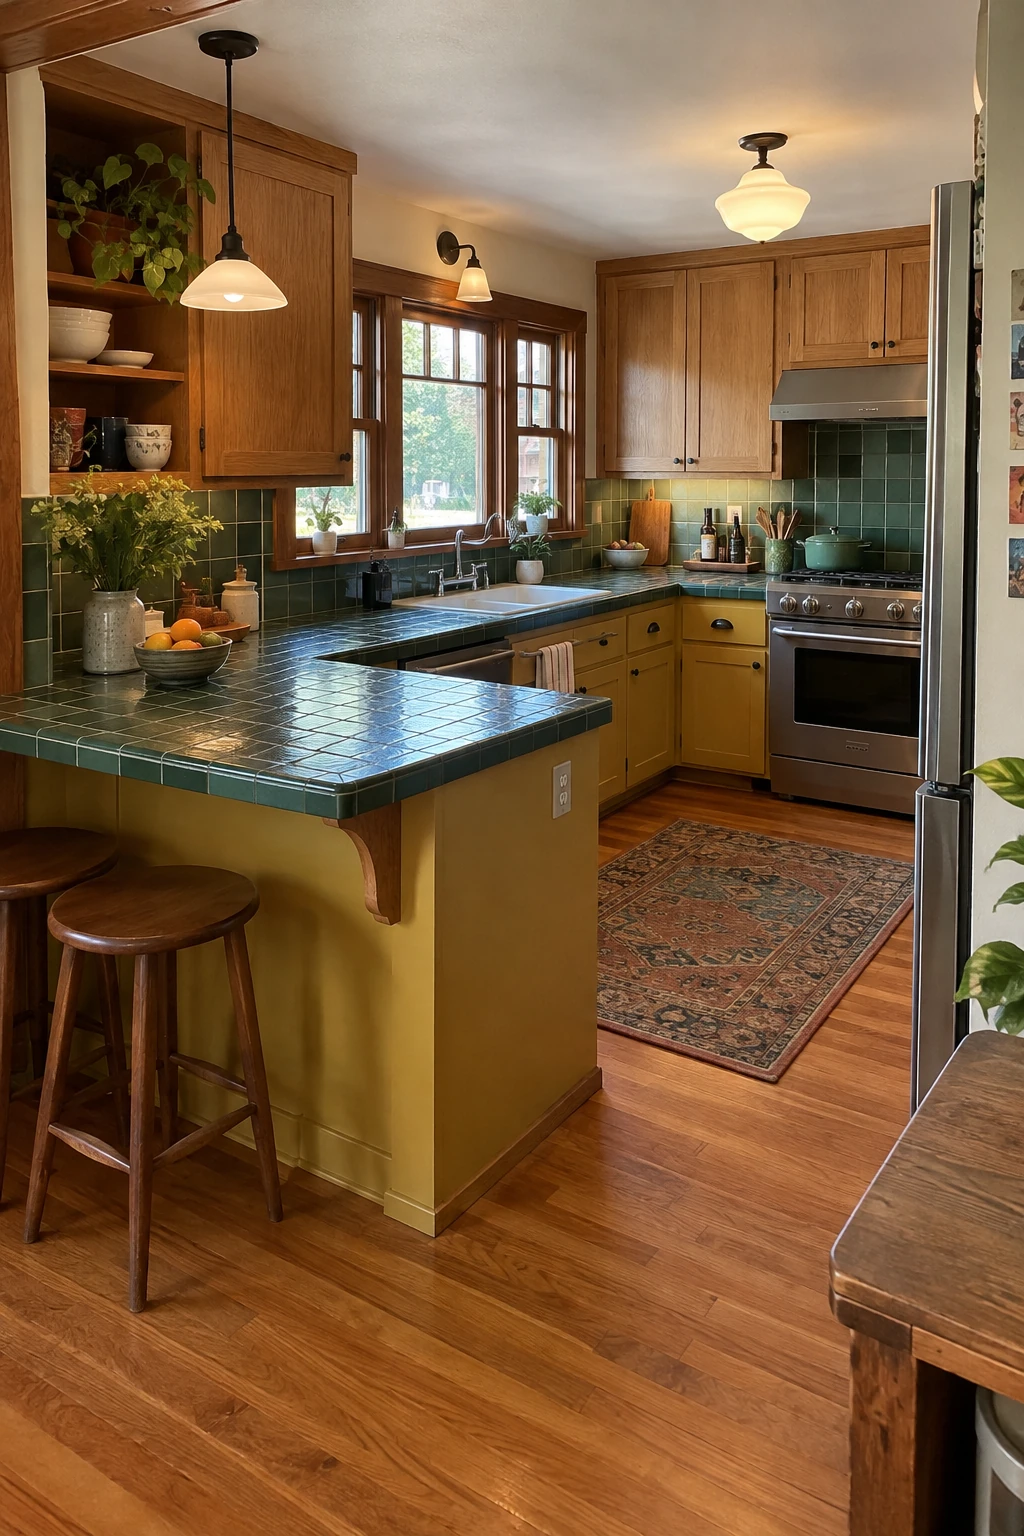
Two properly spaced stools often work better than forcing three into a short peninsula. Each sitter needs a clear place for knees, feet, elbows, and getting up.
Choose a back and arm profile that fits beneath the counter when unused. Test the passage with stools both tucked and occupied.
Planning check: Mock up occupied stool backs, not only the counter edge.
Support the overhang according to the exact counter material, thickness, span, cabinet frame, and fabricator instructions. Hidden steel, brackets, or panels must be planned before templating.
22. Mix End and Side Seating
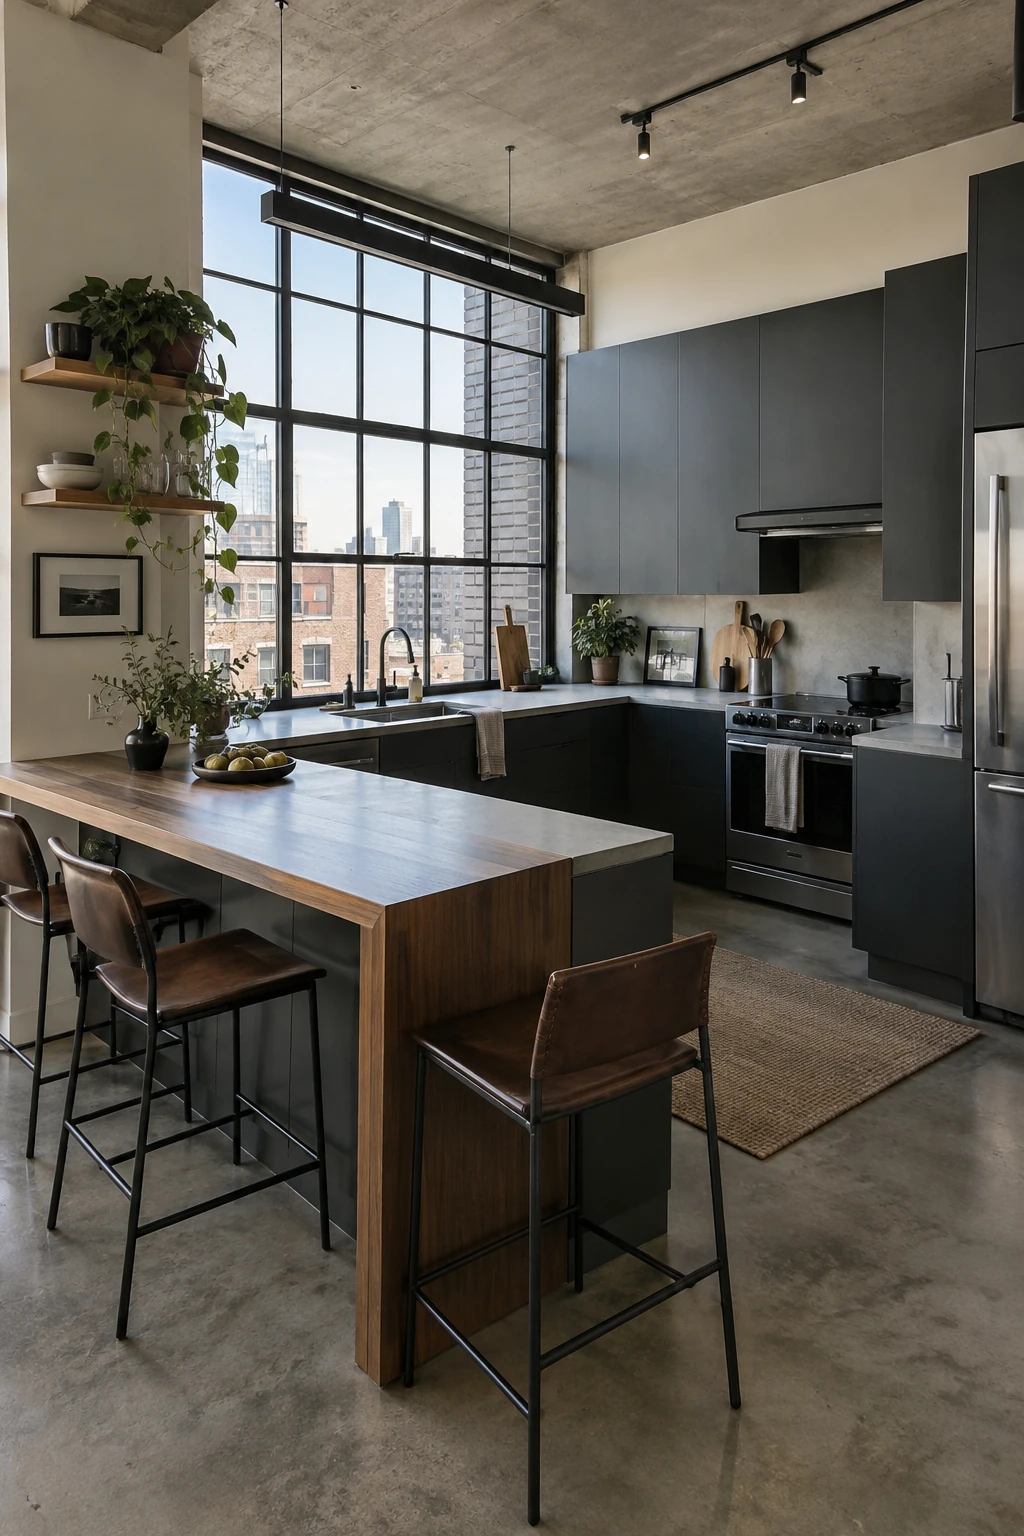
One end seat can make conversation easier than a straight row. Preserve the corner for legs so adjacent diners do not compete for the same space.
Keep the end stool outside the kitchen entry and away from opening cabinet doors. A rounded or clipped counter can make the approach gentler.
Planning check: Seat people in both positions during the cardboard mockup.
Plan supports around knees rather than adding brackets afterward. Review the shop drawing from below as well as from above.
23. Choose Backless Stools for a Small Room
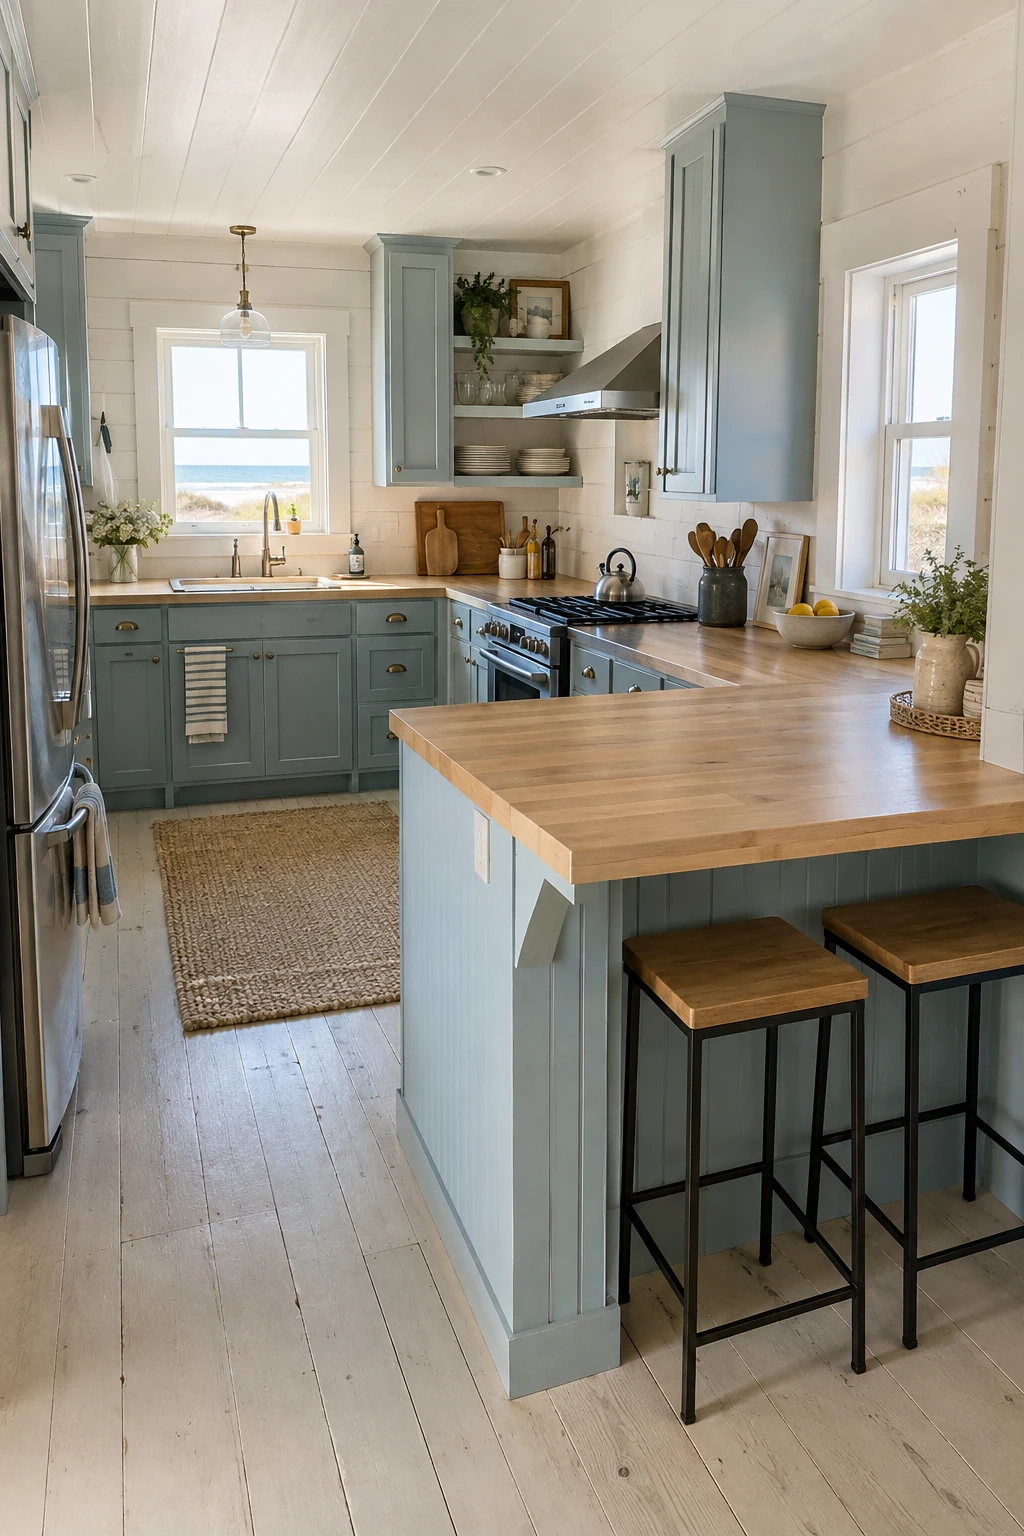
Backless stools can disappear beneath the counter and restore the walkway when breakfast is over. Select stable bases and footrests rather than the narrowest silhouette alone.
Measure the stool at its widest point, including legs. Felt glides or compatible feet protect the floor and reduce scraping.
Planning check: Sit for a full meal before buying every stool.
If long meals are common, comfort may matter more than complete tuck-away storage. Compare the peninsula with nearby breakfast nook ideas before choosing.
24. Pair the Peninsula With a Bench
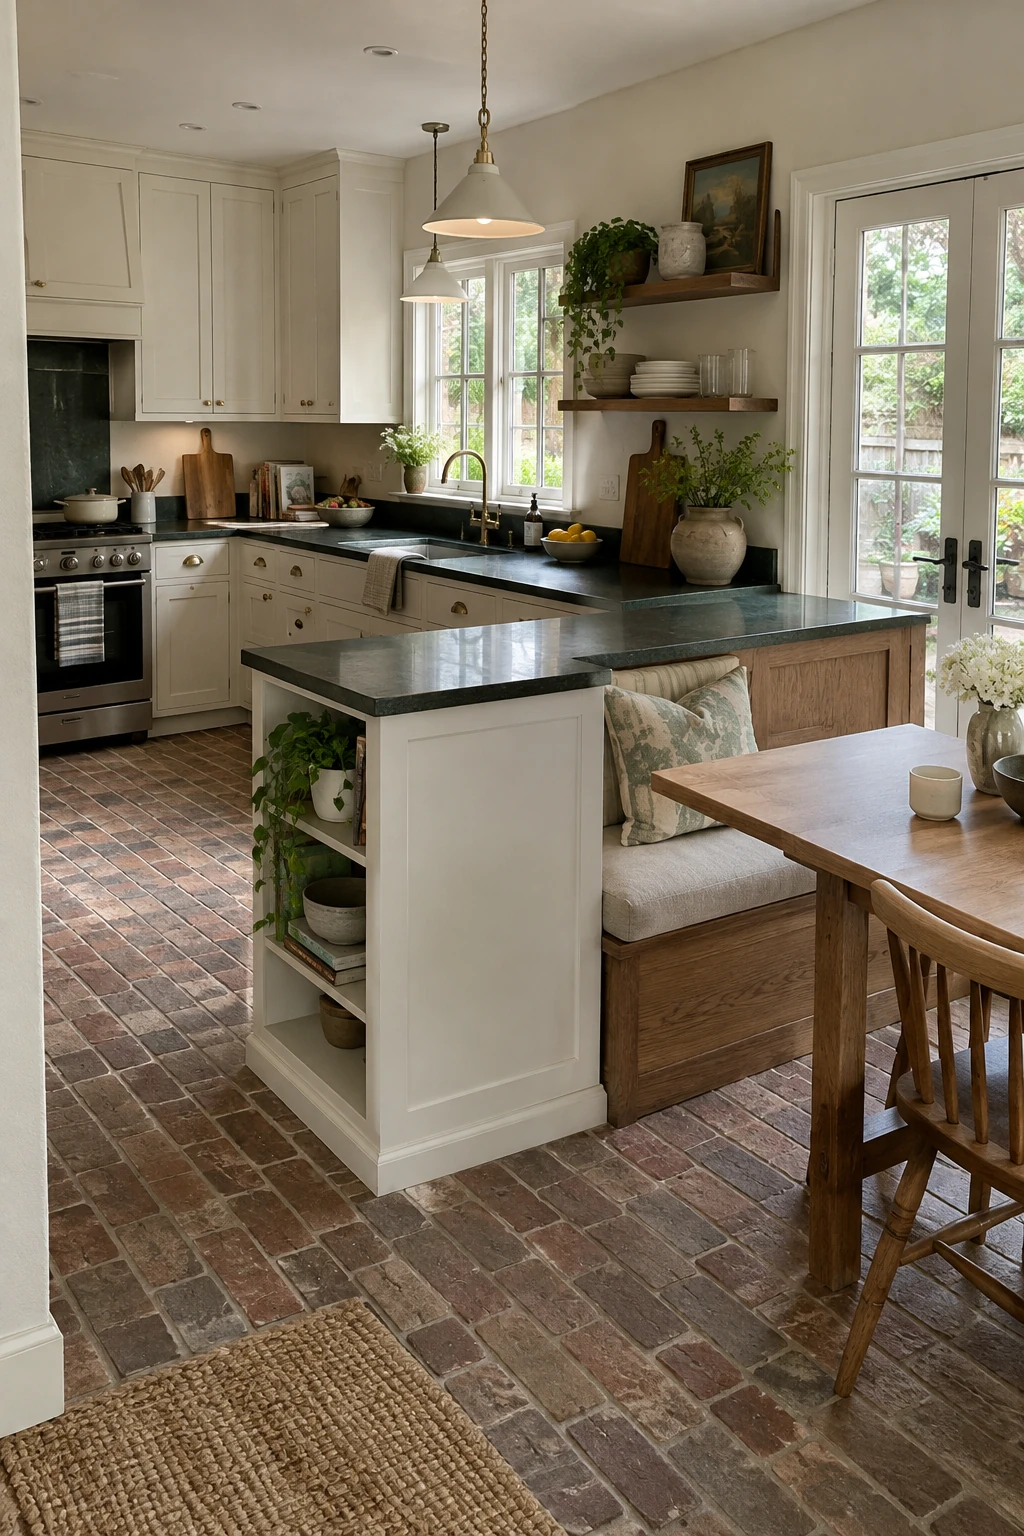
A bench beyond the public side can create dining capacity without lining the kitchen aisle with stools. Use the peninsula as the visual back of the nook.
- Bench access
- Table base
- Service panels
- Washable finishes
Keep the bench independent from service panels, outlets, and cabinet doors. Removable cushions should have washable covers and enough clearance from food splashes.
Plan the table and bench together so diners can enter without dragging furniture into the walkway. Pedestal bases can reduce leg conflicts in tight layouts.
25. Align the Dining Table Beyond the End
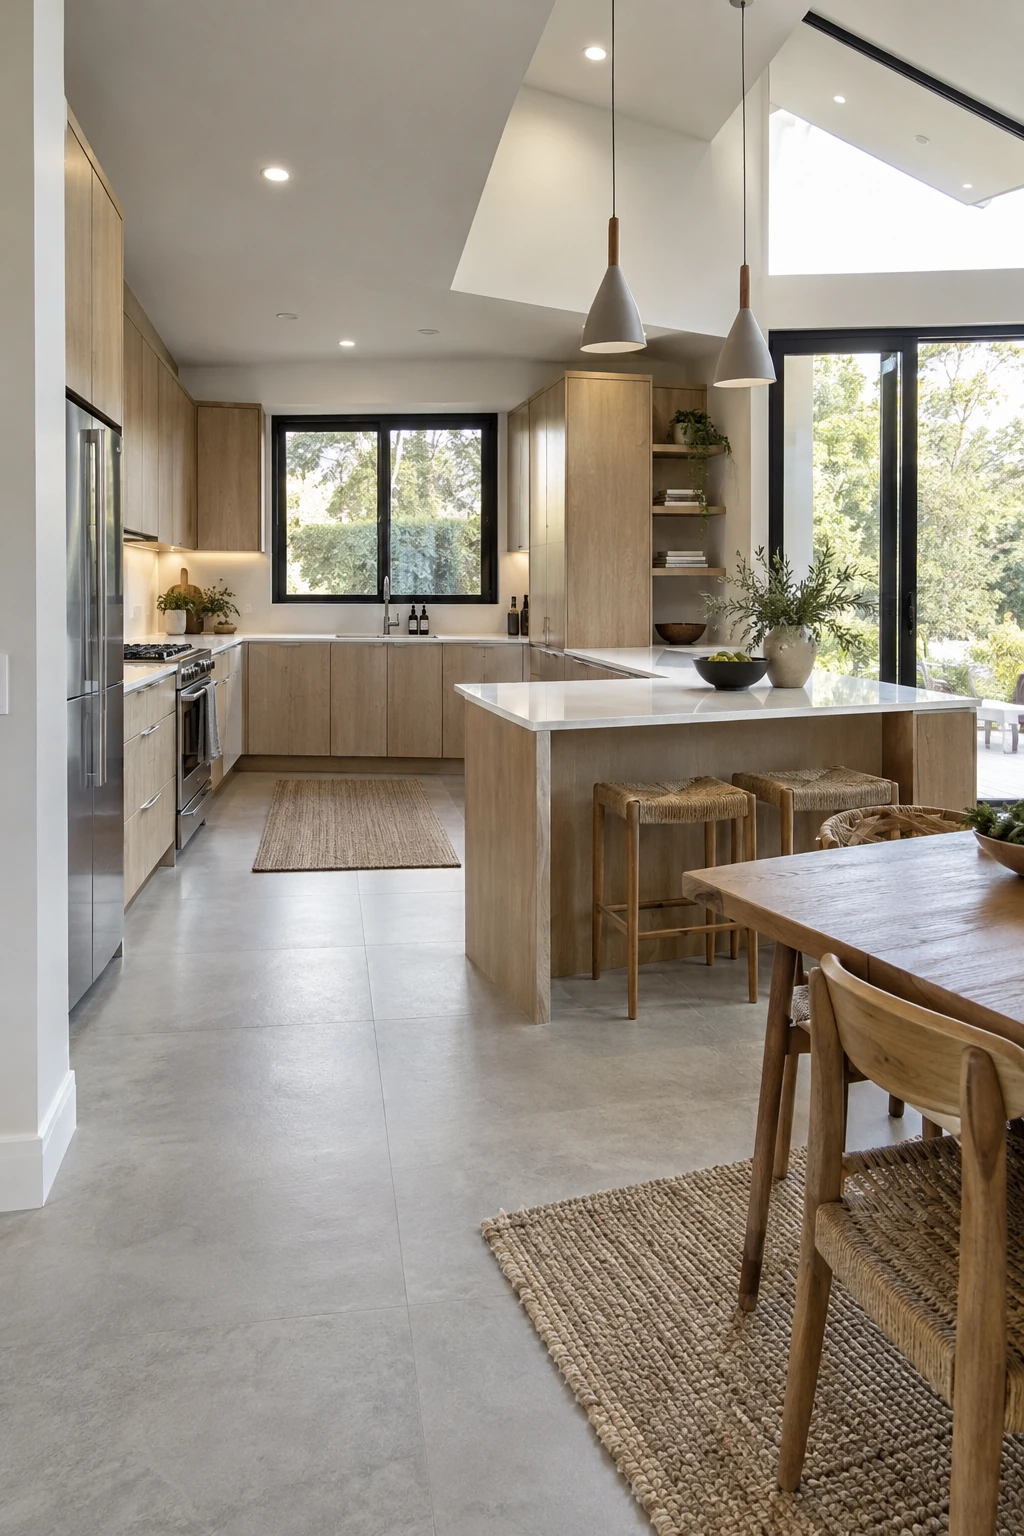
Aligning a table beyond the peninsula can create a direct serving route and a calmer visual axis. Leave enough separation for chairs to move without entering the U.
Check the arrangement at full extension if the table has leaves. A holiday setup can expose conflicts that daily seating hides.
Planning check: Pull out every chair and open the nearest appliance together.
Centering is optional; circulation comes first. Shift the table when a symmetrical placement blocks the refrigerator or the room's main passage.
Recover Corner and End Storage
The peninsula junction creates valuable volume and some of the kitchen's hardest-to-reach spaces. Select mechanisms from the actual cabinet opening, not catalog photographs.
26. Use a Corner Drawer Bank
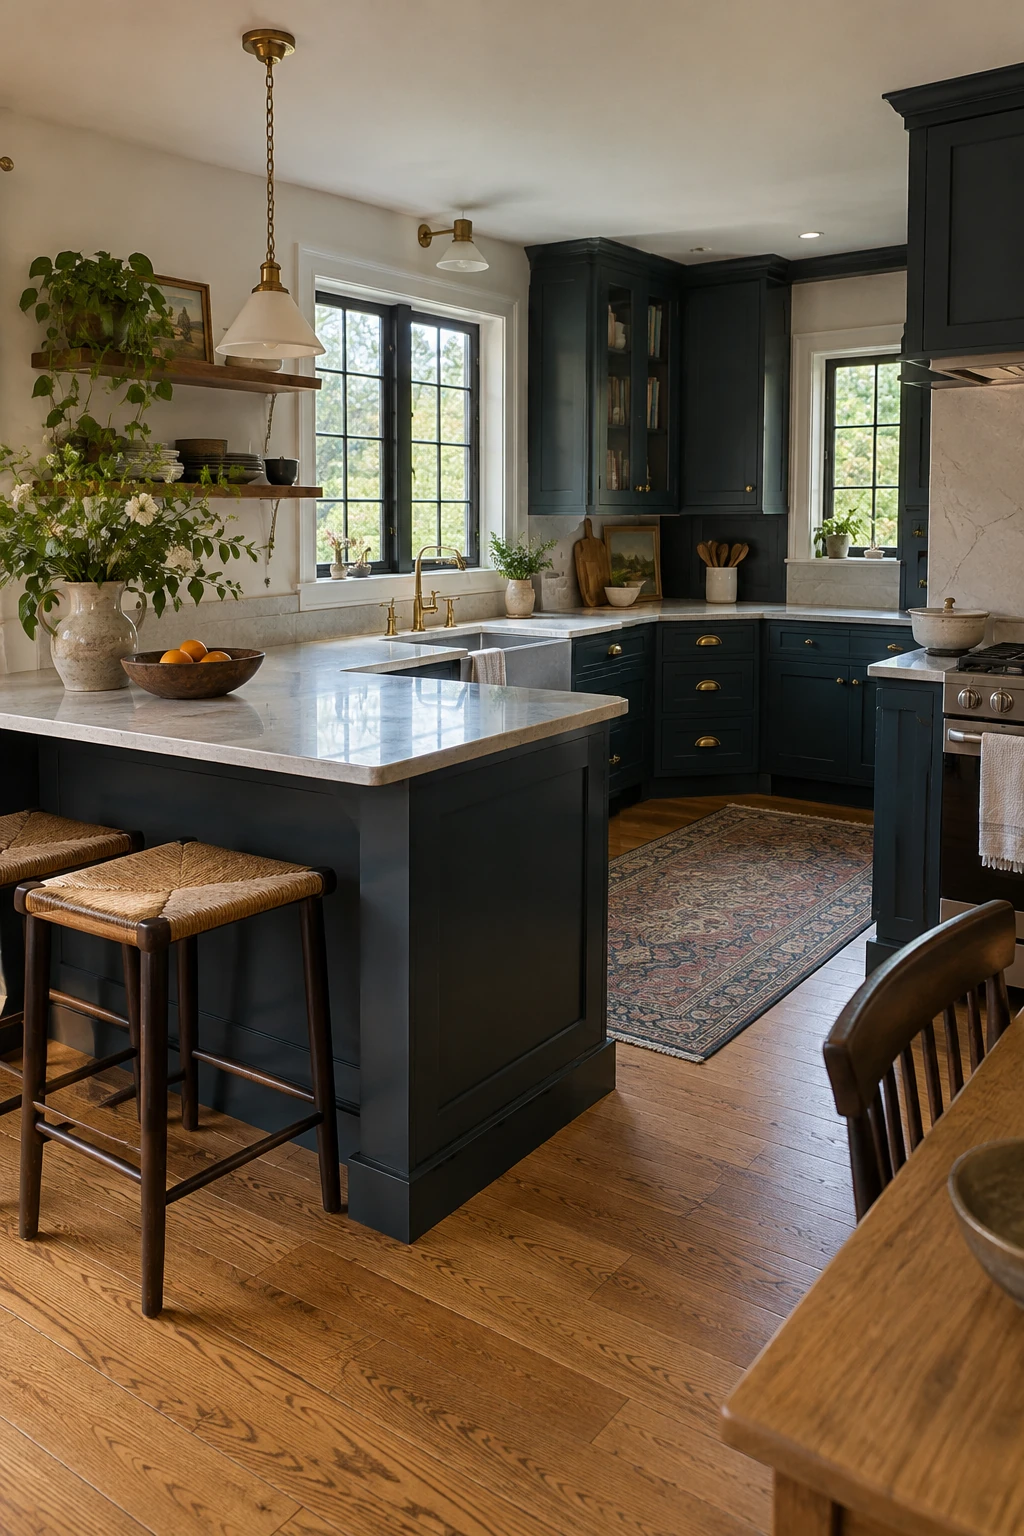
Corner drawers bring stored items forward without requiring a door to swing into the work aisle. They can hold utensils, wraps, or nested cookware depending on depth and hardware rating.
The angled drawer boxes sacrifice some volume for access. Compare usable interior dimensions with a blind-corner pullout before ordering.
Planning check: Review the cabinet maker's opening and clearance diagram.
Check adjacent pulls and oven or dishwasher handles. Small hardware projections can stop a carefully fitted corner mechanism.
27. Install a Blind-Corner Pullout
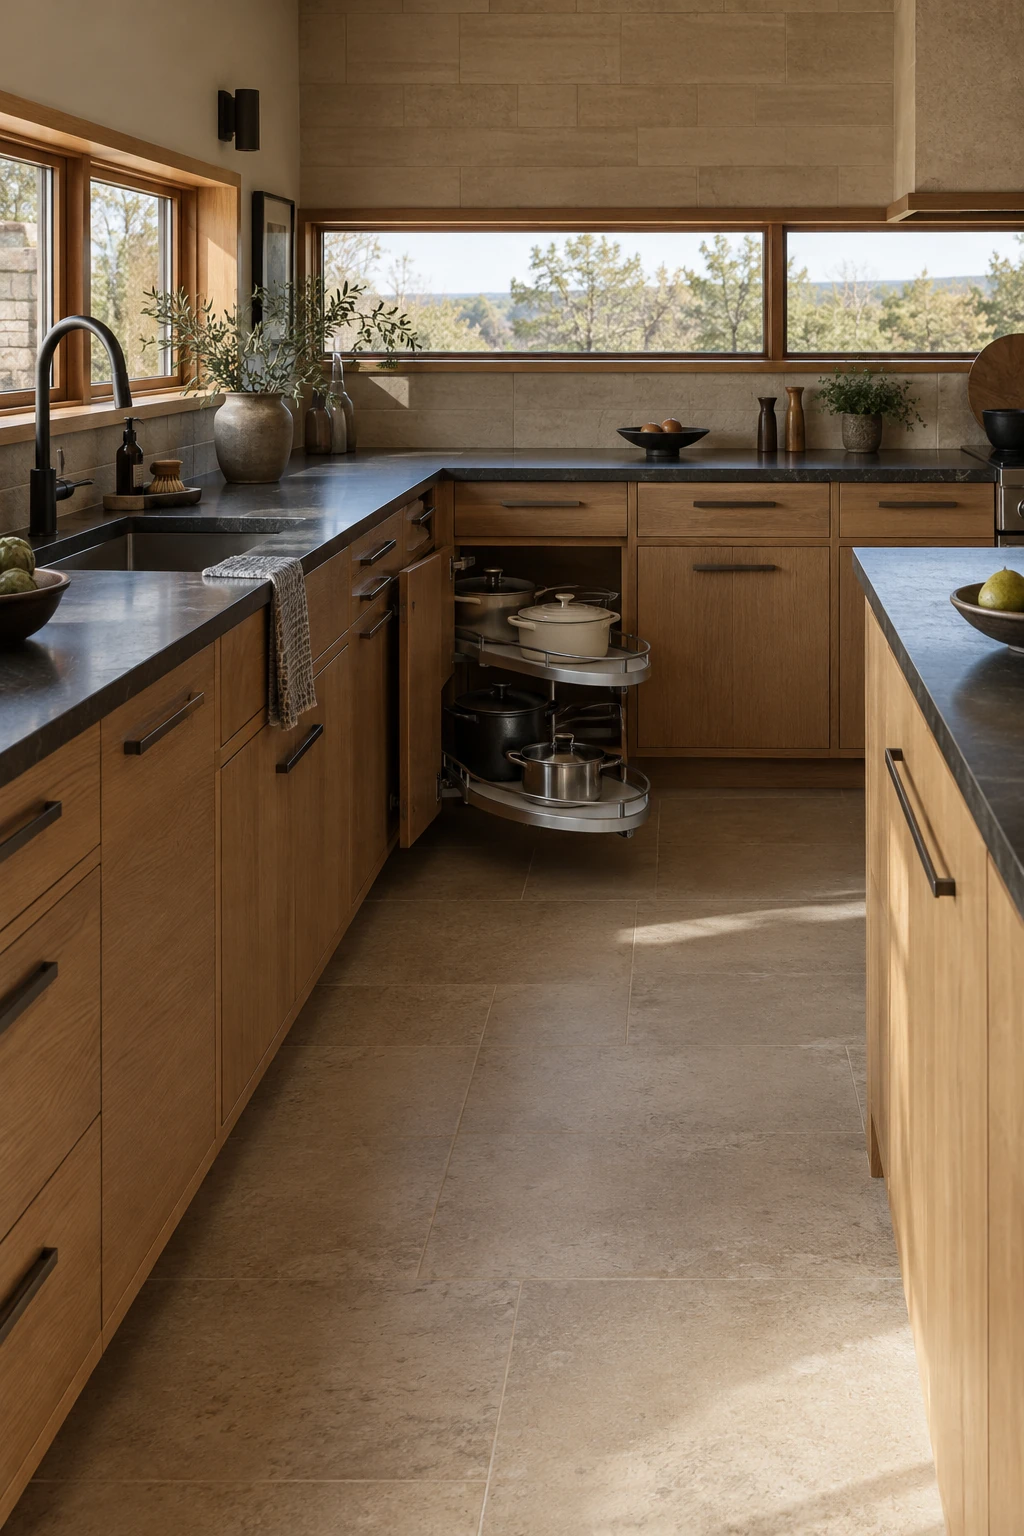
A blind-corner pullout can make deep storage reachable when drawers do not fit. Use it for medium-weight items that match the shelf shape.
Measure the clear door opening, hinge position, cabinet depth, and neighboring handle. Mechanisms are model-specific and rarely tolerate casual substitutions.
Planning check: Test every shelf through its full movement before countertop templating.
Leave adjustment and removal access after the counter is installed. Clean the cabinet before loading it because crumbs are harder to reach around hardware.
28. Choose a Diagonal Corner Base
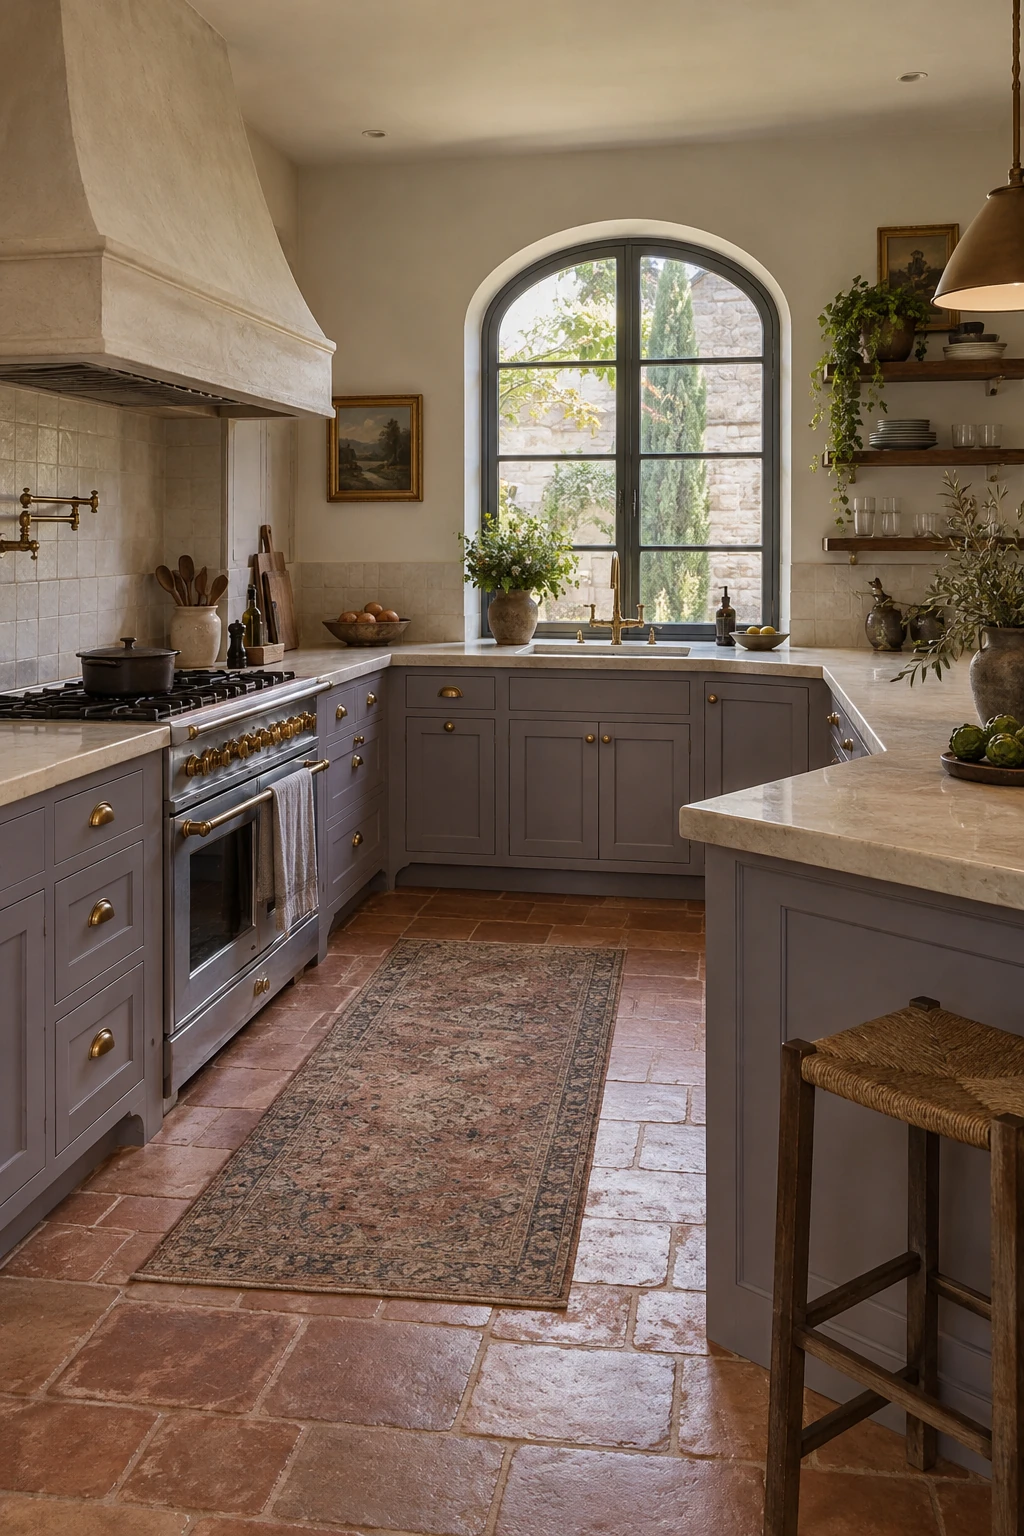
A diagonal corner base can create a broad counter landing and a straightforward door opening. It suits kitchens where the angled face does not crowd the center of the U.
Use interior shelves or a compatible rotating system that can be removed for cleaning. Deep fixed shelves tend to hide small items.
Planning check: Compare the diagonal projection with the tightest work-aisle point.
Check the counter seam and backsplash change at the angle. Strong geometry on the plan must still be buildable in slab material.
29. Park Appliances Near the Junction
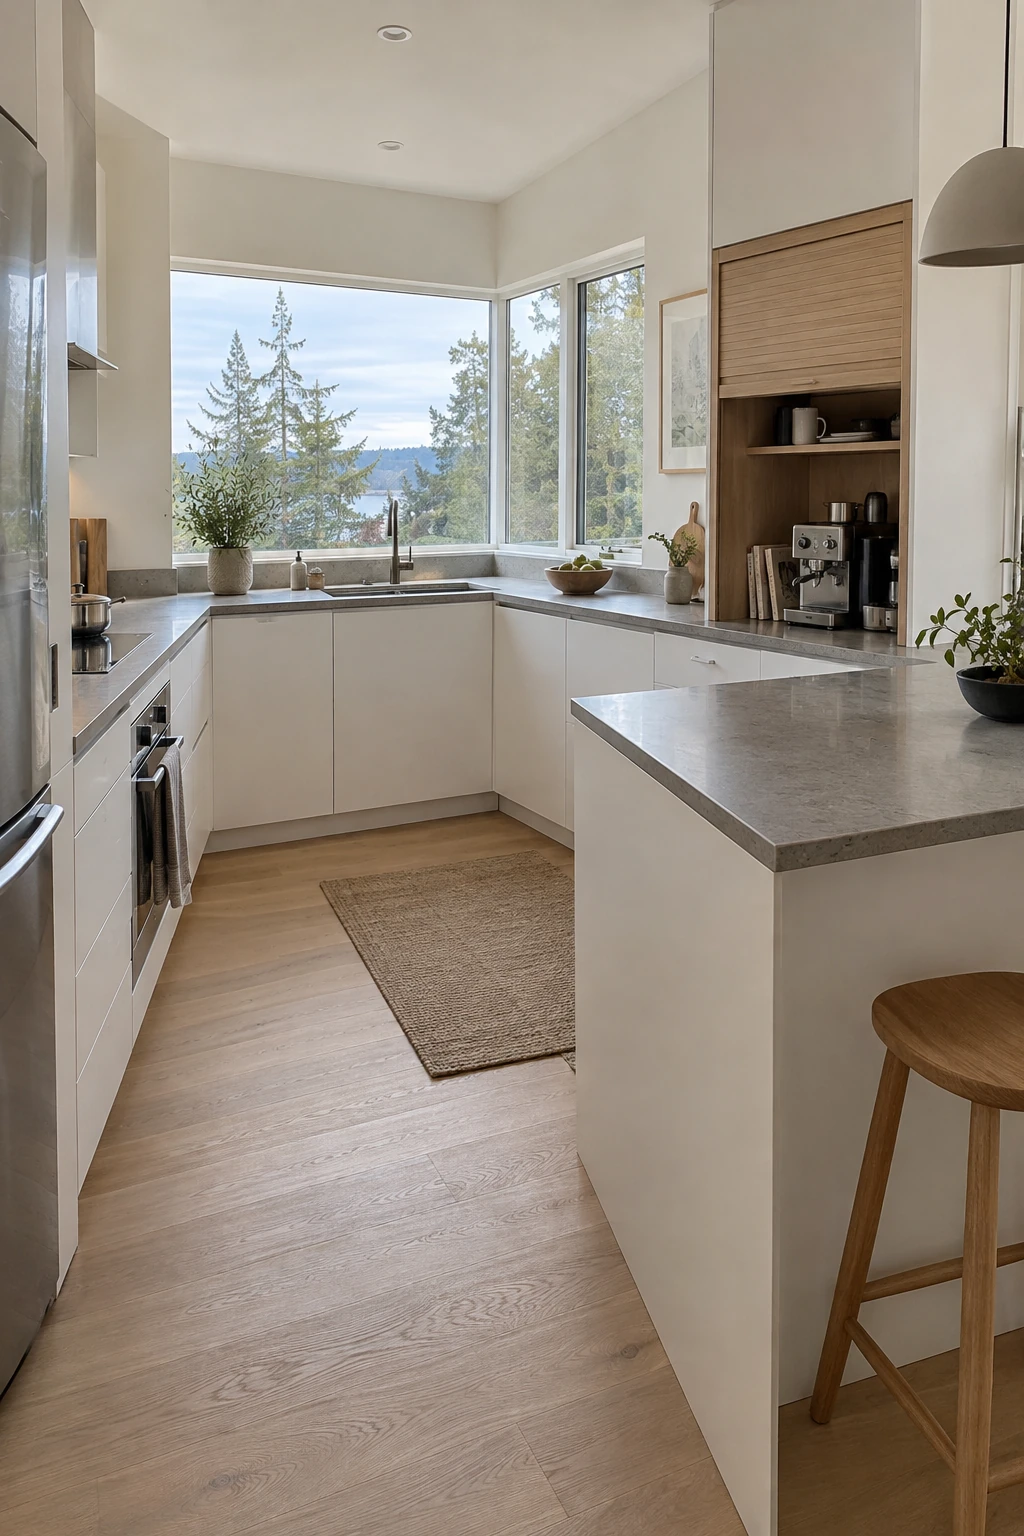
Place an appliance garage on the back wall near the peninsula so a mixer or toaster can move onto the work surface without crossing the room. Keep the inside corner itself open for prep.
Confirm door lift, appliance lid, cord reach, ventilation, and electrical conditions. Some equipment must be pulled out before operation.
Planning check: Open the appliance, garage door, and nearby upper cabinet together.
A generous garage can consume the best counter in a small U. Tape its closed footprint on the backsplash elevation before committing.
30. Add Tray Dividers at the End
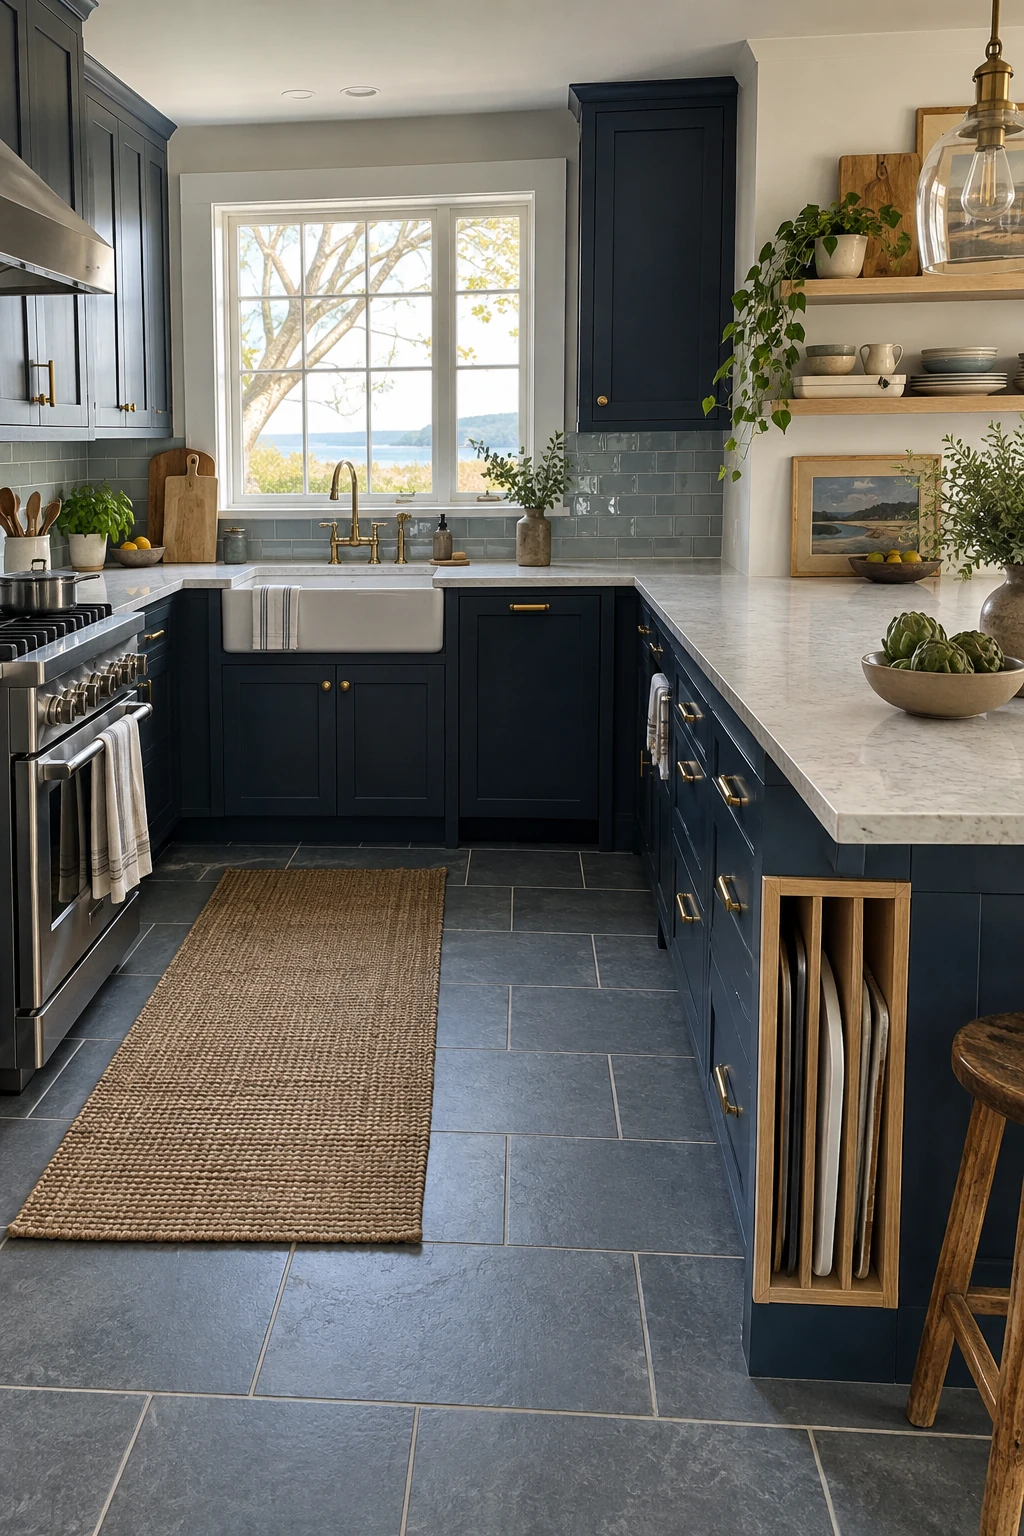
A narrow end cabinet can store sheet pans, cutting boards, and serving trays upright. It turns a leftover width into useful storage without deep reach.
Size the dividers from the tallest and widest pieces you own. Removable partitions allow the mix to change later.
Planning check: Measure real trays before fixing divider spacing.
Keep the door out of the main passage and protect its edge from stool impacts. A finished side panel should conceal the cabinet join.
Organize the Peninsula From Top to Toe-Kick
Storage should follow the work performed above it. Put frequent, heavy items in easy reach and keep specialty features from stealing more volume than they return.
31. Open the End for Display
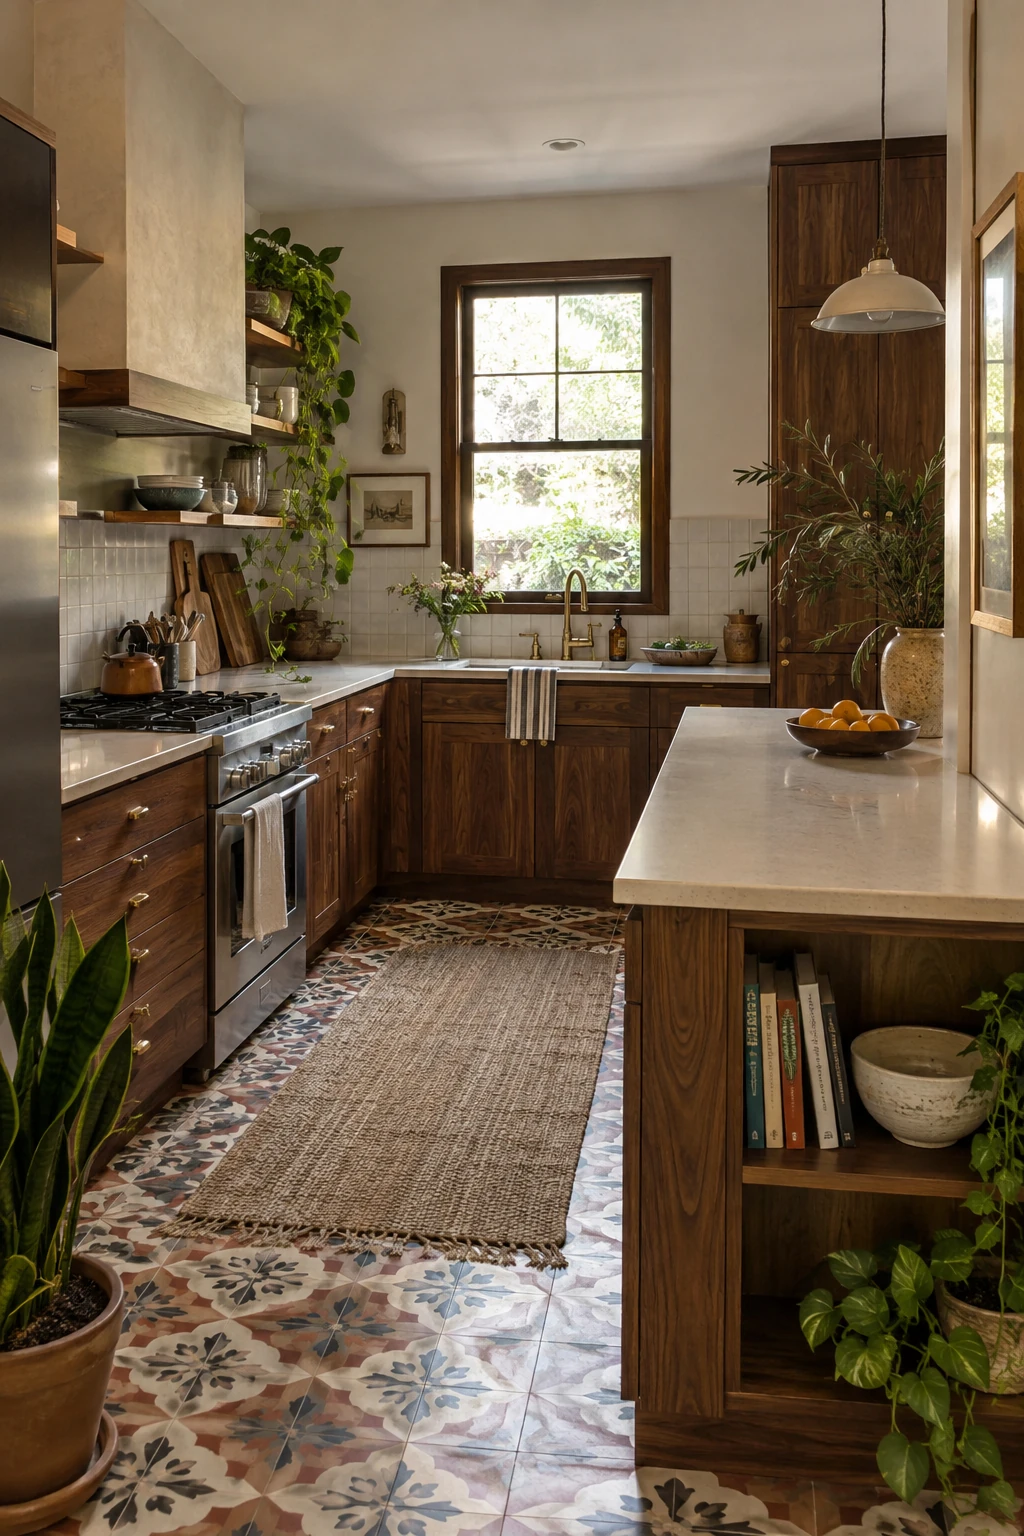
Open shelves at the peninsula end can hold cookbooks, a serving bowl, or a small basket. Keep the arrangement sparse so the entry does not feel cluttered.
Recess the shelf enough to protect objects from passing hips and bags. Use a durable finish that tolerates dust and shoe scuffs.
Planning check: Keep the shelf contents inside the counter edge.
Avoid displaying fragile glass at child height. Closed storage is better where pets or heavy traffic reach the end panel.
32. Store Pots in Deep Drawers
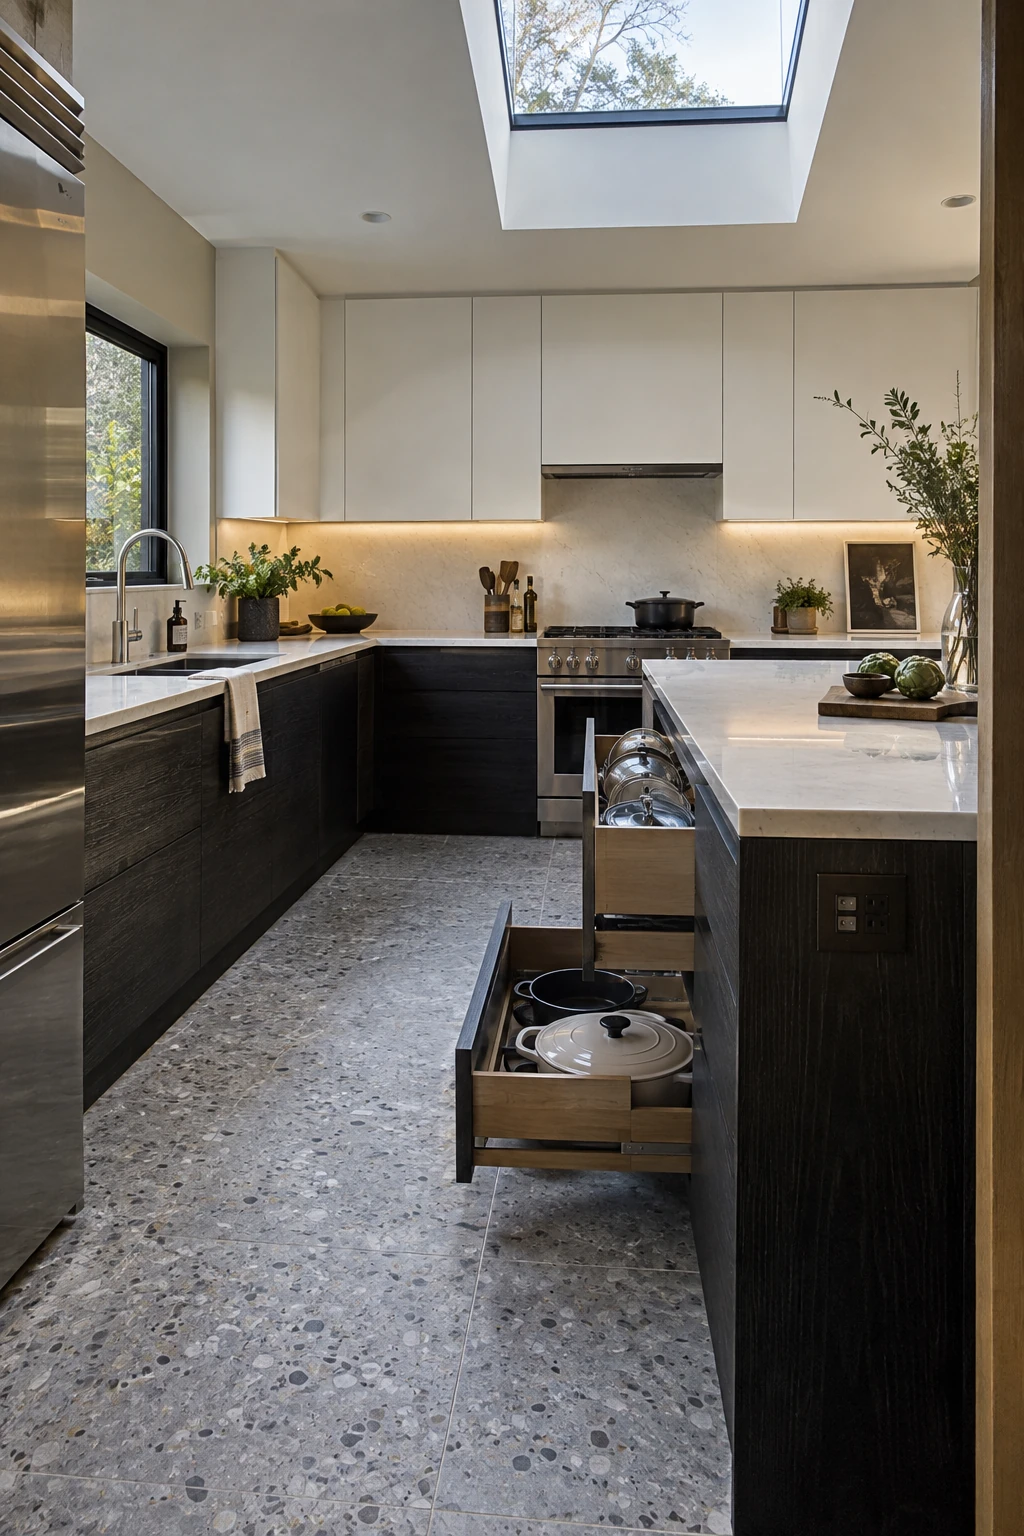
Deep drawers place pots and lids in view without kneeling into a cabinet. Position them near the range while preserving the aisle when fully extended.
- Largest pot
- Tallest lid
- Loaded drawer weight
- Adjacent handle projection
Use slides rated for the expected load and a non-slip liner. Vertical lid dividers can prevent stacks from shifting.
Check handle collisions at the inside corner. A drawer that clears on paper can strike a neighboring pull by a fraction.
33. Pull Recycling Toward Cleanup
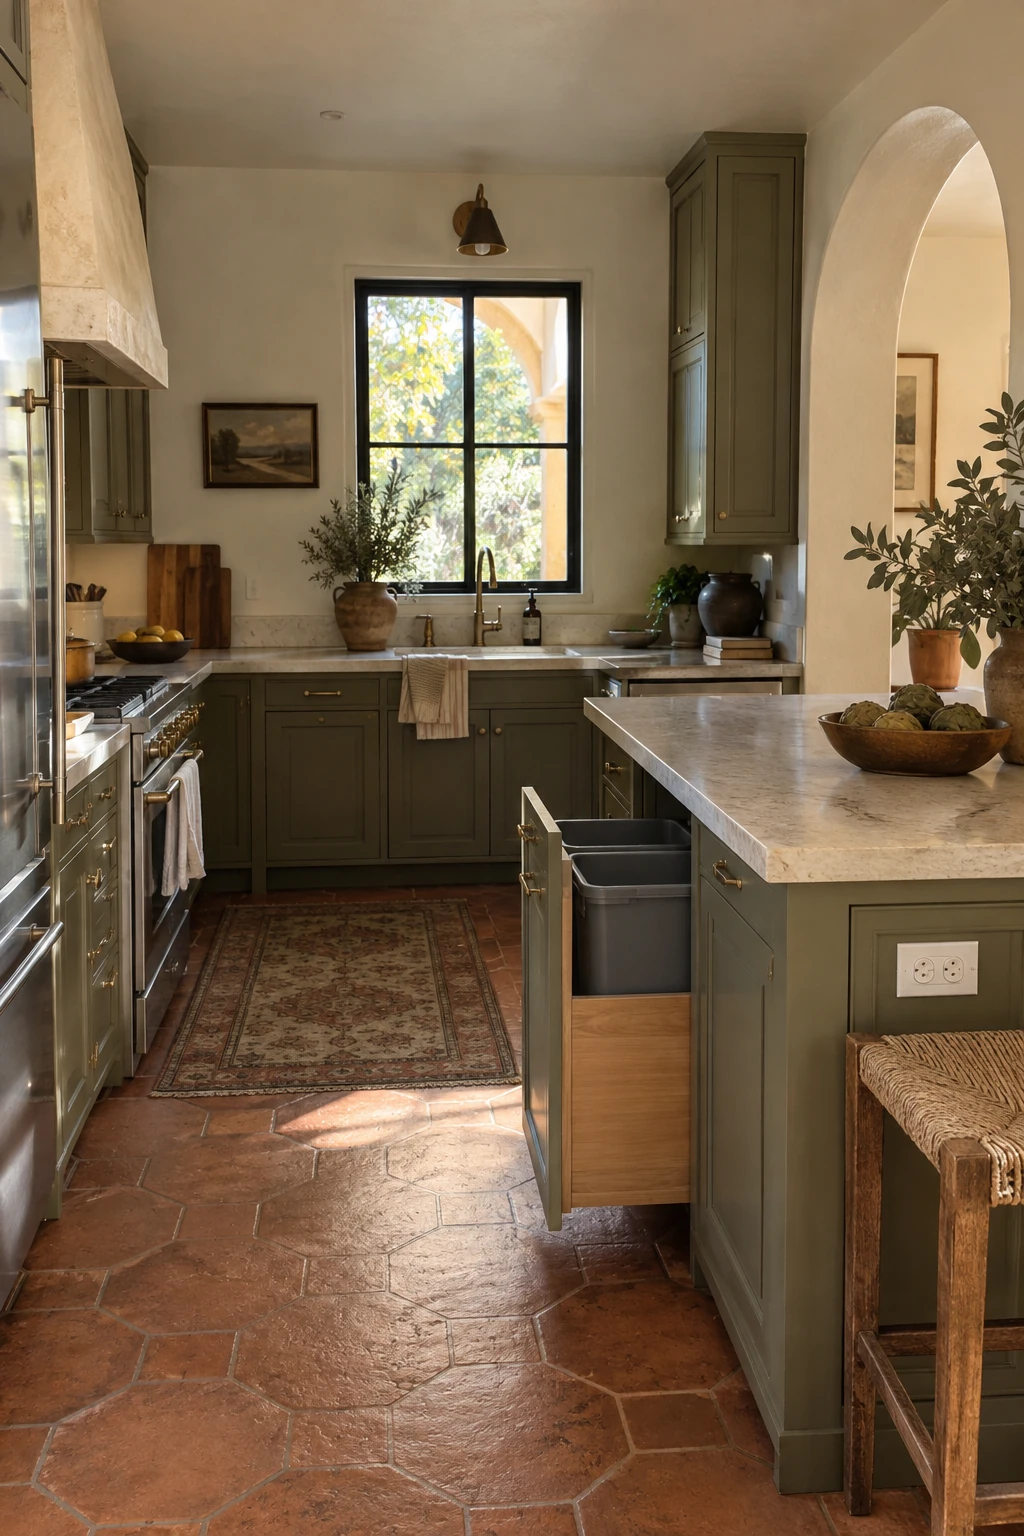
Place trash and recycling between the prep surface and dishwasher so scraps move a short distance. The pullout should not block the only route when open.
Choose removable bins that fit local sorting habits and can be washed easily. A small drawer above can hold bags and compost liners.
Planning check: Practice scraping, sorting, and loading the dishwasher in sequence.
Protect the cabinet from leaks and odors with a wipeable interior. Leave room to lift each bin without striking the countertop.
34. Recess a Pet Station at the Quiet End
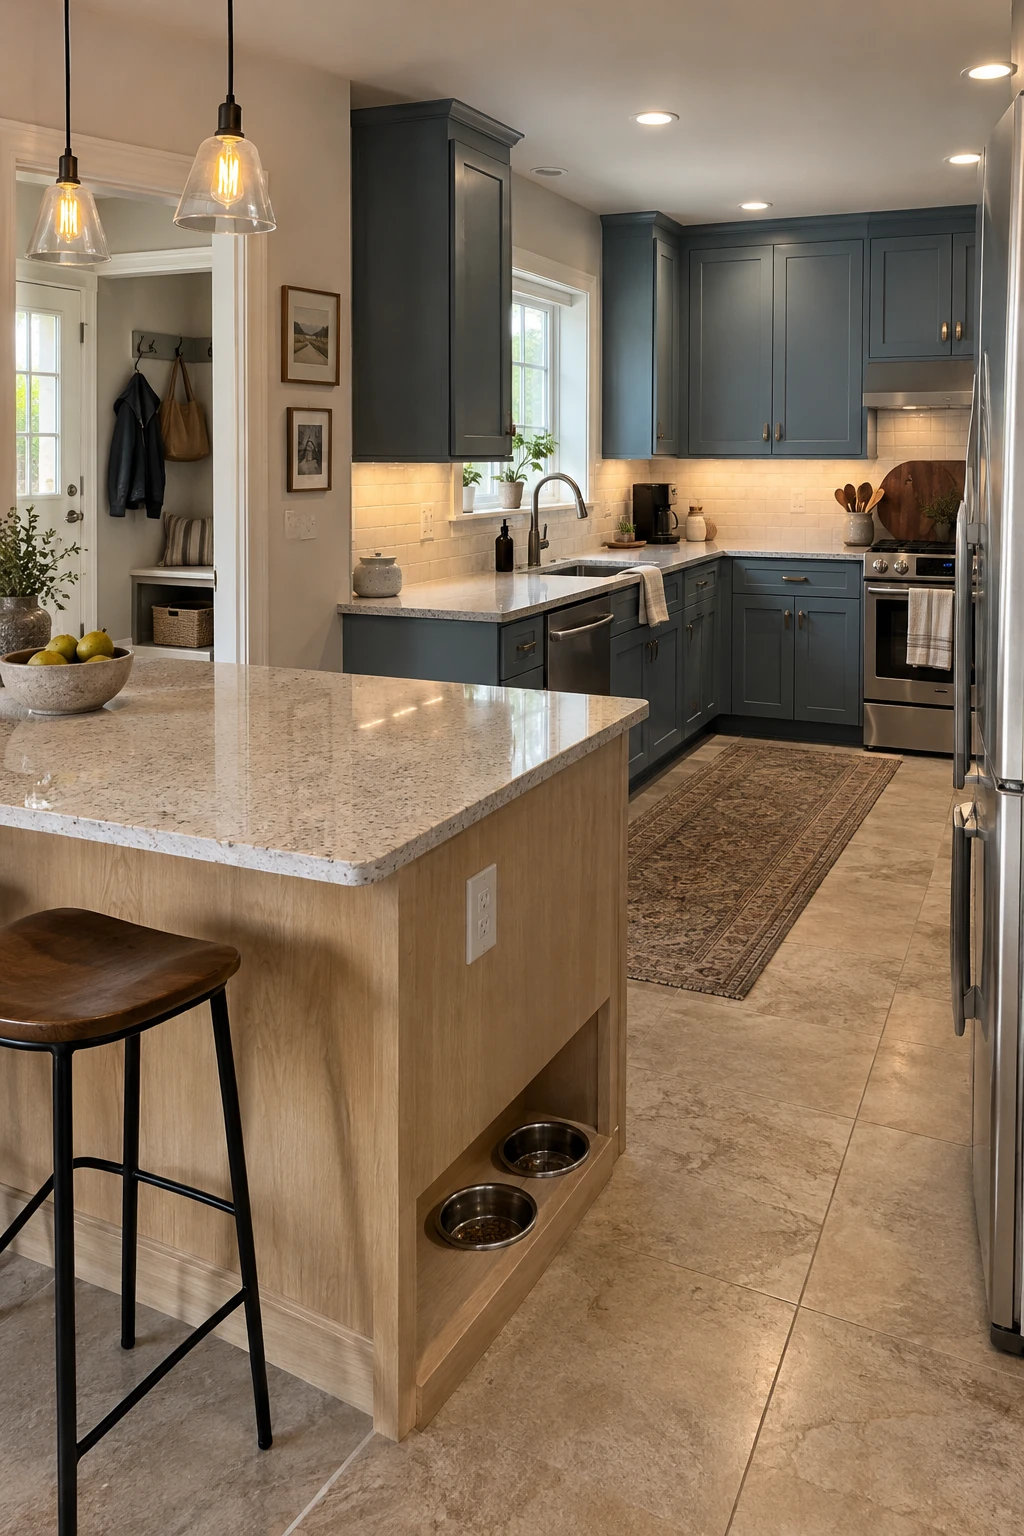
A shallow pet-bowl recess can keep dishes from drifting into the aisle. Put it at the peninsula end farthest from the range, dishwasher, and main entry.
Use a removable washable mat and water-resistant finishes. Avoid a deep fixed pocket that traps spills or makes bowls difficult to lift.
Planning check: Observe the pet's route during a normal meal.
Store food in a sealed bin away from cleaning products. The animal should reach the station without standing beneath an opening door.
35. Use One Toe-Kick Drawer
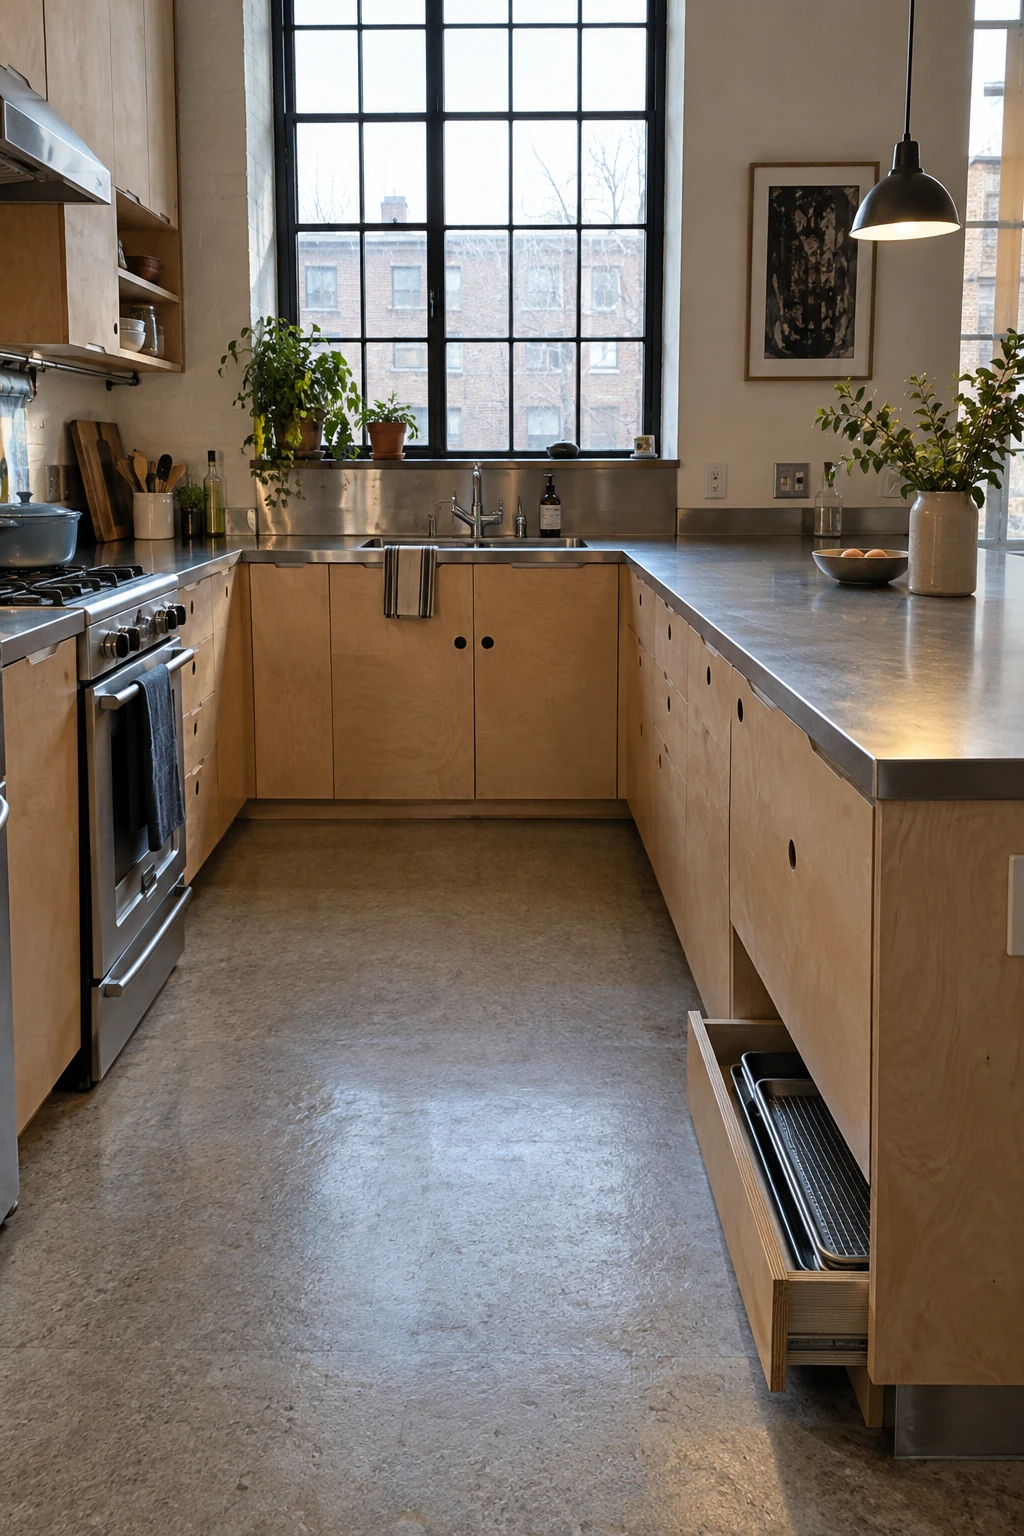
A toe-kick drawer can hold flat trays, linens, or seldom-used tools without enlarging the peninsula. Reserve it for items that tolerate low storage.
Use purpose-built hardware and preserve required cabinet support, ventilation, and service access. The front should close flush so feet do not catch it.
Planning check: Confirm the drawer does not conflict with floor heat, vents, or leveling legs.
Skip the feature near a dishwasher, floor vent, or plumbing access. A simple removable toe-kick may be more valuable for maintenance.
Coordinate Power, Lighting, and Countertop Details
Peninsulas often carry electrical work, structural supports, and visible seams. Coordinate those hidden decisions before cabinets are anchored or stone is measured.
36. Plan Power Before the Floor Closes
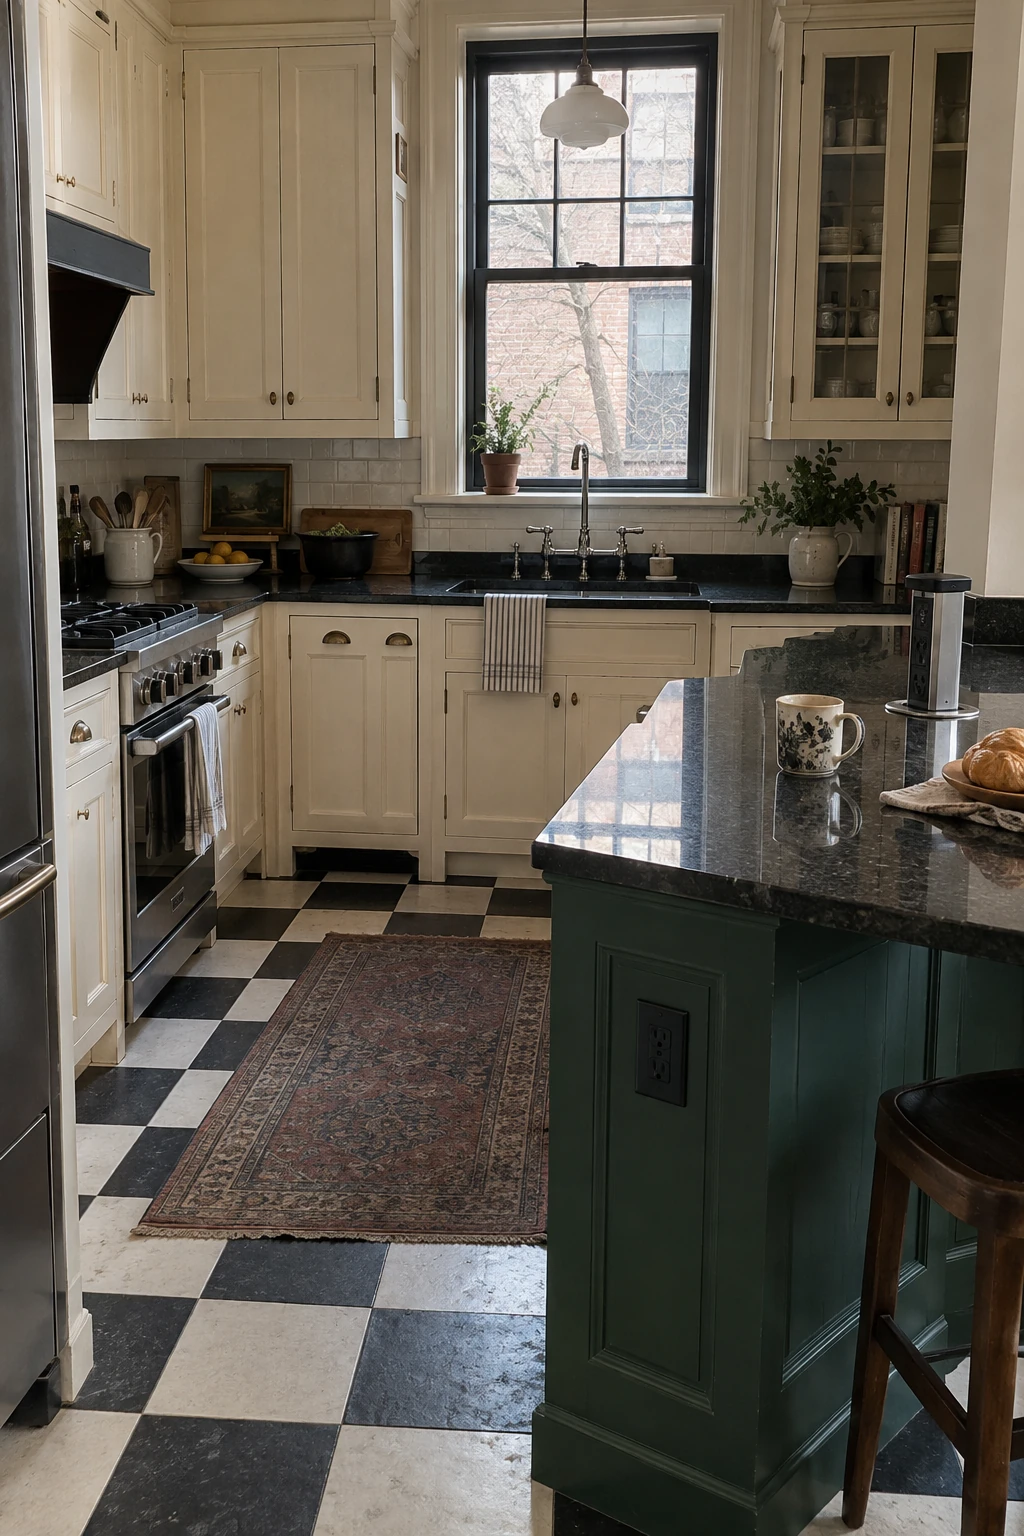
Decide where mixers, laptops, and small appliances will actually sit, then route peninsula power before flooring and cabinets close. Keep cords from crossing sinks, cooktops, and walkways.
Outlet type, spacing, protection, and placement depend on the adopted electrical code and project conditions. Use a qualified electrician rather than copying a photograph.
Planning check: Mark outlets on both the plan and cabinet elevations.
Coordinate devices with drawer boxes, supports, and removable panels. The prettiest location may be unusable once the cabinet interior is drawn.
37. Center Pendants on the Work Surface
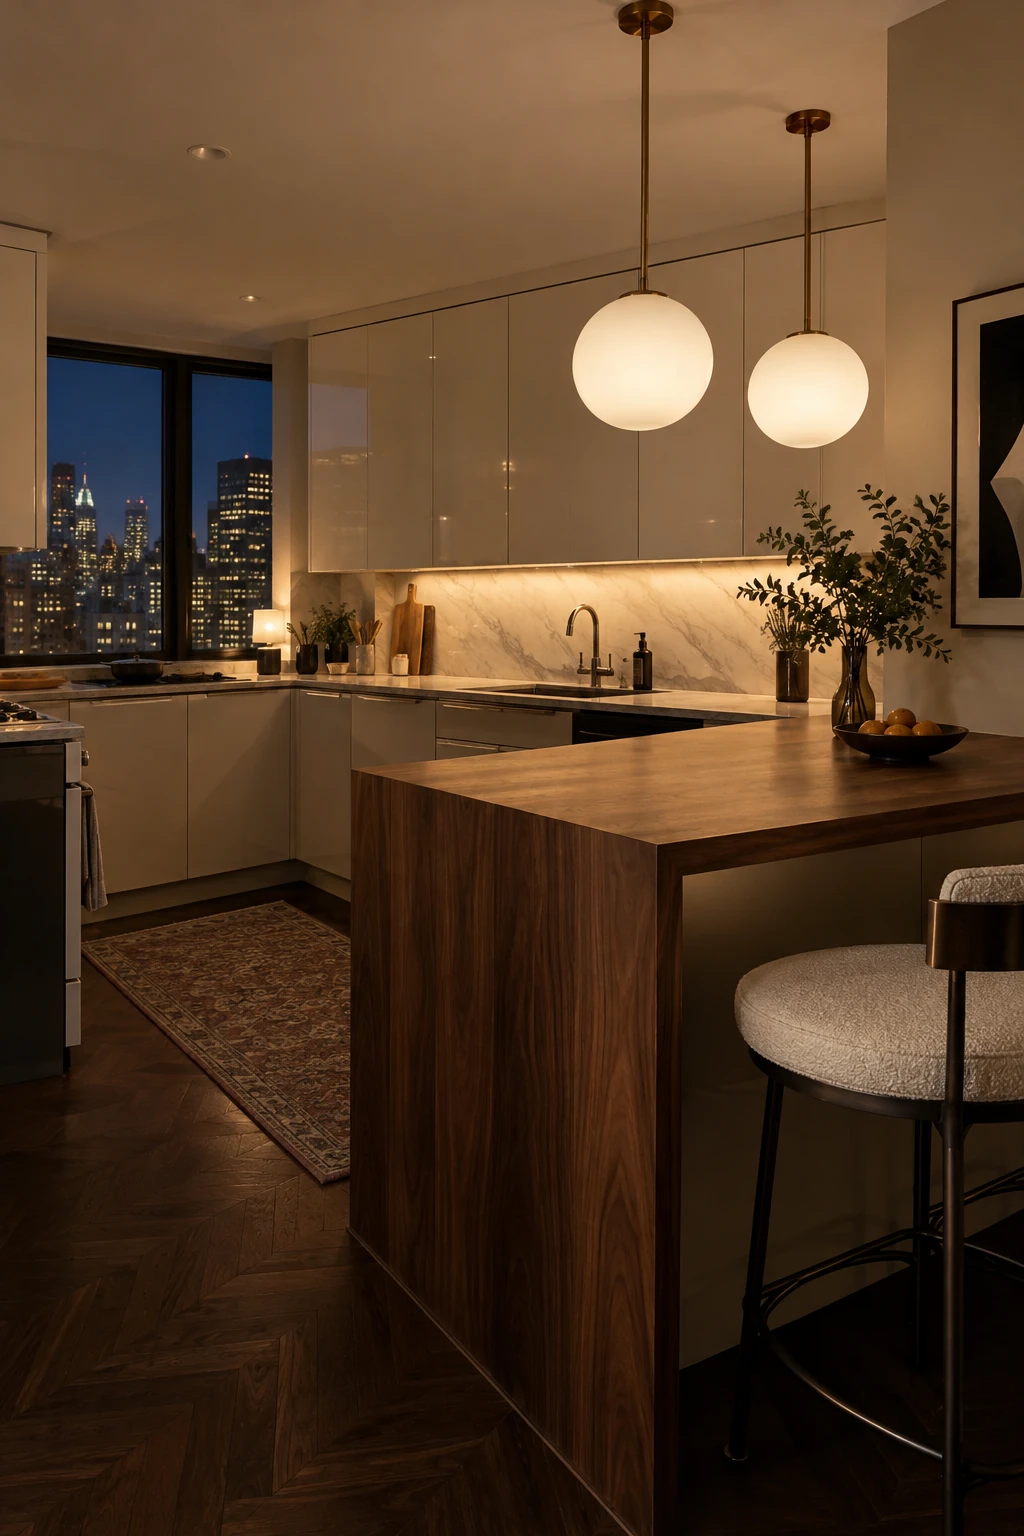
Center pendants on the usable work surface rather than the overall room. This keeps light where prep and seating happen even when the peninsula is visually off-center.
Test fixture diameter and hanging height with upper doors, sightlines, and tall users. A broad shade can make a compact U feel closed in.
Planning check: Suspend cardboard fixture profiles before the electrician sets boxes.
Use the broader kitchen lighting ideas for style direction after task coverage, controls, and junction locations are resolved.
38. Layer Task Lighting Around the U
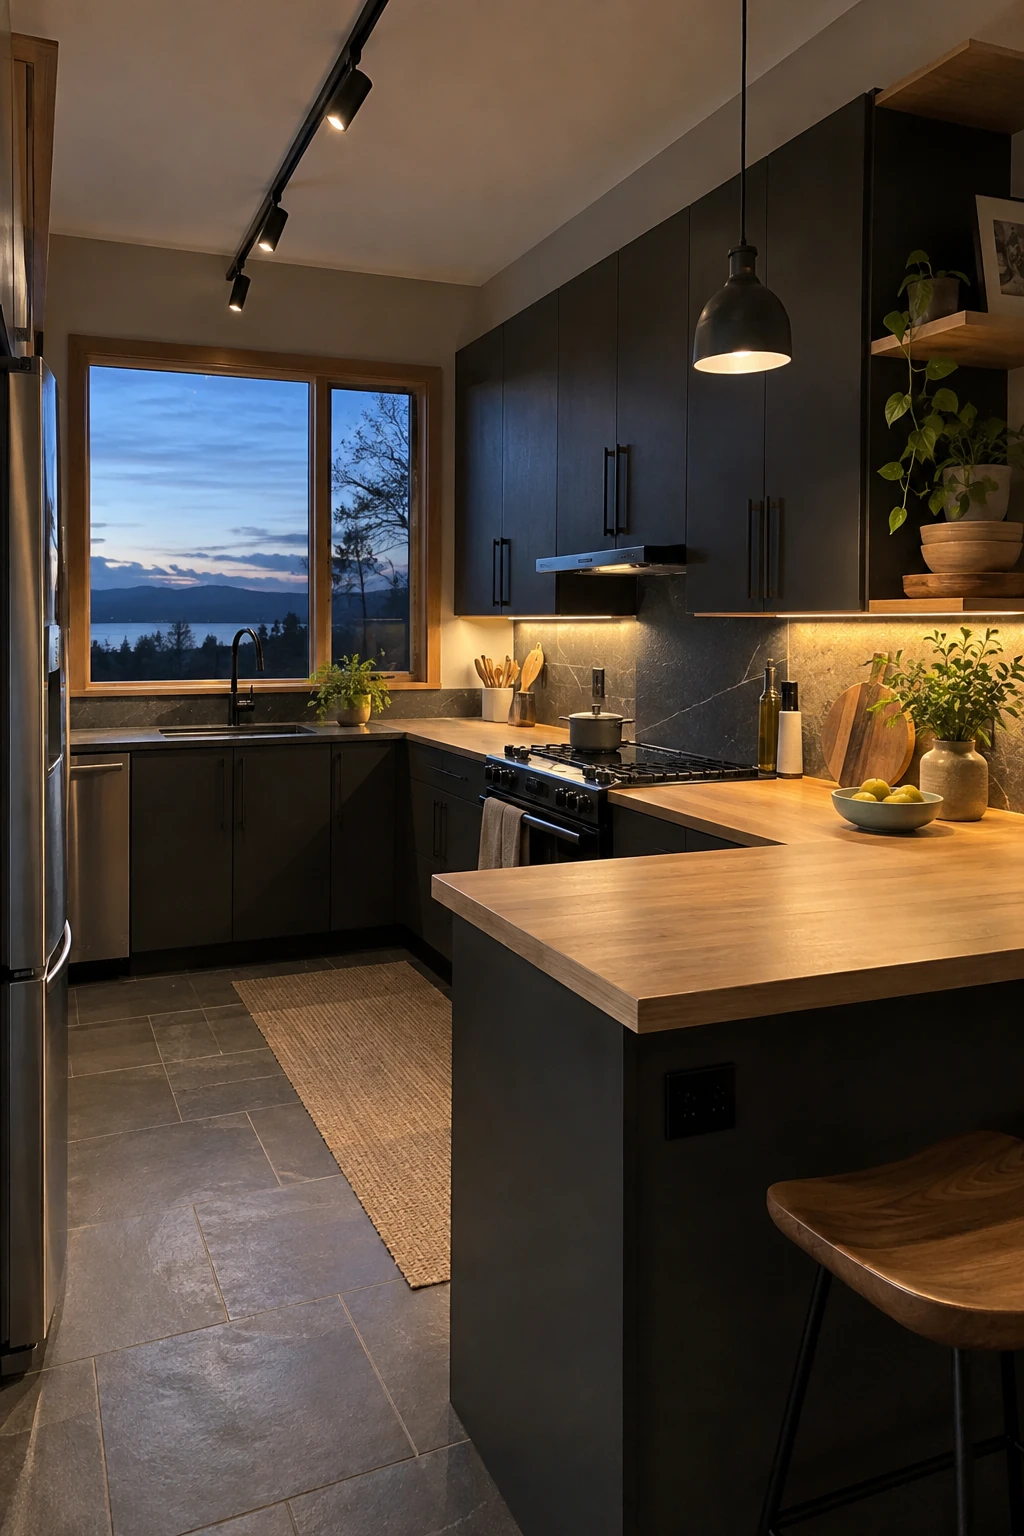
Combine under-cabinet lighting on the perimeter with controlled light over the peninsula. The cook should not cast a shadow across the cutting surface.
- Perimeter task light
- Peninsula task light
- Night glare check
- Accessible drivers
Use compatible color quality, dimming, drivers, and controls so fixtures work together. Conceal wiring while keeping serviceable components accessible.
Check reflections on polished counters at night. A mockup can reveal glare that a daytime rendering misses.
39. Move the Seam Away From Cutouts
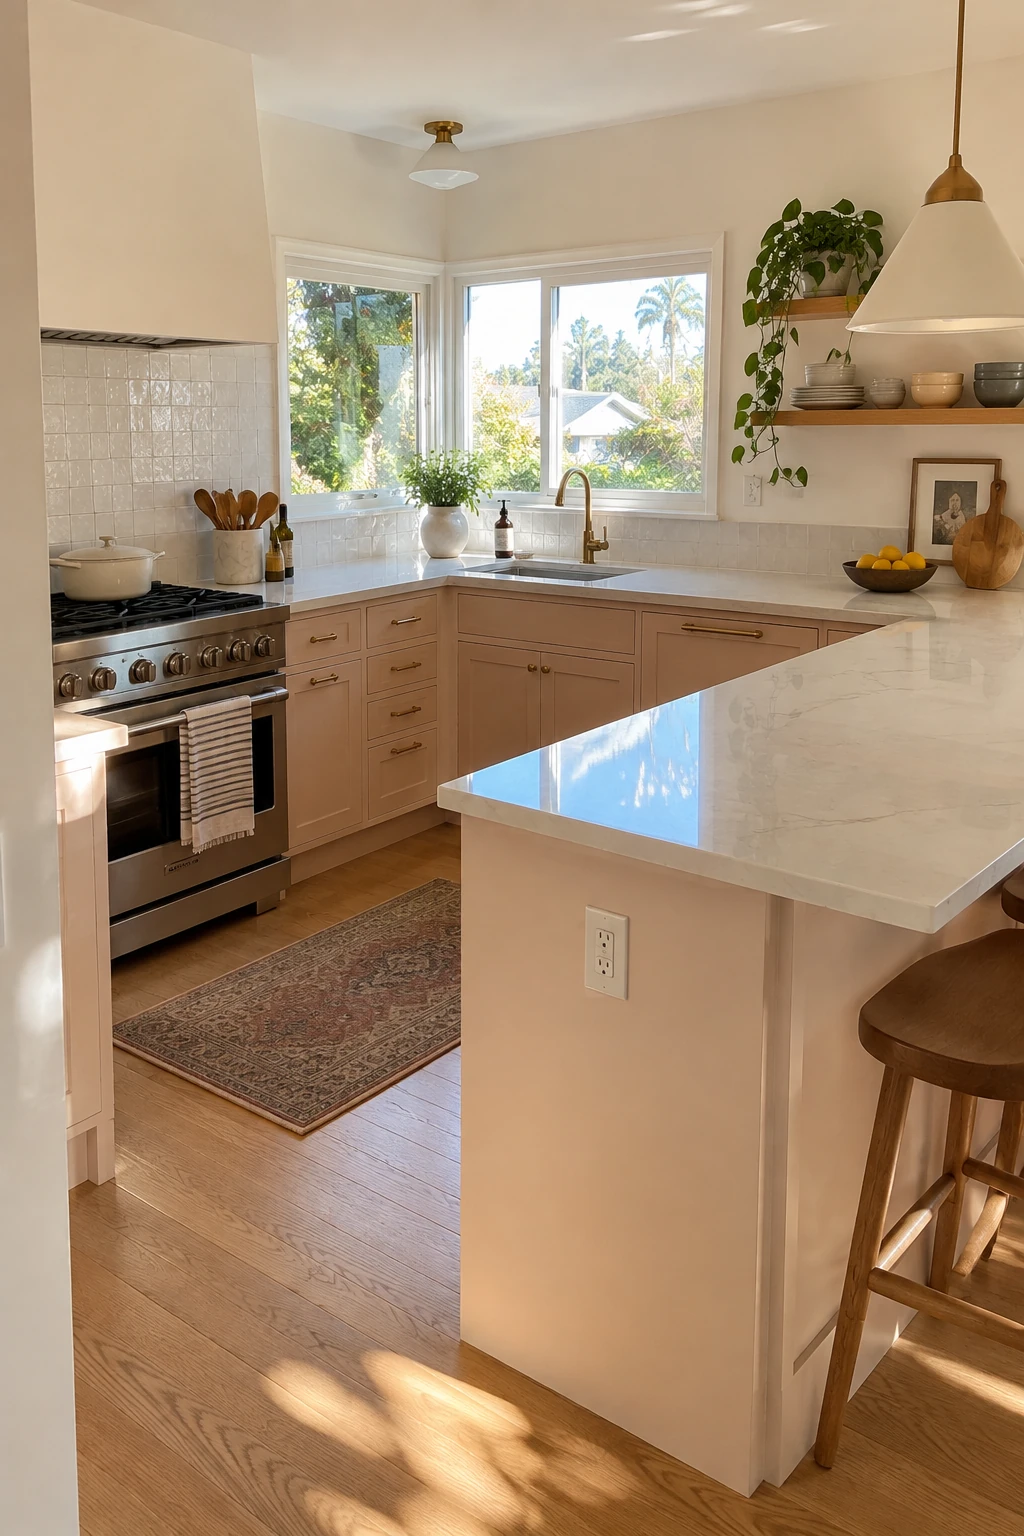
A long U and peninsula may exceed practical slab sizes. Place seams with the fabricator where cabinets support them and where veining can transition deliberately.
Avoid assuming the least visible location is structurally appropriate. Sink and cooktop cutouts, overhangs, and inside corners all affect fabrication.
Planning check: Review seam location, color match, support, and future service access together.
Approve the seam map after final slab selection and cabinet leveling. Product instructions and field measurements should control the decision.
40. Use Butcher Block on the Dry Peninsula
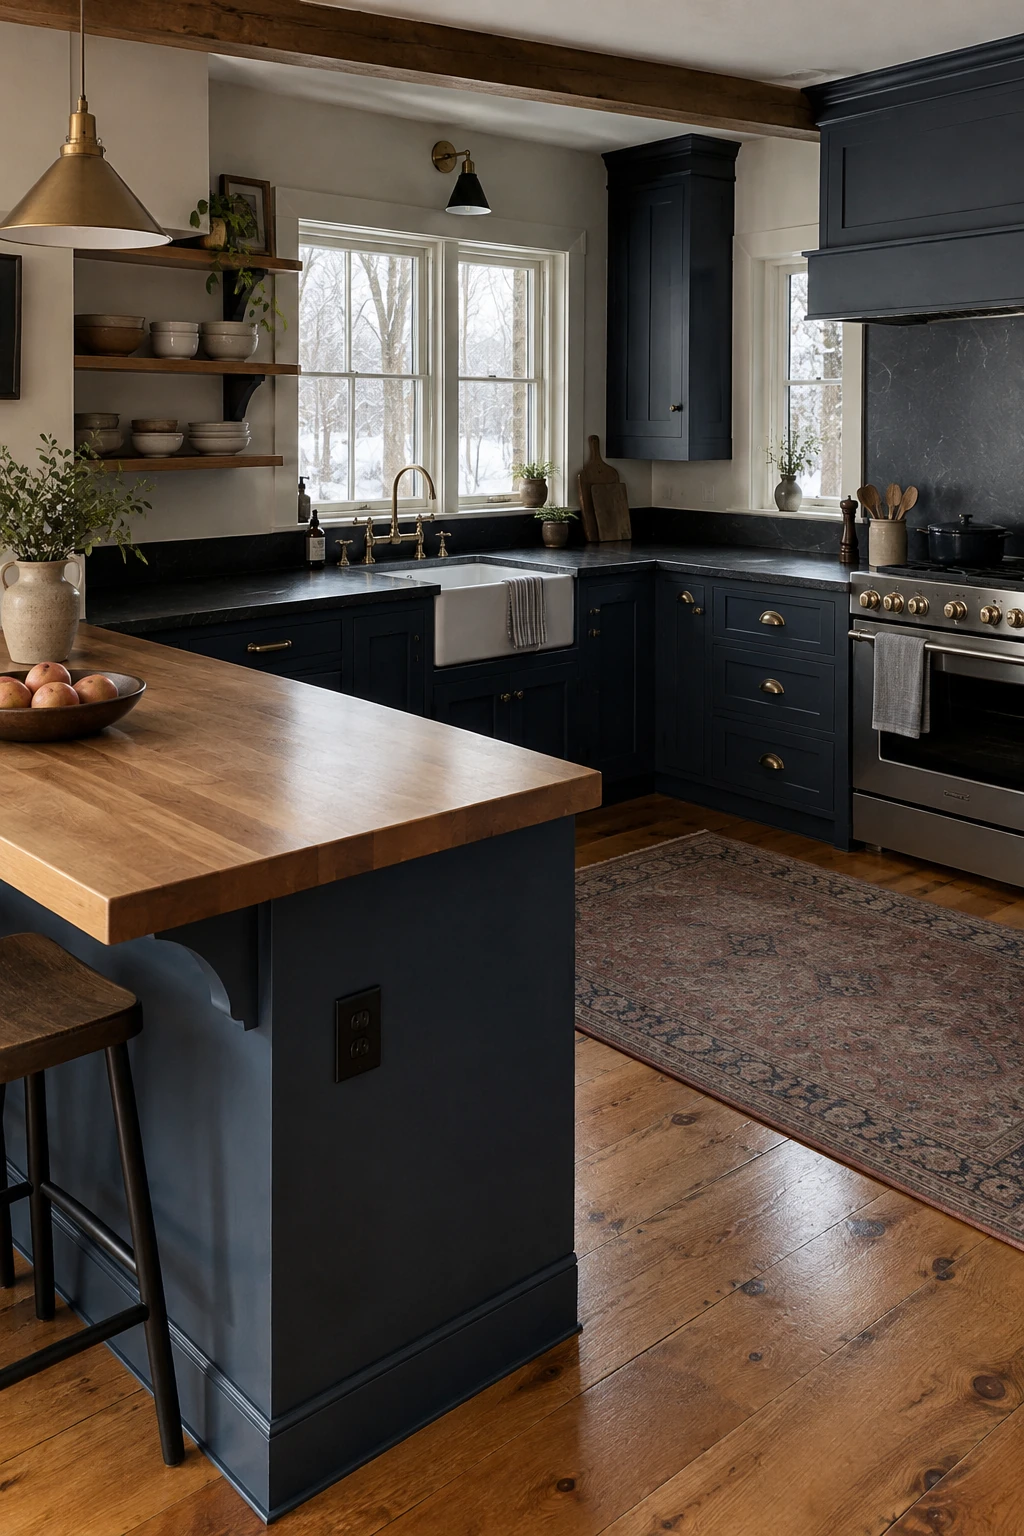
A wood peninsula can warm a kitchen while stone remains around the sink and range. The material change also defines the dry prep or dining zone.
Plan movement, seams, edge treatment, and fastening for seasonal wood change. Keep standing water and hot cookware within the finish maker's limits.
Planning check: Confirm the wood thickness and attachment method before cabinet fabrication.
Choose a repairable finish and save the care instructions. A cutting board is still useful even when the counter is food-appropriate.
Match Materials, Budget, and Accessibility
A peninsula can look custom at several budget levels. Spend first on safe clearances, sound boxes, support, and durable work surfaces; decorative layers can follow.
41. Wrap the Exposed End in Stone
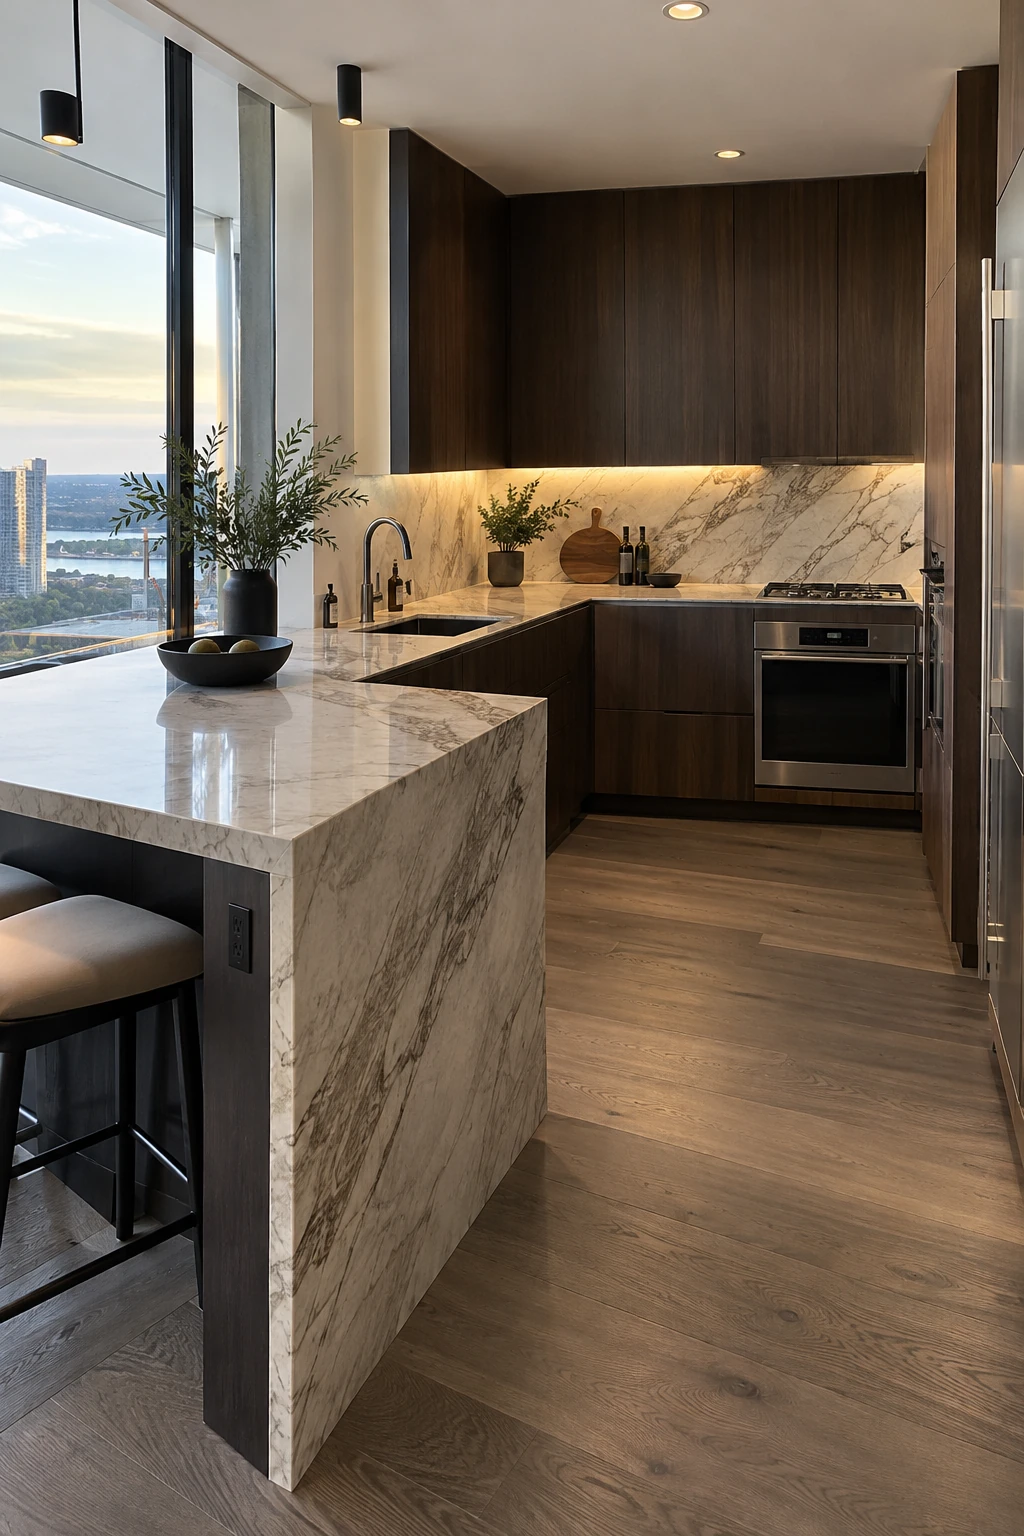
A waterfall end can protect the exposed side and make the peninsula read as one strong volume. Reserve it for the side visible from adjoining rooms.
It adds slab area, fabrication, transport weight, and alignment work. Match the vein direction and decide how the floor joint meets the stone.
Planning check: Price the complete fabricated panel, not only the extra square footage.
The fabricator must coordinate support, miter details, and movement with the cabinet installer. Inspect sharp edges and vulnerable corners before sign-off.
42. Make One Bay Adaptable
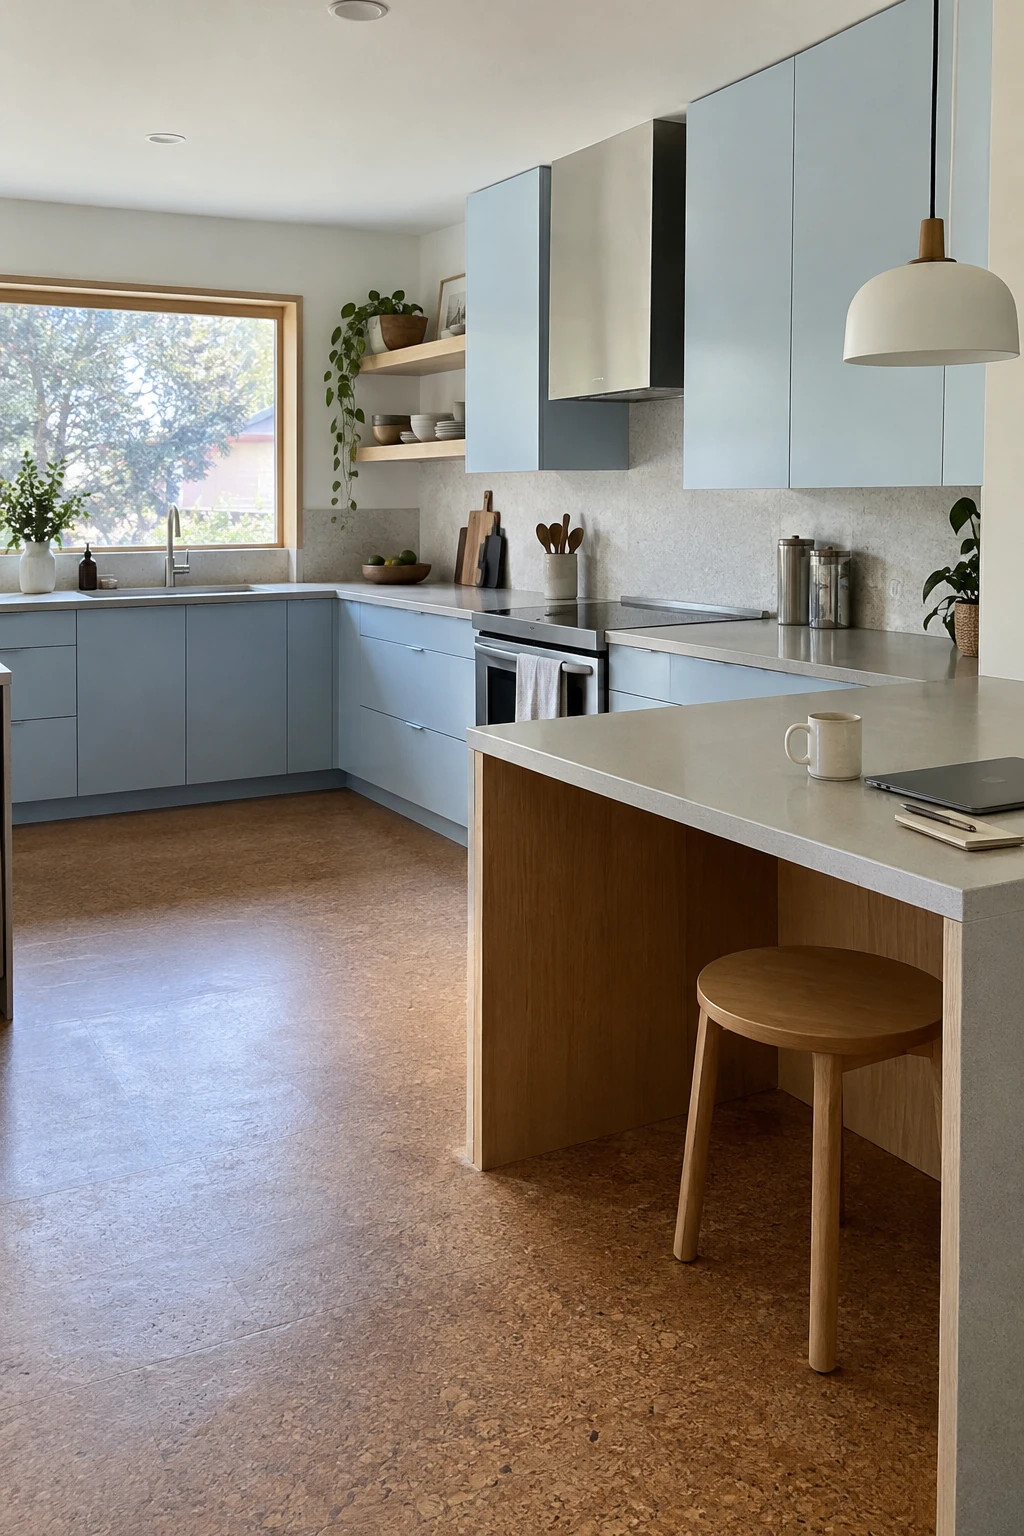
Design one bay so a base cabinet can be removed later without exposing unfinished flooring or walls. This can support seated work or changing household needs.
Keep the underside smooth and services out of the knee area. A removable panel can finish the opening while the cabinet remains in place.
Planning check: Continue finished flooring beneath any removable cabinet.
Accessible design depends on the user's body, reach, approach, and applicable standards. Engage a qualified designer for final dimensions instead of treating adaptability as a decorative notch.
43. Build From Stock Base Cabinets
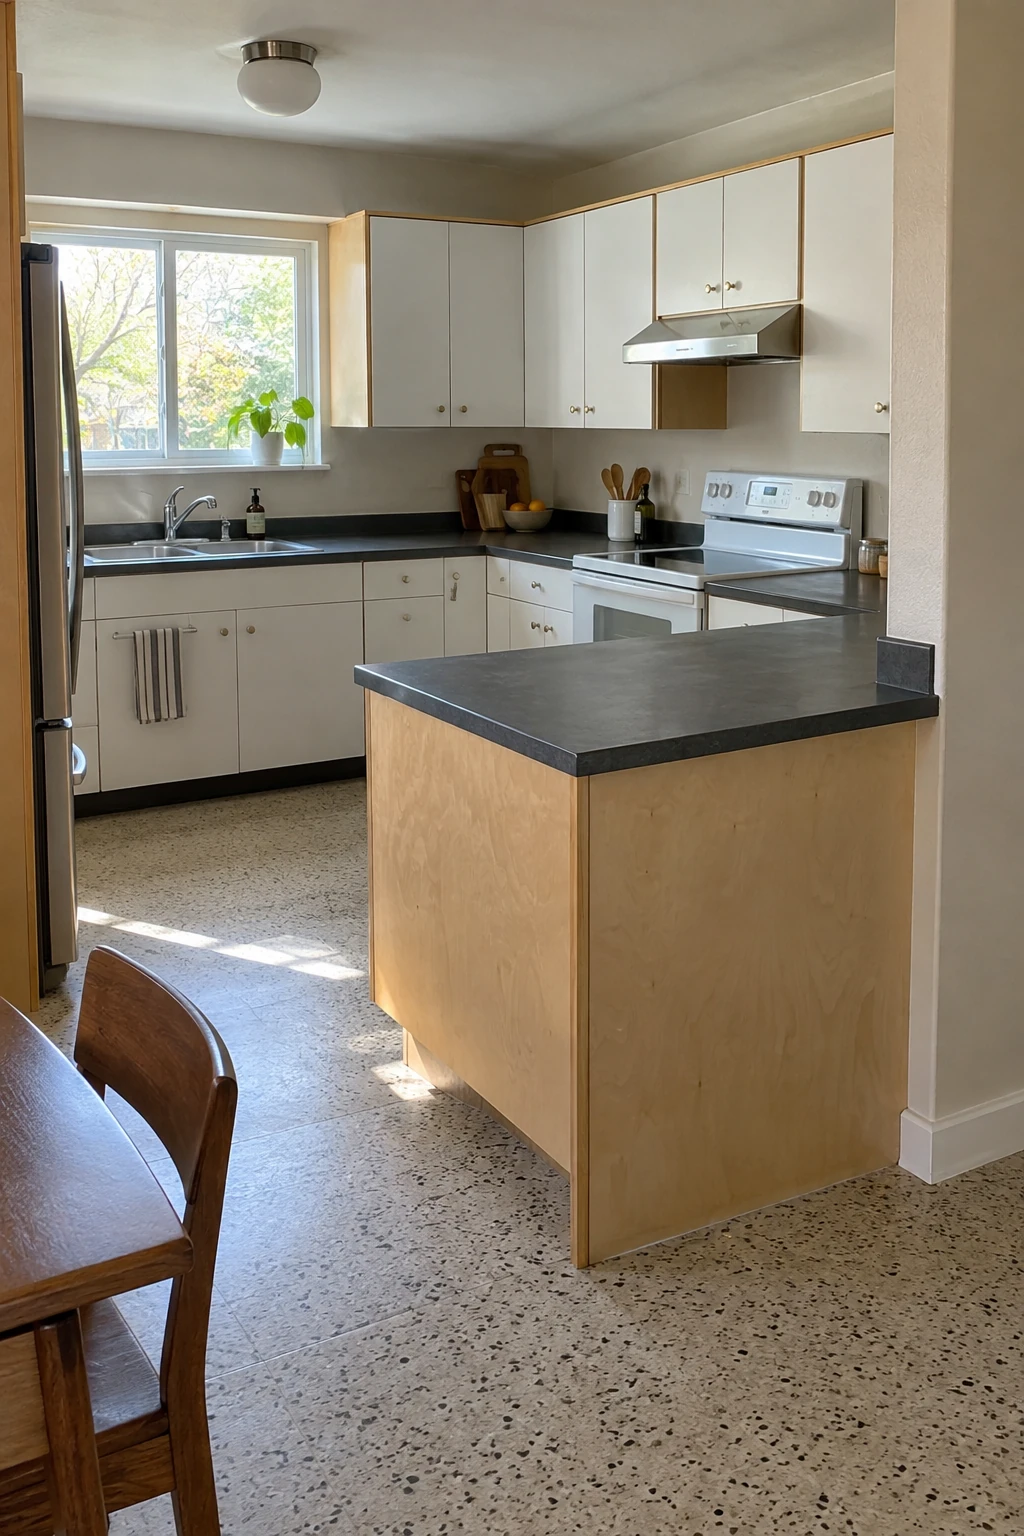
Stock base cabinets can form a budget peninsula when standard widths fit the taped footprint. Finished panels, a continuous toe-kick, and aligned hardware help the boxes read as one unit.
- Box strength
- Floor anchoring
- End panels
- Counter support
Verify box strength, anchoring, countertop support, and floor conditions. Counter weight alone should not keep the peninsula from moving.
Standard sizes are economical only when doors and drawers clear the opposing run. Fillers can protect handles and absorb small field differences.
44. Choose a Durable Laminate Top
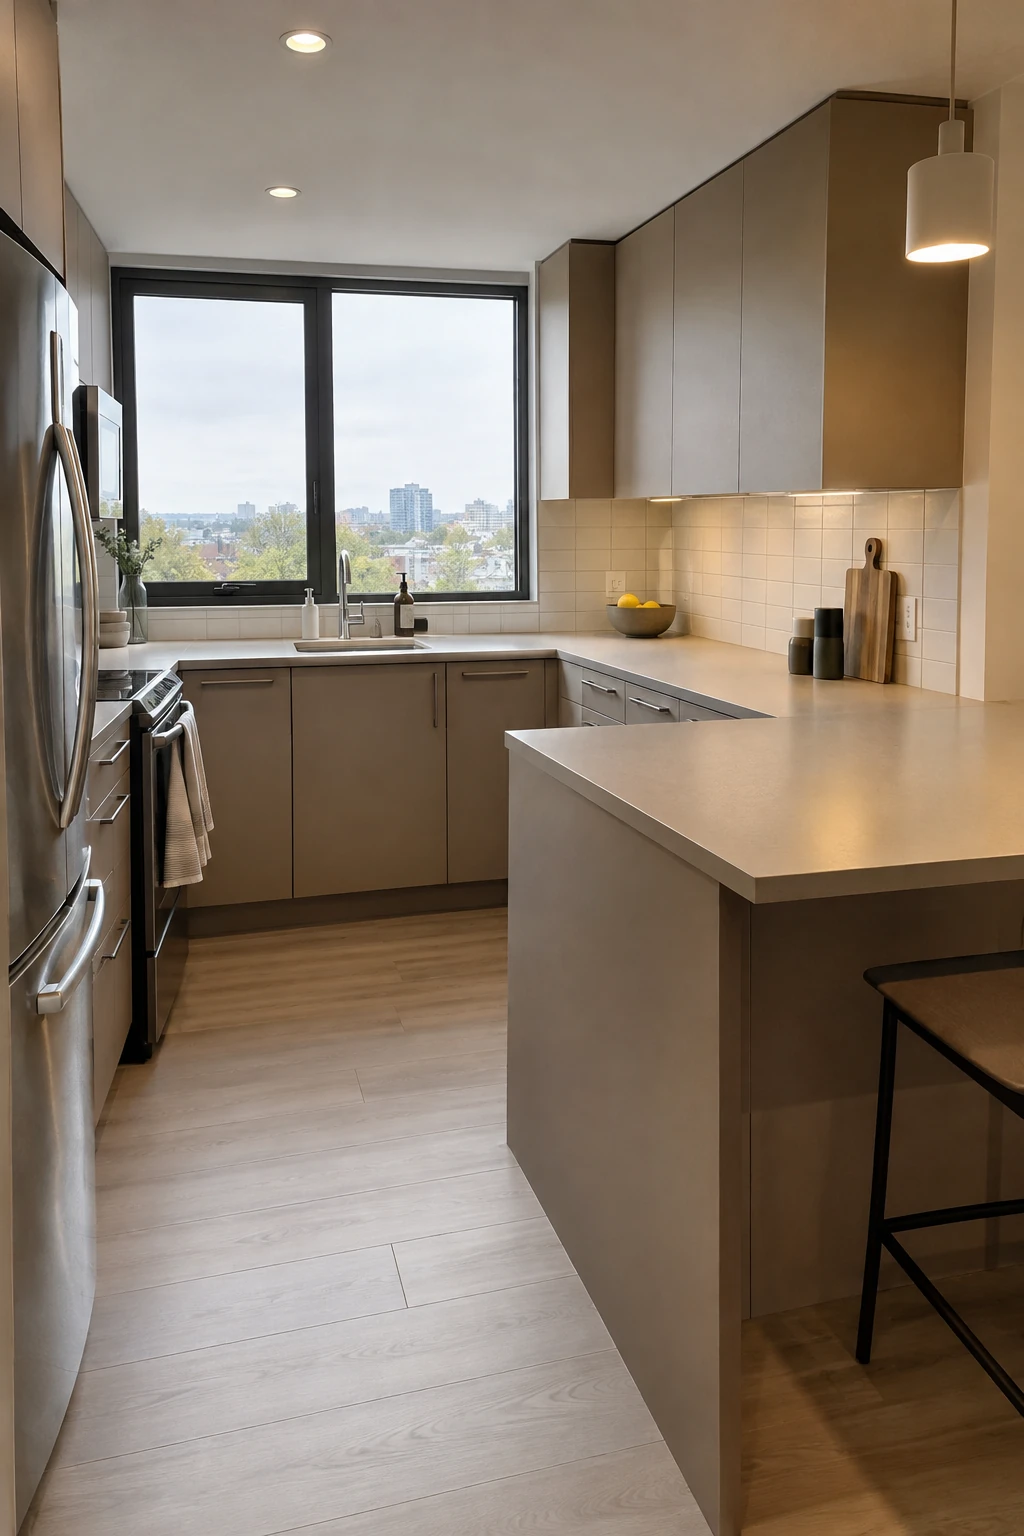
Laminate can deliver a durable dry peninsula at a lower material and fabrication cost than many slabs. Matte patterns and simple edges usually look calmer than glossy imitations.
Keep seams and exposed substrate away from standing water. Follow the product's heat, cleaning, and cutout instructions.
Planning check: Resolve the edge and backsplash return before ordering.
Save an offcut and the pattern record for repairs. A new top can be a later upgrade if the cabinet layout proves successful.
45. Use the Peninsula as the Color Block
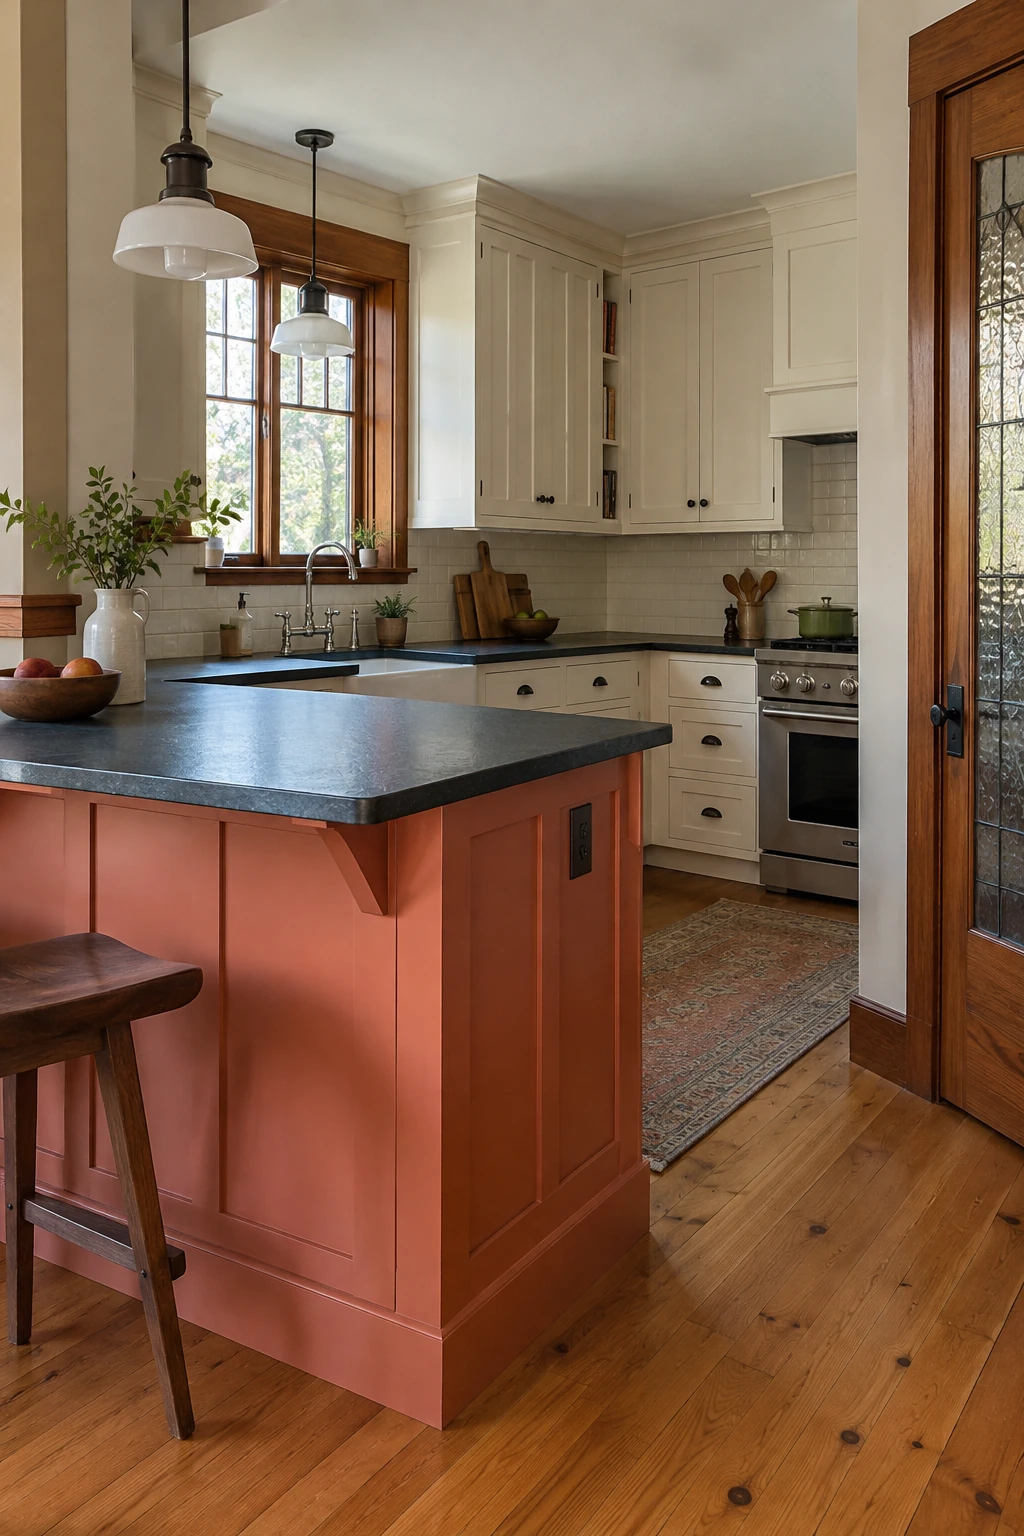
Paint the peninsula a muted accent while keeping the U perimeter quieter. The contrast can visually separate the social edge from the work walls.
Repeat the color once in a small detail rather than matching every accessory. Test the sample beside the floor, counter, and cabinet white under day and night light.
Planning check: View a large sample on every visible side of the peninsula.
Use a cabinet-grade finish that tolerates shoes, bags, and frequent wiping. Save labeled touch-up paint for the exposed end.
Finish, Install, and Maintain the Layout
The last decisions determine whether the peninsula stays serviceable. Protect utilities, floor continuity, and access panels while trades work in the correct order.
46. Add a Slatted Public-Side Panel
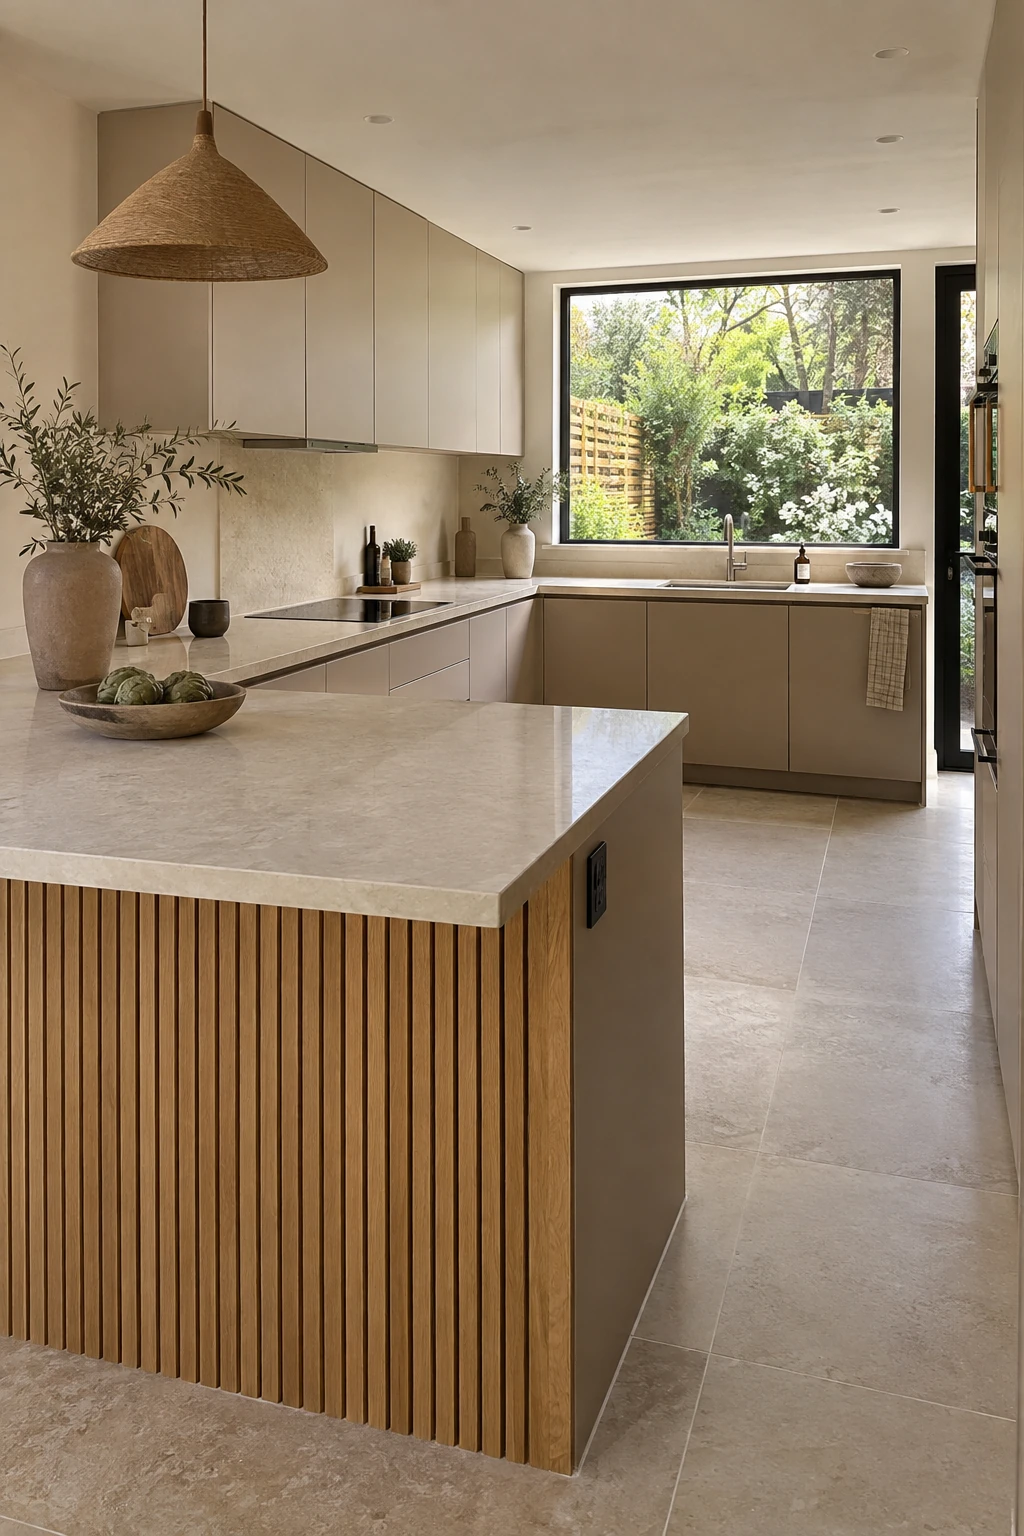
A vertical slat panel can add texture to the dining side while protecting a broad painted surface. Keep the profile shallow so it does not steal knee or passage space.
Stop the slats cleanly at outlets, end panels, and the toe-kick. Removable sections may be needed where services sit behind the finish.
Planning check: Confirm access panels remain removable after decorative trim is installed.
Choose a wipeable coating and rounded edges. Deep grooves collect dust and cooking residue, so the detail must suit the household's maintenance tolerance.
47. Run Flooring Continuously Through the Opening
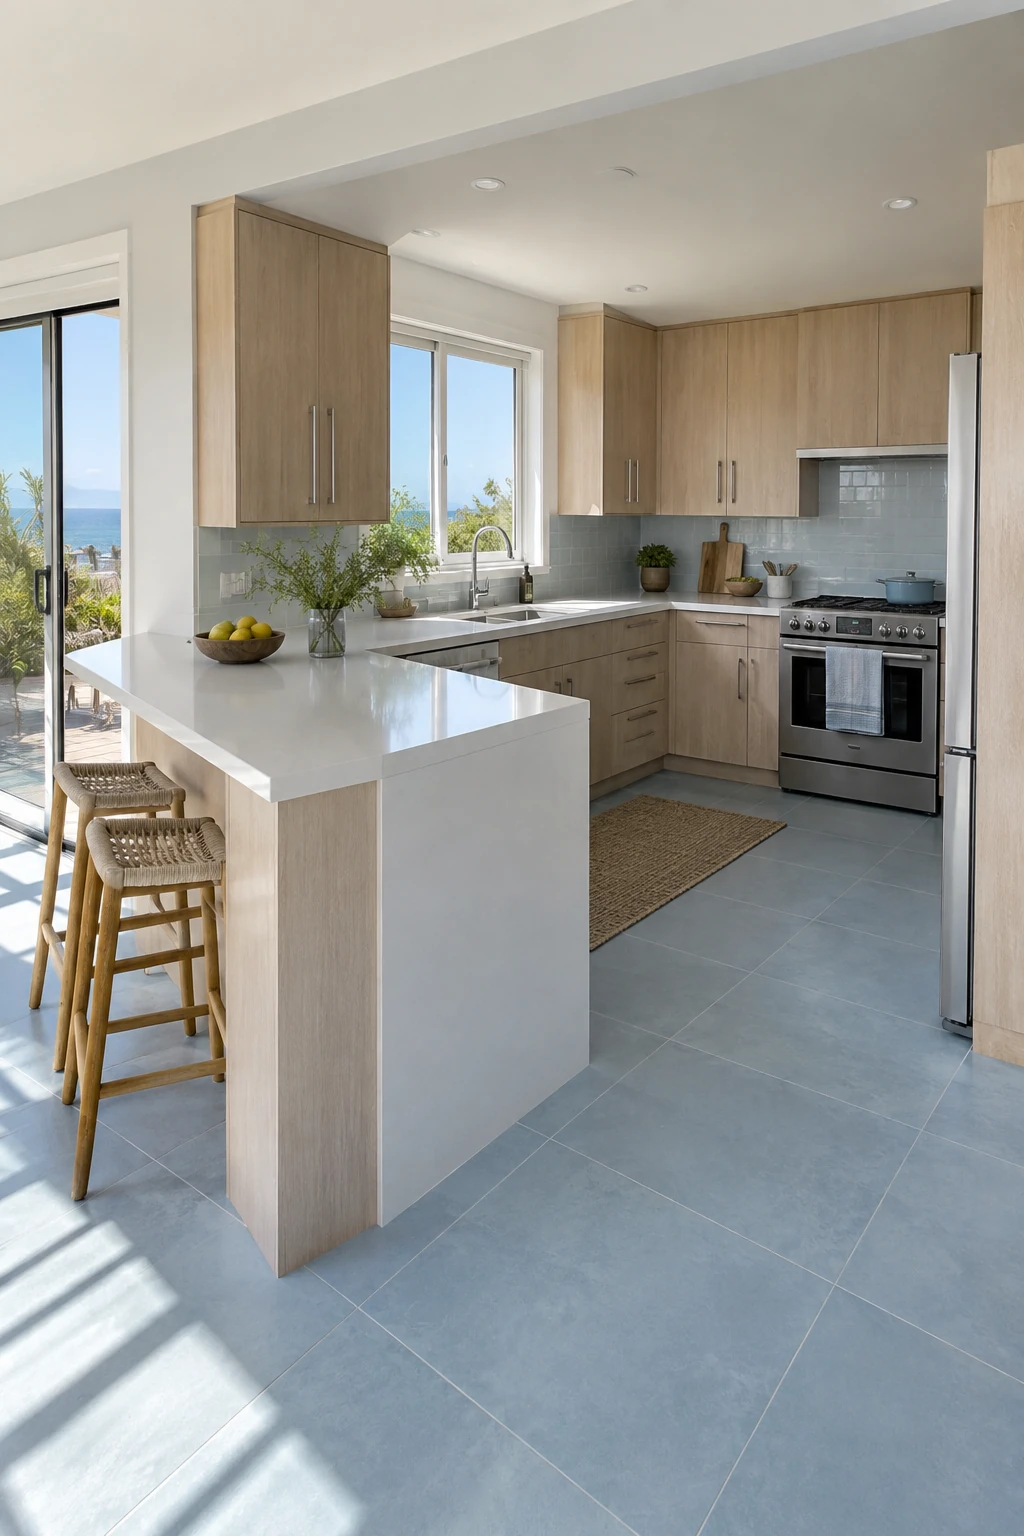
Continuous flooring can make a compact U feel less chopped up and simplify the public passage. Coordinate whether it runs beneath cabinets or terminates at them before installation begins.
Material movement, water exposure, appliance removal, and manufacturer instructions determine the correct detail. Floating floors may require a different approach from tile or site-finished wood.
Planning check: Draw every transition and cabinet edge on the flooring plan.
Use these kitchen flooring ideas for appearance after substrate, transitions, and cabinet sequencing are resolved.
48. Hide a Removable Service Panel
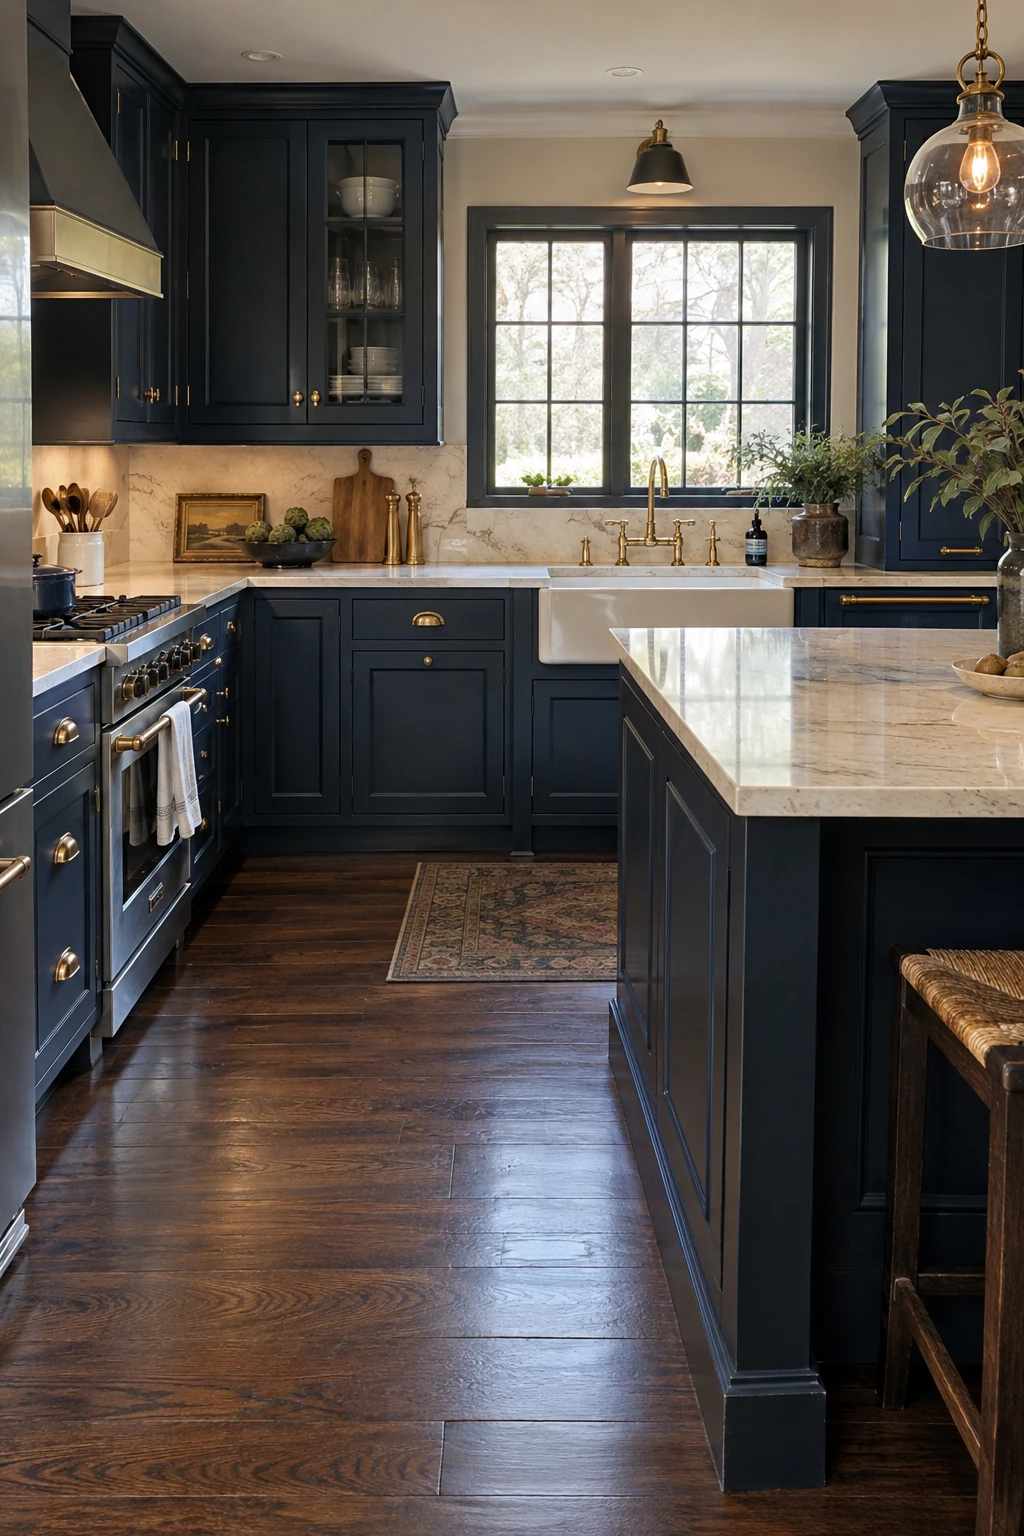
A finished removable panel can conceal plumbing, electrical connections, or fasteners without burying them permanently. Align its joints with cabinet rails so it looks deliberate.
Use fastening that technicians can release without damaging the counter or floor. Document what sits behind the panel and how it opens.
Planning check: Photograph the open panel and concealed routes before handoff.
Never use decorative cladding to hide a component that must remain openly accessible by code or product instructions. Confirm the service plan with the relevant trade.
49. Shorten the Peninsula for a Tiny Kitchen
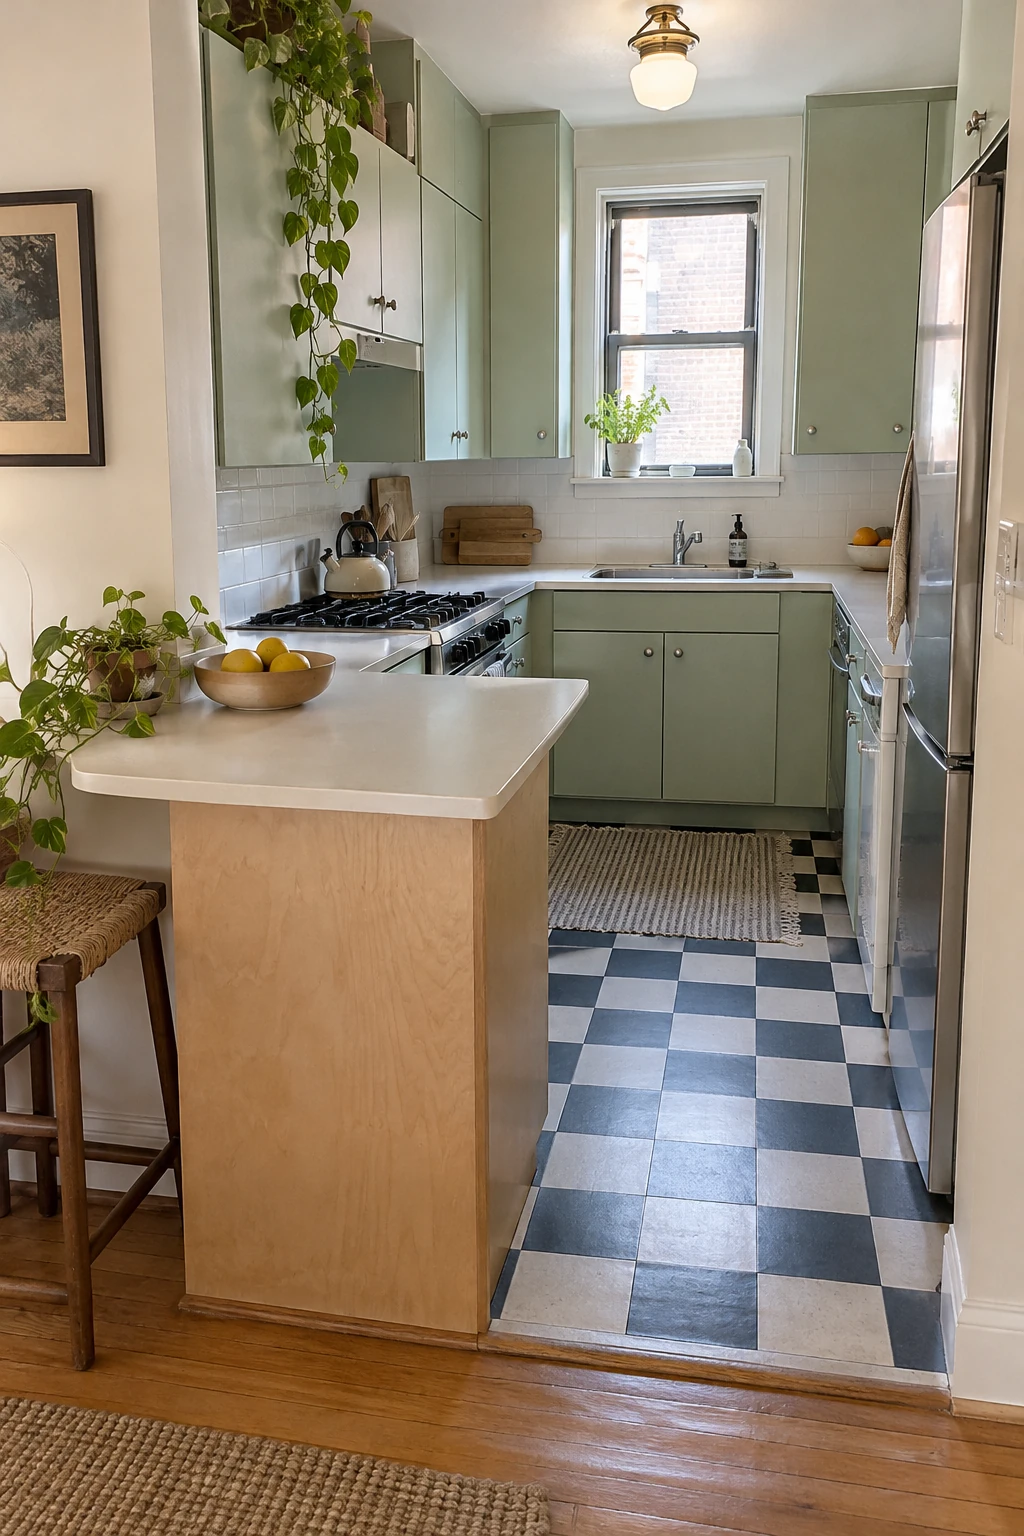
In a very small room, a short peninsula can provide one landing surface and one seat without sealing the opening. End it as soon as the useful cabinet bay is complete.
Use shallow storage, a compact stool, and quiet hardware. Avoid a decorative overhang that consumes the remaining passage.
Planning check: Prioritize one clear route over the longest possible counter.
Compare the taped plan with small-space small kitchen storage ideas before expanding the footprint. Vertical and interior storage may solve the problem more safely.
50. Finish With a Maintenance-Ready Handoff
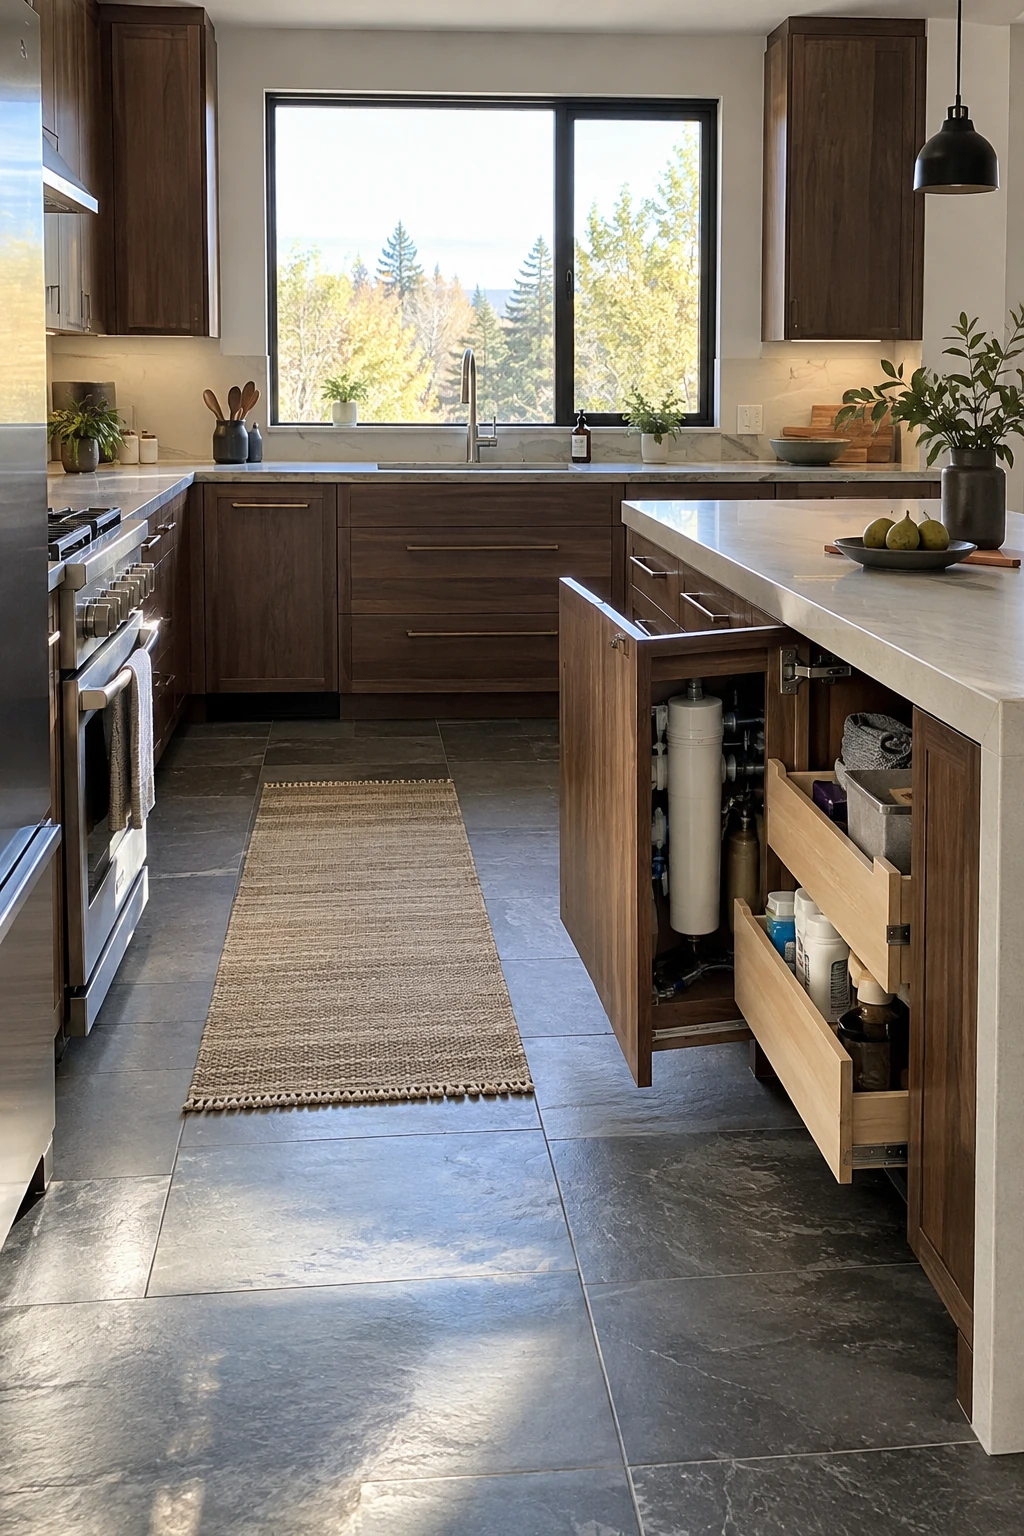
At handoff, record shutoff locations, circuits, finish names, hardware models, counter care, and concealed routes. Keep photos of open walls and floors with the house records.
Adjust doors and drawers after the room settles. Inspect sink seals, supply connections, and dishwasher hoses periodically so small leaks do not reach cabinets or flooring.
Planning check: Create one home file for plans, photos, manuals, finishes, and warranties.
Store a labeled touch-up kit and the approved cleaning instructions. Easy maintenance protects the peninsula's appearance and preserves access for future trades.
Review the final room against the mockup goals: open entry, conflict-free doors, useful work zones, supported overhangs, and a public side that serves the household without entering the cook's path.
Choose the Peninsula That Keeps the U Open
A successful peninsula adds counter space and storage while protecting the opening that makes the kitchen usable. Start with circulation and appliance operation, then add seating, finishes, and specialty storage only when the tested footprint can support them.
Freeze exact appliances and fixtures before fabrication, coordinate structure and utilities across trades, and preserve service access. Final dimensions must follow the room, adopted code, accessibility needs, and manufacturer instructions rather than a single universal template.