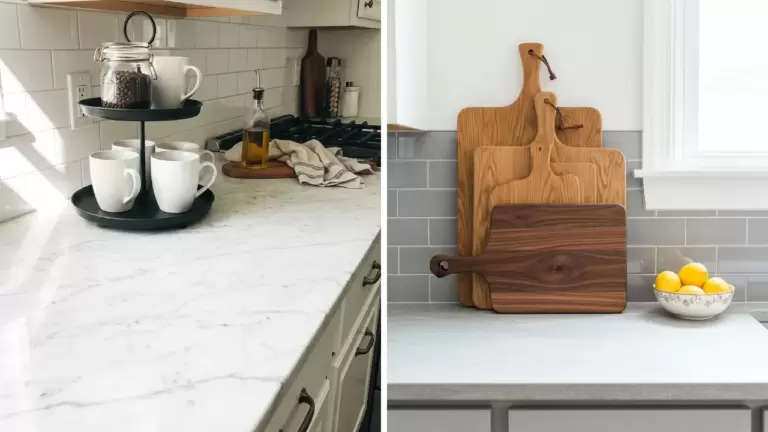
55 L-Shaped Kitchen With Island Ideas

This post may contain affiliate links: full affiliate disclosure.
An L-shaped kitchen can leave the center open enough for an island, but the fit depends on finished cabinet fronts, appliance projections, door swings, and the routes people actually use. Measure the room before choosing an island from a showroom floor plan.
The 55 ideas below grew from a 92-candidate planning pool covering workflow, island proportions, seating, storage, utilities, accessibility, budget, and construction. Thirty-seven candidates were removed because they repeated a finish, duplicated another work-zone solution, or produced a visually indistinguishable room.
How to Plan an L-Shaped Kitchen With an Island
Treat every dimension here as a planning prompt. Verify the adopted building and electrical rules in your area, follow appliance and product instructions, and ask qualified trades to confirm structural, plumbing, gas, ventilation, and wiring decisions before work begins.
Start With the Island Footprint
The island should earn its floor space through better prep, storage, or seating. Tape the footprint on the floor and test the room with appliance doors open before ordering cabinets.
1. Tape-Test a Compact Island
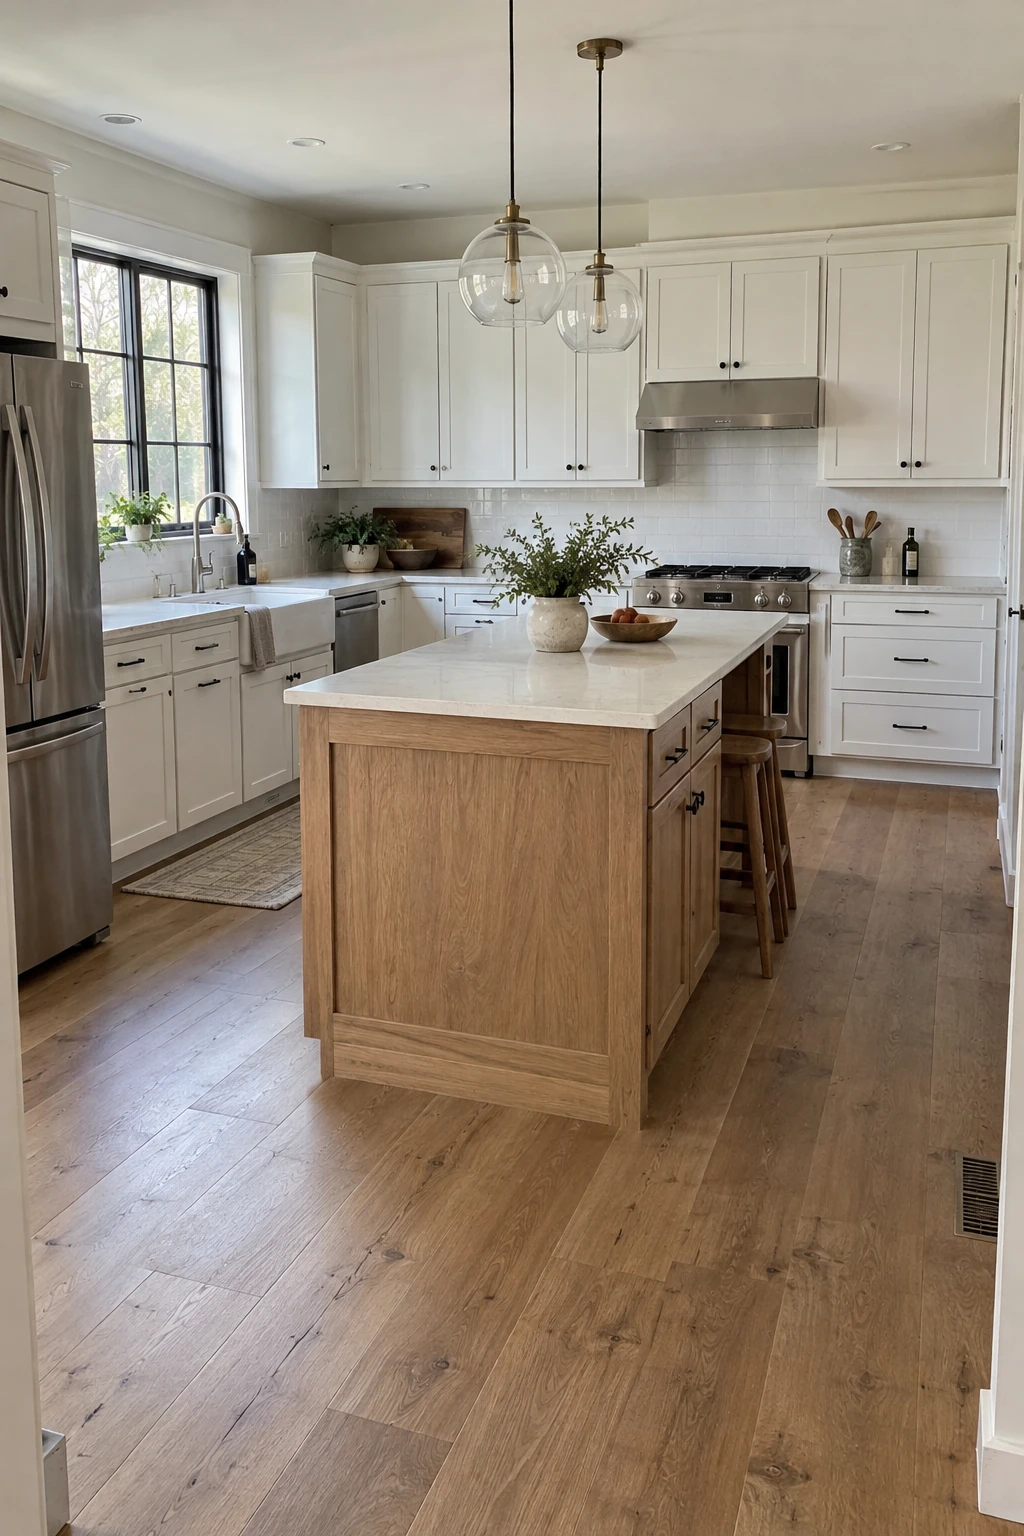
Mark the proposed island with painter’s tape, including the countertop overhang rather than only the cabinet box. Open the oven, dishwasher, refrigerator, and corner storage while someone stands at the island.
A compact island often performs better than a large one because it preserves turning room and keeps the two legs of the L connected. Shorten the island before narrowing a busy work aisle.
Planning check: Test the taped footprint during cooking, cleanup, and grocery unloading before approving the final size.
Use a laser measure to record finished-front dimensions and diagonal pinch points. Repeat the test with chairs pulled out if the island will include seating.
Shop the Bosch laser measure on Amazon
2. Choose a Long, Slim Prep Island
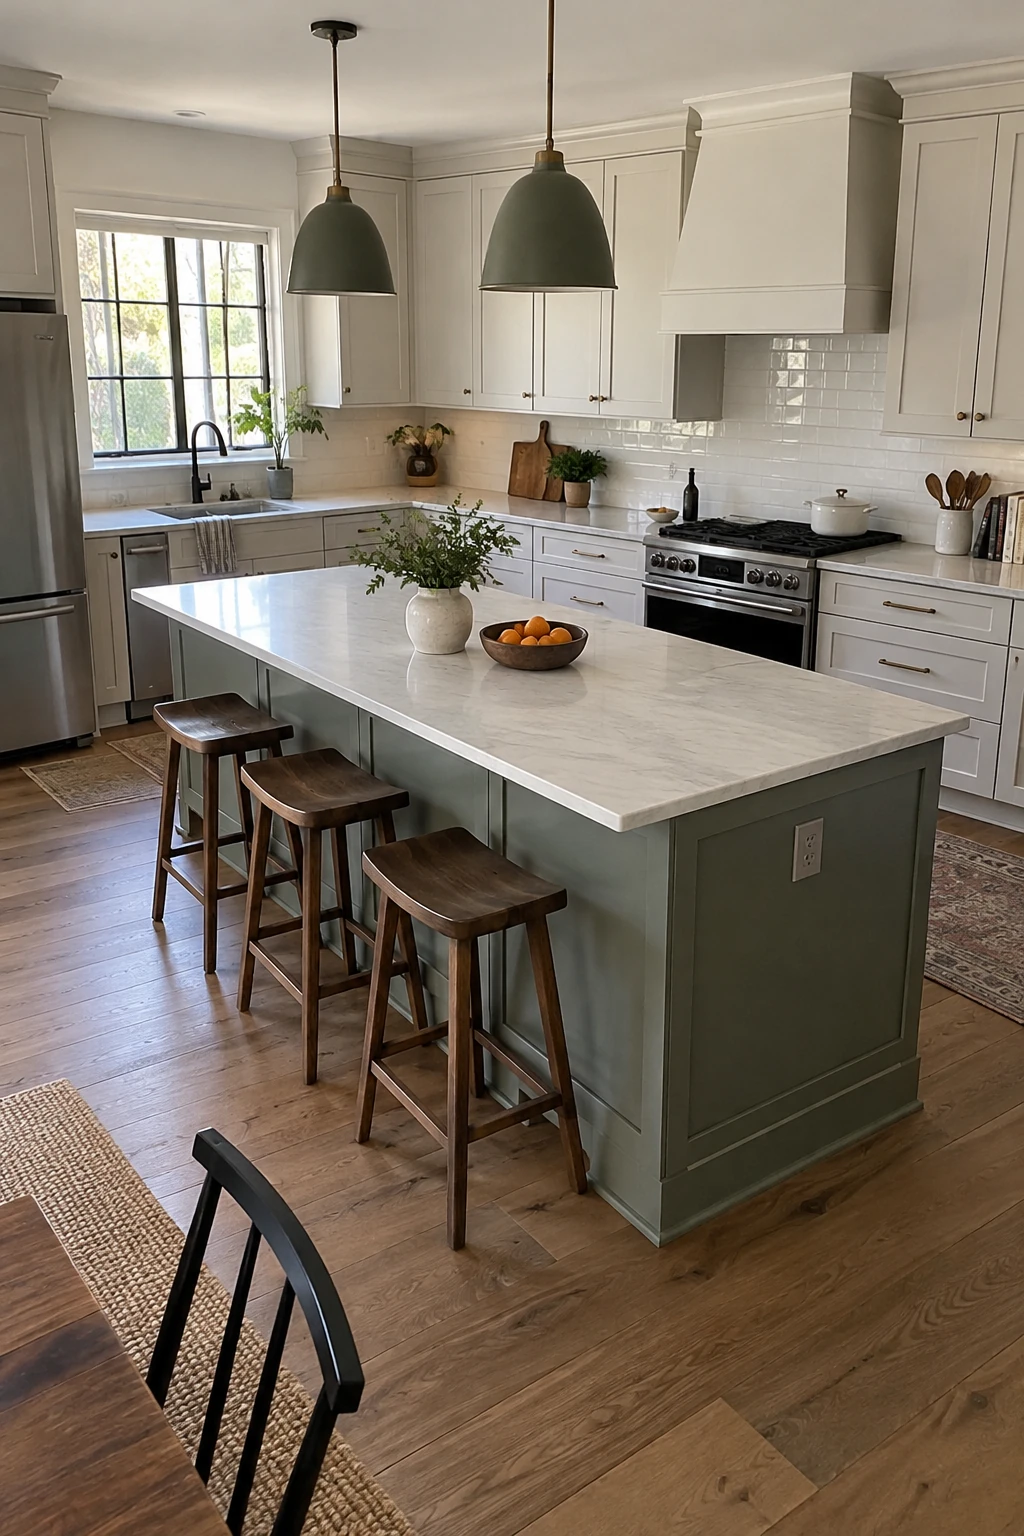
A narrow island can add useful prep length without crowding an L-shaped room. Keep the top mostly clear so its value comes from one continuous work surface rather than several small features.
Fit shallow drawers for knives, wraps, and utensils on the working side. Use the opposite face for a modest overhang or decorative panel instead of deep back-to-back cabinets.
Planning check: Keep storage shallow enough that the island does not grow wider than the room can support.
Check whether a long rectangle blocks the natural route between entrances. If it does, clip the corners visually with a softer edge profile or reduce the overall length.
3. Center a Square Island in a Wide L
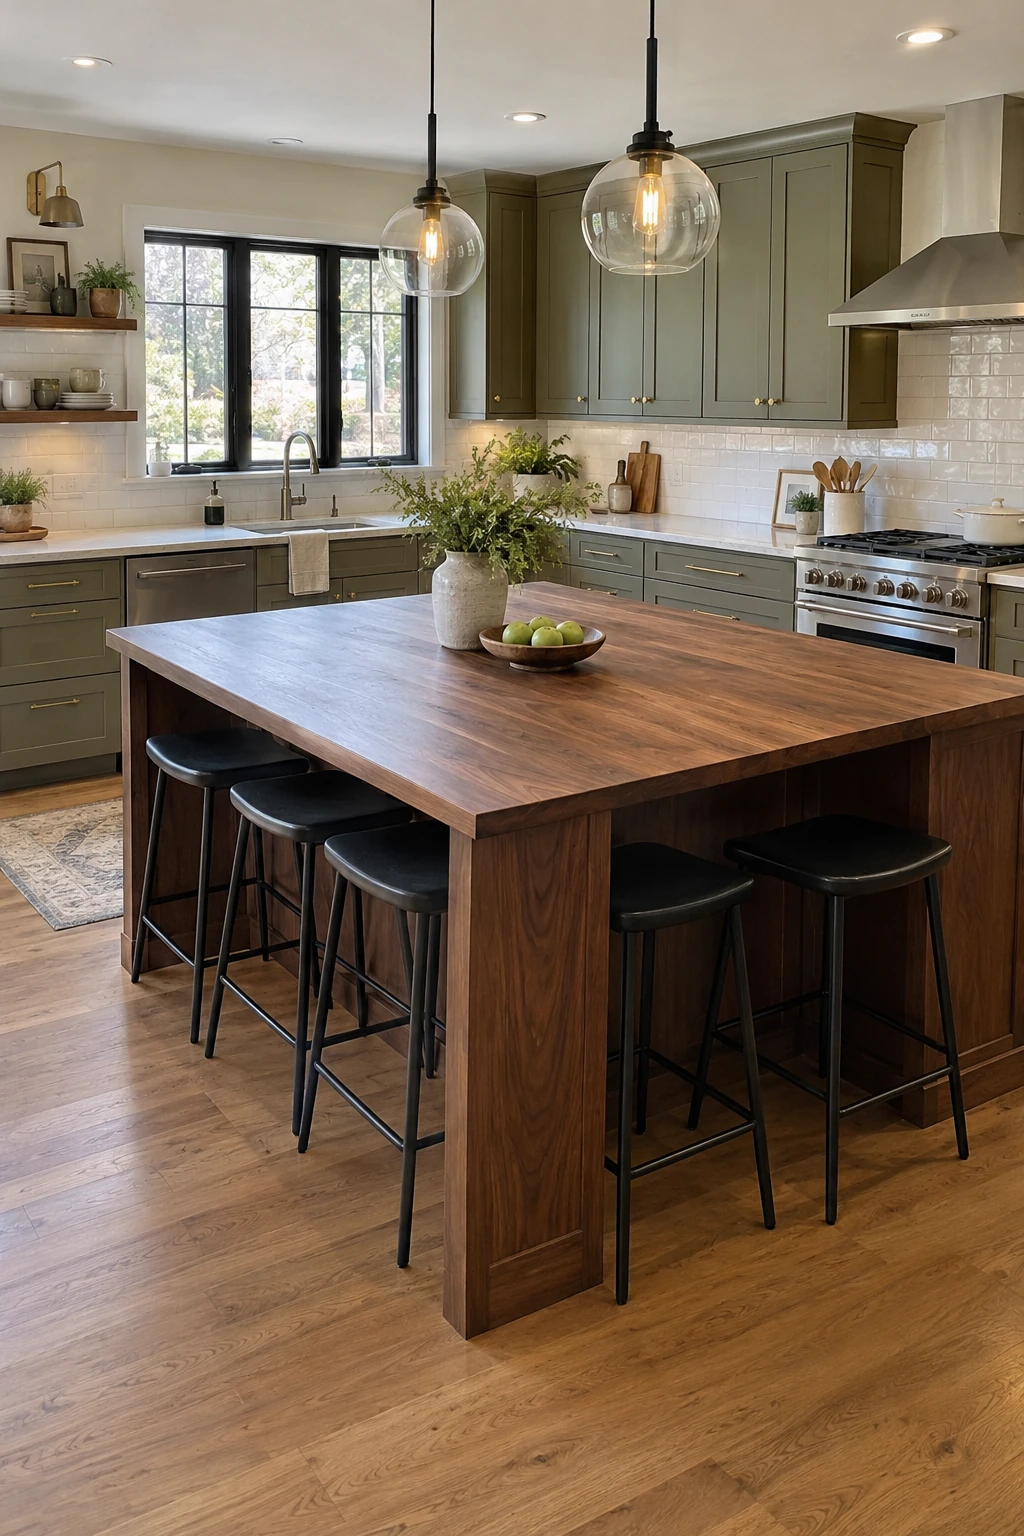
A square island suits a broad room where both legs of the L are similar in length. It creates work space facing either run without making one end feel remote.
Square plans need careful corner checks because people cut diagonally around them. Measure from the countertop edge to the nearest handle, wall return, and open appliance door.
Planning check: Compare all four corner clearances, not only the two easiest measurements.
Use drawers on the primary prep face and less-used storage on the remaining sides. Avoid four active faces, which can make family traffic collide at every corner.
4. Shift the Island Toward the Long Leg
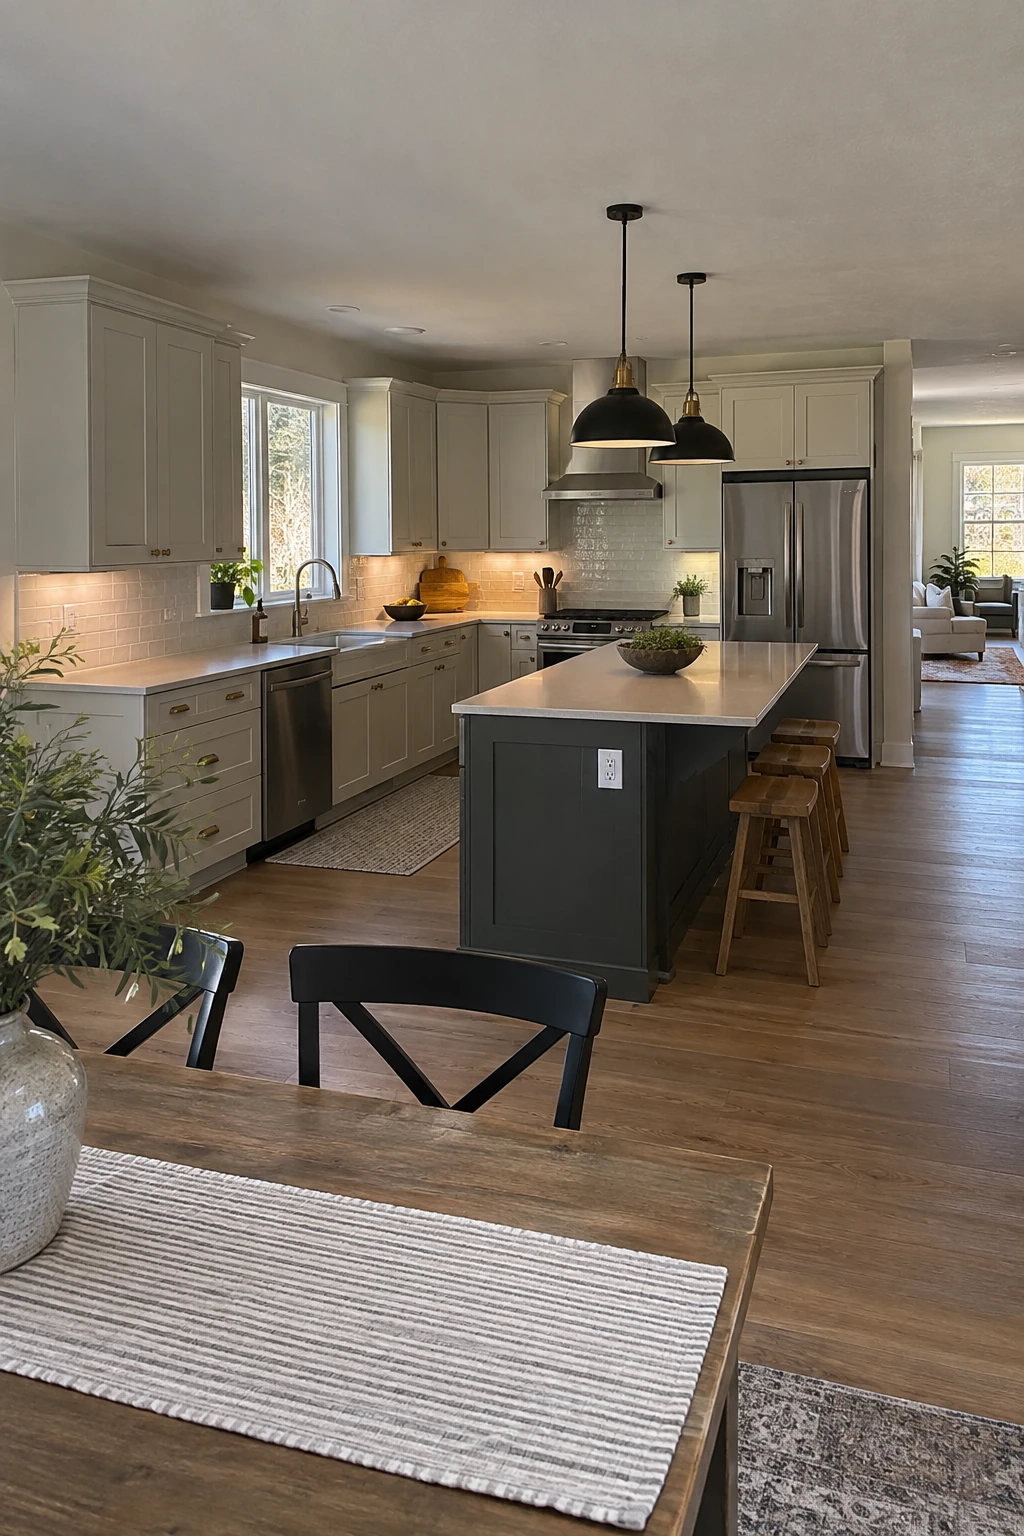
The island does not have to sit on the room’s geometric center. Shifting it toward the longer cabinet run can create a calmer public walkway along the open side.
Align the working edge with the main sink or prep counter so the gap feels intentional. A pendant centered over the island reinforces the new axis even when the room itself is irregular.
5. Round the Island’s Traffic End
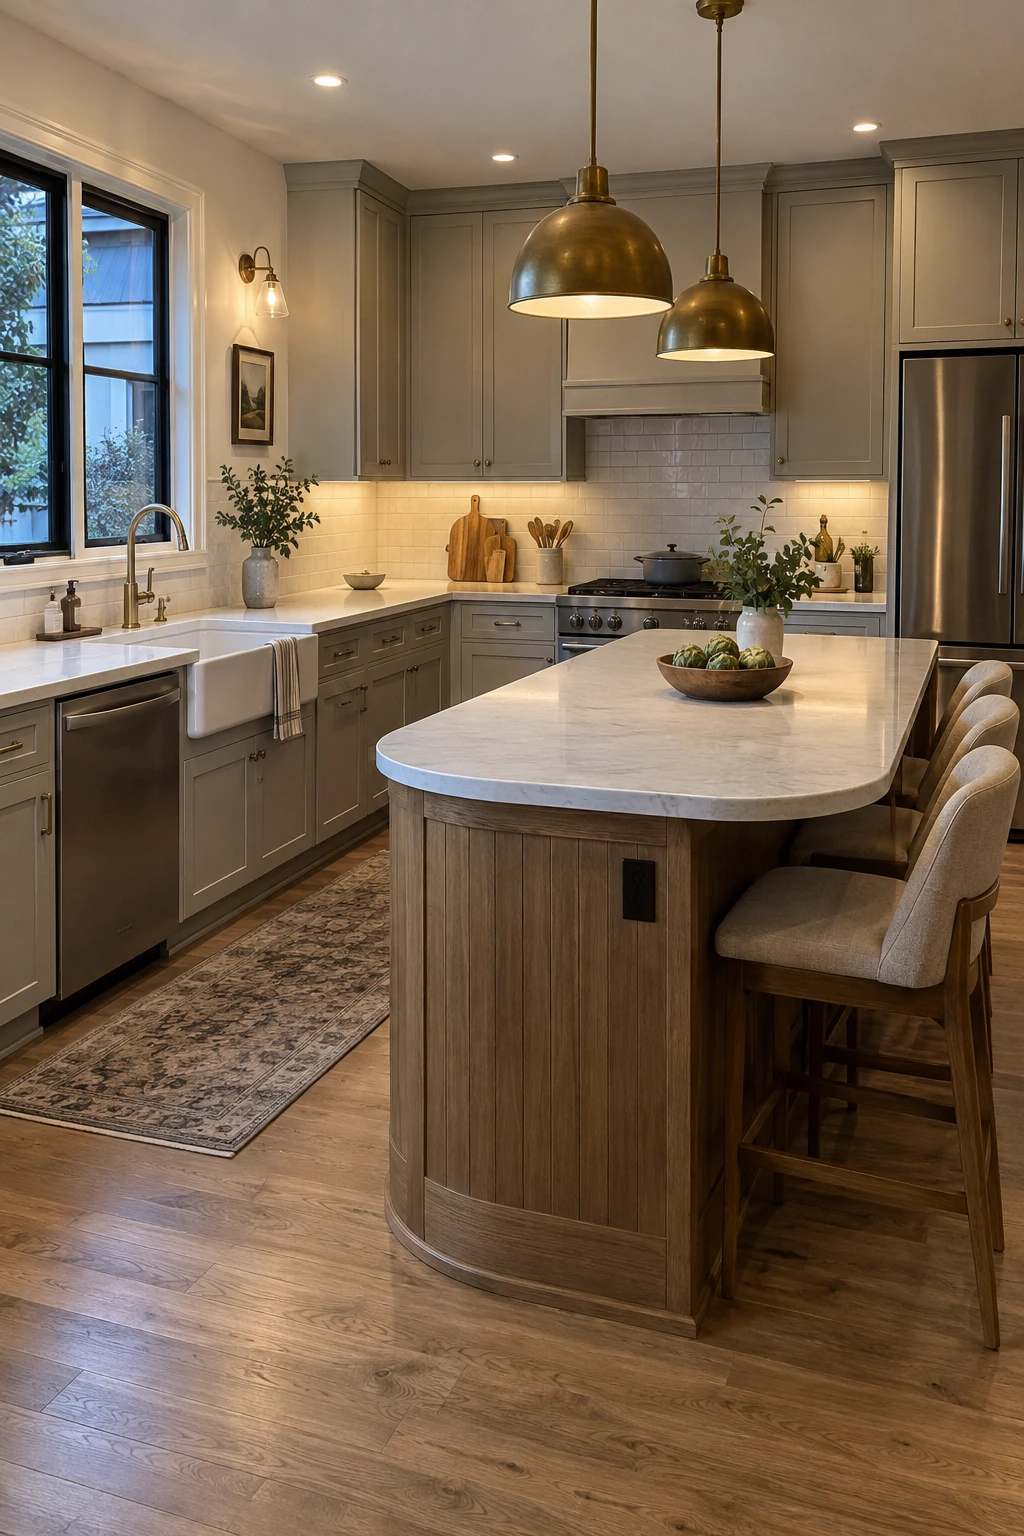
A rounded or racetrack end can soften the point where the island meets the main room. It is especially helpful when the open end of the L faces a dining or living route.
Keep drawers and appliances on straight sections so hardware, slides, and countertop fabrication remain practical. The curved end can hold an open shelf, shallow display niche, or one casual seat.
Planning check: Use the curve where people pass; keep the working edge straight for cabinets and prep.
Ask the fabricator to confirm the radius, seam strategy, support, and edge finish. Mock the curve with cardboard because a small sample cannot show how it changes circulation.
Build Clear Work Zones
An L already provides two connected runs. Let the island strengthen a missing zone instead of duplicating every function already on the perimeter.
6. Place Prep Opposite the Sink
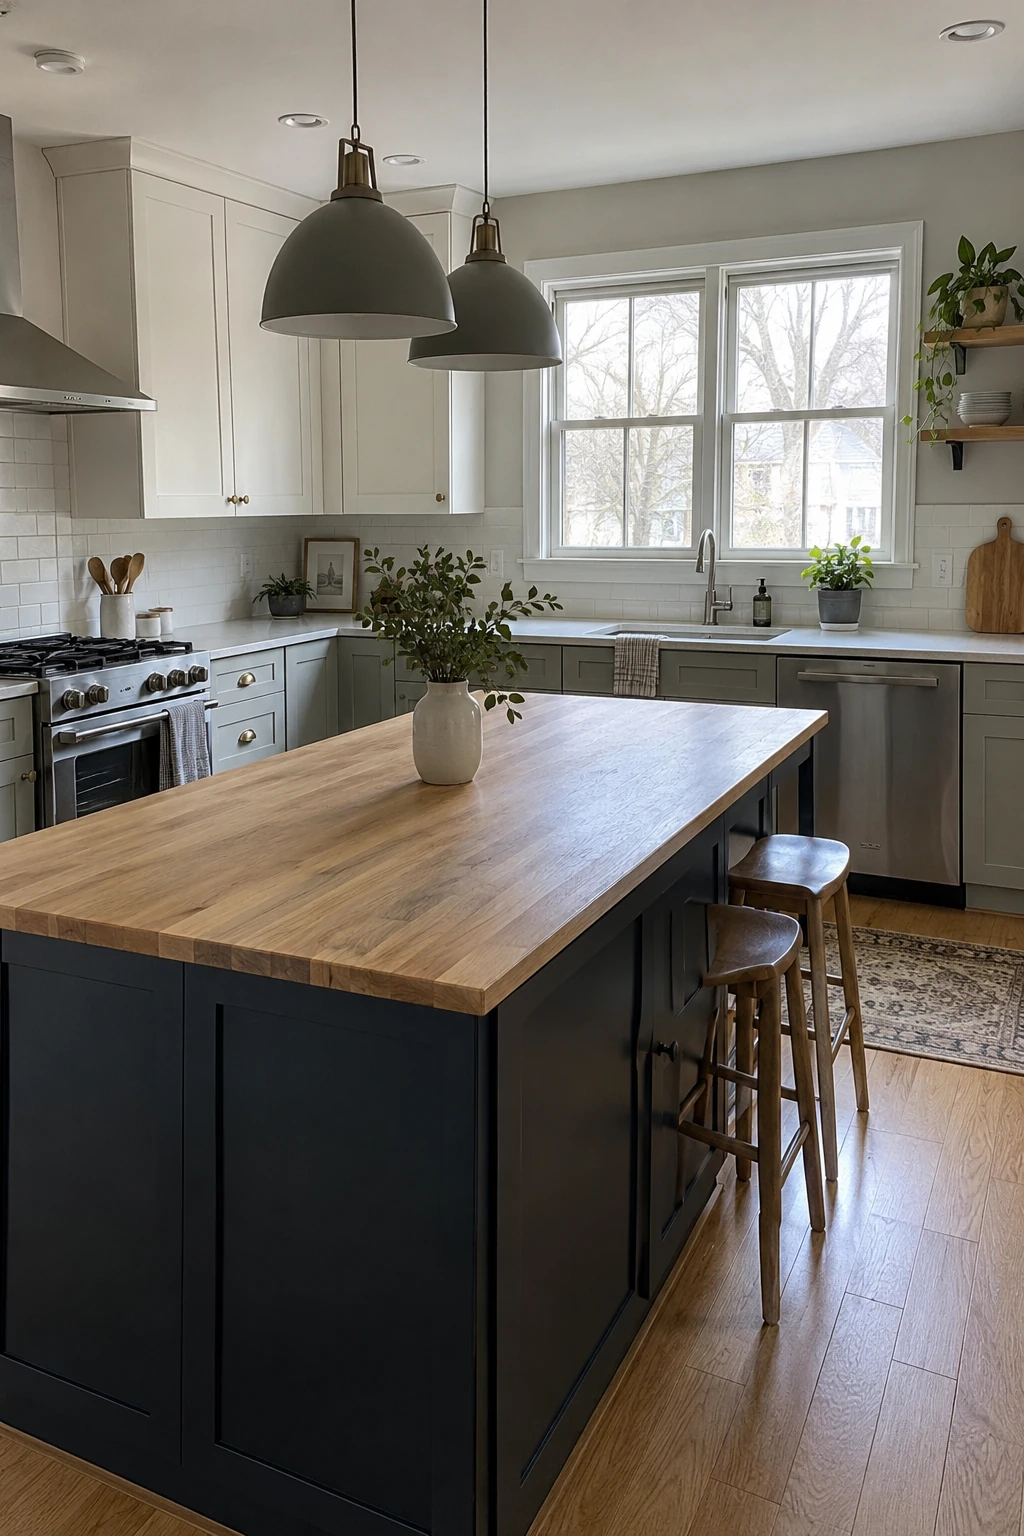
Position the island’s clearest work surface across from the sink so rinsed ingredients move a short distance to chopping space. Store knives, bowls, and a compost bin under that face.
Keep the path direct and free of seating. A guest perched between the sink and prep zone turns a compact work loop into a traffic conflict.
Planning check: Leave the prep face free of stools and decorative clutter during working hours.
If the dishwasher sits beside the sink, open it during the floor mockup. The island must not trap the door or the person unloading it.
7. Keep the Refrigerator at the Outer Edge
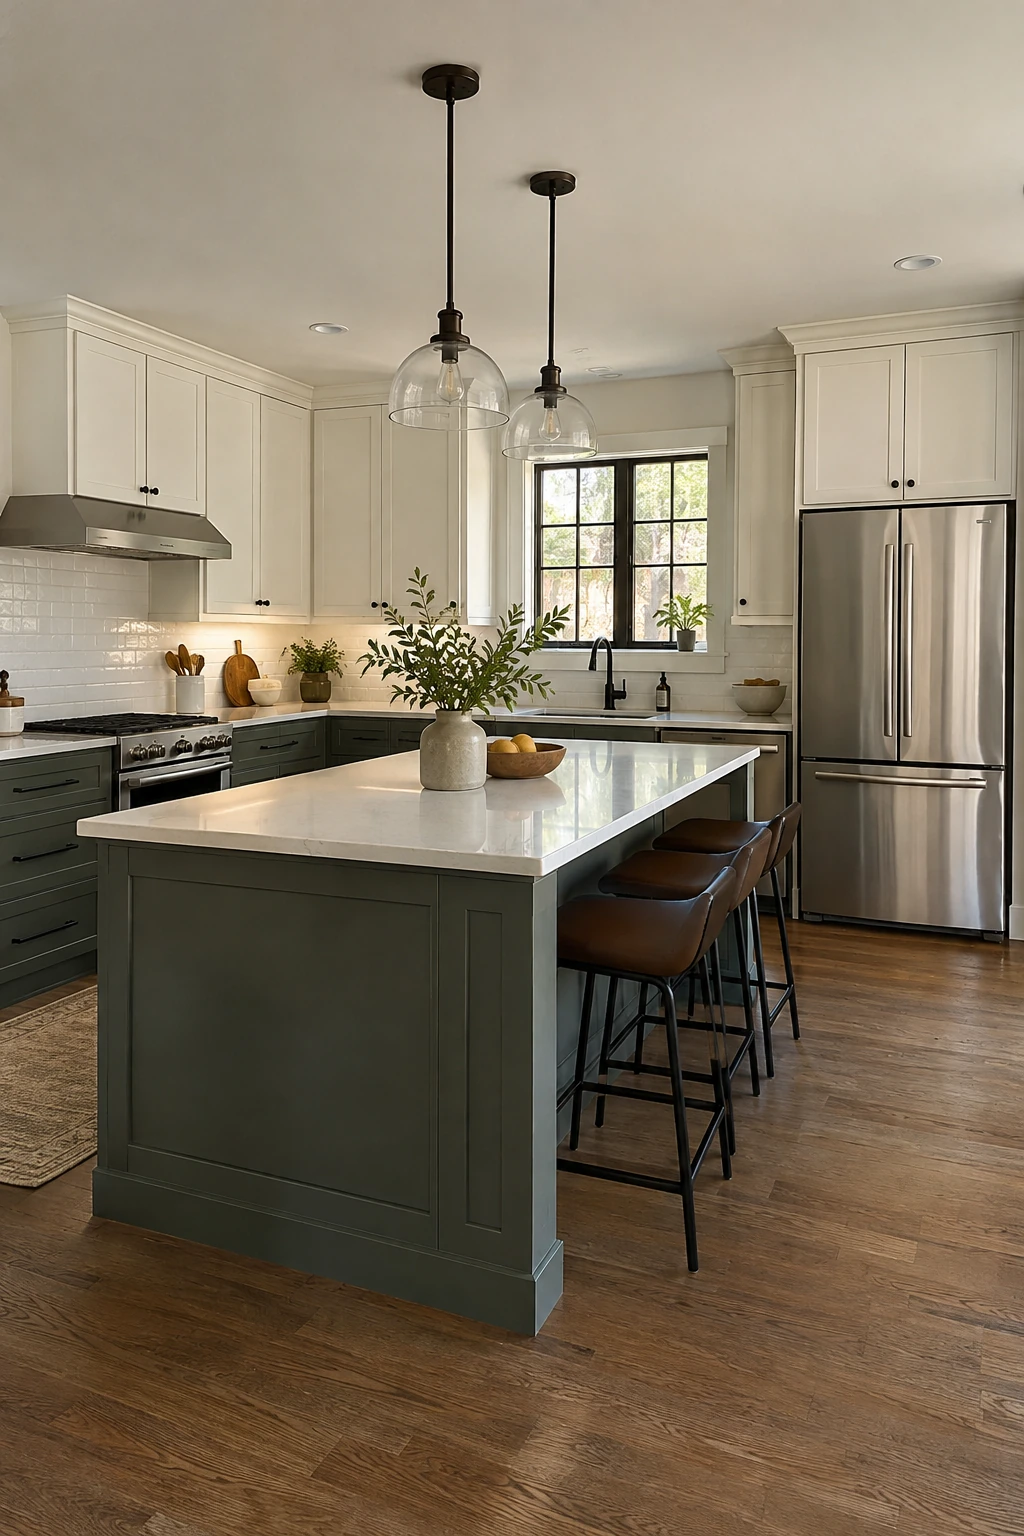
Put the refrigerator near the open end of the L when possible. Family members can reach snacks without crossing the sink-to-range route, while the island supplies a convenient landing surface.
Check the open door against the island corner and adjacent wall. Some models need more than a right-angle opening for crispers or shelves to come out.
Planning check: Confirm the hinge, handle, wall filler, and drawer-removal clearance for the exact model.
Follow the manufacturer’s enclosure and ventilation instructions. A counter-depth label does not guarantee that doors and handles remain within the cabinet line.
8. Keep the Range on the Perimeter
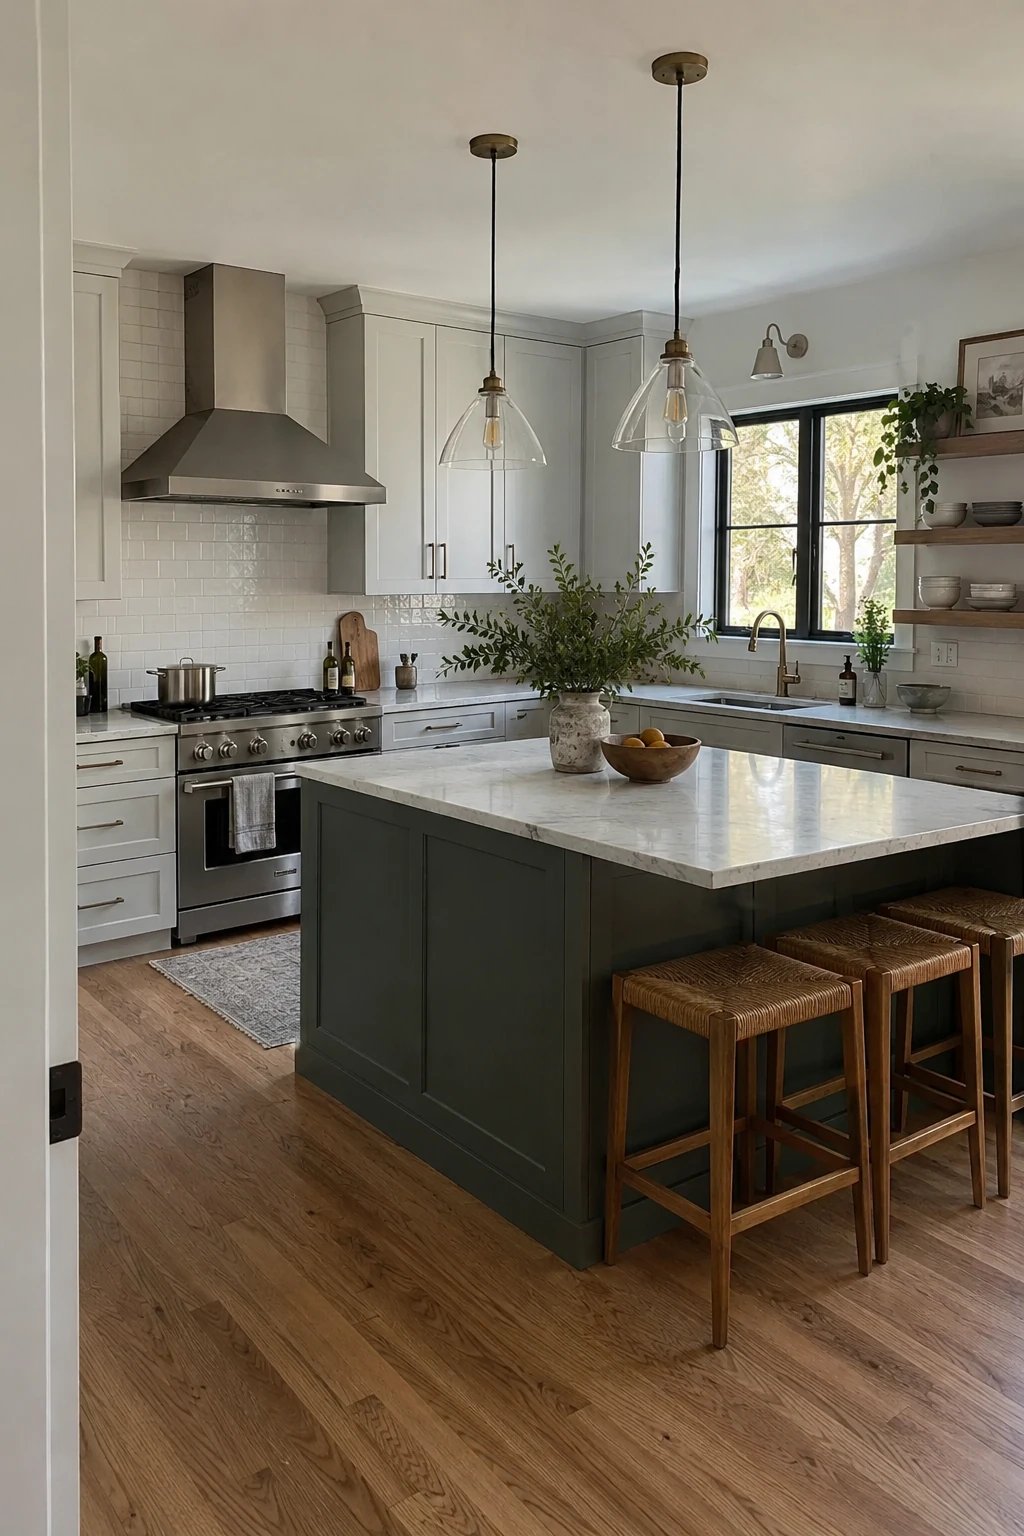
A perimeter range usually gives an L-shaped kitchen a simpler hood route and keeps hot cookware away from seated island guests. Place it on the longer leg with usable counter on both sides.
The island can hold prep tools and provide a landing surface without carrying gas, heavy power, or exhaust. That may simplify the floor and ceiling work.
Planning check: Protect landing space on both sides of the range and keep the island edge outside the hot-zone pinch point.
Coordinate the hood with the cooking appliance, duct path, makeup-air needs, and local requirements. These range hood ideas can help compare visual forms after the technical plan is settled.
9. Make the Island a Cleanup Zone
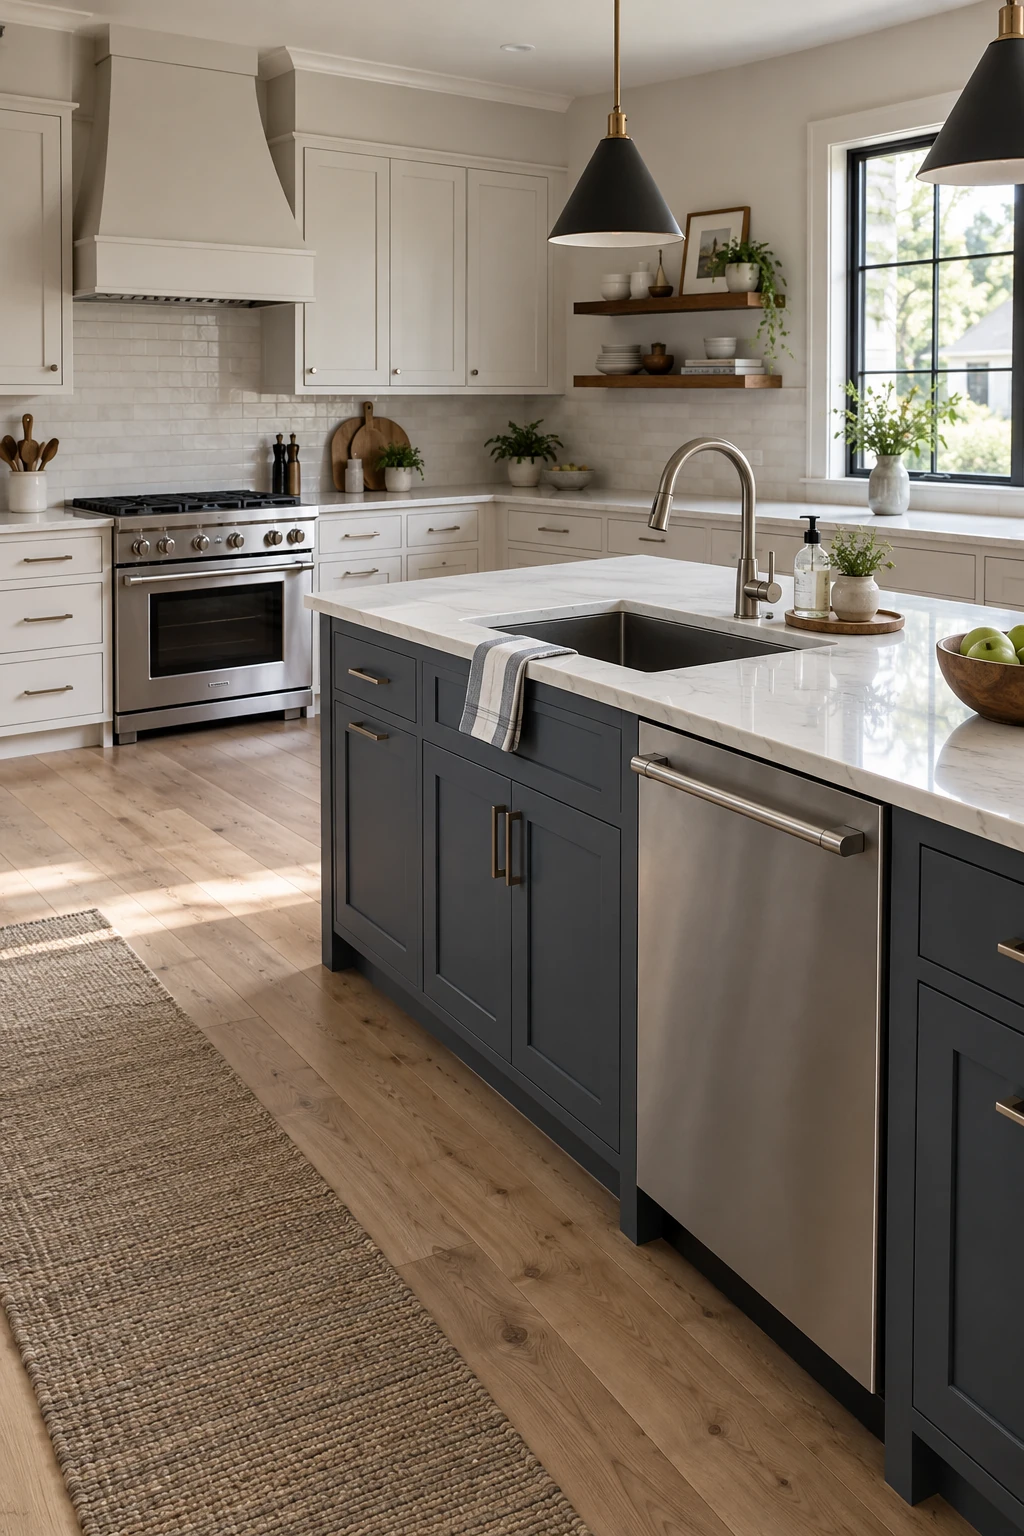
An island sink can separate cleanup from perimeter cooking when the room is large enough. Group the dishwasher, dish drawers, trash, and towels around the sink so unloading stays within one zone.
Choose a faucet scale that does not dominate the open room, and protect the seating side from splash. A raised ledge can hide clutter, but it also divides the work surface.
Planning check: Plan supply, drain, venting, electrical, and service access before the floor is closed.
Routing plumbing through a slab or finished floor can be expensive and disruptive. Compare that cost with leaving the sink on the perimeter before finalizing the concept.
10. Dedicate One End to Baking
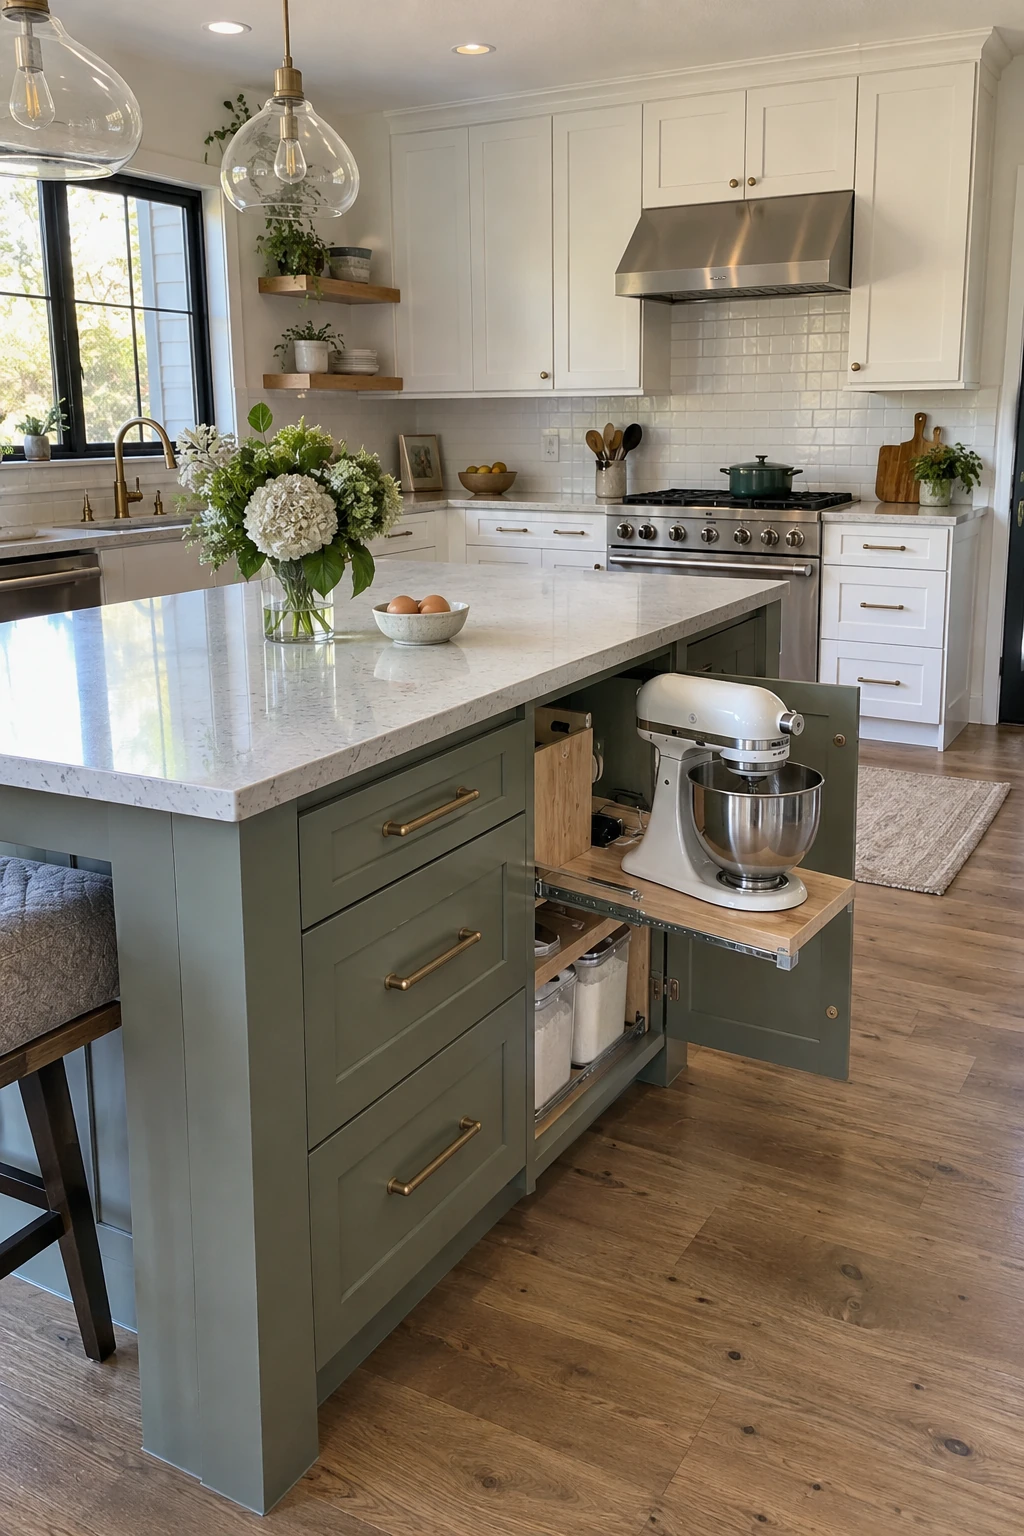
Reserve one end of the island for mixing, rolling, and cooling. Store sheet pans vertically, keep measuring tools in a shallow drawer, and place heavy ingredients below waist level.
A slightly lower surface may feel comfortable for kneading, but it should be tested by the person who will use it. A material change can mark the zone without creating an awkward height difference.
Planning check: Keep the baking zone away from the primary dish drop and breakfast seating positions.
Provide nearby power for a mixer only after confirming the outlet plan with an electrician. Avoid cords crossing a circulation aisle.
Plan Aisles and Traffic
Work aisles, public walkways, and seating zones behave differently. Map who moves where during a busy meal, then preserve the routes that cannot share space.
11. Size the Main Aisle for One Cook
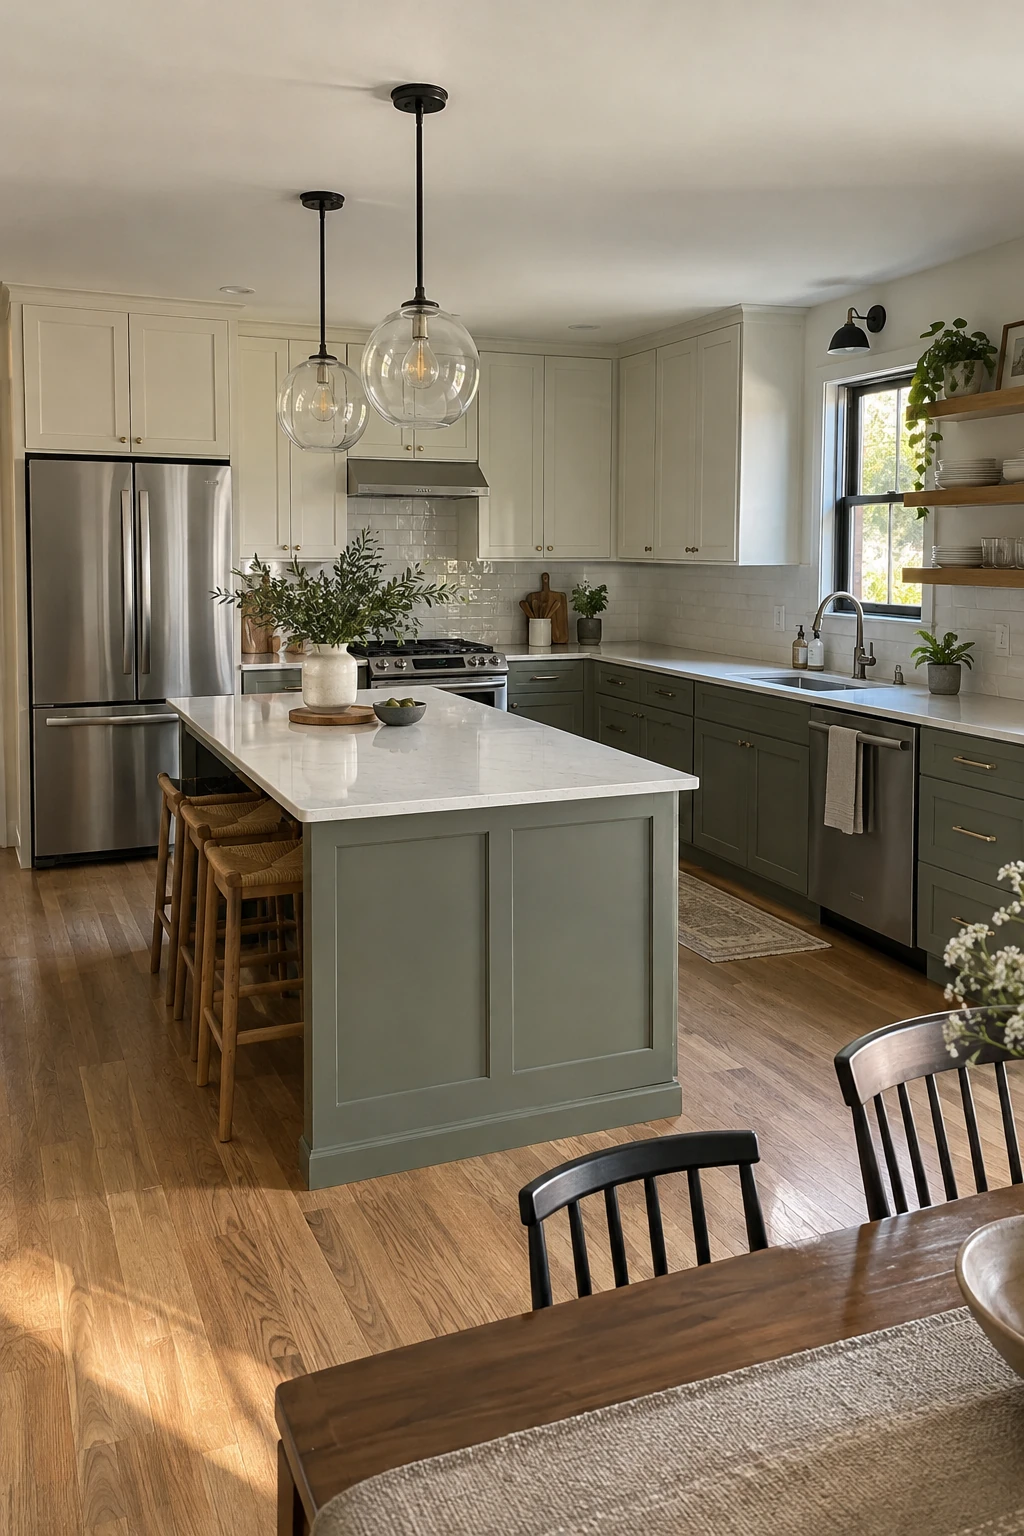
If one person usually cooks, concentrate the sink, range, prep surface, and everyday storage around one clear aisle. The island can sit closer to that active leg only if doors and drawers still work together.
NKBA planning guidance commonly uses a larger work aisle than a simple passage. Treat its published dimensions as design guidance, then verify your household needs, adopted rules, and appliance instructions.
Planning check: Measure between finished projecting faces, including handles where they affect the usable gap.
Simulate a second person entering for water or dishes. A good one-cook layout still gives that person a route that does not squeeze behind the cook.
12. Widen the Two-Cook Passing Zone
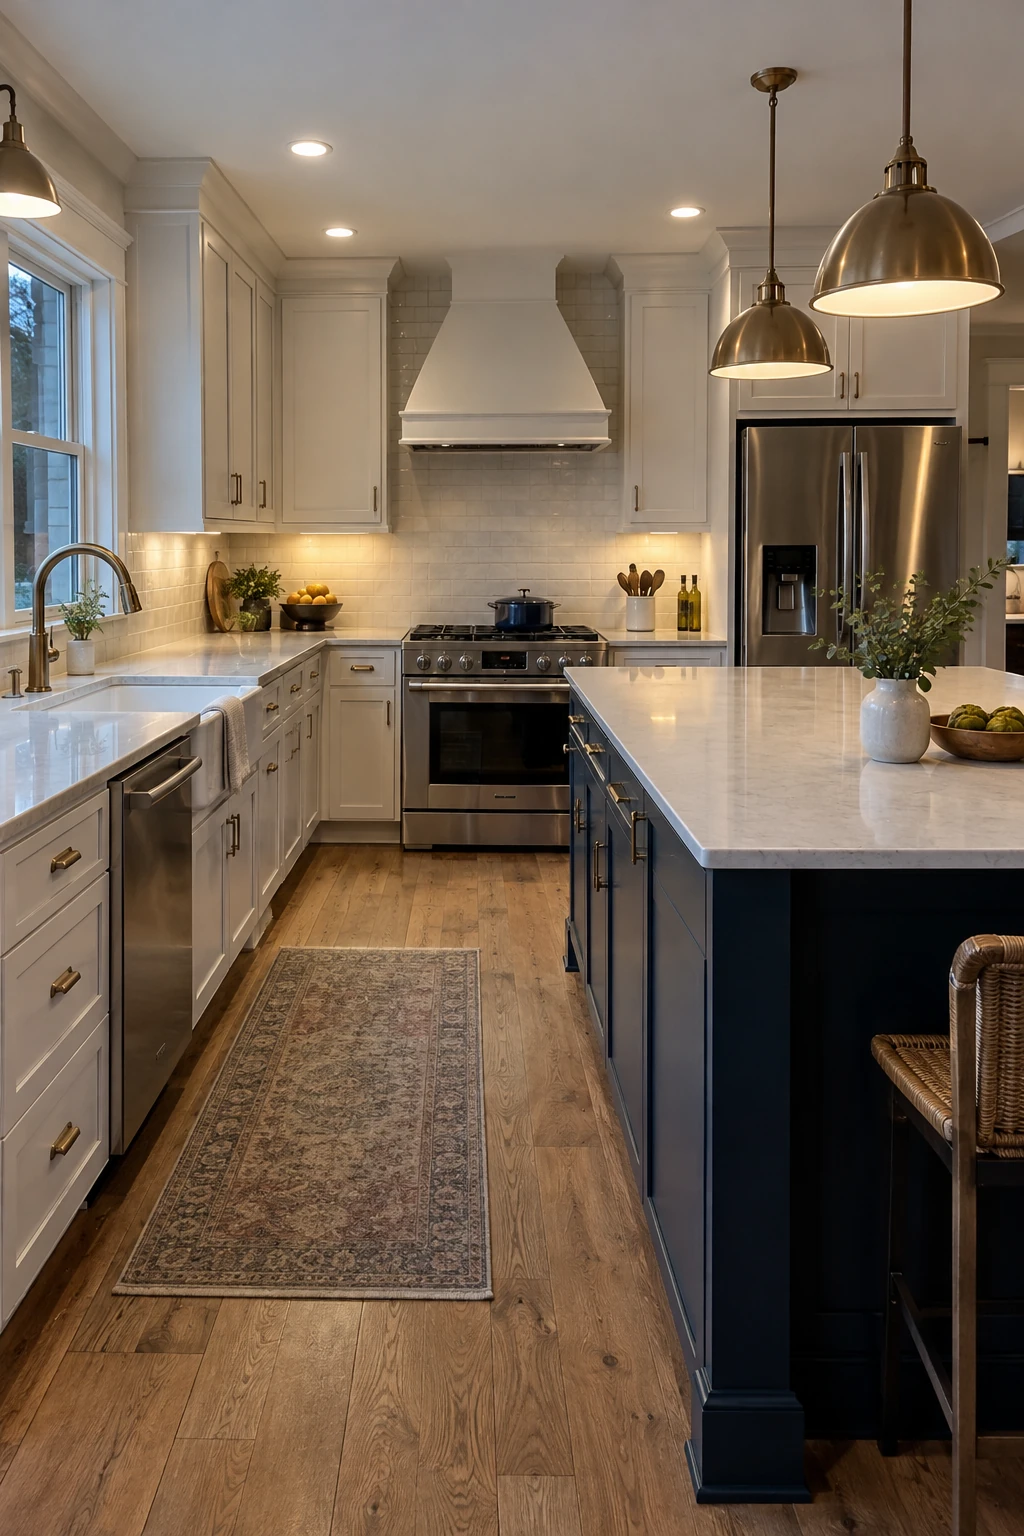
Two cooks need more than a wider version of the same single-cook plan. Give each person a landing surface and storage zone so they are not reaching into the same drawer bank.
Stagger the sink and range rather than placing them directly opposite each other. That reduces back-to-back congestion and lets one person pass when the other opens an appliance.
Planning check: Place the two primary stations slightly apart so open drawers do not face each other.
Test the layout with cabinet doors represented at full depth. Passage that looks generous on a plan can disappear when a dishwasher and island drawer open together.
13. Create a Family Bypass Lane
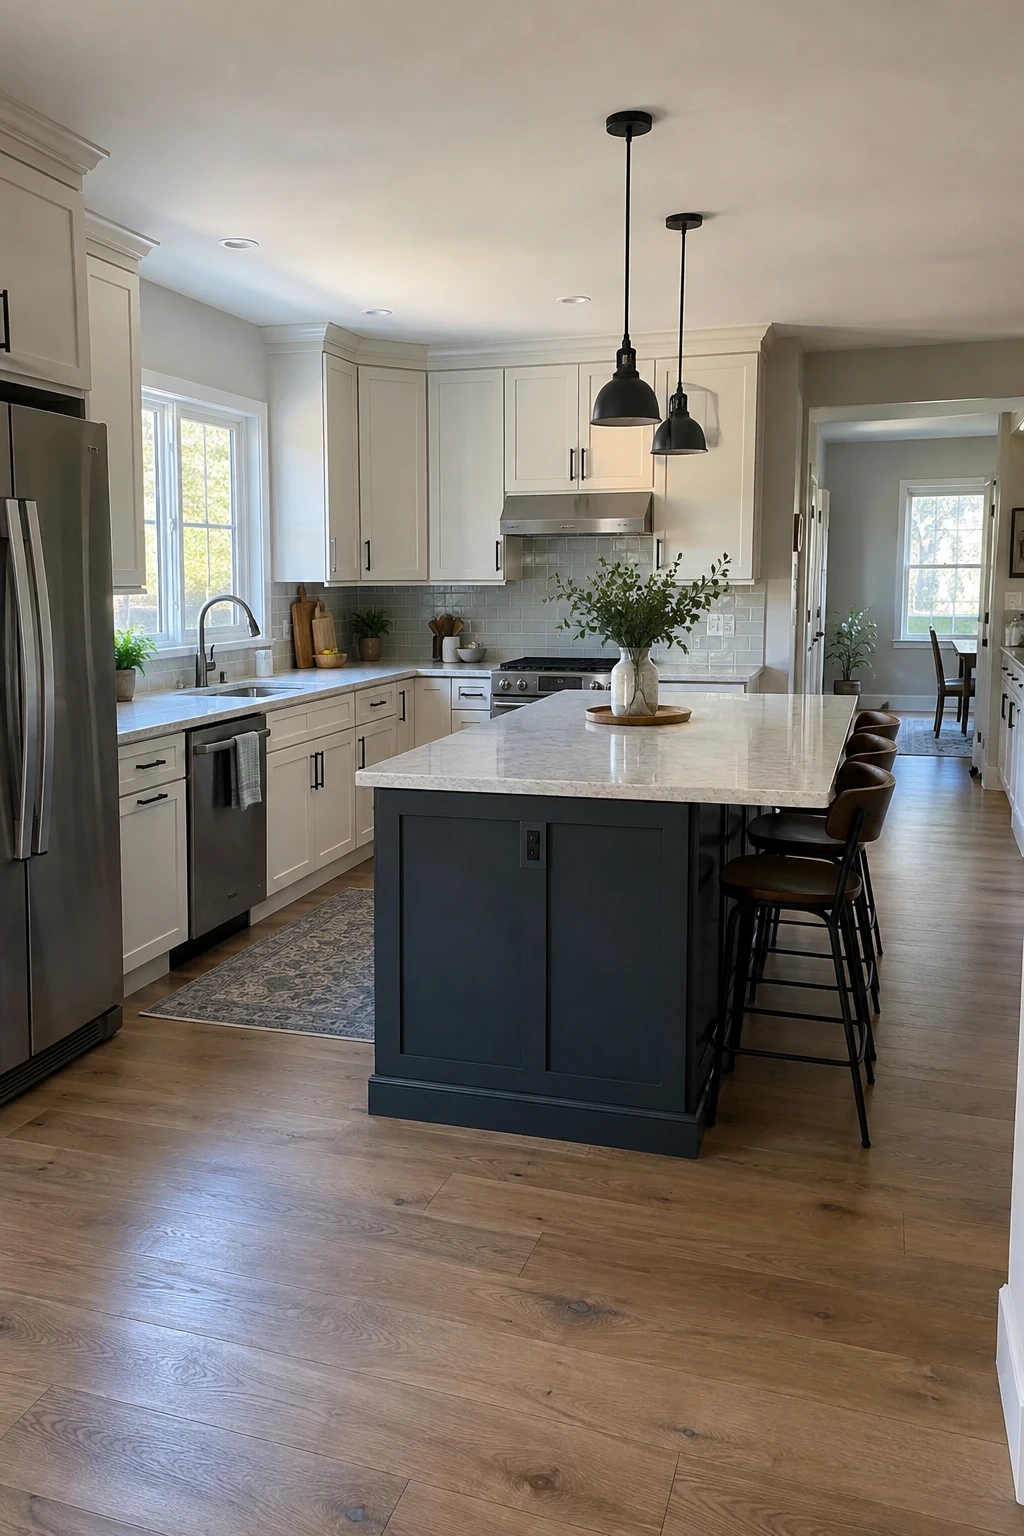
Use the open side of the L for a route to the pantry, backyard, or dining area. Keep that bypass behind the island seating instead of threading it through the active work aisle.
A walkway must account for occupied stools, not only tucked-in seats. Test the route with someone seated while another person carries a laundry basket or grocery bags.
Planning check: Include pulled-out chairs, bags, and a standing person when checking the bypass width.
Move hooks, pet bowls, and recycling away from the narrowest point. Small obstacles can turn a planned route into a daily bottleneck.
14. Protect Every Appliance Door Swing
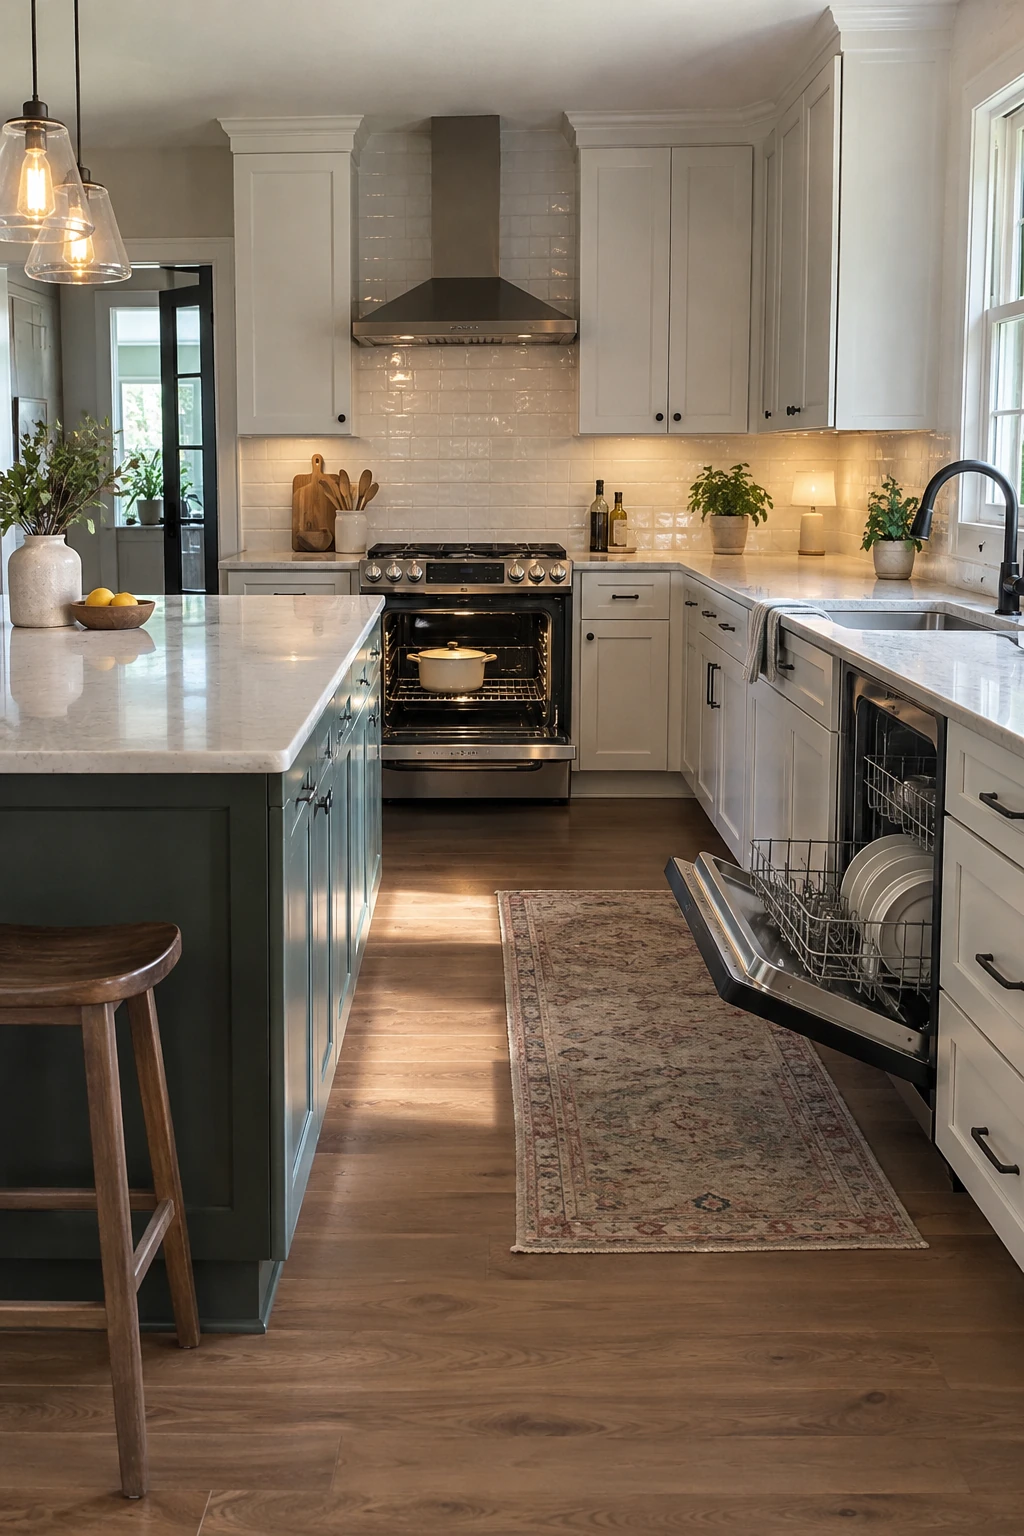
Draw the full swing of the oven, dishwasher, refrigerator, and corner cabinet on the floor plan. Include the space needed to stand beside each open door and lift a heavy item safely.
Avoid placing the island corner where an open oven door leaves only a sideways escape. Shifting or shortening the island can be more effective than changing an appliance after cabinets are ordered.
Planning check: Check doors at their service and unloading positions, not only partly open.
Side-by-side appliance conflicts deserve a live mockup. Hardware projections and thick decorative panels often create collisions that basic cabinet drawings miss.
15. Aim the Island Away From the Entry
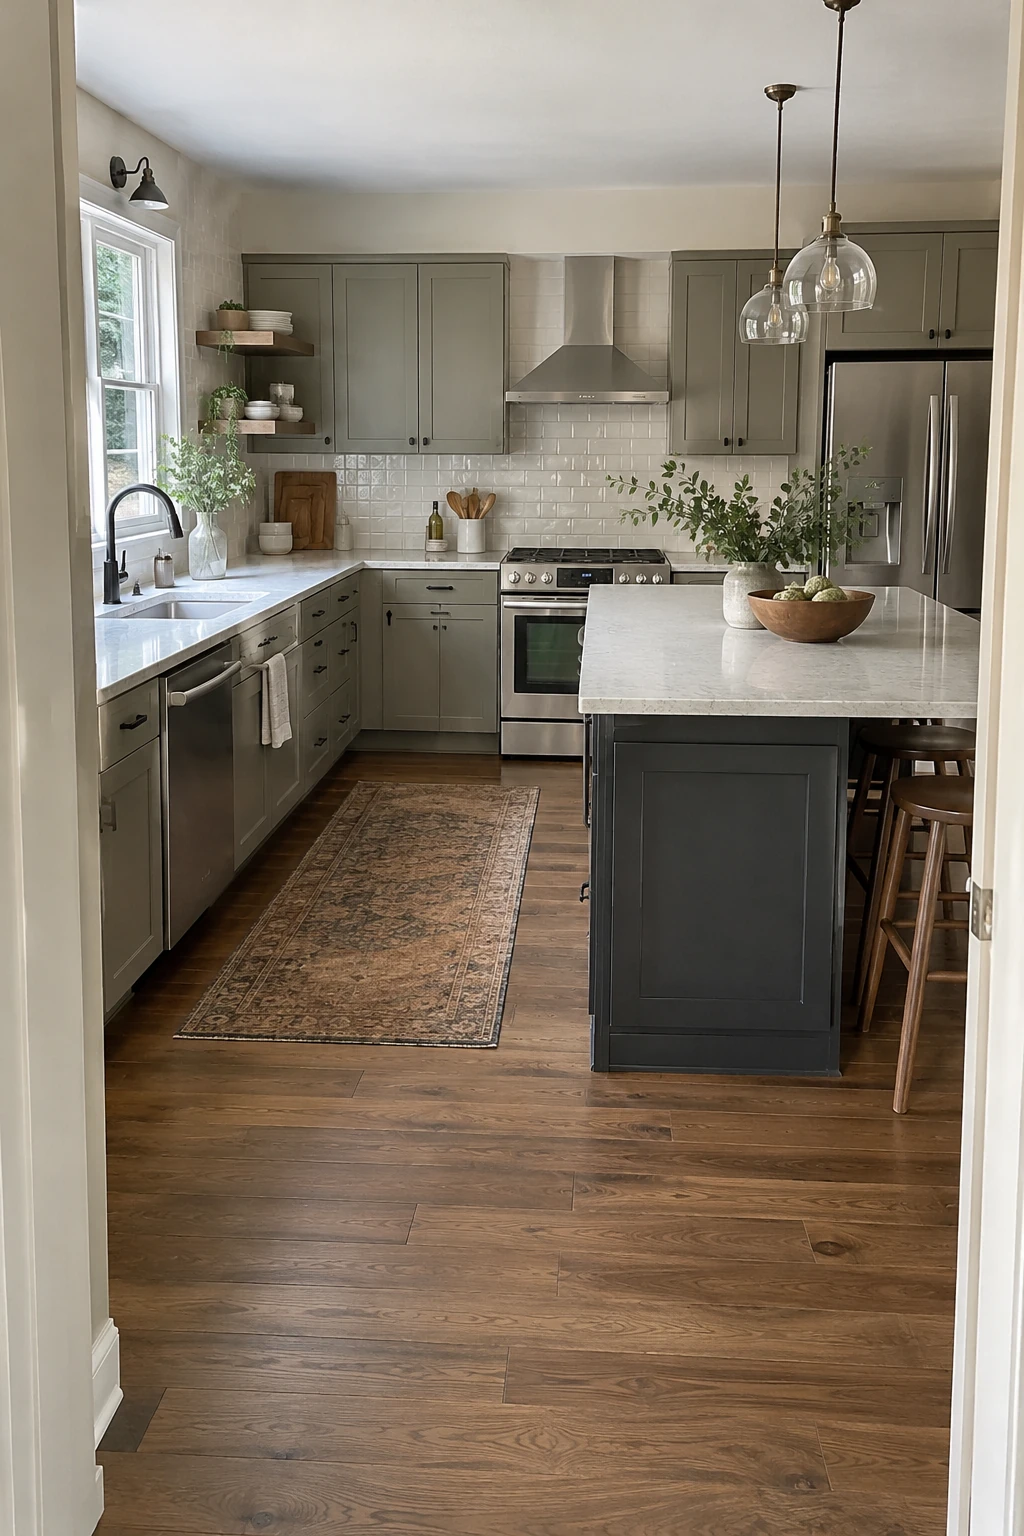
Set the island back from the doorway so the room opens gradually instead of presenting a countertop corner. The first few feet should read as circulation rather than work space.
Place decorative storage or a rounded panel on the visible end. Keep trash pullouts and active drawers on a face where someone entering cannot walk into them.
Add Seating Without Crowding
Island seating works only when knees, stools, serving space, and the route behind diners all fit. Choose the social pattern before deciding how many seats to advertise.
16. Seat Two at the Short End
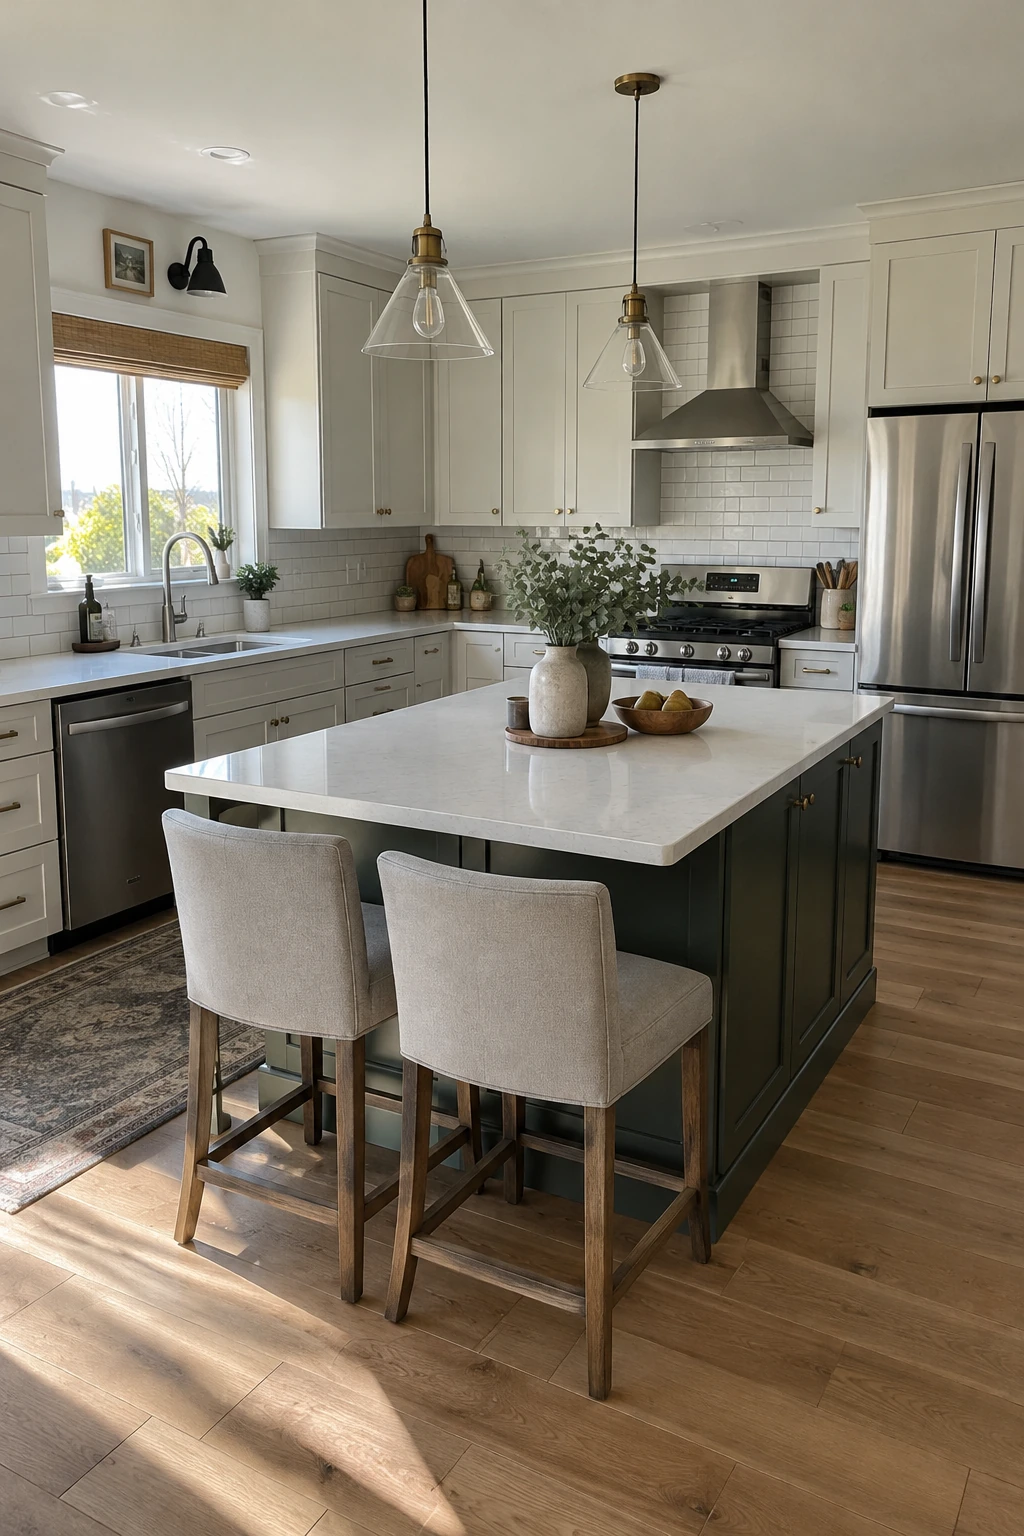
Two seats at the short end preserve the island’s long face for prep and storage. This arrangement suits a household that wants conversation without turning the entire island into a bar.
Allow enough knee room and elbow space for the actual stools. Confirm overhang support with the cabinetmaker or fabricator, especially for heavy stone.
Planning check: Keep the short-end overhang supported and clear of the nearest appliance opening.
Keep the nearest corner drawer from opening into a seated person. A fixed end panel can be safer than active storage directly beside knees.
17. Space Three Seats Along One Side
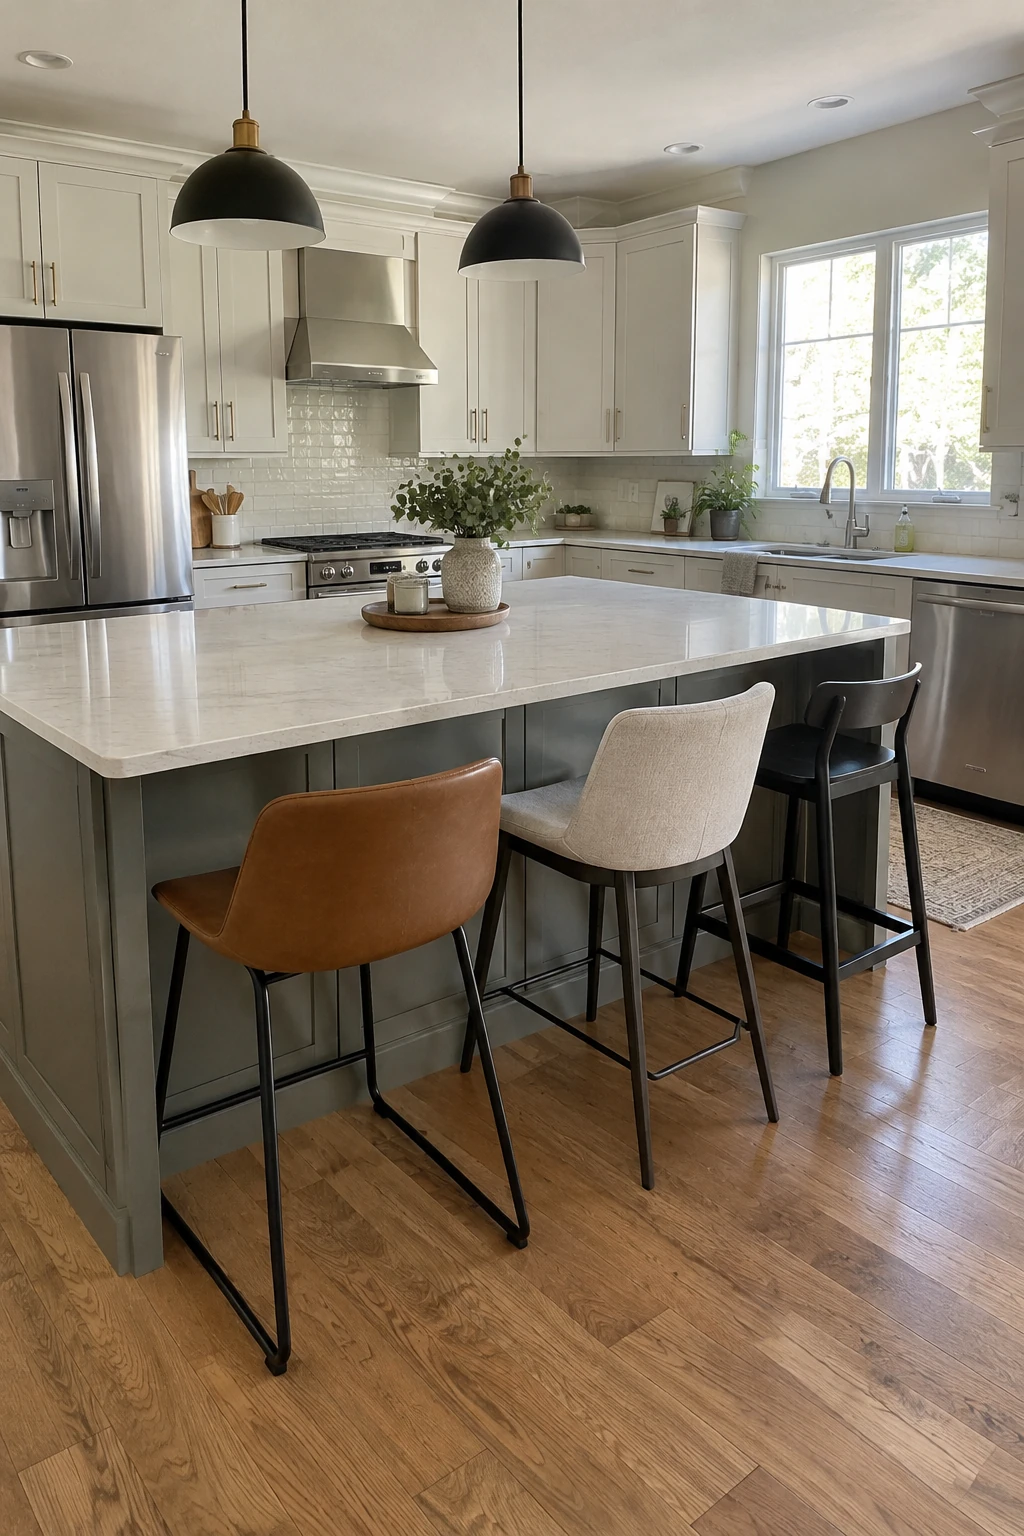
Three seats can work along the public side of a longer island when each person has a distinct place. Count legs, brackets, waterfall panels, and cabinet returns that reduce the usable span.
Choose stools that tuck completely under the overhang. Arms and wide backs may look comfortable but can permanently narrow the passage behind them.
Planning check: Measure the usable seating span between supports rather than dividing the full countertop length.
Leave the working side free of chairs. The cook should be able to reach the range and sink without circling a breakfast setup.
18. Turn One Seat Around the Corner
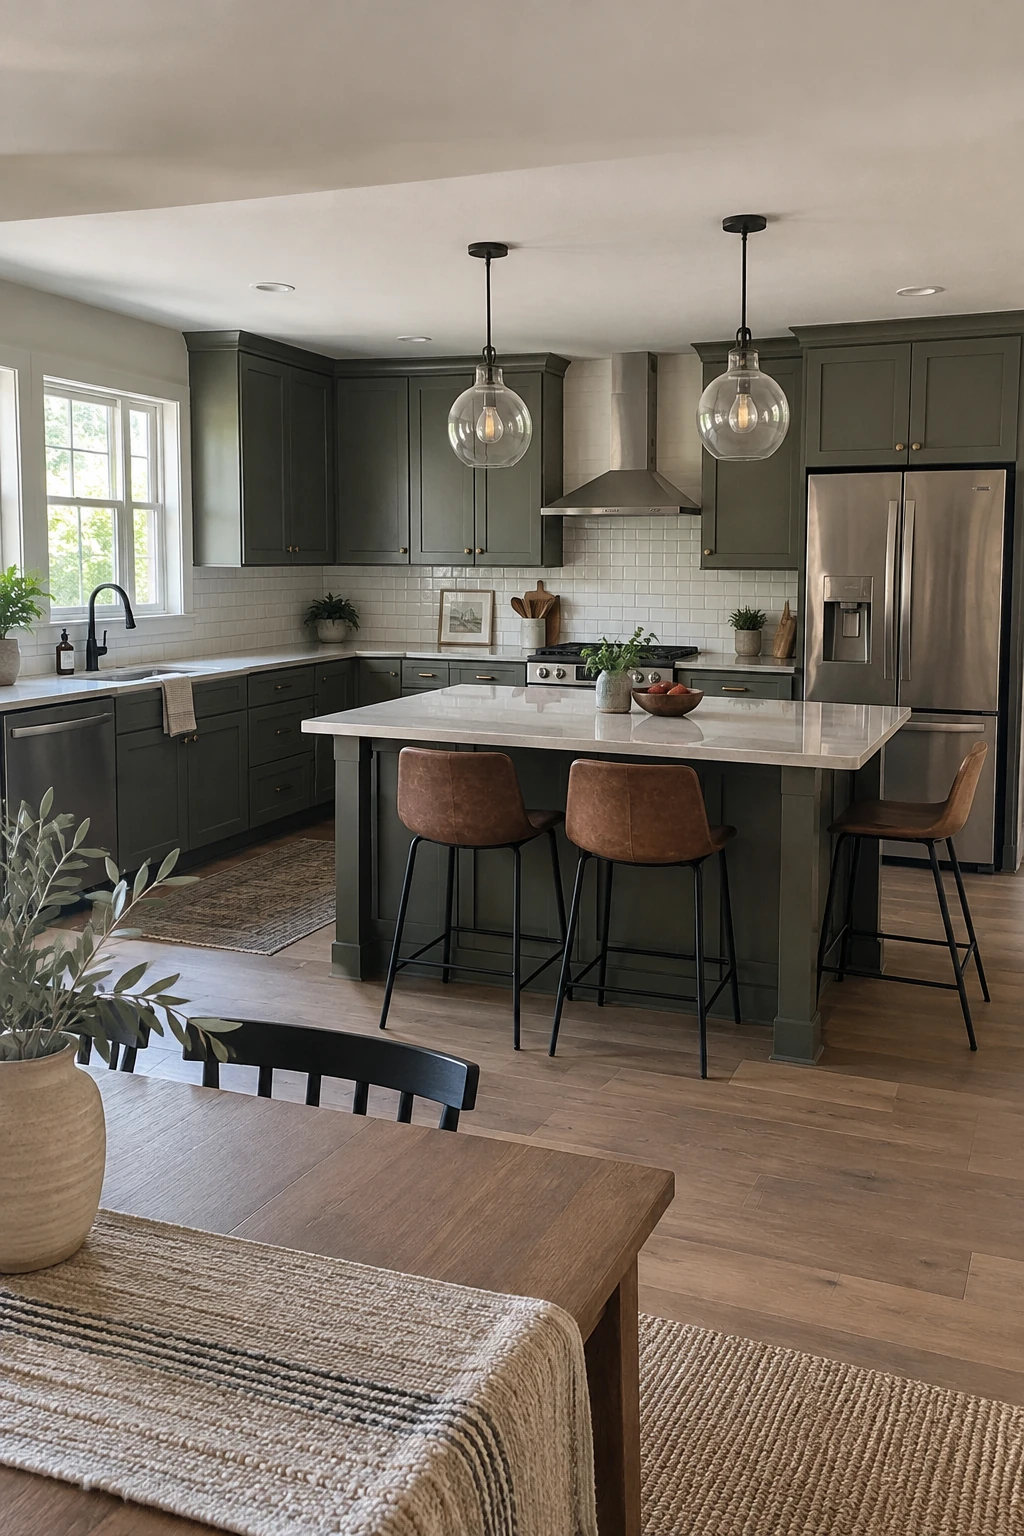
Wrap one seat around the island corner so diners can see each other. It feels more conversational than a straight row and can suit the open side of an L-shaped room.
The corner requires extra elbow and knee planning because two people share the same underside zone. Use a full-size mockup and confirm countertop support before removing a corner leg.
Planning check: Check the corner knee spaces together so diners do not compete for the same volume.
Keep the turned seat away from the refrigerator landing area and primary entry. The social improvement is lost if the chair blocks daily circulation.
19. Add a Lower Table Extension
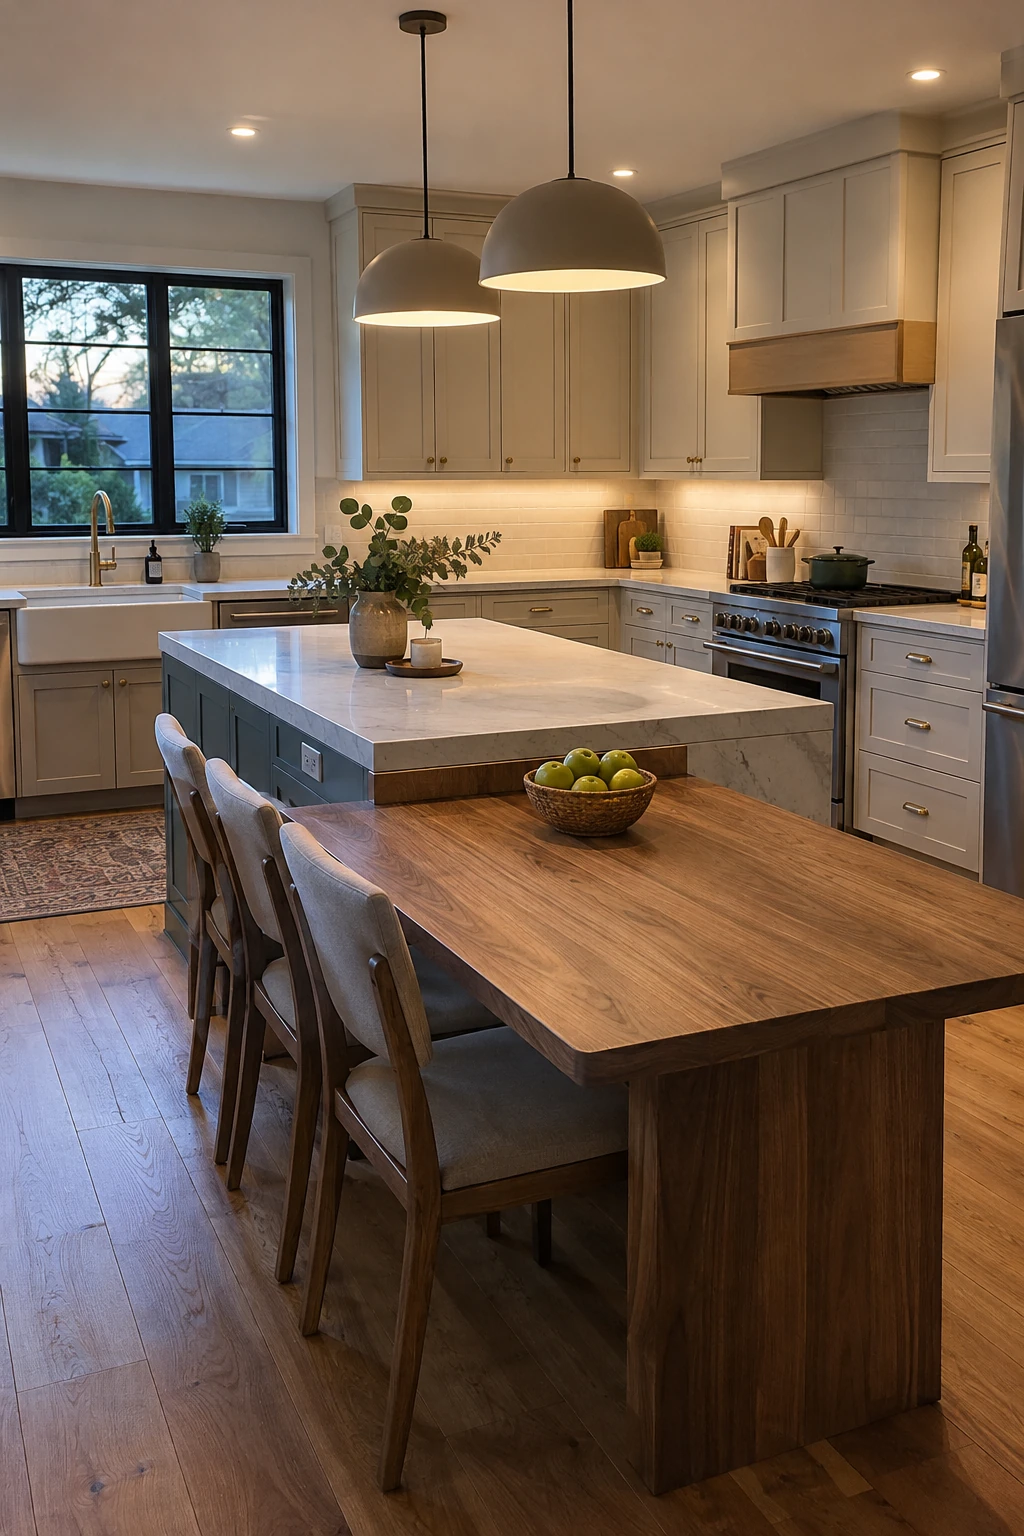
A table-height extension can be more comfortable for children, older relatives, and longer meals than backless counter stools. Use a contrasting wood top to make the change in purpose clear.
Plan sturdy support without filling the knee area. The extension should not rely on an unsupported seam between dissimilar materials.
Planning check: Treat the extension as furniture with its own structure, edge, and circulation plan.
Check the chair pullback against the route behind the island. A lower table consumes more floor space than the same number of tucked counter stools.
20. Tuck Backless Stools Into a Nook
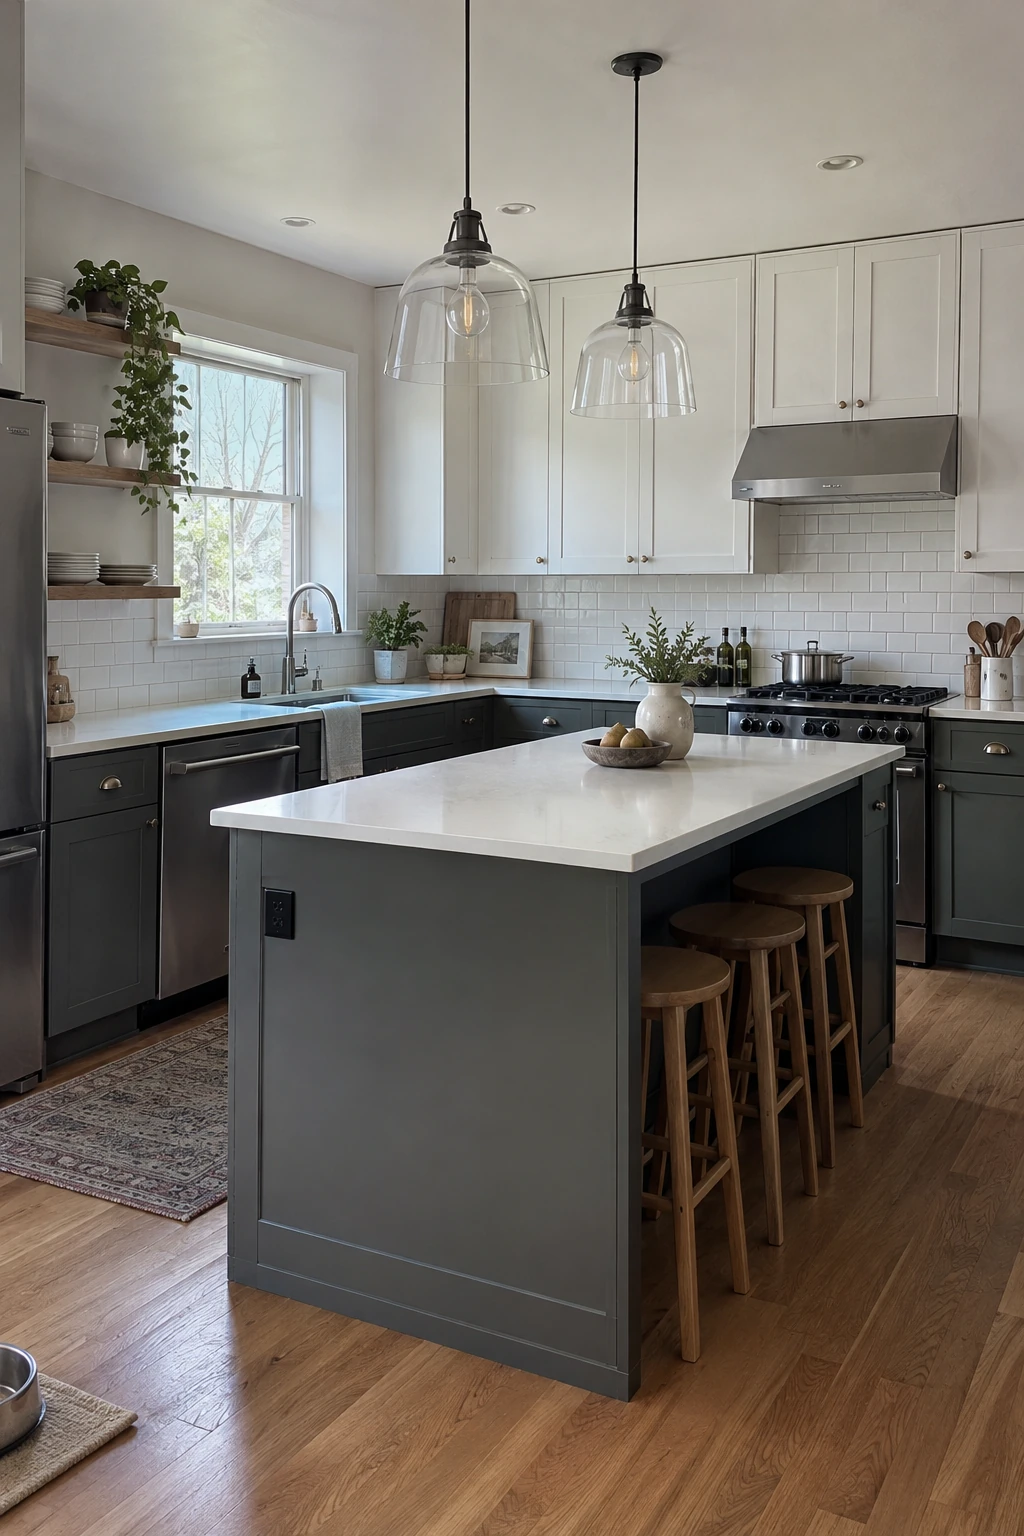
A recessed nook with backless stools keeps a small L-shaped kitchen visually open. It works best for quick breakfasts rather than long, supported sitting.
Choose stools only after measuring the finished floor-to-counter relationship and the clear opening between supports. Felt glides protect the floor and make daily movement quieter.
Planning check: Select the stools before finalizing the opening height, width, and depth.
Do not store bulky appliances behind the seating recess. The stools should tuck fully without striking doors or hidden outlets.
Use the Island for Smarter Storage
Island storage should match what is used nearby. Deep cabinets are valuable only when their contents remain visible and accessible.
21. Stack Deep Drawers on the Prep Side
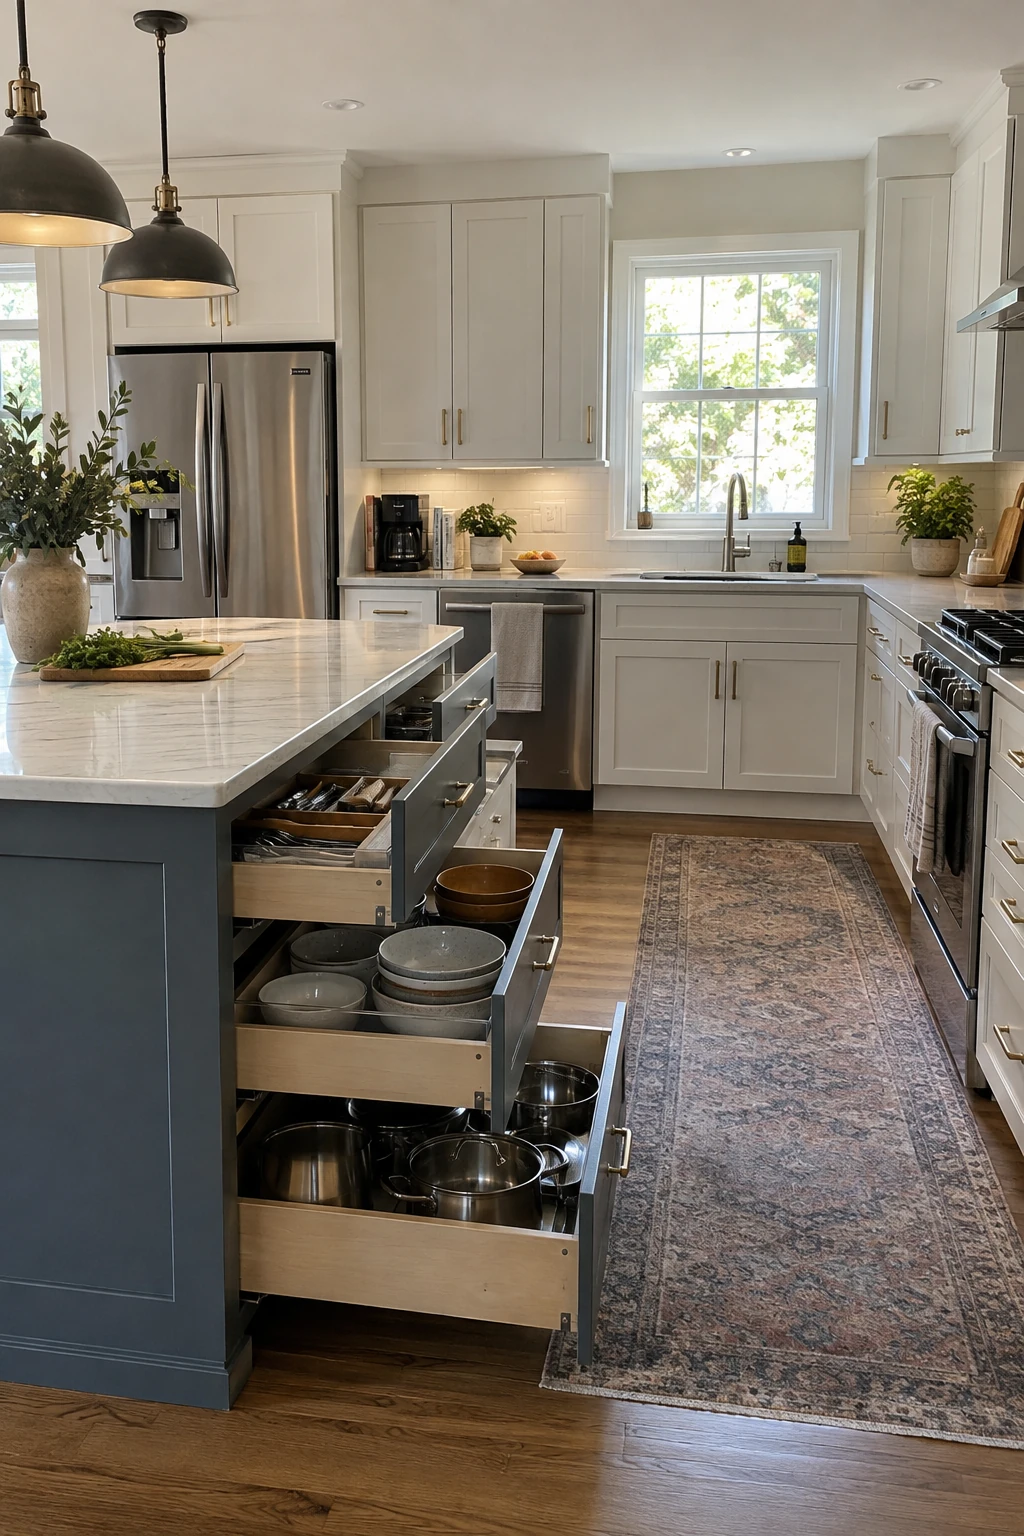
Wide drawers keep bowls, pots, and small appliances visible from above. Place them below the island’s main prep zone so tools follow the work rather than filling leftover cabinet space.
Use full-extension hardware rated for the expected load. A single oversized drawer can become difficult to operate when packed with cast iron or stacks of dishes.
Planning check: Match slide ratings and drawer widths to the heaviest cookware you plan to store.
Divide the top drawer for knives and utensils, then reserve deeper drawers for bulky items. These kitchen storage ideas offer more ways to match openings to contents.
22. Use a Shallow End Cabinet
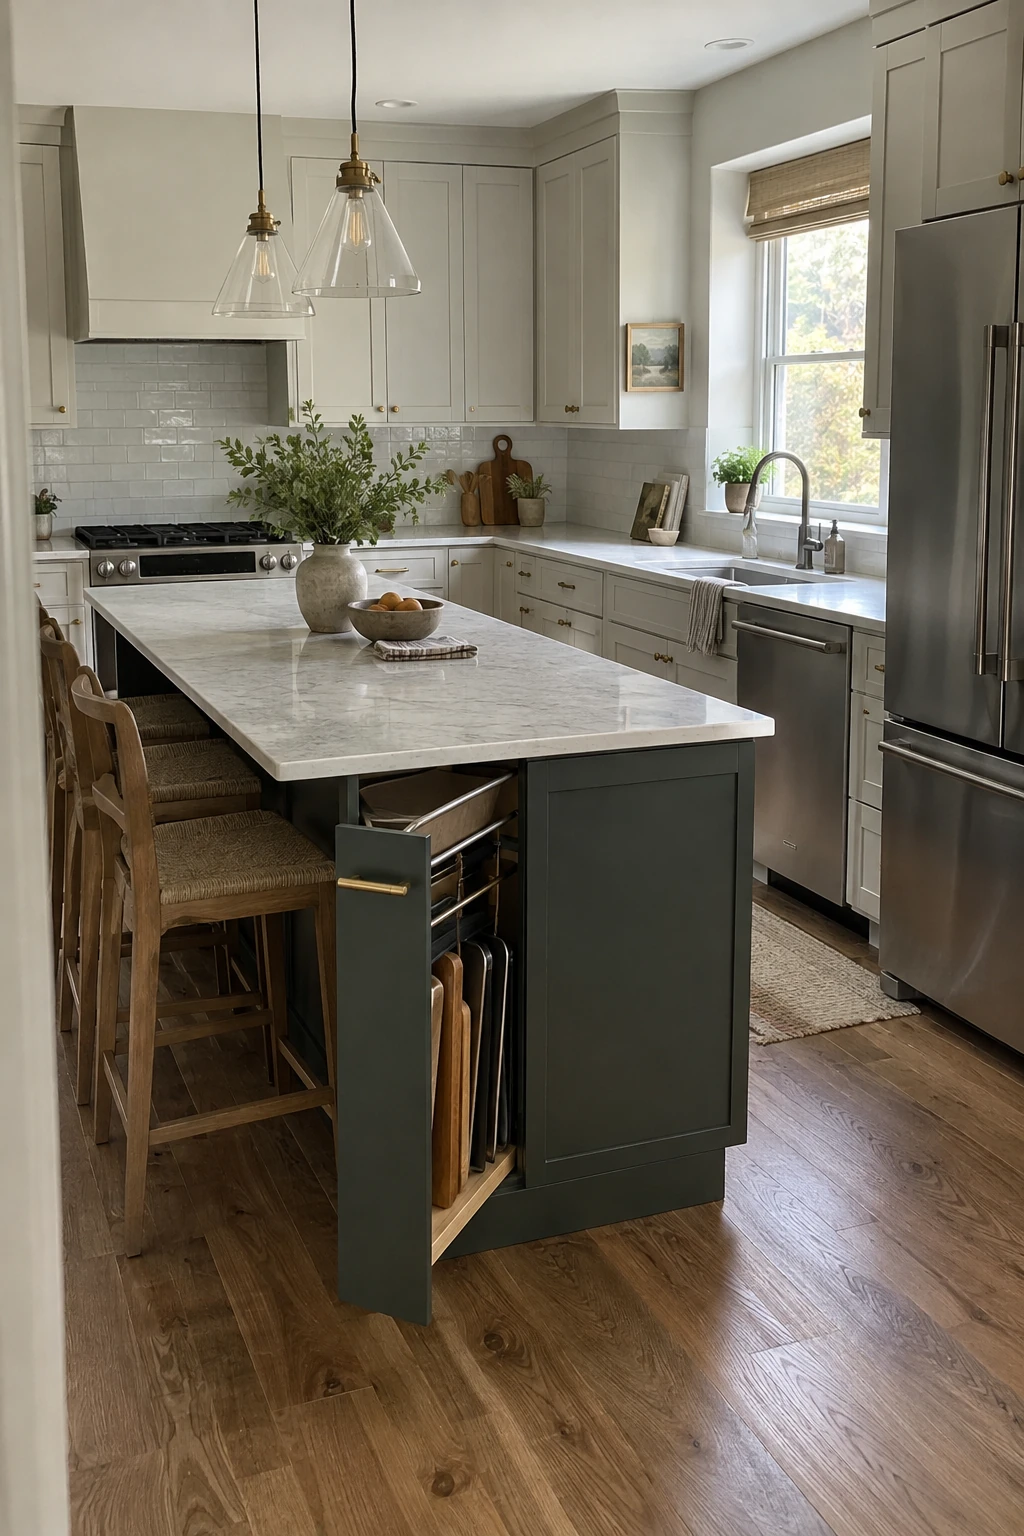
A shallow cabinet at the island end can hold trays, cutting boards, or table linens without widening the whole box. It turns a decorative panel into useful storage.
Use vertical dividers for flat items and a door that opens away from the busiest aisle. Confirm that the hinge will not strike adjacent drawers or seating supports.
23. Place Trash Beside the Prep Zone
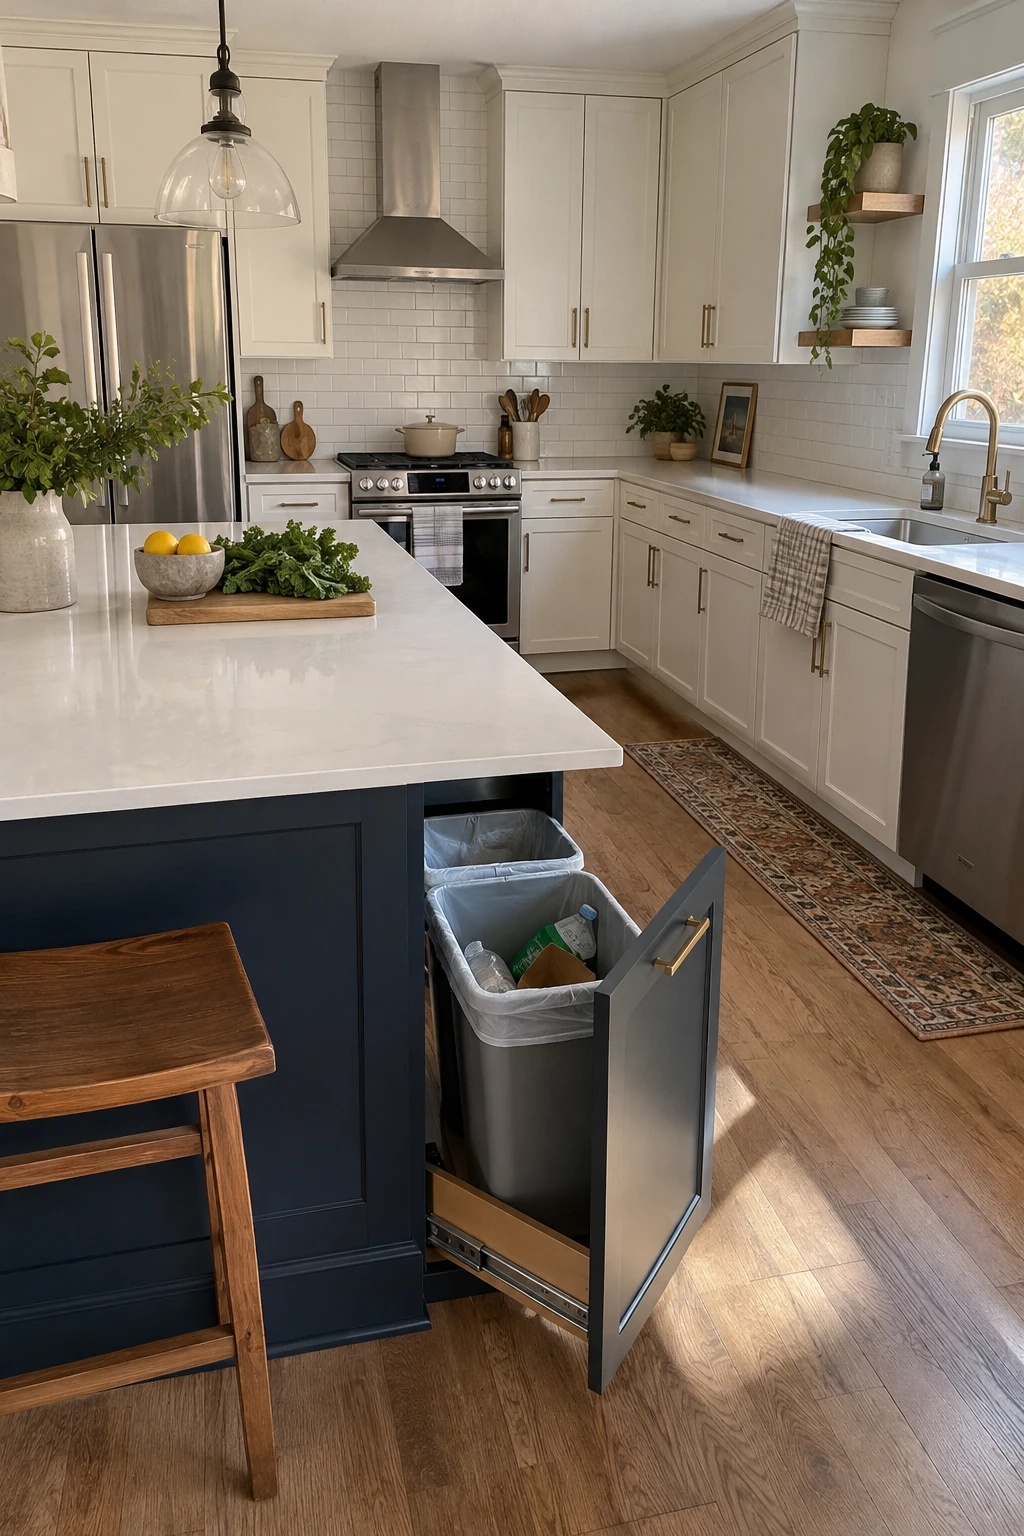
Locate trash and recycling under the island edge used for chopping so scraps move in one step. The same pullout should be reachable from the cleanup zone without crossing the range path.
Size bins around the household’s collection routine rather than the largest cabinet available. Smaller removable containers may be easier to wash and carry.
Planning check: Choose removable bins and leave room to clean the cabinet floor and slides.
Avoid placing the pullout directly behind occupied stools. Opening it should not require asking someone to stand.
24. Finish the Open End With Bookshelves
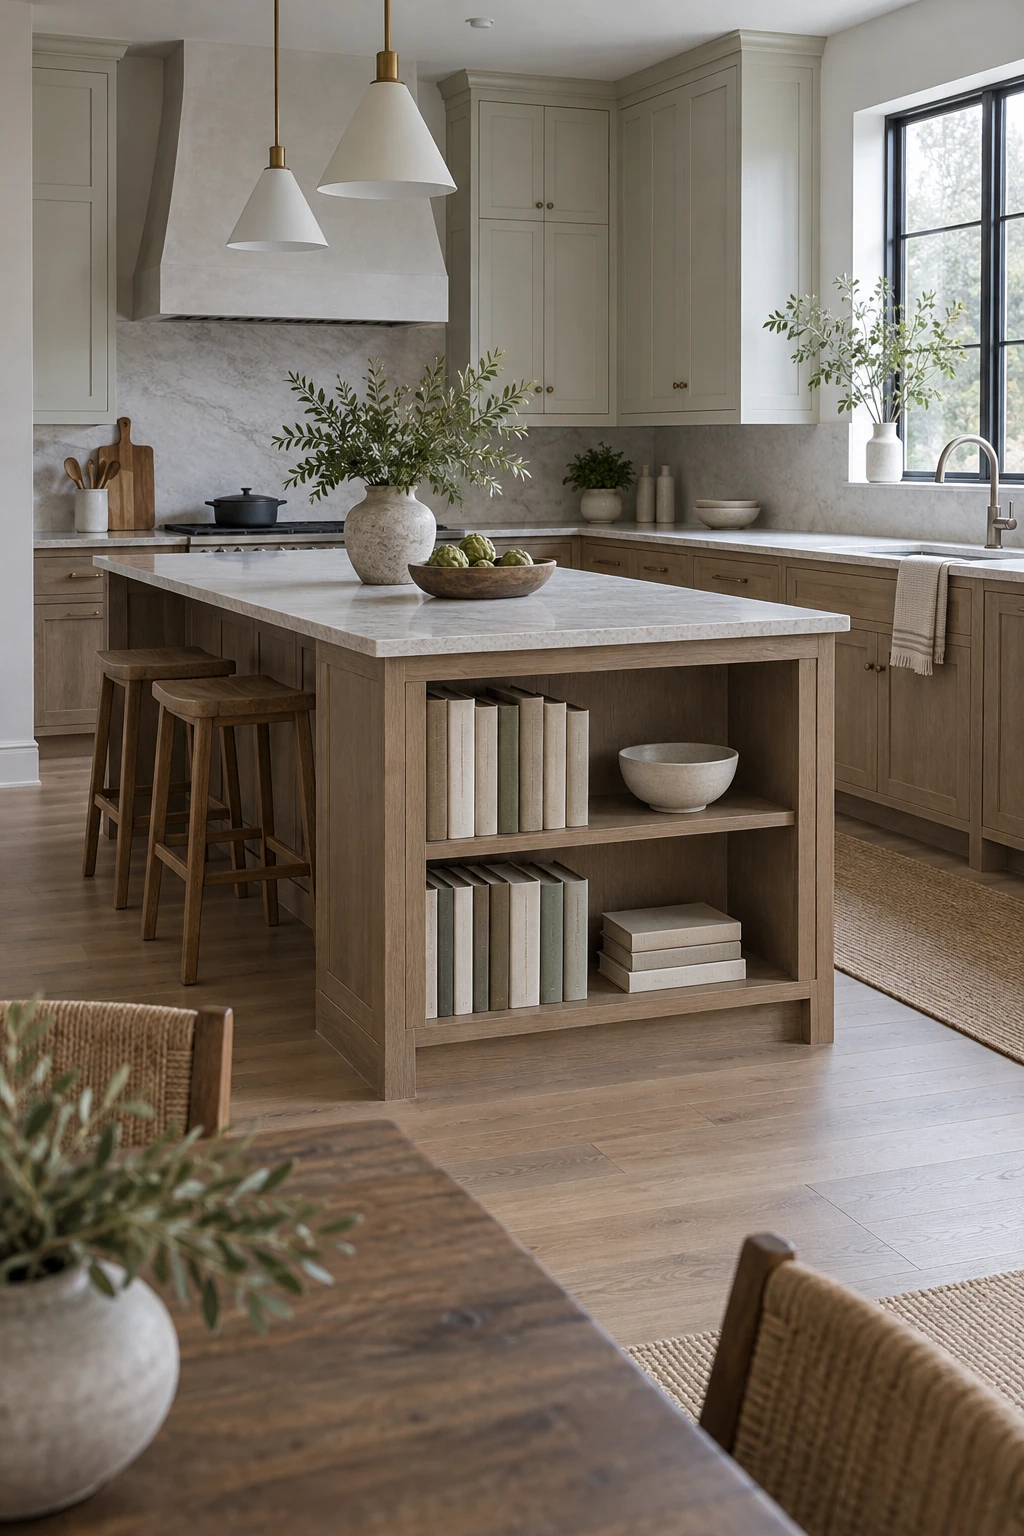
Open shelves on the public end can hold cookbooks, baskets, or serving pieces while giving the island a furniture-like face. They work best away from grease and sink splash.
Add a low rail or slightly raised edge if books may slide. Leave visual breathing room instead of filling every shelf with small decor.
Planning check: Keep shelves shallow enough that the island end remains outside the entry path.
For more display arrangements, review these kitchen open shelving ideas and adapt only the easy-to-clean options.
25. Use Back-to-Back Cabinets Selectively
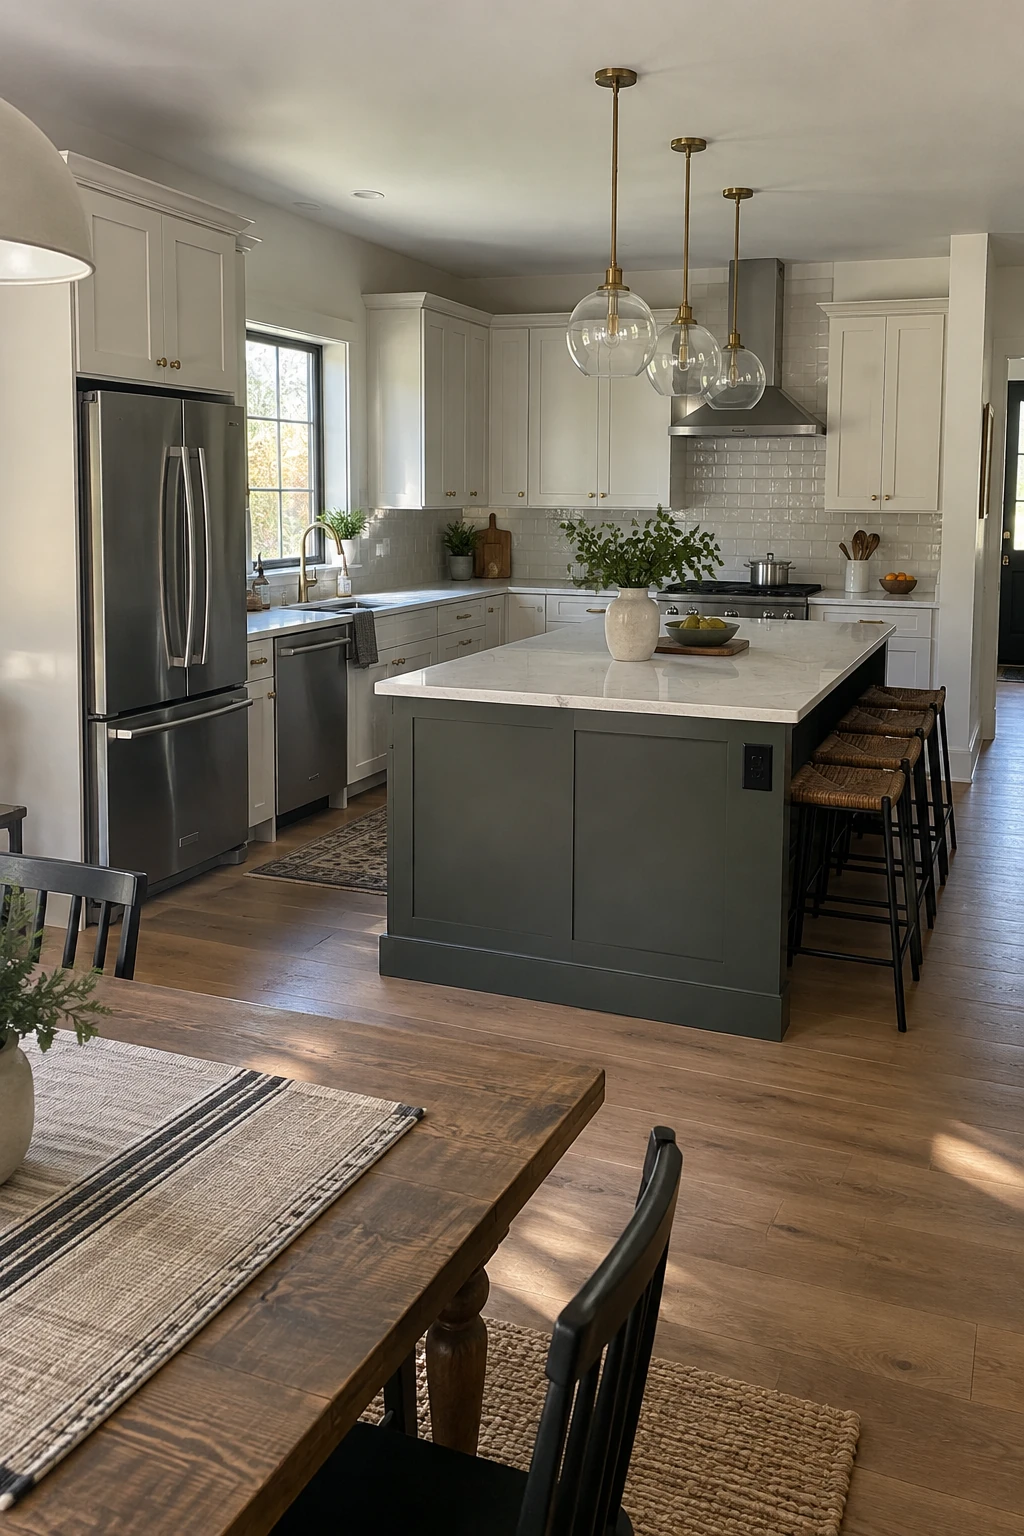
Back-to-back cabinets can store holiday dishes or serving pieces on the public side while keeping daily drawers in the work zone. Use shallow rear cabinets when the room cannot support a very deep island.
Push latches avoid handles catching on clothing, but they must be adjusted carefully. Label interior bins so rarely used items do not disappear behind broad doors.
Planning check: Limit the public-side cabinet depth before it compromises the working aisle.
Preserve access to floor outlets, plumbing, and fastening points. A fully packed island still needs a service strategy.
Solve the L-Shaped Corner
The inside corner is the defining challenge of an L. Choose one deliberate storage approach, then protect the surrounding drawer and appliance clearances.
26. Install a Blind-Corner Pullout
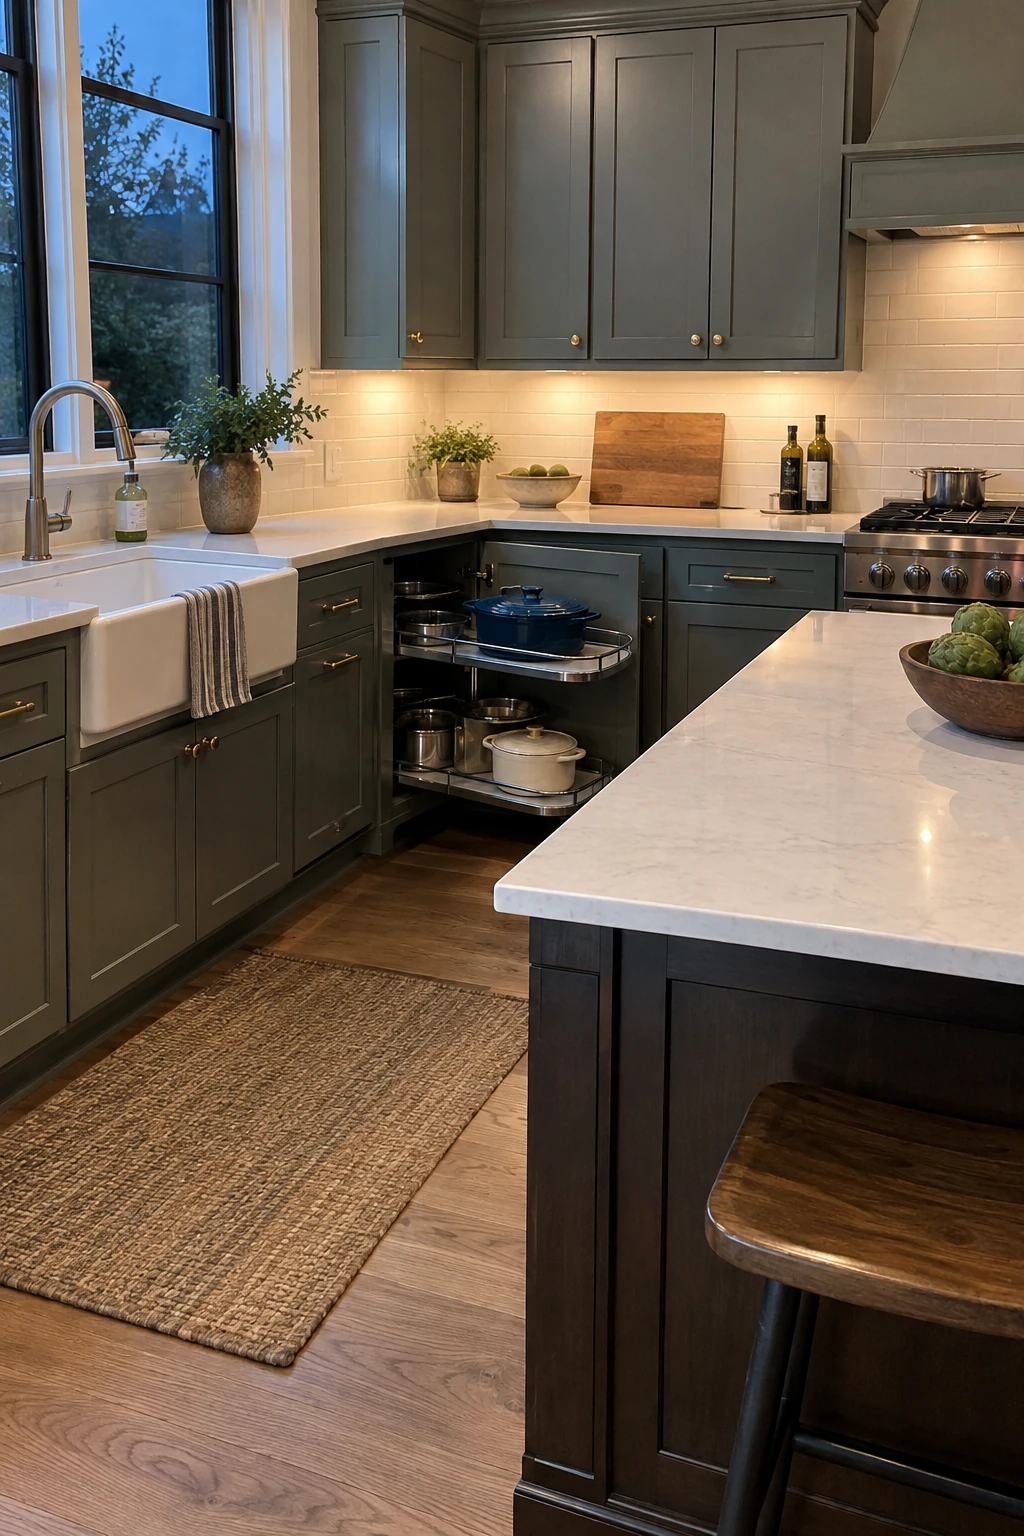
A blind-corner pullout brings hidden shelves into the aisle and can use depth that ordinary fixed shelves waste. It suits cookware or pantry goods that are too heavy to reach awkwardly.
Mechanisms vary widely in opening size, load, and swing path. Select the hardware before final cabinet drawings so fillers and door widths are intentional.
Planning check: Check the required door width, hinge side, shelf load, and adjacent handle clearance for the exact mechanism.
Keep the island far enough away for the pullout to extend fully. Test the moving shelves against nearby handles and open drawers.
27. Fit Corner Drawers
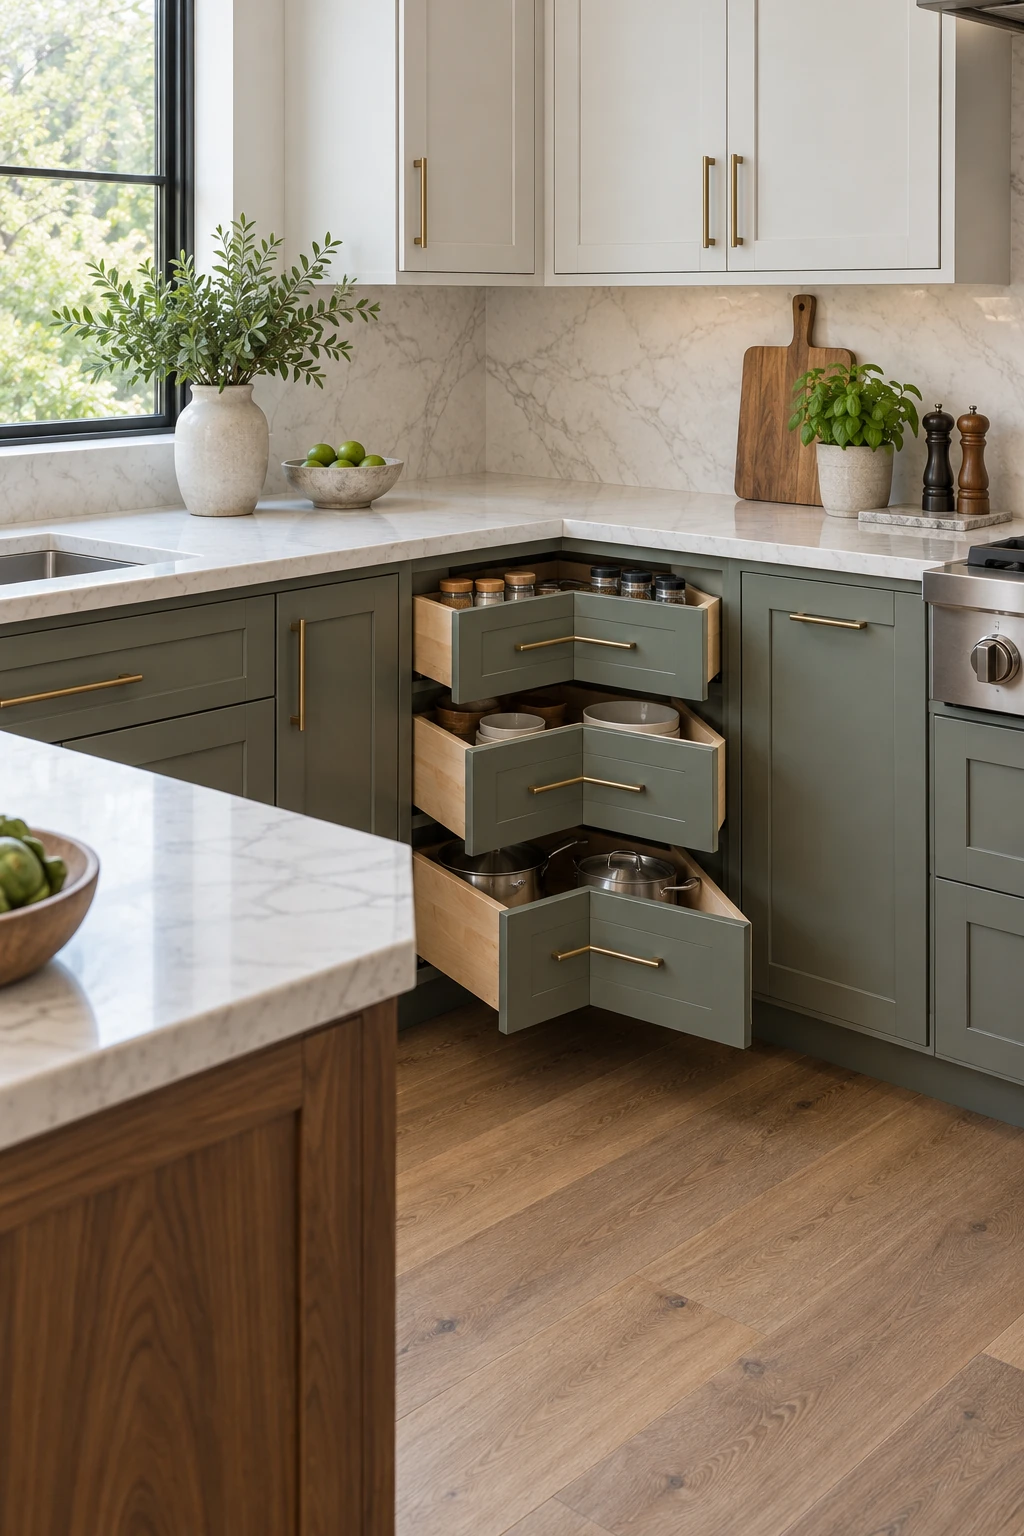
Corner drawers turn the elbow of the L into storage that opens toward the room. They can keep utensils and cookware visible without a rotating shelf.
The fronts are wide while the interiors taper, so compare usable capacity with the cost and hardware complexity. Make sure the island does not block the full opening arc.
Planning check: Review interior volume and hardware serviceability instead of judging the wide drawer fronts alone.
Align neighboring drawer heights to keep the cabinet run orderly. Reserve the deepest corner drawer for bulky, lightweight pieces rather than dense stacks.
28. Use a Full-Round Lazy Susan
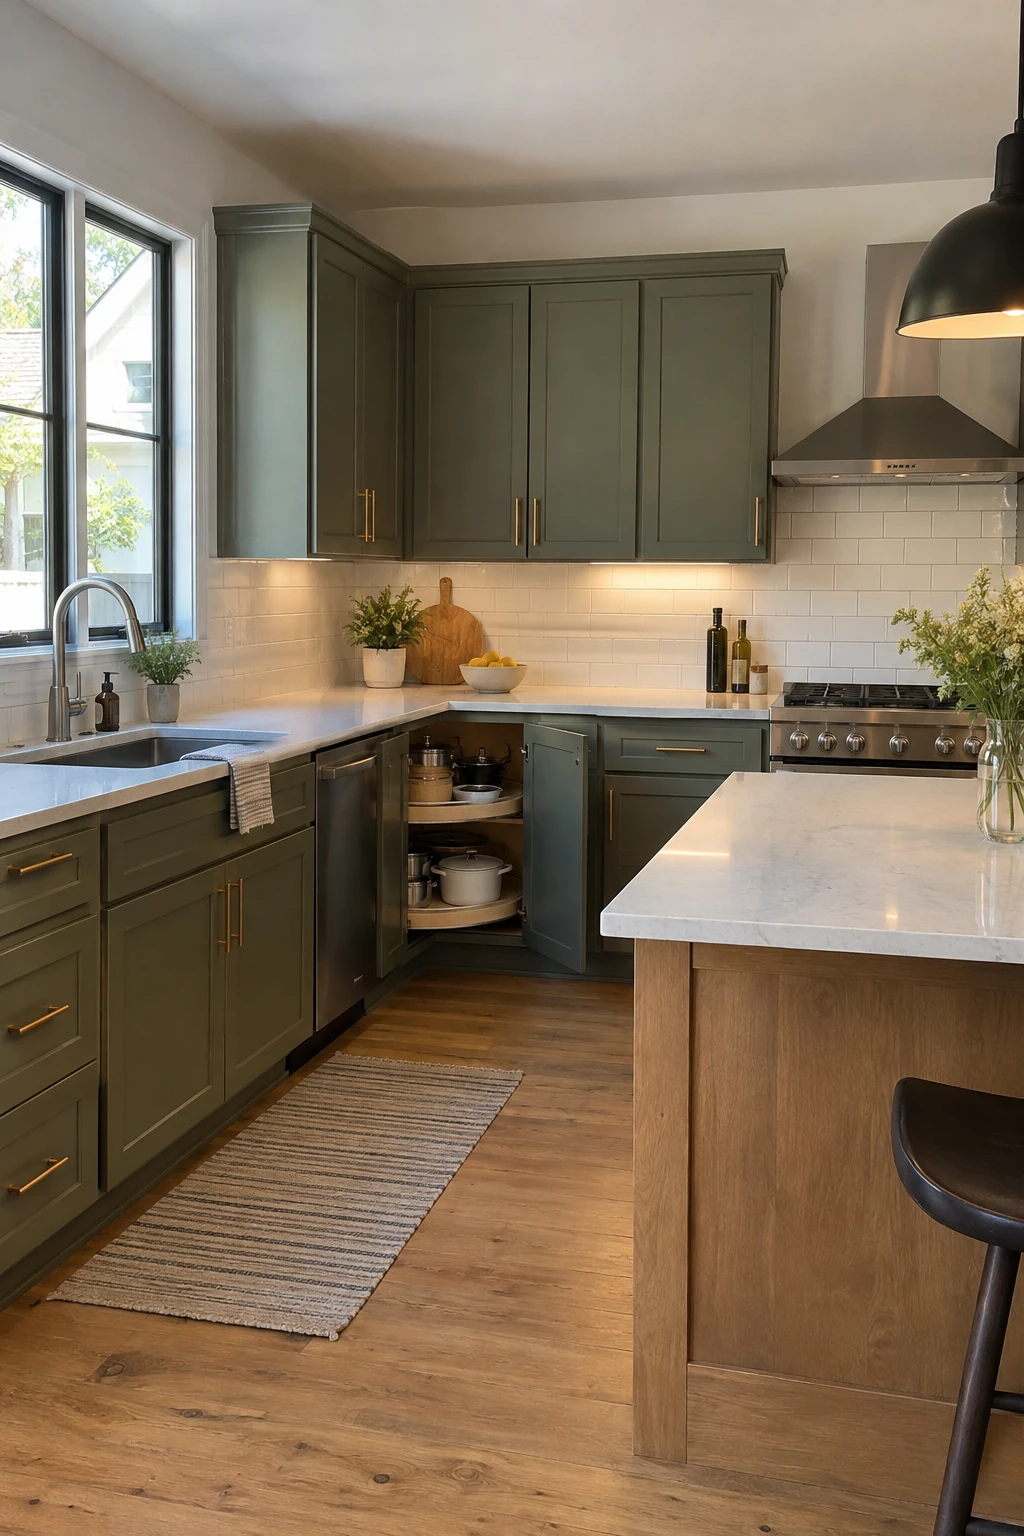
A full-round rotating shelf keeps small appliances, mixing bowls, or pantry goods reachable from the corner. Raised edges help prevent items from falling behind the mechanism.
Use broad categories on each shelf and avoid loose packets that can jam the rotation. The cabinet opening should be comfortable to use when someone stands between it and the island.
Planning check: Choose raised shelf edges and a door system that stays clear of the island aisle.
Inspect the center post and shelf adjustment before installation. Service is easier while the countertop is still off.
29. Accept a Small Dead Corner
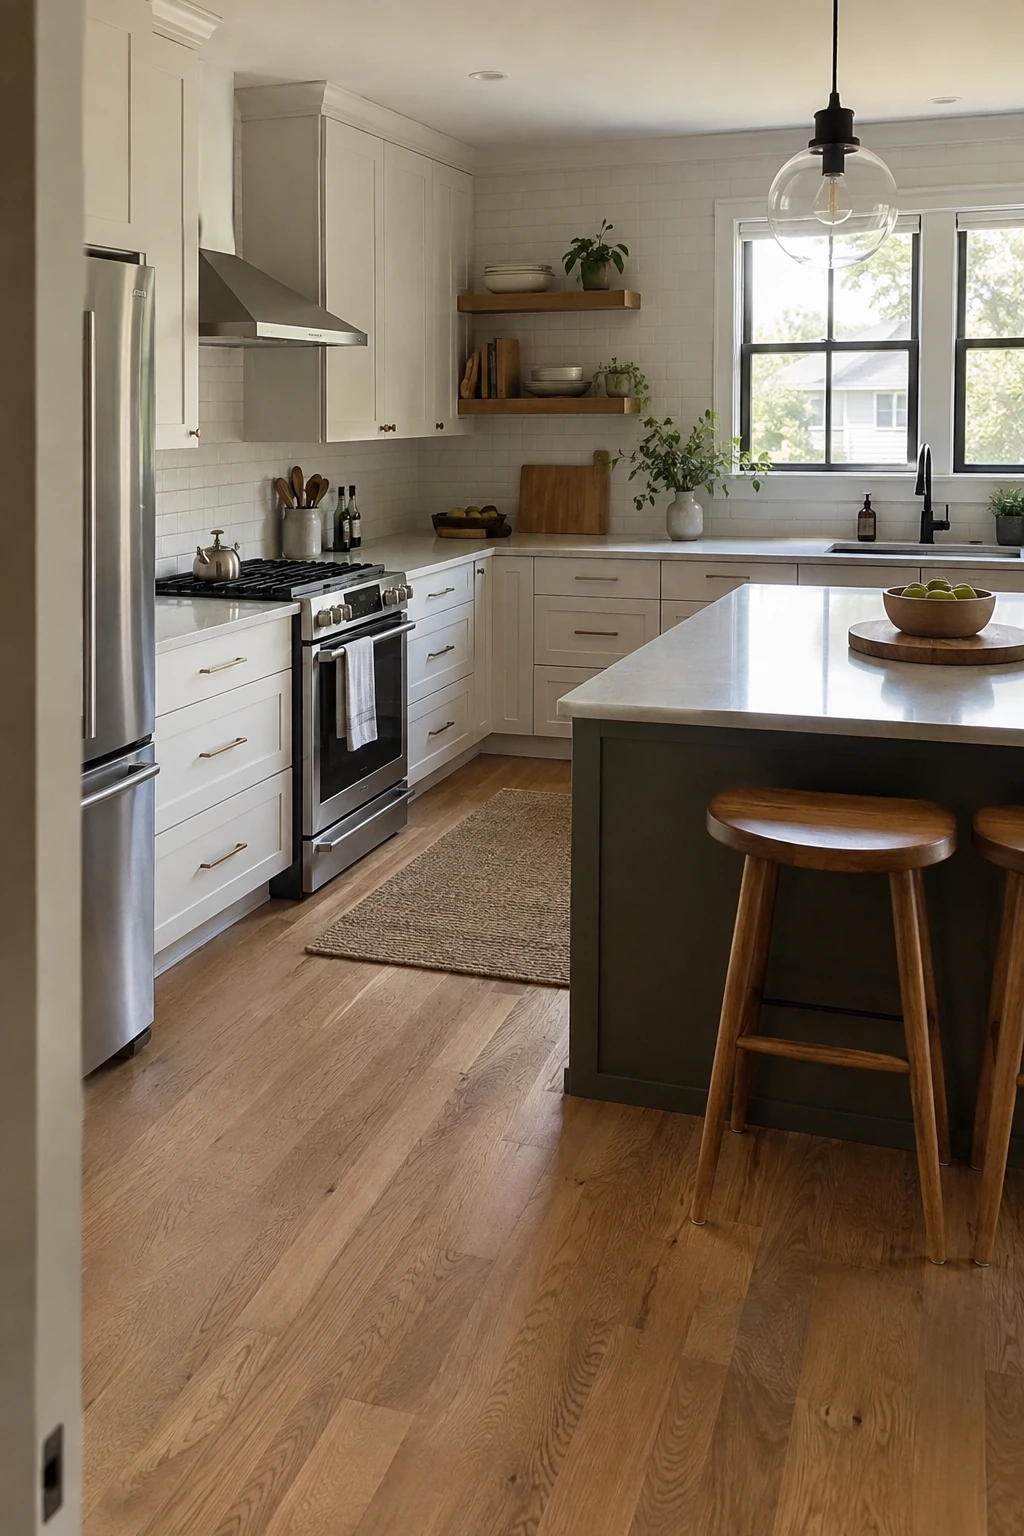
Sometimes sacrificing a small corner void allows wide drawers to work properly on both legs of the L. The room may gain more usable storage than a complicated mechanism provides.
Keep plumbing, junctions, or valves out of an inaccessible space. If services must pass through, provide a removable panel from an adjacent cabinet.
Planning check: Document the concealed void and any access panel before counters are installed.
Compare usable cubic volume, opening clearance, cost, and repair access. The mathematically fullest corner is not always the most functional one.
30. Turn the Counter Corner Into an Appliance Garage
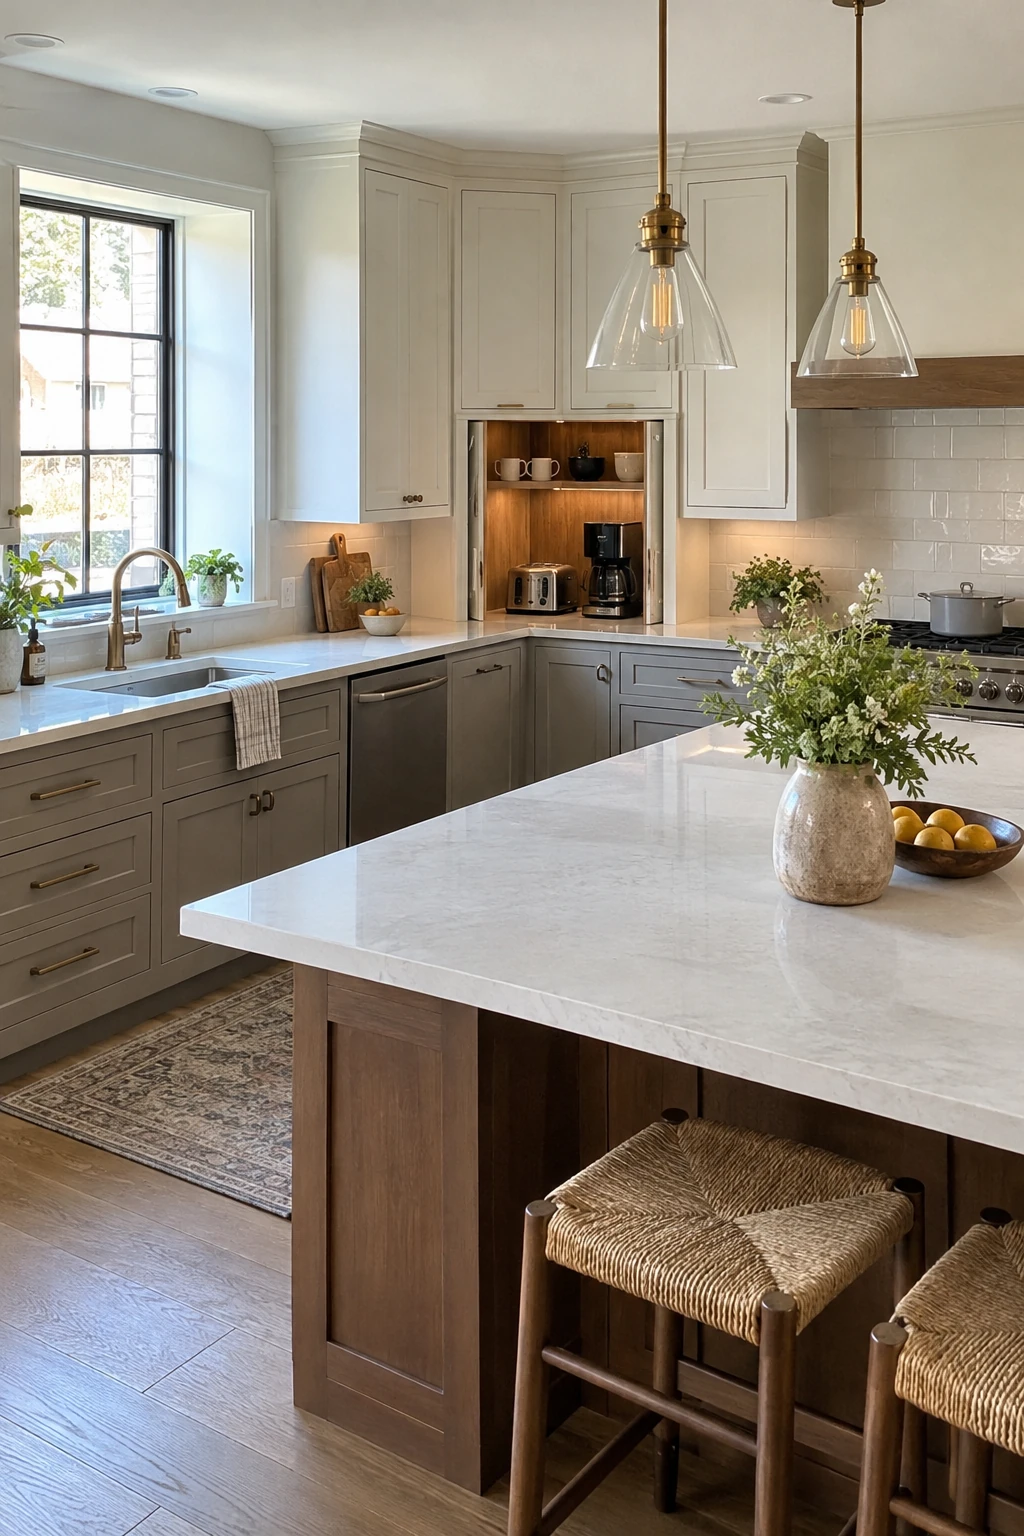
A counter-level garage can use the deep corner for a coffee maker, toaster, or blender. Pocket or lift doors keep the opening clear while appliances are in use.
Continue a wipeable counter and backsplash inside, with receptacles positioned for easy unplugging. Do not operate an appliance in a closed cabinet unless both the appliance and cabinet system permit it.
Planning check: Follow appliance ventilation and use instructions, and keep heat-producing equipment visible while operating.
Use a removable tray for crumbs and drips. The interior should be simple to clean because the corner is otherwise hard to reach.
Coordinate Surfaces and Structure
Countertop beauty depends on support, seam placement, cabinet leveling, and a plan for floor and wall transitions. Set those details before the slab is templated.
31. Plan the Island Around Slab Size
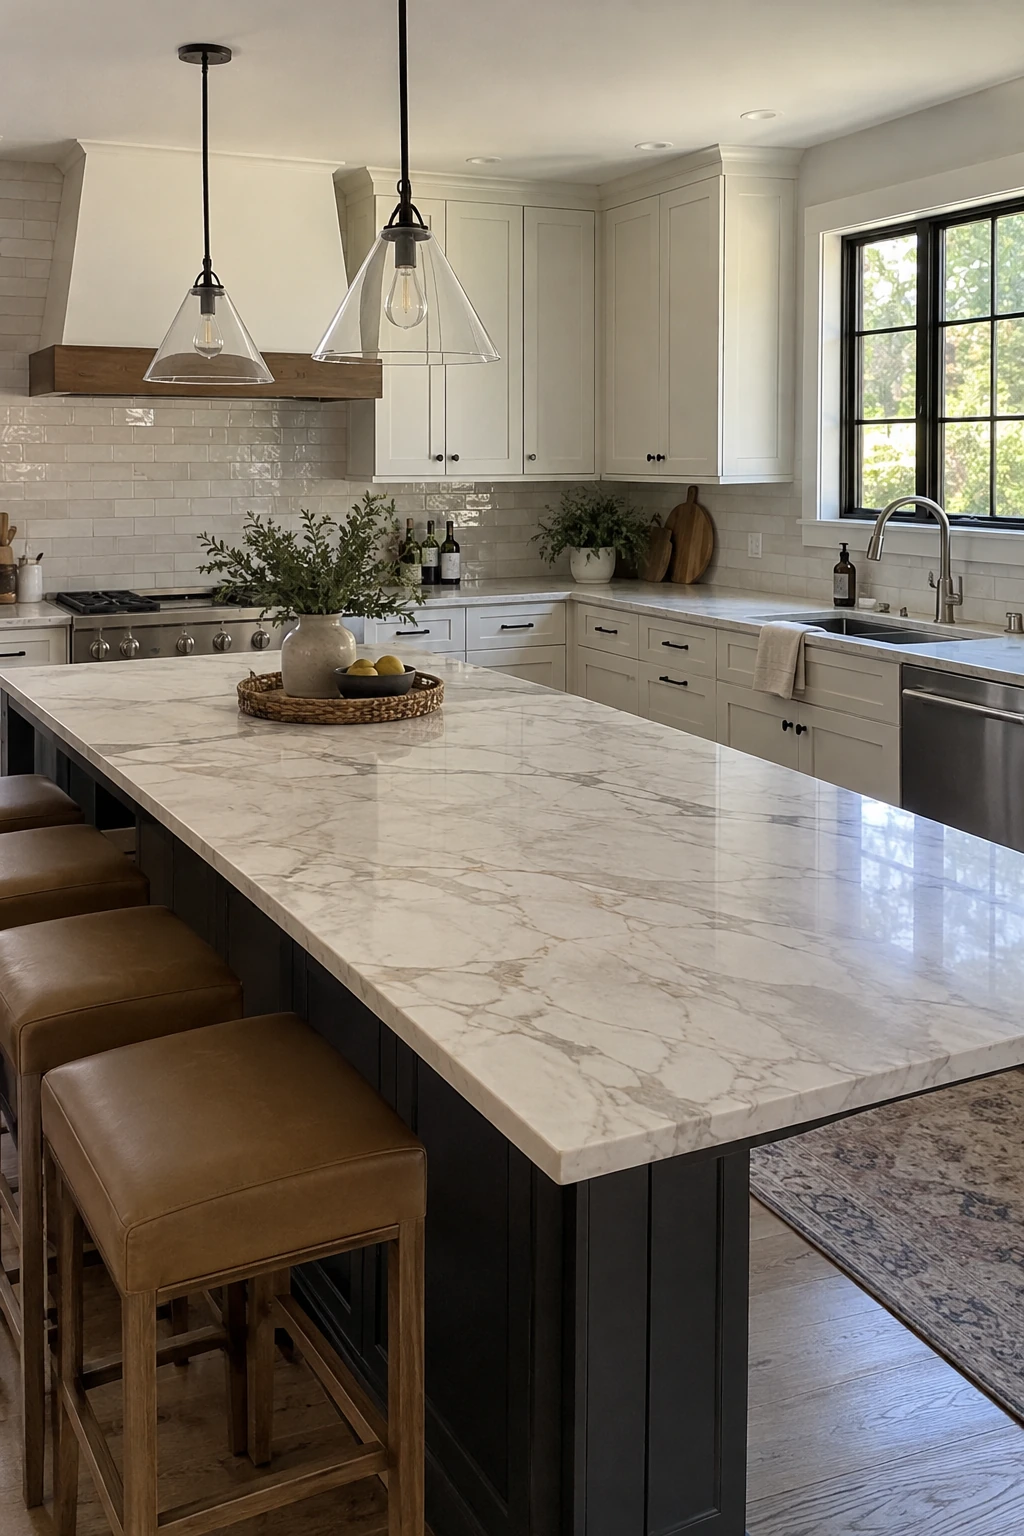
Design the island with available slab dimensions in mind instead of discovering a prominent seam after cabinetry is fixed. Large patterns need enough material for sensible vein direction and edge pieces.
Keep seams away from sink cutouts and the most visible corner when the fabricator can do so safely. A seam is a structural fabrication decision, not only a cosmetic line.
Planning check: Approve the actual slab layout, seam, cutouts, and edge before fabrication.
Review support for overhangs and heavy materials. Cabinet tops must be level before the final template.
32. Pair a Wood Island With Stone Perimeters
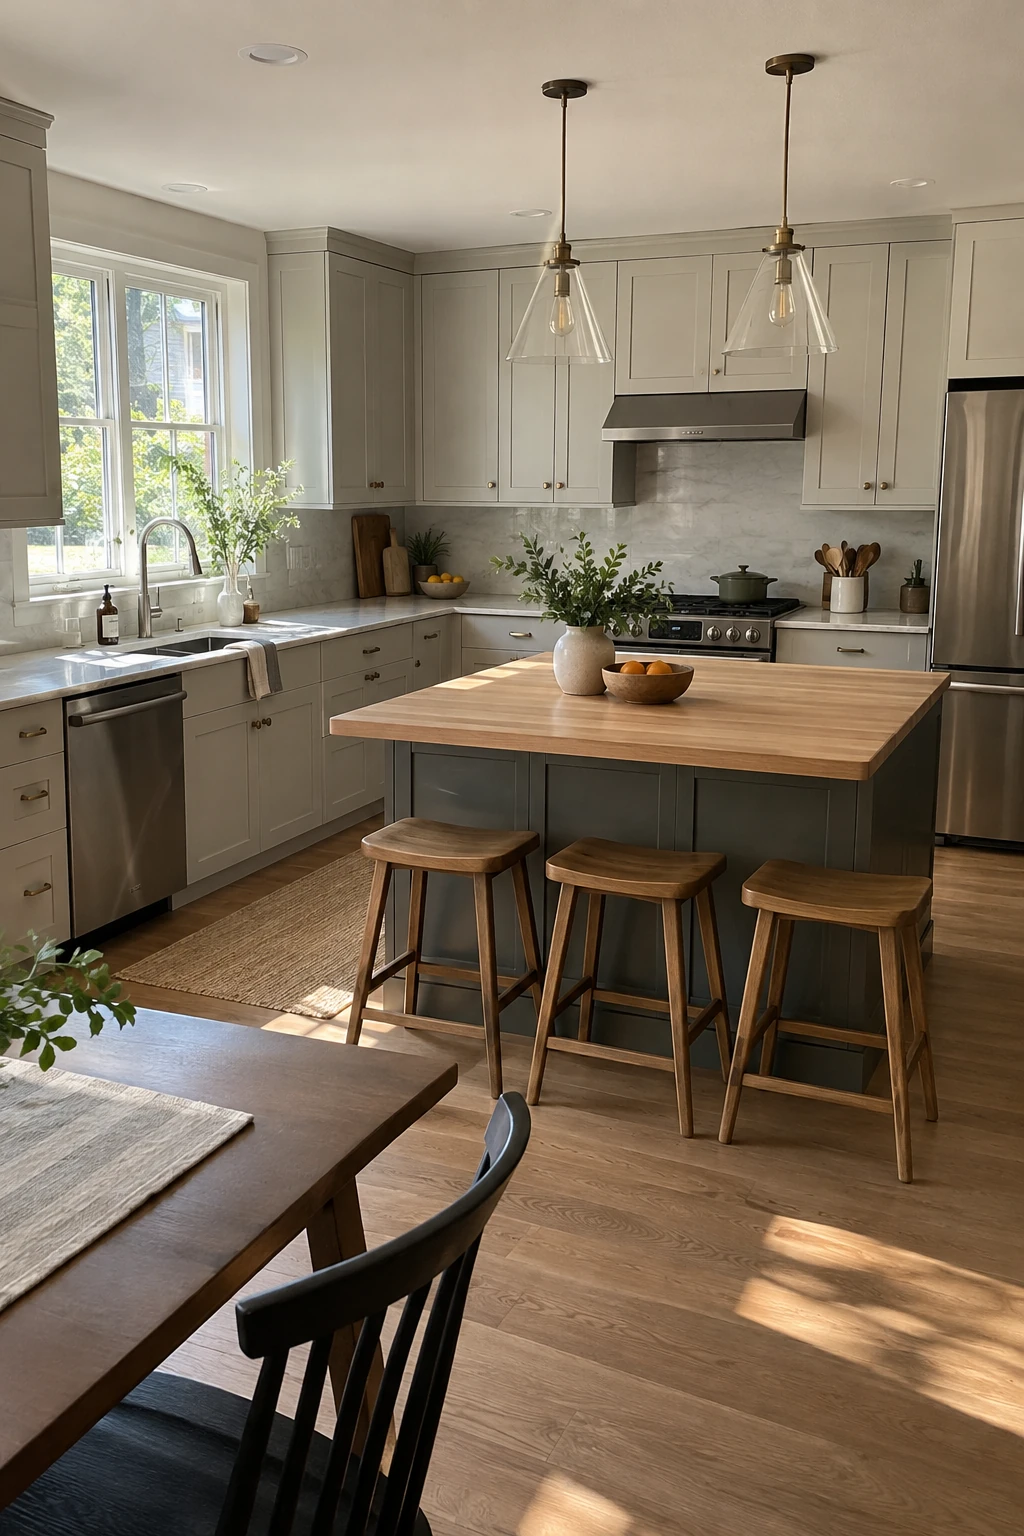
A wood island adds warmth to an L-shaped kitchen with stone perimeter counters. Use it for dry prep, serving, or seating while keeping the wettest work near a more water-tolerant surface.
Wood movement, finish, sink cutouts, and standing water need a maintenance plan. Ask the maker how the top is constructed and attached before choosing only by color.
Planning check: Specify the wood species, construction, finish, seam, and care schedule together.
For a lower-cost version, use a freestanding butcher-block worktable. It provides the contrast without replacing installed counters.
33. Use One Waterfall End
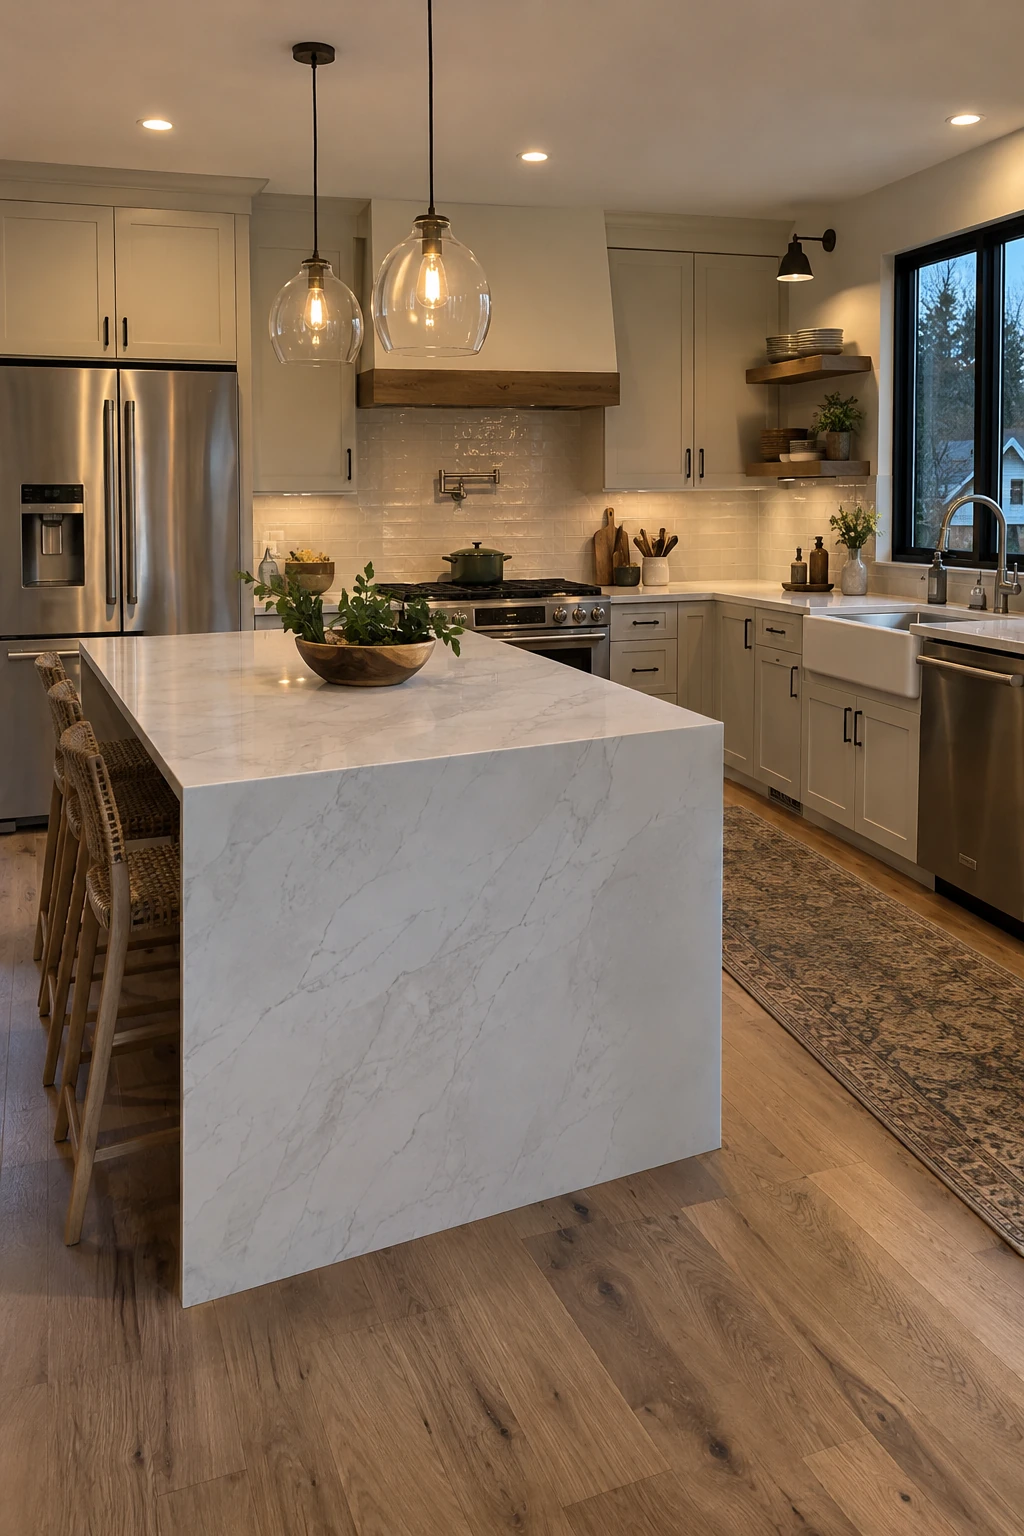
One waterfall panel can finish the island end visible from the adjacent room while leaving the working end open for storage. It creates a deliberate boundary without wrapping every surface in stone.
Approve vein direction and the mitered joint on the actual slab. The panel may affect outlet placement, floor fastening, and future cabinet access.
Planning check: Protect access to island anchoring and confirm the mitered edge can tolerate household traffic.
Use a softer edge or setback if children regularly pass the corner. A dramatic material should not create an unforgiving collision point.
34. Run Flooring Continuously Beneath the Island
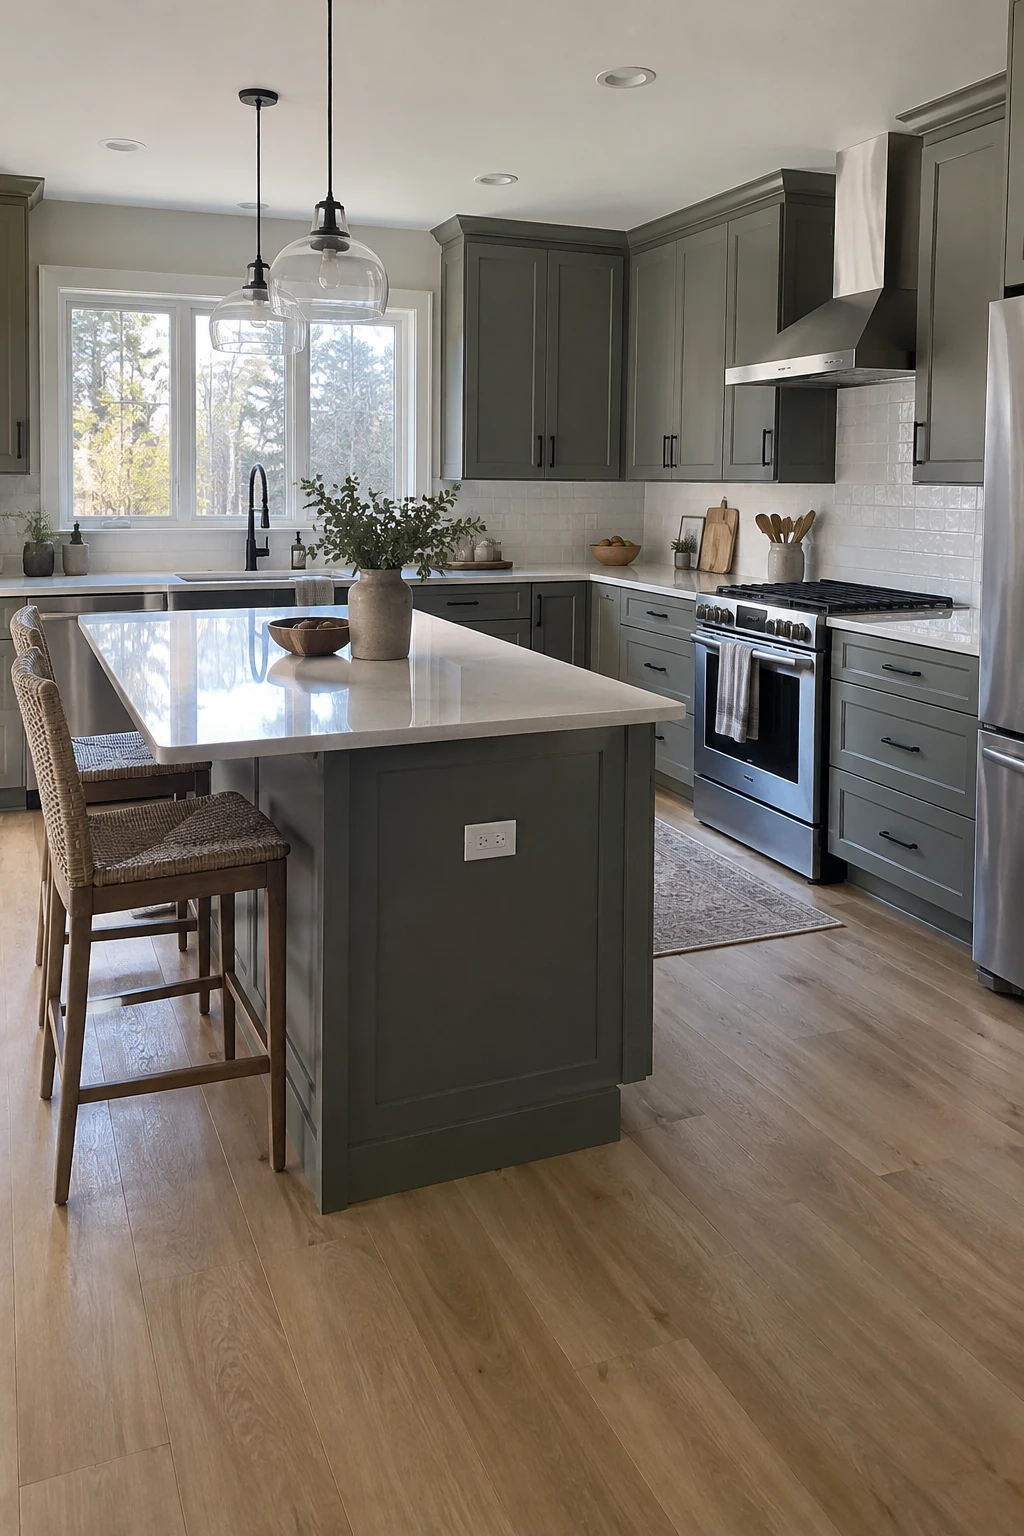
Continuous flooring can make an open L-shaped kitchen feel larger and leaves flexibility if the island changes later. The installation method determines whether fixed cabinets may sit on top.
Coordinate expansion gaps, fastening, appliance clearances, and transitions with the flooring manufacturer and installer. A floating floor can be damaged if heavy cabinetry traps it incorrectly.
Planning check: Confirm whether the exact flooring system permits or requires island fastening through it.
Photograph anchor locations before the island is set. Future repairs are safer when fasteners and utilities are documented.
35. Integrate a Structural Post
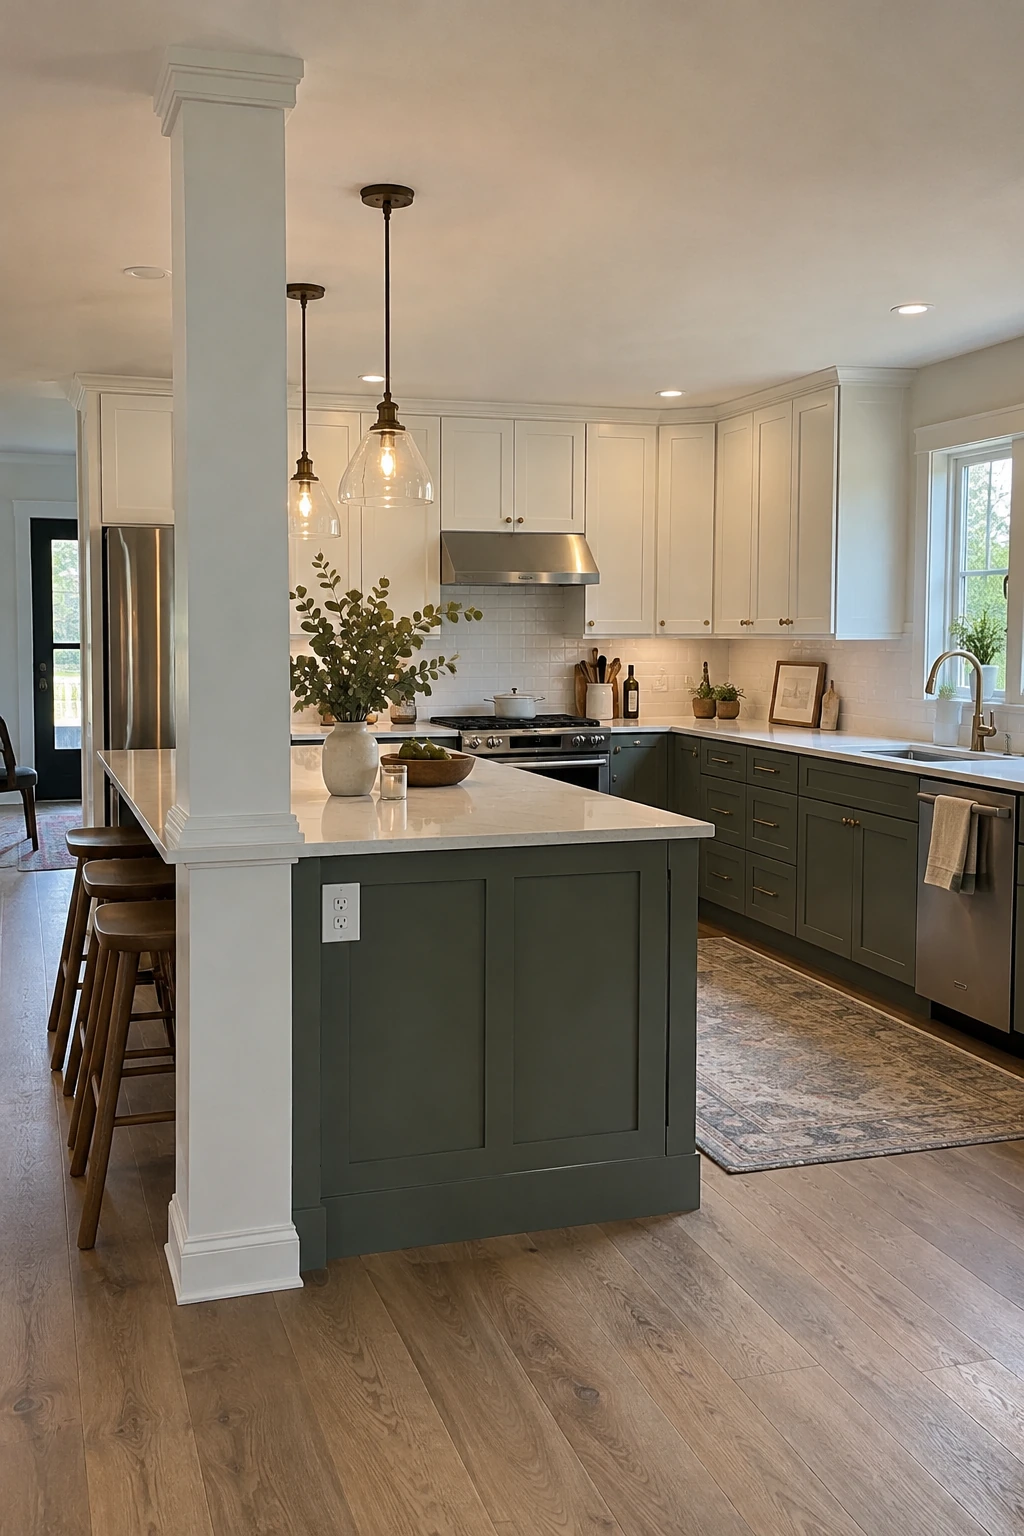
If a post remains after opening the room, align the island so the column lands at an end or within a planned storage bay. Consistent trim can make it feel architectural rather than accidental.
Do not cut, notch, or relocate the post based on appearance. Structural loads, footings, and concealed connections need professional evaluation.
Planning check: Have a qualified professional verify whether the post is structural before changing it.
Keep counter seams, outlets, and seating clear of the column. A narrow reveal around the post can accommodate movement and simplify finishing.
Plan Lighting, Power, and Ventilation
The island becomes truly useful when light and power arrive safely without clutter. Coordinate ceiling, floor, and cabinet work on the same drawings.
36. Center Pendants on the Island
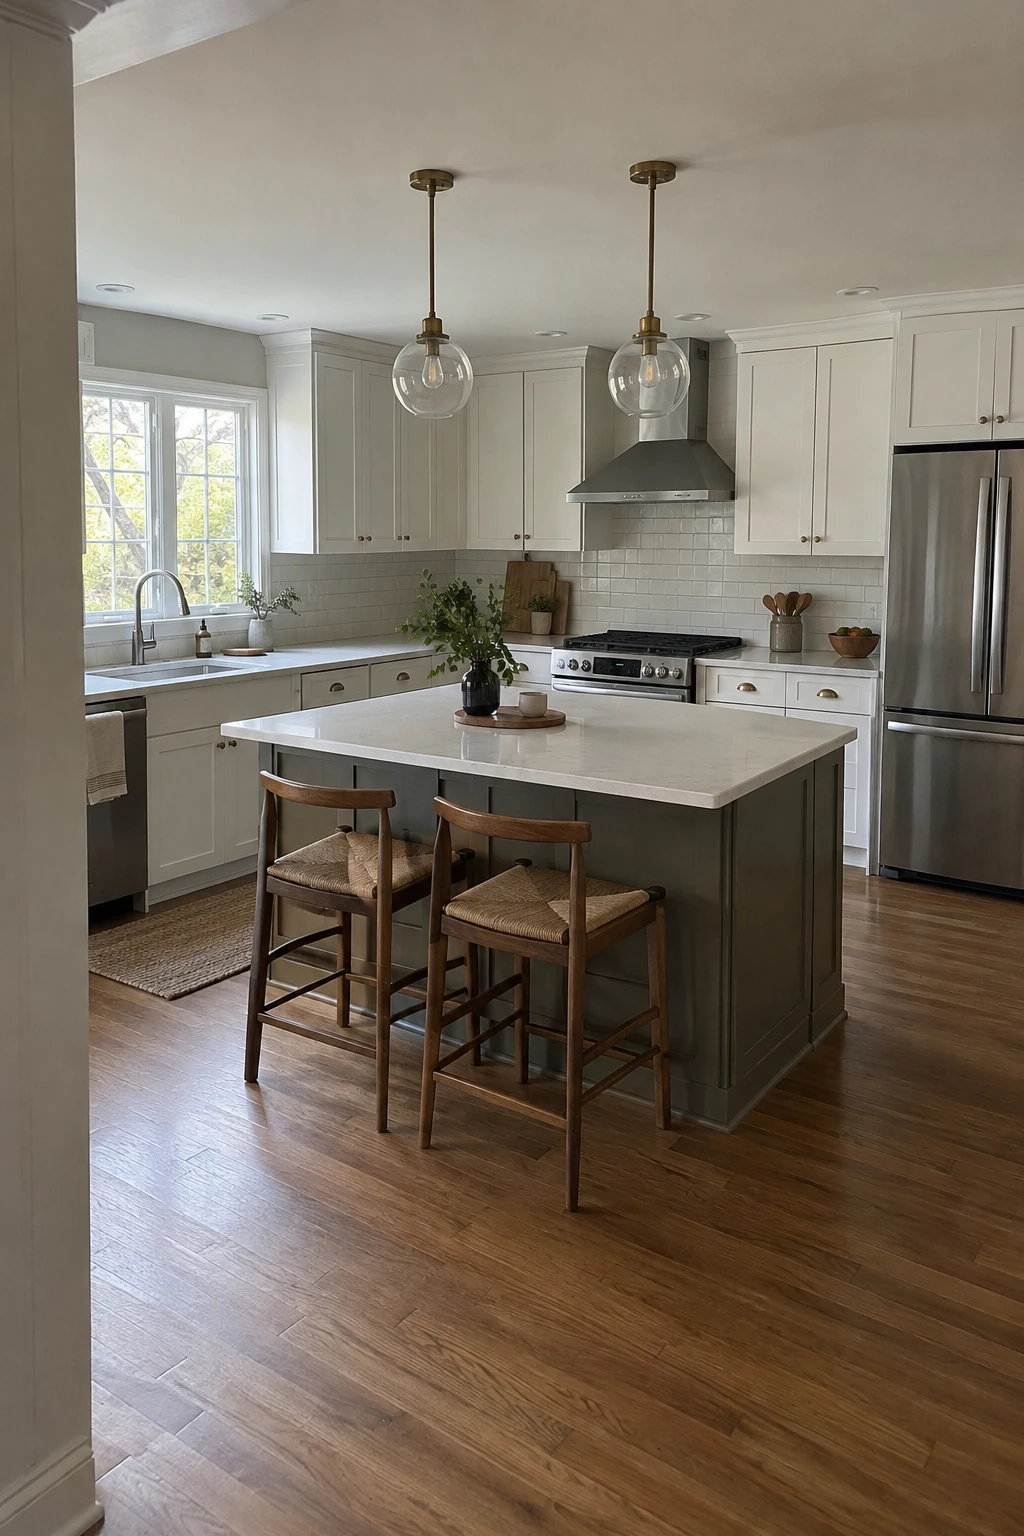
When the island shifts toward one leg of the L, center the pendants over the island rather than the ceiling plane. This makes the asymmetric layout read as deliberate.
Choose fixtures that light the surface without blocking views across the room. Confirm hanging height on site after the island and finished floor are established.
Planning check: Center fixtures on the island work surface rather than the room or cabinet wall.
Layer pendants with ceiling and under-cabinet light. These kitchen lighting ideas can help compare fixture types without relying on pendants for every task.
37. Use One Linear Island Light
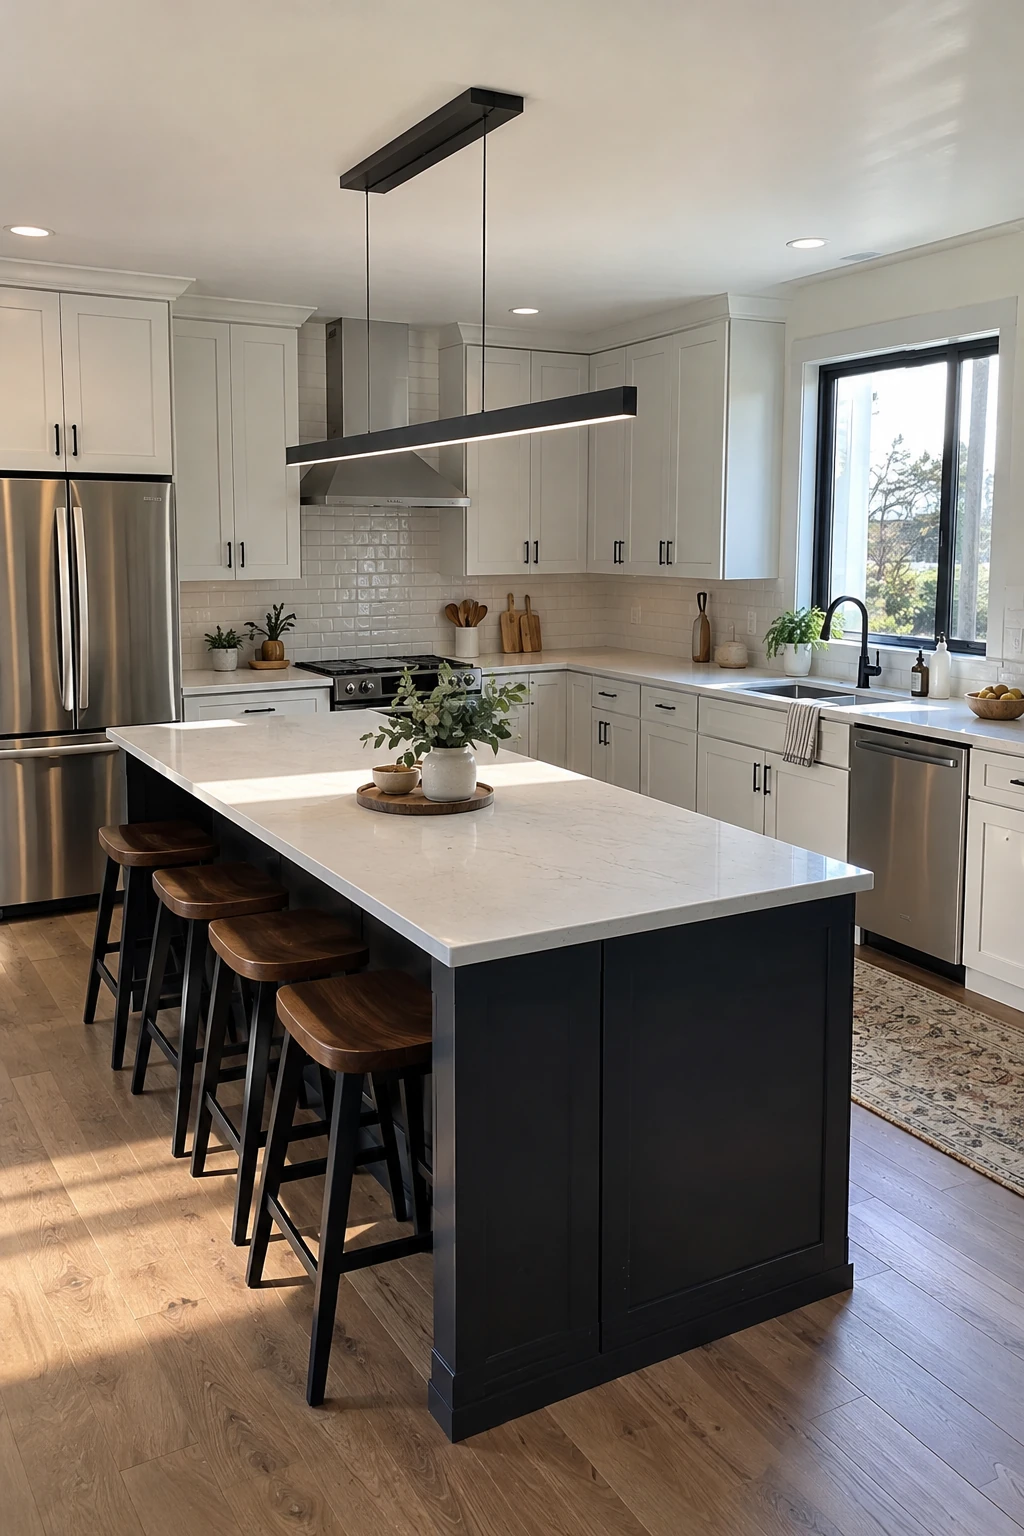
A single linear fixture can suit a long, slim island where several pendants would feel busy. Pick a length that leaves visible breathing room at both ends.
Look at the fixture from seated and standing eye levels. Exposed bright lamps can cause glare even when the top appears evenly lit.
Planning check: Check fixture length, glare, ceiling support, and light distribution against the actual island.
Use a dimmer compatible with the selected light source and control. Verify electrical requirements with the product instructions and local rules.
38. Place Island Power Where Cords Stay Short
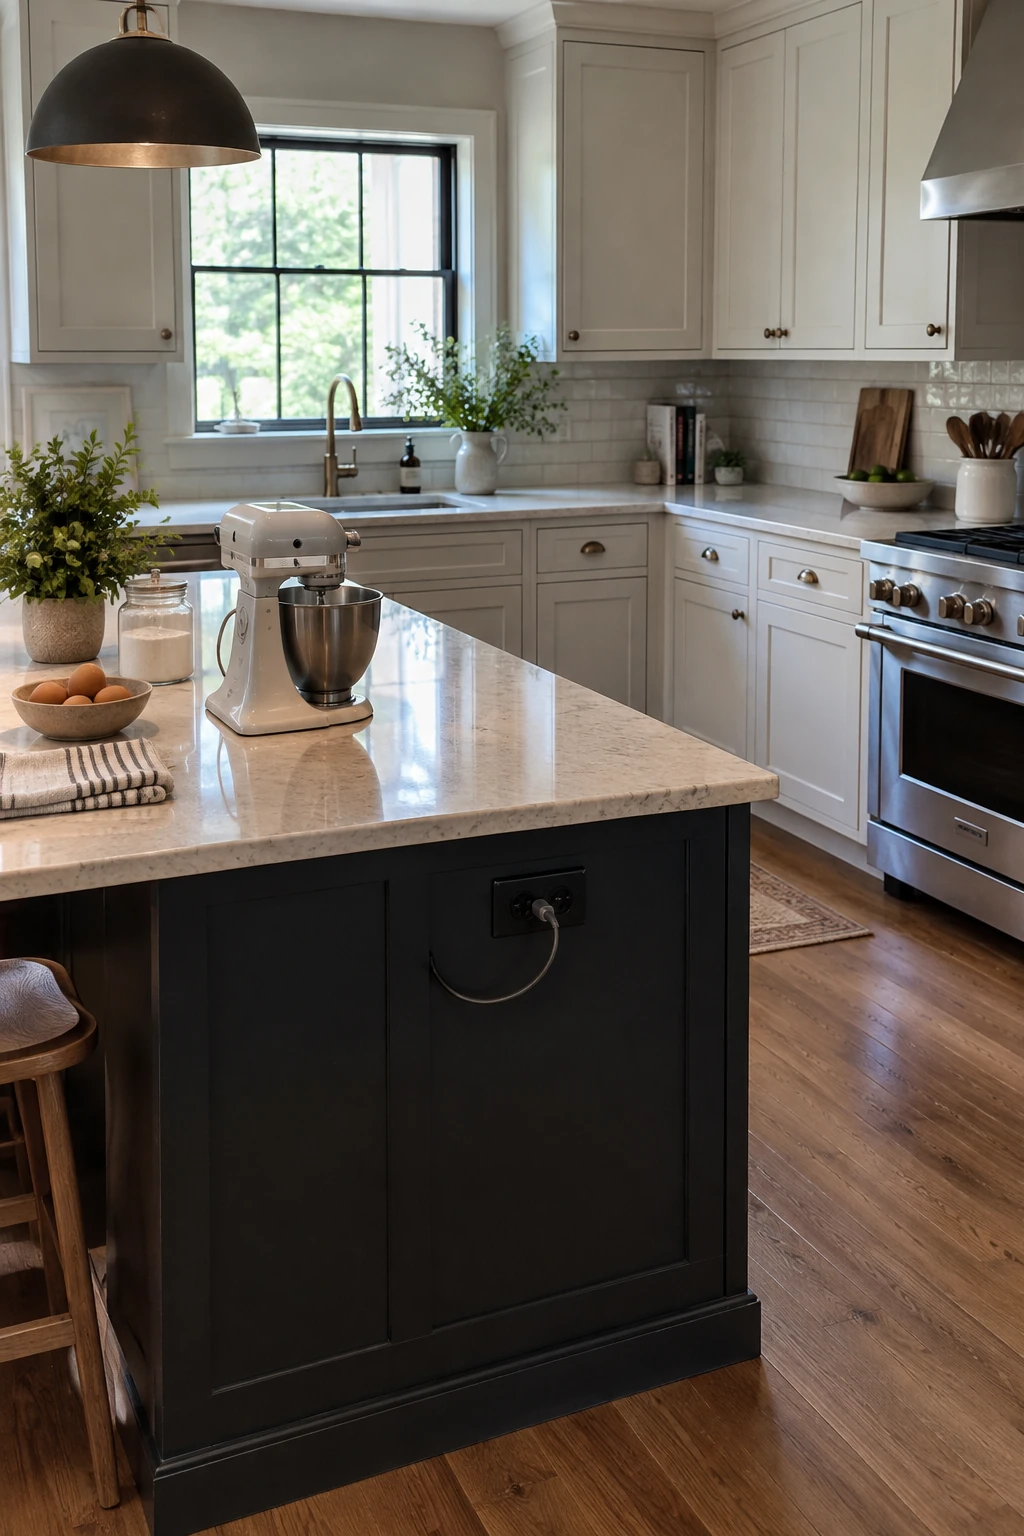
Locate island receptacles near the tasks they serve so mixer and laptop cords do not cross an aisle. Keep them away from knee space, sink splash, and drawer hardware.
Electrical rules for island receptacles have changed in many jurisdictions. Do not copy an old photo; ask a licensed electrician to confirm the adopted code and approved product method.
Planning check: Have an electrician confirm placement, protection, circuit needs, and the adopted electrical code.
Coordinate conduit or floor feeds before the island is anchored. Provide accessible junctions rather than burying connections behind fixed panels.
39. Light the L Before Decorating the Island
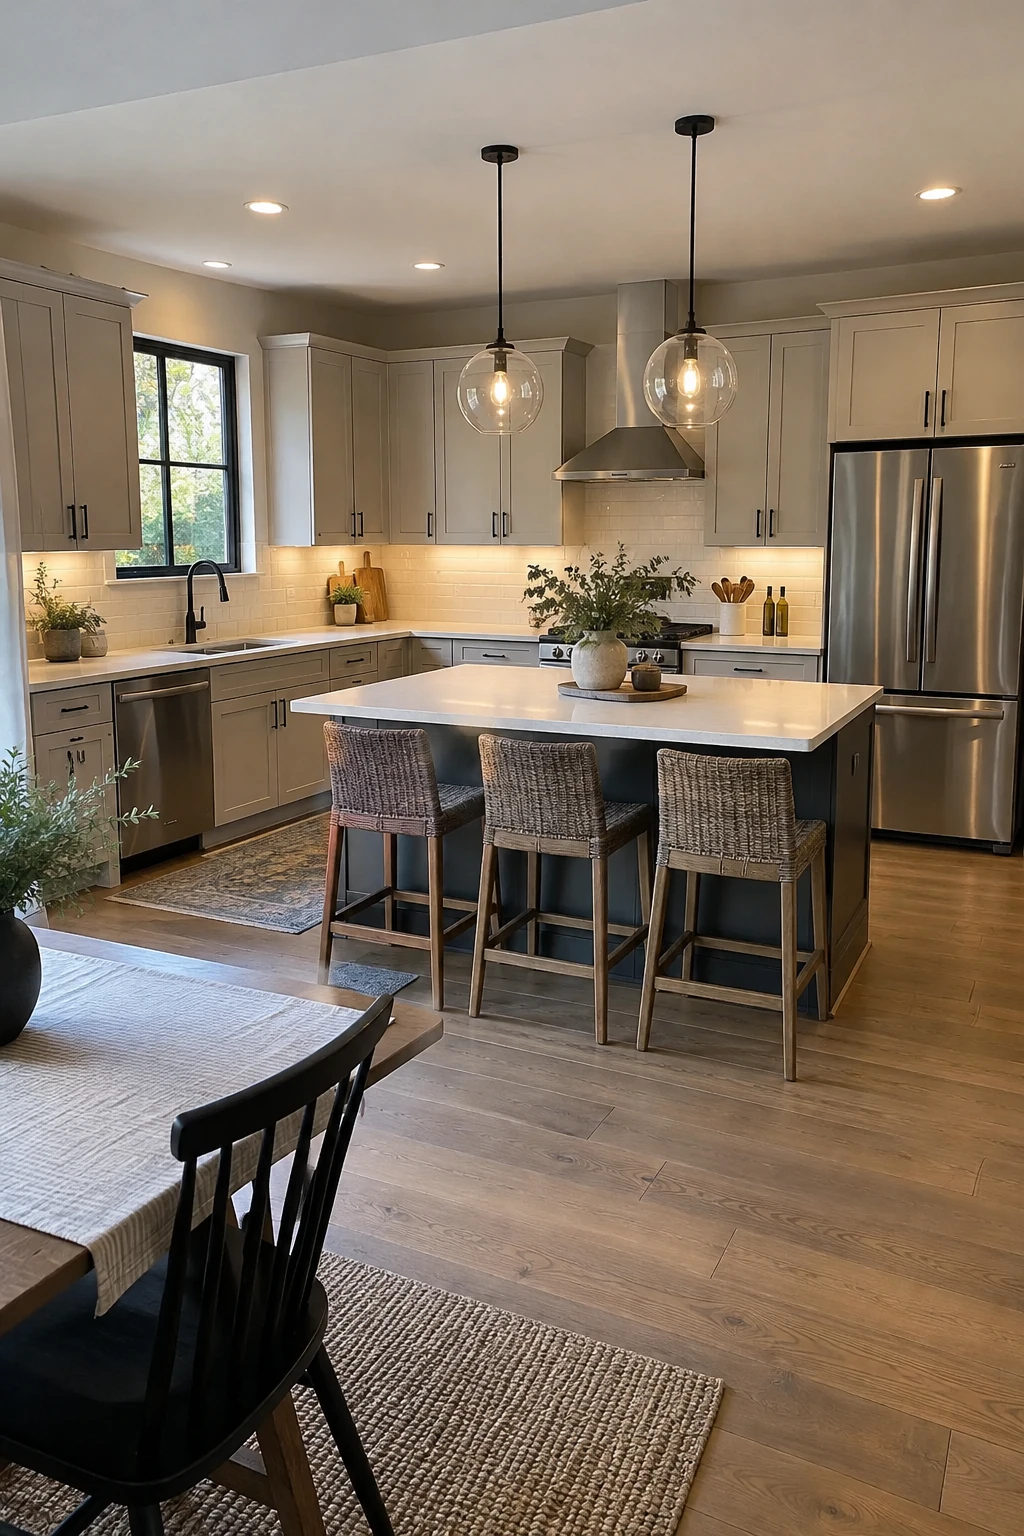
Continuous under-cabinet lighting makes both legs of the L useful after dark and reduces the pressure on decorative island fixtures. Place strips near the cabinet front to limit backsplash glare.
Use diffusers so individual diodes do not reflect as dots on polished counters. Coordinate color temperature with ceiling lights before installation.
Planning check: Review color, brightness, diffuser quality, and controls with full-size samples.
Hide drivers in an accessible cabinet or utility space. Future replacement should not require removing tile.
40. Route the Hood Outside Efficiently
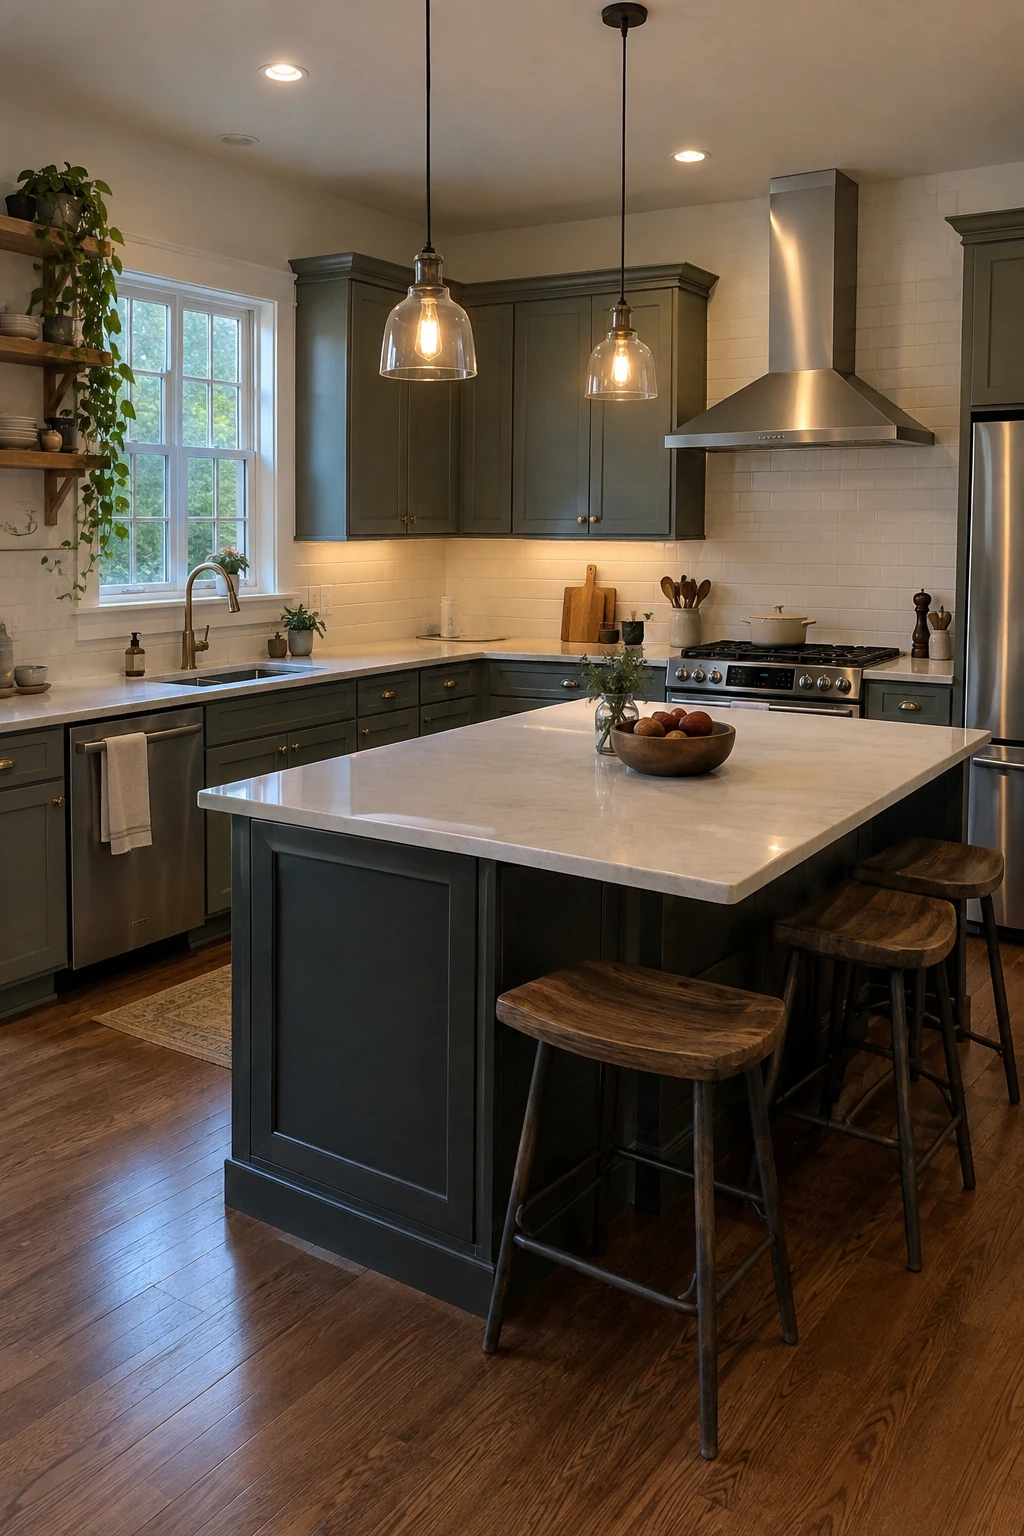
Place the cooking wall where a short, smooth exterior duct route is possible when the floor plan allows. Fewer turns can support better airflow and quieter operation.
Select the hood around the actual appliance and cooking habits. Follow manufacturer instructions and verify local ventilation and makeup-air requirements with the appropriate professional.
Planning check: Coordinate hood performance, duct size, route, termination, and makeup air as one system.
Provide access for filter cleaning and fan service. A decorative enclosure should not make routine maintenance difficult.
Make the Layout Work for Real Life
The best island supports the household beyond meal prep. Plan for homework, pets, mobility, groceries, and cleanup without asking one corner to do everything.
41. Give Homework Its Own End
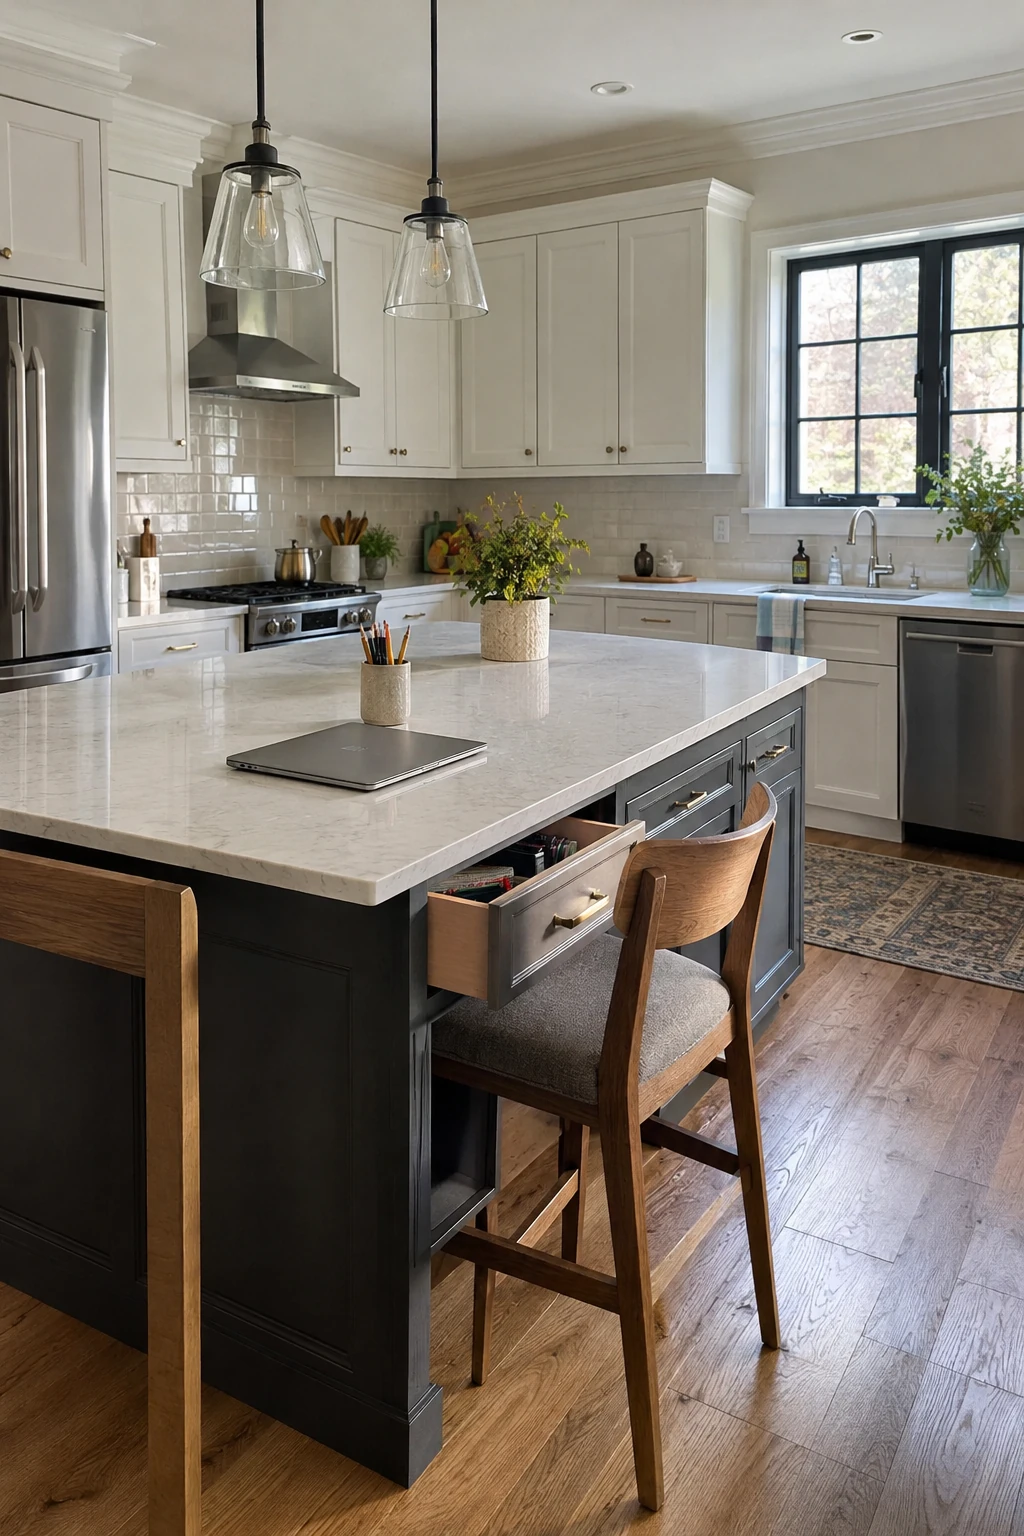
Reserve the island end nearest the living area for homework or household paperwork. A shallow drawer can hold chargers and pencils without mixing them with cooking tools.
Place the seat where the cook can see it without sharing the hot or wet work zone. Nearby power should not send cords across a passage.
Planning check: Keep school storage compact so the work surface can reset for meals.
Use one portable caddy for supplies so the counter clears quickly. Permanent piles will reduce the island’s value for food preparation.
42. Build a Pet Station at the Quiet End
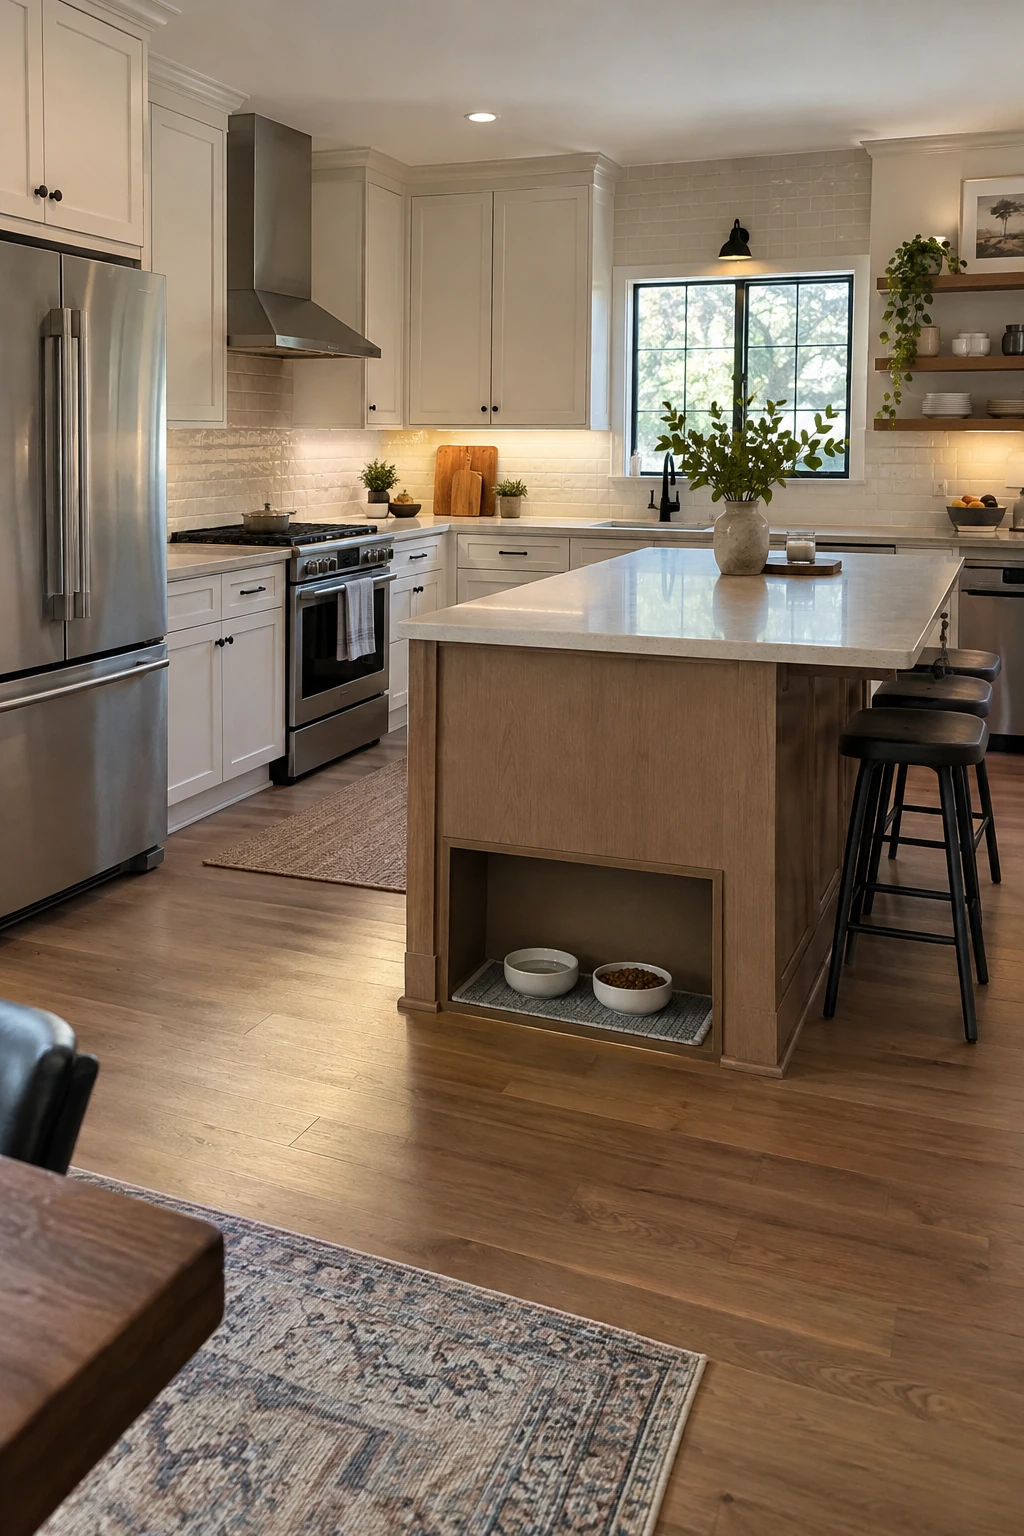
A recessed pet station can keep bowls from drifting into the aisle. Place it at the island end farthest from the range and primary traffic.
Use a removable washable mat and water-resistant finishes. Avoid a deep fixed recess that is difficult to wipe or traps spilled food.
Planning check: Keep the station outside cooking, dishwasher, and main walking routes.
Store food in a sealed bin nearby but away from cleaning supplies. The station should remain easy to use without opening a door over the animal.
43. Include an Adaptable Work Surface
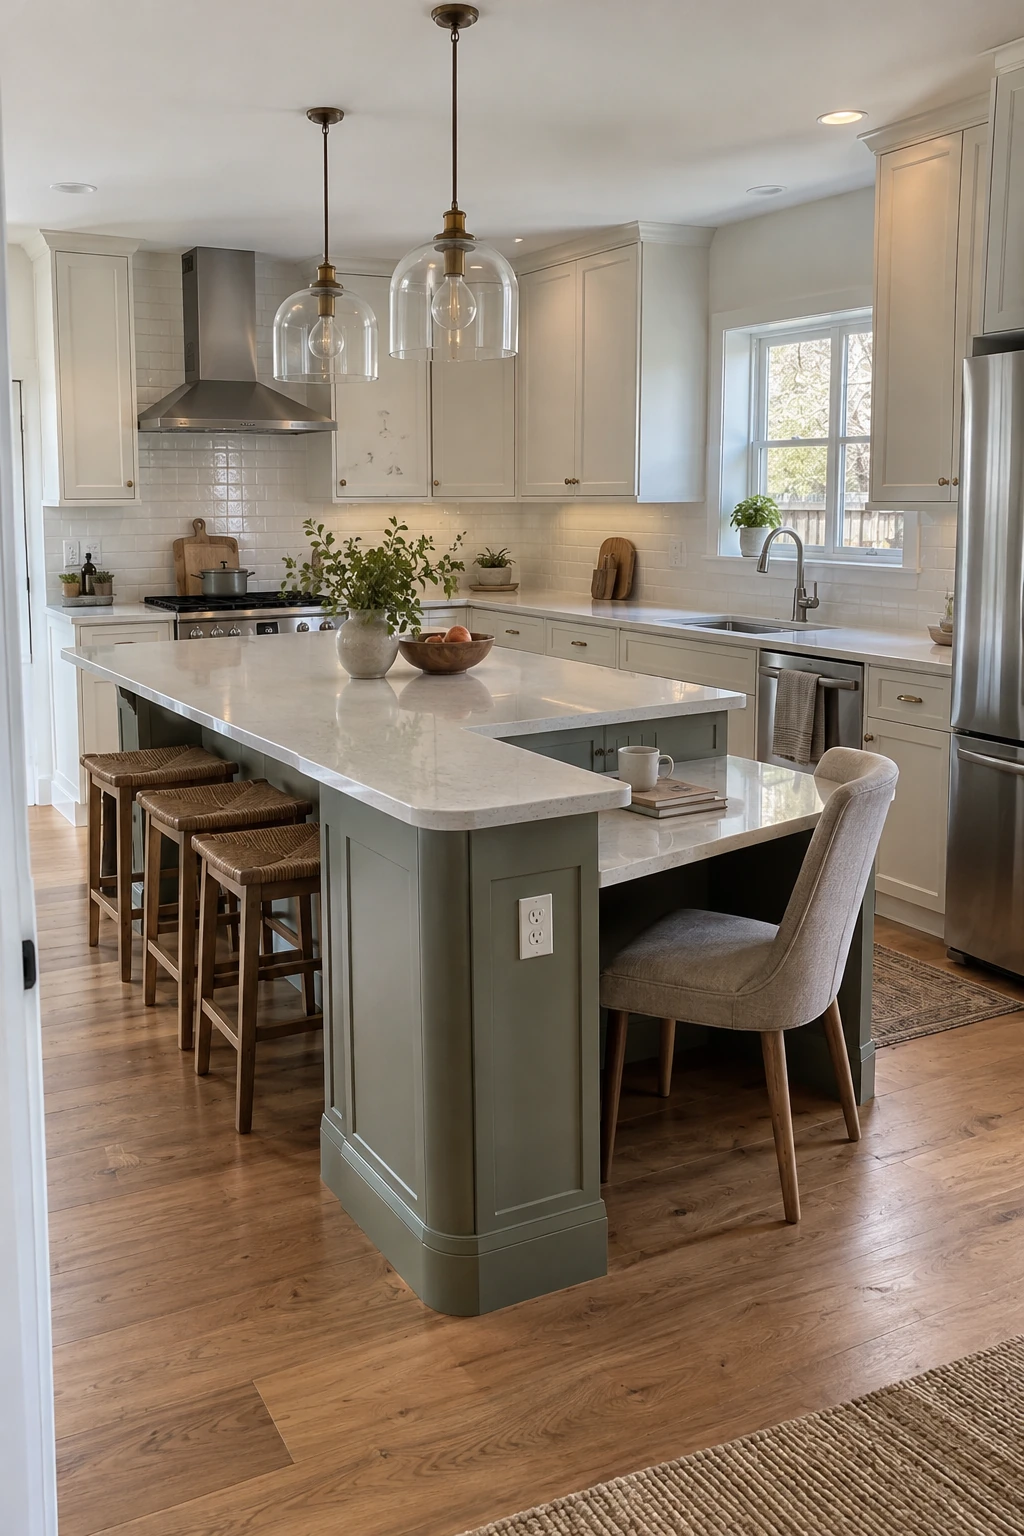
An open-knee section can support seated prep, a child’s baking task, or changing mobility needs. Keep the approach clear and protect the underside from sharp edges, heat, and exposed services.
Consider removable base cabinets with finished flooring and wall surfaces behind them. That can make future adaptation less disruptive.
Planning check: Base final dimensions and approach clearances on the user, applicable standards, and professional guidance.
Accessibility requirements depend on the project and jurisdiction. Use current applicable standards and a qualified designer rather than treating one dimension as universal.
44. Create a Grocery Drop Zone
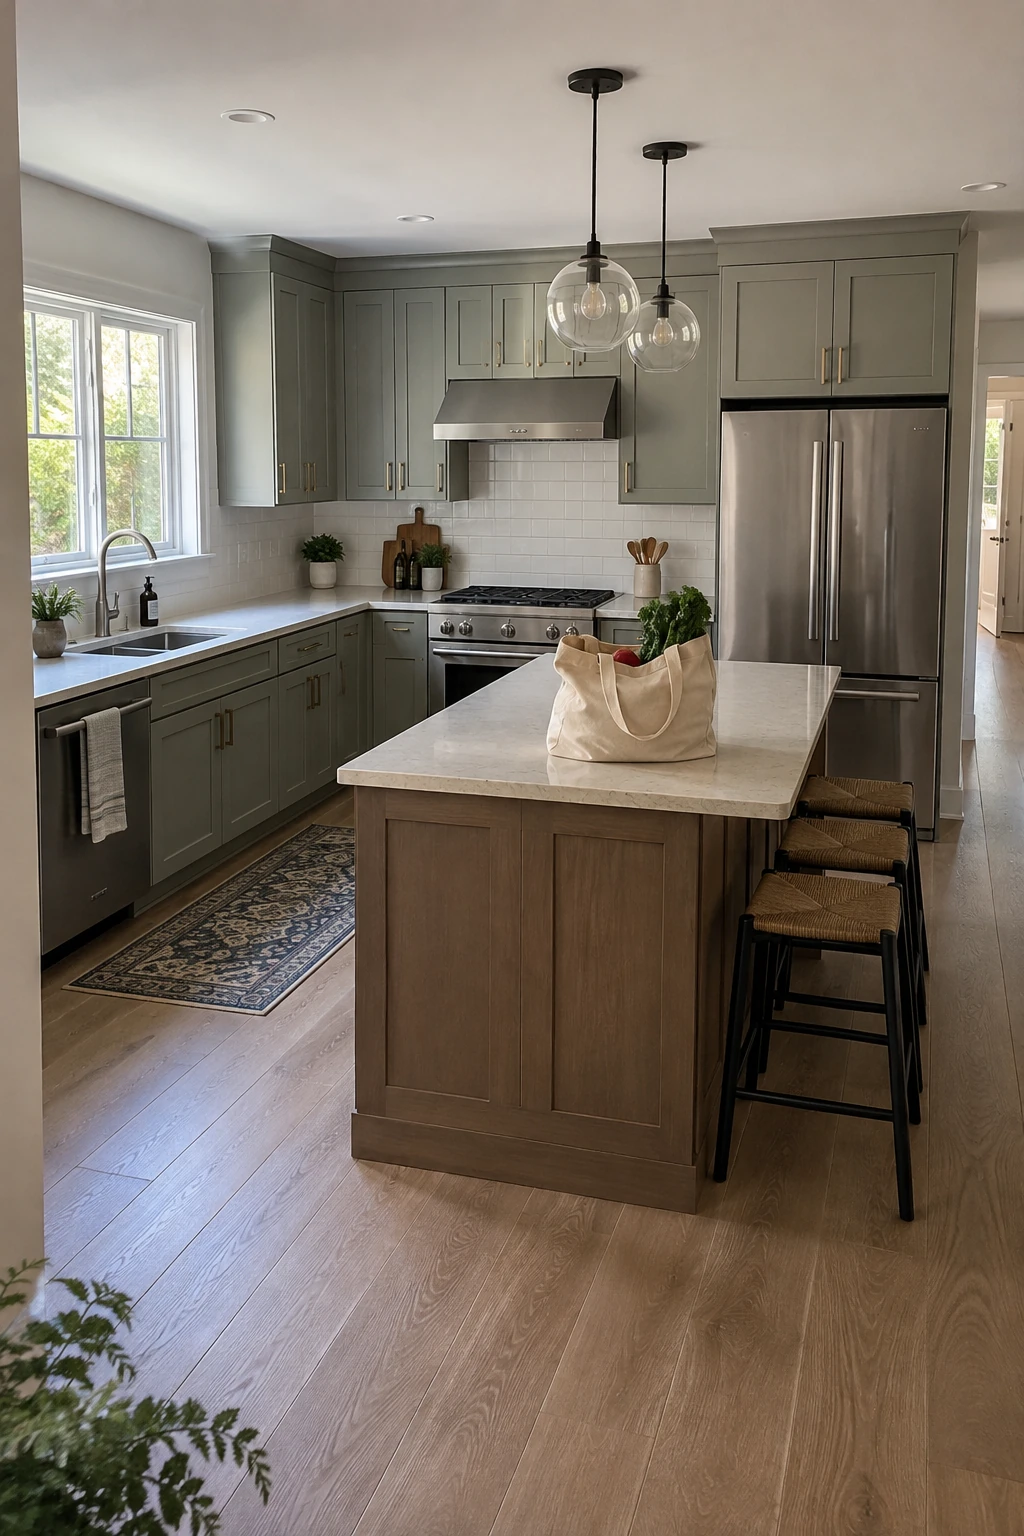
Use the island end closest to the entry and refrigerator as a grocery landing surface. It shortens the route for heavy bags and keeps unloading out of the cooking zone.
Place pantry storage on the adjacent L leg so dry goods move in one direction. A nearby drawer can hold reusable bags and labels.
Planning check: Keep the landing edge free of stools and fragile decor during normal use.
Avoid a pendant or low shelf that interferes with tall packages. The surface should accept a full bag without disturbing seating.
45. Hide a Family Command Drawer
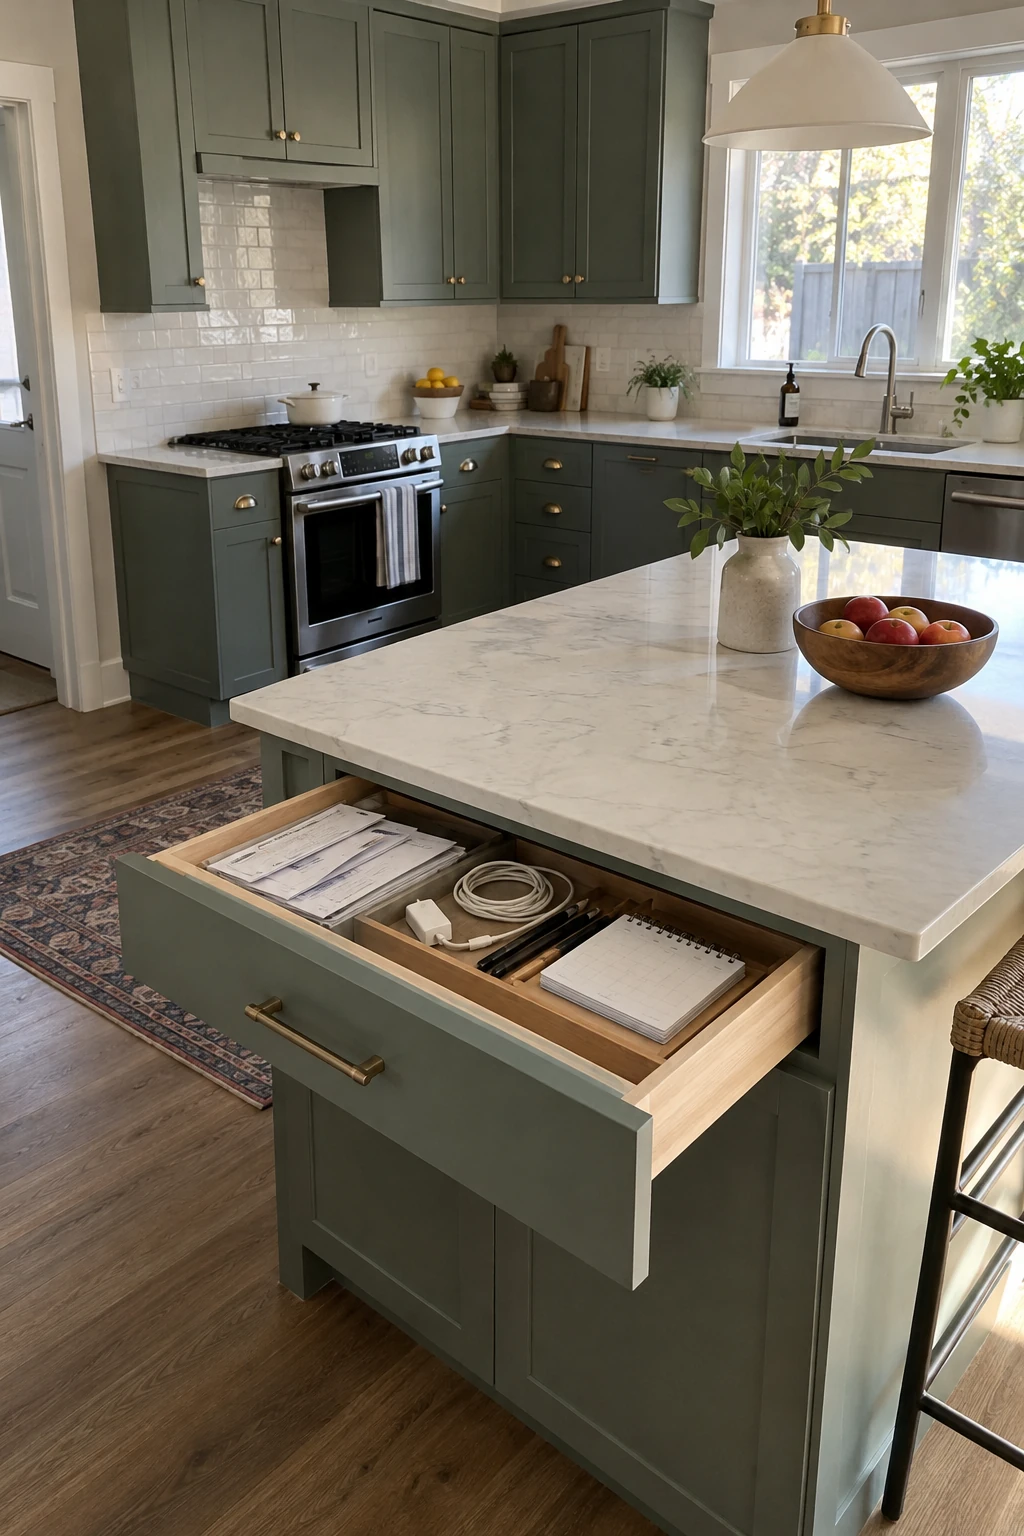
A shallow public-side drawer can contain mail, charging cables, keys, and pens without covering the countertop. Give every category a small divider.
Keep batteries and electronics away from sink leaks and heat. Route charging cords through an approved setup rather than pinching them behind a closed drawer.
Planning check: Use dividers and a weekly reset so the drawer does not become a paper archive.
Limit the drawer to current household items. Archive papers elsewhere so the island remains an active zone.
Adapt the Island to Budget and Tenure
A useful center work surface does not always require custom cabinetry. Test the idea at a lower cost before committing utilities, flooring, and stone.
46. Try a Freestanding Worktable
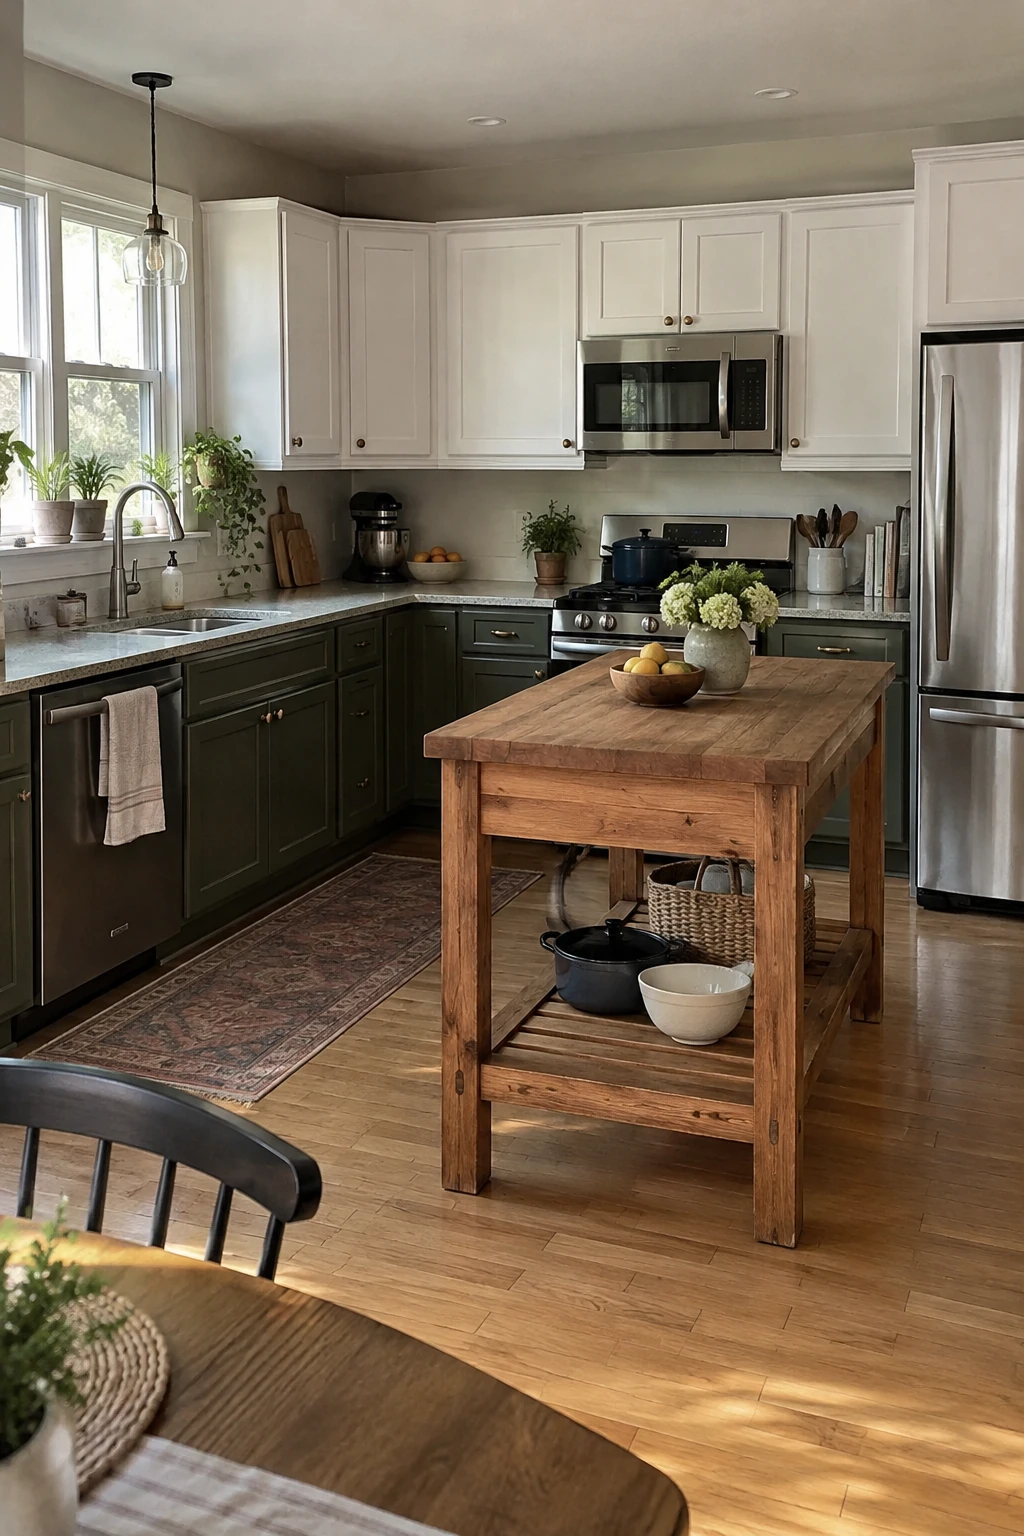
A freestanding worktable can prove whether the room benefits from an island before a permanent remodel. It brings open storage and prep space without cutting the floor.
Use a stable piece that does not rack under chopping pressure. Locking casters are helpful only when they remain locked during work.
Planning check: Choose stable legs, a food-appropriate surface, and a footprint that preserves appliance access.
Renters can take the table with them and restore the room easily. Add baskets rather than permanent wiring or plumbing.
47. Build From Two Stock Base Cabinets
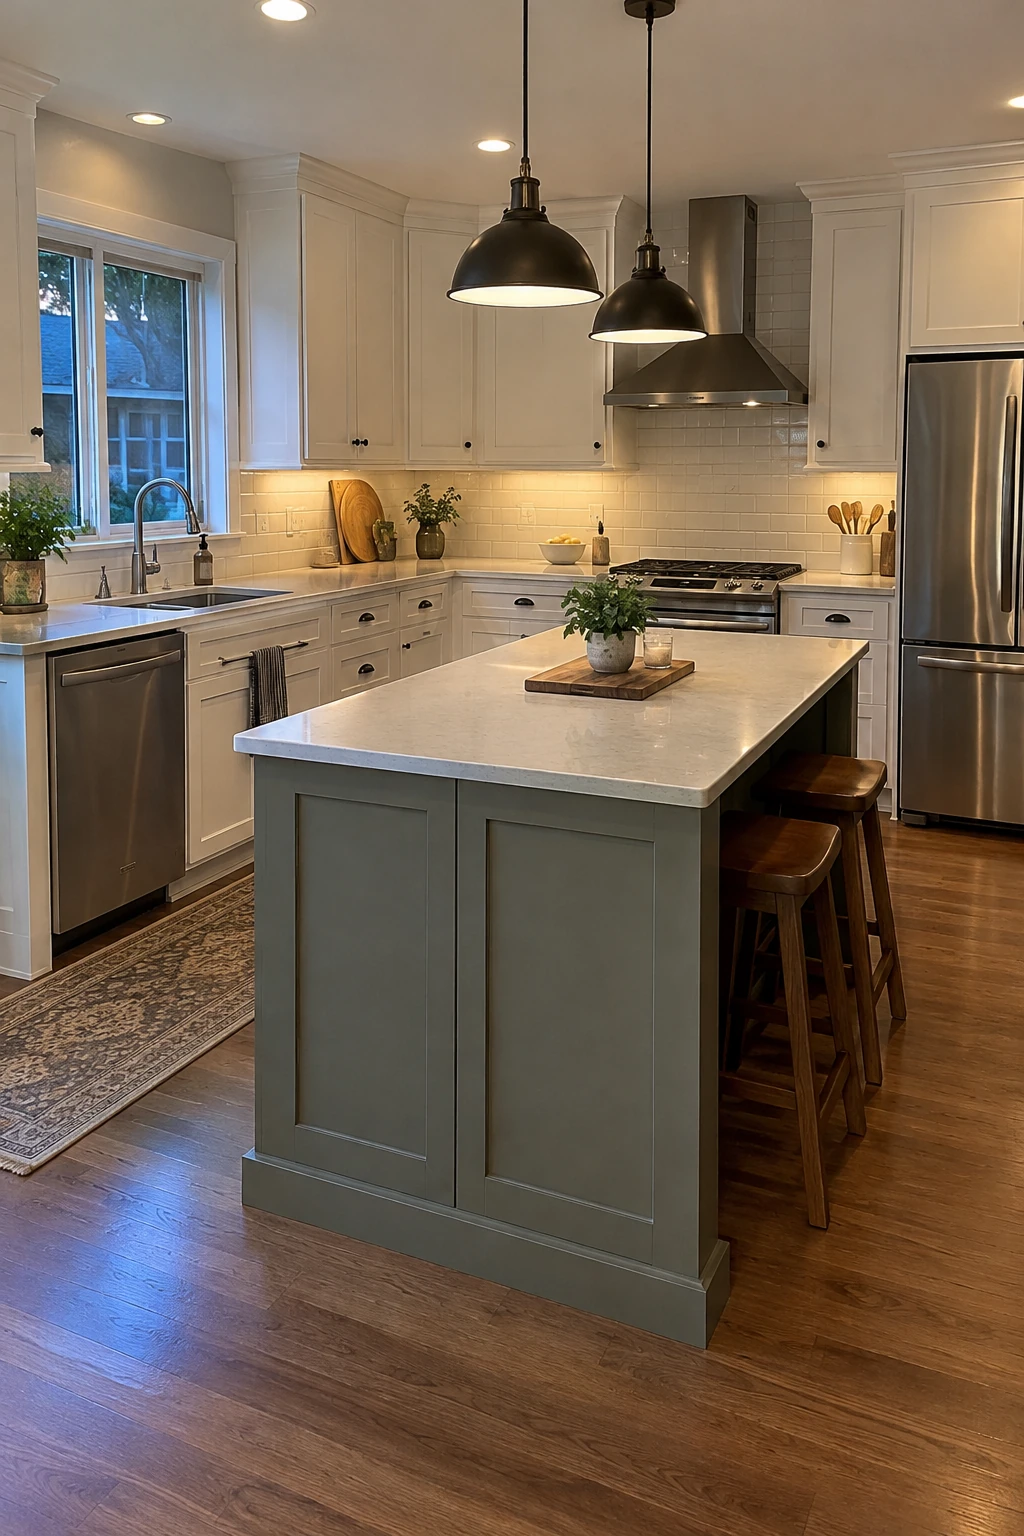
Two stock base cabinets can form a modest island with drawers facing the work zone and doors at the end. Finished panels and a simple toe-kick help the pieces read as one unit.
Verify cabinet strength, anchoring, countertop support, and floor conditions before assembly. Do not rely on the counter weight to keep the island from moving.
Planning check: Secure cabinets and countertop using methods approved for the floor, box construction, and local requirements.
Choose standard sizes only after the taped footprint passes the aisle test. A bargain cabinet is costly if it crowds the dishwasher.
48. Refinish the Existing Island
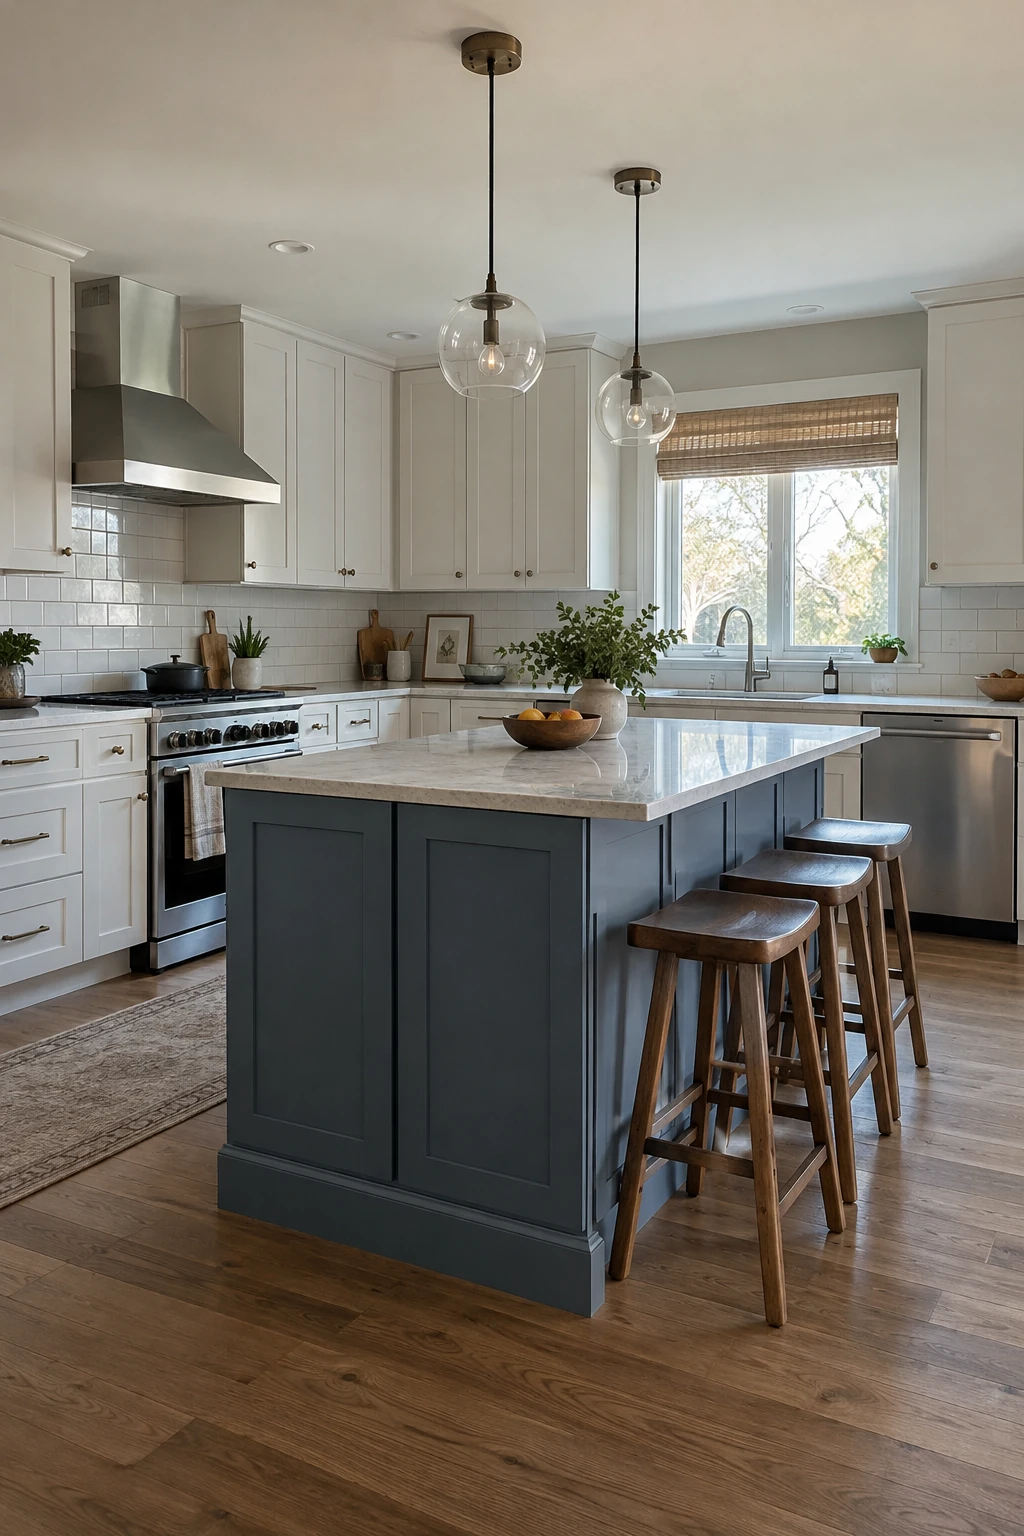
If the island footprint already works, paint, new hardware, and a repaired end panel may deliver the visual change without demolition. Keep the perimeter quieter so the island can carry the accent color.
Degrease, sand, prime, and use a finish suited to cabinet wear. Label doors and hardware so alignment returns correctly.
Planning check: Repair loose boxes, hinges, and water damage before applying decorative finishes.
Do not hide swelling, loose joints, or failing slides under paint. Structural and moisture problems need repair first.
49. Use a Durable Laminate Top
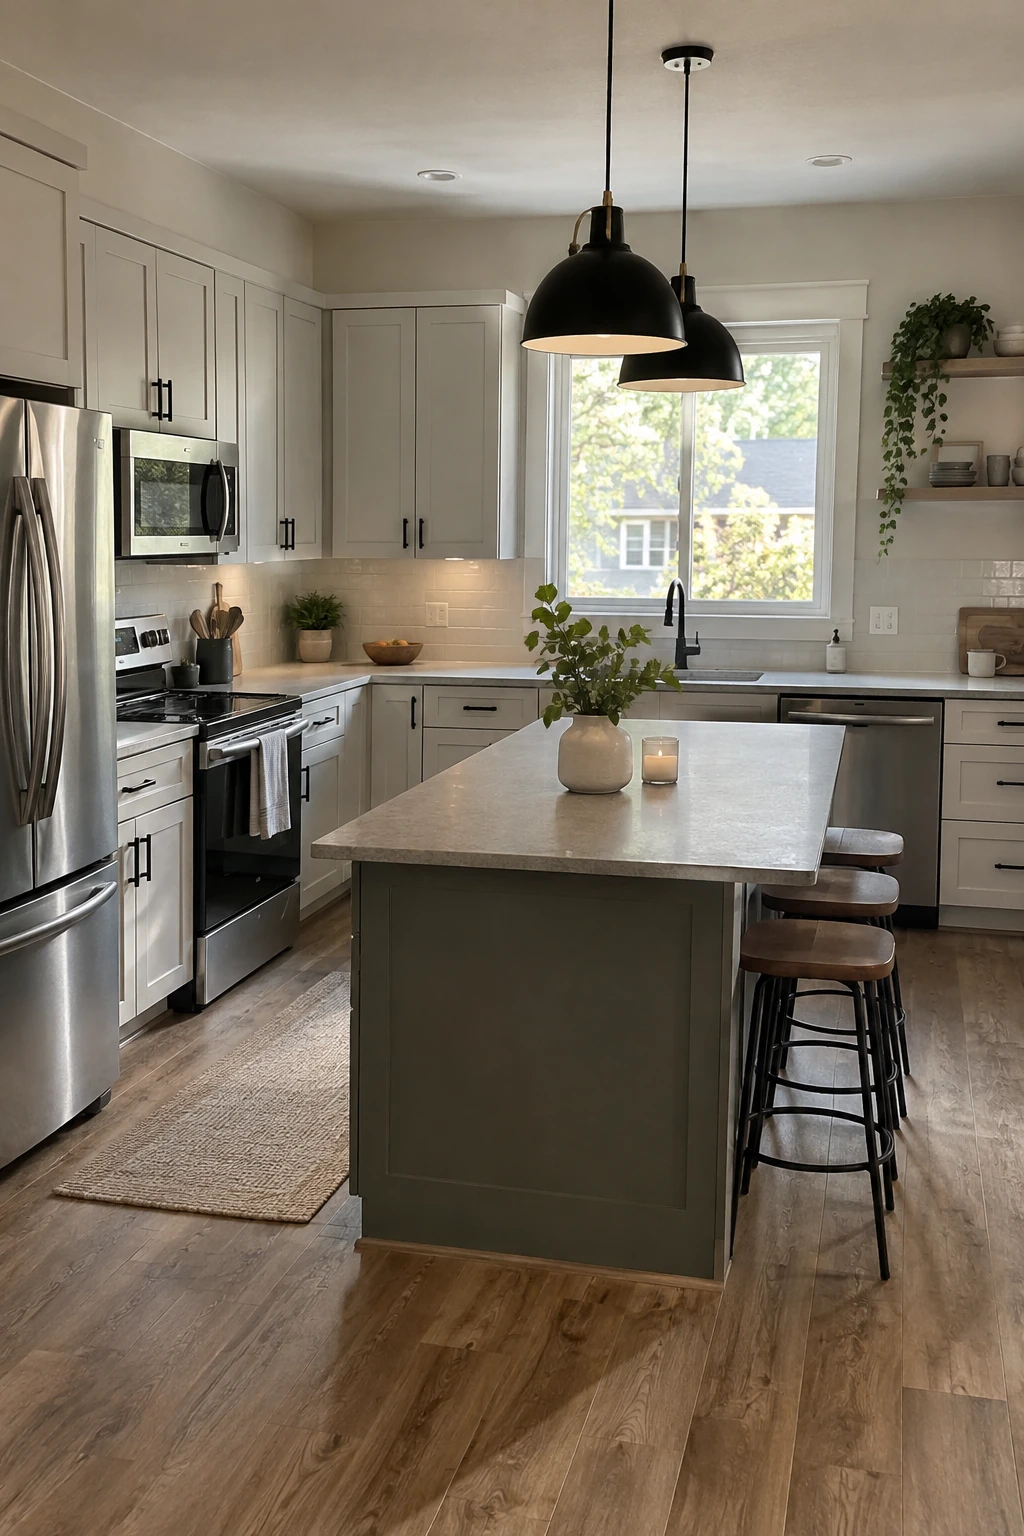
Modern laminate can give a budget island a convincing matte surface with lower material and fabrication costs than many slabs. It is especially practical on a dry prep or homework island.
Choose an edge and seam layout that suits the pattern. Water can damage exposed substrate around poorly sealed cutouts.
Planning check: Protect seams and cutouts from water, and follow the maker’s heat and cleaning guidance.
Use trivets and cutting boards according to the product instructions. Save an offcut or product record for future repairs.
50. Use a Mobile Cart for a Tight Gap
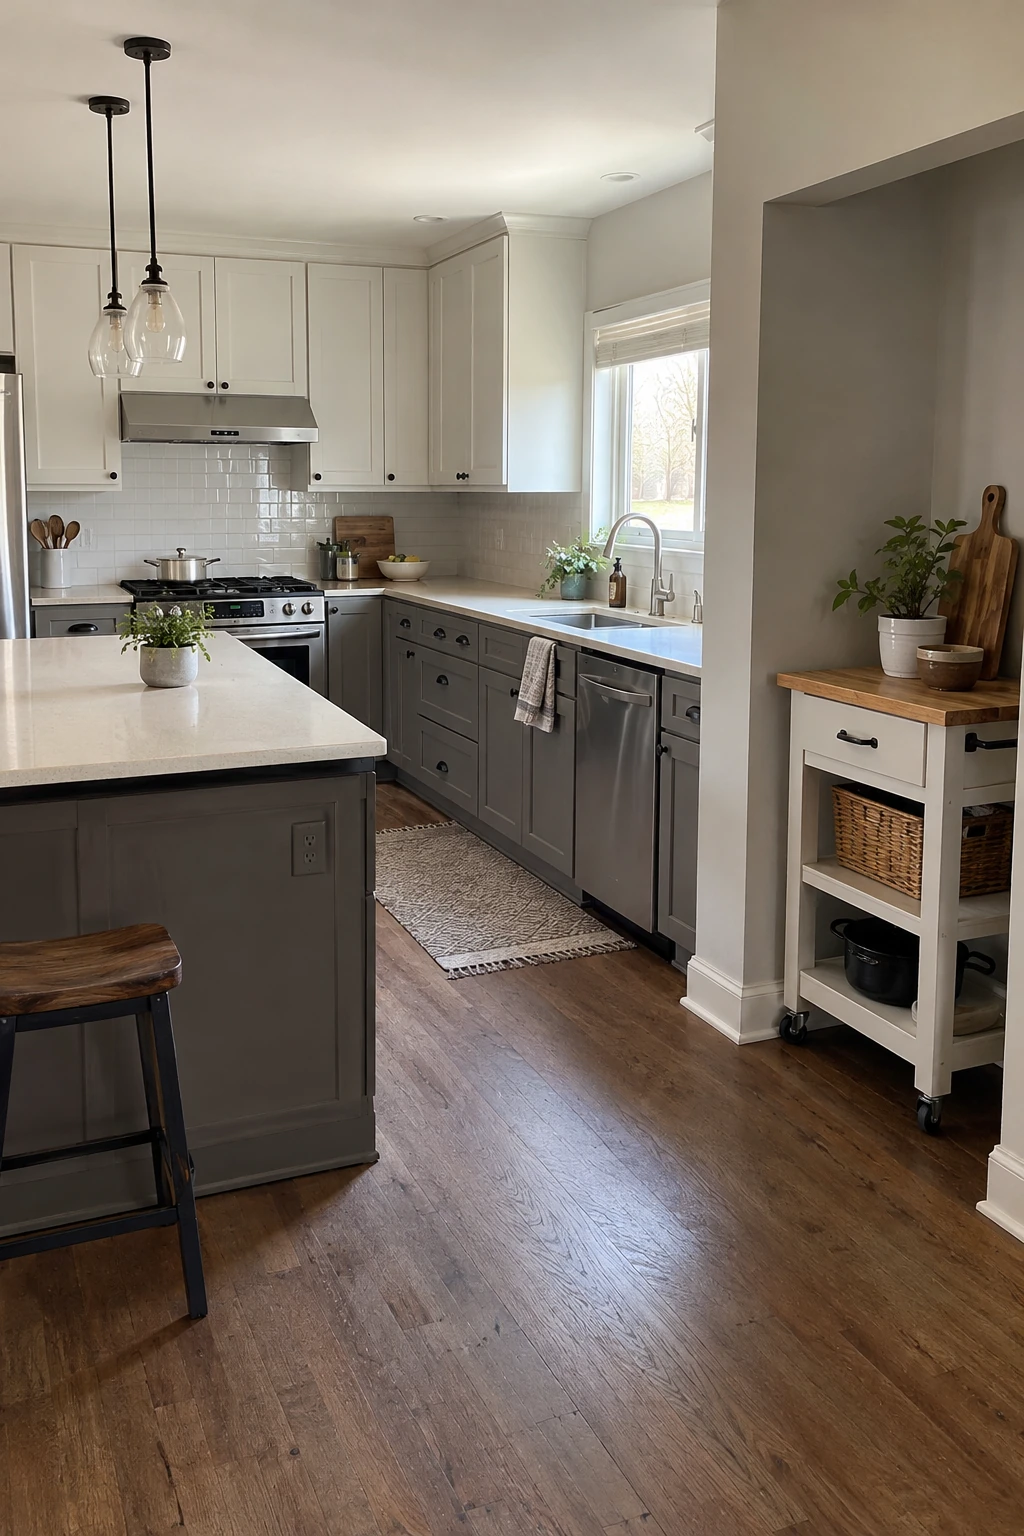
A slim mobile cart can add occasional prep space where a fixed island would block doors. Park it against a wall or cabinet end when the center must stay open.
Choose large locking casters and a stable top. A narrow cart should not carry top-heavy appliances or hot cookware while moving.
Planning check: Give the cart a defined parking place so it never becomes a moving obstruction.
Mark a storage spot that does not cover a vent, outlet, or exit route. Flexibility works only when the cart has a safe home.
Sequence Installation and Maintenance
The island connects cabinets, counters, flooring, power, plumbing, and lighting. A disciplined sequence protects earlier work and keeps service access visible.
51. Map Utilities Before Demolition
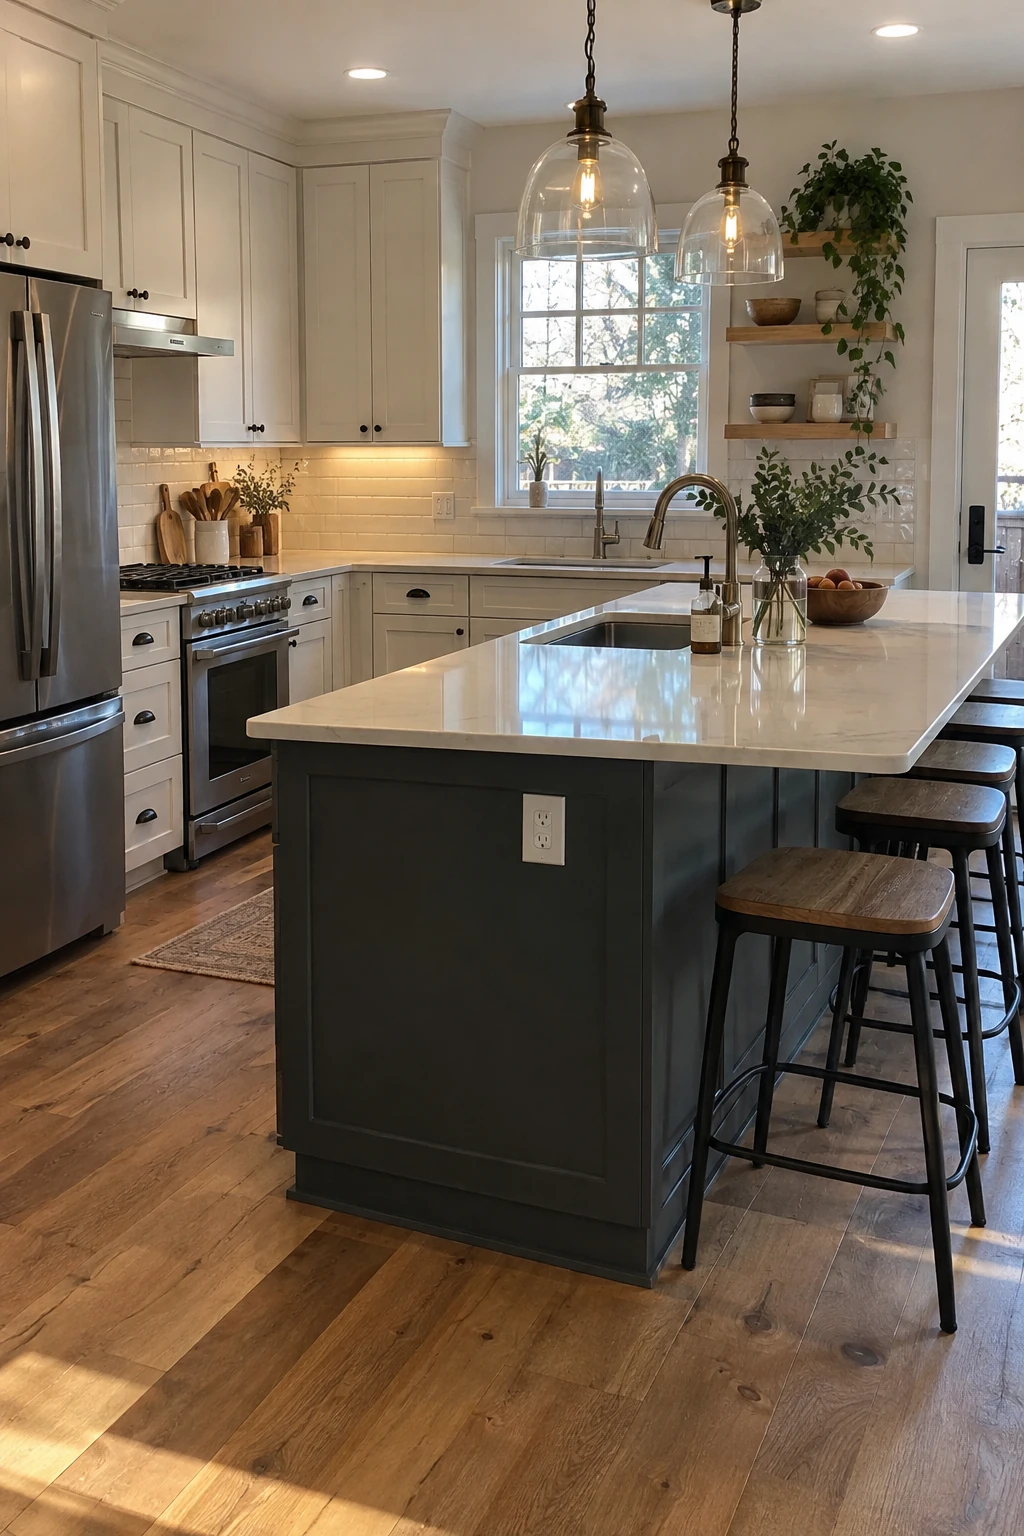
Trace plumbing, electrical, gas, ventilation, and heating paths before removing the old kitchen. The shortest visible route is not always possible inside joists, slabs, or framed walls.
Mark shutoffs, junctions, cleanouts, and service panels on the plan. Keep required access outside fixed cabinet voids.
Planning check: Photograph and dimension every concealed line before walls or floors close.
Use licensed trades where required and schedule inspections before covering work. Local rules and existing conditions determine the safe solution.
52. Set the Island From Verified Centerlines
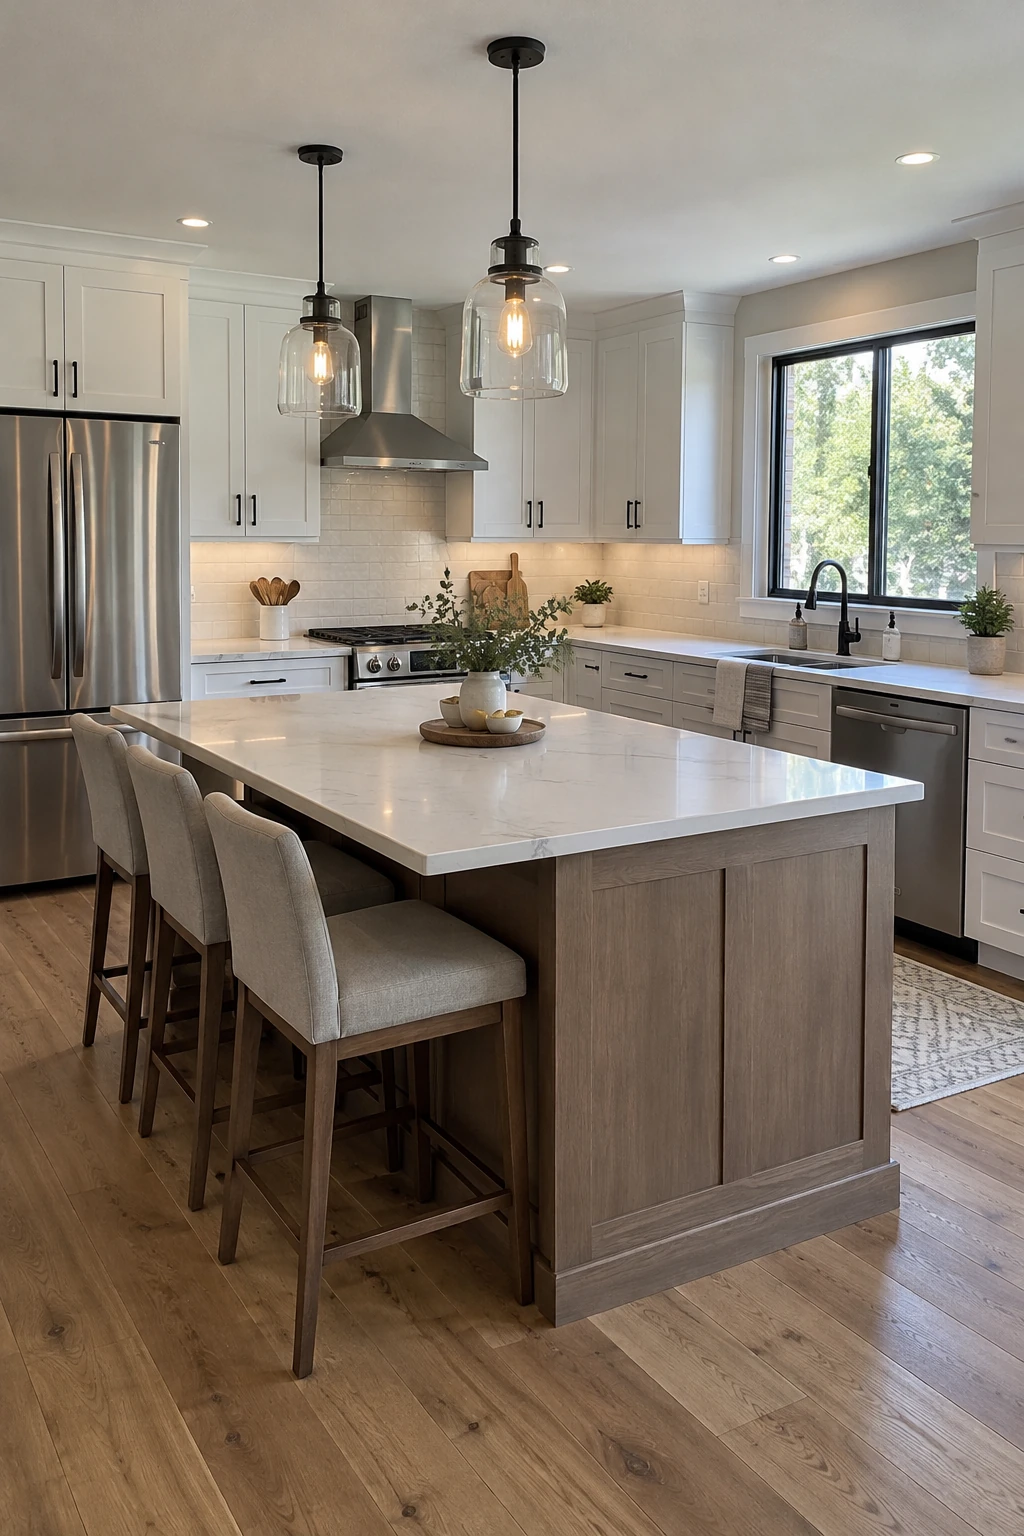
Lay out the island from finished cabinet faces and agreed centerlines, not rough framing alone. Recheck the footprint after perimeter cabinets and flooring establish the true room.
Use an anchoring method suited to the subfloor and any radiant heat or concealed utilities. Scan and document before drilling.
Planning check: Recheck centerlines and all four aisles after finished cabinets and flooring are in place.
Confirm level and square before countertop templating. Small cabinet errors become visible at stone overhangs and pendant alignments.
53. Template After Cabinets Are Fixed
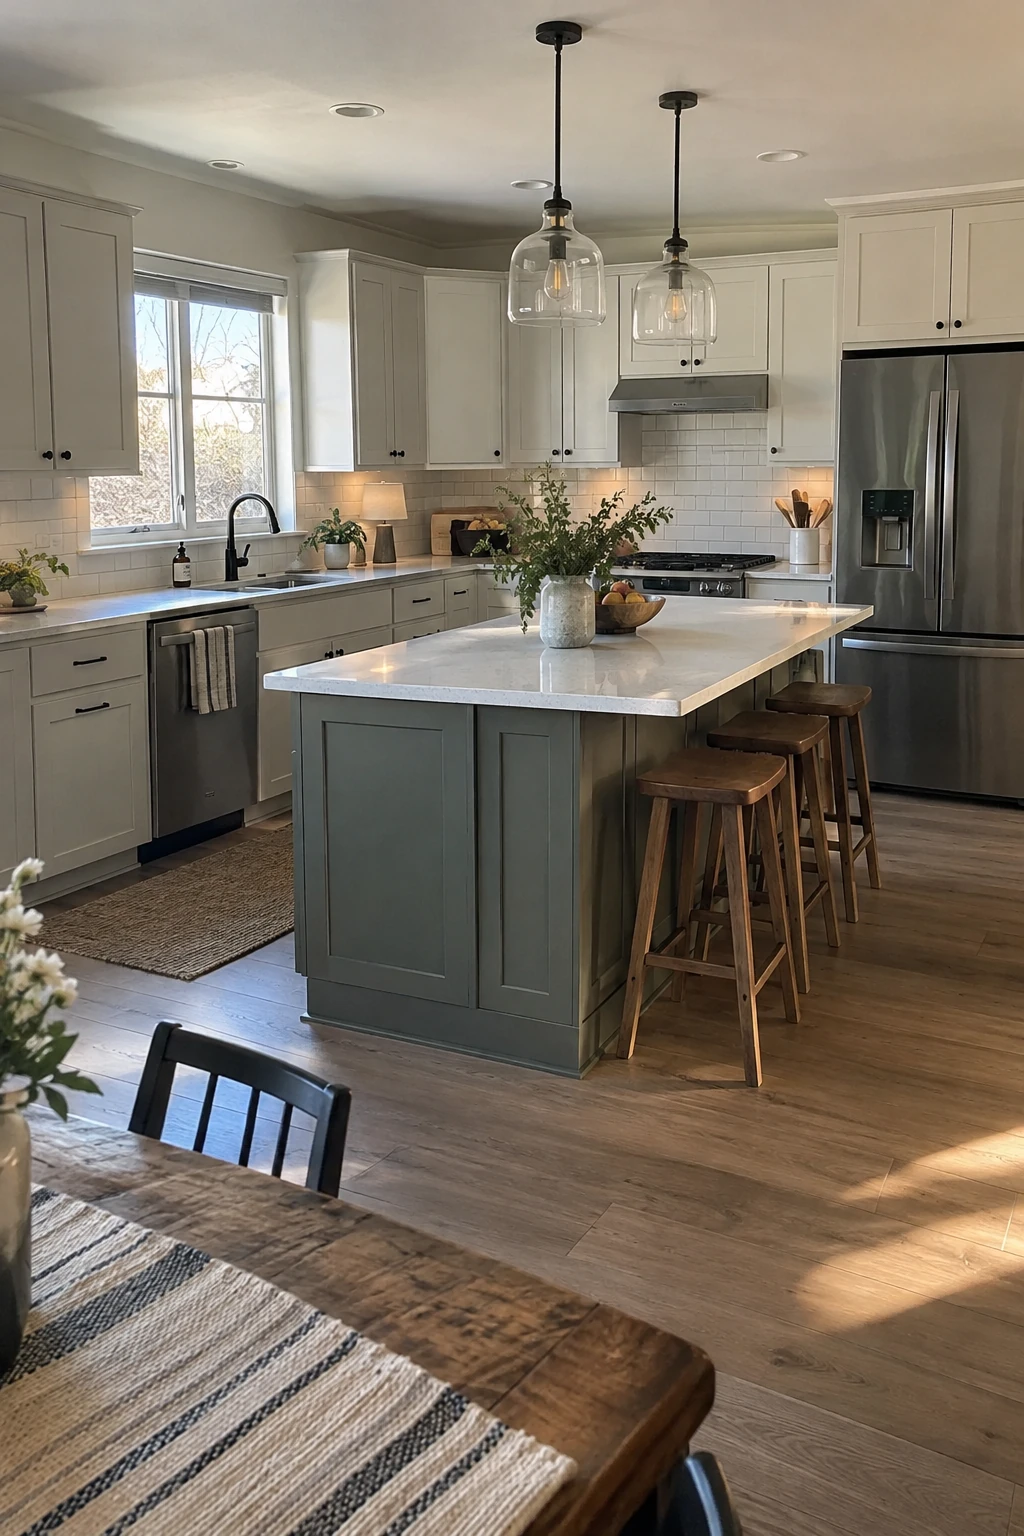
Countertop templating should follow final cabinet anchoring, leveling, and appliance confirmation. The fabricator needs accurate openings, overhangs, seam decisions, and support conditions.
Have the sink, faucet, cooktop, and relevant accessories available if requested. Product substitutions after templating can invalidate a cutout.
Planning check: Freeze appliance, sink, faucet, seam, and overhang decisions before the template appointment.
Inspect the installed top before backsplash work. Confirm seams, edge, support, and cabinet operation while corrections remain accessible.
54. Set Up a Temporary Kitchen First
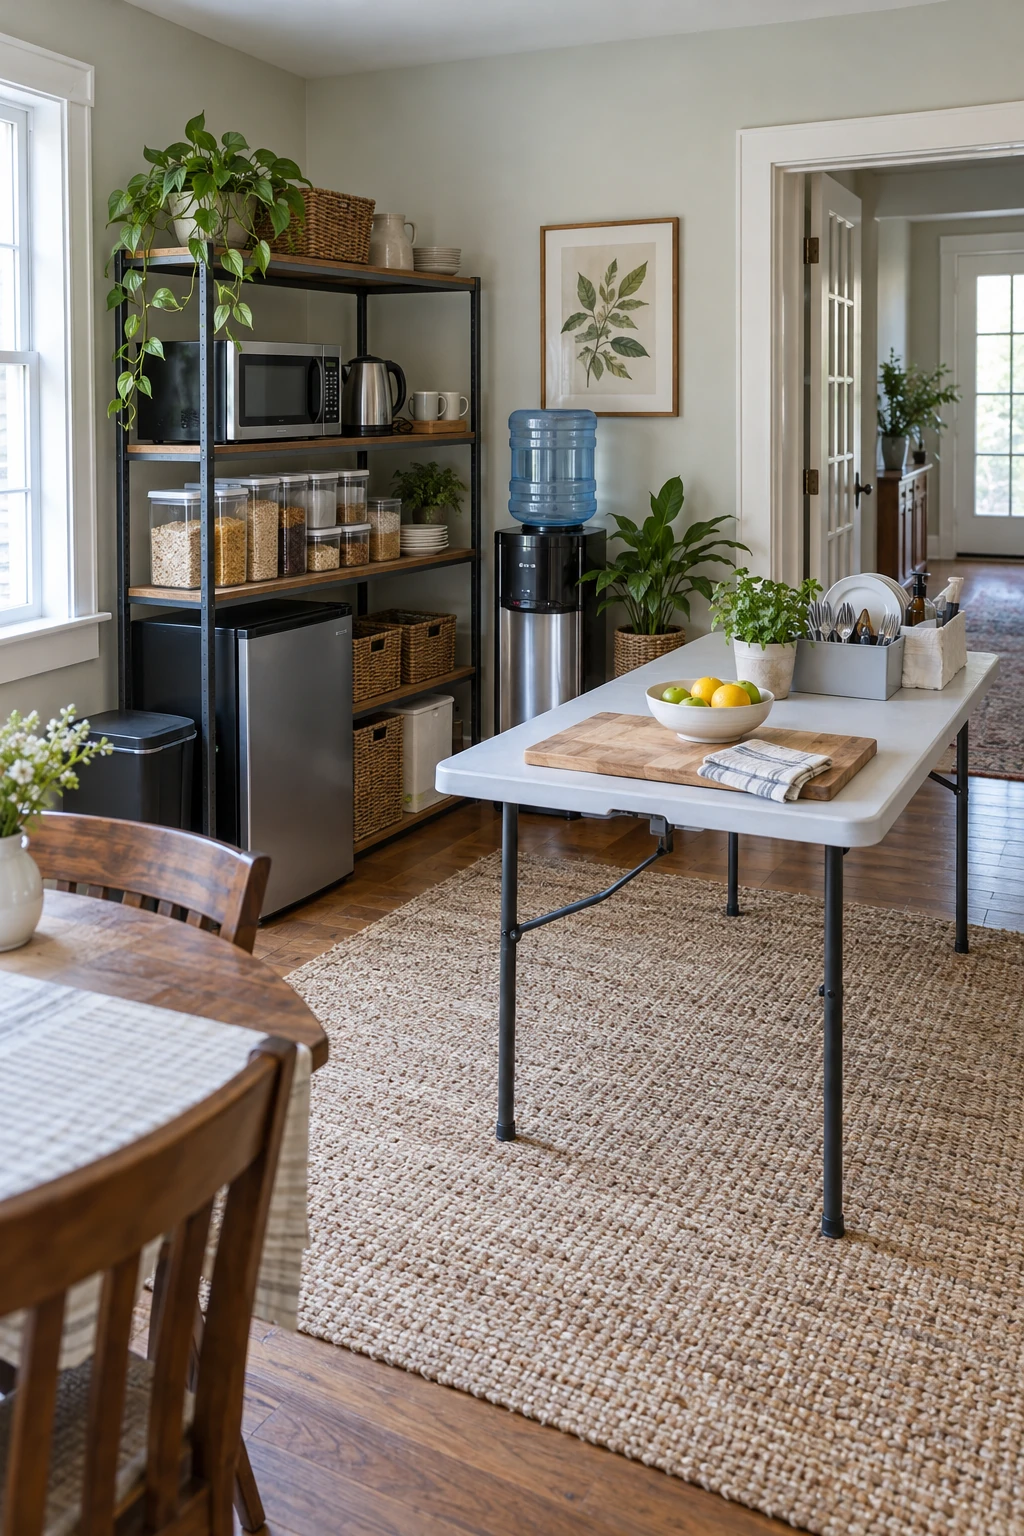
Build a temporary food zone before demolition with refrigeration, safe listed appliances, water access, dishes, and sealed pantry bins. Keep it outside the dusty work path.
Avoid loading one circuit with several high-draw appliances. Ask an electrician when the temporary setup exceeds ordinary plug-in use.
Planning check: Plan food, power, water, dishwashing, waste, dust control, and a clear exit route.
Create routines for dishwashing and waste so the arrangement remains usable. Keep children and pets away from tools, debris, and cords.
Store a few complete meal kits rather than moving the whole pantry. Less temporary clutter makes the renovation easier to live through.
55. Design the Island for Maintenance
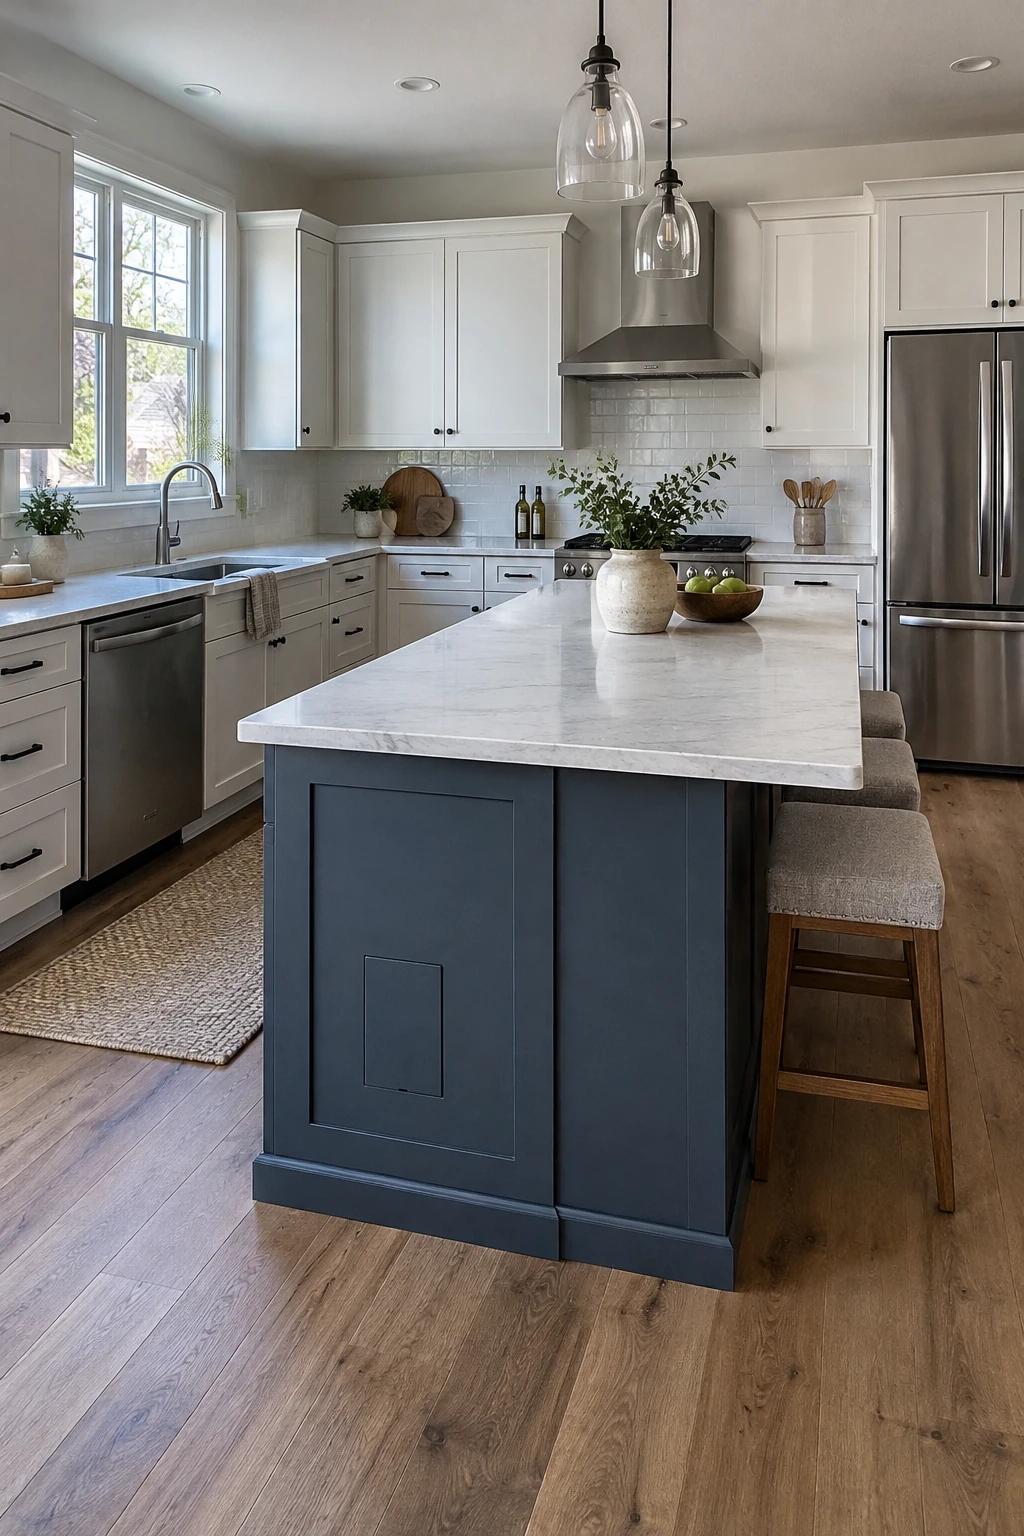
Use removable panels where the island hides plumbing, wiring, or fastening that may need service. Shutoffs and junctions should remain reachable after drawers are installed.
Choose finishes that tolerate the household’s cleaners, spills, shoes, and pet traffic. Save care instructions and a small labeled touch-up kit.
Planning check: Record finishes, hardware models, shutoff locations, and concealed service routes at handoff.
Adjust doors and drawers after the room settles, and inspect sink seals and supply connections periodically. Early maintenance prevents a hidden island leak from reaching flooring.
Keep a final photo set of open walls and floors. Future trades can work more safely when concealed routes are visible.
Choose the Island That Protects the L
A successful island strengthens the L-shaped perimeter instead of competing with it. Protect work aisles, appliance openings, the corner cabinet, and the public route before adding seats or decorative width.
Mock up the footprint, coordinate utilities and structure, and freeze exact products before fabrication. Then verify adopted codes and manufacturer instructions with the appropriate professionals so the finished room is comfortable, serviceable, and safe.