50 Budget Hallway Makeover Ideas

This post may contain affiliate links: full affiliate disclosure.
A budget hallway makeover can start with the stretch you trip over, the wall you see from the living room, or the light you always wish were brighter.
Pick one problem and measure the space with the doors open. These 50 ideas show where to use what you own and when a small purchase makes sense.
As an Amazon Associate I earn from qualifying purchases. Some links in this article are affiliate links, which means Addicted to Organization may earn a commission.
Quick Fixes That Make a Hallway Feel Finished
Start with the part you see or use every day. A runner, a working light, or a coat hook can change the whole trip down the hall.
1. Fit a Runner Around the Doors
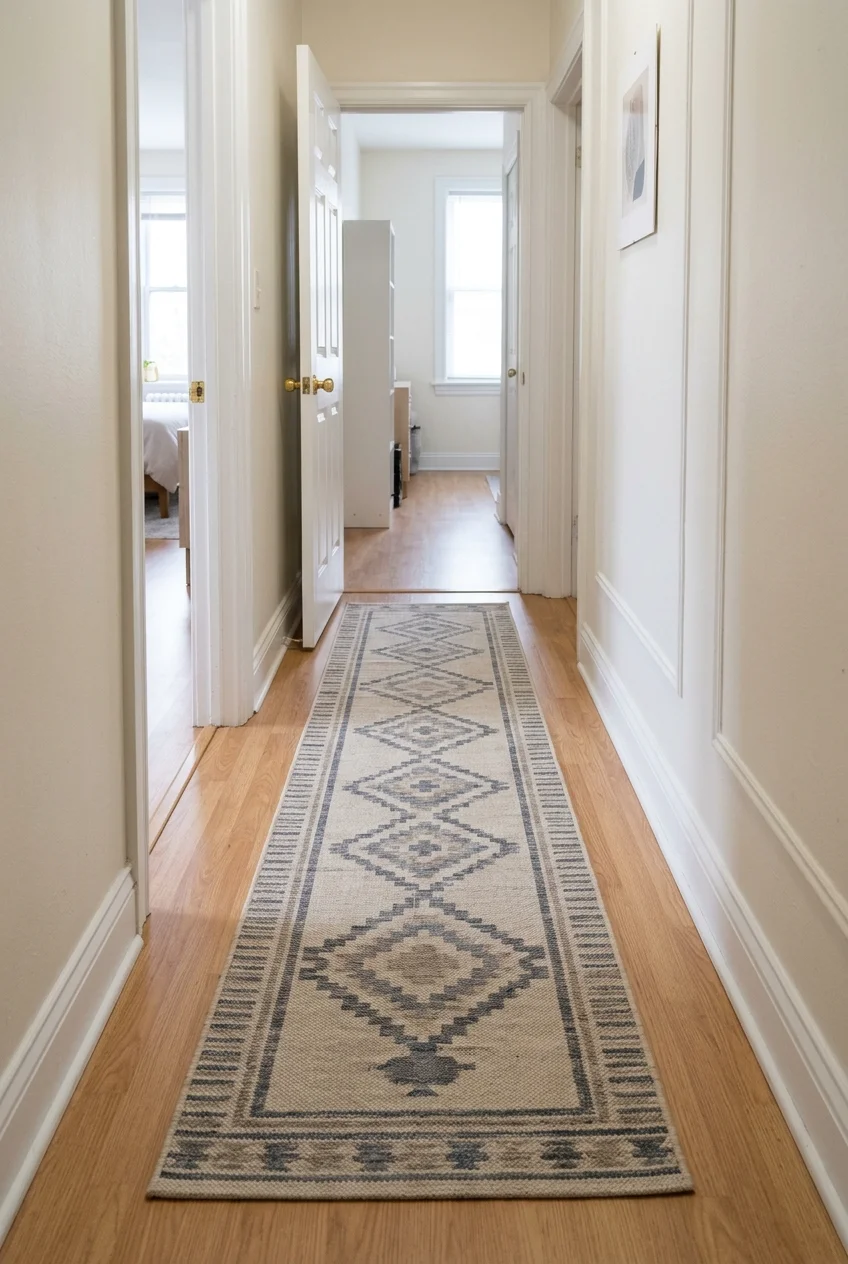
A low-profile runner adds softness to a bare corridor without taking up wall space. Measure between the baseboards and leave a visible strip of flooring on both sides.
Open every door that crosses the runner’s path. Measure the smallest gap above the floor, then compare it with the combined thickness of the rug and pad.
Choose a pad approved for your flooring and trim it slightly inside the rug edges. In a hallway with tight doors, end the runner before the swing.
2. Use a Short Runner to Define the Entrance
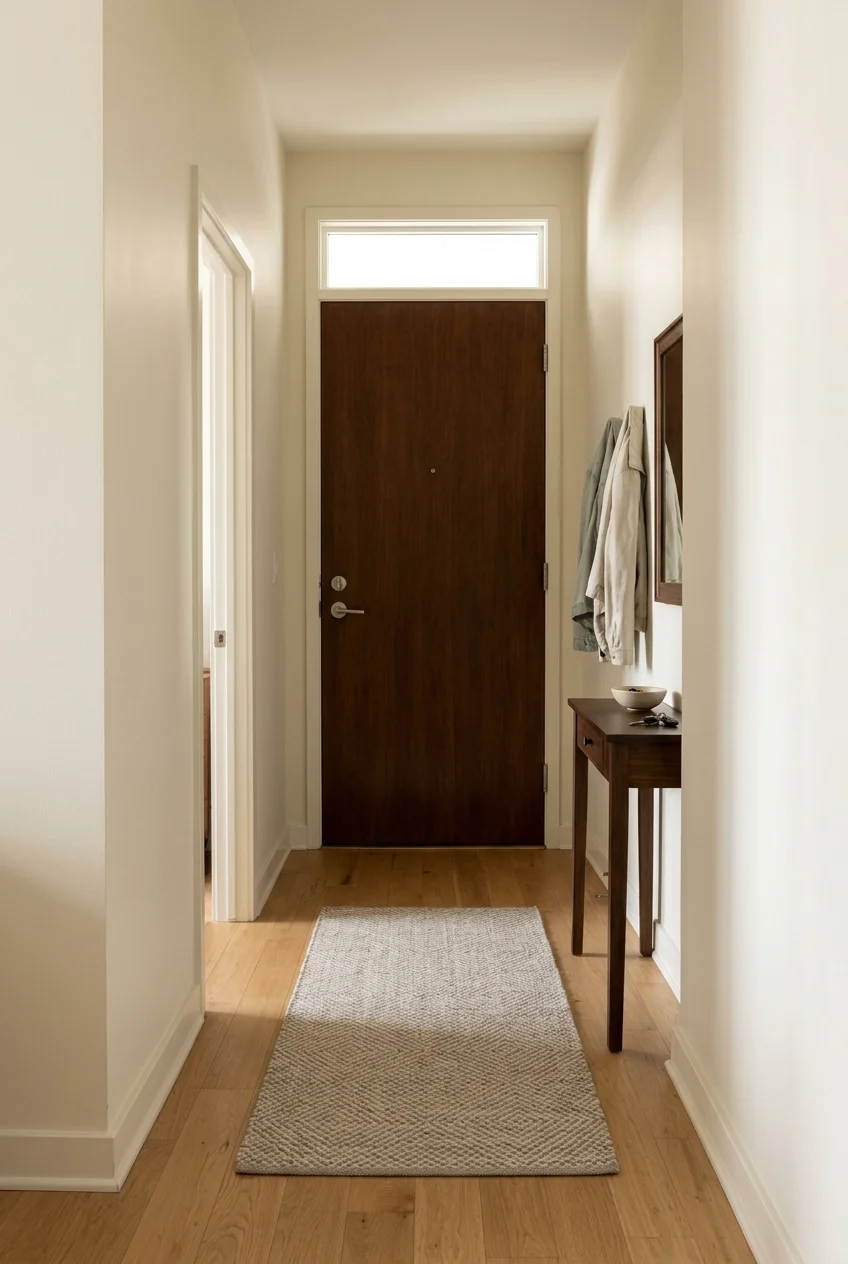
In a long hall that starts at the front door, use a short runner to mark the arrival area. Let the stretch past the first doorway stay bare.
This works when you already own a small rug or only want softness where you step inside. Place the entire rug clear of the front door swing.
3. Swap in a Better Bulb First
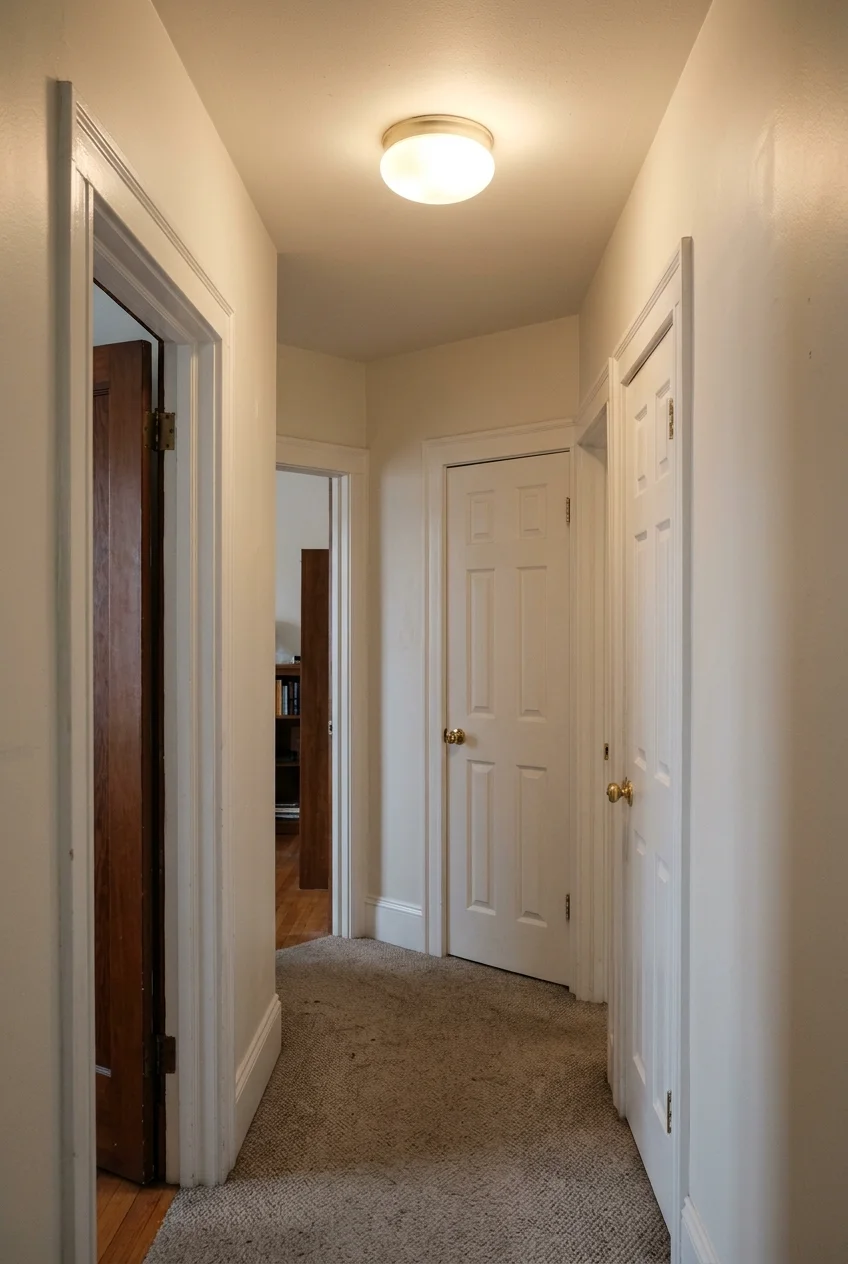
If the hallway feels dim, try a suitable bulb before replacing the ceiling fixture. Match the base, check the fixture’s wattage limit, and compare brightness in lumens.
If the shade fully encloses the bulb, use an LED rated for enclosed fixtures. For a dimmer, check compatibility with the bulb and the existing control.
If light still pools in one spot, the fixture may be the limit. A wider diffuser or a separate light at the dark end may be more useful.
4. Move the Drop Zone Off the Floor
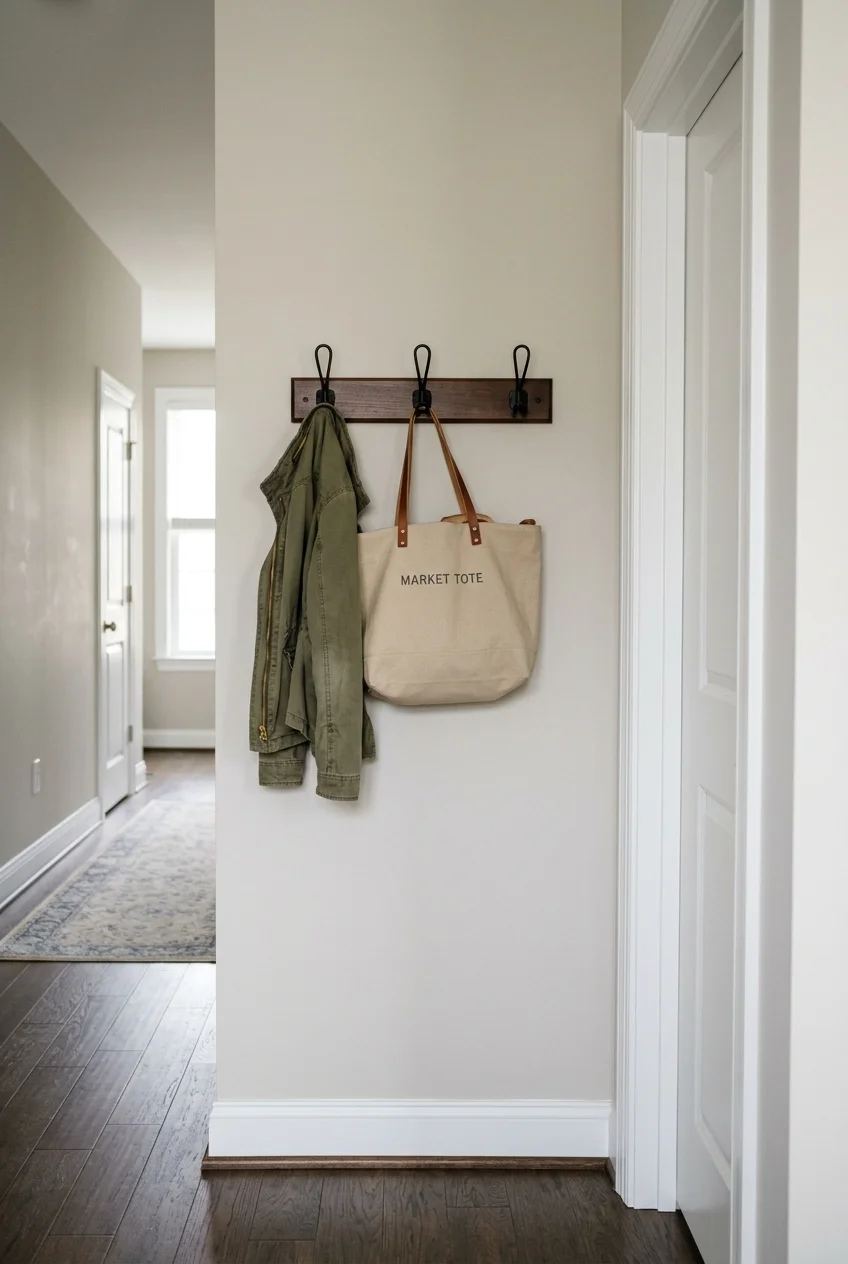
A short wall rail with hooks gives everyday bags and jackets a place to land. Mount it on an uninterrupted wall near the door, outside the swing.
Measure with the fullest bag on a hook. The fabric and straps may extend farther than the rail, especially where two people need to pass each other.
Choose hardware for your wall and the combined load. If drilling requires permission, use an existing closet hook for heavy items and reserve rated adhesive hooks for lighter ones.
5. Fill the Blank End Wall With One Piece of Art
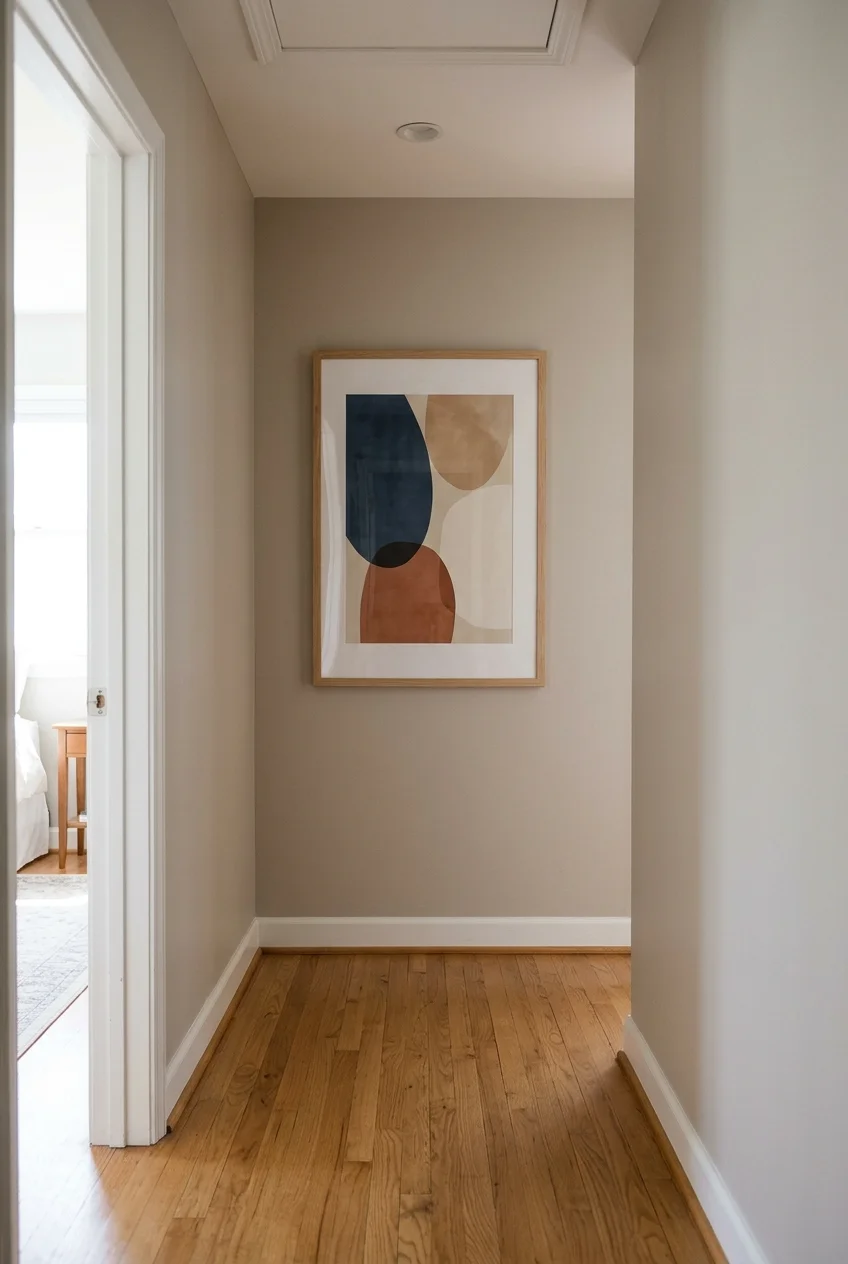
Hang one substantial print on a solid end wall that’s visible from the rooms you use most. A single frame can give a long hallway a stopping point.
Reuse a frame or buy one secondhand and fit your own print. Hold up a paper template first to see what size reads clearly from the other end.
6. Catch Wet Shoes in a Boot Tray
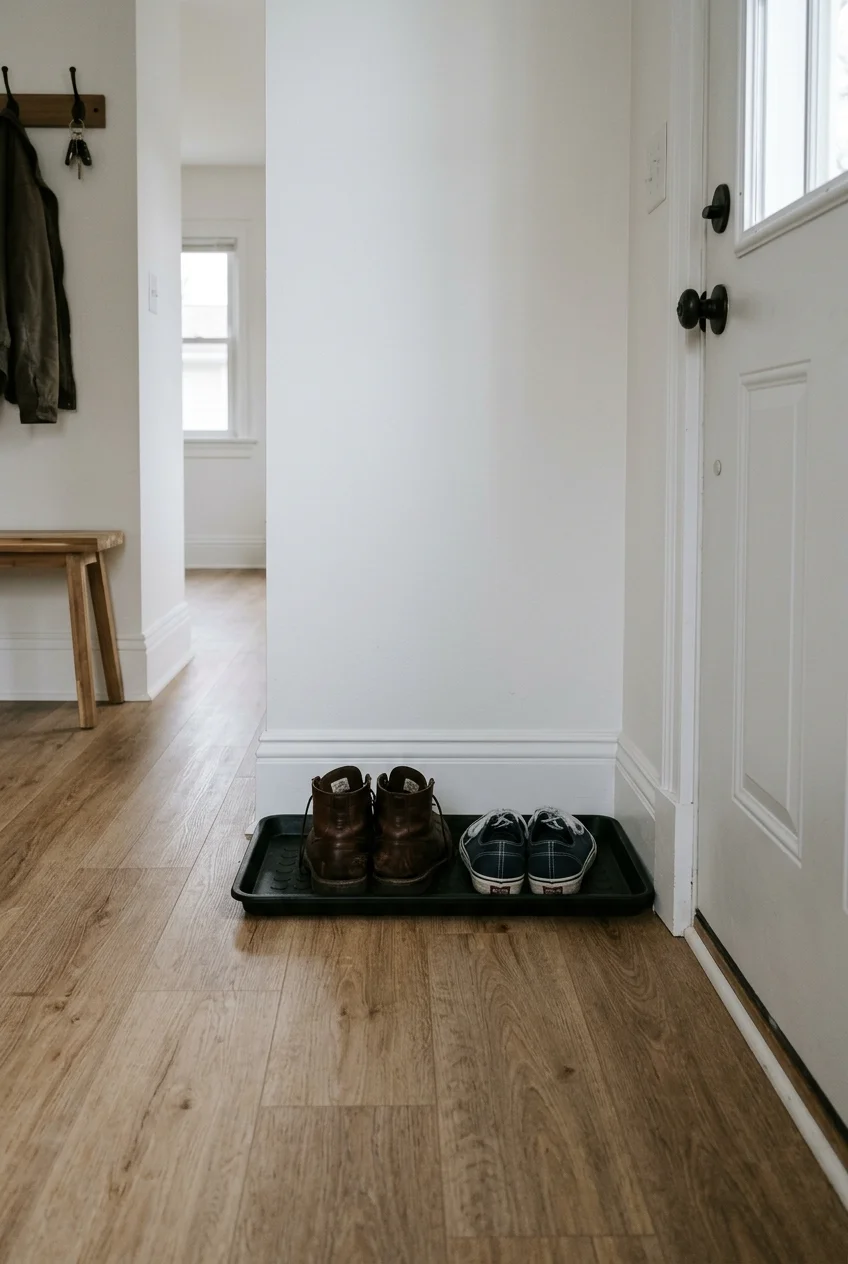
A shallow boot tray contains grit and drips right where shoes come off. Place it in an entry recess or along a wall past the door swing.
Measure with your biggest shoes inside and stand where you’ll take them off. A removable tray is easier to empty and wash than a mat that absorbs every drip.
7. Give Keys a Pocket-Sized Landing Spot
Image pending: No image is attached to this draft for idea 7 (image-07).
Make a home for your keys by adding a small dish to a ledge you already have. Place it near the door you actually use most often.
Pick a dish with a lip and a footprint that fits fully on the ledge. Put it far enough back that a coat sleeve won’t brush it off.
8. Put a Mirror Where It Can Catch Daylight
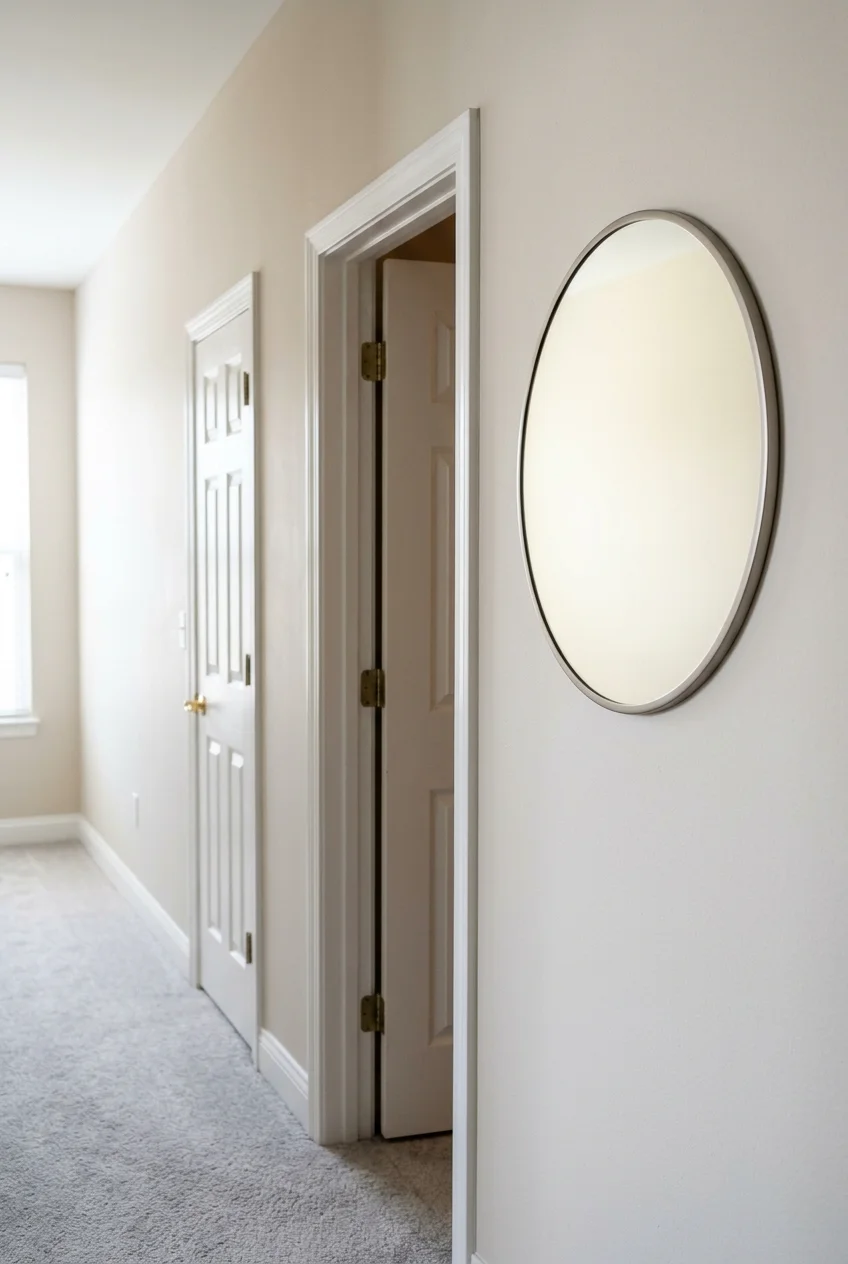
A modest wall mirror can bring borrowed light into the hall if it faces a brighter opening. Hold it in place first and see what the glass reflects.
Place it on a section of solid wall outside door swings and shoulder traffic. Match the mounting hardware to the wall type and the mirror’s stated weight.
Choose a mirror with a shallow frame if the hall is tight. If you mainly use it before leaving, place it near the front door at face height.
9. Shift a Small Console Into an Alcove
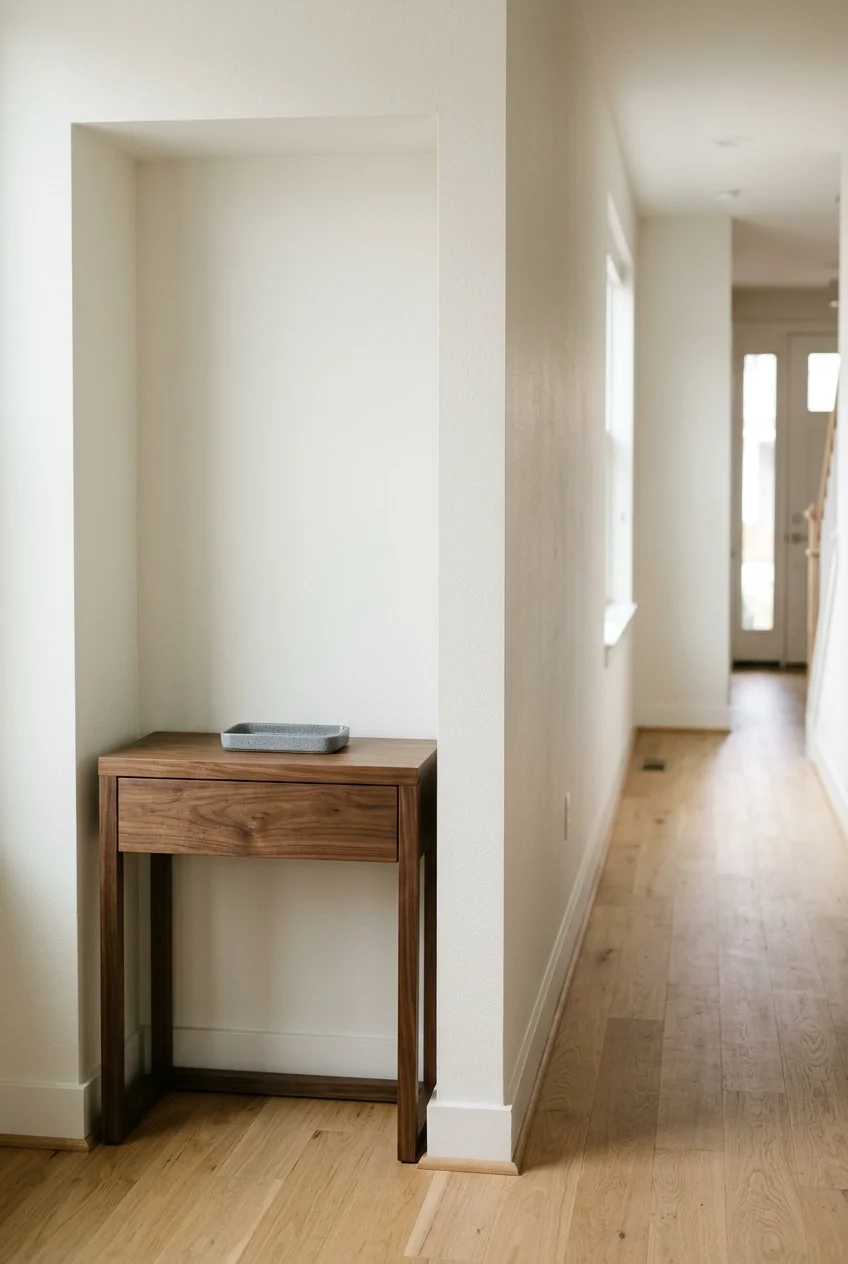
If you already own a slim console, try moving it into a hallway alcove. Recessing the furniture creates a drop zone while preserving the corridor’s usable width.
Take a depth measurement at floor level and again above the baseboard, where the back may sit differently. Allow room for any drawer to open without hitting trim.
Use the manufacturer’s anchoring instructions. If the console still projects too far, place a small wall-mounted key shelf inside the alcove or use storage in a nearby room.
10. Touch Up Scuffs With the Original Wall Paint
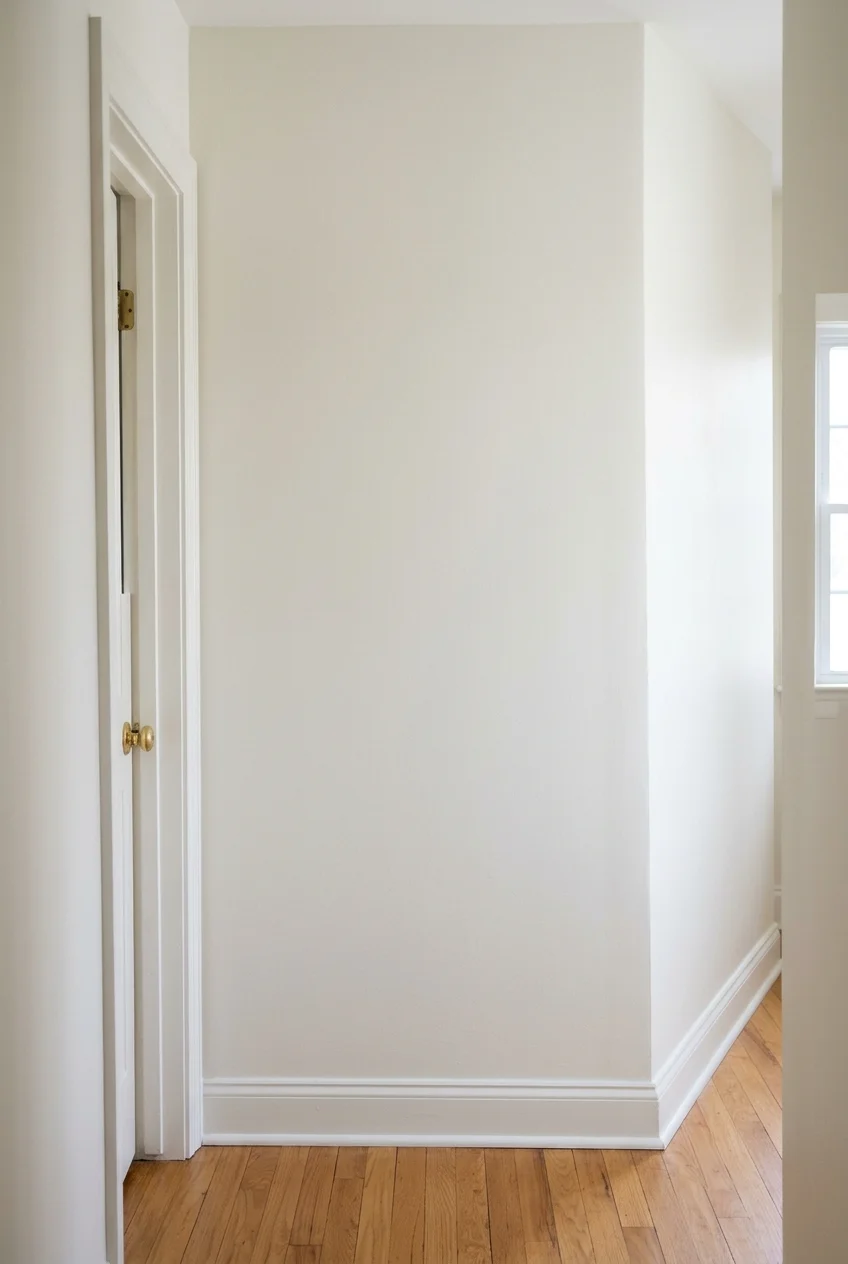
If the wall paint is sound apart from a few scuffs, try a small touch-up first. Use the original paint if you have the matching color and sheen.
Clean the spot according to the paint maker’s directions and let it dry. Match the original application tool where practical, since a brush and roller leave different textures.
Check the dry spot with the hall light turned on. If the patch catches the light, paint the affected wall from one natural break to the next.
Paint and Wall Treatments You Can Do in Stages
Pick a clear stopping point before buying supplies. A door casing, an inside corner, or an existing rail can make a small painting project feel complete.
11. Repaint the Walls in a Washable Finish
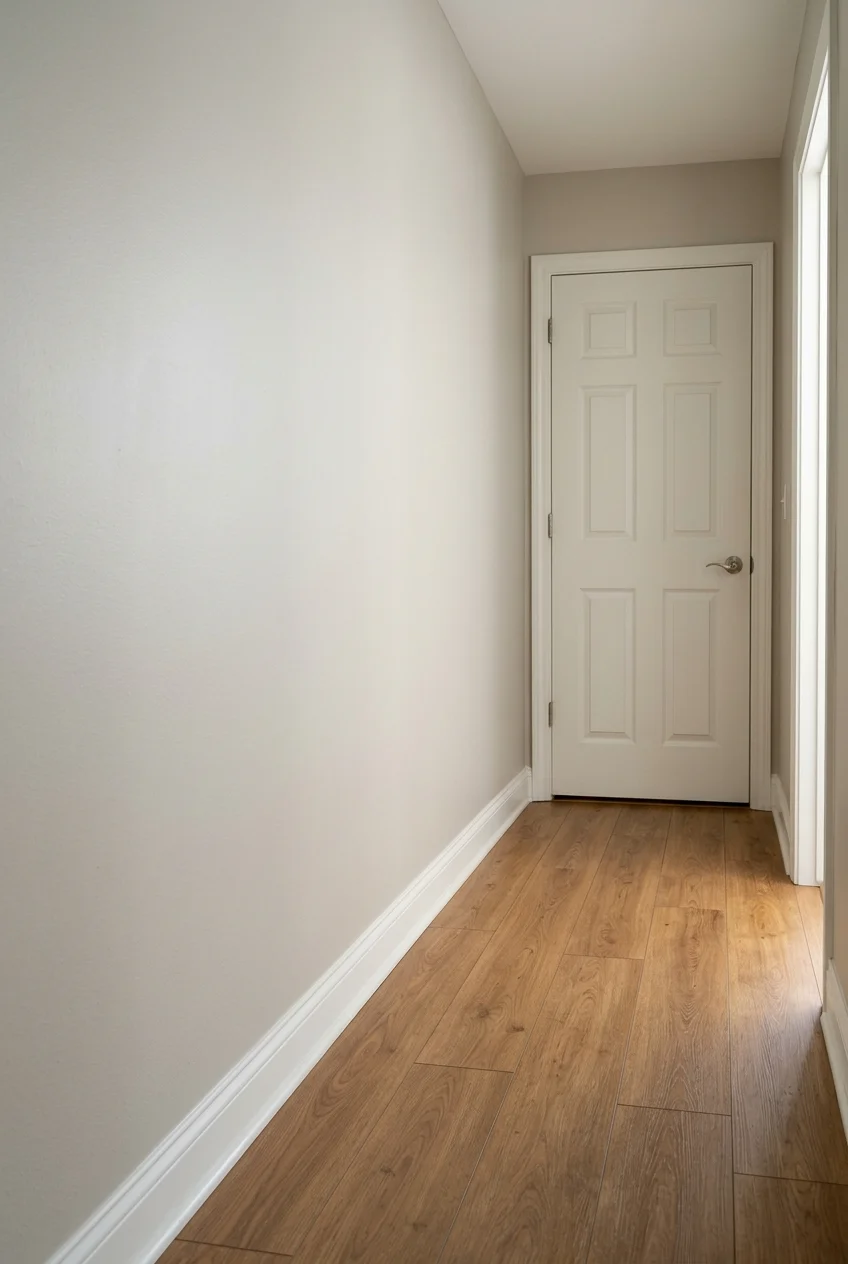
For a hallway that gets brushed by backpacks and elbows, choose an interior paint labeled washable. Compare products by the maker’s cleaning directions as well as their sheen.
Look at a sample under the hallway’s bulbs and in the light from adjoining rooms. Even a neutral can read differently in a passage with no windows.
Measure the wall area and use the product’s stated coverage to estimate supplies. Add primer if the maker calls for it, especially over repairs or a different finish.
12. Refresh the Baseboards and Door Casings
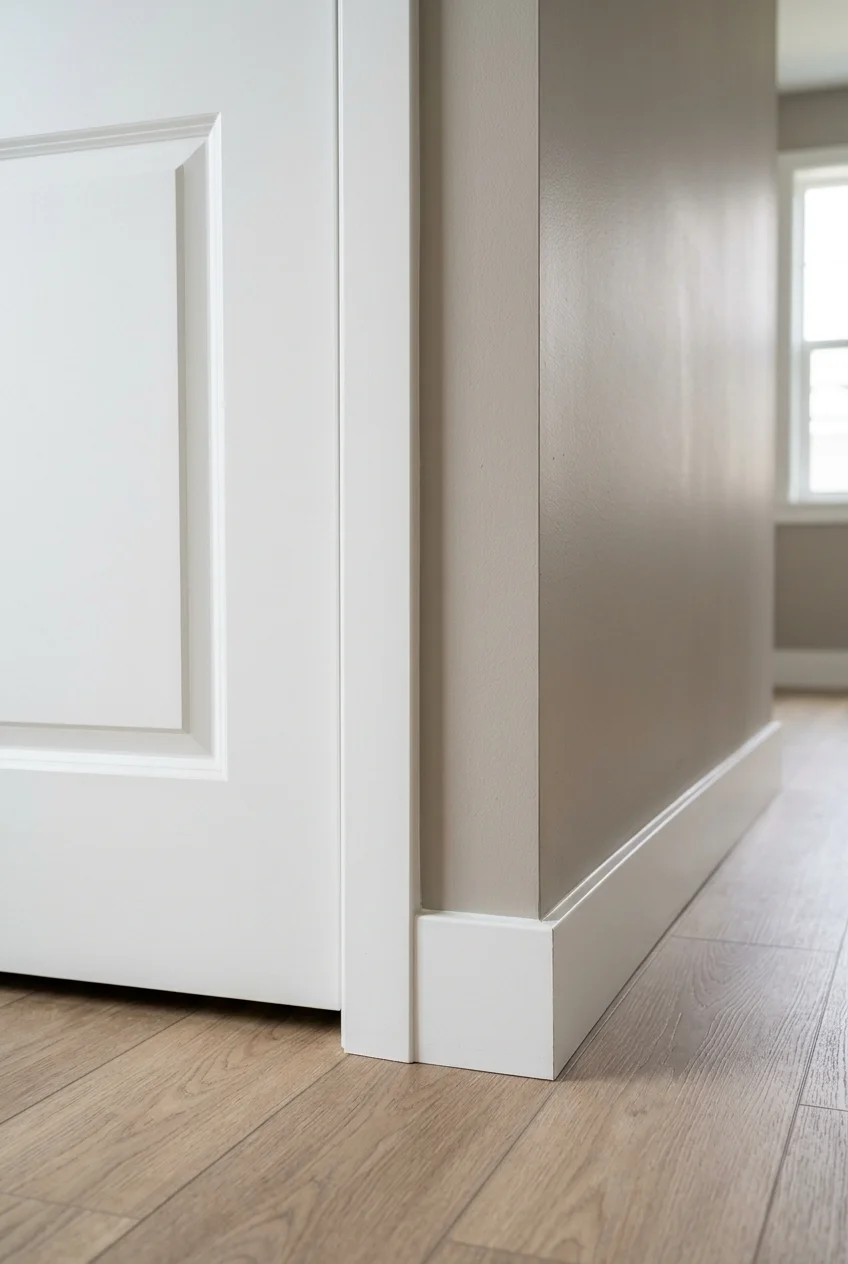
Fresh paint on existing baseboards and casings sharpens the edges of the entire hall. Use a trim paint your manufacturer recommends for the surface and existing finish.
Clean first, then follow the preparation and primer instructions before painting. In a pre-1978 home, consult EPA’s lead-safe renovation guidance before disturbing existing painted surfaces.
Use an angled brush near the floor and door jambs. Let the coating dry between coats, and protect the finished edges from shoes until the paint can handle normal use.
13. Paint a Two-Tone Wall Without Adding Trim
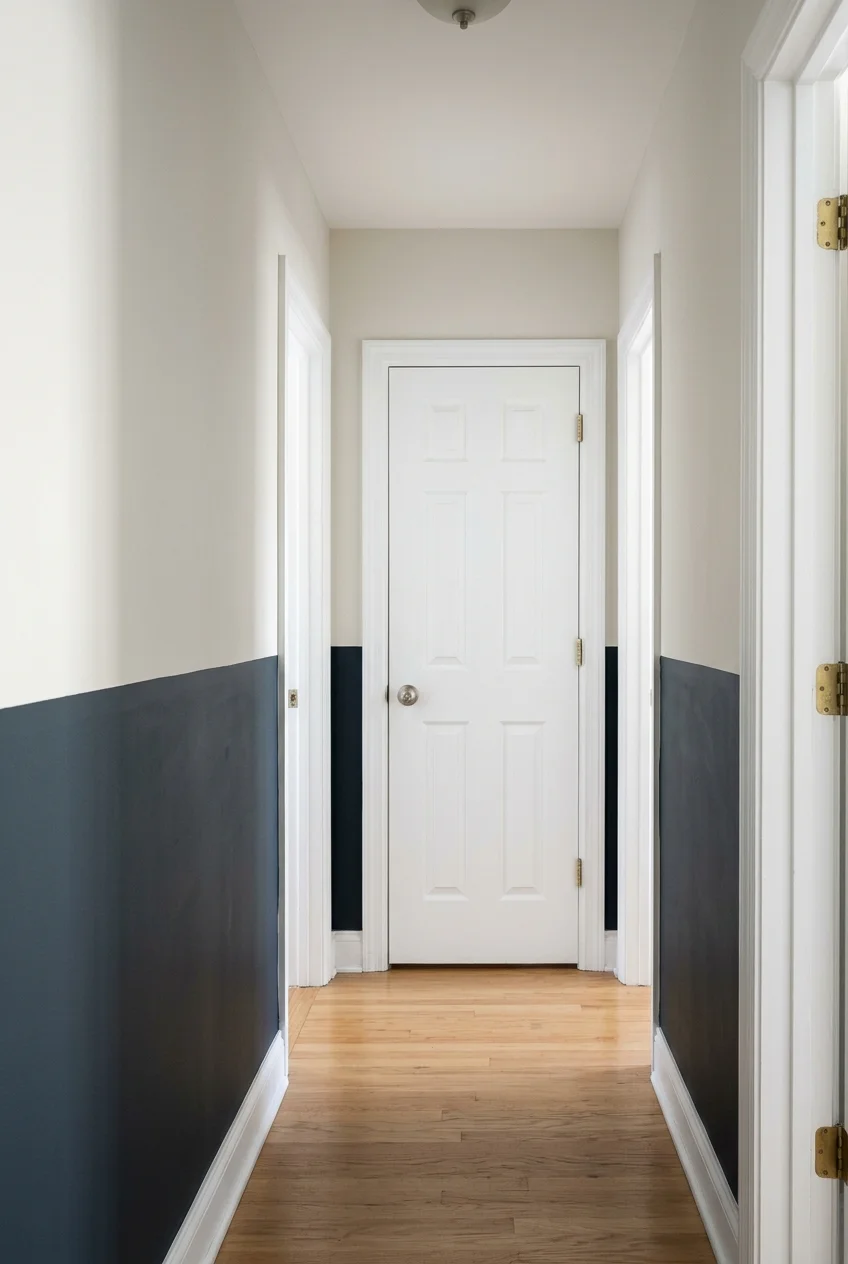
A painted horizontal break gives the lower wall its own finish without putting anything proud of the drywall. Start with a height that makes sense beside the door trim.
Walk the whole hall and carry a level line across uninterrupted wall sections. Check how the line reads from both ends before buying enough paint for both colors.
Apply the lighter coat and wait as directed before using tape. Choose tape rated for the surface and paint age, then follow its instructions for removal.
14. Paint Just the Door at the End
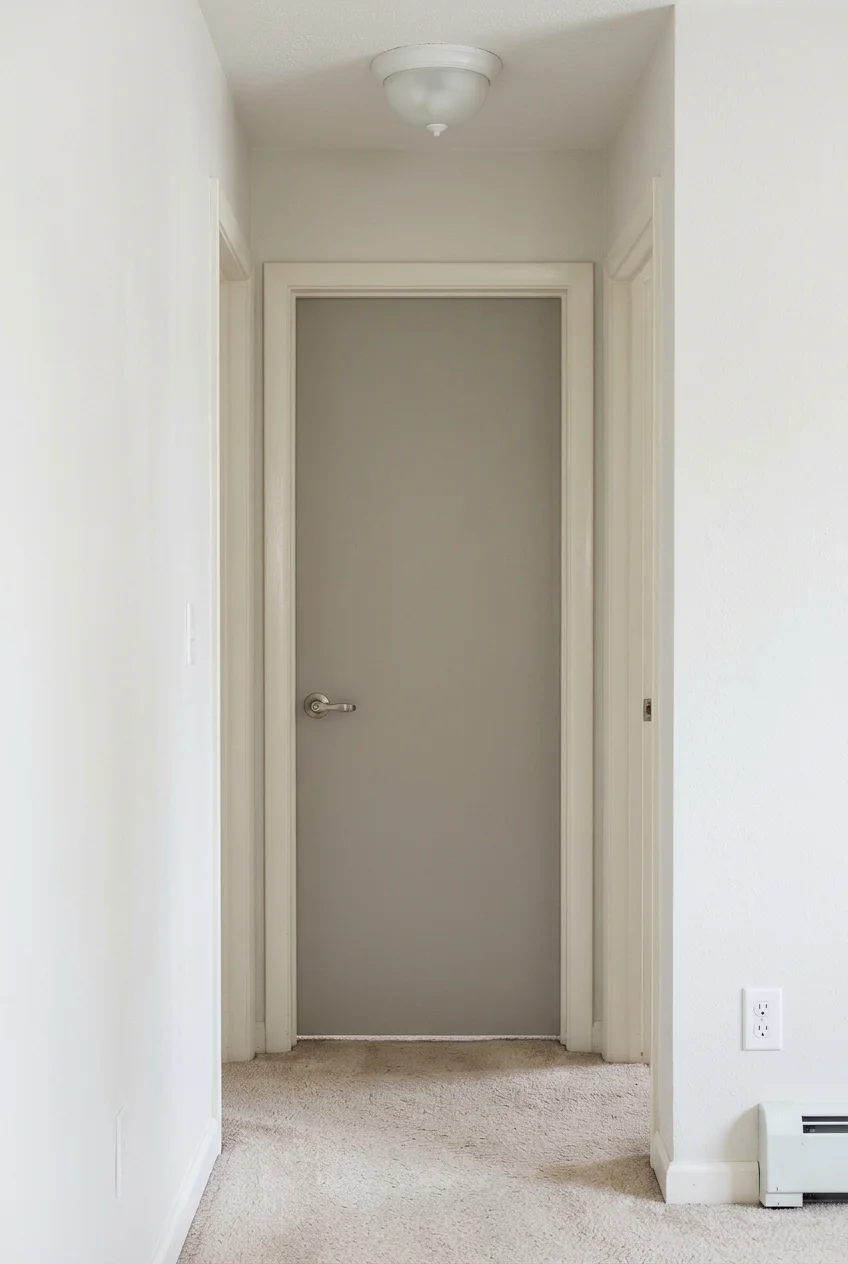
A single painted interior door creates a focal point on a wall that has little room for art. Keep the nearby wall and casing as they are.
Choose a door coating compatible with the existing finish and protect the latch and hinges. Let the painted edges dry according to the label before closing the door.
Test the color with the door closed and the hall light on. A small sample beside the door shows how it reads next to the unchanged trim.
15. Frame the End Wall With Peel-and-Stick Wallpaper
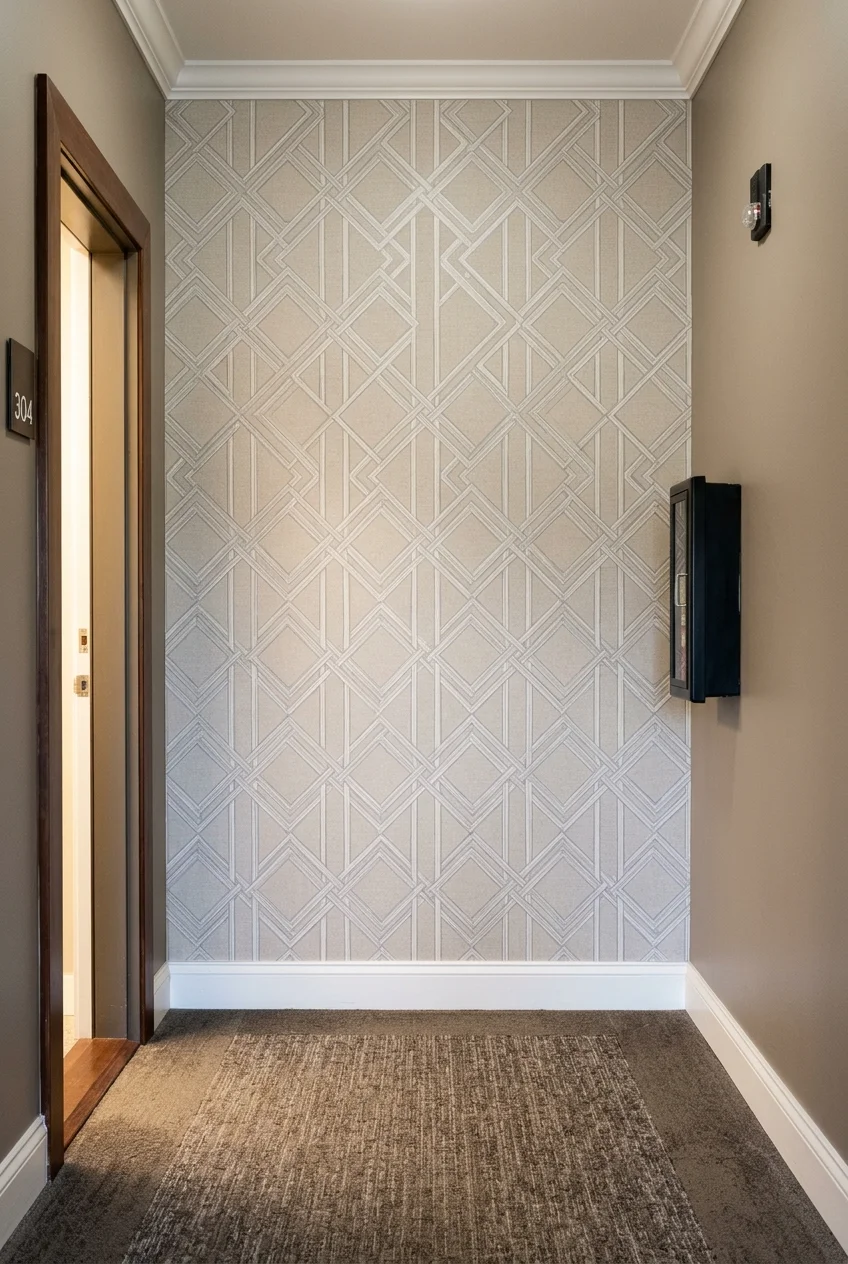
End-wall wallpaper makes sense when a hallway has one small, blank surface framed by corners. Measure that wall and account for the pattern repeat before ordering rolls.
Ask the landlord if needed, and check the wallpaper maker’s approved finishes and paint cure times. Test a sample in a discreet spot before committing to the wall.
Start with a plumb guide and follow the installation directions for matching seams. If the wall texture is unsuitable, use one framed wallpaper panel for a similar effect.
16. Add a Thin Wall Frame With Stock Molding
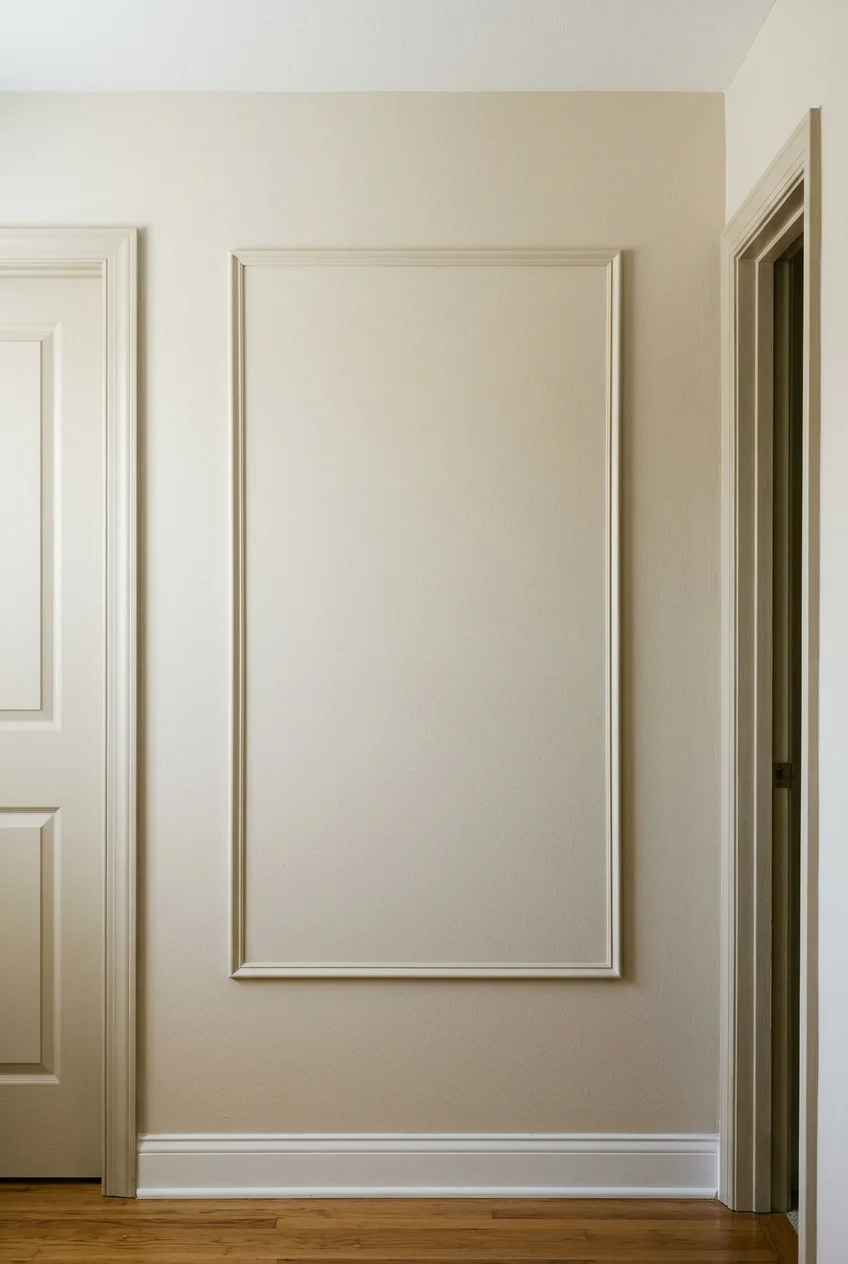
One rectangle of thin stock molding can give a blank wall some definition. Use it on a clear stretch where the added depth won’t catch bags or sleeves.
Tape out the shape and check the spacing between the rectangle, baseboard, and door casing. Buy lengths that minimize joints, allowing a little extra for practice cuts.
Choose a fastening method appropriate to your wall and the molding. Finish the joints and paint the molding and wall together for a quiet, continuous surface.
17. Paint Inside a Recess to Give It a Purpose
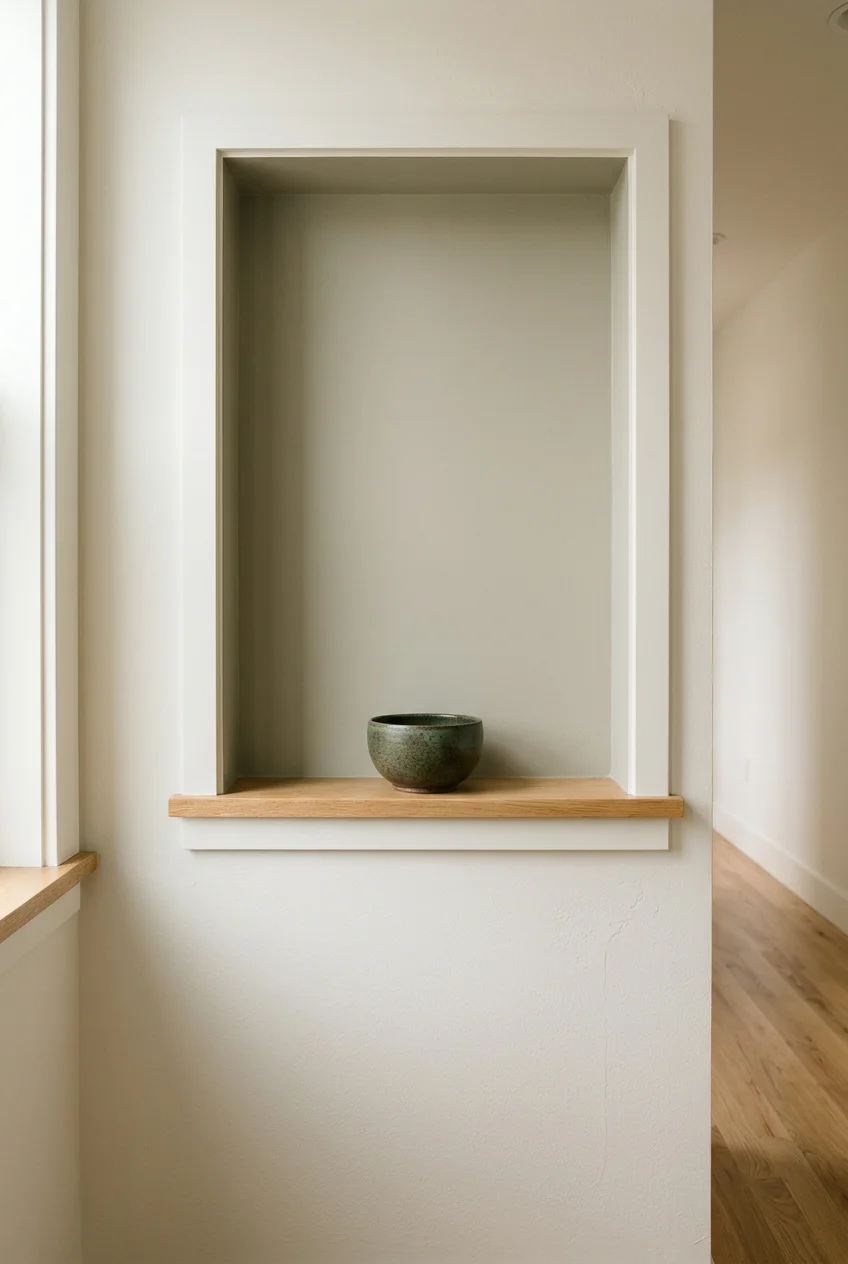
Treat a shallow niche as its own painted surface and let its corners define the edges. The paint will make the recess visible from farther down the hall.
Use remaining interior paint if it suits the surface. Leave the recess empty if it’s too shallow to safely hold an object, and let the color do the work.
18. Paint the Ceiling in a Short Connector Hall
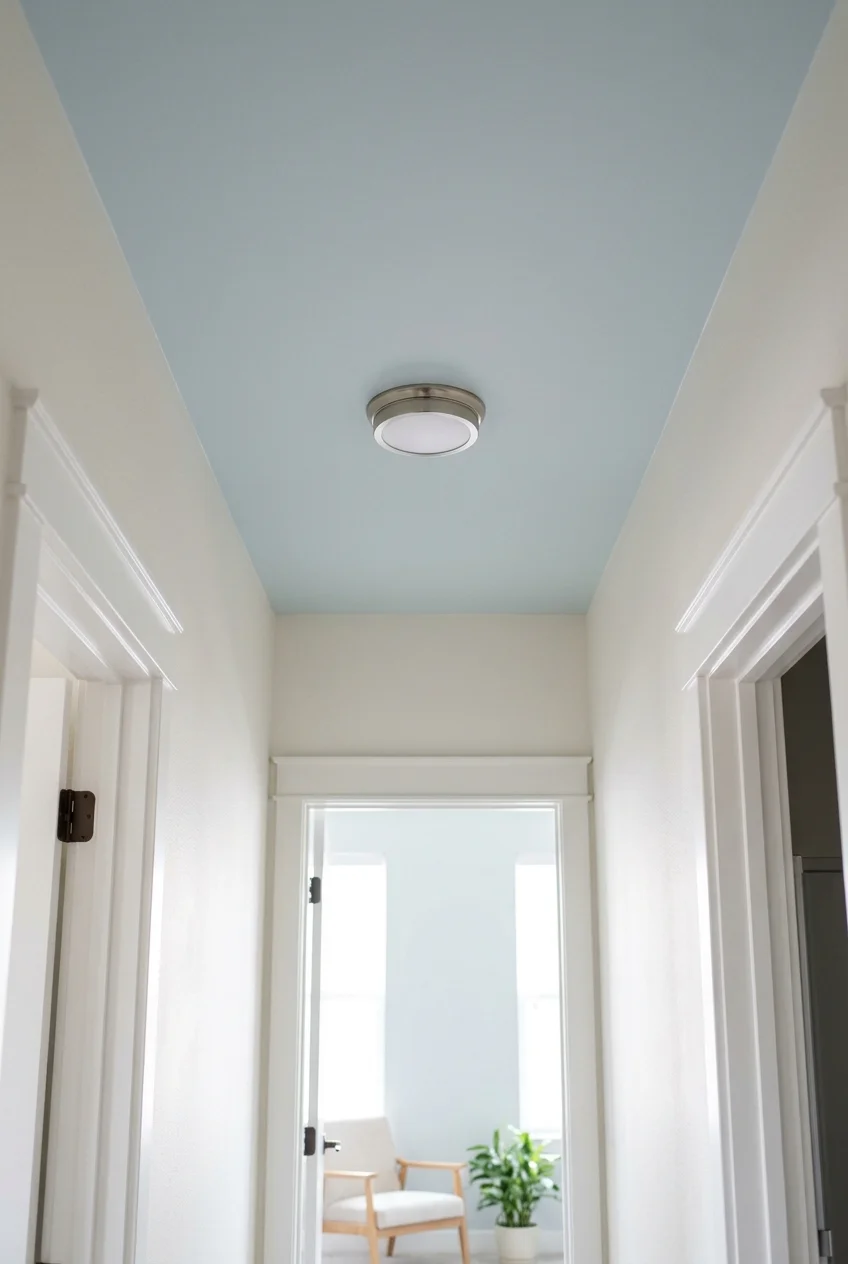
A ceiling color is an option when every wall has a doorway and little uninterrupted space. Try it in a short connector with natural stopping points at both ends.
Look at a painted sample overhead with the fixture on. If the ceiling already feels low, test a light sample before committing to a deeper one.
Use paint sold for ceilings and follow the prep and coverage instructions. Keep fixtures protected while painting and use a stable platform suitable for the job.
19. Give One Wall a Painted Shape
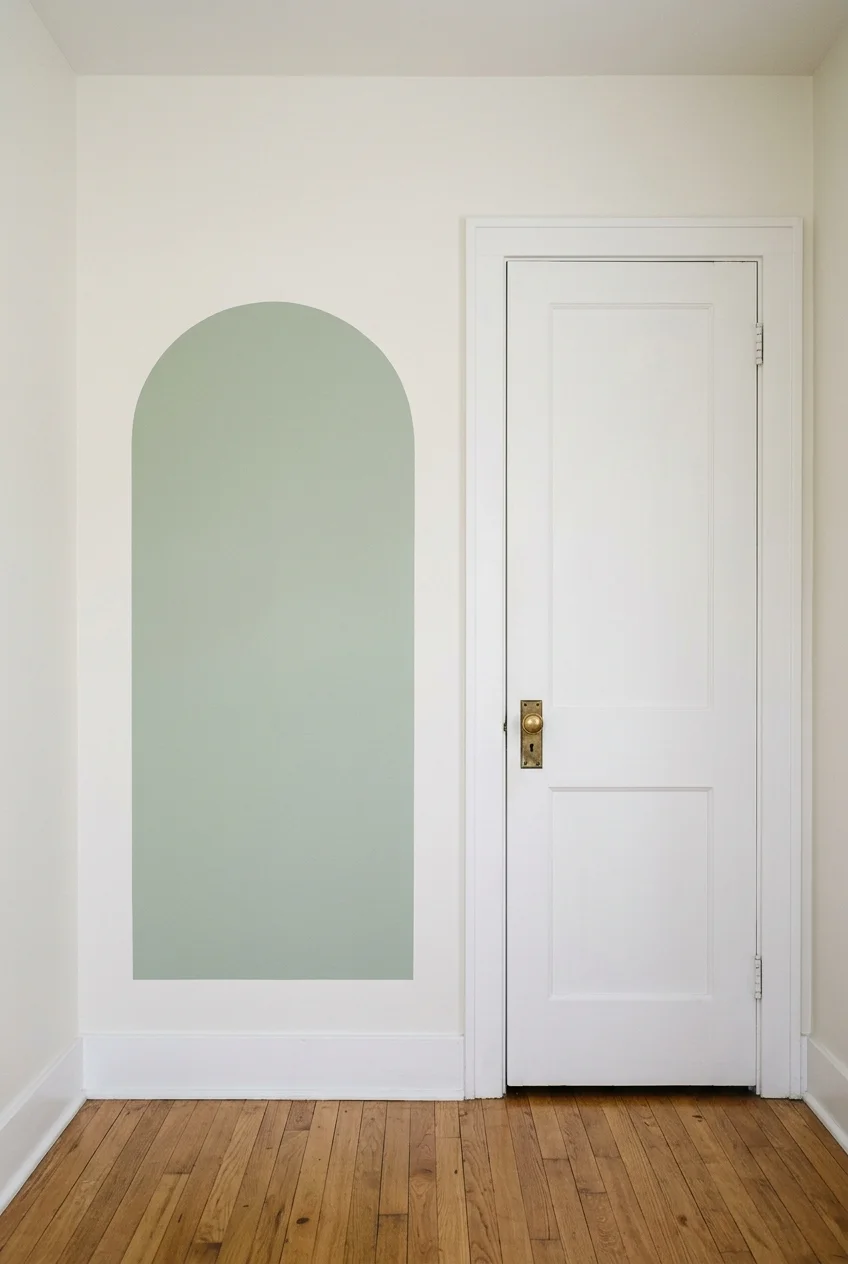
Paint one broad rectangle or arch on a bare wall where a doorway provides a visual reference. This is a small project if you can reuse leftover paint.
Lay out the shape with paper or low-tack tape first. Position it clear of switches and baseboards, and look at it from both directions before painting.
Keep the painted area simple enough to cut in cleanly. If there’s little space around it, let the shape stand on its own without a frame or shelf.
Browse these entryway accent wall ideas if you’re deciding between a simple paint shape and a treatment that covers more of the wall near your door.
20. Close the Hairline Gap Above Sound Baseboards
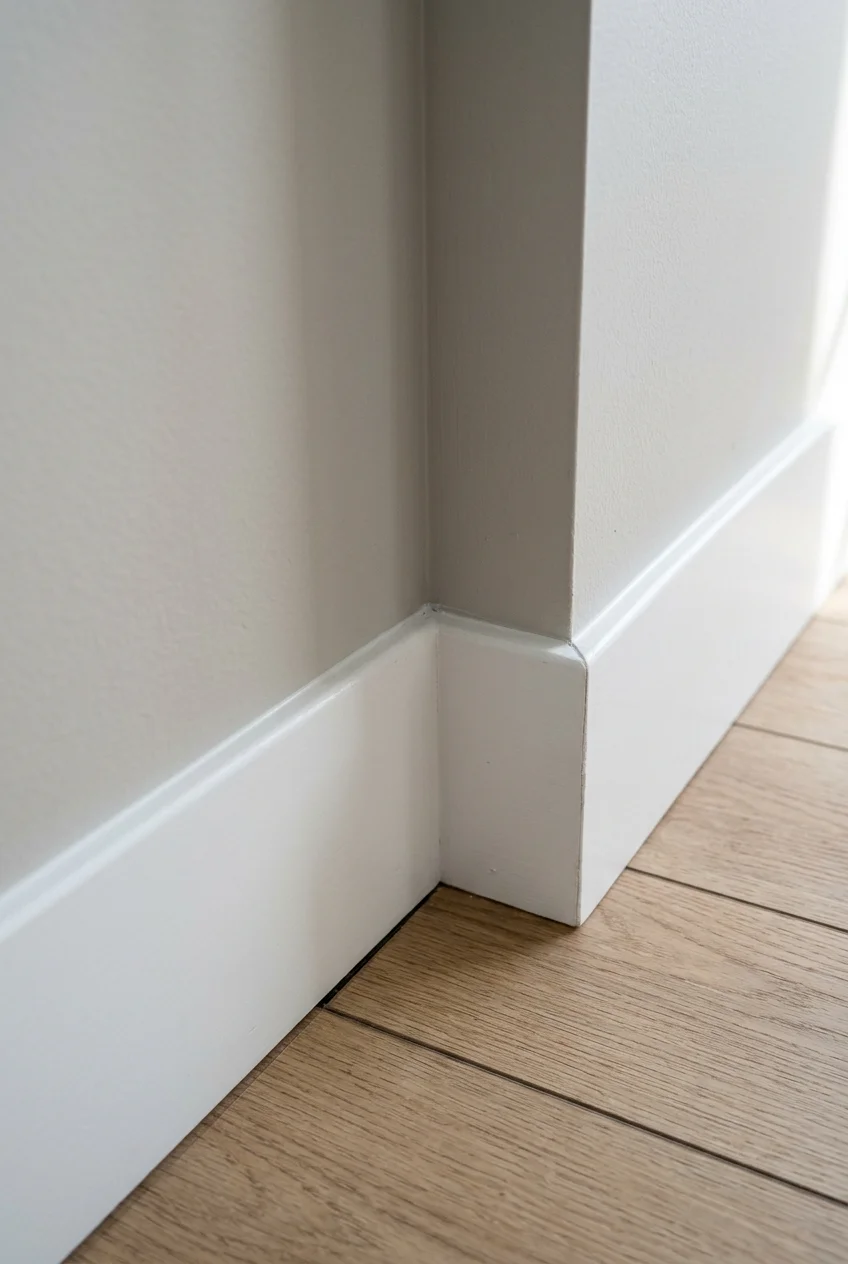
A narrow gap at the top of a secure baseboard can make fresh paint look unfinished. Choose paintable interior caulk labeled for trim and the gap size.
Clean the joint according to the product directions, apply a thin bead, and smooth it before it sets. Follow the label’s wait time before touching up paint.
Work along the top edge where the trim meets the wall. If the board moves when pressed or the gap widens, find out why before filling it.
Art and Displays That Keep the Floor Clear
Paper templates make it easier to hang art in a hallway. Look at your layout from the room you enter from most often, then check it up close.
21. Hang a Straight Row of Family Photos
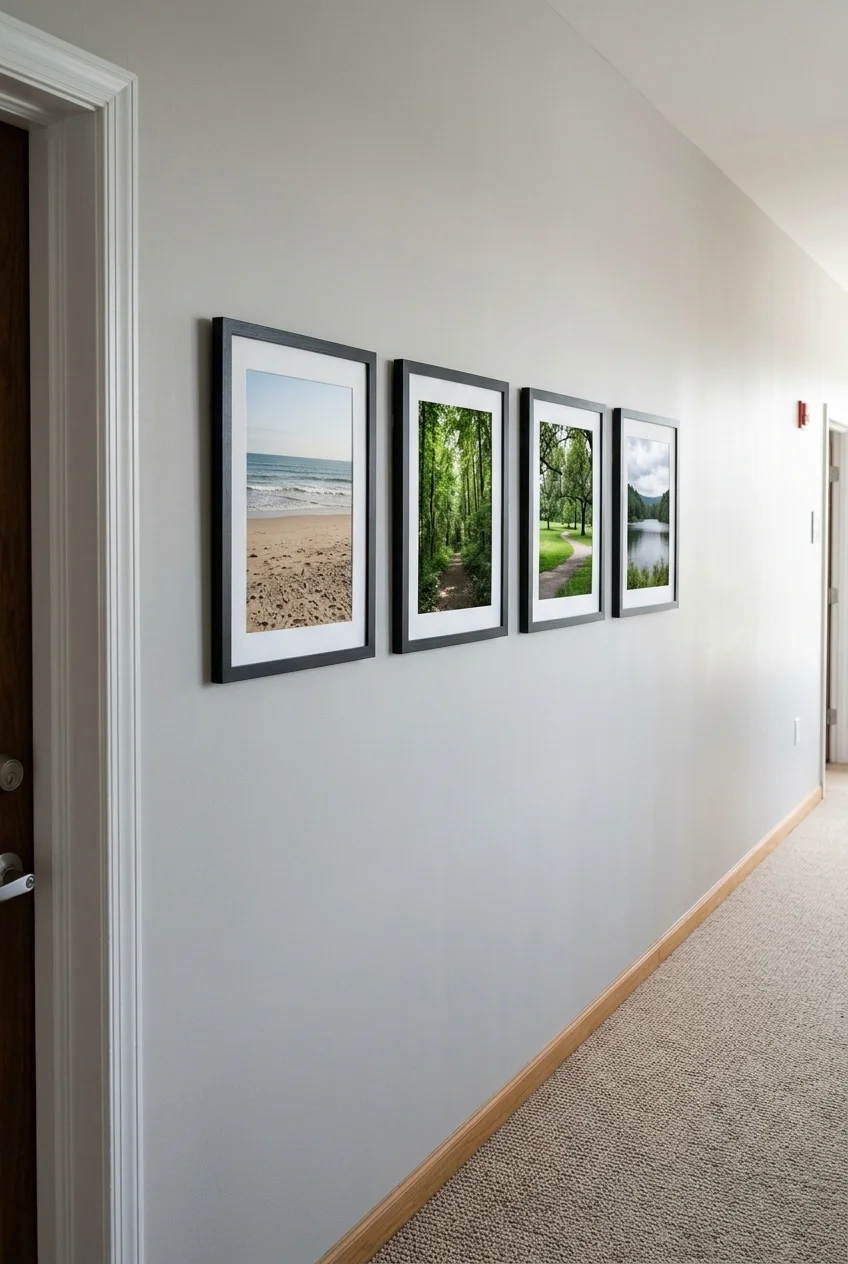
A row of matching frames makes family pictures easier to read in a long hall. Reuse frames of one size and pick a shared edge or center line.
Lay the frames on the floor and cut paper templates. Test the spacing on the wall, keeping the first and last frames comfortably away from the door casings.
If nails are off limits, Command picture hanging strips can work for compatible frames. Check the wall surface, the frame’s weight, and the strip package directions before hanging.
22. Create a Gallery Grid in a Wide Wall Bay
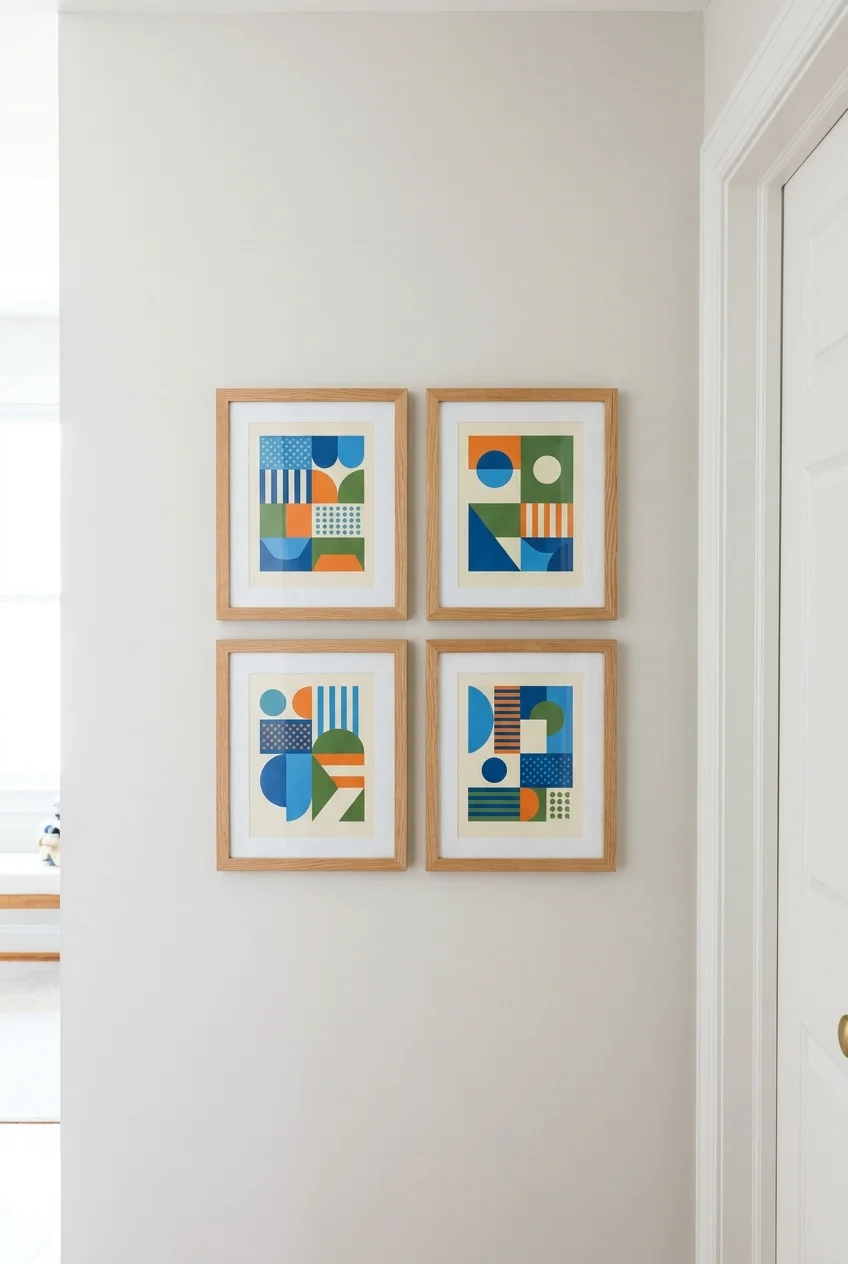
A two-by-two grid fills a broad stretch of wall without stretching into nearby doorways. Use matching frames and make the outside edges read as one clean rectangle.
Try simple graphic prints or photographs with similar margins so the grid feels consistent. Measure the frame openings before printing, particularly if the mats cover part of each image.
For mounting, mark the actual hanging points rather than the tops of the frames. Hardware can sit at different heights even when the frames appear to match.
23. Rotate Art on One Shallow Picture Ledge
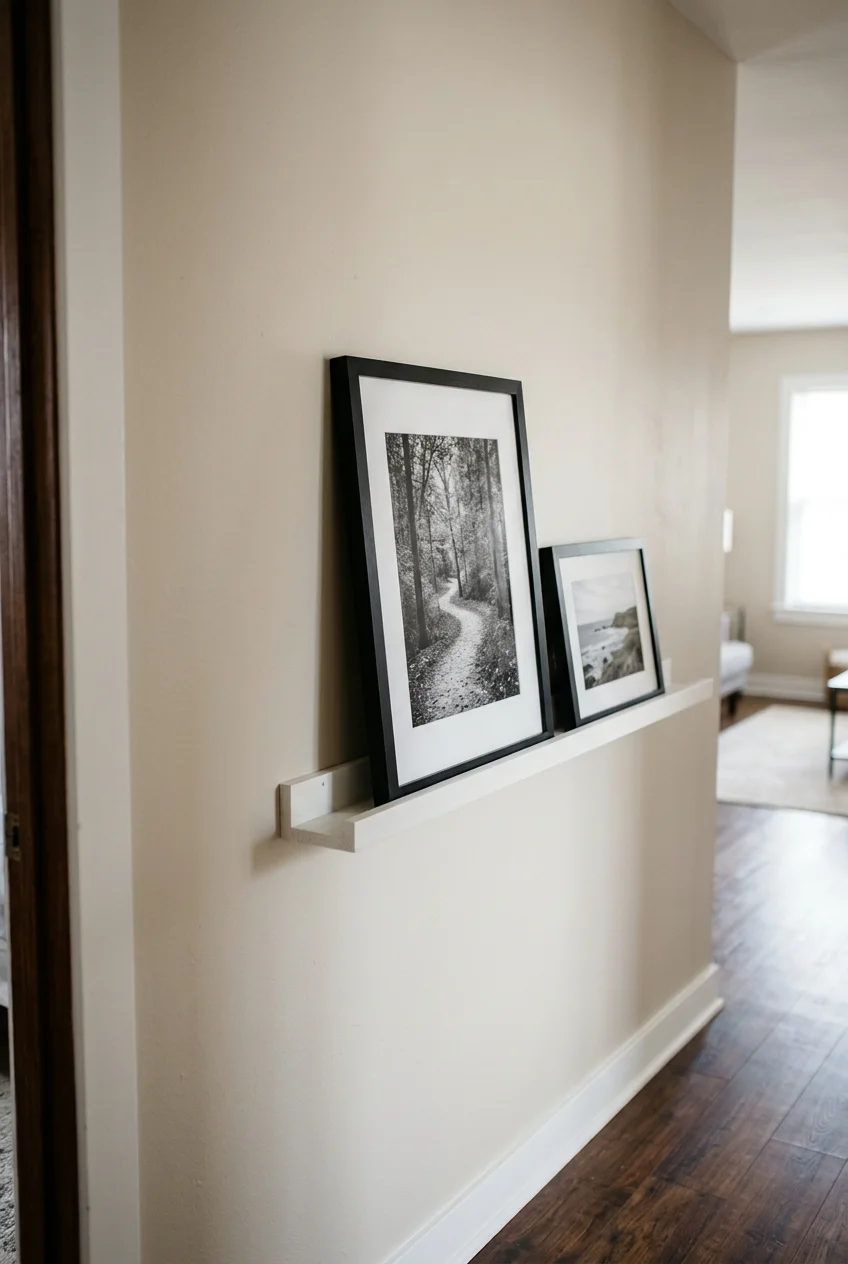
A shallow picture ledge lets you swap prints without making new holes each time. Use it on a wide stretch of wall away from busy doorways and corners.
Choose a ledge with a front lip and brackets or fixings suited to the wall. Keep every frame supported and within the maker’s depth and weight limits.
Set up one or two prints with breathing room. If the ledge would sit where shoulders or bags brush past, mount the frames directly to the wall instead.
24. Turn Wallpaper Leftovers Into Framed Art
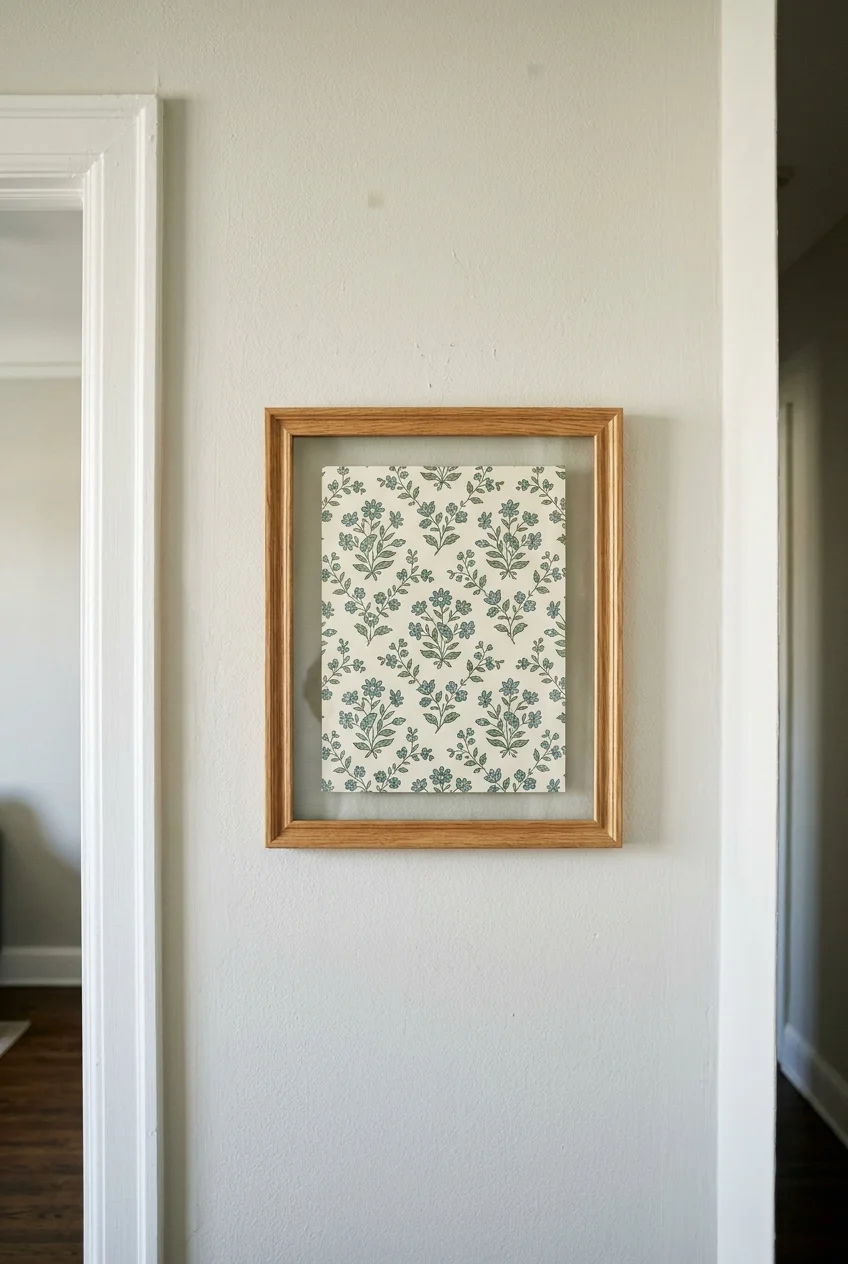
A leftover piece of wallpaper can fill a secondhand frame for the cost of an inexpensive frame. Pick a cut that captures the part of the pattern you like.
Use the frame backing or an acid-free board to keep the sample flat. Check its size against the opening before cutting, especially if you’re keeping the mat.
25. Make a Changeable Kids’ Art Display
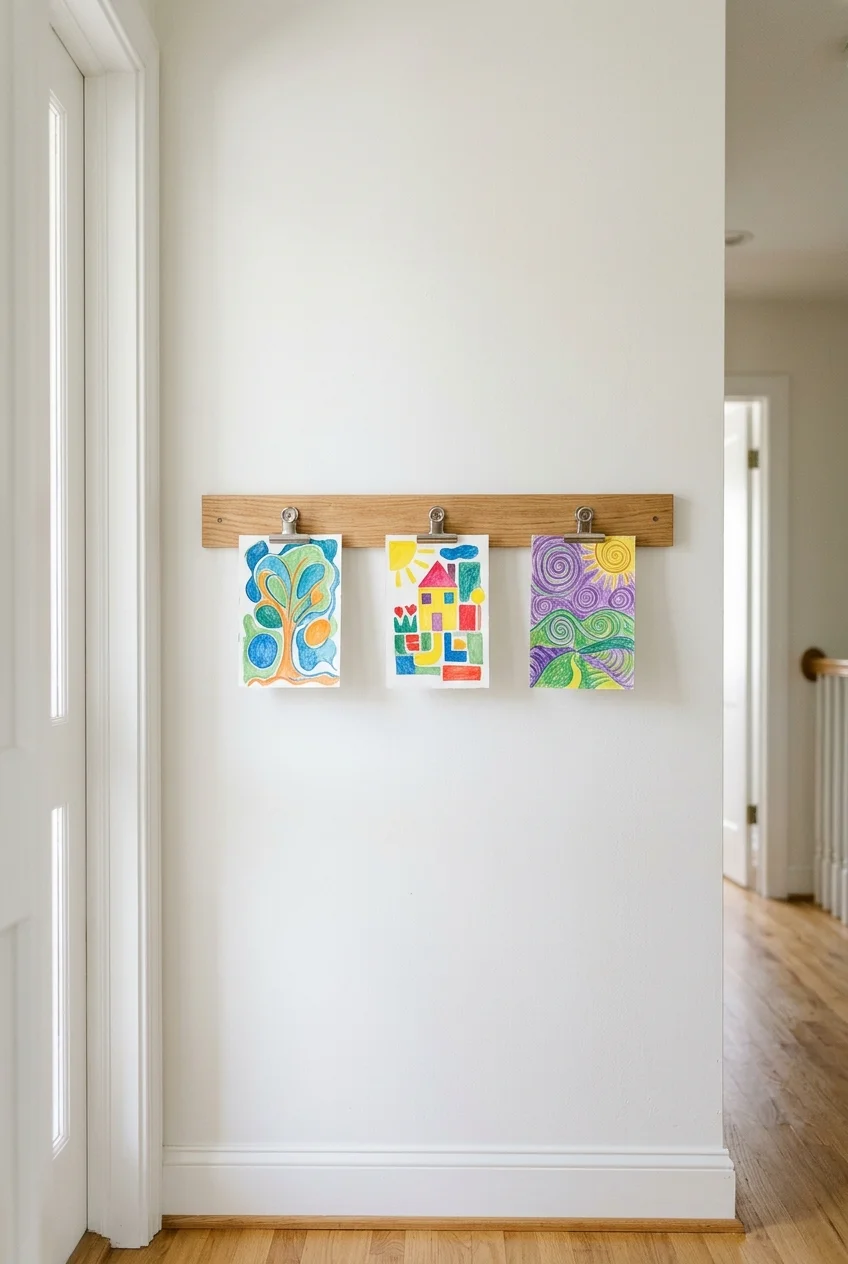
A clip rail makes it easy to rotate drawings on the route to the bedrooms. Choose a wall where paper corners won’t brush against people walking by.
Install a rail with closed or low-profile clips, following its mounting directions. Display a few sheets at once and tuck older pieces into a folder in another room.
26. Hang a Flat Textile Instead of a Heavy Frame
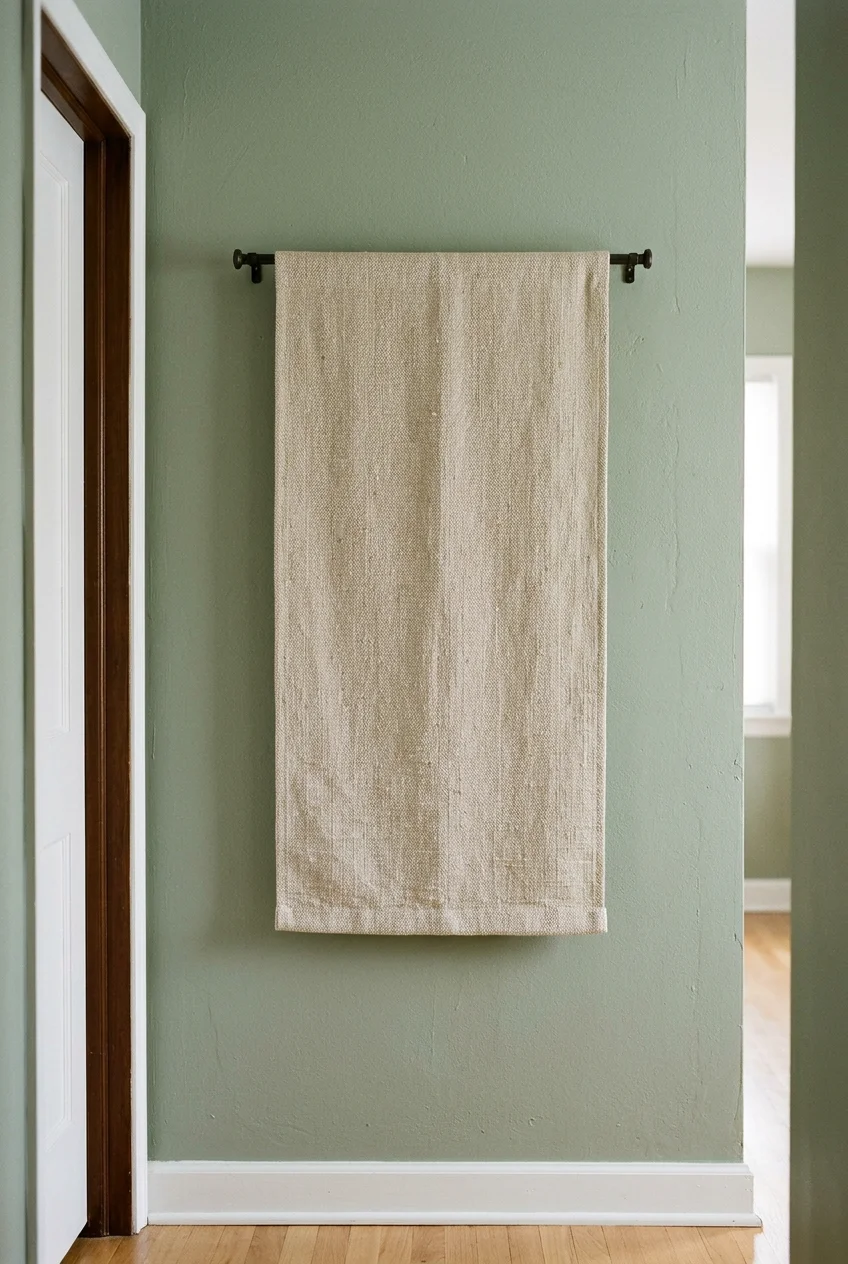
A small fabric panel can add a soft focal point on a hall wall. Use a clean offcut or a textile you already own with a tidy edge.
Clip or sleeve it onto a short hanging rod and keep the fabric close to the wall. Use hanging hardware sized for the rod and the textile.
Skip dangling cords or fringe in a busy passage. Where the fabric rubs against a door or a bag, use a smaller panel on an uninterrupted wall.
27. Frame Around a Switch With One Pair of Prints
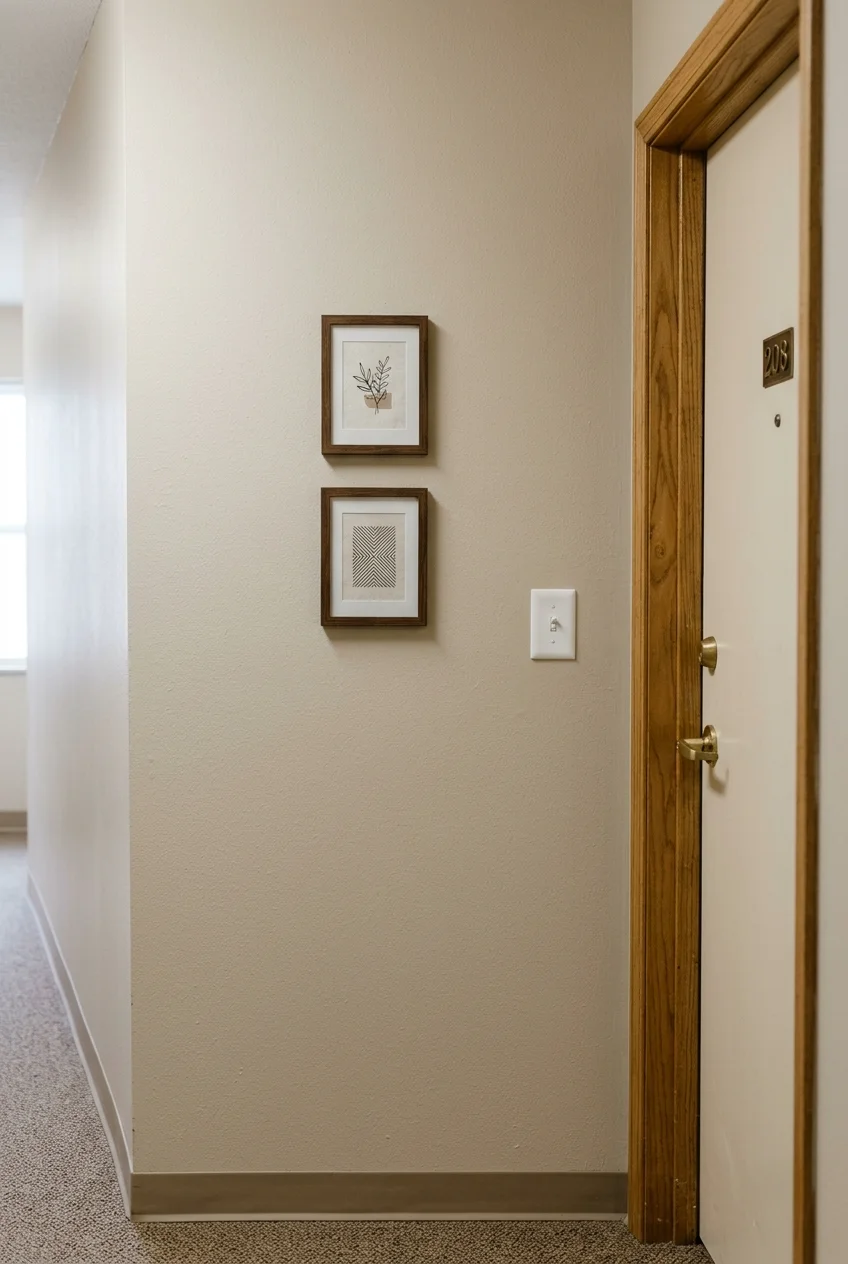
A light switch can make a short wall awkward to decorate. Use two small prints in a narrow stack on the open side of the plate to keep it reachable.
Tape up both templates and flip the switch before measuring. Continue the stack above or below the switch’s height if the open wall is too narrow beside it.
28. Hang a Clock Where It Earns Its Space
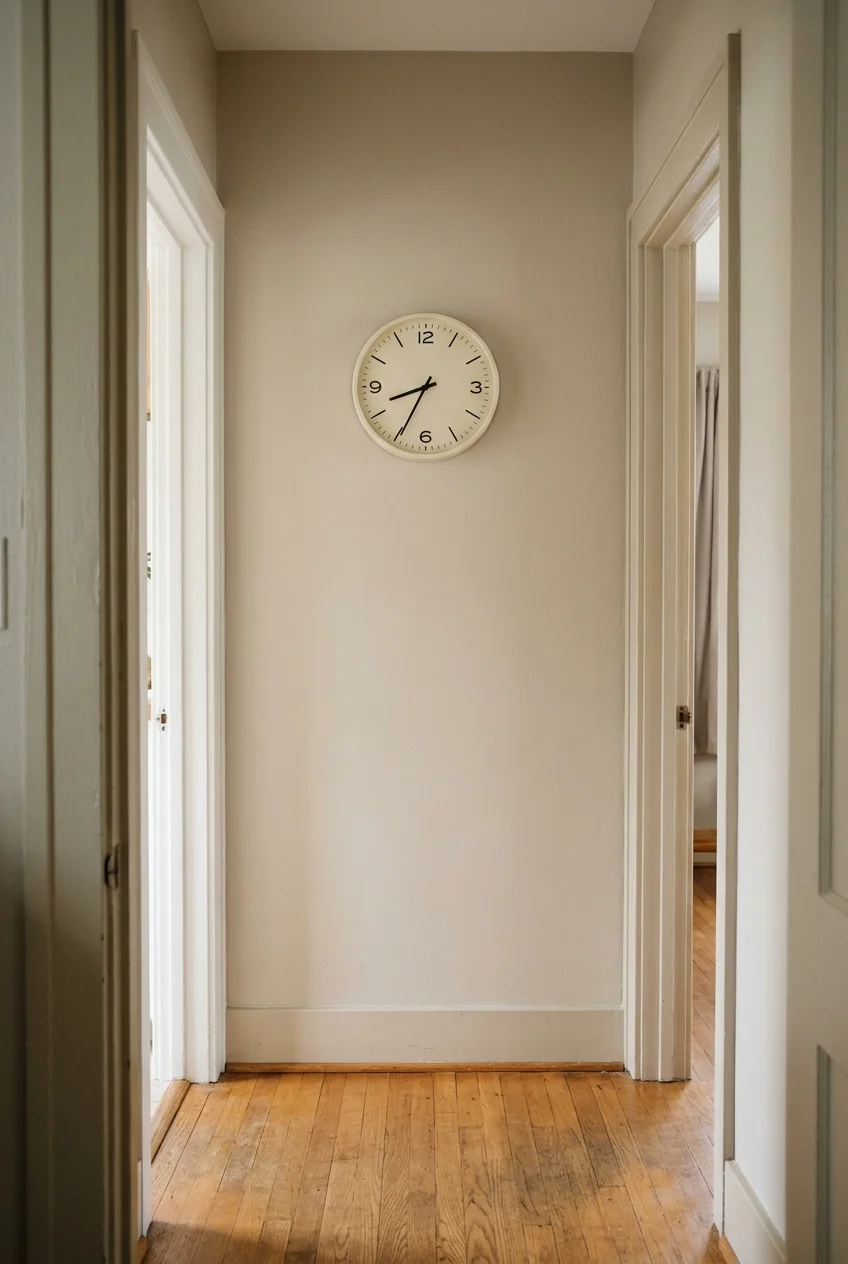
A simple clock is useful along the route out in the morning. Position it on a solid wall you can see from the kitchen or from the bedroom doorway.
Choose a lightweight model with a shallow case and easy-to-read marks. Leave enough room to lift it from its hanger when it needs a new battery.
29. Hang a Small Reminder Board by the Exit
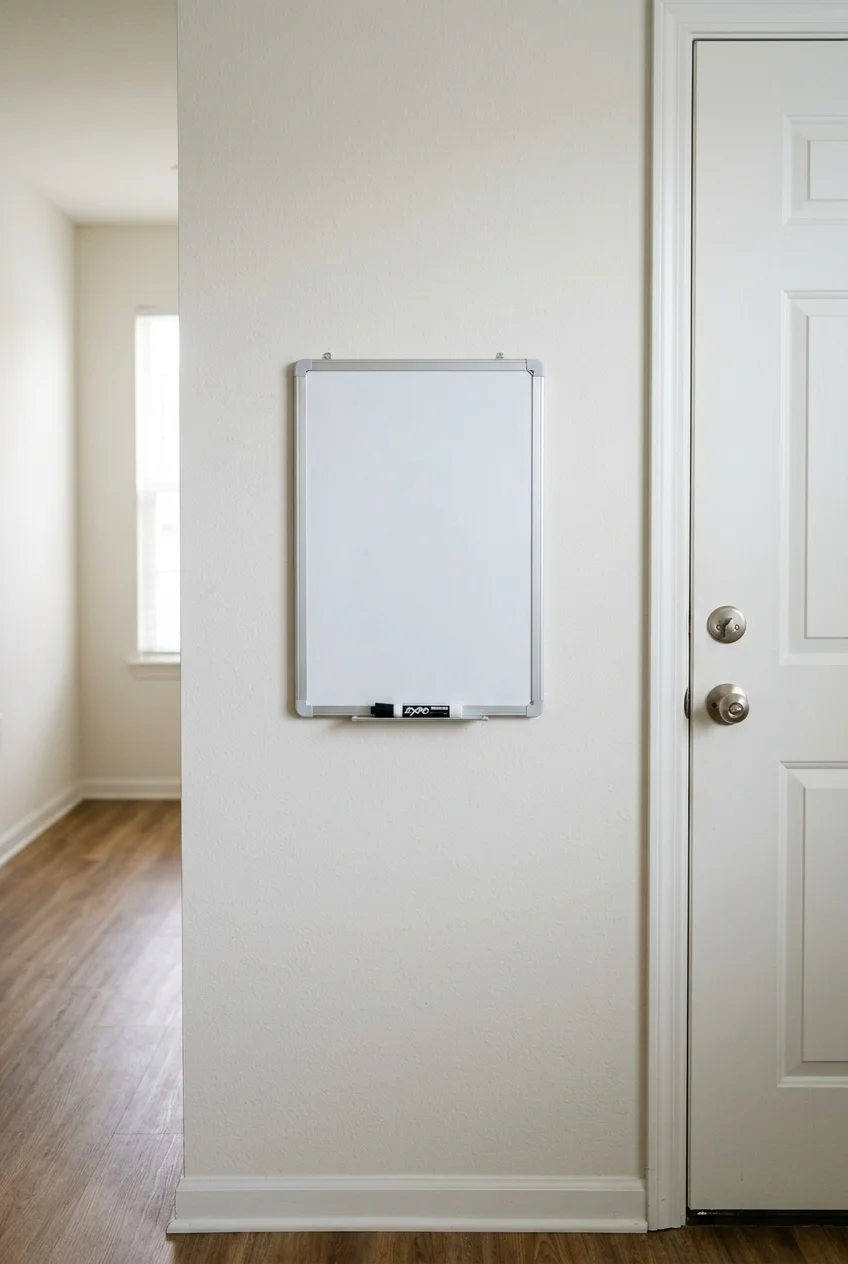
A compact dry-erase board near the exit can hold tomorrow’s reminders and keep loose notes from piling up. Put it where the last person out will see it.
Choose a shallow board with a secure marker clip, and keep the switch and door handle clear. If the hallway is very narrow, mount it inside a closet.
Lighting Fixes for Dark Spots and Night Trips
Check the hall once after dark and once during the day. The area that needs light may be different from the spot where the existing fixture sits.
30. Replace a Bulky Fixture With a Shallow Flush Mount
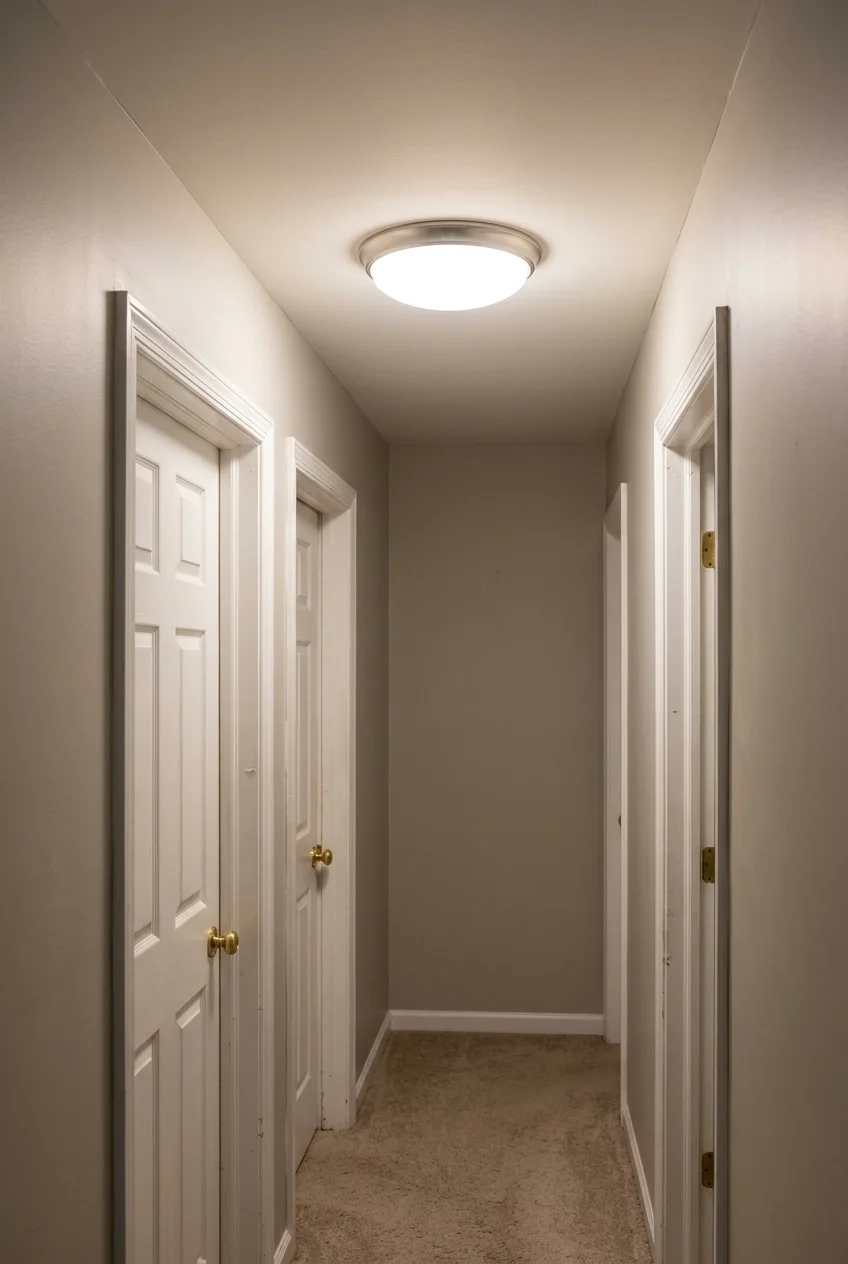
Choose a shallow flush mount when the old light hangs too low or throws uneven light. Look for a diffuser that spreads light across the passage.
Check the ceiling height, mounting requirements, fixture dimensions, and how much ceiling the old base covered. An inexpensive fixture can require paint touch-ups if its canopy is smaller.
If you rent, clear the change with your landlord. Have a qualified electrician handle the replacement if the wiring, ceiling box, or installation requirements are unfamiliar.
Use the fixture maker’s guidance on compatible bulbs or controls. If your current light is already shallow, changing its brightness may solve the problem for less.
31. Use a Plug-In Night-Light on the Bedroom Route
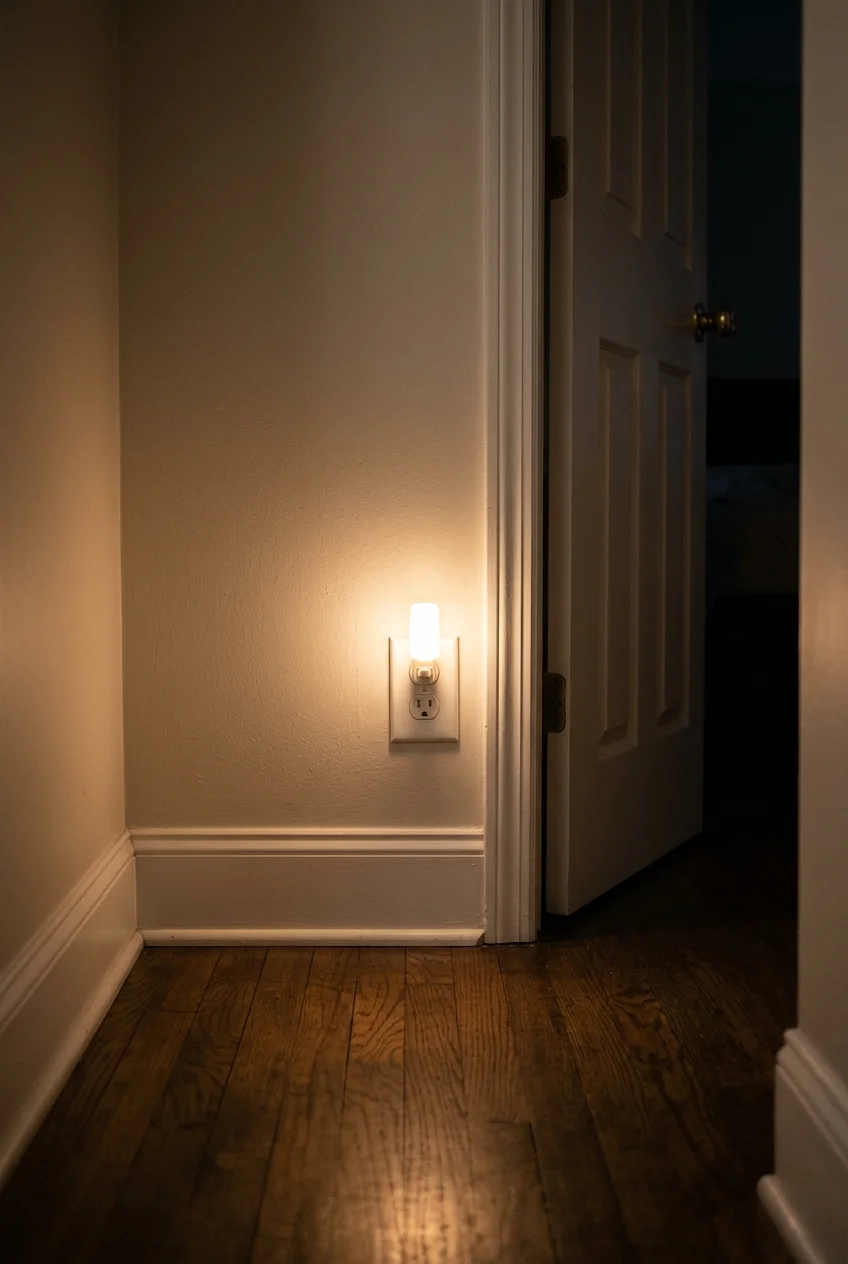
A plug-in night-light can mark the route between bedrooms and the bathroom. Choose an outlet where the light can reach the floor without sitting behind a piece of furniture.
A GE dusk-to-dawn night-light comes on in dim conditions, so check how much light the outlet receives from adjoining rooms. Leave enough room for nearby doors to open.
32. Add One Battery Sconce to a Dark Wall
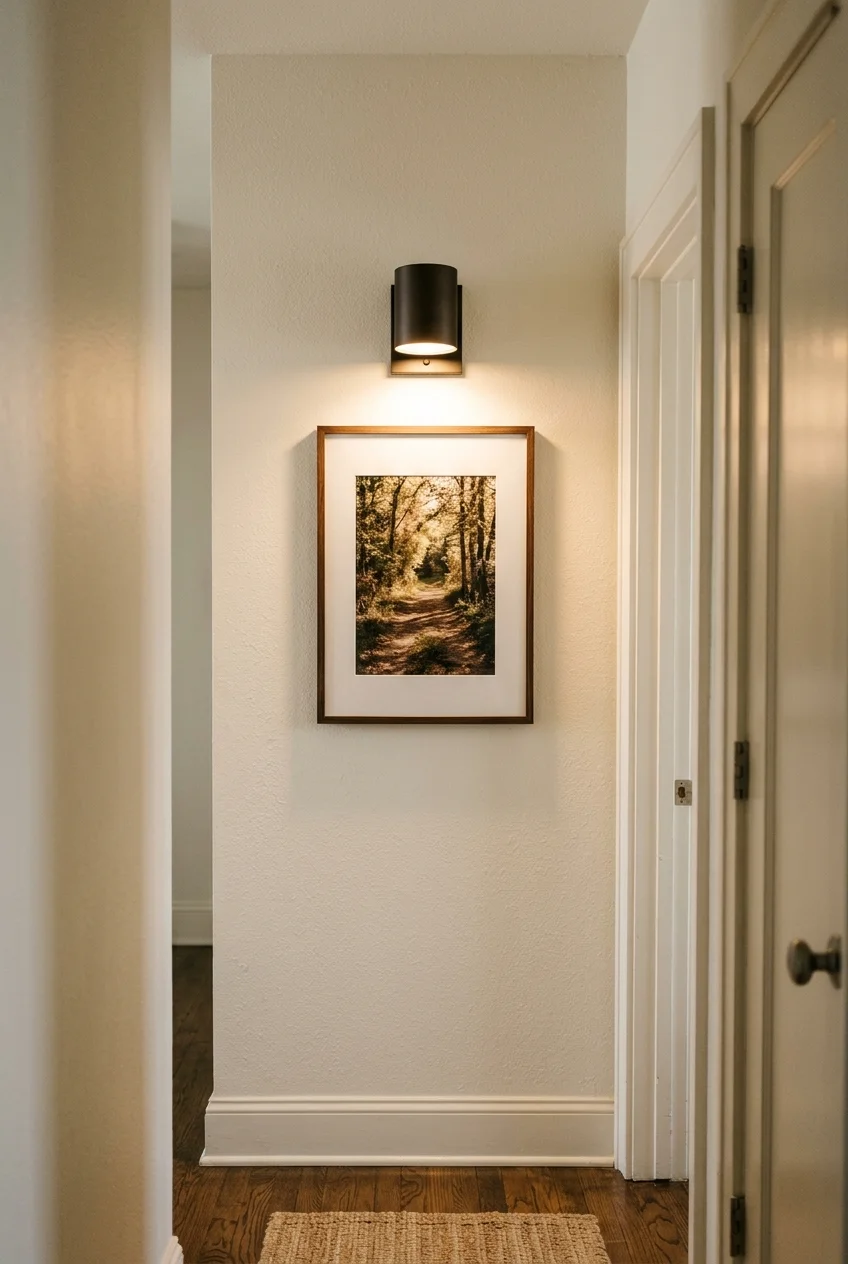
A battery sconce can add a soft spot of light over art, even where the hallway has no handy outlet. Pick a shallow fixture for the passage.
Check whether the battery or light module can come out from the front. Follow the maker’s mounting directions and leave enough space to recharge it without removing the whole fixture.
Use the sconce as a supplement where you want a glow. Keep the existing overhead light available for the times you need to see the entire floor.
33. Set a Small Lamp on Furniture You Already Own
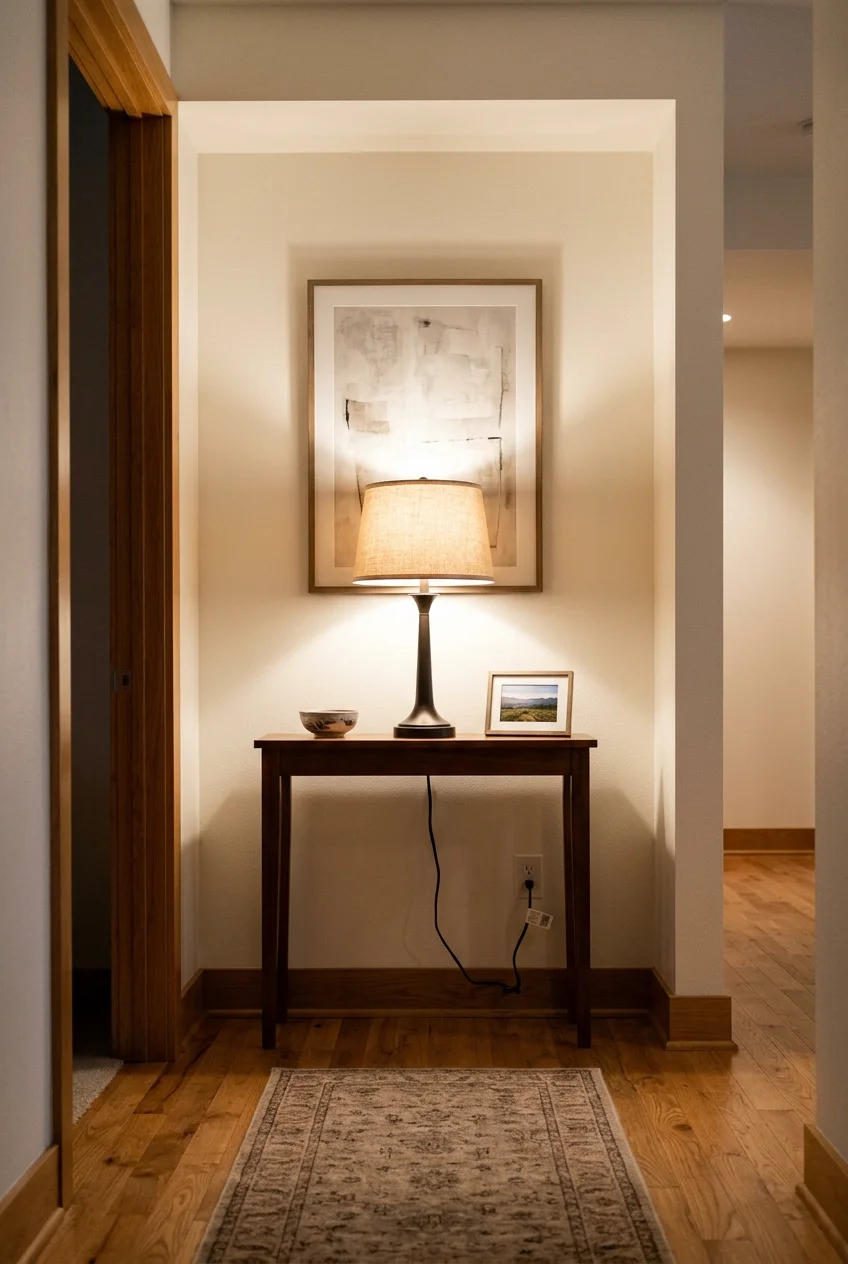
A small shaded lamp can soften the entrance after dark if you already have a table near an outlet. Choose a stable base that fits the tabletop.
Set the lamp toward the back and route its cord along the wall, where it stays visible and out of the walking path. Avoid running it under a rug.
Turn it on from the doorway before settling on a shade. A shade that hides the bulb from eye level can make the light easier to look toward.
34. Put a Compatible Smart Bulb on a Schedule
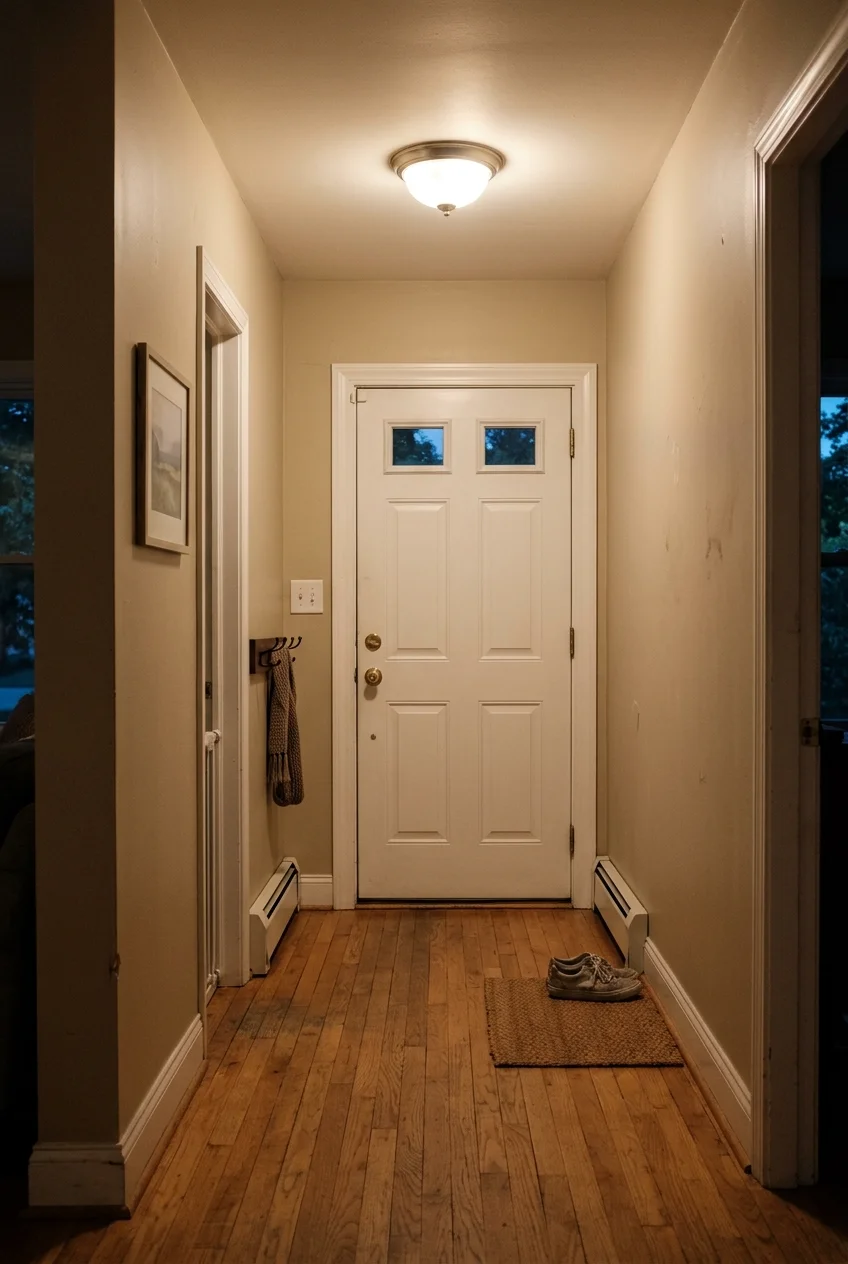
A scheduled bulb is useful if you often come home after dark and the hallway light has one ordinary switch. Set it to come on around your return.
Buy only after checking the socket, enclosure, and switch or dimmer compatibility. If the bulb needs continuous power, make sure everyone knows to leave the wall switch on.
Set an off time as well, and test the schedule with the equipment you already have. Keep an ordinary control option that everyone in the household can use.
35. Let an Existing Hall Window Do More Work
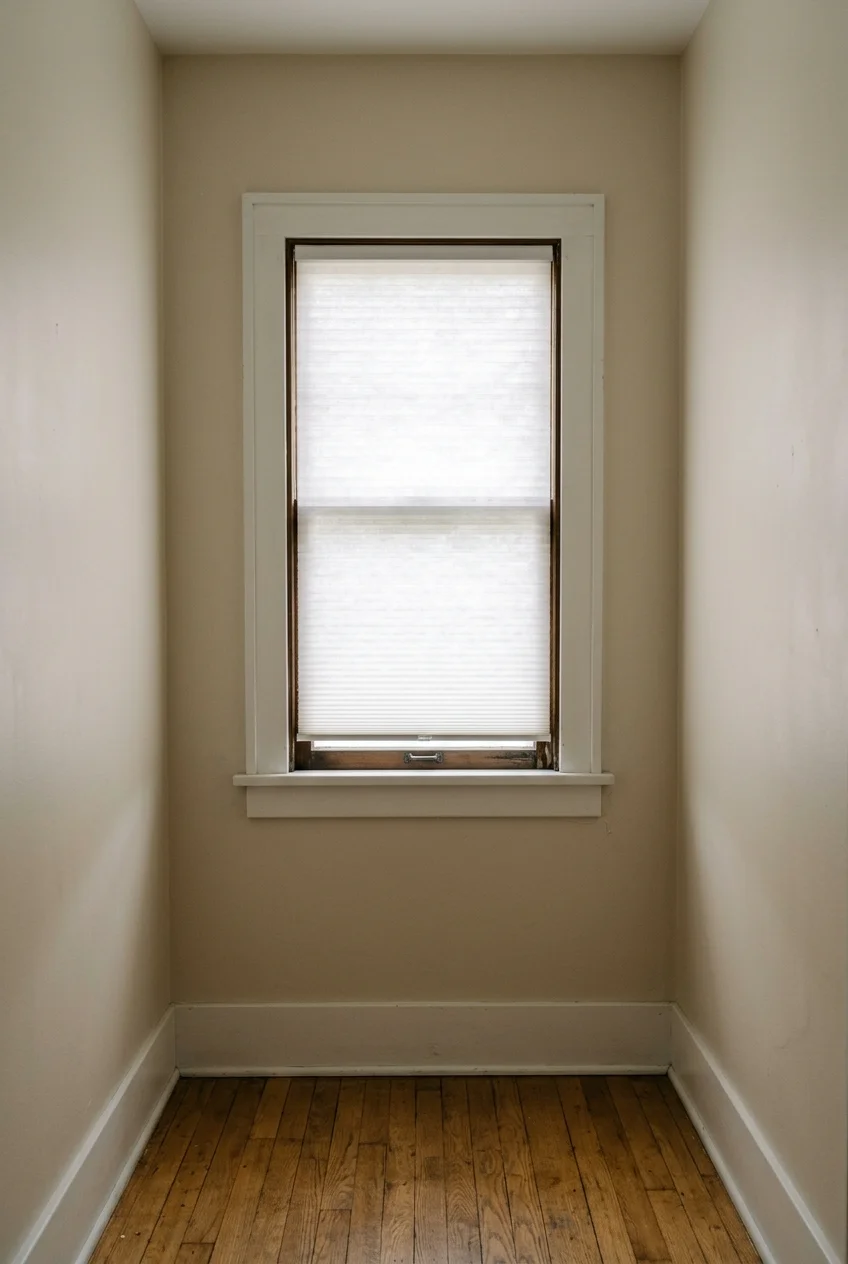
Replace a light-blocking window treatment with a light-filtering one if the hallway has a window. Start by deciding how much privacy you need at night with lights on.
Measure the opening in several places and check clearance for locks and handles. A cordless shade with a close fit keeps cords and excess fabric away from the passage.
Test privacy from outside if possible. If a light-filtering fabric shows too much after dark, look for a shade combination that offers a separate privacy layer.
36. Give a Hall Closet Its Own Motion Light
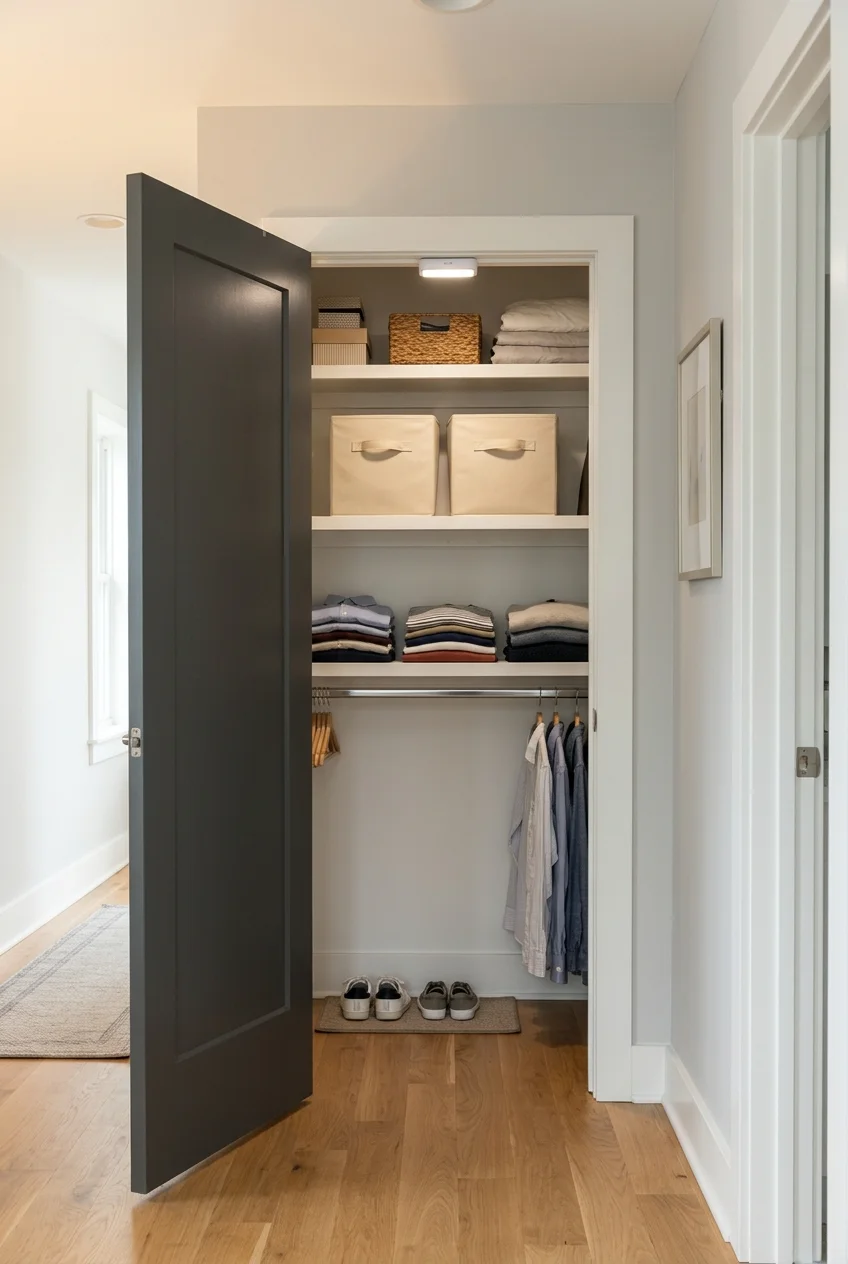
A small motion-activated closet light helps you see bags and supplies when the overhead hall light stops at the doorway. Pick a model designed for that use.
Check where the sensor can see the door open and where the light reaches the shelf fronts. Leave room to remove the unit for charging or battery changes.
Follow its clearance and mounting directions. If a wardrobe rod or shelf blocks the beam, move the light to the front edge where permitted by the installation instructions.
Storage That Fits the Hall You Have
Measure the space with everything in use, from cabinet doors to winter coats. A piece that looks slim online can still crowd the hall when it’s full.
37. Mount a Tilt-Out Shoe Cabinet on a Solid Wall
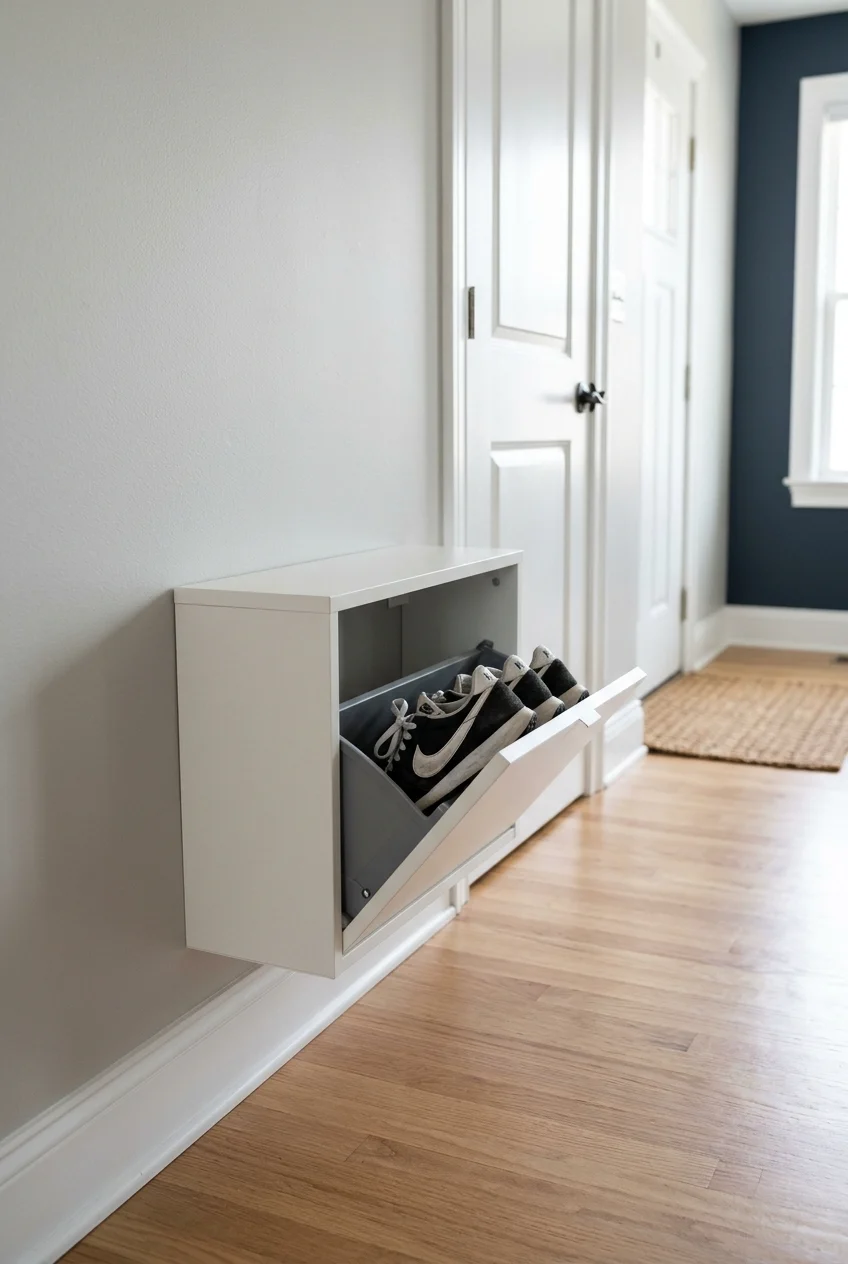
A tilt-out cabinet hides shoes behind a shallower front than many open racks. It works best along a solid wall where nobody needs the space behind the opening compartment.
IKEA lists its TRONES shoe cabinet at 7⅛ inches deep when closed and requires securing it to the wall. Account for the baseboard and choose hardware for your wall type.
- Measure the closed cabinet’s projection where the back will actually sit.
- Mock up the open compartment with cardboard or check the floor model.
- Test your longest shoes inside and keep bulky boots somewhere else.
Before drilling, stand where you’ll reach into the bin and have someone pass if a second person is available. Try the same test with nearby doors fully open.
If you rent, confirm the wall mounting is permitted. For ideas with different footprints, explore entryway shoe storage options and compare what they hold with the shoes you wear most.
Practical tip Check the floor and baseboard before marking holes. If the cabinet can’t sit the way the instructions show, choose another location or a model that fits.
38. Tuck a Sit-Down Bench Into a Wide Recess
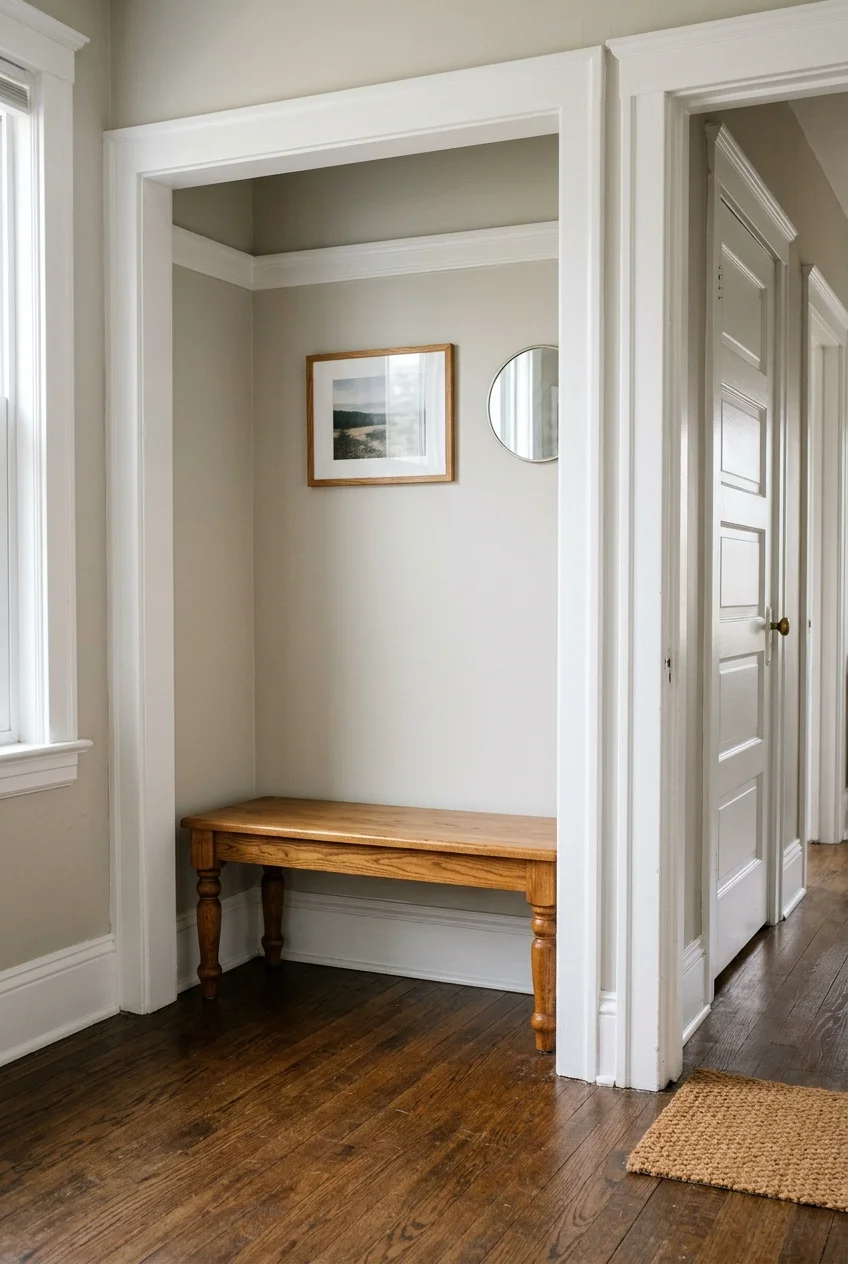
A compact seat makes shoe changes easier when there’s a wide alcove or a landing with room to sit. Test the space with your feet on the floor.
Look for a bench designed for seating and check its weight limit. Try a backless shape with a shallow profile if the recess is only just deep enough.
Measure the walking lane with someone seated and with nearby doors open. If knees extend into the busy route, move the seat to the adjoining room.
39. Turn the Inside of a Closet Door Into Umbrella Storage
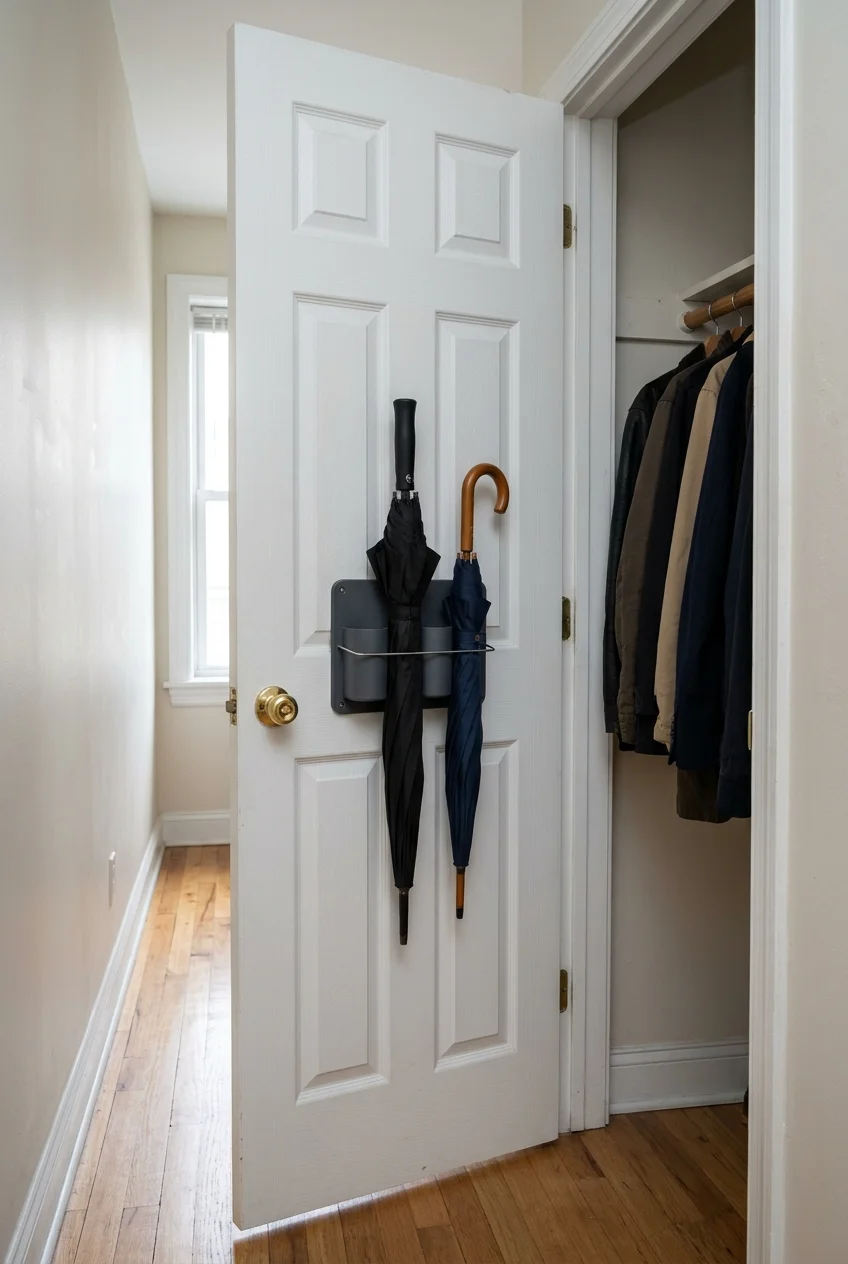
An umbrella holder on the inside of a suitable closet door keeps dry umbrellas off the hallway floor. Choose a holder sized for the umbrellas you actually use.
If you use an over-door version, check door thickness and top clearance and make sure the latch still closes. Let umbrellas dry fully before putting them inside.
Place the holder where it won’t hit a shelf or jamb as the door closes. A lower mounting position can work for folding umbrellas that otherwise disappear on shelves.
40. Use a Basket in Dead Space Under an Existing Shelf
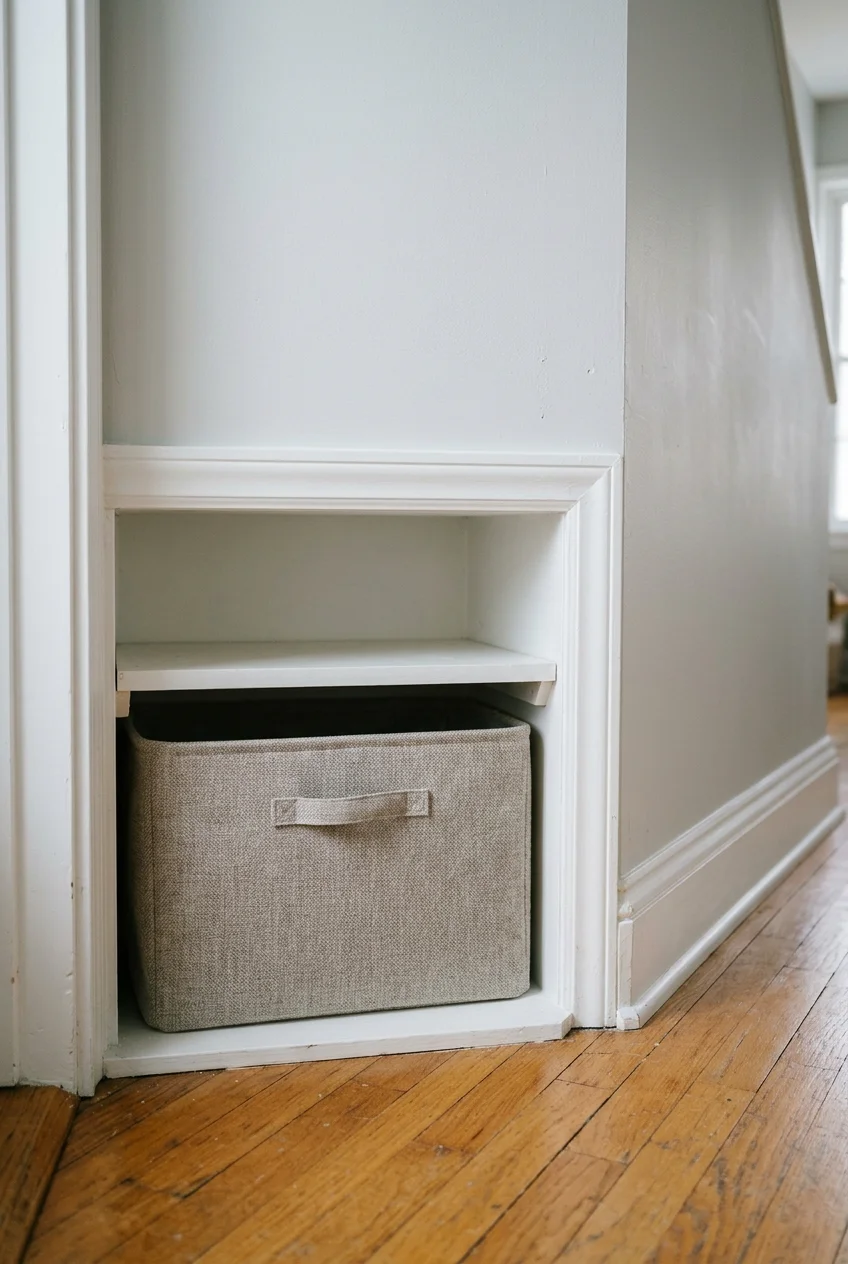
A single basket under a sturdy built-in shelf can hold gloves, hats, or reusable bags. Choose a spot where it stays fully behind the front of the recess.
Measure from the floor to the shelf underside and allow space for your hand. A soft-sided bin with a front handle is easy to pull out and carry.
Give the basket one job to keep it from turning into a place for everything. If an outlet or vent occupies the recess, choose a different location.
41. Make a Contained Spot for Mail
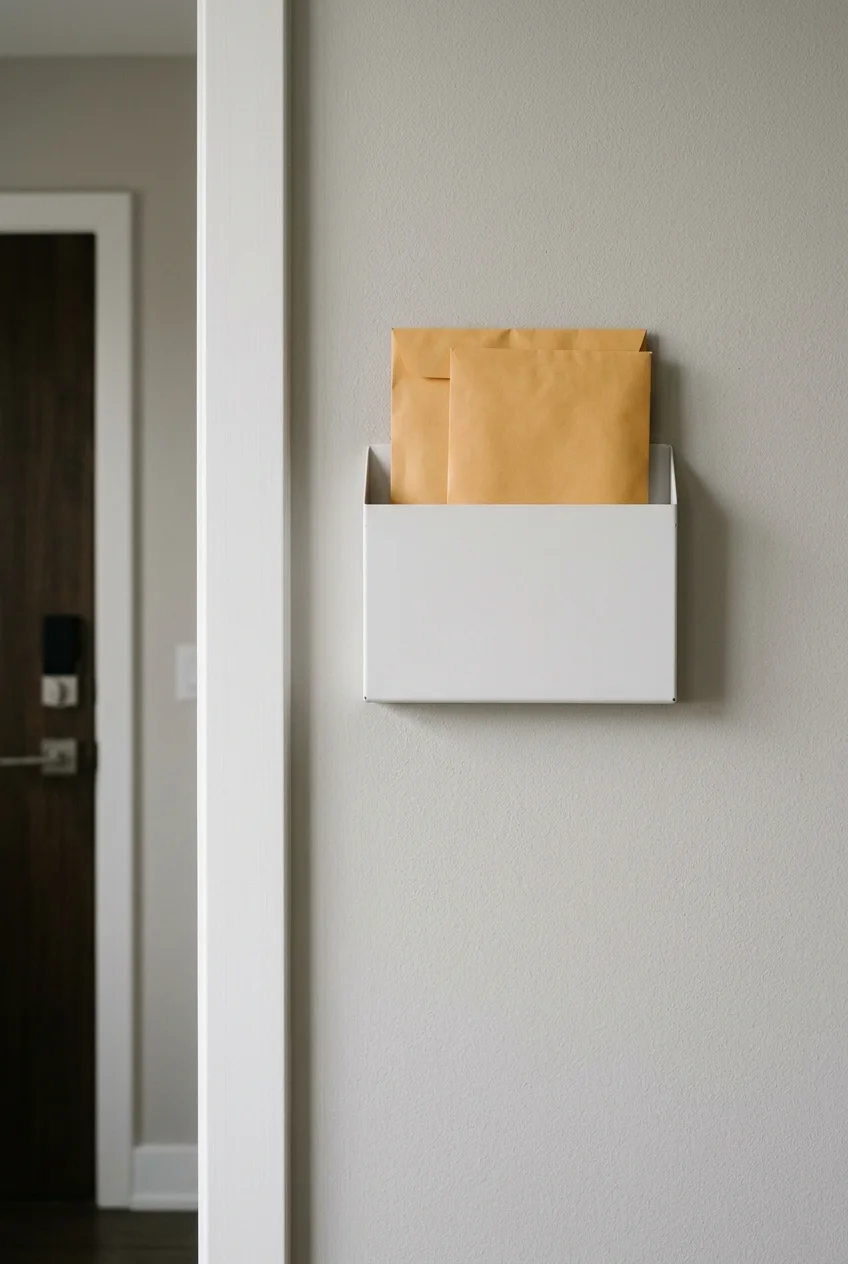
A wall-mounted mail pocket clears envelopes off a console and gives incoming papers one place to go. Set it near the entry, clear of coats and switches.
Measure it against your widest envelopes. A shallow slot works for everyday mail if you empty it regularly, while larger packages can go straight to another room.
Use a mounting method suited to the wall and expected load. Try a desktop sorter on furniture you already own if the walls need to stay untouched.
42. Put Reusable Bags on a Hanger Inside the Closet
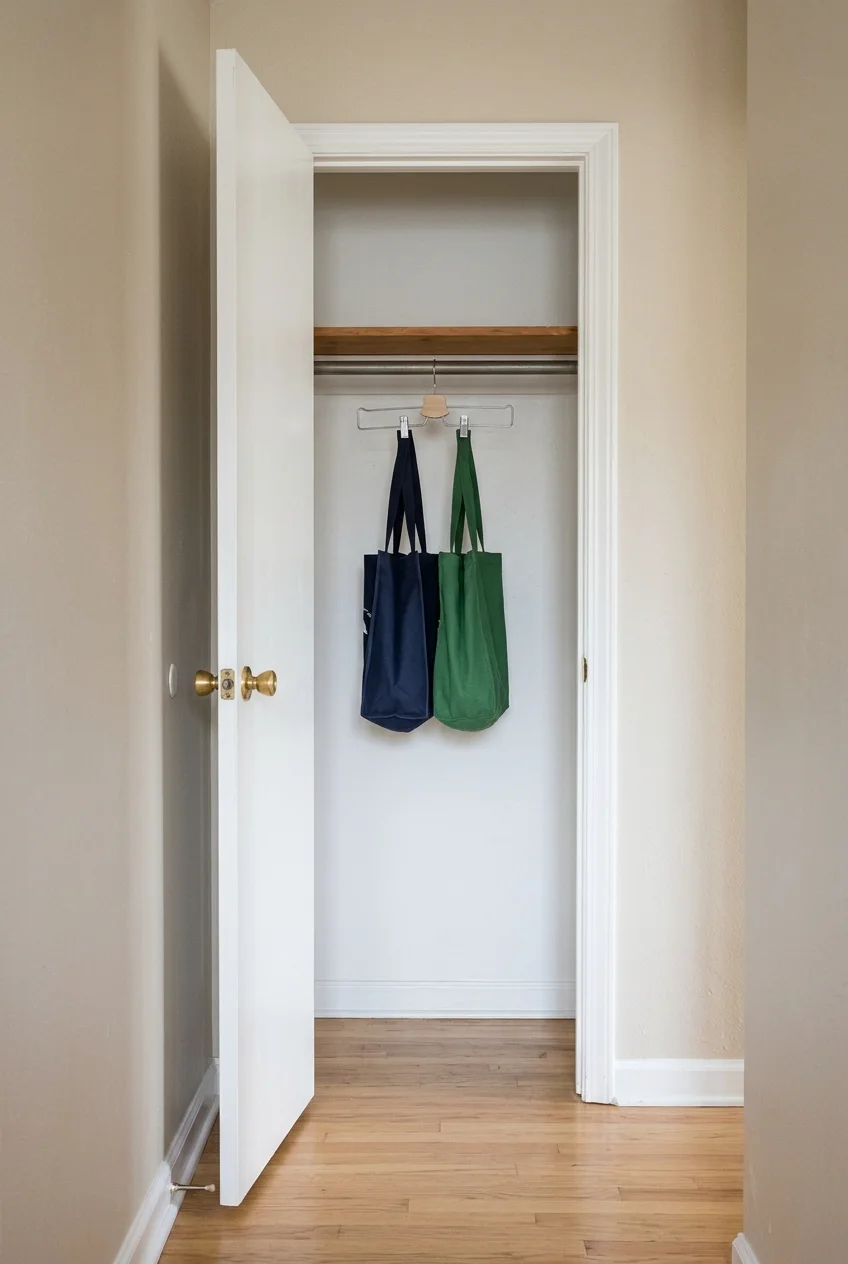
A hanger with secure clips gives reusable shopping bags a better home than the front doorknob. Hang it near the end of the hall closet rod for quick access.
Fold bulky bags first and keep the load within the hanger’s rating. Close the closet door to check that no handles spill out where they might catch.
43. Keep a Pet Leash and Towel Together on Open Shelving
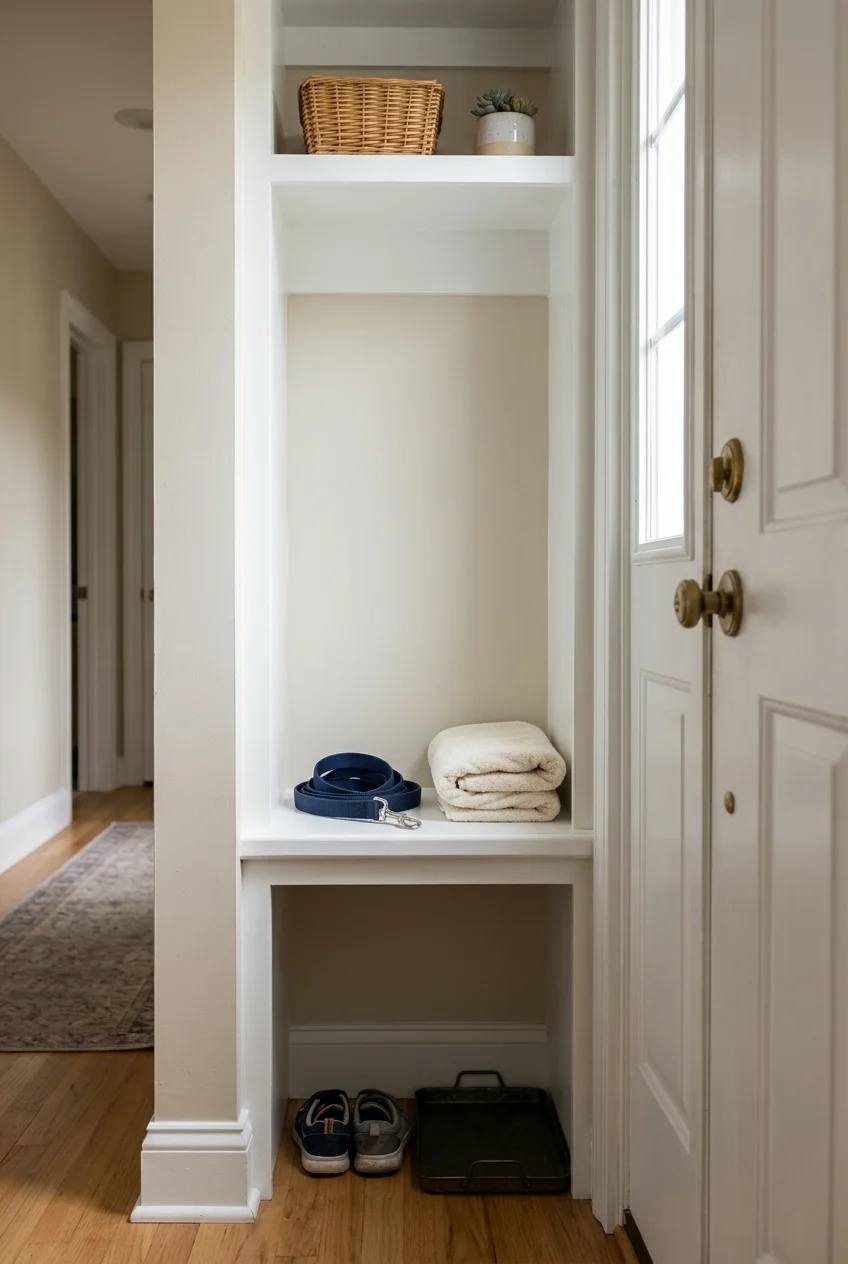
Use an existing cubby beside the door for a leash and a washable towel. Keeping them together makes the area easier to reset after a rainy walk.
Choose an open cubby you can reach before you leave and wash the towel as needed. If there is no usable shelf, use one bin inside the closet.
44. Clear a Tight Hall by Moving the Furniture Out
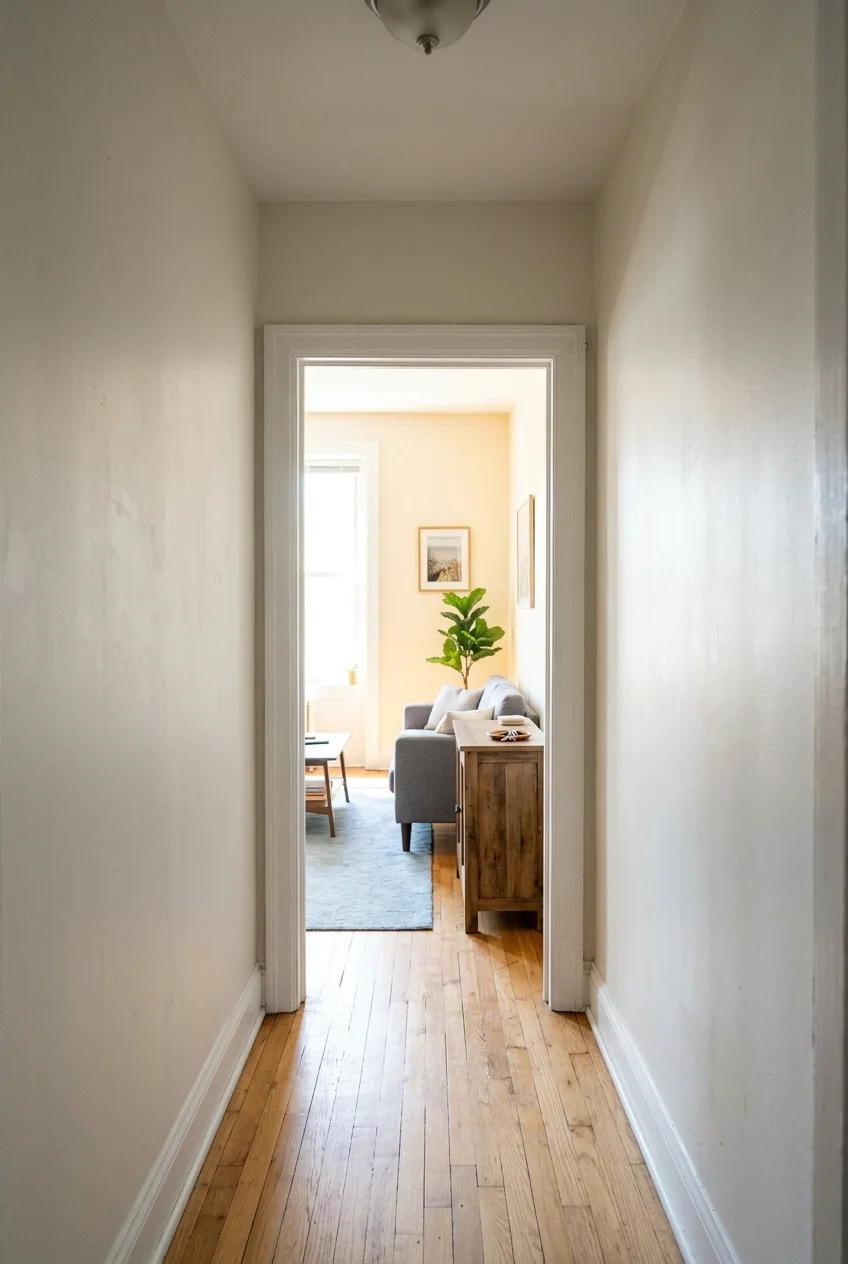
If two people have to turn sideways to pass, remove the console or shelf for a day. Use the hall as usual and notice which functions you miss.
Move those functions just beyond the corridor, such as putting a key bowl on a ledge in the next room. For more arrangements, see small apartment entryway ideas.
Walk the route carrying a bag or laundry basket. If the space works better bare, put any visual interest on a flat wall or at the far end.
Small Hardware and Floor Fixes Worth Doing
When the hall already looks acceptable, fix the thing you notice every time you walk through it. A sticky latch or rattling threshold can be the whole project.
45. Replace a Loose Interior Knob With a Lever
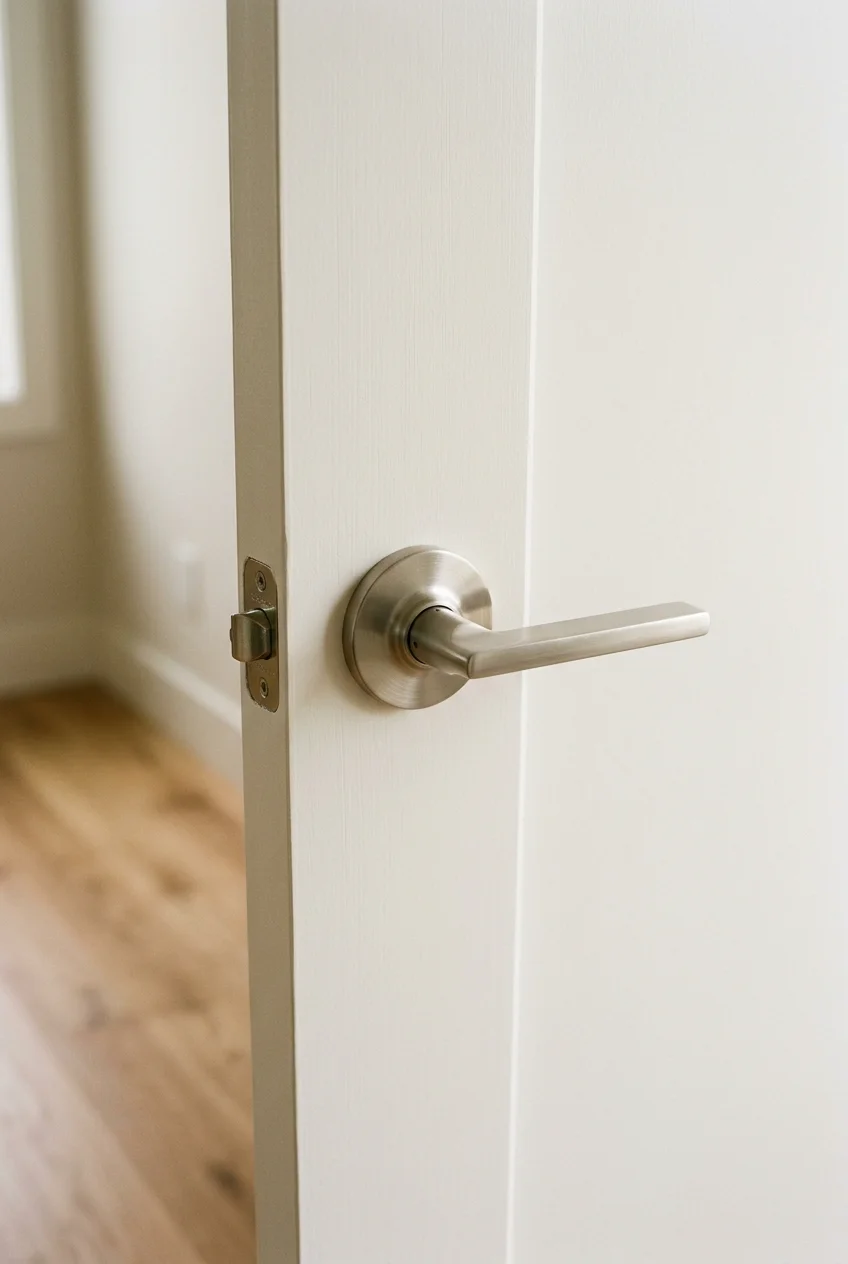
A lever can make a frequently used hallway door easier to open with full hands. Start with the one door you use most and keep the others for later.
Match the function to the room. Use passage hardware on a standard nonlocking closet or hall door, and choose the appropriate privacy function where a room needs it.
- Door thickness and the diameter of the existing bore.
- Backset, measured from the door edge to the center of the bore.
- Lever handing, unless the model is reversible.
Compare the new trim plate with the outline of the old one before buying. A smaller plate can expose an unpainted ring that needs a minor touch-up.
46. Add a Stop Where the Door Hits the Wall
Image pending: No image is attached to this draft for idea 46 (image-46).
A properly positioned stop protects the wall where a door handle keeps hitting it. Watch the door’s swing and find the contact point before choosing the stop.
Use the wall, baseboard, or door-mounted type the maker recommends for your setup. Make sure the stop catches the door before the lever reaches the wall.
Keep hardware out of the walking lane and avoid mounting it over a damaged spot. On a rental door, ask before making changes that leave screw holes.
47. Renew Hall Carpet Before Paying for New Flooring
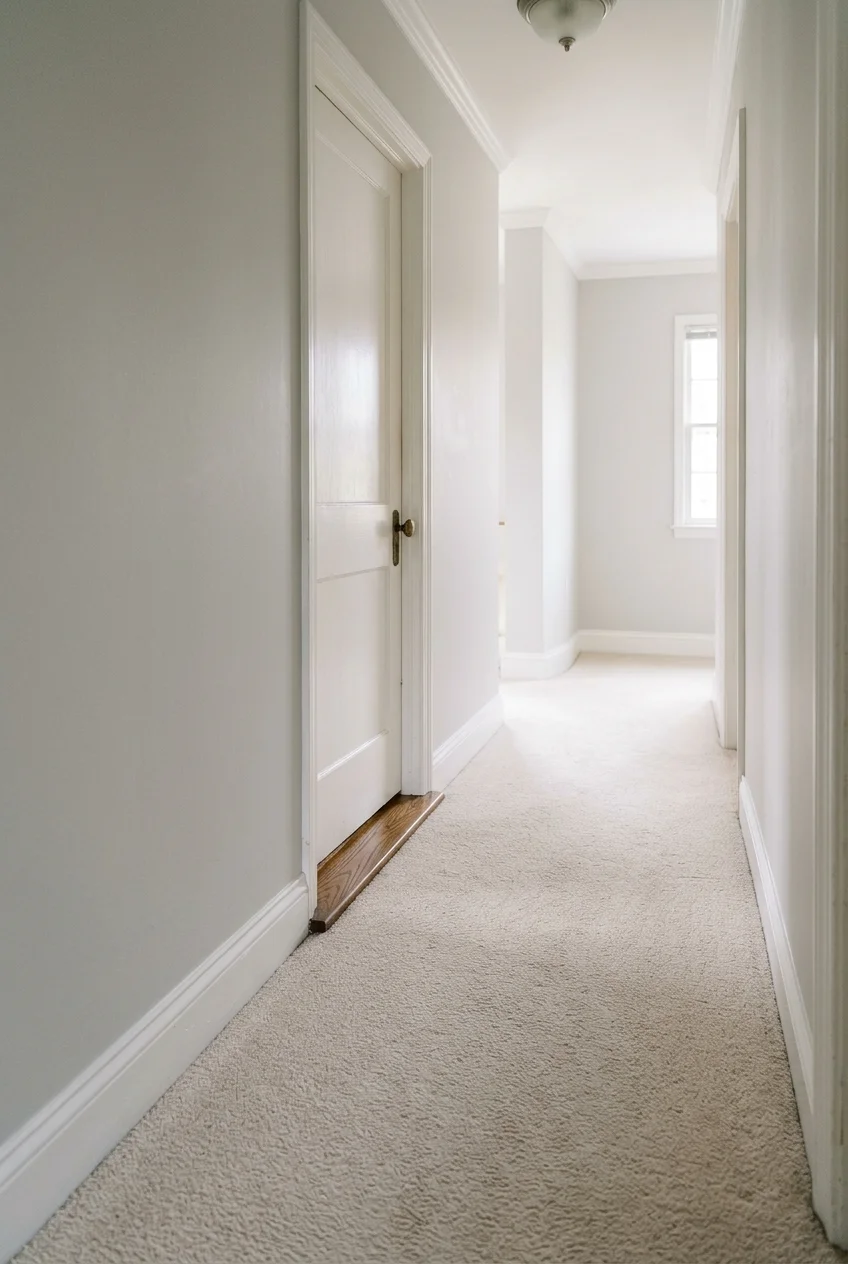
A targeted carpet cleaning can improve a hallway that looks dingy where everyone walks. Vacuum first and check the manufacturer’s guidance for stains and cleaning methods.
For spot treatment, test the recommended cleaner in a hidden area. Use the amount directed and let the carpet dry fully before putting a runner over it.
If the carpet has loose edges, wrinkles, or damaged seams, ask a carpet installer about repair. Cleaning can improve the surface while those problems need separate attention.
48. Replace a Loose Transition at a Doorway
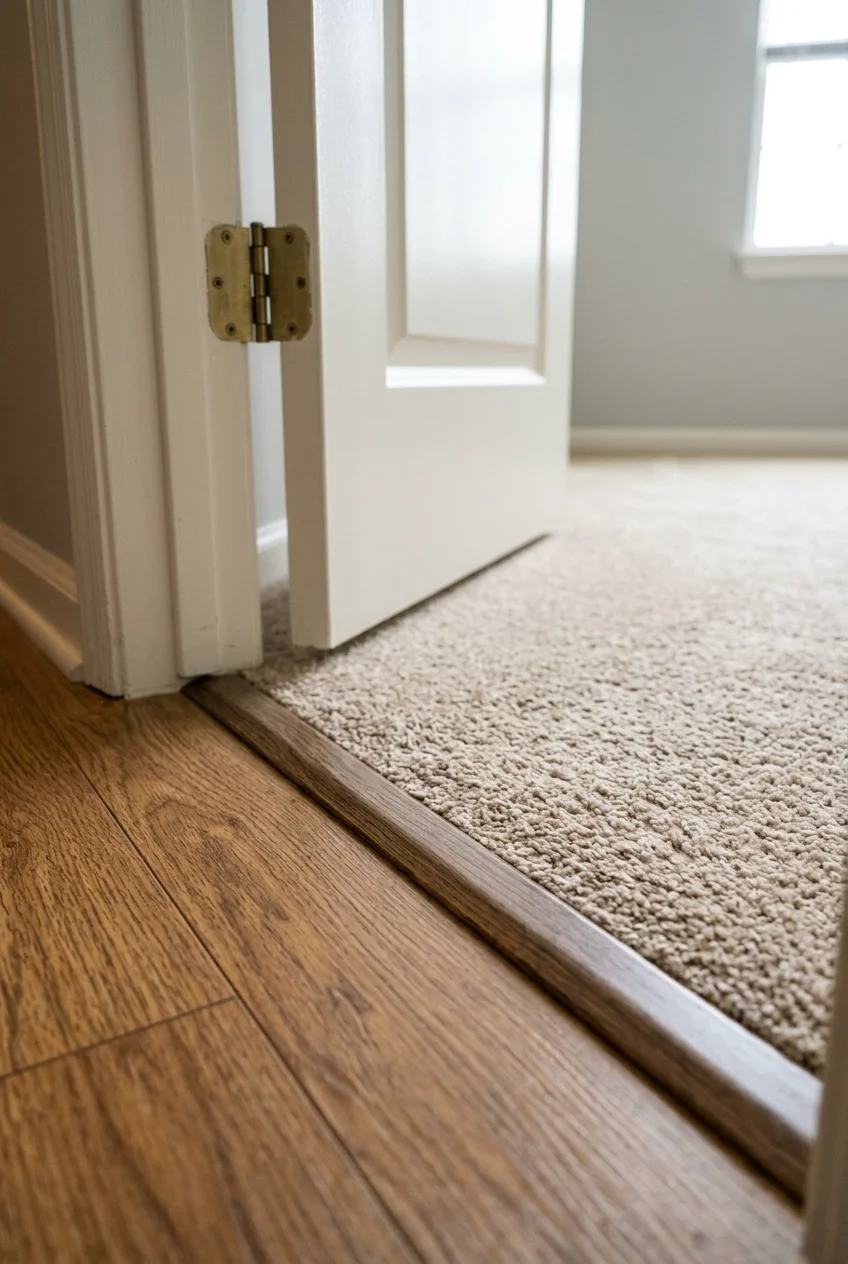
When the strip between two floors moves underfoot, focus the makeover there. Check how the original piece is fastened and whether the floor edges are still sound.
Measure the height of each material and the width of the opening. A transition for two level floors differs from a reducer meant for a height change.
Check your flooring system’s instructions before fastening anything, especially over a floating floor. If the movement comes from a damaged edge, fix that issue before replacing the strip.
Test the door swing after installing the matching profile. A tidy threshold should feel stable underfoot and allow the nearby door to open and latch as intended.
49. Use Floor-Rated Peel-and-Stick Tile in a Small Entry Bay
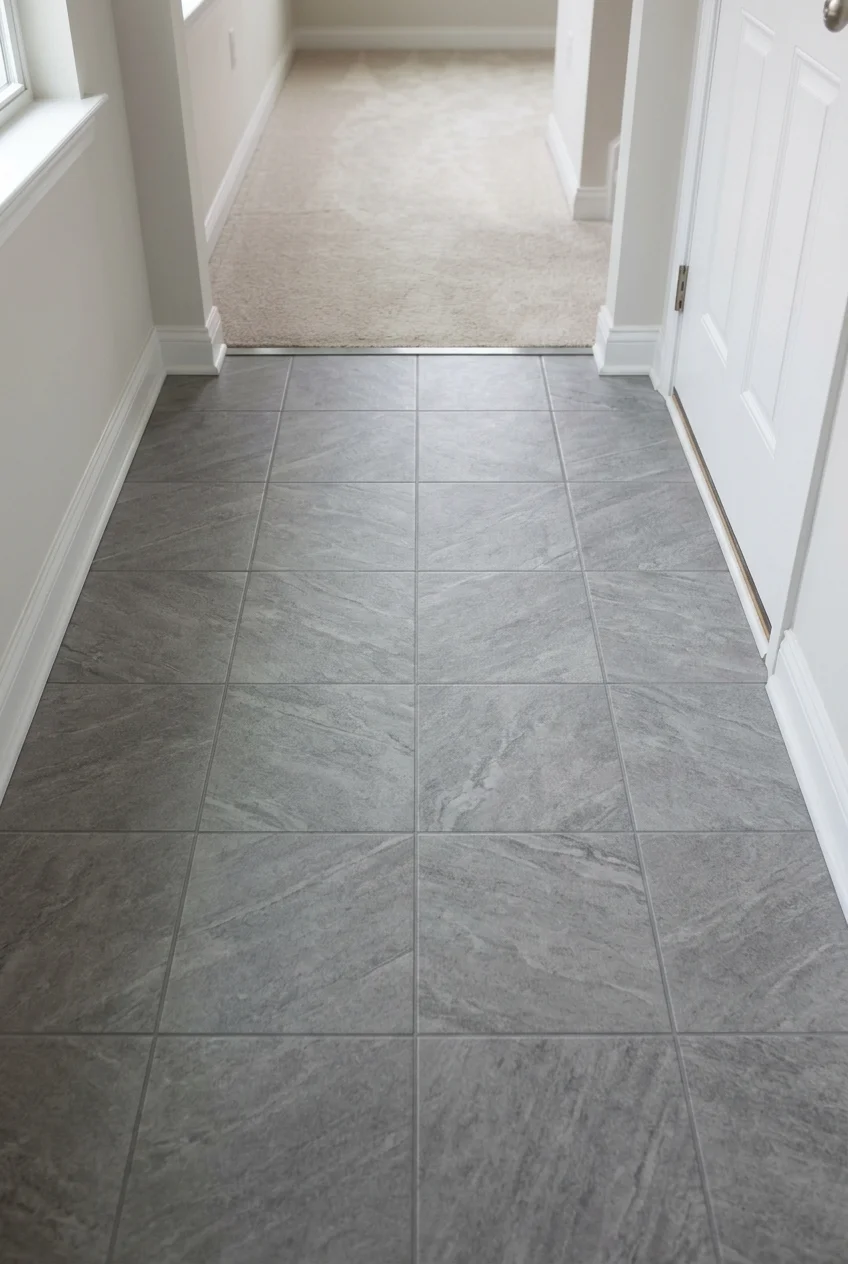
Floor-rated peel-and-stick tile can be a manageable project inside a short entry bay with defined edges. Check the product’s approved substrate and any landlord restrictions before shopping.
Measure the actual area, plan the joint layout, and allow for cuts. A dry layout shows where narrow pieces would land at the baseboards or doorway.
Begin with a sound, flat, clean surface that the product manufacturer approves. Read the floor tile installation instructions for prep, rolling, temperature, and any required wait before normal traffic.
Price the tile and required prep together. If the existing floor has water damage or movement, have the underlying issue addressed before adding another layer on top.
In an older home, leave suspect flooring or adhesive undisturbed and ask a qualified professional before scraping or sanding. Consider a removable mat if the floor cannot be altered.
Check the transition height and the clearance below the front door before ordering tile. A thin sample helps you see where the new edge would land.
50. Replace a Cracked or Mismatched Switch Plate
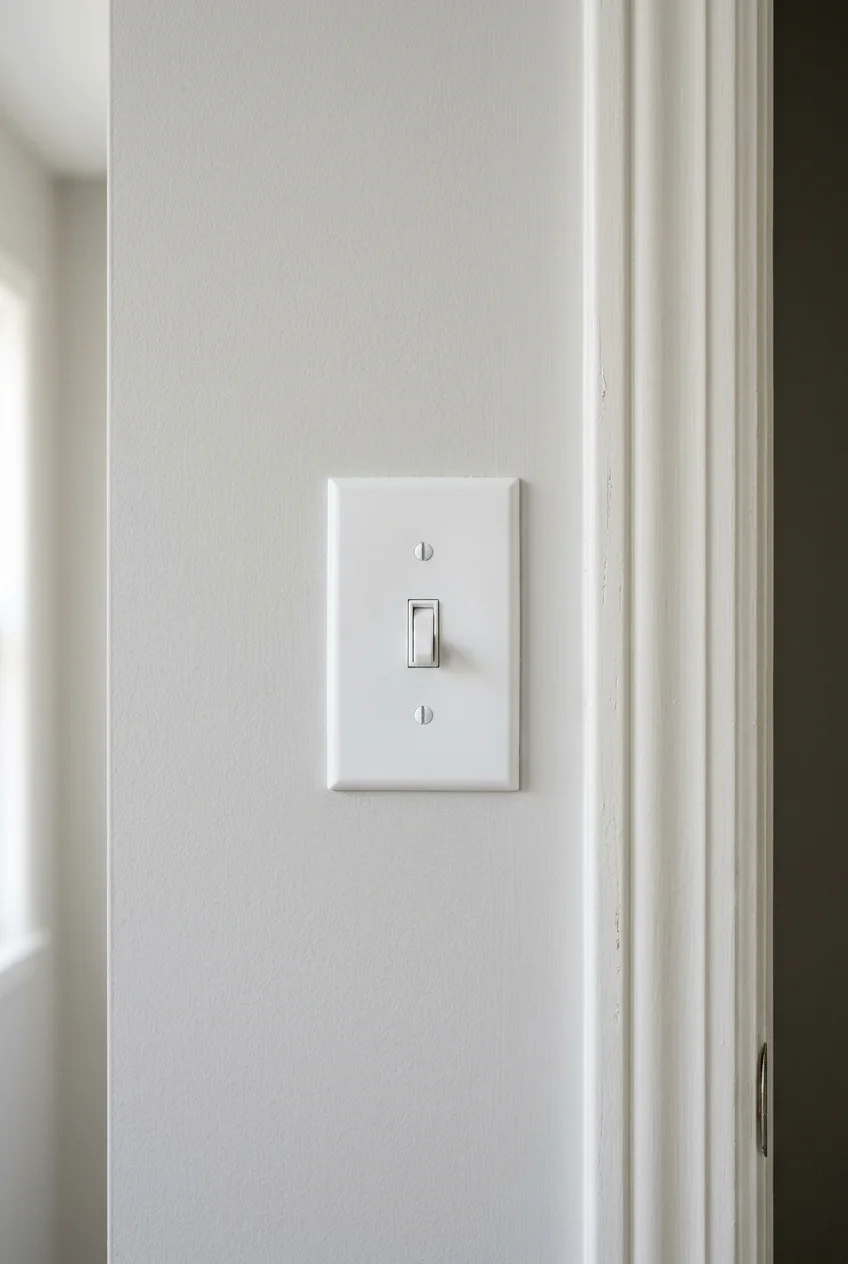
A fresh switch plate gives a newly painted hallway a small finished detail. Match the device style and count the openings before buying a replacement cover.
Use the correct size to cover the opening without pinching the controls. Switch off power at the breaker and follow the manufacturer’s instructions for the cover change.
If the switch itself is loose or the box is damaged, have it checked before changing the cover. Keep the plate clean and free of paint buildup.
Frequently Asked Questions
What should I do first if I can only afford one change?
Walk the hall once in daylight and once after dark. Fix the thing that affects daily use first, such as poor lighting or shoes in the walking path.
If the hallway already works, try the cheapest visible change with what you own. Reposition a frame, retouch one wall, or remove a table that makes the space feel crowded.
How can I start a hallway makeover as a renter?
Begin with your lease and work inside your own unit. A runner, reused art, and a plug-in light can make a difference while using the surfaces you have.
Ask before painting, drilling, or applying wallpaper. Test removable materials on an approved surface, and keep original hardware together if your landlord allows you to swap it.
What measurements matter most in a narrow hallway?
Measure between the most projecting surfaces, including baseboards and handles. Check the same span with doors, drawers, and storage compartments open before you commit to a purchase.
Use cardboard to mock up the footprint at home. Carry a laundry basket through the passage and make sure any added piece leaves enough space for your usual route.
How do I keep the budget from growing?
Set aside part of your budget for what makes the change work, such as a compatible rug pad, the right fasteners, or primer for a repaired area.
Compare the full cost of two options before ordering. Borrowing a paint tray or reusing frames may free up enough for the one item you actually need.