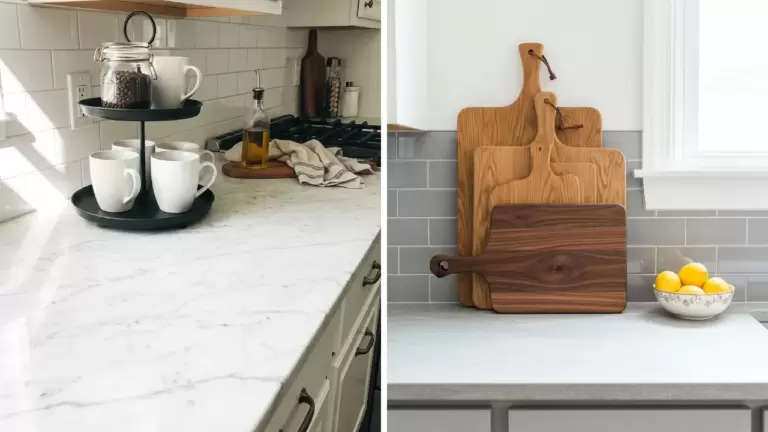
50 Kitchen Remodel Ideas on a Budget

This post may contain affiliate links: full affiliate disclosure.
A budget kitchen remodel works when the money follows function. Measure the room, identify what is still sound, price hidden work first, and protect a reserve before choosing paint colors or decorative finishes.
How to Set a Kitchen Remodel Budget
This guide narrows 94 researched possibilities to 50 distinct ideas. The final set covers planning, layouts, cabinetry, counters, backsplashes, floors, lighting, appliances, renters, maintenance, safety, and project sequencing without padding the count with color swaps.
Use the ideas as a menu rather than a shopping list. A low-cost refresh may need paint and lighting, while a mid-scope project may combine retained cabinet boxes with new counters. Structural, gas, electrical, plumbing, ventilation, and permit questions belong with qualified local professionals.
Plan the Budget Before Choosing Finishes
The least expensive change is the one you do not have to undo. Start with drawings, measurements, priorities, and a staged scope so every visible upgrade fits the same plan.
1. Measure the Existing Kitchen Before Shopping
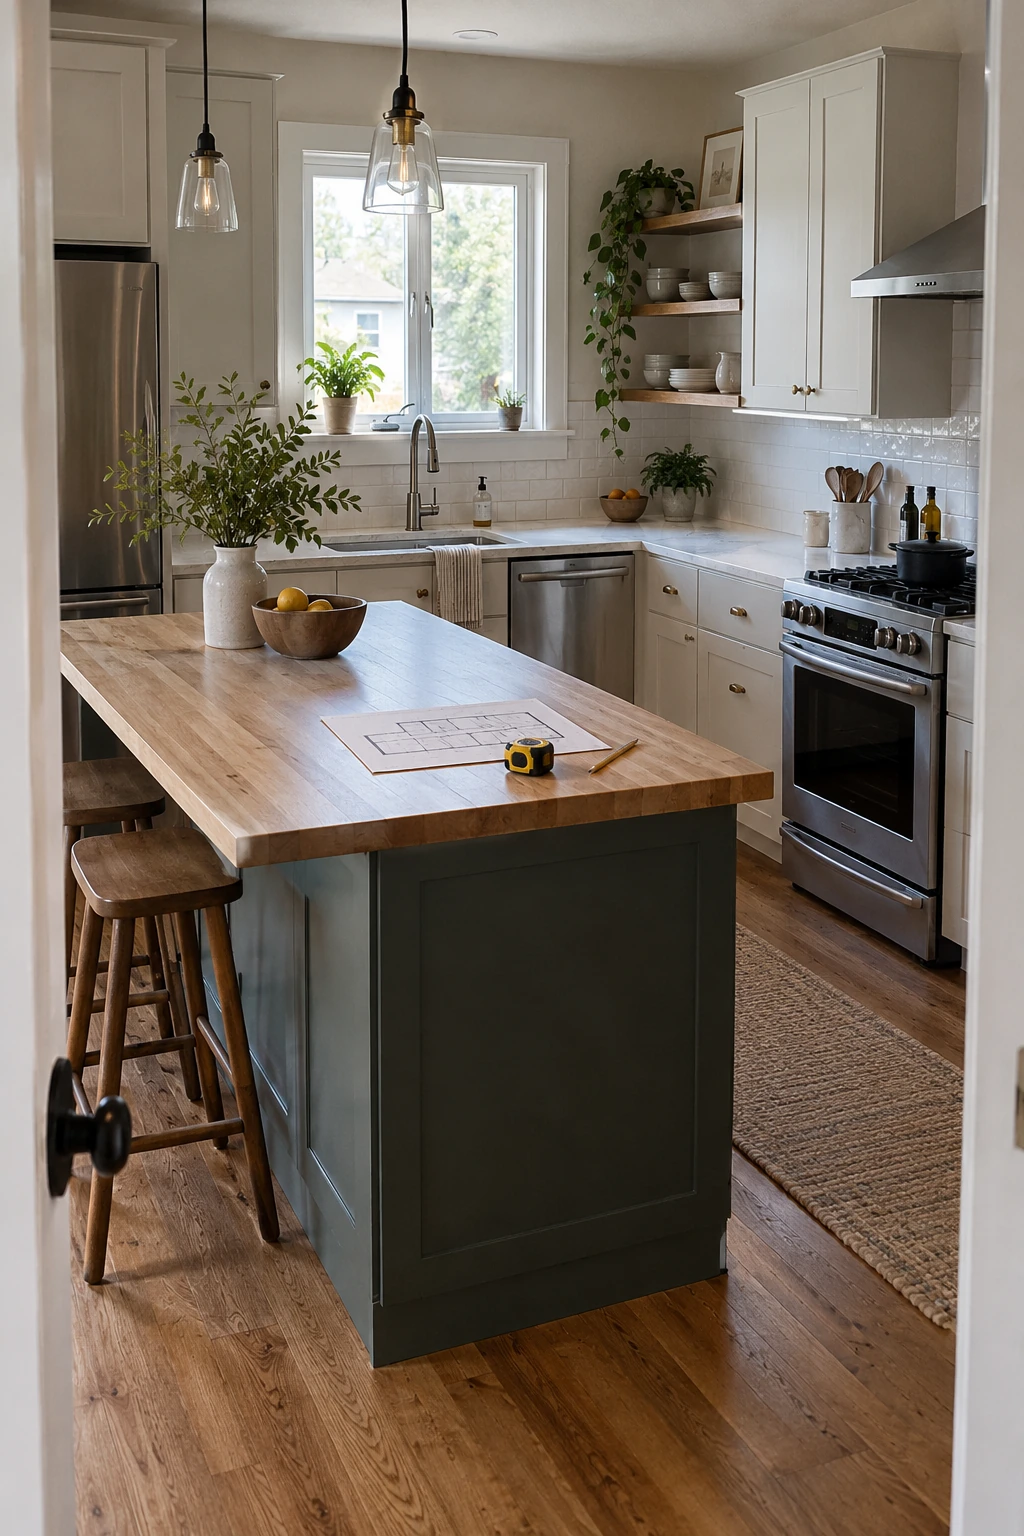
Record wall lengths, ceiling height, windows, doors, appliance widths, plumbing, outlets, vents, and every cabinet opening. Measure finished cabinet fronts and door swings, because a wall-to-wall dimension alone cannot reveal a blocked dishwasher or tight refrigerator hinge.
Draw the room at scale and mark elements that must stay. Accurate measurements let stock cabinets, remnant counters, and standard appliances compete fairly with custom work instead of creating expensive field changes.
Budget check: Verify every fabricated dimension with the responsible installer before placing a nonreturnable order.
Repeat critical dimensions on a different day and ask the installer to verify them before ordering. A useful measuring tool supports planning, but fabricated pieces should never rely on one unconfirmed reading.
Save the drawing with product specifications and photos of utilities. That record keeps quotes comparable and prevents later trades from working from different assumptions.
Shop the Bosch laser measure on Amazon
2. Sort the Scope Into Must, Should, and Later
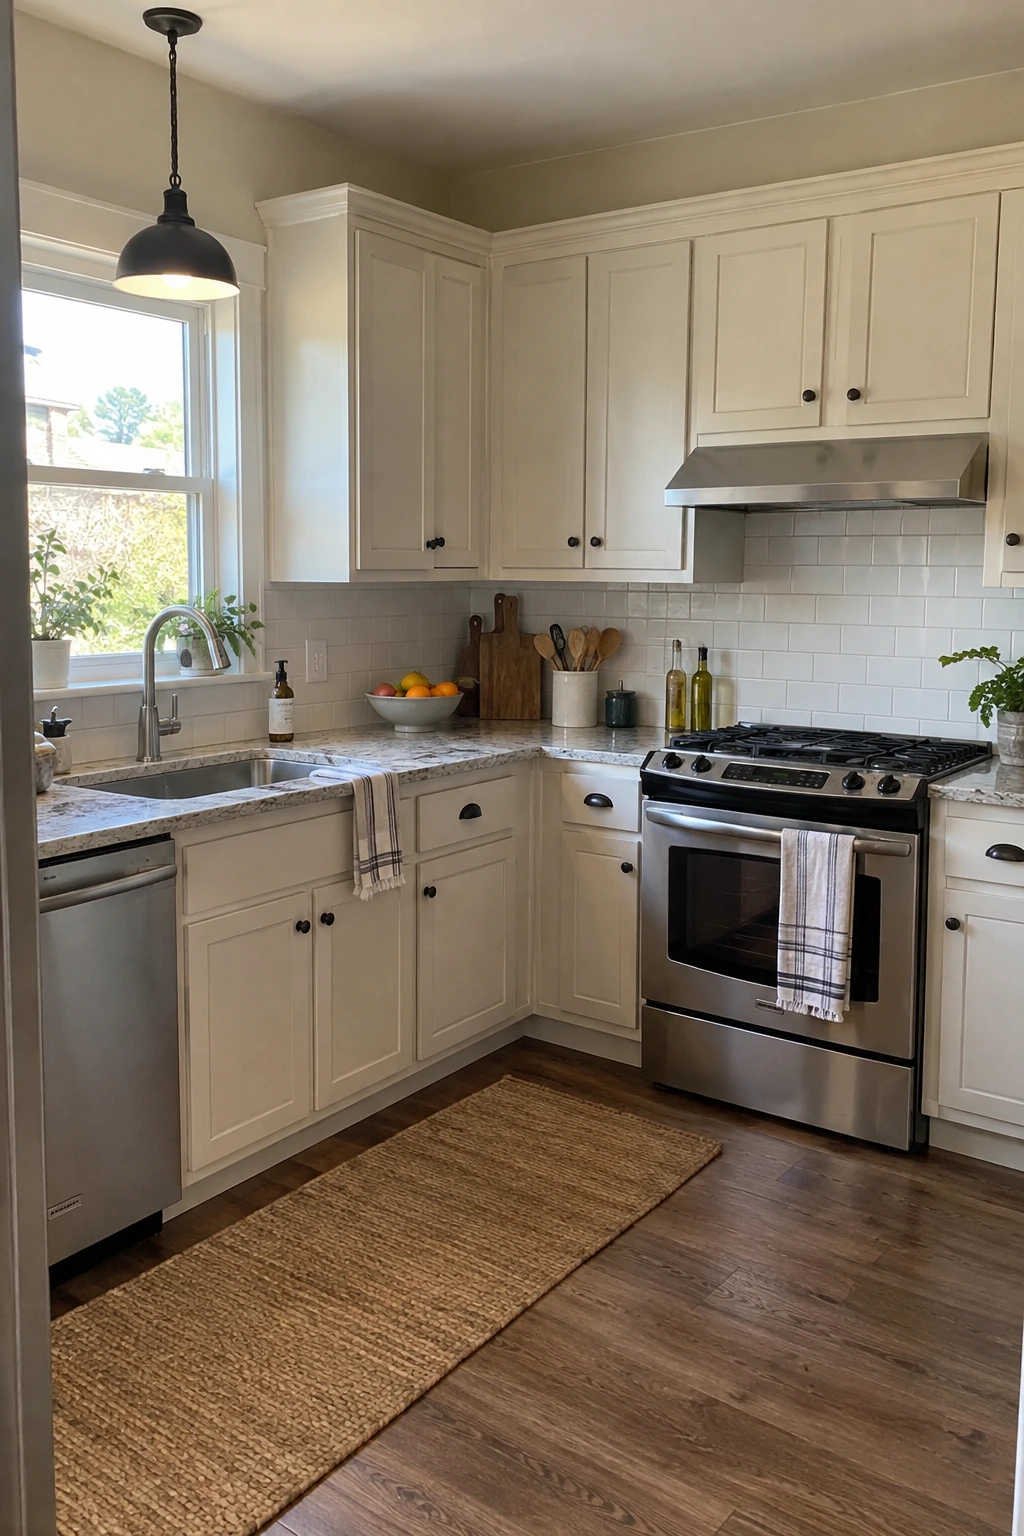
Put leaks, unsafe wiring, failing ventilation, damaged cabinets, and unusable workflow in the must column. Storage improvements and durable work surfaces may be should items, while trend-driven colors and decorative extras can wait.
Assign the budget to must items first, then price the complete should list. A written later phase prevents small upgrades from quietly consuming money needed for permits, labor, delivery, or repairs.
3. Set a Reserve for Hidden Conditions
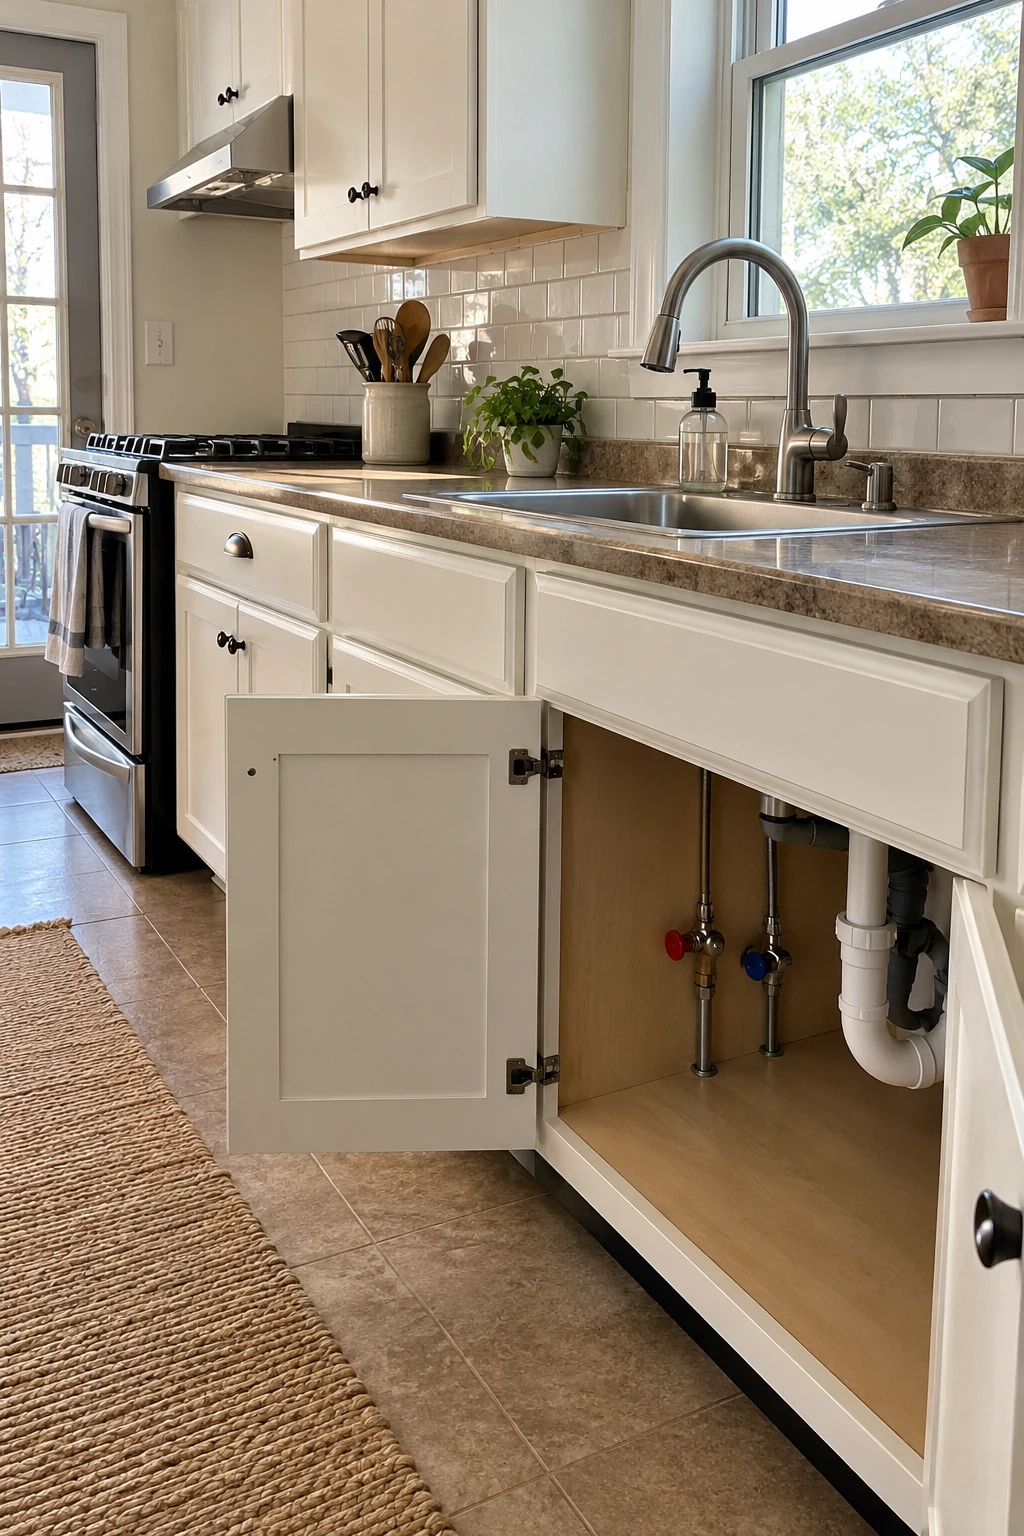
Keep part of the available money unassigned until demolition and inspections reveal the real condition of walls, floors, plumbing, and wiring. Older kitchens often hide water damage, uneven surfaces, obsolete connections, or venting that needs correction.
Do not spend the reserve on upgraded tile before the risky work is closed. Release any unused amount near the end for punch-list repairs, a storage insert, or simply keeping the project under budget.
4. Compare Quotes With One Written Scope
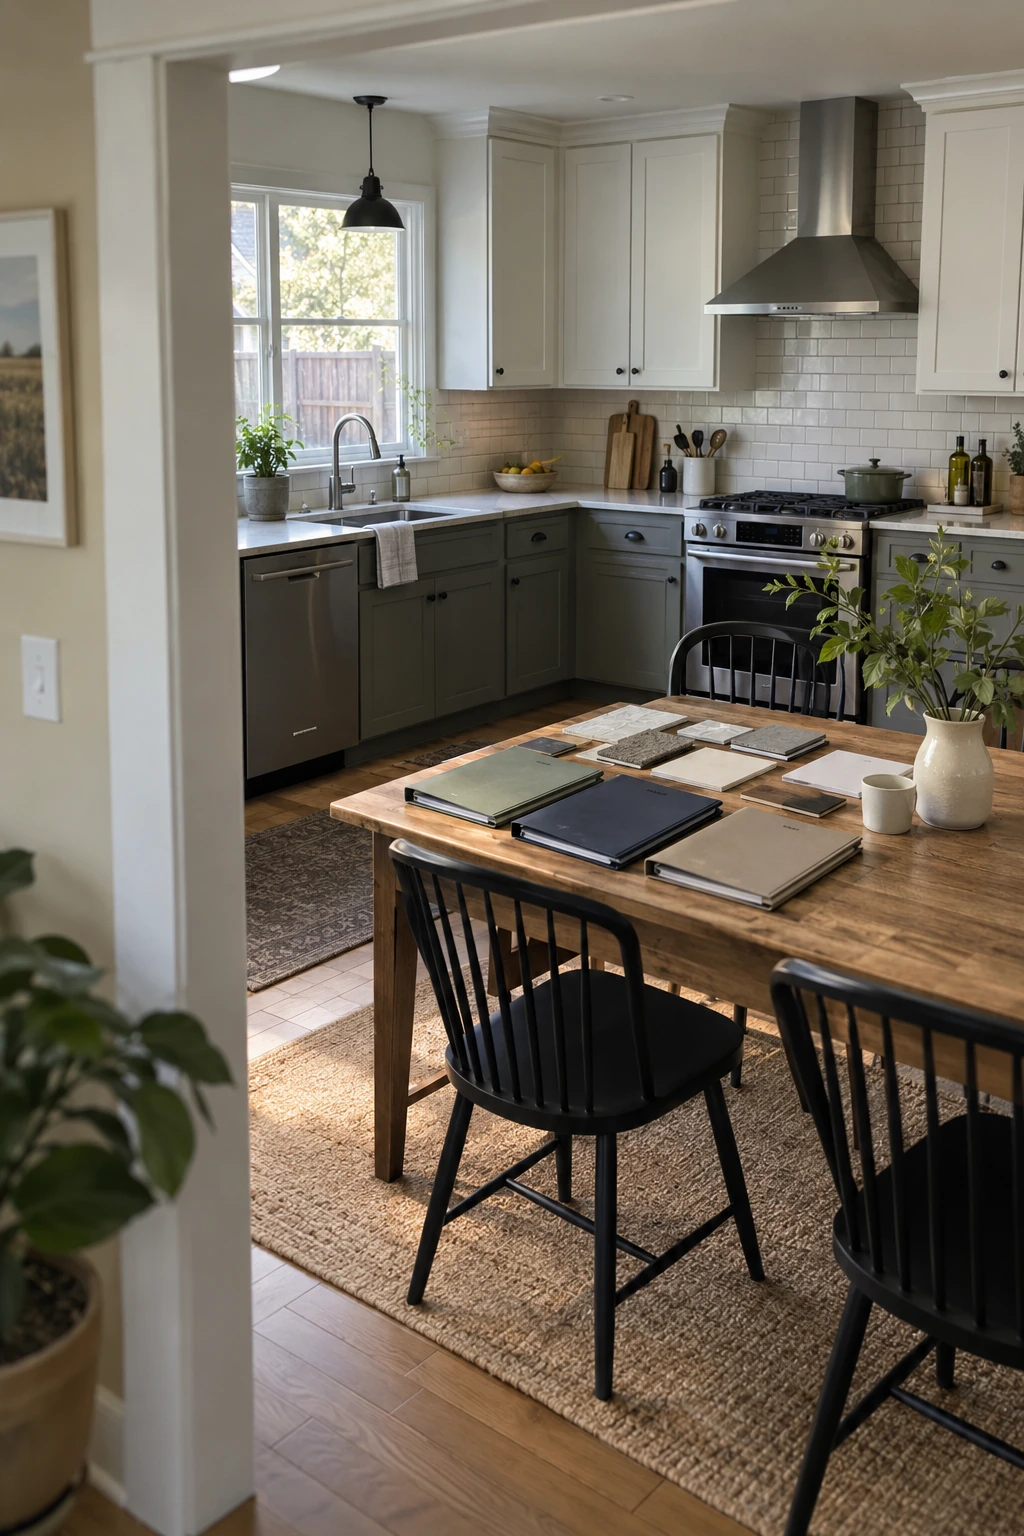
Give each contractor the same drawing, finish assumptions, appliance list, demolition limits, and responsibilities. A low total is not comparable when it excludes disposal, permits, patching, protection, or final fixture connections.
Ask for allowances and exclusions to be explicit. Confirm license, insurance, references, payment schedule, change-order process, and who coordinates inspections under the rules that apply locally.
Treat a detailed quote as a planning tool, not only a price. It exposes decisions that would otherwise become rushed purchases after work starts.
5. Mock Up Changes With Tape and Cardboard
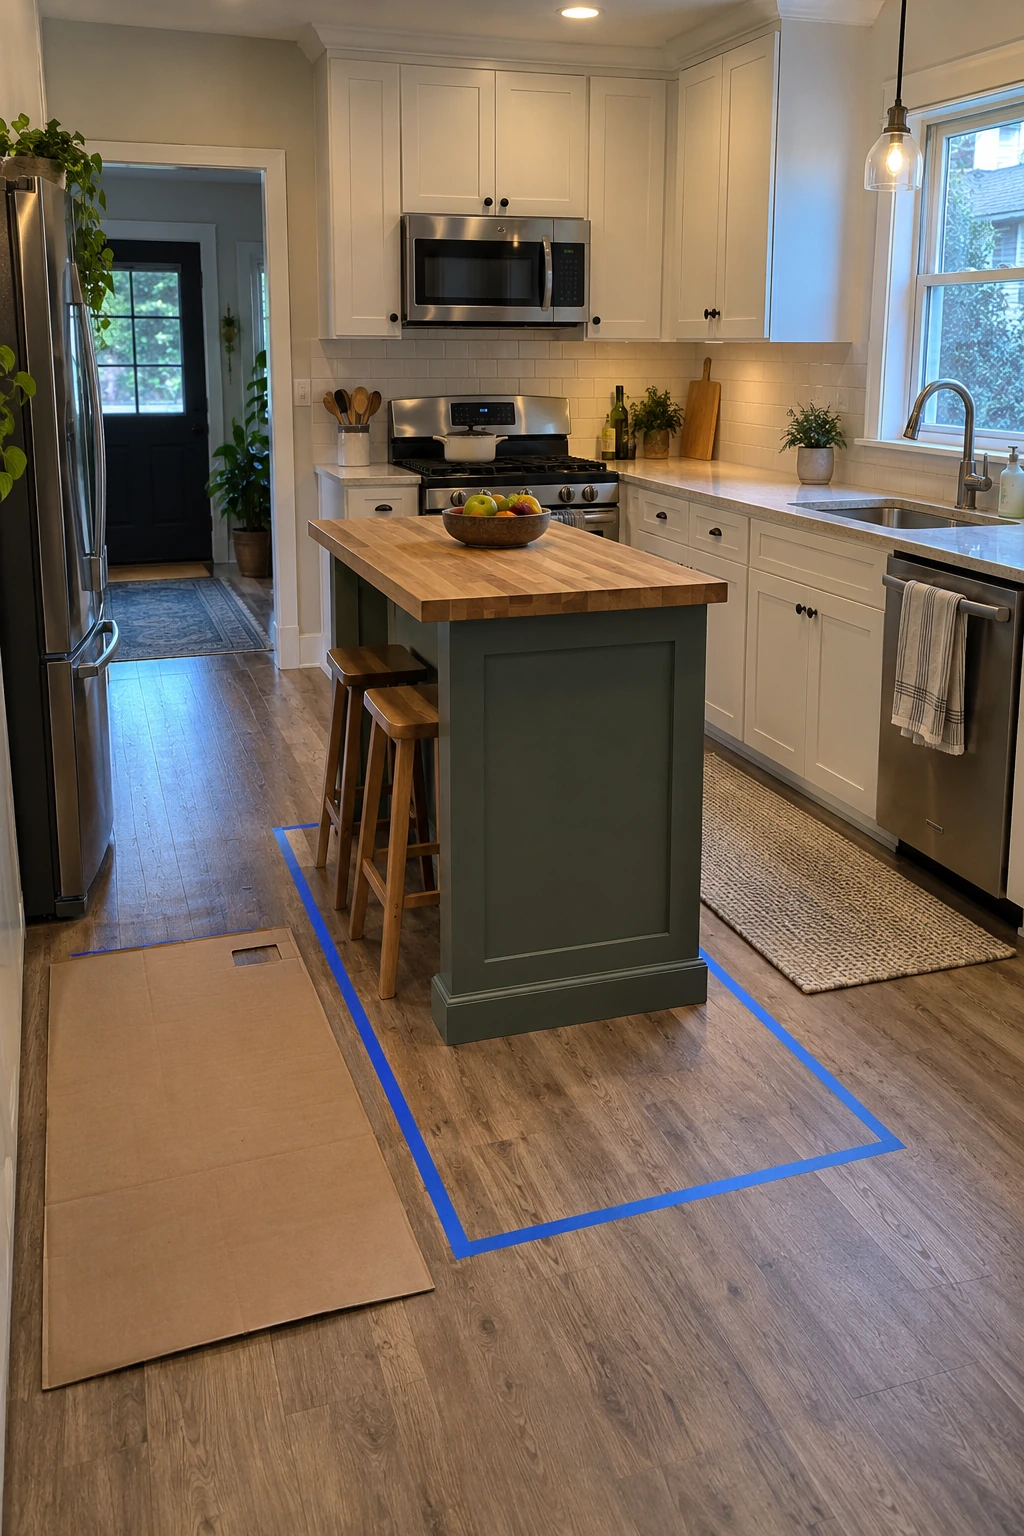
Mark a proposed island, pantry, deeper refrigerator, and open appliance doors at full size. Walk the route from refrigerator to sink to range while another person passes through the room.
Live with the mockup for several days. If a taped island narrows circulation or a tall pantry blocks daylight, changing the plan costs nothing; discovering the problem after installation does.
Budget check: Include open doors, pulled-out stools, handles, and passing space in every full-scale mockup.
Test seating with actual stools and pull chairs out as they would be used. The comfortable footprint is larger than the cabinet box shown on a floor plan.
Photograph the mockup from common doorways. Those views make visual crowding easier to judge than dimensions alone.
6. Keep the Sink and Dishwasher Together
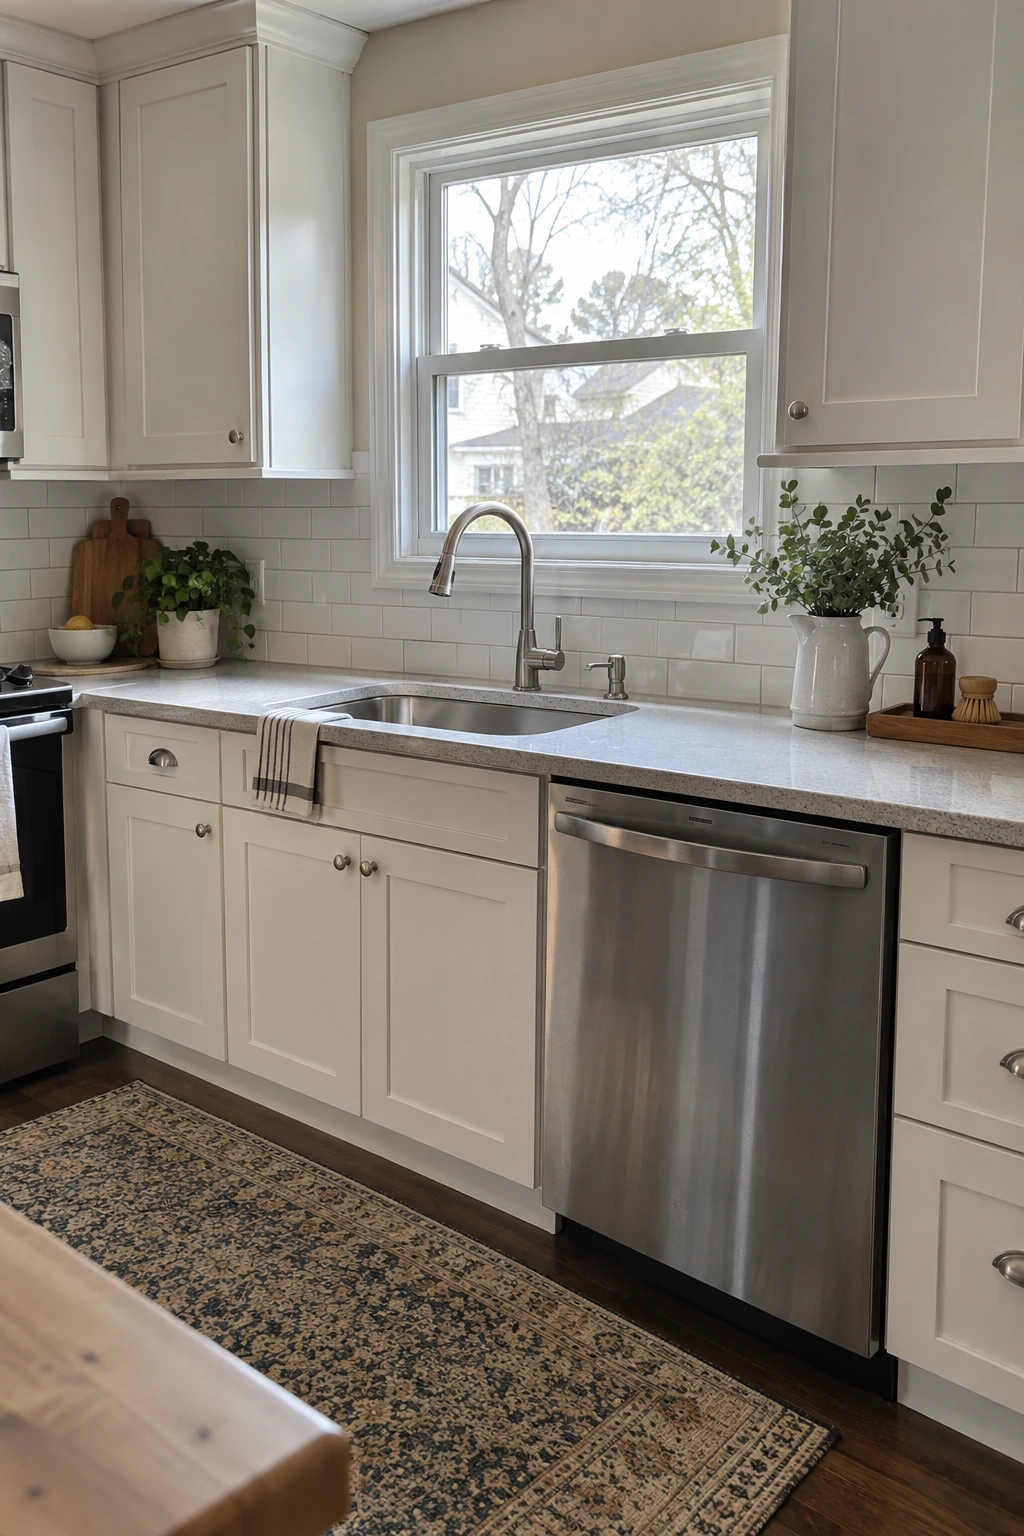
Retaining the sink, drain, vent, water lines, and adjacent dishwasher can avoid opening floors or finished rooms below. Spend first on sound shutoffs, a reliable trap, and a dry cabinet base.
Have a plumber assess corroded lines, poor venting, slow drainage, or an unprotected dishwasher connection while access is easy. Keeping the location saves money only when the hidden system is serviceable.
7. Leave the Range Where Venting Works
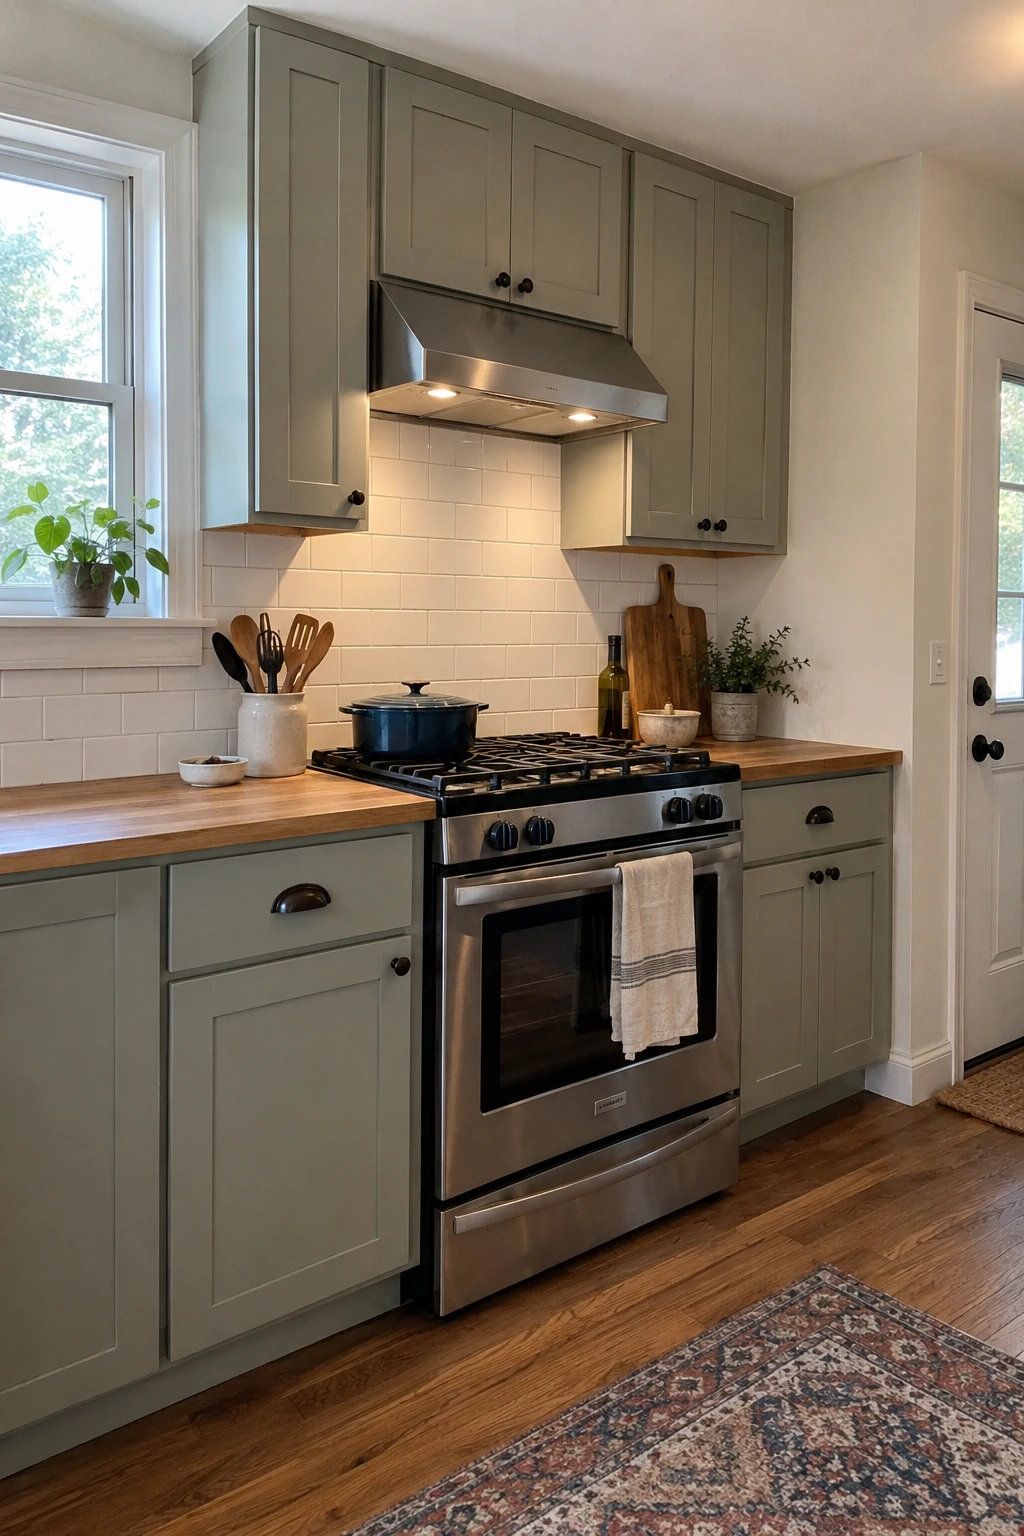
Moving a range can require a new gas line or circuit, duct route, cabinet changes, and wall repair. If the current position has safe landing space and a direct exterior exhaust path, build the refresh around it.
Replace a recirculating setup with exterior venting when feasible and coordinate hood capacity, duct size, make-up air, and appliance instructions. This systems work deserves priority over a decorative hood shell.
Keep combustible clearances and local code in the plan. A qualified installer should handle gas, high-voltage, and concealed duct changes.
8. Open a Doorway Instead of Removing a Wall
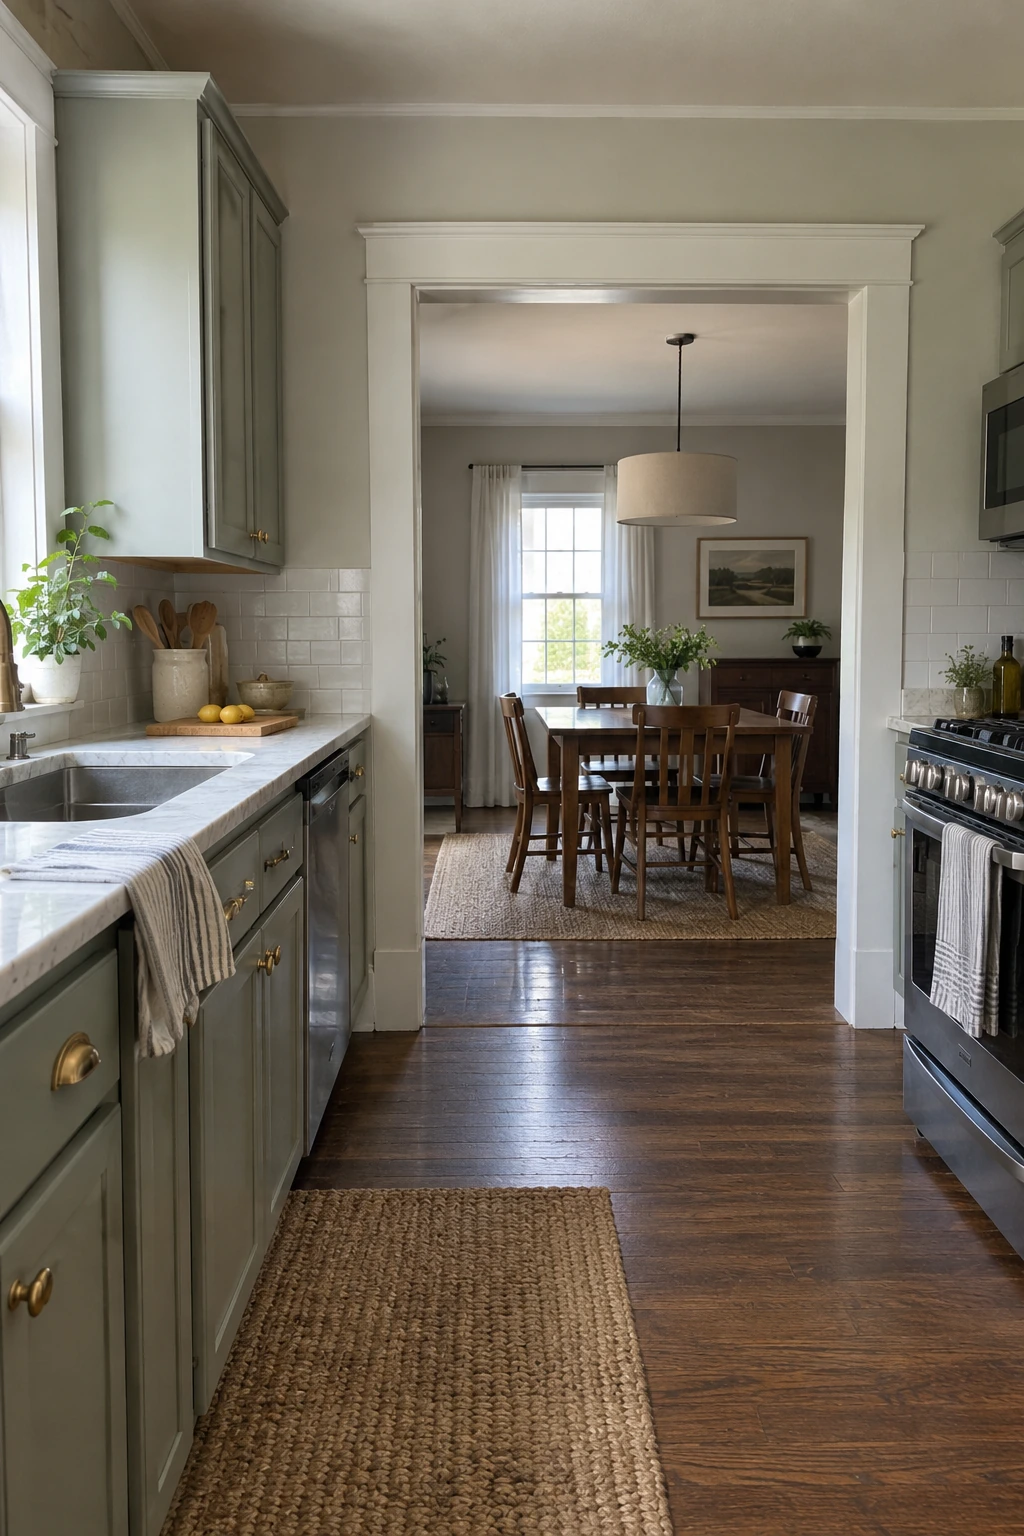
A widened cased opening can improve light and conversation without rebuilding an entire wall. It also preserves useful cabinet, art, or furniture space on both sides.
Before changing any opening, verify structure, wiring, plumbing, HVAC, and permit requirements. If the wall carries loads or utilities, compare the true installed cost with simply improving the existing doorway and lighting.
Keep and Improve Sound Cabinets
Cabinet boxes are a major share of a kitchen project. Inspect their condition and layout honestly, then choose the smallest intervention that produces durable function.
9. Deep-Clean and Repair Before Replacing
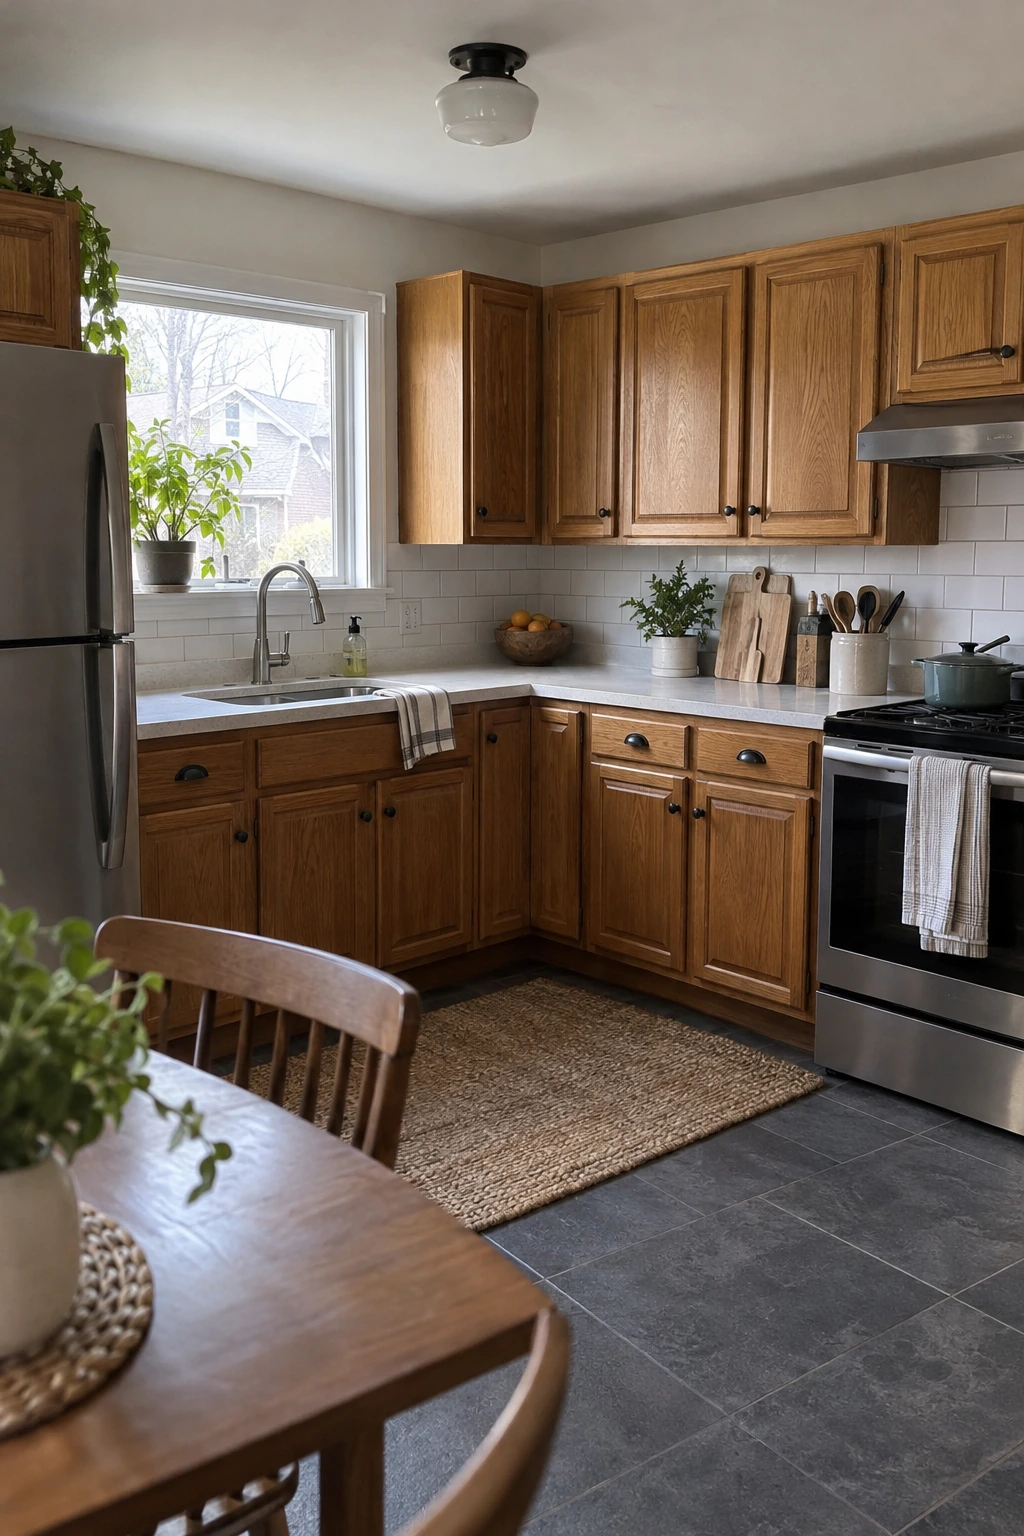
Degrease doors, tighten boxes, adjust hinges, replace broken shelf pins, and repair loose drawer bottoms before judging the cabinetry. Dirt and misalignment can make usable cabinets look far worse than they are.
Reject boxes that are swollen, mold-damaged, structurally weak, or poorly arranged. Cosmetic work is economical only when the underlying cabinet can support new hardware and daily use.
10. Paint Cabinetry With a Furniture-Grade Process
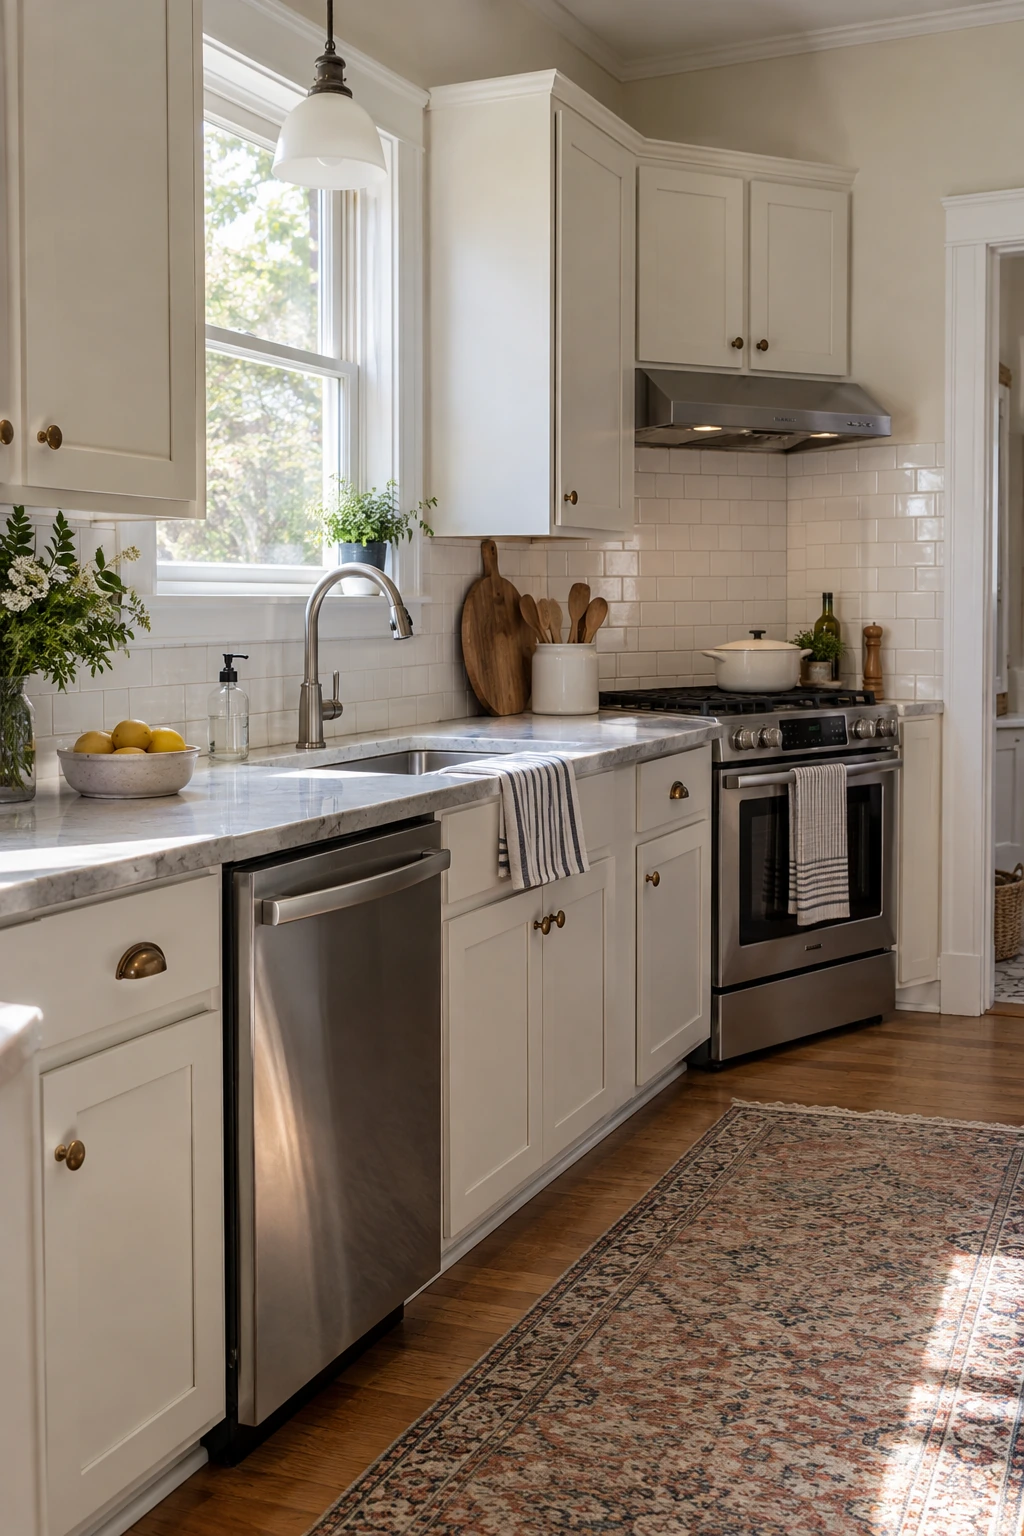
Remove doors, label every piece, clean thoroughly, sand or degloss as the coating system requires, prime compatible surfaces, and allow full cure time. Brushing around hinges usually creates a short-lived result.
Test adhesion on one inconspicuous door before committing. Thermofoil, laminate, damaged veneer, and previously contaminated finishes may need specialty preparation or may be poor painting candidates.
Choose a washable cabinet coating with a restrained sheen. Dark colors can require more coats and reveal dust, while very bright white may make retained counters and floors look dingier.
11. Reface Boxes With New Doors and Drawer Fronts
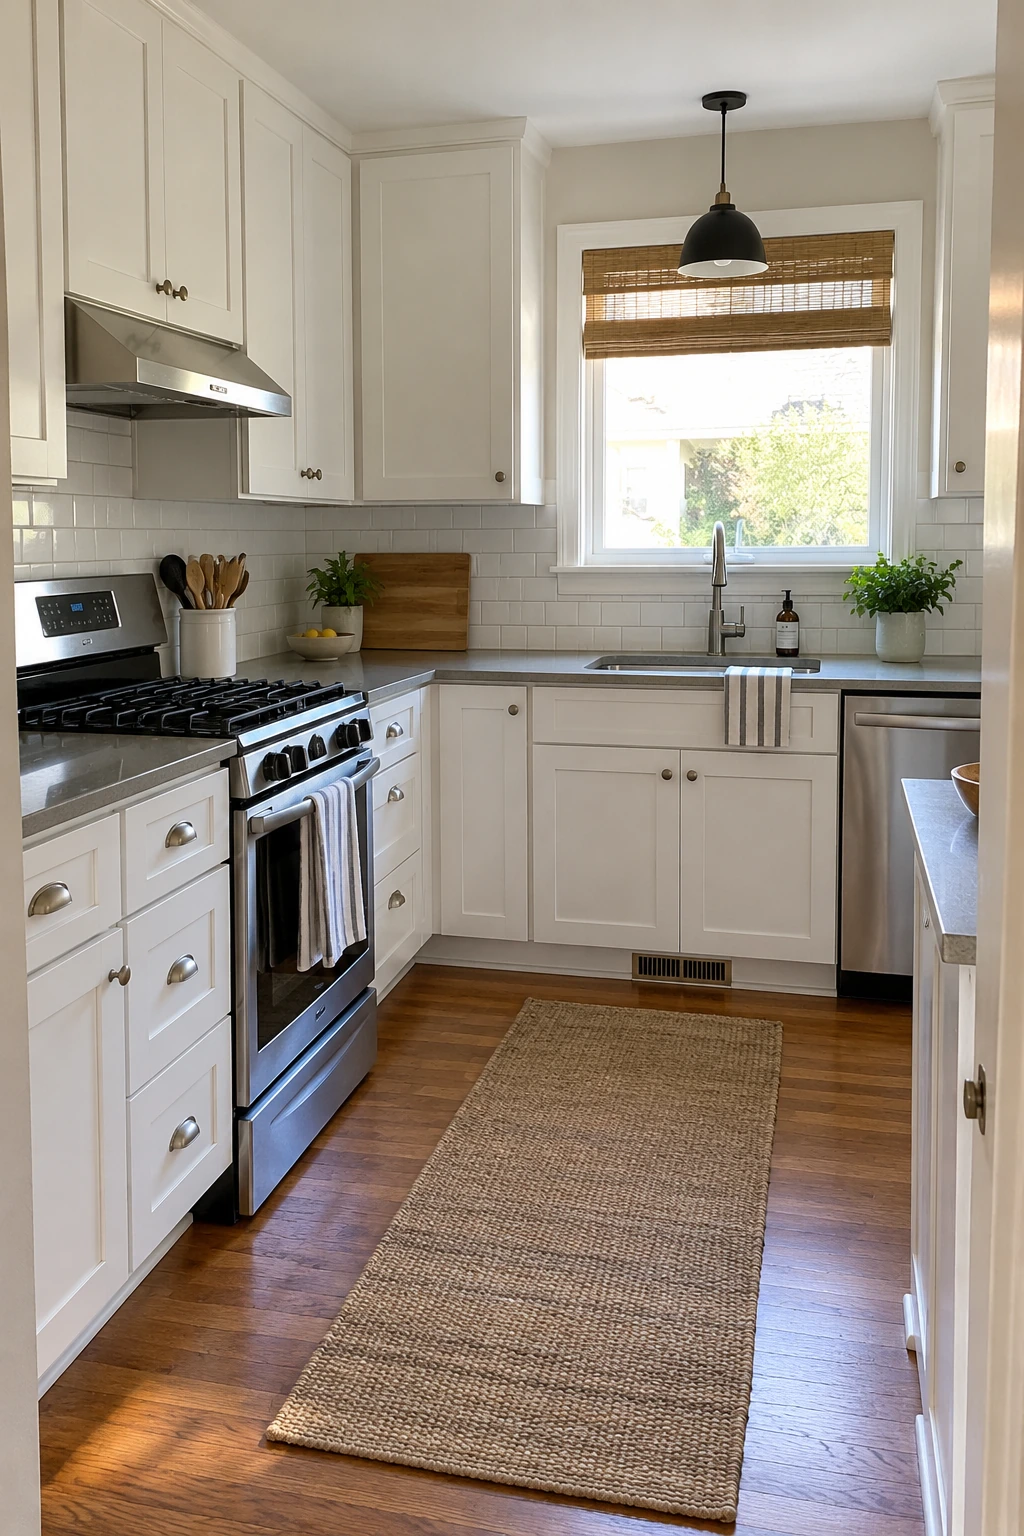
Refacing changes the visible style while leaving cabinet footprints and counters largely intact. It works best when boxes are square, securely installed, and already arranged around an efficient layout.
Measure overlay, hinge boring, openings, exposed ends, and filler conditions for every cabinet. Order one sample door to inspect finish, edge quality, and color beside the retained floor and countertop.
Budget check: Price doors, hinges, drawer repairs, end panels, trim, finishing, and installation as one complete refacing scope.
Budget for matching end panels, toe kicks, crown, and light rail. New doors alone can highlight worn side panels or uneven gaps.
If drawer boxes or slides are weak, include those repairs in the same scope. Fresh fronts should not conceal failing function.
12. Reuse the Existing Hardware Holes
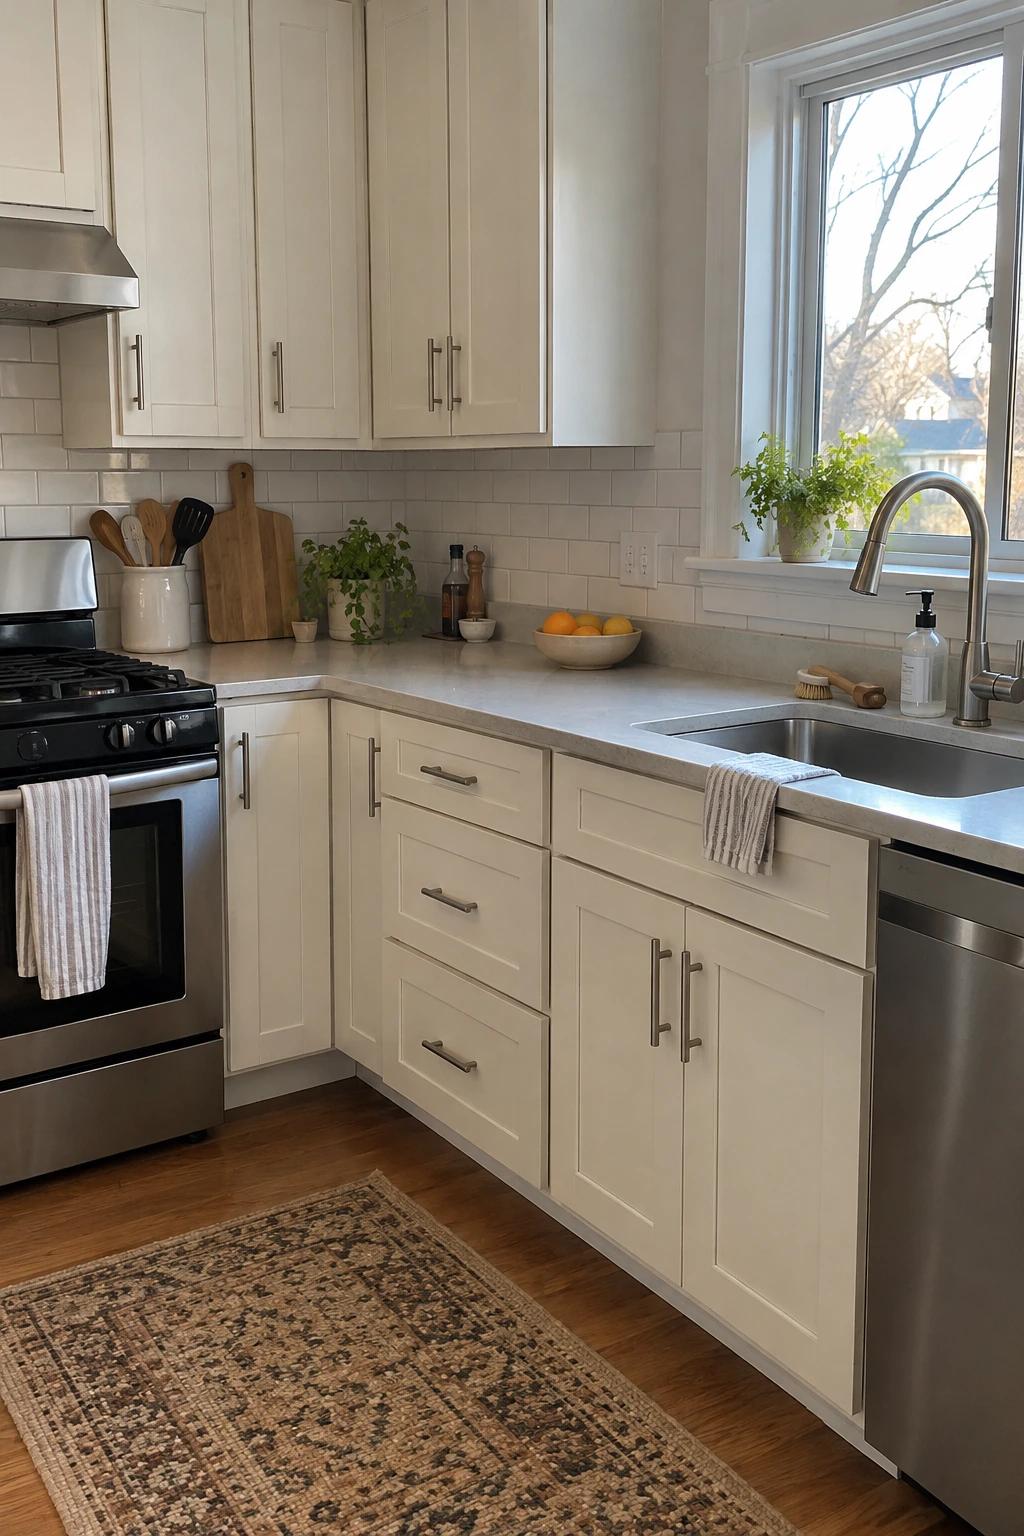
Select new pulls with the same center-to-center hole spacing so doors do not need filling and redrilling. Bring an old pull and exact measurement when shopping, because similar-looking sizes may differ slightly.
Use knobs where only one hole exists, and replace worn screws with the correct length. Keep a few spare pieces for future damage or additions.
13. Add Finished End Panels Only Where Seen
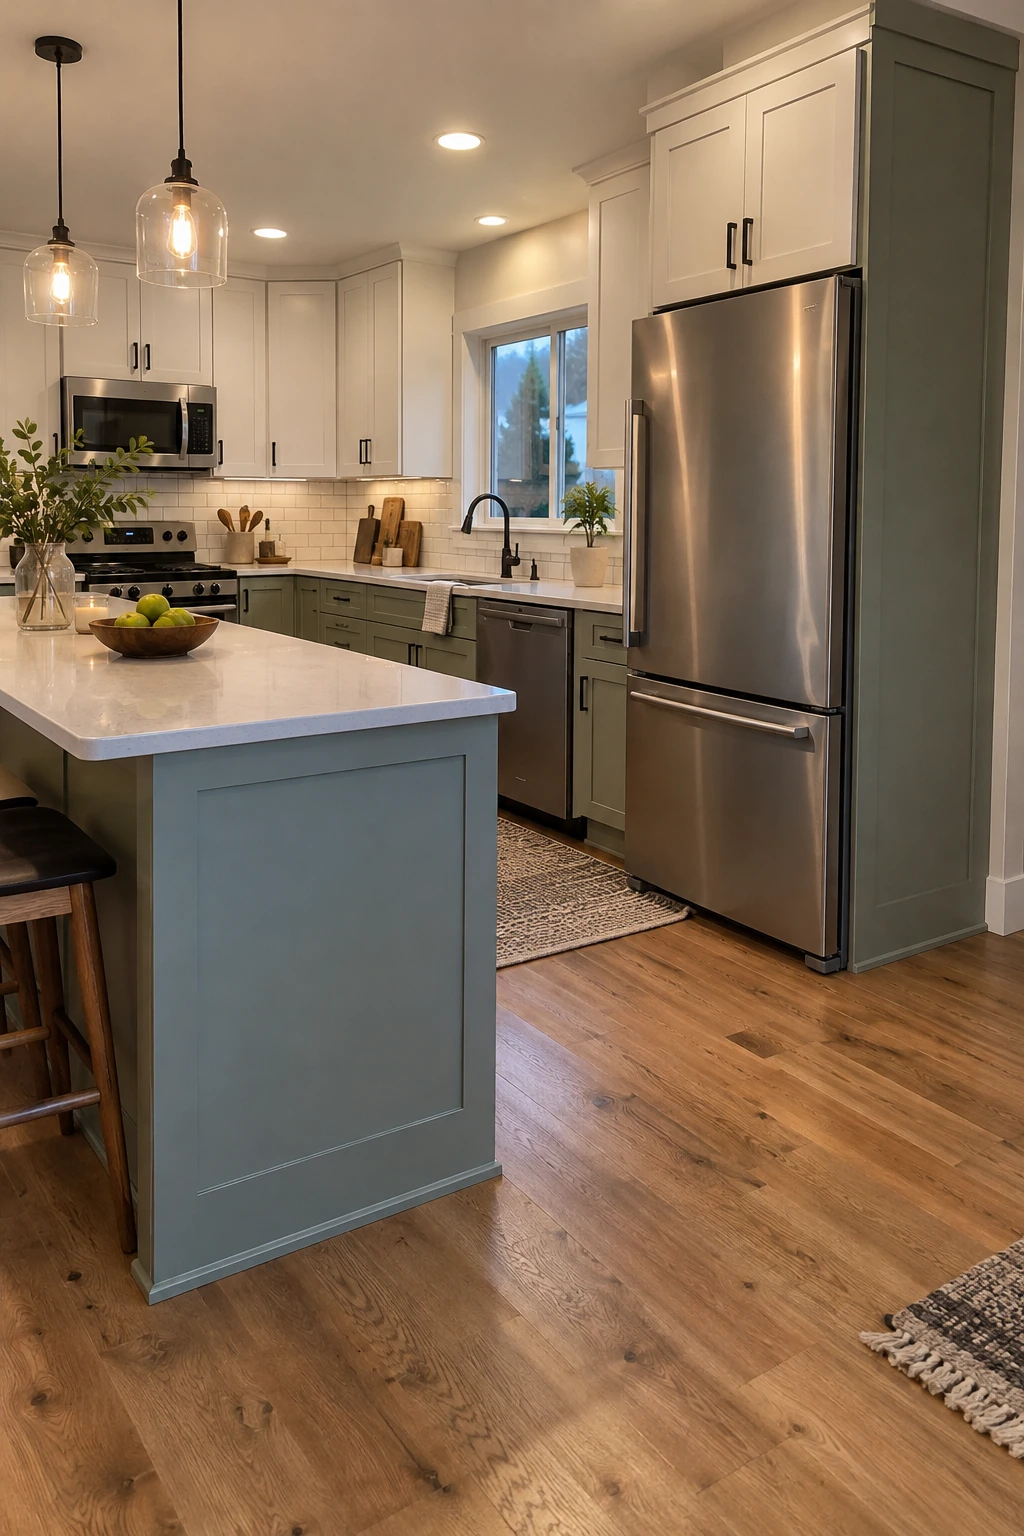
Upgrade the exposed island end, refrigerator side, and doorway-facing cabinet instead of skinning every box. A few well-placed panels can make retained cabinets look intentional from the room’s main views.
Keep panel thickness in the measurements for appliances, fillers, and counter overhangs. Finish exposed edges and confirm that added material will not restrict a door or dishwasher opening.
14. Convert One Base Cabinet to Drawers
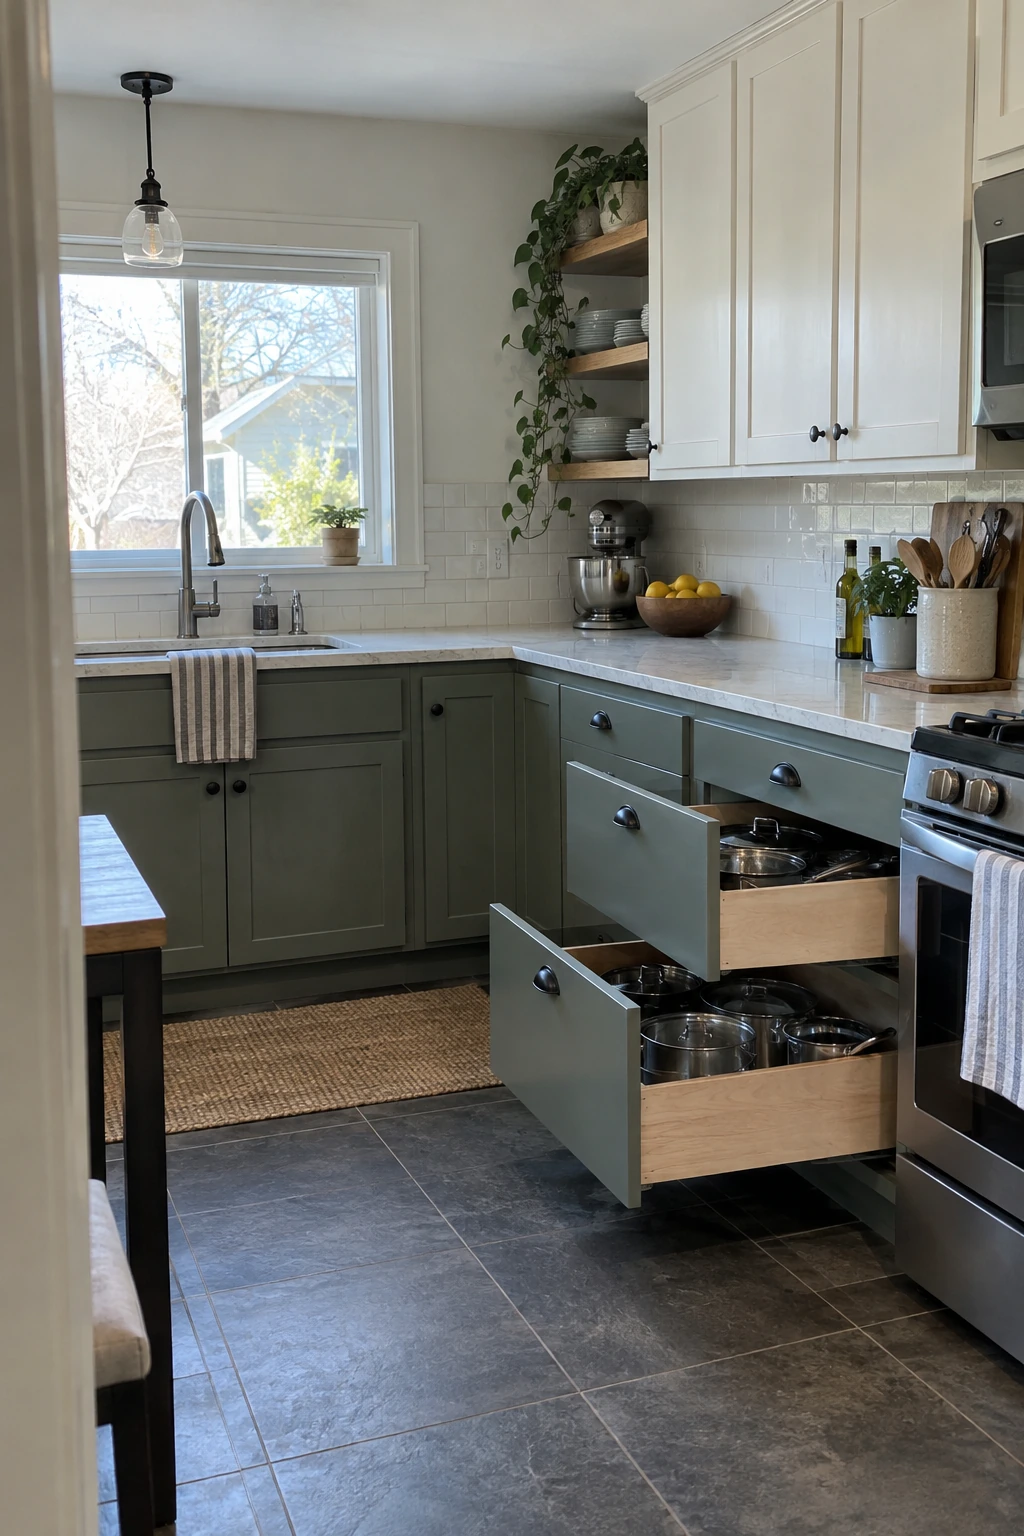
Target the cabinet that stores heavy pots or food containers rather than rebuilding the entire run. A cabinet shop can determine whether the face frame and opening can accept a drawer retrofit.
Specify slide capacity, usable interior width, and handle clearance. Two sturdy drawers are more useful than a complicated stack that sacrifices space to hardware.
Place the retrofit near the prep or cooking zone. Focused convenience creates more daily value than spreading inexpensive organizers across every cabinet.
15. Install Pull-Out Trays in Deep Cabinets
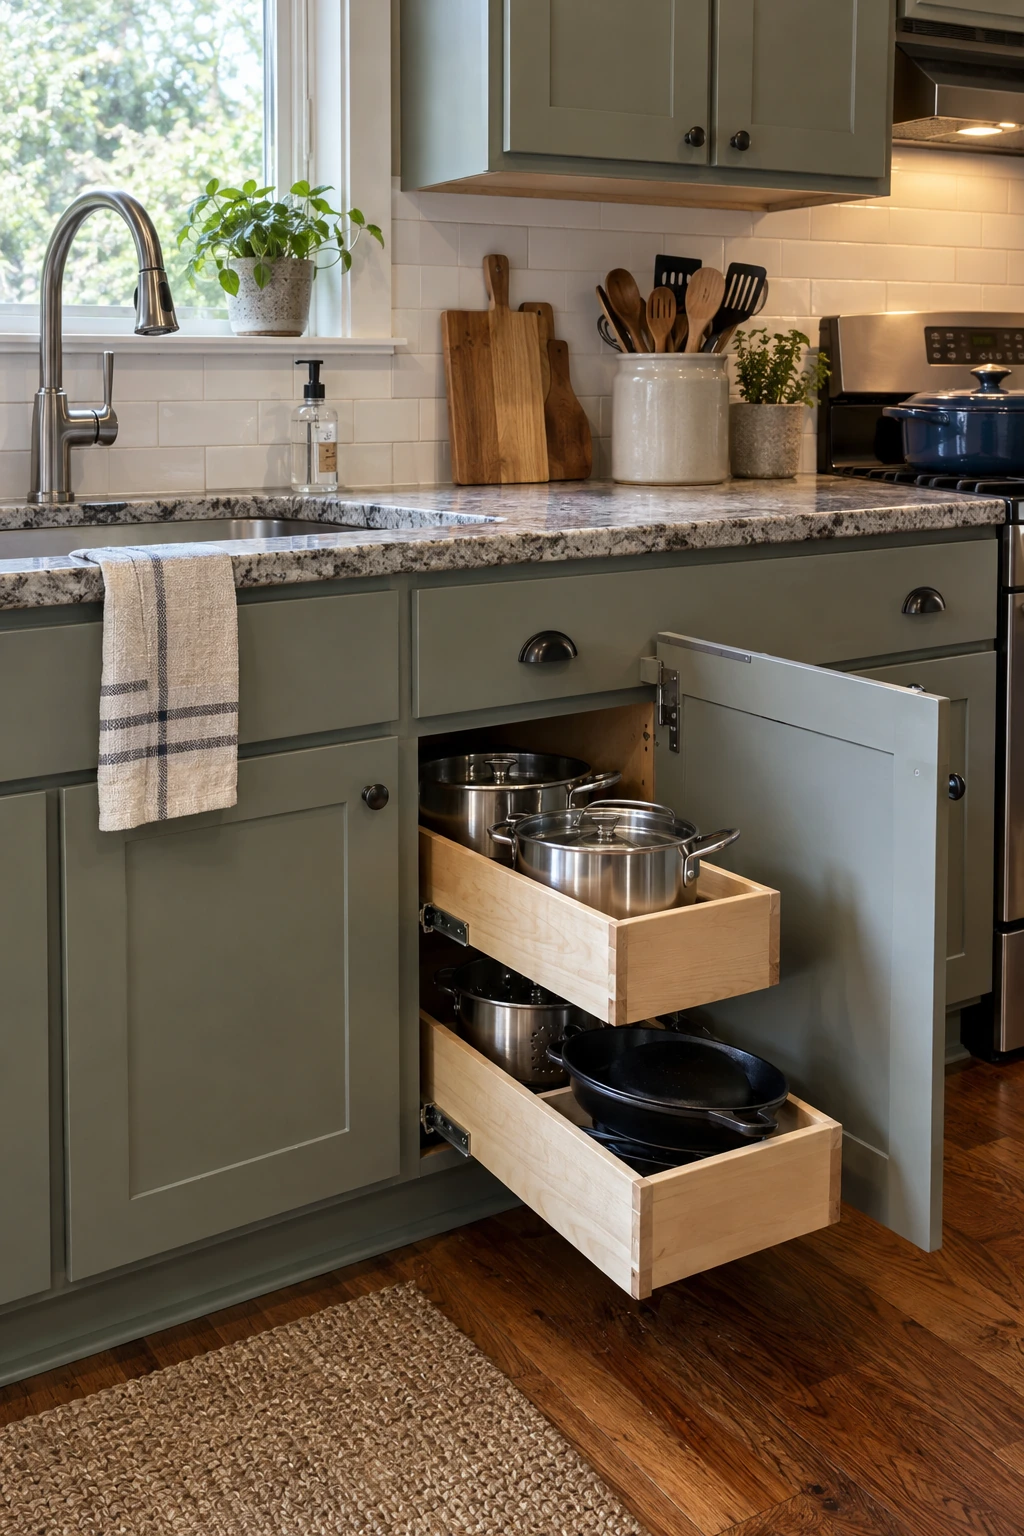
Pull-out trays can make a deep door cabinet function like a drawer without changing the face. Measure around hinges, face frames, plumbing, and door swing before selecting an insert.
Choose adjustable or removable trays so the cabinet can adapt later. For more ways to use tight spaces, compare these small kitchen storage ideas.
Anchor slides to sound material and respect their load rating. A heavily loaded tray needs more support than a lightweight pantry basket.
16. Turn a Blind Corner Into Accessible Storage
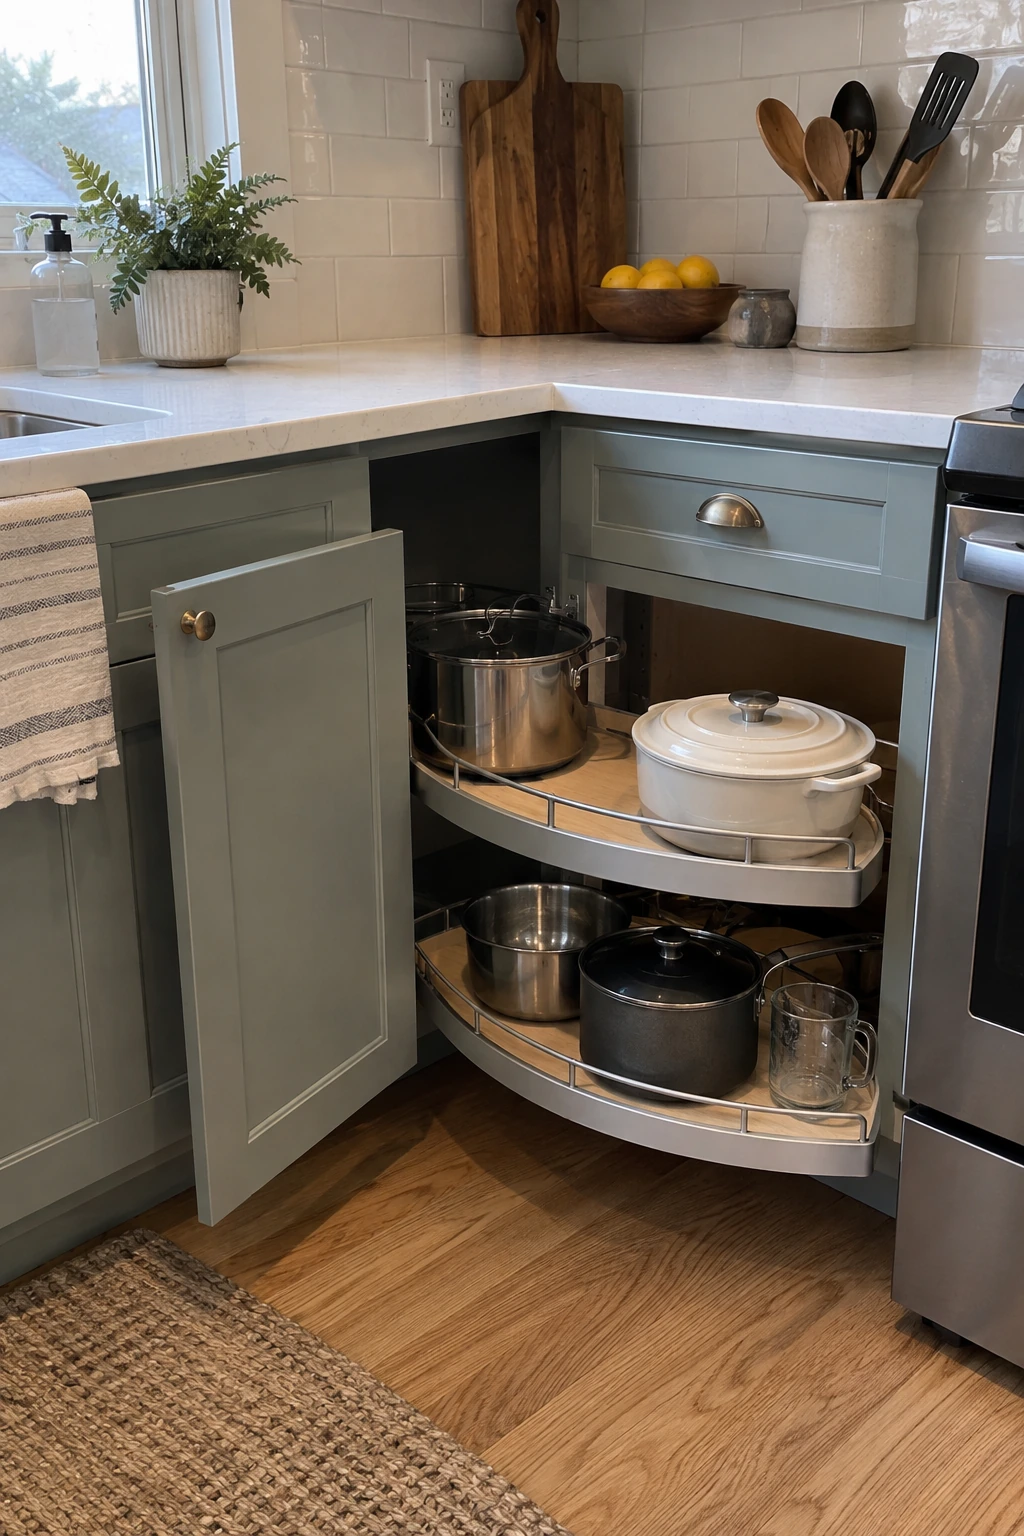
A half-moon shelf, corner drawer, or carefully sized pullout can recover items that disappear behind the opening. Choose the simplest mechanism that fits the existing door, shelf supports, and neighboring handles.
Store occasional appliances in the deepest zone and everyday cookware near the opening. Complex hardware consumes capacity and may not earn its cost in a narrow or obstructed corner.
17. Replace One Upper Run With Open Shelves
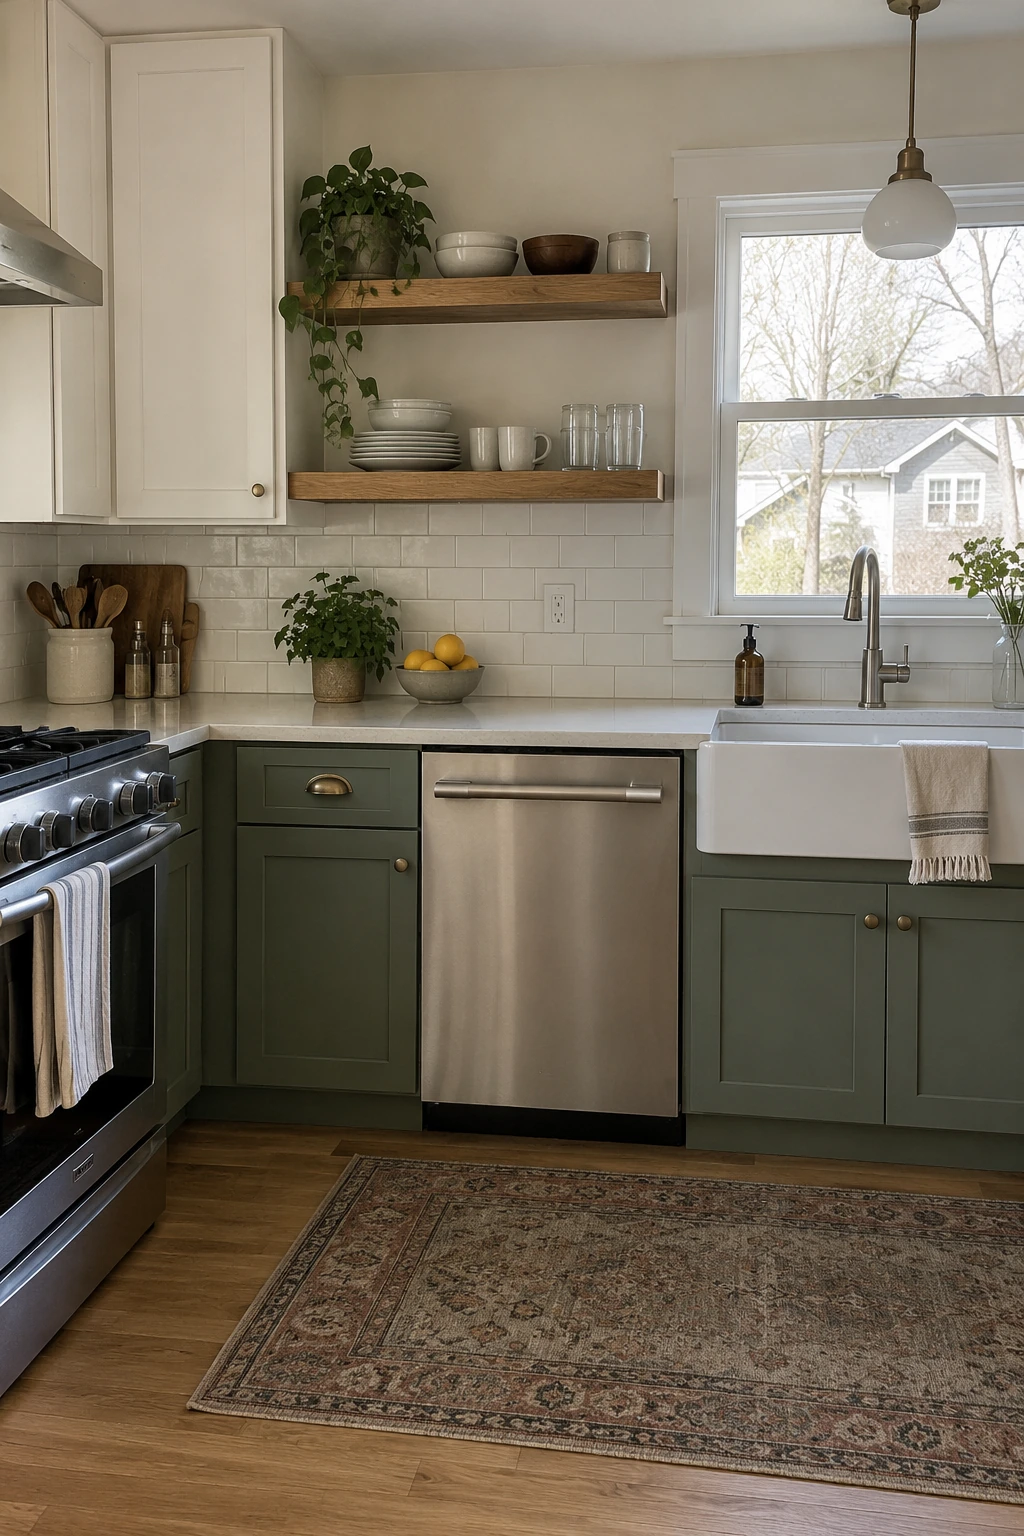
Open only the wall where daily dishes can stay orderly and easy to wash. Keeping most uppers controls dust and preserves hidden storage while one short shelf run adds breathing room.
Anchor brackets into studs or approved blocking, follow load ratings, and keep shelves away from heavy grease. Measure the tallest item and the counter activity below before setting spacing.
Budget check: Price wall repair, anchors, edge finishing, and any missing backsplash before removing an upper cabinet.
If removal exposes unfinished wall or missing tile, include patching in the budget. A shelf project is inexpensive only when its edges are resolved cleanly.
Renters can use a freestanding shelf unit instead of drilling. Confirm anti-tip requirements and maintain safe counter clearance.
18. Use Stock Cabinets for a Small Addition
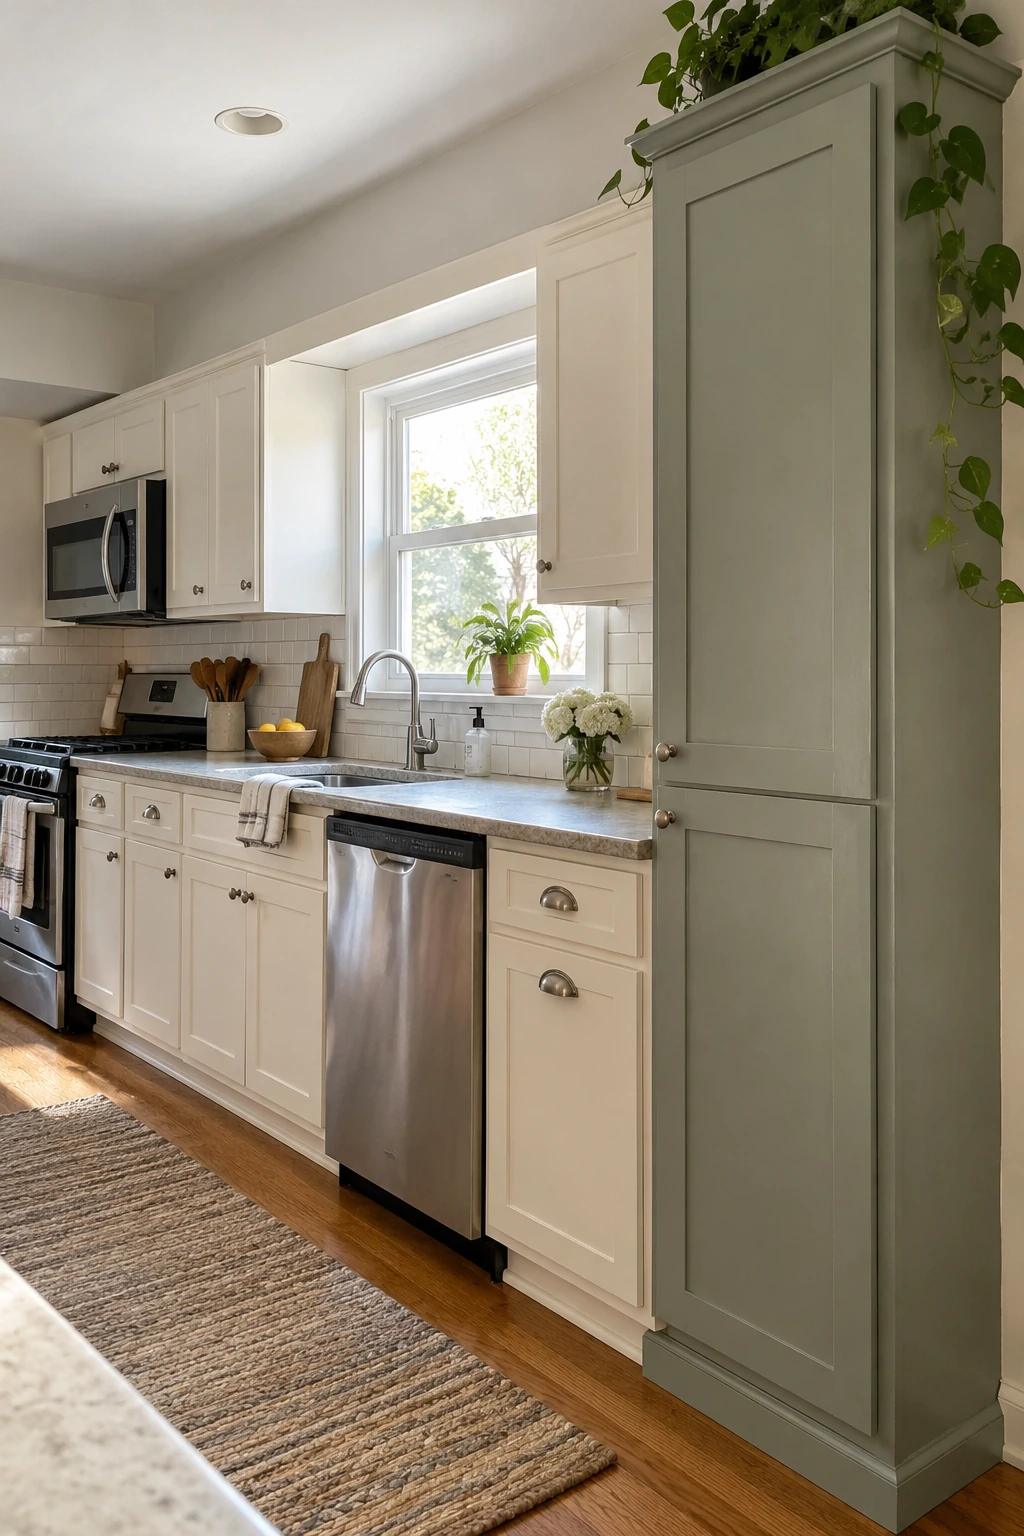
Add a standard-width pantry or base cabinet where a freestanding cart once sat. Fillers and a matching counter can integrate it without replacing the whole kitchen.
Do not force a near match between old and new finishes. A deliberate contrasting color or wood tone often looks cleaner than two whites that almost agree.
Anchor tall units safely and verify outlets, vents, door casings, and appliance clearances. Stock sizing saves money when the room can absorb its fixed dimensions.
Choose Affordable Surfaces That Wear Well
Countertops, backsplashes, floors, and paint should be selected together. Favor standard sizes, repairable finishes, simple layouts, and materials whose maintenance fits the household.
19. Use Laminate With a Simple Edge
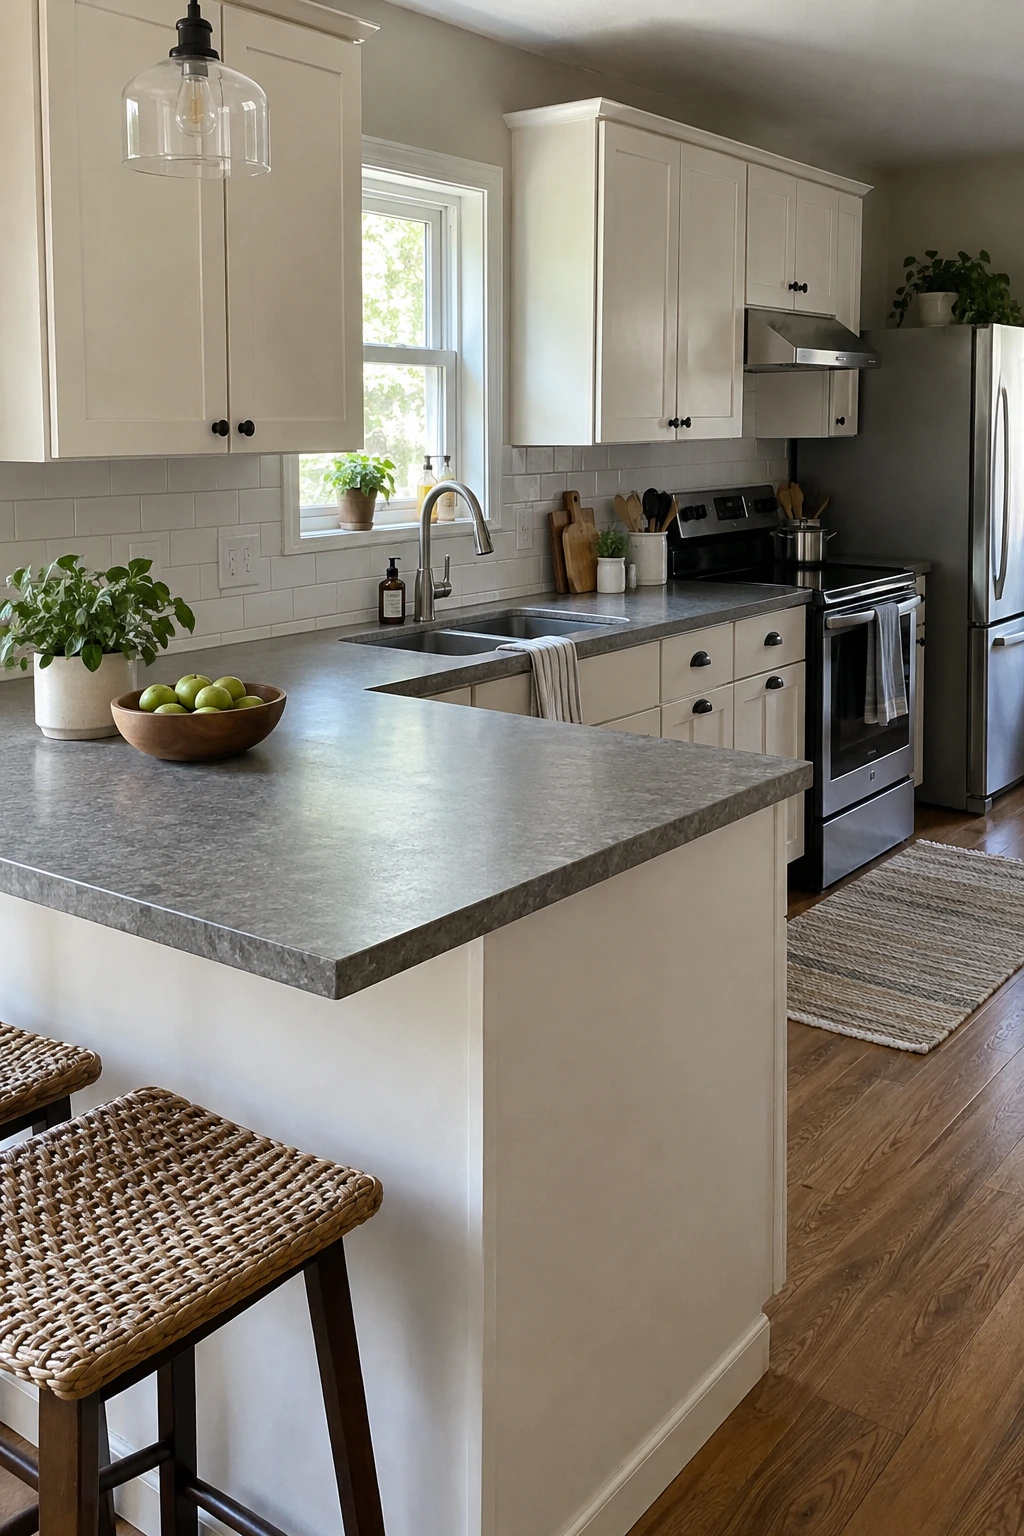
Current laminate can deliver a calm stone or solid-color surface without slab fabrication costs. A simple factory edge and standard depth usually keep the project more predictable than elaborate profiles.
Protect seams and sink cutouts from standing water, use trivets, and follow the maker’s cleaner guidance. Ask where joints will fall before ordering because pattern direction and seam placement affect the finished look.
Compare total installed cost, including removal, backsplash changes, sink work, and plumbing reconnection. An inexpensive sheet material still needs careful fabrication.
20. Shop Remnants for a Short Counter Run
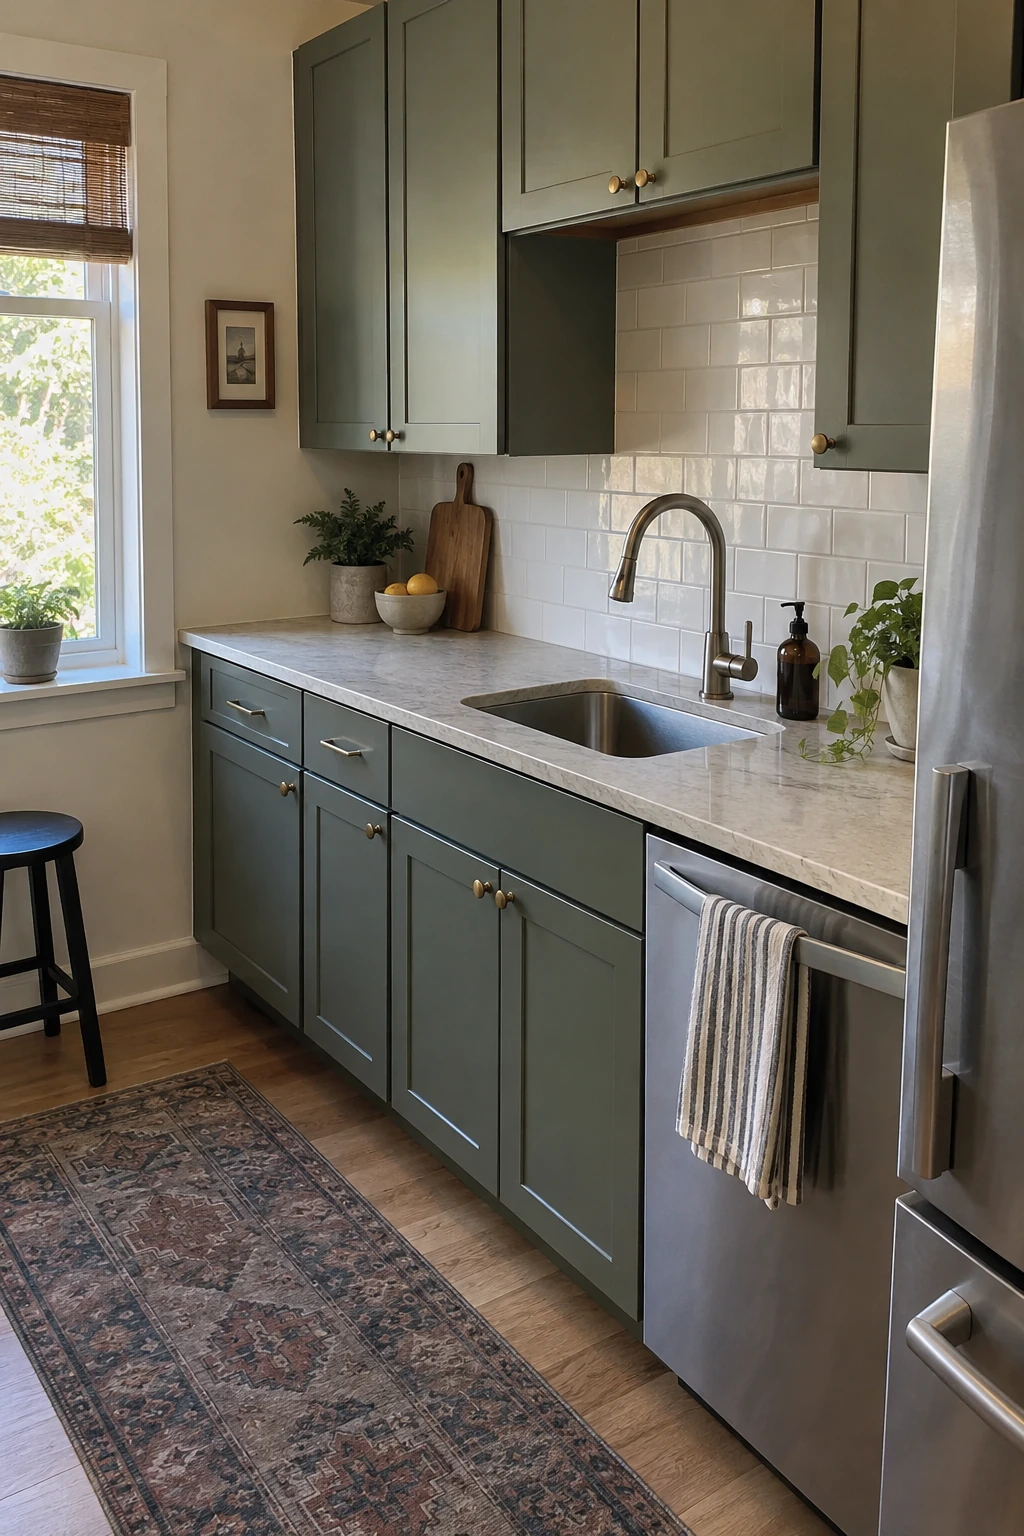
A remnant can suit a coffee bar, short galley, or island when the available piece fits the required cutouts and grain direction. Inspect the whole slab section, not only a sample chip.
Confirm fabrication, edge work, sink cutout, support, delivery, installation, and sealing in the quote. A discounted material is not a bargain if difficult handling erases the savings.
21. Put Butcher Block on One Dry Zone
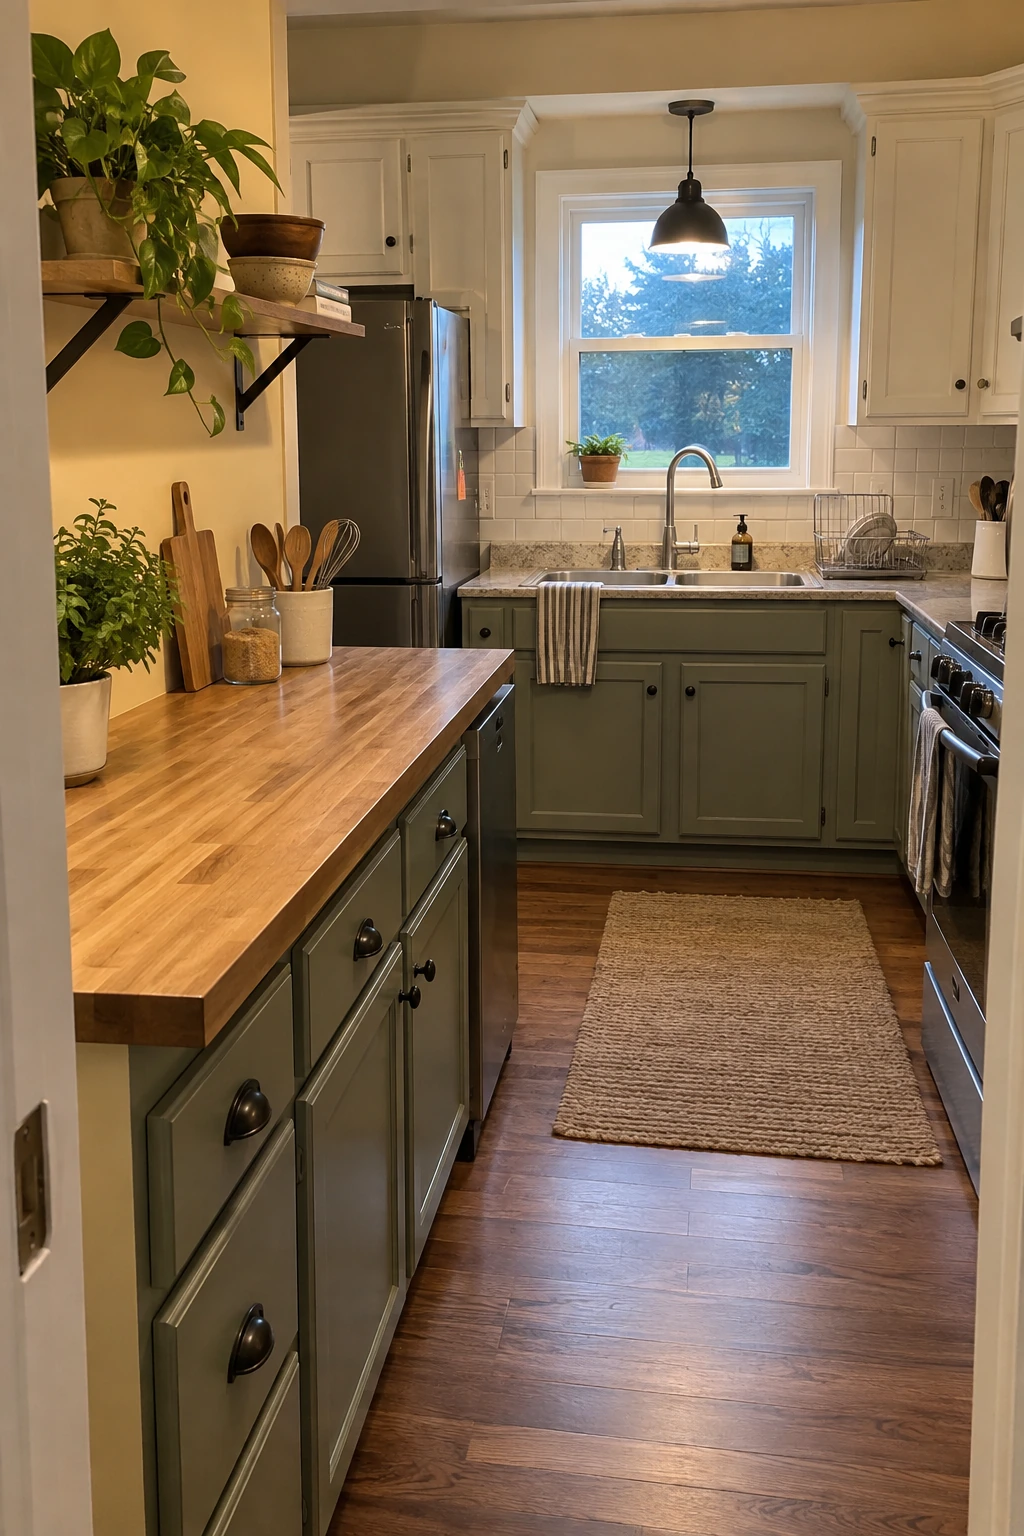
Use wood on an island, baking station, or coffee counter while keeping a more water-tolerant surface around the sink. Limiting the area reduces material cost and ongoing maintenance.
Seal every face and cut edge with a finish appropriate to the intended use. Wipe spills promptly and keep hot pans, wet appliances, and leaking dispensers off the surface.
Wood movement, sink cutouts, and dishwasher heat need careful detailing. Ask the fabricator how seams, supports, and appliance gaps will be handled.
22. Tile Only the Working Backsplash
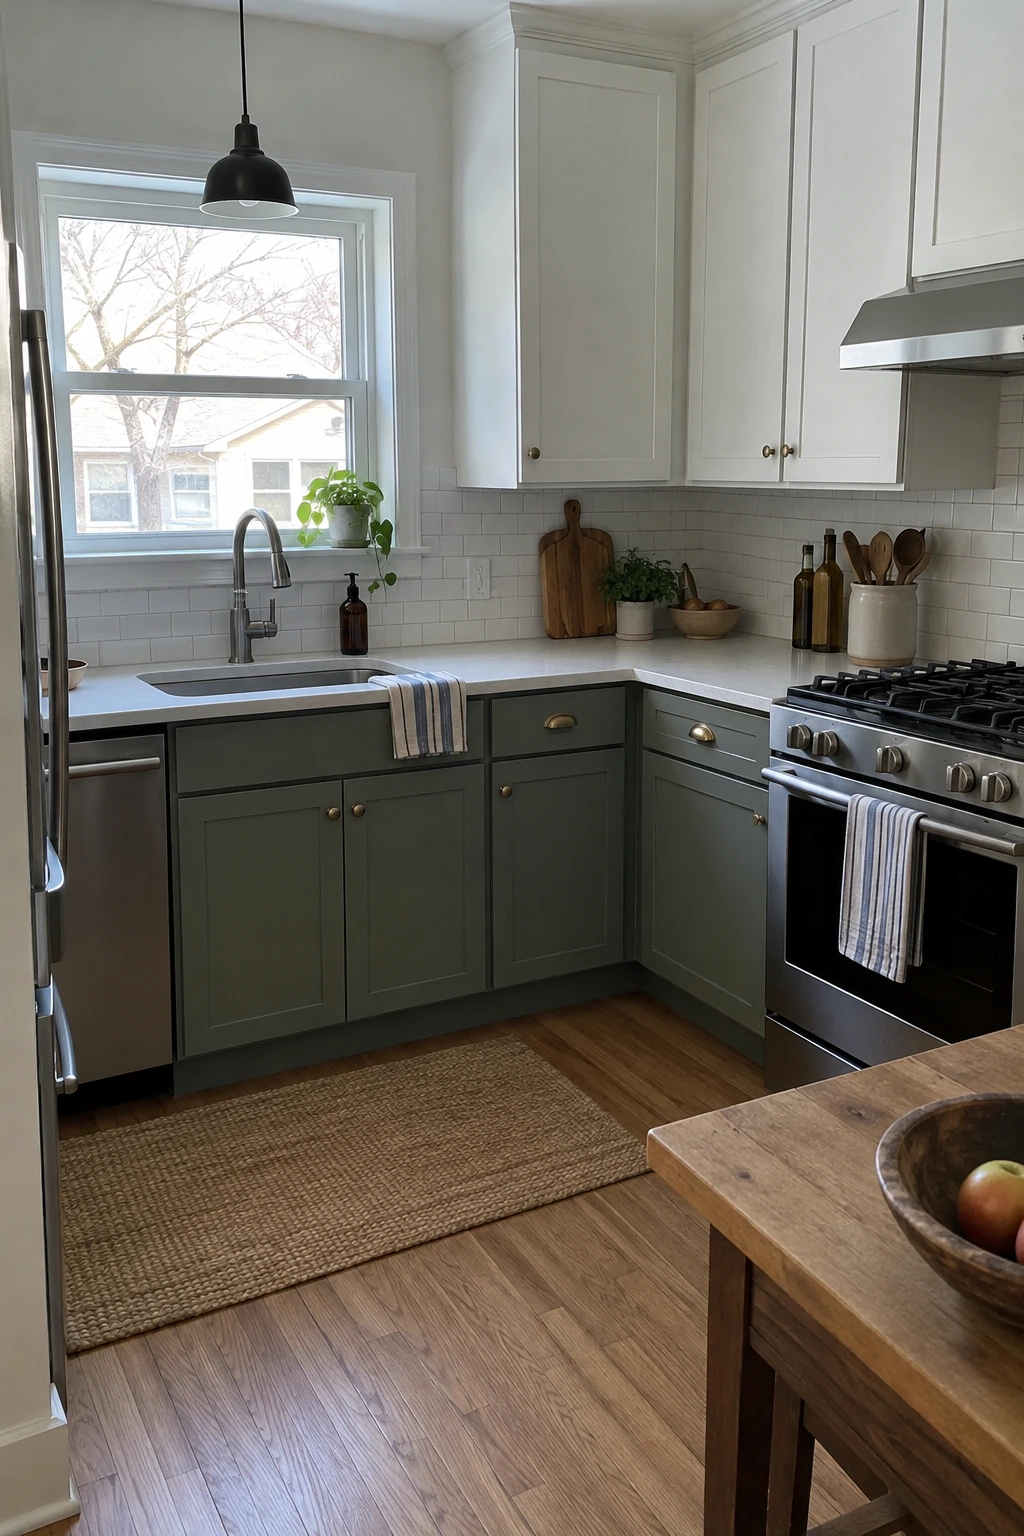
Tile the wet and grease-prone counter run, then use washable paint on low-impact walls. A contained rectangle needs fewer cuts, trims, and specialty edges than wrapping every wall.
Choose a readily available tile with matching trim or a planned metal edge. Review these kitchen backsplash ideas for scale before committing to a pattern.
Budget check: Resolve exposed tile edges and outlet positions on the layout before installation begins.
Dry-lay several rows around outlets and corners. A simple tile can look custom when cuts stay balanced and slivers are avoided.
Use the correct substrate, adhesive, grout, and movement joints for the location. Hire a tile professional if the wall is uneven or the pattern demands precise alignment.
23. Refresh the Backsplash With Washable Paint
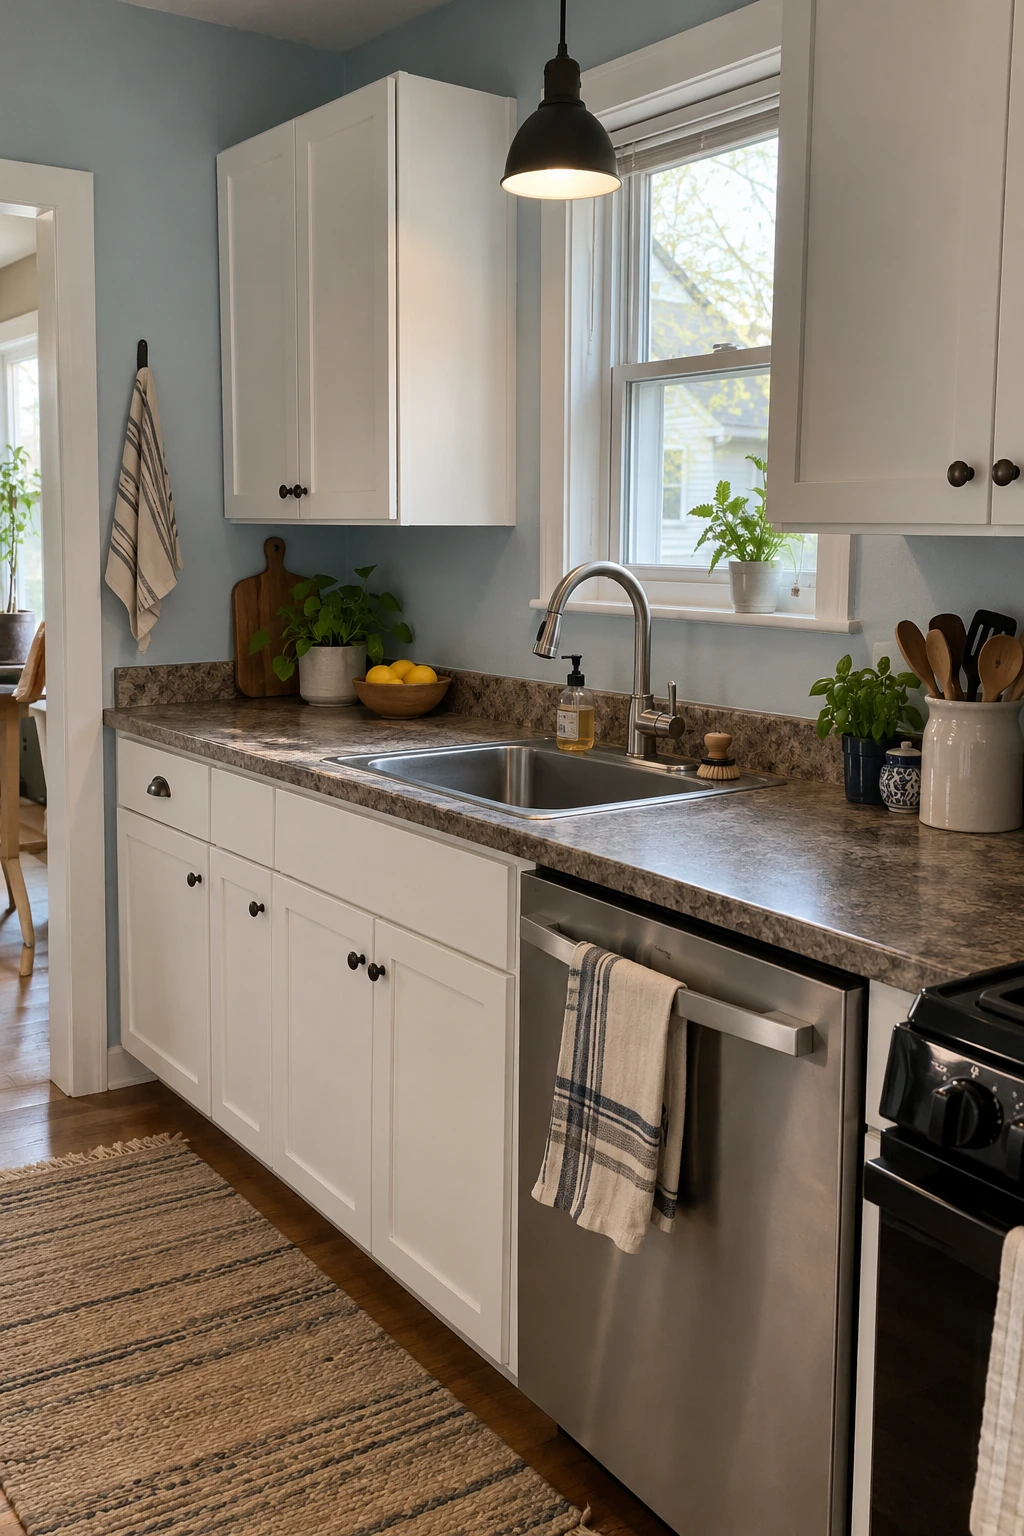
On a sound wall away from direct flame, a scrub-resistant kitchen paint can be the lowest-cost backsplash refresh. Patch holes, remove grease, prime stains, and caulk the counter joint neatly.
Keep the existing short counter splash where it protects the bottom edge. Follow appliance clearances and use a suitable noncombustible surface where local rules or equipment instructions require one.
24. Use Removable Tile for a Renter Refresh
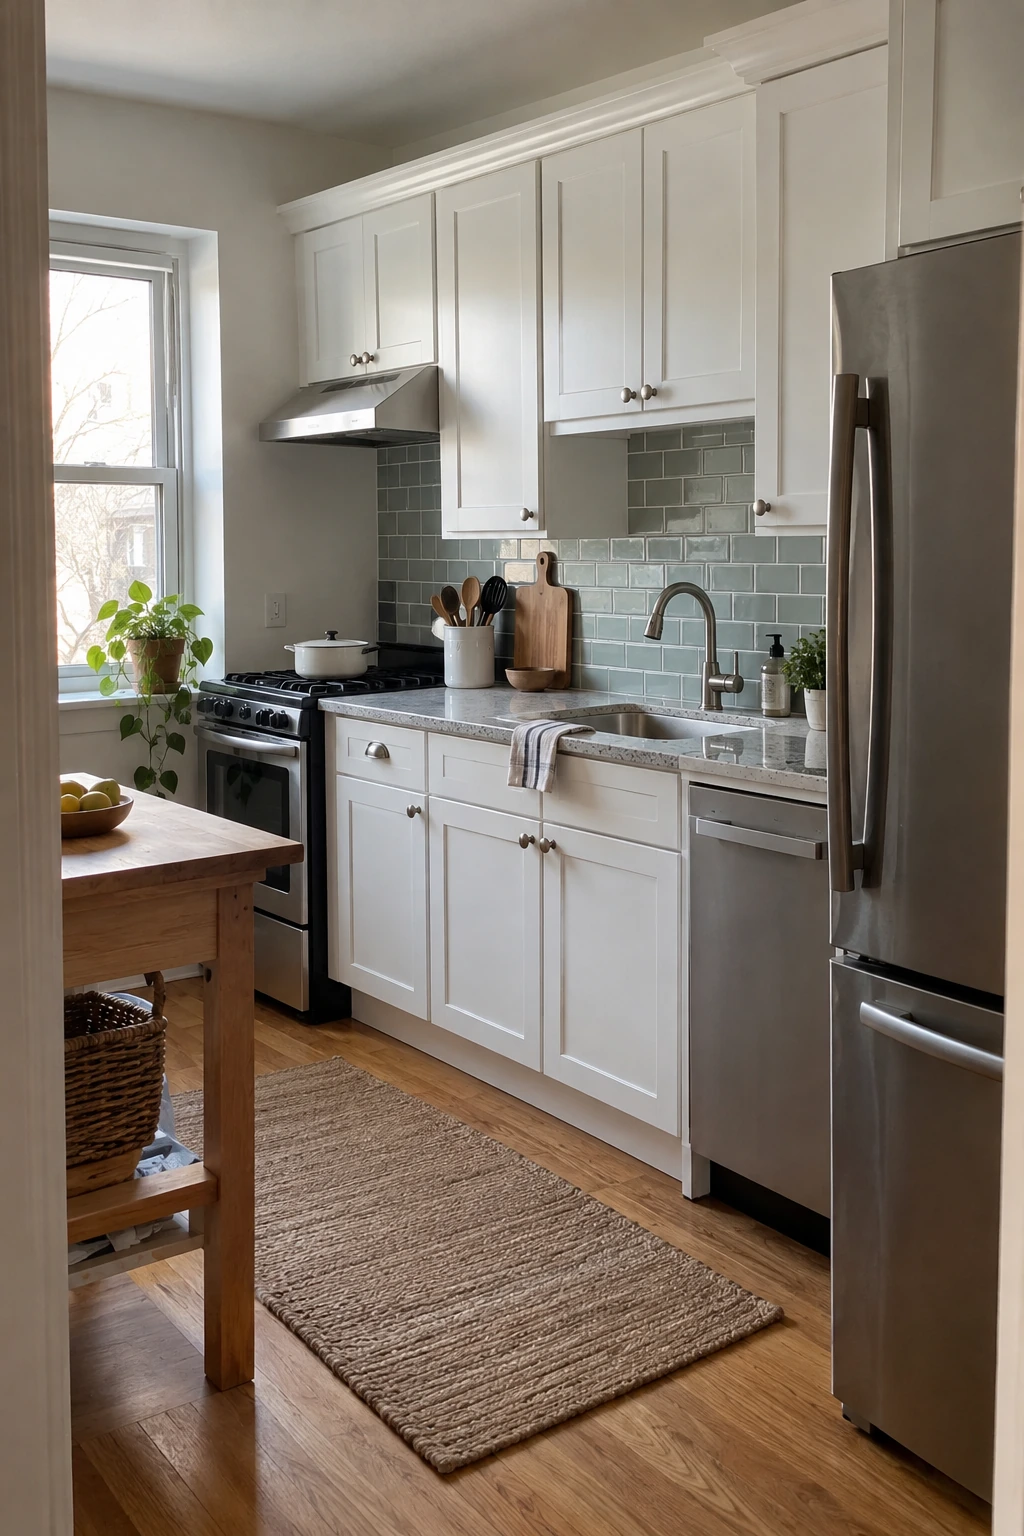
A removable panel or peel-and-stick product can change a smooth backsplash without permanent demolition. Test adhesion and removal in a hidden spot, and obtain landlord approval before covering painted or porous surfaces.
Keep seams away from heavy splashing and heat, and do not bridge outlets or ventilation openings. Remove the product when edges lift, moisture gets behind it, or the manufacturer’s temperature limits are exceeded.
25. Refinish a Sound Wood Floor
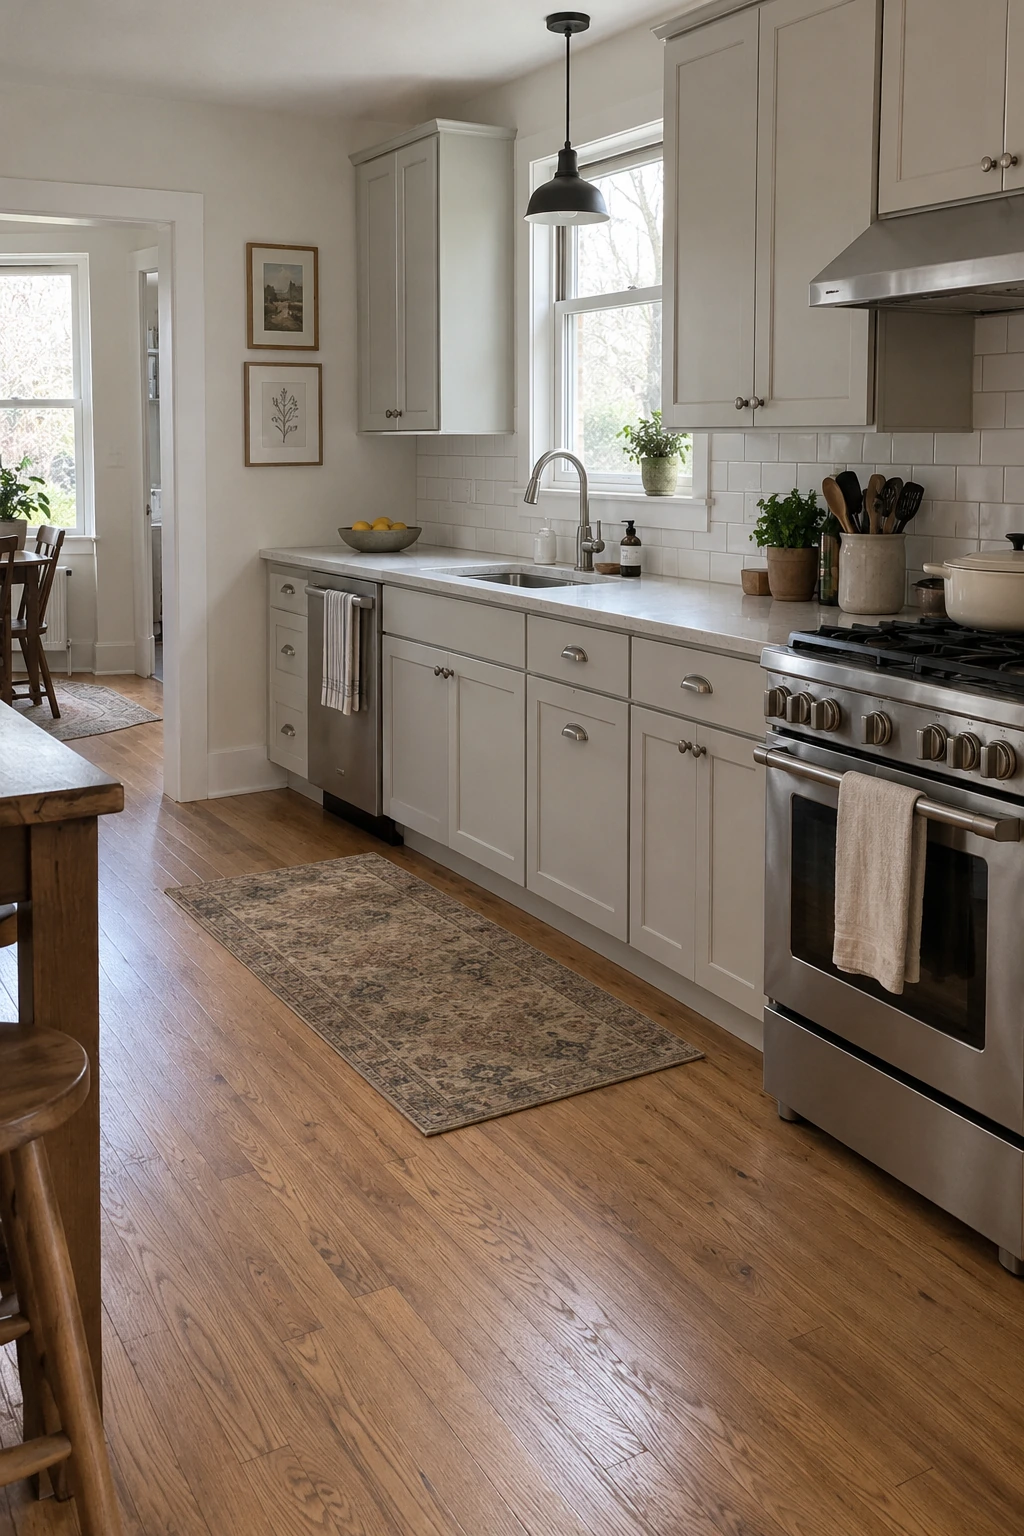
If the boards are dry, stable, and thick enough to refinish, repairing worn areas may cost less and look more coherent than replacing one room. Match patches by species, width, and grade before sanding.
Address leaks, damaged subfloor, loose boards, and transitions first. A flooring professional can assess remaining wear layer, fasteners, finish options, and how the kitchen connects to neighboring rooms.
Budget check: Repair moisture sources and confirm the remaining wear layer before scheduling sanding.
Choose a finish that tolerates routine cleaning and accept that wood will gain marks. Keep mats breathable and wipe sink or dishwasher leaks immediately.
See broader material directions in these kitchen flooring ideas, then compare them with the floor already present.
26. Lay Resilient Flooring Over a Sound Substrate
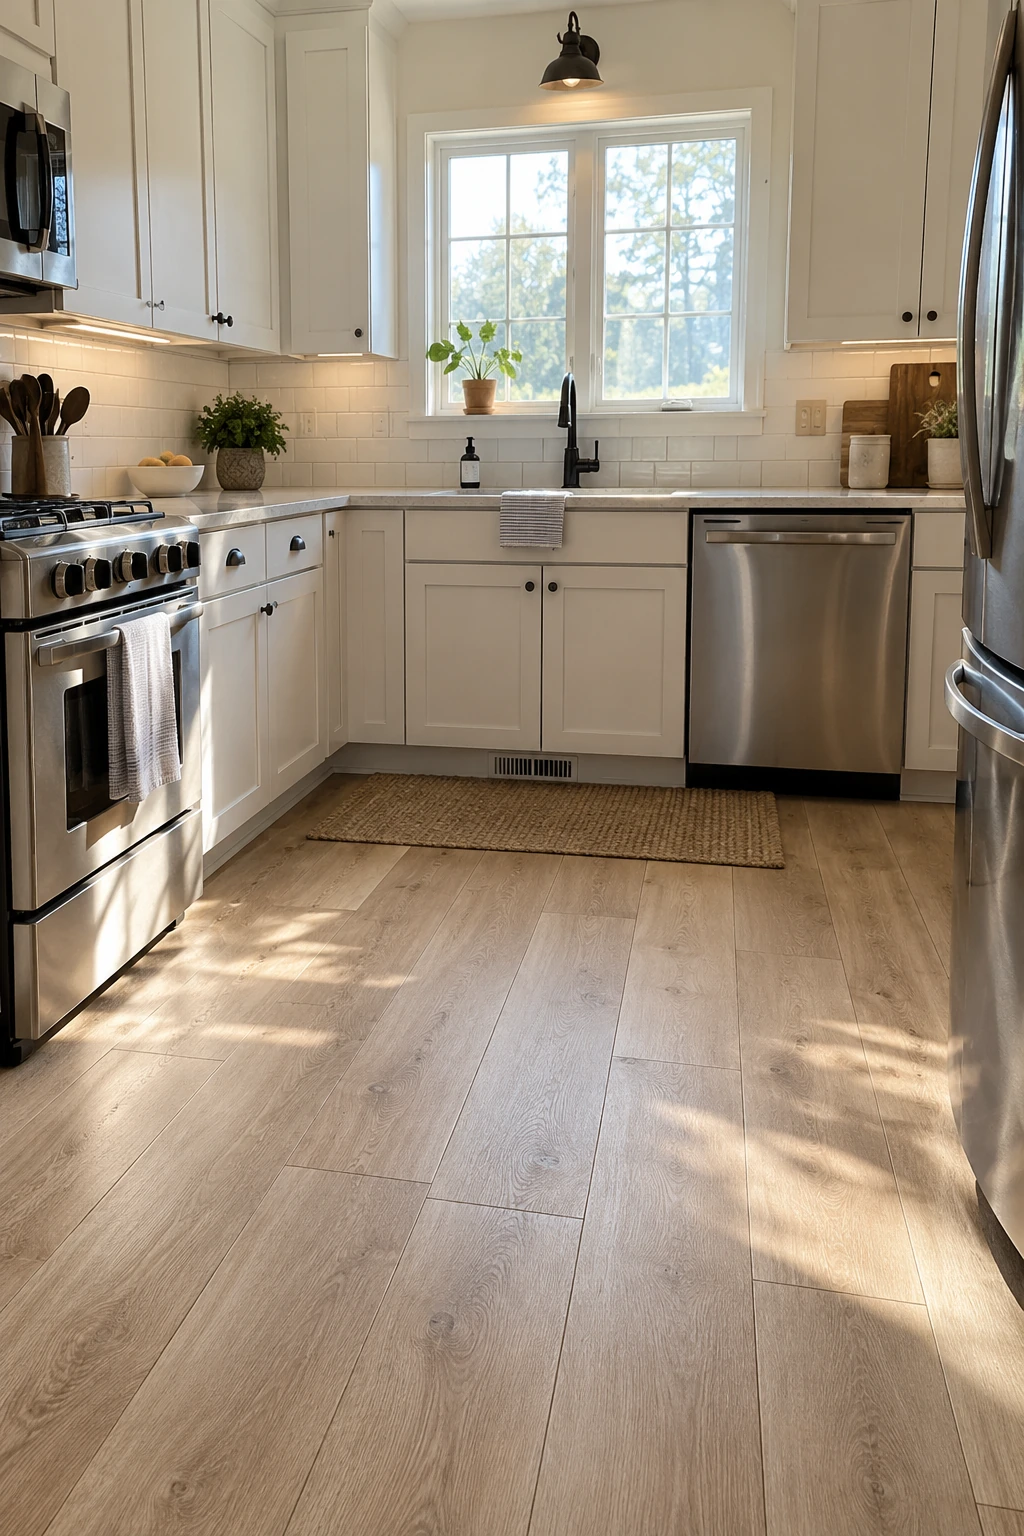
A resilient plank or sheet floor may install over a flat, dry, compatible substrate and reduce demolition. Product instructions determine moisture limits, underlayment, expansion space, and whether existing layers can remain.
Check dishwasher clearance, cabinet toe-kicks, door swings, transitions, and finished floor height. Do not trap a dishwasher behind a raised floor edge or cover an active moisture problem.
Order enough matching material for cuts and a future repair. A later production run can shift in color or texture.
27. Create a Checkerboard With Standard Tiles
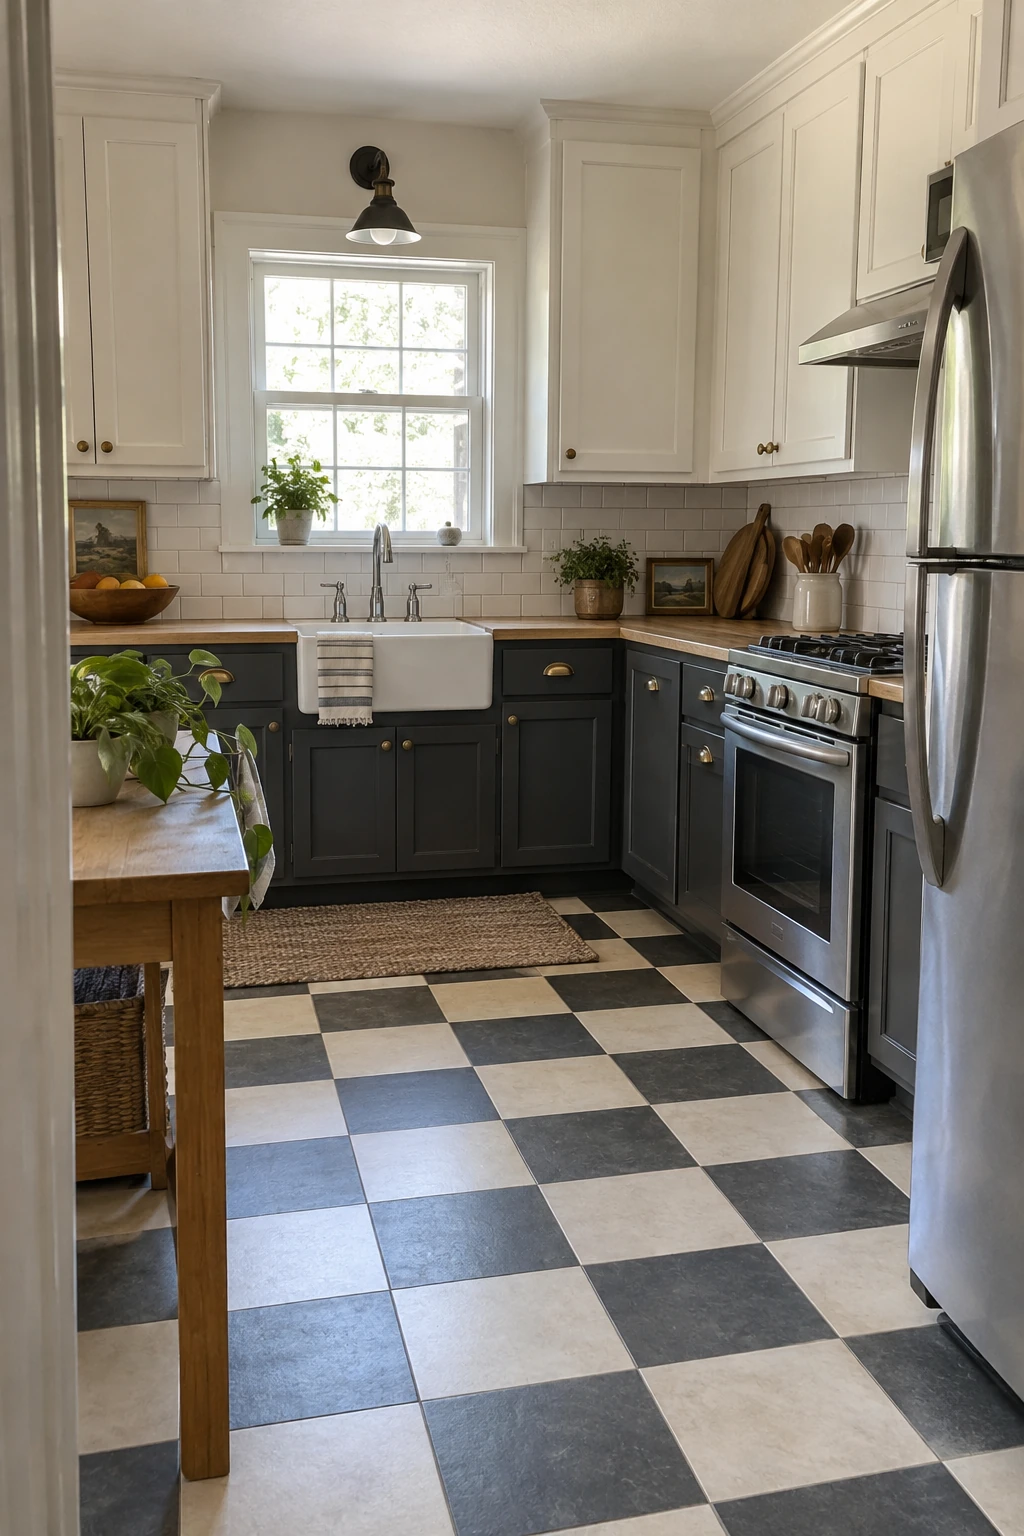
Alternating two readily available square tiles creates pattern without buying an ornate specialty product. Keep the colors related to retained cabinets and counters so the floor does not force other replacements.
Center the layout on the most visible run and preview cuts at walls, cabinets, and doorways. Substrate preparation, movement accommodation, and slip performance matter more than the tile’s purchase price.
28. Paint Walls and Ceiling as One Planned Step
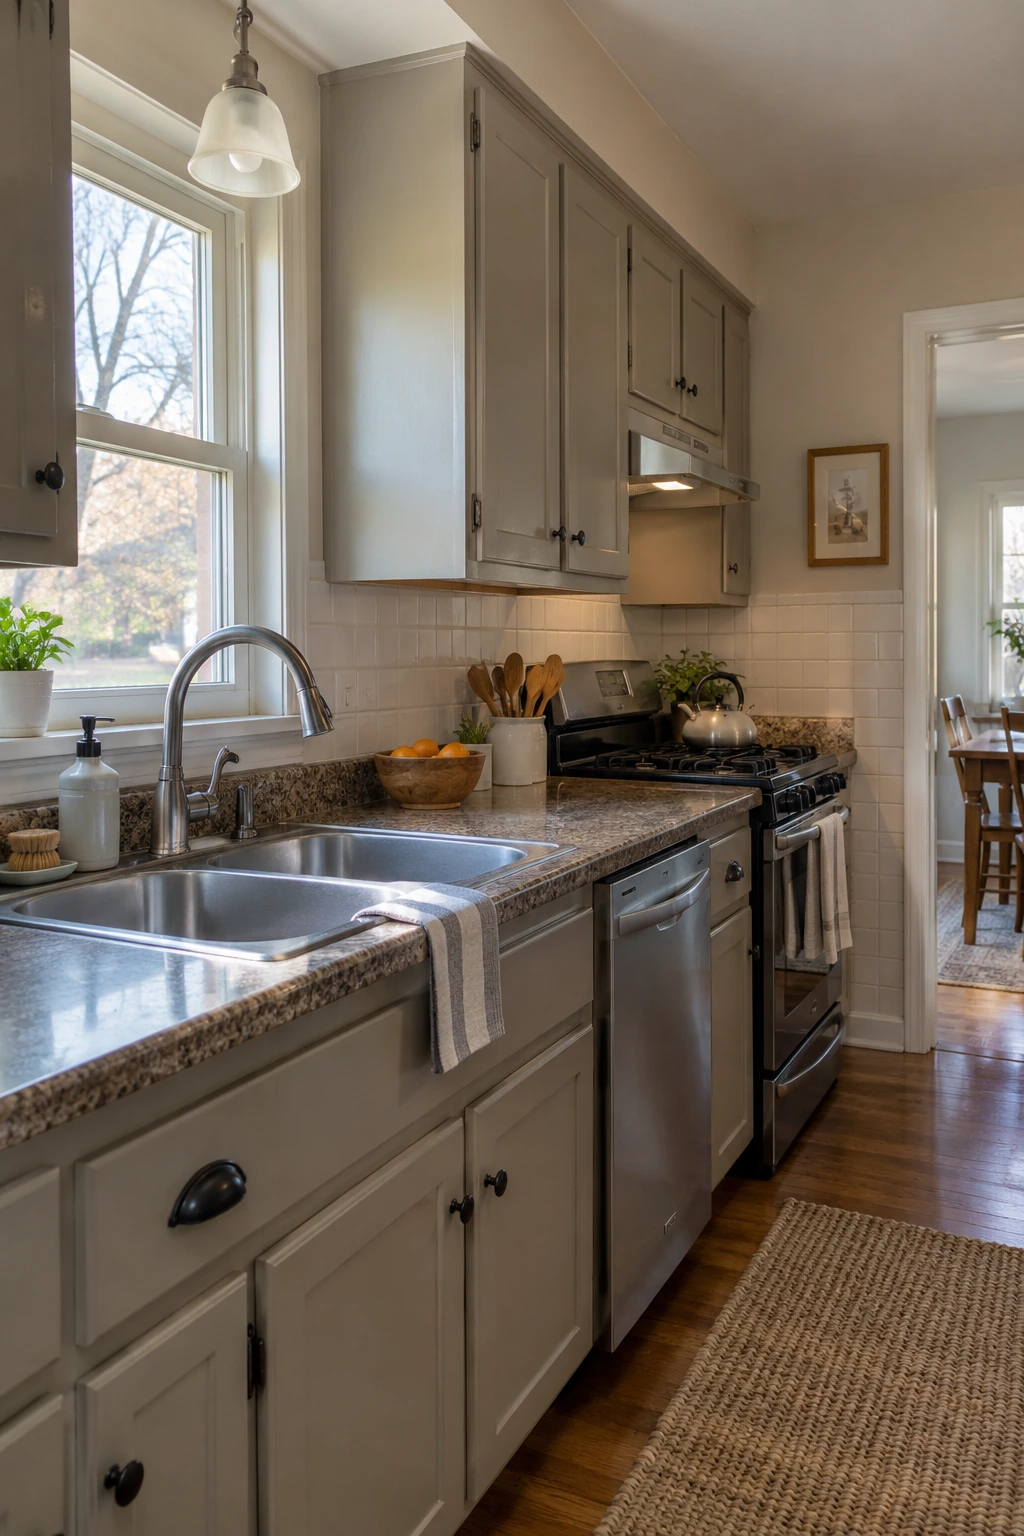
Fresh ceiling and wall paint can unify retained finishes and remove years of grease or patchwork. Clean thoroughly, repair cracks, prime stains, and choose products intended for washable interior surfaces.
Paint before final lighting, hardware, and open shelves, but after dusty wall work is complete. Keep a labeled touch-up container for the punch list and future maintenance.
Upgrade Lighting, Hardware, and Appliances Selectively
Small fixtures become expensive when they trigger hidden electrical, plumbing, or cabinet work. Coordinate each visible upgrade with the system behind it.
29. Install Continuous Under-Cabinet Task Lighting
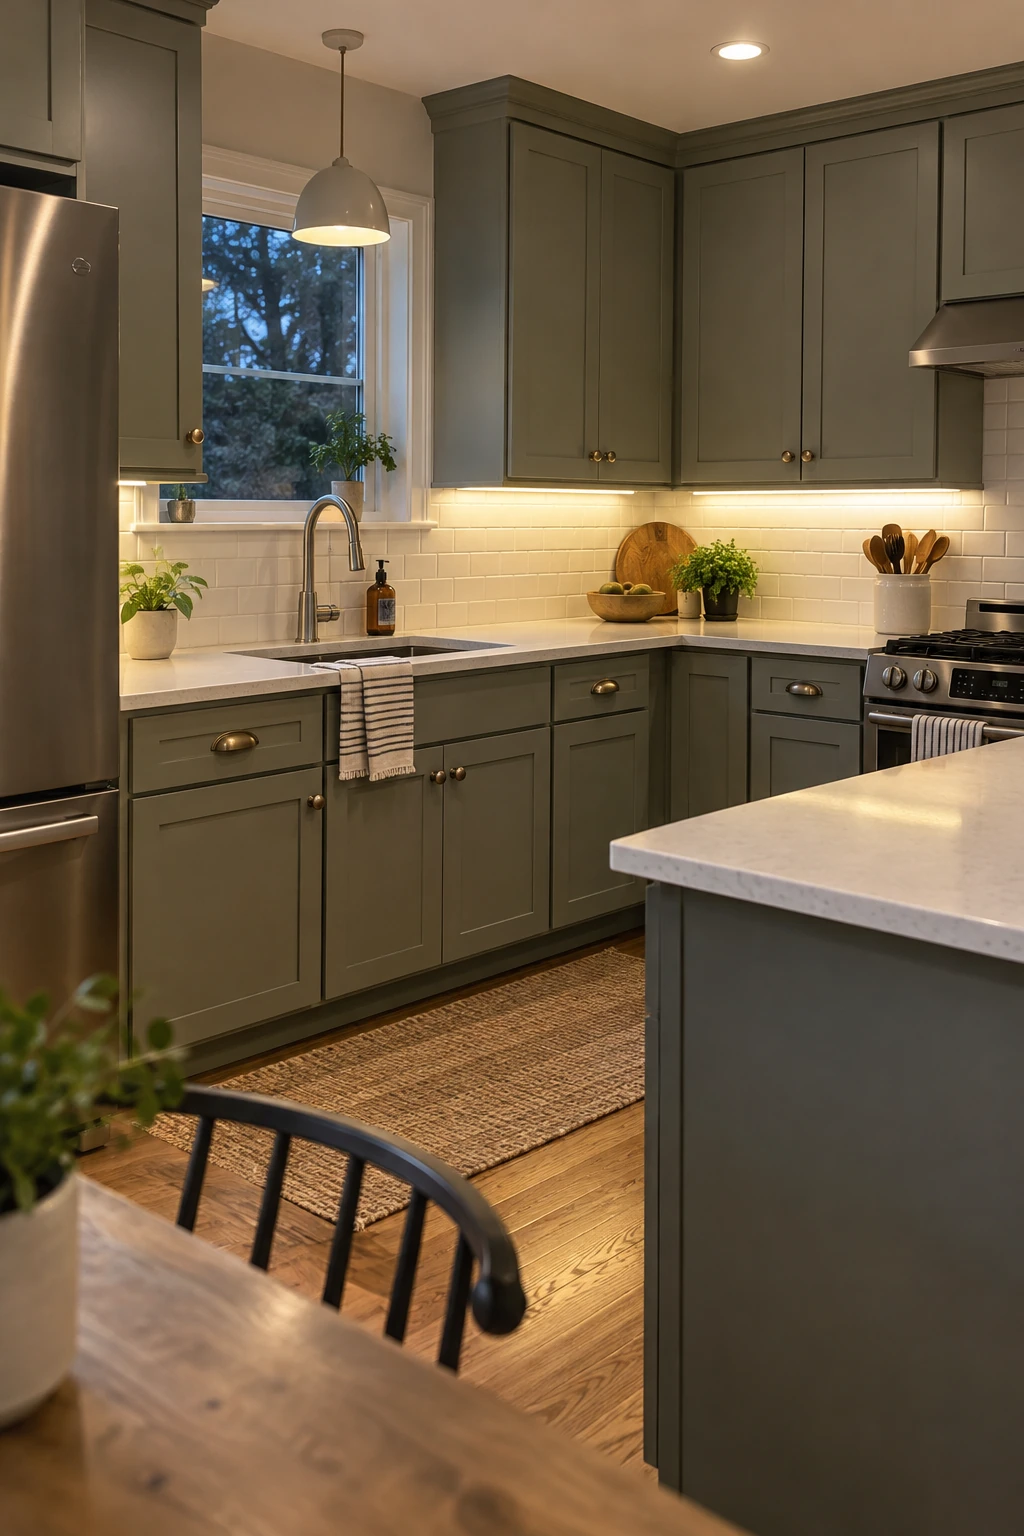
A continuous light near the cabinet front illuminates more of the work surface than a fixture pushed against the wall. A diffuser prevents bright dots from reflecting in polished counters.
Use listed components, accessible drivers, and a color temperature that agrees with ceiling lights. Plug-in systems may suit renters; hardwired work belongs with a qualified electrician and any required permits.
Plan wire routes before painting or tiling. Visible cords can make a low-cost lighting upgrade look unfinished.
30. Replace One Central Fixture With Layered Light
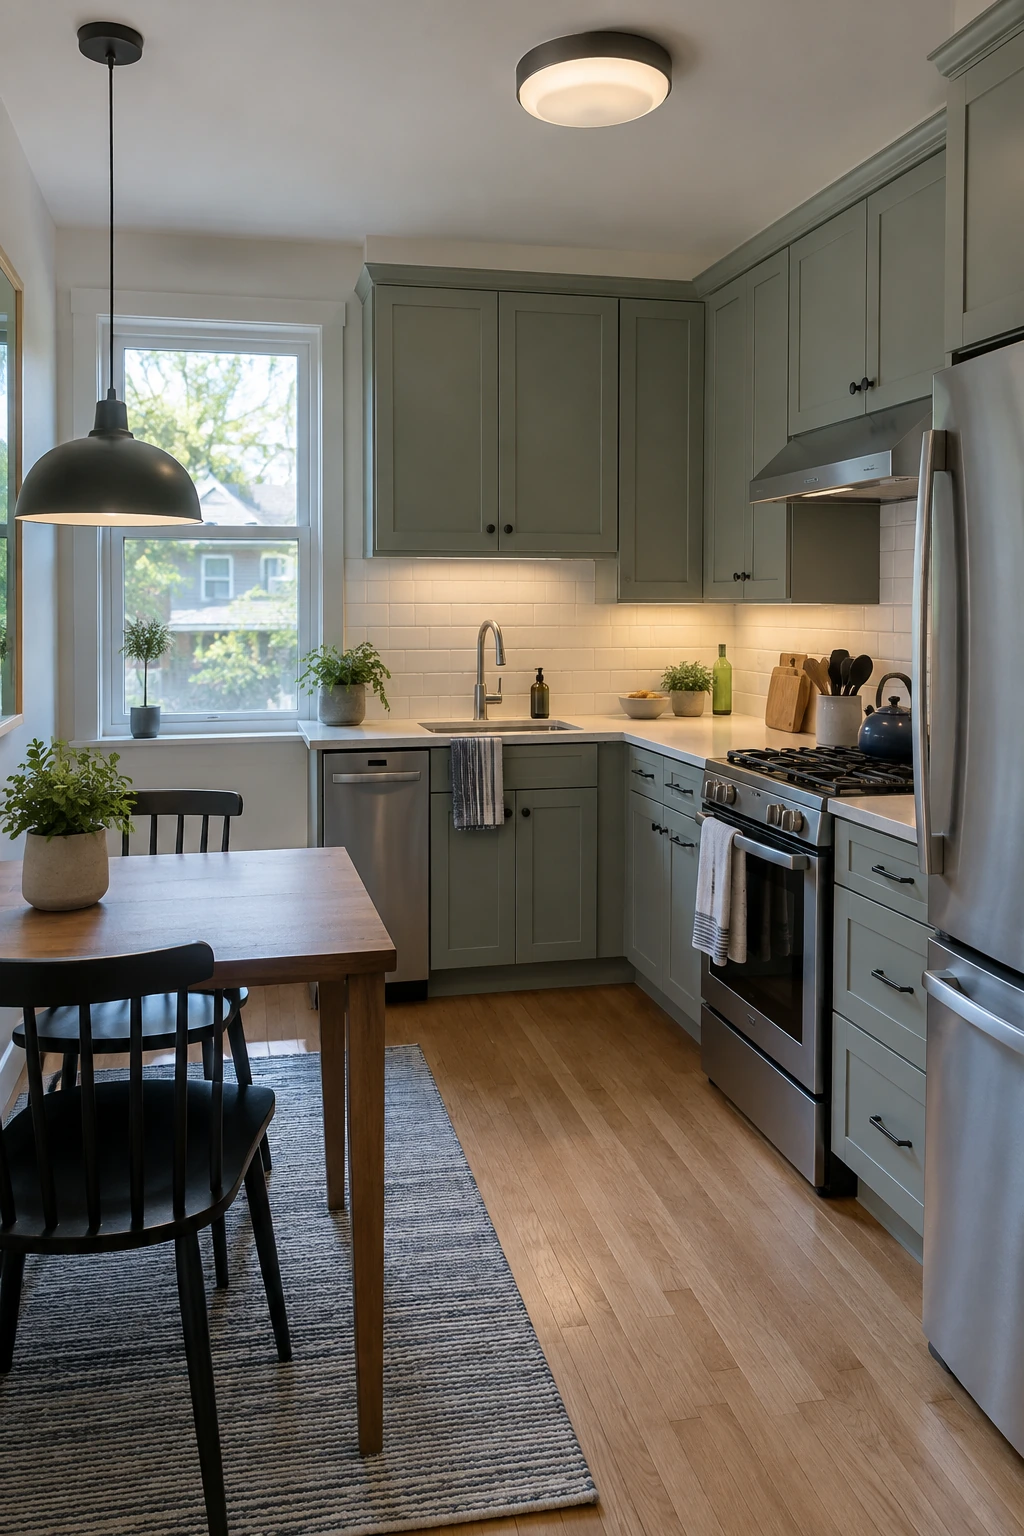
Combine general ceiling light, counter task light, and one focused fixture over a table or island. Separate controls let the room work brightly without making every fixture decorative or expensive.
Place light in front of the user rather than directly behind the head. Review fixture scale and placement with these kitchen lighting ideas before an electrician moves boxes.
Budget check: Map task surfaces and switch zones before selecting decorative fixtures.
Confirm box support, circuit capacity, dimmer compatibility, and clearances. Reusing safe existing locations can protect the budget when the light distribution is still useful.
Match color rendering and temperature across fixtures. Consistent light helps mixed retained and new finishes read as one room.
31. Choose Standard Appliances That Fit the Openings
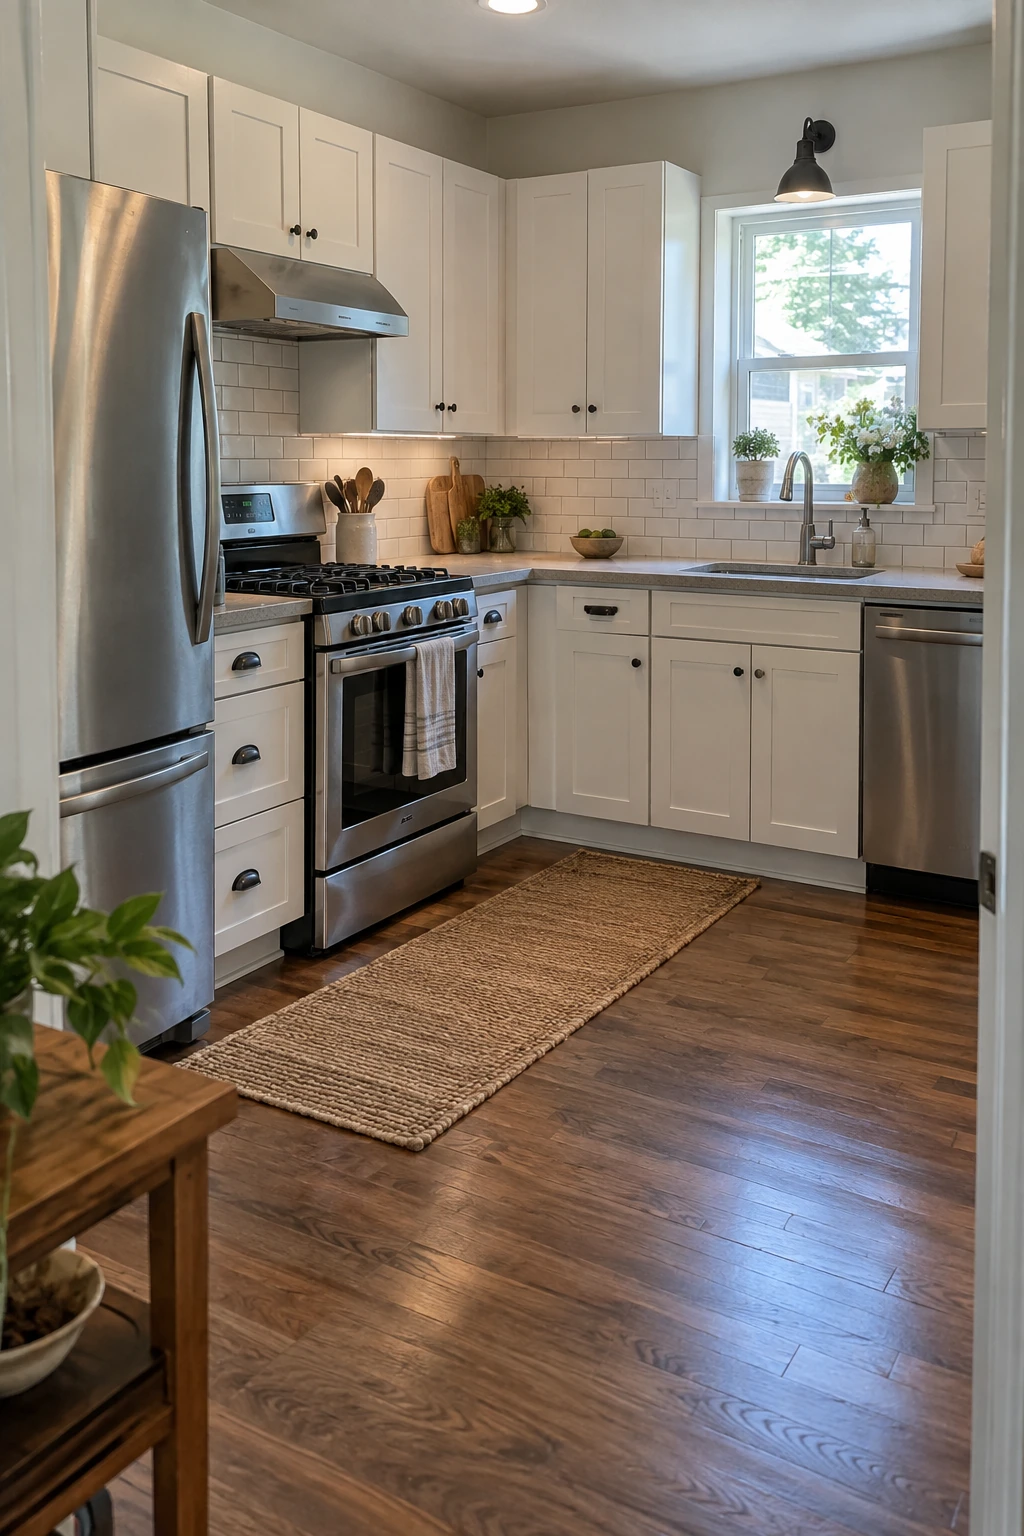
Shop from the verified cabinet opening, utility location, door swing, ventilation, and delivery path. A specialty-size appliance can require cabinet rebuilding that exceeds the value of the upgrade.
Compare operating requirements, repair access, warranty, and long-term utility use alongside purchase cost. Keep specification sheets with the plan until installation is complete.
Do not assume a nominal width equals the exact body, handle, hinge, or ventilation requirement. Follow the manufacturer’s current installation drawing.
32. Replace Appliances in Functional Phases
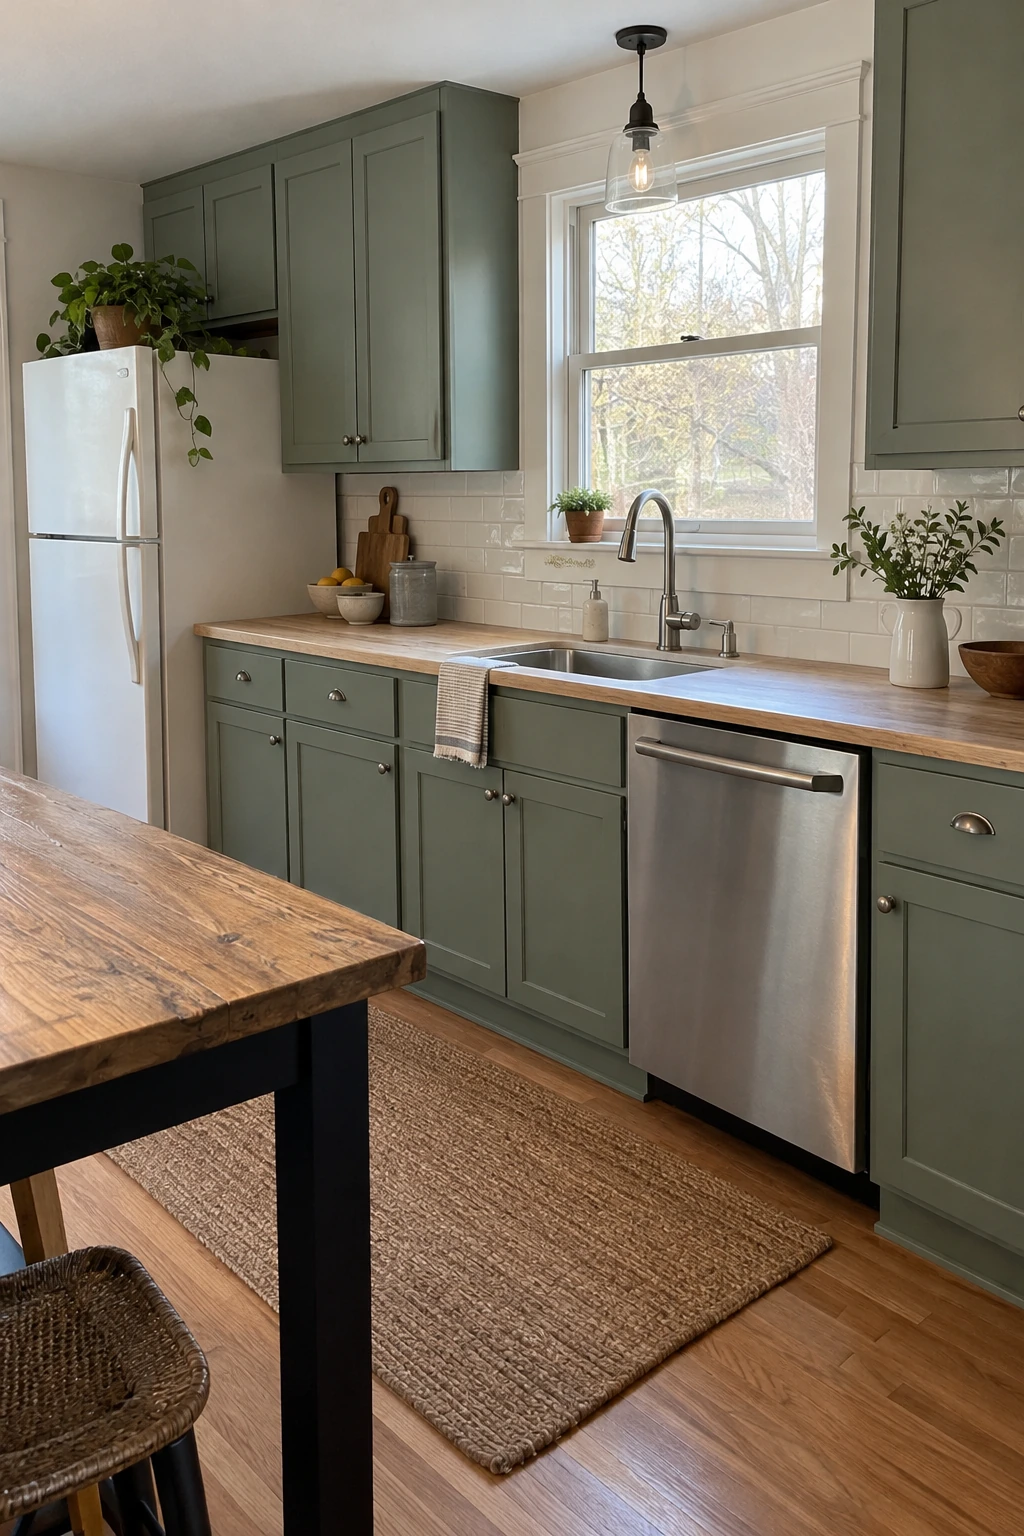
Replace the failing or inefficient appliance first while keeping reliable pieces. Coordinated handles are less important than correct fit, safe connections, and a purchasing plan that avoids emergency choices.
Reserve cabinet panels and matching paint for later gaps or trim changes. If a future appliance changes fuel or electrical demand, assess that infrastructure before finishing walls.
33. Keep an Existing Sink and Change the Faucet
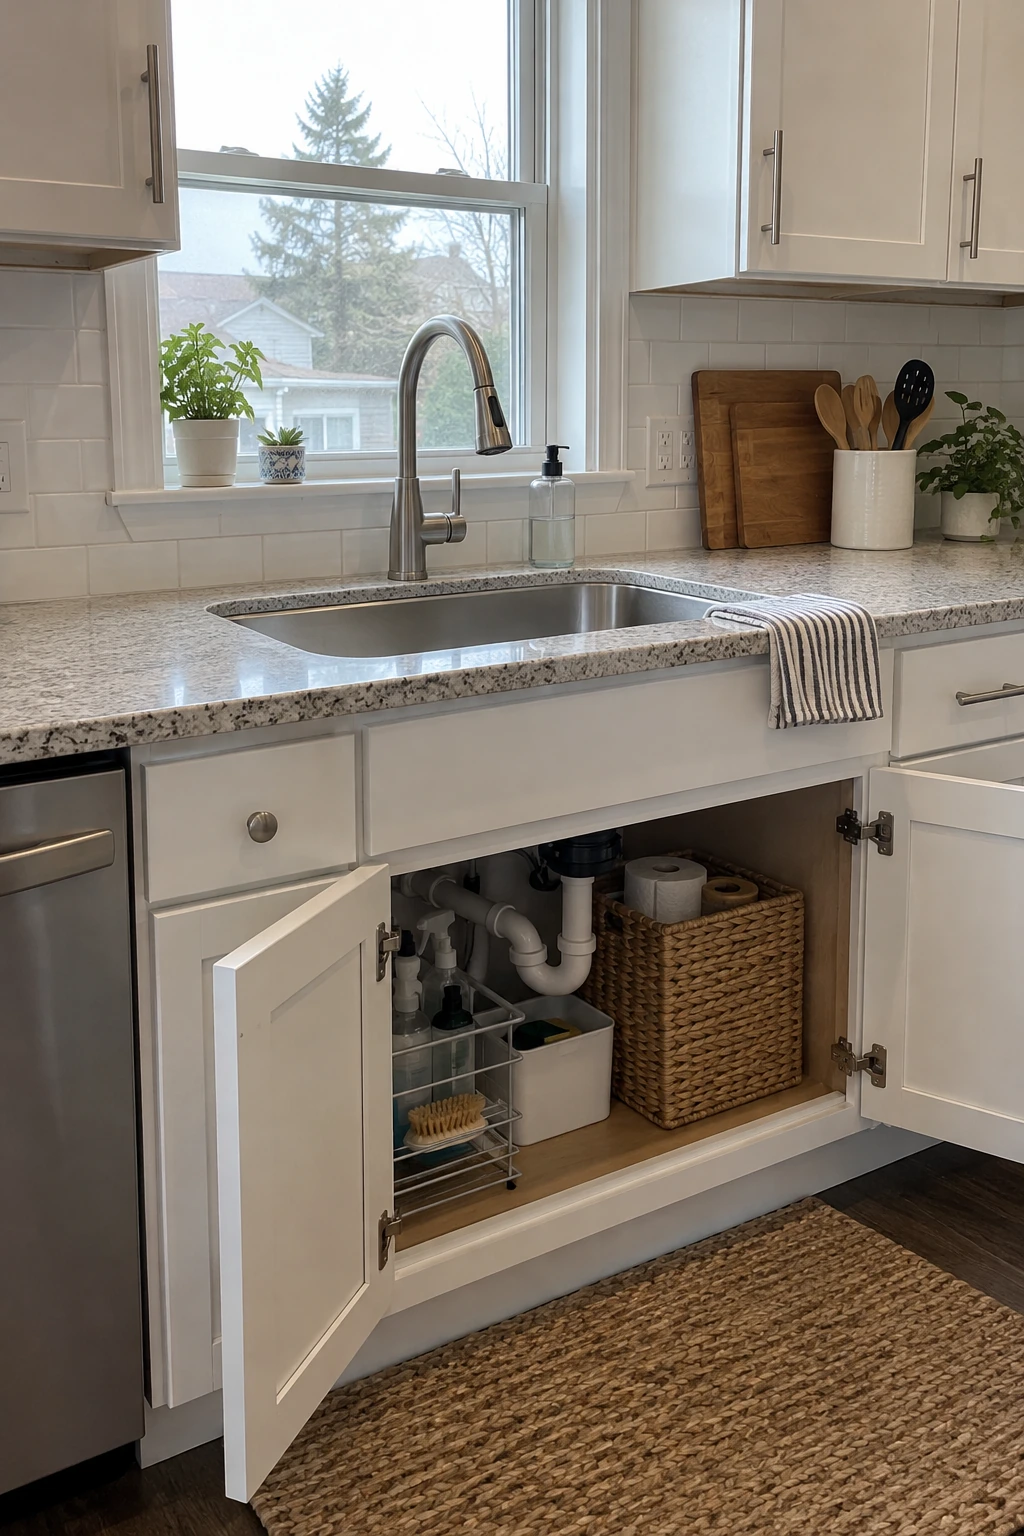
A sound sink can stay when the counter cutout and cabinet are being retained. A new faucet, fresh strainer, and corrected caulk can improve daily use without disturbing the countertop.
Inspect shutoffs, supply lines, drain, disposal, deck holes, and cabinet moisture before purchase. A plumber should correct corroded or noncompliant connections rather than hiding them behind a cosmetic upgrade.
Choose a faucet height and reach that fit the basin and window. Oversized fixtures can splash or prevent a window from opening.
34. Refresh Switches and Plates After Electrical Review
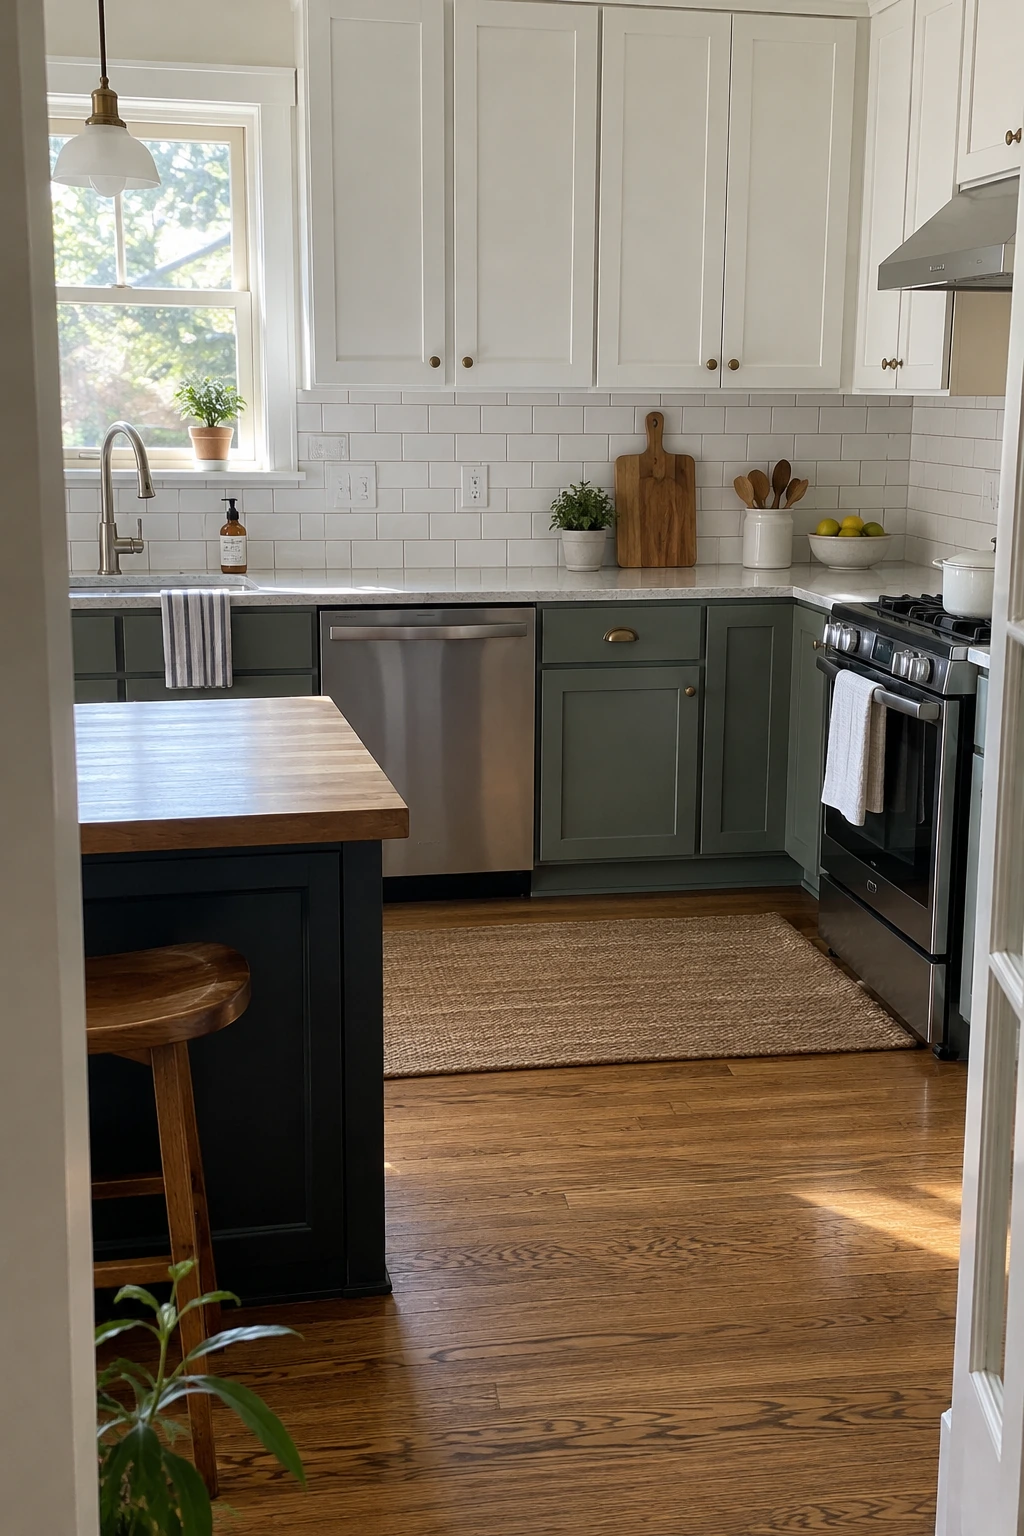
Matching plates and clean, aligned devices reduce visual clutter on a backsplash. Replace cracked or painted covers, and let an electrician assess loose devices, grounding, protection, box depth, and overloaded circuits.
Coordinate device changes before tile so extensions and cuts are planned. Electrical rules vary by location and adopted code; do not treat a new cover as evidence that old wiring is safe.
35. Give Ventilation Priority Over a Decorative Hood
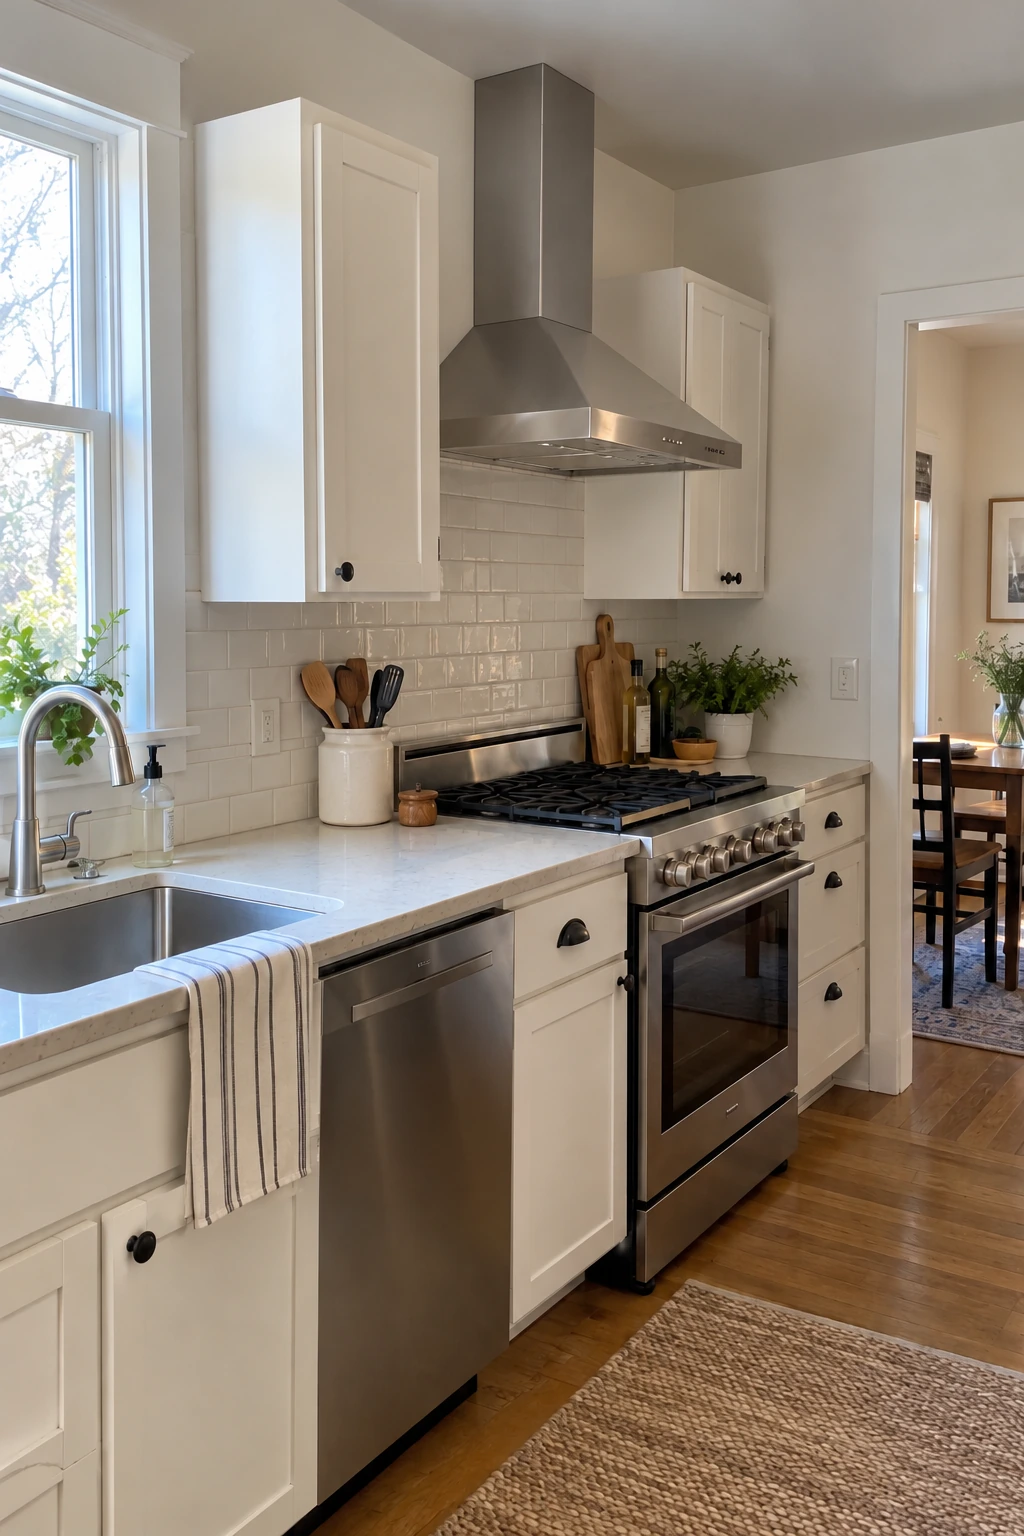
Choose a hood for capture, airflow, sound, cleaning access, duct route, and the cooking equipment below it. A simple exposed unit can perform better for the budget than an elaborate enclosure around weak ventilation.
Use the required smooth duct size and minimize turns. Larger exhaust may need make-up air or combustion-safety coordination, so involve the appropriate HVAC or building professional.
Cleanable filters and controls that are easy to reach make the hood more likely to be used. Exterior exhaust should terminate as required, never into an attic or cabinet.
36. Update the Island With Paint and New Seating
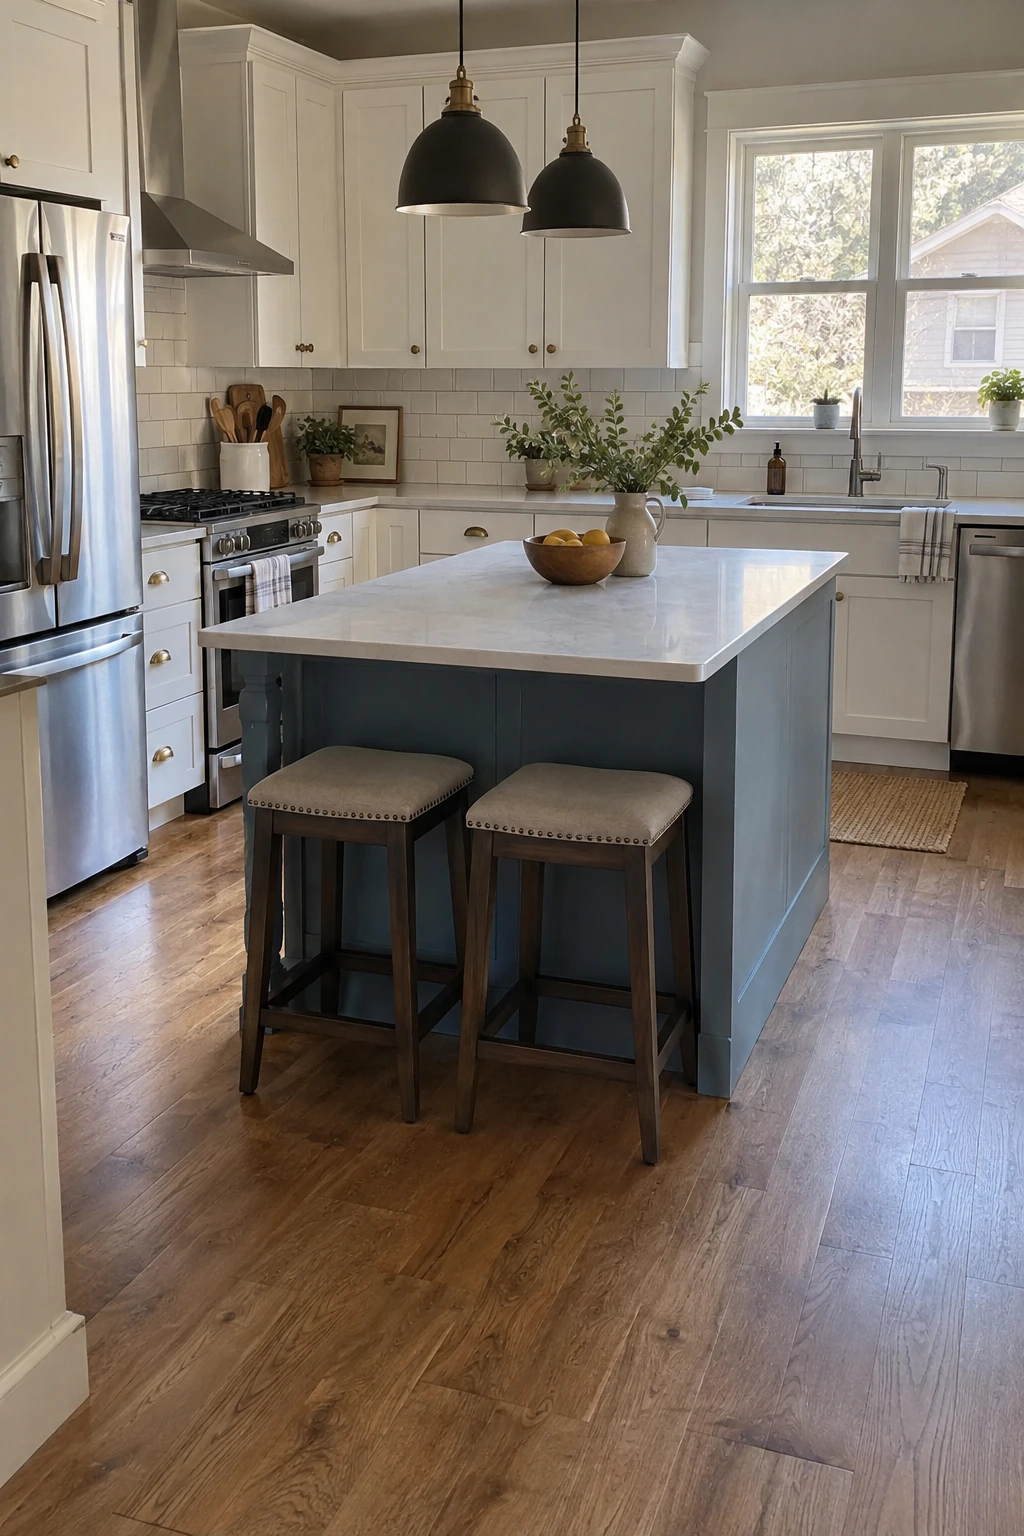
Painting only the island limits preparation and creates a deliberate focal point among retained perimeter cabinets. Repeat the color in one small accessory instead of replacing every finish to match.
Measure overhang, knee space, stool width, and circulation before buying seating. Browse these kitchen island ideas for proportions, then keep stools outside the main work aisle.
If the island blocks traffic, remove or shorten it rather than decorating around the problem. Open floor area may be the most valuable budget improvement.
37. Add Trim to One Plain Cabinet Feature
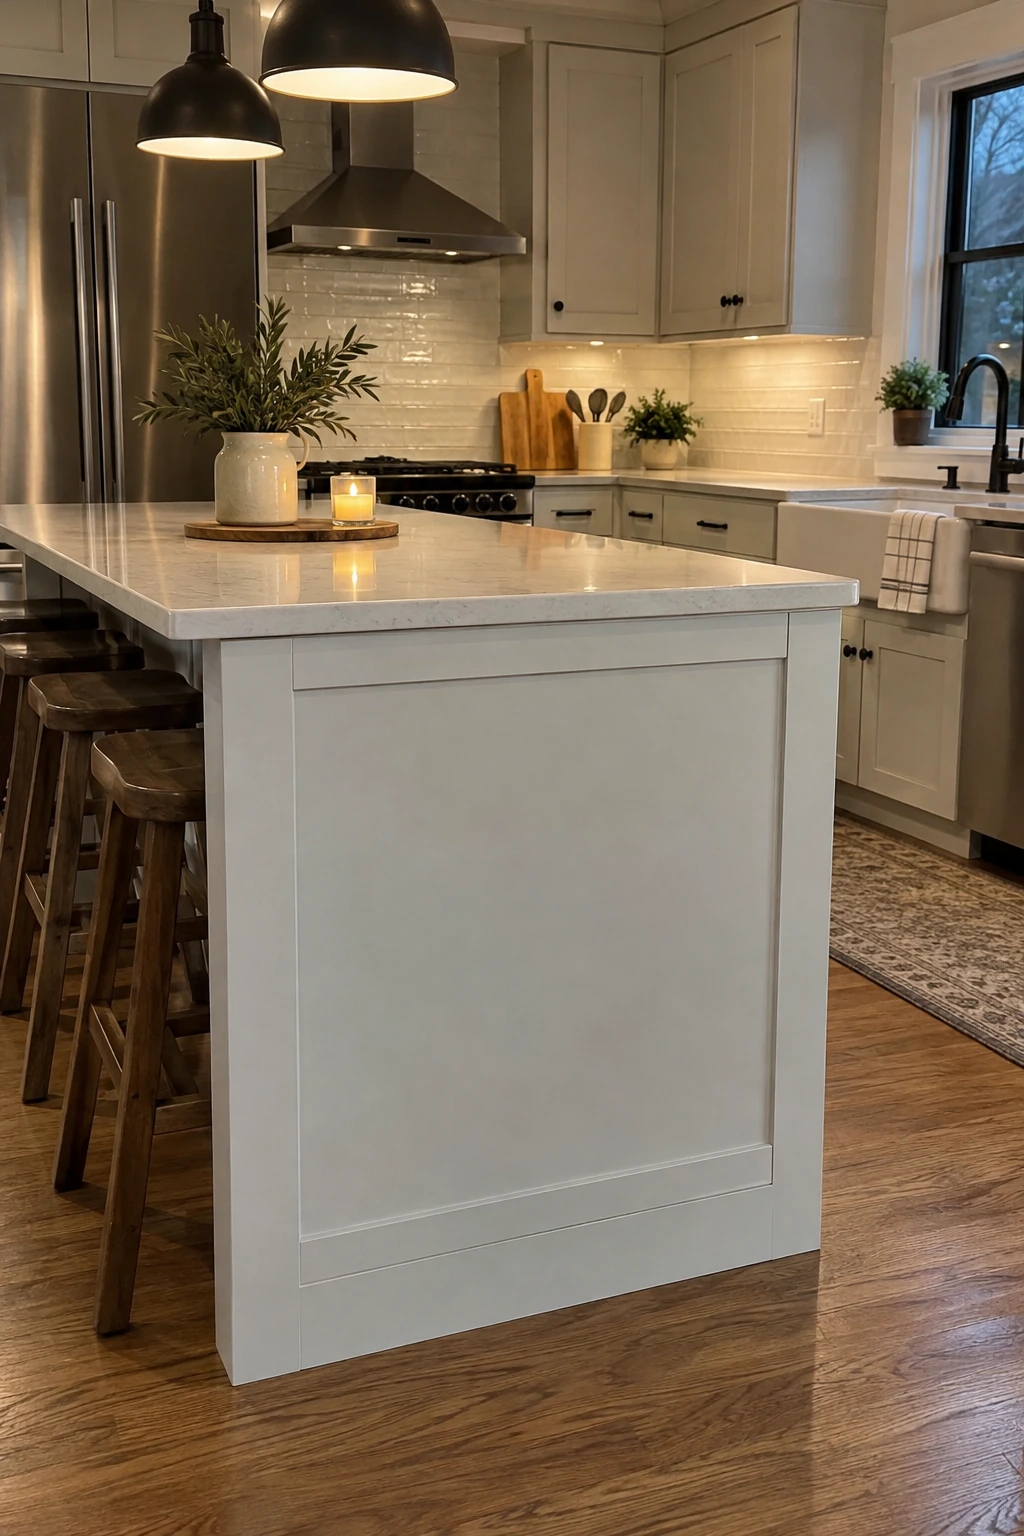
Apply simple molding to a flat island end or exposed pantry side instead of altering every door. Keep the profile compatible with existing cabinetry and leave room for base trim, outlets, and counter overhang.
Prime cut edges, fill fasteners, and use a durable cabinet coating. Skip applied trim where water, feet, or moving stools will quickly damage delicate edges.
Add Storage Without Rebuilding the Room
Storage gains are strongest when they match actual objects and routines. Use walls, cabinet interiors, and movable furniture before paying to expand the footprint.
38. Use a Freestanding Worktable Instead of an Island
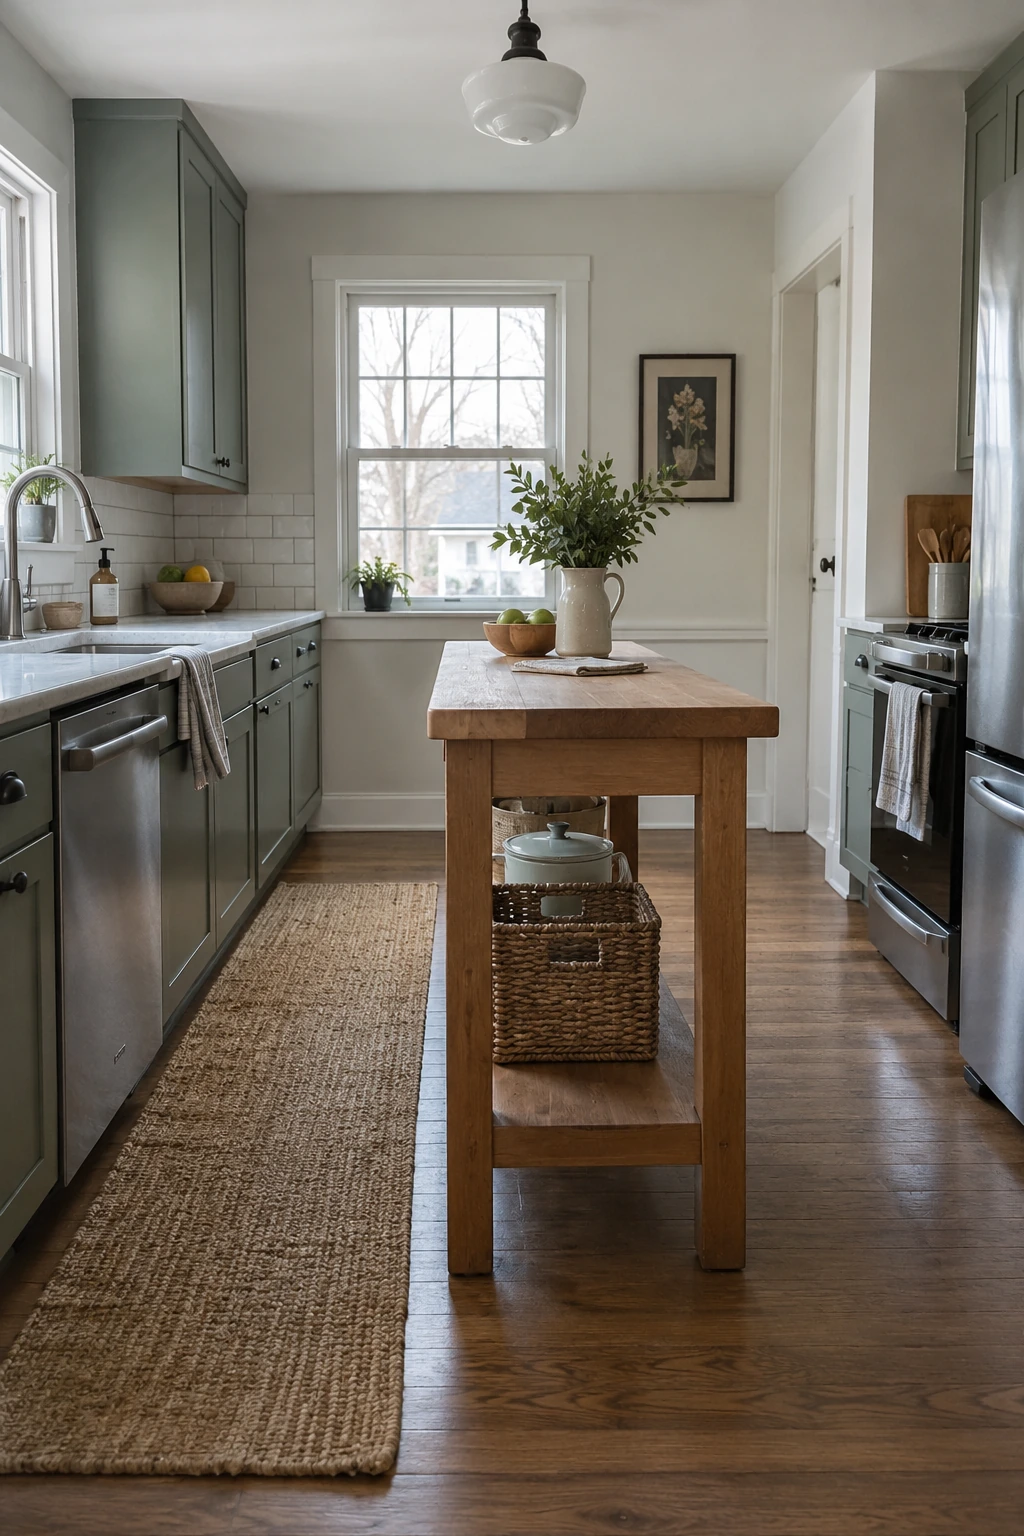
A sturdy worktable adds prep space without floor repair, wiring, or custom cabinetry. Choose a food-appropriate top and a footprint that leaves appliance doors and traffic routes clear.
Use fixed legs or locking casters, and keep heavy items low. Renters can take the table with them, while homeowners can test island size before committing to built-ins.
Budget check: Treat a movable worktable as a full-size circulation test before choosing any permanent island.
Avoid extension cords across the aisle. If power is essential, a permanent island requires an electrical plan that complies with current local rules.
Mark the table’s outline for a week before buying. The trial should include people passing and stools pulled out.
39. Build a Pantry Wall From Shallow Shelving
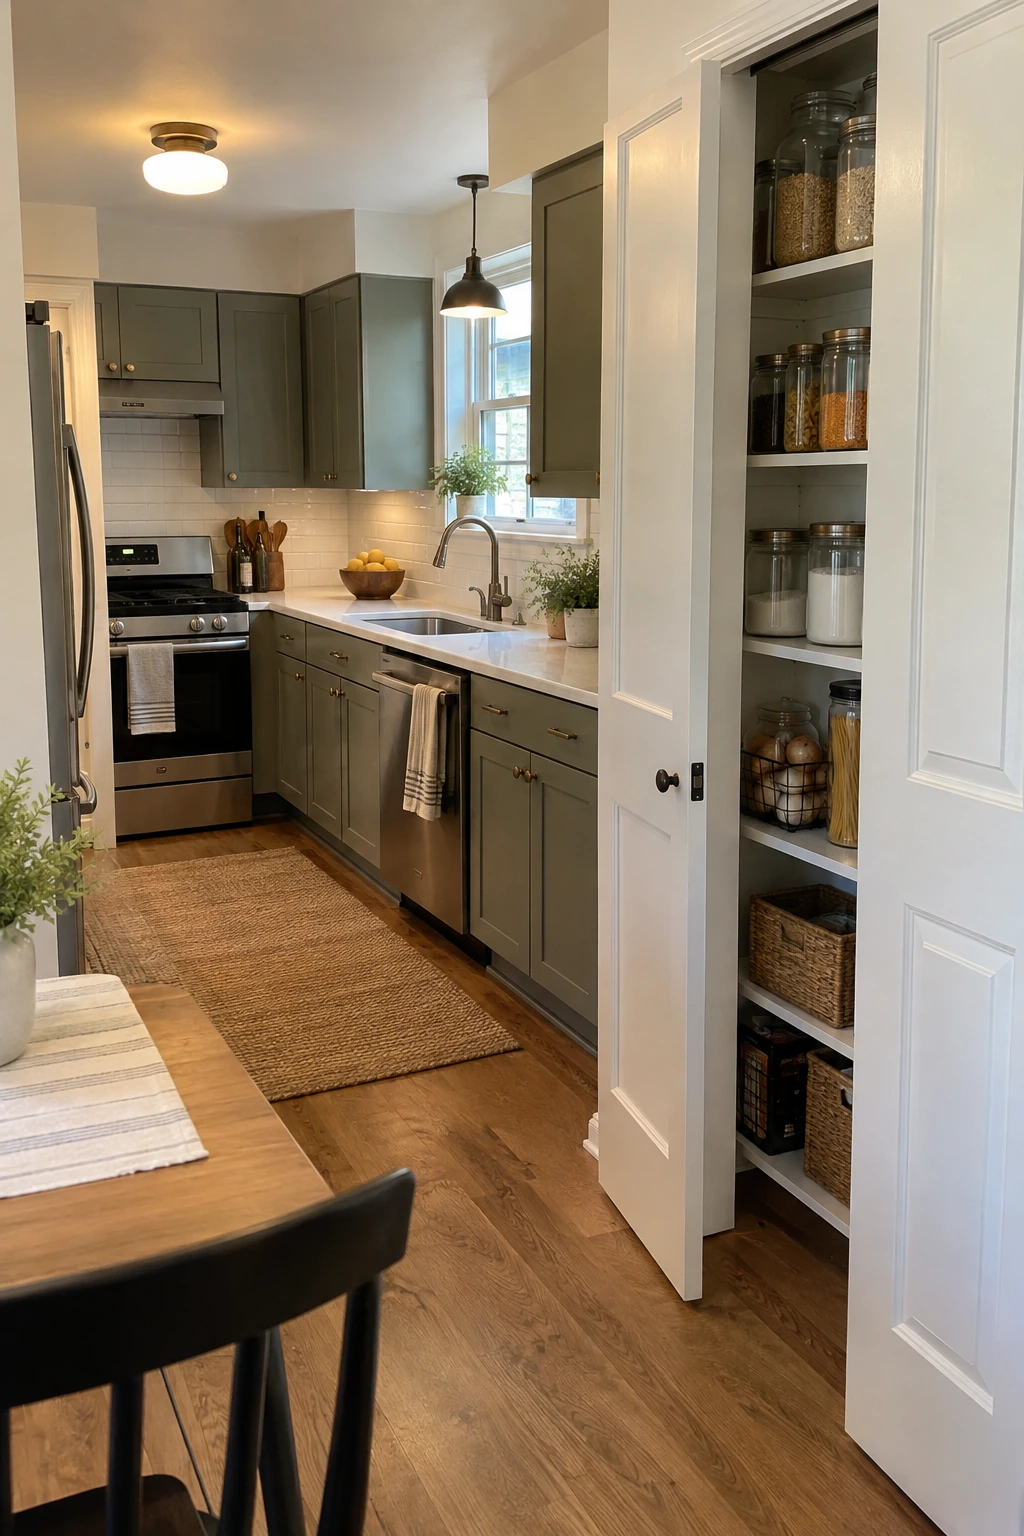
Shallow shelves keep cans, jars, and small appliances visible instead of creating deep stacks. A narrow pantry on an unused wall may store more usefully than a bulky corner cabinet.
Measure the largest intended item, baseboard projection, doorway clearance, and handle depth. Anchor tall storage and keep it clear of heat, moisture, and required electrical access.
Use adjustable shelves so the spacing can change. Uniform shelf depth matters more than matching every container.
40. Mount a Rail for Everyday Tools
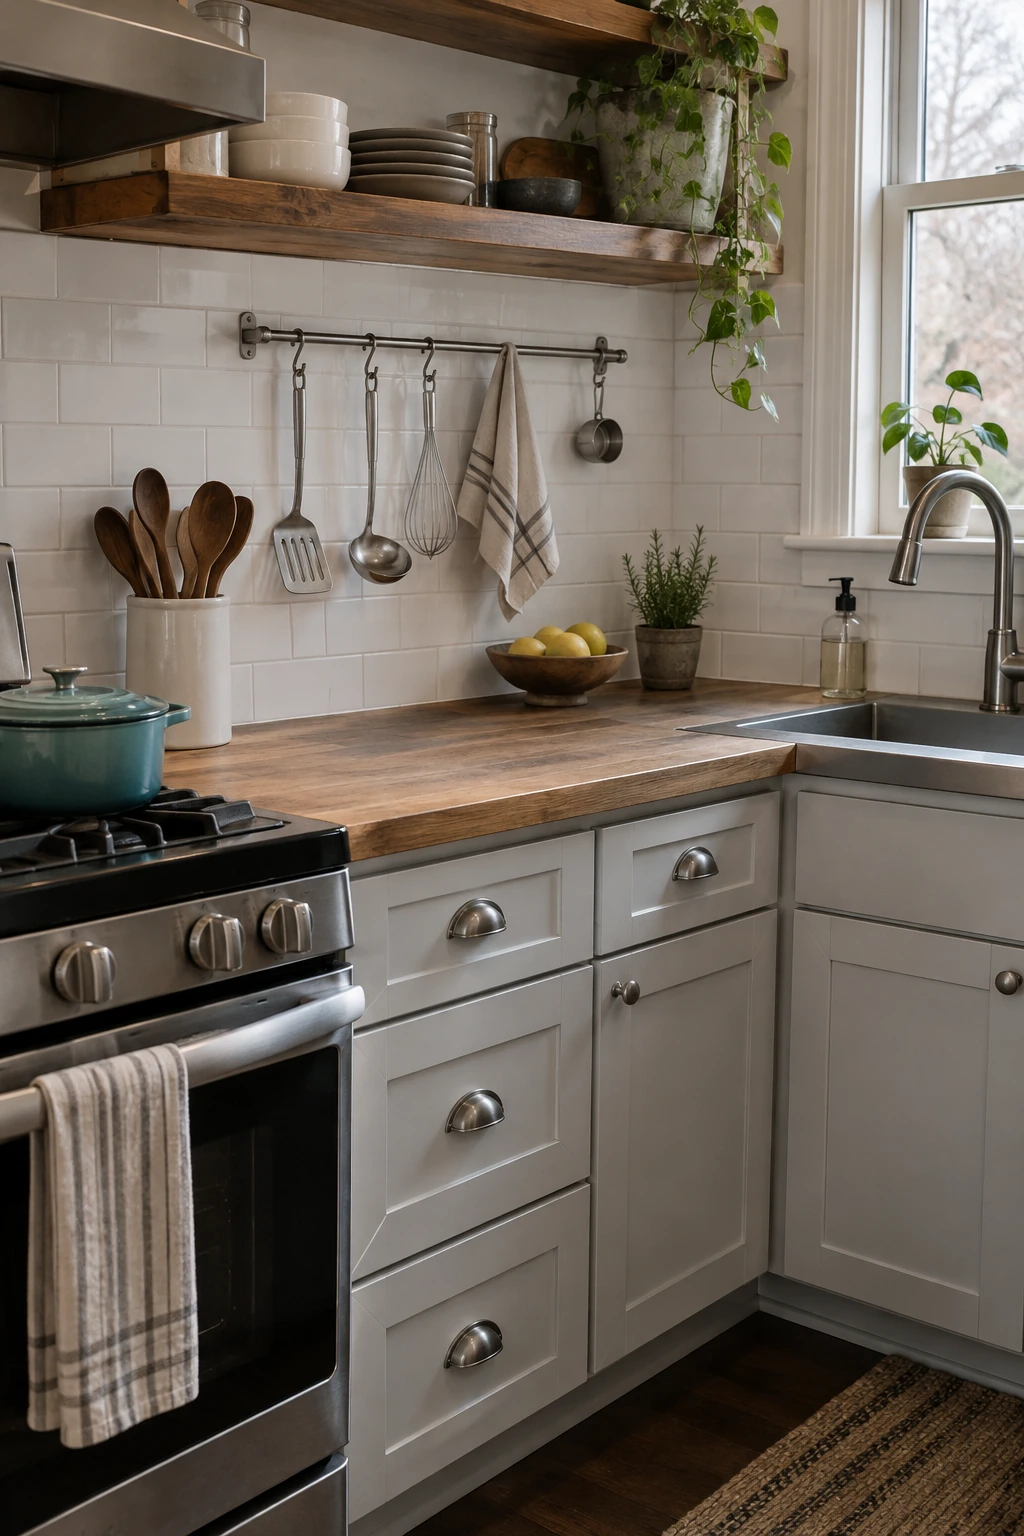
A rail can move frequently used tools off a crowded counter without adding a cabinet. Limit it to items used often so the wall remains easy to clean.
Anchor for the expected load and position tools away from burners, splashing water, and children’s reach. Renters can use a supported freestanding rack when drilling is not allowed.
41. Create a Dedicated Baking or Coffee Zone
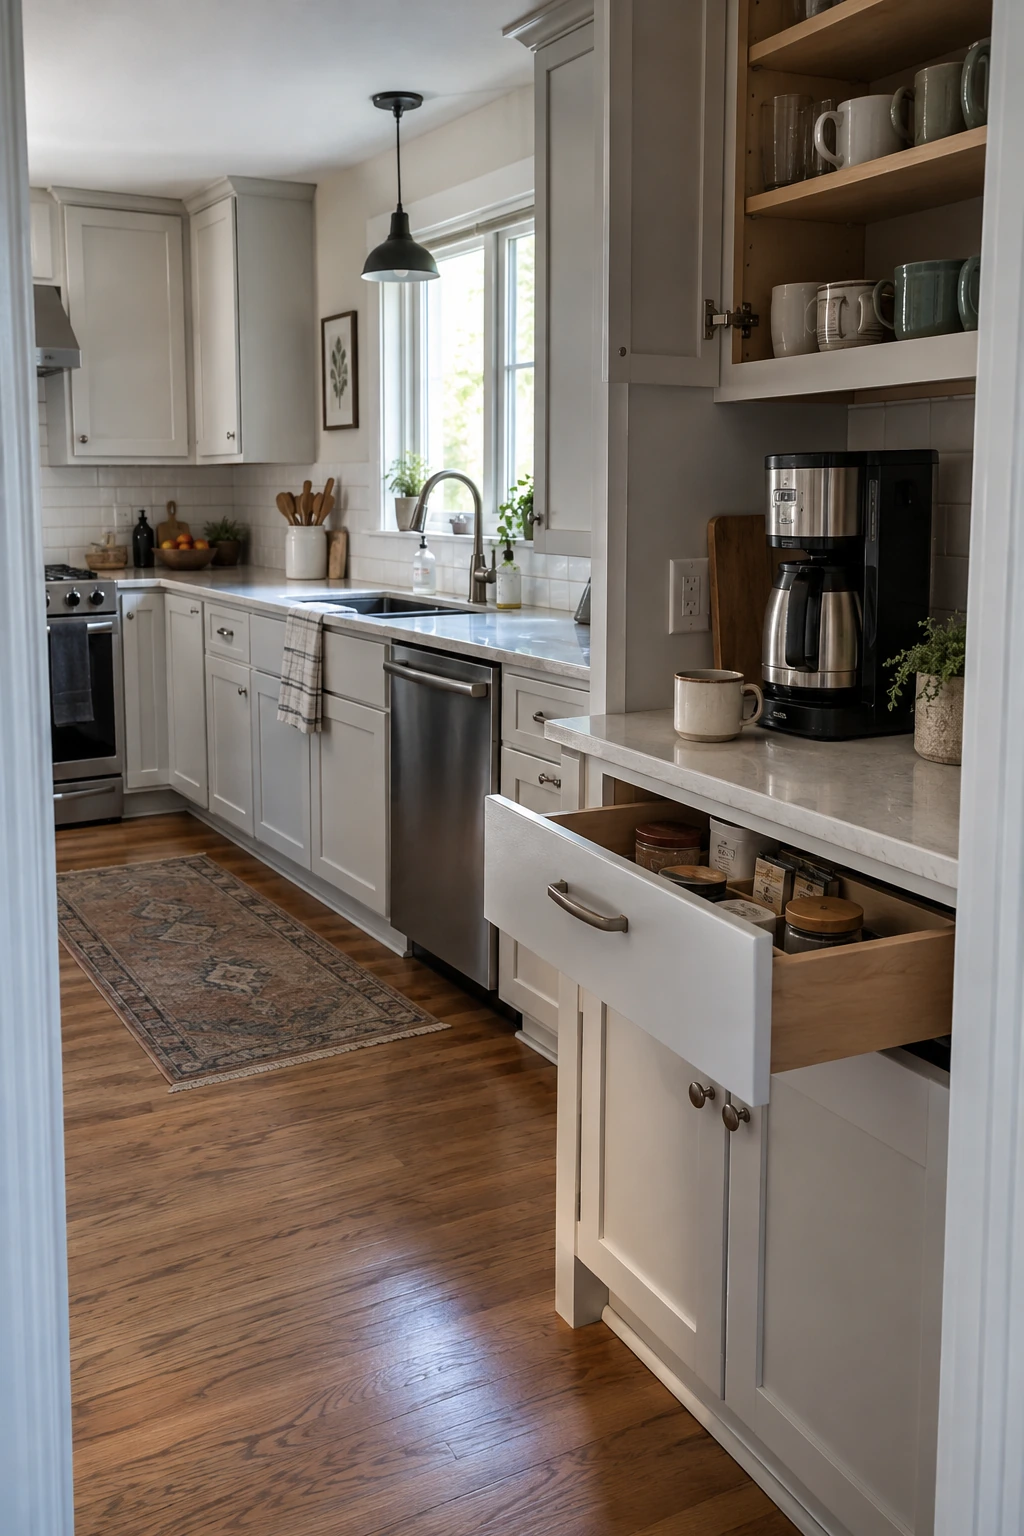
Group a routine at the edge of the kitchen so ingredients, tools, and cleanup follow a short path. A tray contains crumbs and protects the counter without building a separate beverage bar.
Place heat-producing appliances according to their clearance instructions and keep receptacles accessible. Do not operate them inside a closed cabinet unless both appliance and cabinet are designed for it.
Store only the supplies used in that routine nearby. The zone succeeds by reducing travel, not by displaying every accessory.
42. Use the Cabinet Above the Refrigerator Wisely
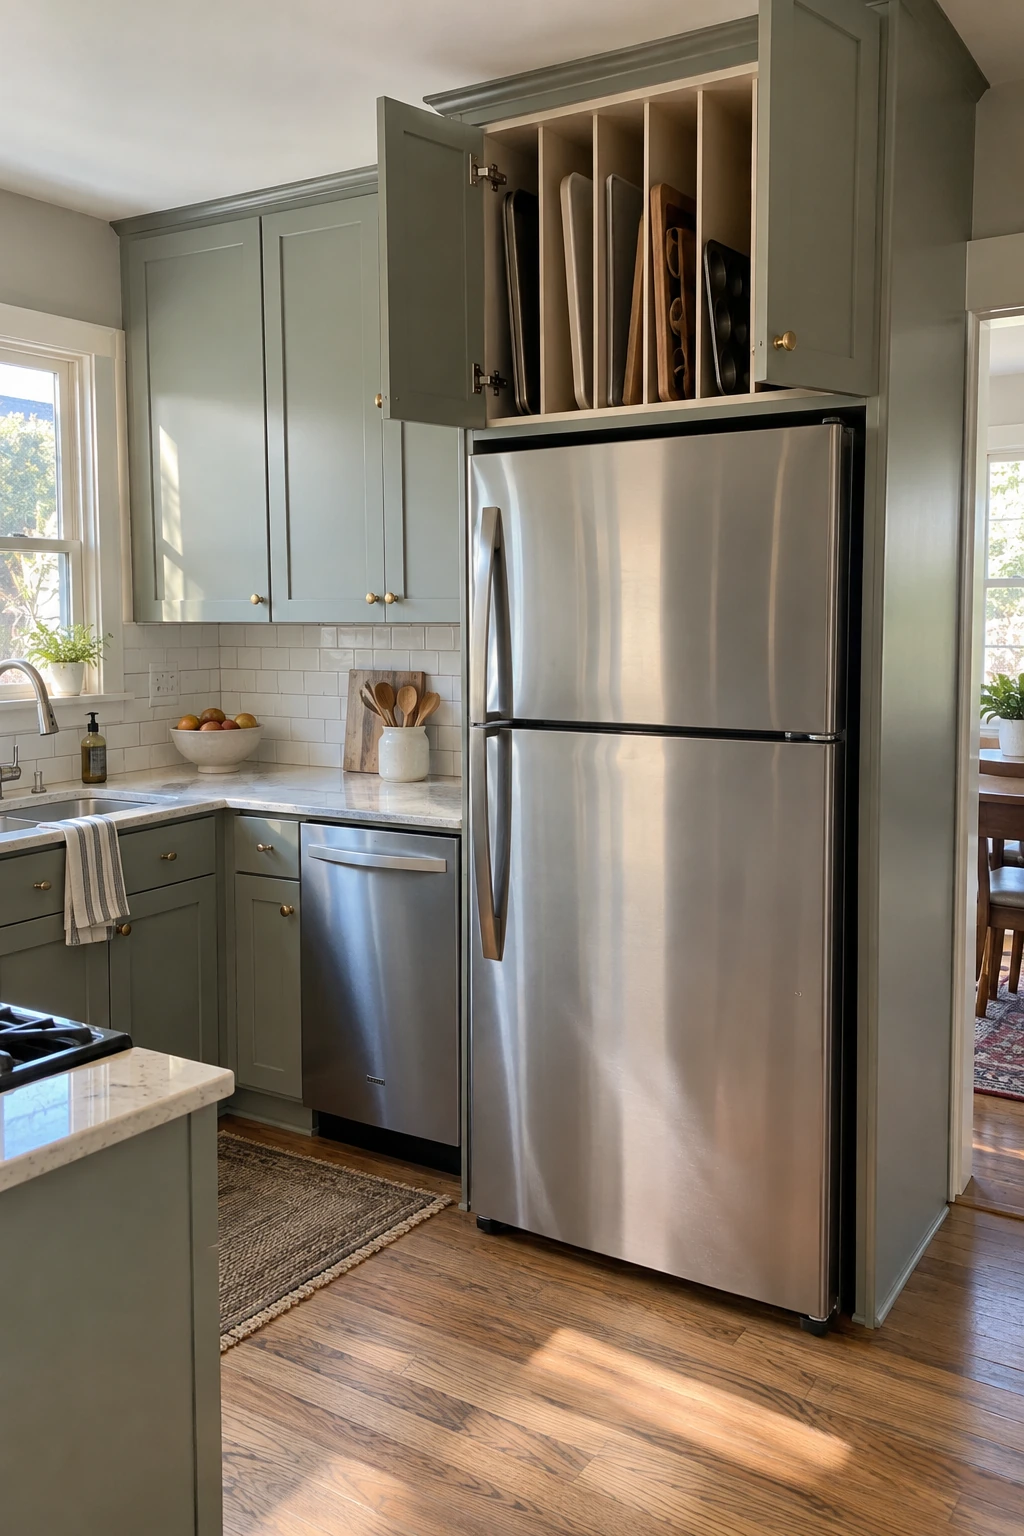
A deeper cabinet above the refrigerator can hold trays, serving pieces, or seasonal items that are safe to lift. A vertical divider prevents flat pans from becoming a heavy stack.
Maintain the appliance’s required ventilation and service clearances. Use a stable step stool stored nearby rather than climbing on counters or refrigerator parts.
43. Add a Toe-Kick Drawer Only Where It Helps
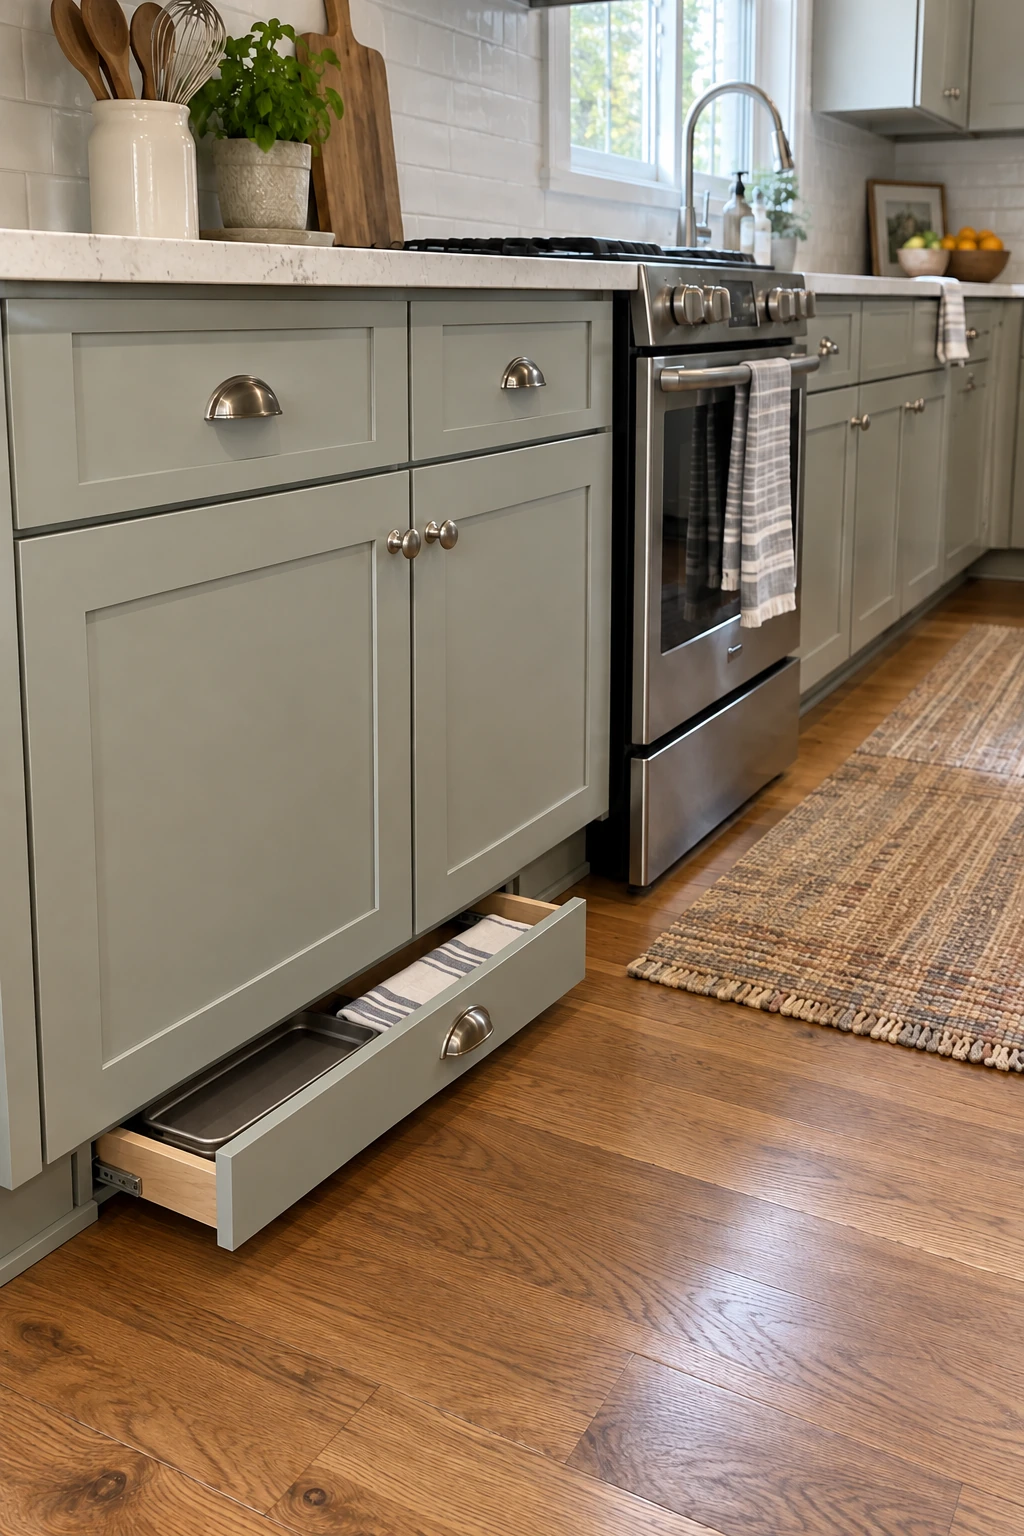
A shallow toe-kick drawer can store linens, trays, or rarely used flat pieces without changing the countertop. Use it in a dry, unobstructed cabinet run with enough structure for proper slides.
Avoid sink bases, heating vents, appliance service zones, and areas prone to wet mopping. The drawer should close flush and remain removable for cleaning or access.
44. Organize the Pantry With Adjustable Shelves First
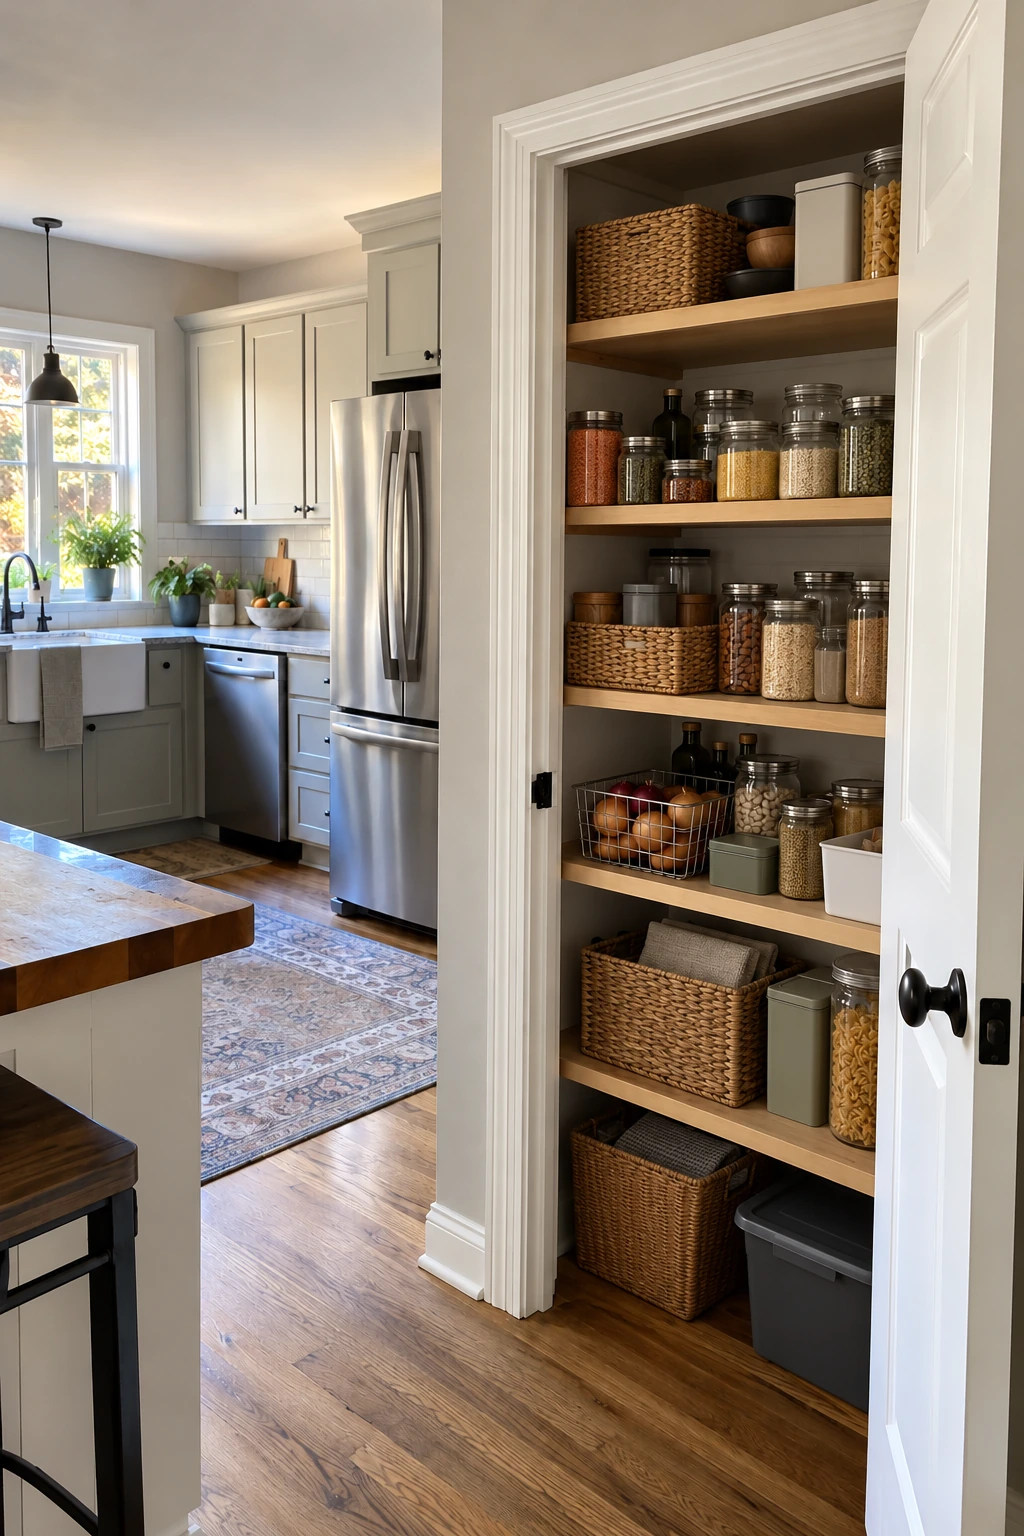
Before buying containers, reset shelf heights around cereal, small appliances, cans, and backstock. Reducing tall empty gaps often creates a usable shelf without changing the cabinet.
Use bins only for loose packets or categories that need to move together. More approaches appear in these pantry organization ideas.
Keep heavy goods between knee and shoulder height and preserve airflow around any appliance. Label the shelf edge only if it helps the household maintain the system.
Sequence the Remodel for Safety and Longevity
A smaller scope still needs professional judgment, dust control, inspections, and a damage-aware schedule. Protect people and hidden systems before protecting the decorative budget.
45. Plan a Temporary Kitchen Before Demolition
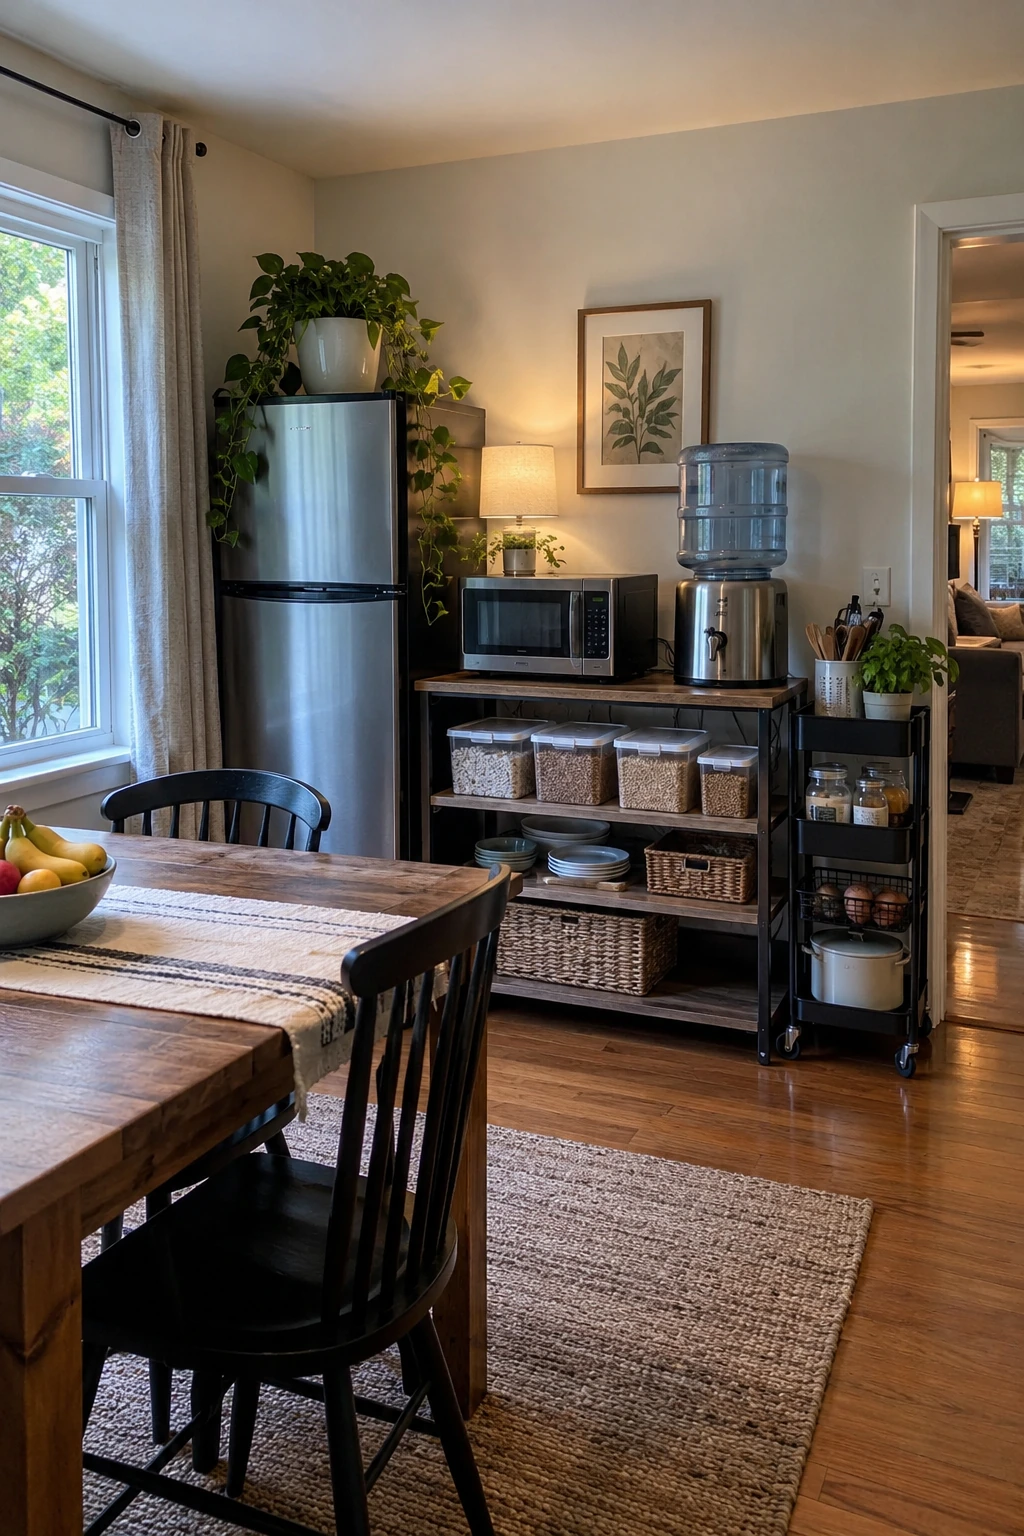
Set up refrigeration, water, dishes, sealed food storage, waste, and only the listed cooking appliances the temporary circuit can support. Keep the station outside the dusty work route and maintain a clear exit.
Plan dishwashing and meals around the realistic project duration. A functional temporary kitchen reduces rushed takeout spending and keeps workers from entering an occupied food zone.
Budget check: Verify temporary power, heat clearances, water access, waste, and an unobstructed exit before the main kitchen closes.
Keep children and pets away from cords, hot appliances, tools, and debris. Do not run several high-draw appliances on one unverified circuit.
Move valuable dishes and food before demolition starts. Dust control works better when cabinets do not need to be reopened during construction.
46. Contain Dust and Protect the Rest of the Home
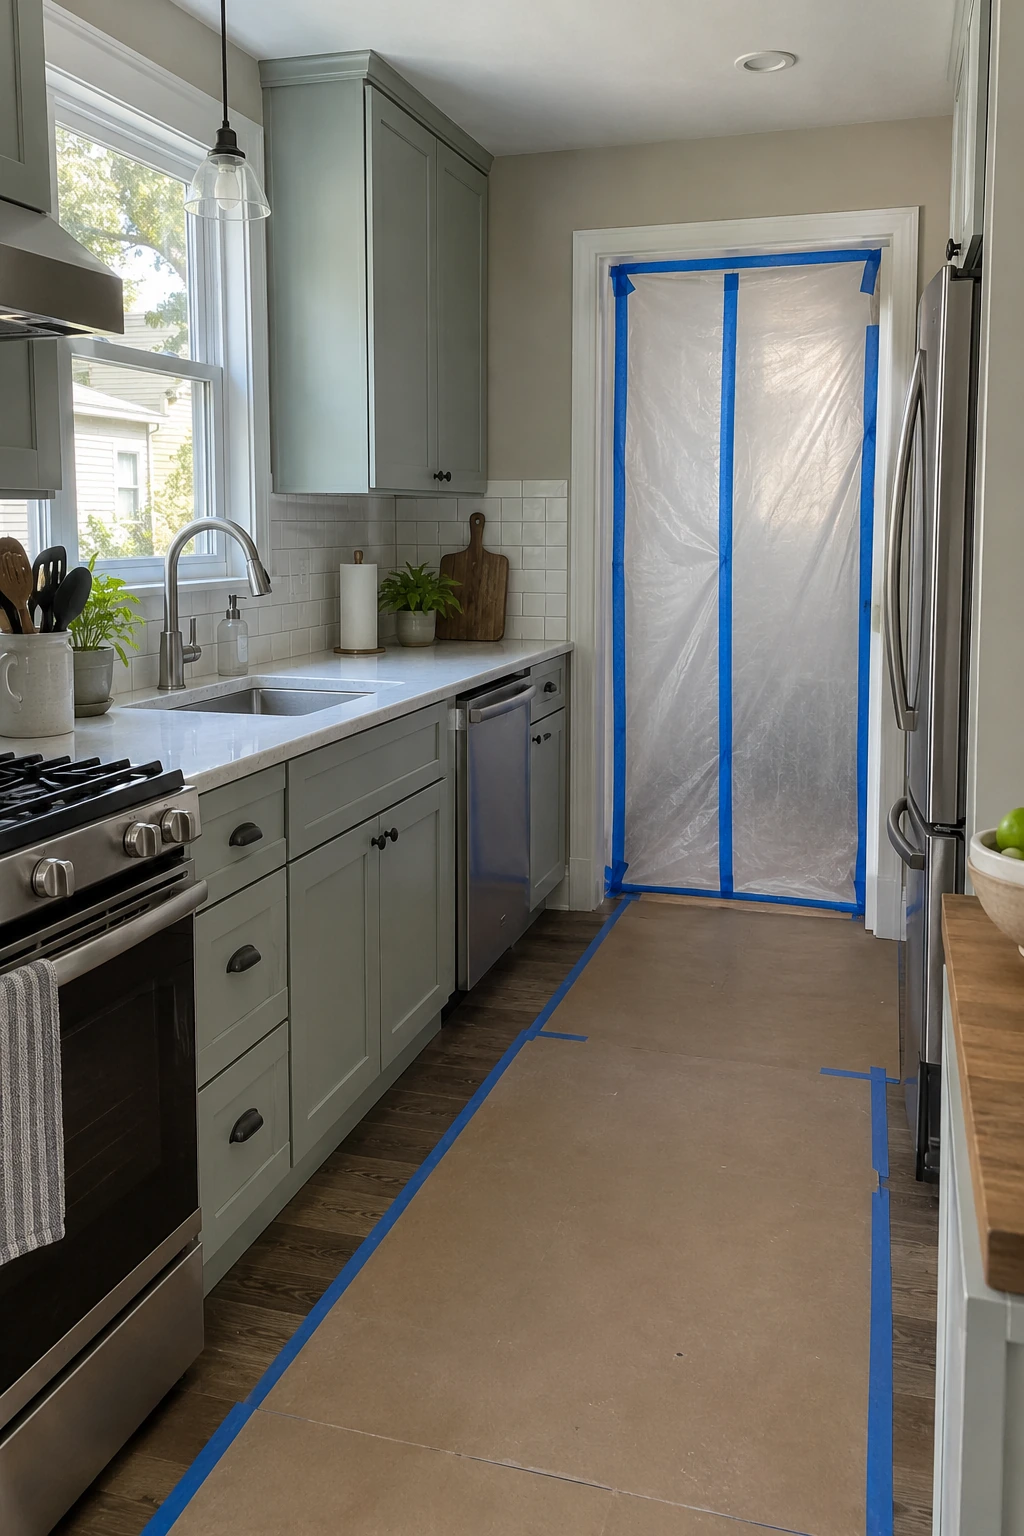
Separate the work zone with appropriate barriers, protect return and supply registers as the project plan requires, and provide controlled exhaust without creating unsafe pressure conditions. The correct setup depends on the work and home systems.
Use surface-compatible floor and cabinet protection, then clean from high to low with methods suited to the dust. Ordinary household practices are not a substitute for lead-safe procedures where lead may be present.
Discuss access, debris routes, daily cleanup, and HVAC operation with the contractor before work begins. Good containment protects adjoining rooms and reduces final cleaning.
47. Check Pre-1978 Surfaces for Lead Risk
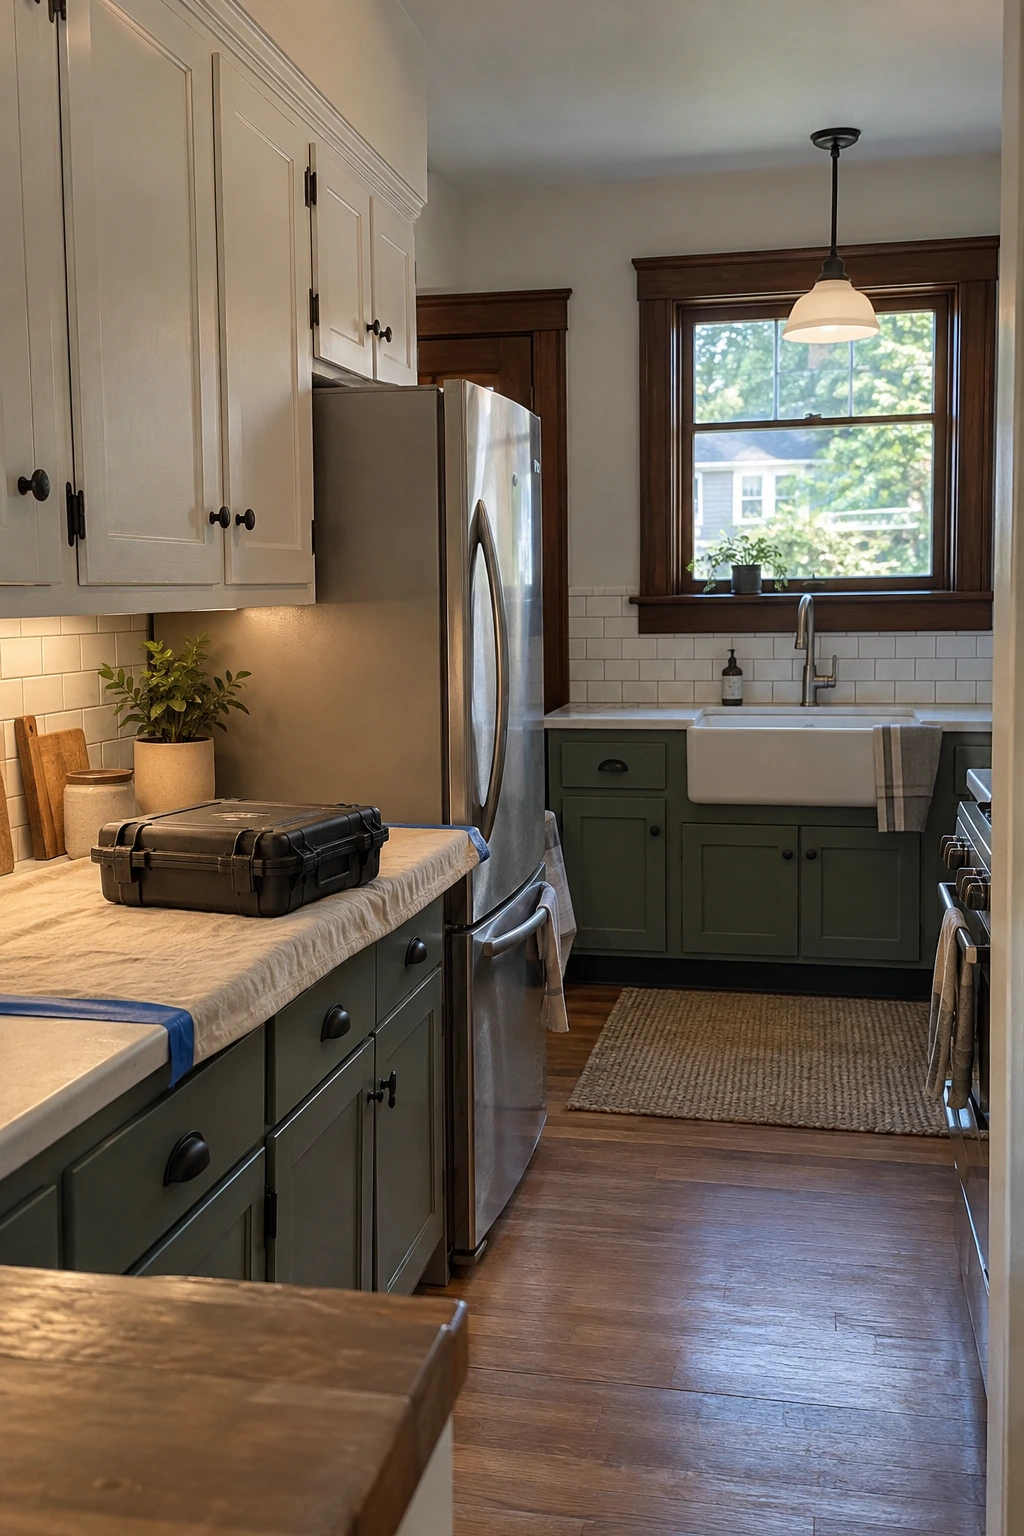
Paint disturbance in a pre-1978 home can create dangerous lead dust. Determine the home’s age and use EPA guidance; contractors subject to the Renovation, Repair and Painting Rule must be properly certified and use required practices.
Do not dry-sand unknown old coatings or treat a clean-looking surface as safe. Testing, containment, protective equipment, waste handling, and verification belong in the scope before demolition or cabinet refinishing.
Older flooring, mastics, and other materials may raise separate hazards. Stop and use qualified local testing or abatement professionals when suspect materials are encountered.
48. Pull Permits for Work That Requires Them
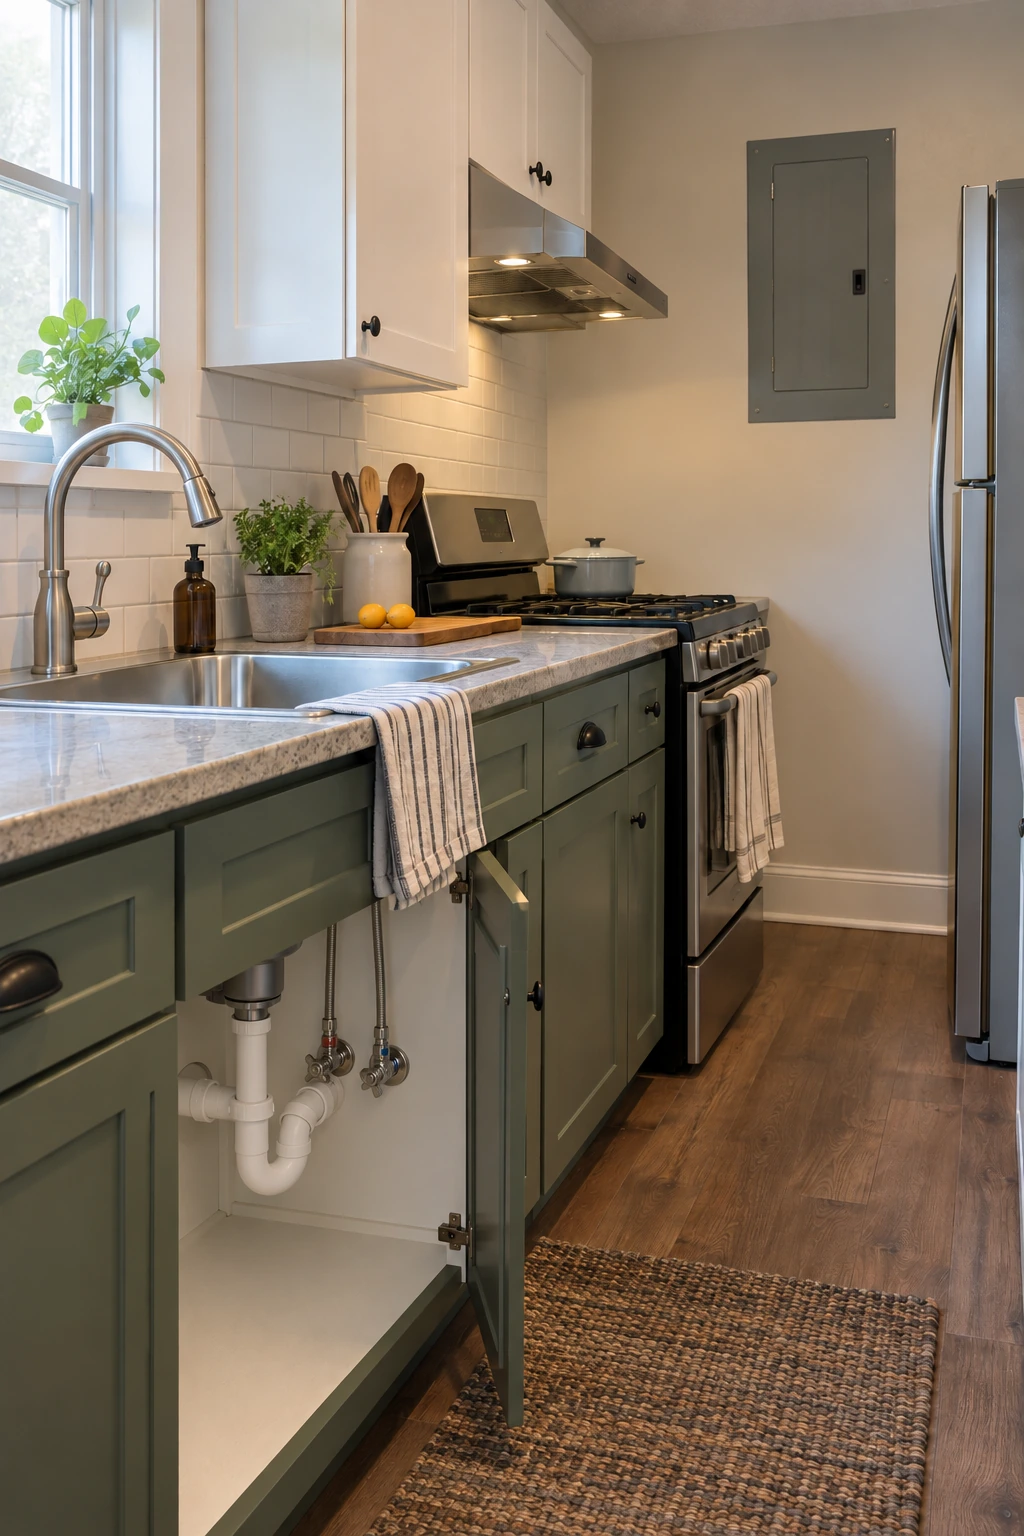
Local rules determine when structural, electrical, plumbing, gas, mechanical, or ventilation work needs permits and inspections. Confirm responsibility before signing contracts or ordering items that depend on approval.
Budget both fees and schedule time. Inspections can catch hidden problems while walls are open, when correction is less disruptive than after cabinets and tile are finished.
Budget check: Name the party responsible for permits, scheduling inspections, corrections, and final sign-off in the written scope.
Keep permits, approved drawings, inspection records, manuals, finish names, and photographs of concealed work with the home file.
A low bid that excludes required compliance can become the expensive option. Compare complete legal scopes, not only labor totals.
49. DIY Paint and Assembly, Hire Licensed Trades
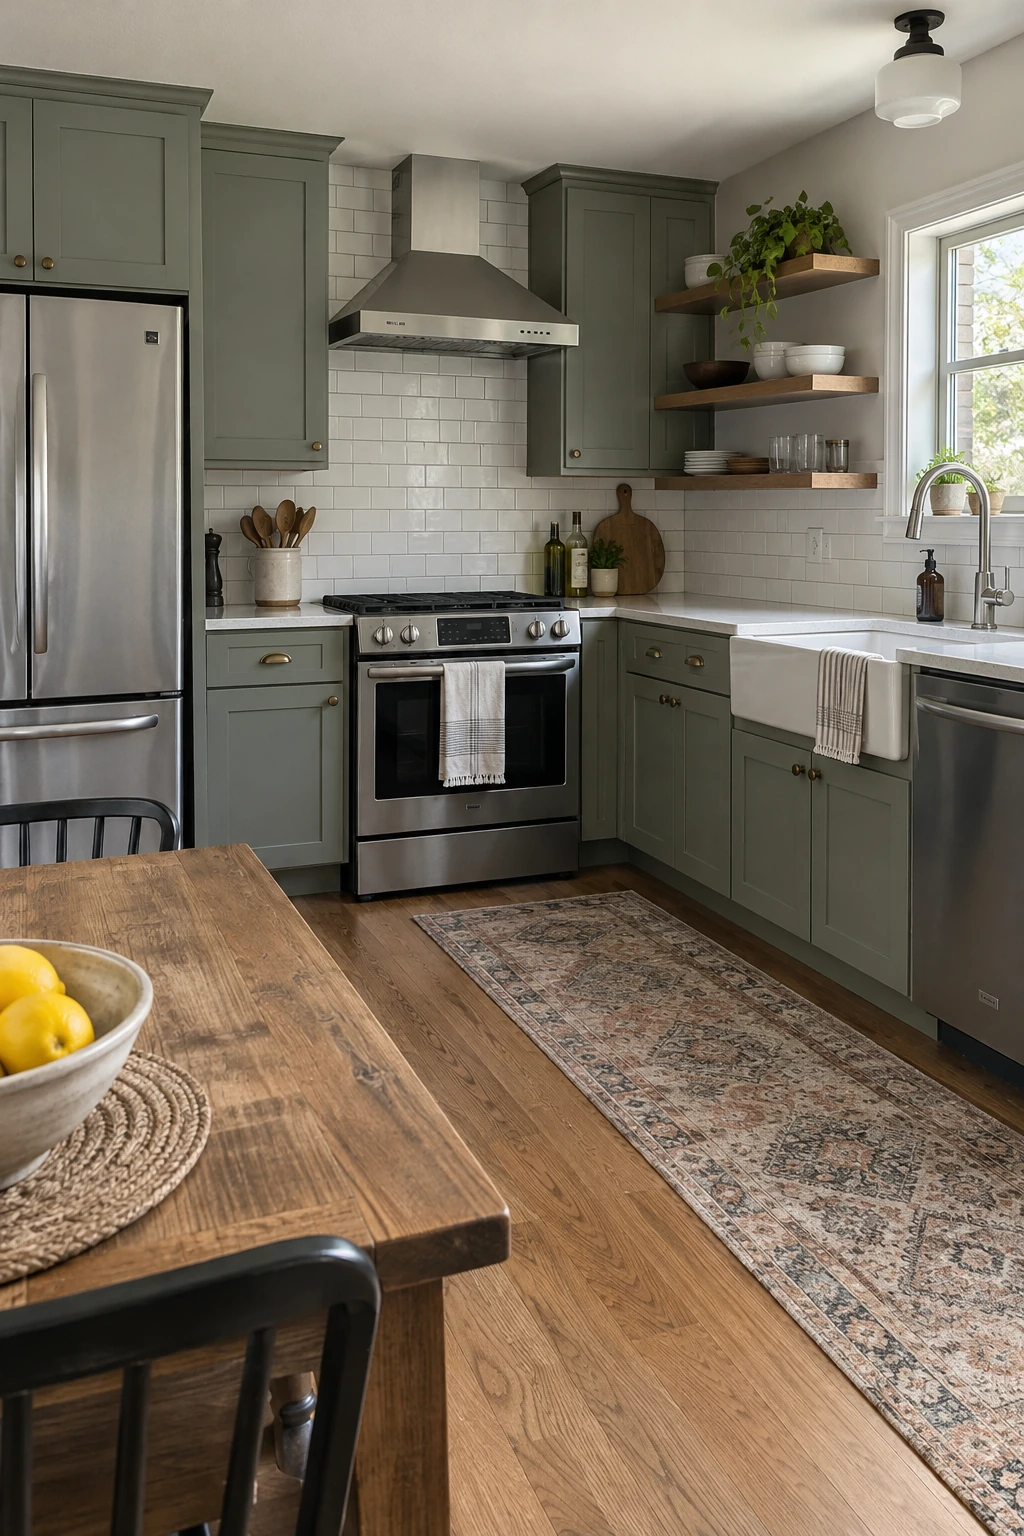
Homeowners with the right skills may handle cleaning, painting, simple assembly, hardware, and organization. Structural changes, service upgrades, concealed wiring, gas, complex plumbing, ventilation, and hazardous materials need qualified help and permits where required.
Price tools, protective equipment, disposal, mistakes, and time before calling a task free labor. A professional may be cheaper than replacing damaged cabinets, counters, or tile after a first attempt.
Split the scope at clean handoff points. Complete dusty preparation before trades arrive, and avoid work that changes or conceals another contractor’s inspected system.
50. Install in an Order That Protects Finished Work
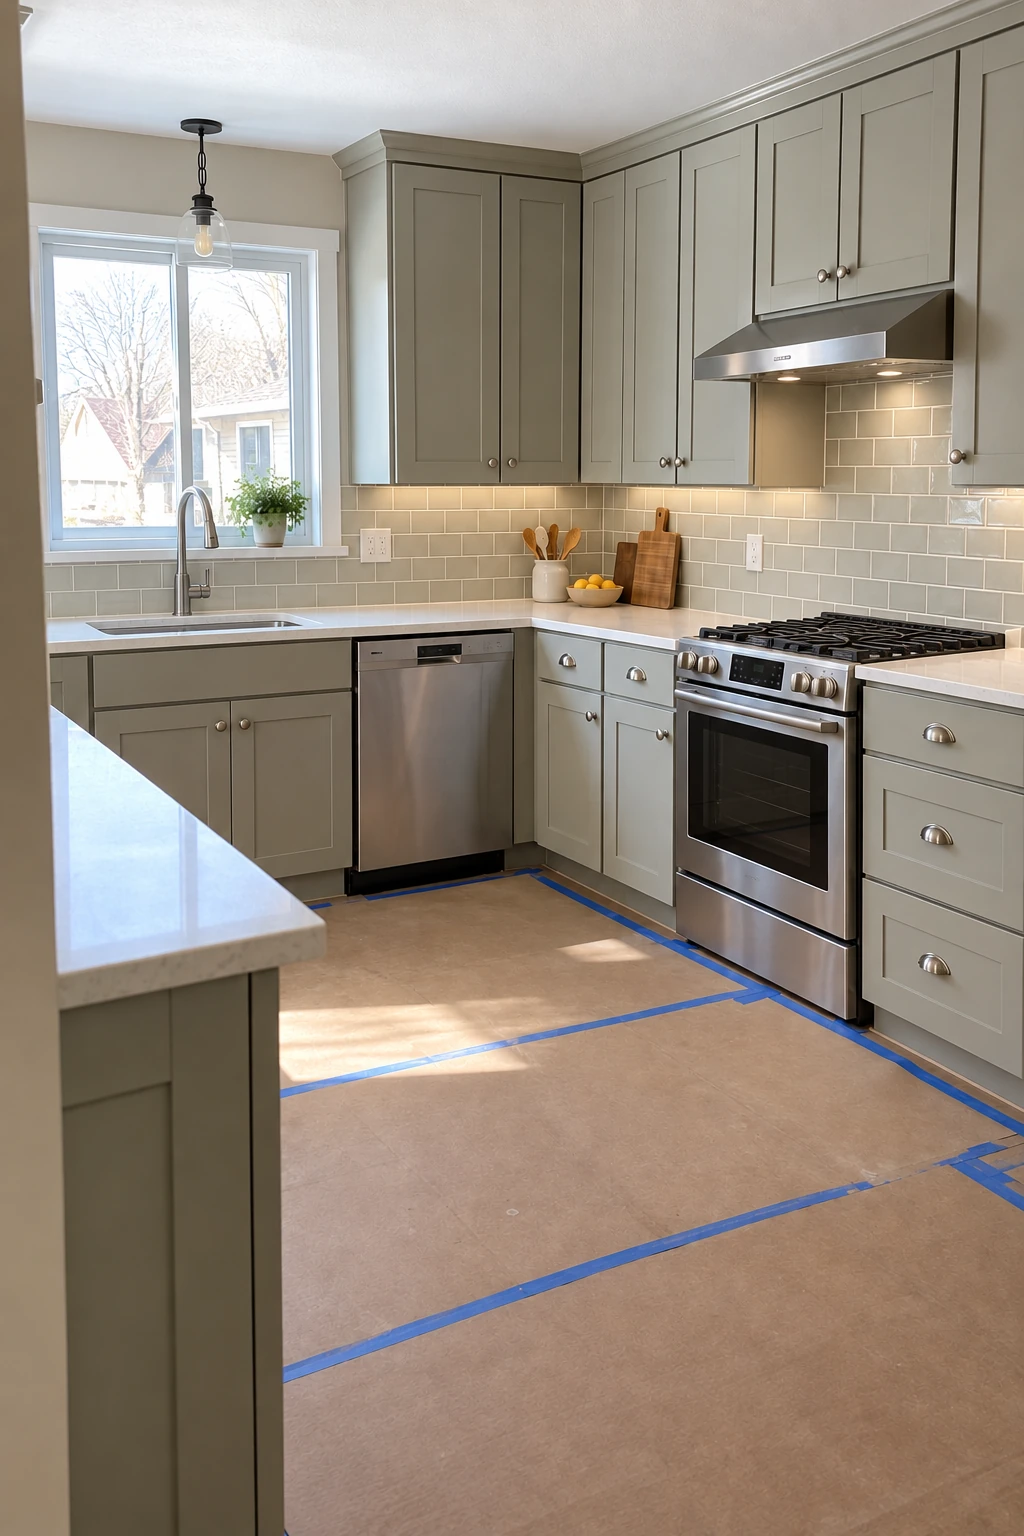
Coordinate demolition, repairs, rough utilities, inspections, wall preparation, cabinets, counter templates, counters, backsplash, finish connections, appliances, paint touchups, and final adjustment. Flooring type and cabinet design may change the exact sequence.
Do not template counters until base cabinets are fixed, level, and final. Measure the backsplash from the installed counter, and protect completed surfaces from every later trade.
Budget check: Release each trade only after the previous scope is inspected, documented, and ready for the next finish.
Tie each start date to a verified prerequisite instead of an optimistic calendar. Delivery damage, failed inspections, or missing parts should not force work out of order.
Reserve time for door alignment, caulk, paint repair, appliance leveling, cleaning, manuals, and a written punch list. Completion is more than restoring water and power.
Spend Where the Kitchen Is Hardest to Change
Keep a sound layout, cabinets, sink location, and appliances when they work; spend on safety, ventilation, lighting, reliable connections, durable work surfaces, and the storage problems that interrupt every day.
A focused kitchen can look finished without replacing everything at once. Measure carefully, use one written scope, preserve a reserve, and let each phase leave the room safe and usable even if the next phase waits.