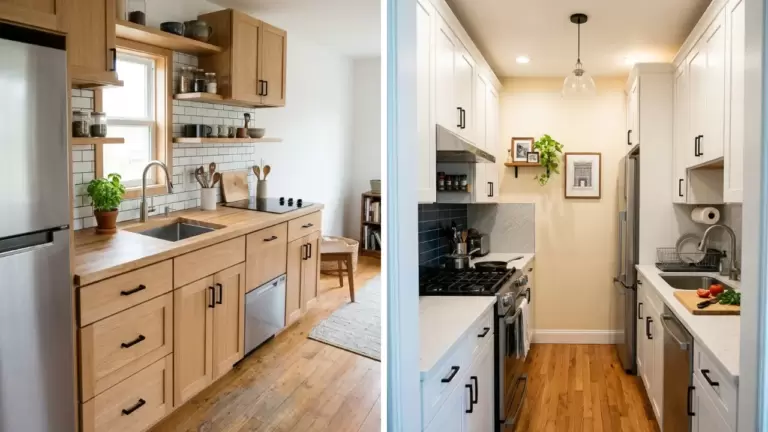
60 Condo Kitchen Renovation Ideas

This post may contain affiliate links: full affiliate disclosure.
In a condo kitchen, every cabinet and appliance has to earn its room. Start with the problem you run into most often, from little prep space to blocked drawers.
These 60 ideas help you compare layouts, choose upgrades that fit, and spot where building approval or a professional check belongs on your renovation timeline.
As an Amazon Associate I earn from qualifying purchases. Some links in this article are affiliate links, which means Addicted to Organization may earn a commission.
Layouts That Fit the Condo You Already Have
Start with a measured plan of the existing kitchen. Draw the door swings, mark the water and vent locations, and trace the route people use to pass through.
1. Keep the Sink and Dishwasher on the Same Wall
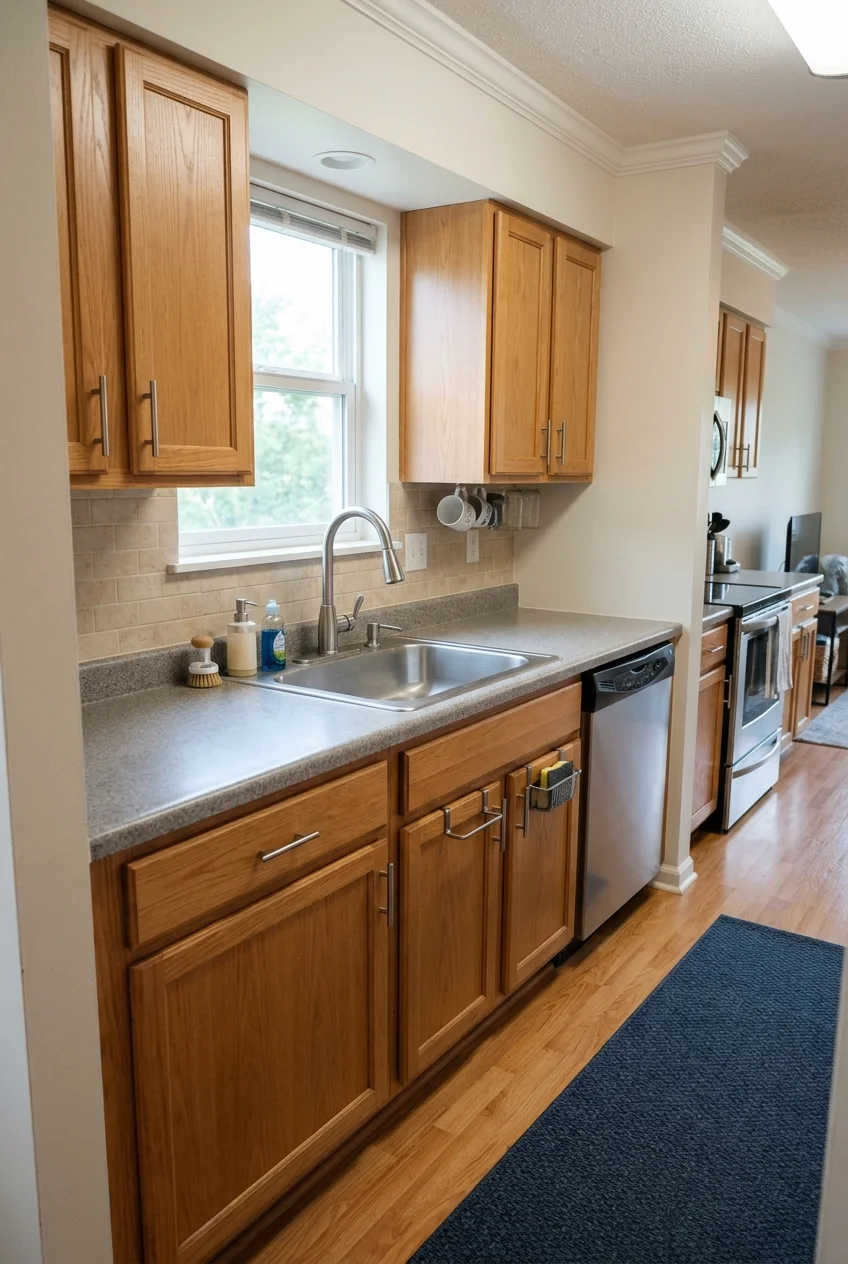
Keep the water side of the kitchen where it is if the sink and dishwasher already work together. Rebuild storage and prep space around those fixed points.
Have your plumber verify the drain, supply routes, and local requirements. Ask building management whether a water shutdown needs advance notice and who is allowed to operate it.
Measure from the finished floor and wall before ordering replacements. The sink cabinet, dishwasher opening, and countertop cutout all have to fit the models you actually buy.
Keep the sink shutoffs reachable with the cabinet installed. If a new sink moves the drain within the cabinet, have the plumber confirm the fit before fabrication.
If the dishwasher currently blocks a walkway, compare door projection and loading space on the updated plan. Moving it to the other side of the sink may help if approved.
2. Make a Real Prep Counter in an L-Shaped Kitchen
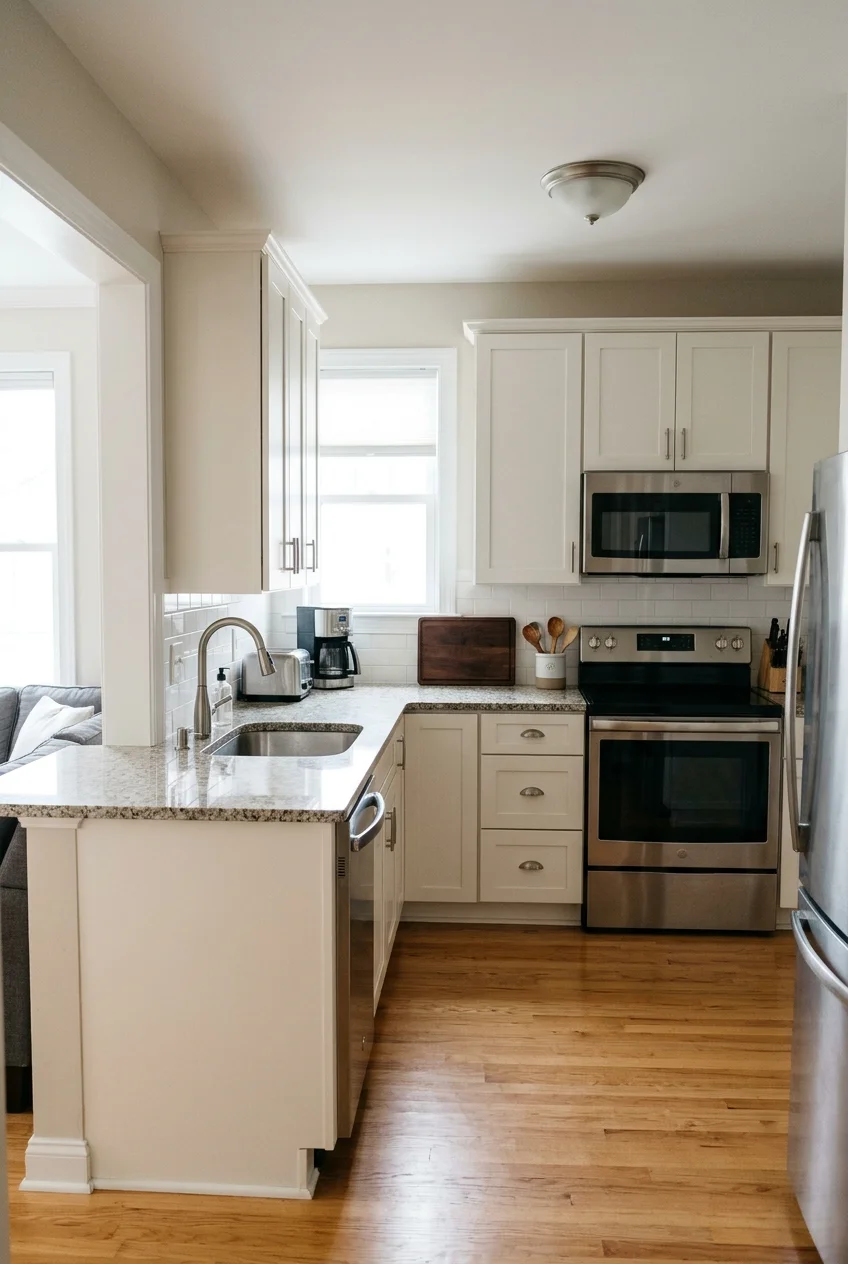
In an L-shaped condo kitchen, reserve the longer stretch between the sink and range for chopping. Put the everyday utensils in a drawer directly below that stretch.
Use one section of the return for storage or grocery unloading. Keep enough bare space at the inside corner to reach the counter easily from either side.
Draw both runs at their finished depth, then open adjacent doors and drawers on paper. A corner that looks generous can tighten once handles and overhangs are included.
3. Put the Entire Kitchen on One Wall
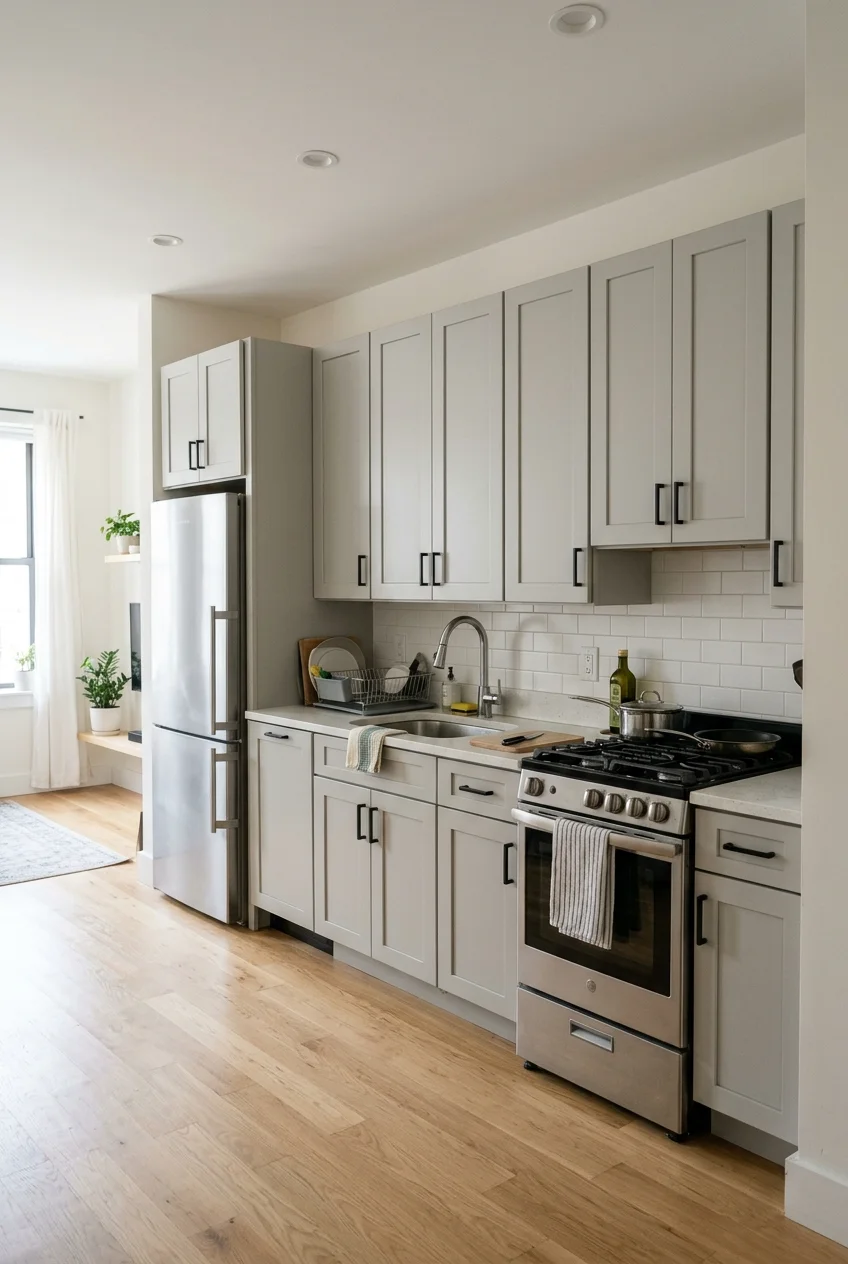
A one-wall layout frees the opposite side of a studio condo for everyday circulation. Place the refrigerator at an end and give the sink and range usable landing space.
Start at the actual connection points. If moving plumbing or ventilation is outside your scope, design the sequence around those locations before choosing widths for the other cabinets.
Watch the sequence from groceries to cooking. A clear counter beside the fridge helps with unloading, while an uninterrupted stretch near the sink is useful for prep.
Use full-size appliance templates to test door swings and the route past them. Review the NKBA kitchen planning guidelines for work aisles and landing areas as you compare options.
Decide where trash, dishes, and food can fit before you close the plan. In a short run, a compact appliance may free a cabinet better than adding a cart.
4. Keep a Galley and Put Storage Across From Prep
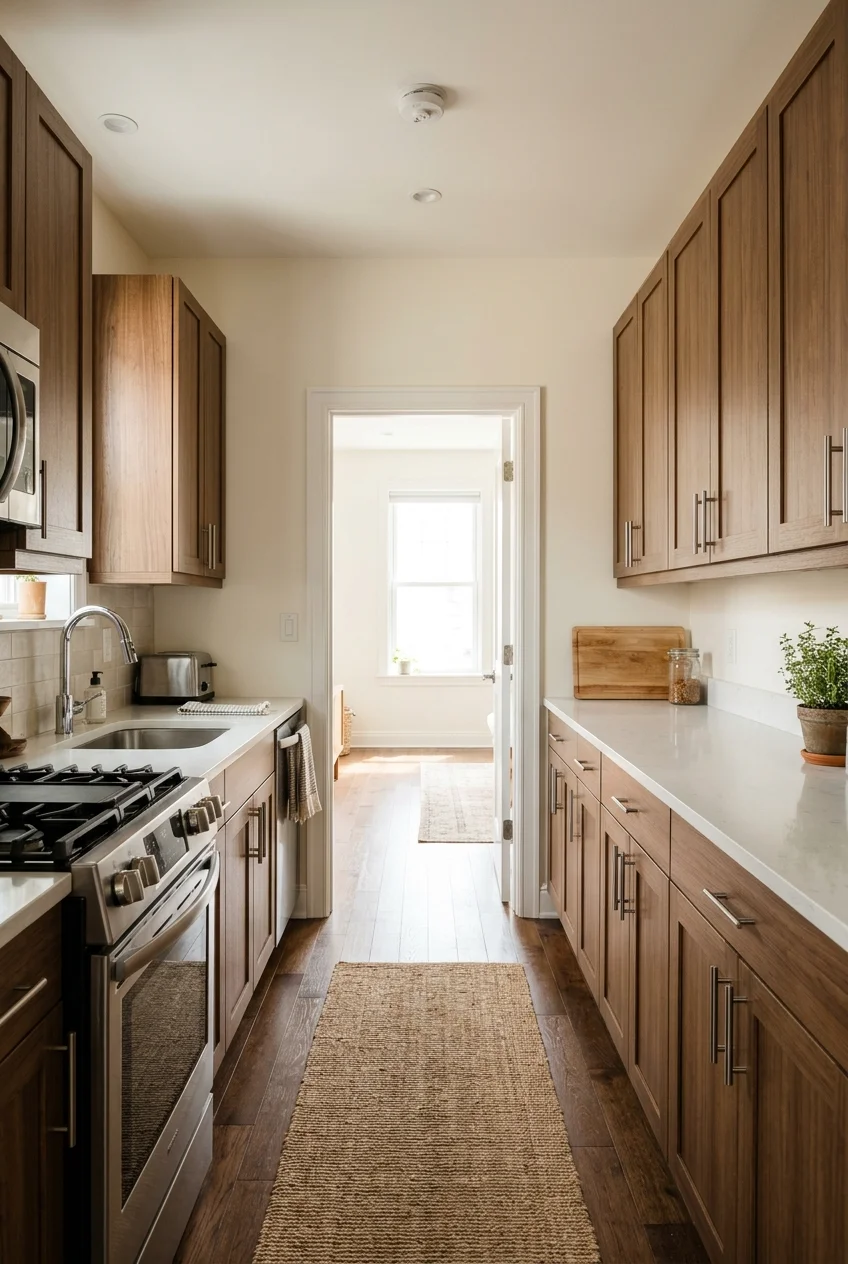
An existing galley can work well with cooking and cleanup on one side and dishes or groceries on the other. Keep the path clear at both ends.
When testing a two-run layout, use the faces of the installed counters and appliances as reference points. Account for handles and open doors when checking how you’ll move.
Plan a place to stand beside an open dishwasher or oven. If two people regularly use the room together, see how each person can get around the other.
A walk-through galley also carries household traffic. These tiny galley kitchen layouts show alternatives worth comparing if the open doorway makes one end of your plan too busy.
5. Add a Short Peninsula for Prep and One Seat
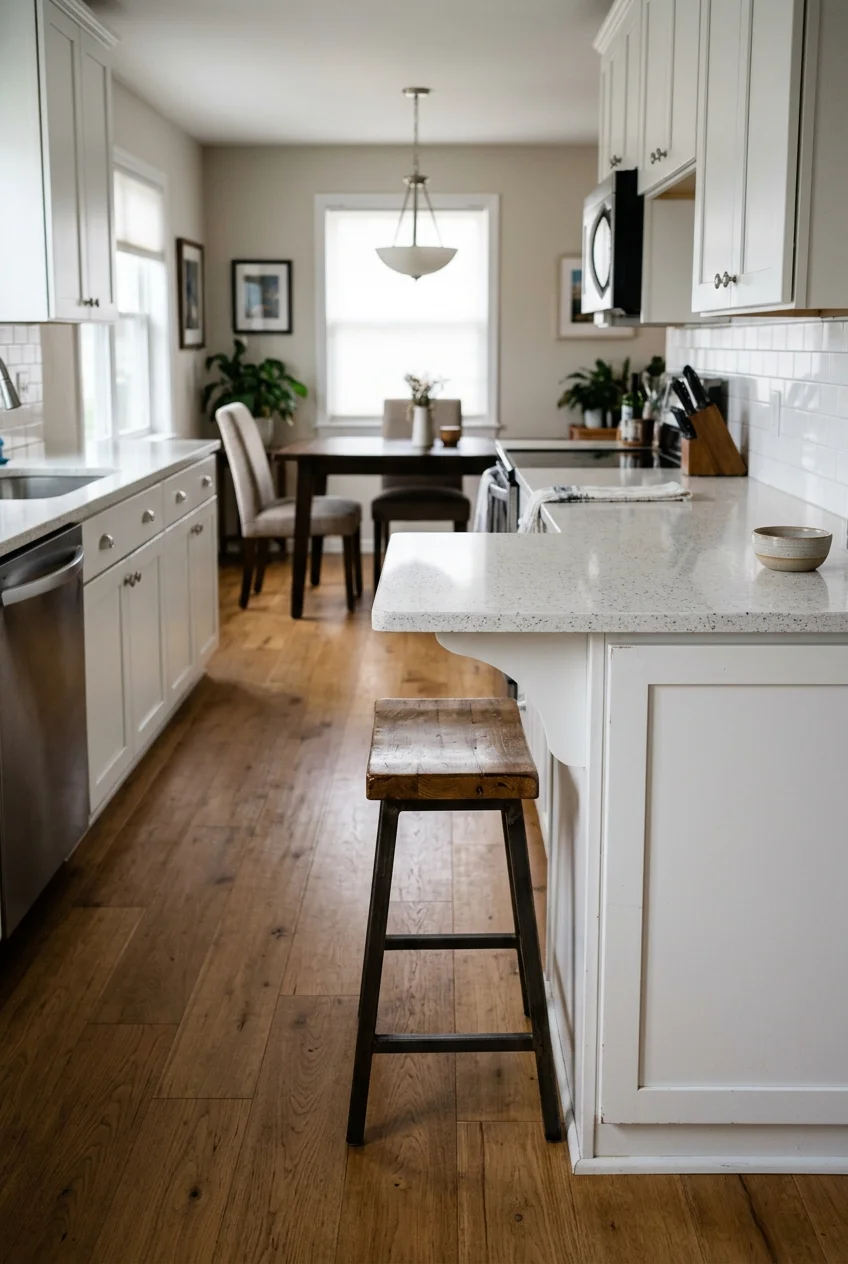
A short peninsula attached to the existing cabinets can add counter space without a freestanding island. Keep its walking side open and place any stool outside the work aisle.
Mark the counter outline on the floor, including the overhang. Pull a chair into position and open the nearest drawers and appliances to test the busiest moments.
- Measure from the peninsula edge to the opposing counter or appliance face.
- Test the doorway with a seat pulled out.
- Ask the installer how the seating overhang will be supported.
If you plan to add outlets or attach cabinetry to the floor, check the scope with the building and your installer. Include those details in the estimate.
For smaller spaces, compare compact kitchen peninsula configurations and consider a counter without seating. A shorter return can add prep space while keeping the main route clear.
If a peninsula would cover a vent or access panel, change the plan before ordering it. Building equipment may need space around it for everyday service.
6. Use a Shallower Counter on the Tight Side
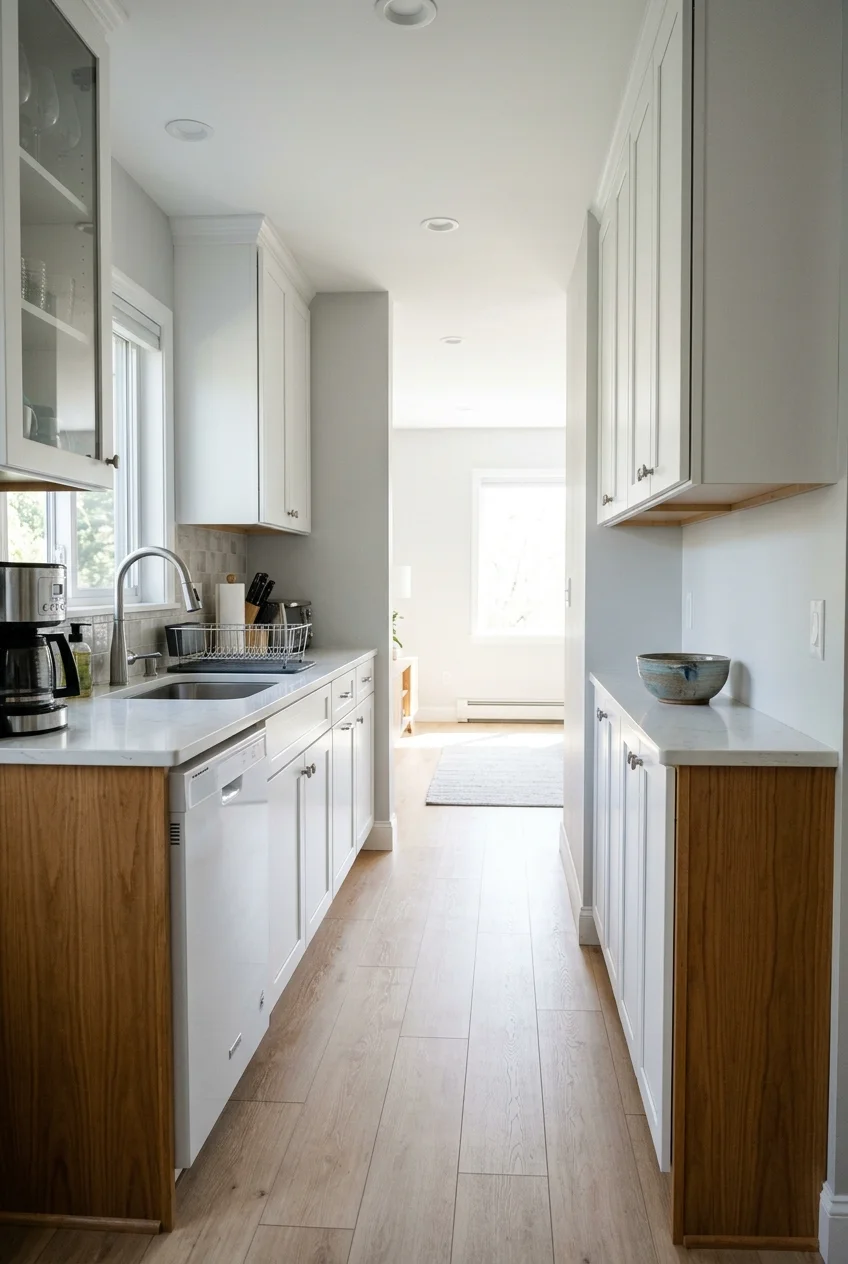
If standard bases on both sides would crowd the aisle, put shallow cabinets on the secondary wall. Use their counter for serving or unloading groceries instead of deep appliances.
Plan the finished depth, including the cabinet fronts and worktop edge. Check whether the storage still fits your dishes or containers before giving up the extra inches.
Measure the door swing opposite the new cabinets. If the tightest overlap happens beside the refrigerator, stop the shallow counter before it reaches that part of the wall.
7. Move Dining Outside the Work Aisle
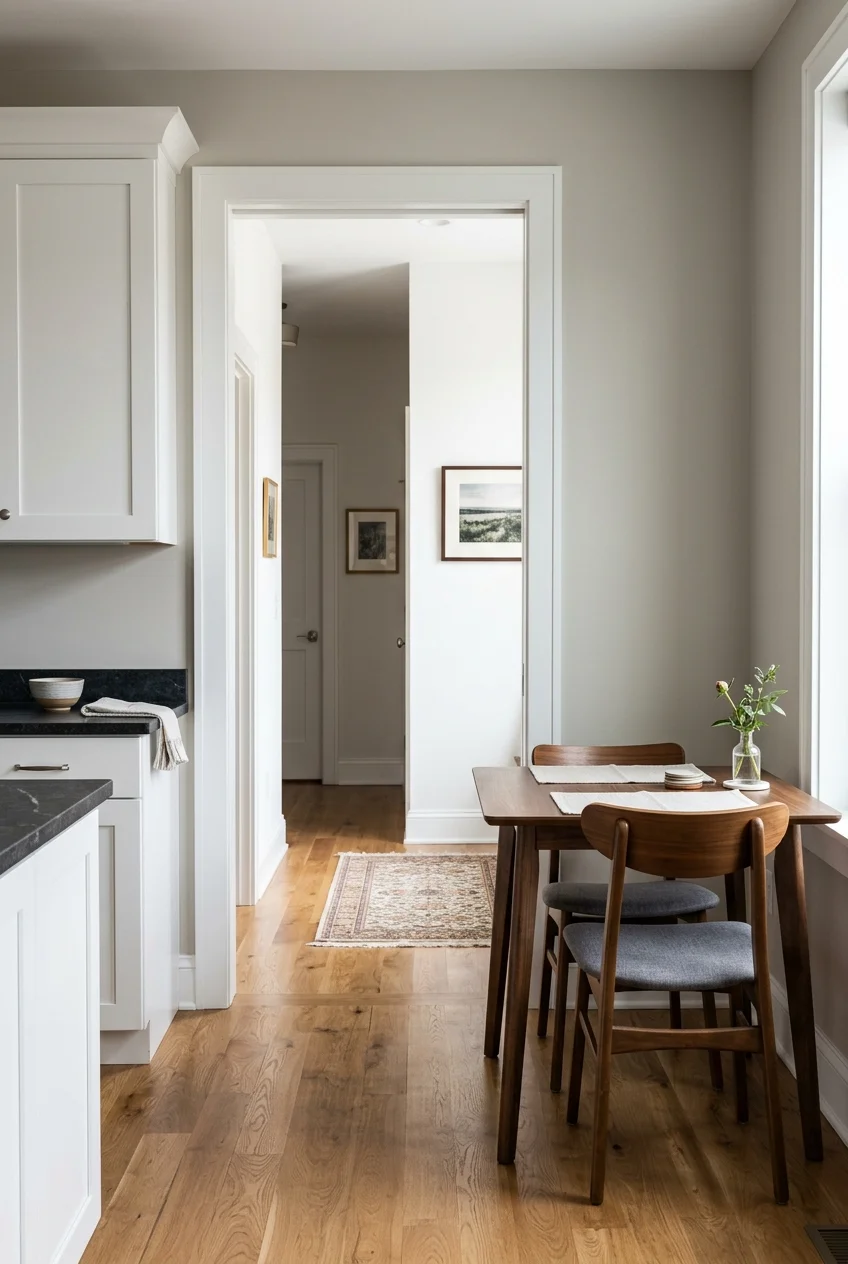
If a table is squeezed inside the kitchen, try moving it just beyond the doorway. That can make the existing cabinets much easier to reach without any construction.
Use a small table with chairs that tuck in fully and measure with a seat pulled out. Leave a separate route for anyone walking past the dining spot.
8. Open a Pass-Through and Keep the Lower Wall
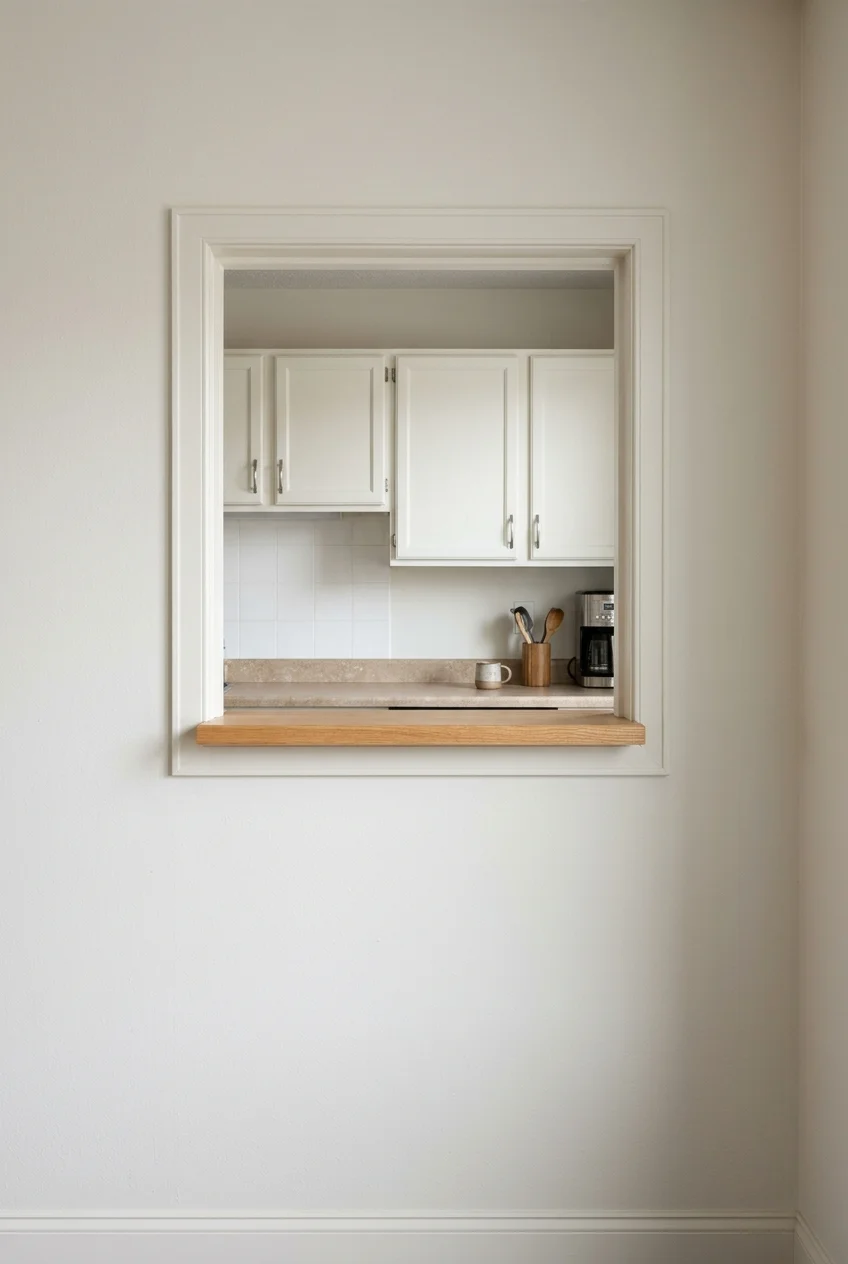
A pass-through can connect an enclosed kitchen to dining while preserving base cabinets below. Start by finding out whether the wall can be changed at all.
Have the building and a qualified design professional review the wall before cutting. Structure, fire separation, wiring, pipes, and ducts can each change the scope or rule it out.
Verify the approval steps and local permit requirements separately. If the opening is allowed, plan the framing and support before sizing the countertop or choosing finished trim.
Set a sill height that works for passing plates from the kitchen to the other room. Decide whether it stops at the wall or extends as a serving ledge.
Draw the opening from both sides and allow for existing switches or outlets. If the wall must stay, try fresh paint and under-cabinet lighting.
9. Give a Rolling Prep Cart a Parking Space
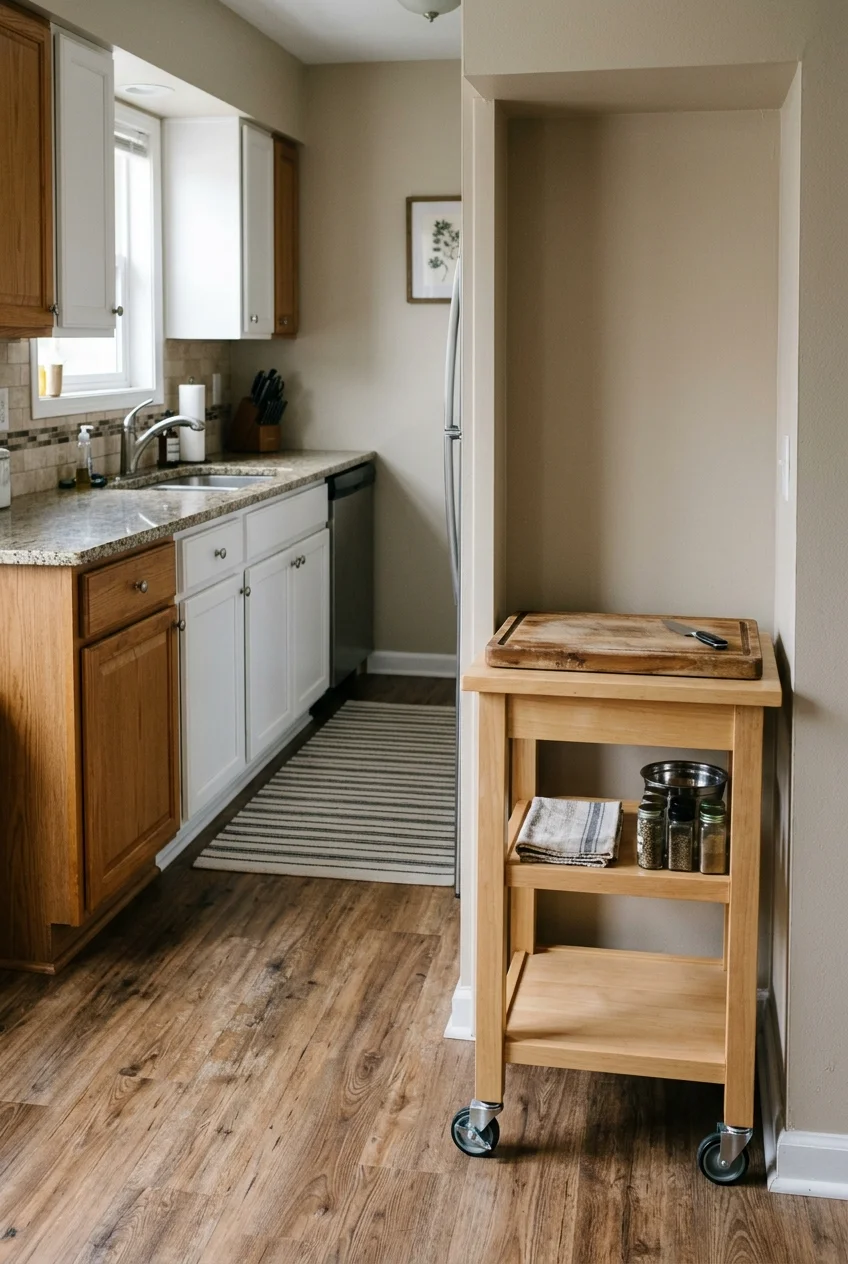
A compact cart can extend prep space when you need it and move out of the way when you’re done. Choose its parking spot before buying it.
Check the wheel locks, top care instructions, and loaded weight rating. A cart that fits at rest still needs to turn through the kitchen without catching handles or corners.
Keep it clear of exits and appliance doors in both positions. A drawer or single shelf underneath is plenty if the main goal is extra counter space.
10. Change an Interior Door Swing to Free a Corner
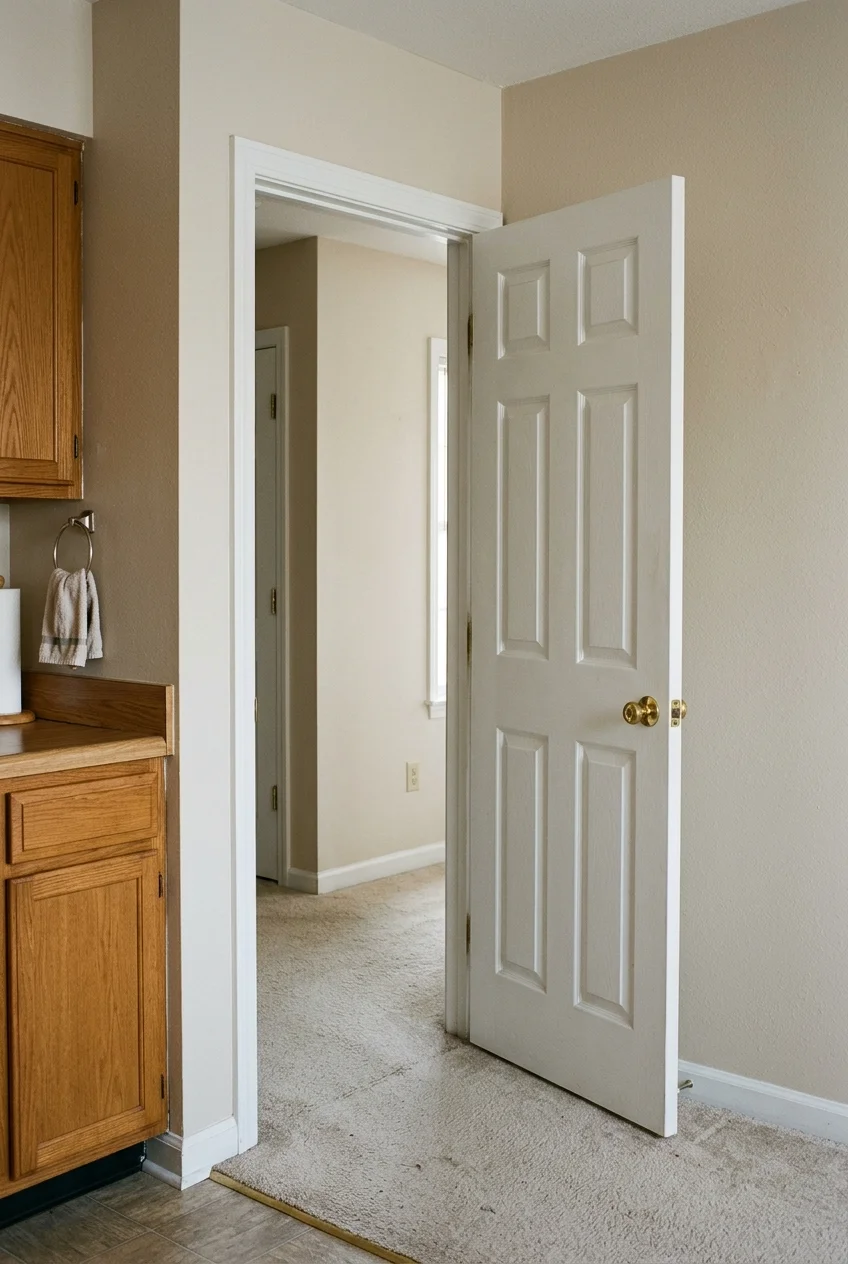
If an interior kitchen door hits a cabinet or appliance, ask whether a different swing would free that corner. Start by testing both directions with the existing floor plan.
Confirm the door has no required fire or other protected function and ask management about restrictions. Check the circulation on the adjoining side before you change any hardware.
Have the installer check hinge, latch, and casing changes. If a different swing blocks the hallway, keep the door and change the cabinet nearest the opening instead.
Cabinet Updates That Earn Their Space
Inspect the cabinet boxes before choosing finishes. Look for loose joints, swelling around the sink, and drawers that bind when full. That check helps set your scope.
11. Paint Sound Cabinet Doors and Frames
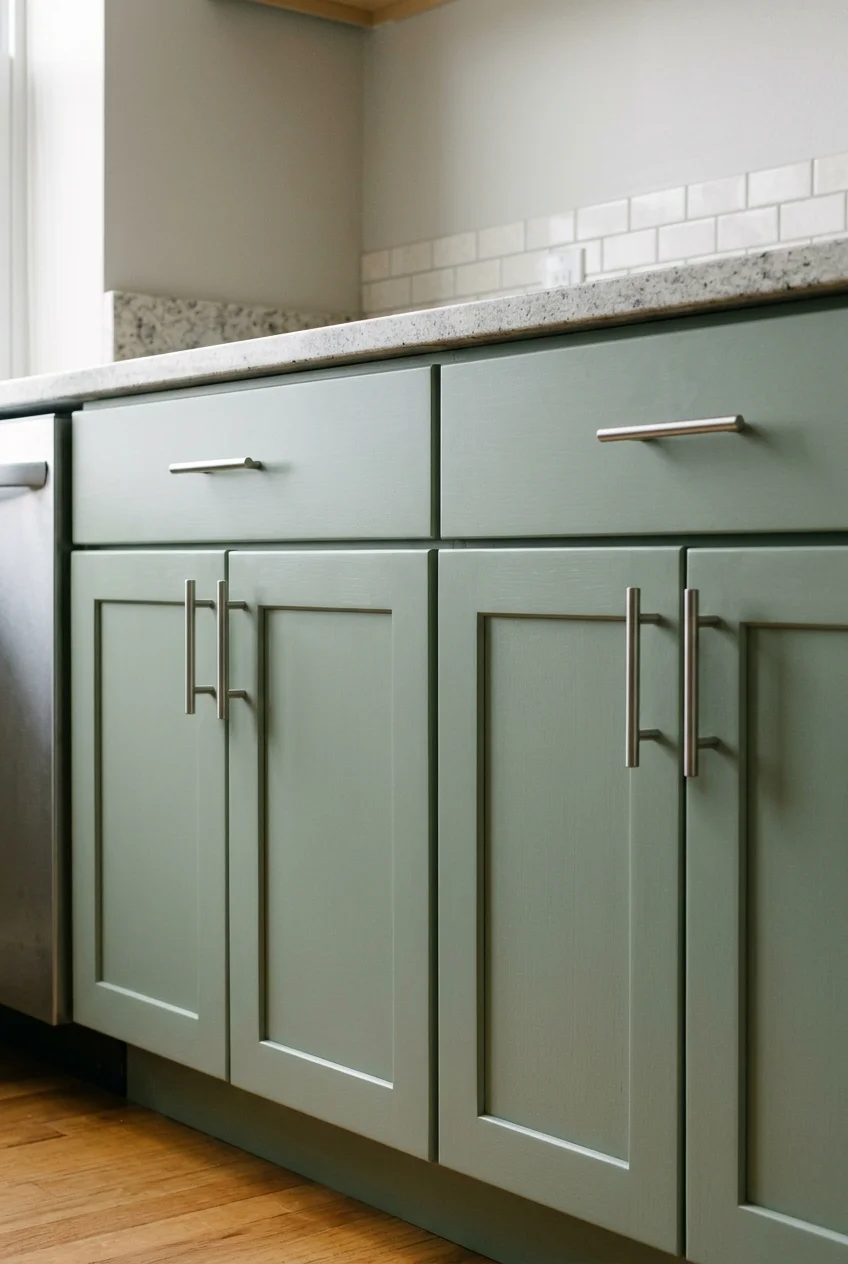
Paint makes sense when the doors close properly, the boxes are sound, and you like the storage you have. Check the existing finish before choosing a coating.
Label doors and drawers as you remove them. Degrease the surfaces, choose a compatible primer, and follow the prep and drying schedule for your paint system.
Before sanding a painted surface in a pre-1978 condo, check EPA’s lead-safe guidance. Let the new finish cure as directed before heavy use.
If only the doors need attention, compare these kitchen cabinet makeover options and decide whether small repairs would spare you a full cabinet replacement.
12. Reface Sound Boxes With New Door and Drawer Fronts
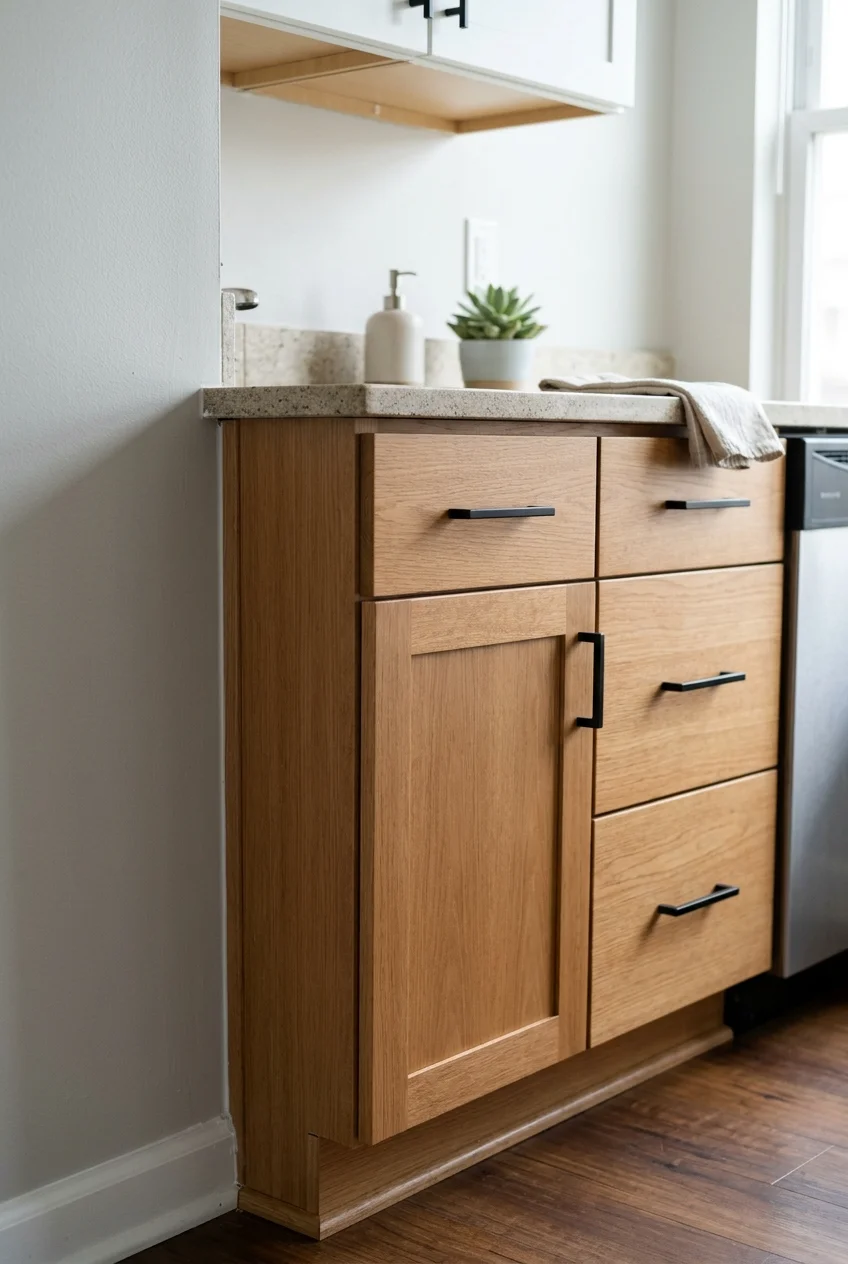
Refacing changes the parts you see when the cabinet boxes still work. Price the doors, drawer fronts, exposed cabinet faces, hinges, and edge treatments as one package.
Check whether the existing doors sit inside the frame or overlap it. Measure each opening and have the supplier confirm compatible hardware before ordering the entire kitchen.
Ask for a sample front alongside the matching face treatment. Look at them beside your counter in daylight, then under the kitchen’s lights after dark.
If the interior storage frustrates you, ask what can change while the fronts are off. Damaged boxes, poor drawer access, or a bad layout may call for replacement instead.
13. Extend Upper Storage Toward the Ceiling
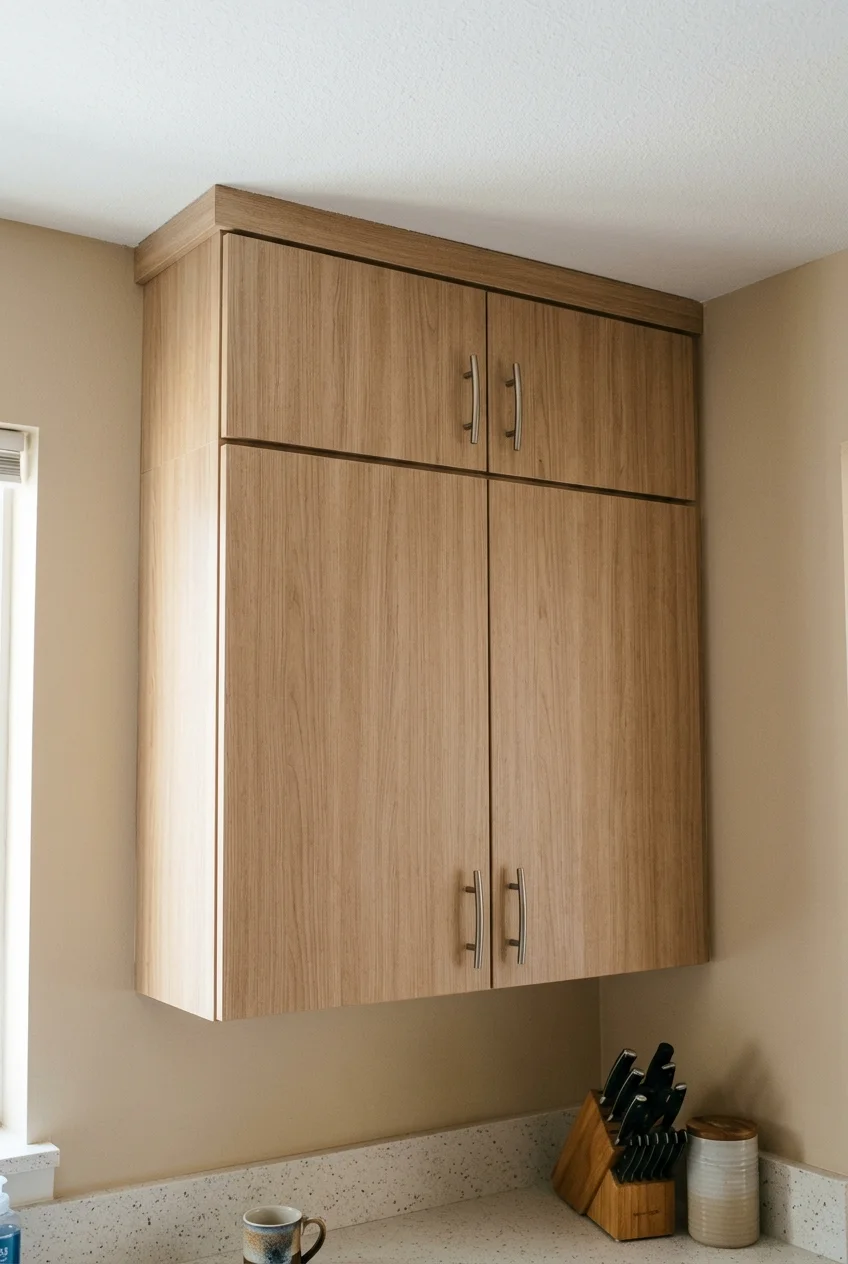
When usable wall space sits unused above upper cabinets, consider a short enclosed tier for occasional items. Store everyday dishes lower where you can reach them easily.
Verify what occupies the gap first. A soffit, sprinkler clearance, duct, or service access may mean the new cabinet run has to stop lower than you hoped.
Have the installer measure ceiling variation and design a finished filler where needed. Verify the mounting surface, hardware, and loaded cabinet weight before choosing tall units.
For shorter reach, reserve the high tier for lightweight pieces you use rarely. A finished panel above the existing doors can close a dust ledge without adding high storage.
14. Use Full-Extension Drawers for Everyday Pots
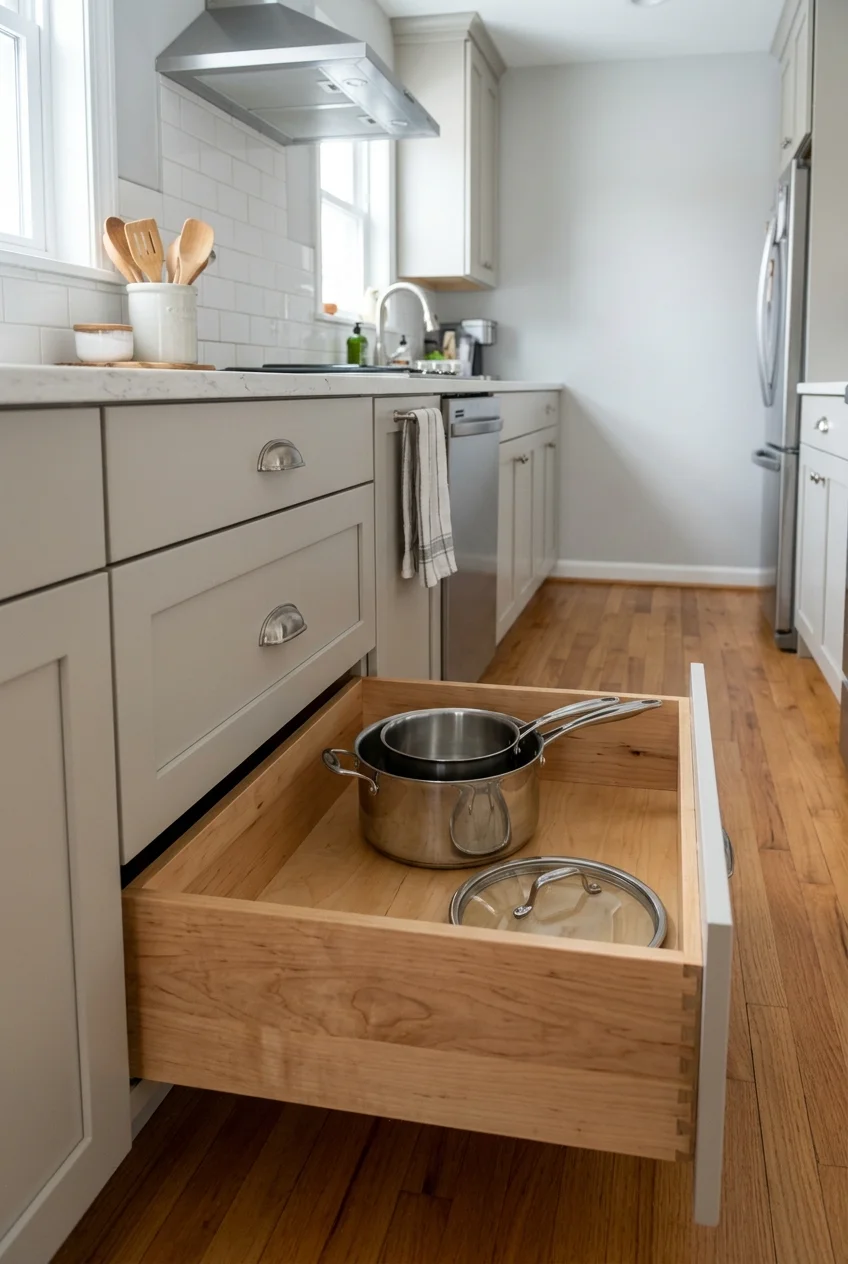
Wide base drawers let you see the cookware at the back without kneeling in a narrow aisle. Put the drawers near the cooking zone for easy unloading.
Check slide ratings against the loaded drawer, and measure the tallest pot with its lid. Make sure handles on adjacent cabinets do not obstruct the opening.
For sound cabinets with hinged doors, compare compatible retrofit trays. Measure inside the opening at the hinges, since that usable width can be narrower than the box.
15. Turn a Slim Space Into a Pull-Out Pantry
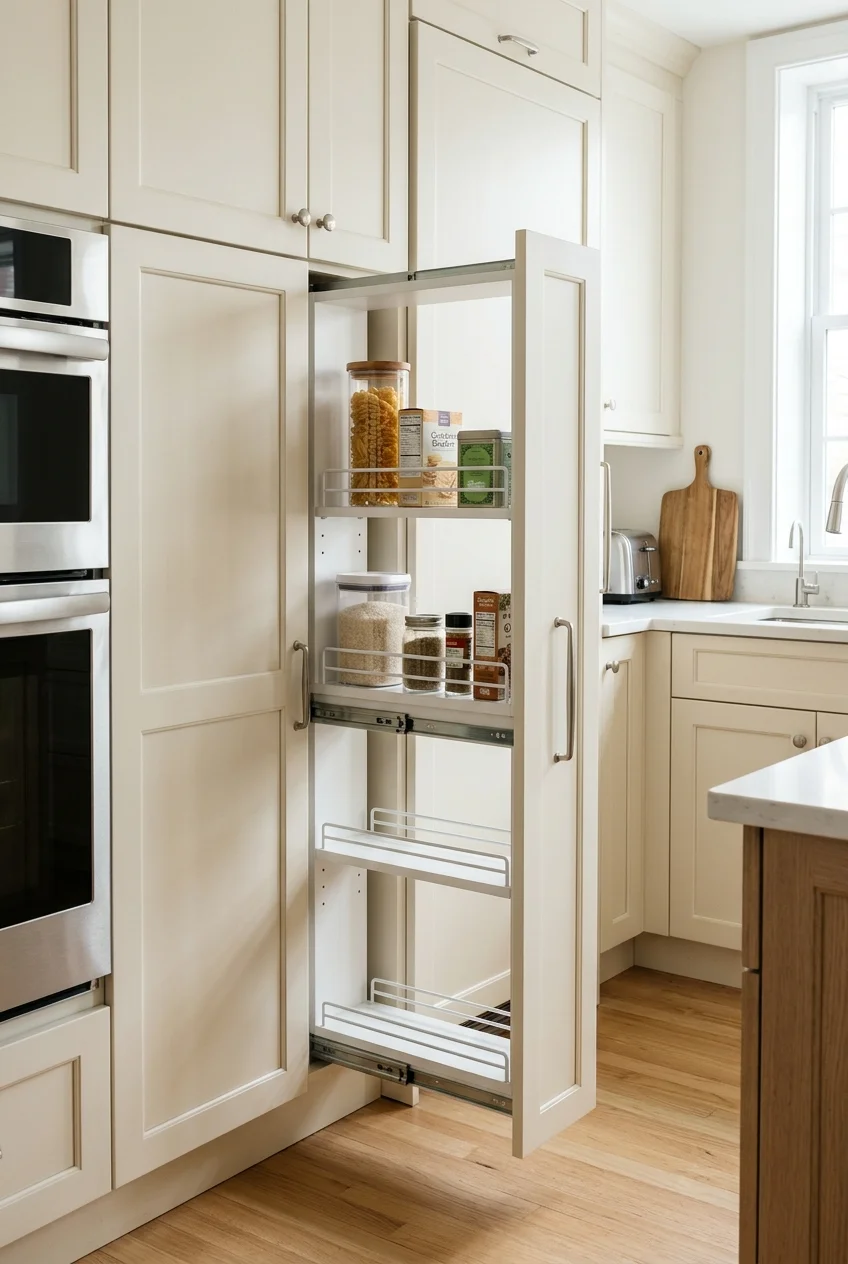
A narrow pull-out pantry can make a small full-depth bay useful. Place it away from appliance doors that might block the cart’s line of travel when open.
Measure clear width, usable depth, and the front’s travel before buying. Factor in handles and the room you need to stand alongside the opened unit and reach both sides.
Store lighter goods up high and heavier goods lower according to the hardware rating. If the opening is shallow, compare fixed shelves with small bins before committing.
16. Bring a Blind Corner Into Reach With a Swing-Out Shelf
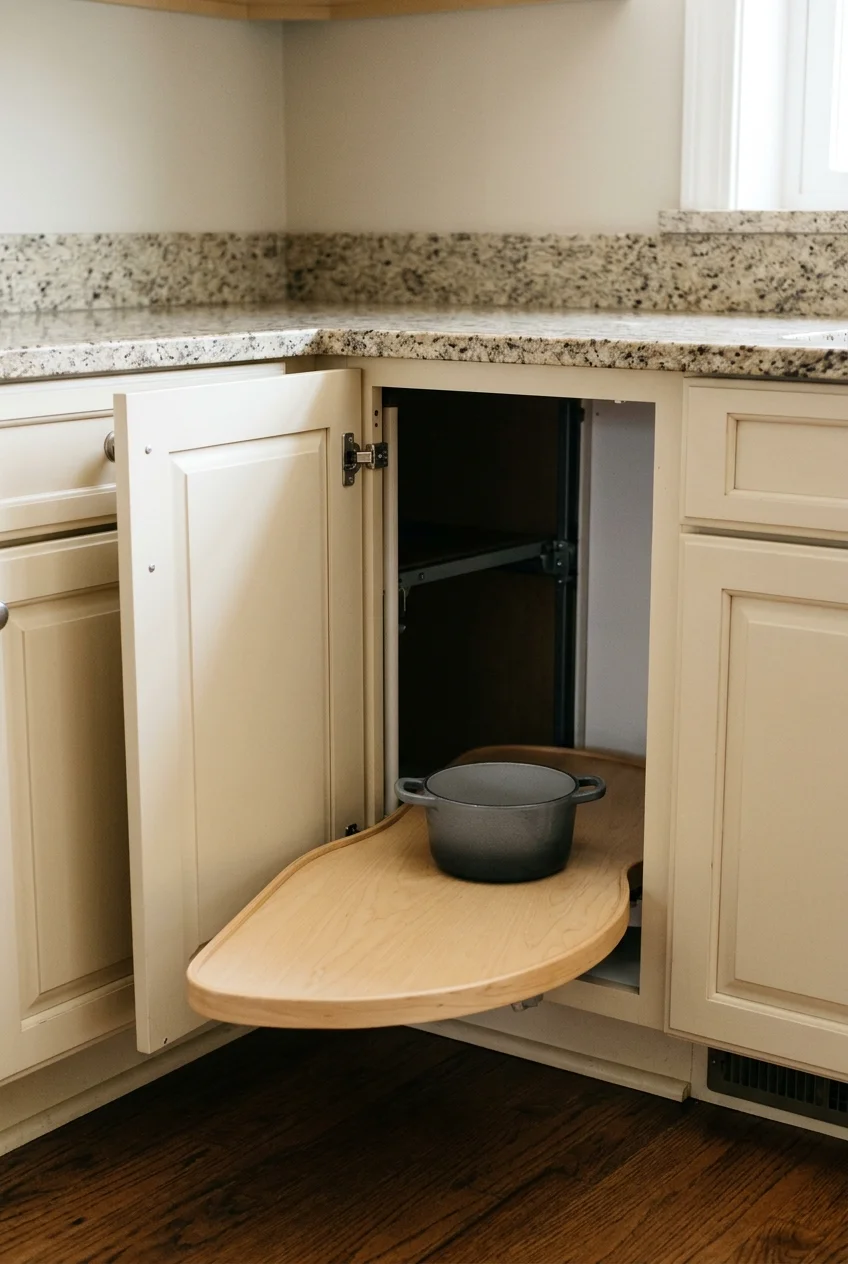
A swing-out mechanism can bring items from a blind corner to the opening. Check fit inside your existing base cabinet before deciding whether this upgrade is worth it.
Determine which side the blind space sits on. Compare the maker’s template with the clear door opening, hinge location, interior depth, and clearance at the adjacent handle.
Mock up the open shelf path with cardboard if you can. Check what happens when the nearby oven or dishwasher is open, since their doors may cross the same space.
Use the manufacturer’s load limit and measure the items you want to store. If the shelf loses too much usable space, compare other kitchen corner cabinet solutions.
17. Make a Vertical Slot for Baking Sheets
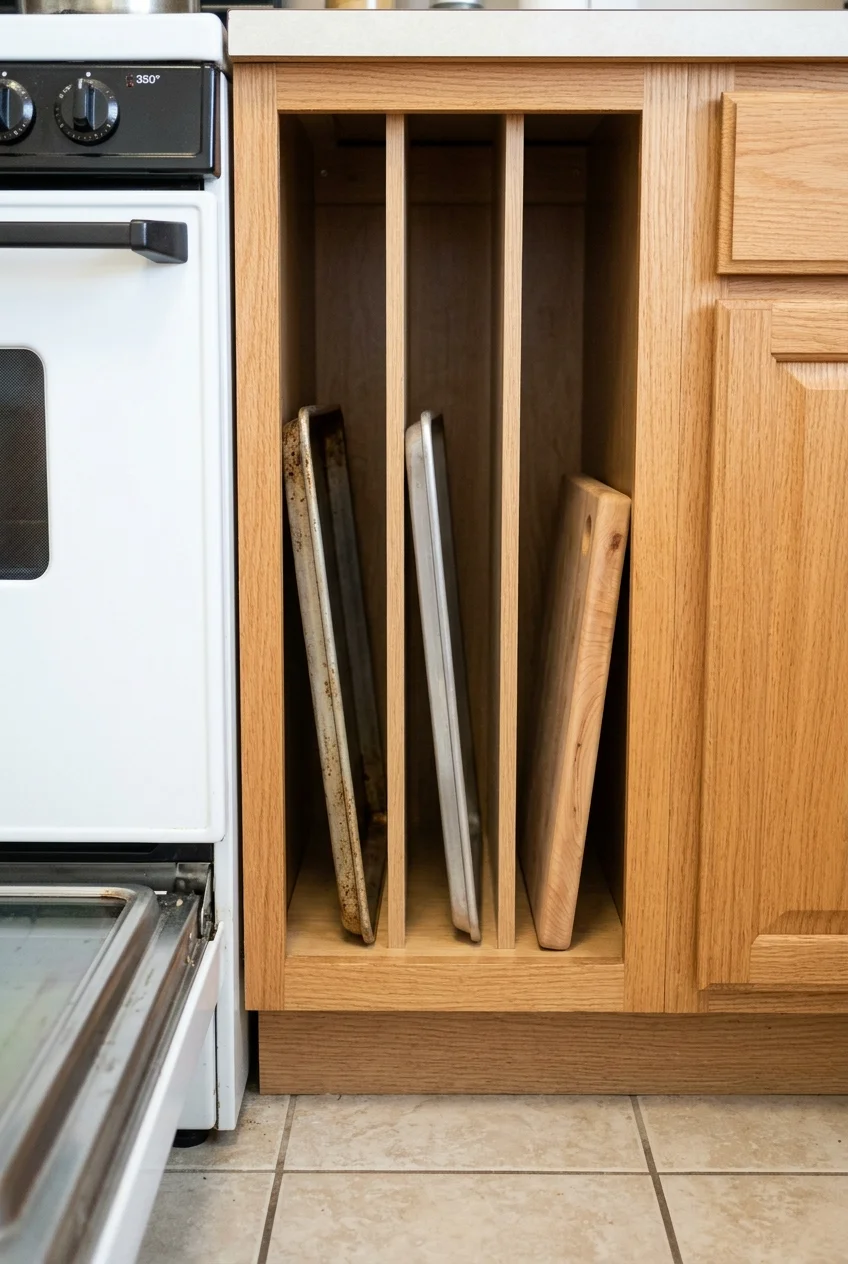
One narrow shelf opening can store boards and sheet pans upright. Choose a spot near the oven or main prep counter and measure to the tallest rim.
Use a removable divider or shelves designed for the cabinet system. Leave enough height to lift a tray out without catching its top edge on the frame.
18. Replace One Upper Cabinet With a Short Open Shelf
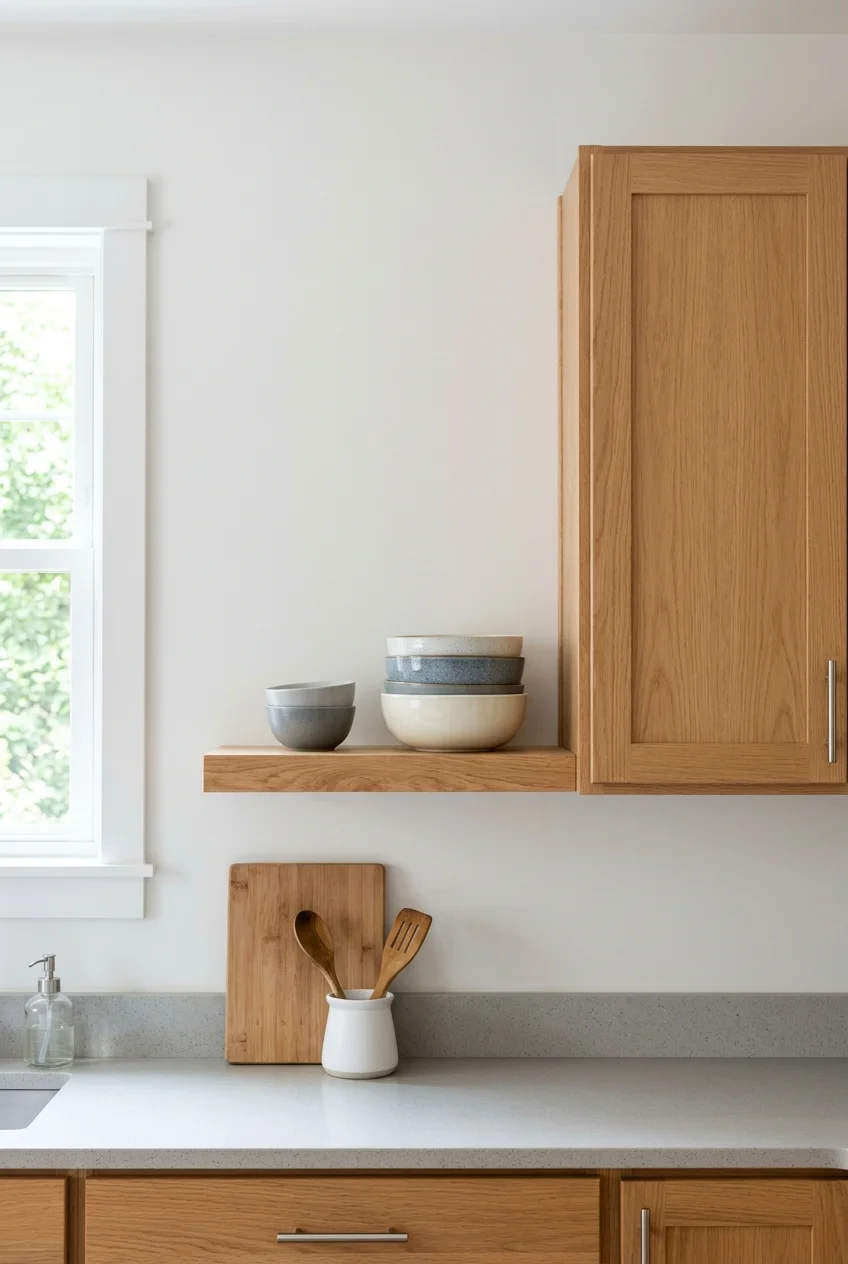
One short shelf can open up the view at the end of a cabinet run while keeping your everyday bowls within reach. Choose a wall outside heavy splatter.
Check what is behind the cabinet before taking it down. Once removed, the wall may need repair, and a nearby end panel may need a new finish.
Use fasteners designed for the wall and shelf load. Try a depth that holds the intended items while keeping the front edge out of your headspace near the counter.
19. Keep the Existing Screw Spacing When Swapping Pulls
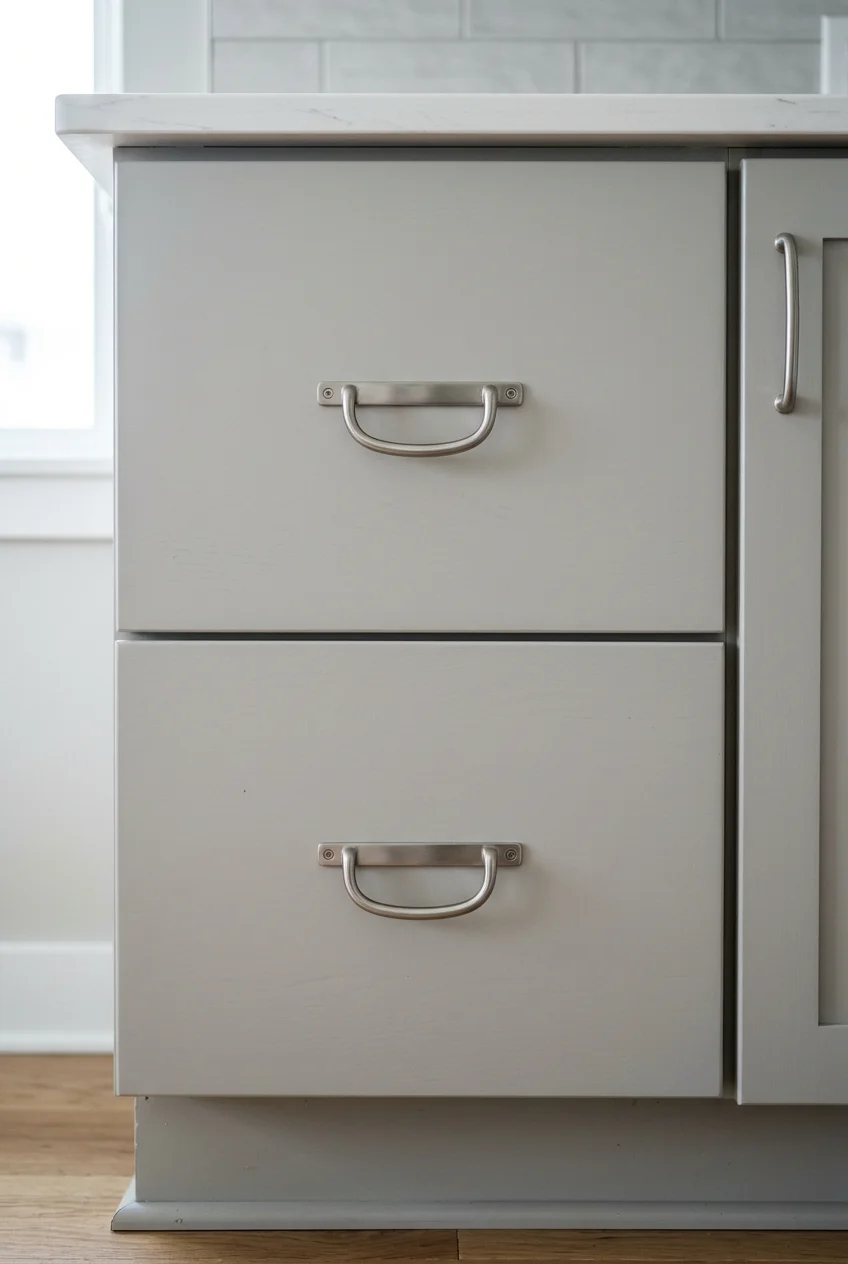
New handles can refresh sound cabinets without filling or drilling holes. Measure from the center of one screw to the other, then confirm the replacement’s stated spacing.
Check the grip opening and projection before ordering a full set. Try one sample near an inside corner to see whether it clears the neighboring door or appliance.
20. Add a Filler So a Door Opens Fully Beside the Wall
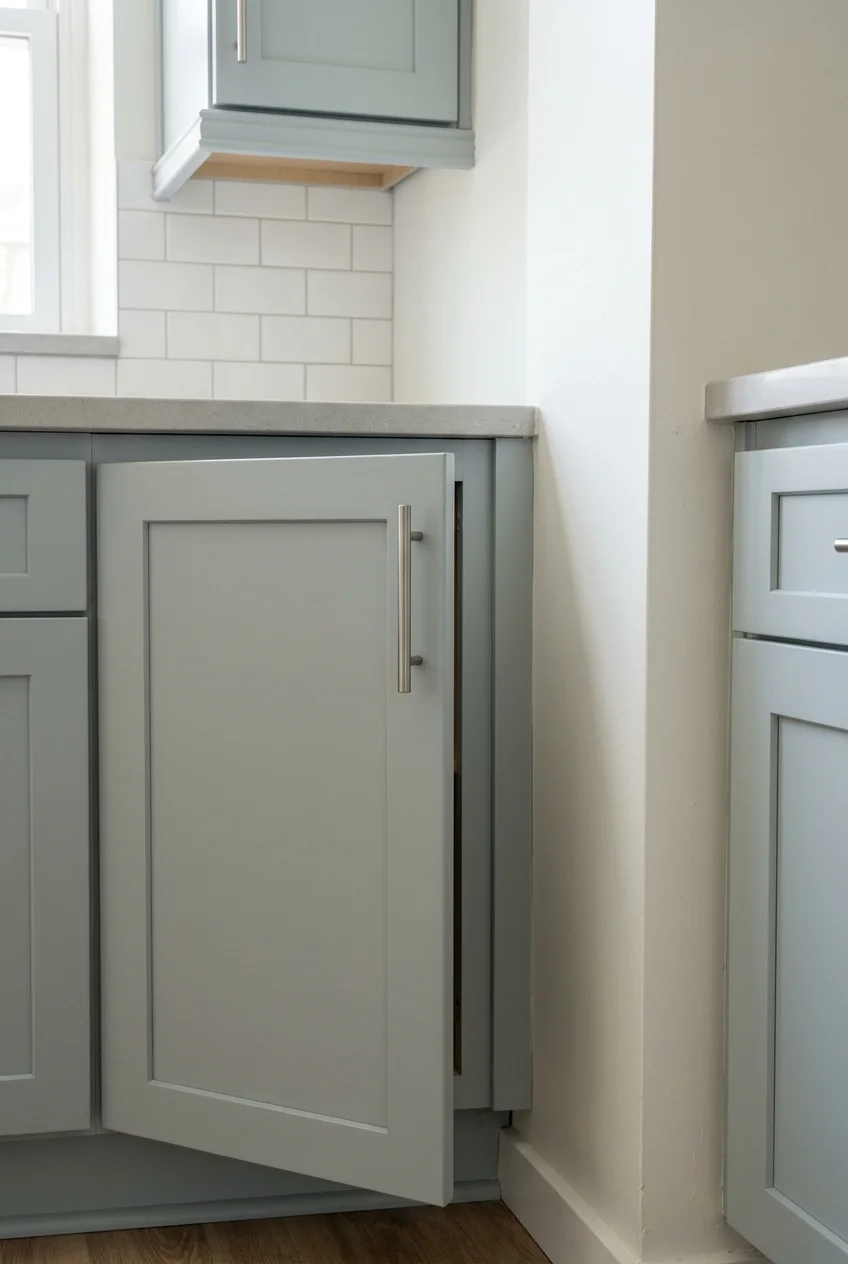
A narrow finished filler can give the last cabinet door room to open beside a wall. Build it into the plan before ordering cabinets for a tight opening.
Measure the widest projection of the handle and the hinge’s swing. Also check whether you can reach a pull-out tray inside with the door fully open.
Walls can vary from top to bottom. Have the fitter trim the panel to the wall and finish its exposed edge to match the rest of the run.
Appliances That Fit Through the Door and Into the Plan
Use installation drawings for the exact models you want. Include the finished floor, cabinet panels, handles, cord or hose space, and the route from the building entrance.
21. Choose a Counter-Depth Fridge for a Cross-Traffic Spot
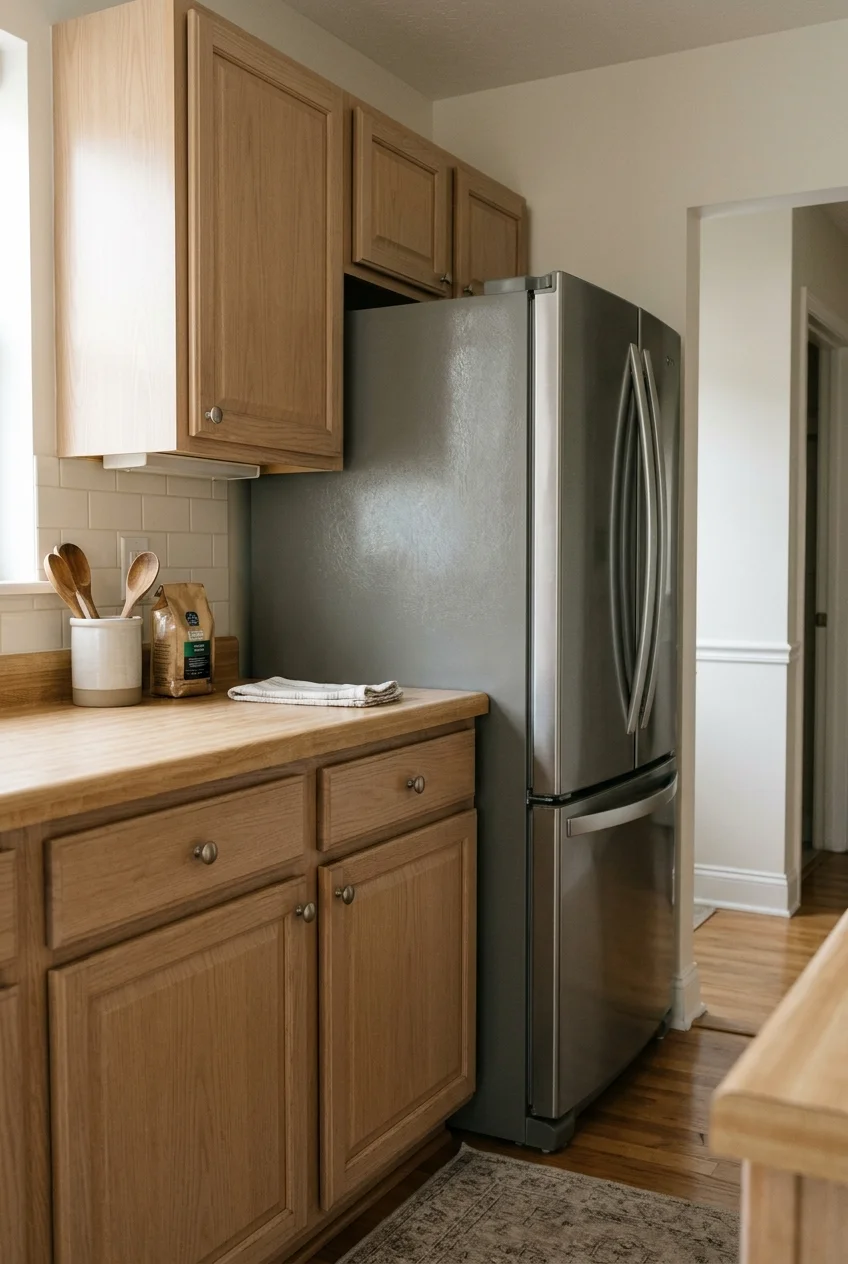
A counter-depth refrigerator may return valuable space to the route past the kitchen. Compare the installed depth with your old fridge, including doors, handles, and required rear clearance.
Read the model’s ventilation and hinge requirements. Check the clearance needed to open a door against a sidewall and pull out every drawer for cleaning.
Mark the front corners on the floor before ordering. Plan a nearby place to set groceries, and measure the unit doorway, elevator, and narrowest delivery turn.
22. Reverse a Compatible Fridge Door to Face the Landing Counter
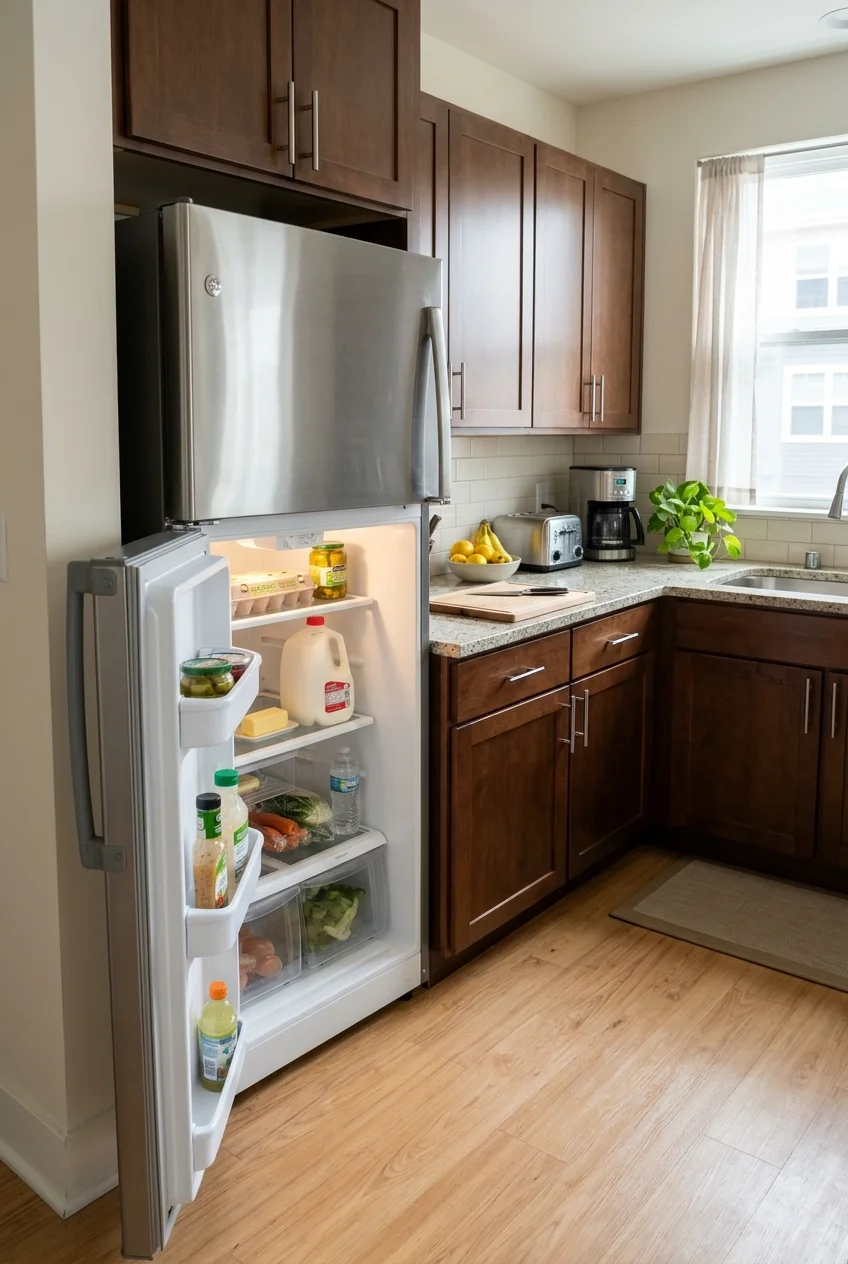
A reversible refrigerator door can make an existing appliance work better at the end of a run. Position the hinge so the open door leaves the landing counter accessible.
Verify that your exact model supports reversal and follow its instructions or book service. Make sure the new hinge side allows drawers to slide out fully.
23. Use an 18-Inch Dishwasher to Reclaim a Cabinet Bay
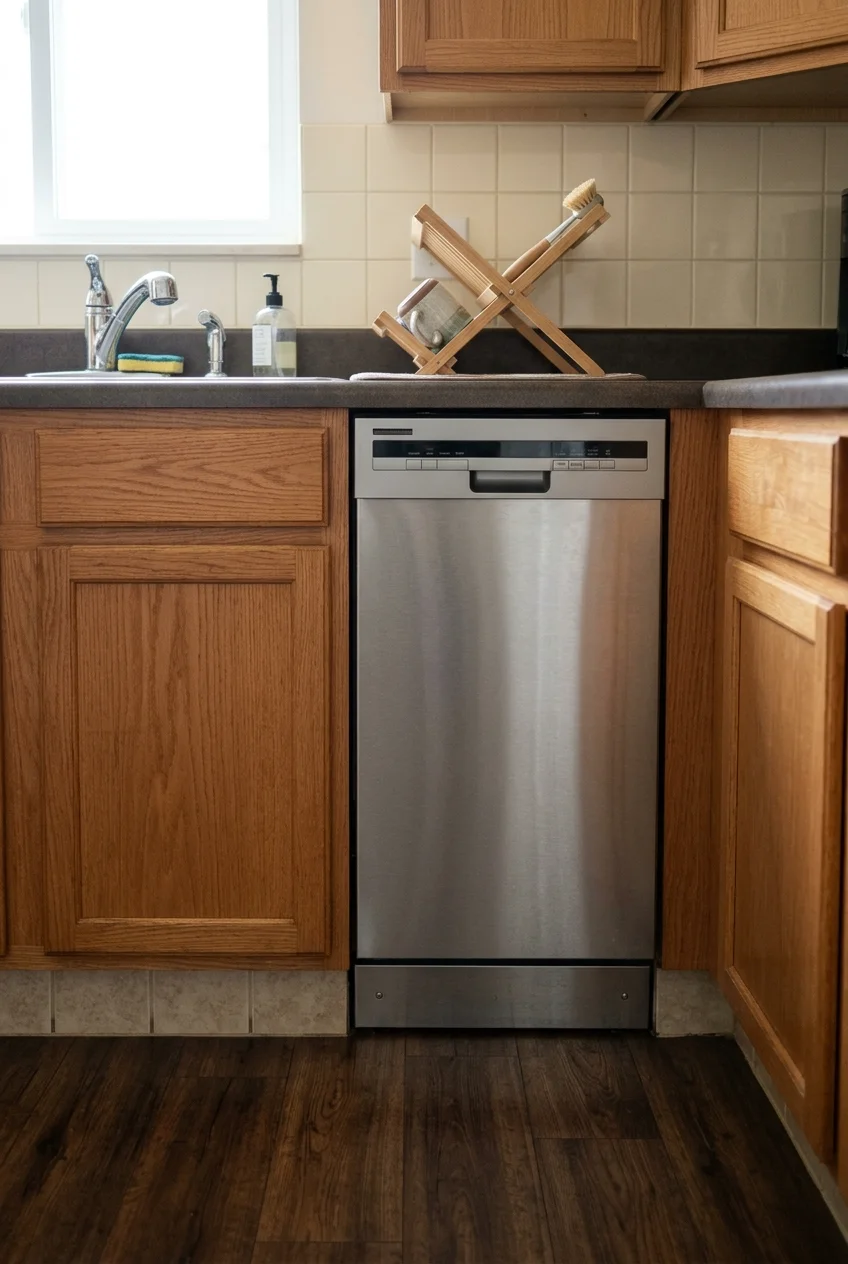
An 18-inch built-in dishwasher is worth comparing if every inch of cabinet width matters and you run small loads. Check what fits inside using your own dish sizes.
Read the exact installation sheet for the opening and connection locations. Measure from the finished floor so flooring won’t trap the machine.
Compare the Bosch installation drawing as an example. Allow standing room beside the open door as you check the exact dishwasher you plan to buy.
If your current dishwasher holds the dishes you need, compare its usefulness with the cabinet space you’d gain. A narrower model is most useful when it solves a specific problem.
24. Plan an Induction Upgrade Before Ordering Cabinets
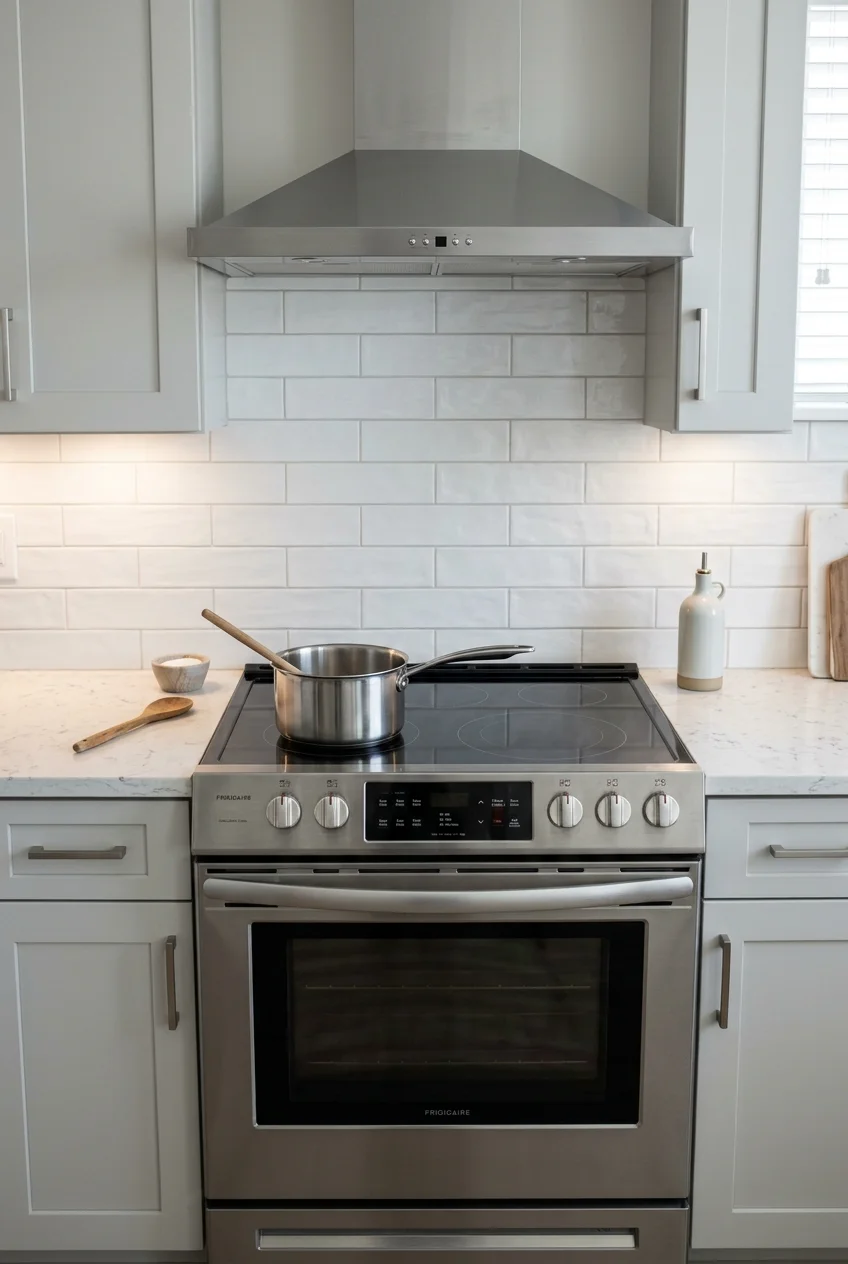
An induction range or cooktop can work well in a condo, but start with the electrical requirements for the exact model and a qualified electrician’s assessment.
Ask about panel capacity and any building approval for circuit changes. If you are replacing gas, have qualified trades handle gas work and check the approved ventilation plan.
Follow the ENERGY STAR cookware check with a magnet. Budget for replacements only if the pieces you actually use are incompatible.
If the project needs a separate cooktop, have the cabinetmaker check the cutout, cooling clearance, and usable space below. Keep a landing surface beside the cooking zone.
25. Consider a Compact Range to Get Counter Space Back
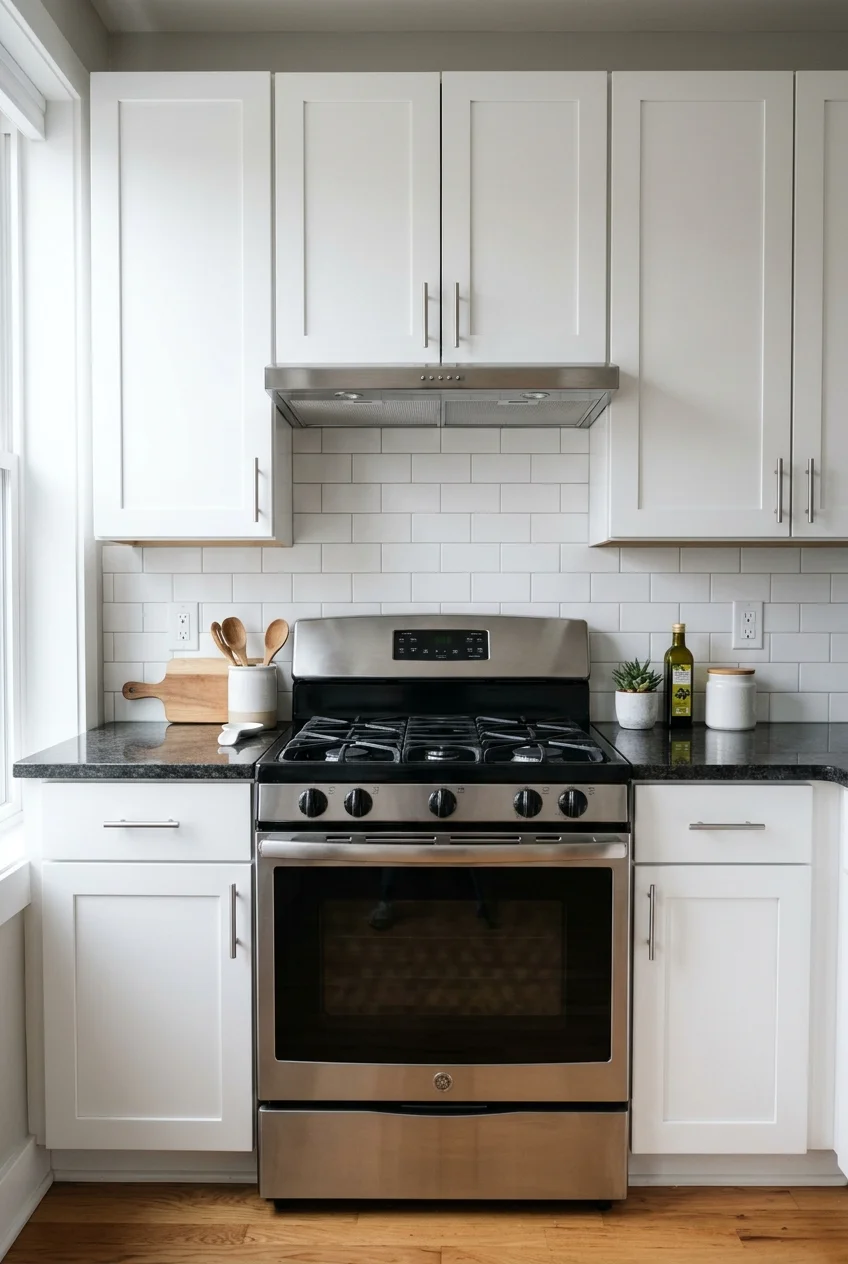
A narrower range can leave room for a landing surface where a wide appliance consumed nearly the entire wall. Compare what you gain against the oven capacity.
Check your largest pan against the oven interior and look at burner spacing. Measure the finished opening and confirm the required nearby counter and hood clearances.
If replacing the range only creates a sliver of unusable counter, keep the larger oven and improve the prep area elsewhere. Price both layouts before deciding.
26. Keep the Approved Exterior Exhaust Route
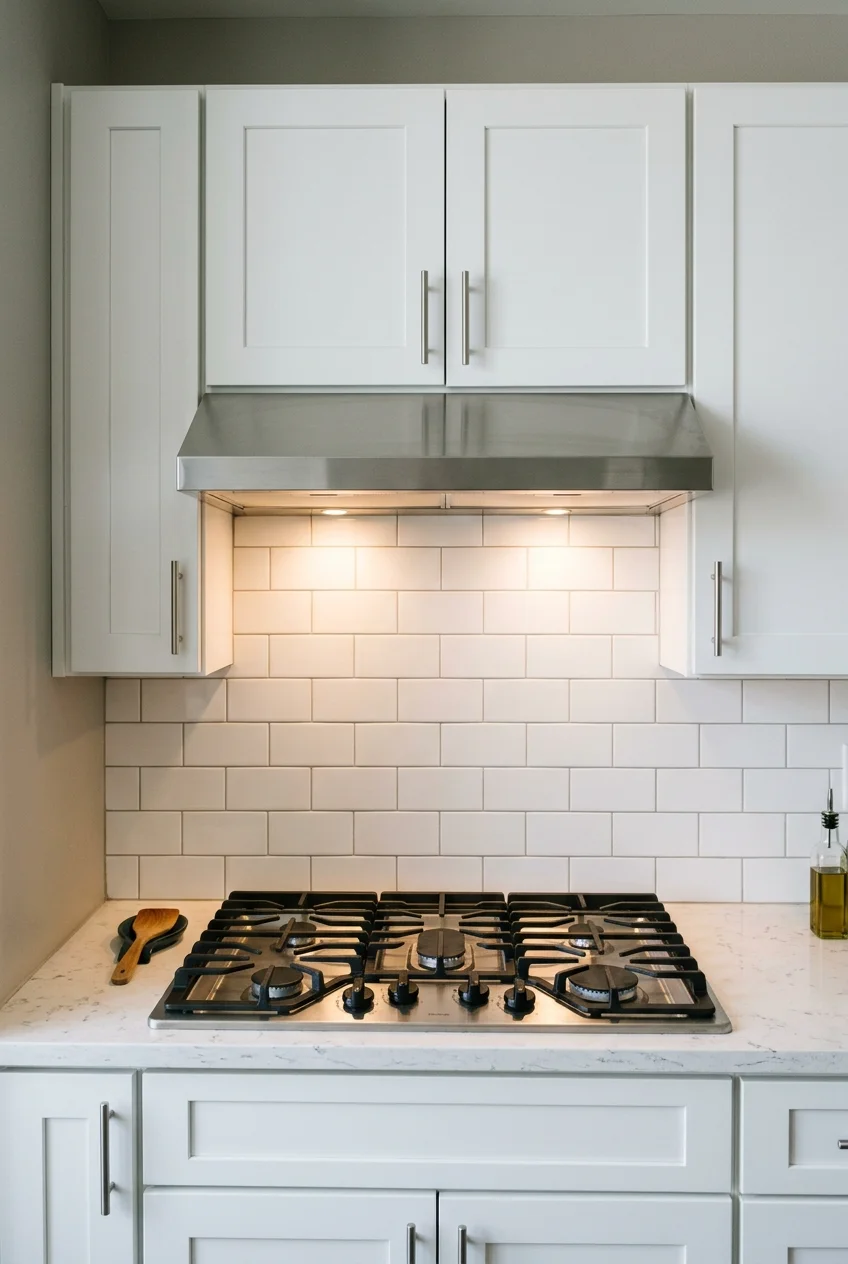
If the existing hood exhausts outdoors through an approved route, have that route checked before moving the cooking wall. Reusing it may simplify the new plan.
Ask the installer to verify the duct dimensions and condition, the building’s rules, and the hood’s installation requirements. Check whether other ventilation or makeup air provisions apply.
Place the hood over the cooking surface at the manufacturer’s specified height. Choose reachable controls so you can follow EPA guidance on using the hood while cooking.
If inspecting the route reveals a shared or restricted duct, ask management and a qualified ventilation contractor what can connect to it before purchasing new equipment.
27. Fit a Recirculating Hood Where Outdoor Exhaust Is Unavailable
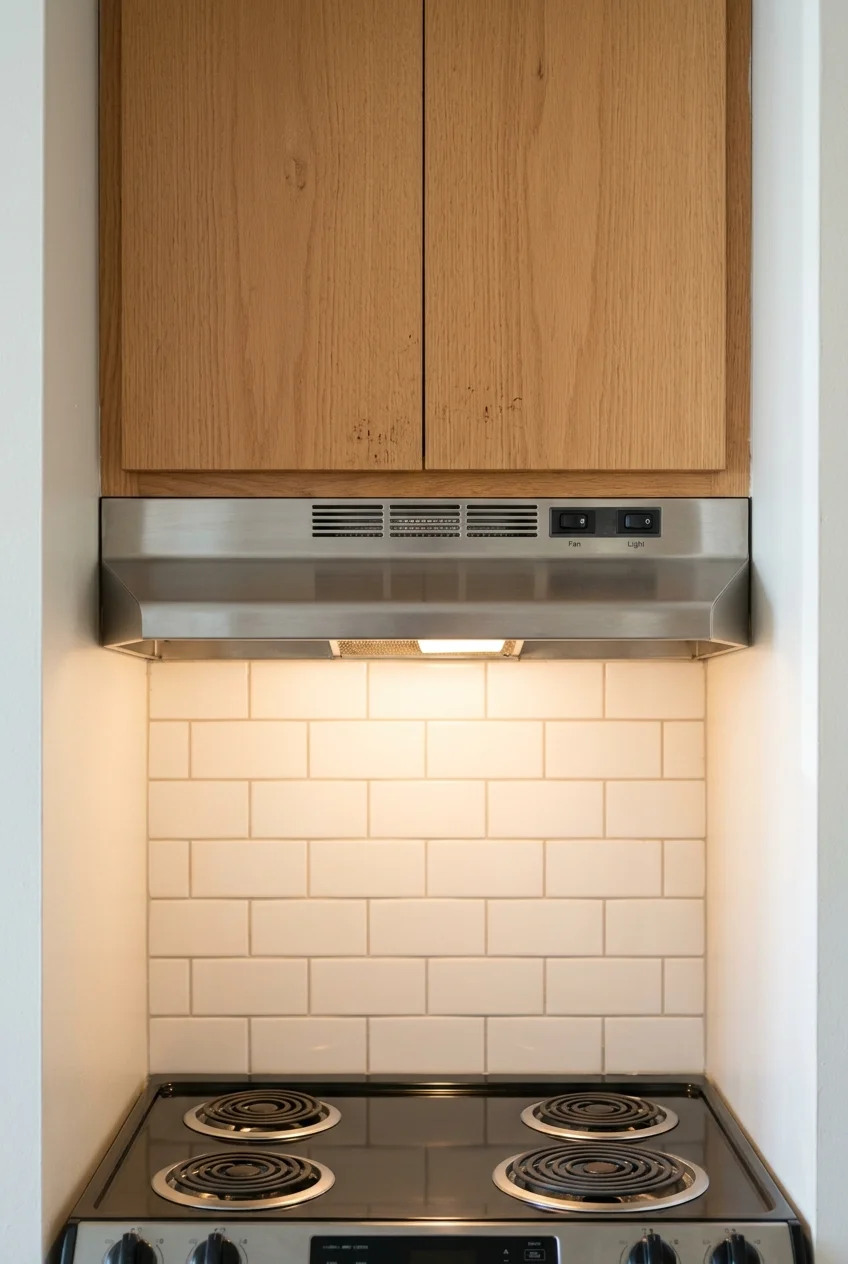
Where exterior exhaust is unavailable, ask whether the building and local rules allow a recirculating hood. It can filter some material and odors but returns air indoors.
Choose a unit designed for ductless use or the exact conversion kit approved by the maker. Confirm mounting height and the path for the recirculated air to exit.
Make sure the filters are easy to reach. Follow the hood maker’s filter and ventilation guidance and account for replacement filters in the ongoing cost.
28. Move the Microwave Into an Approved Open Shelf Bay
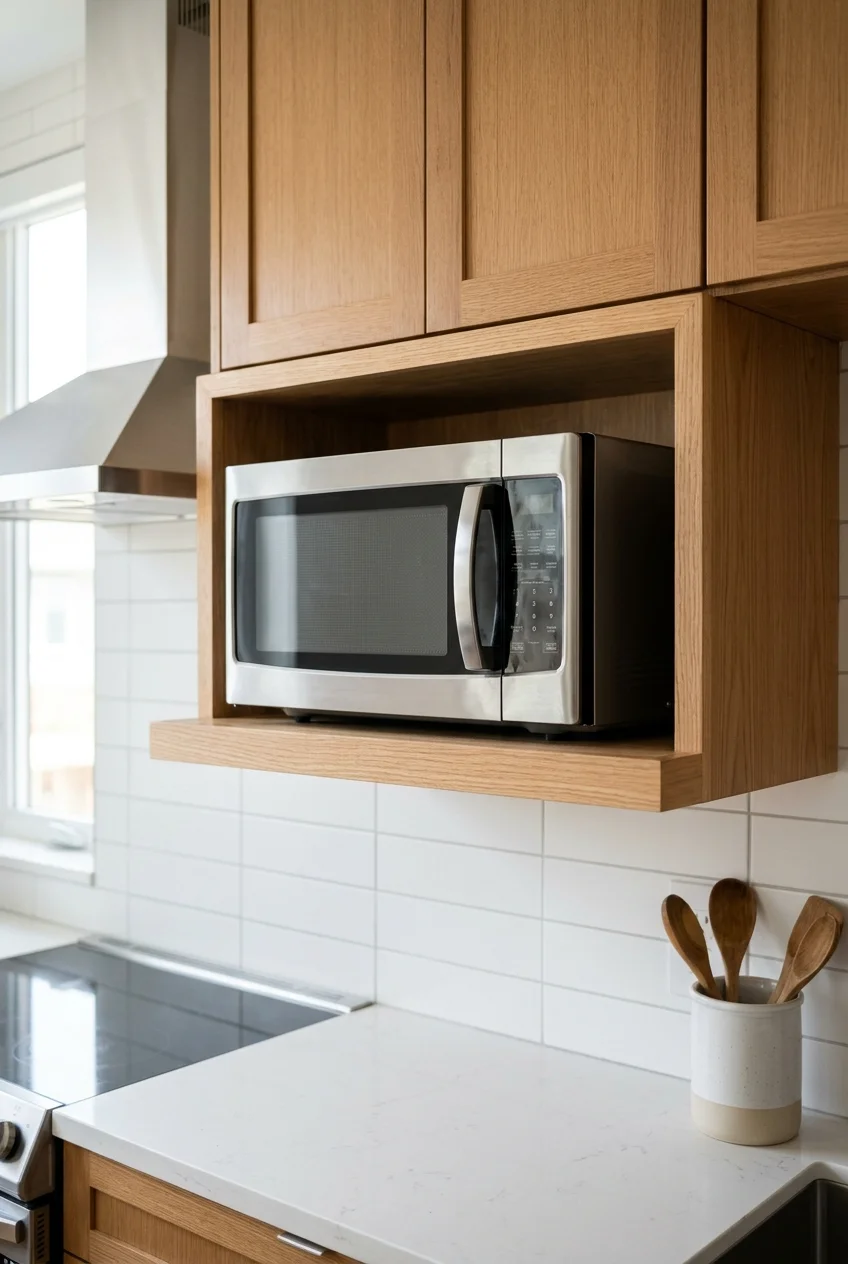
An open microwave bay can free valuable workspace when the oven now sits on the counter. Put the shelf where hot dishes can come out comfortably.
Check whether your chosen appliance allows shelf or built-in placement. Use the manufacturer’s ventilation clearances and trim kit requirements to size the opening, rather than boxing in a countertop model.
Keep a landing counter within easy reach. Ask the installer to verify shelf strength, electrical access, and the door swing before you commit to the cabinet configuration.
29. Put a Wall Oven at a Comfortable Loading Height
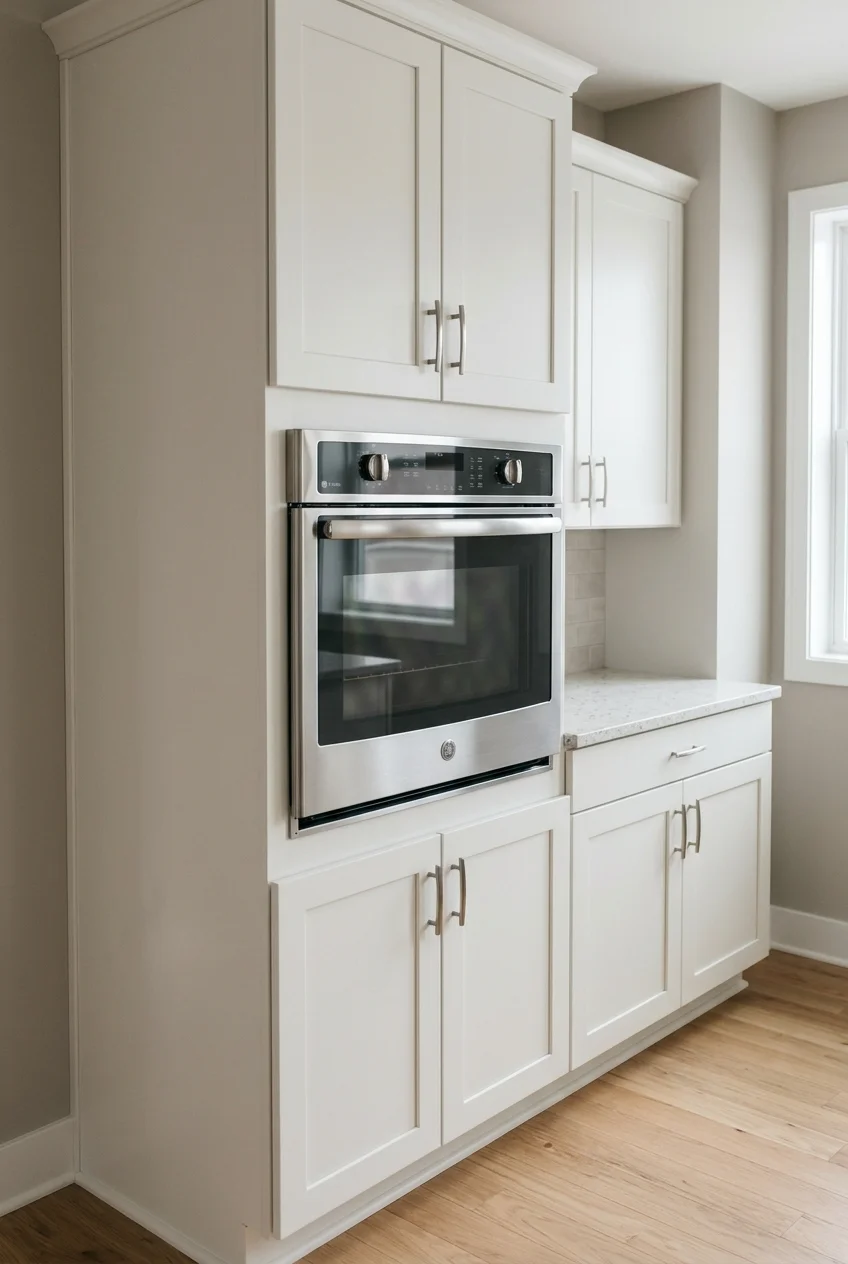
A single wall oven at a comfortable height can reduce bending in a kitchen with a suitable tall cabinet. Set its height using your heaviest oven dish.
Keep a landing surface directly beside it if possible. Use the appliance’s installation diagram for the cabinet opening, required support, ventilation, and the location of the electrical connection.
Have the electrical work and installation reviewed before ordering the cabinet. Check the swing of the oven door and the route past it when the door is down.
If the cabinet would erase your only long prep surface, consider a range instead. Test both options by moving a fully loaded cold dish on a mock-up.
30. Keep a Service Panel Clear When You Add Cabinetry
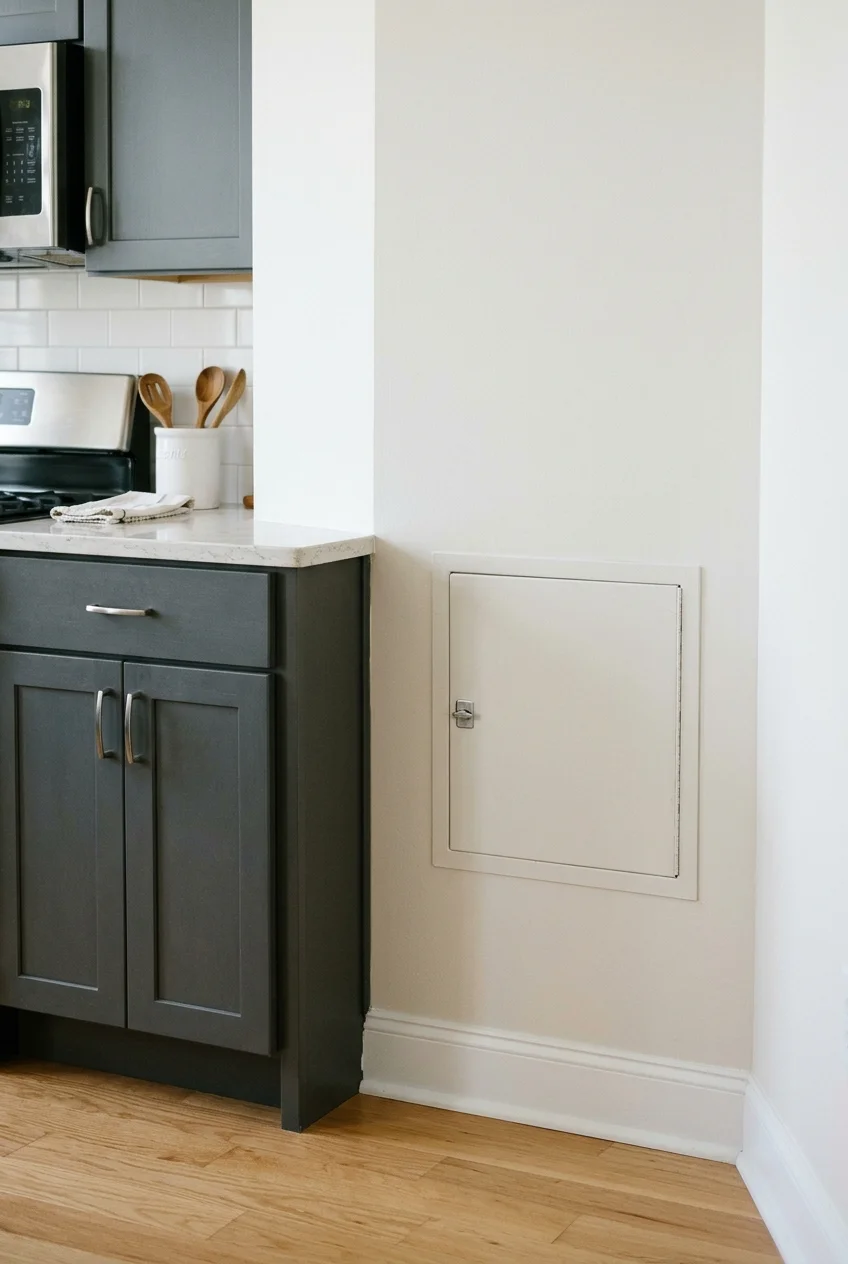
Find maintenance panels before designing the last cabinet bay. If the kitchen gives access to building systems, ask management how much clear space service staff need.
Mark the panel on the drawings so it survives revisions. A shorter cabinet run may preserve access without forcing you to remove drawers, counters, or appliances for service.
Counters, Floors, and Sink Updates to Plan Together
Choose the sink and counter together, then check how the finished floor affects the appliances below. A small change in thickness can matter in a tight opening.
31. Use Laminate for a Straight Counter Run
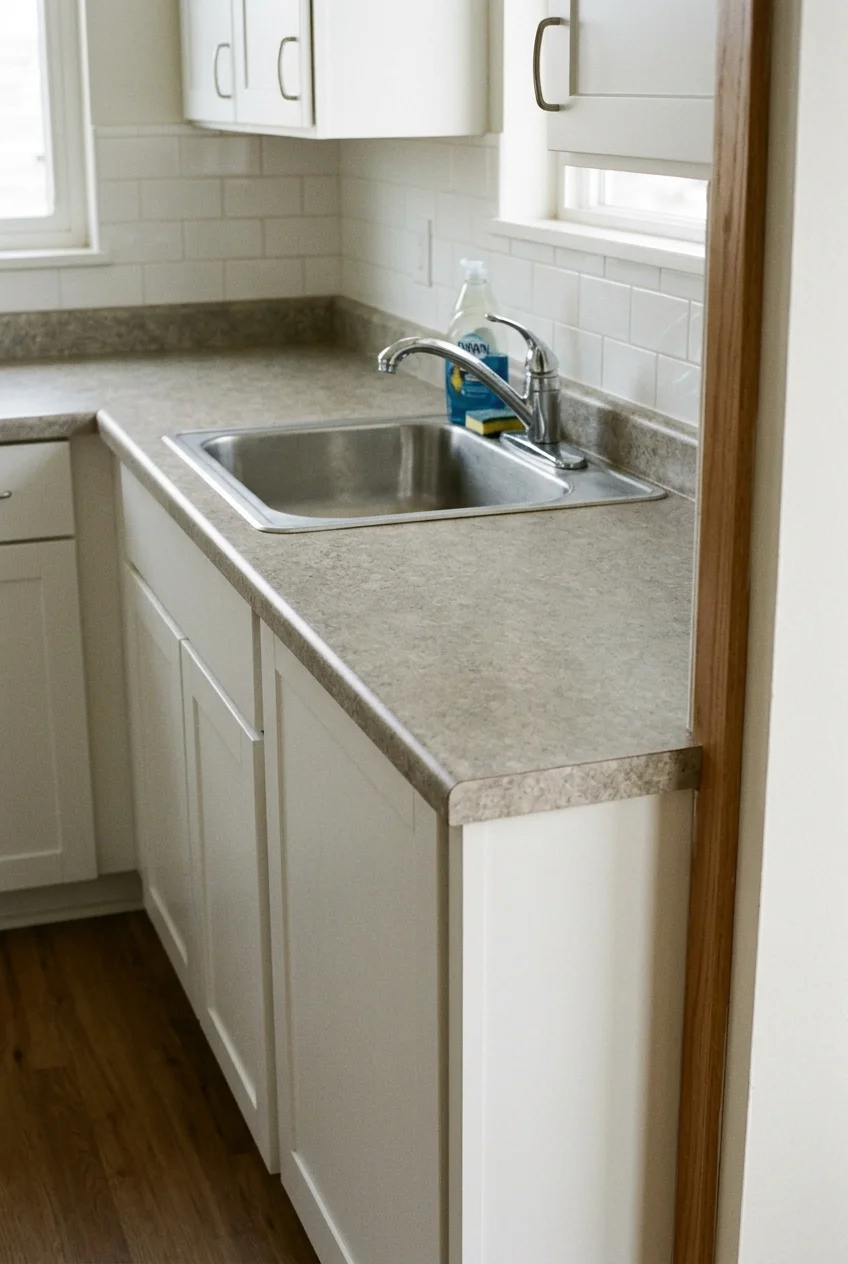
A simple laminate countertop can be a practical choice for a straight cabinet run. Get a quote that includes the end finish, sink cutout, delivery, and installation.
Pick the sink before the top is cut and confirm a compatible mounting method. Check how the cutout edges and the wall joint will be protected from water.
Follow the laminate maker’s installation and care guidance and use a trivet for hot pans. If the wall is uneven, ask how the installer will finish that joint.
32. Refinish a Sound Solid-Surface Counter
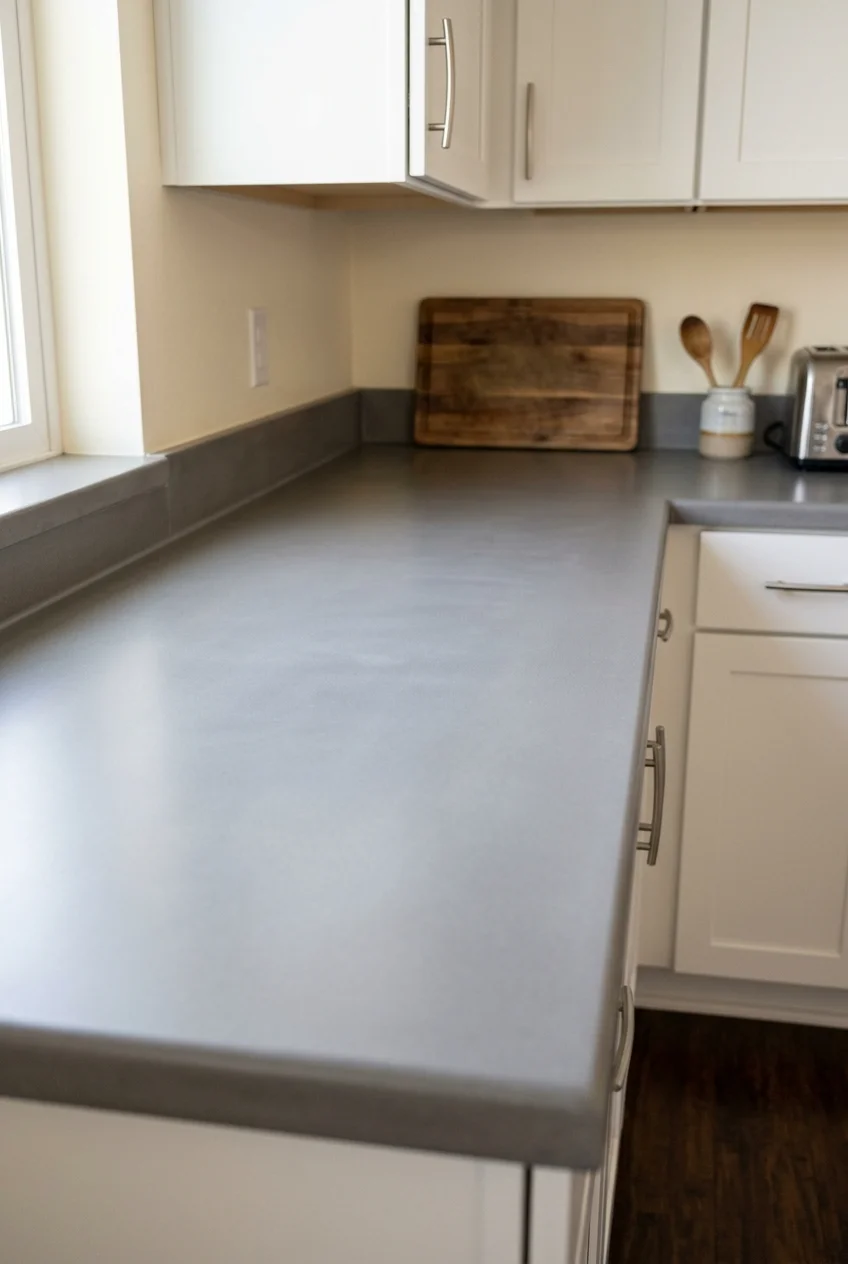
If your solid-surface counter looks scratched but the installation is sound, identify its brand and finish before deciding to replace it. Ask about restoration for that specific surface.
Use the manufacturer’s care directions for minor marks and ask a fabricator about deeper damage. Glossy areas, chipped edges, and open seams may require a professional finish.
Price refinishing against replacement with the same scope. If you keep the counter, make the decision before ordering the backsplash so the two work together.
33. Tile Only the Main Splash Zone
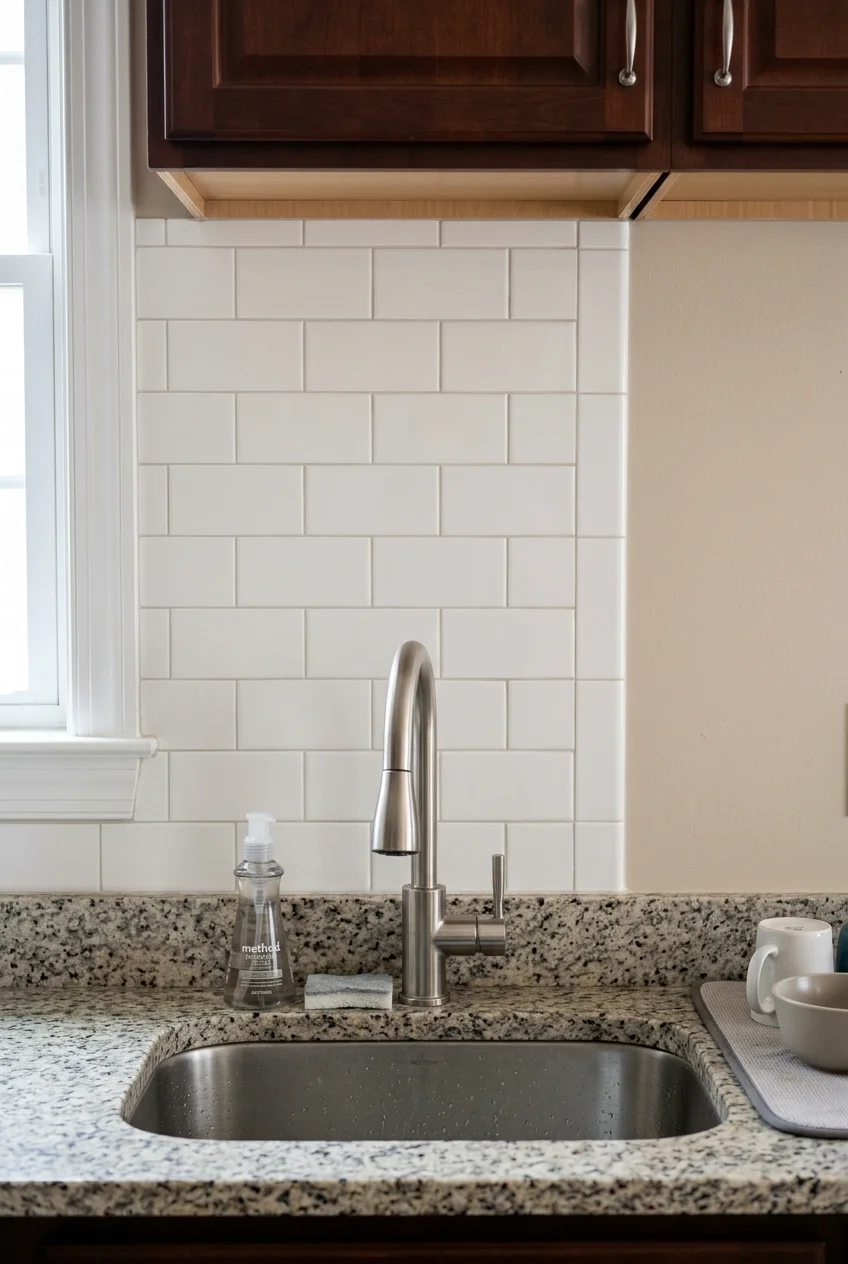
A backsplash can stop at the cabinet edge when the main goal is protecting the sink wall. Use that alignment to make a compact tile project look intentional.
Plan an edge trim or a tile with a finished edge. Bring the last row to a natural stopping point so the exposed side stays easy to wipe.
Dry-lay the tiles around outlets with your installer. If a thin strip would land beside a visible opening, adjust the starting point before setting the tile.
34. Renew Sound Tile With a Focused Grout Repair
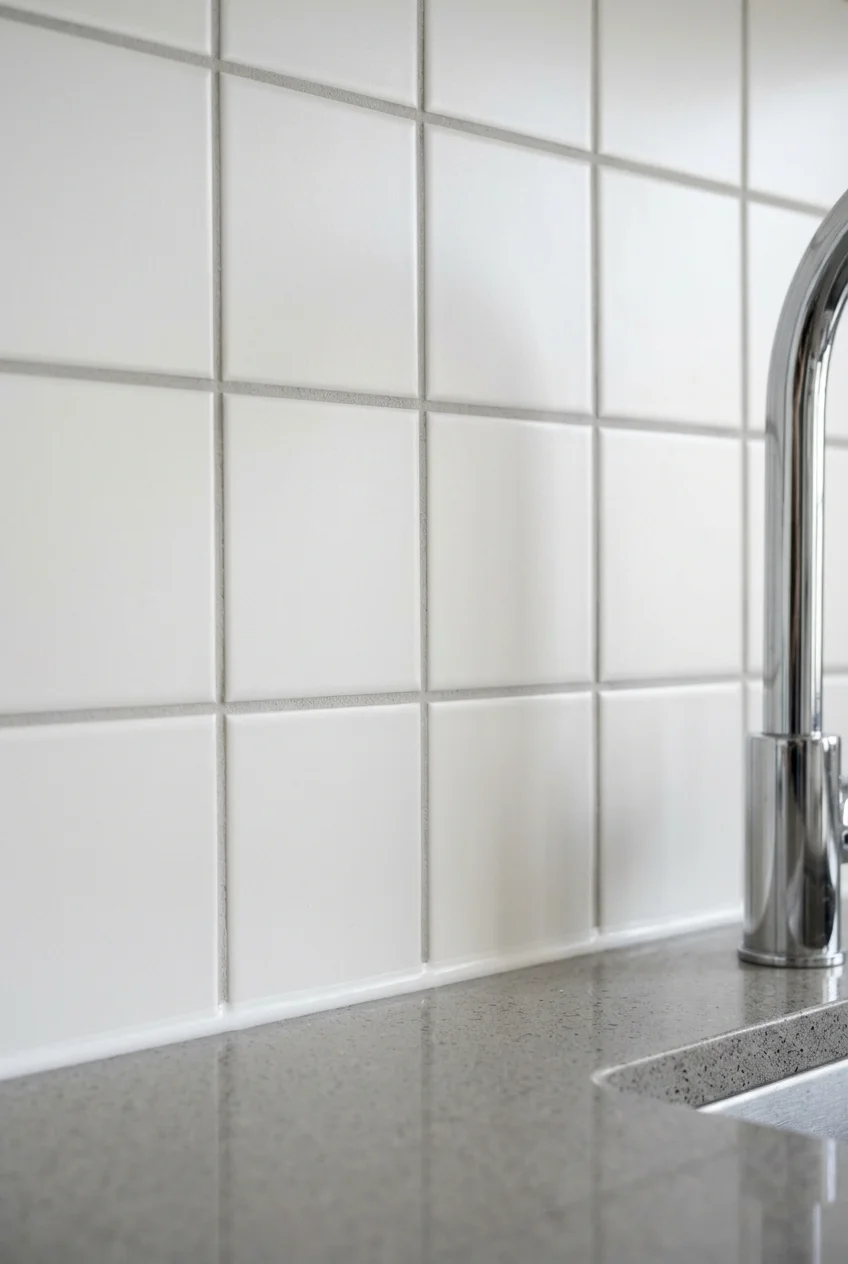
If the backsplash tile is attached firmly, repairing a few failed grout joints can extend the life of the existing finish. Check why the grout failed first.
Match the replacement to the tile and joint width. Have damp or loose areas assessed before covering them, particularly if the damage starts behind the sink or counter.
Use the material the installation calls for at joints that need flexibility. Compare the dry color in a small area before repairing a prominent stretch.
35. Specify the Floor and Sound Underlayment as One Assembly
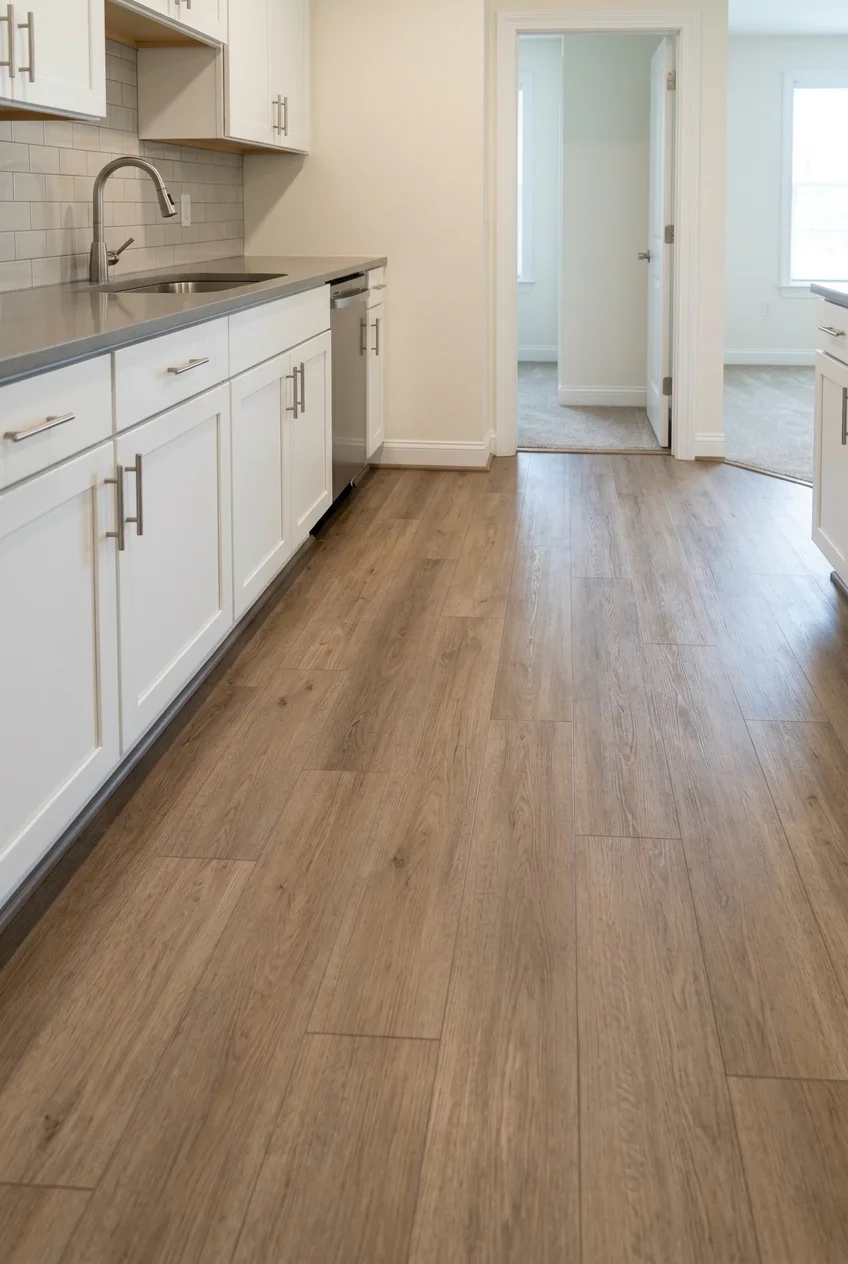
A condo floor choice starts with the building’s requirements for sound and flooring assemblies. Ask for their written specifications before choosing a finish or paying for an underlayment.
Check what proof management accepts. A sound rating on a product label may not describe the tested assembly that matches your particular subfloor and ceiling construction.
Have the installer confirm that the flooring and underlayment are compatible. Get the specific assembly accepted by the building before work starts and keep the written documentation.
- Identify the current subfloor and finished floor height.
- Confirm underlayment compatibility with the flooring maker.
- Check dishwasher service height and adjacent transitions.
If the existing floor already meets the building’s requirements and is in good shape, keep it as a separate option in the estimate. It may suit the new cabinets.
Practical tip Keep a copy of the approved floor specification for future repairs. It gives a contractor a starting point if one section needs replacement after a leak.
36. Fit the New Floor to the Existing Doorway Height
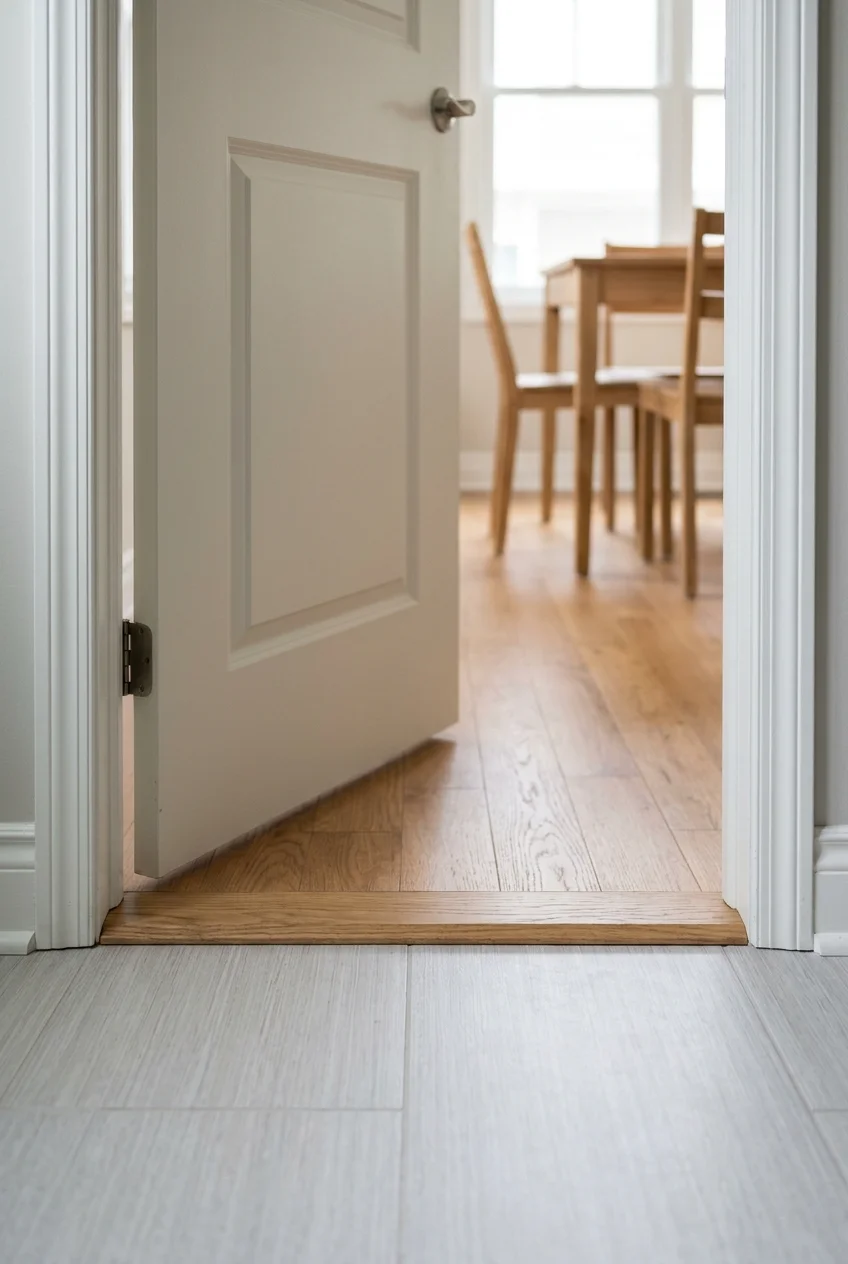
A reducer can make a kitchen floor change meet the adjoining room cleanly. Compare the two finished heights before choosing the floor rather than settling for an oversized strip later.
Check where the transition should sit when a door closes. Confirm the flooring maker’s profile and expansion requirements, particularly if one side is a floating installation.
Test the door’s swing and clear height on the plan. If the step would still be awkward, price a thinner approved floor system before buying the replacement.
37. Use a Drop-In Sink When Keeping a Compatible Counter
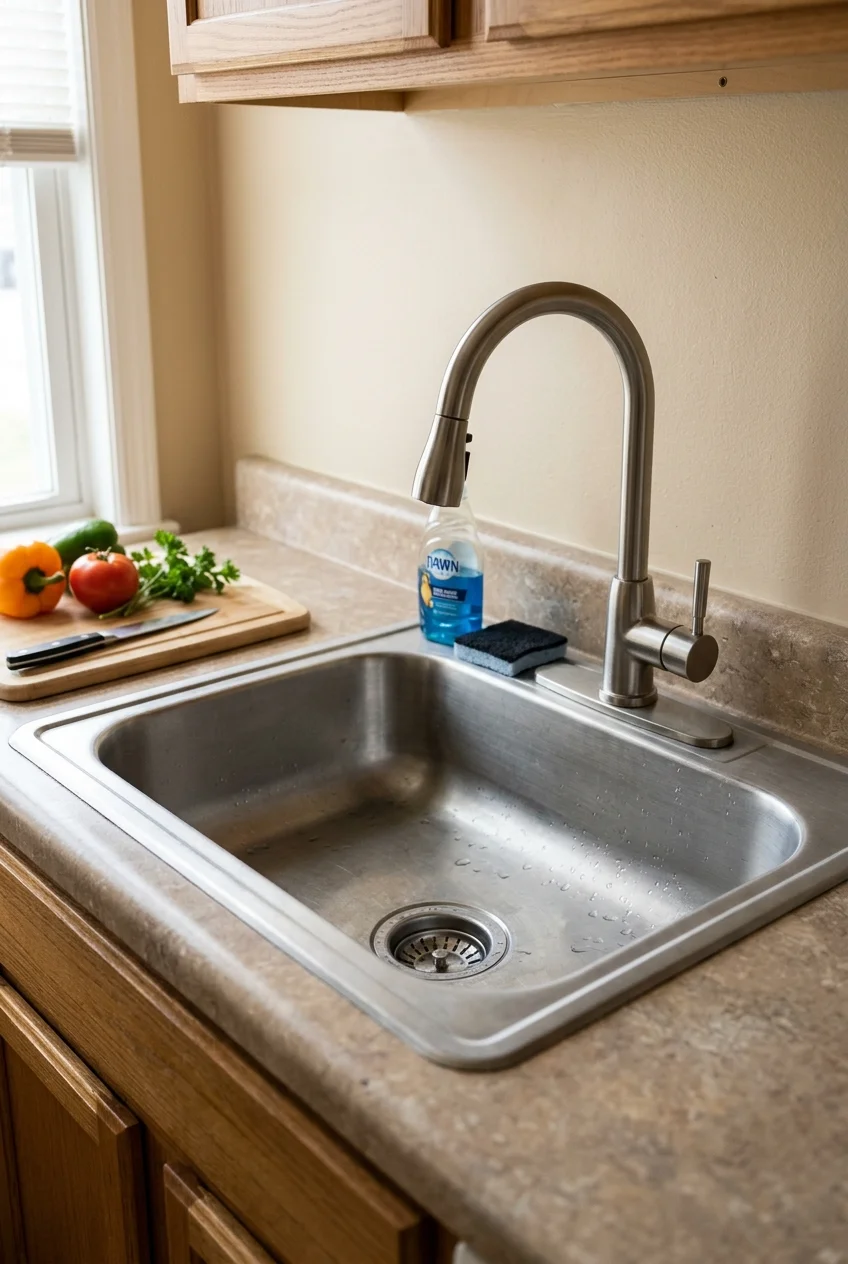
A compatible drop-in sink can update the cleanup zone while keeping a sound counter. Measure the cutout and compare it with the exact replacement template before ordering.
Check bowl depth, the minimum base cabinet size, faucet holes, and space for clips. Have your installer verify that the countertop remains sound around the opening.
If the new rim would expose old damage or the clips cannot reach securely, consider a countertop replacement. Avoid assuming sinks with the same outside width share a cutout.
38. Gain Usable Bowl Space With a Compact Single Basin
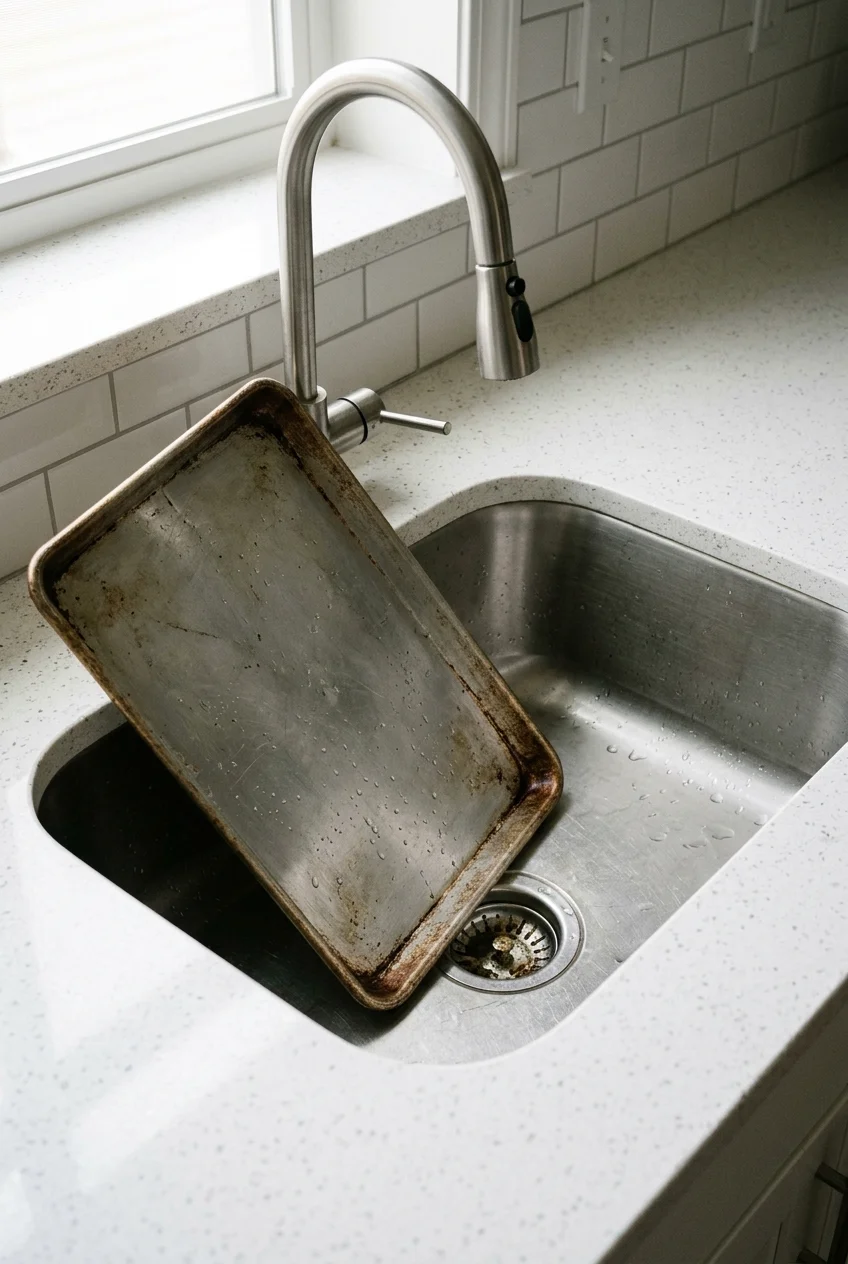
A compact single-bowl sink can fit a baking sheet more easily than a divided basin of similar overall size. Compare the actual bowl dimensions with the pans you wash.
Lay your largest pan on the spec drawing to see what fits. Check the cabinet’s minimum width and have a plumber confirm that bowl depth suits the drain location.
Consider how you’ll rinse if you usually keep soapy water on one side. A removable tub can divide the work temporarily without taking up permanent bowl space.
39. Choose a Pull-Down Faucet That Clears the Window
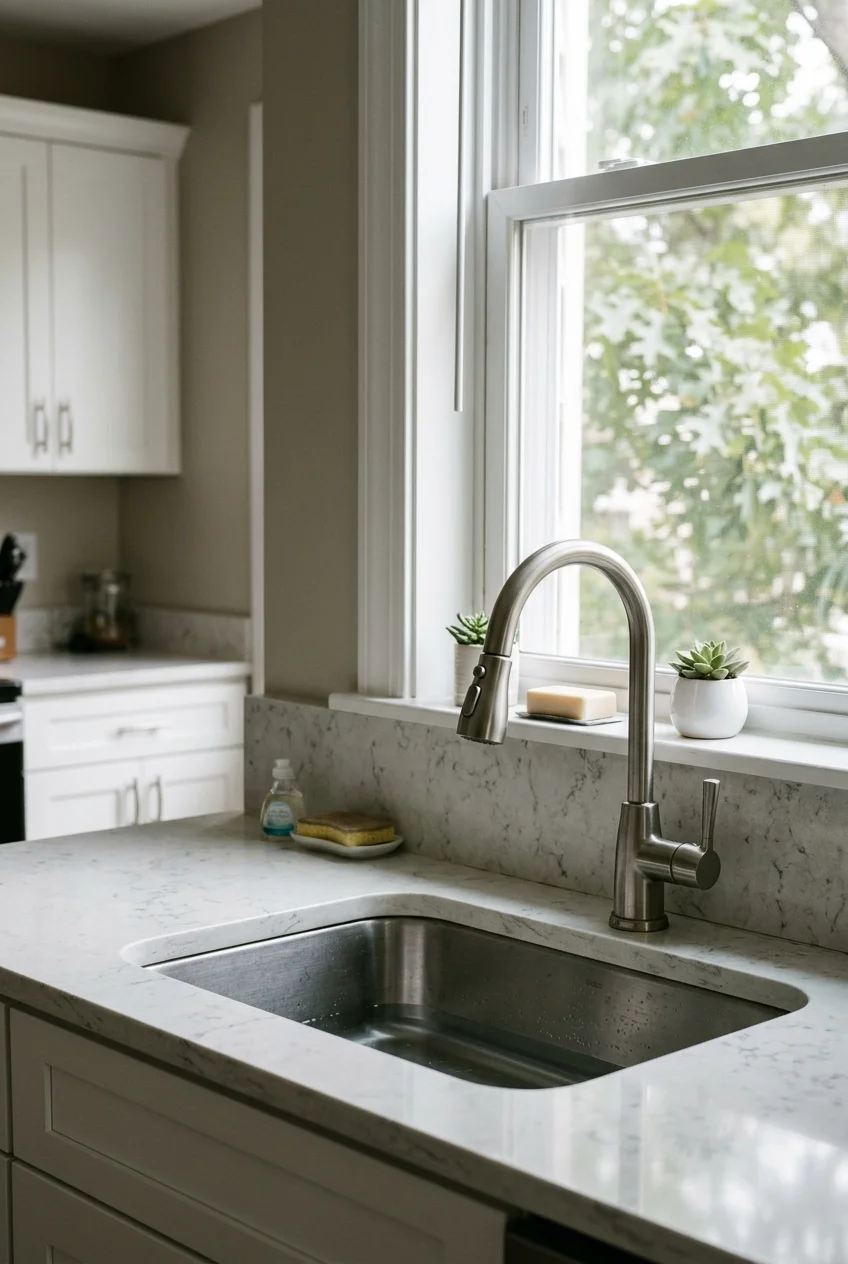
A pull-down faucet can make rinsing easier in a small basin. Check the spout reach and overall height against the window, backsplash, and wall cabinets behind the sink.
Check where the handle moves when fully open. Compare the required hole size and deck thickness with the existing sink or counter before assuming the faucet will fit.
Have the installer confirm that the hose can travel freely beneath the sink. If the faucet would block the window latch, look for a shorter model.
40. Put a Leak Sensor Below the Sink
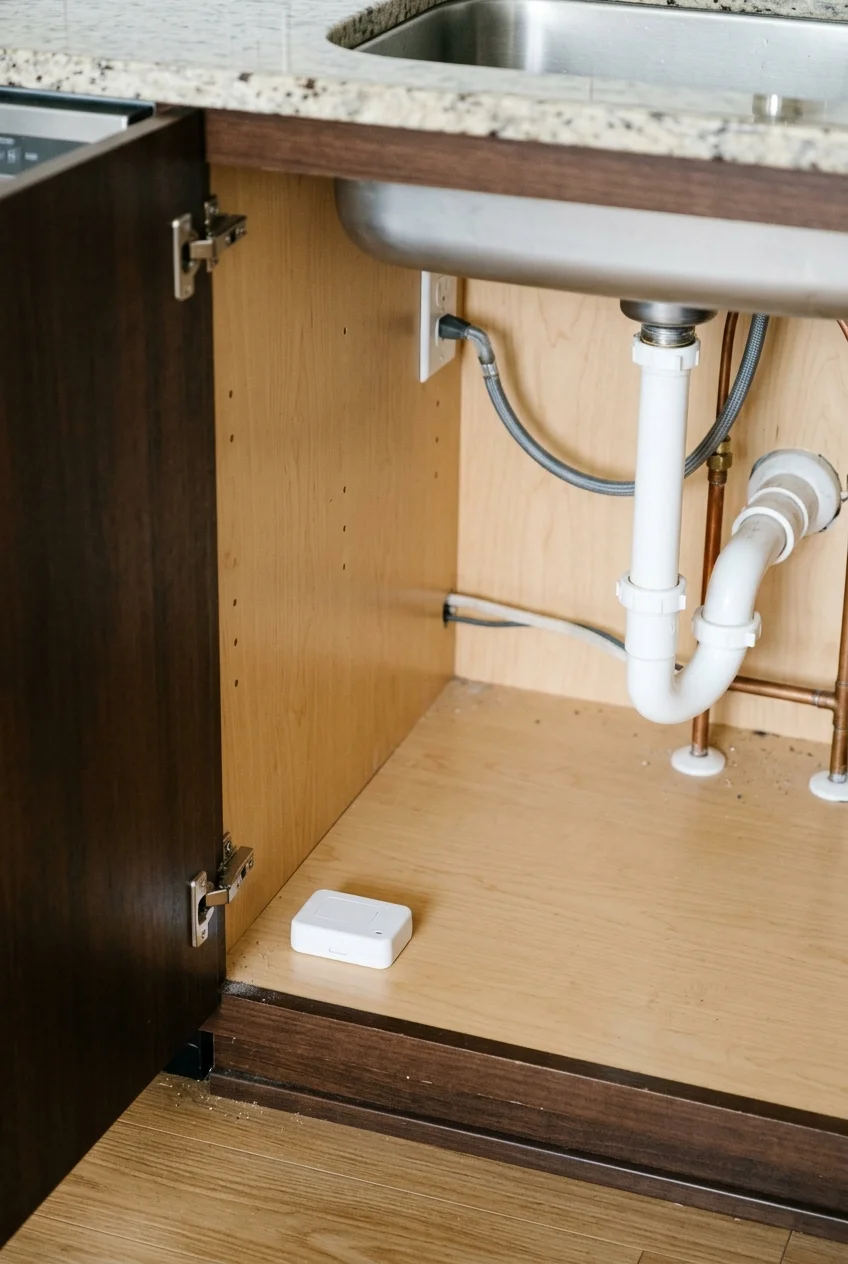
A small leak alarm can flag water beneath the sink where a slow drip is easy to miss. Choose one with a notification method you’ll actually notice.
Follow the sensor maker’s directions and test it after placement. Keep supplies clear of the sensor and leave the shutoffs visible and reachable when the cabinet is open.
Better Light and a Cleaner Finish
Look at the kitchen with the rest of the condo in view. The fixtures and finishes that work up close should also feel comfortable from the sofa.
41. Light the Prep Surface From Under the Uppers
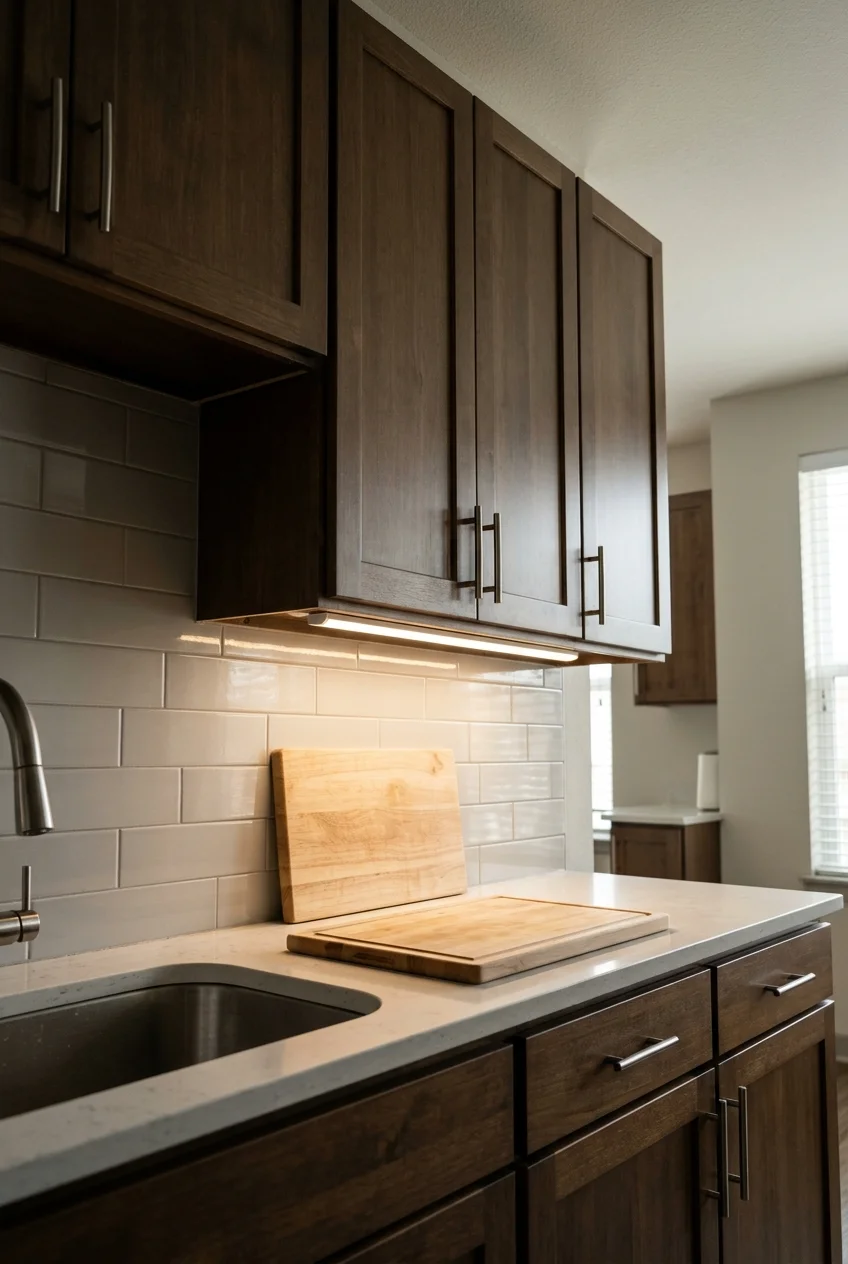
A slim light under the cabinet puts light on the cutting board without relying on a ceiling fixture behind you. Test the position closer to the cabinet front.
Look for an even beam with a glare shield or diffuser. Check it from the dining side, especially if the cabinet underside is visible from a seat.
Choose a system appropriate for the location and follow the maker’s instructions. Have an electrician plan hardwired power, control, and driver access before the walls are closed.
42. Replace a Hanging Fixture With a Low-Profile Ceiling Light
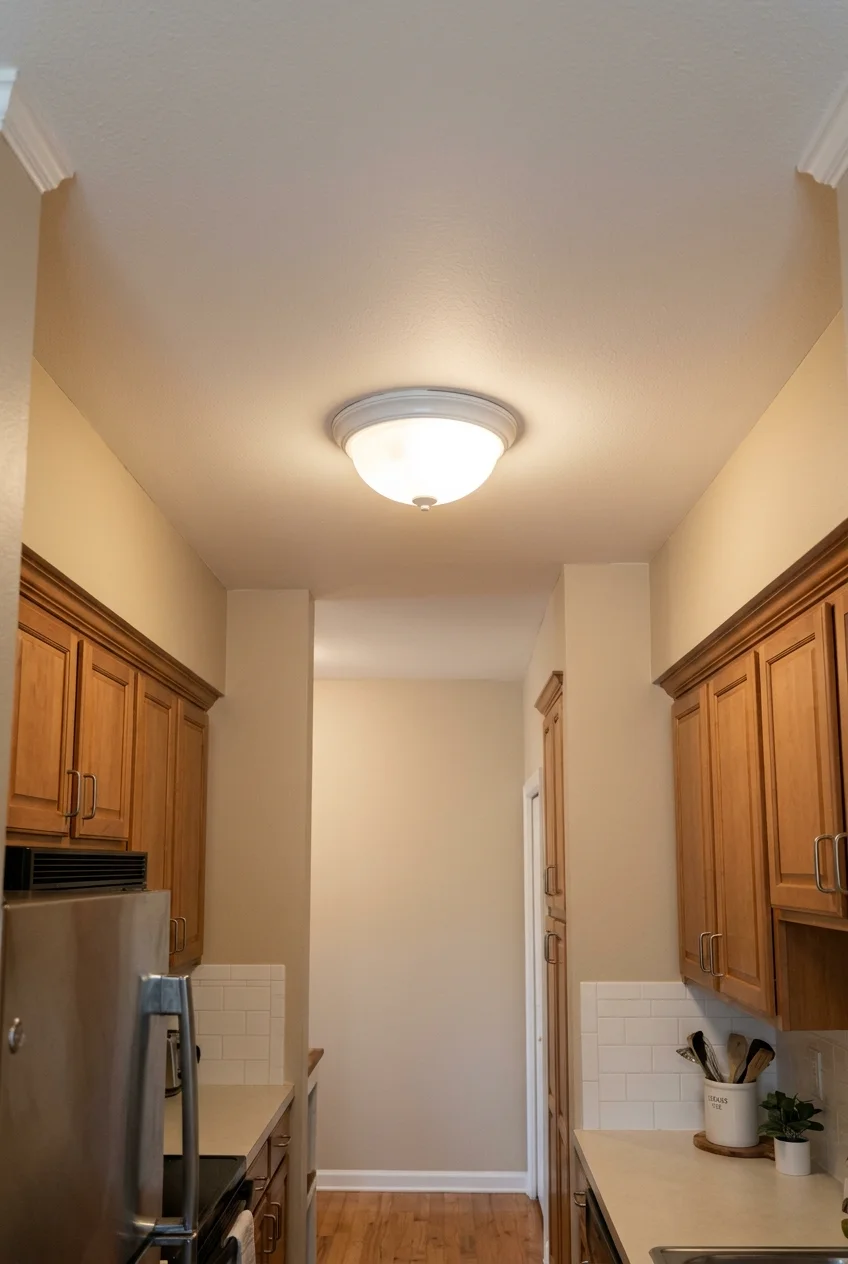
A low-profile ceiling fixture can keep a compact kitchen feeling open under a low ceiling. Choose a diffuser that spreads its light beyond the center of the floor.
Check the box location, fixture dimensions, and how much ceiling the old canopy covered. Include any visible paint repairs in your budget before you order the light.
Have the mounting and electrical requirements verified. If the corners are still dark afterward, focus extra lighting on the work surfaces where you need it.
43. Aim a Short Track at Unevenly Lit Work Areas
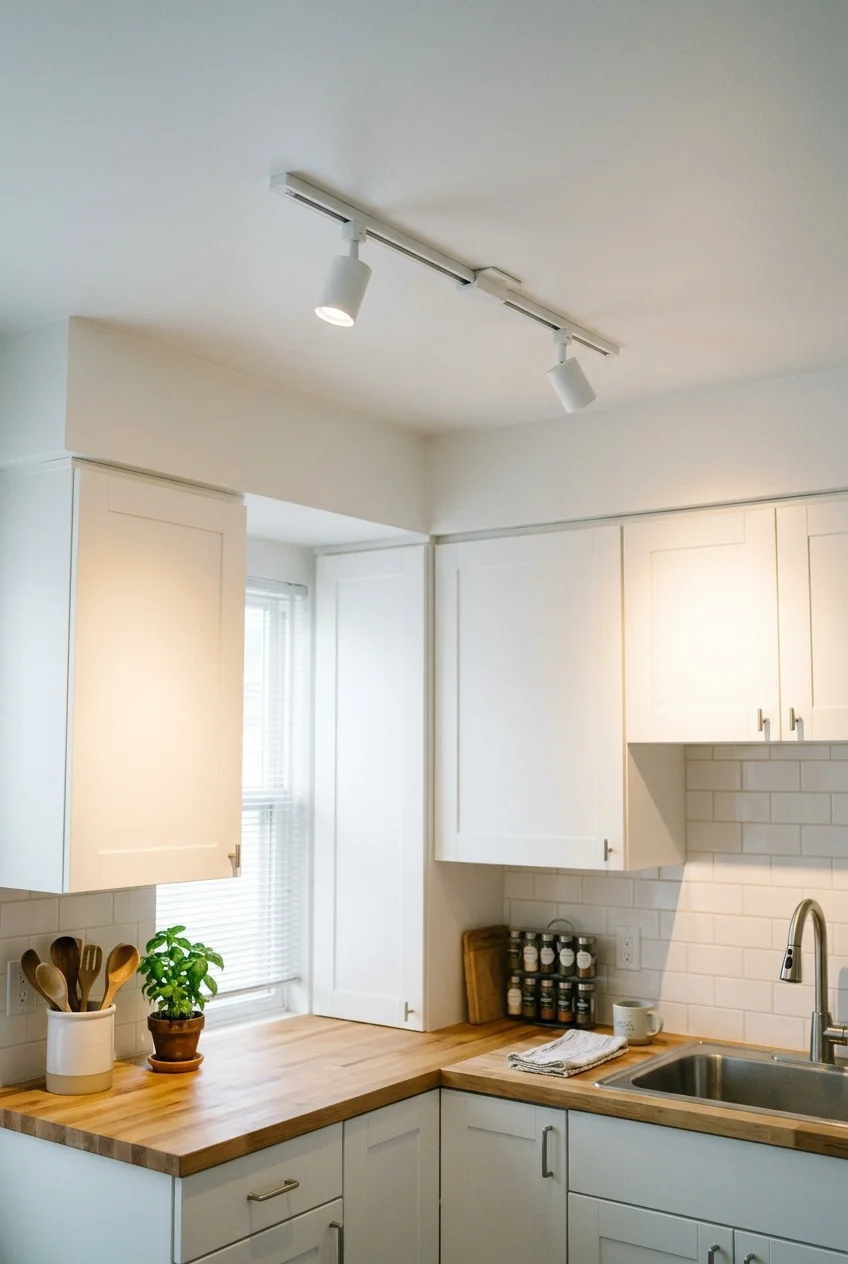
A short track can help when a single ceiling connection leaves separate counter areas in shadow. Aim one light at prep and another at the cleanup zone.
Check the track’s mounting requirements and the heads’ range of movement. From dining or the hall, make sure you can’t see a bright lamp pointed toward you.
If the ceiling will not take the track you want, use a compatible adjustable surface fixture or separate counter lights where the work happens most often.
44. Hang One Small Pendant Over a Fixed Counter
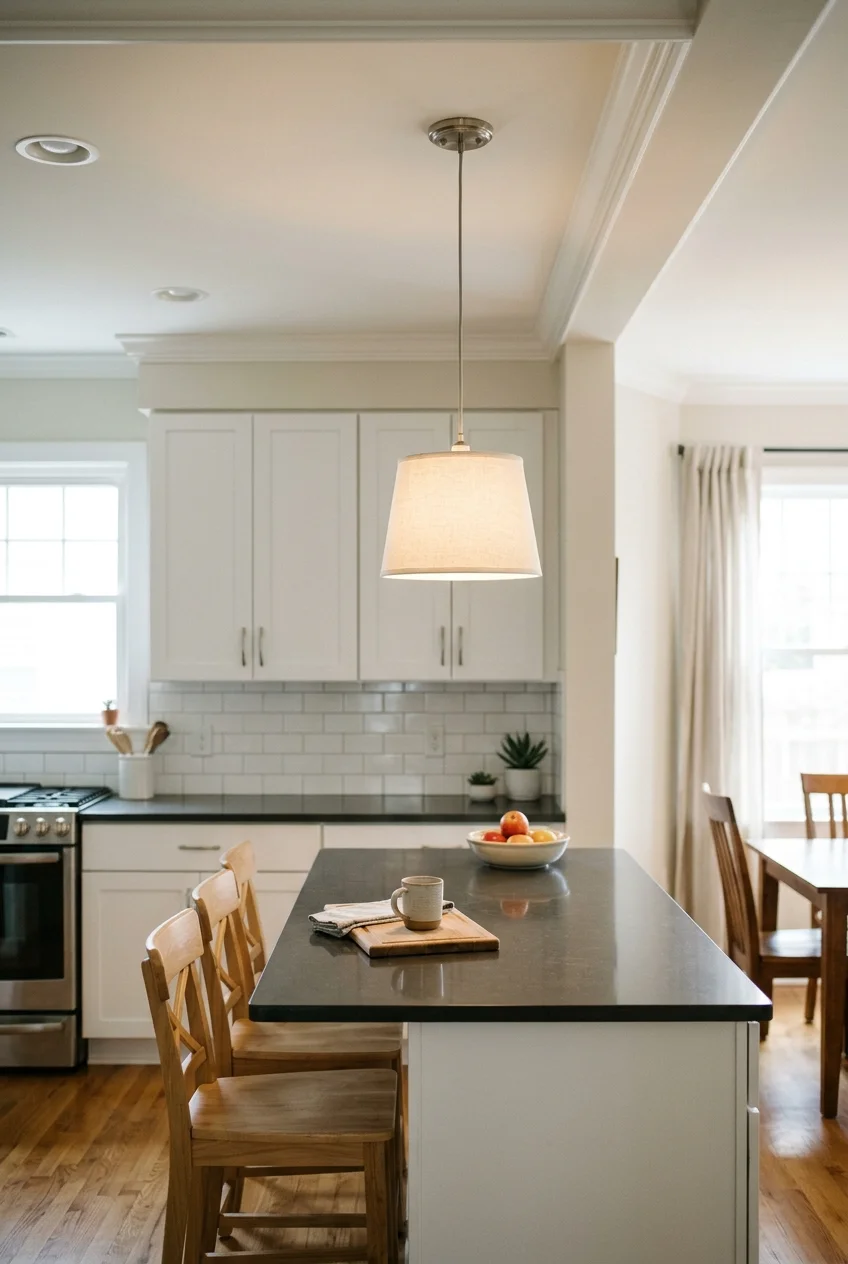
One pendant can mark the dining edge of a peninsula without filling the kitchen’s sightline. Center it over the usable counter plane and keep it out of circulation.
Hang a paper mock-up and look at it while seated and standing. Check that the shade leaves enough clearance for serving and that the bulb isn’t glaring.
Confirm the ceiling box location and mounting requirements with an electrician. If the fixture lands above the walking lane, keep the light on the ceiling instead.
45. Give Task Lights Their Own Control
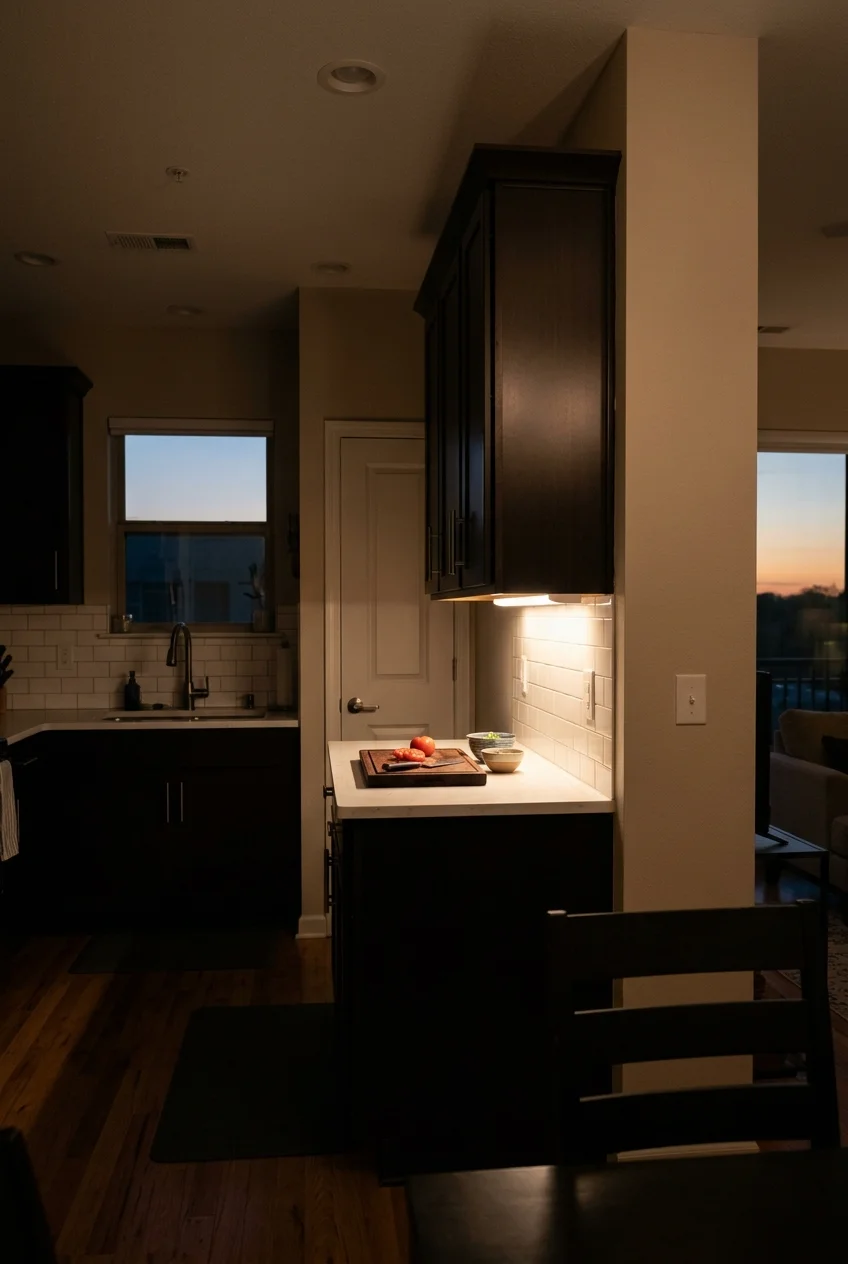
Put the counter lights on a separate control if you work in the kitchen after the rest of the condo has switched to softer evening light.
Decide which fixtures should operate together and test the controls from the usual entrance. For dimming, verify compatibility among the light source, driver, and dimmer before buying.
46. Refresh the Exposed Walls Before Replacing Cabinets
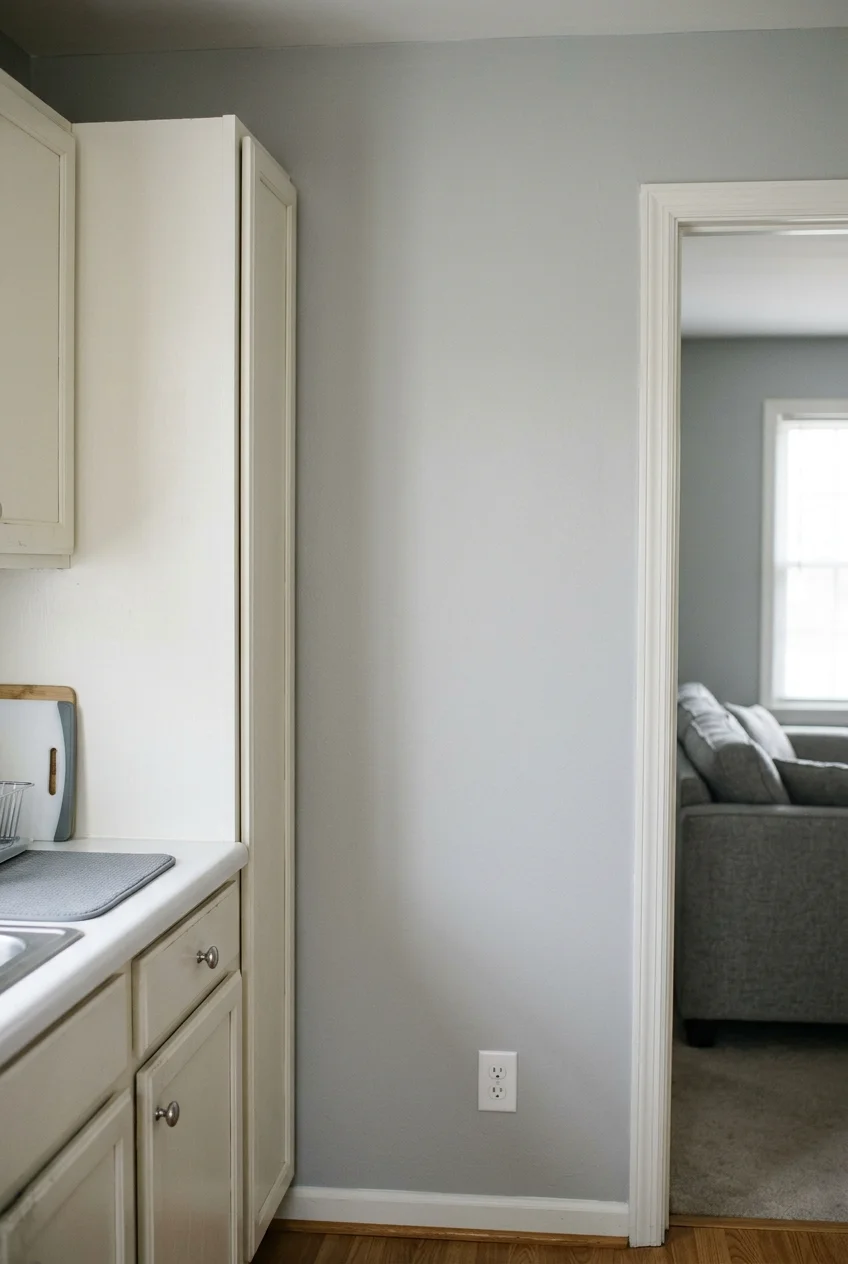
If the cabinets still work, a washable coat on the exposed walls may be enough to freshen the room. Test a sample beside the backsplash and counter.
Look at the sample from the adjoining room as well as from inside the kitchen. Clean and prepare the surface as directed, especially where cooking residue collects.
47. Finish the Cabinet End That Faces the Living Room
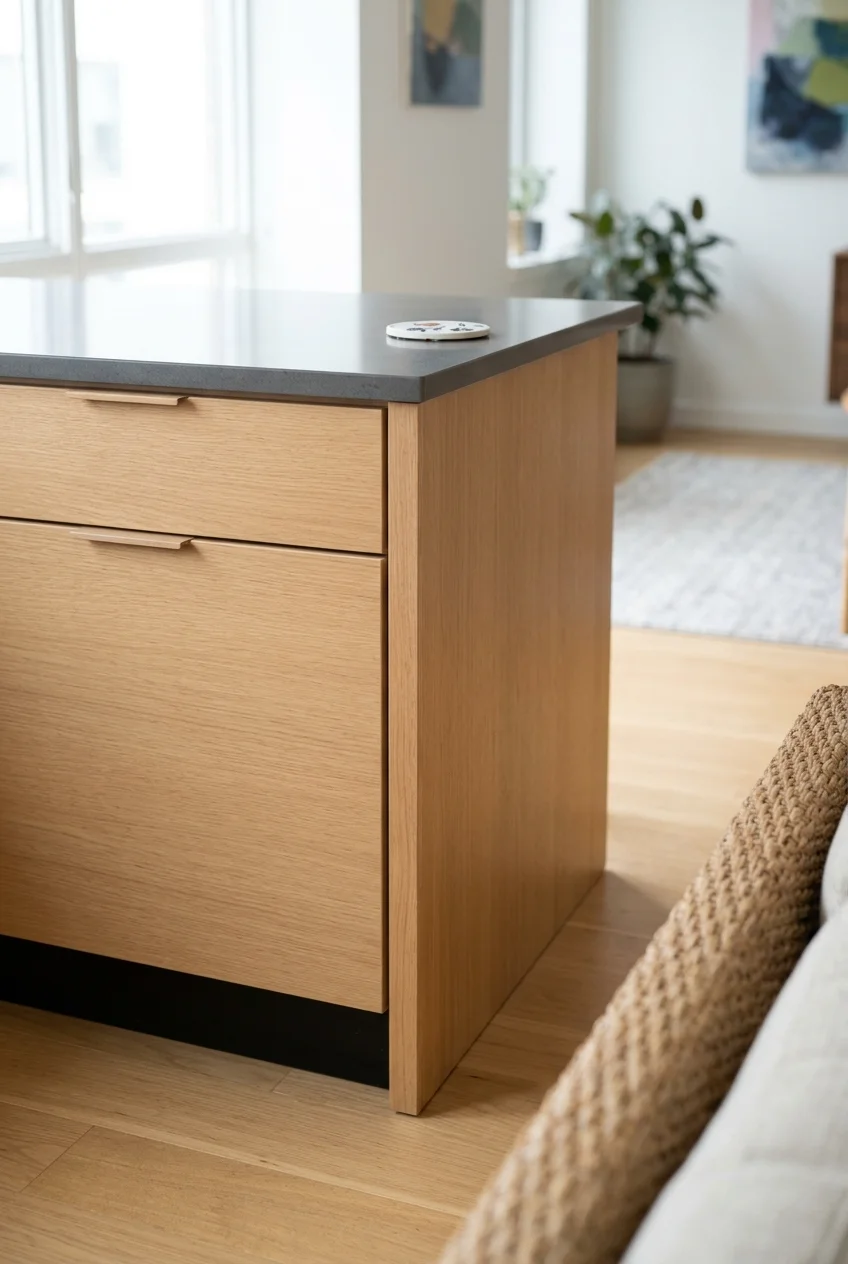
A fitted end panel can make the outside of a cabinet run look complete from the living area. Use it to cover an unfinished side or exposed fasteners.
Check panel thickness against the counter overhang and nearby door swings. Plan how the panel ends at the toe kick so the transition looks deliberate from across the room.
48. Use a Fitted Shade That Clears the Faucet
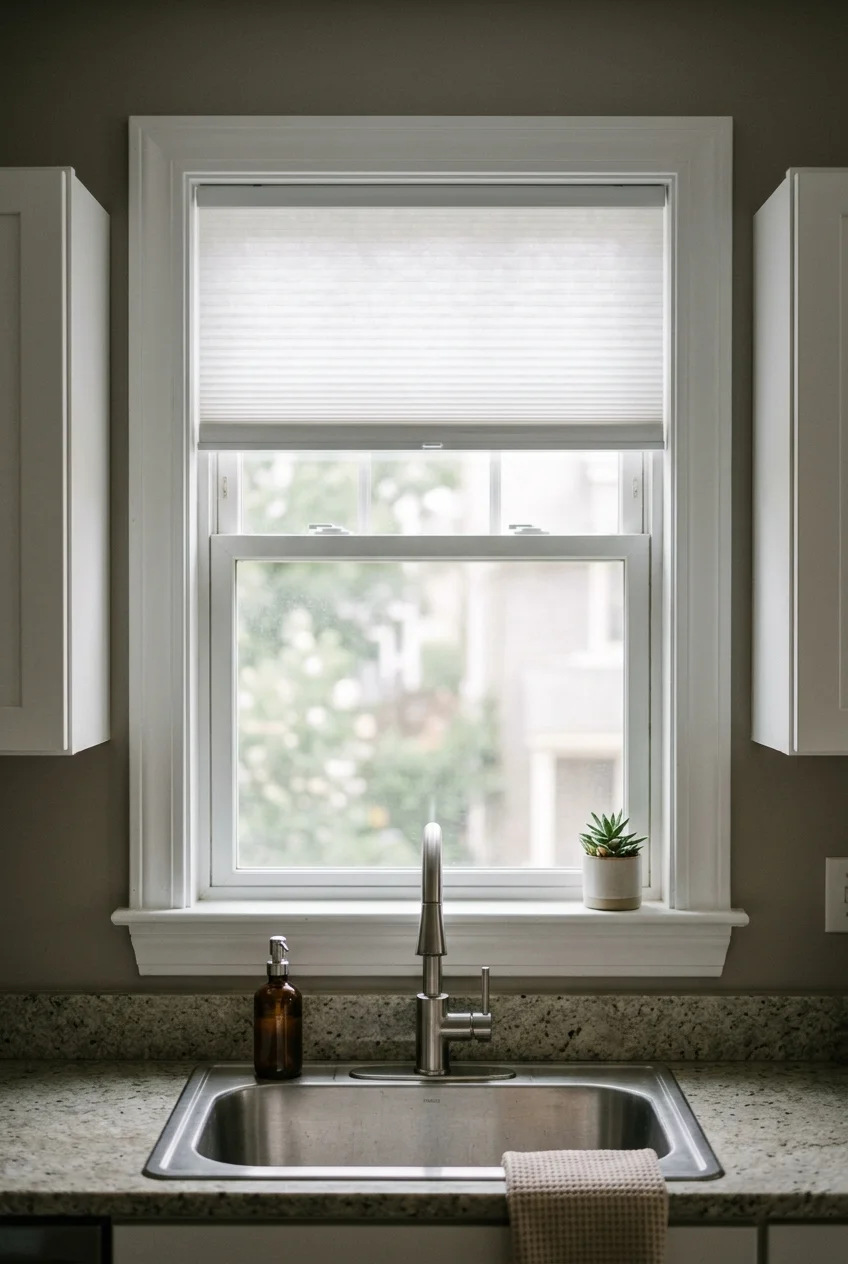
A fitted shade can soften glare at a kitchen window while preserving daylight for prep. Where the sink sits below it, choose a washable design that clears splashes.
Measure the window depth and note where the sash, handle, and faucet move. Consider a cordless shade with a lower edge you can reach without leaning awkwardly.
Finishing Touches for Cooking, Cleanup, and Eating In
Think through one ordinary meal from groceries to dishes. The tools and surfaces you reach for in that sequence deserve the easiest spots in a compact kitchen.
49. Build In a Pull-Out Work Surface
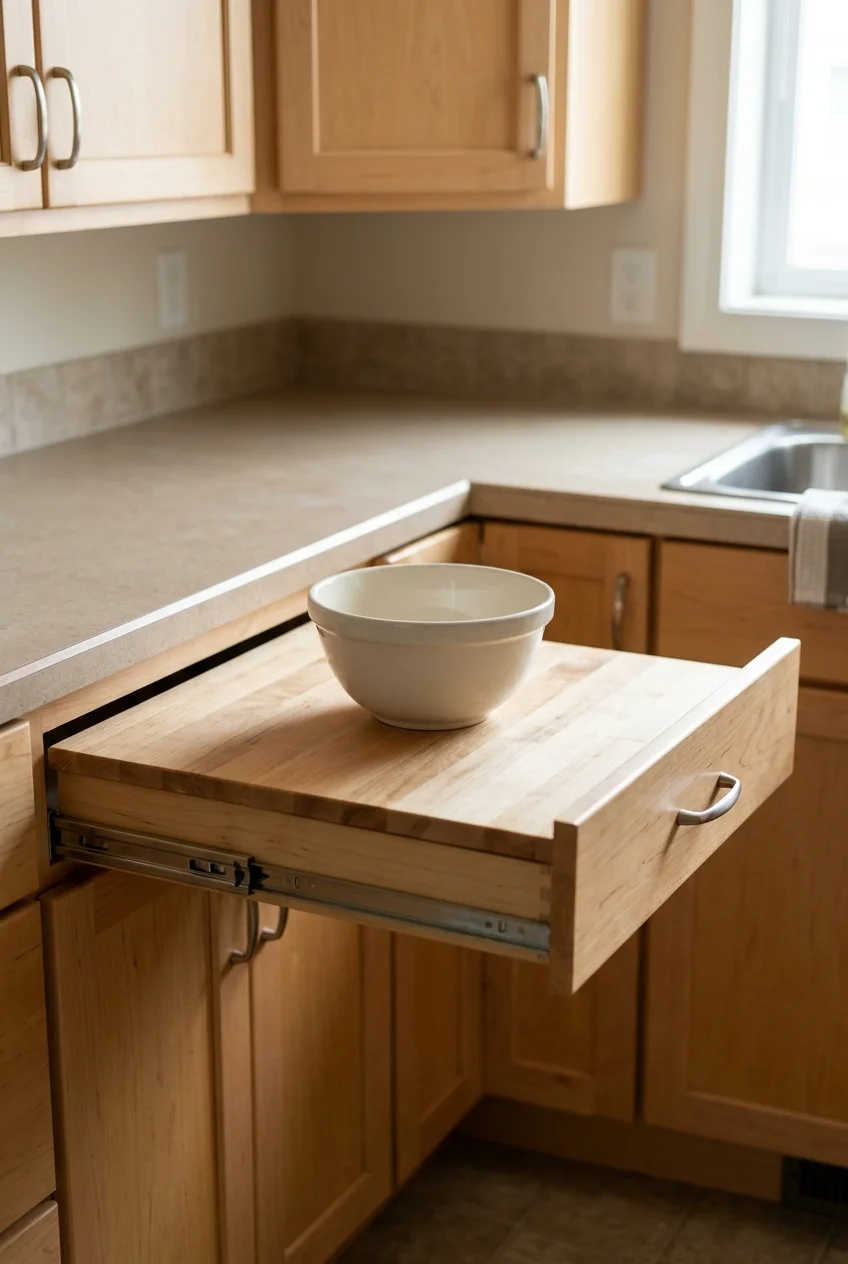
A cabinet-mounted pull-out worktop can provide short bursts of prep space where a cart won’t park. Choose a unit designed to support work at its full extension.
Check the model’s opening width, weight rating, and clearance in front. Put it where you can stand beside it without blocking a doorway or the only exit.
Allow for the surface thickness and mounting hardware in the cabinet plan. If the aisle is too narrow even temporarily, keep the existing counter clear and skip the extension.
50. Keep Pot Lids Upright Inside Their Own Cabinet
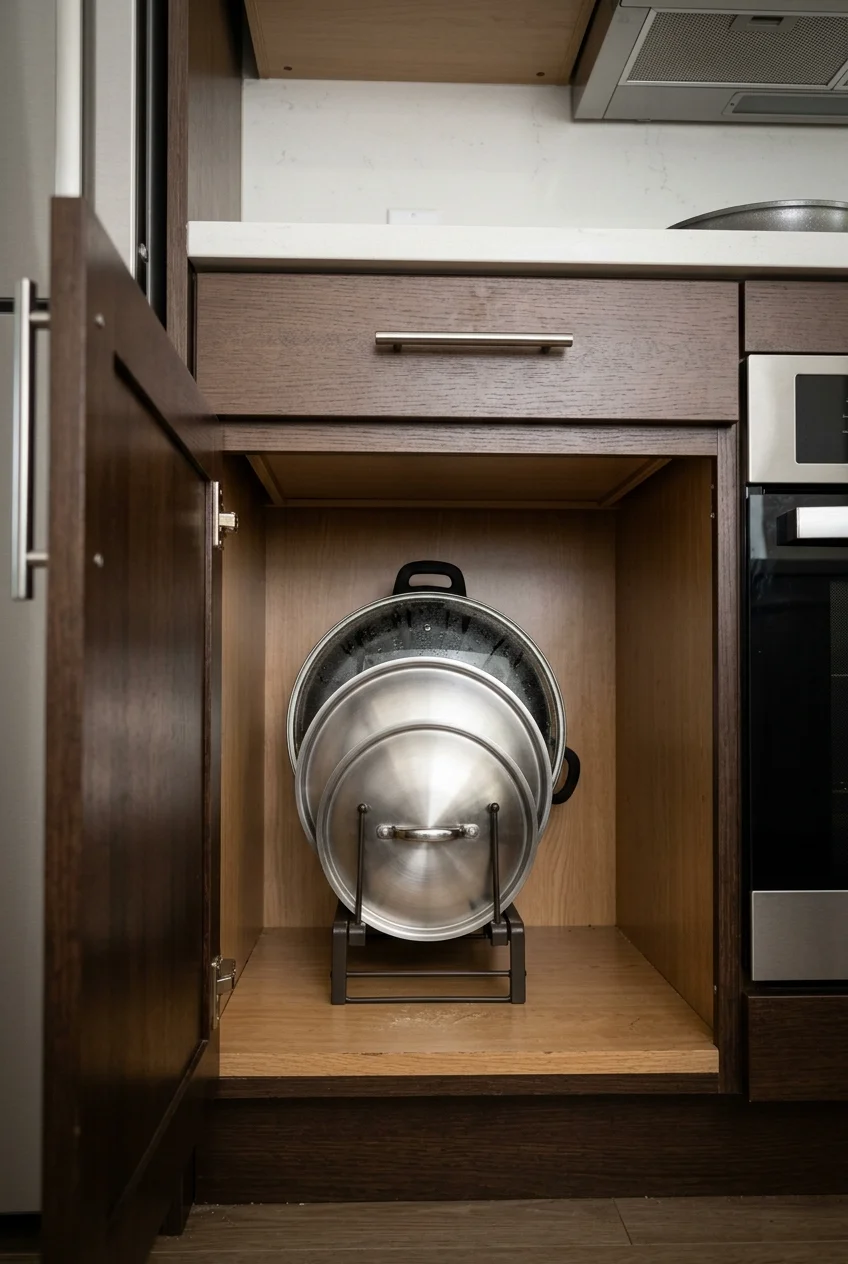
An upright lid rack lets you grab the right lid without lifting a stack of pans. Put it on a shelf near the range where there’s clear height.
The YouCopia StoreMore cookware rack has adjustable dividers. Check the cabinet’s inside dimensions with your largest lid standing up, and open the door fully to test access.
51. Use a Folding Drying Rack to Reclaim Counter Space
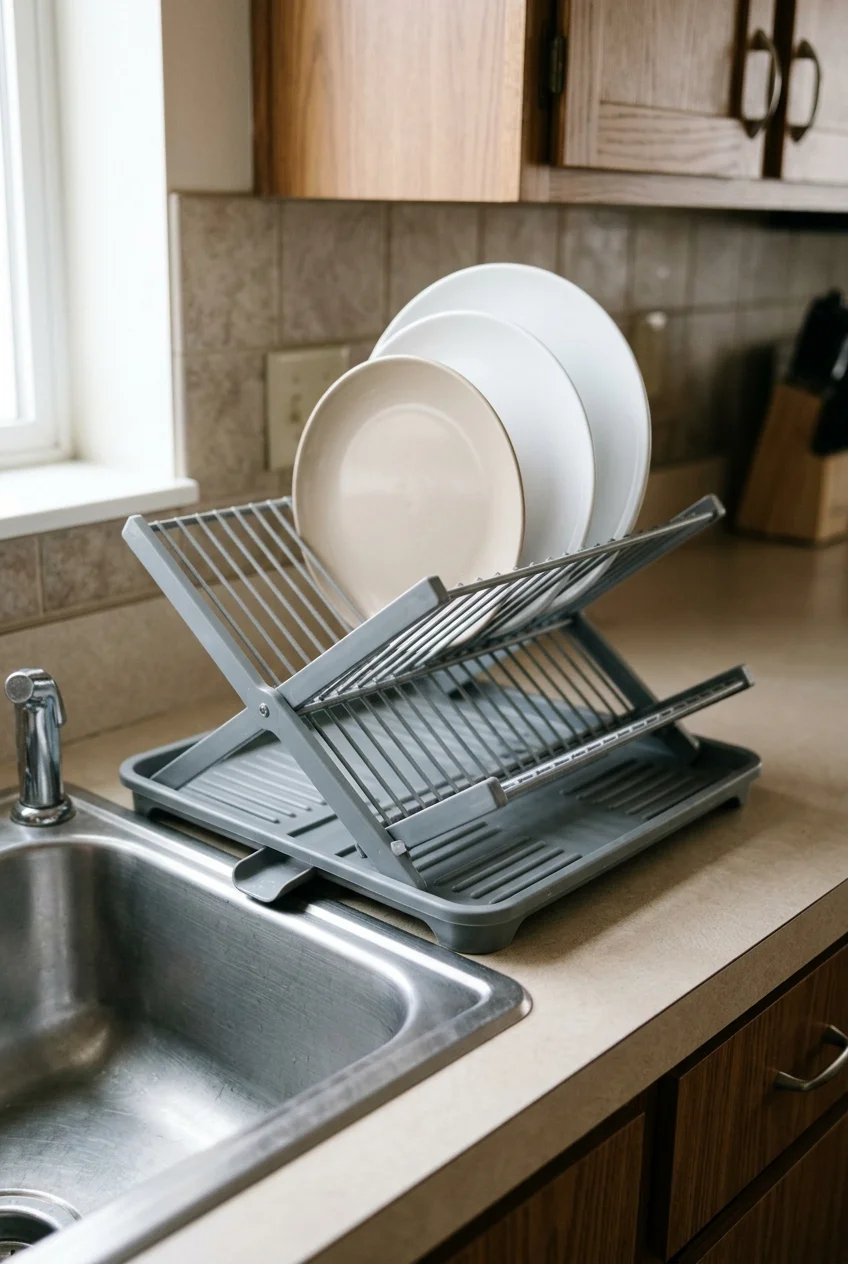
A folding rack can give hand-washed dishes a drying spot while keeping the counter available the rest of the day. Pick a storage slot near the sink.
The OXO compact drying rack folds flat after use. Check its footprint against your clear counter and leave room to handle hot dishes or set down groceries.
52. Put Trash and Recycling in a Pull-Out by Prep
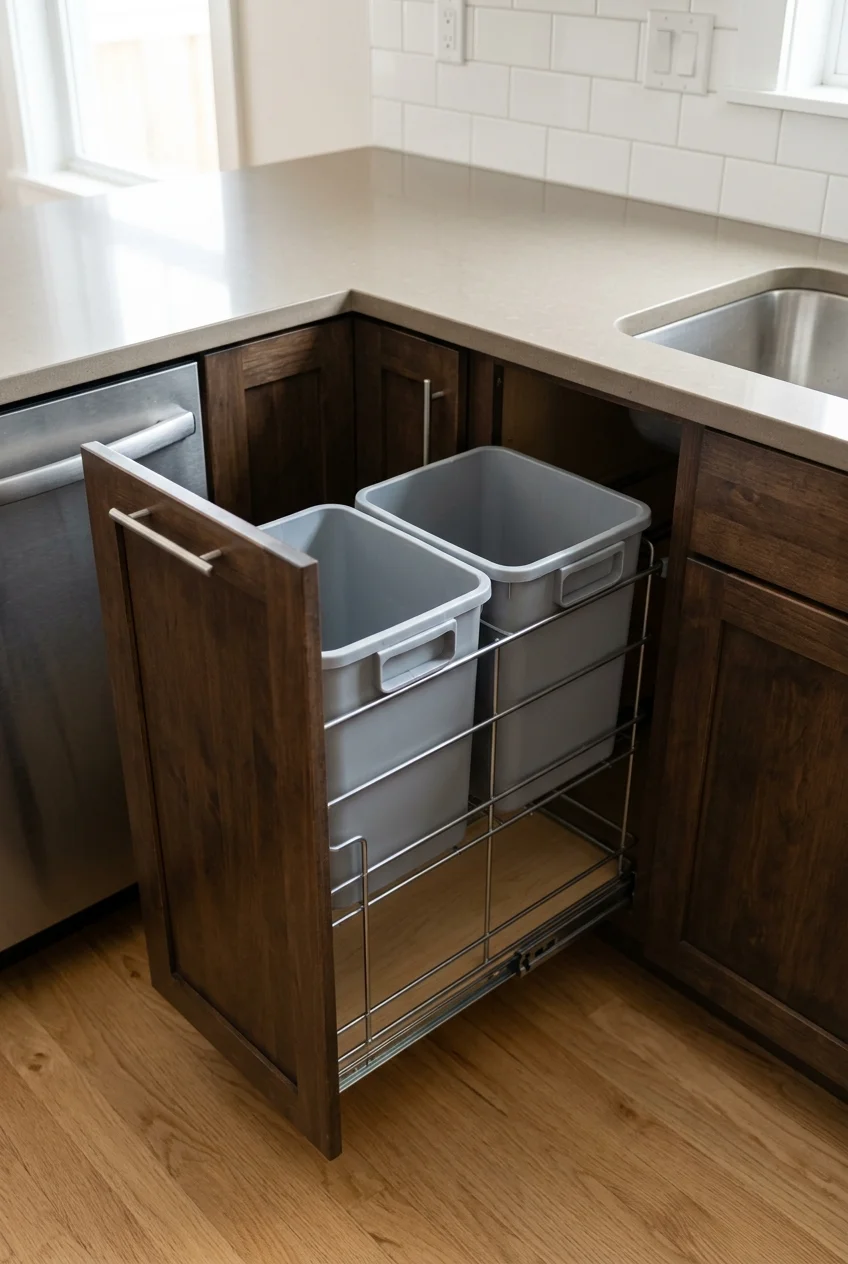
A pull-out bin cabinet beside prep keeps scraps easy to sweep away without a freestanding can in the aisle. Size each bin to the waste you generate.
Check whether the cabinet door attaches to the pull-out or opens separately. Make sure both bins can lift out for cleaning without hitting the counter lip.
Open the bins and nearby dishwasher on your plan. If they block each other, shift the bins to the prep side so peeling and cleanup can overlap.
53. Reserve One Shallow Drawer for Cleanup Textiles
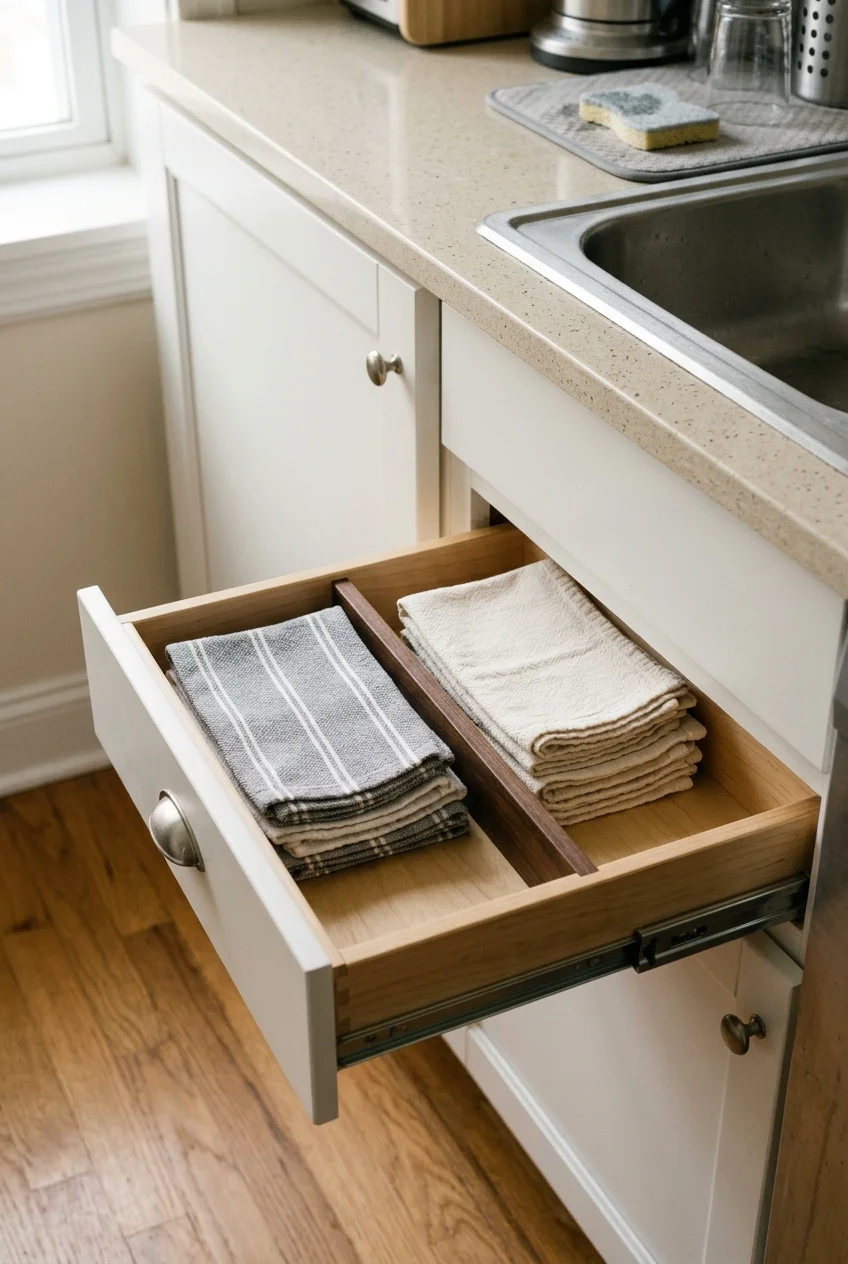
A shallow drawer beside the sink keeps spare dish towels within reach without hanging extras on appliance handles. Use a simple divider for dry cloths and towels.
Check the inside height and keep the drawer away from a dishwasher handle that crosses its path. Let damp items dry elsewhere before returning them to the drawer.
54. Put a Beverage Station Outside the Cooking Path
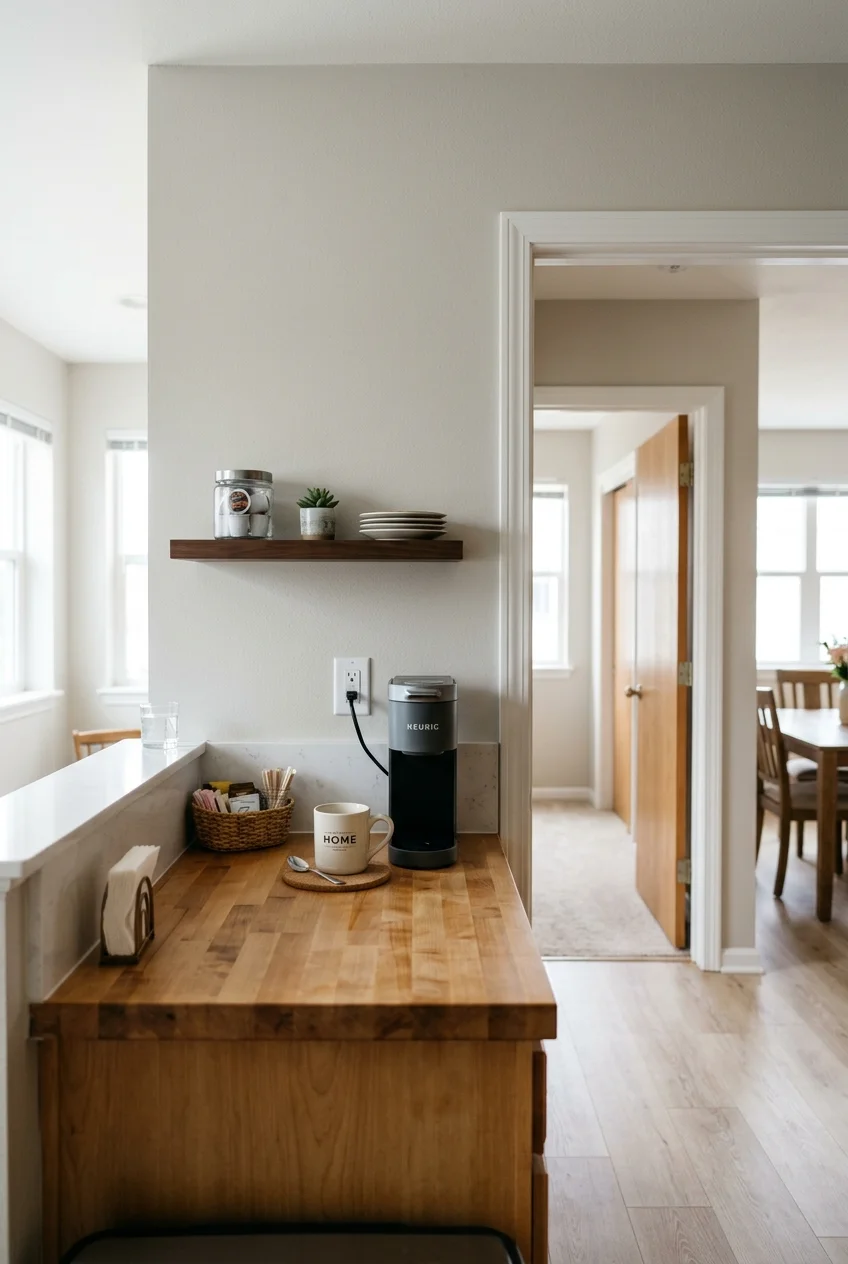
Move coffee or tea to a short counter at the kitchen’s quiet end. People can make a drink without standing between the refrigerator, prep counter, and range.
Check steam clearance and an appropriate nearby outlet before assigning a spot to a hot appliance. Keep the cord on the station side and allow space for refilling.
Use a drawer or cabinet directly below for supplies. If the setup would take your only long prep counter, keep the station in the dining area instead.
55. Hide Countertop Appliances Behind a Lift-Up Door
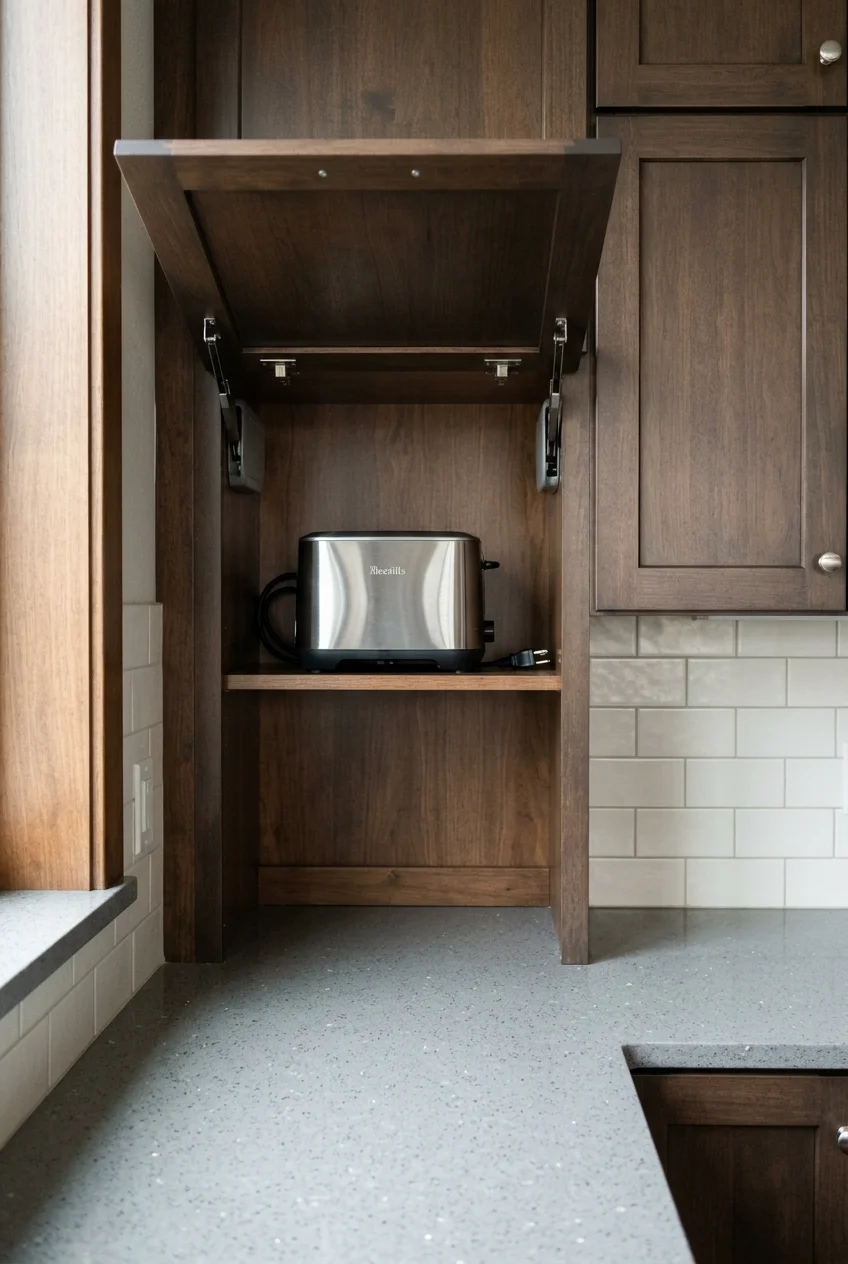
An appliance garage can keep small appliances within reach while hiding them from the living room. Choose an end bay where an open door leaves your prep counter free.
Test the hinge motion and check clearance above the door. Ask how the door stays open, where your fingers go, and what happens when the neighboring cabinet opens.
Treat it as storage unless the appliance and cabinet setup allow operation there. Pull hot or steaming equipment to a suitable open surface before use.
Compare the cost and counter space with a conventional cabinet below. A garage is most useful when it hides equipment you can comfortably lift, slide, and put away.
56. Reset Pantry Shelf Heights for What You Actually Store
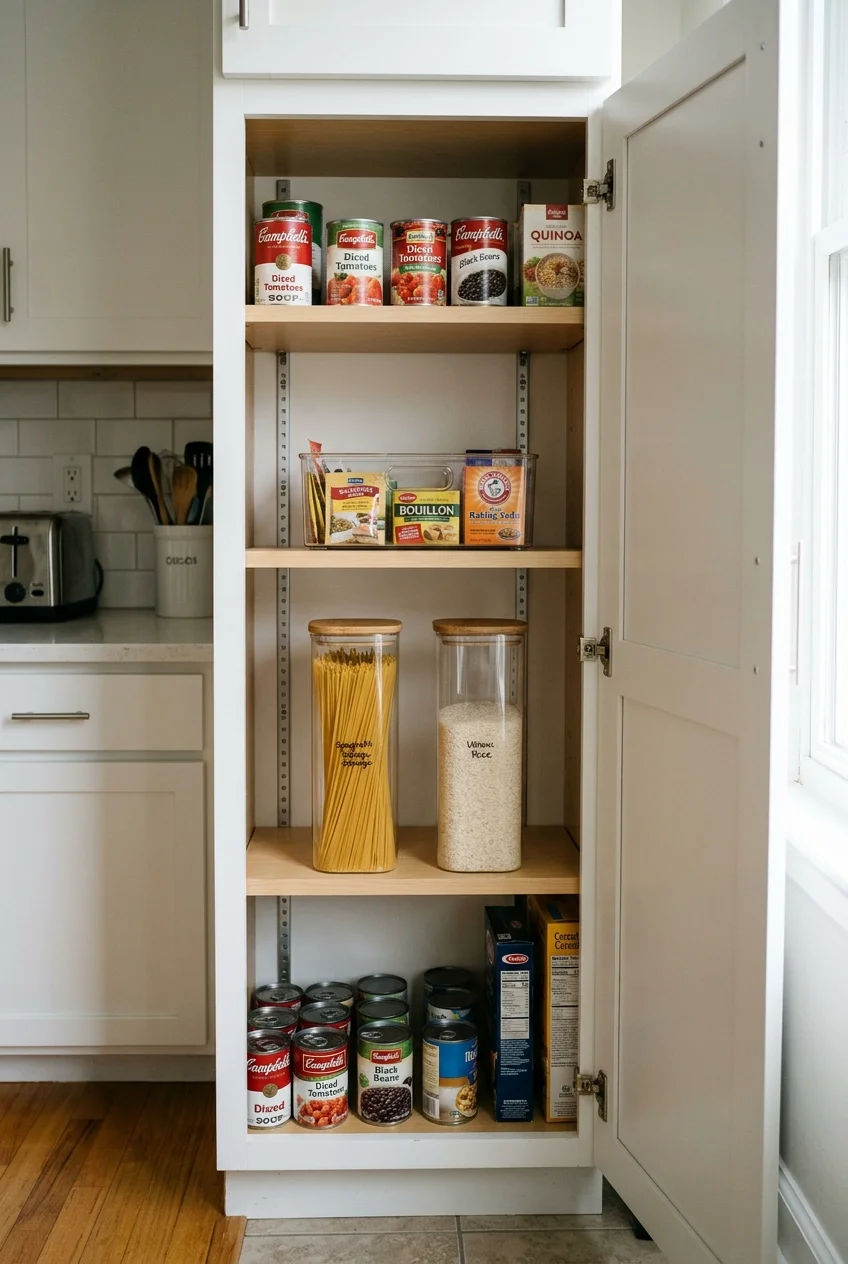
If fixed-looking shelf gaps waste room, check whether the shelves are adjustable. Set the lower ones for your actual grocery containers and leave room for your fingers.
Put heavier goods at a comfortable height and group lighter small items where they stay visible. Compare these pantry organization ideas after deciding where each shelf will sit.
57. Give Sharp Tools a Dedicated Drawer
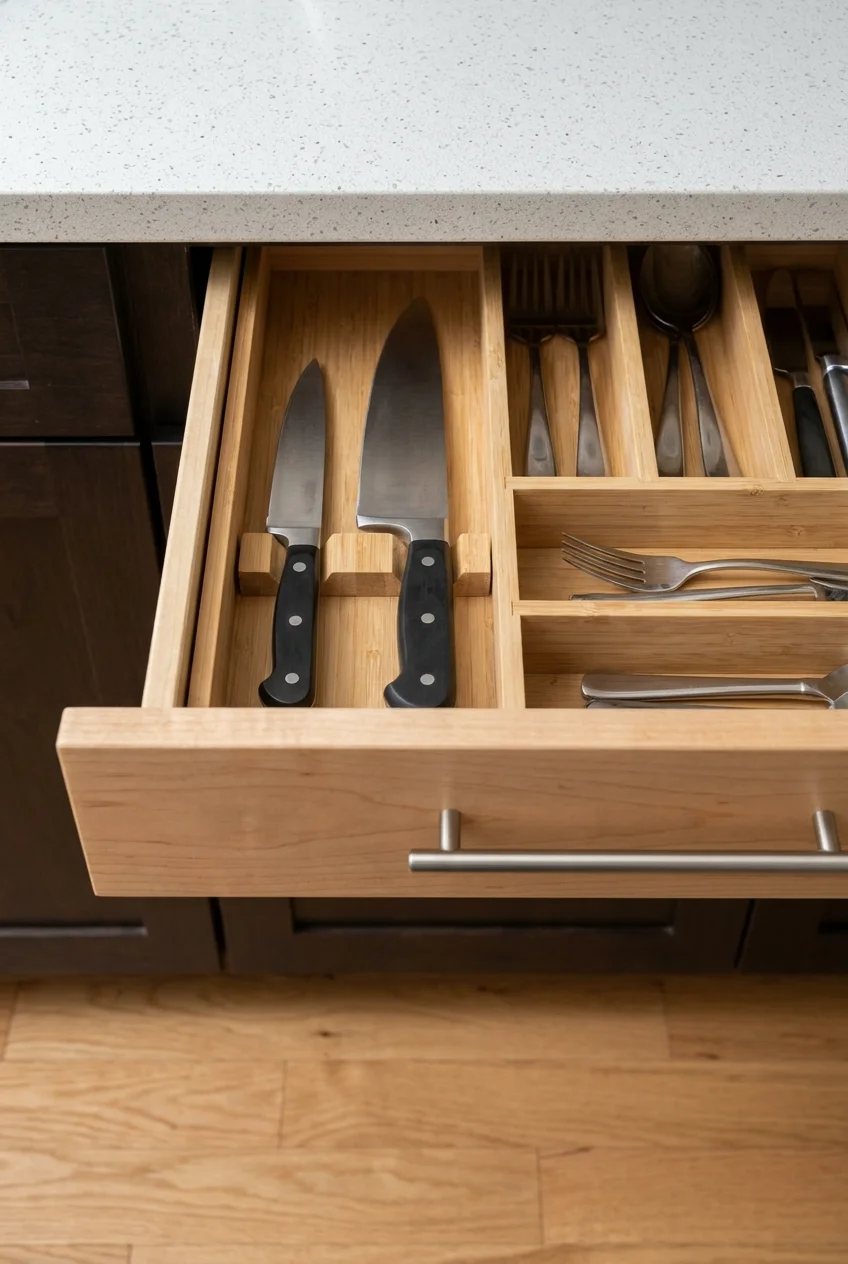
A fitted knife insert can keep blades from sliding in a shallow drawer. Choose a latch or lock appropriate to the household if children need to be kept out.
Check that the longest knife fits the insert and the drawer shuts without contact. Mount any hardware according to instructions, and test the latch with the drawer full.
58. Install a Fold-Down Eating Ledge on a Spare Wall
Image pending: No image is attached to this draft for idea 58 (image-58).
A wall-mounted drop-leaf table can provide a meal spot that folds away afterward. Use a blank wall beyond the work aisle, with a separate place for the chair.
Confirm the wall and mounting support, open and closed depth, and the manufacturer’s load limits. Test the setup with the seat pulled back before marking the fastener locations.
Choose an open position that doesn’t block an exit or service panel. If drilling is restricted, compare a freestanding gateleg table you can park in the living area.
59. Use a Bench to Keep a Dining Nook Out of the Way
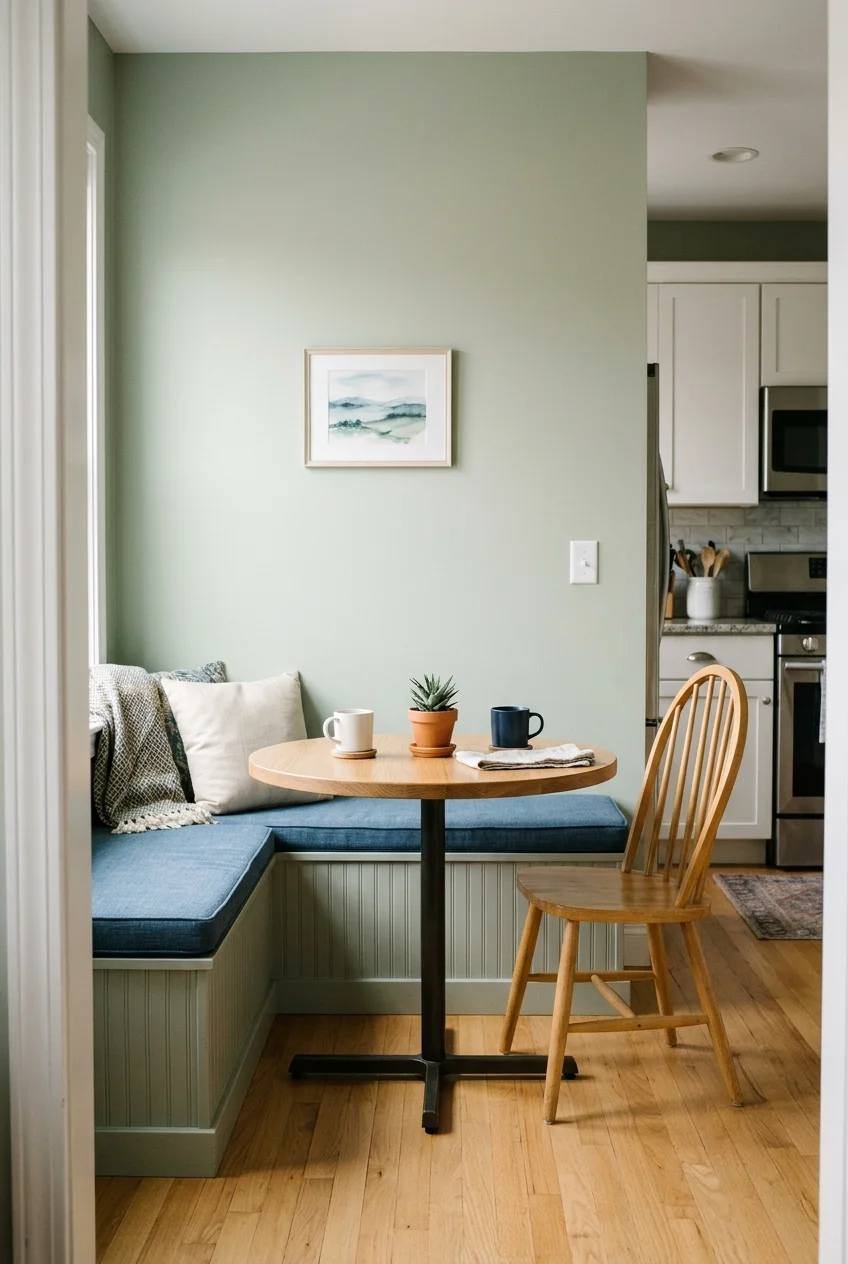
A bench against a blank wall can make a condo nook easier to walk past. A small pedestal table can leave more room to slide onto the seat.
Test the seat depth and table position with a temporary chair or box. Someone should be able to sit down without moving the table into the kitchen entrance.
If there’s a vent or access panel at the wall, use a movable bench or leave the wall free. Hold the main route open even with another seat occupied.
60. Set a Lower Prep Surface for Seated Use
Image pending: No image is attached to this draft for idea 60 (image-60).
A lower countertop section with clear knee space can support seated prep. Start with the person who will use it and confirm their preferred height and approach.
Mock it up with a suitable table. Test the distance to the counter edge, the room for knees and feet, and the path to ingredients and tools.
Ask a designer or cabinetmaker to work out support and edges without intruding into the usable space. Check reach to controls and avoid adding exposed plumbing underneath.
Plan the aisle and appliance doors around the approach, not only the counter height. Where the unit has accessibility requirements, have the final design checked against them.
Store frequently used tools nearby in the reach range you tested. If base cabinet storage was lost to make the opening, move infrequently used gear to another cabinet.
If several people share the counter, locate it away from the cooking zone and use a movable cutting board to bring work closer to the front.
Frequently Asked Questions
Does my condo association have to approve the kitchen renovation?
Ask management for the current alteration rules before booking work. Request the approval checklist, contractor insurance requirements, working hours, and the process for water shutoffs or deliveries.
Ask your local building department or a qualified design professional which permits apply to the scope. Confirm both the permit process and the building’s review before demolition.
Can I renovate without moving the sink or range?
Start with cabinets, lighting, and the stretches of counter around the existing connections. A layout can work much better after storage and landing areas are placed more deliberately.
Before keeping or replacing fixtures, have the installer verify the existing connections and exact replacement requirements. Keeping the same location can still require changes to fit new equipment.
What should I measure before buying appliances?
Measure the finished opening and check the manufacturer’s installation drawing for ventilation, connections, and door clearance. Include handles, trim, and any floor finish that will be added.
Measure the elevator doorway, hall turns, and your own entrance with the delivery team. Ask management about reservations, protection requirements, and the time allowed for the delivery.
Where should I start if I can only do part of the renovation?
Fix the most frequent problem first. If the counters are usable but dark, price lighting before replacing surfaces. If appliances clash, work on the measured plan first.
When requesting quotes, separate essential work from finishes and optional storage. Ask contractors to include building fees, required protection, disposal, and delivery so the scopes are comparable.
What can I change if I rent my condo?
Start with movable storage, a fold-flat drying rack, or a prep cart. If the kitchen feels crowded, move the dining setup beyond the work aisle.
Check with your landlord before painting, drilling, or installing new fixtures. Ask them to confirm any condo association rules that apply to the work or delivery.