30 Genius Entryway Storage Ideas You’ll Copy
This post may contain affiliate links: full affiliate disclosure.
Your entryway is the hardest-working space in your home, constantly battling a tidal wave of shoes, coats, and keys.
Ready to ditch the daily trip hazard?
We’ve got 30 brilliant entryway storage ideas to help you wrangle the mess, whether you have a grand foyer or a tiny apartment hallway!
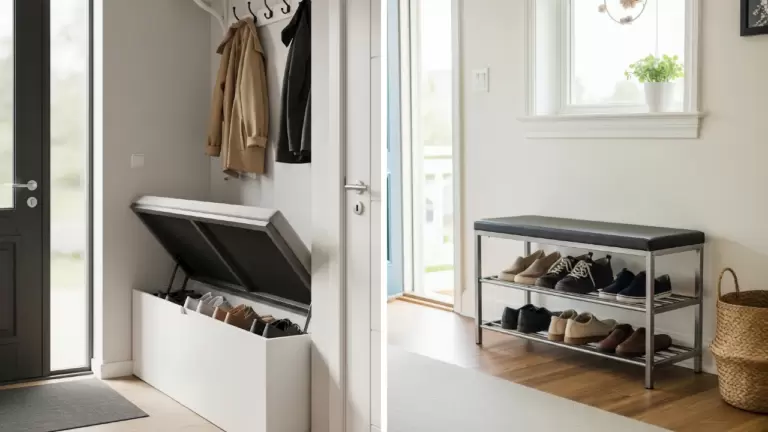
1. Storage Bench with Lid / Hidden Compartment
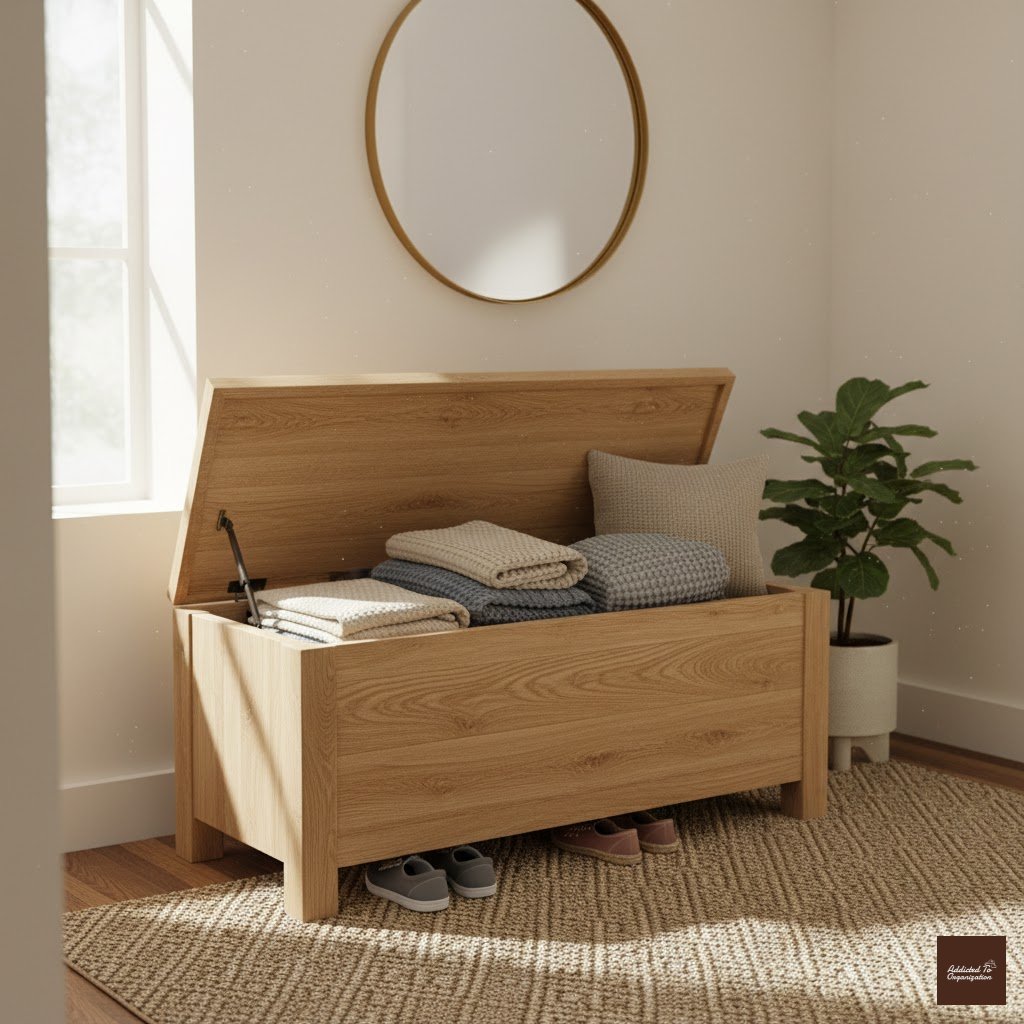
This is the superhero of entryway furniture. It looks like a cozy place to sit down and tie your shoes, but lift the lid and BAM! Instant, concealed storage for bulky seasonal gear, bags, or those shoes you swear you’ll wear again.
How-To (DIY):
Purchase an affordable wooden bench kit (or build a simple box frame). Instead of attaching the seat permanently, hinge it to the back frame using heavy-duty hinges. Add a soft-close support arm to prevent the lid from slamming shut—your fingers will thank you.
2. Bench with Open Cubby Shelves
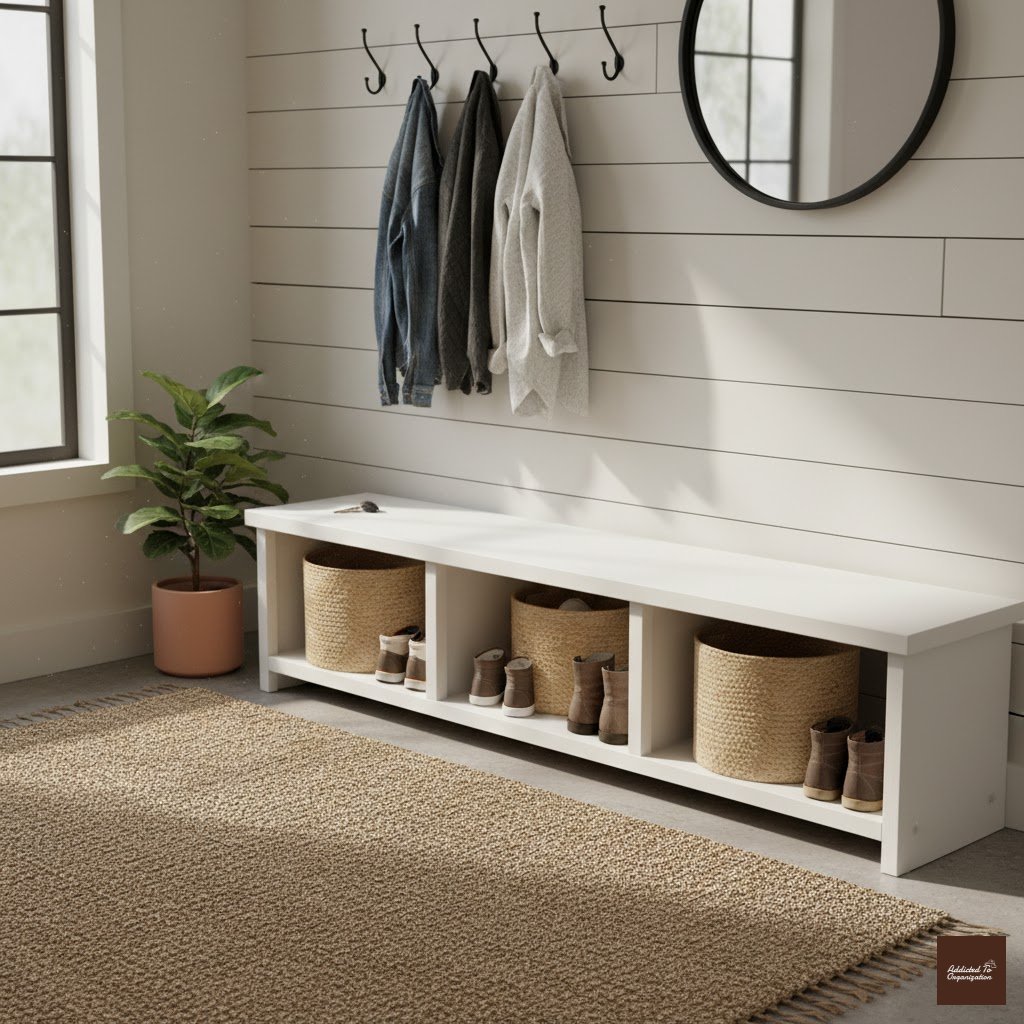
A bench whose base is made up of open shelves or fitted baskets. The best part? Each family member can get their own cubby! This makes cleanup a simple assignment: “Put your stuff in your square.”
How-To (DIY):
Get an inexpensive cube storage shelf (like a 2×2 or 2×3 unit). Lay it on its side, secure it to the wall for safety, and add a cushion made from foam and fabric on top. Finish by adding wicker baskets or canvas bins inside the cubes.
3. Shoe Rack / Shoe Shelves
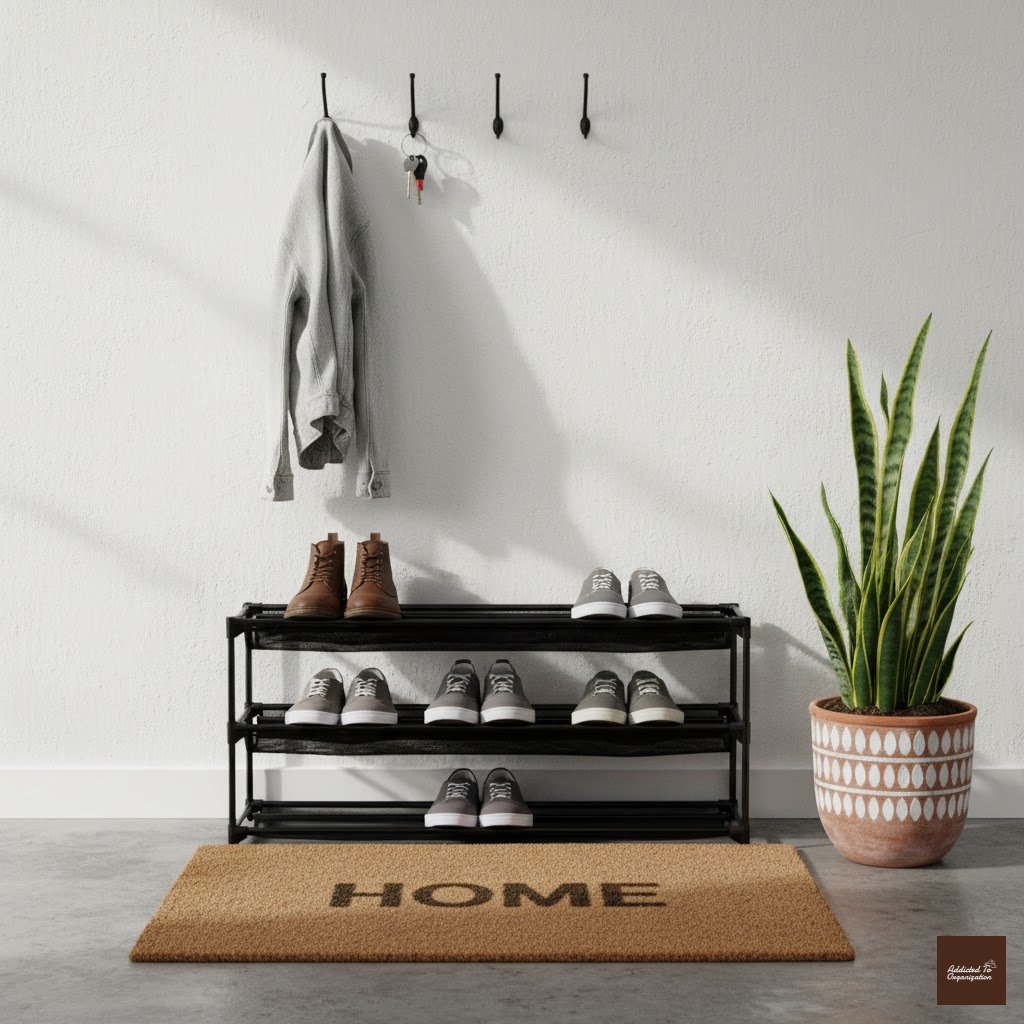
The dedicated low shelving for shoes. Simple, effective, and crucial for keeping the main floor clear. Go for tiered options if you have vertical space but a small footprint.
How-To (DIY):
Cut two long side pieces of wood and several shorter shelf pieces. Cut grooves into the side pieces and slide the shelves in, securing them with wood glue and screws. Keep the shelves slightly slanted toward the back for better stability and shoe visibility.
4. Slim Vertical Shoe Cabinet
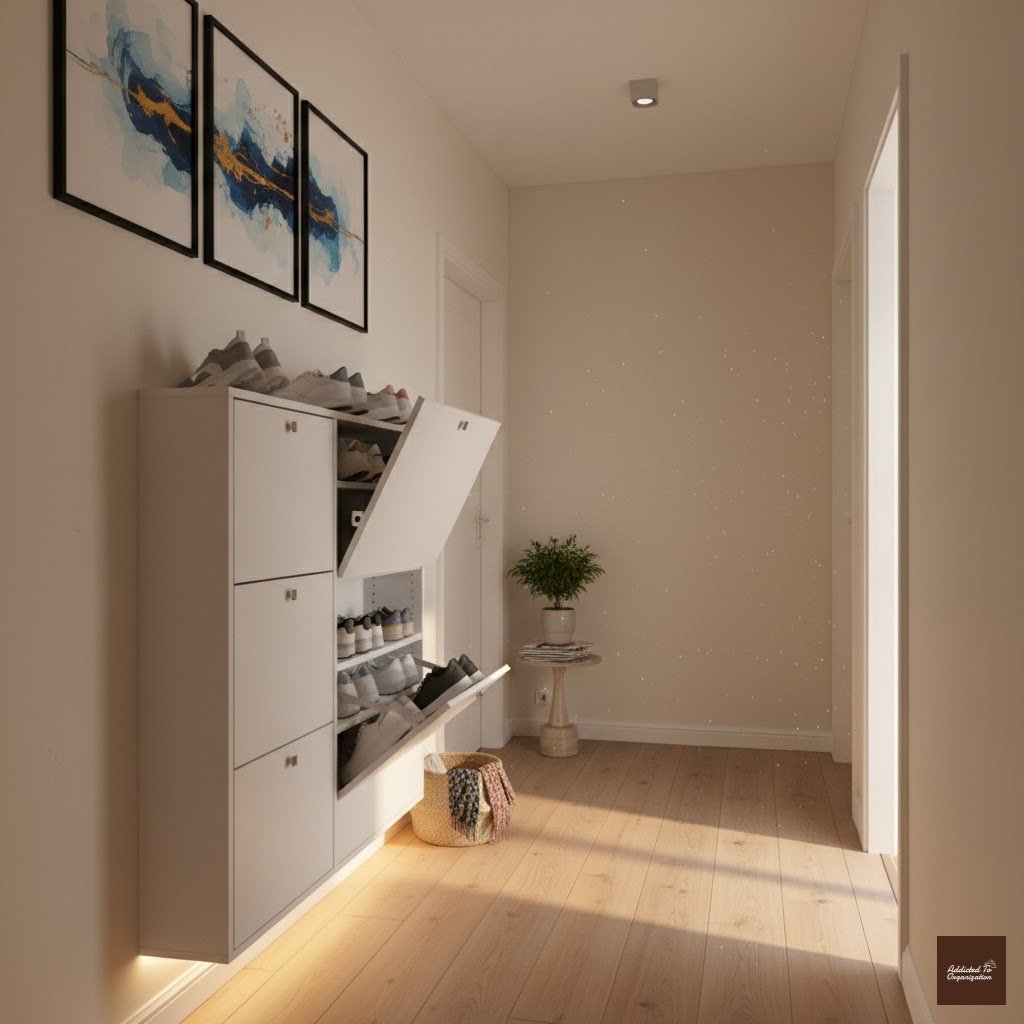
If your hallway is narrow, this is your champion. This tall, narrow cabinet typically uses pull-down or flip-down doors to store shoes vertically, saving major floor space while holding a surprising number of pairs.
How-To (DIY):
You can adapt a shallow, tall utility cabinet by removing the horizontal shelves and replacing them with slanted shoe platforms or wire racks. Alternatively, follow plans online for building a specialized tipping-bucket shoe cabinet.
5. Console Table with Drawers / Shelves
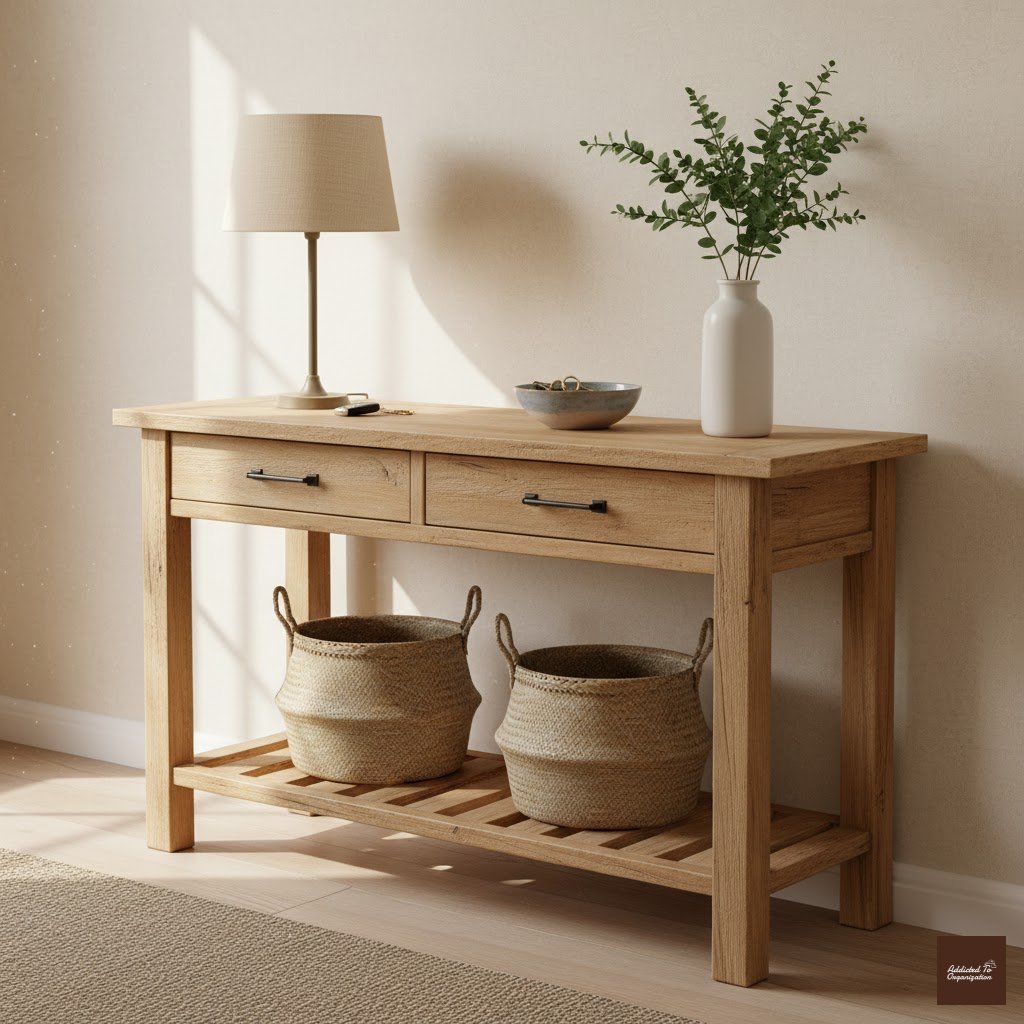
A narrow table is perfect for setting the decorative tone of your entryway. The key here is function: use the top for decor, and the drawers or lower shelf for keys, mail, gloves, or a small drop-off zone.
How-To (DIY):
Find a basic, cheap console table (thrifted or new). Replace the generic knobs with decorative hardware (gold, bronze, or ceramic) to elevate the look. If it has an open bottom, add attractive canvas storage boxes that fit perfectly beneath the surface.
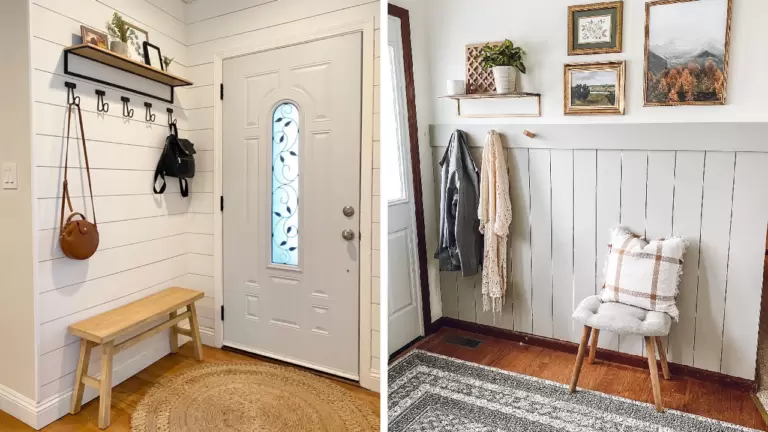
6. Wall Shelf + Hooks Below
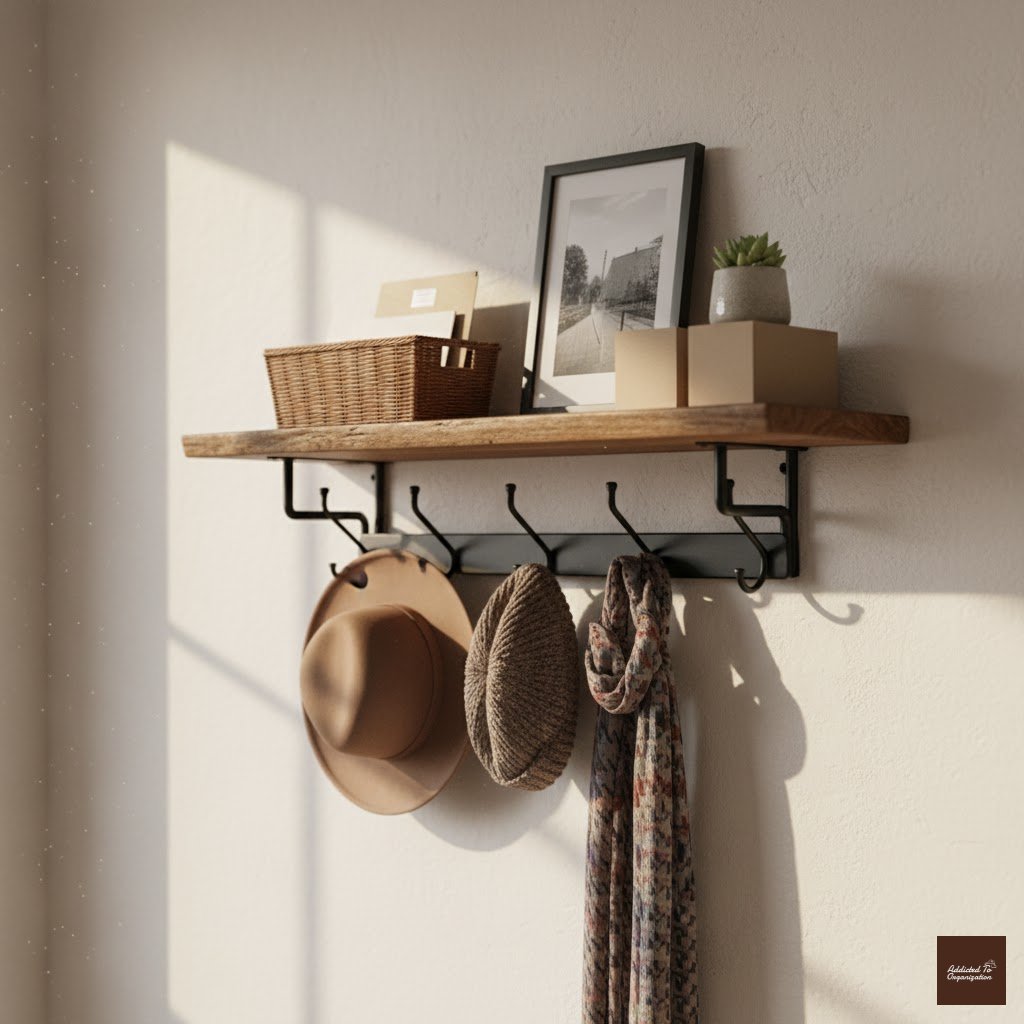
A classic workhorse design. Mount a shelf high for baskets, mail sorting, or display items, and install a row of hooks underneath for coats, bags, and hats. It handles three jobs in one space.
How-To (DIY):
Purchase a piece of finished lumber (like a 1×8 board) and decorative shelf brackets. Secure the brackets to wall studs. Once the shelf is mounted, evenly space and screw in decorative coat hooks or metal pegs to the underside of the board.
7. Pegboard Wall
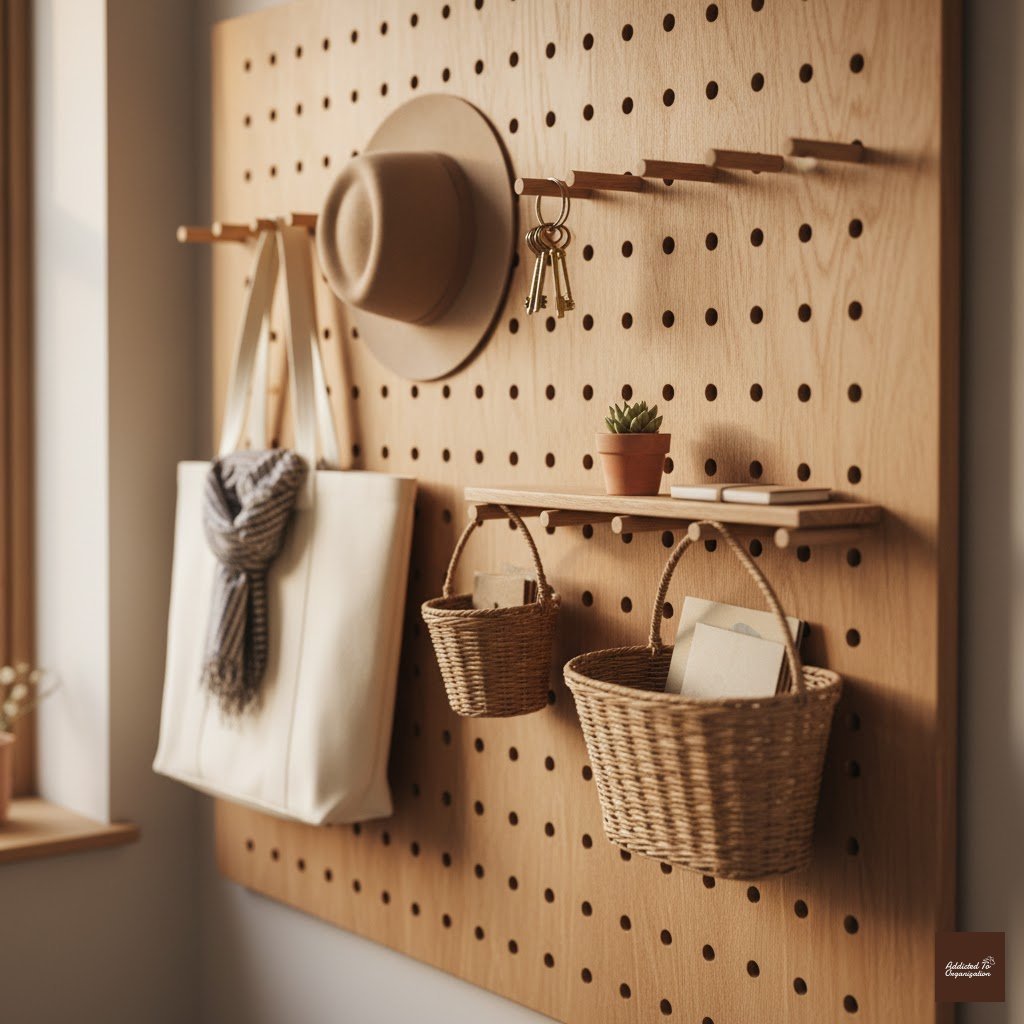
Install a large pegboard or slatwall in the entry. This system is perfect for people who constantly change their mind because you can reconfigure hooks, baskets, and small shelves as needed—no tools required once it’s up!
How-To (DIY):
Measure your space and purchase a cut piece of pegboard. You need to mount the pegboard away from the wall (using spacers or thin wooden strips) so the pegs have room to stick through. Screw the spacers and pegboard securely to the wall studs.
8. Wall-Mounted Cubes / Boxes
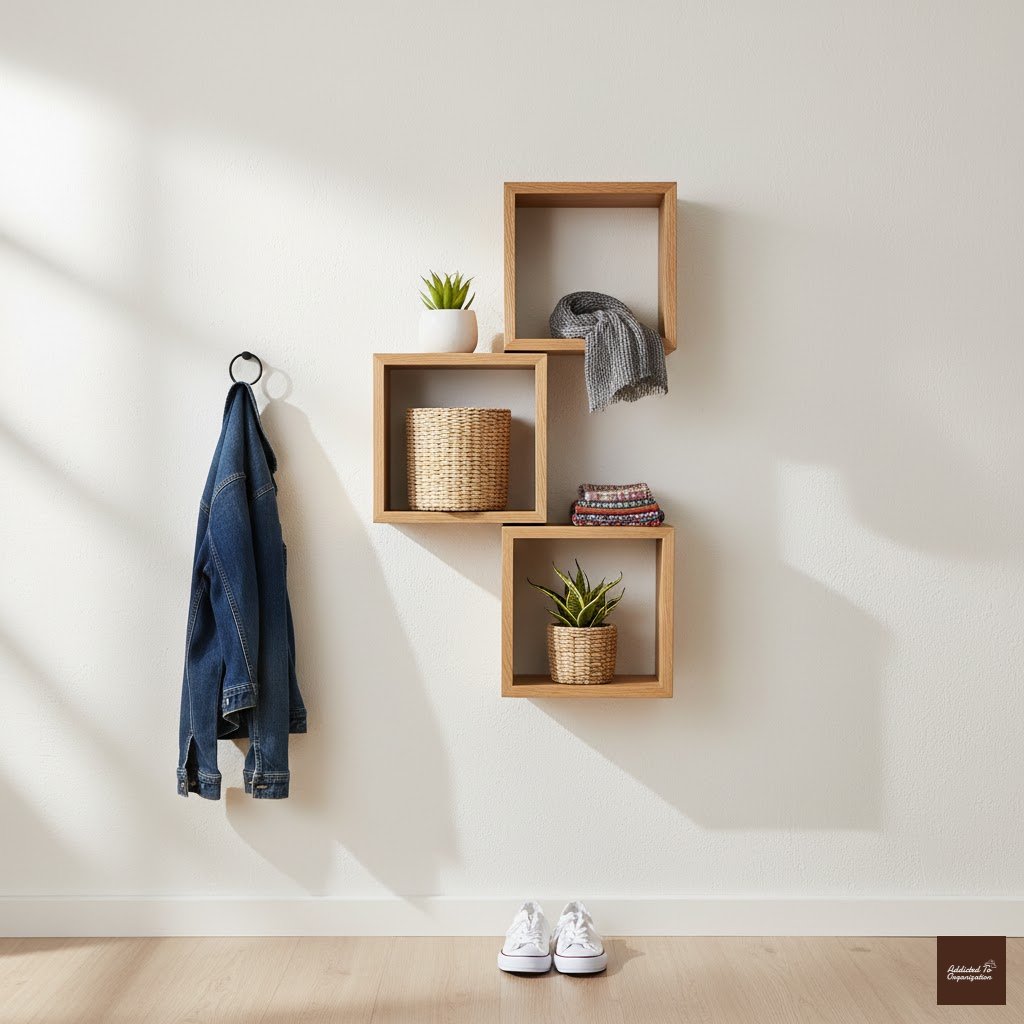
These floating boxes (open or with small doors) are great for small items like hats, sunglasses, and gloves. Mounting them individually at different heights creates a fun, modern, and visually light look.
How-To (DIY):
Buy unfinished wooden boxes or small crates. Paint them the same color as the wall for a seamless look, or a bold accent color. Use strong wall anchors and L-brackets concealed inside the box to mount them securely to the wall.
9. Over-the-Door Organizer
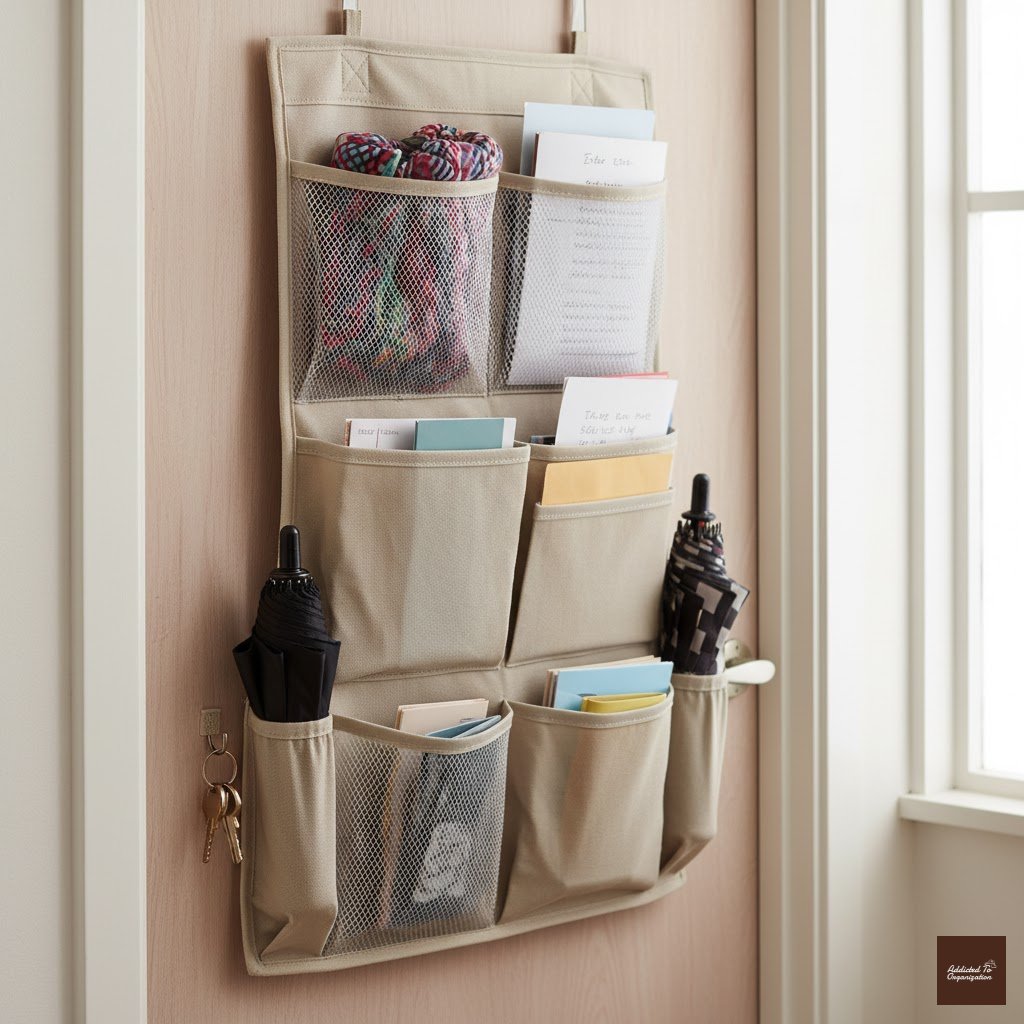
Don’t let the back of your front door (or an adjacent closet door) go to waste! Hang a long fabric or clear plastic organizer with pockets to store umbrellas, scarves, or even extra folding shopping bags.
How-To (DIY):
Use an organizer specifically designed to hang over the door (it comes with the hooks). To prevent annoying rattling every time you open the door, secure the bottom edge of the organizer to the door using a few tiny sticky tack squares or Velcro strips.
10. Coat Rack / Standing Hall Tree
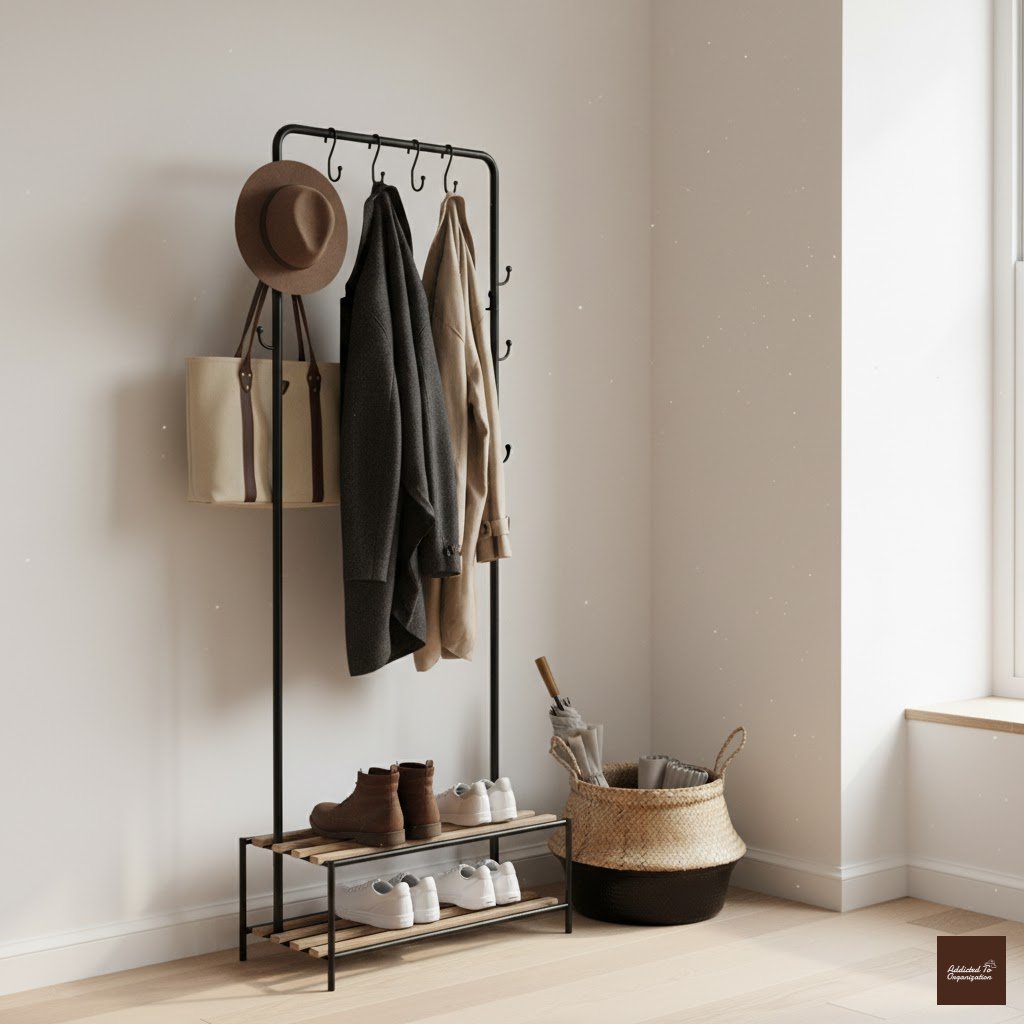
The quintessential entryway piece. A freestanding coat rack or hall tree provides hooks, sometimes a bench, and often an integrated umbrella stand or small compartment. It’s the all-in-one organizer.
How-To (DIY):
If you have an old, sturdy dining chair, remove the seat and back legs, leaving the backrest. Replace the backrest’s spindles with decorative hooks and add a sturdy, weighted base. This upcycled piece is full of personality!
11. Wall Hooks / Pegs
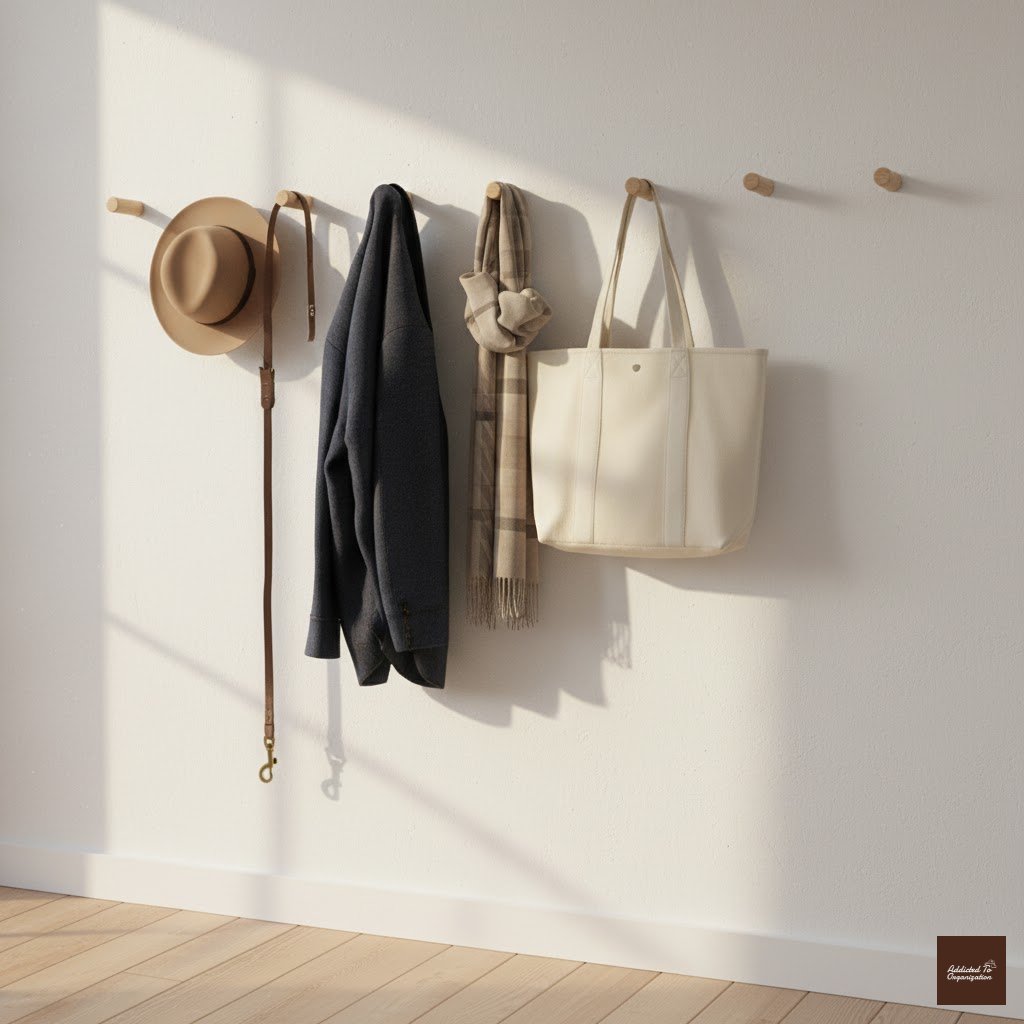
Simple, effective, and infinitely customizable. Install individual hooks at various heights for coats, bags, keys, or pet leashes. For a modern, minimalist look, use simple wooden pegs.
How-To (DIY):
For wooden pegs, buy wooden dowels and cut them at an angle (like 45 degrees). Drill a corresponding angled hole into the wall (use a drill bit slightly smaller than the dowel). Insert a threaded hanger bolt into the dowel and screw the entire peg assembly securely into the wall.
12. Mirror + Hidden Storage
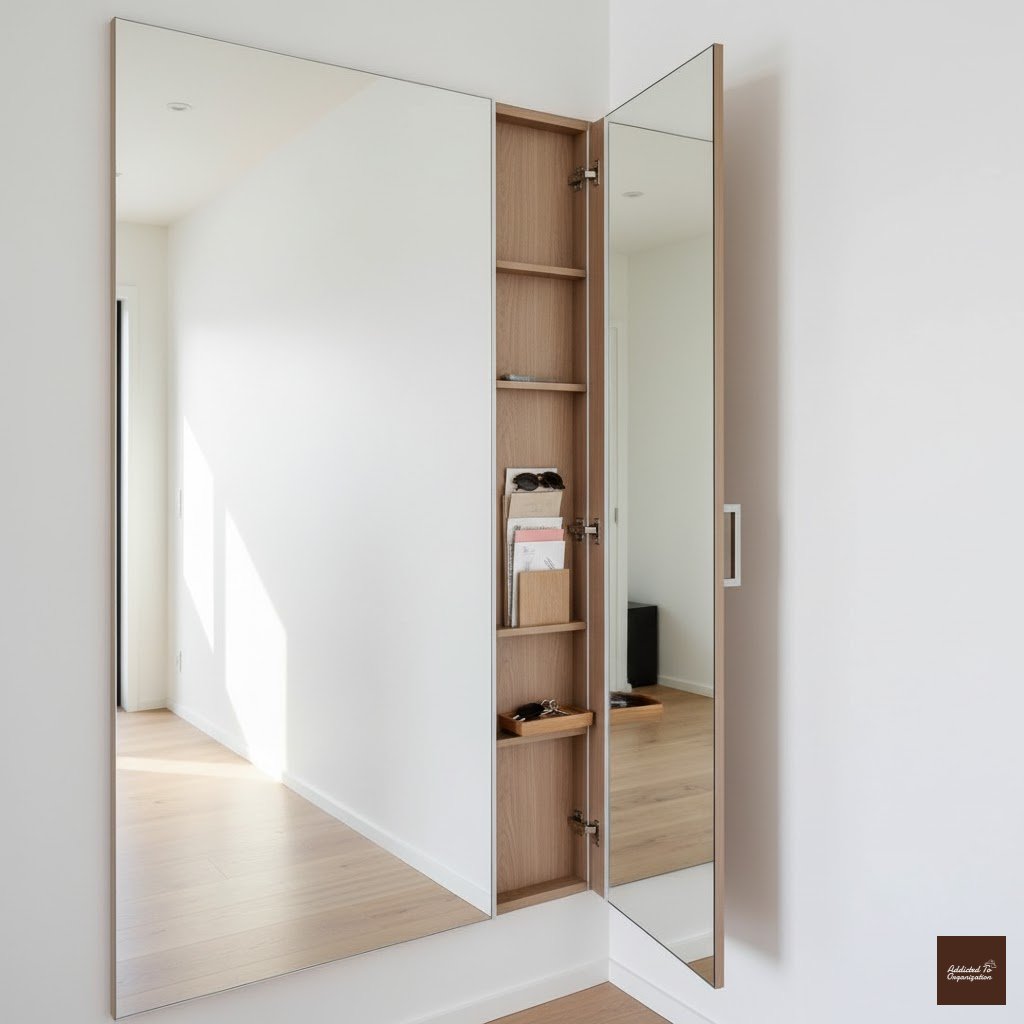
A true clutter-hiding genius! This is a mirror that opens like a medicine cabinet to reveal shallow storage behind it for keys, mail, and sunglasses. Clutter vanishes, and you can check your outfit.
How-To (DIY):
Purchase a sturdy framed mirror and build a very shallow wooden box (about 3 inches deep) that is slightly smaller than the mirror frame. Hinge the mirror to the box. Mount the box to the wall and install small floating shelves inside.
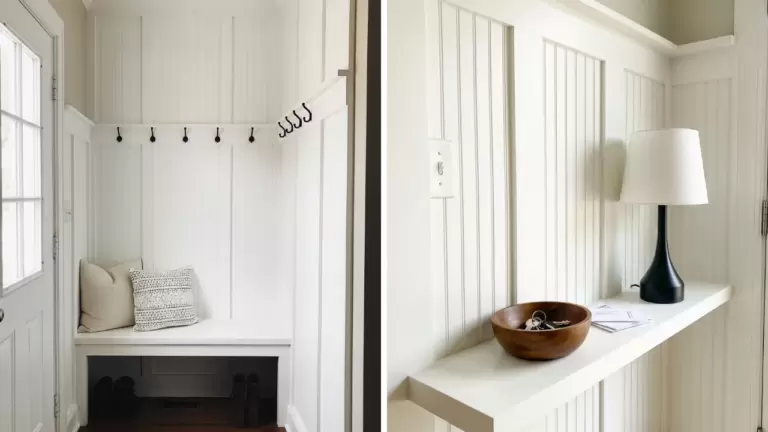
13. Floating Shelf with Key / Mail Slots
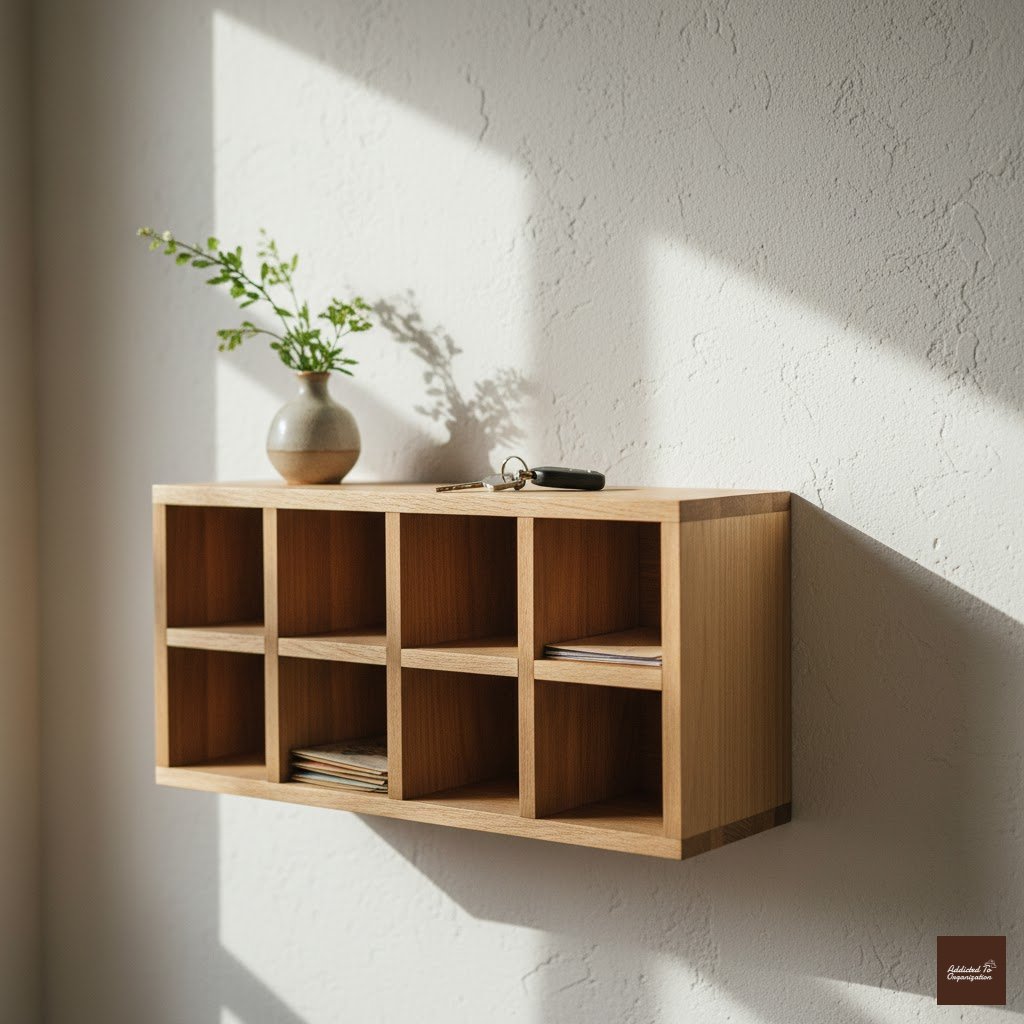
A shelf mounted at eye level that acts as a decorative accent but features compartments or slots underneath. It gives you a dedicated spot for keys and mail right where you need them.
How-To (DIY):
Build a simple box-style shelf. On the underside of the shelf, cut a few 1/4-inch-wide grooves that are 1-2 inches deep. These grooves are the perfect slots for sliding mail or slim wallets into.
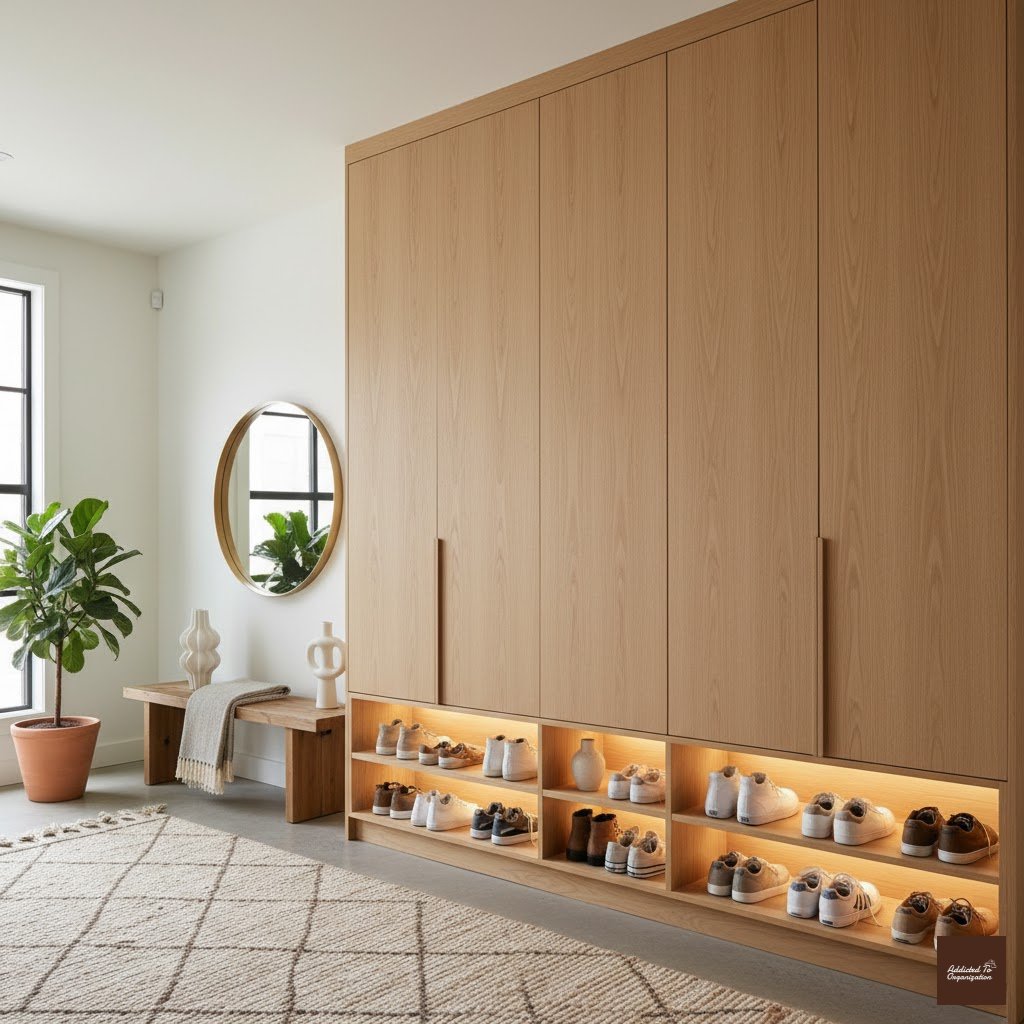
14. Built-In Cabinets Around Entry
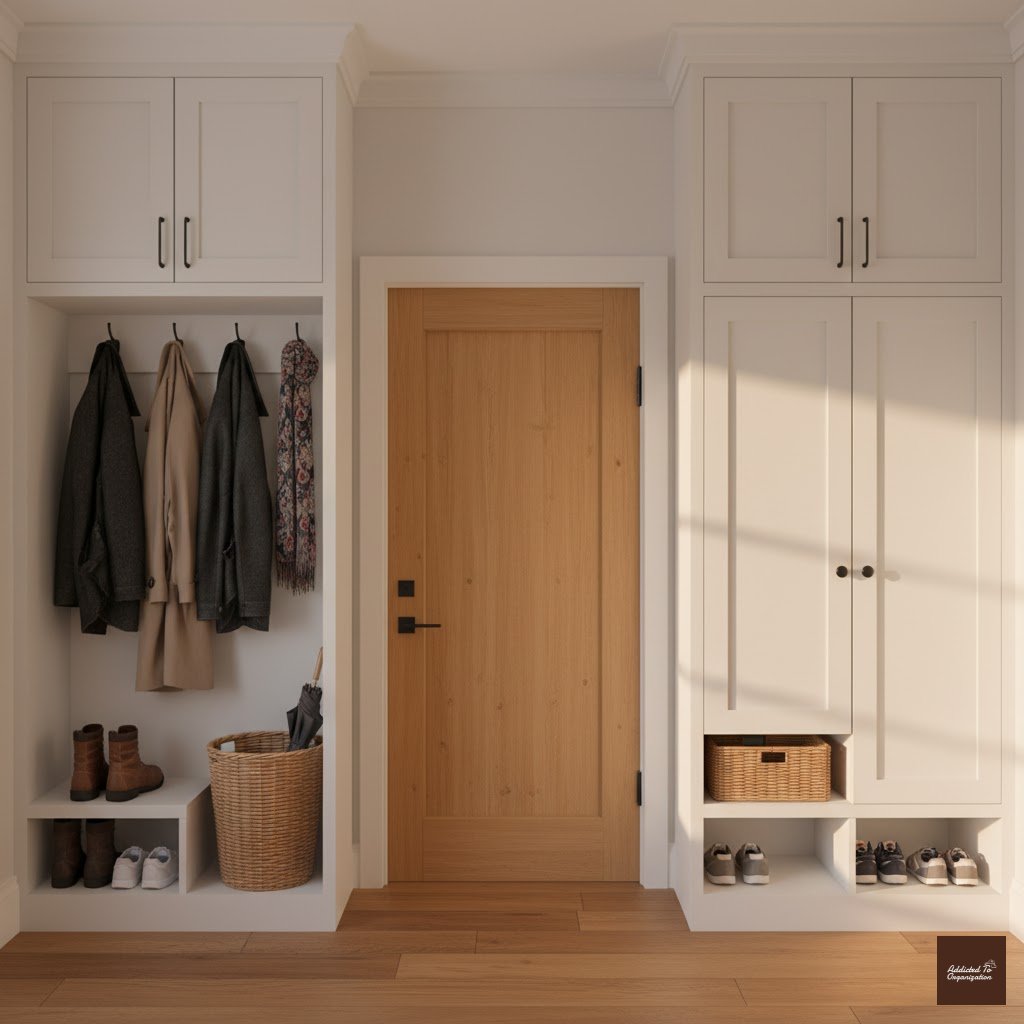
If you have the wall depth and want a truly custom look, build cabinets (full-height or half-height) flanking your door. This maximizes space for coats, shoes, and general household supplies, making the entry look like part of the architecture.
How-To (DIY):
This is a bigger project! Buy unfinished stock cabinets or build plywood frames. Secure them tightly to the wall and ceiling. Finish by adding crown molding and baseboards to make them look seamless and “built-in,” then paint them the wall color.
15. Built-In Overhead Storage (Above Door)
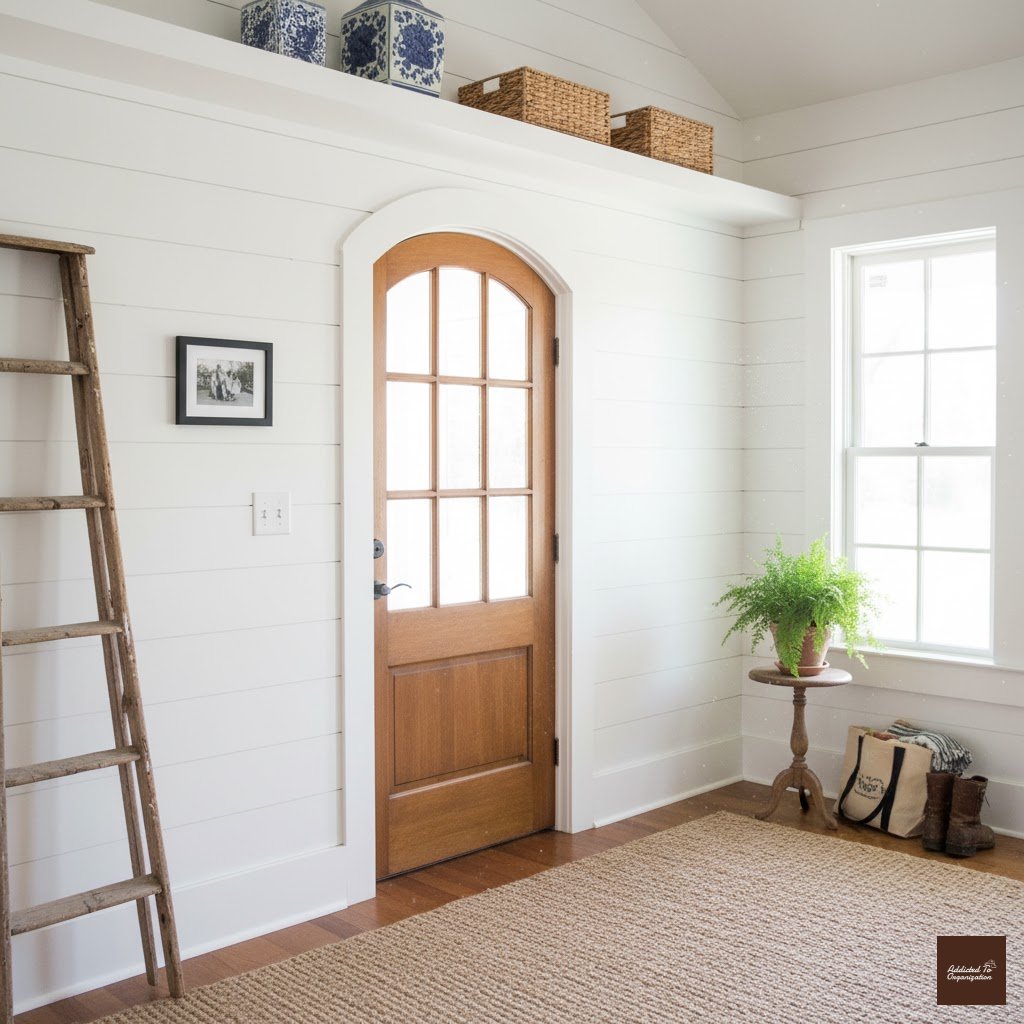
Look up! The space right above your doorway is often wasted. Install shelves or cabinets here to keep less-used items, like seasonal decorations, emergency kits, or extra light bulbs.
How-To (DIY):
Build a simple, long box frame to sit right above the door trim. Attach it securely to the wall studs. Add a simple hinged door or even use a decorative curtain rod and a fabric panel to conceal the opening.
16. Corner Bench / Storage
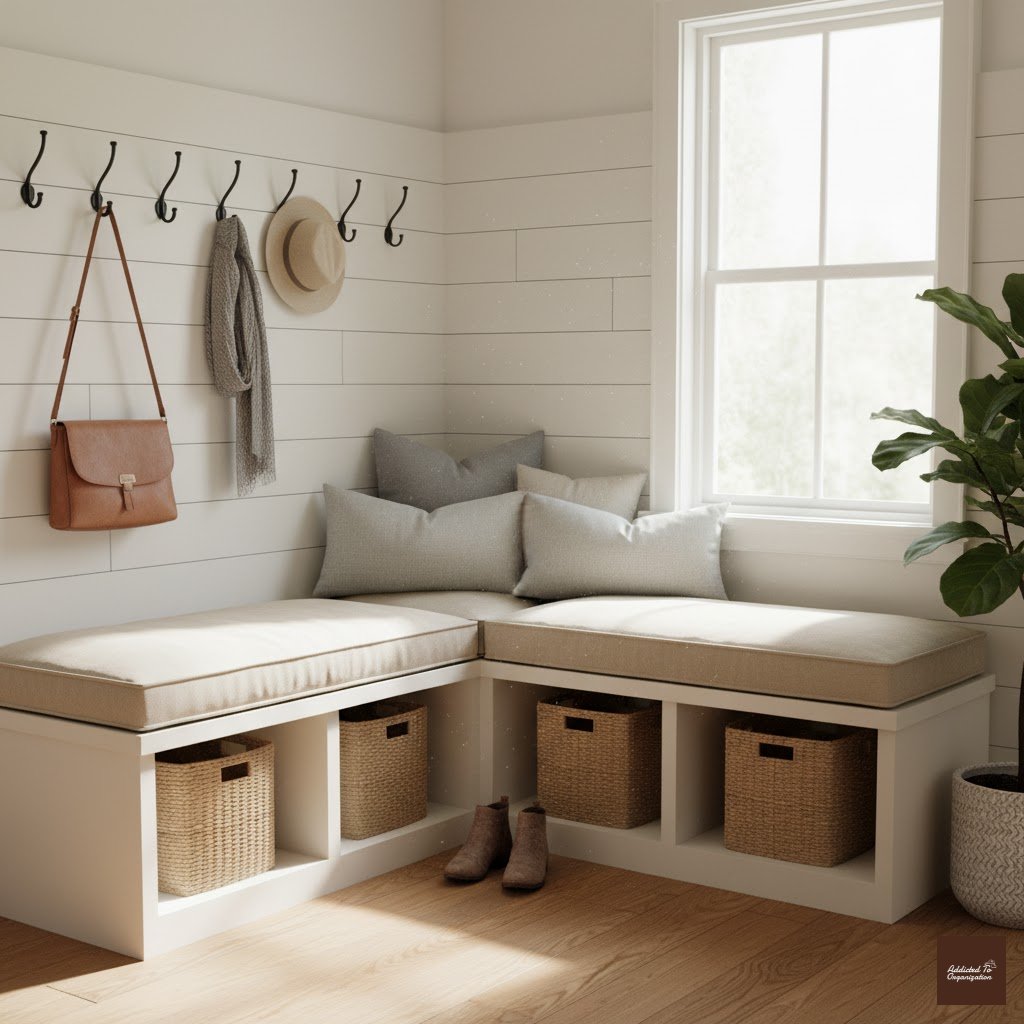
Corners are notoriously tricky to utilize, but an L-shaped or triangular bench with storage solves this! It’s a great way to maximize a small or oddly shaped entryway.
How-To (DIY):
Build two simple storage benches of the same height. Cut the end of one bench at a 45-degree angle. Join the two benches at a 90-degree angle to create the L-shape, ensuring the lids can still open fully.
17. Sliding or Barn Door Covered Nook
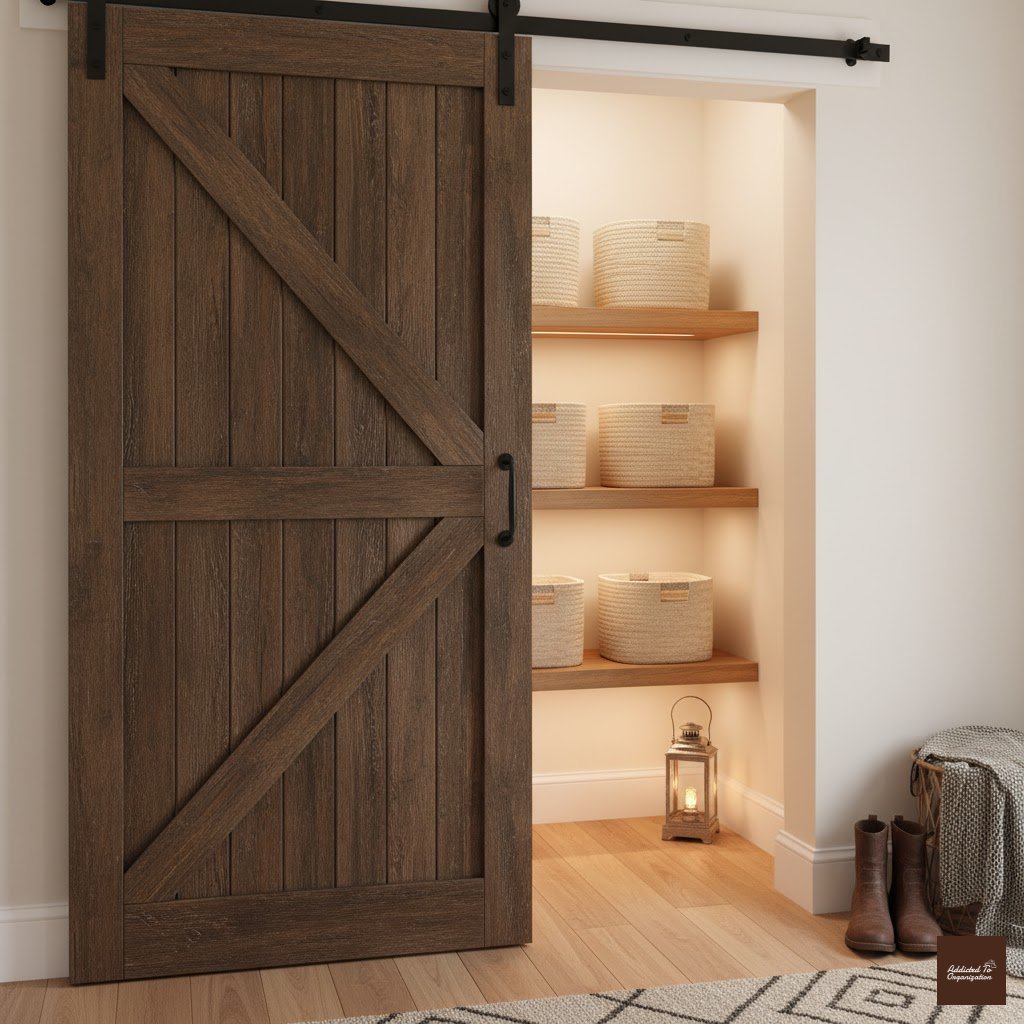
If you have a recessed niche or a small, messy closet, hide it behind a stylish sliding or barn-style door. This instantly gives your entryway a much cleaner, more organized look without taking up swinging space.
How-To (DIY):
Install the barn door track hardware above the niche opening. Build or purchase a lightweight door panel. Hang the door and add a simple floor guide to keep it from swinging out at the bottom.
18. Curtain to Hide Storage
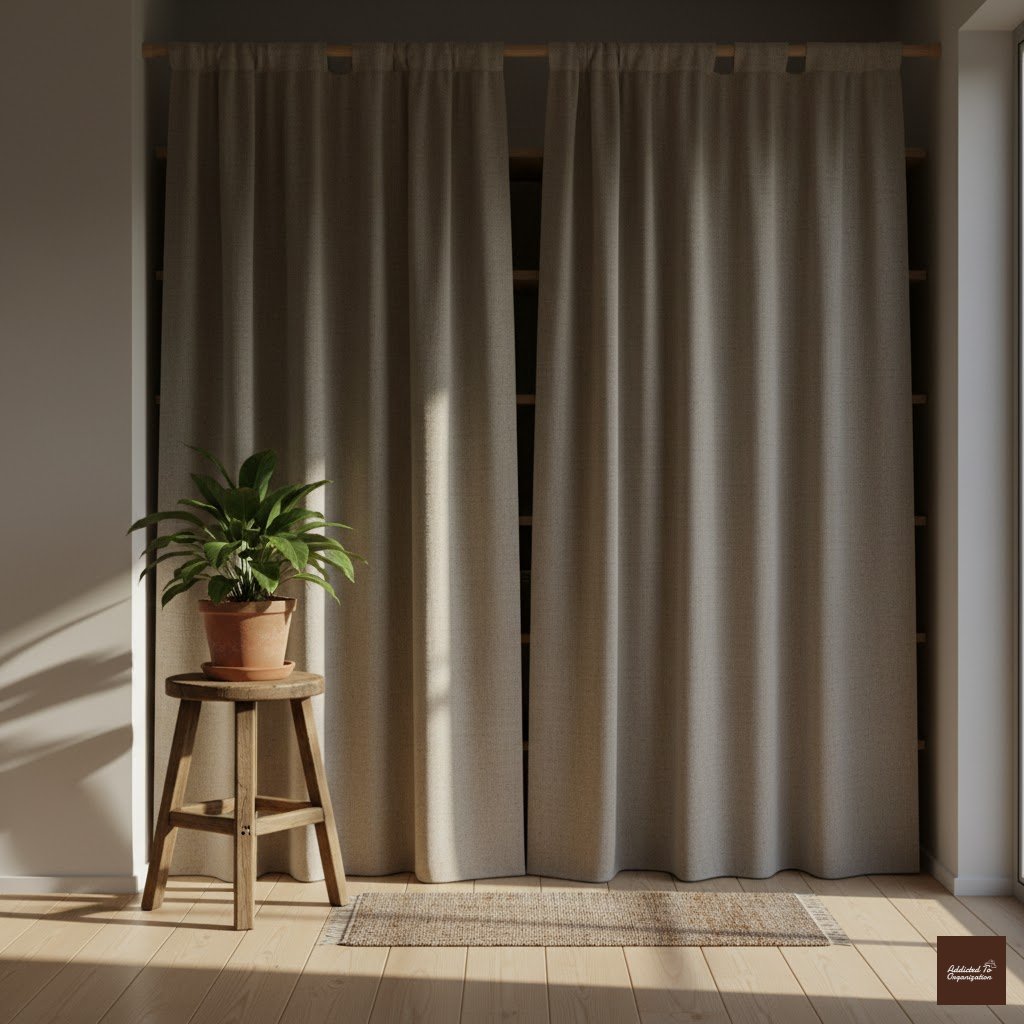
An easy, inexpensive alternative to doors! Use a curtain to mask cubby shelves or a small closet area. It instantly softens the space and hides the visual chaos of too much stuff.
How-To (DIY):
Install a tension rod or a decorative curtain rod just above the storage unit. Choose a curtain fabric that matches your home’s decor—a heavy linen or velvet looks more sophisticated than a thin panel.
19. Baskets & Bins
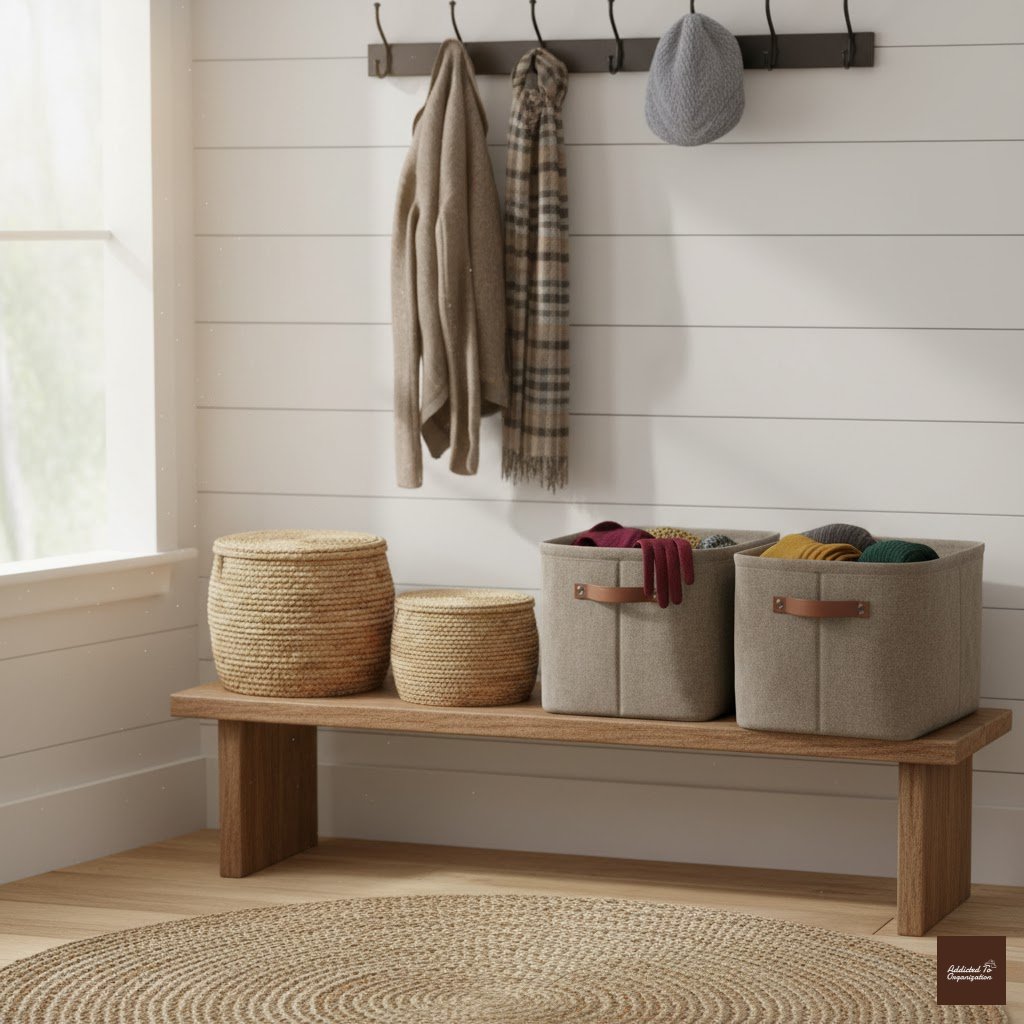
The oldest trick in the book! Use baskets (woven, wire, or fabric) inside cubbies or on shelves to corral mittens, scarves, hats, and small items. They are the essential tool for clutter containment.
How-To (DIY):
Find mismatched baskets at thrift stores. Give them a unified look by spray painting them all the same neutral color (like matte black or cream). This makes the collection look intentional and organized.
20. Labeled Bins for Family Members
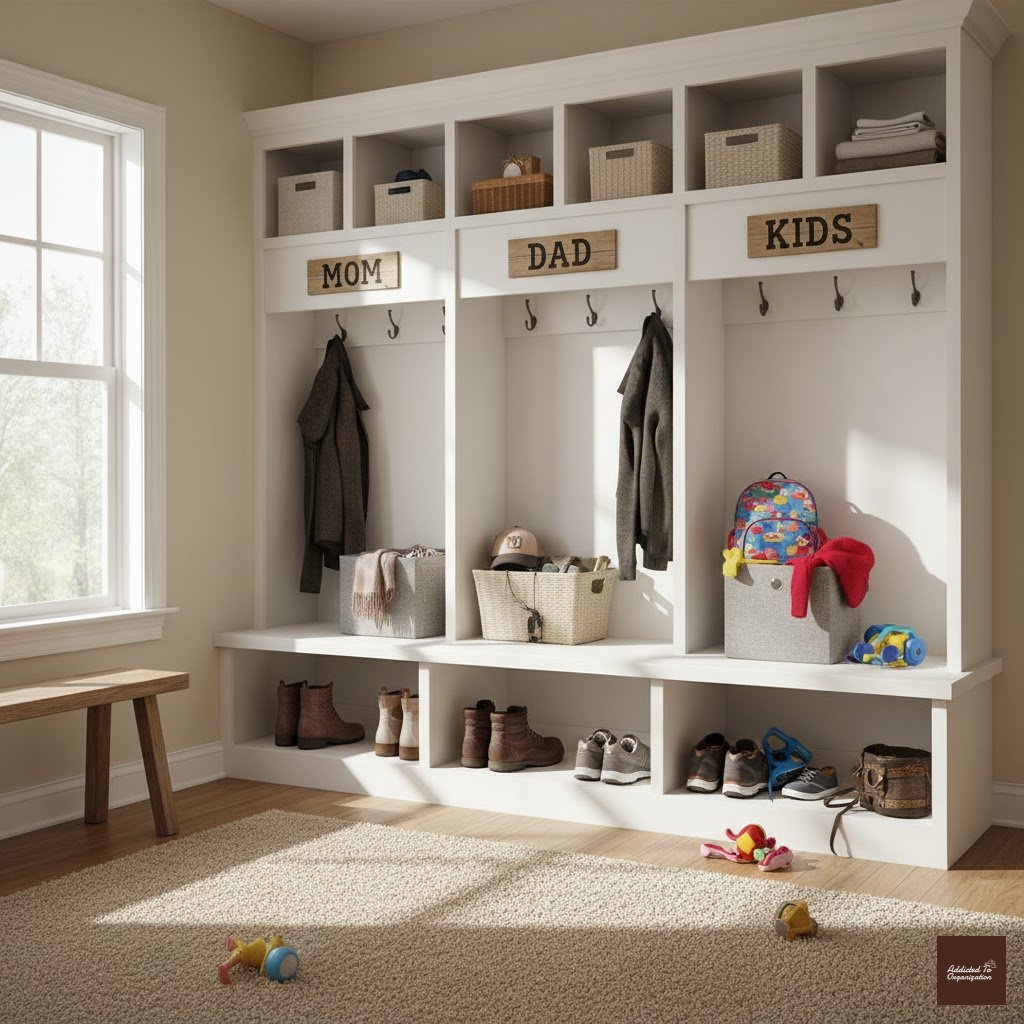
The key to a tidy home! Assign each person a basket or bin to drop their personal gear (hats, gloves, headphones, etc.). This instantly helps reduce clutter and the eternal “whose is this?” question.
How-To (DIY):
Purchase identical bins and a set of nice chalkboard labels or wooden hang tags. Write or print each family member’s name clearly. Place the bins within easy reach of the front door.
21. Mail Organizer / Wall File
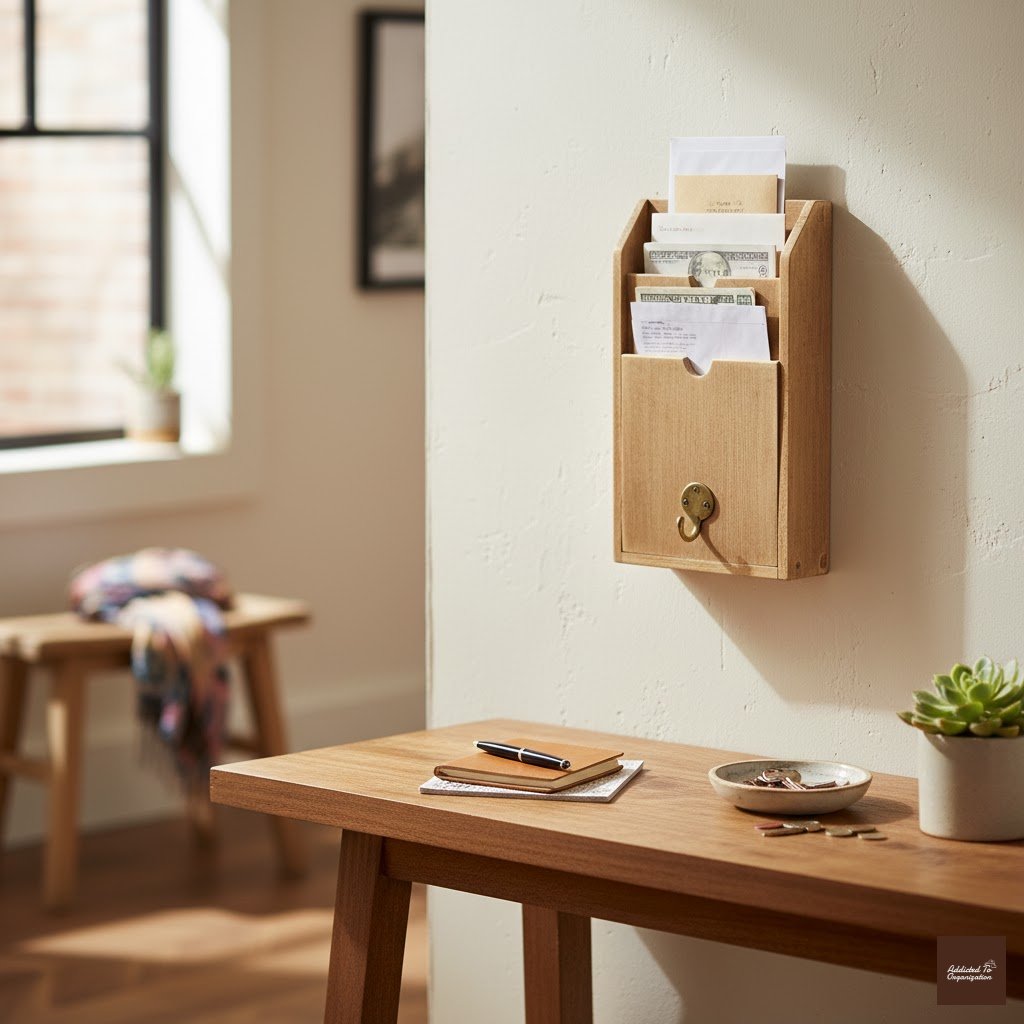
A dedicated wall-mounted mail rack or file is a game-changer. It keeps incoming mail sorted and off your console table and prevents junk mail from migrating deeper into your home.
How-To (DIY):
Take a simple wooden bread box or wine crate, turn it on its side, and divide the interior into vertical slots using thin wooden dividers. Mount it securely to the wall at a convenient height.
22. Tray or Catch-All Dish
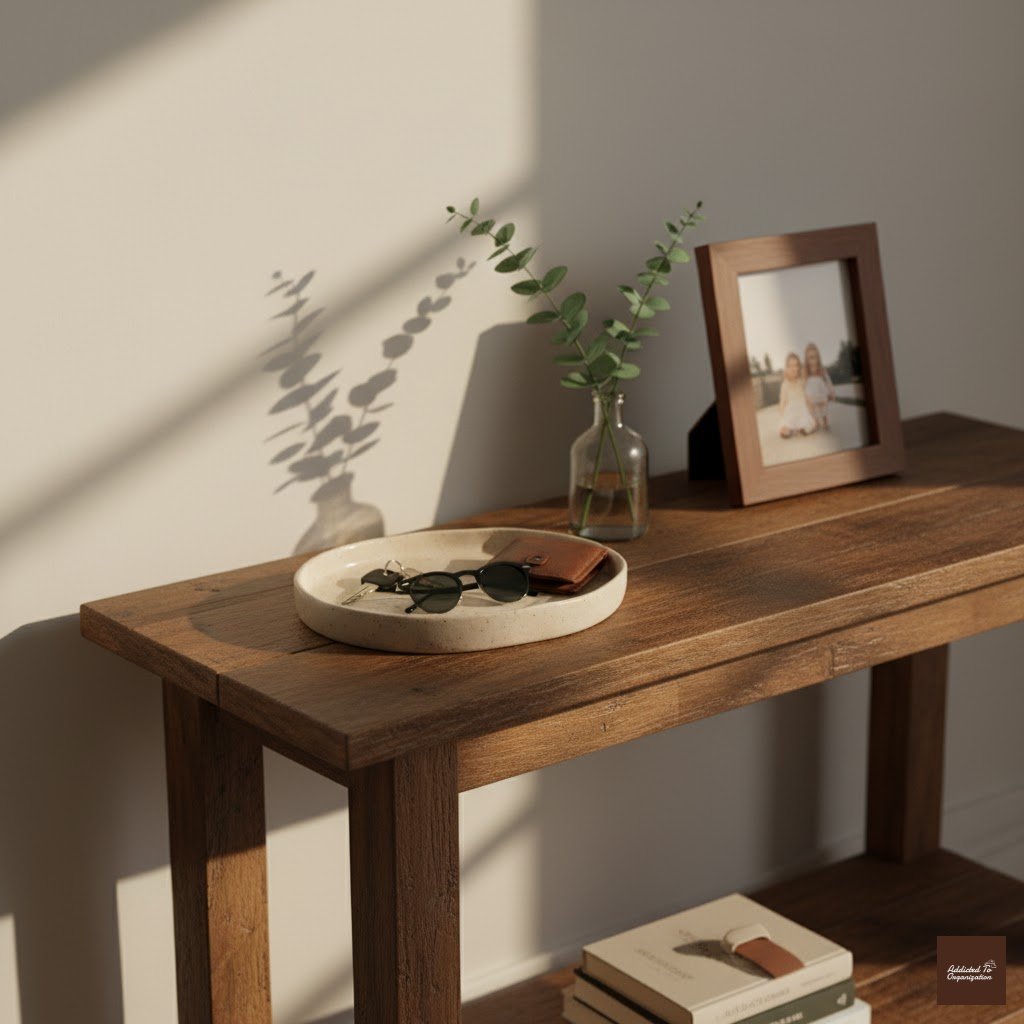
Every entryway needs a single, designated drop zone. On a console or shelf, place a decorative tray or dish to drop keys, coins, and sunglasses. This corrals the small items that otherwise scatter everywhere.
How-To (DIY):
Find a simple ceramic plate or metal tray. Line the bottom with a piece of felt or cork to muffle the sound of keys being dropped and to prevent scratches to the tray itself.
23. Umbrella Stand / Bucket
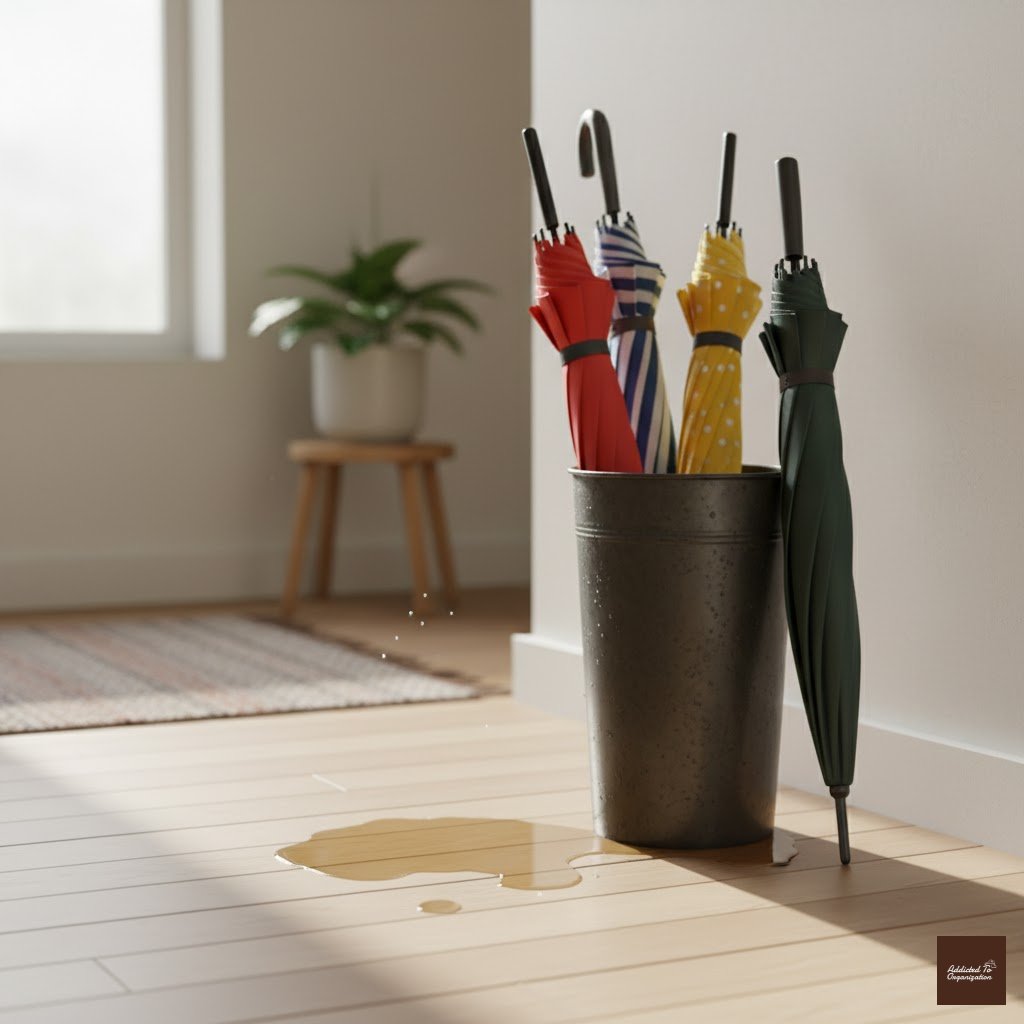
A simple, weighted stand or decorative bucket near the door keeps wet or dry umbrellas from dripping all over your floor. Look for one that complements your style—it’s functional decor!
How-To (DIY):
Find a heavy, decorative ceramic planter or a galvanized metal bucket. To keep the bottom from pooling water, place a layer of large decorative river stones or pebbles at the base of the bucket.
24. Umbrella Wall Mount or Hook
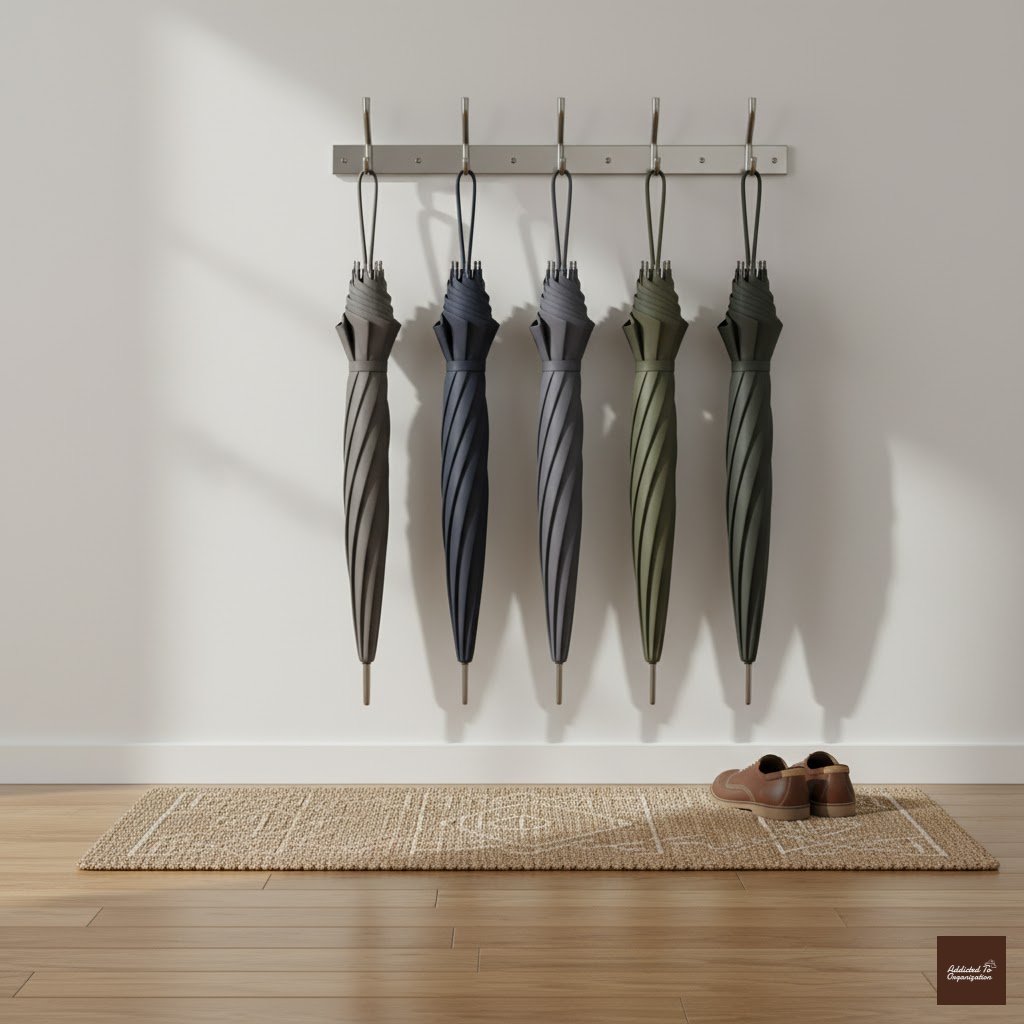
If you only use compact, foldable umbrellas, save floor space entirely with a wall-mounted hook or holder. This keeps them upright and tucked away until the clouds roll in.
How-To (DIY):
Use a vertical row of small cup hooks (the kind you twist in) mounted to the side of a shelf or cabinet. You can hang the folded umbrellas from their wrist straps, keeping them out of sight.
25. Under-Bench Pull-Out Drawers
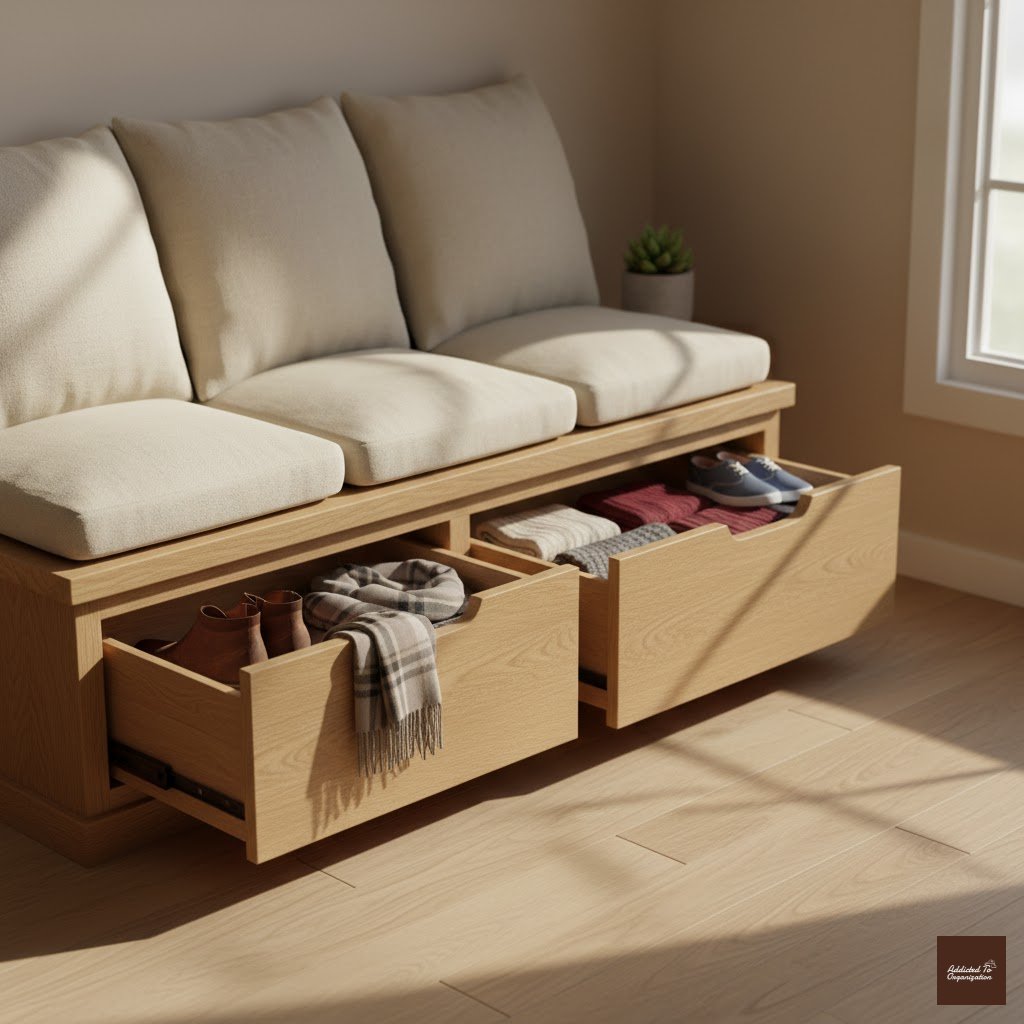
If your existing bench has open space below, maximize it! Install shallow pull-out drawers on casters for shoes, gloves, or small supplies. They slide neatly out of sight when not in use.
How-To (DIY):
Build shallow wooden boxes that fit under your bench. Screw small furniture casters (wheels) onto the bottom of the box corners. Attach a simple drawer pull or rope handle to the front panel for easy gliding.
26. Pull-Down Seat / Fold-Down Bench
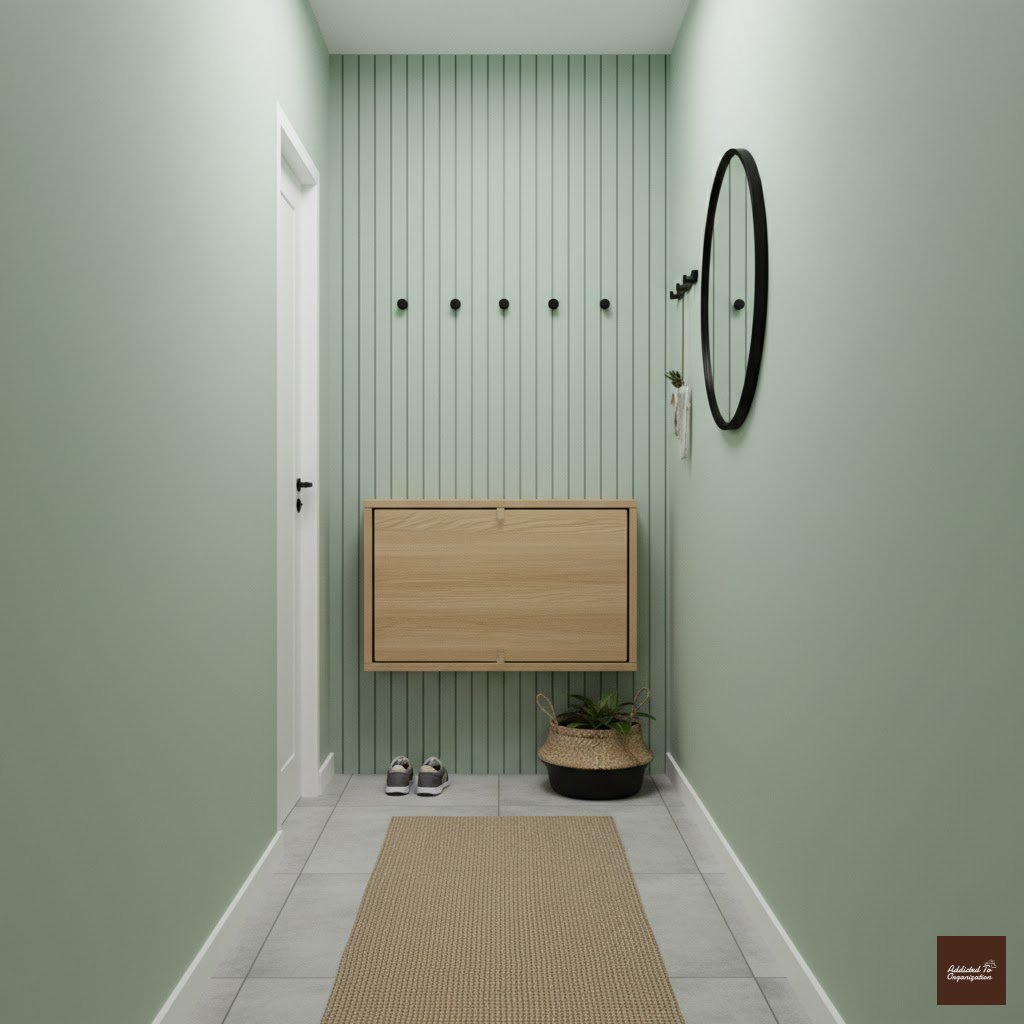
For very narrow entryways where every inch counts, a fold-down seat or bench that tucks flat against the wall is genius. You can sit down to put on shoes, then flip it up and reclaim your space.
How-To (DIY):
Build a sturdy wooden seat panel. Mount it to the wall using heavy-duty folding shelf brackets that lock into place when the seat is down. Ensure the bracket hardware is anchored directly into wall studs—safety first!
27. Use the Side of Appliances

If your entry connects to an adjacent kitchen or utility area, utilize the often-ignored side of a refrigerator or cabinet. Use magnetic organizers or slim panel storage for keys, calendars, or small frequently used items.
How-To (DIY):
Purchase thin magnetic strips (the kind used for knives) and screw them vertically to the side of a wooden cabinet. Use magnetic hooks to hang keys and magnetic clips to hold notes or small envelopes.
28. Tall Cabinets With Mixed Open/Closed
The best of both worlds! Use tall storage units that feature both closed doors (for messy stuff like cleaning supplies) and open shelves/hooks (for quick access to coats and display pieces). It’s about balancing hiding and displaying.
How-To (DIY):
If assembling a pre-made tall cabinet, consider leaving the back panel and door off the top section and adding a decorative finish inside (like wallpaper or paint) to create a planned “open” niche for display.
29. Painted/Monochrome Cabinets That Blend In

If your entryway is small and you need a lot of storage, paint your storage furniture (cabinets, shelving) the exact same color as your walls. This visually makes the piece recede, reducing the overall visual clutter.
How-To (DIY):
Prime your furniture (especially laminate or glossy surfaces) with a high-quality bonding primer. Use the same exact paint (color and finish) that is on your walls. The seamless effect works wonders in small spaces!
30. Mirrors / Glass Doors to Lighten Bulk
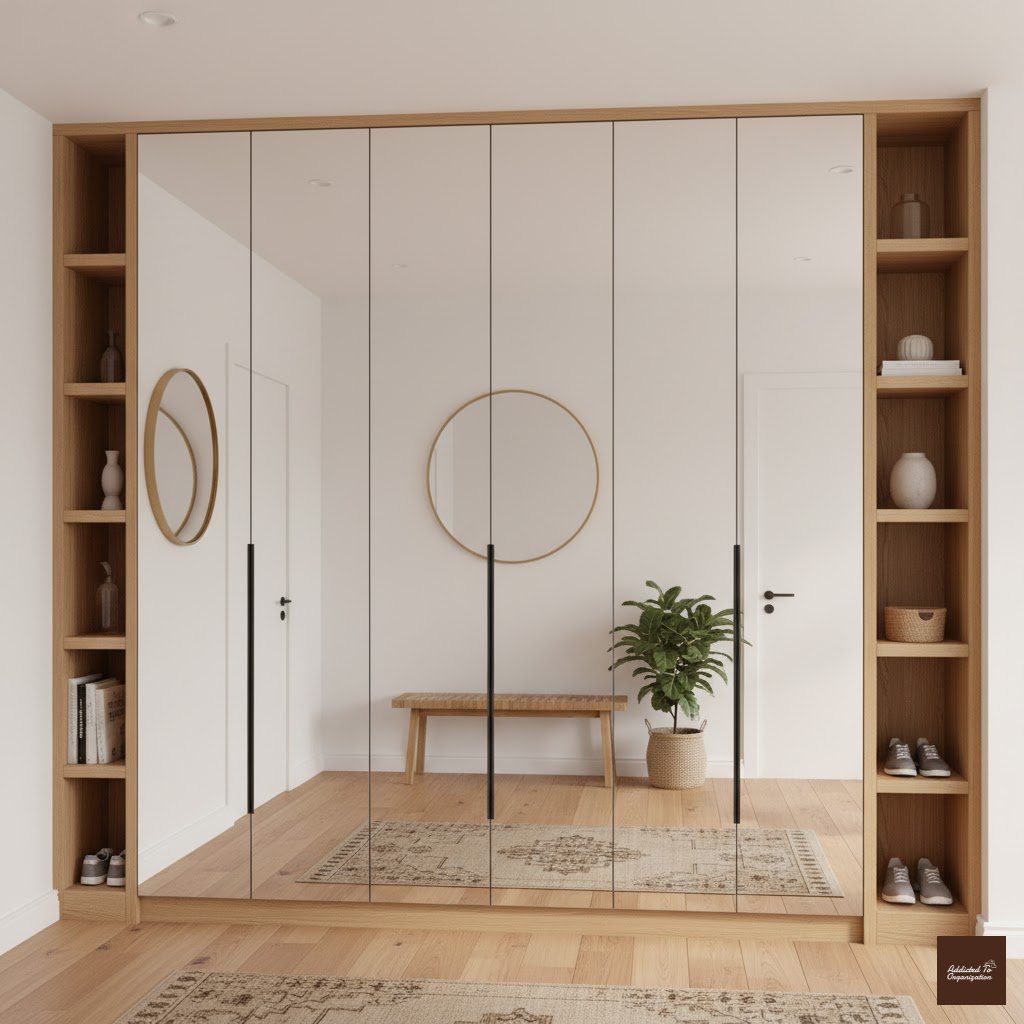
If you need a big, floor-to-ceiling storage piece (like a large closet unit), choose one with mirrored doors or glass fronts. This makes the piece feel visually lighter and reflects light, tricking the eye into making the entryway feel much larger.
How-To (DIY):
Buy a large, inexpensive mirror panel. Use heavy-duty construction adhesive to bond the mirror securely to the face of an existing cabinet door. Add a small frame of decorative trim around the mirror for a custom, built-in look.
That’s it—30 ways to conquer the clutter monster lurking by your front door!
Which one of these entryway storage ideas are you tackling this weekend? Are you going for a simple pegboard or a full-on custom built-in? Let me know in the comments!
If you found this helpful, please Share it with a friend who also needs a key-drop miracle, and don’t forget to Pin this post for later DIY inspiration!