30 Christmas Village Display Ideas DIY for 2025
This post may contain affiliate links: full affiliate disclosure.
Ever feel like a Christmas village is just out of reach? We get it!
All those tiny houses and villagers can be seriously magical, but also seriously expensive.
That’s why we’ve gathered 30 fantastic and surprisingly simple DIY ideas to help you create a stunning display without breaking the bank.
Get ready to build your own winter wonderland, one masterpiece at a time!
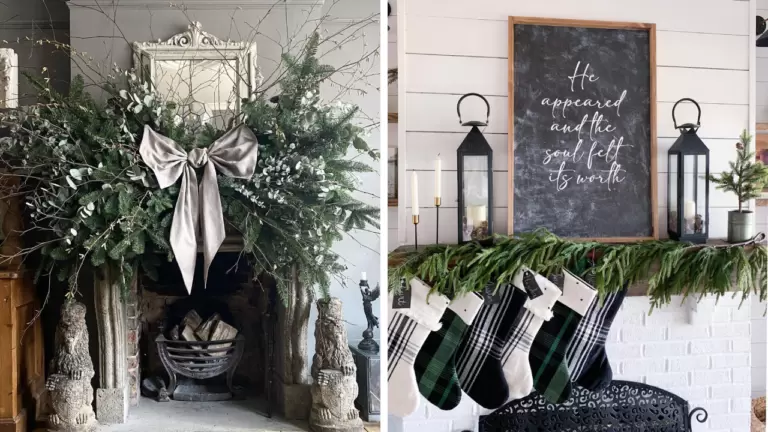
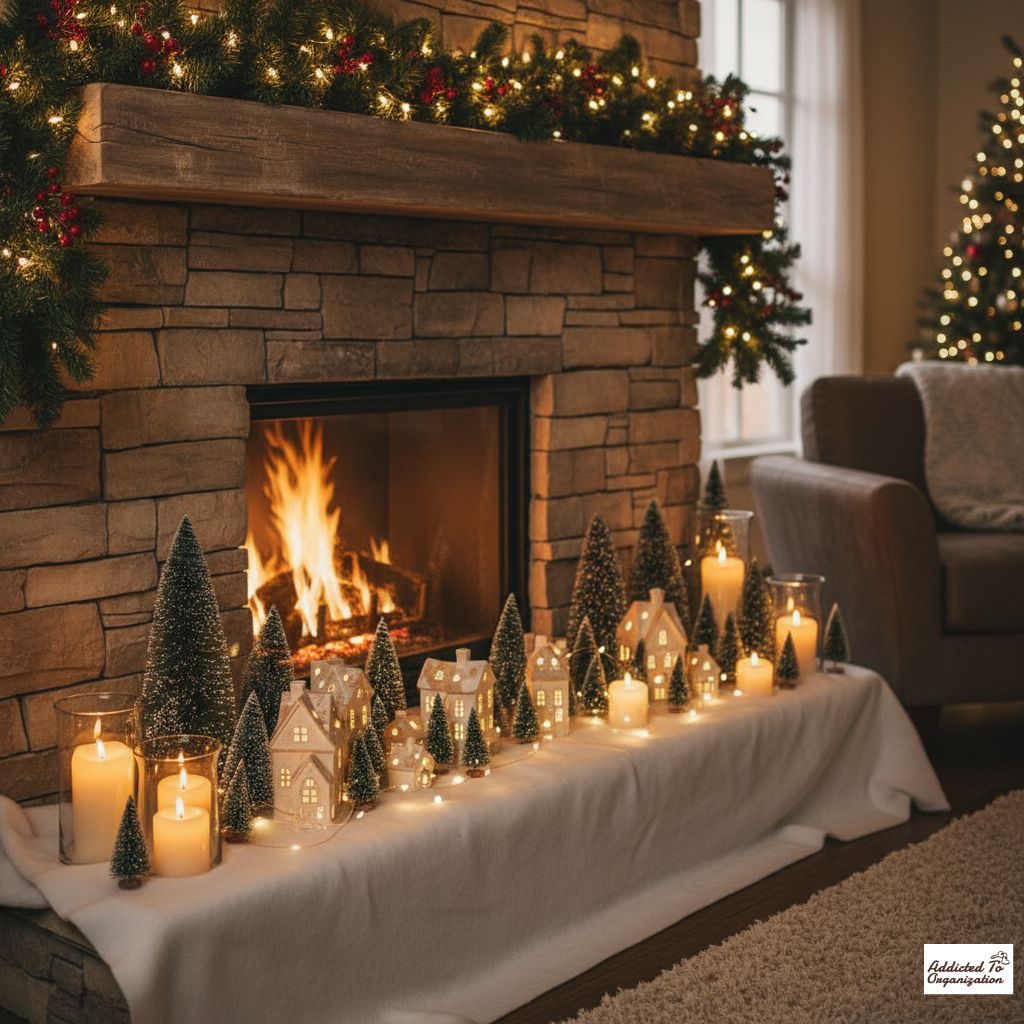
1. Mantel Magic Village
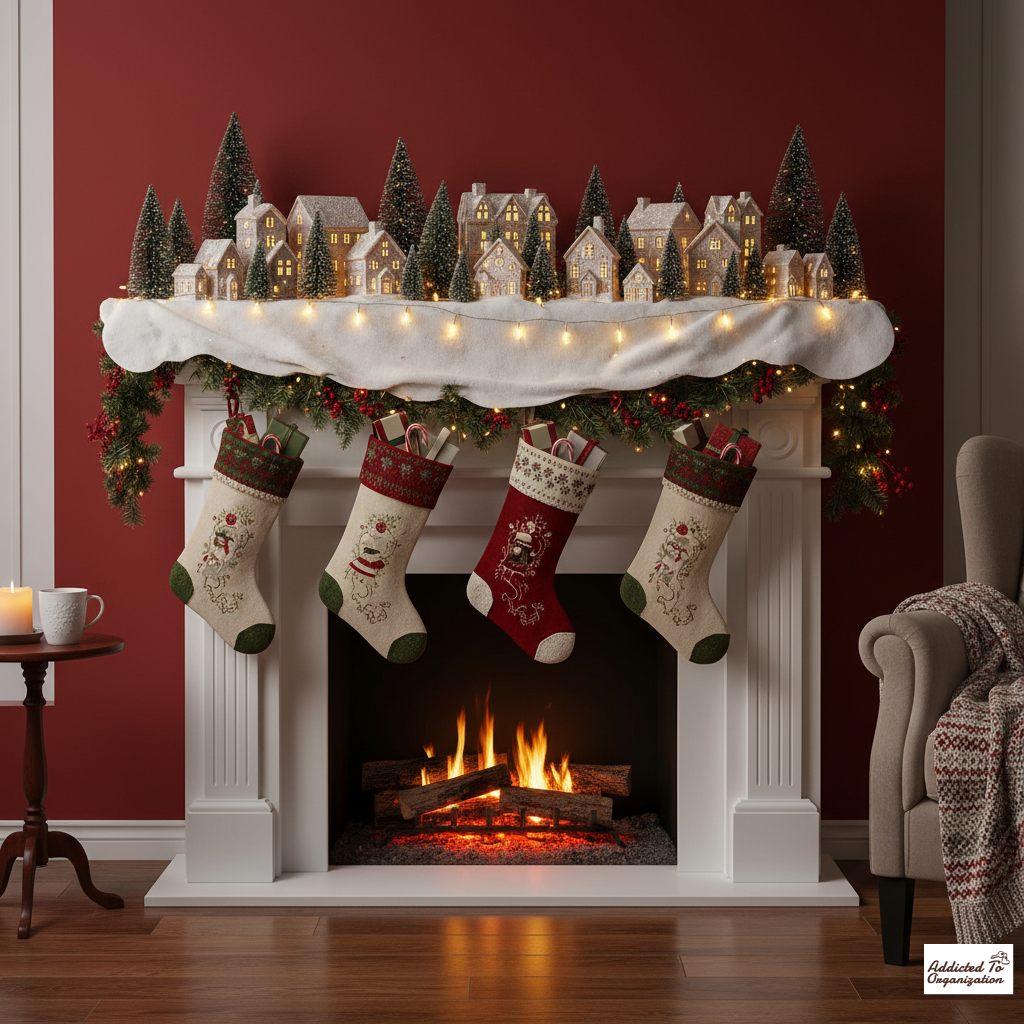
Nothing says holiday cheer like a classic mantel display.
How to: Start with a fluffy layer of fake snow or cotton batting along your fireplace mantel. Carefully arrange your mini houses across the length, weaving in some battery-operated fairy lights for that magical glow. Tuck in tiny bottle-brush trees and figurines to complete the cozy, classic holiday scene.
2. Tiered Tray Wonderland
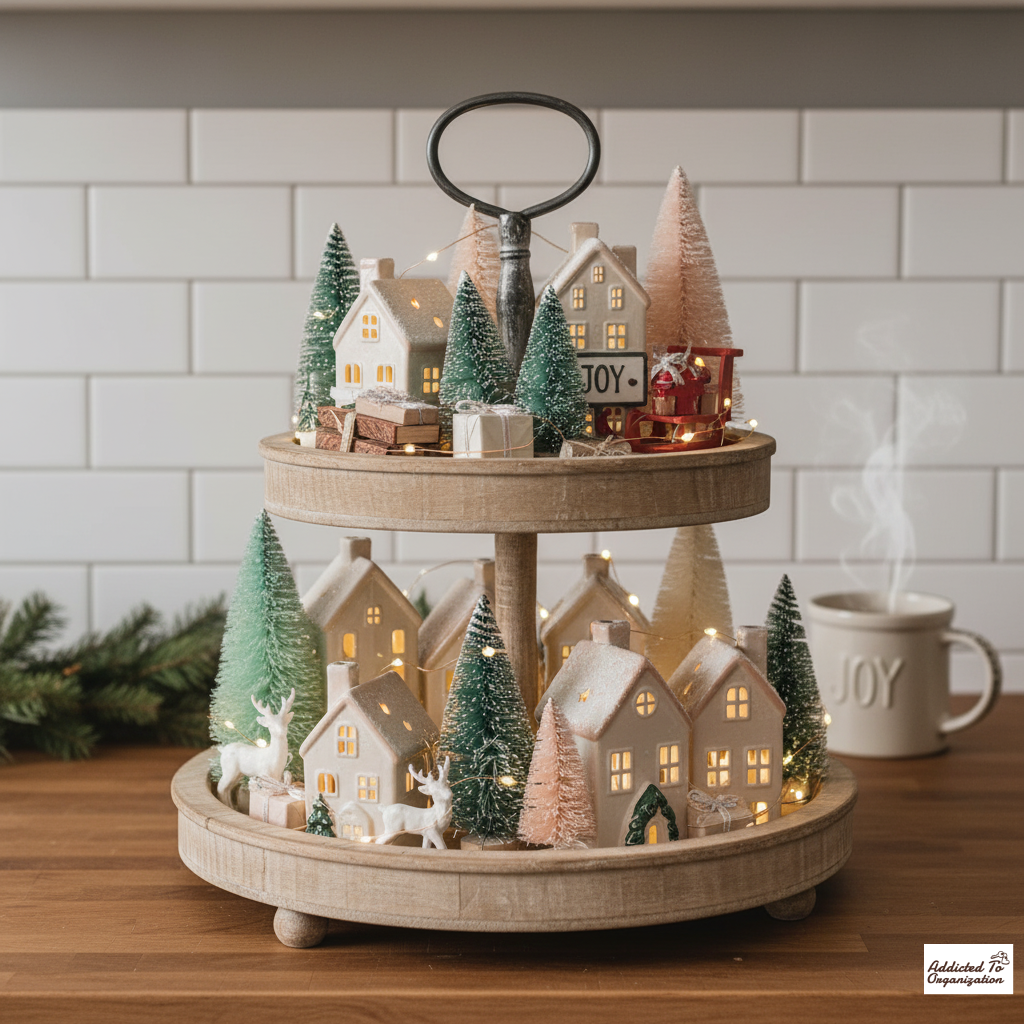
Don’t have a lot of space? No problem! This idea is perfect for compact areas.
How to: Grab a two- or three-tiered tray and turn it into a compact, layered village. Use faux snow or glitter to create the base on each tier. Place your largest houses and trees on the bottom and work your way up with smaller pieces. Add a string of micro-lights for extra sparkle. This is perfect for small spaces or countertops.
3. Farmhouse Crate Display
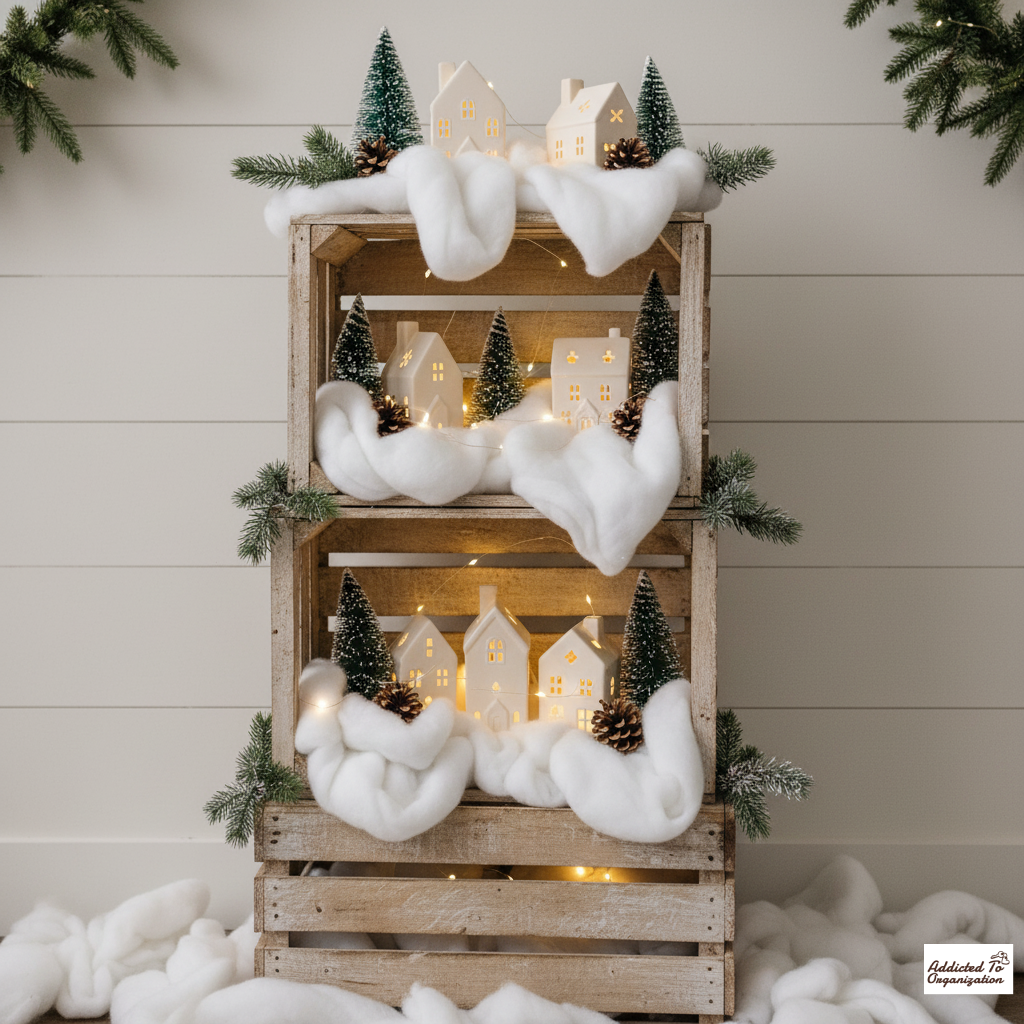
For a rustic and charming look, grab some wooden crates.
How to: Stack rustic wooden crates vertically or horizontally. You can paint them white or leave them natural for a charming farmhouse look. Arrange houses, figurines, faux greenery, and string lights inside each crate section for a unique and dimensional display.
4. DIY Cardboard Houses

Get crafty and build your own village from scratch.
How to: Don’t have any houses yet? No problem! Collect small cardboard boxes (like the ones from tea or cereal). Cut out simple door and window shapes, then paint them in festive colors. Once dry, place a battery-powered tea light inside each one for a budget-friendly and super cute glow.
5. Window Sill Village Scene
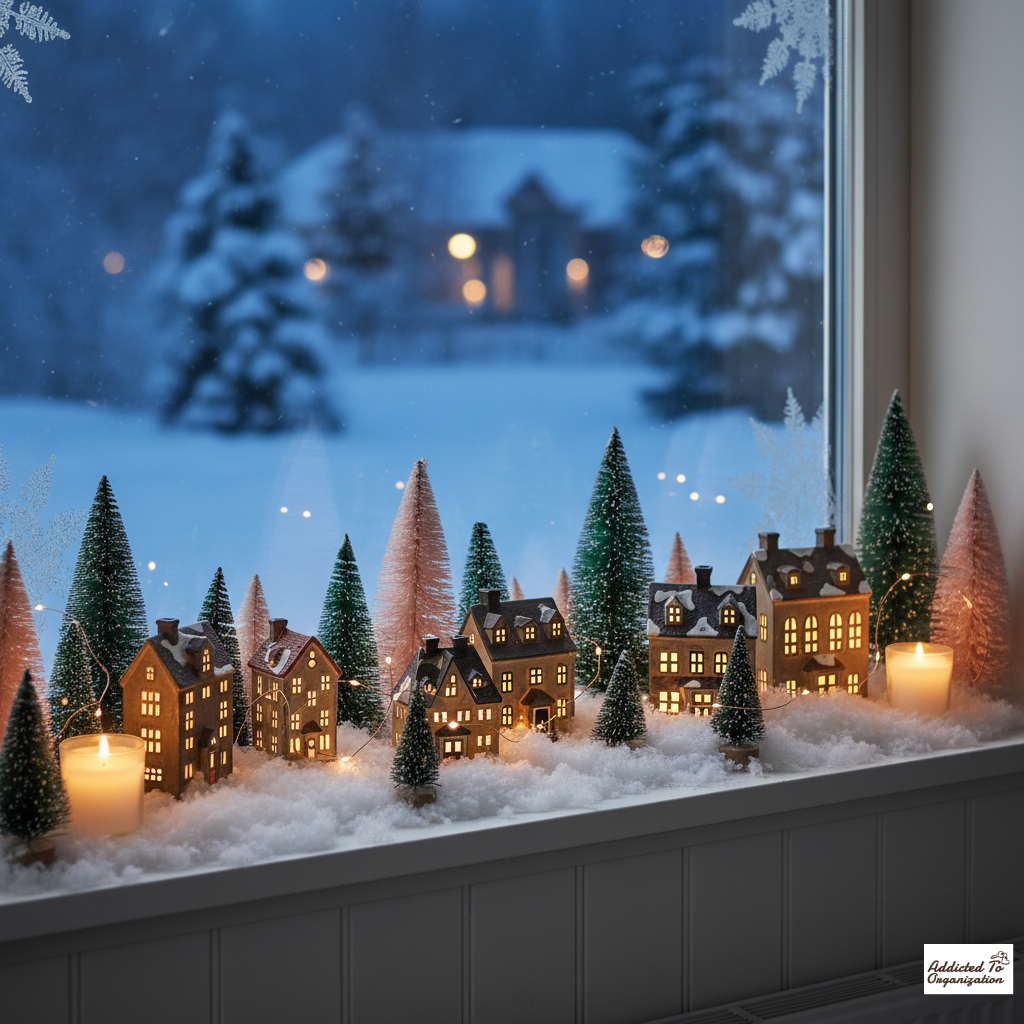
Let the natural light add to the magic of your display.
How to: If you have a wide window ledge, it’s the perfect spot for a village! Line up your mini houses and trees, then add a snow blanket and some twinkle lights. The natural light during the day and the magical glow at night will make your village a showstopper.
6. Rustic Wooden Shelf Display
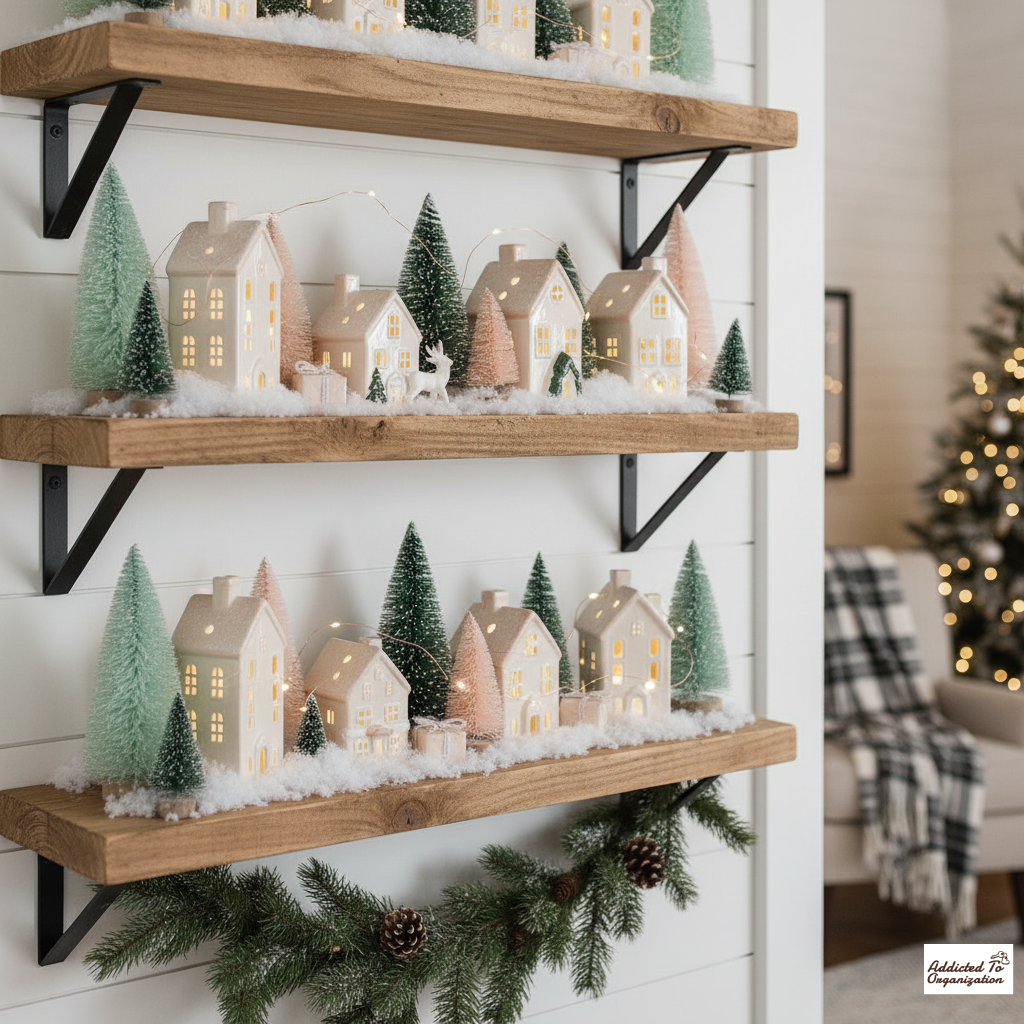
Take your village to new heights with this clever shelving idea.
How to: Use floating shelves or even an old wooden ladder laid on its side to create a vertical village scene. Each shelf can tell a different “story” or be a different neighborhood. Mix up the houses, trees, and figures for visual interest.
7. Mirror Lake Village
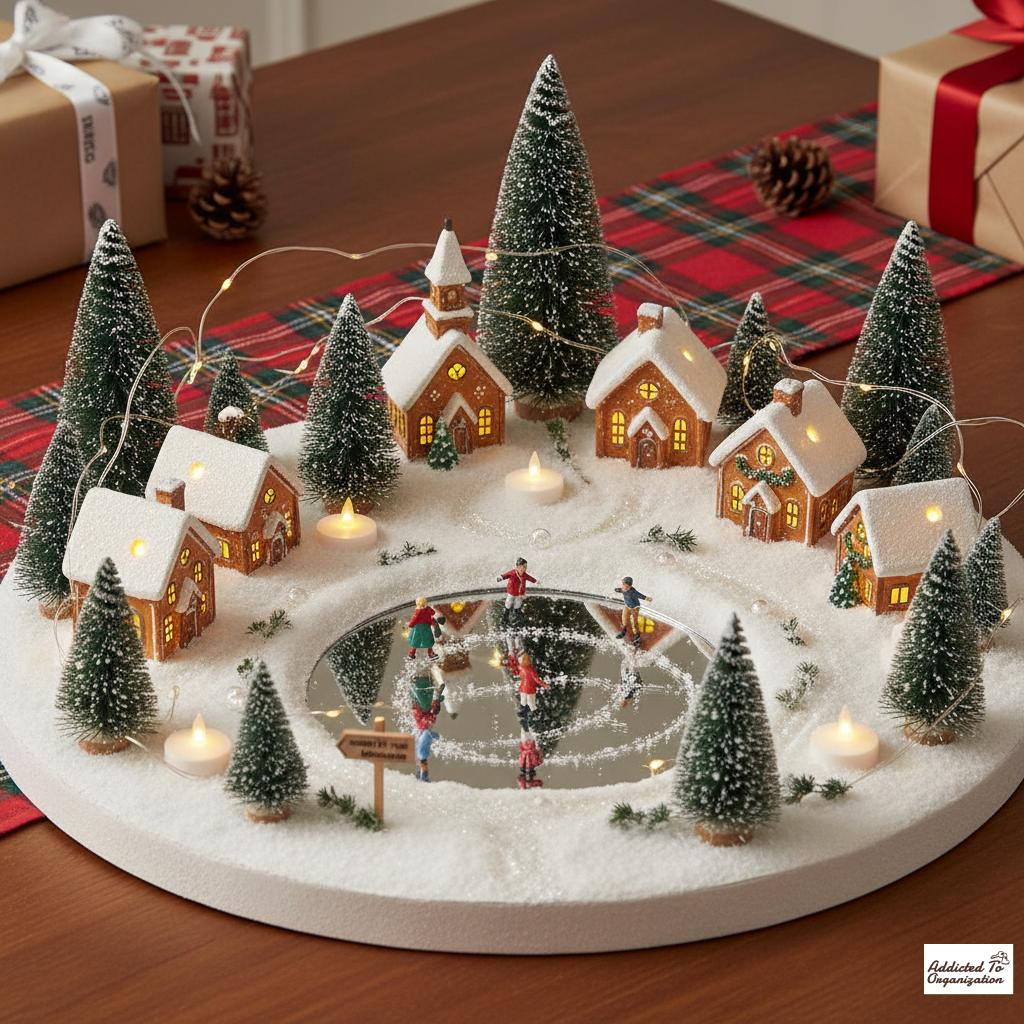
Add a touch of whimsy and a cool optical illusion to your setup.
How to: Place a small mirror or a piece of reflective plexiglass on your display base. Surround it with a village section to create a “frozen pond” or “lake.” Add miniature ice skaters or fishermen to the mirror’s surface for a realistic and whimsical touch.
8. Glass Dome Snow Villages
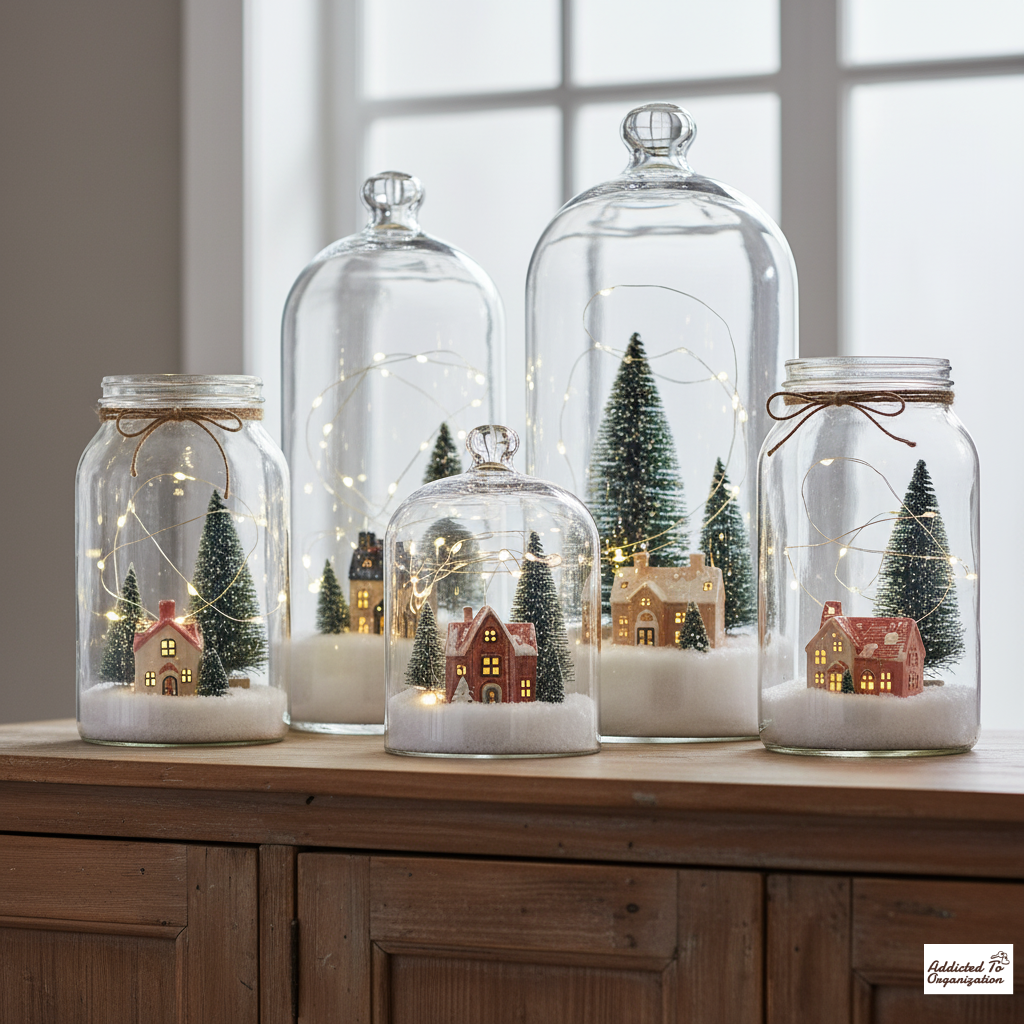
Create a sophisticated and elegant display that’s also protected from dust.
How to: Arrange tiny houses and figures inside clear glass cloches, large mason jars, or even repurposed cake domes. Fill the bottom with a layer of fake snow for a minimalist yet incredibly elegant display. This is a great way to protect your pieces, too!
9. Under-the-Tree Village
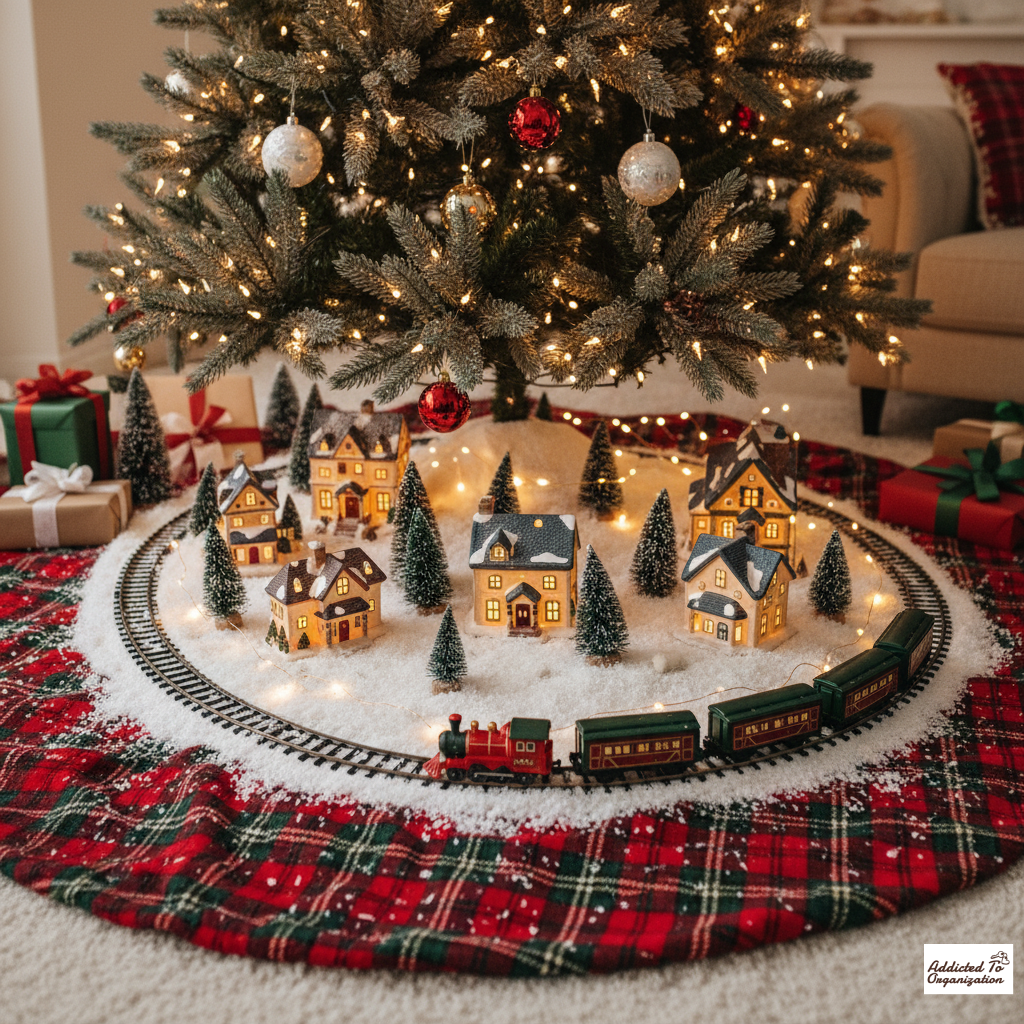
Embrace a timeless tradition that brings a smile to everyone’s face.
How to: This is a classic for a reason! Lay down a base of white felt or a special snow mat under your Christmas tree. Set up your village and a train track circling around it. The combination of the tree and the village creates a truly nostalgic and enchanting scene.
10. Whimsical Candy-Themed Village
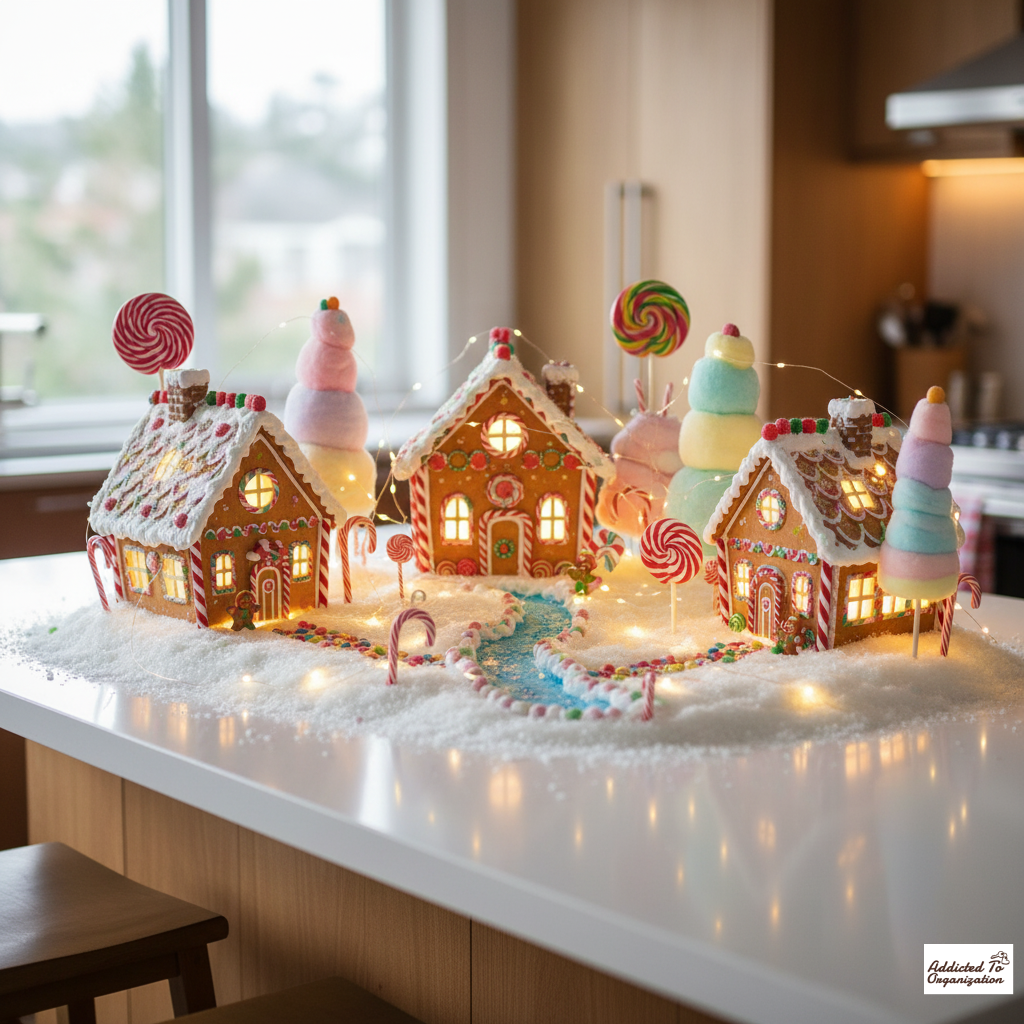
For a sweet twist on the classic winter scene, go with a candy theme.
How to: This one is for those with a sweet tooth! Use gingerbread houses or houses painted in pastel shades. Decorate the surrounding area with oversized candy canes, lollipops, and trees made from gumdrops or other candies (just be careful with pets!).
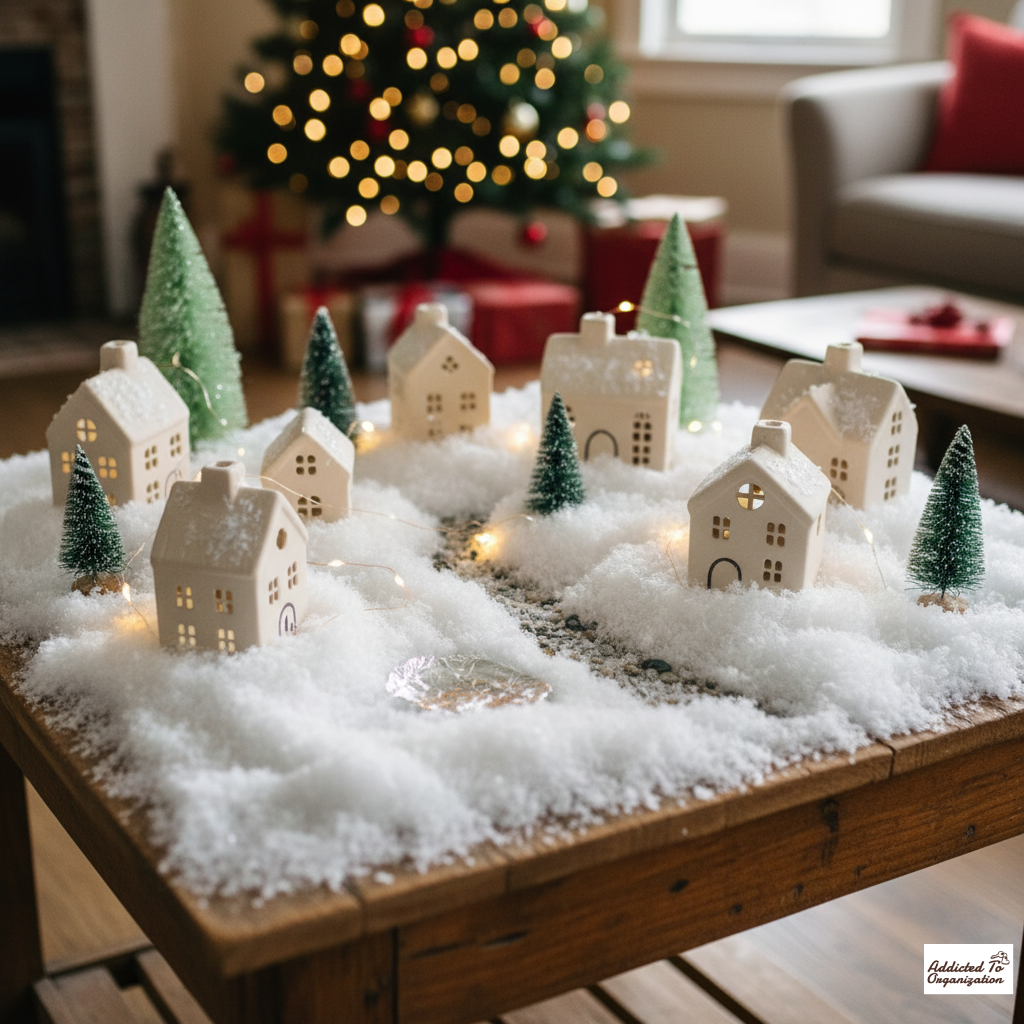
11. Table Centerpiece Village
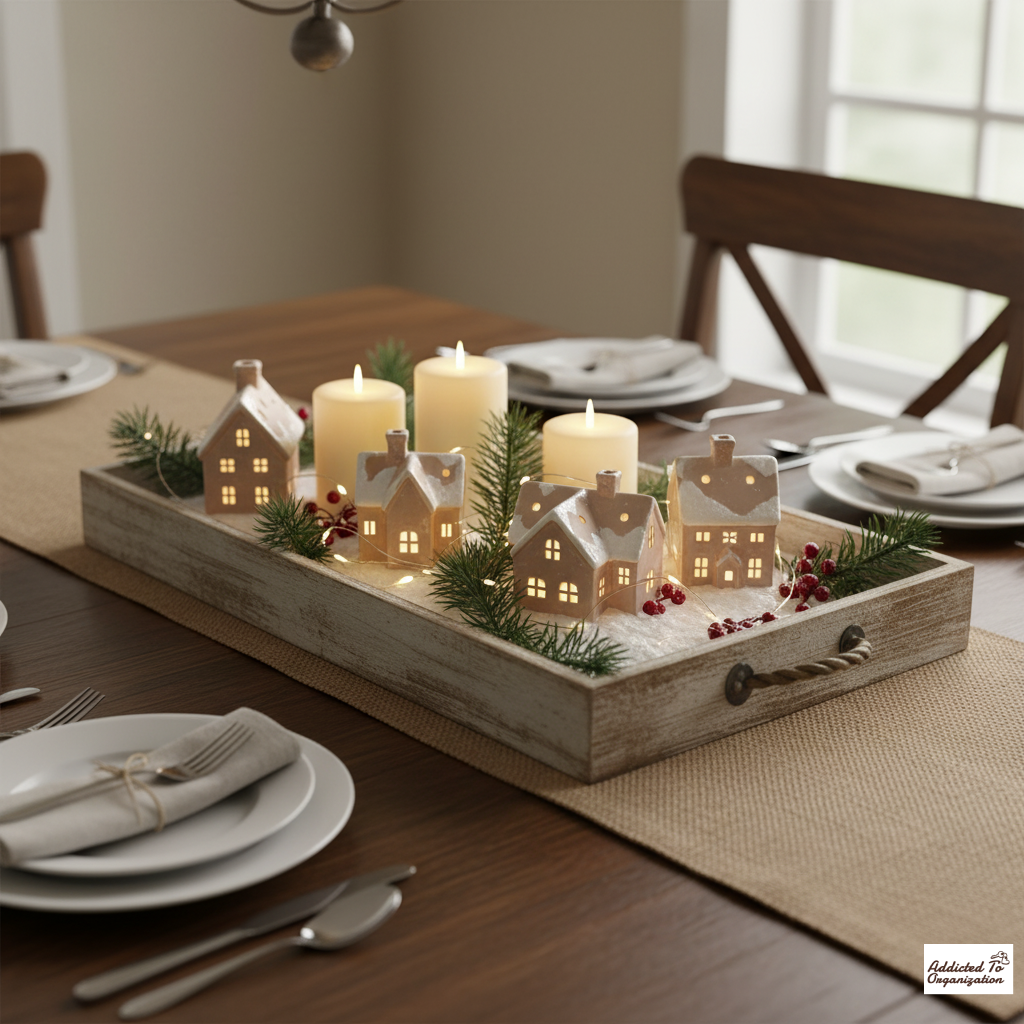
Turn your dining table into a festive focal point.
How to: Grab a simple wooden tray or a decorative platter. Arrange a small village scene with just a few houses, a handful of trees, and some lights. The best part? It’s easy to move when it’s mealtime!
12. Floating Shelf Snow Scene
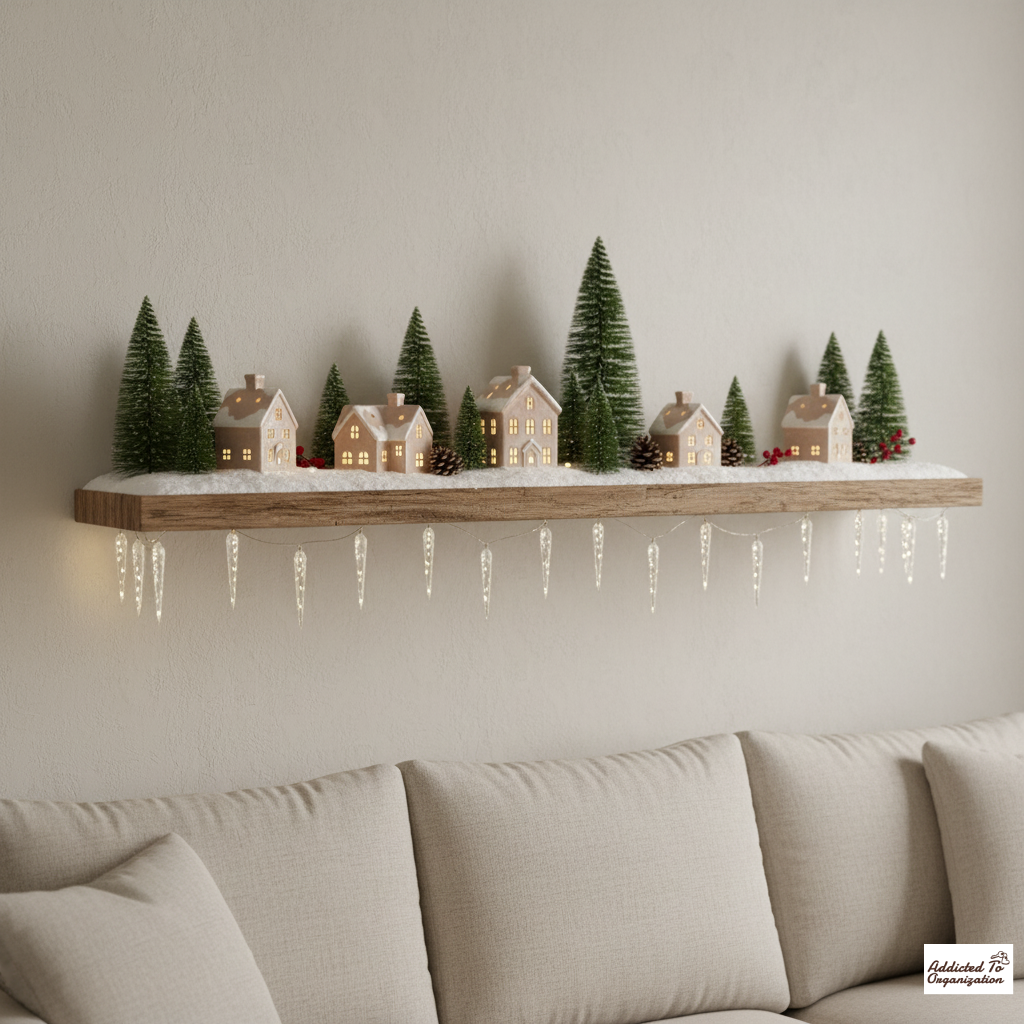
Keep your village off the floor with this modern and minimalist approach.
How to: Install a single, long shelf on an empty wall. Use white felt or a snow blanket as a base and arrange a handful of houses. For a striking effect, hang a string of icicle lights or twinkle lights along the front of the shelf.
13. Dollar Store DIY Village
Your wallet will thank you for this incredibly budget-friendly project.
How to: Want a beautiful display without the hefty price tag? Head to the dollar store! You can find simple houses, faux snow, and inexpensive figurines to combine into a beautiful and unique village display on a shoestring budget.
14. Cozy Corner Village Nook

Transform an unused corner into a special, magical space.
How to: Don’t underestimate a small side table or a corner shelf! It’s the perfect place to design a tucked-away Christmas village. Focus on a few key pieces and a warm-toned light string to create a magical little nook.
15. DIY Felt Trees & Houses
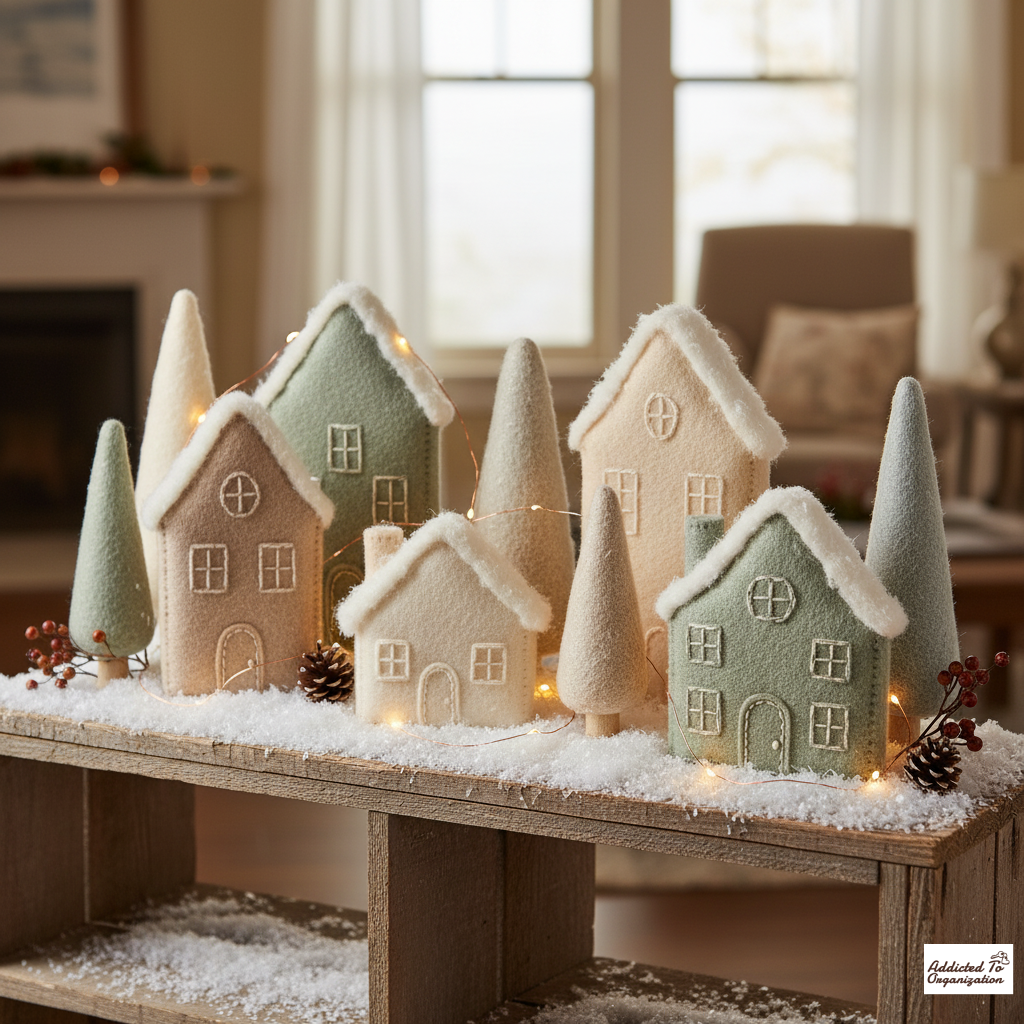
This is a fun and easy project, especially if you have kids.
How to: Get your craft on! It’s easier than you think. Use simple patterns to cut out house and tree shapes from felt or fabric scraps. Sew them together with a basic running stitch, then stuff with cotton balls or fiberfill for a soft, handmade look that’s perfect for little hands (and a great afternoon project!).
16. Ladder Shelf Village Scene
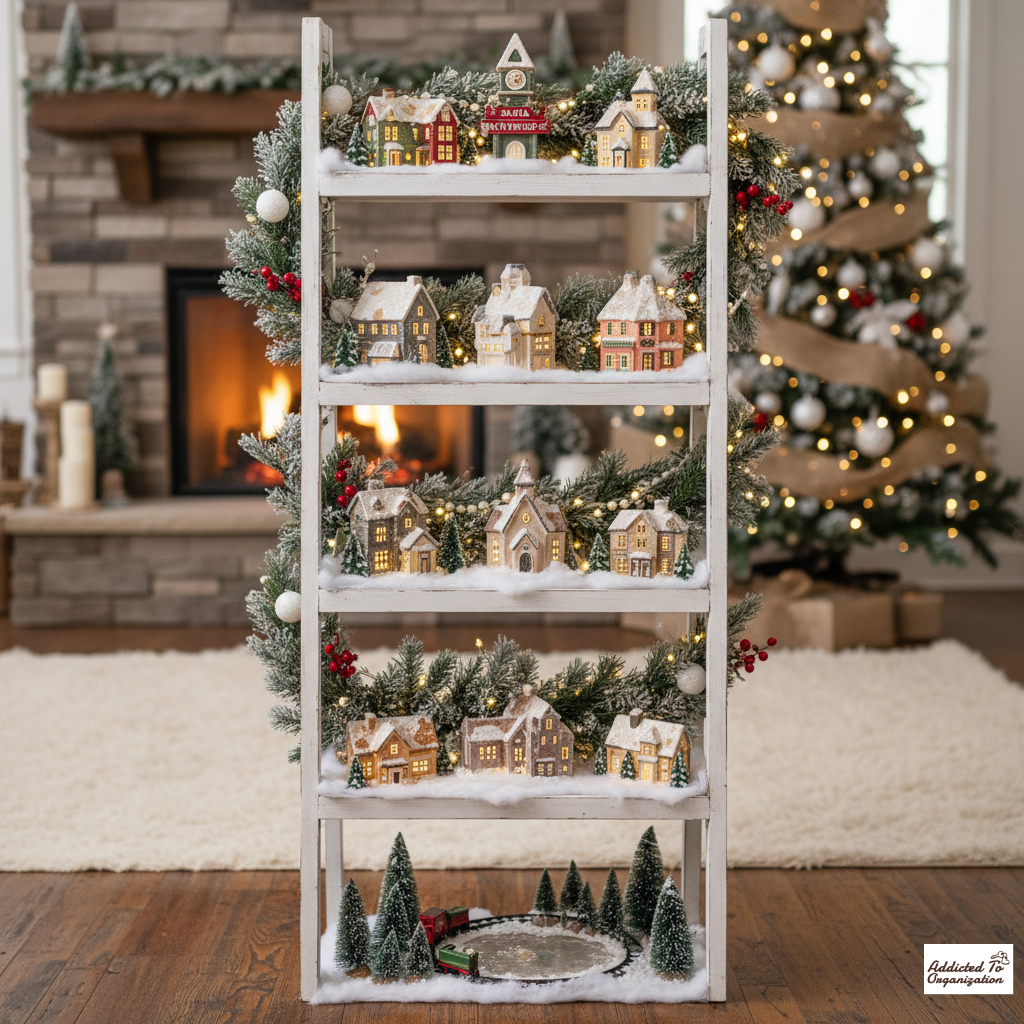
Use a vertical display to showcase a large collection in a small area.
How to: Take a leaning ladder shelf and transform it into a vertical Christmas village. Decorate each rung with a different section of your village, adding lights, trees, and houses as you go. It’s a great way to display a lot of pieces in a small footprint.
17. Vintage Book Village

Book lovers, this one’s for you!
How to: Stack old books as “mountains” and “hills” to give your village a layered look. Place your mini houses on top for a rustic, literary-inspired holiday scene. The varied heights add great dimension.
18. Baking Sheet Village Base

Simplify your setup and storage with this clever trick.
How to: Say goodbye to endless packing and unpacking! This idea is a total genius move for storage. Simply grab an old baking sheet, cover it with white felt or a snow mat, and arrange your houses and lights right on it. When the season’s over, slide the whole thing into storage, display base and all!
19. DIY PVC Pipe Snow Tunnels
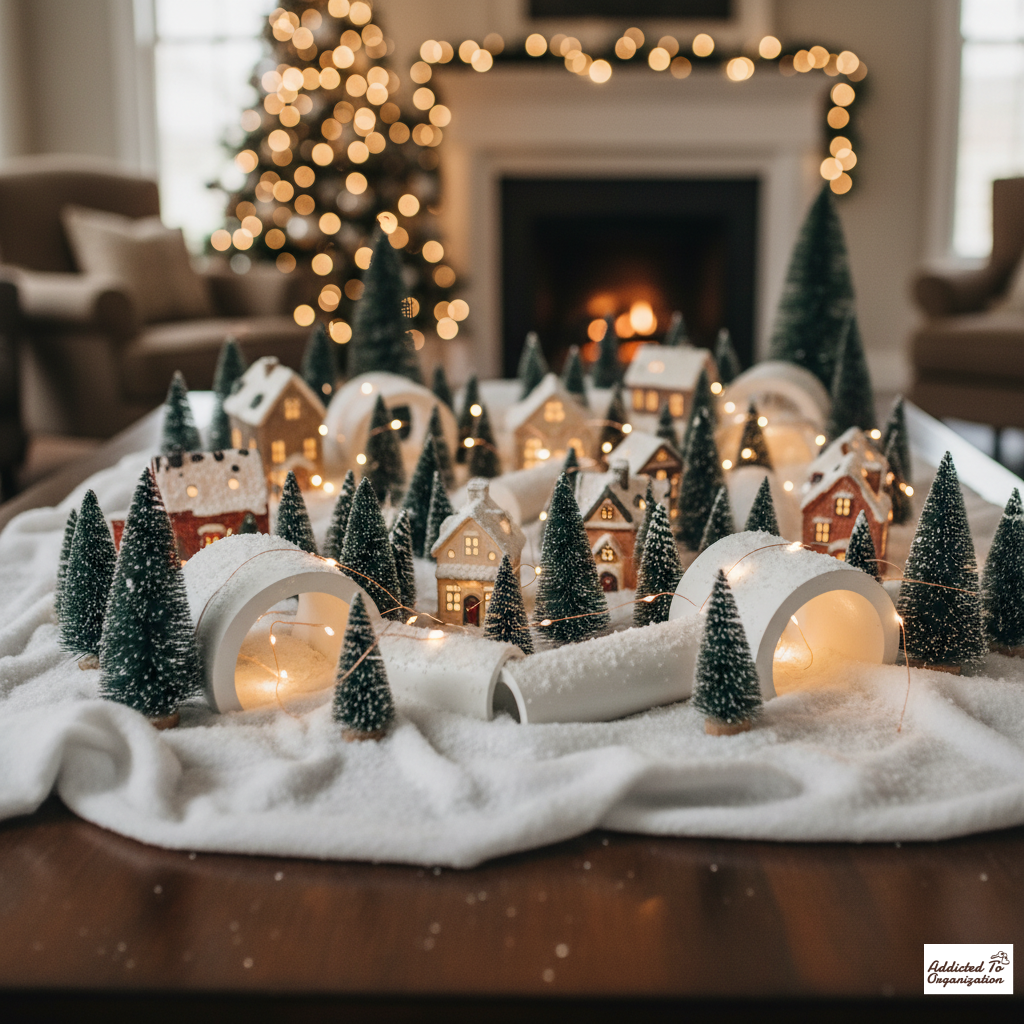
Add some unexpected and cool architectural elements to your village.
How to: Head to the hardware store and grab a few pieces of PVC pipe. Cut them to size and paint them white. You can then use them as snow tunnels or bridges to connect different sections of your village.
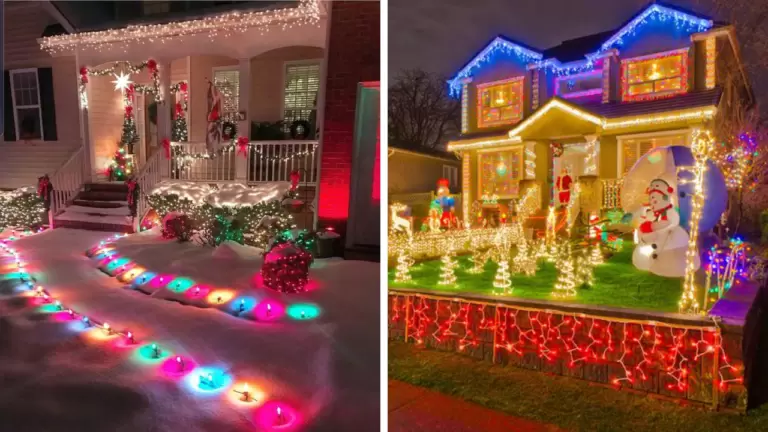
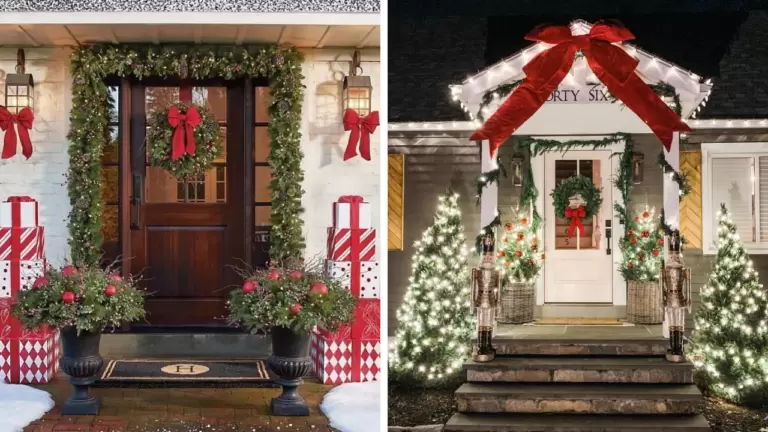
20. Outdoor Porch Village
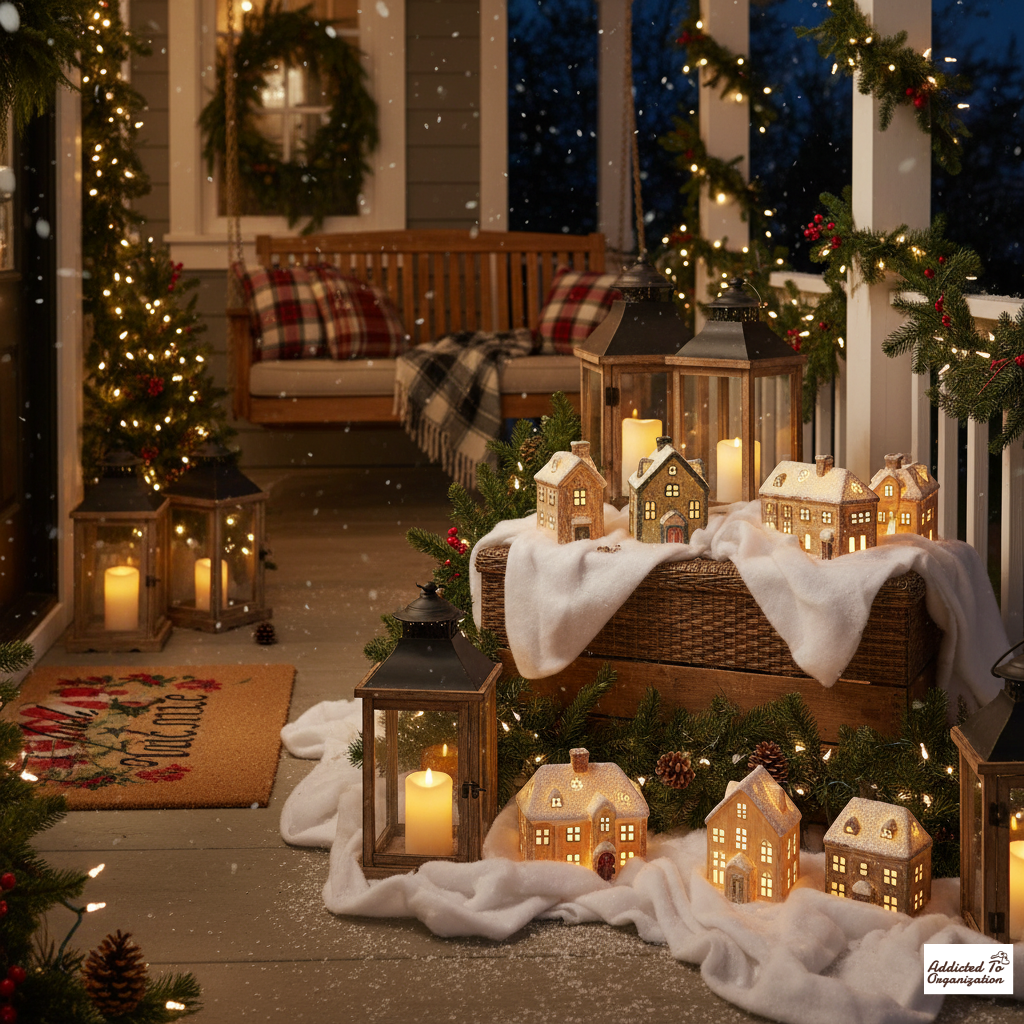
Welcome guests with a festive outdoor scene.
How to: For a festive welcome, create a weatherproof mini village on your covered porch. Use lanterns, faux snow blankets, and battery-operated lights. Just make sure all your materials can handle the outdoor elements.
21. Fireplace Hearth Village
Let the warmth of the fire enhance your cozy village.
How to: Use the space directly on your fireplace hearth to create a magical village. This is a perfect spot for glowing lanterns, mini houses, and faux snow. The soft glow of the fire (or a few candles) will make it feel extra cozy.
22. Hanging Shelf Village Scene
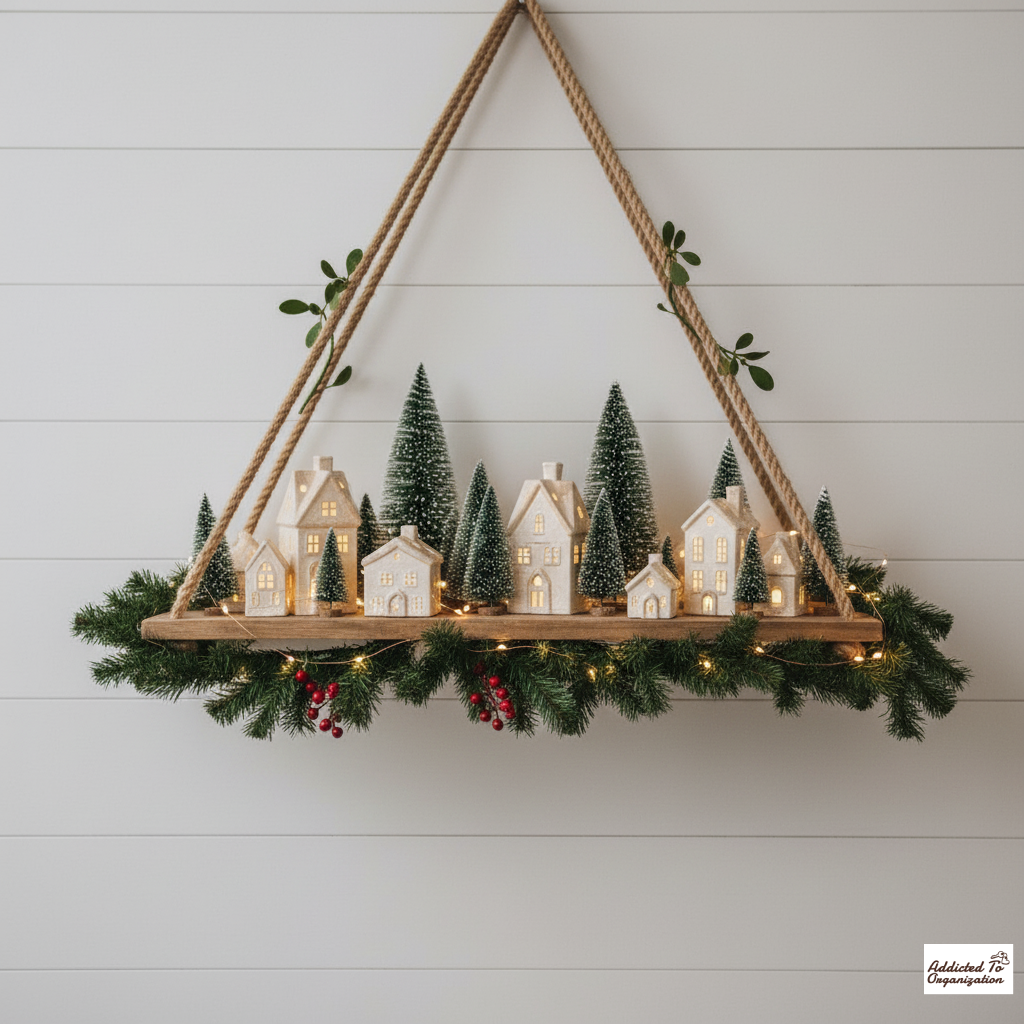
Create a unique and eye-catching display that appears to float.
How to: Install a simple hanging wooden shelf with ropes. Then, arrange small houses, twinkle lights, and greenery on the shelf. This creates a unique floating Christmas village effect that adds visual height to your decor.
23. Vintage Suitcase Village
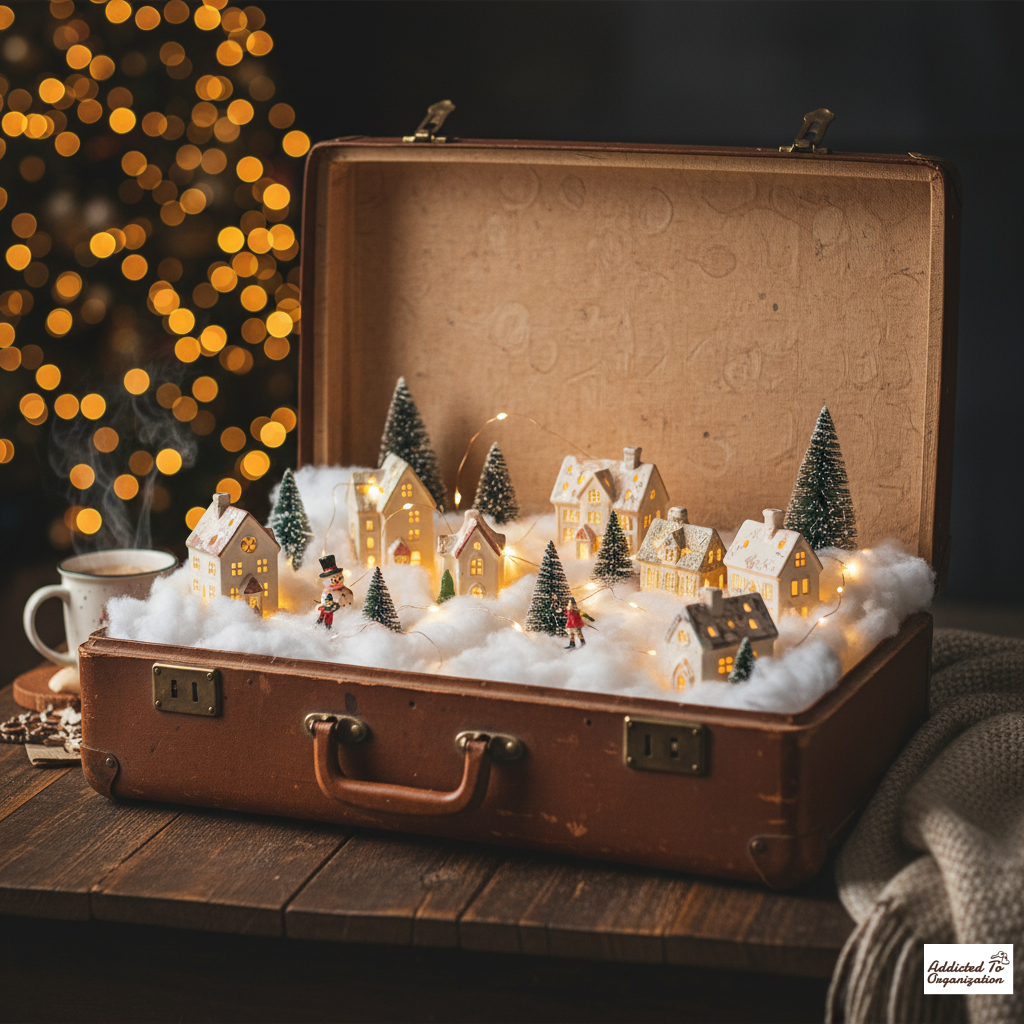
Bring a touch of old-world charm to your holiday decor.
How to: Turn an open vintage suitcase into a portable Christmas village. Line it with some fake snow and arrange miniature trees, houses, and fairy lights inside for a nostalgic, whimsical look. It’s a great conversation starter!
24. DIY Paper Bag Village
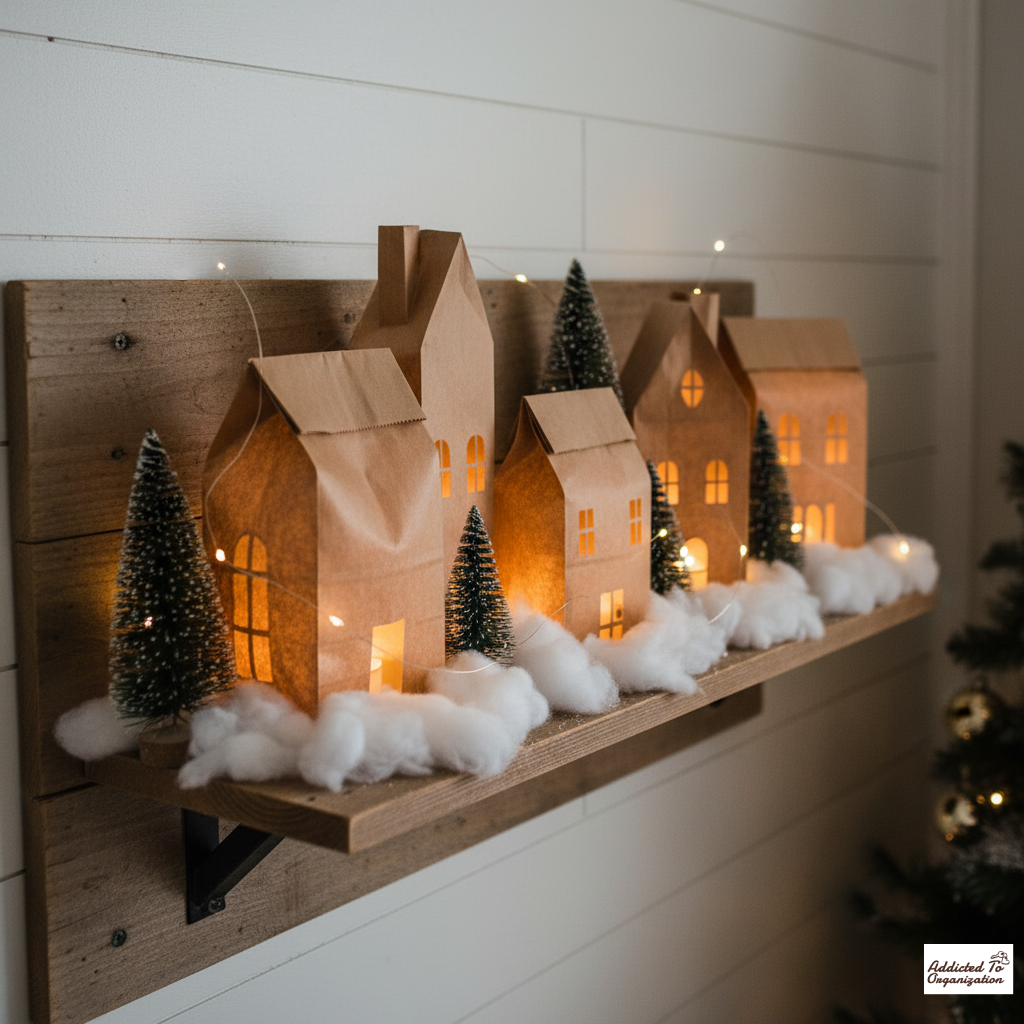
This is a super simple and affordable way to get started.
How to: Cut simple house shapes from brown paper bags. Add cut-out windows and doors. Once the shapes are complete, place an LED tea light inside each one for an easy, affordable, and surprisingly beautiful DIY village.
25. Kitchen Counter Village
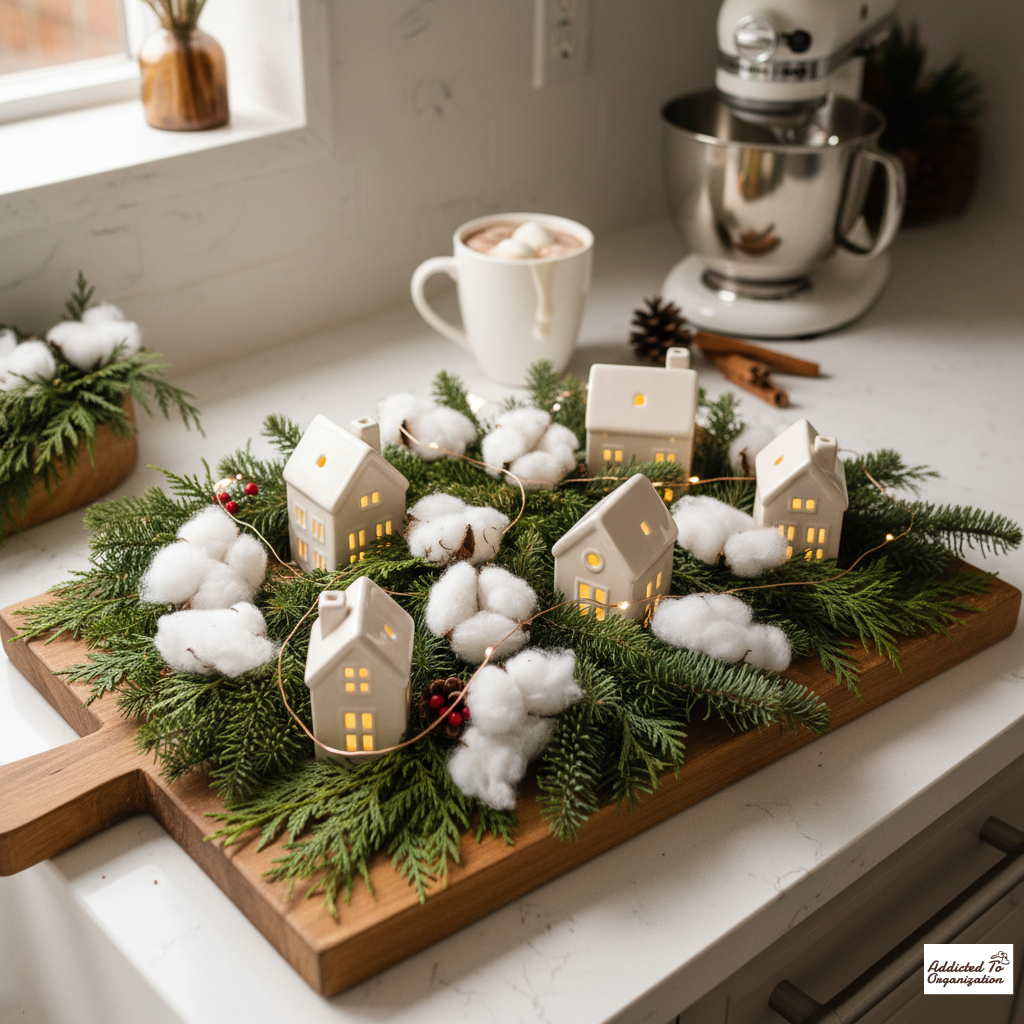
Add a little holiday cheer to the heart of your home.
How to: Use a wooden cutting board or a decorative tray to set up a mini Christmas village on your kitchen counter. This adds a warm, festive glow while you’re cooking and is easy to move out of the way when you need the space.
26. Staircase Village Scene
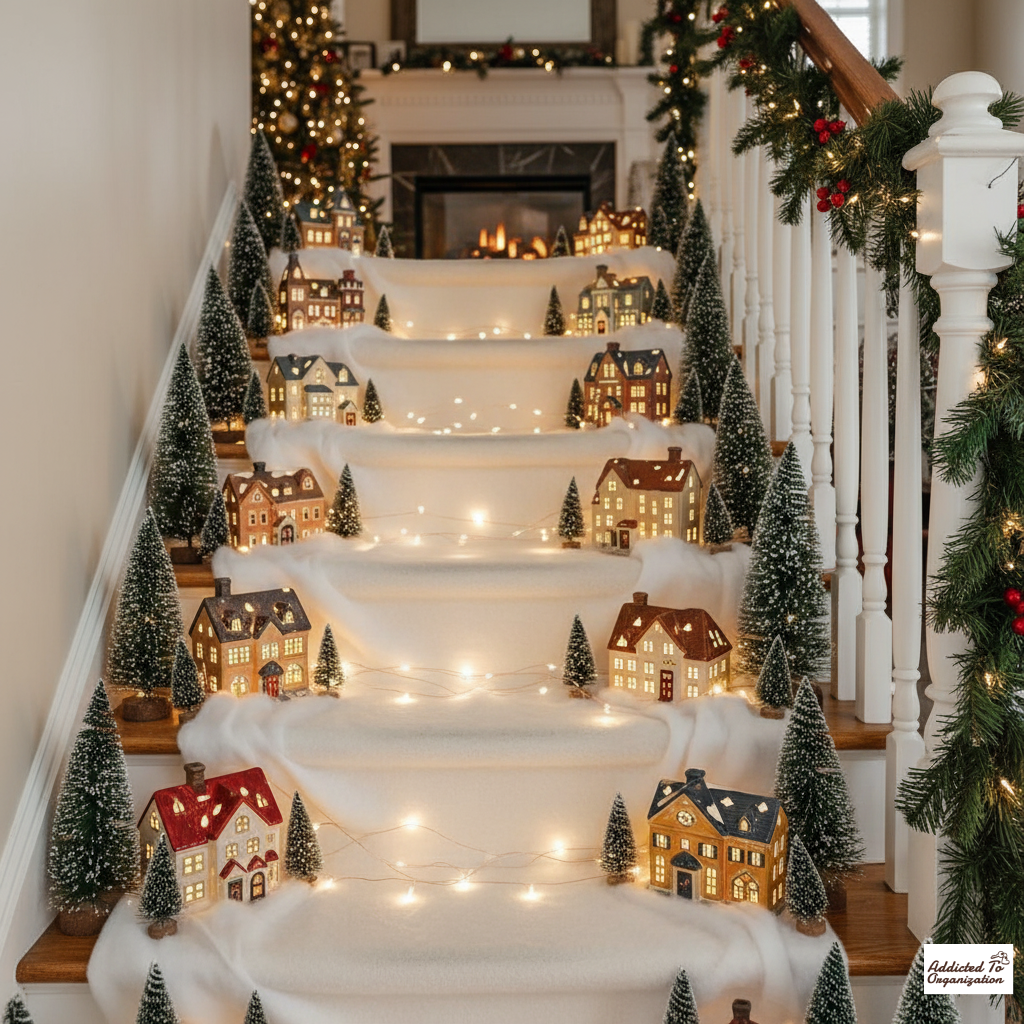
Create a beautiful, cascading display that goes up the stairs.
How to: Decorate your staircase steps with clusters of mini houses, trees, and lights. You can secure them with adhesive putty to create a cascading holiday village effect as you walk up and down the stairs.
27. Mason Jar Lid Snow Globes

Turn simple lids into tiny, charming snow globes.
How to: Use the lids of mason jars as mini “snow globe” bases for tiny houses and trees. You can glue the pieces directly to the lid. Then, group several together on a shelf or table for a cute and simple display.
28. Wooden Pallet Backdrop Village
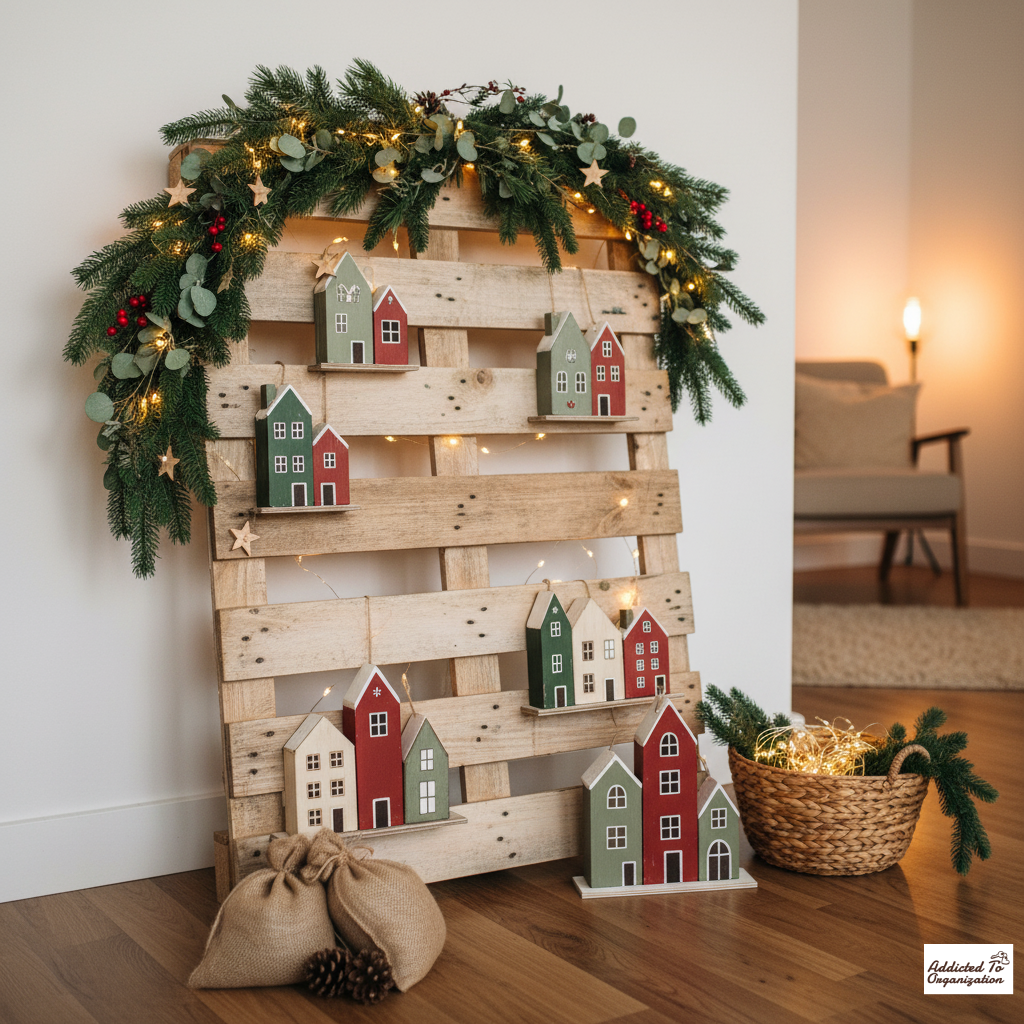
Get that perfect rustic vibe with a repurposed pallet.
How to: Stand an old wooden pallet against a wall. The rough-hewn wood provides a rustic, textured backdrop. Then, arrange your houses and trees in front for a lovely, rustic holiday village scene.
29. DIY Canvas Village Art
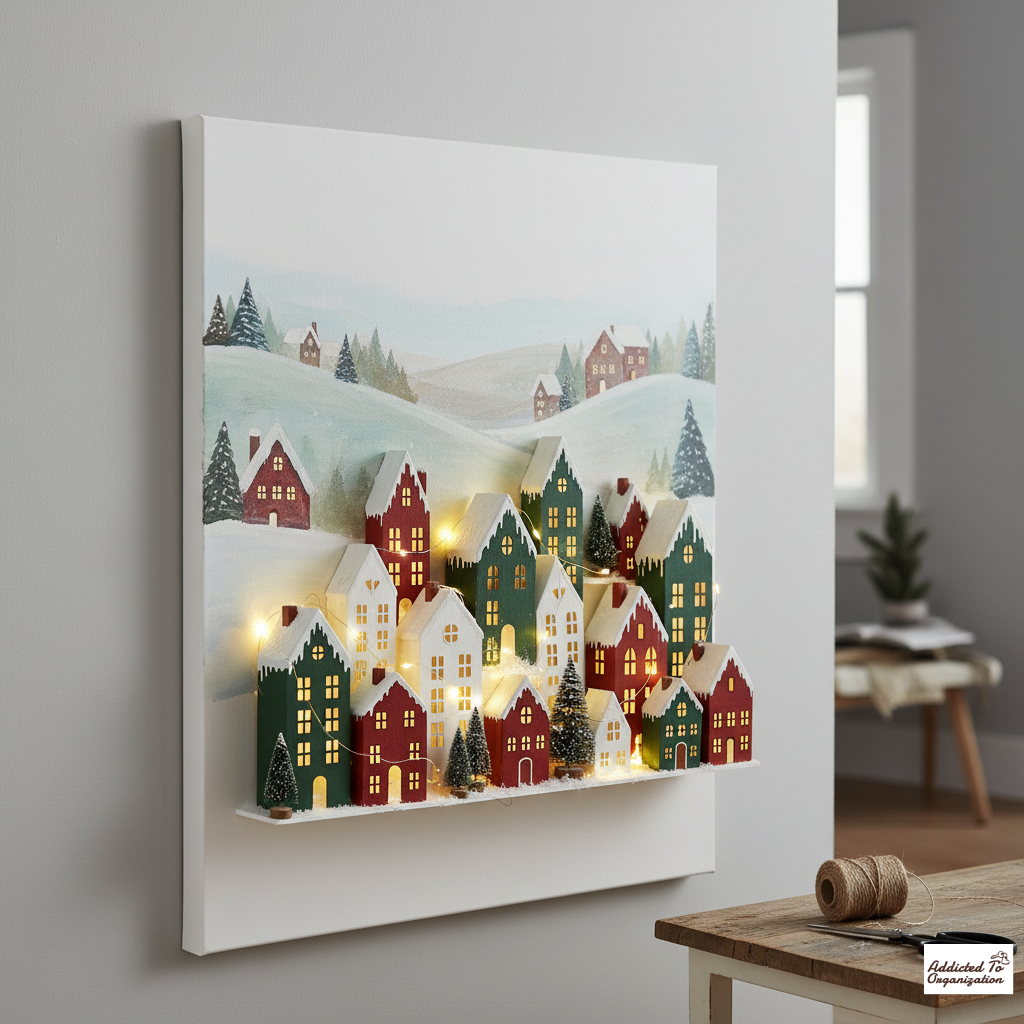
Combine a painted backdrop with a 3D village for a unique piece of art.
How to: Take a large canvas and paint or stencil a Christmas village scene on it. Once the paint is dry, you can add real mini houses, trees, and lights in front of it for a cool, 3D wall display.
30. Tiered Plant Stand Village
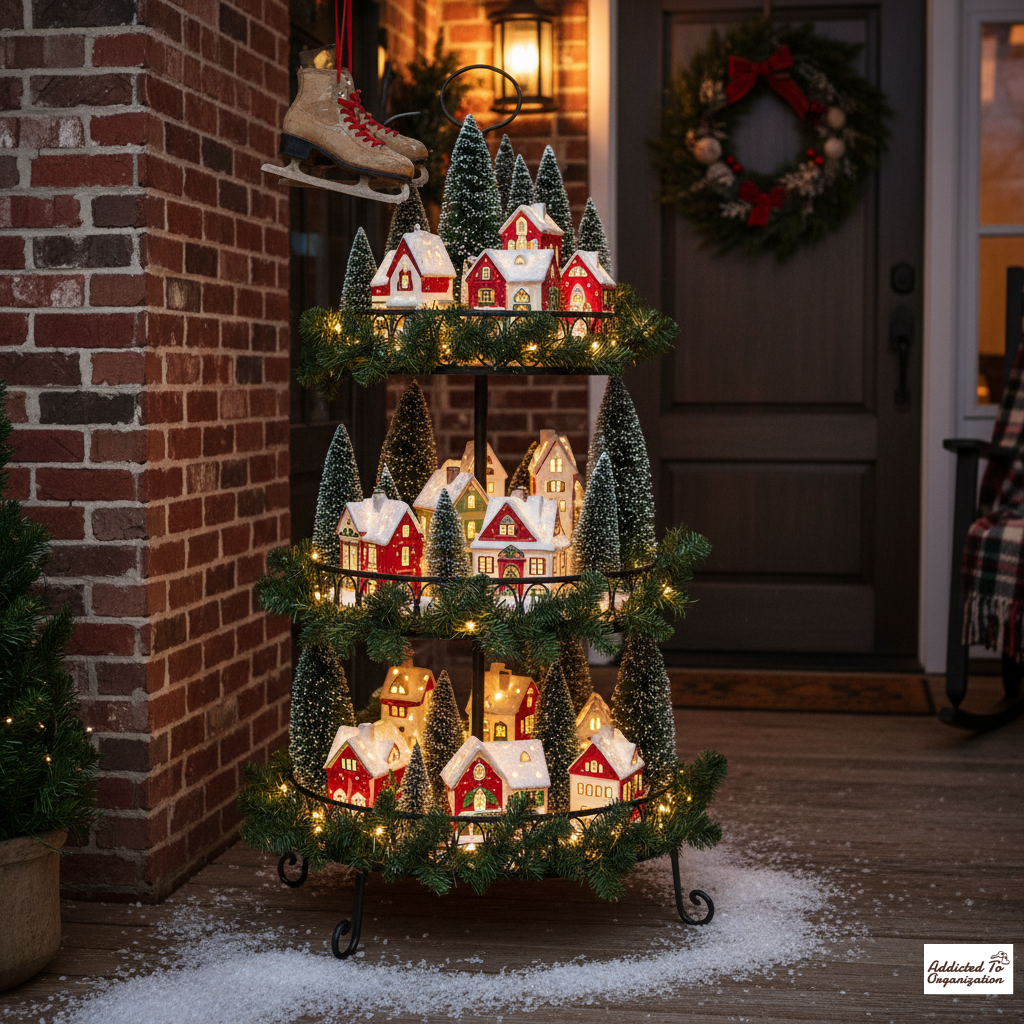
Give your plant stand a new life and turn it into a multi-level village.
How to: Give your plant stand a new life! Repurpose a tiered metal stand to hold your Christmas village, creating a beautiful vertical display. Think of it as a multi-level neighborhood, with each tier showcasing a different part of your village. Add fairy lights and a little greenery to the stand itself for a whimsical, cascading holiday scene.
We hope these ideas sparked some serious holiday creativity! Whether you’re building a grand-scale village or a cozy corner nook, the most important part is having fun. Which one of these magical ideas are you going to try first? We’d love to see it! Snap a photo and share it with us in the comments below or tag us on Instagram! If you found this list helpful, be sure to share it with a fellow crafter and pin it to your holiday inspiration board. Now go get your craft on, and happy building!