30 Beautiful Mulch Landscaping Ideas
This post may contain affiliate links: full affiliate disclosure.
Mulch is the secret to a yard that stays organized and looks clean all year. It does more than just look good; it keeps weeds down and saves you from watering every day. Honestly, I always start any outdoor project with a fresh delivery of mulch because it provides the biggest change for the least amount of work.
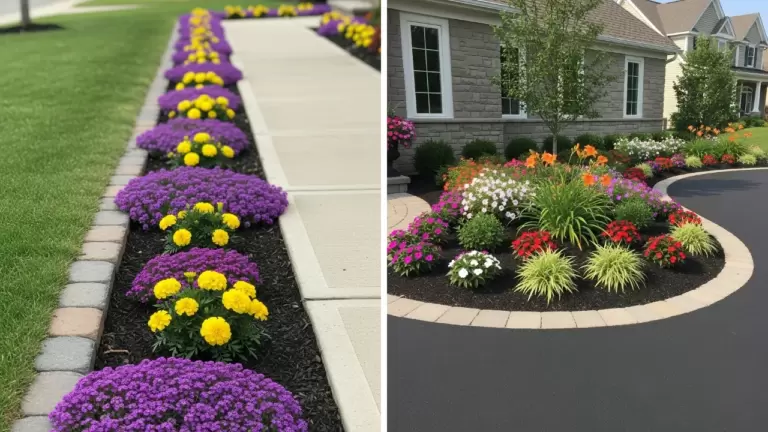
1. Mulch Flower Bed Borders
This involves creating a crisp edge between your lawn and flowers. It stops grass from creeping into your beds and makes the yard look finished. Honestly, I always do this first because it hides messy soil instantly.
- Use an edger tool first.
- Keep mulch three inches deep.
- Slope it away from stems.
Pro Tip: Quick win: Dig a small trench before adding mulch to catch runoff.
2. Mulch Around Trees
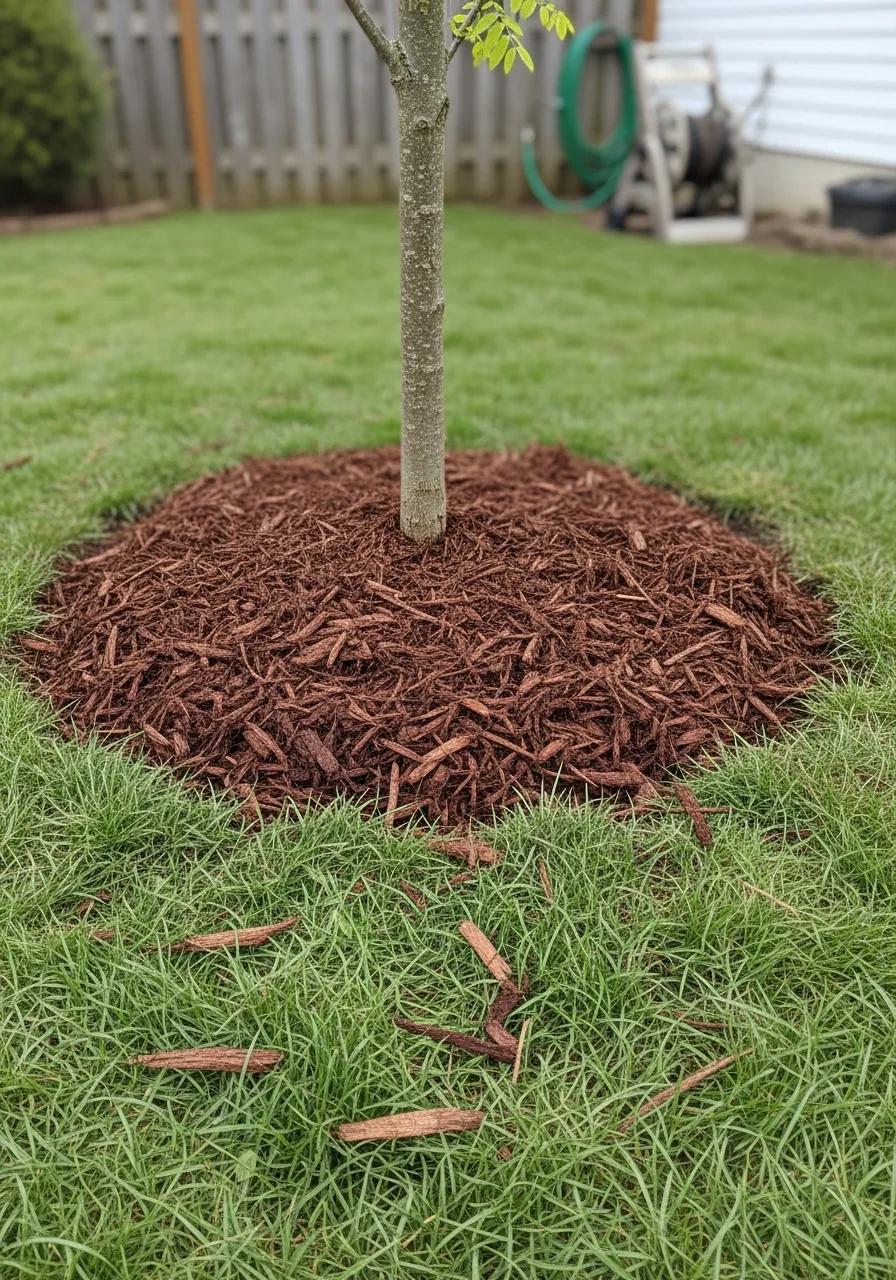
You make a circular bed of mulch around the base of your trees. This protects the trunk from lawnmowers and helps the roots stay hydrated. My take: skip the mulch volcano because piling it against the bark kills trees.
- Keep mulch away from bark.
- Make the ring wide enough.
- Level the surface evenly.
Pro Tip: Most people skip this: Leave a two-inch gap between the trunk and mulch.
3. Mulch Garden Pathways
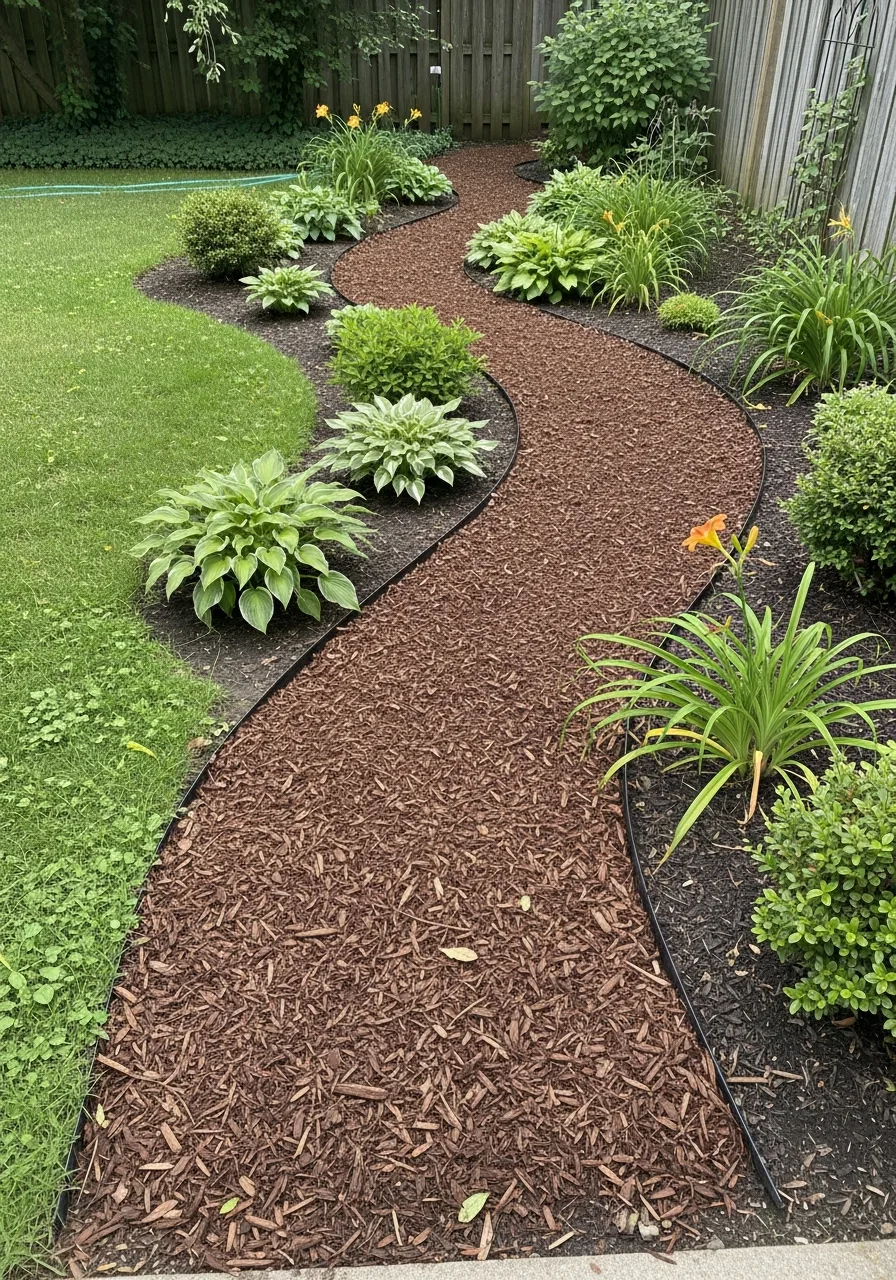
These paths use wood chips to create a soft walking surface through your yard. They are much cheaper than stone and feel great under your feet. I’ve found that cedar mulch lasts longest and smells amazing.
- Lay landscape fabric first.
- Use a thick four-inch layer.
- Rake it smooth weekly.
Pro Tip: Here’s what I do: Use a leaf blower on low to clear debris.
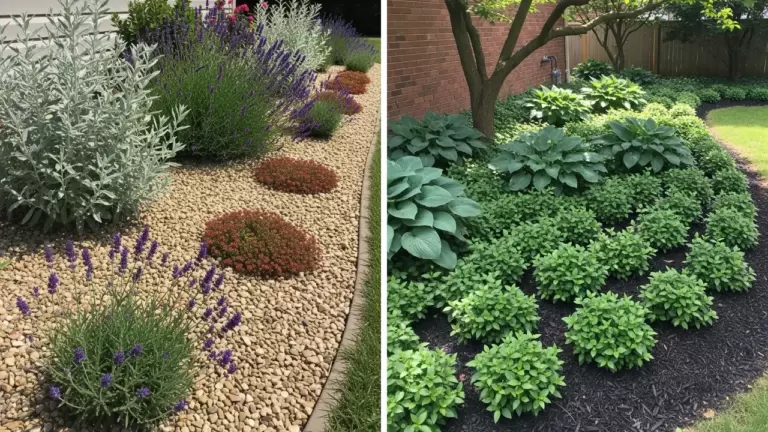
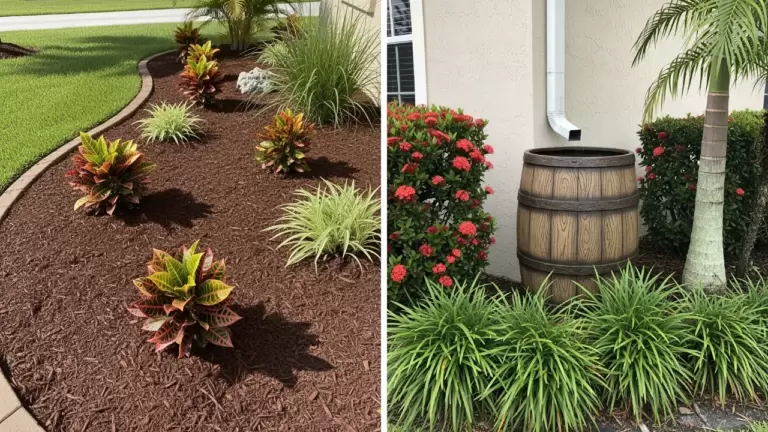
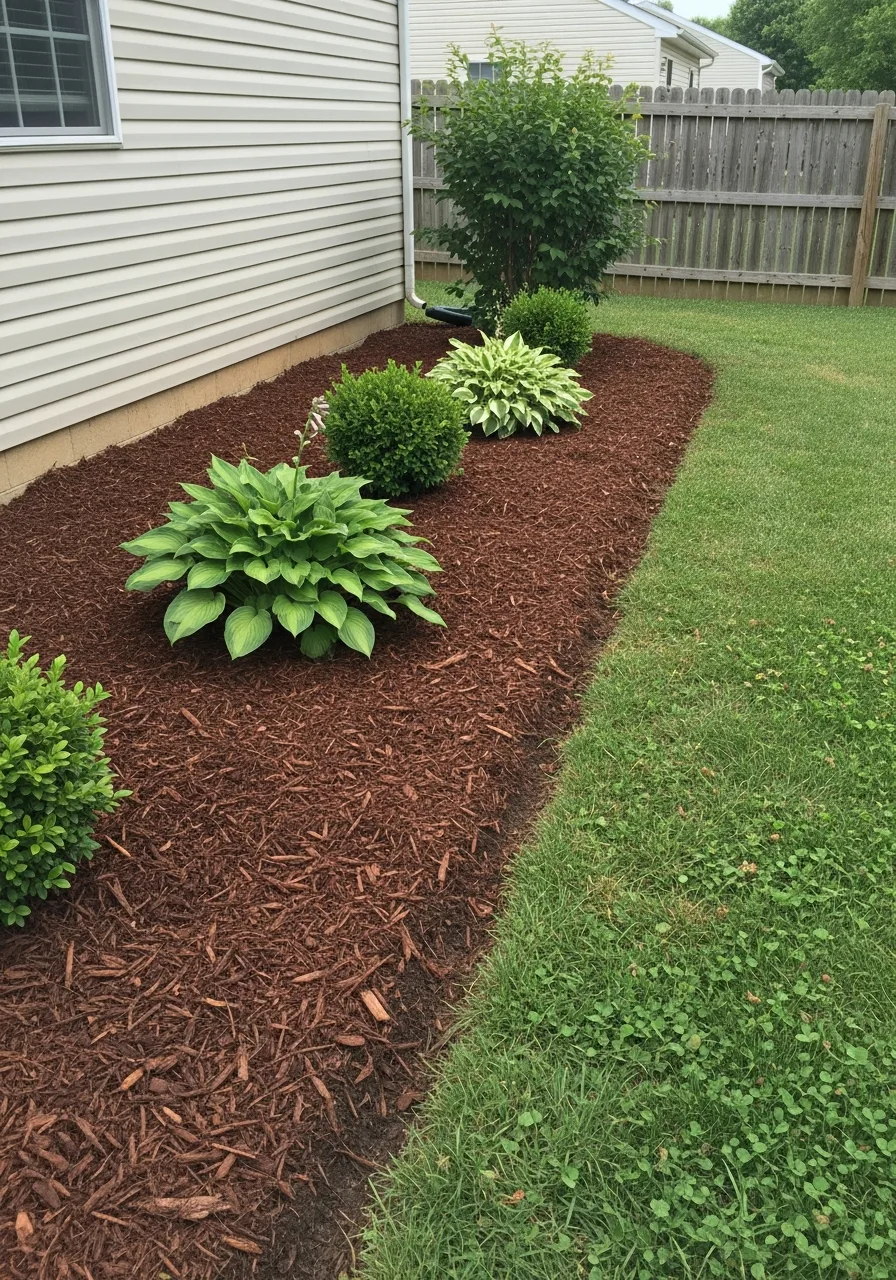
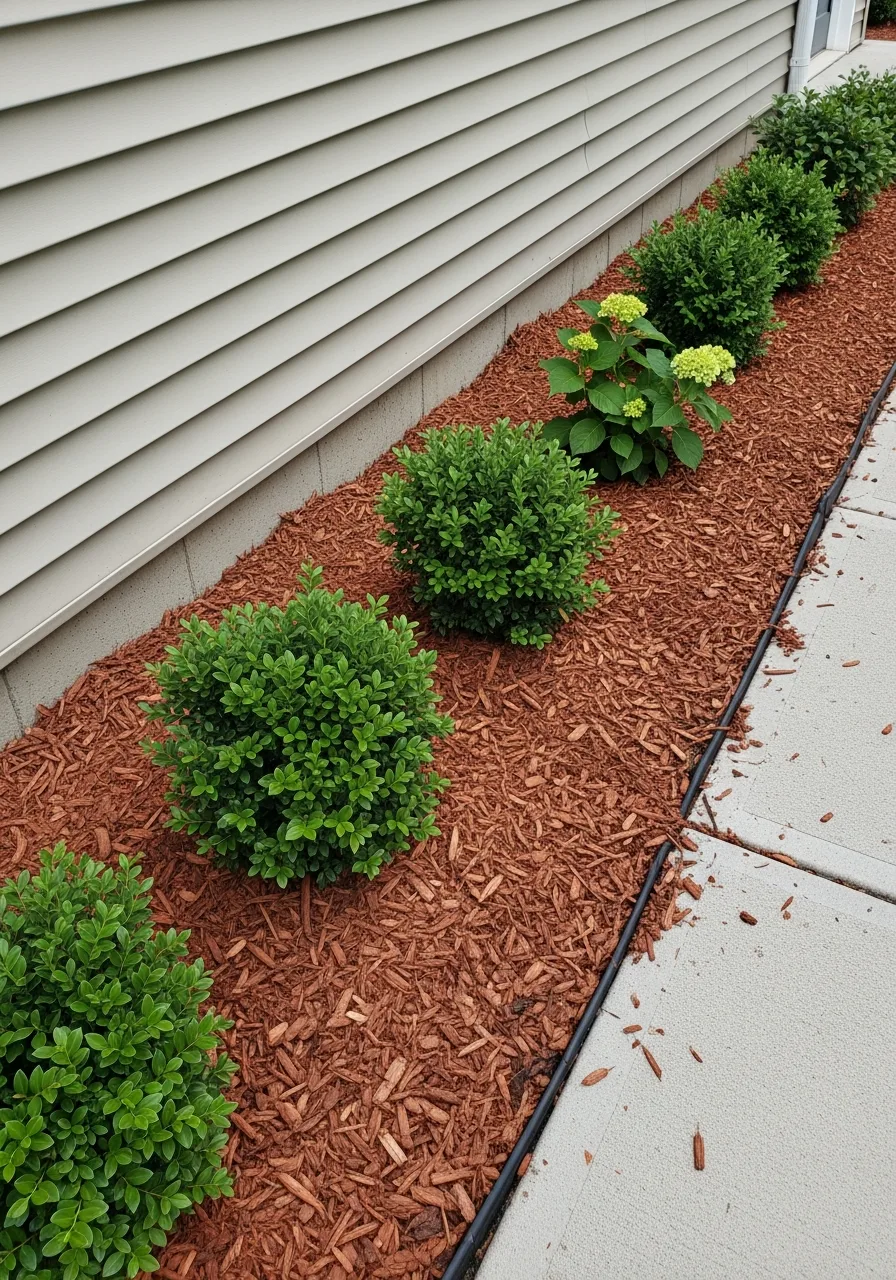
4. Black Mulch Modern Garden
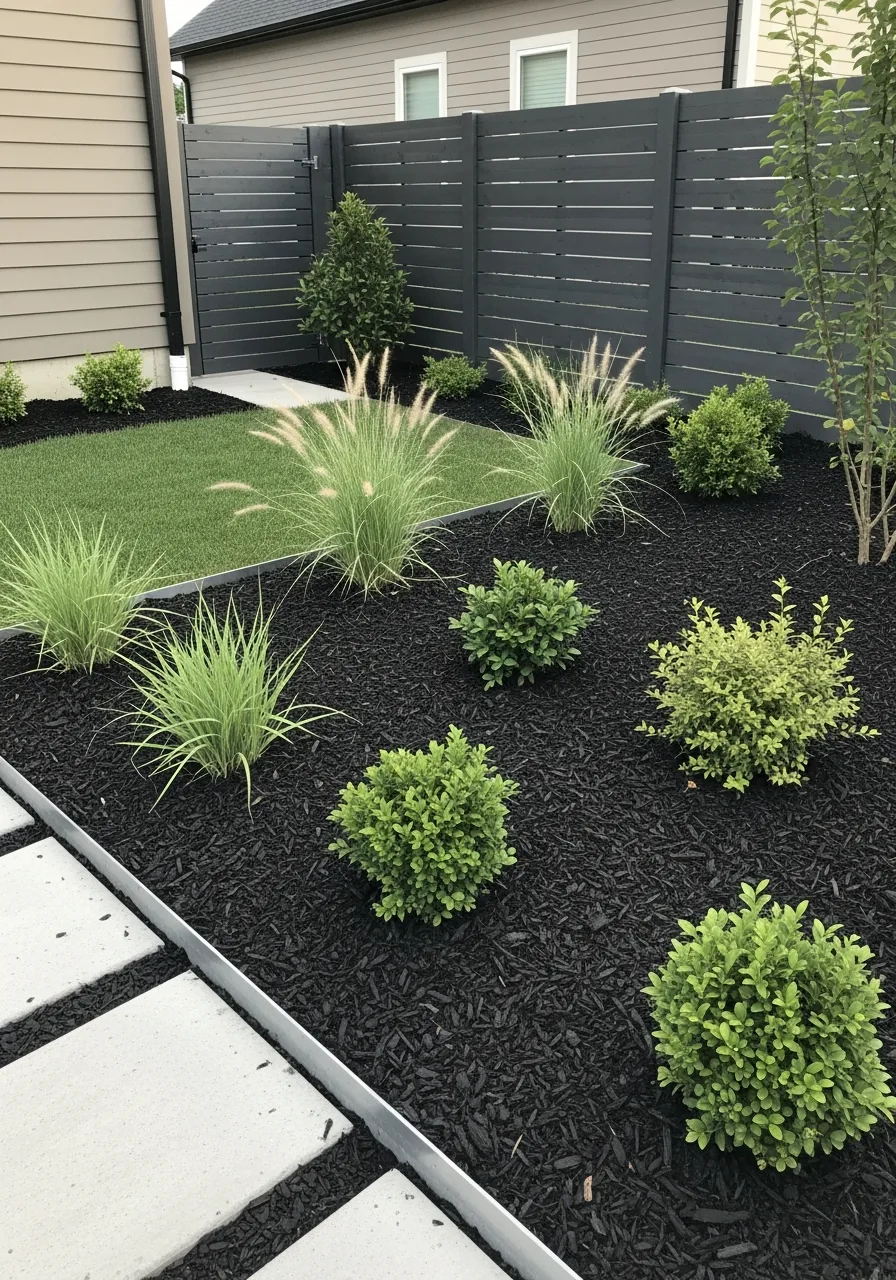
This style uses deep black mulch to make green plants really pop. The dark color creates a high-end look that hides shadows well. Honestly, this is my favorite choice for modern homes with white siding.
- Wear gloves to avoid stains.
- Pair with bright green hostas.
- Refresh the color every spring.
Pro Tip: Quick win: Use dyed mulch for the longest-lasting dark color.
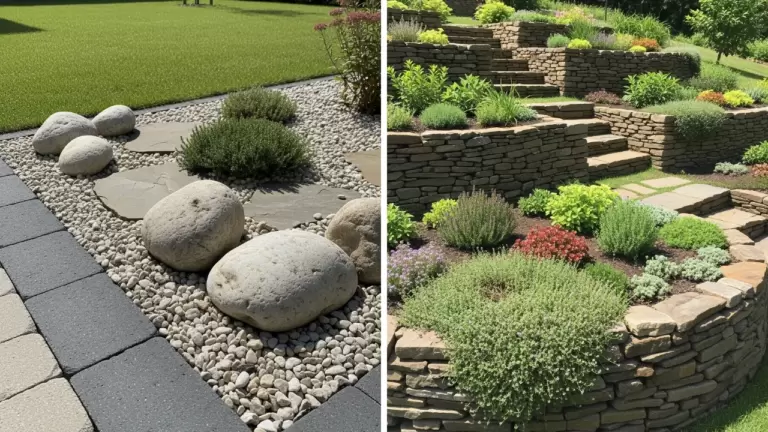
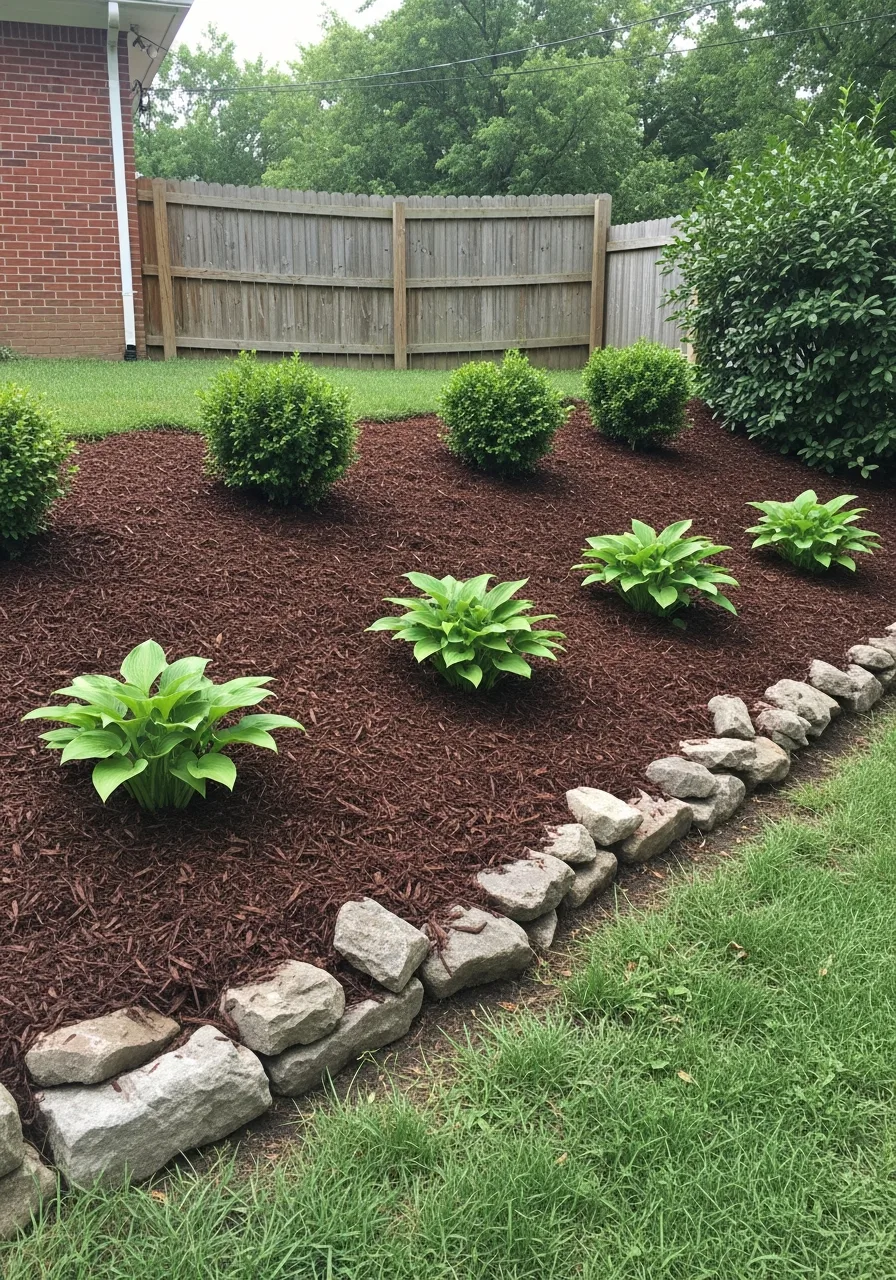
5. Mulch Stone Border Combo
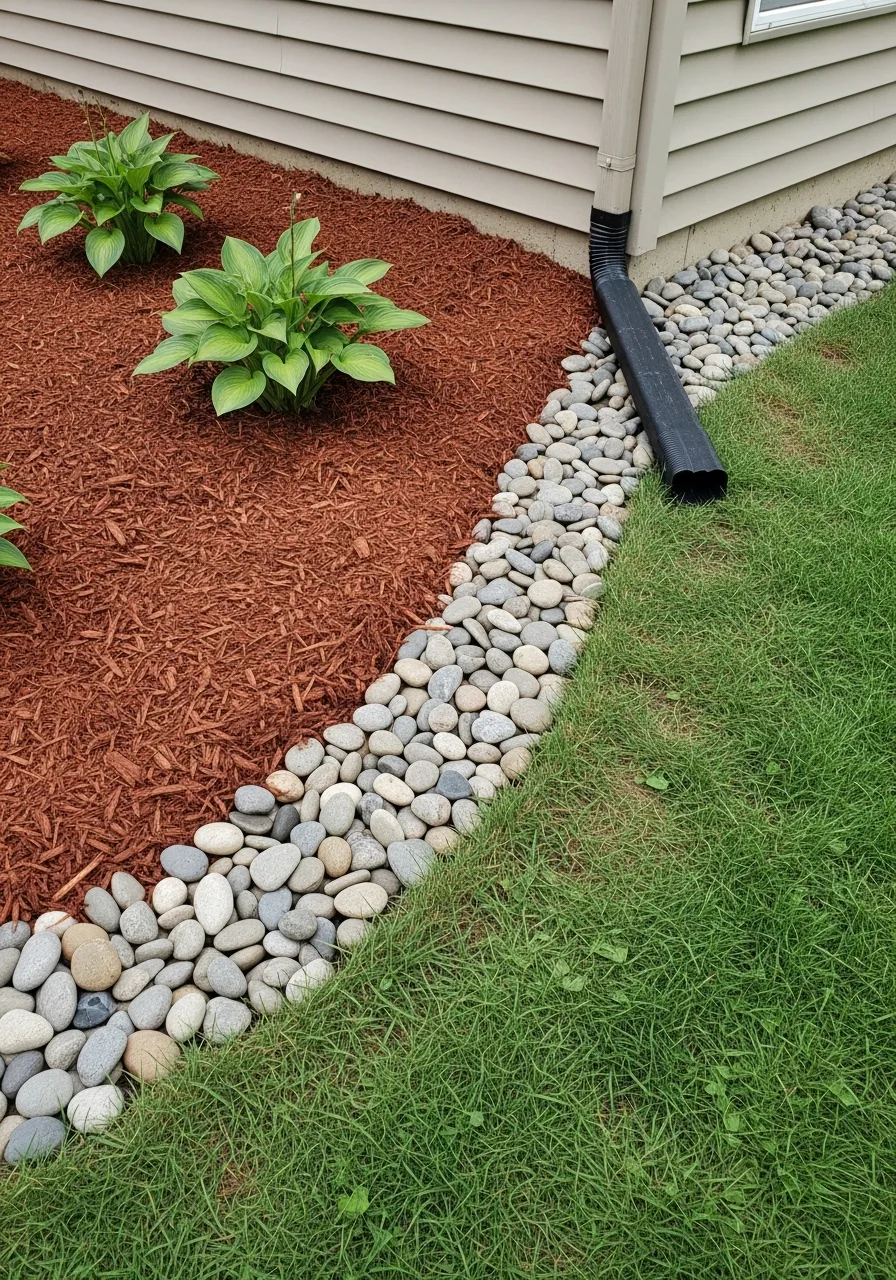
You place a row of stones right where the mulch meets the grass. The stones act as a heavy wall that keeps mulch from washing away. My take: use flat river rocks for a cleaner look that’s easier to mow.
- Level the ground first.
- Choose stones of similar size.
- Tuck mulch tight to stones.
Pro Tip: Most people skip this: Bury the stones halfway for better stability.
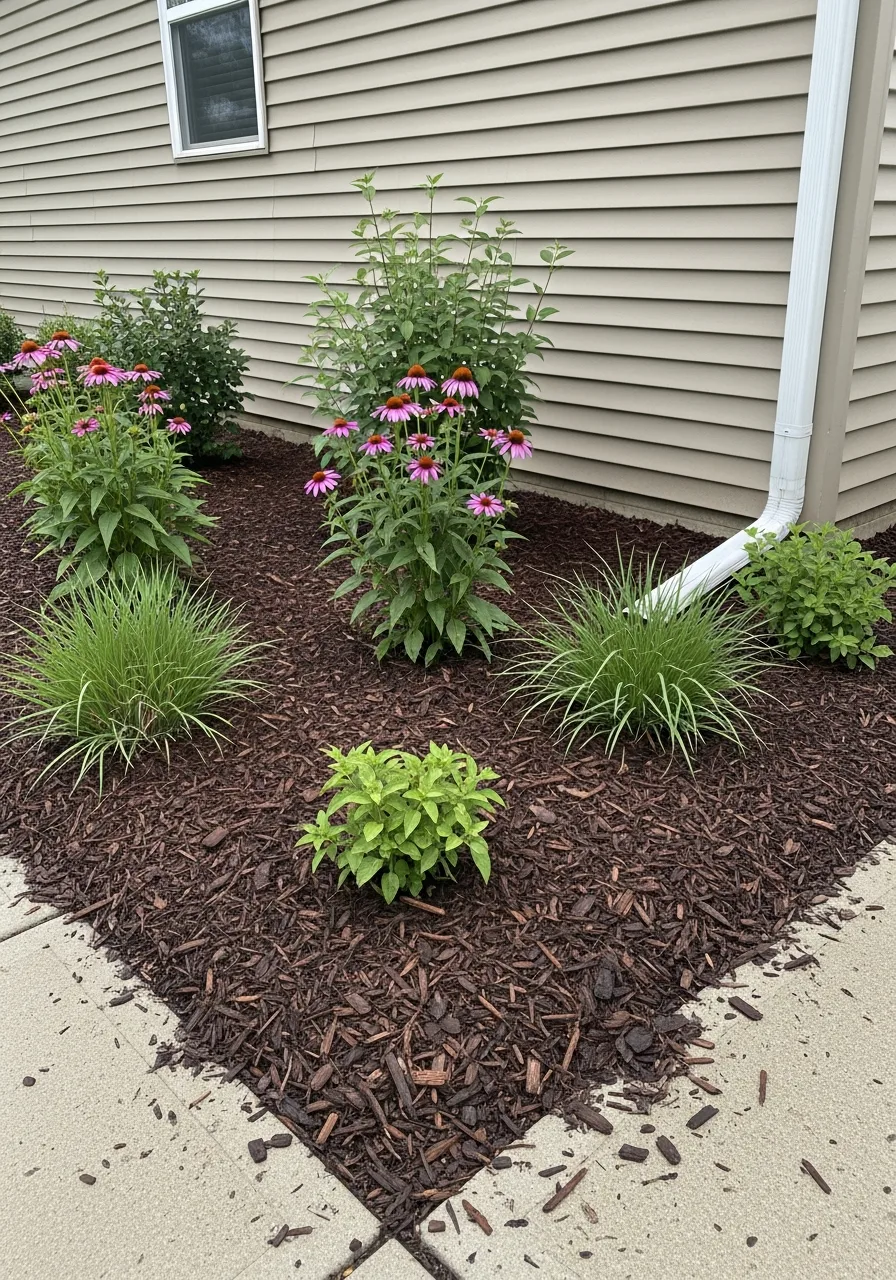
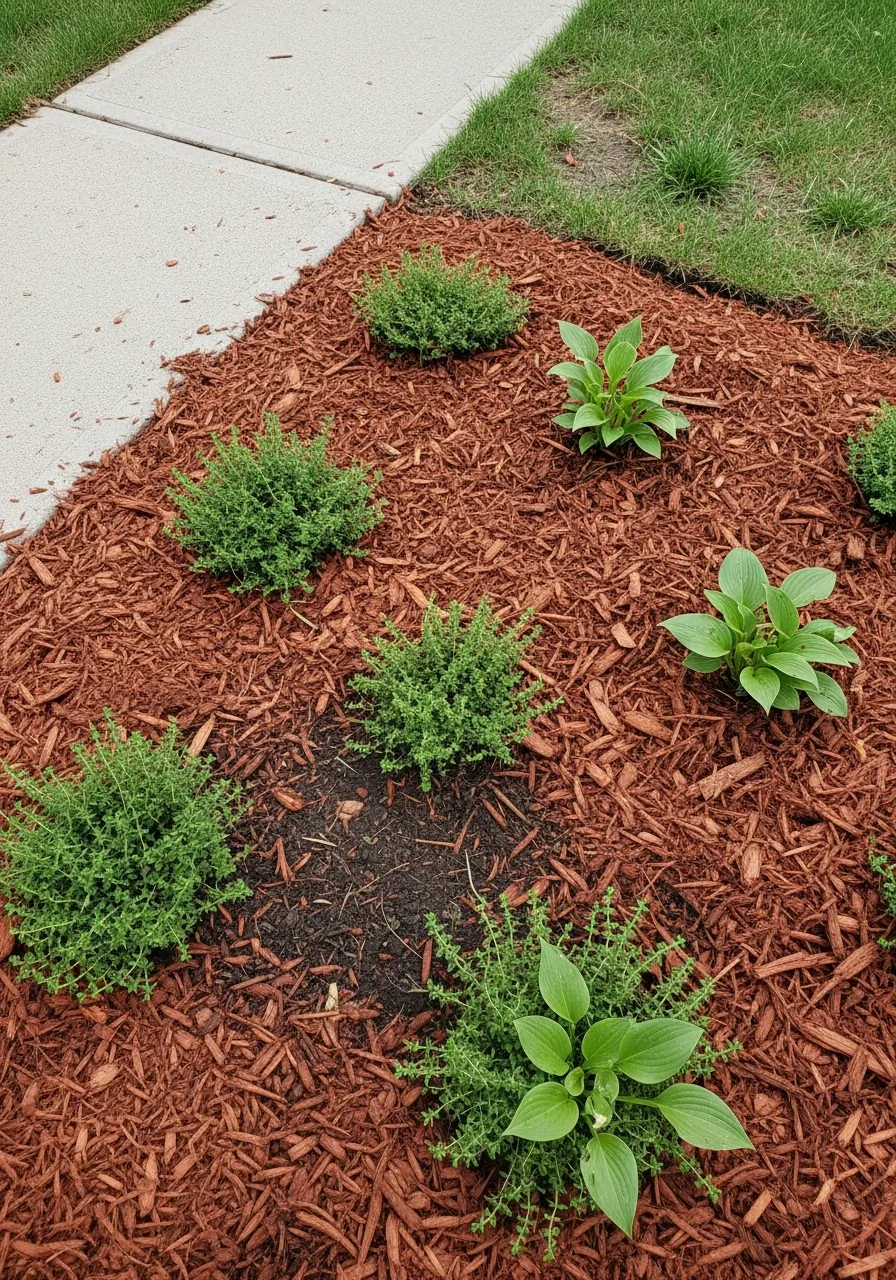
6. Layered Mulch Plant Beds
This design uses different heights of plants surrounded by a thick mulch base. It creates a full look that covers every inch of bare dirt. I always put the tallest plants in the back to maximize the view.
- Group plants by water needs.
- Space them for future growth.
- Use bark nuggets for texture.
Pro Tip: Here’s what I do: Mix in compost before laying the mulch.
7. Mulch Vegetable Garden Beds
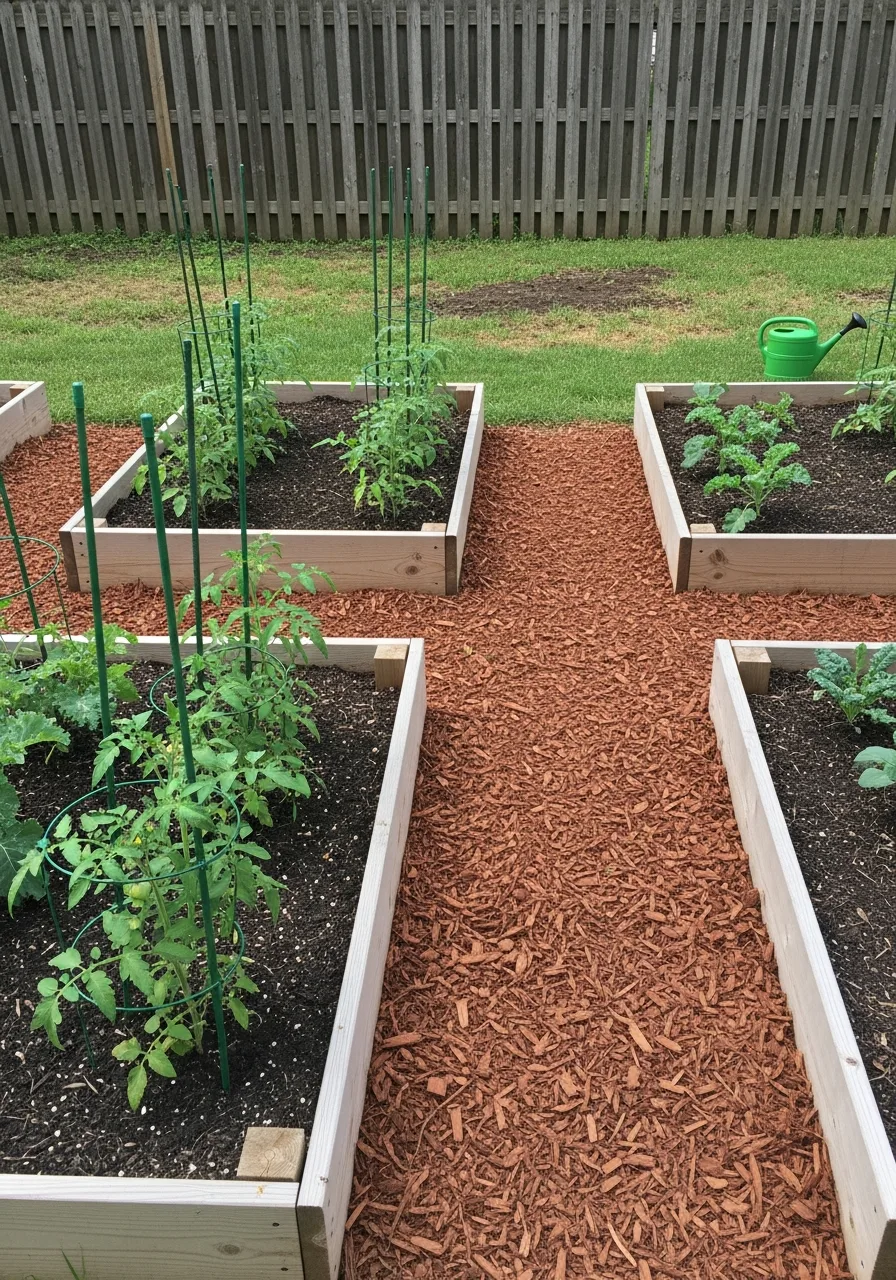
Straw or wood chips cover the soil around your food crops. It keeps your veggies clean and stops the soil from drying out. My take: use straw for veggies because it breaks down into fertilizer.
- Avoid treated wood chips.
- Lay it two inches thick.
- Keep it off vegetable stems.
Pro Tip: Quick win: Use pine needles to help acid-loving plants like berries.
8. Mulch Play Area
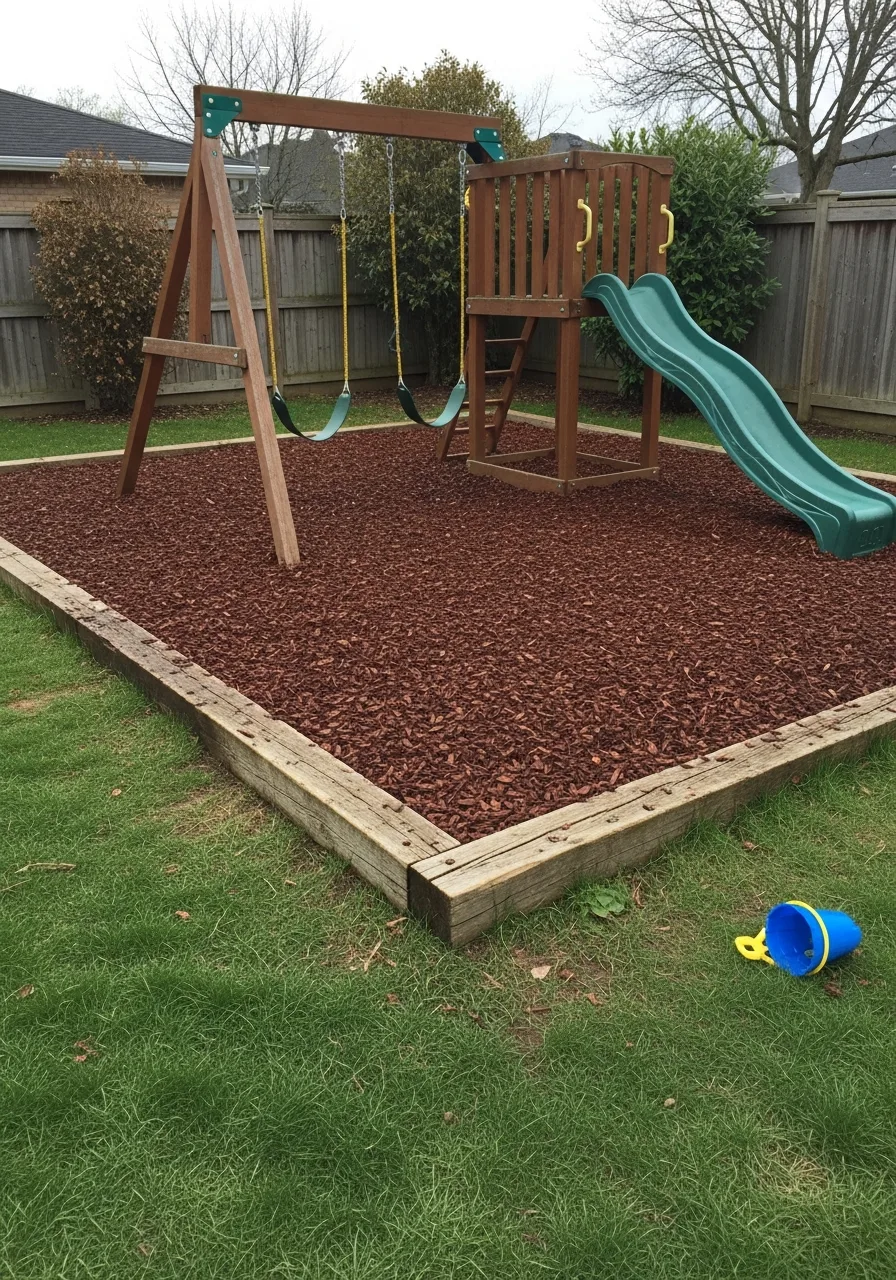
A dedicated zone for kids is filled with soft wood chips or rubber mulch. It provides a cushion for falls and keeps the area from turning muddy. Honestly, wood chips are better because they don’t get hot in the sun.
- Check for splinters regularly.
- Use a plastic border edge.
- Fill it deep for safety.
Pro Tip: Most people skip this: Install a weed barrier underneath to prevent grass.
9. Mulch Around Shrubs
You apply a thick layer of mulch around the base of your bushes. It keeps the roots cool and makes the shrubs look like a cohesive unit. I’ve found that large bark chunks look best under big bushes.
- Spread mulch to drip line.
- Keep it away from stems.
- Water well after applying.
Pro Tip: Quick win: Use a rake to fluff the mulch once a month.
10. Mulch Front Yard Makeover
This involves swapping dying grass for large, organized mulch beds. It saves you from mowing and makes the house look professionally landscaped. My take: focus on the area near the porch for maximum impact.
- Kill the grass first.
- Add a few focal plants.
- Use a bold mulch color.
Pro Tip: Here’s what I do: Use cardboard under mulch to kill weeds naturally.
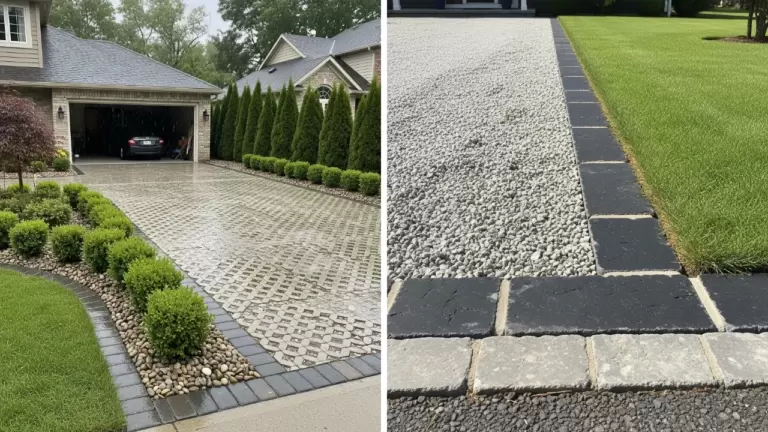
11. Mulch and Gravel Contrast
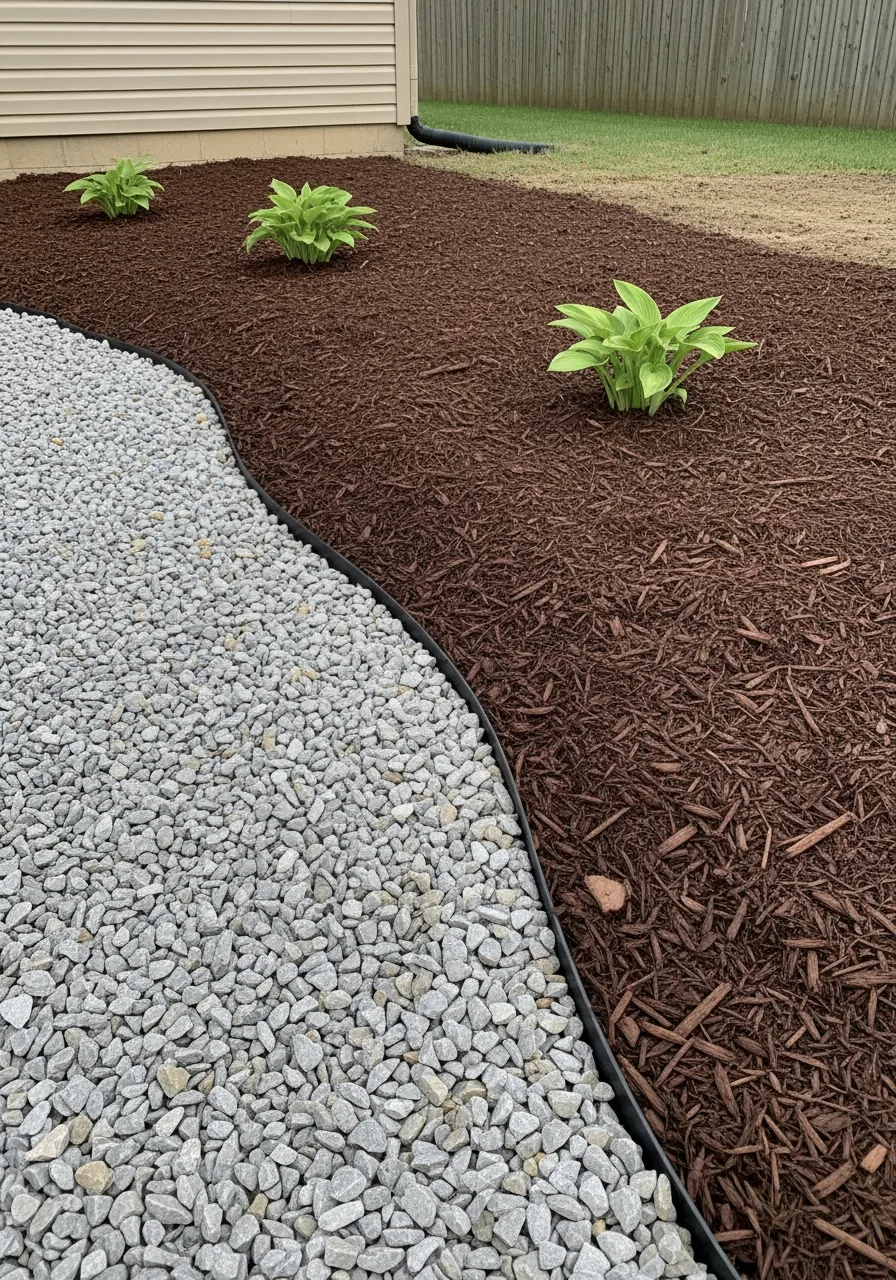
You create patterns by placing dark mulch next to light-colored gravel. The different textures make the yard look like a piece of art. Honestly, this is the best way to define different rooms in your yard.
- Use a sturdy divider.
- Pick contrasting colors.
- Keep the heights even.
Pro Tip: Quick win: Use metal edging to keep the materials separate.
12. Mulch Under Deck Area
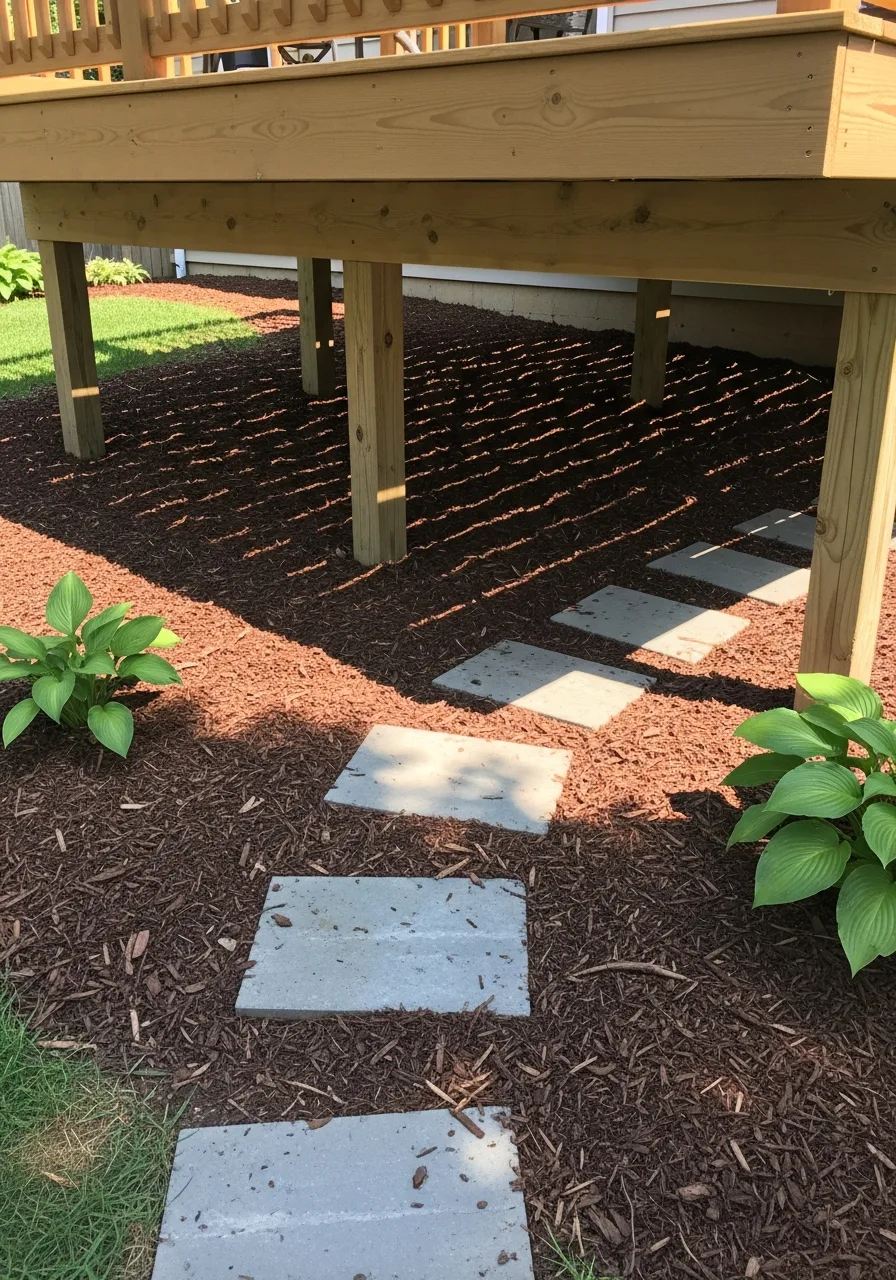
This uses mulch to cover the dark, dusty ground beneath your deck. It stops weeds from growing in hard-to-reach spots and looks much cleaner. I always use dark mulch here to hide any fallen leaves.
- Clean out debris first.
- Use heavy weed fabric.
- Apply thick mulch layer.
Pro Tip: Most people skip this: Ensure the ground slopes away from the house.
13. Mulch Dry Creek Bed
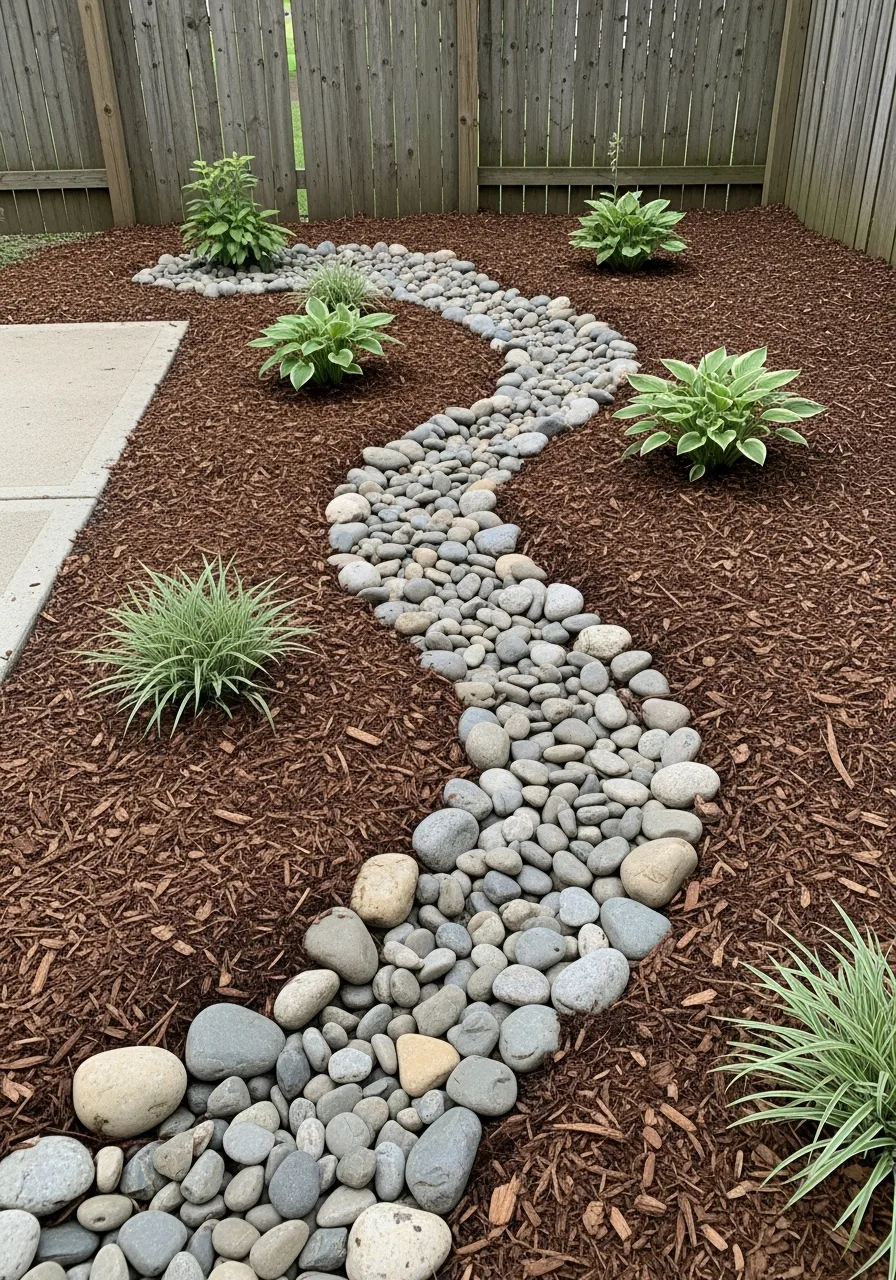
You surround a path of rocks with mulch to mimic a natural stream. It helps manage rainwater and adds a beautiful rustic touch. My take: use brown mulch to match the natural look of the stones.
- Place largest rocks first.
- Fill gaps with small mulch.
- Add native grasses nearby.
Pro Tip: Here’s what I do: Use different rock sizes for a realistic look.
14. Mulch Around Patio Edges
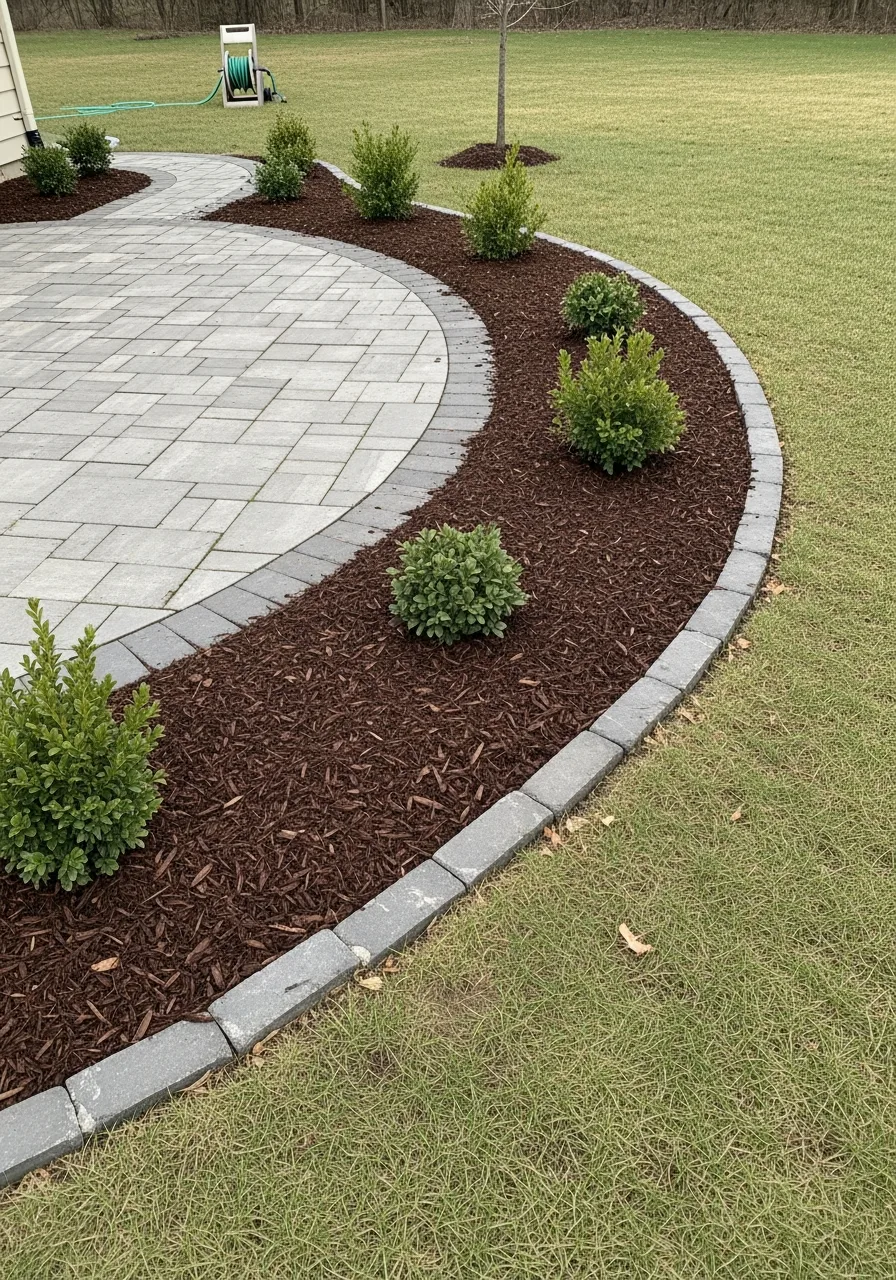
A mulch border fills the gap between your patio and the lawn. It softens the hard lines of the concrete or stone. I always add some low-growing flowers in these mulch strips.
- Keep it level with patio.
- Choose a matching color.
- Use a weed preventer.
Pro Tip: Quick win: Add solar lights in the mulch for night safety.
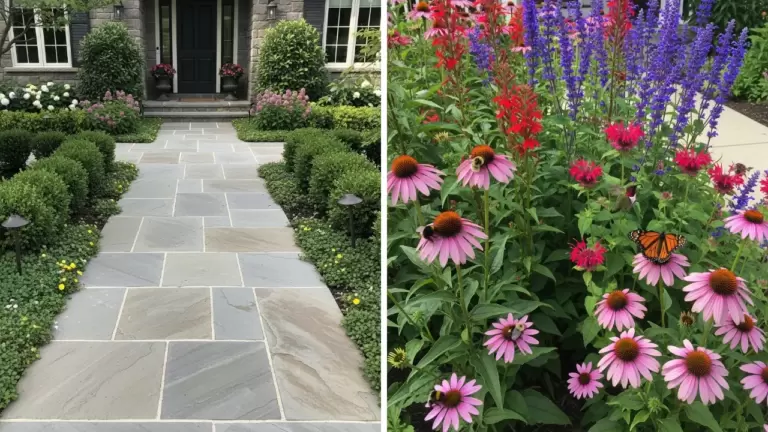
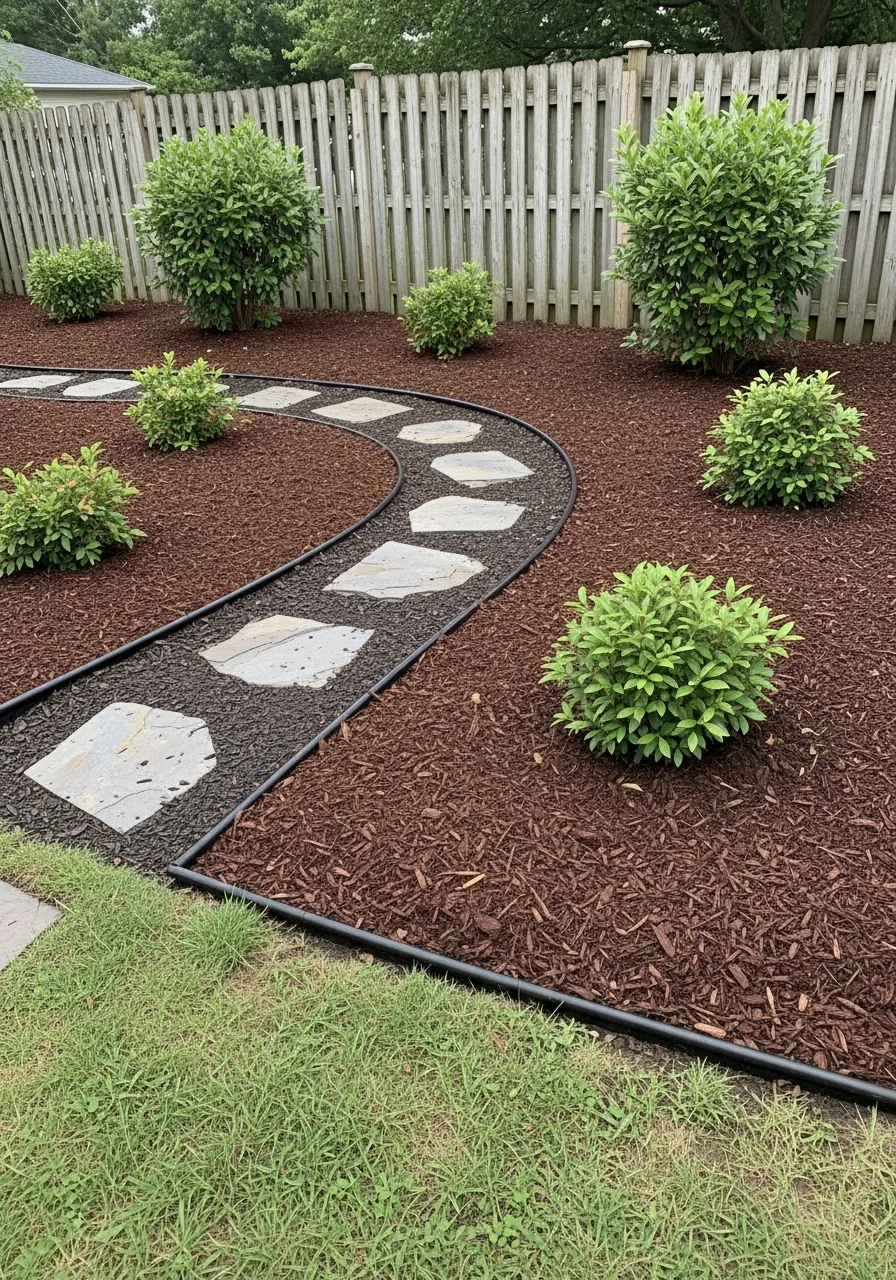
15. Mulch Stepping Stones Path
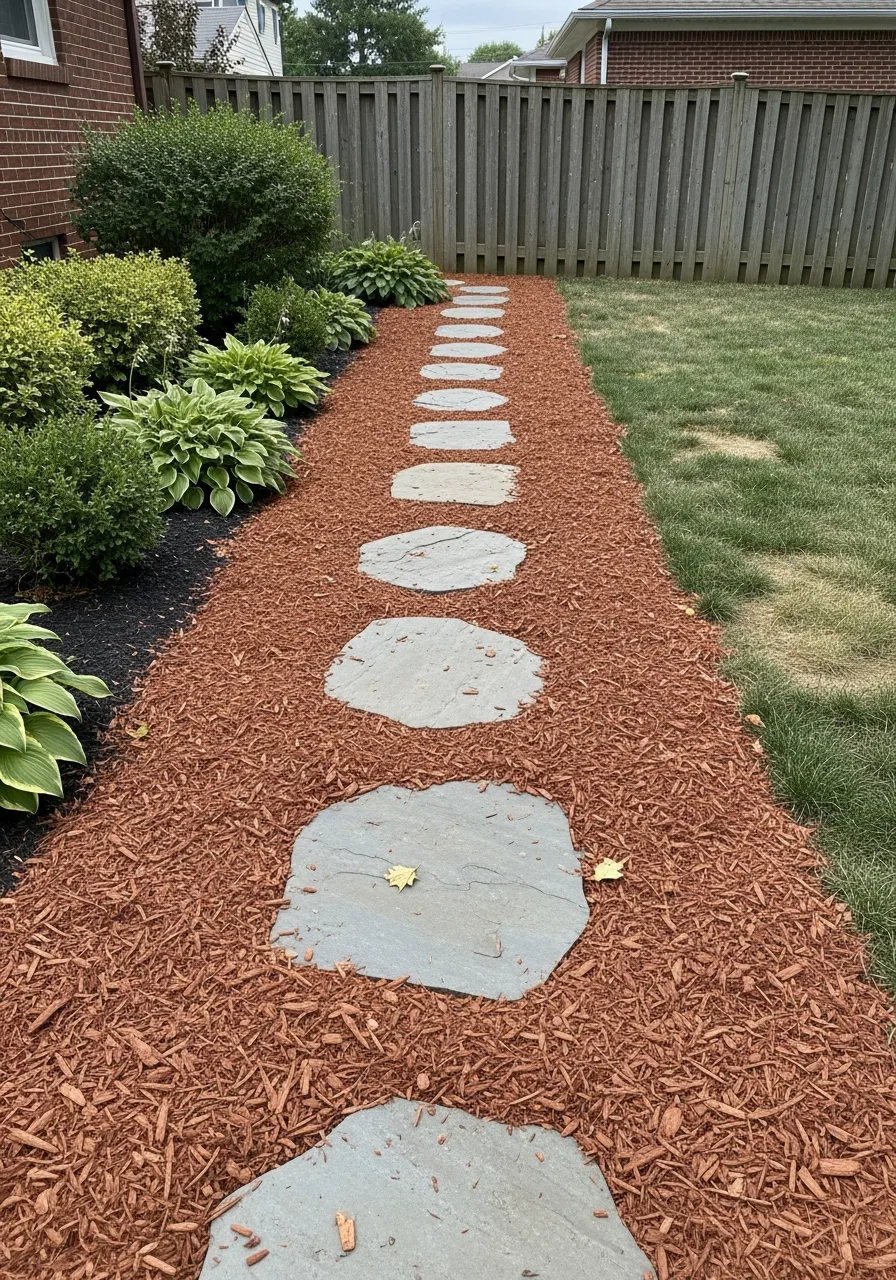
Flat stones are placed inside a mulch path for a stable walkway. The stones give you a firm place to step during rainy weather. Honestly, this is the most practical way to build a backyard path.
- Space stones for your stride.
- Level each stone individually.
- Pack mulch around edges.
Pro Tip: Most people skip this: Set stones slightly higher than the mulch.
16. Mulch Slope Landscaping
Mulch is spread across hills or inclines to hold the dirt in place. It stops rain from washing your soil down the hill. My take: use shredded mulch because it knits together and won’t slide.
- Use fibrous shredded mulch.
- Plant ground covers too.
- Apply after light rain.
Pro Tip: Here’s what I do: Use landscape pins to hold down fabric.
17. Mulch Garden Islands
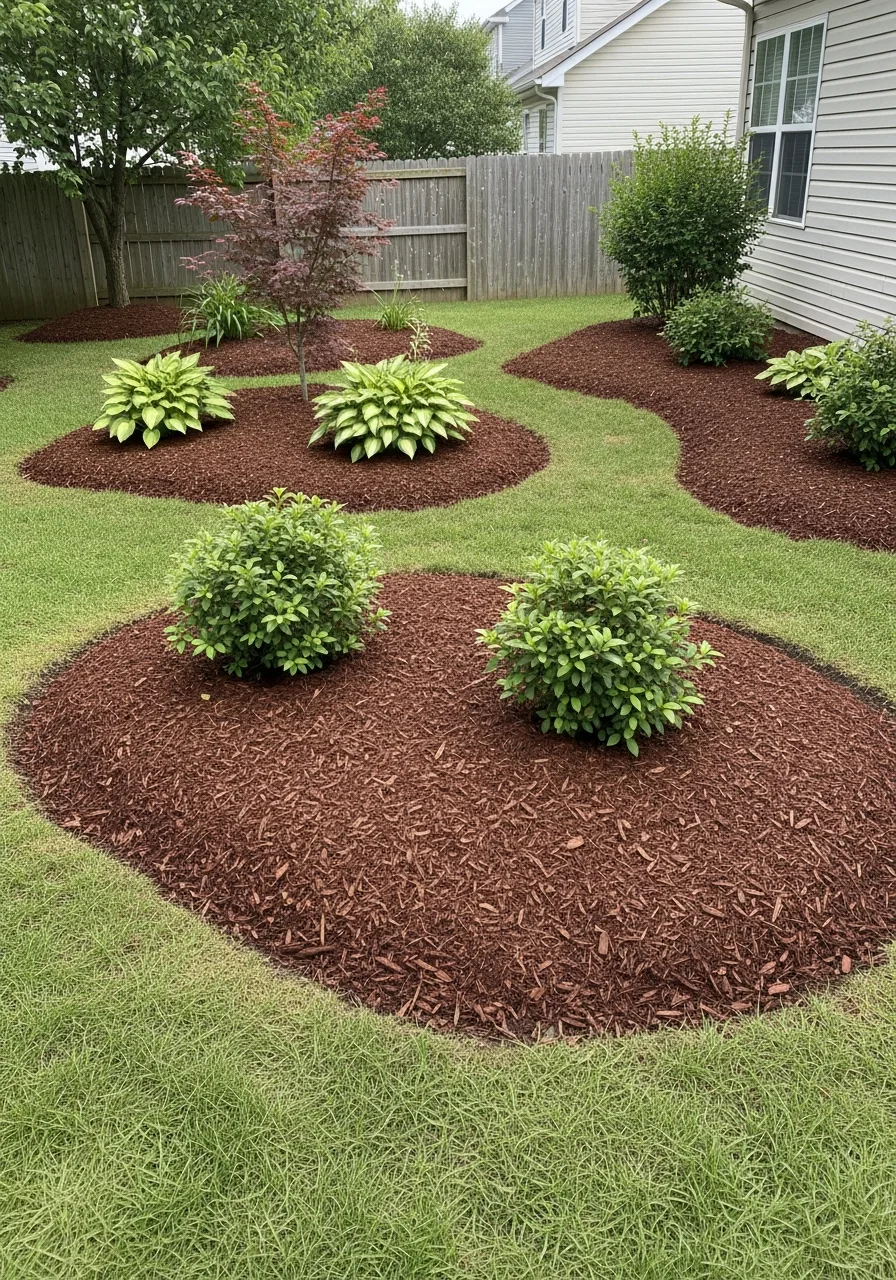
These are standalone mulch beds placed in the middle of a grass lawn. They break up a big yard and give you a place for pretty shrubs. I always make mine kidney-shaped because curves look more natural.
- Outline the shape first.
- Use a focal tree.
- Edge the border deeply.
Pro Tip: Quick win: Place the island where grass grows poorly anyway.
18. Mulch Around Fences
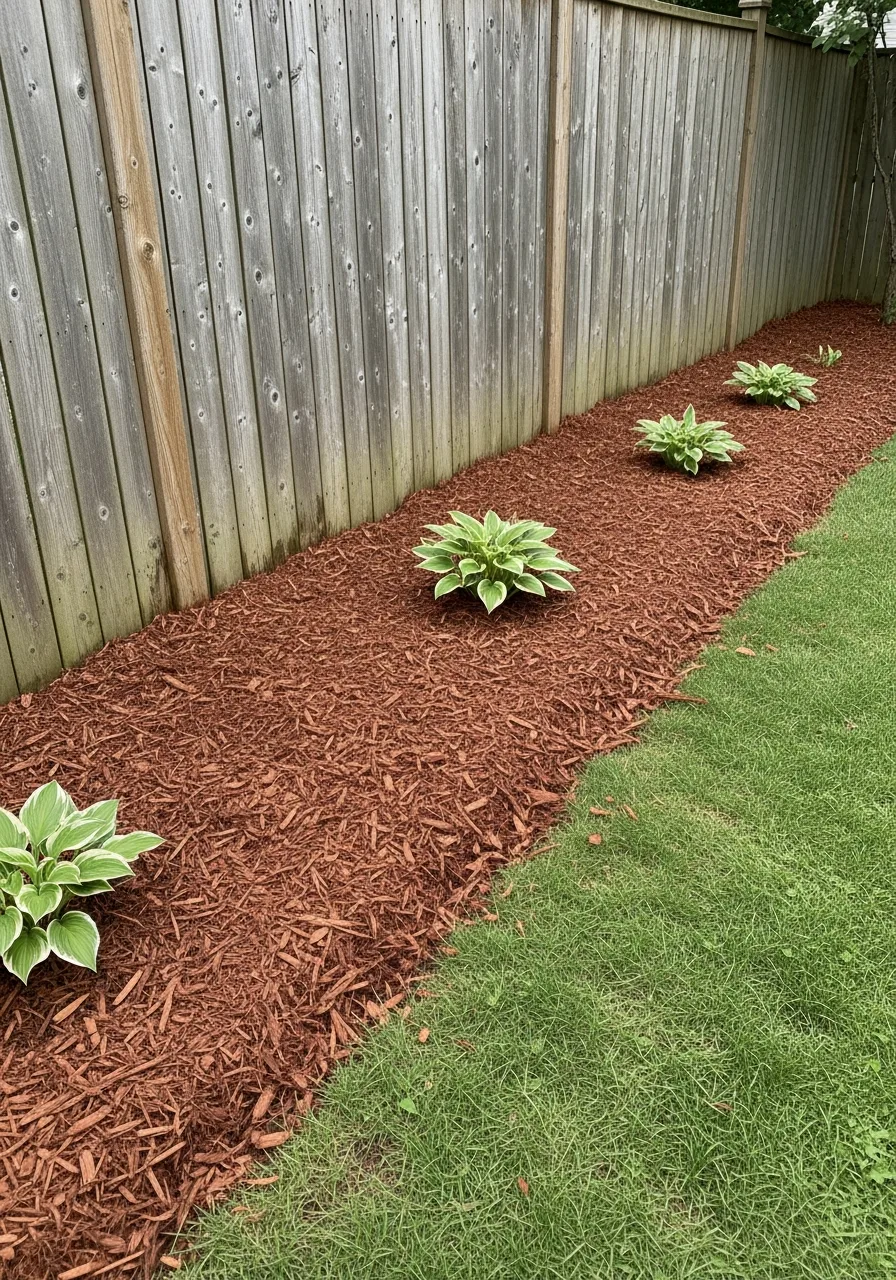
A strip of mulch is laid along the entire length of your fence. It keeps the weed whacker away from your fence boards. Honestly, this is a lifesaver for keeping your fence looking new.
- Make strip two feet wide.
- Add climbing plants.
- Use dark mulch color.
Pro Tip: Most people skip this: Leave space for the gate to swing.
19. Mulch Backyard Seating Area
You use mulch as the flooring for a bench or table set. It creates a cozy zone without the high cost of a deck. My take: cedar mulch is best here because it repels bugs naturally.
- Level the ground first.
- Use thick mulch base.
- Add a small border.
Pro Tip: Here’s what I do: Use Adirondack chairs for a rustic vibe.
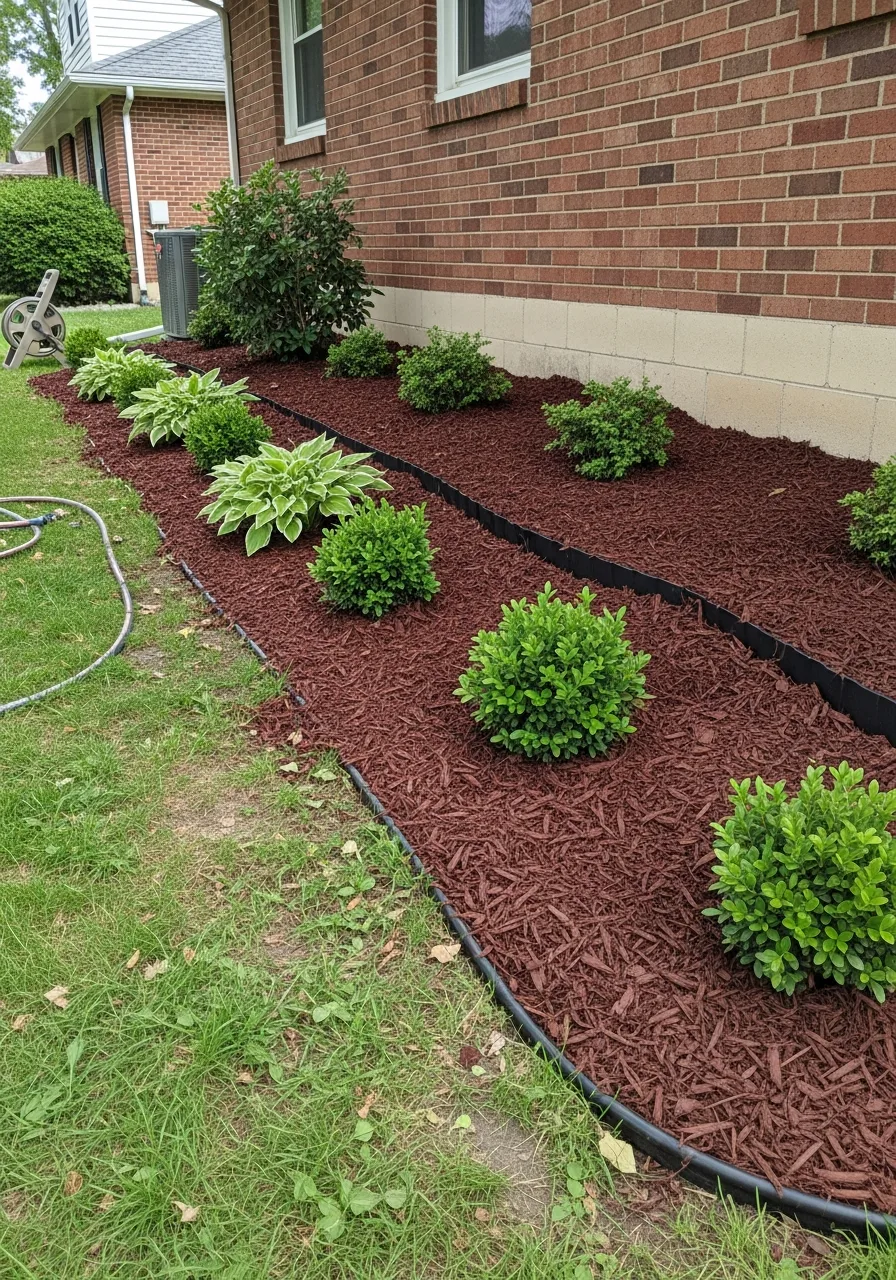
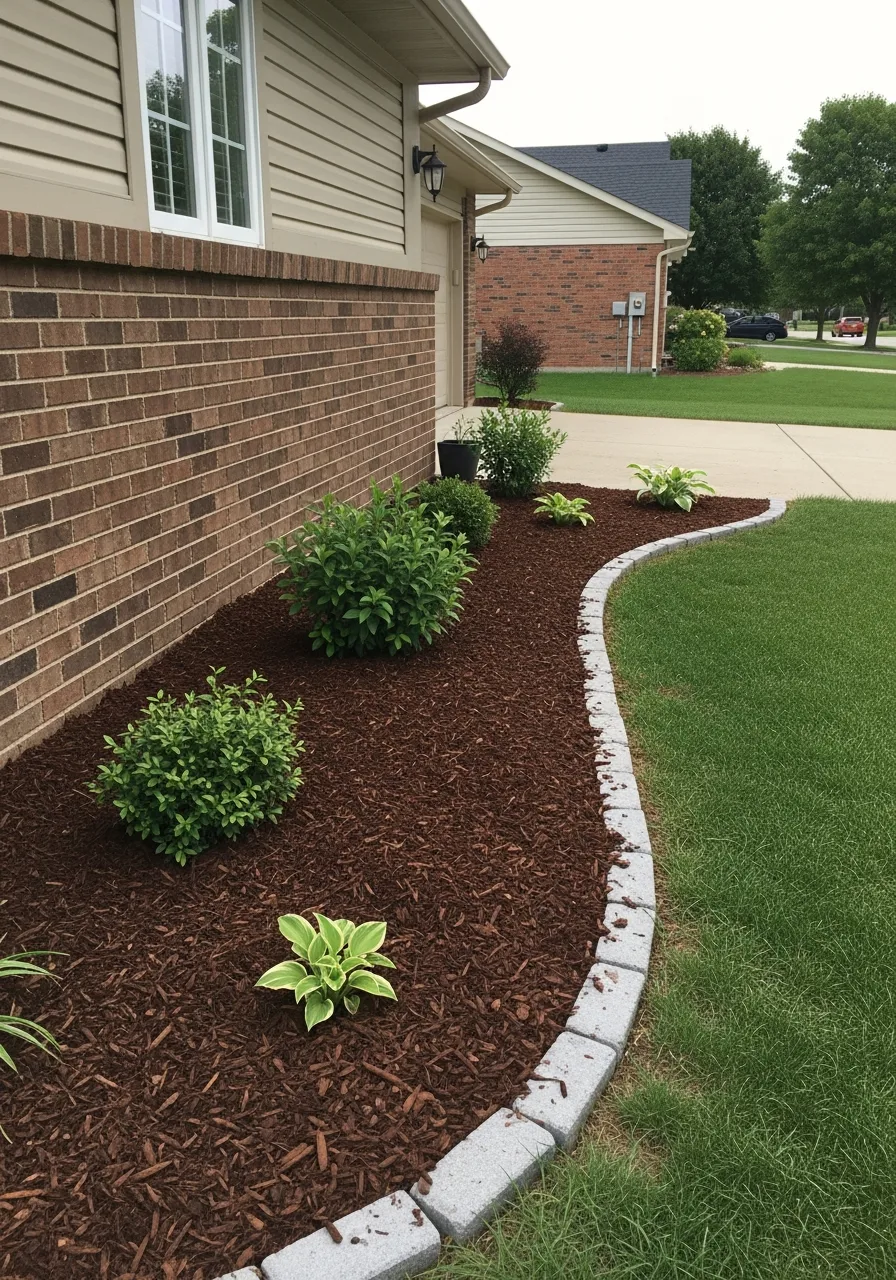
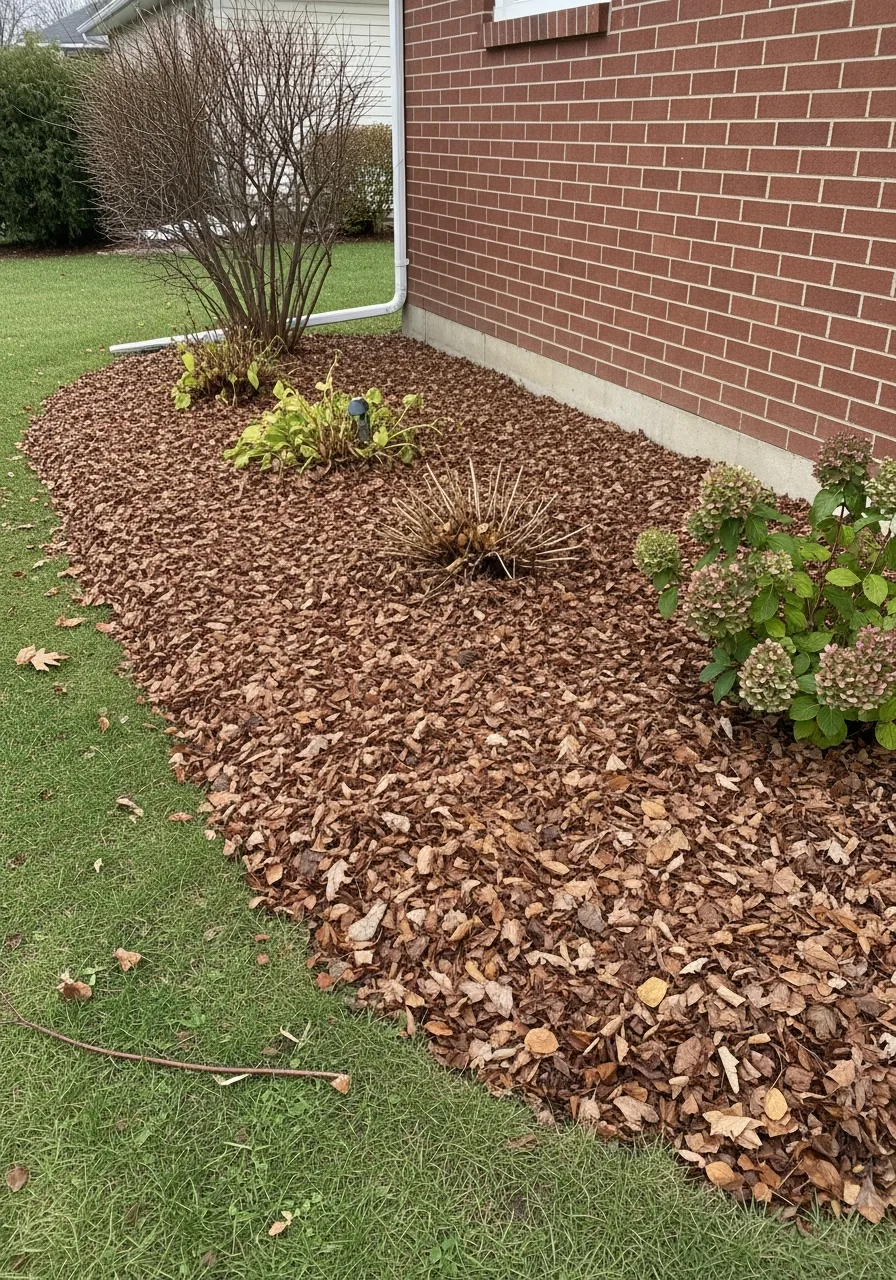
20. Colored Mulch Design
You choose red, brown, or black mulch to coordinate with your home. Matching the mulch to your shutters or roof makes the house look expensive. I always suggest brown for brick houses because it looks natural.
- Buy all bags at once.
- Check for UV resistance.
- Wear old shoes when spreading.
Pro Tip: Quick win: Stir the top layer mid-season to refresh color.
21. Mulch Ground Cover Alternative
Large areas of grass are replaced with a clean layer of mulch. It cuts your water bill and eliminates the need for mowing. Honestly, this is the smartest move for shady spots where grass dies.
- Use thick four-inch layer.
- Add a few large rocks.
- Keep the edges clean.
Pro Tip: Most people skip this: Put down a pre-emergent weed killer first.
22. Mulch with Native Plants
You use mulch to support plants that naturally grow in your area. These plants need less water and the mulch helps them thrive. My take: use natural wood chips so they look like a forest floor.
- Research local plant species.
- Avoid dyed mulch here.
- Group plants by height.
Pro Tip: Here’s what I do: Use local arborists for free wood chips.
23. Mulch Around Water Features
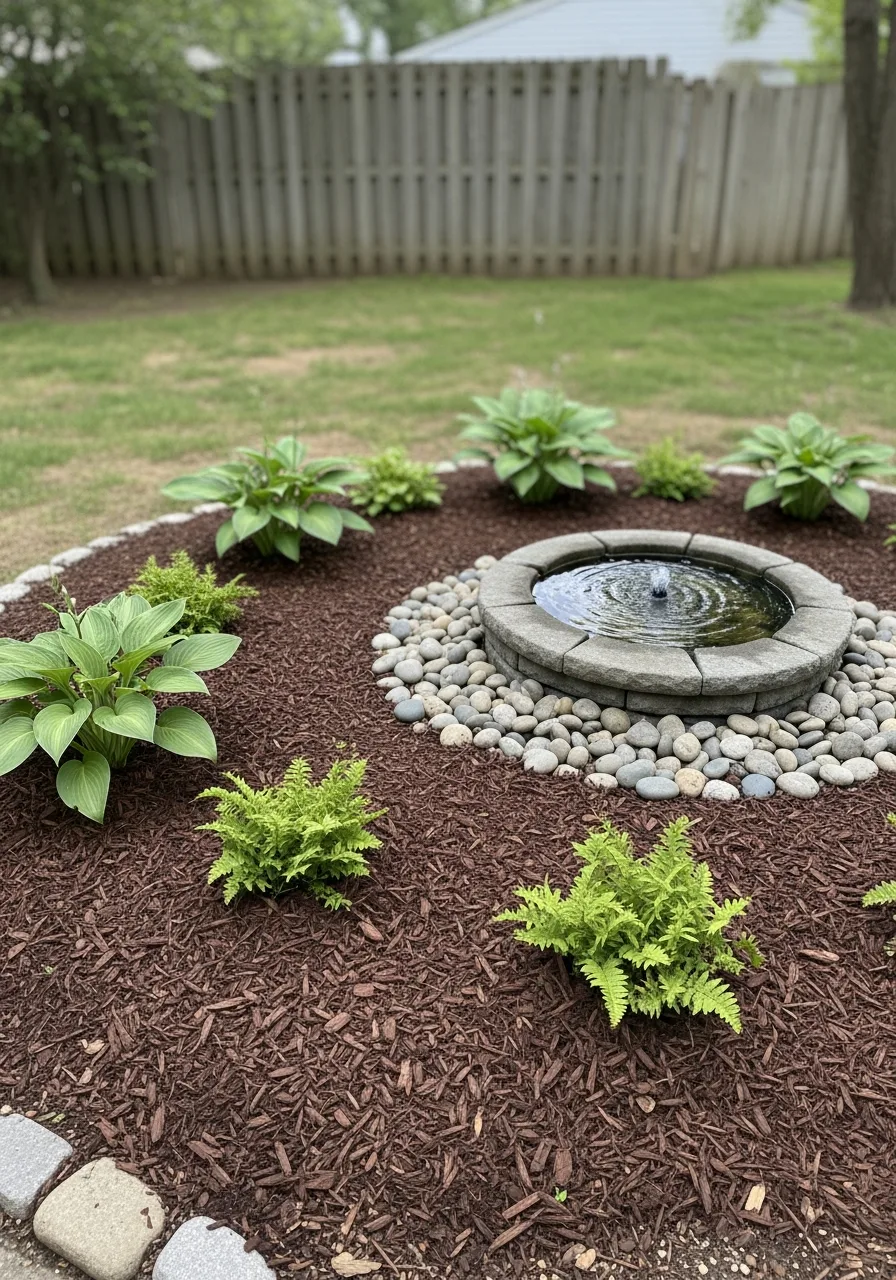
Mulch is placed around the edges of ponds or fountains. It prevents mud from splashing into the water when it rains. I always use large bark because small chips blow into the water.
- Keep mulch out of water.
- Use stone border edge.
- Pick a natural color.
Pro Tip: Quick win: Slope the ground away from the water.
24. Mulch Herb Garden
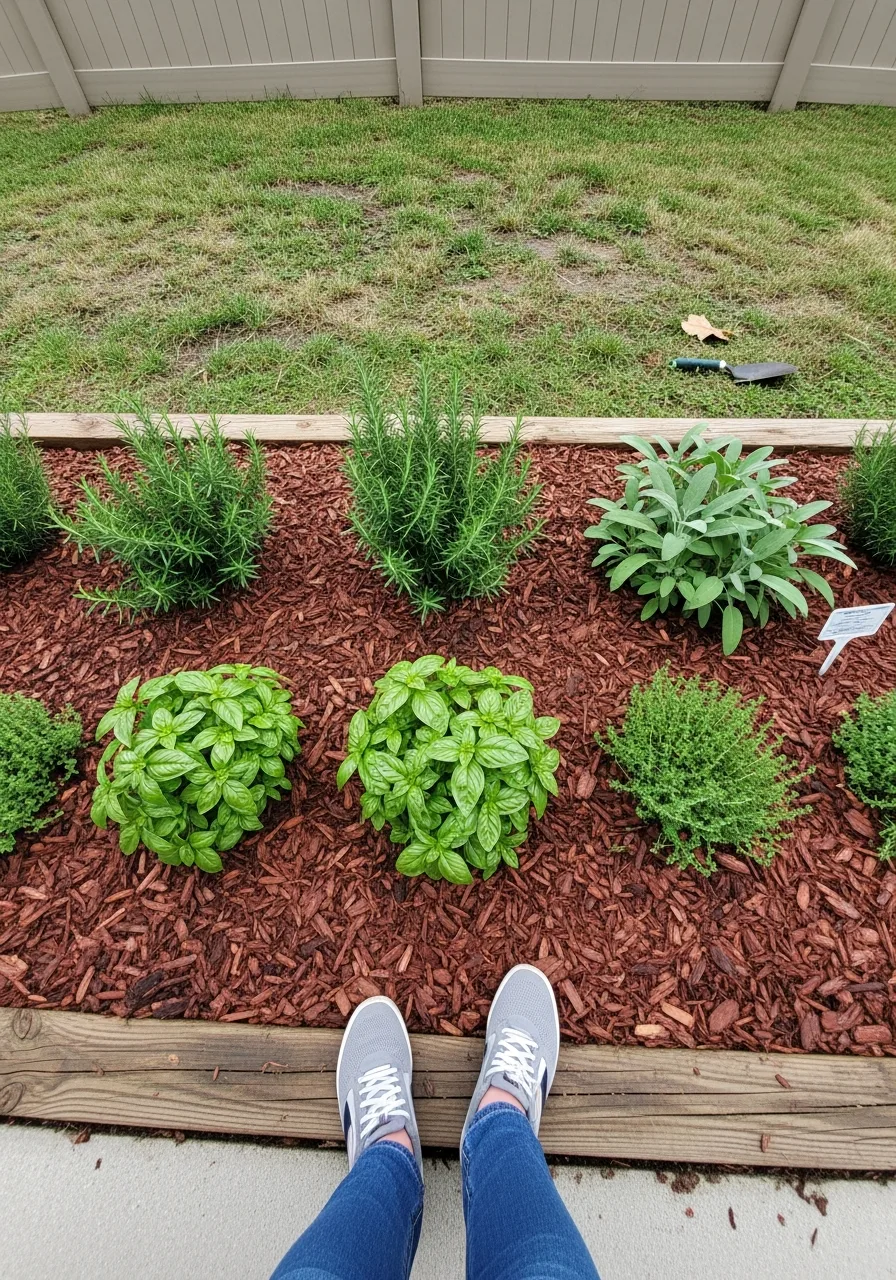
This involves putting a thin layer of mulch around your kitchen herbs. It keeps the leaves clean and the soil temperature steady. Honestly, I love using cocoa hull mulch because it smells like chocolate.
- Use only organic mulch.
- Keep it light and thin.
- Water under the mulch.
Pro Tip: Most people skip this: Ensure the mulch is food-safe.
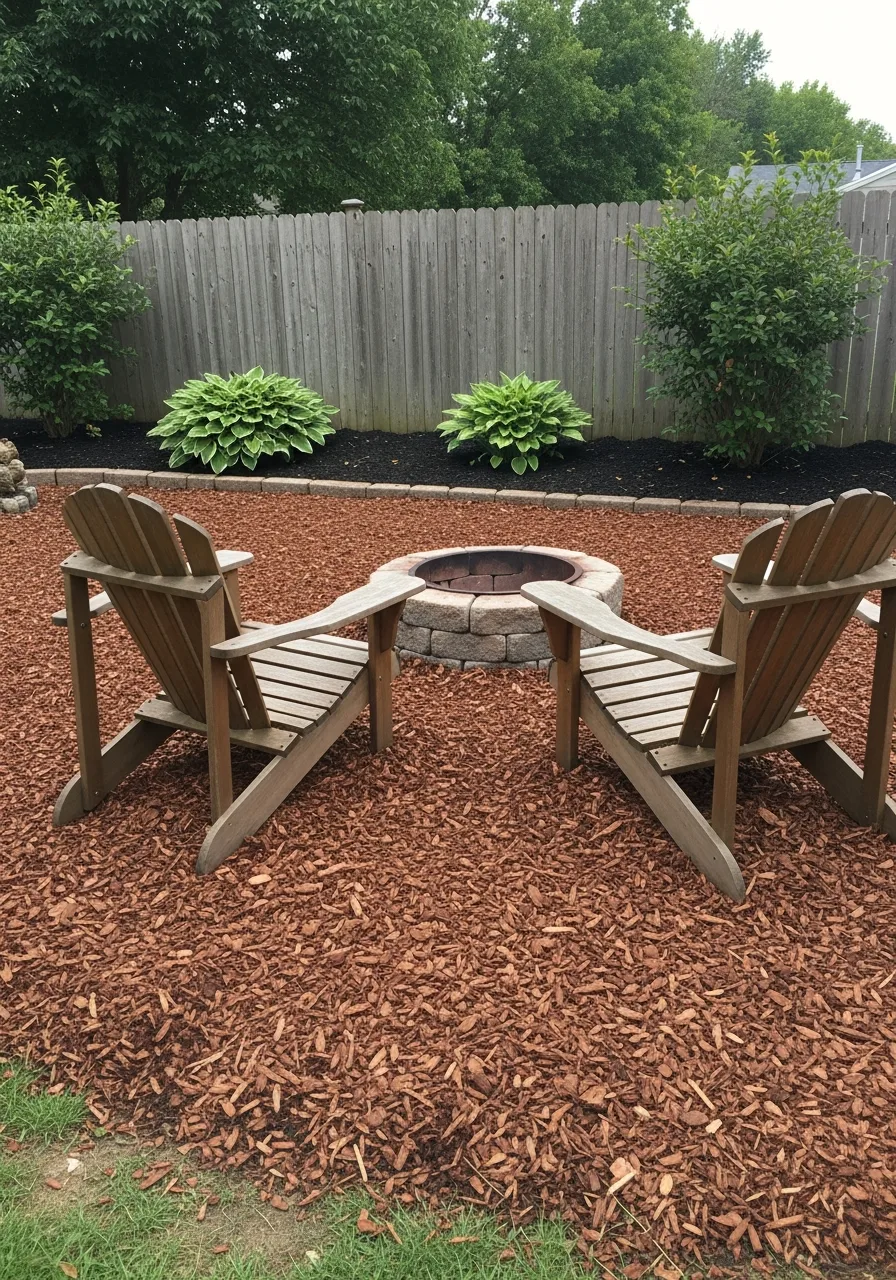
25. Mulch Fire Pit Area
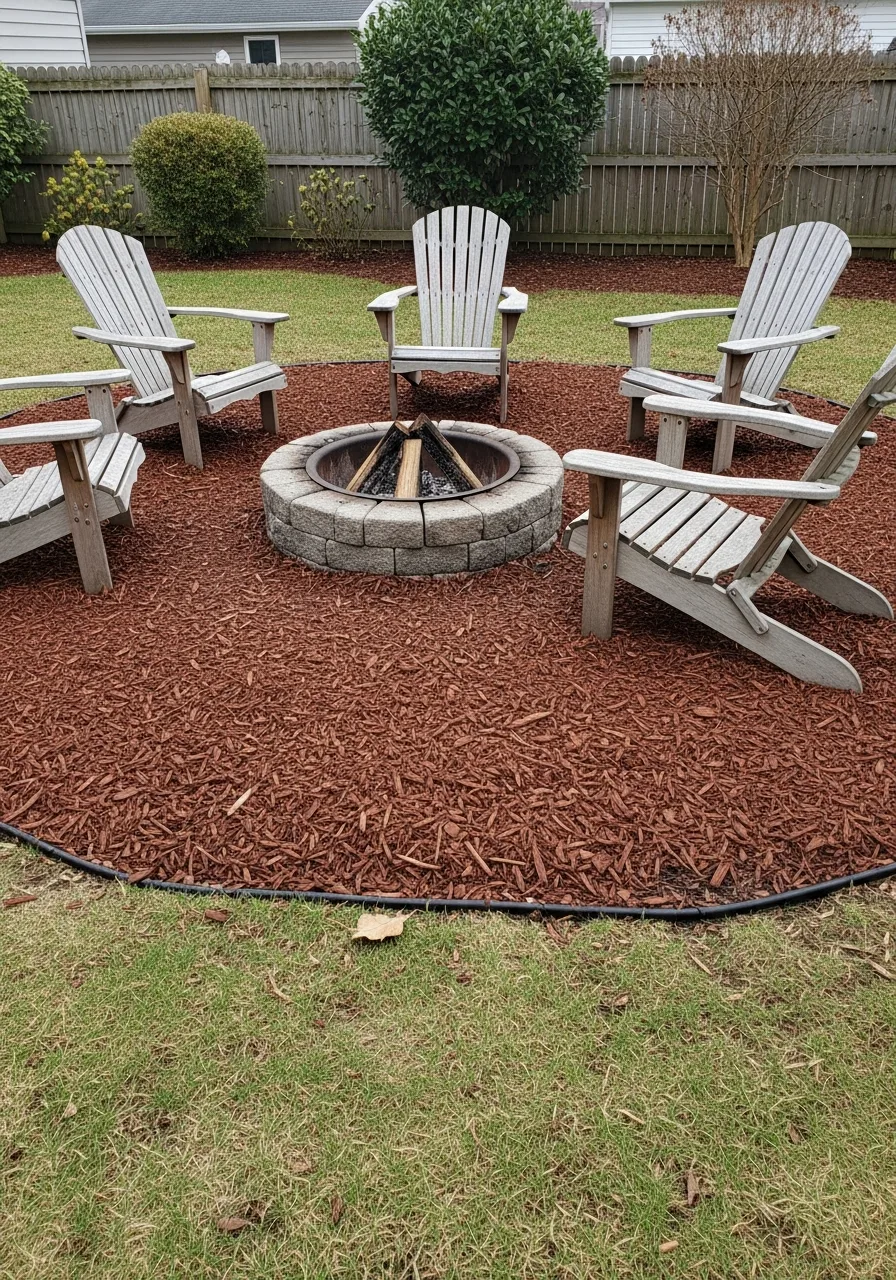
You create a wide circle of mulch around a central fire pit. It defines the space and keeps your feet out of the dirt. My take: keep the mulch at least three feet from the flames.
- Use a stone pit ring.
- Clear away all dry grass.
- Level the chair area.
Pro Tip: Here’s what I do: Use a heavy gravel layer directly under the pit.
26. Mulch Edging with Bricks
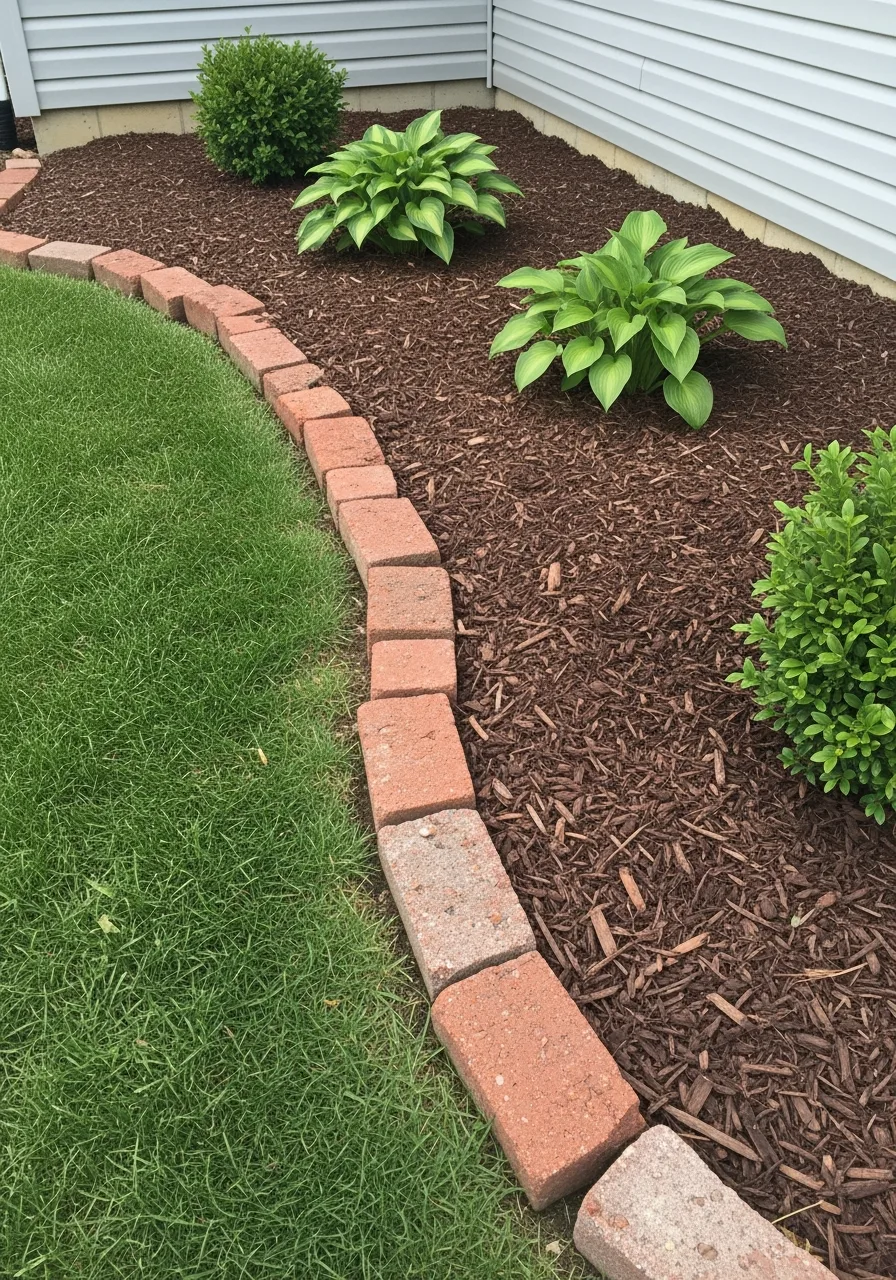
This uses classic red bricks to hold a mulch bed in place. Bricks give a timeless look and are very easy to install. I always set my bricks flush with the ground for easy mowing.
- Dig a shallow trench.
- Lay bricks end-to-end.
- Fill gaps with sand.
Pro Tip: Quick win: Use a rubber mallet to level the bricks.
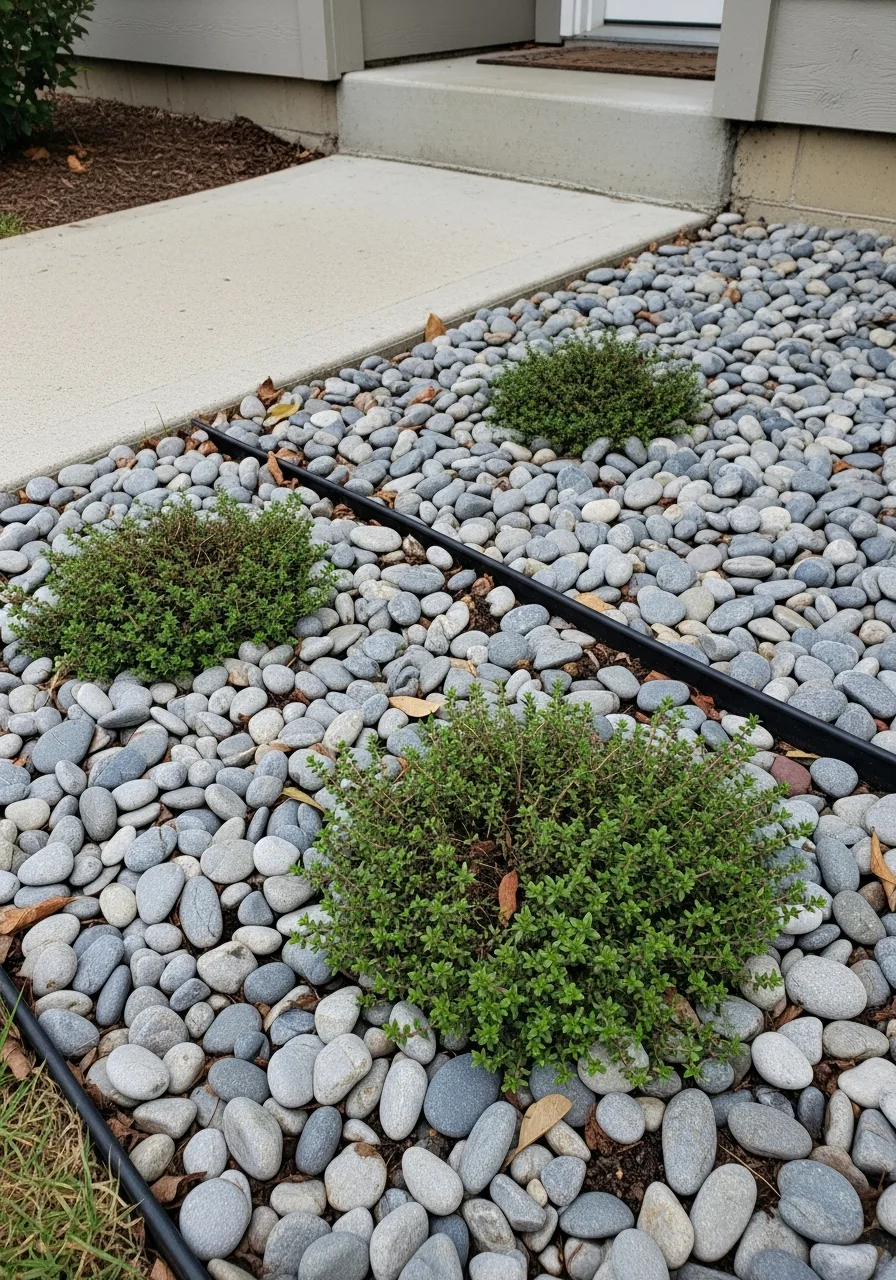
27. Mulch Ground Cover Plants
Low-growing plants like thyme or ivy are planted directly into mulch. The mulch suppresses weeds until the plants spread out and take over. Honestly, this is the best way to get a lush look on a budget.
- Space plants 12 inches apart.
- Use shredded mulch only.
- Water frequently at first.
Pro Tip: Most people skip this: Cut small holes in landscape fabric for plants.
28. Mailbox Landscaping Mulch
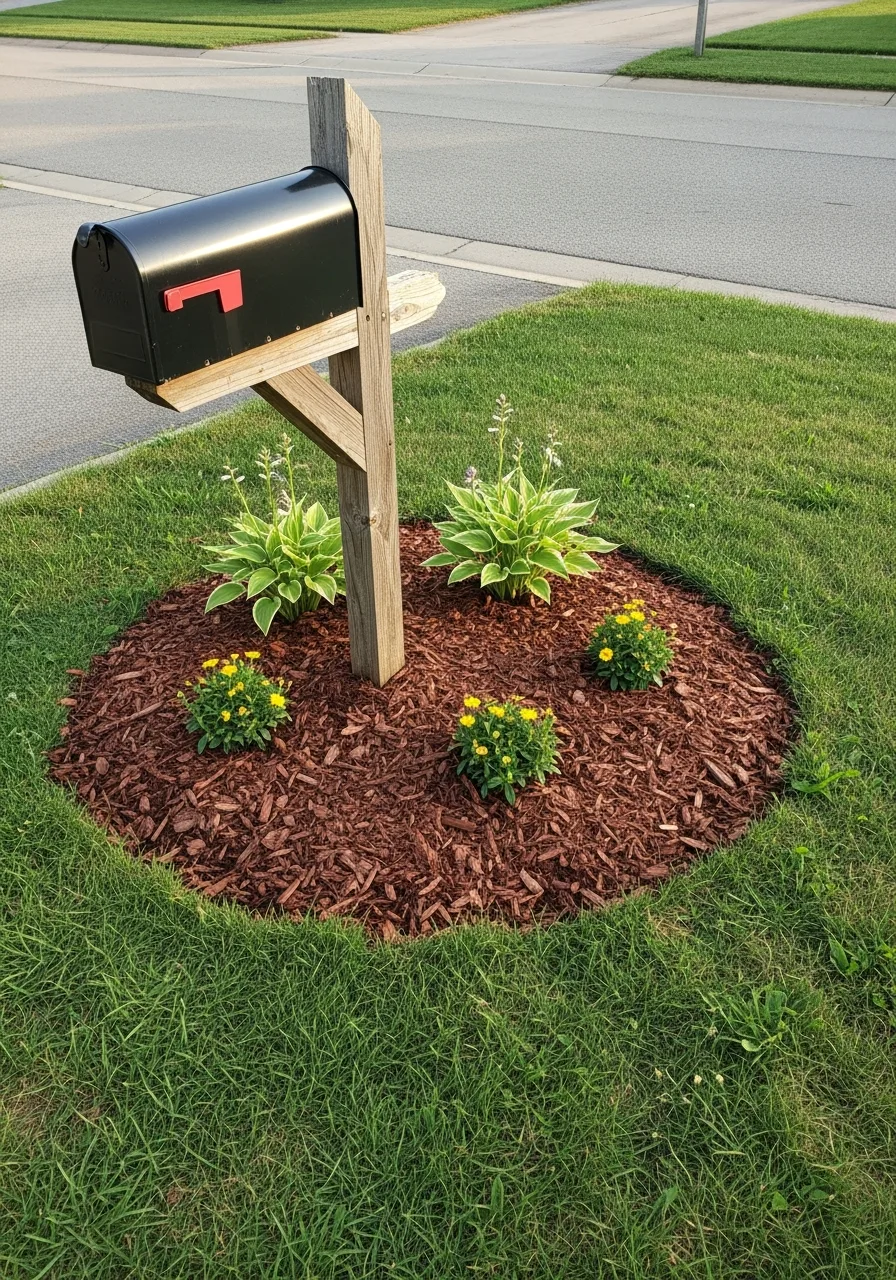
A small mulch bed is built at the base of your mailbox post. It adds instant curb appeal and protects the post from mowers. My take: add some bright yellow flowers for a happy greeting.
- Keep the bed small.
- Use a brick border.
- Add a few perennials.
Pro Tip: Here’s what I do: Use a weed-free mulch brand here.
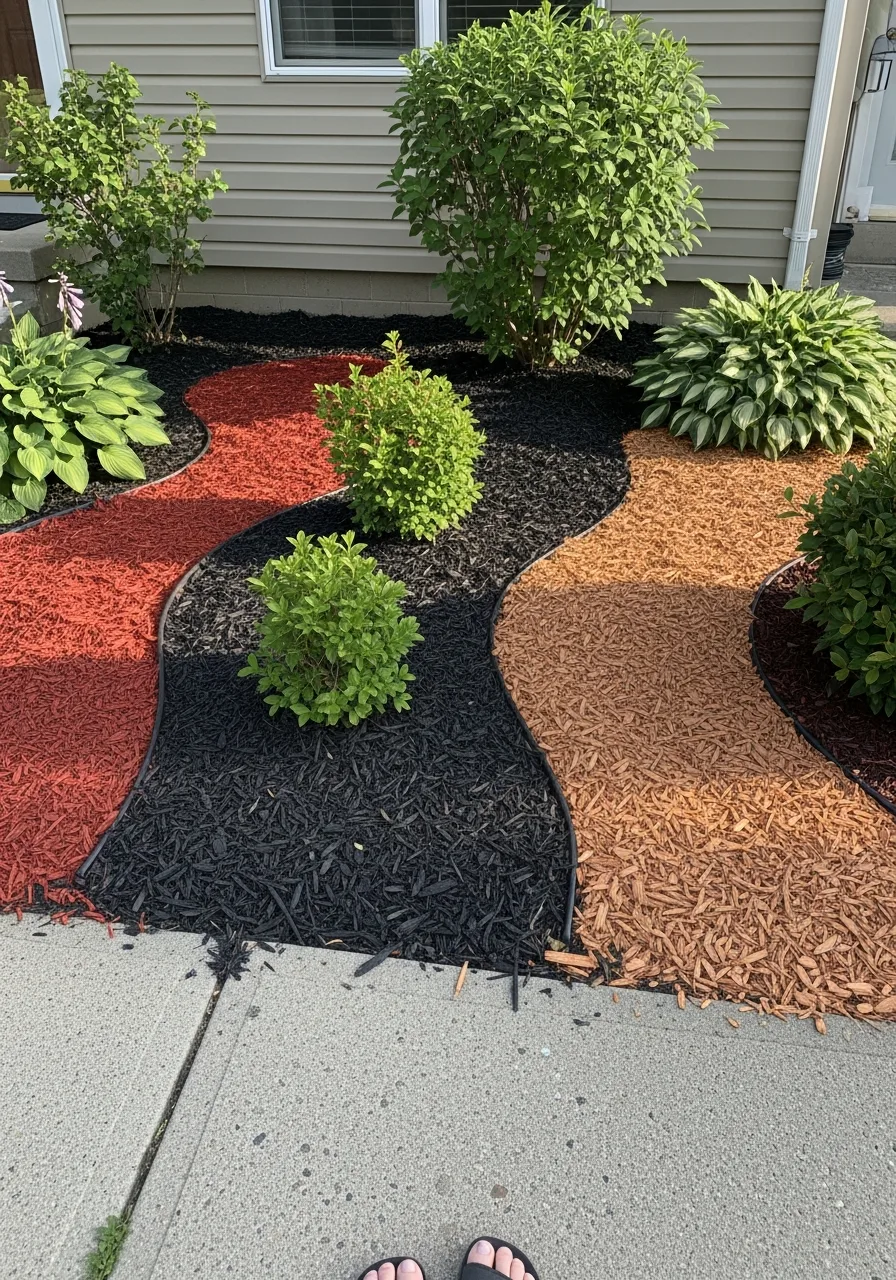
29. Mulch Backyard Zones Design
You use different mulch colors or types to mark different yard areas. It helps organize a large yard into functional spaces like play or relax. Honestly, this makes a huge yard feel much more manageable.
- Map out zones first.
- Use transition paths.
- Stick to two mulch colors.
Pro Tip: Quick win: Use taller plants to divide the zones.
30. Free Leaf Mulch Beds
This method uses shredded fall leaves instead of buying wood chips. It is completely free and adds amazing nutrients to your soil. I always shred my leaves with a mower so they don’t mat down.
- Mow over dry leaves.
- Spread them four inches thick.
- Mix with wood chips.
Pro Tip: Most people skip this: Wet the leaves down so they don’t blow away.
A good layer of mulch is the easiest way to make your outdoor space feel organized and intentional. Whether you want a modern black look or a natural cedar path, the right mulch makes all the difference. Honestly, once you see how much it helps your plants and your curb appeal, you’ll never go back to bare dirt.